
In this article, the author of the YouTube channel "Primitive Technology" will tell you about the primitive technology for the manufacture of bricks and tiles from alumina. As well as the process of building a roof kiln.
Suppose you are in a forest. Suppose you didn’t have any tools except a man-made ax made of wood and sharp stone. And yet you do not despair, now you need bricks to build a hut or hearth.
Materials
- Alumina
- Tree
- Dry cane leaves
- Branches, sticks
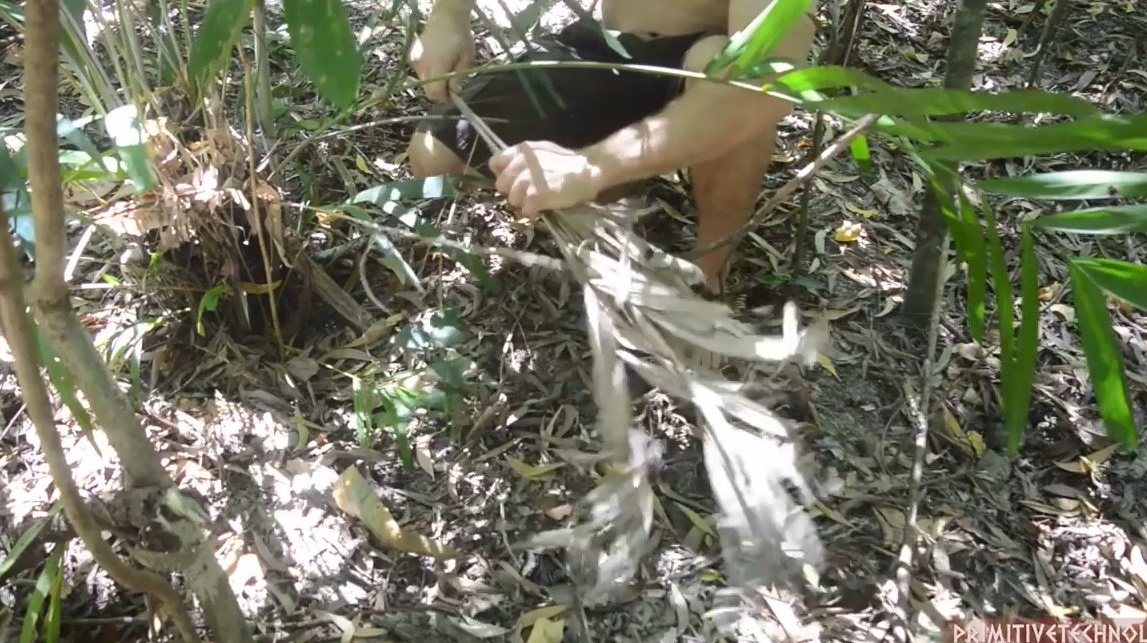
- vine
- Water.
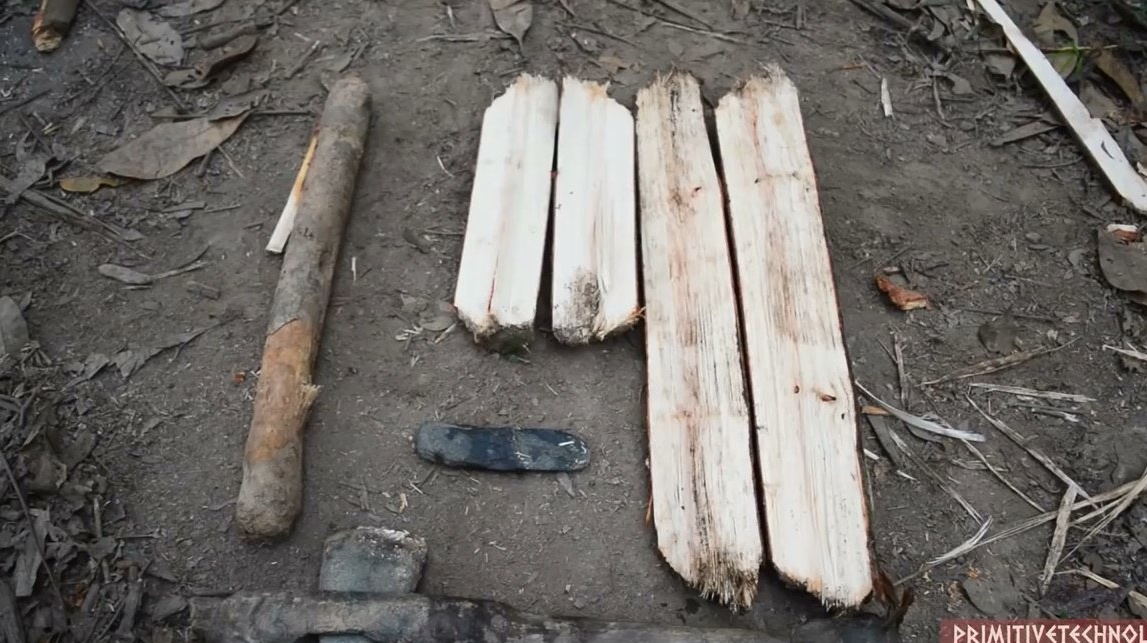
Instruments, used by the author.
- Homemade stone ax
- Pointed stones.
Manufacturing process.
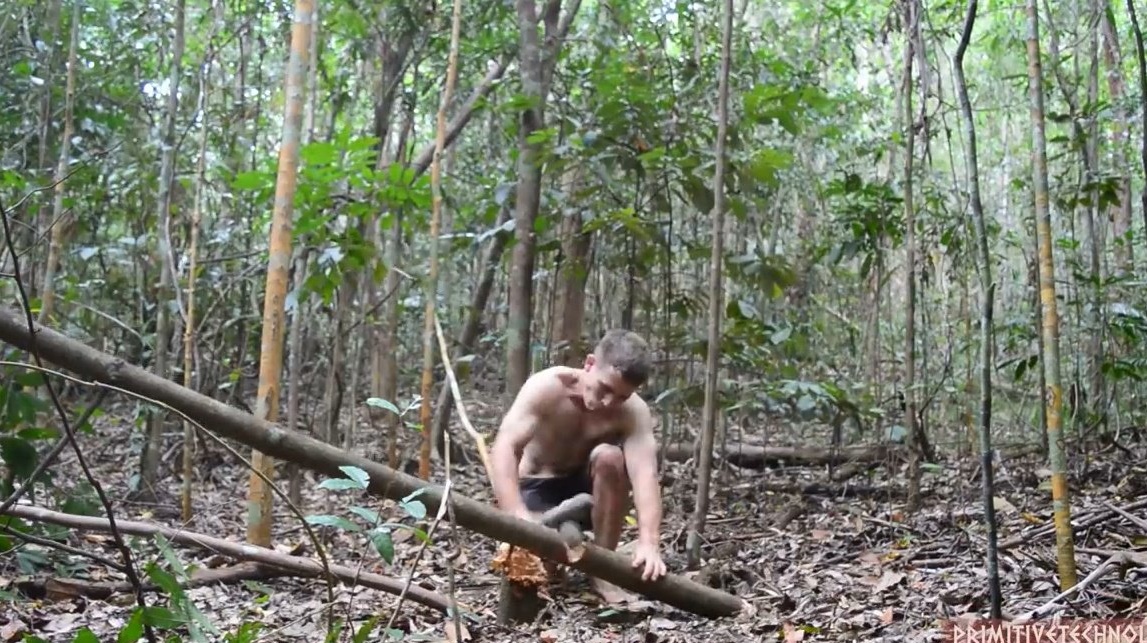
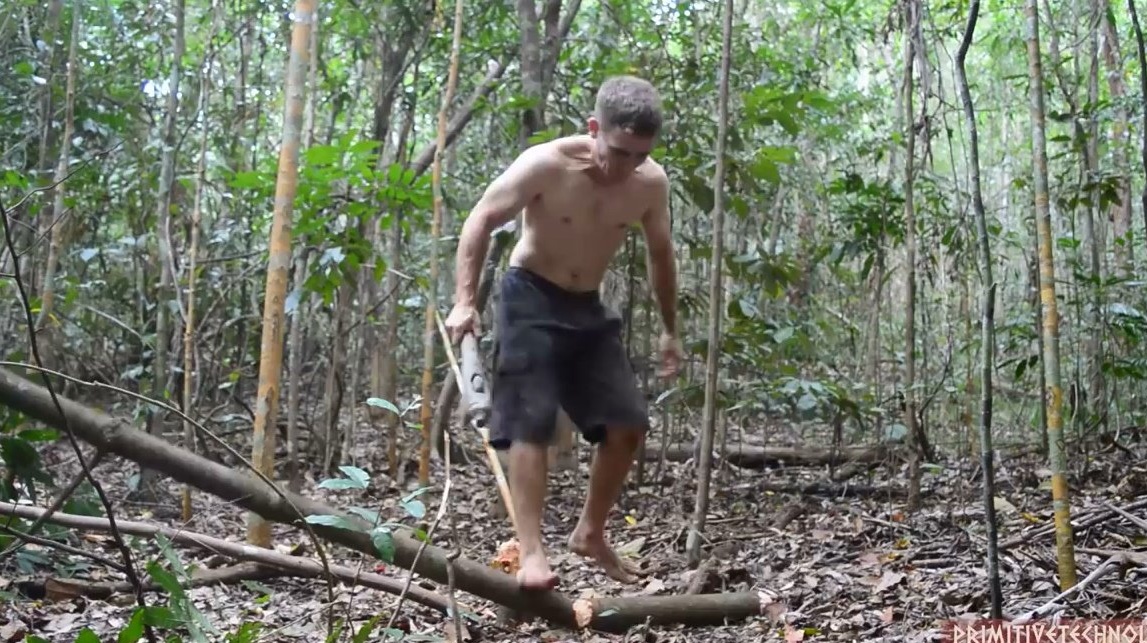
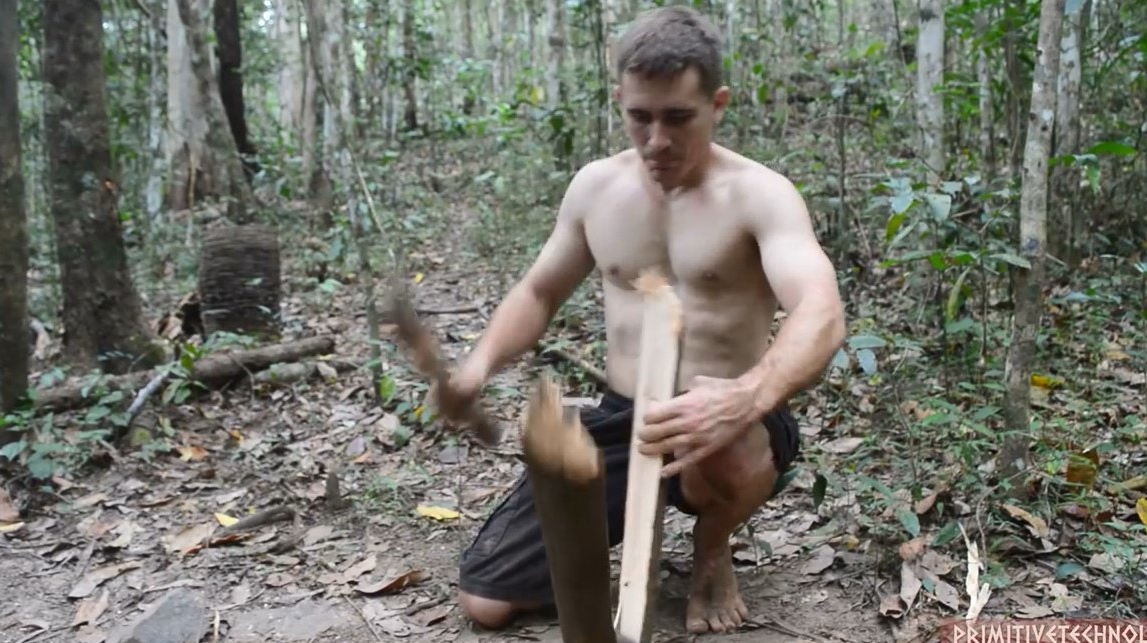
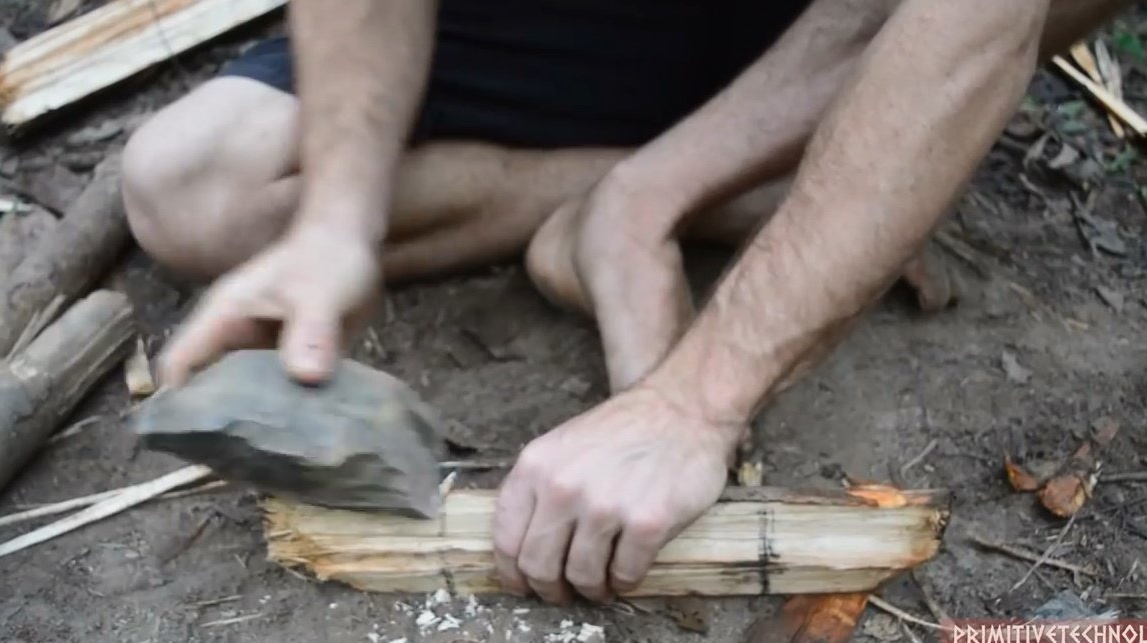
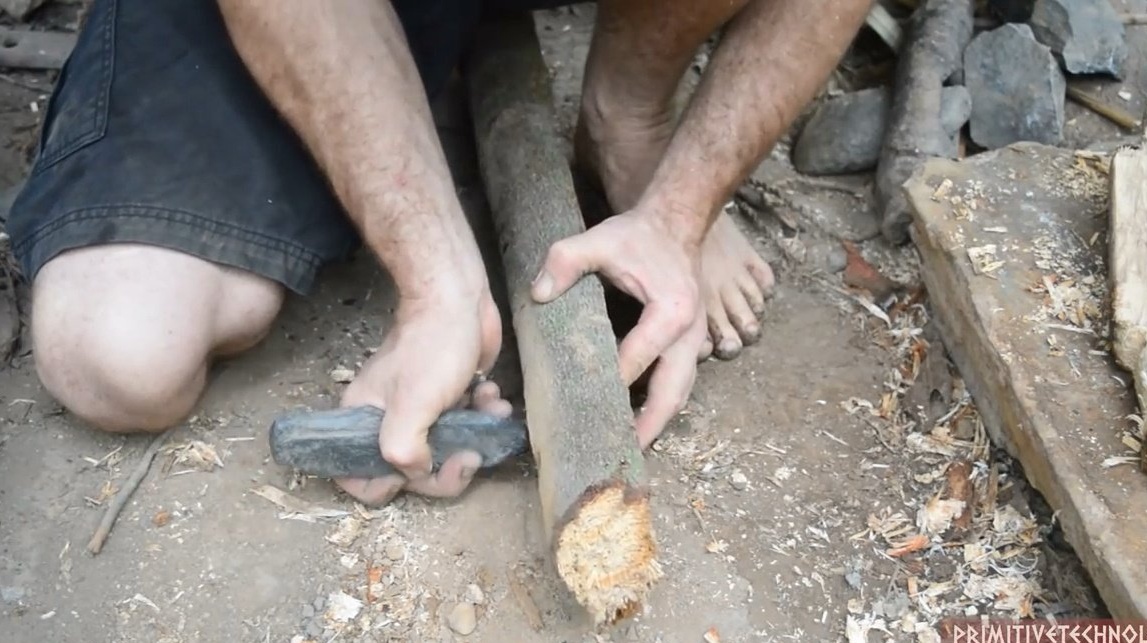
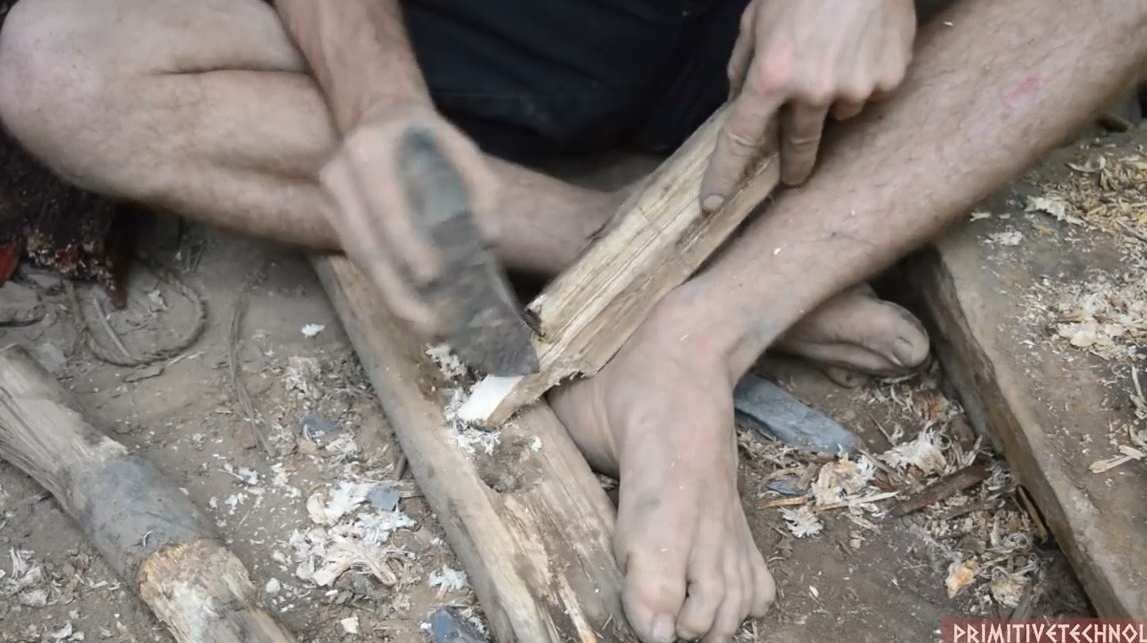
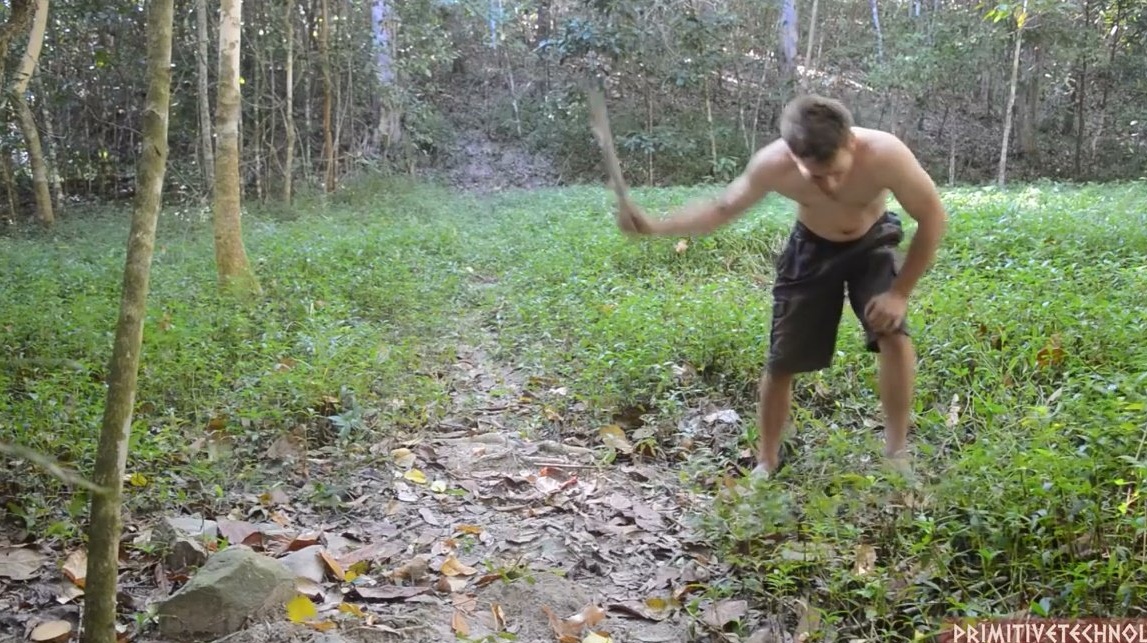
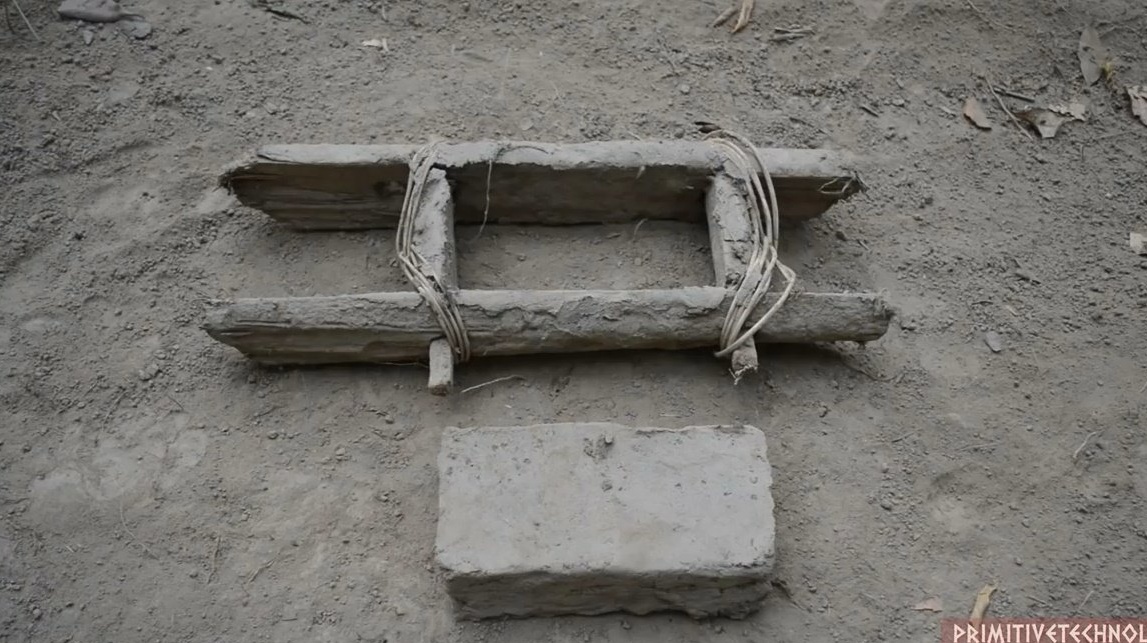
Then we find a suitable tree, with a diameter of about 10-15 cm. We cut it with a man-made ax and cut it by hand. The first step in the production of bricks is to build a mold for molding them.

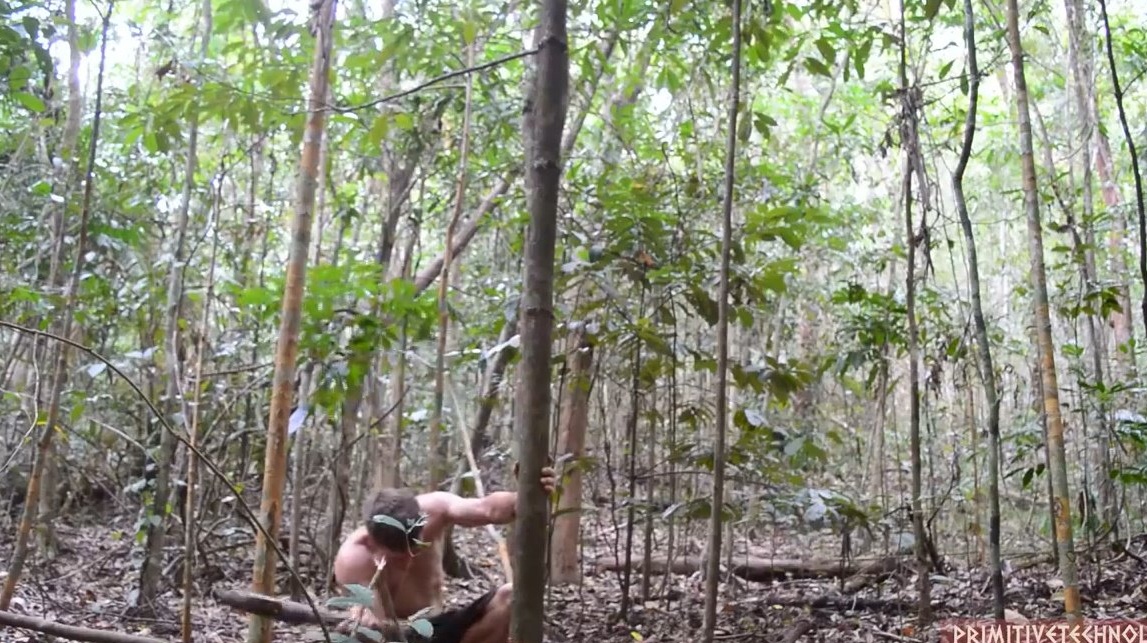
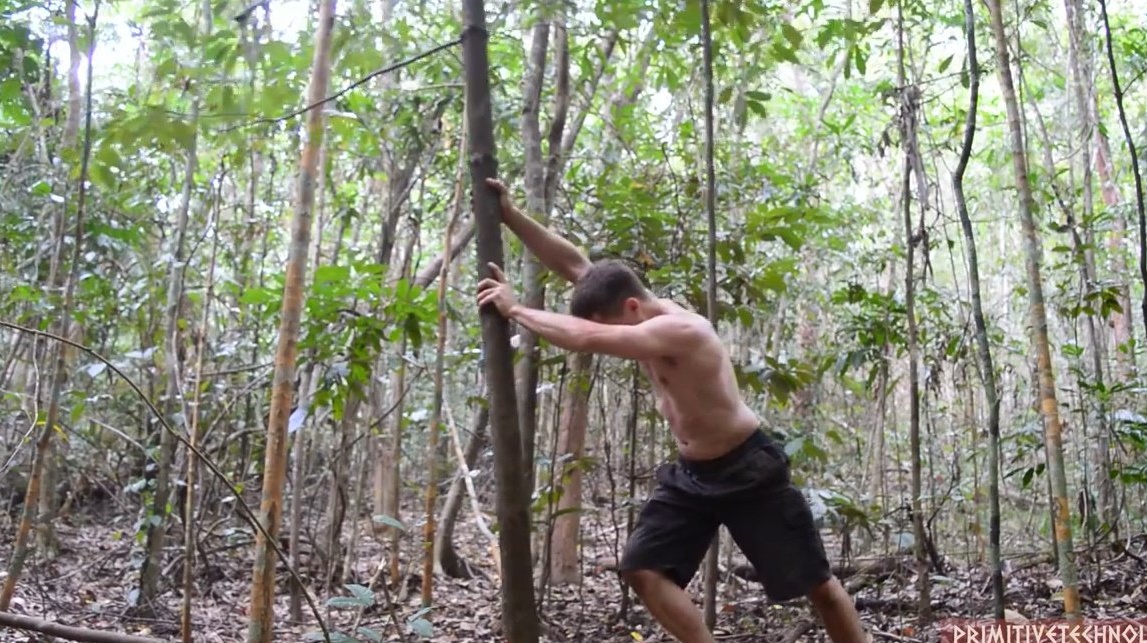


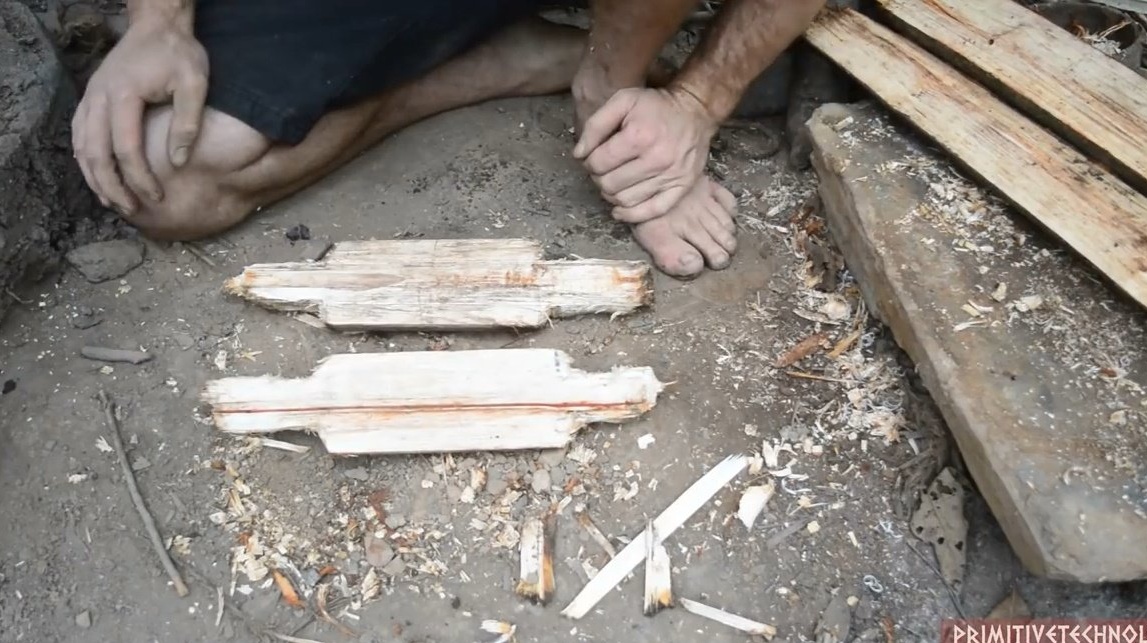
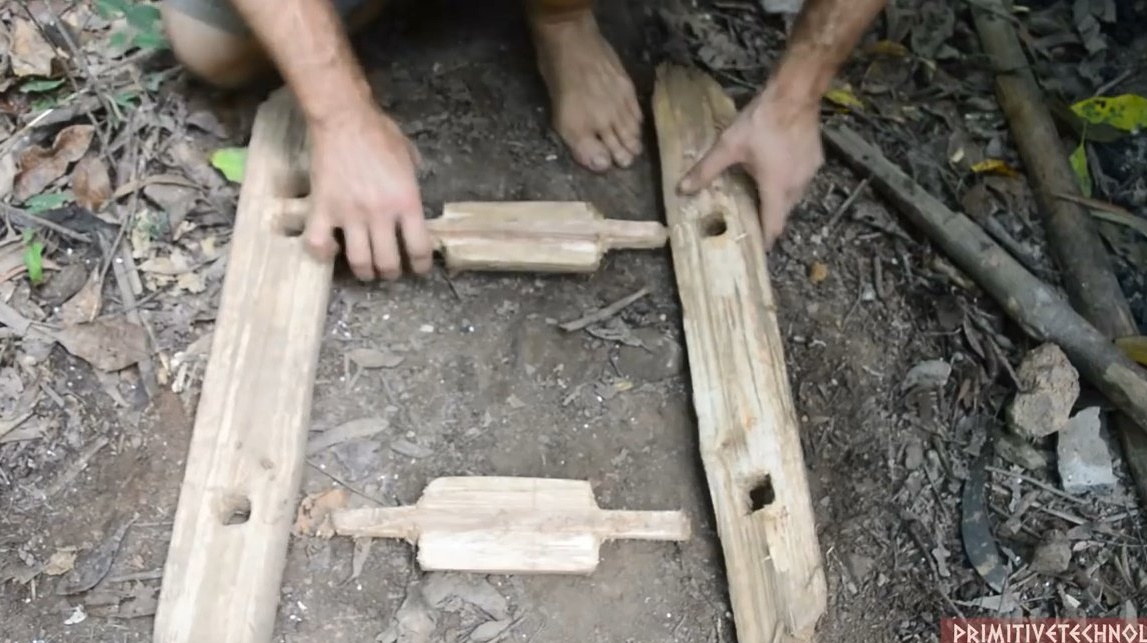
On the fallen trunk, we measure 50 cm in feet, make a notch and chop the log. And in the same way we make another log half the length of the first.

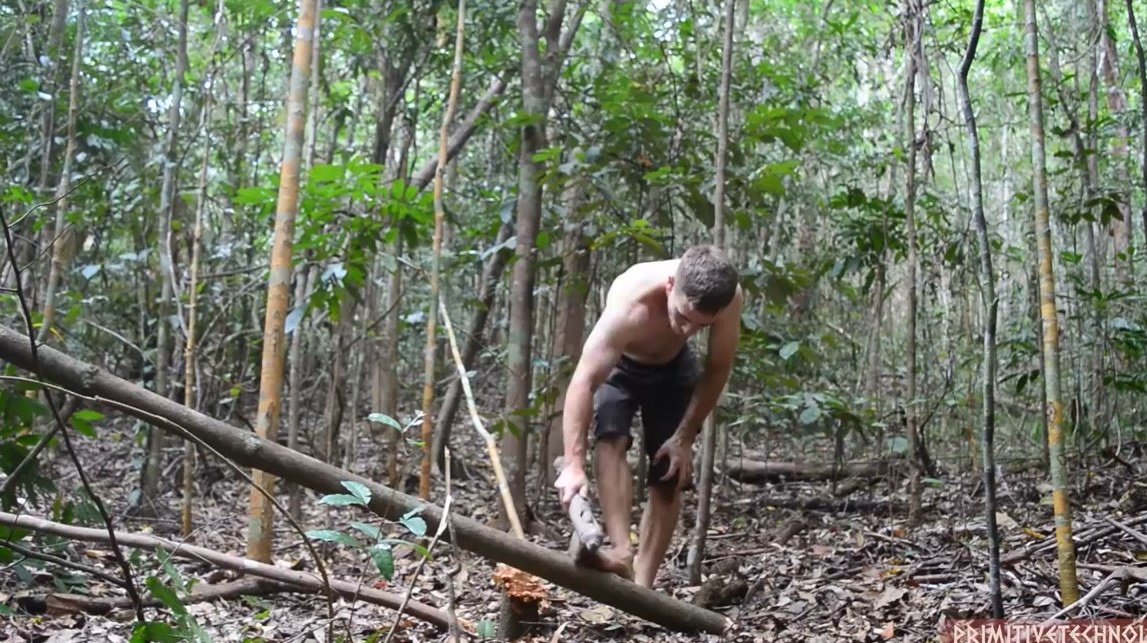
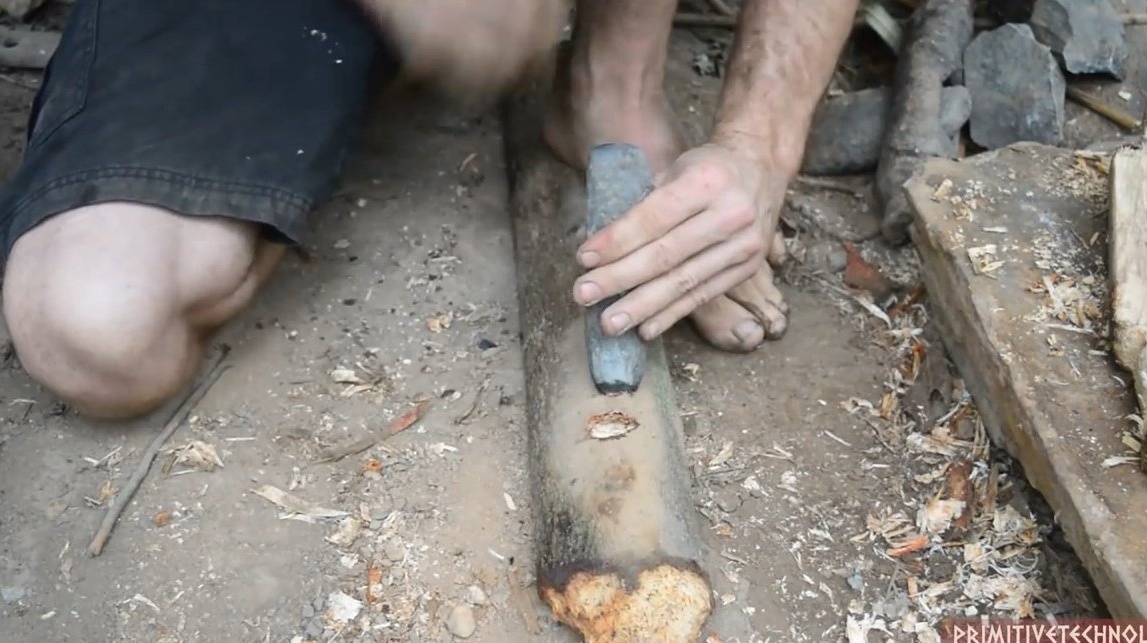
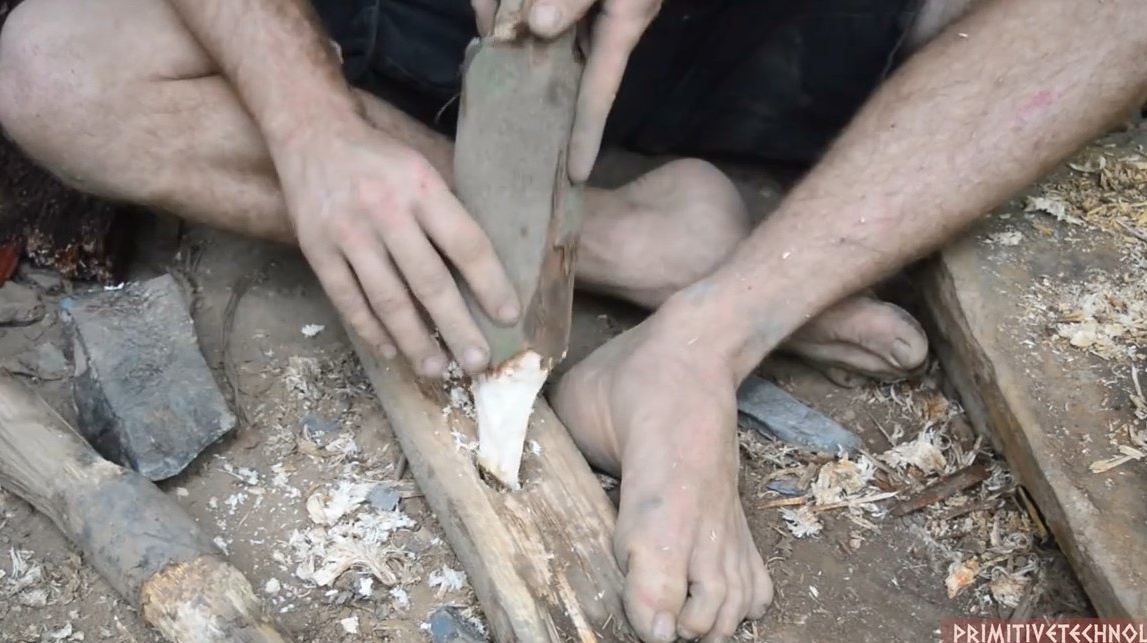
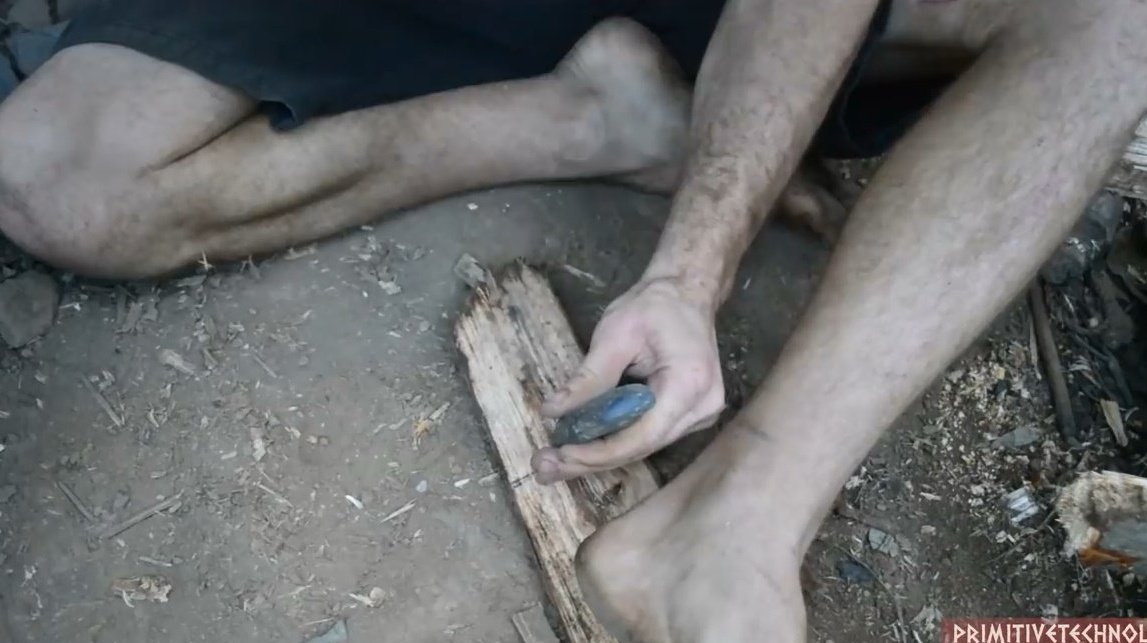
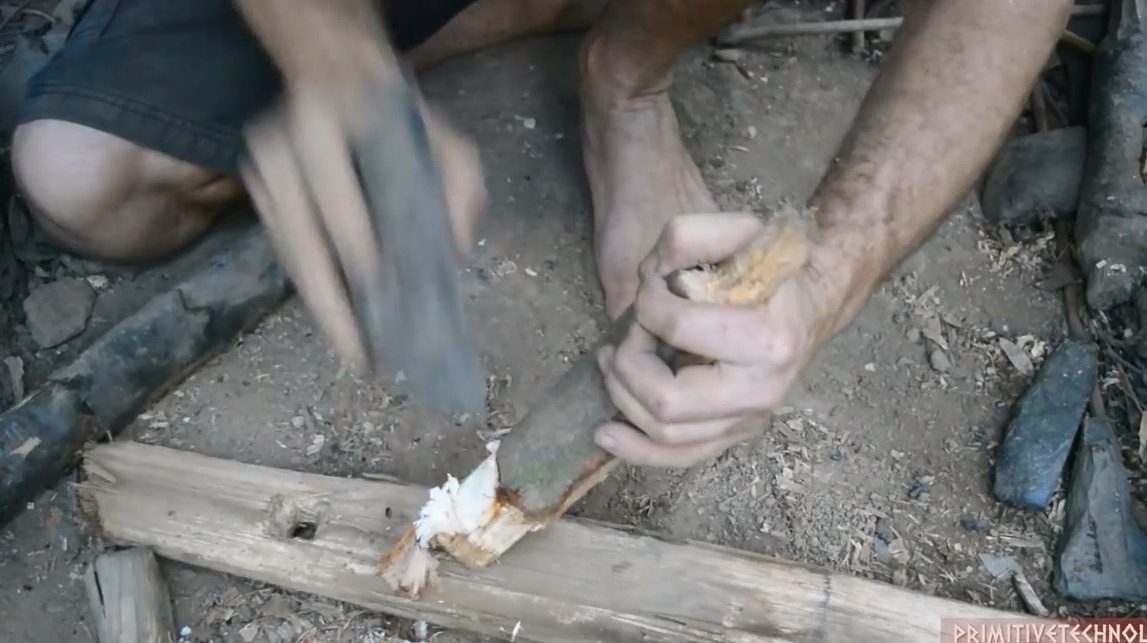
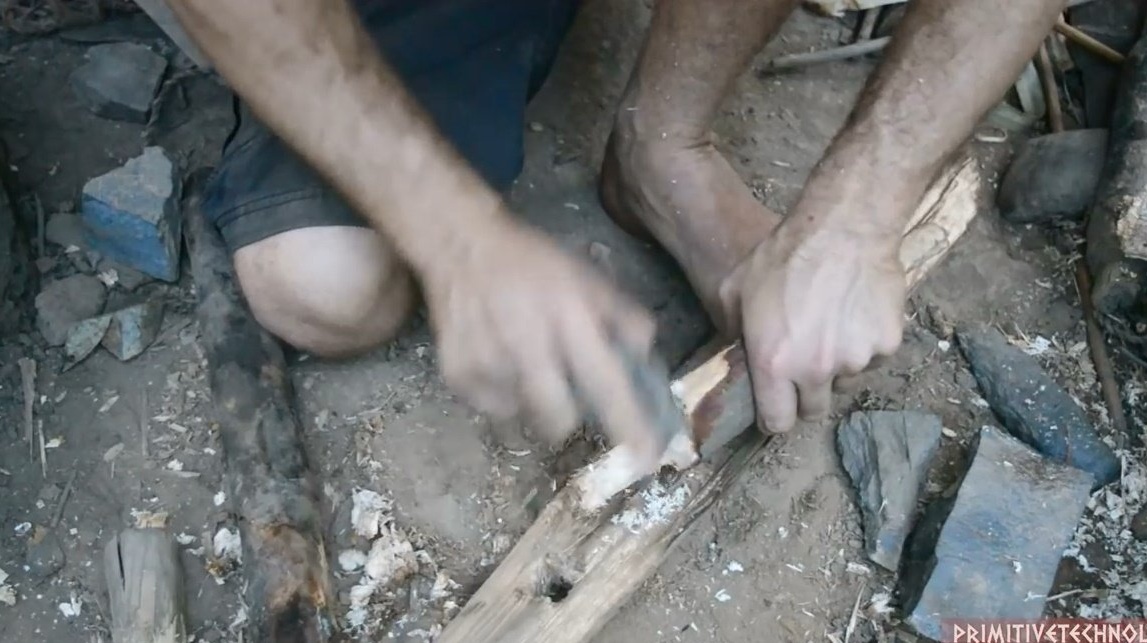
We use a sharp and flat stone as a wedge and split the wood along the fibers into two halves. A thick branch appears in the form of a mallet.
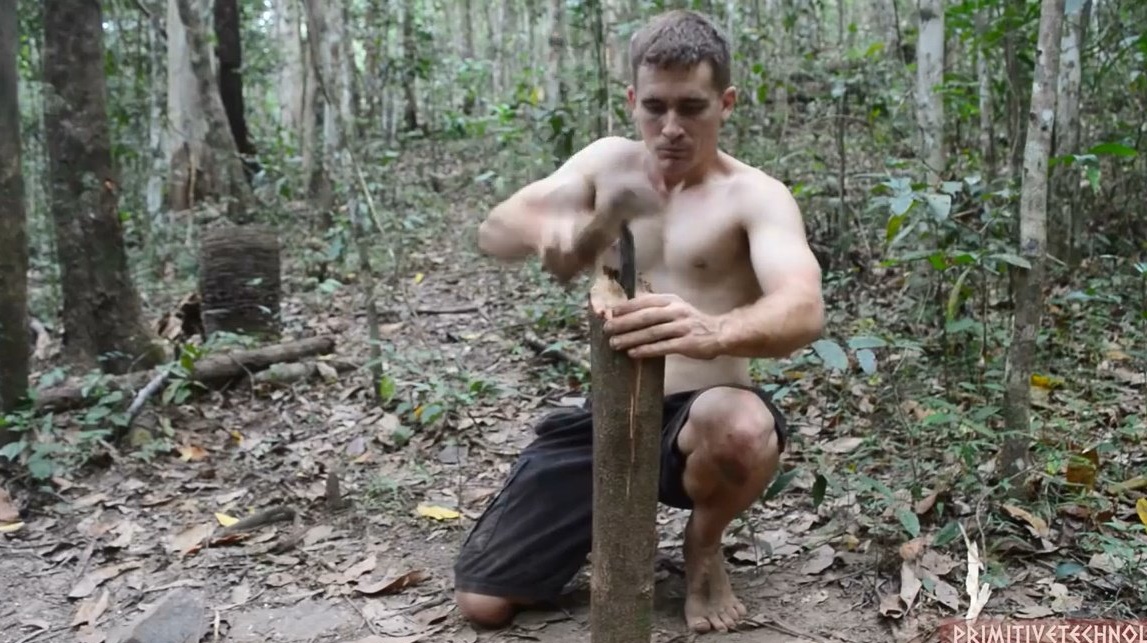
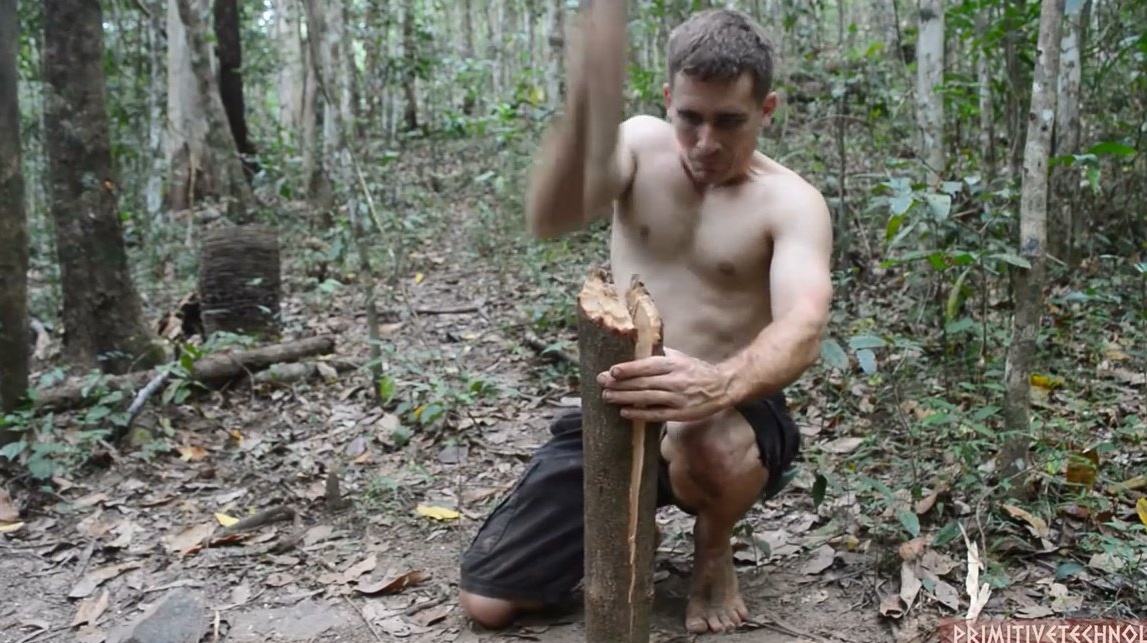
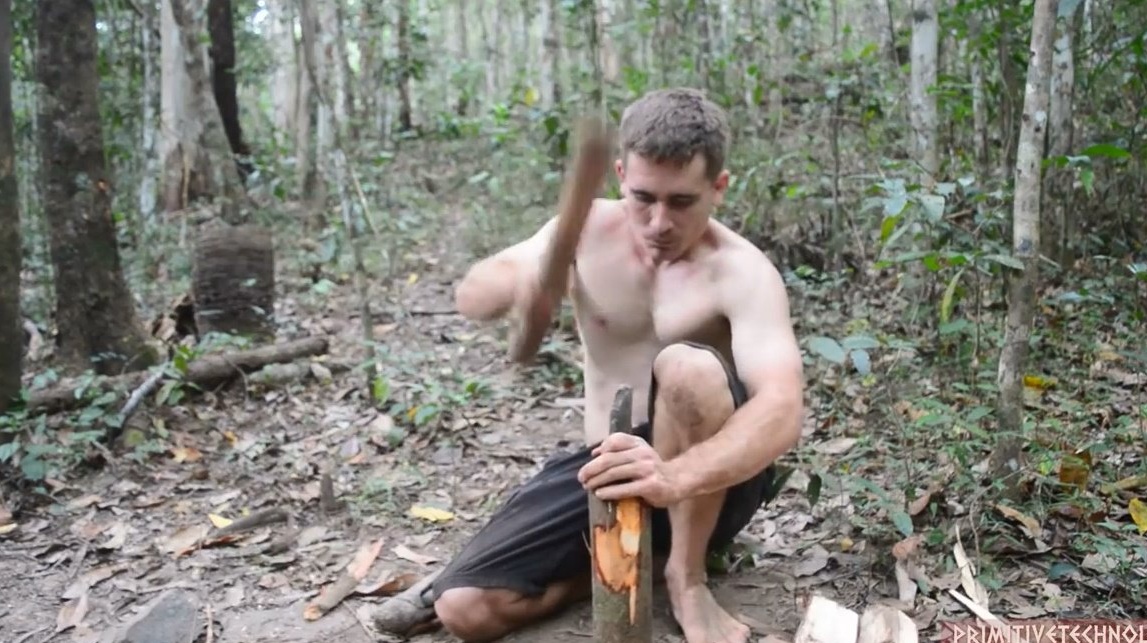
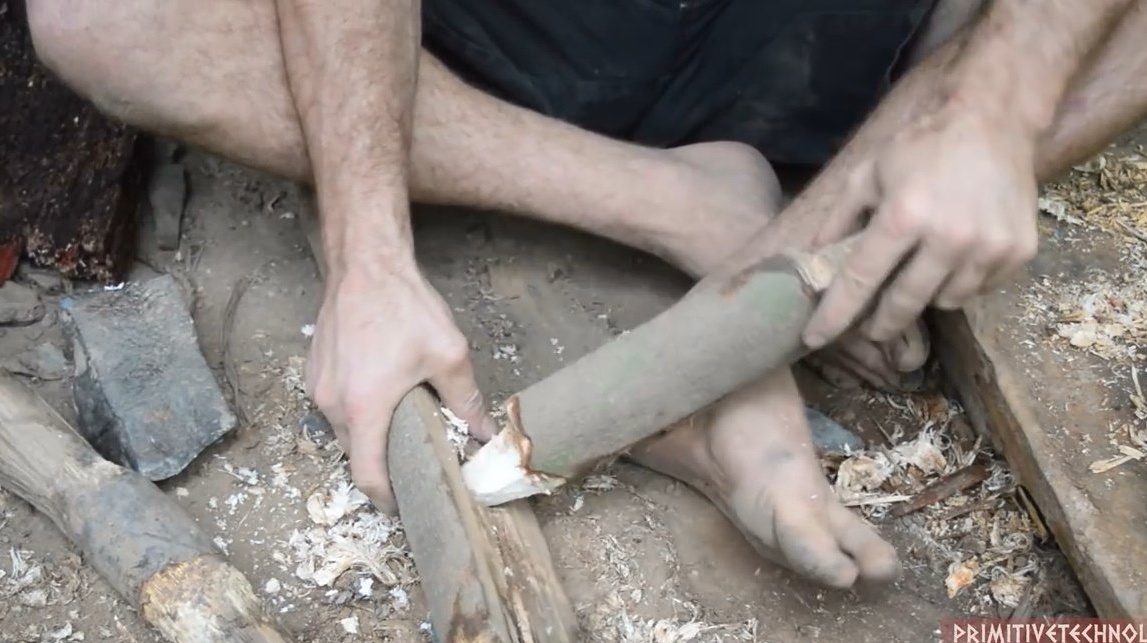
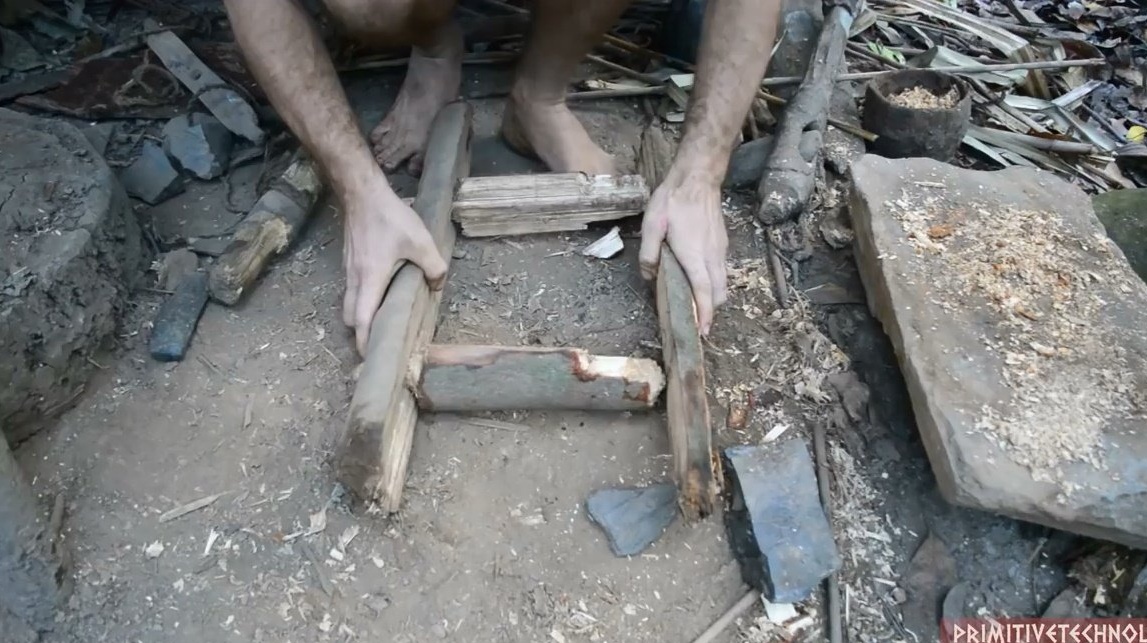
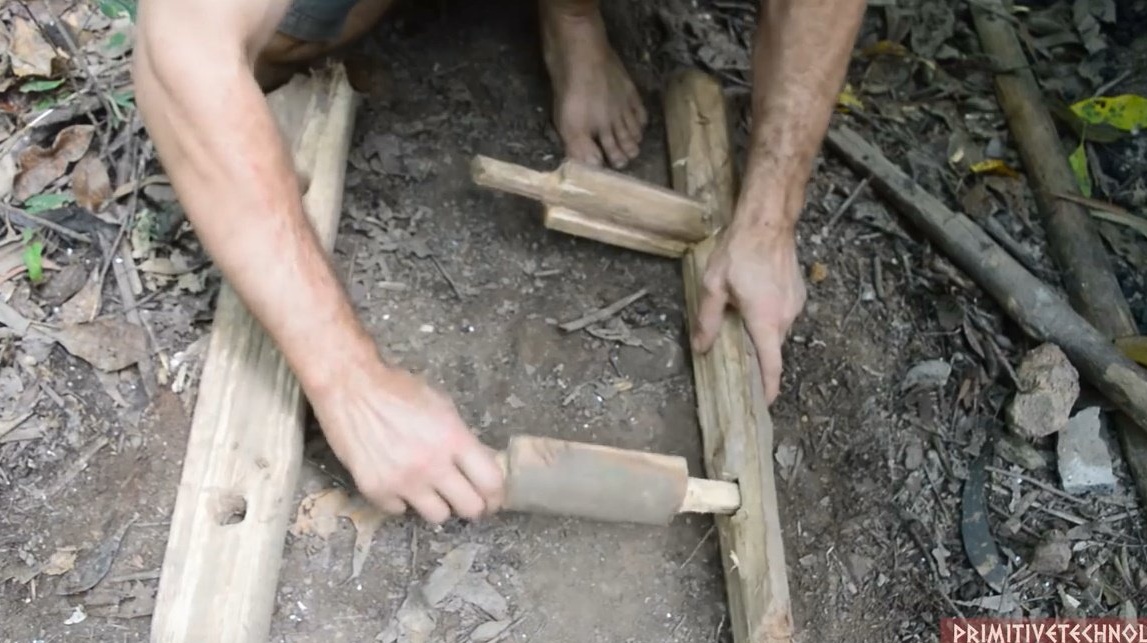
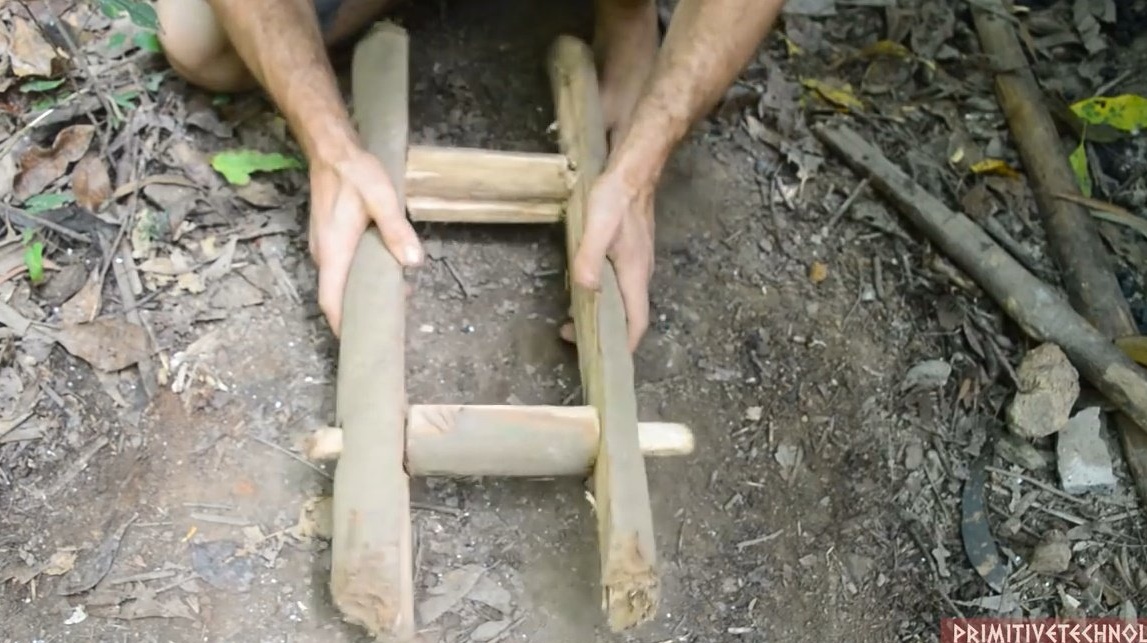
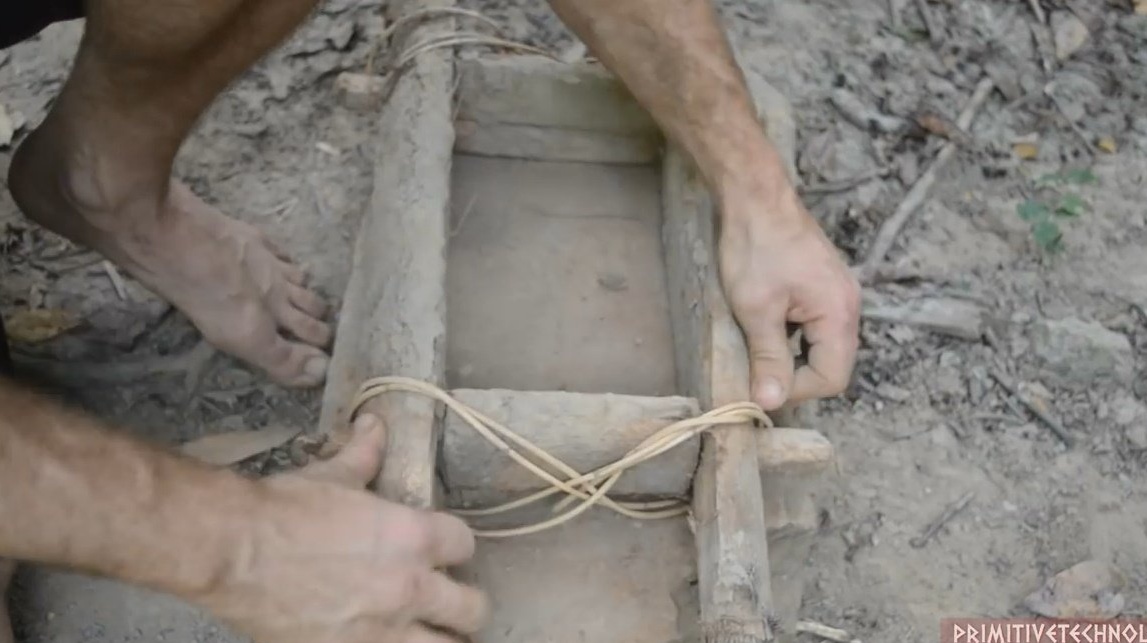
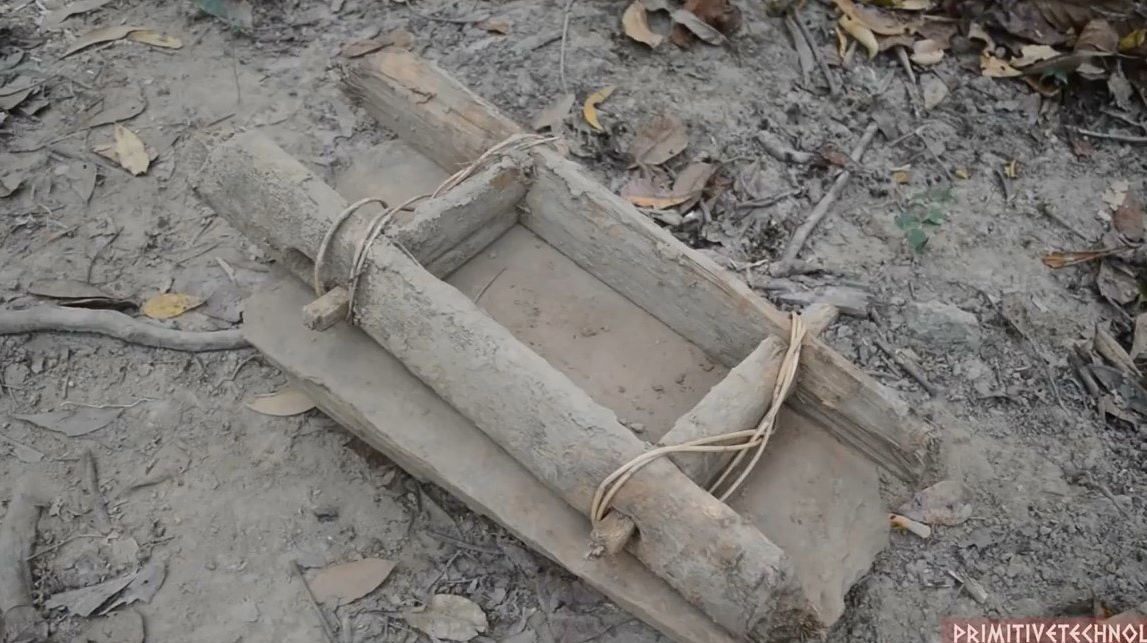
So, before you are two short and two long blocks. With the sharp end of a stone chisel, we clean both ends of short pieces of wood so that we get two spikes.
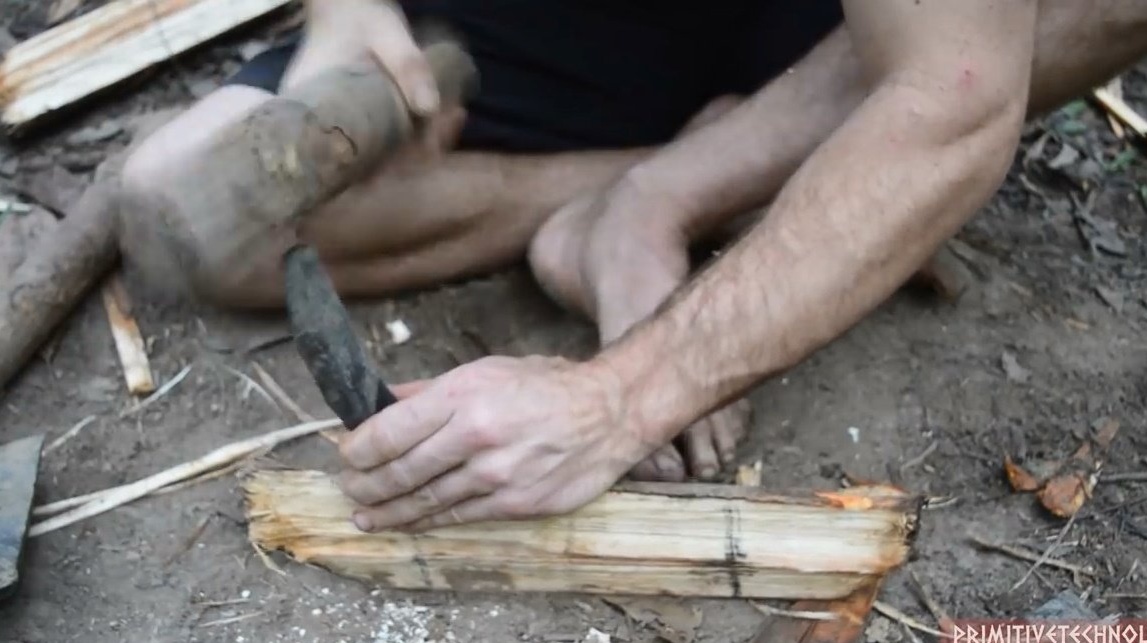
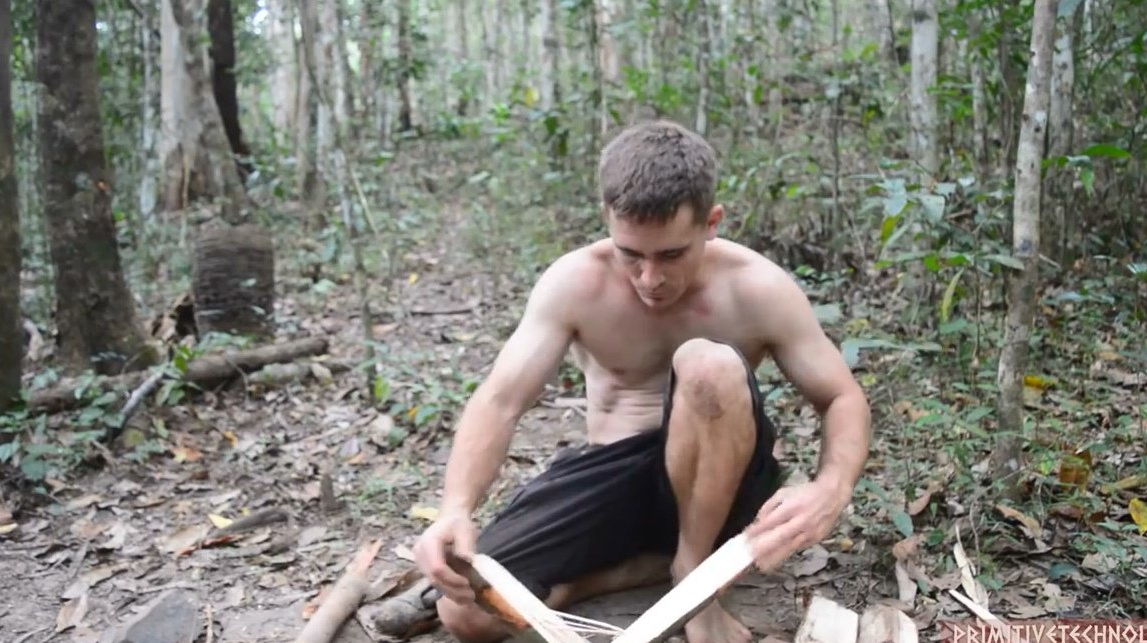
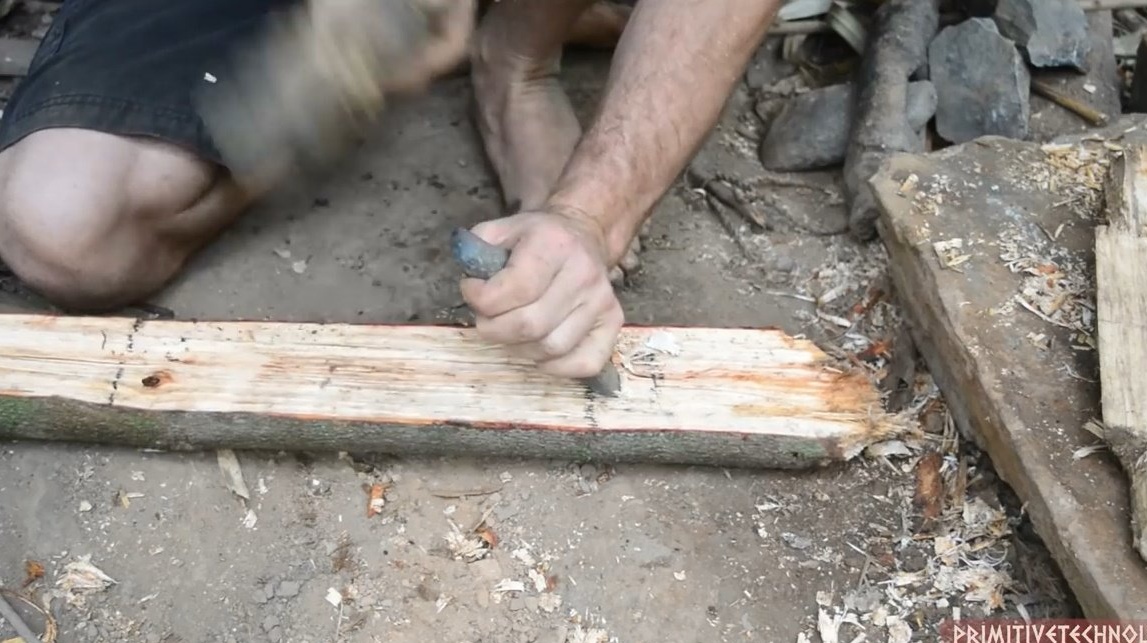
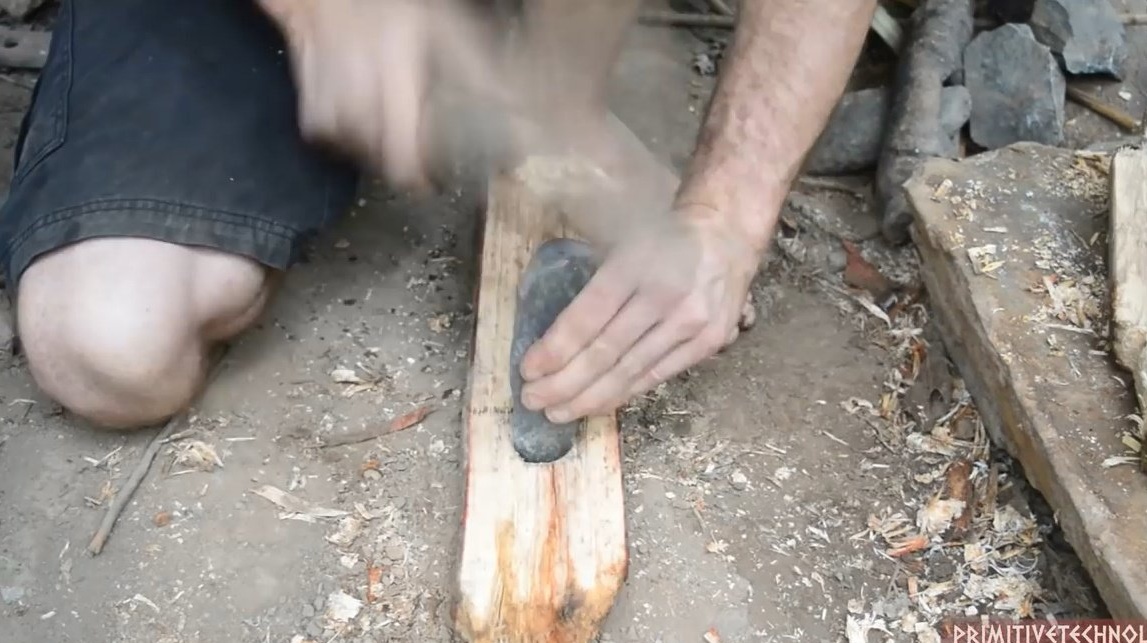
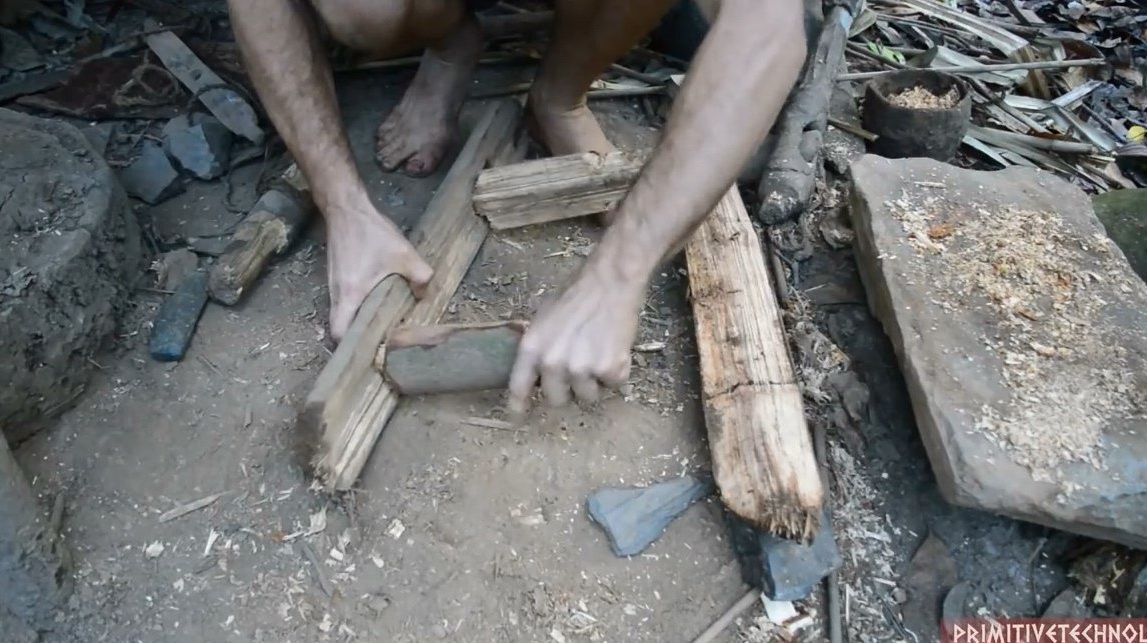
On two long blocks, symmetrically and at the same distance from the ends we hollow out deep niches, with a through hole in the middle, for a spike connection.
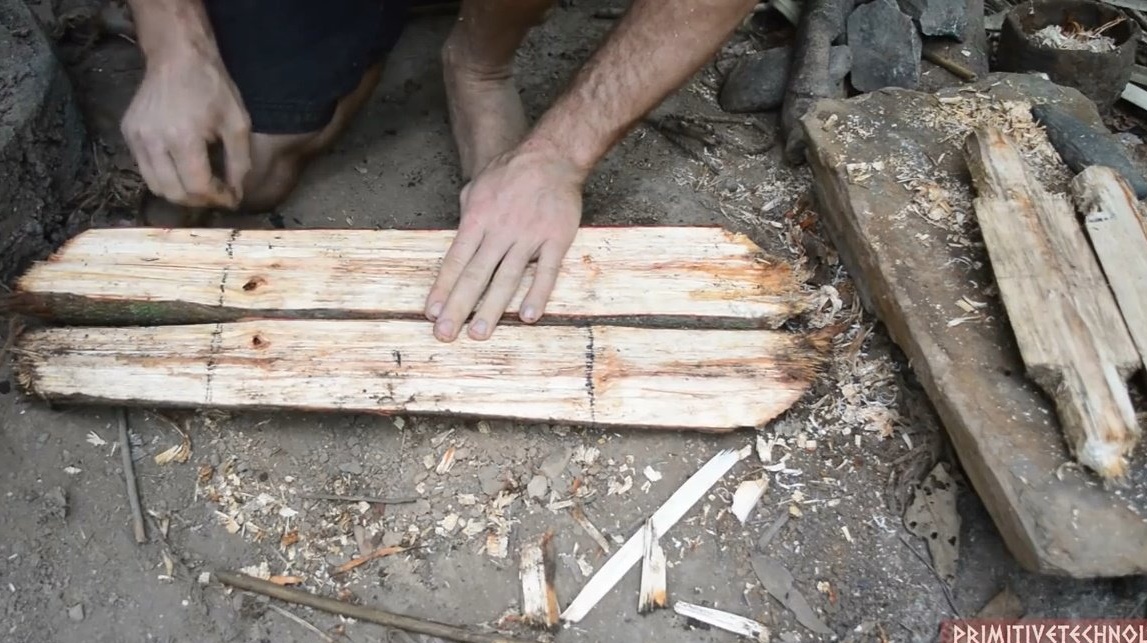
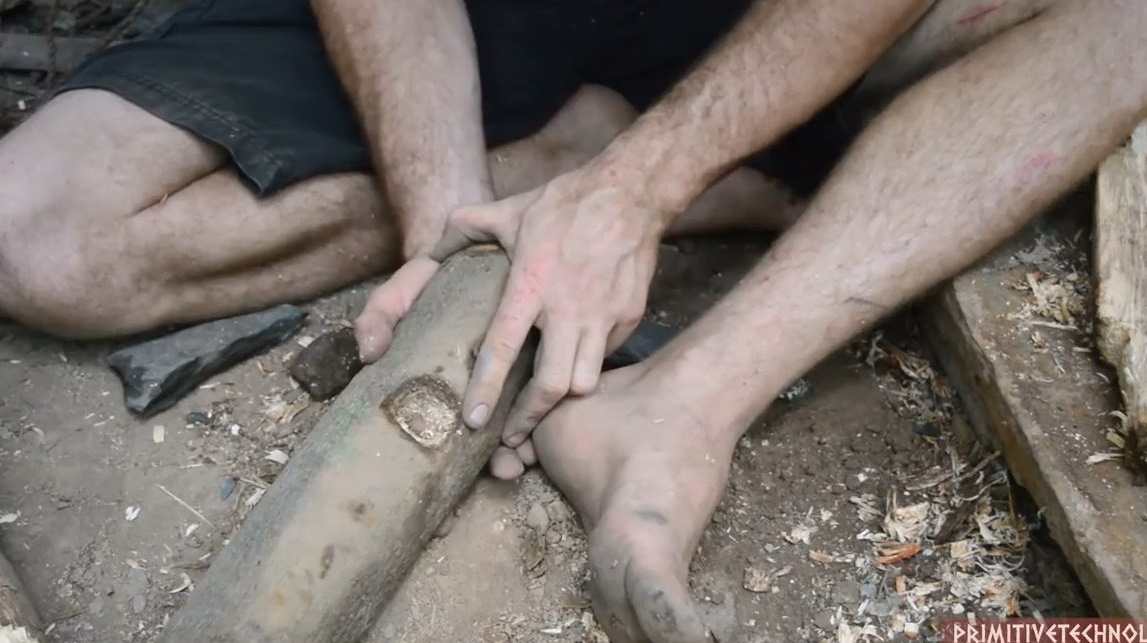
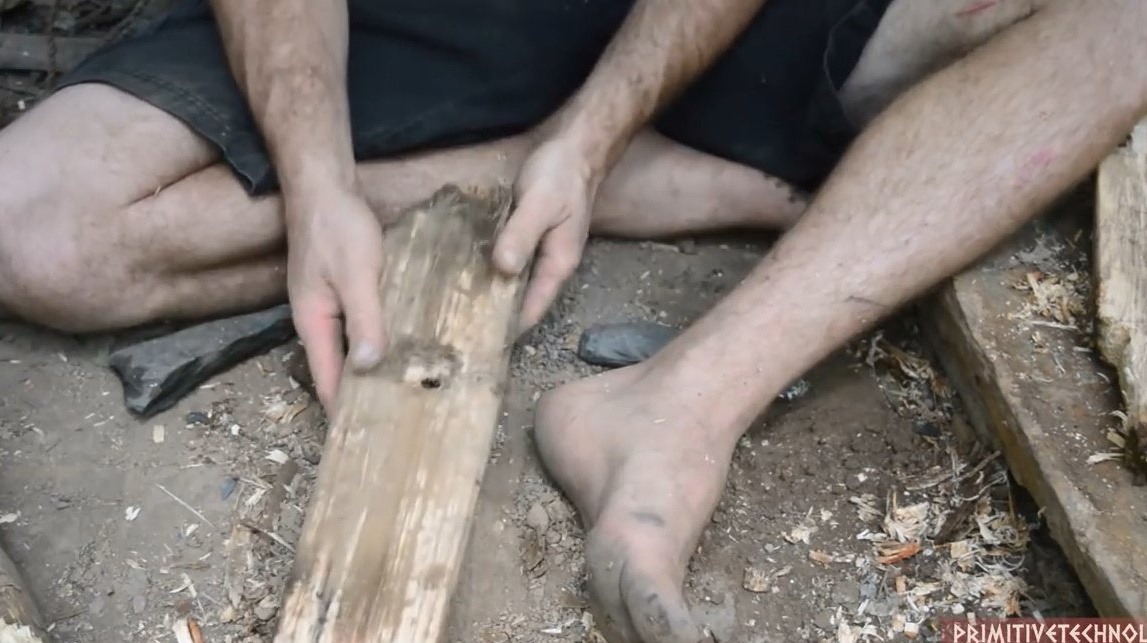
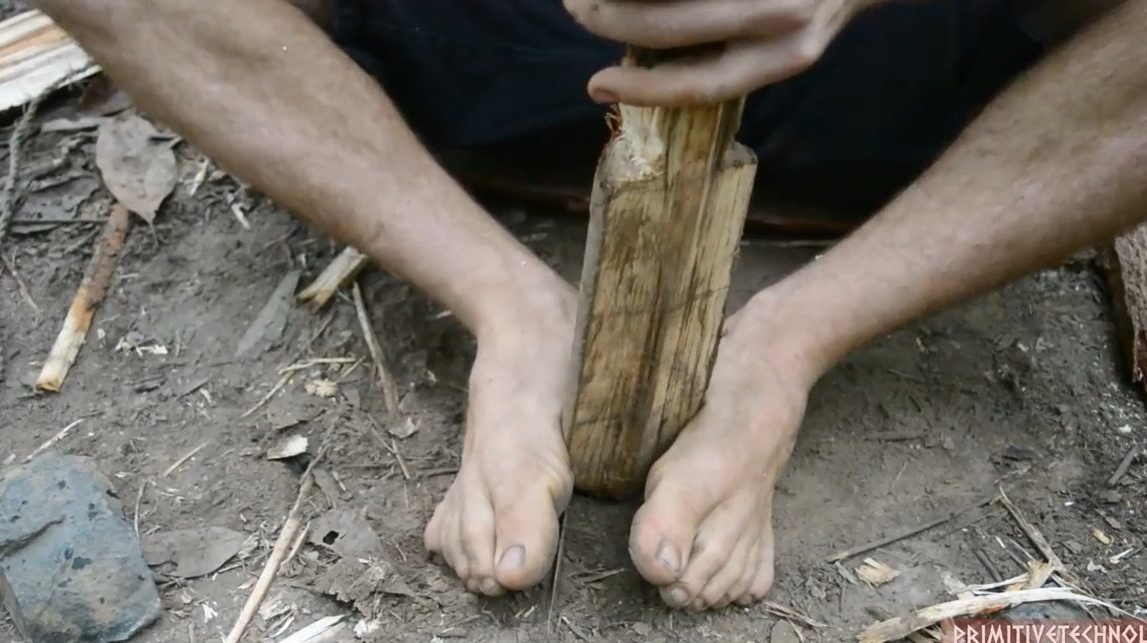
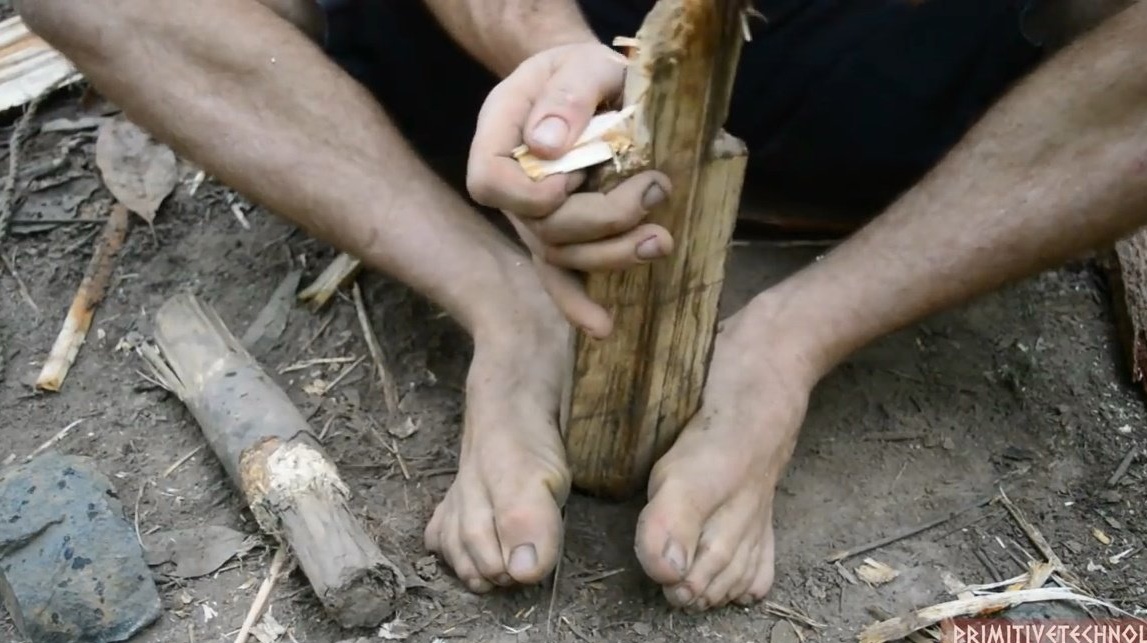
We insert the sharp ends of the short pieces of wood into the holes of the long ones and fix the joints with long thin roots or sinewy plant stems.
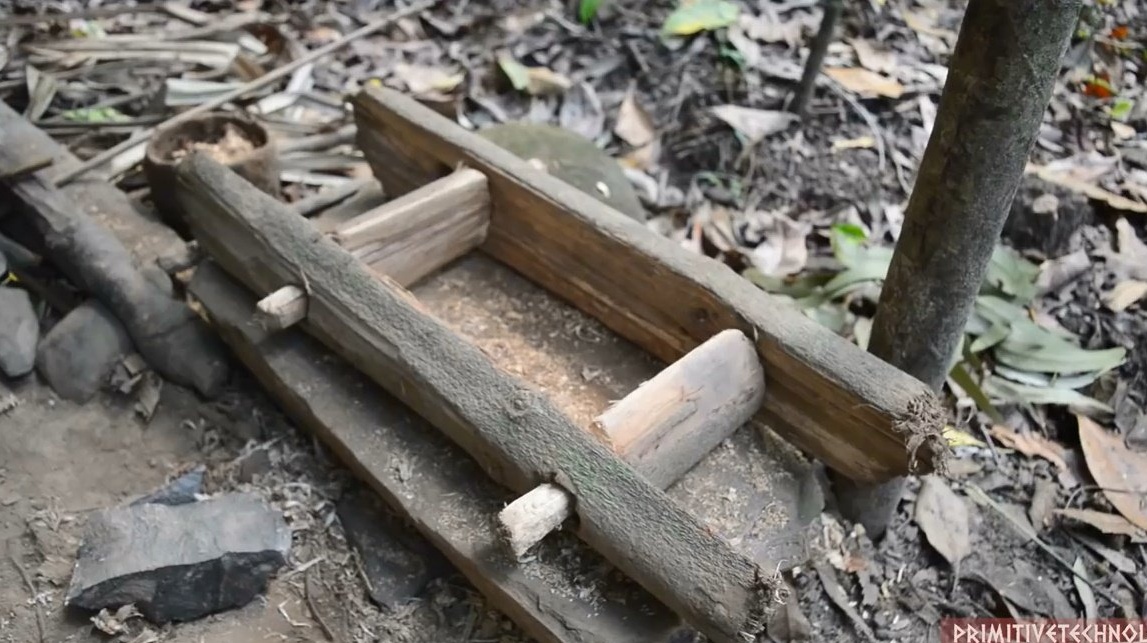
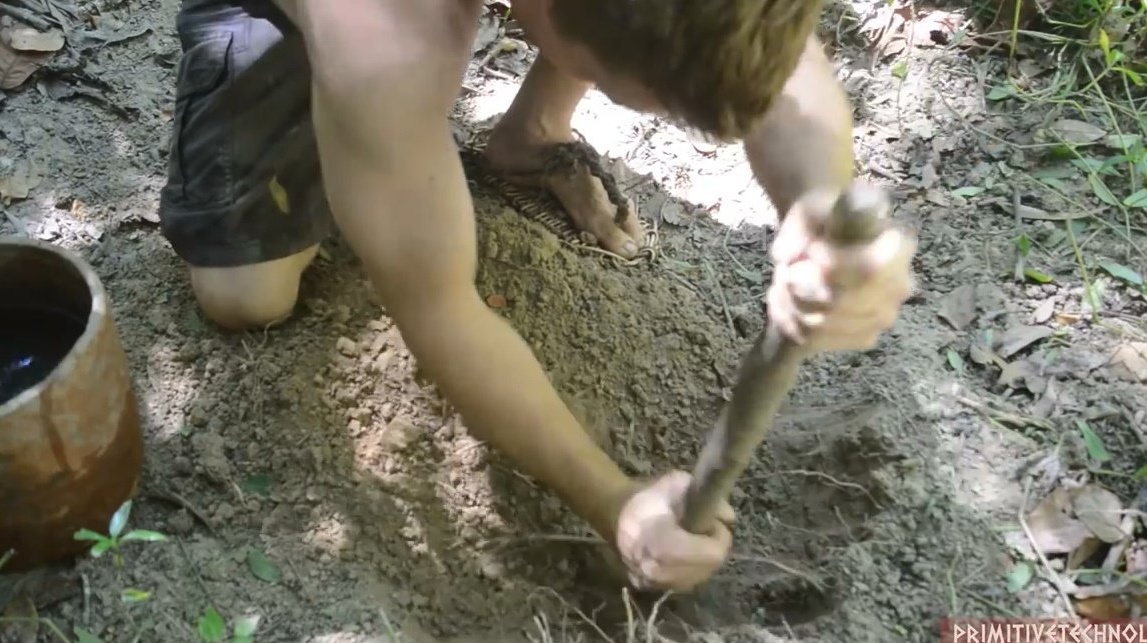
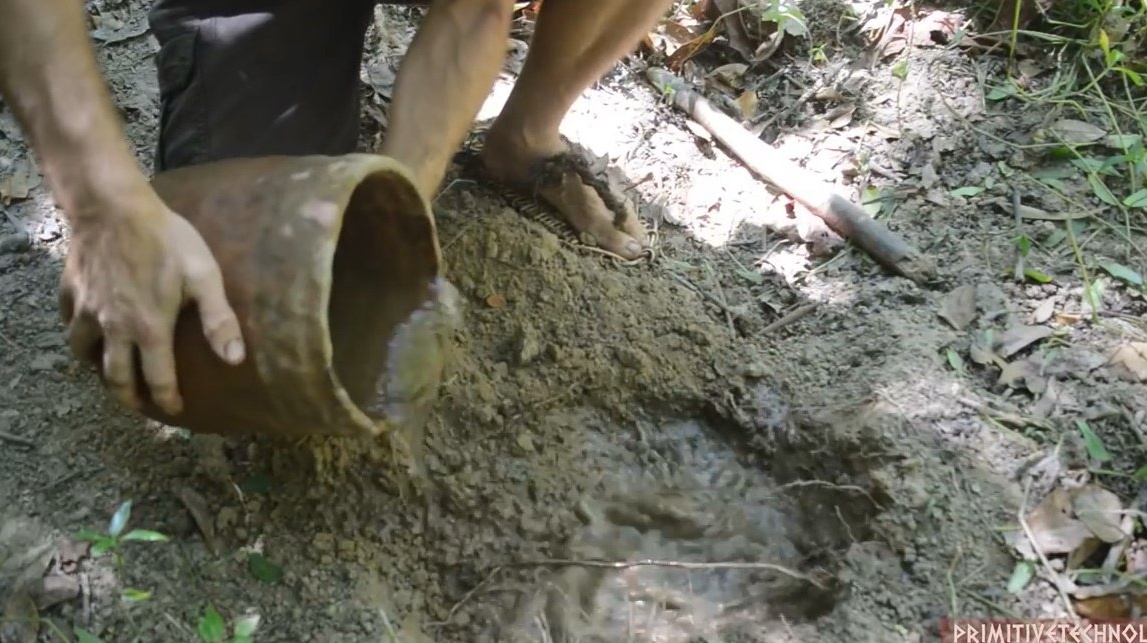
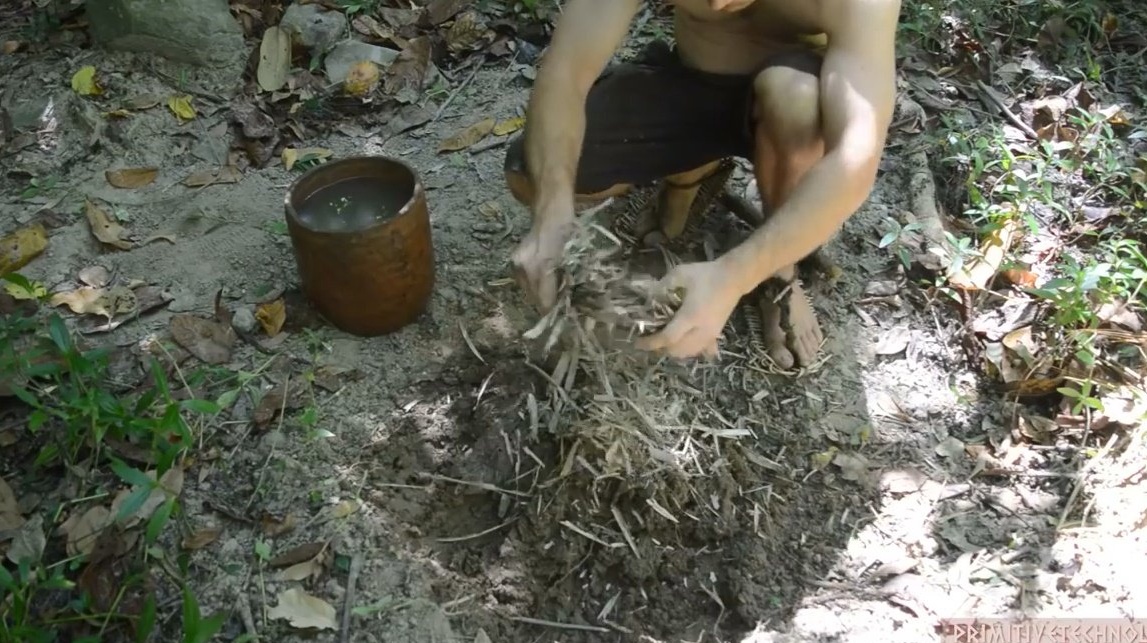
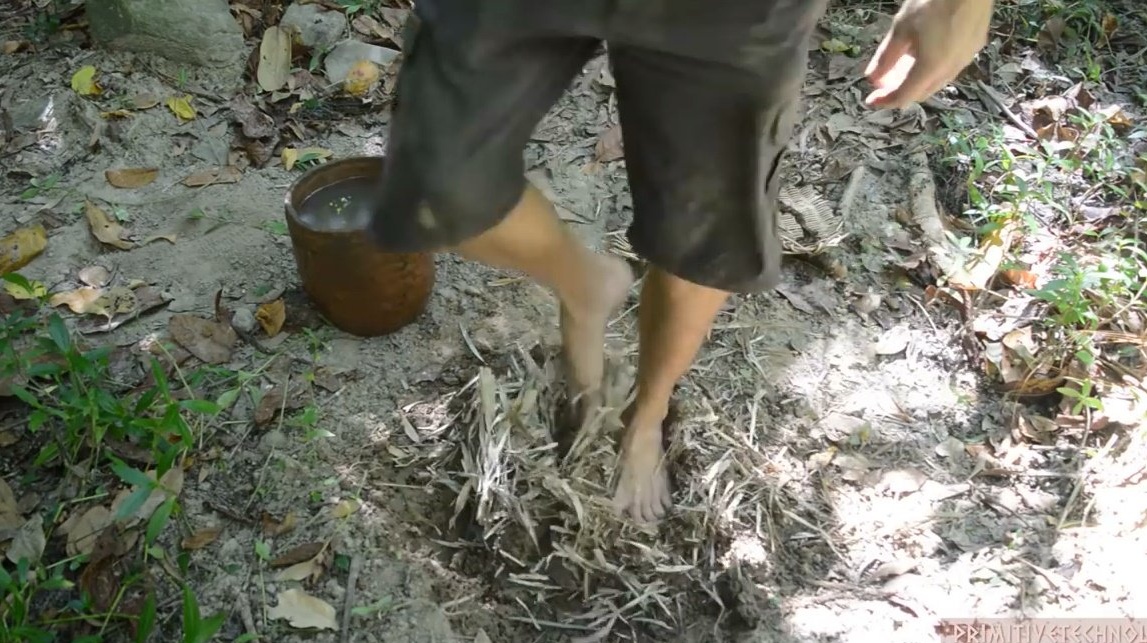
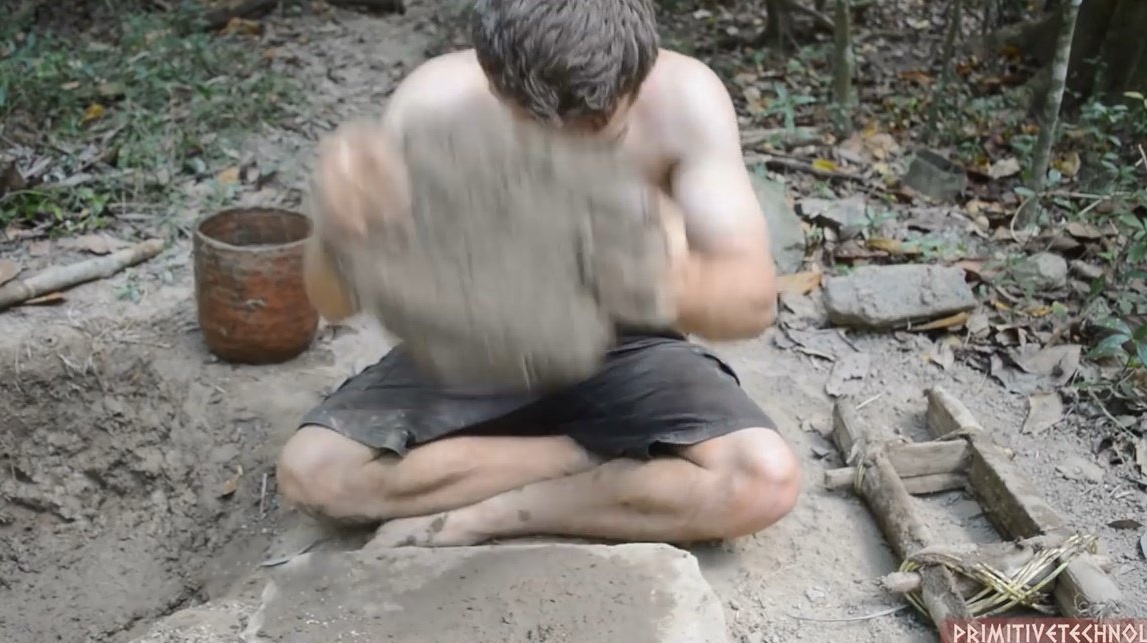
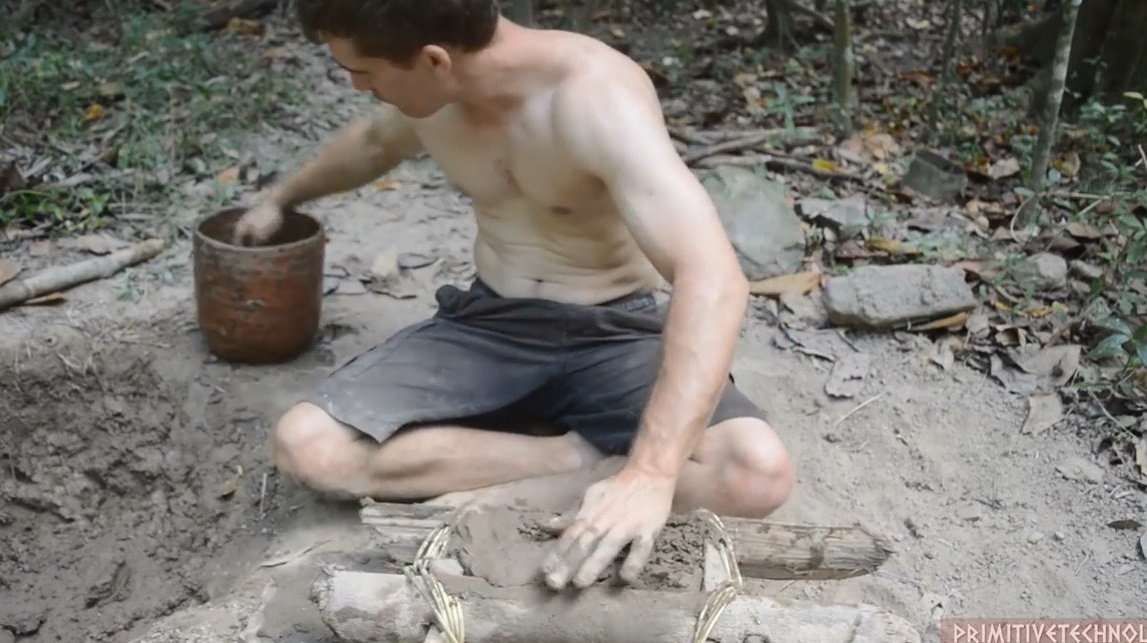
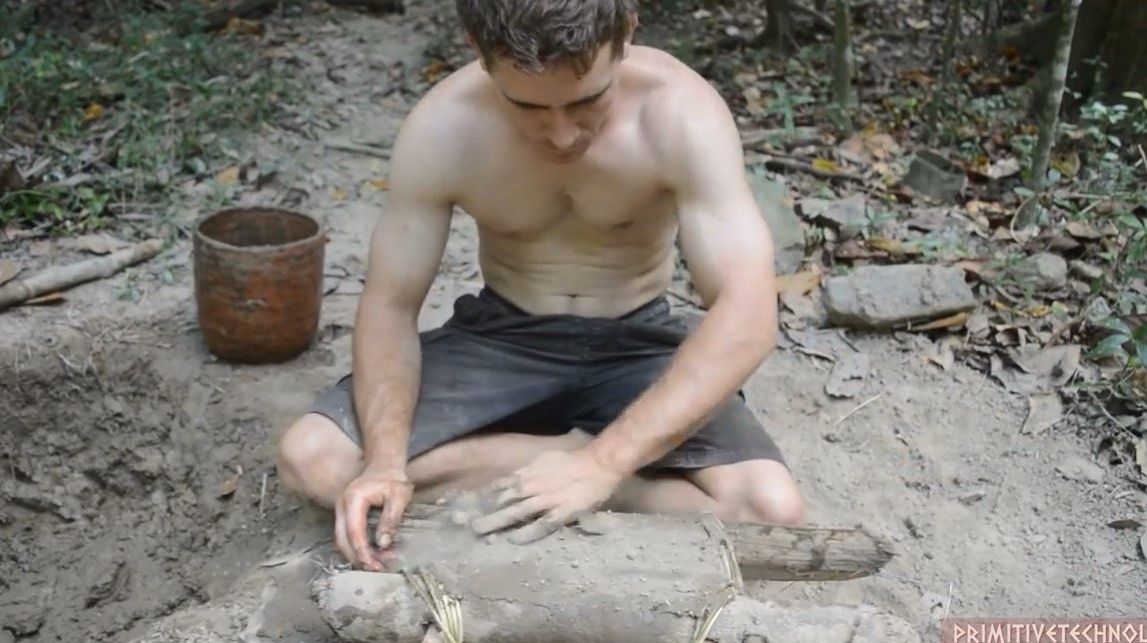
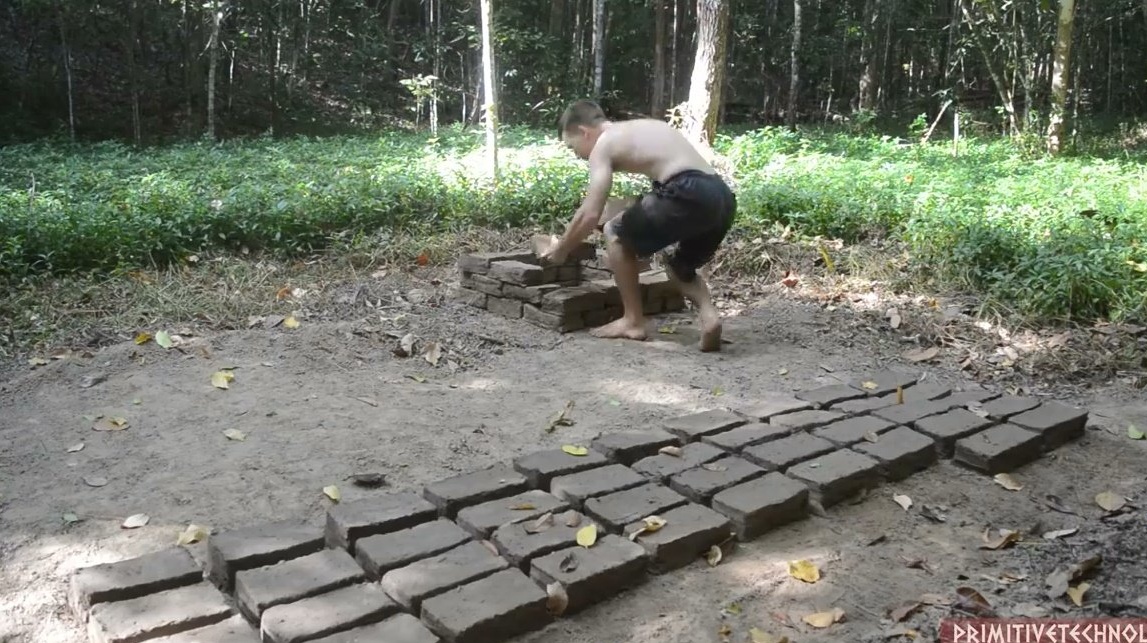
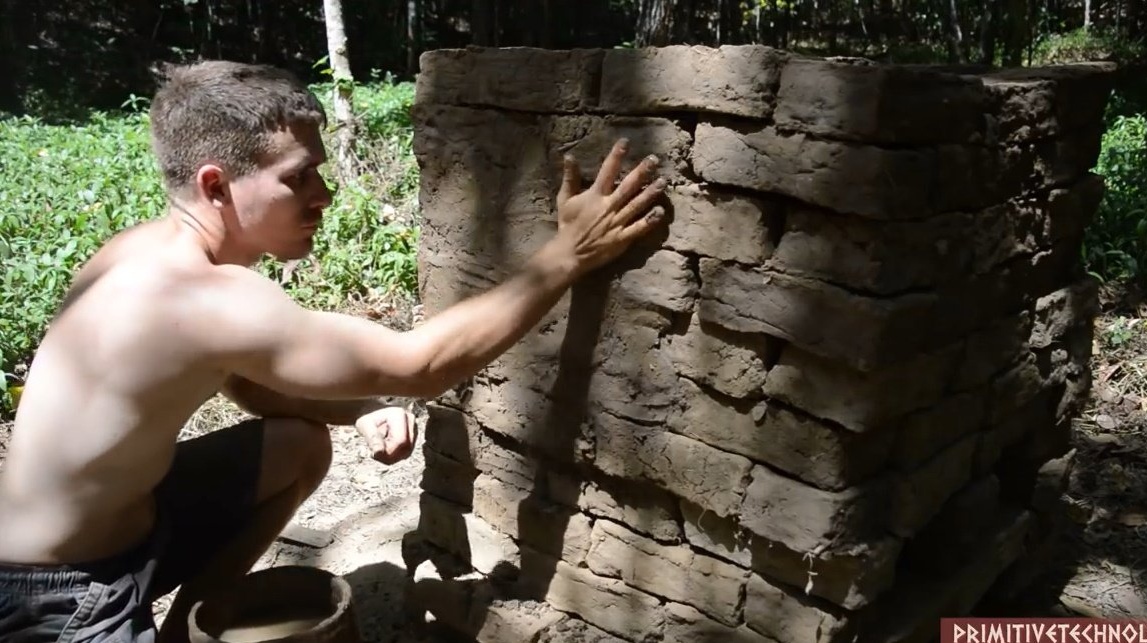
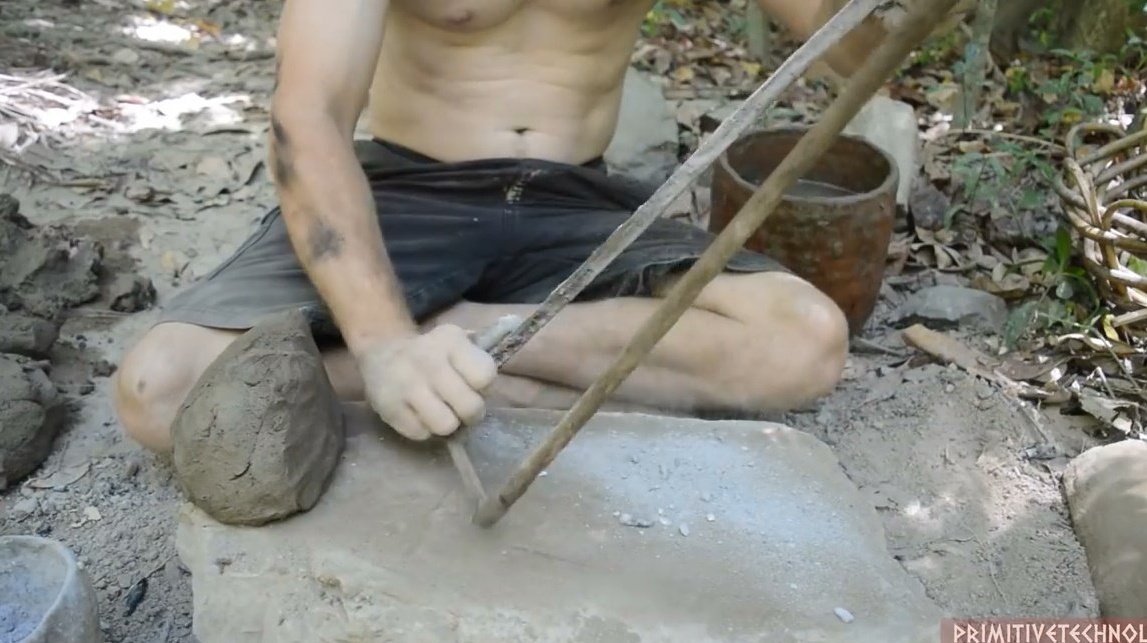
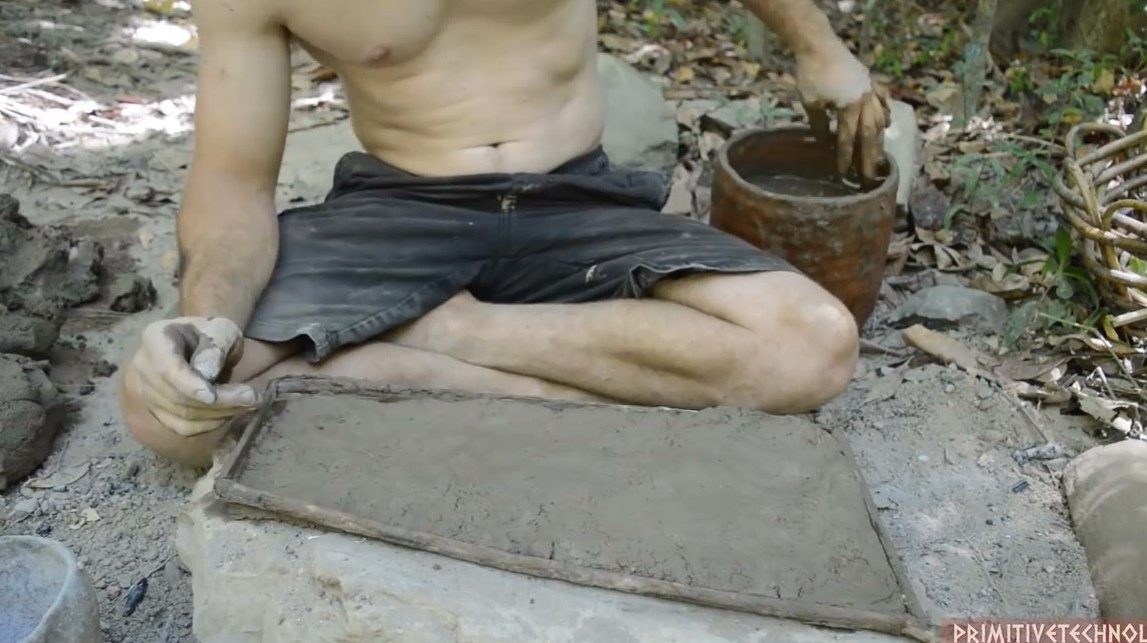
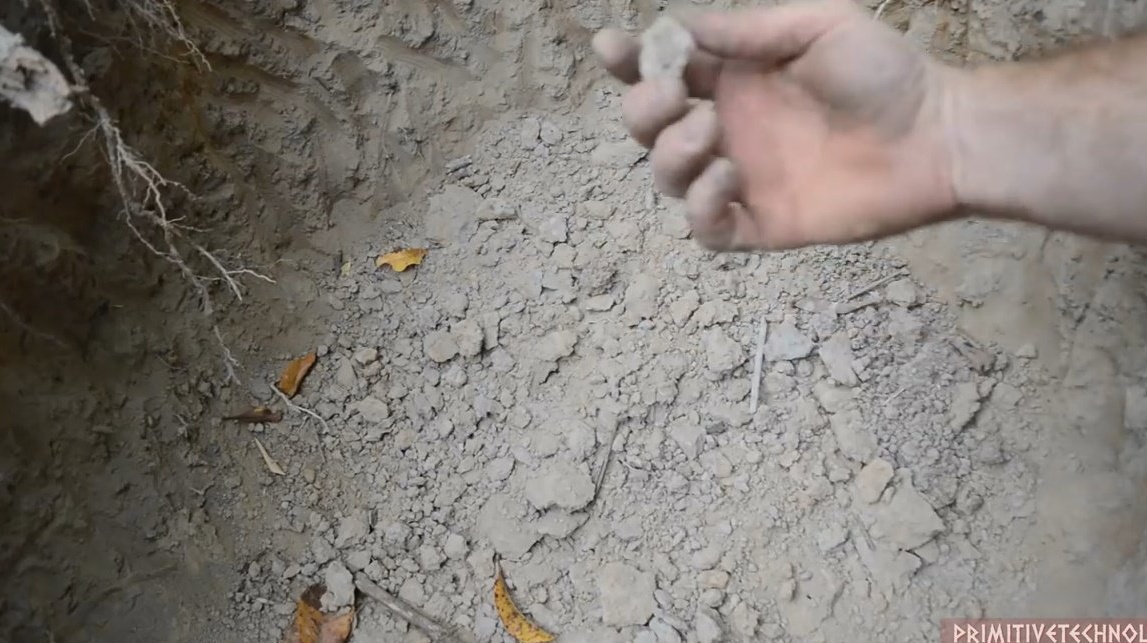
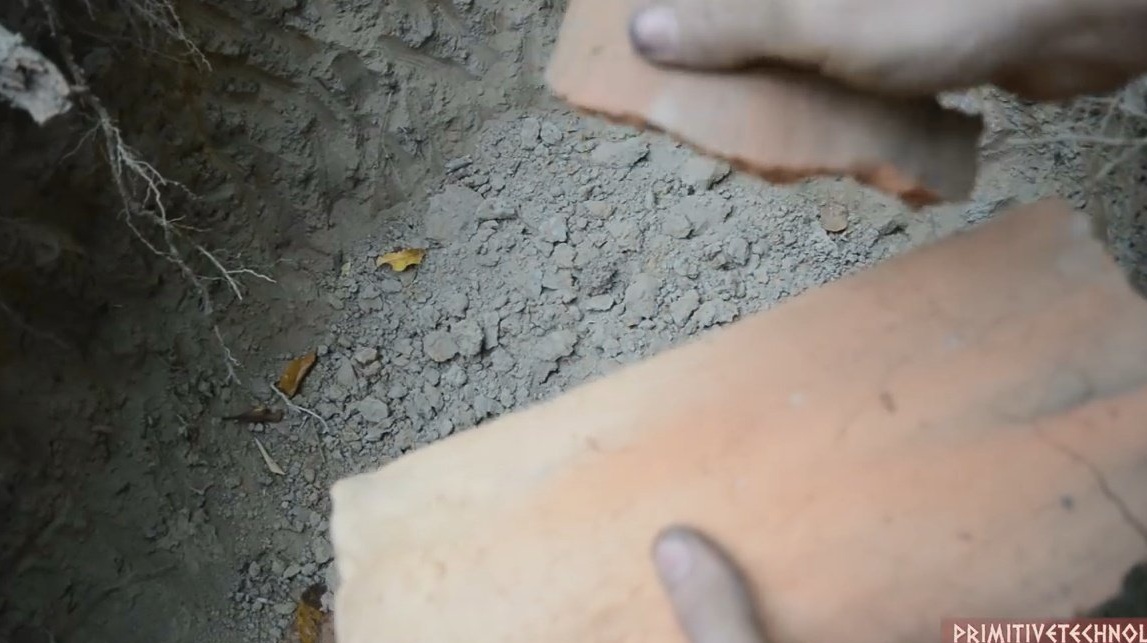
We clear a small area of grass. Swarm in it deepening. It is highly desirable that the soil is loamy.
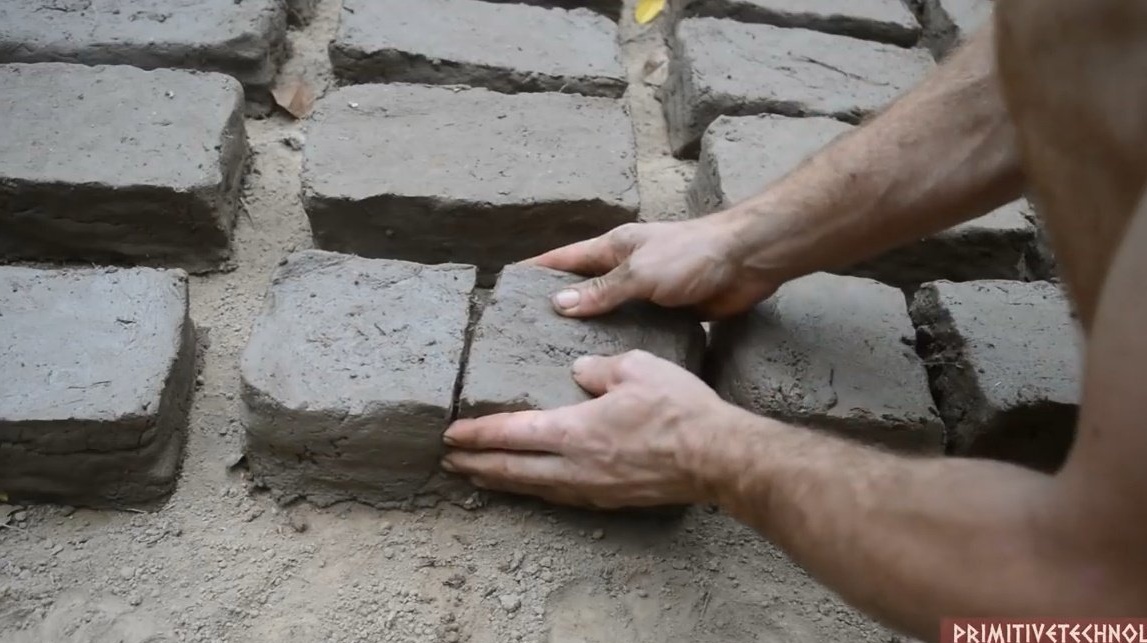
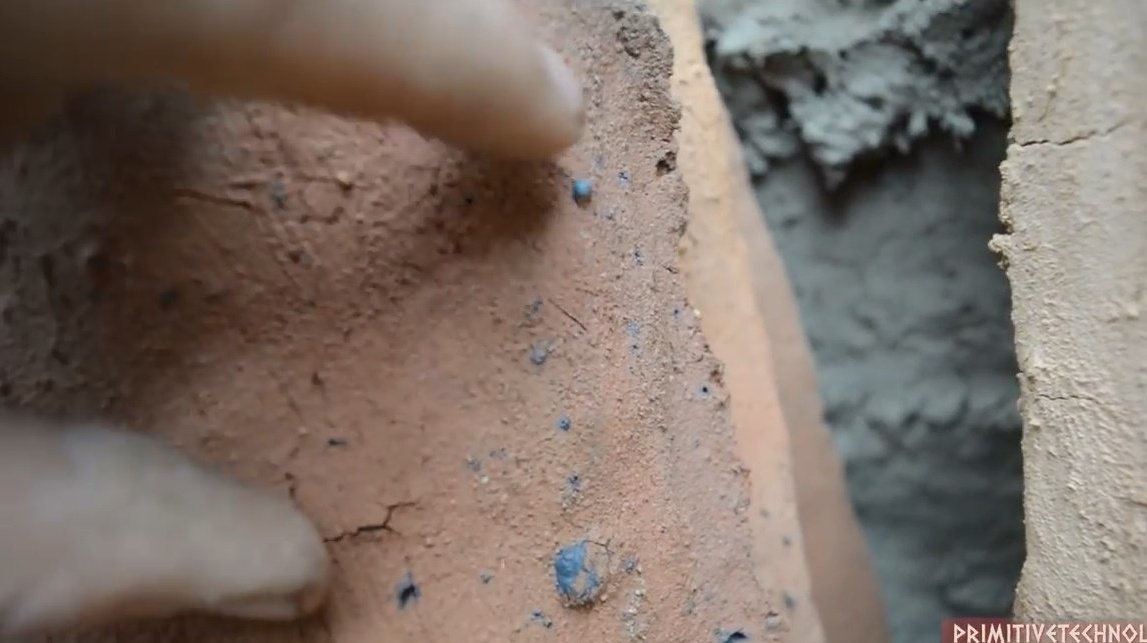
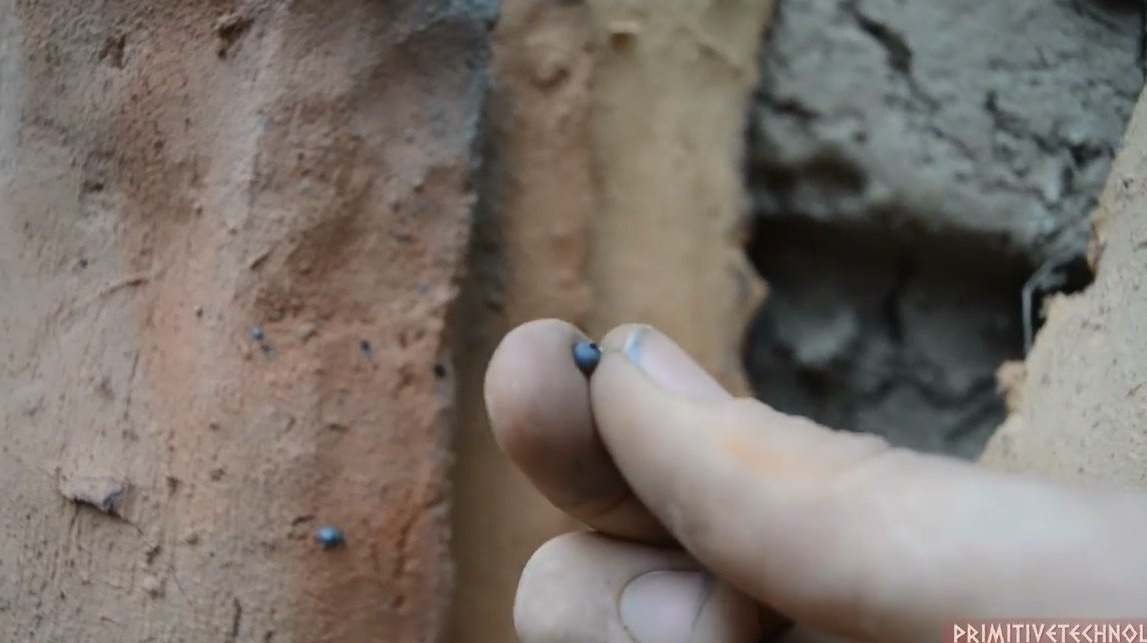
Pour water into the pit and knead a mushy mass. Add small dry leaves or straw for strength. We continue to knead the mass until a homogeneous elastic composition is obtained.
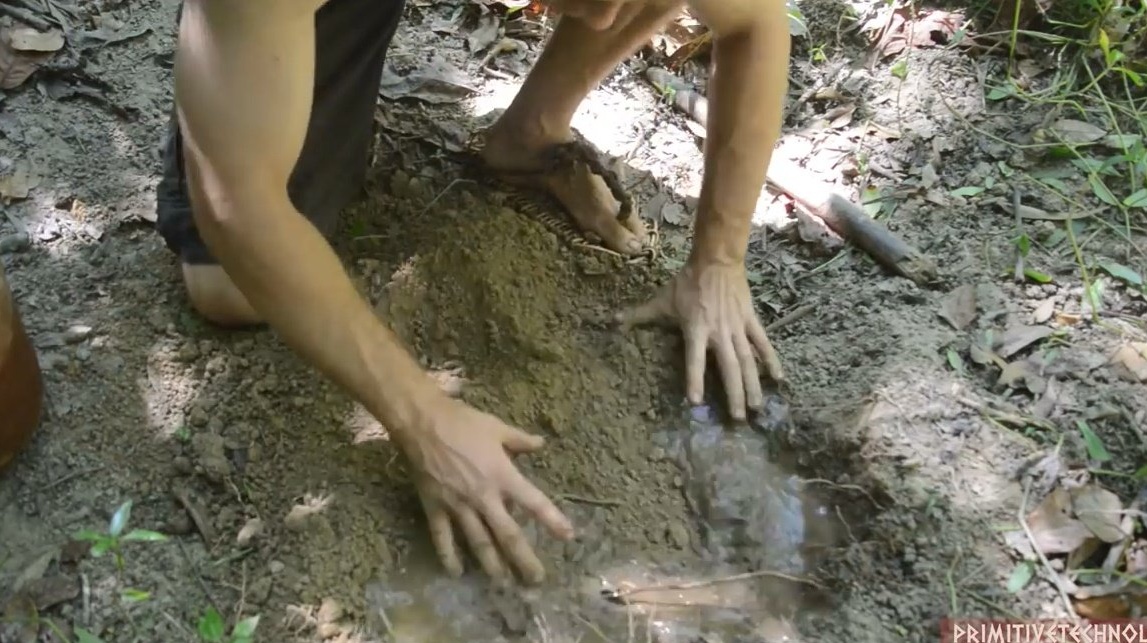
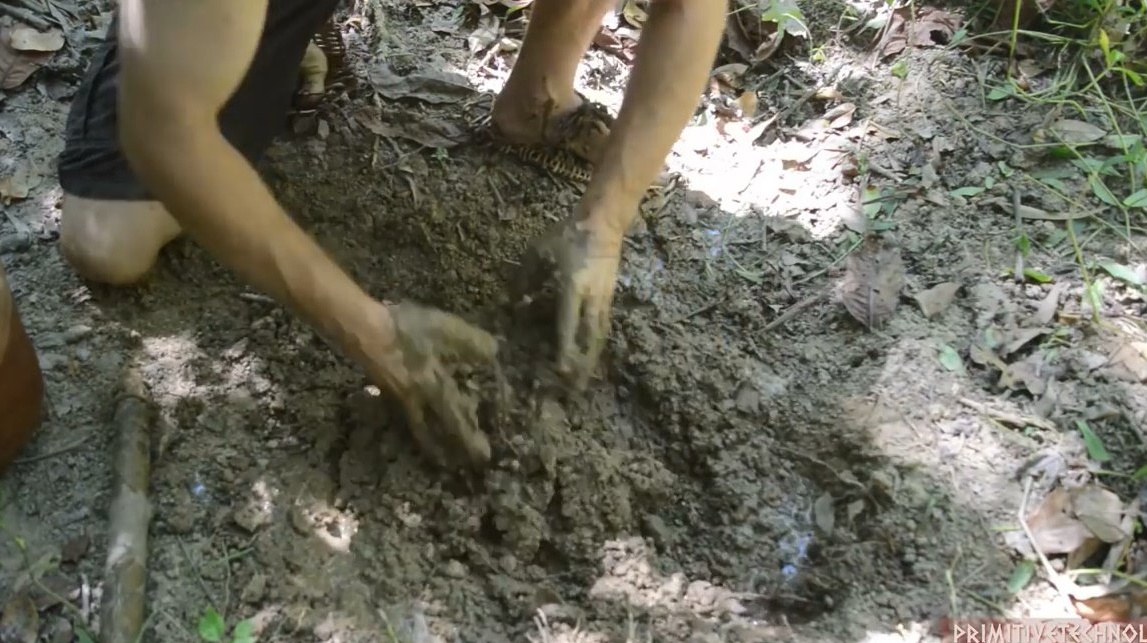

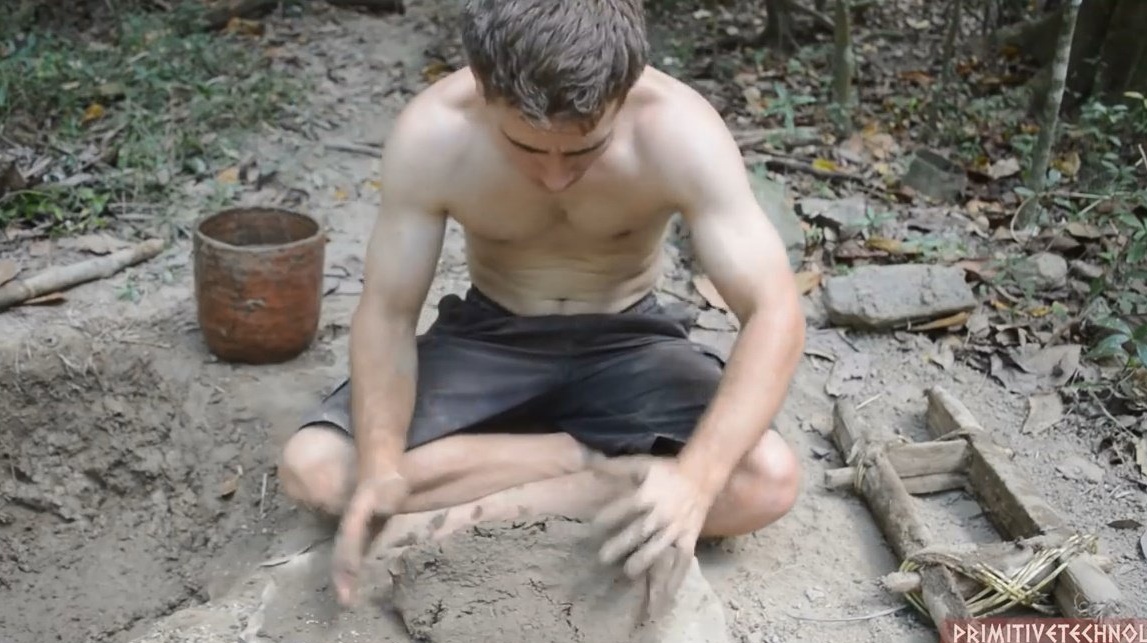
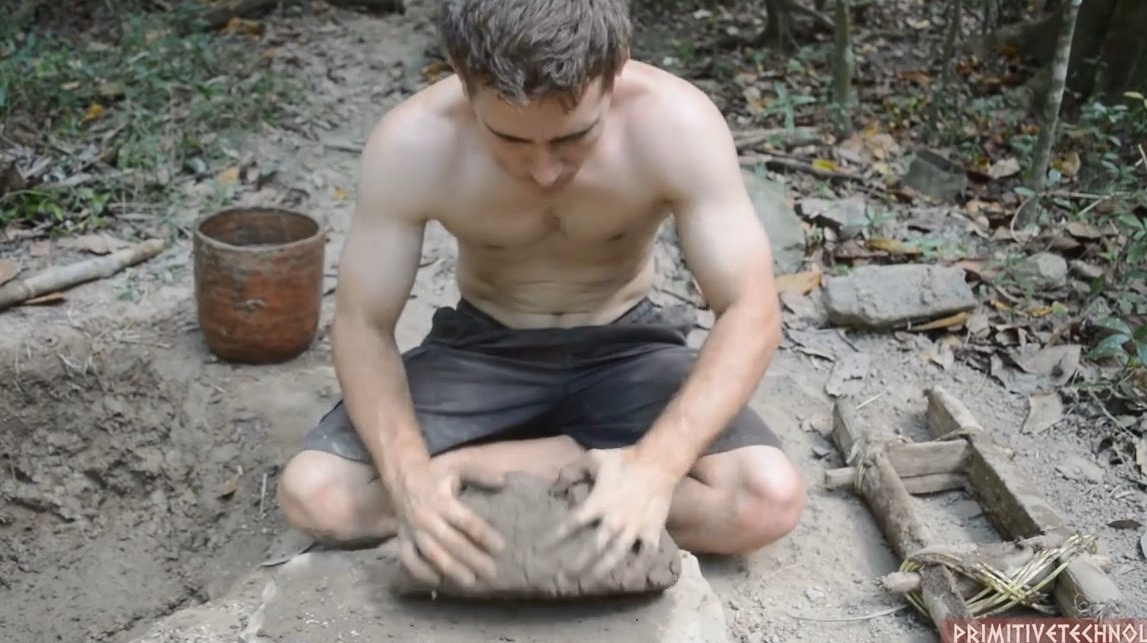
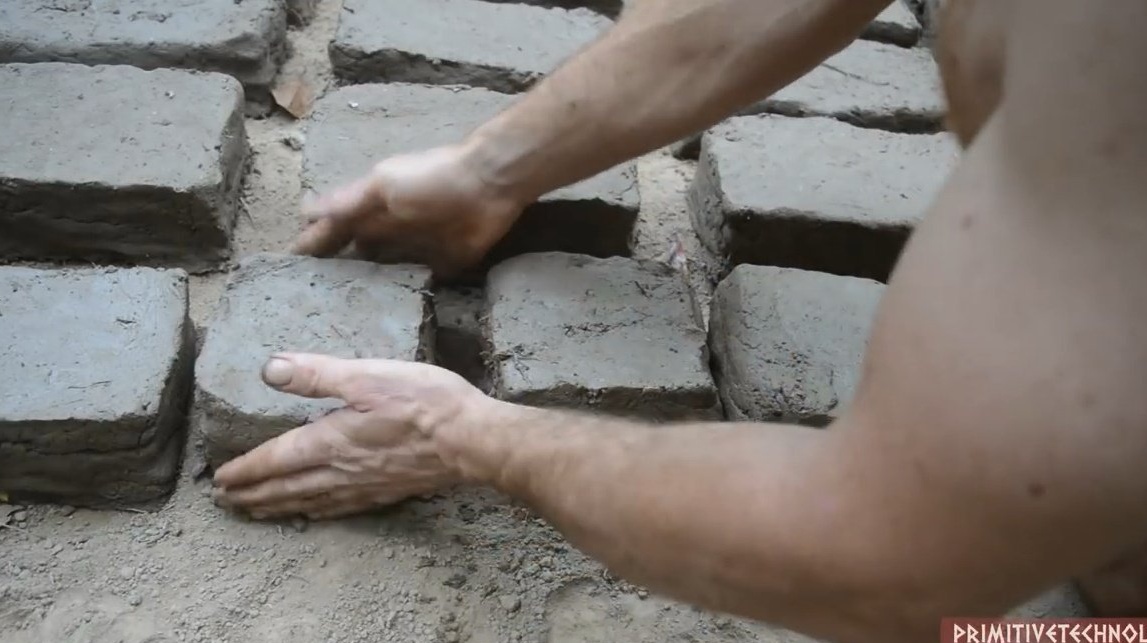
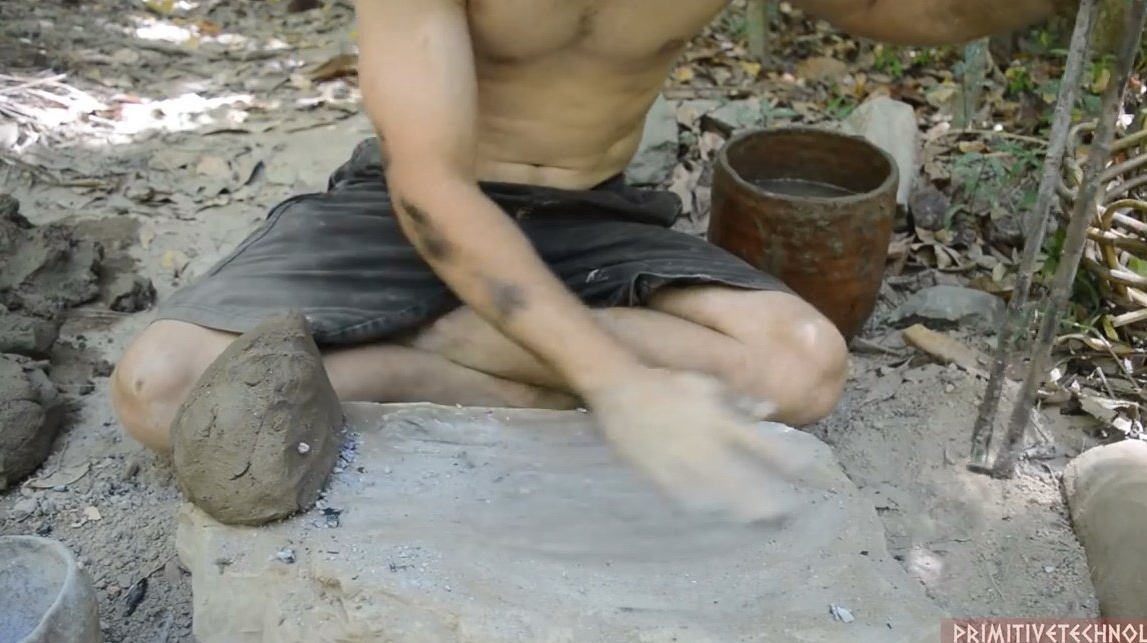
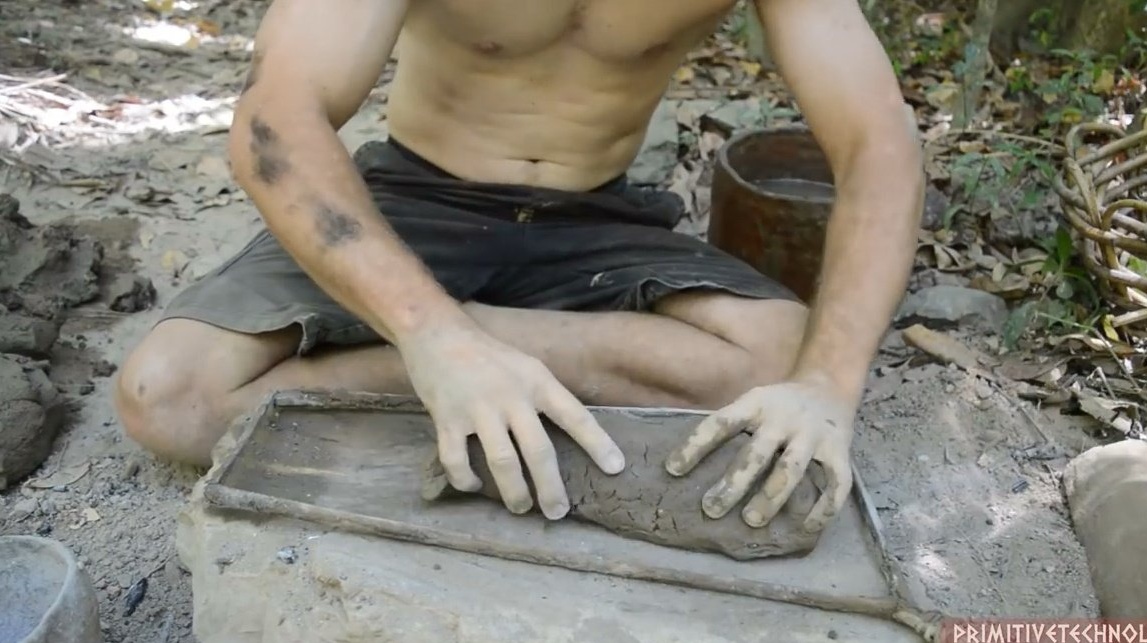
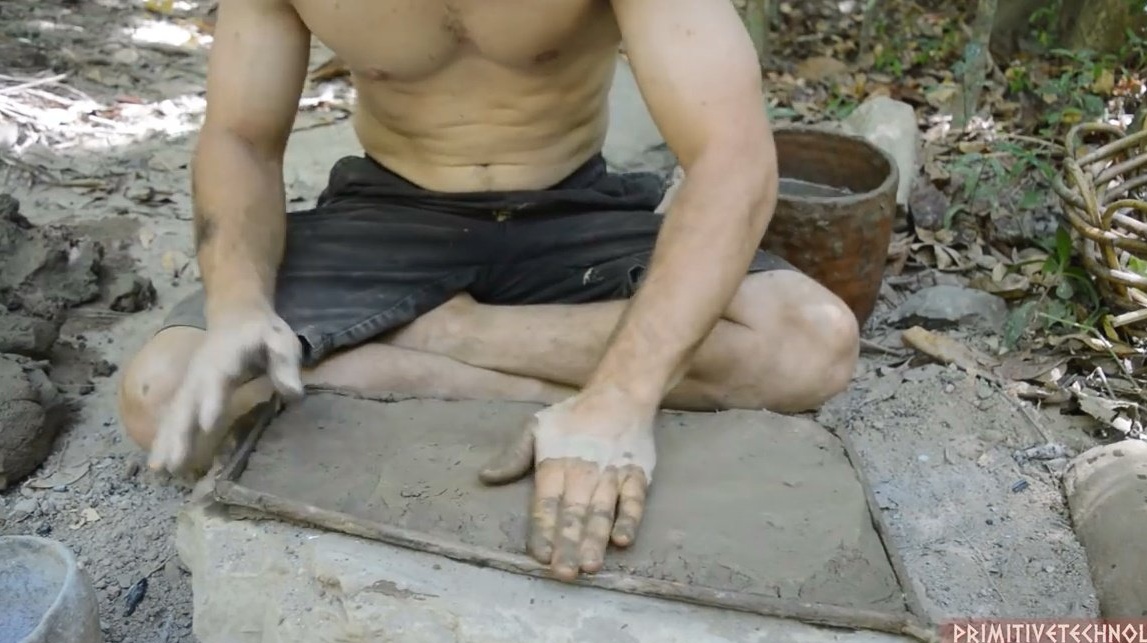
Take a certain amount of the kneaded solution, approximately the volume of the brick, and beat it to give more uniformity to the material. We put it in the mold, remove the excess solution. Moisten on both sides with water and rub on an open surface, smoothing it. Before turning, sprinkle a wet surface with dust.

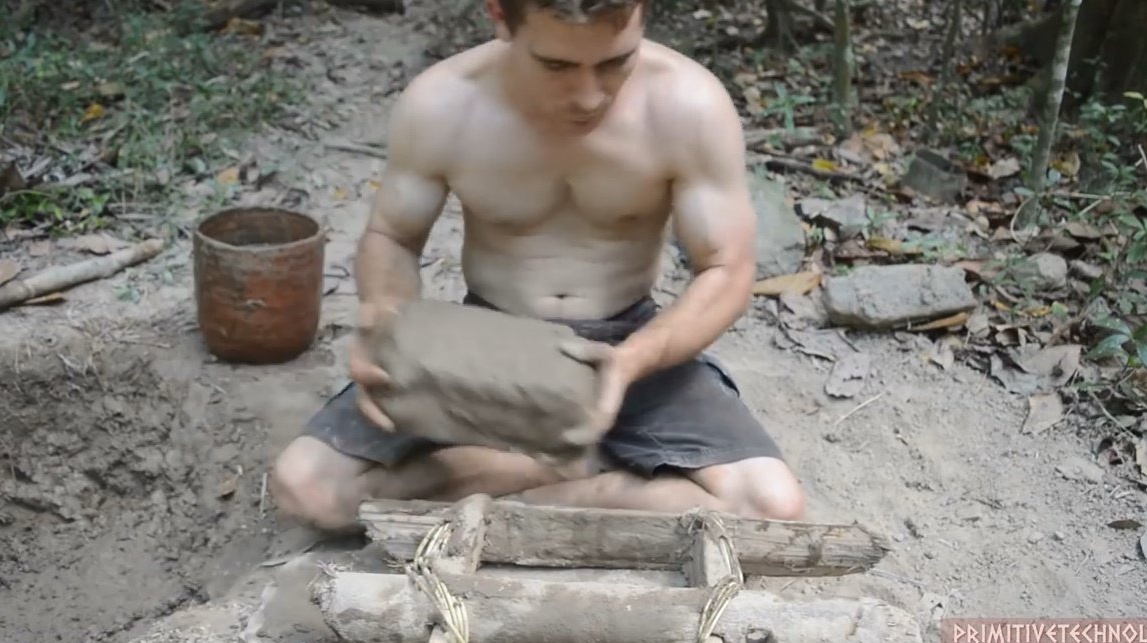
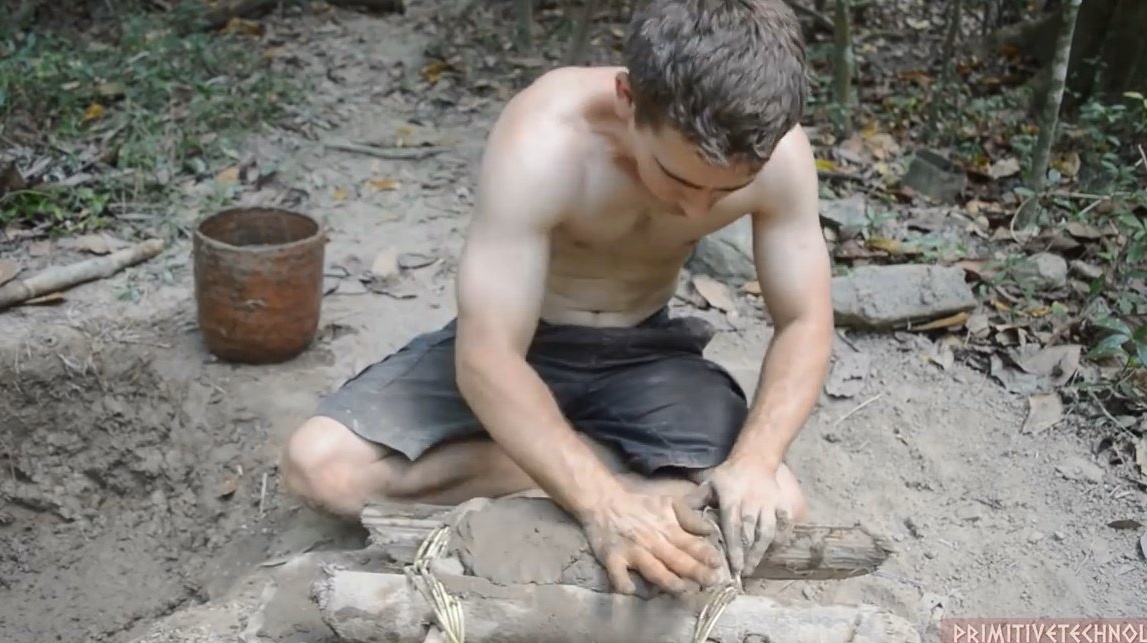
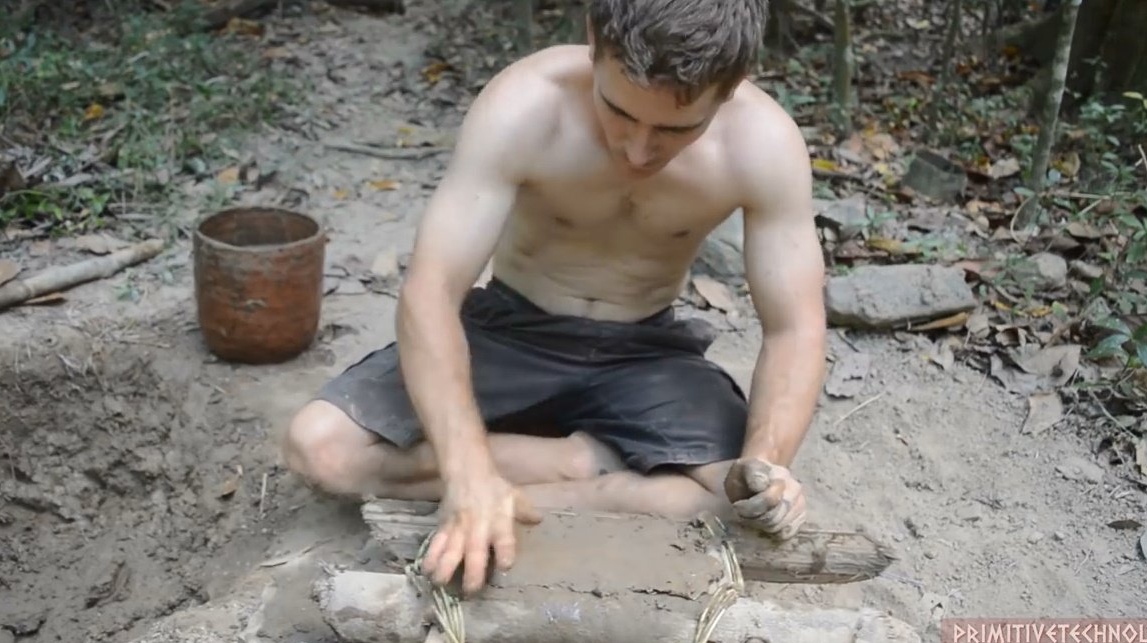
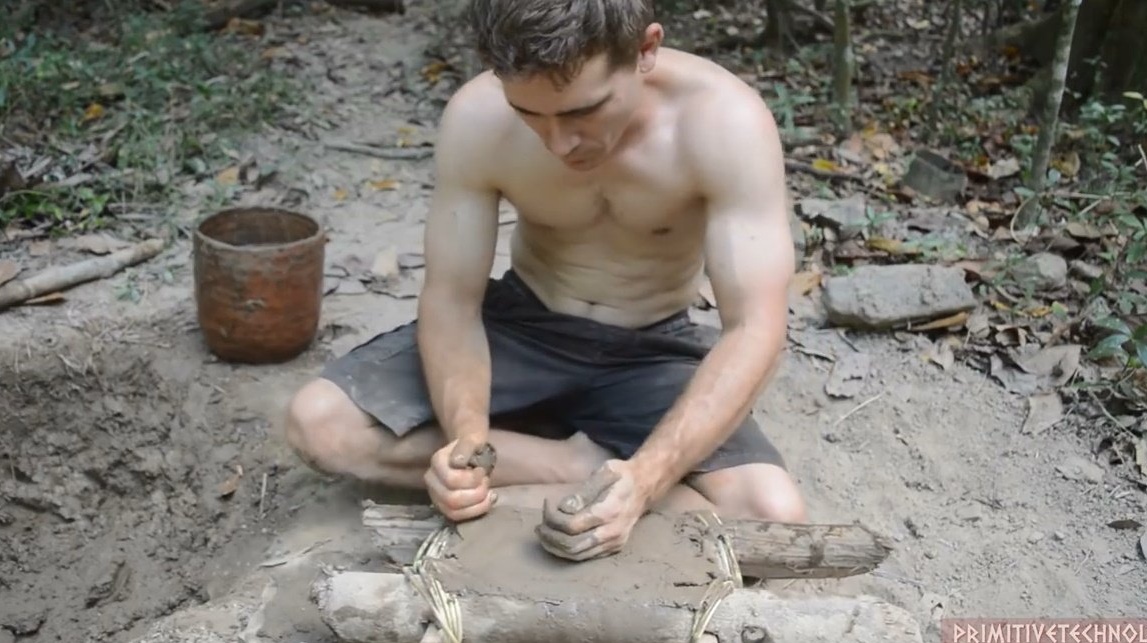
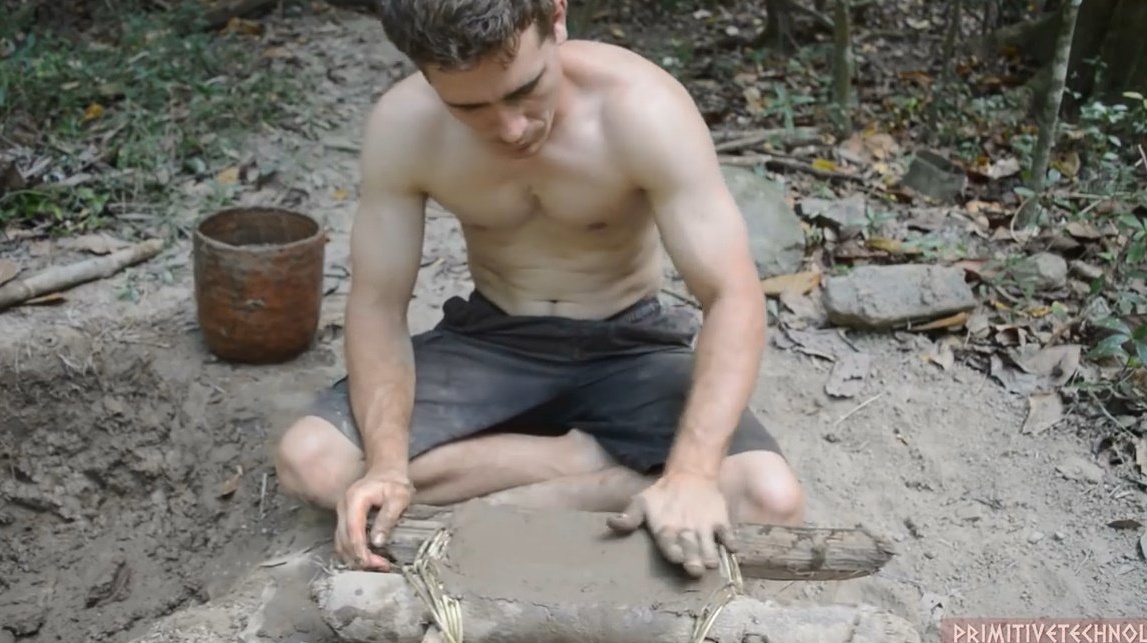

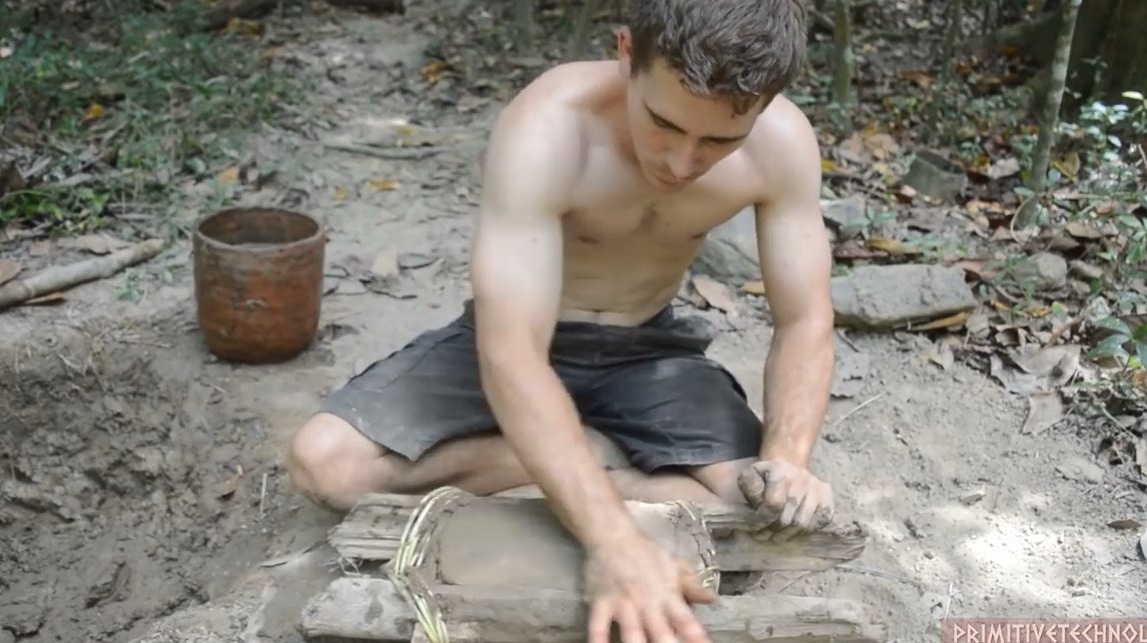
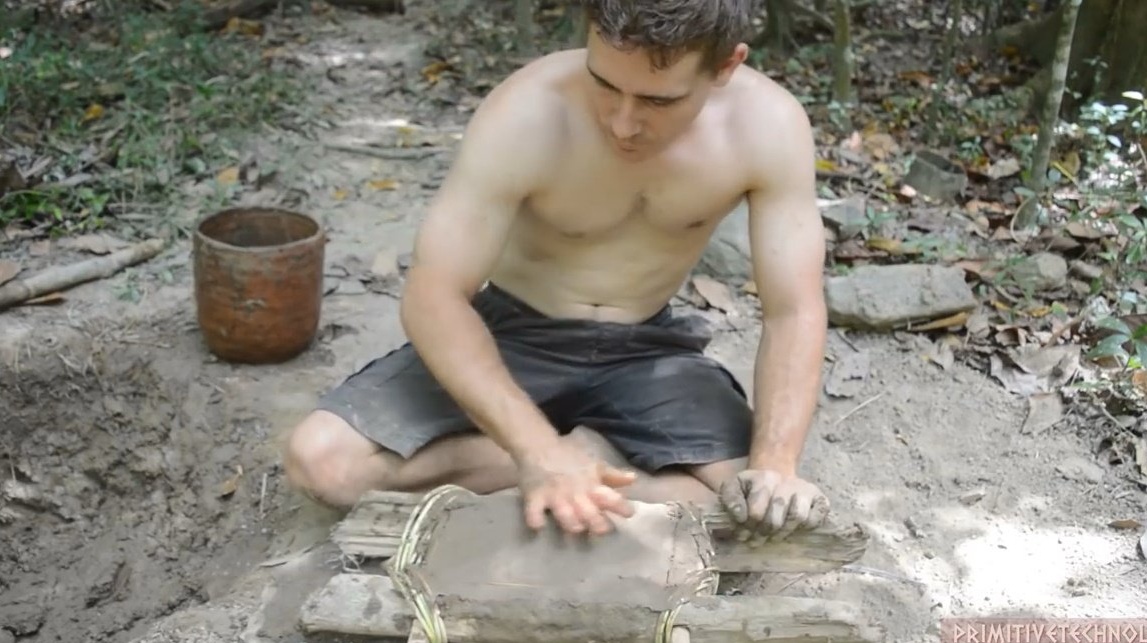
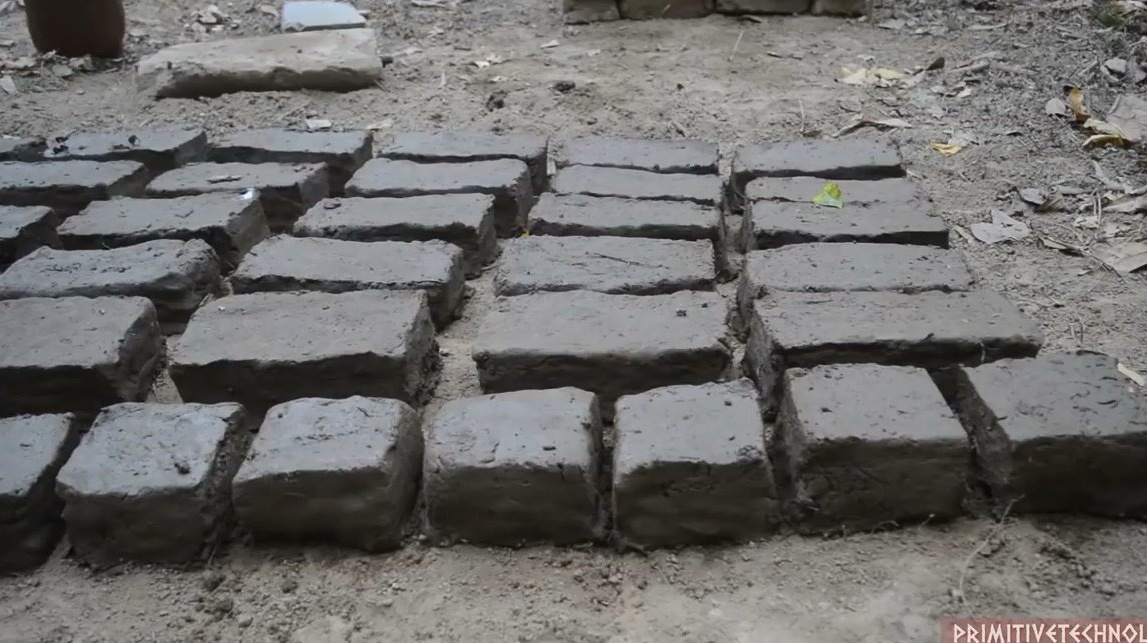
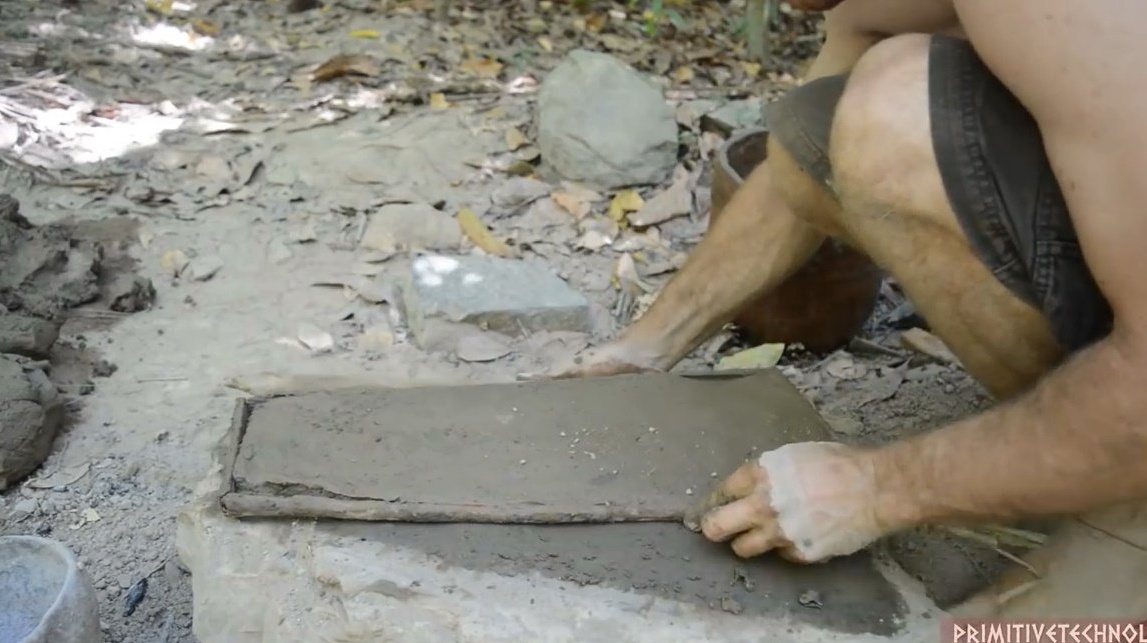
With light shaking movements we release the earthen ball from the form.Then leave to dry in the shade.


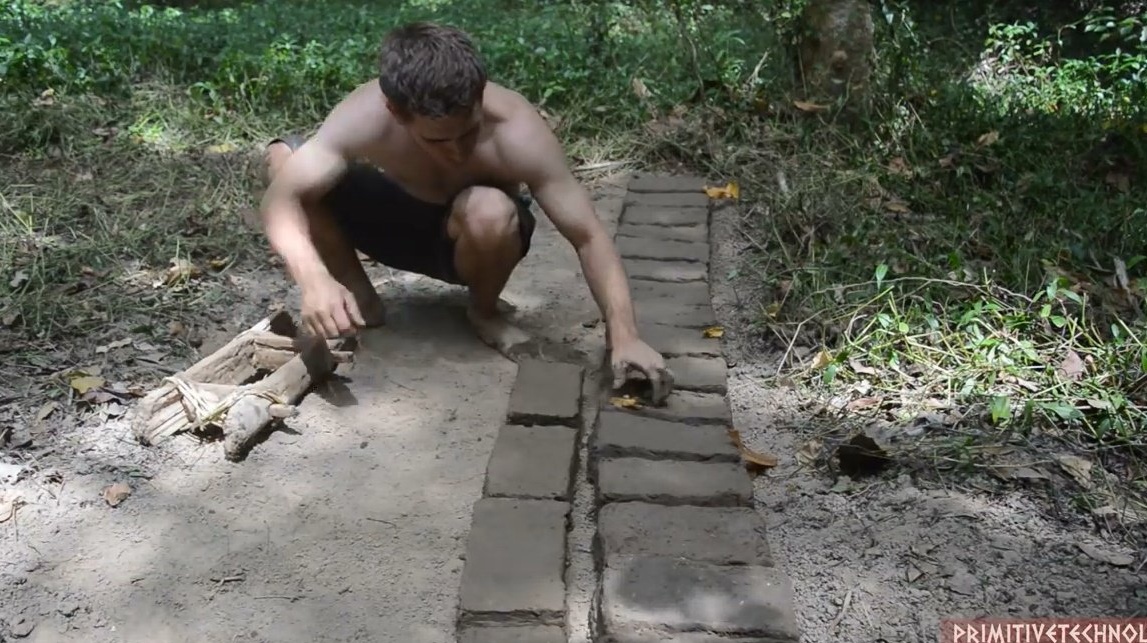
For the manufacture of semi-bricks, we use fibers from the bark, cutting blocks with them.

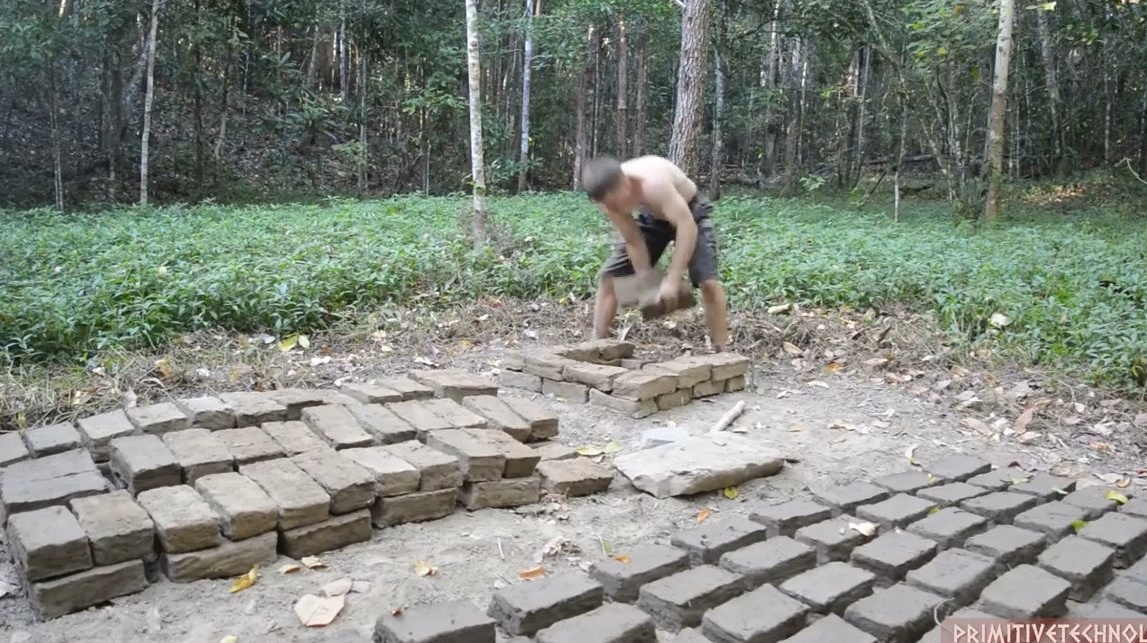

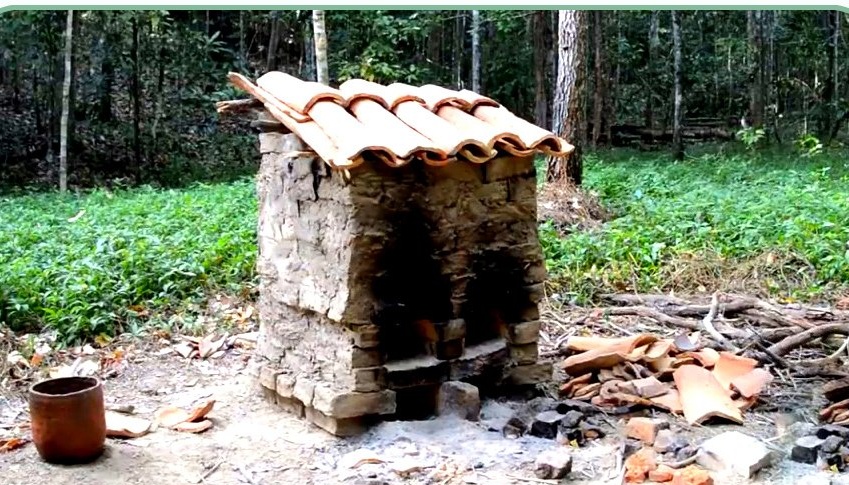
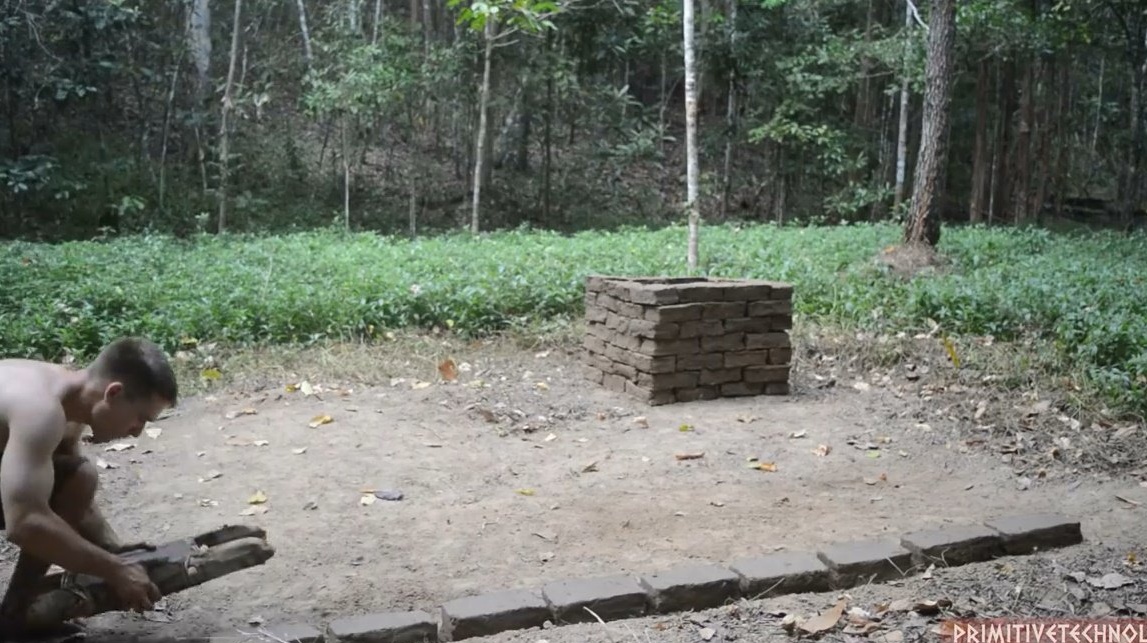
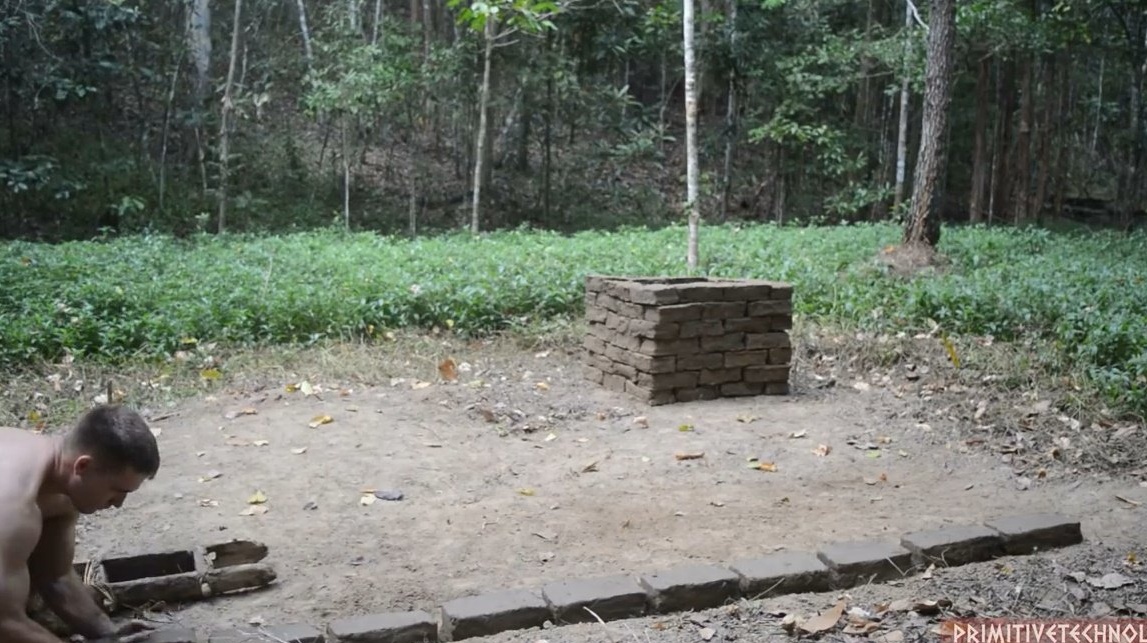
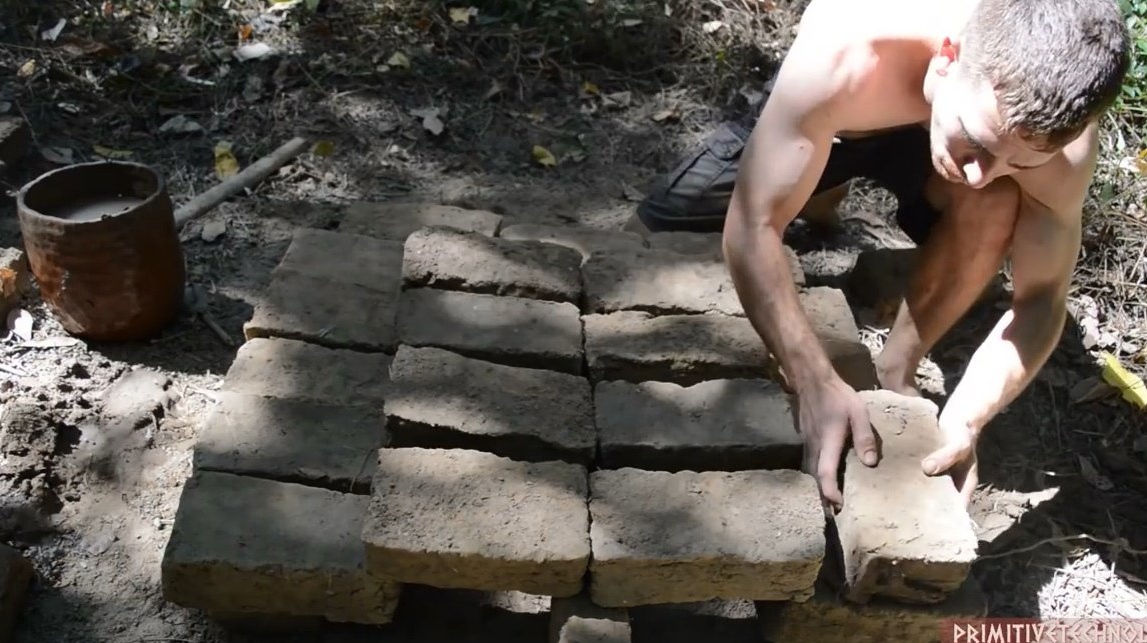
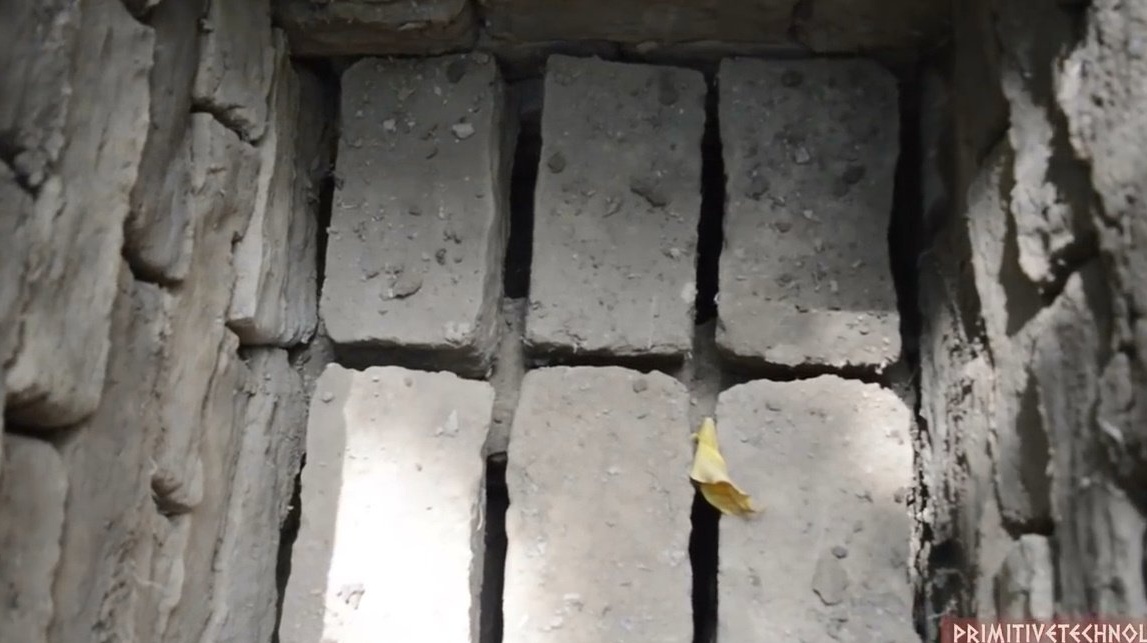
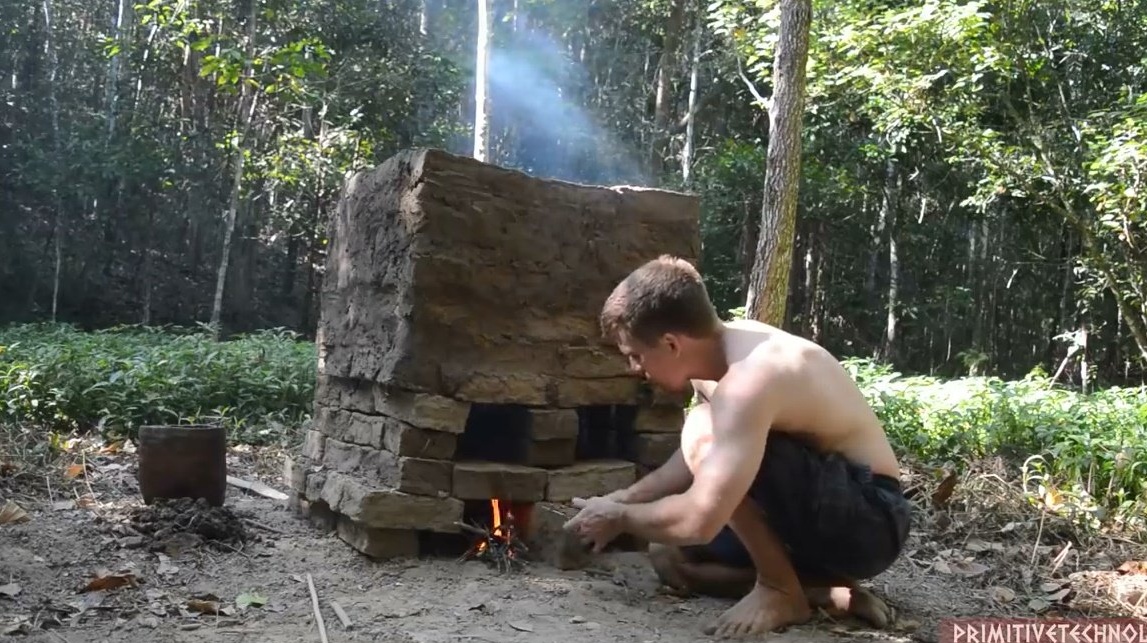
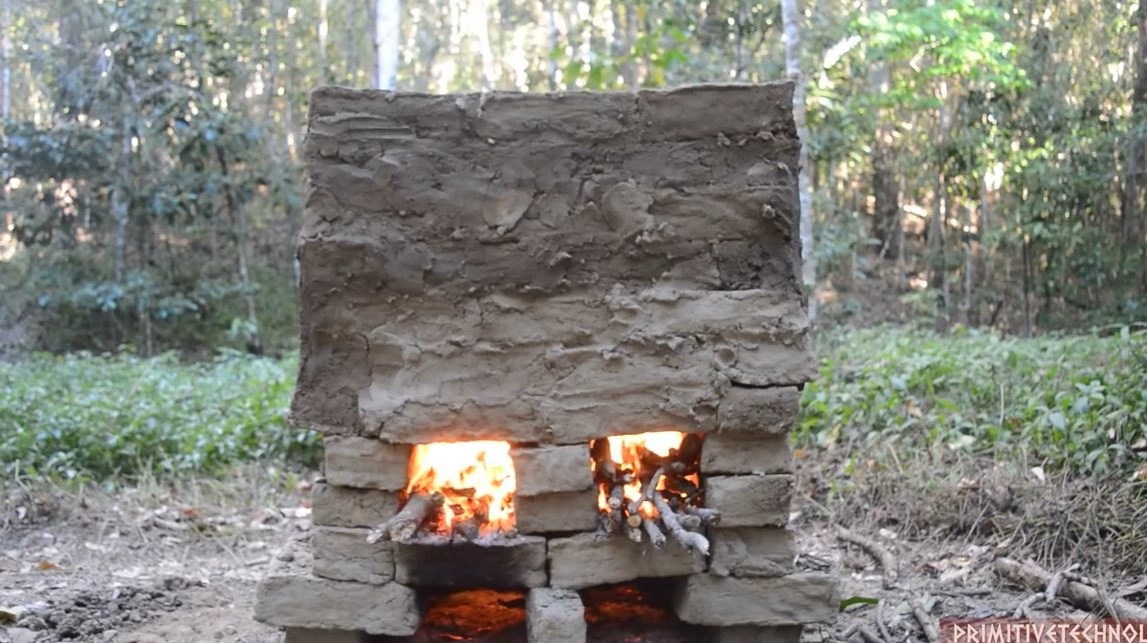
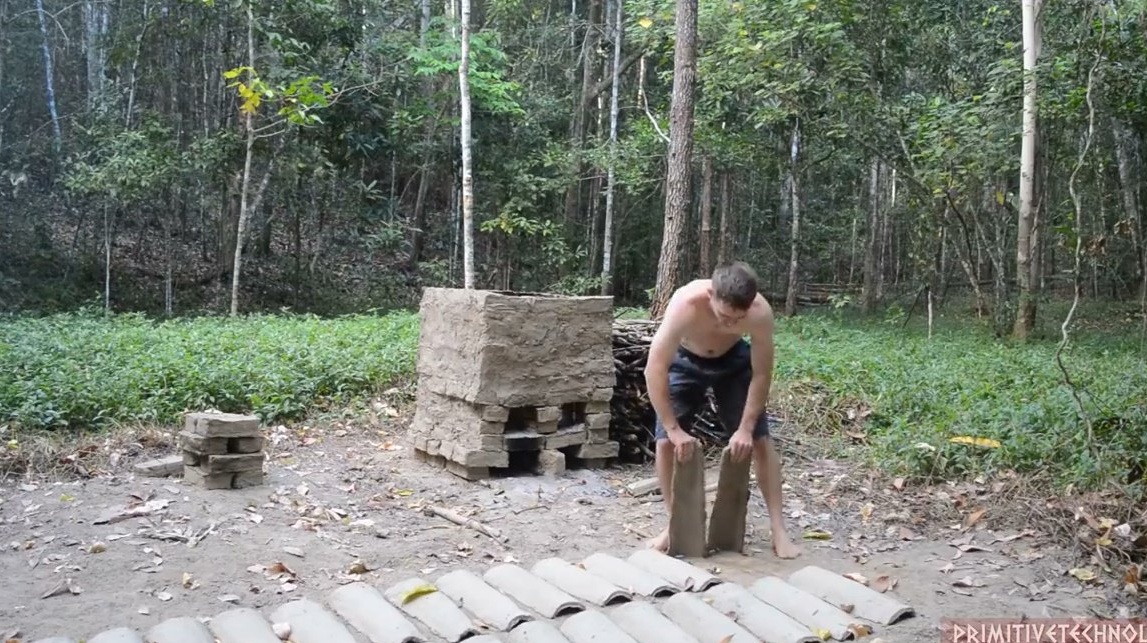
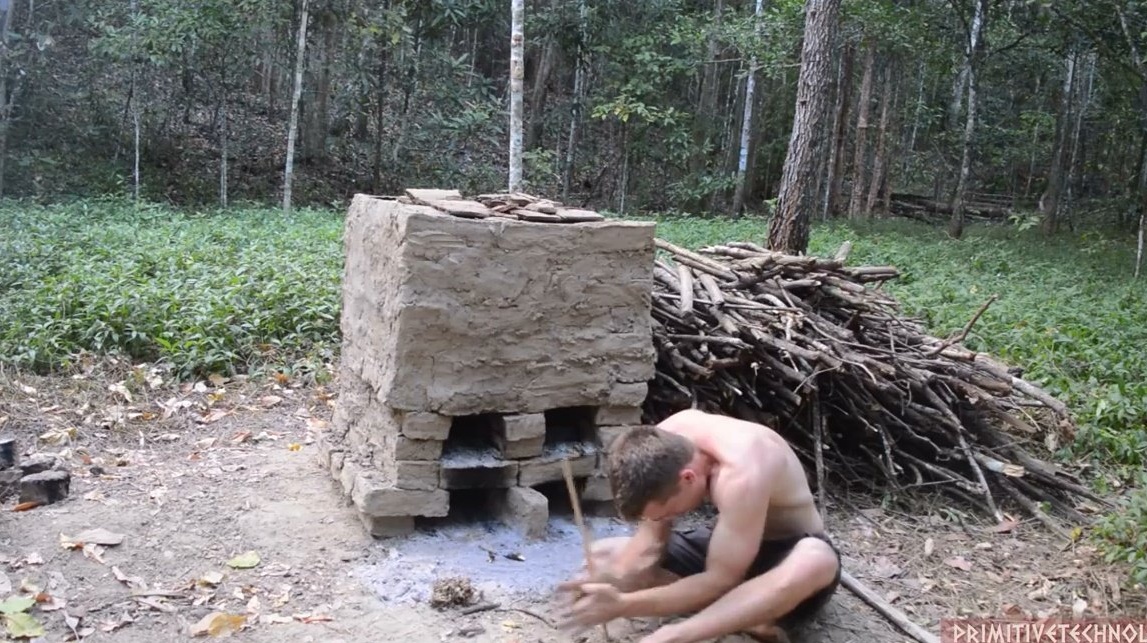
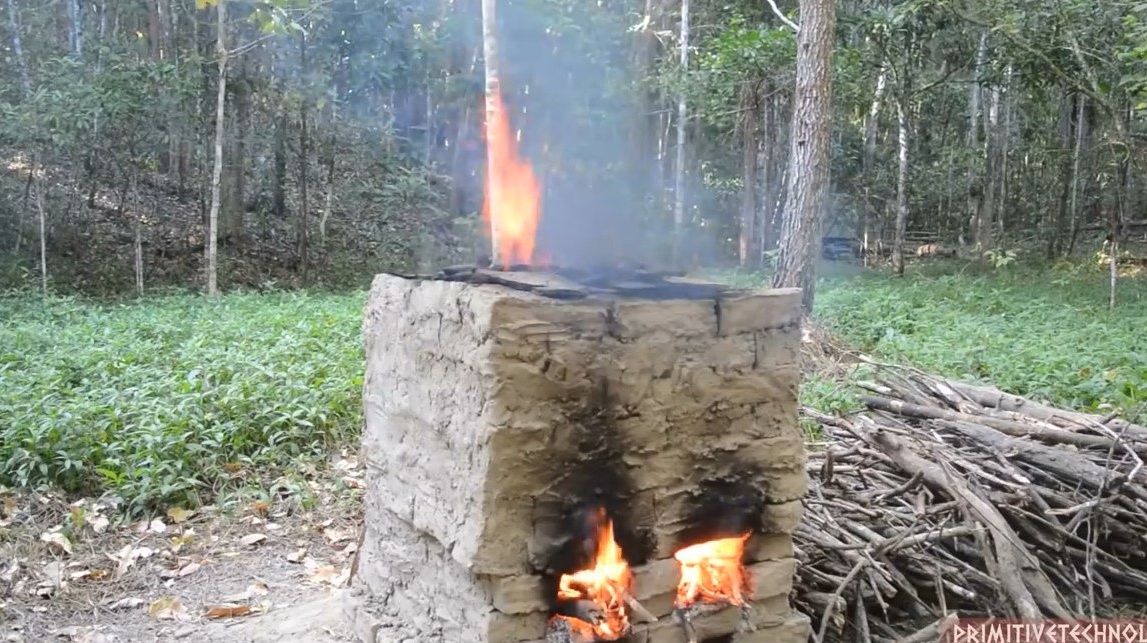
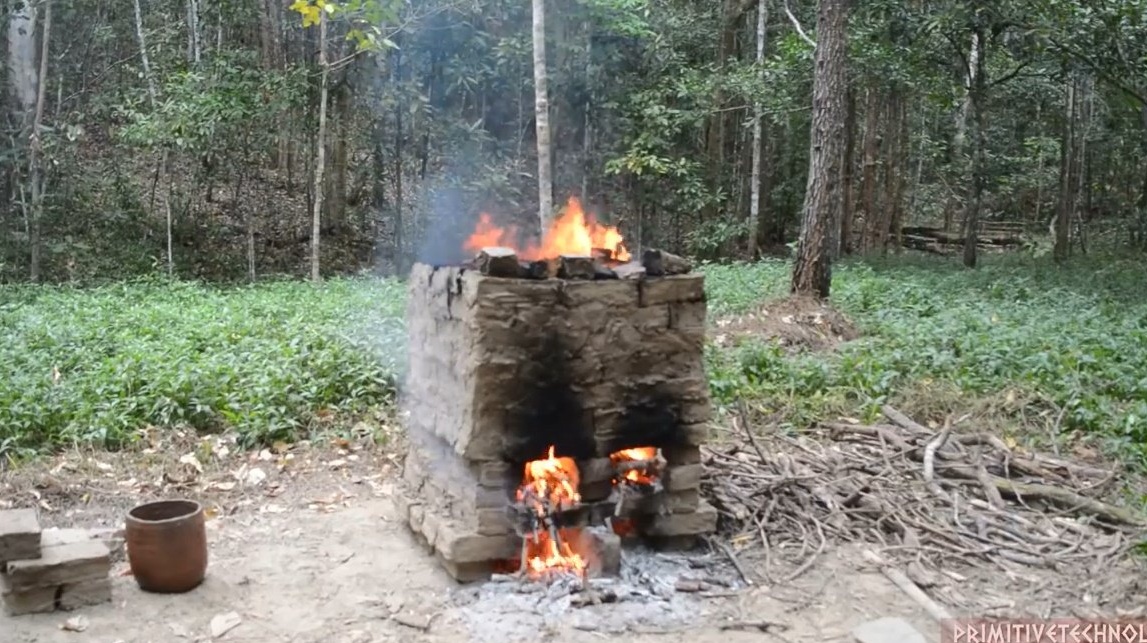
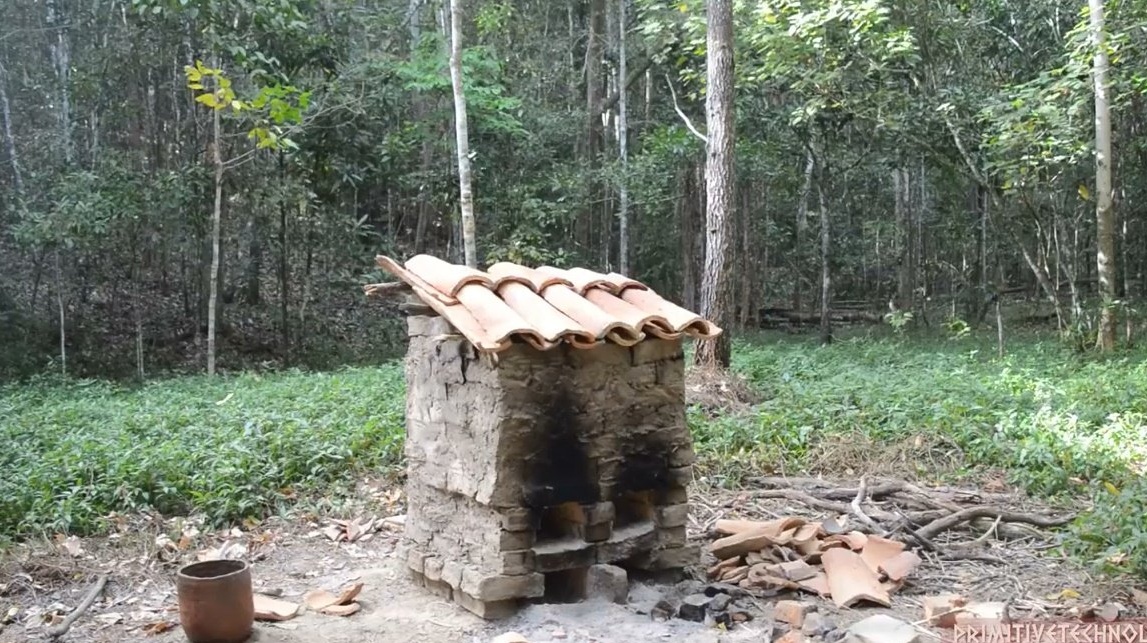
From the dried bricks we collect the base of the furnace, forming a blower and a support for the grate ...
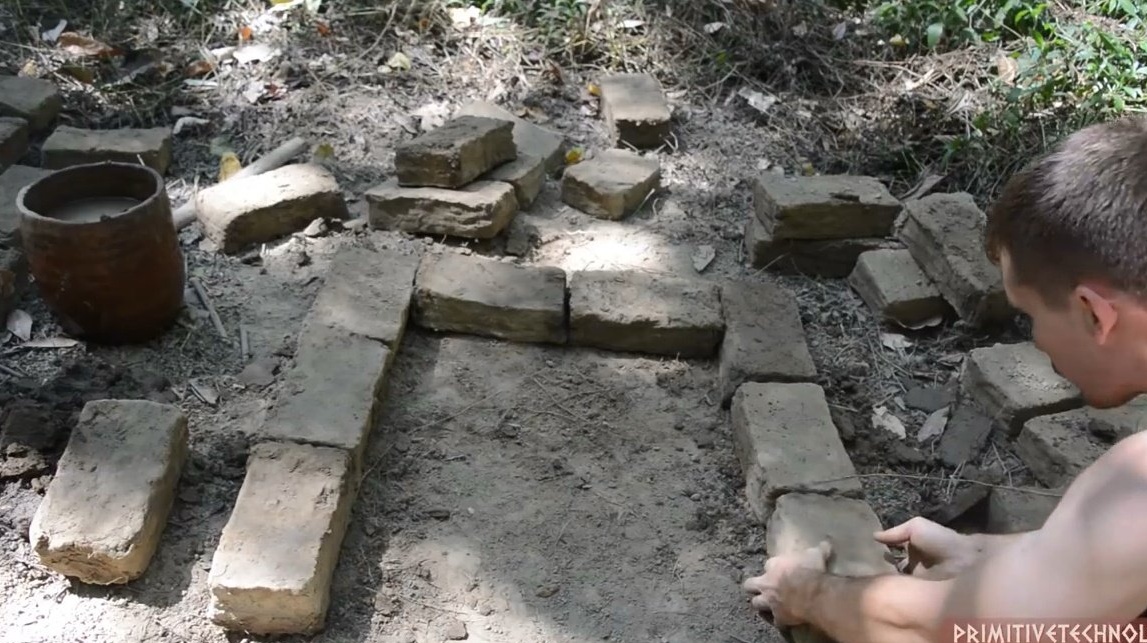
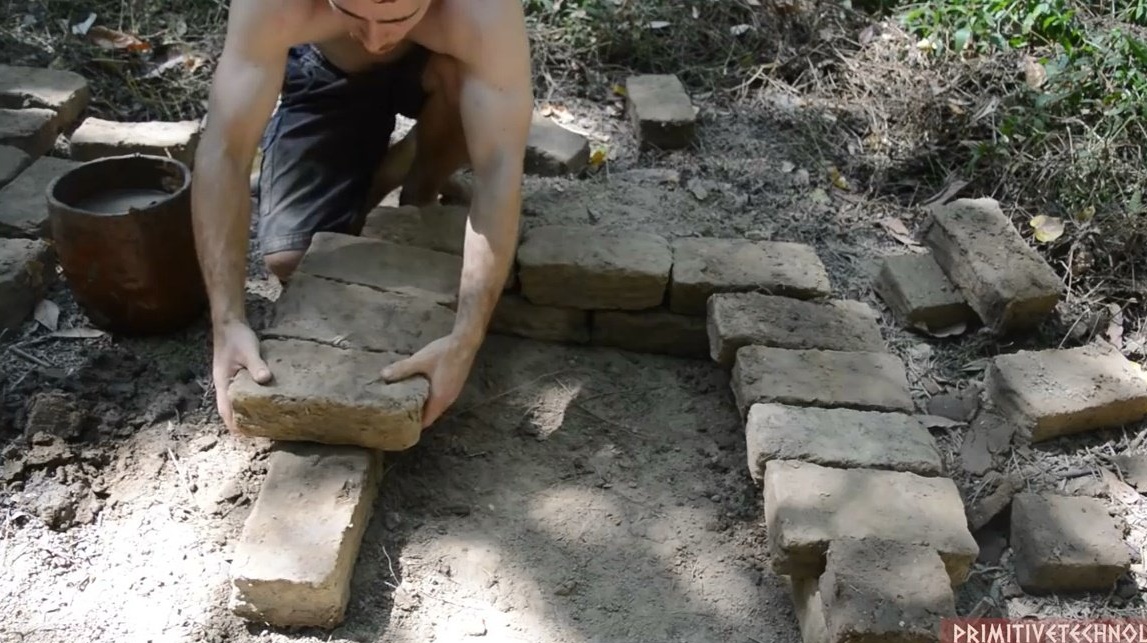
Set the bottom row of grates.
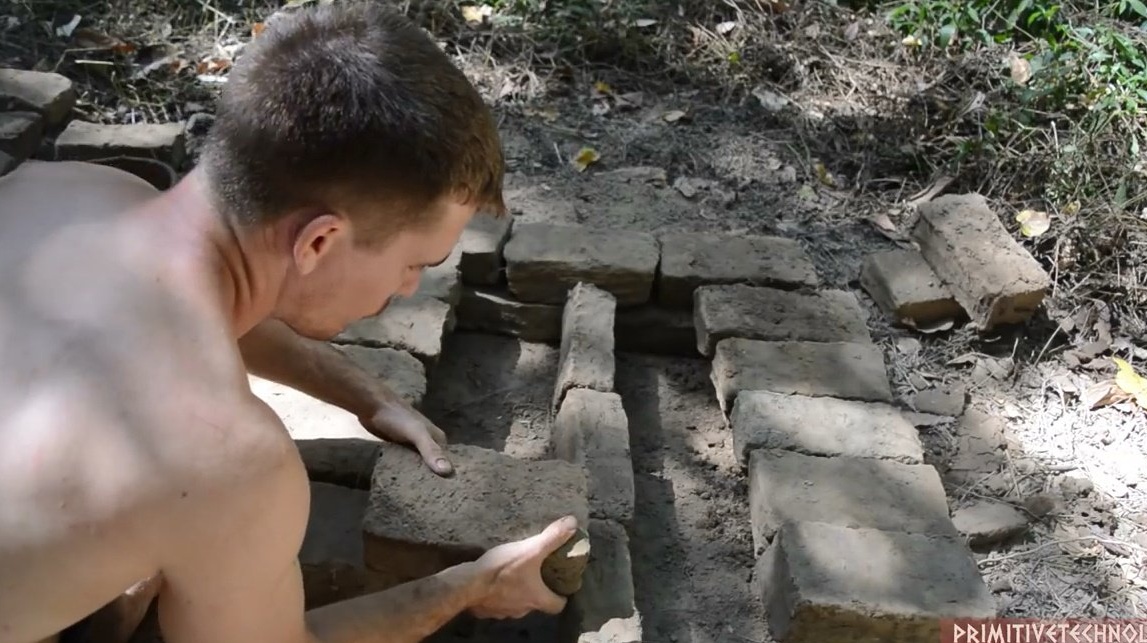
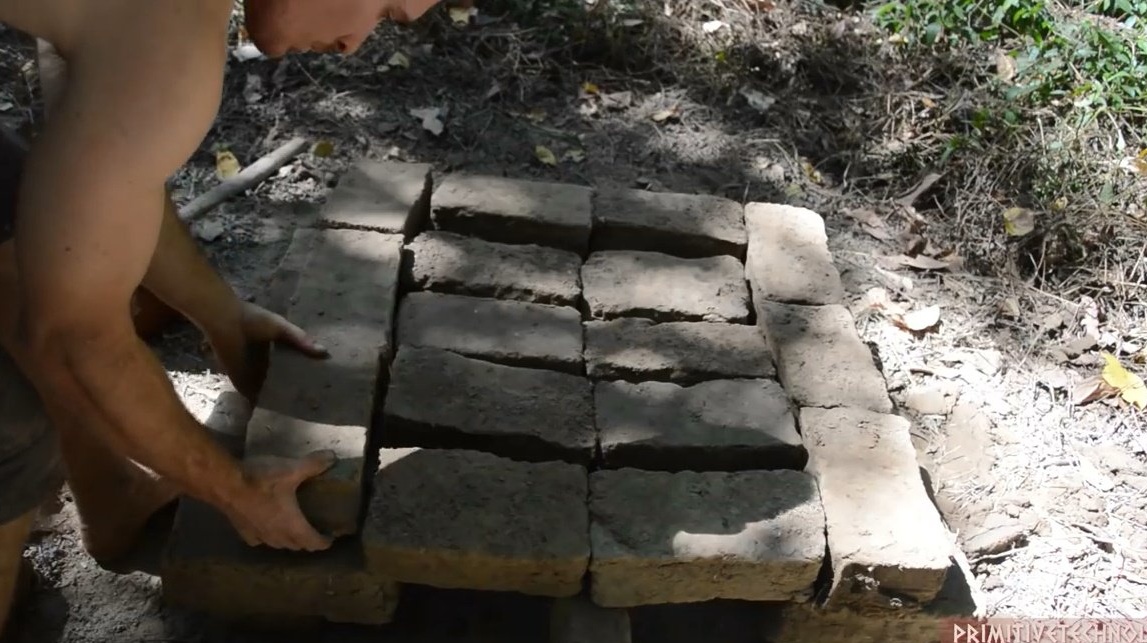
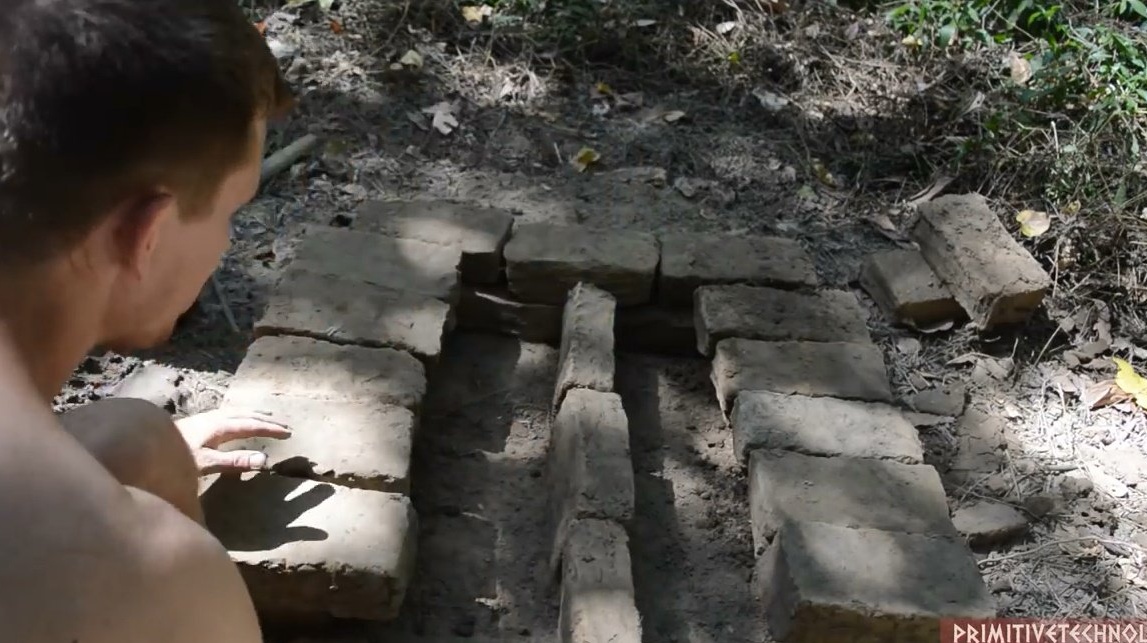
Then the sides of the combustion chamber and the second row of grates.
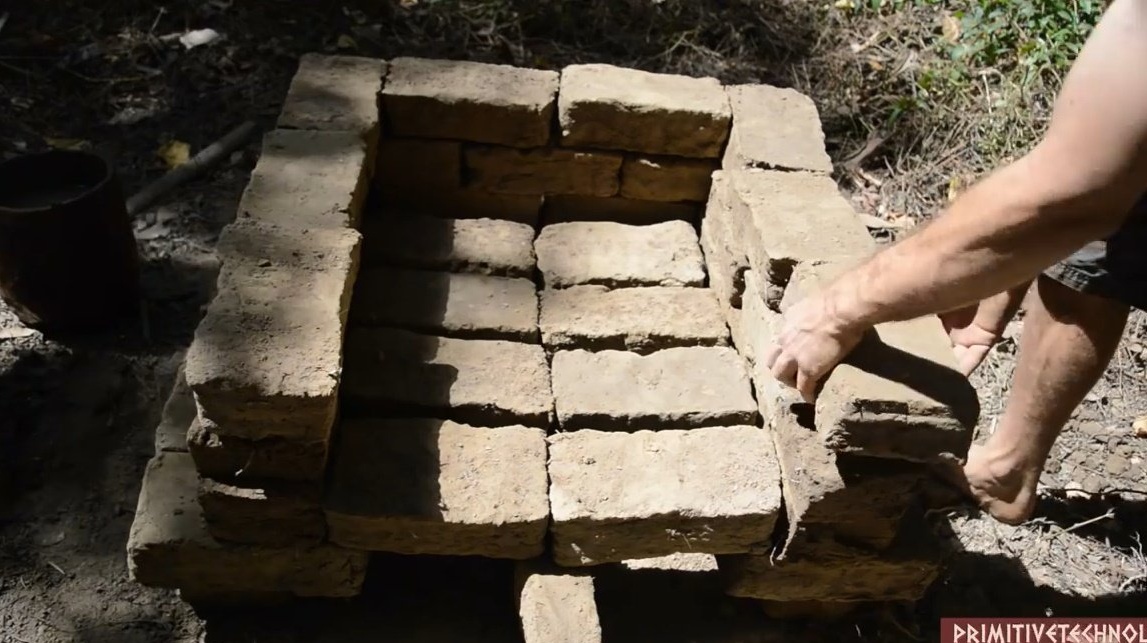

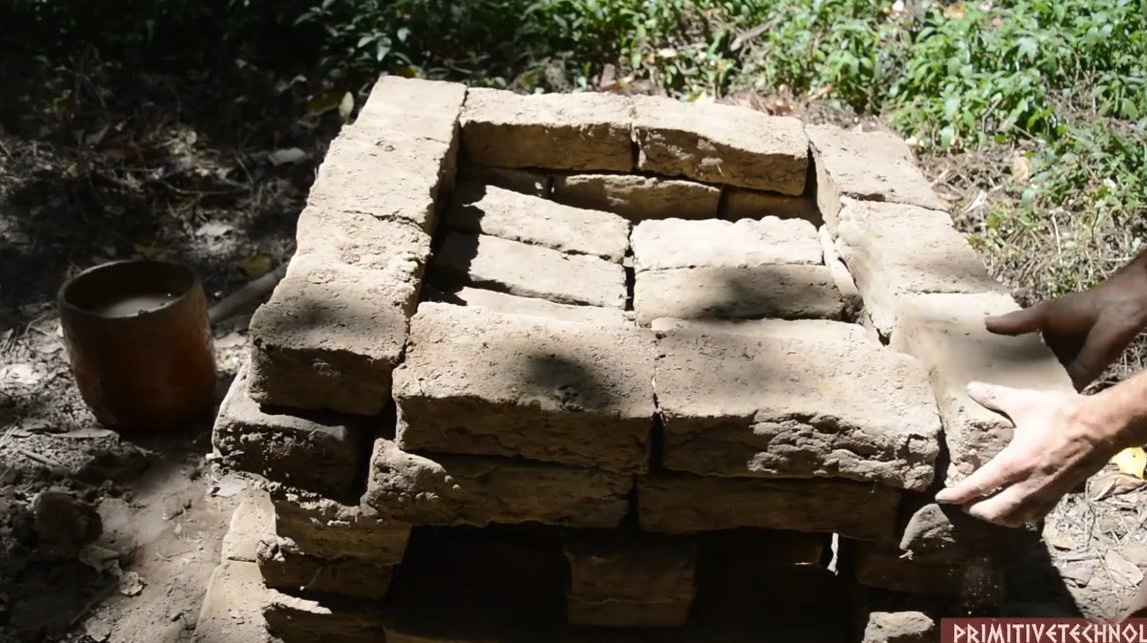
Now the sides of the firing chamber.
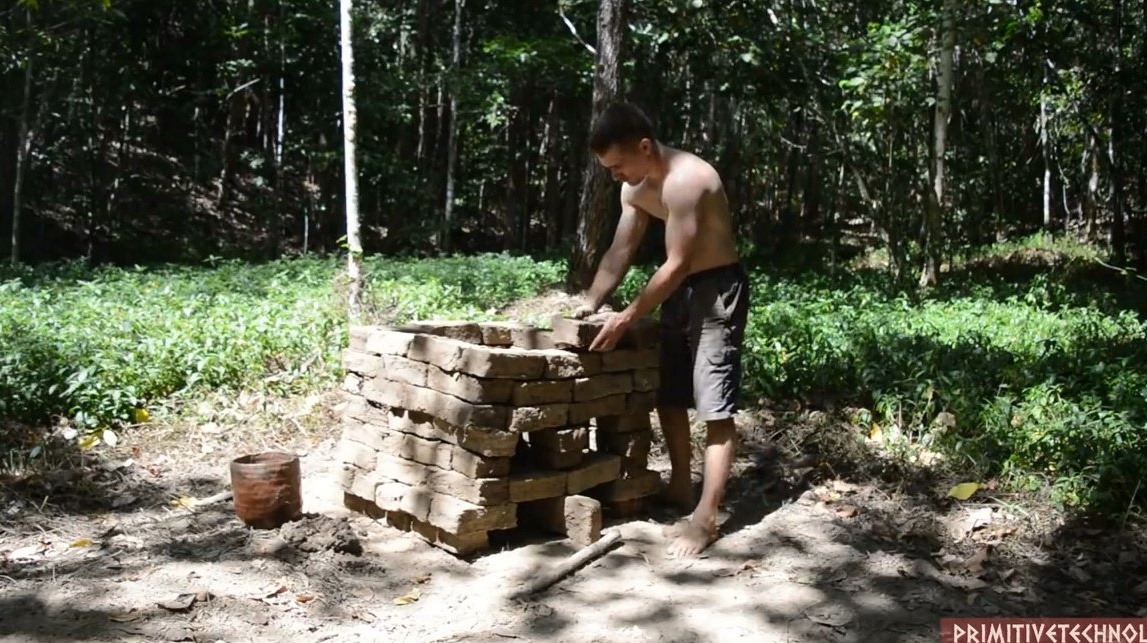
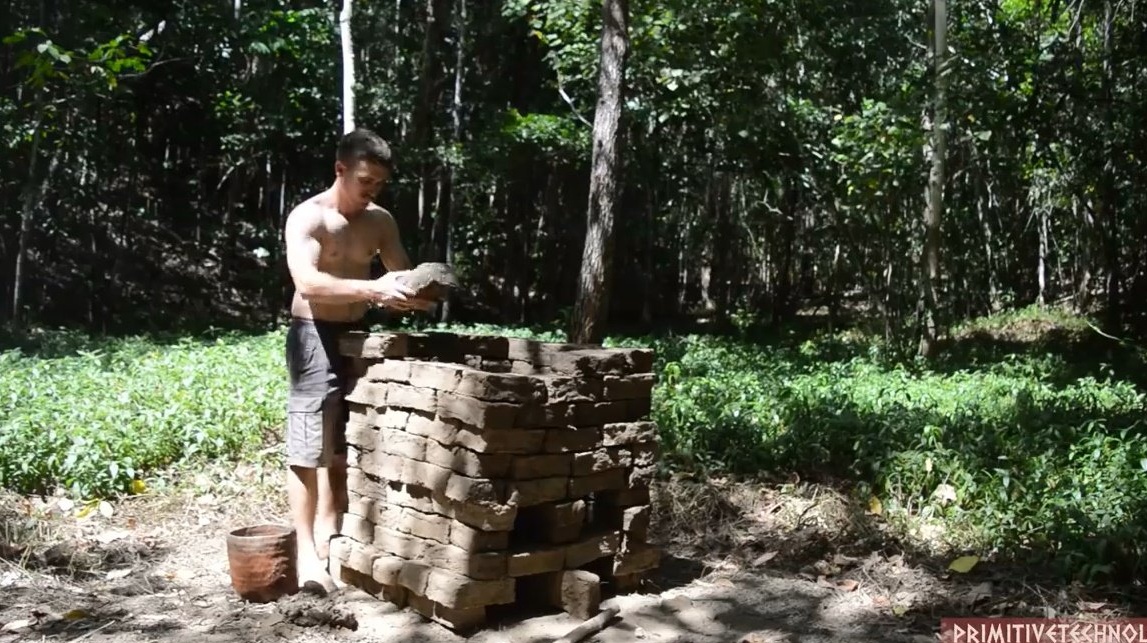
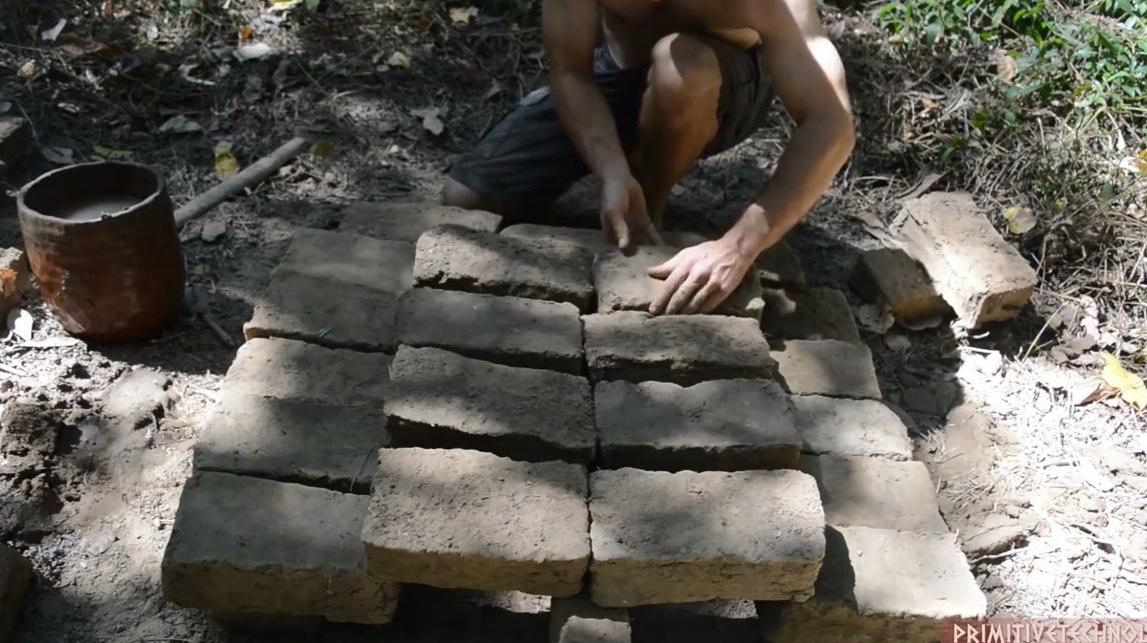
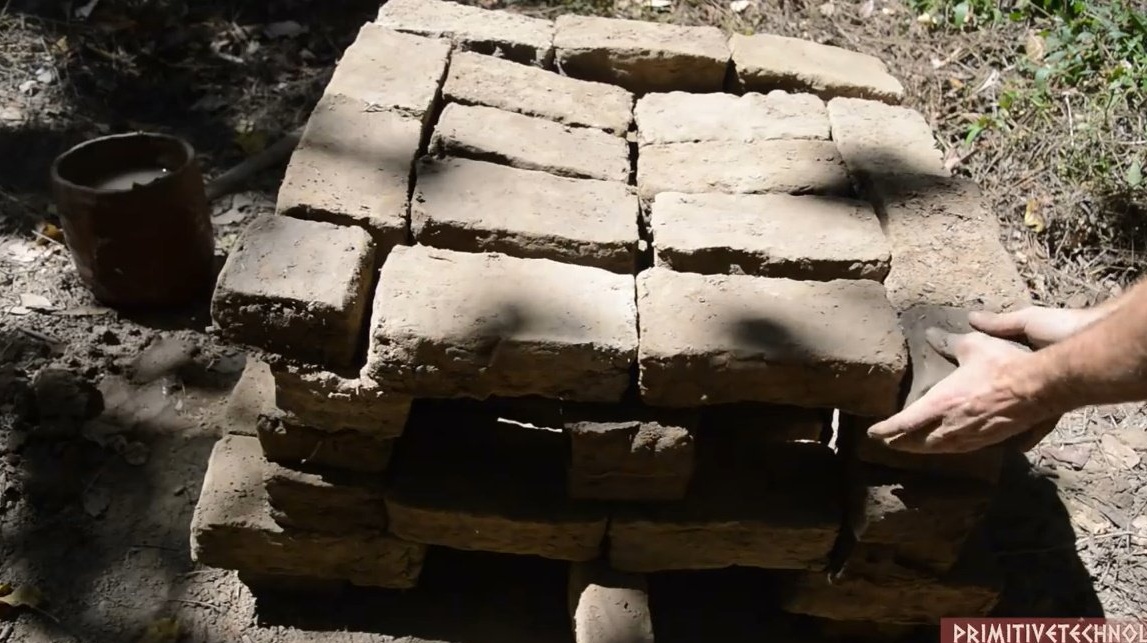
At the end, we coat all the cracks with a solution.
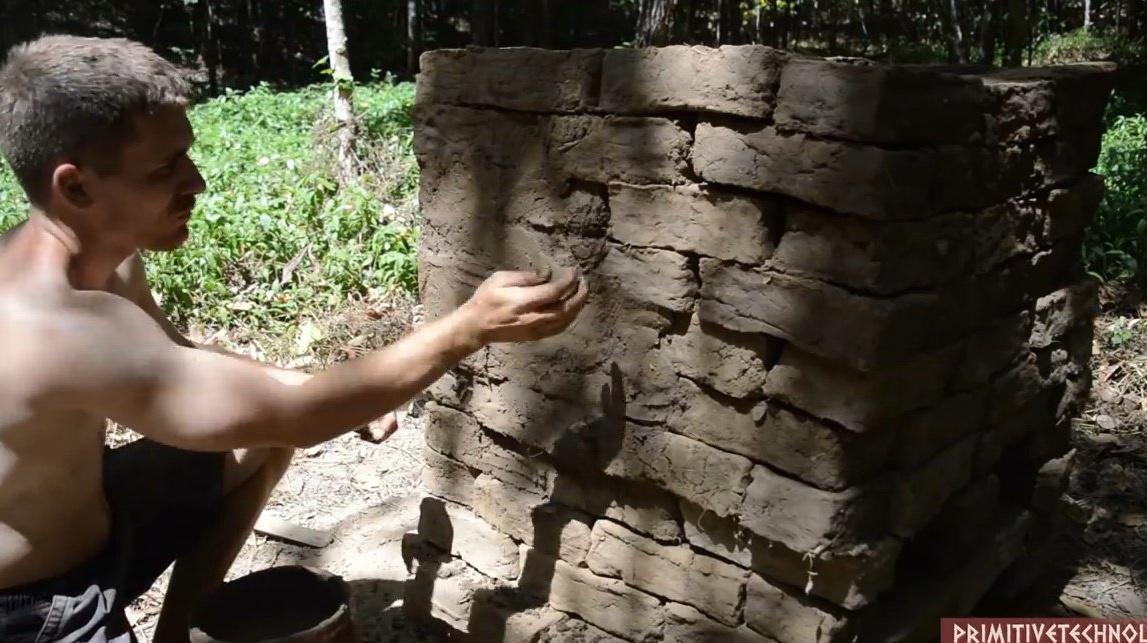
The oven is ready, but it is not recommended to start a fire right away, in order to avoid cracking the putty.


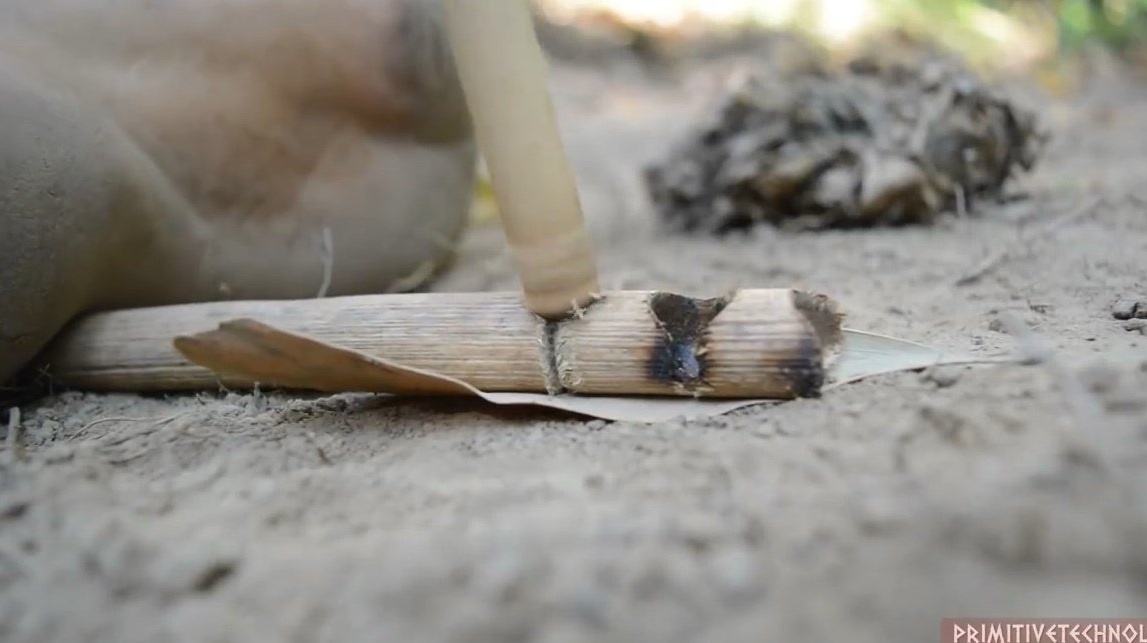
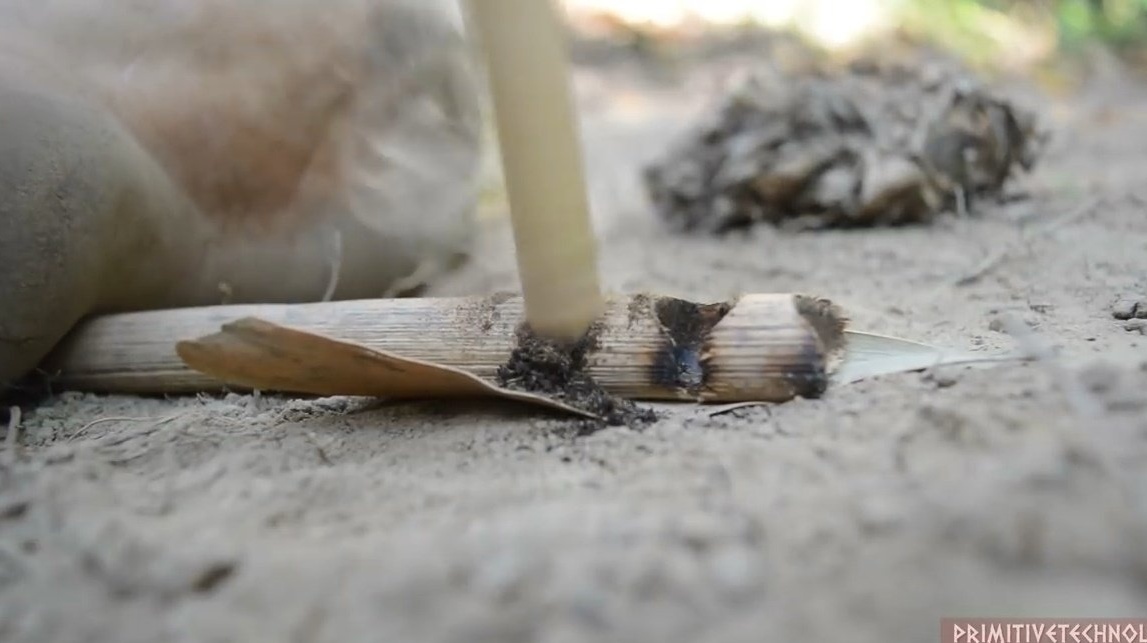
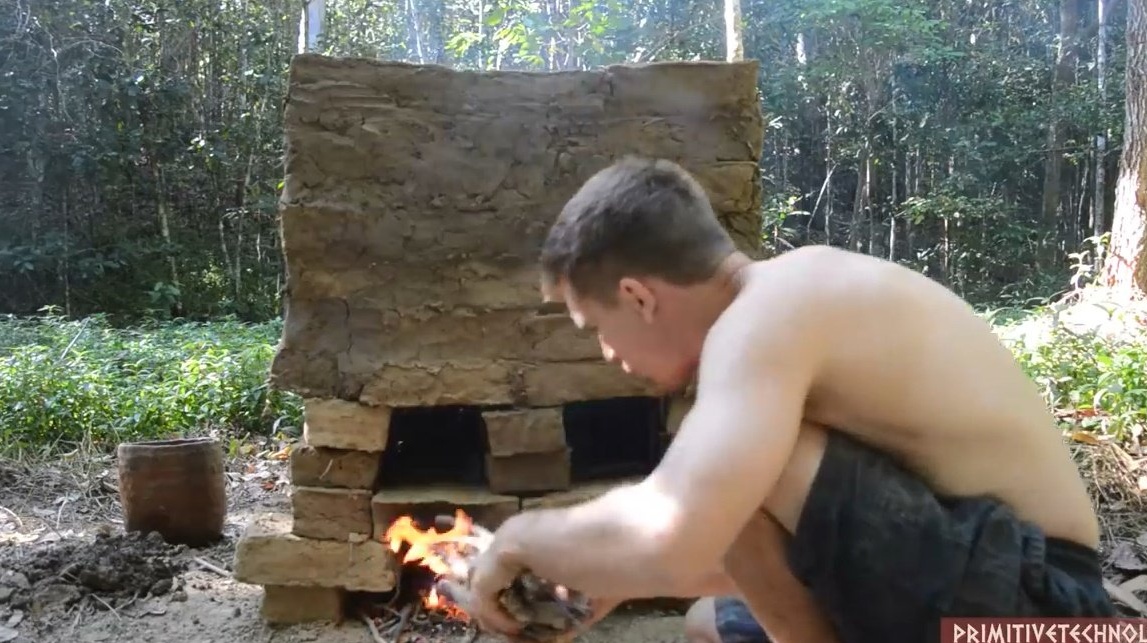
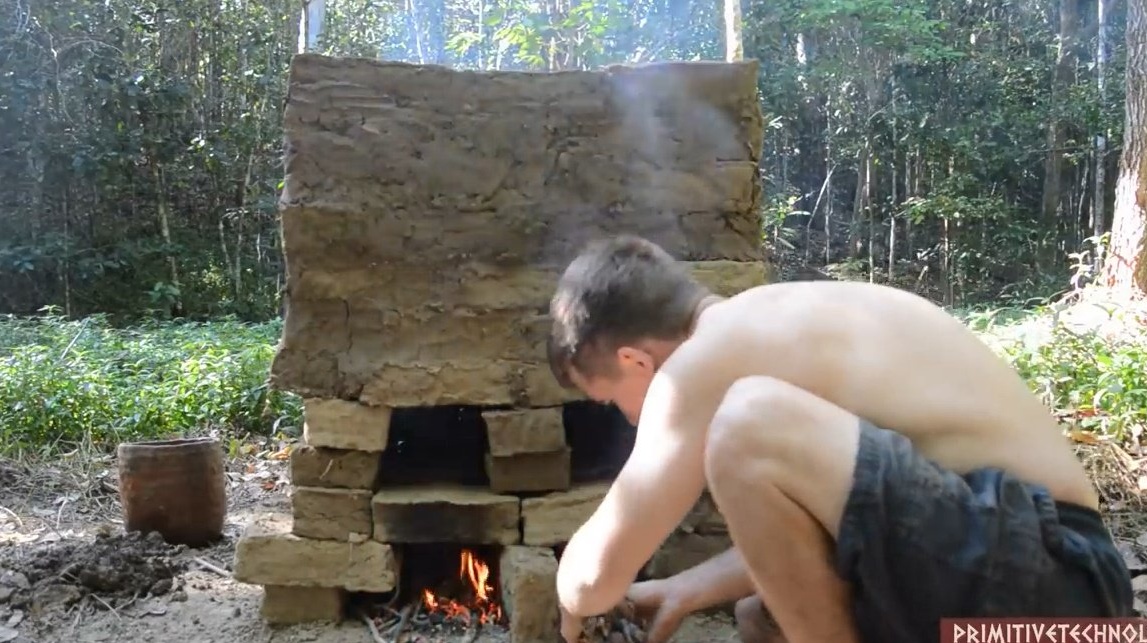
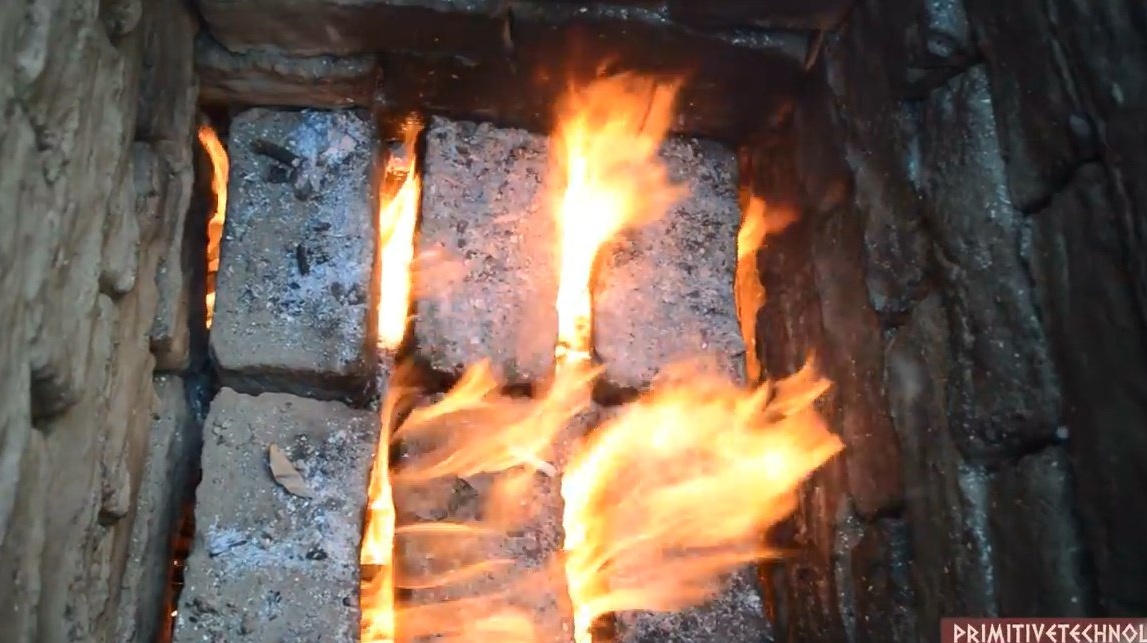
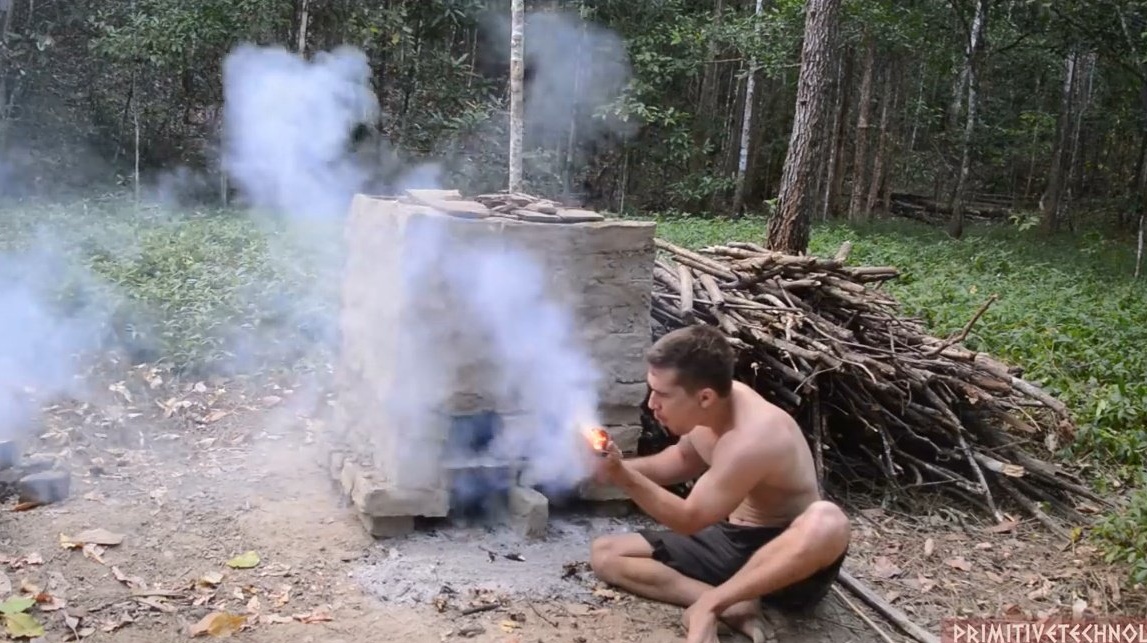
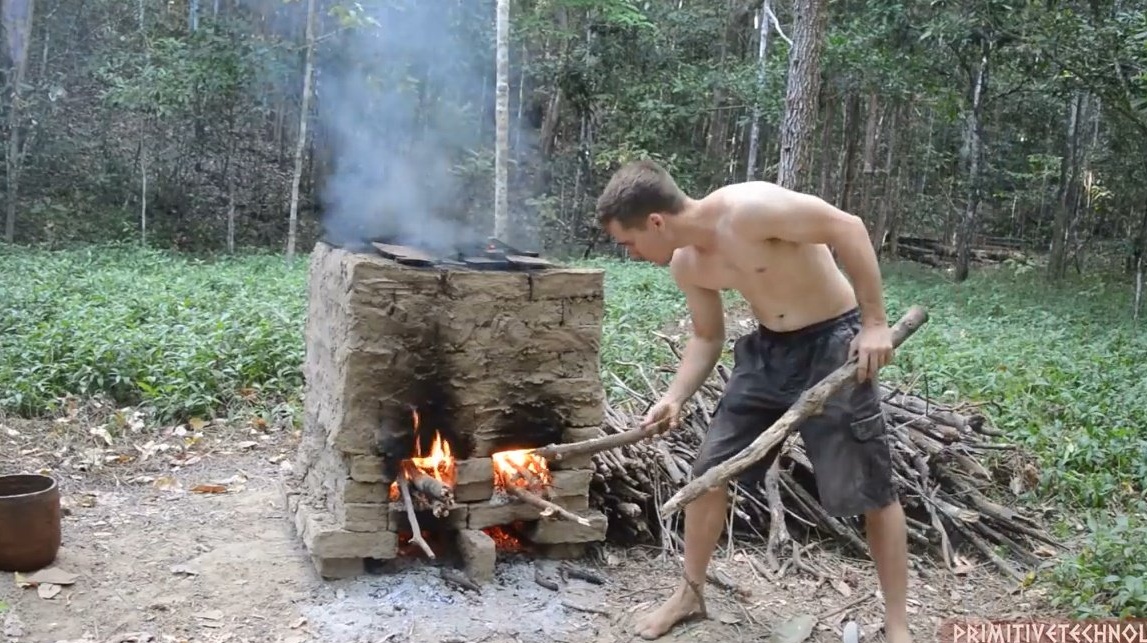
Next, we kindle the fire in the cellar, warm the lower grates. To do this, we use the ancient technology of lighting a fire by friction. Need two sticks and dry leaves.

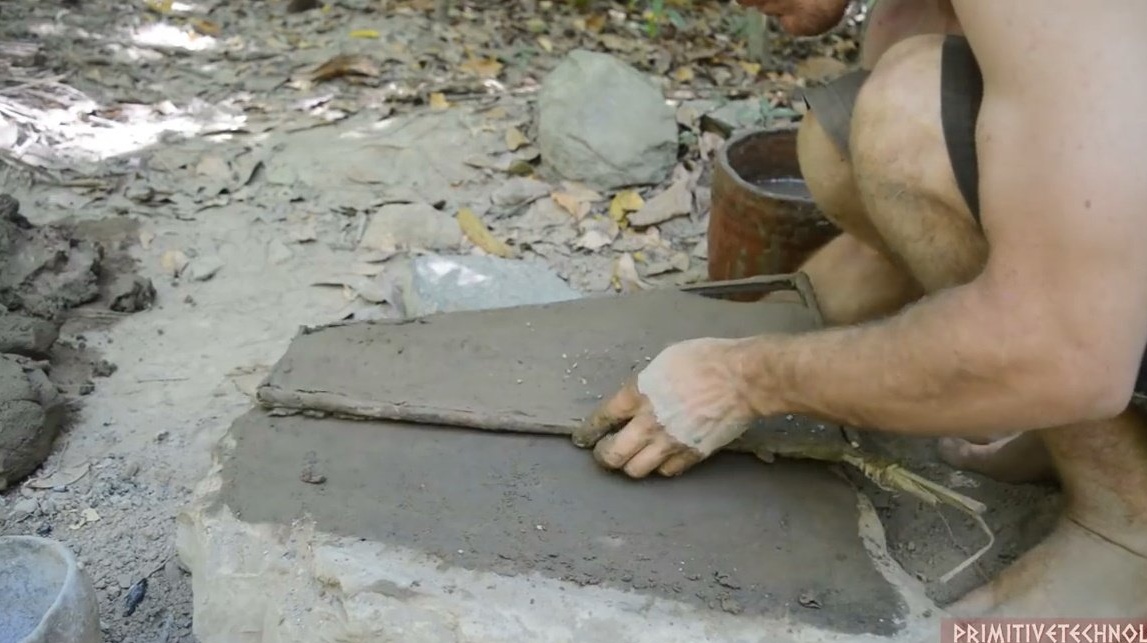
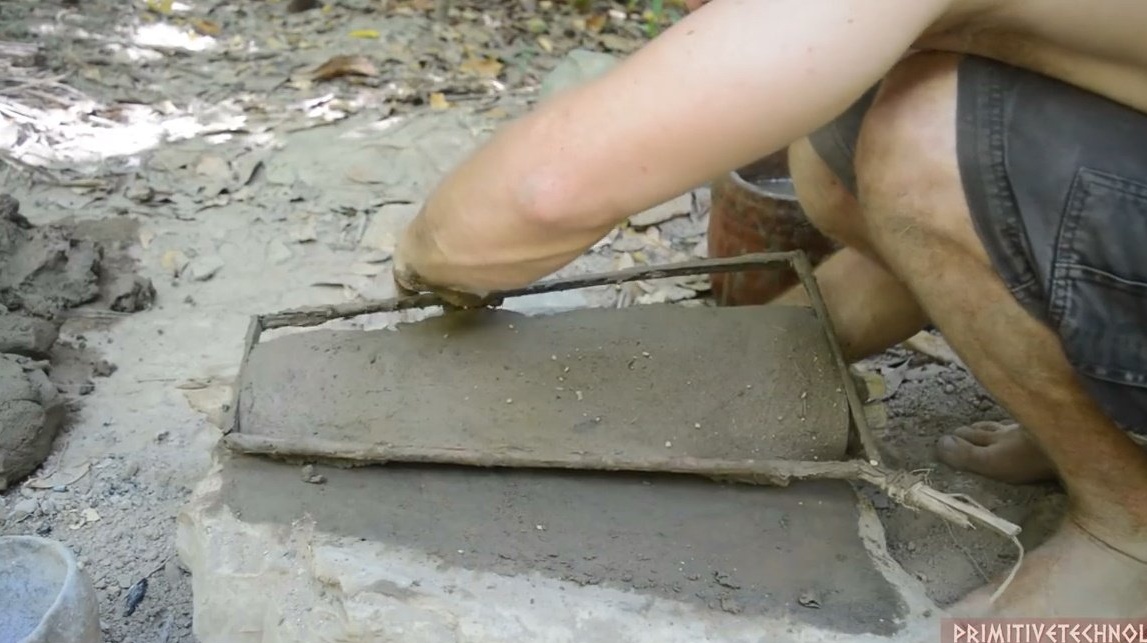
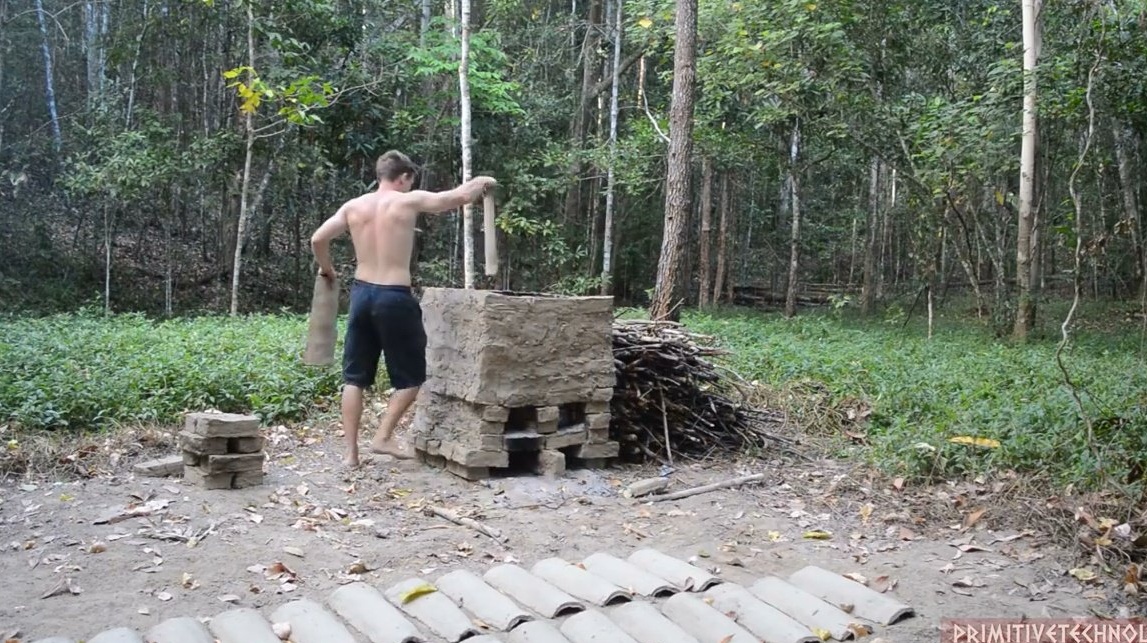
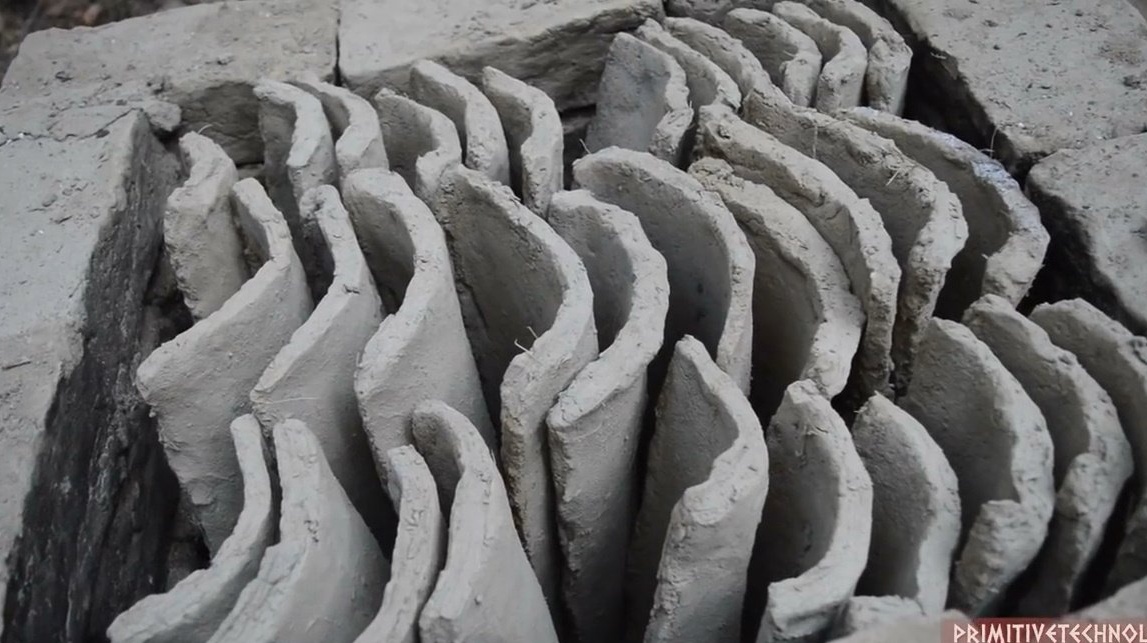
The next stage is the manufacture of tile tiles. To do this, you also need a frame or shape. As the last, reeds are great. The surface on which the tile will be formed is sprinkled with dust.


Then we put the mold on a piece of wood, a block and give it a curved shape of a tile. The external surface is thoroughly wetted and smoothed.
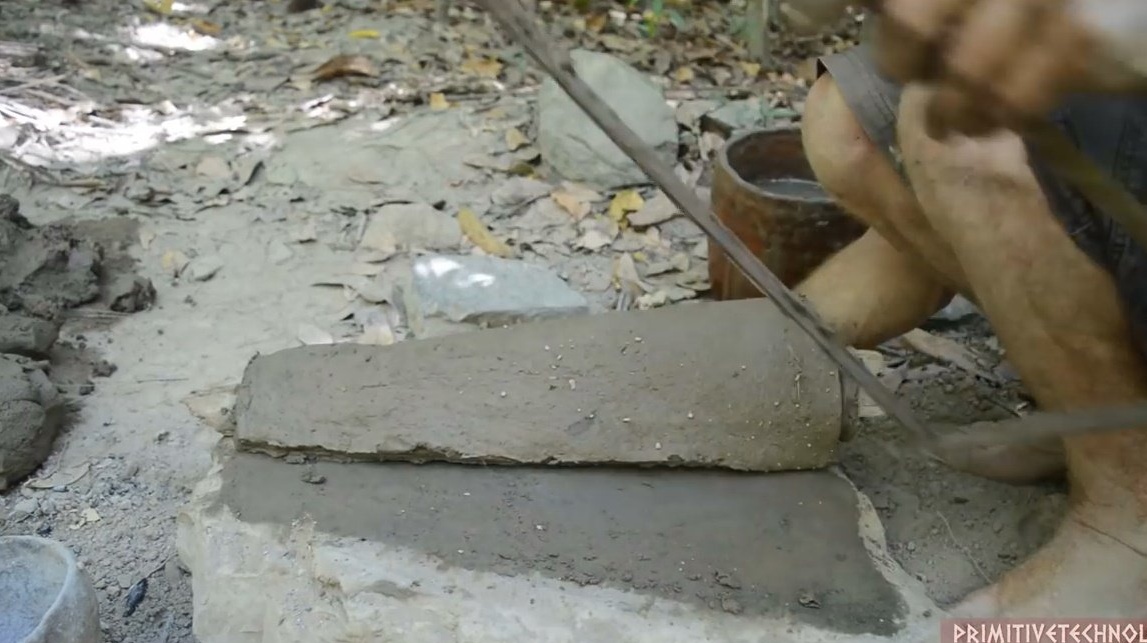
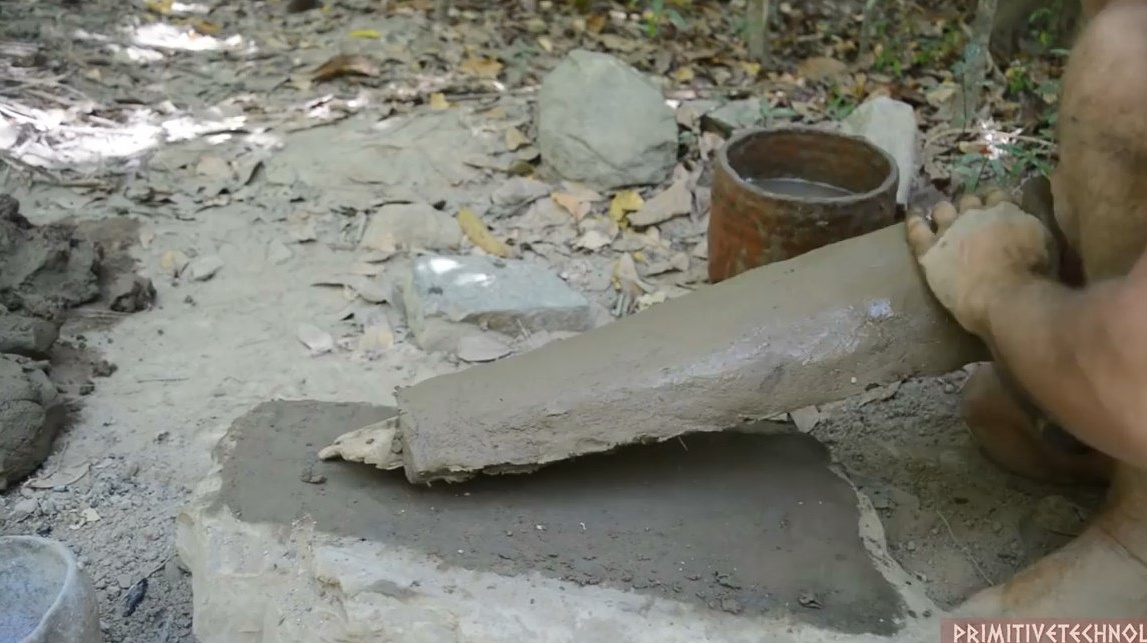
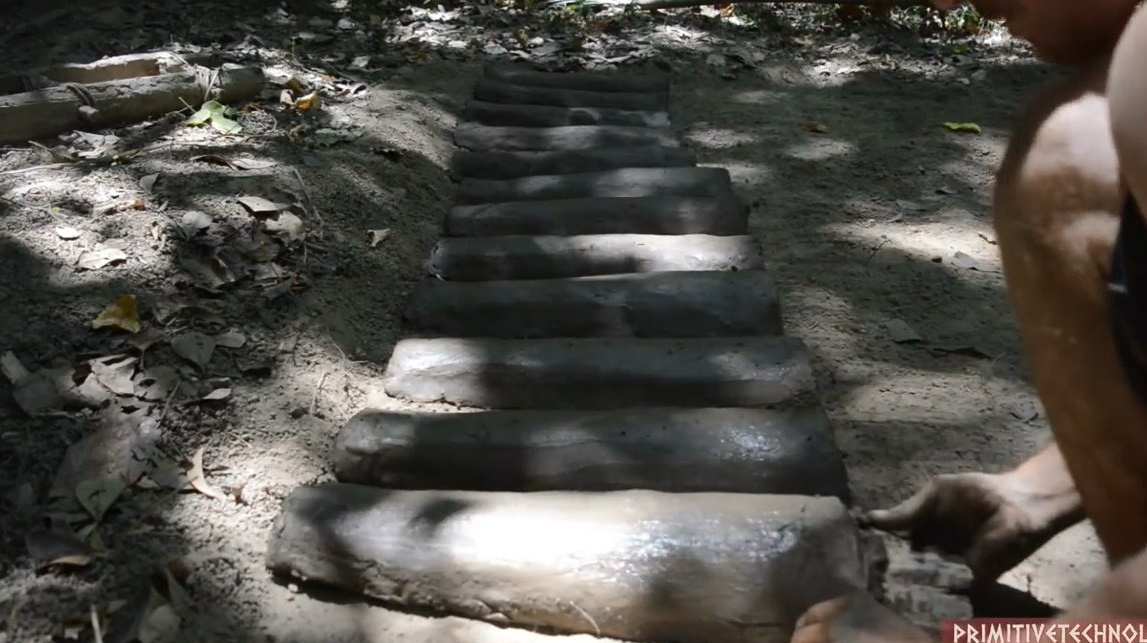
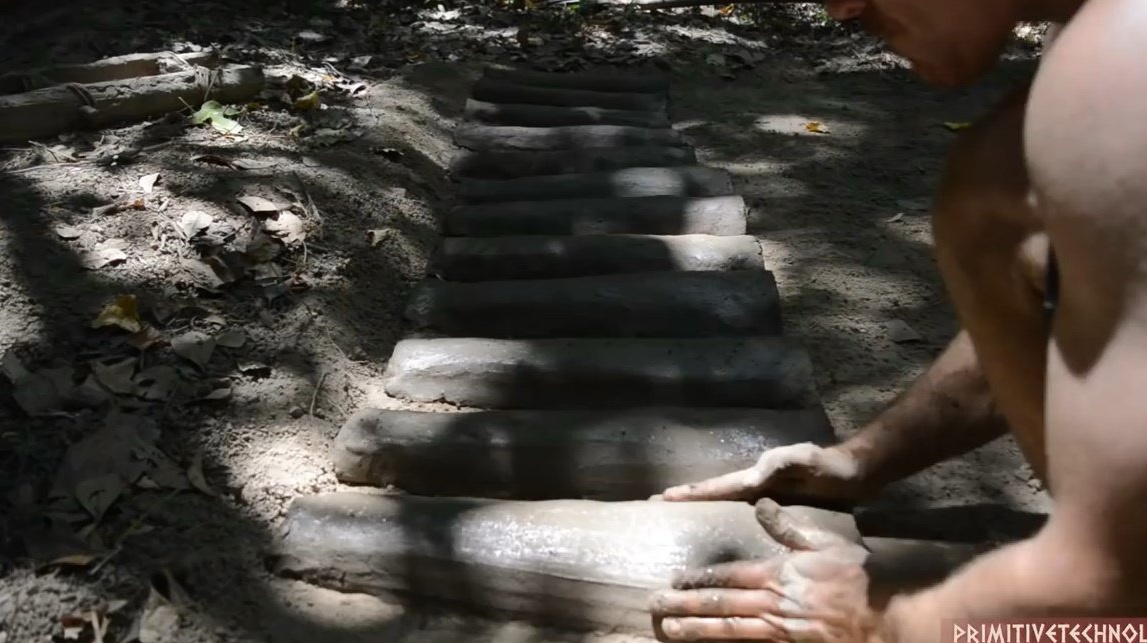
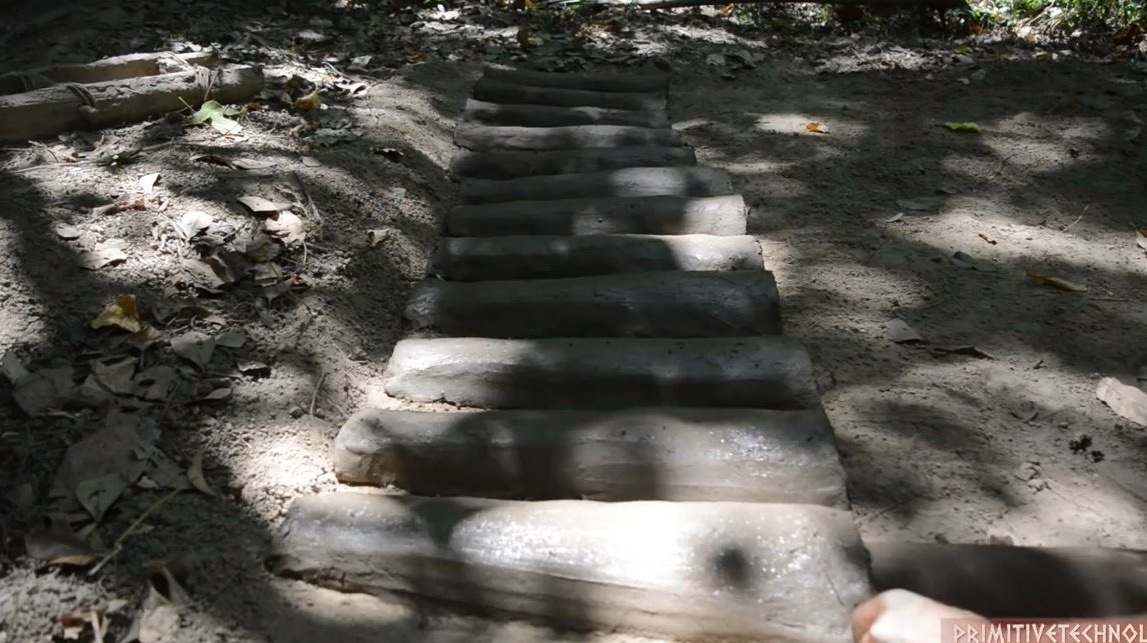
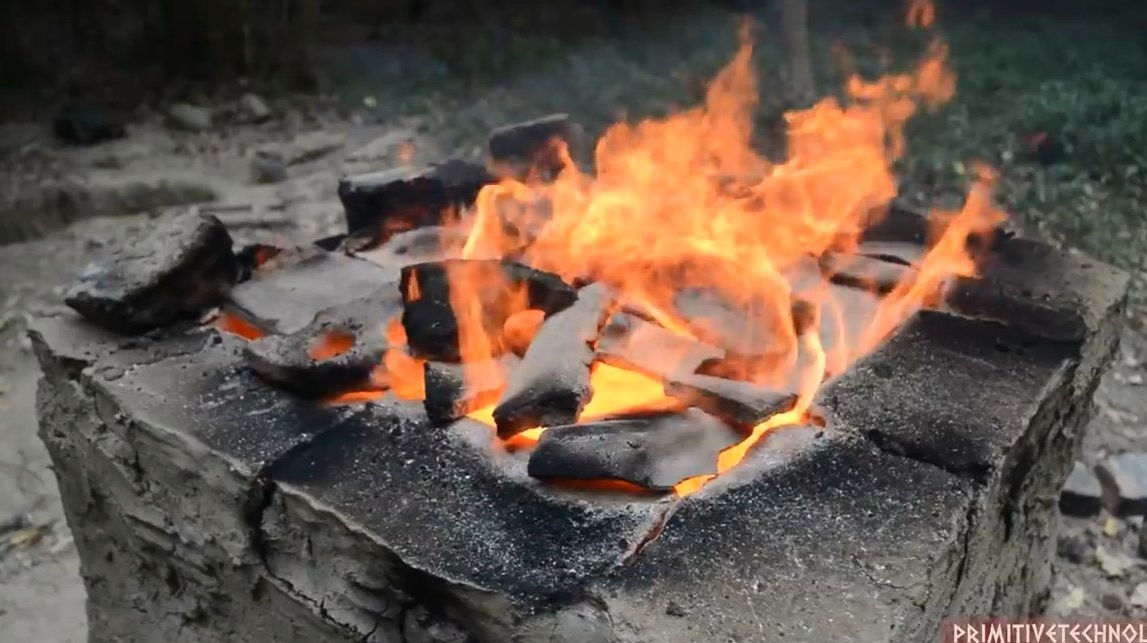
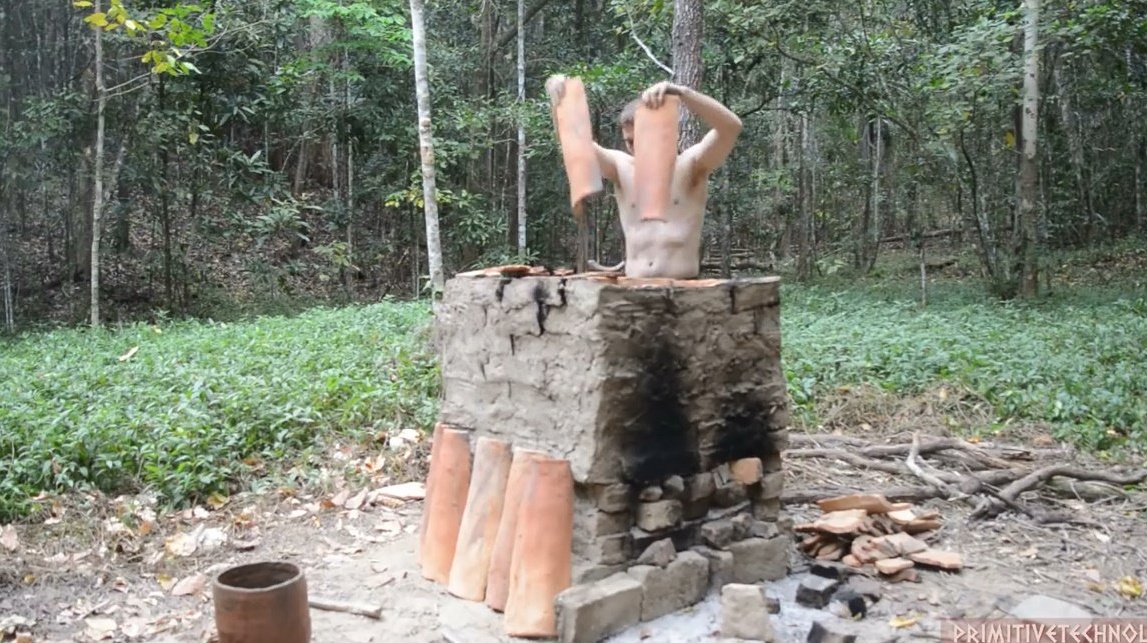
We dry the plates in the shade, and put them in the oven. We close on top with pieces of sandstone.
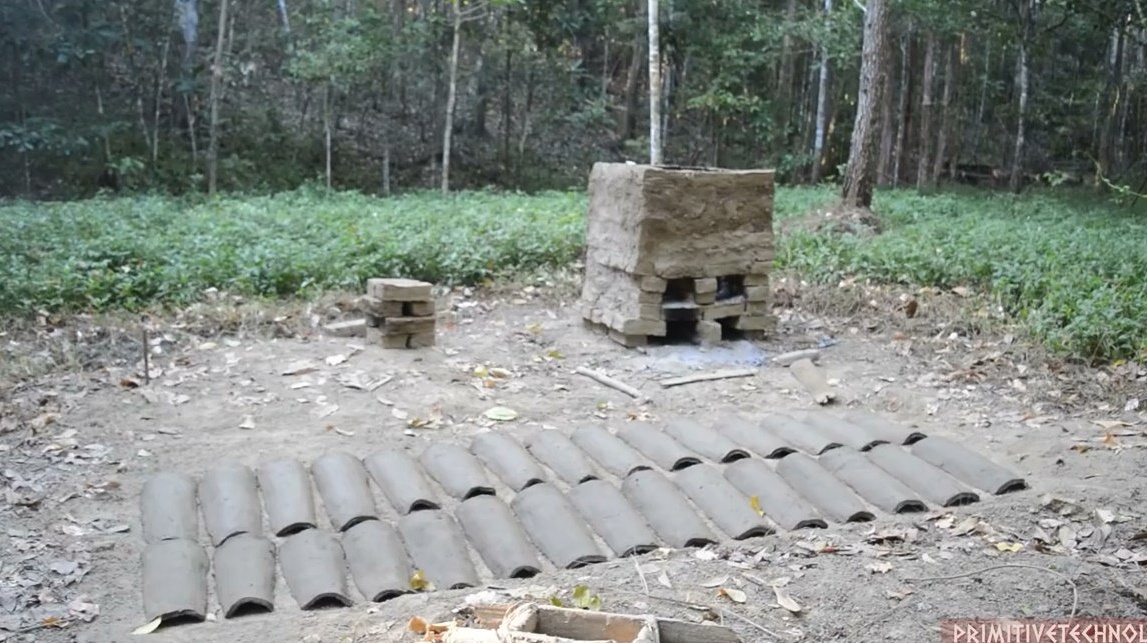
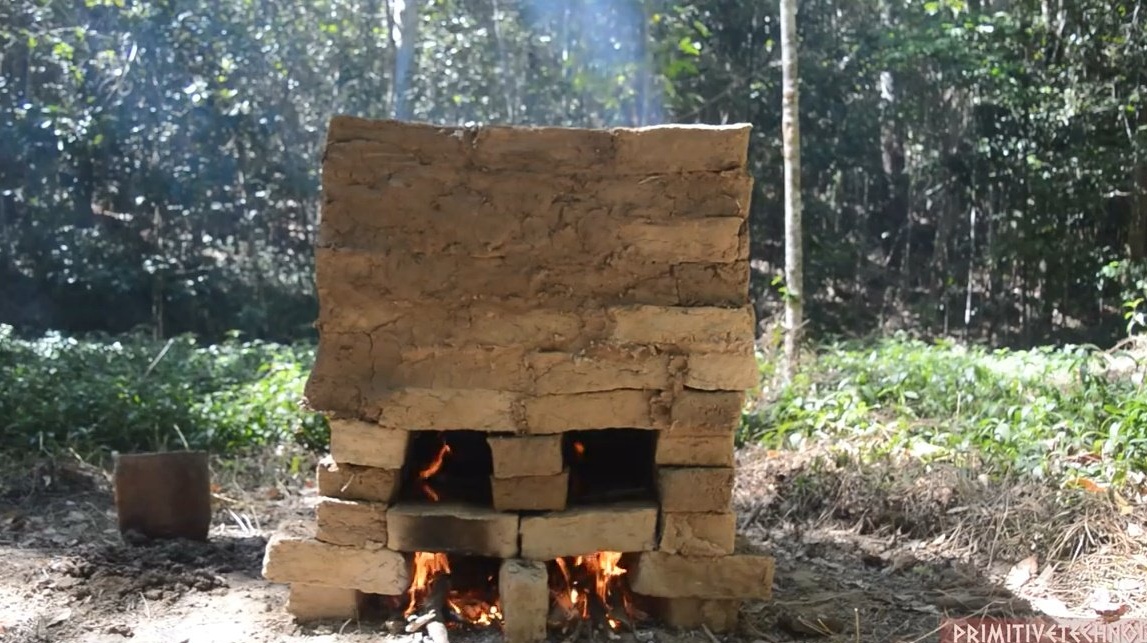
We kindle the stove. And so the billets are burned in the furnace for at least 3 hours, constantly tossing firewood.
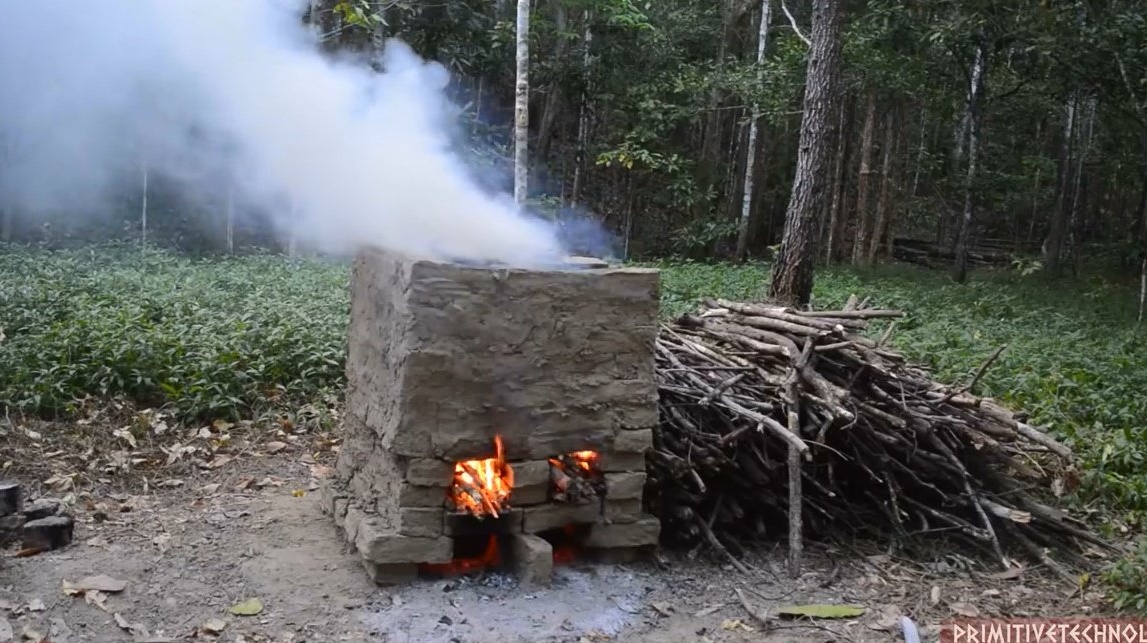
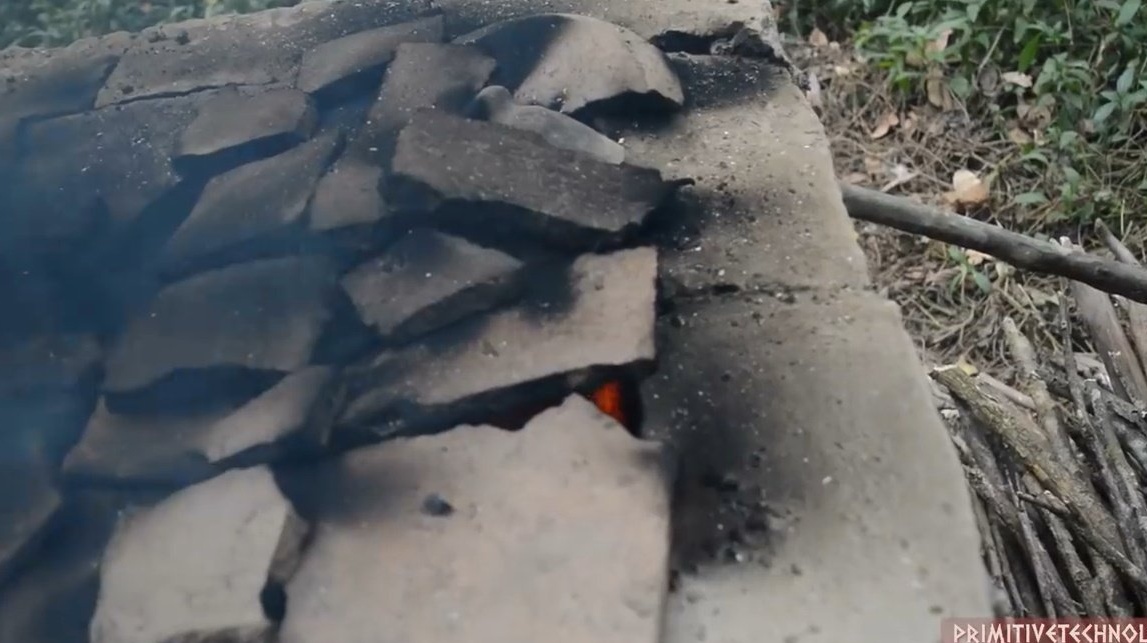
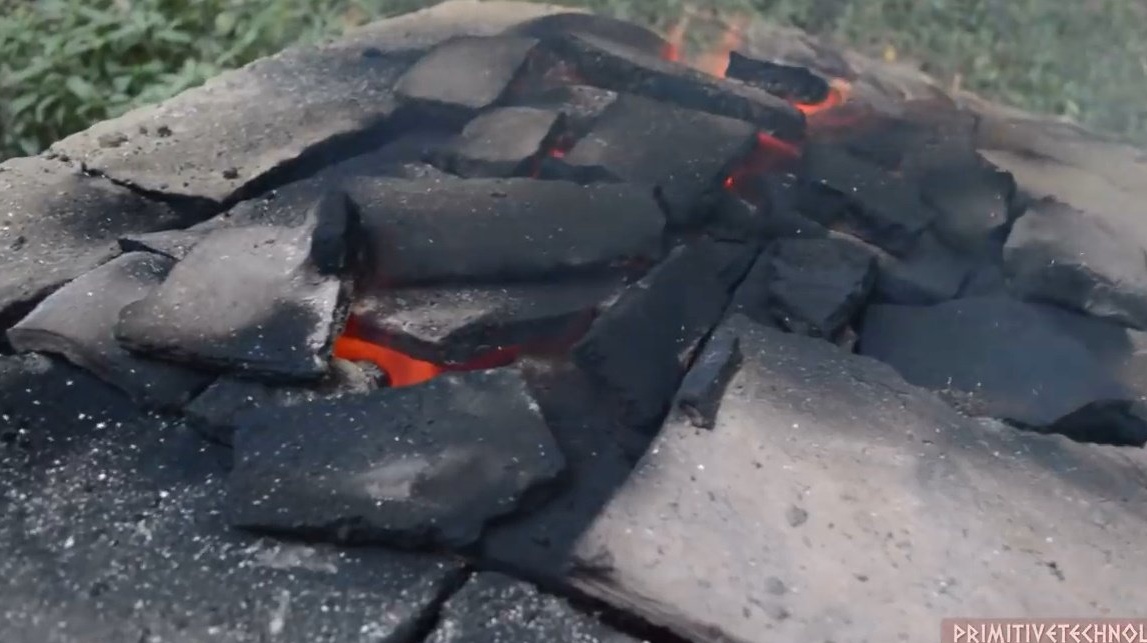
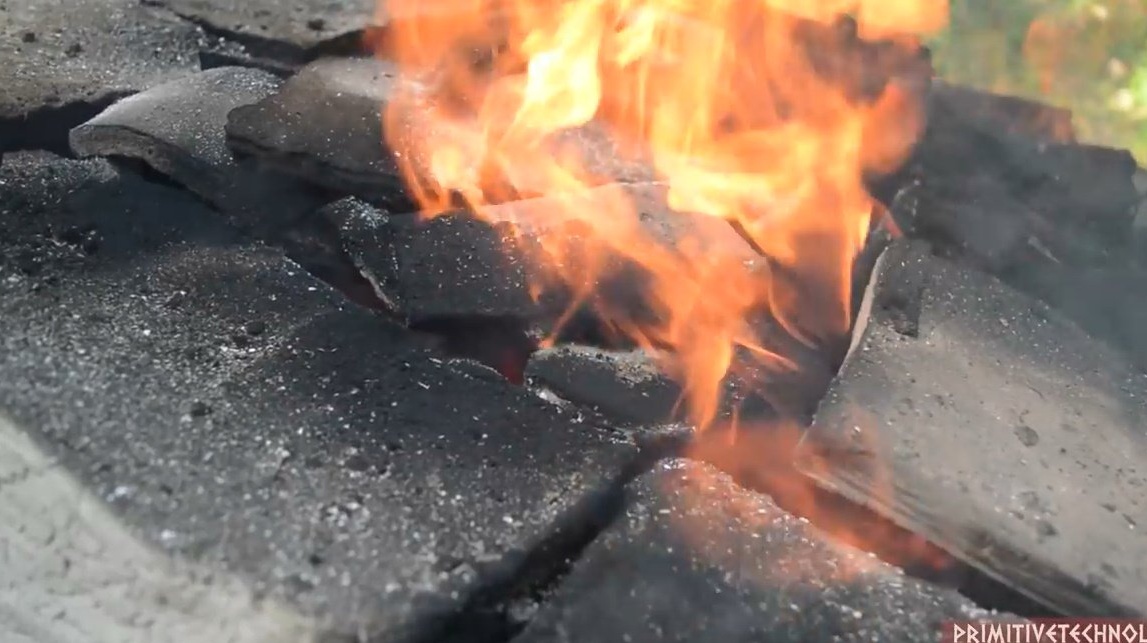
The active firing phase is over, the sandstone is red-hot. In order to prevent cold air from entering the oven, we close the blown-out remains of bricks, stones, and leave it to cool gently.
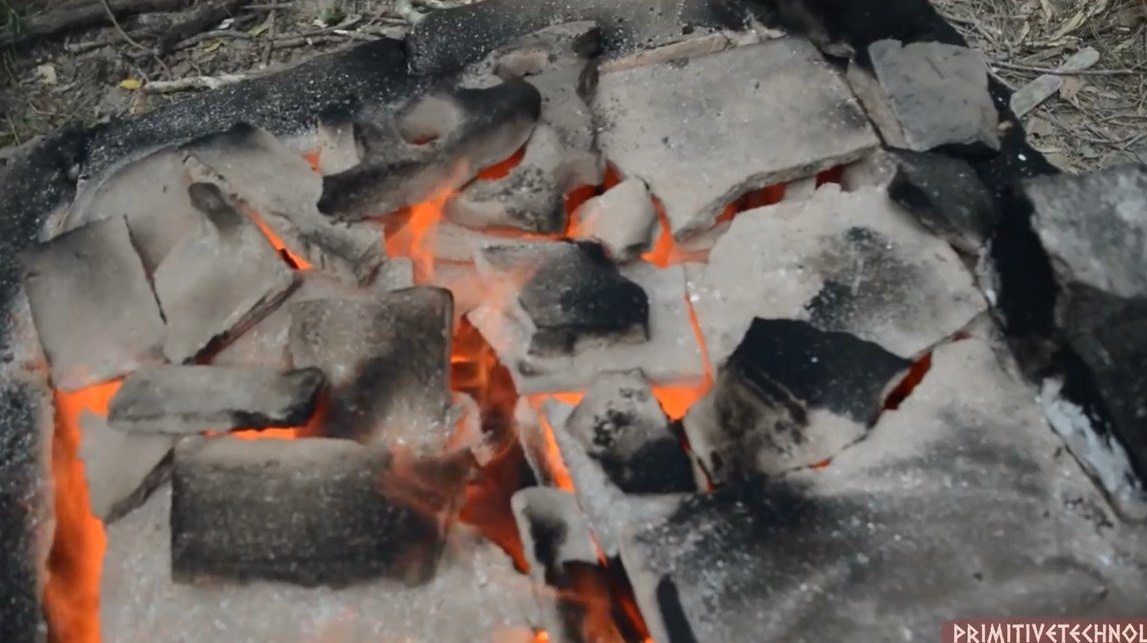
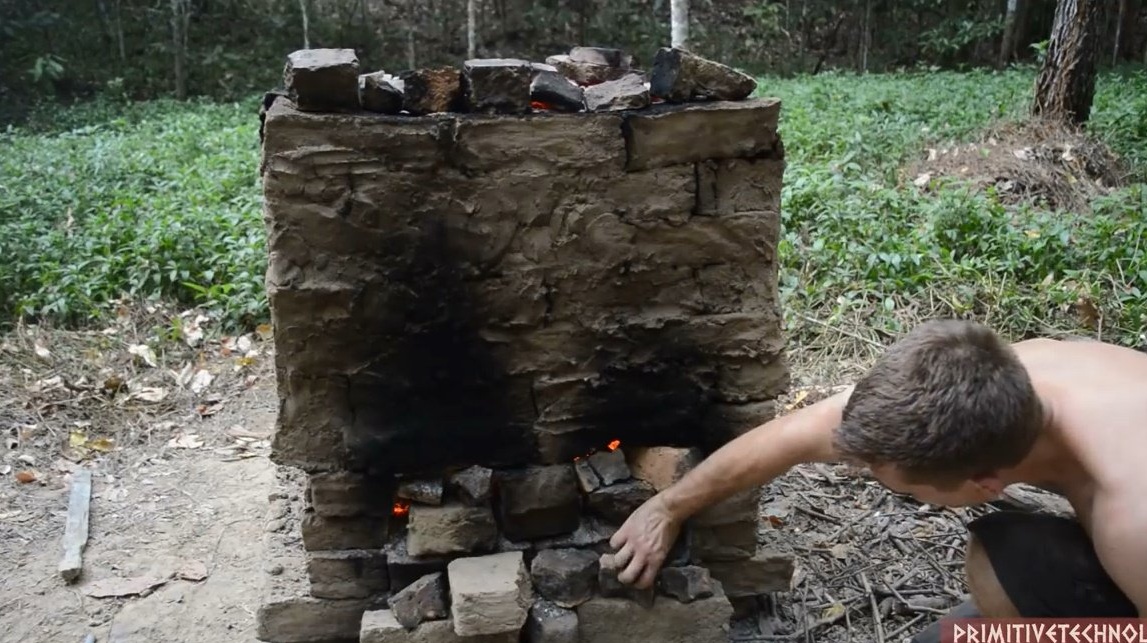
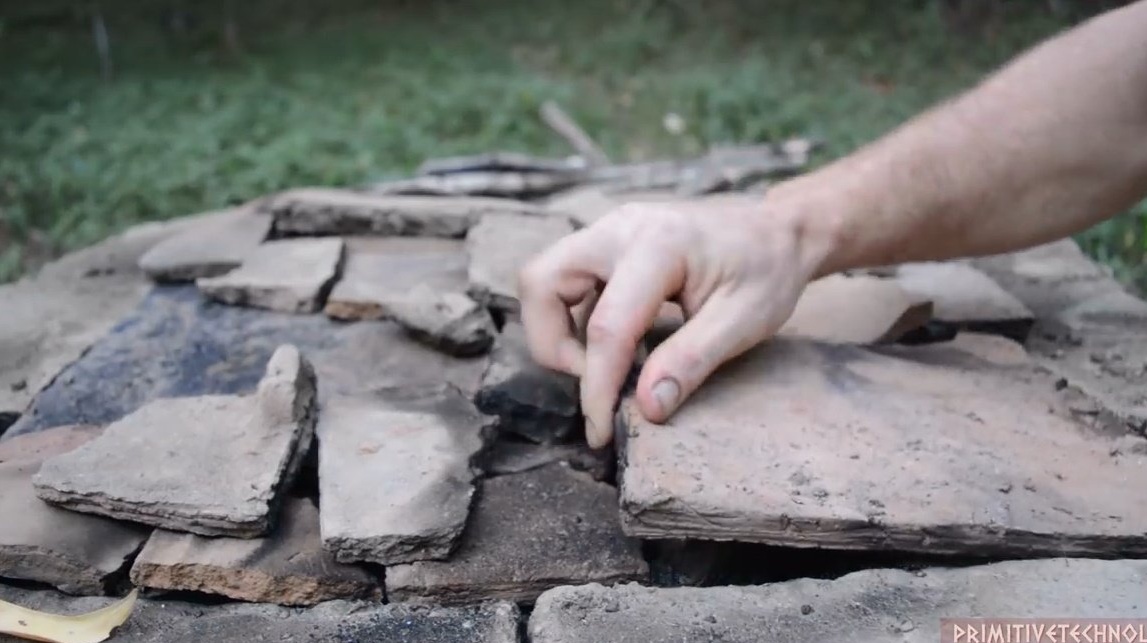
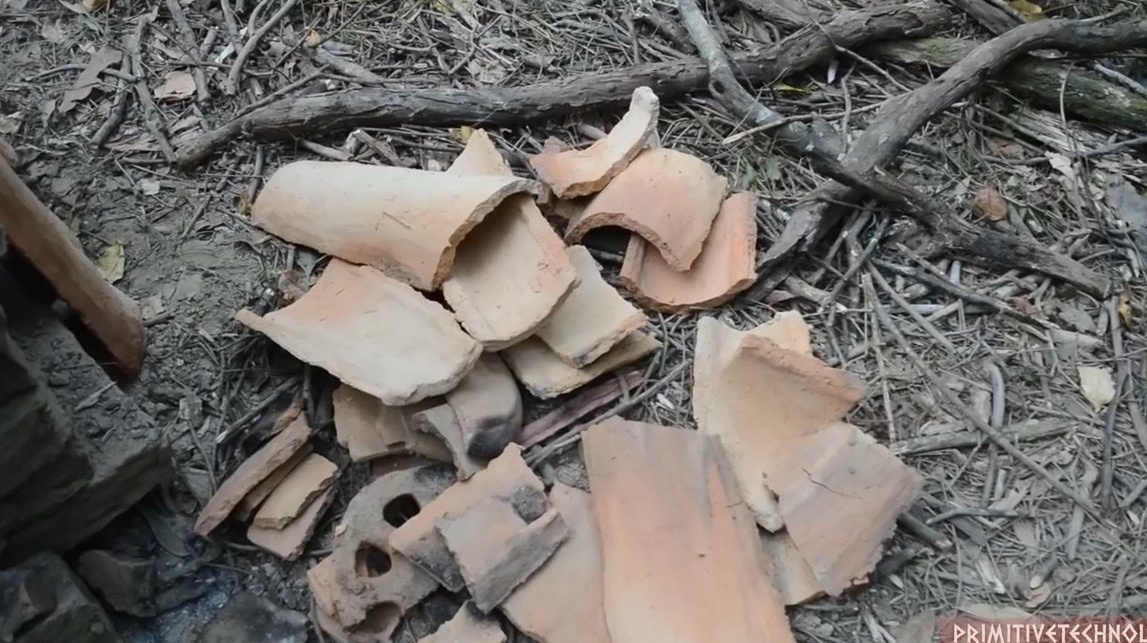
The next day, we take out the stove from the furnace: it is seen how the interspersed metal due to high temperatures.
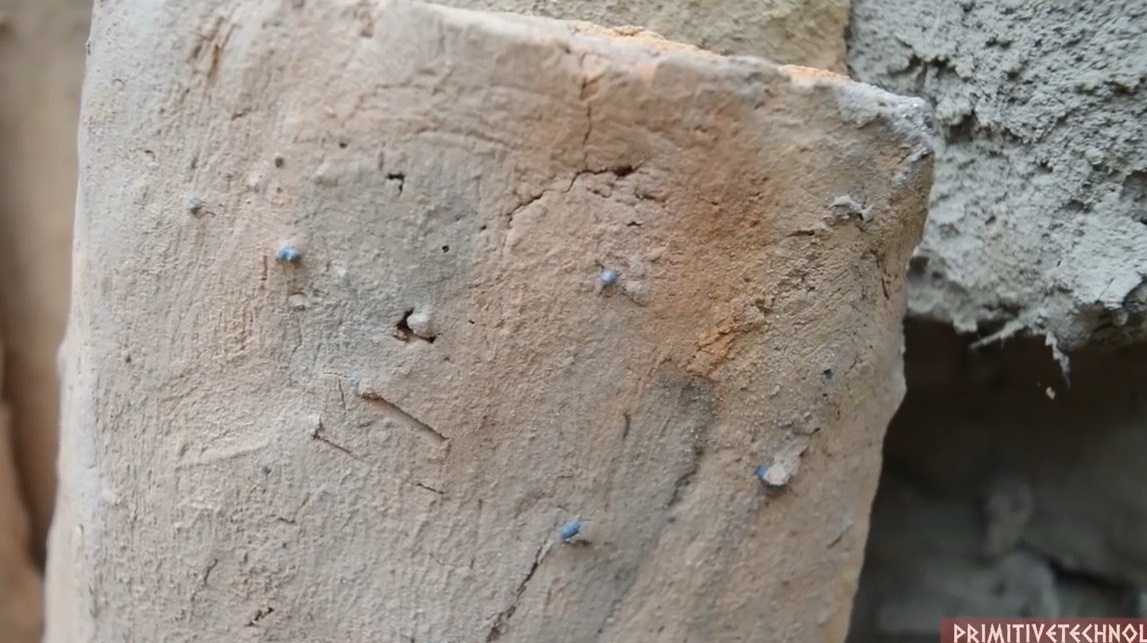
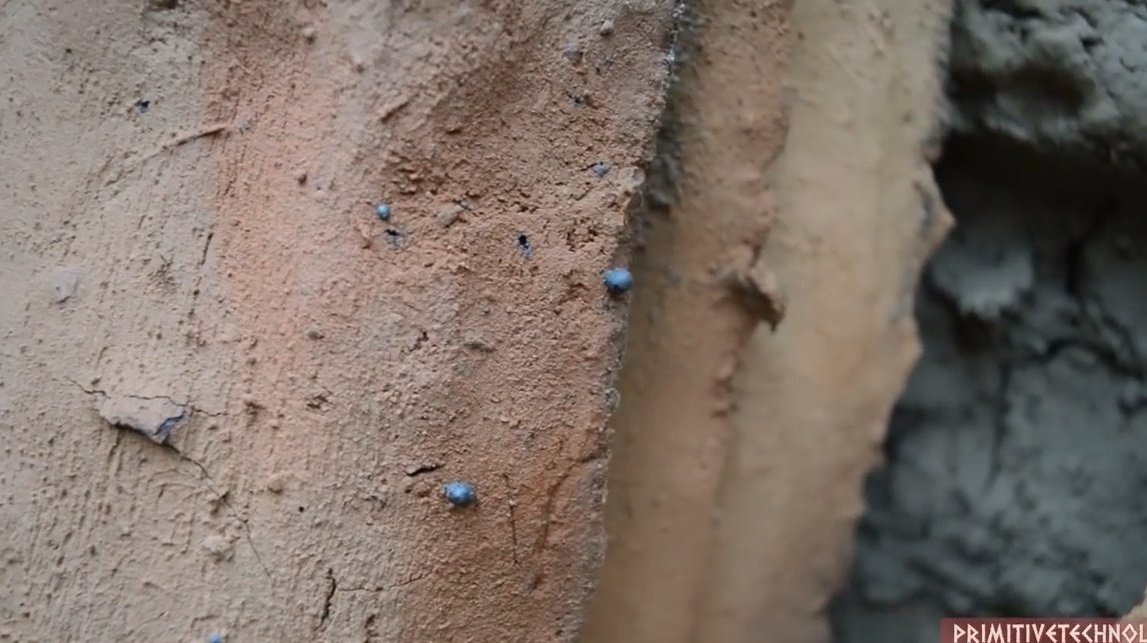
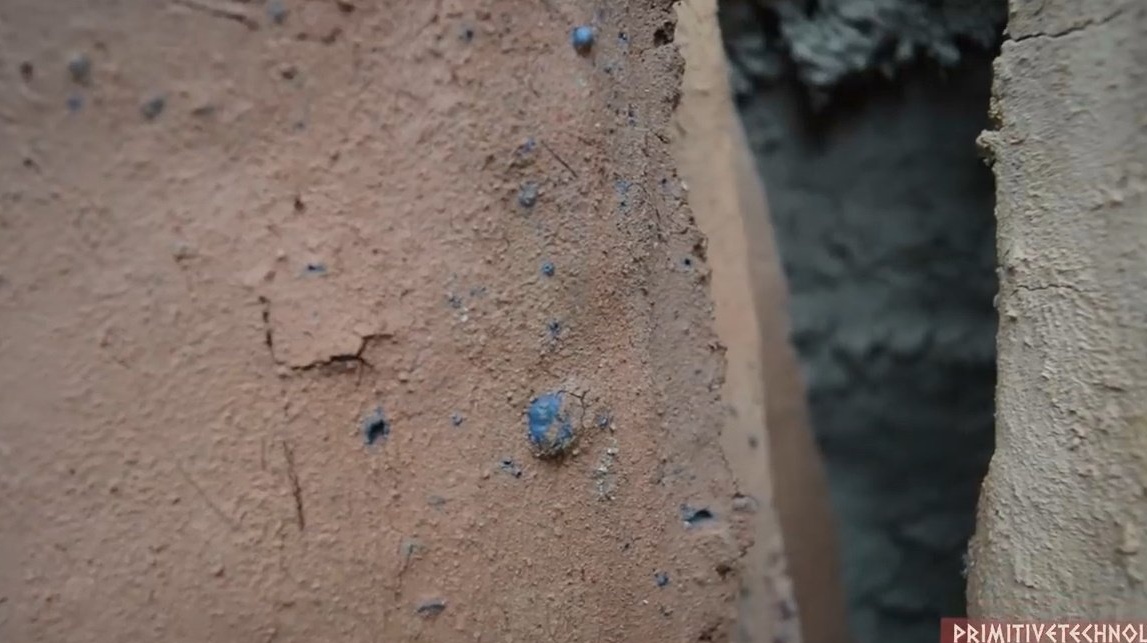
There was a lot of sand and silt in the mud, so some of the slabs broke. They can be used next time.
Try it yourself! Unforgettable romance and memories for life!
Thanks to the author for a useful master class of ancient technology!
All a good mood and interesting experiments!