
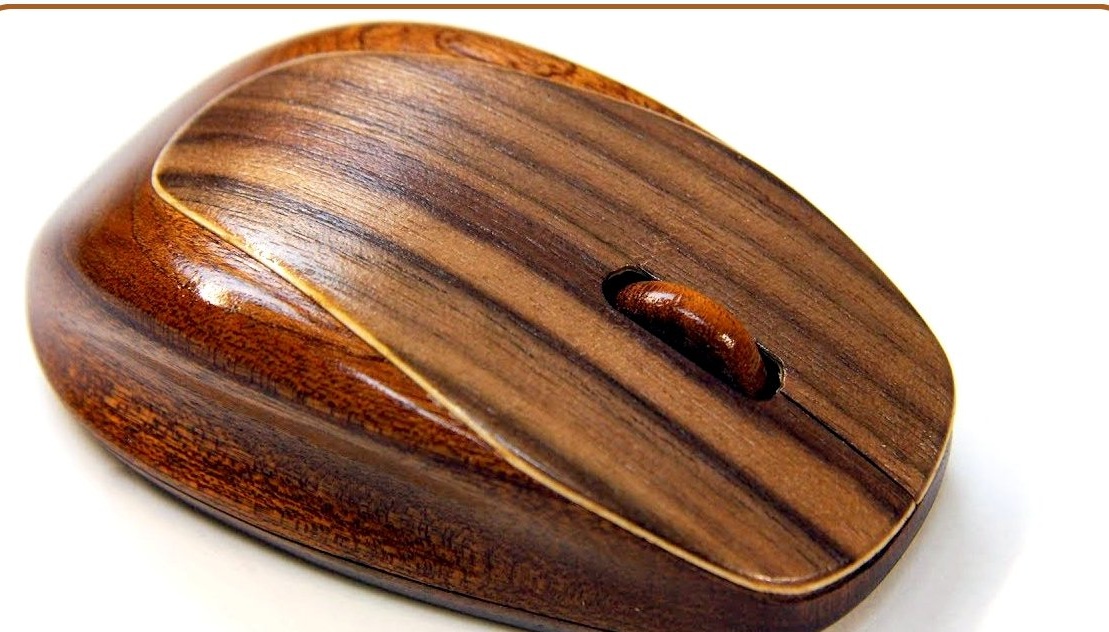
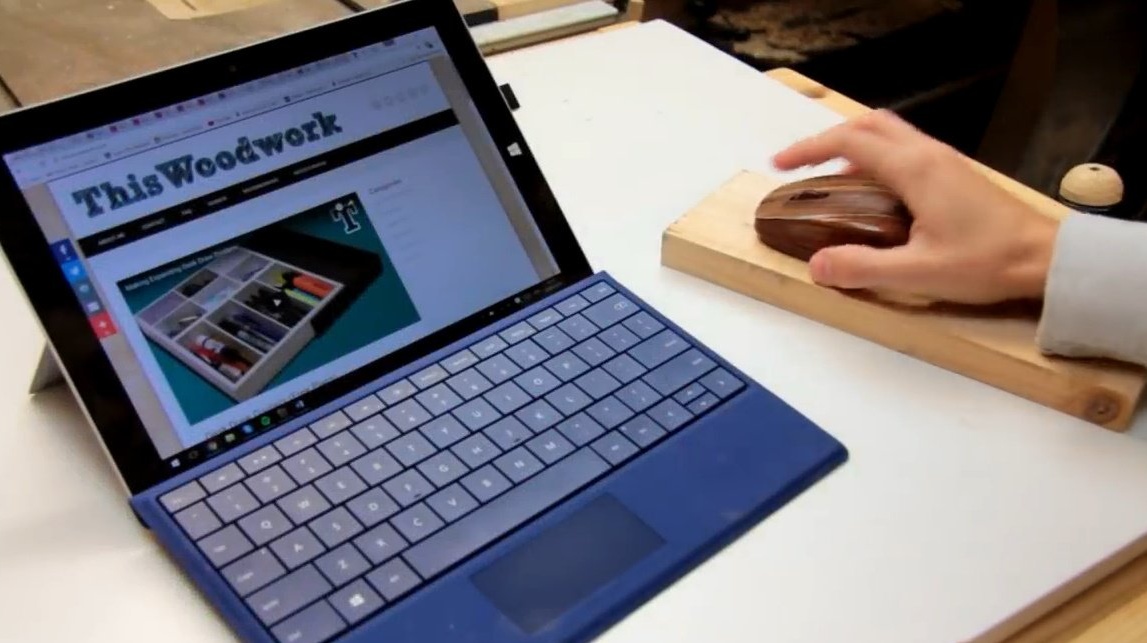
In this article, Alex, the author of YouTube channel "ThisWoodwork" will tell you how to make a case for a computer mouse from a tree!
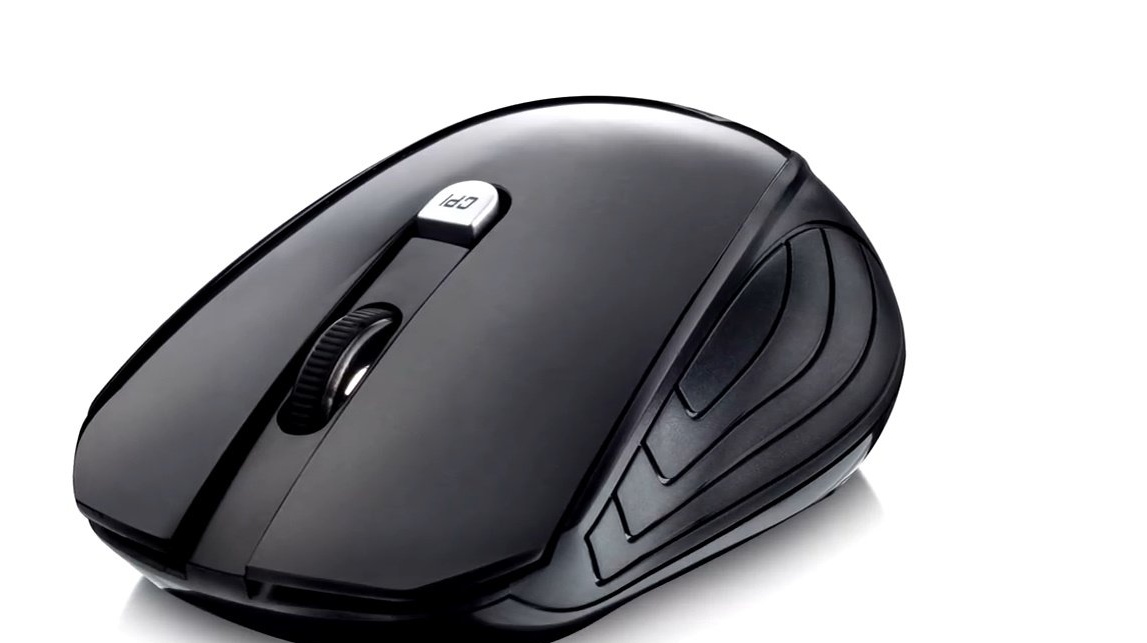
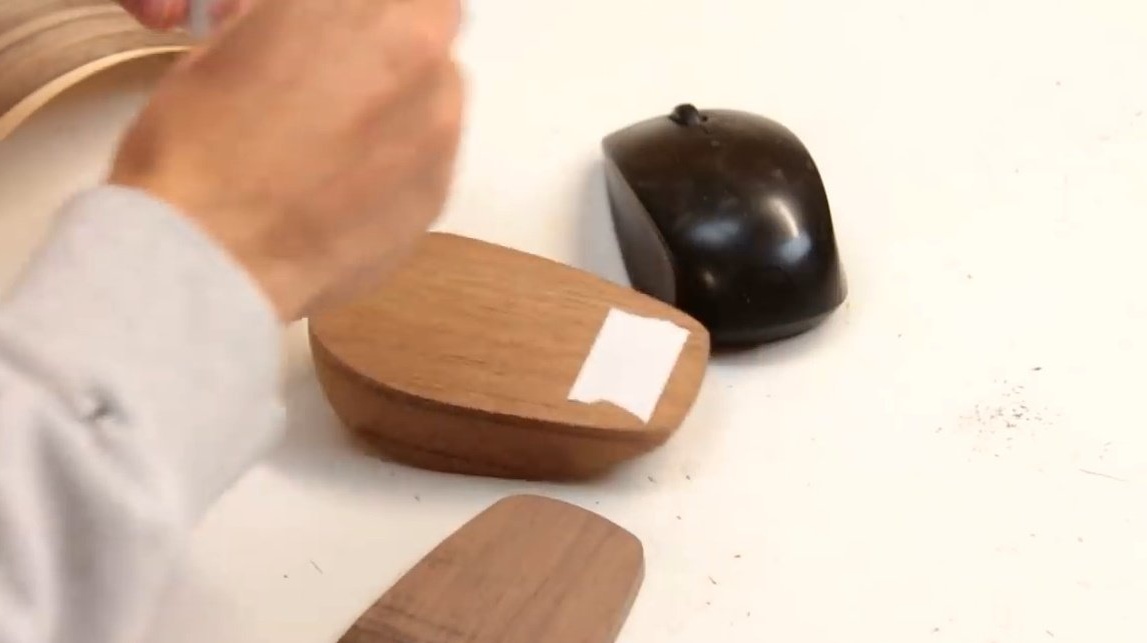
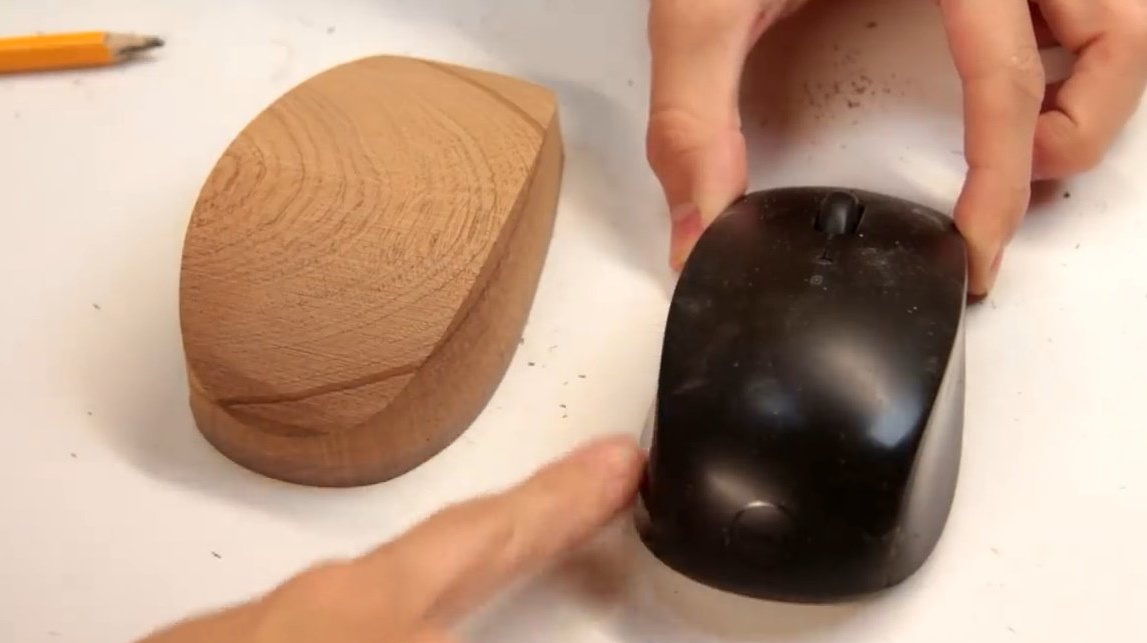
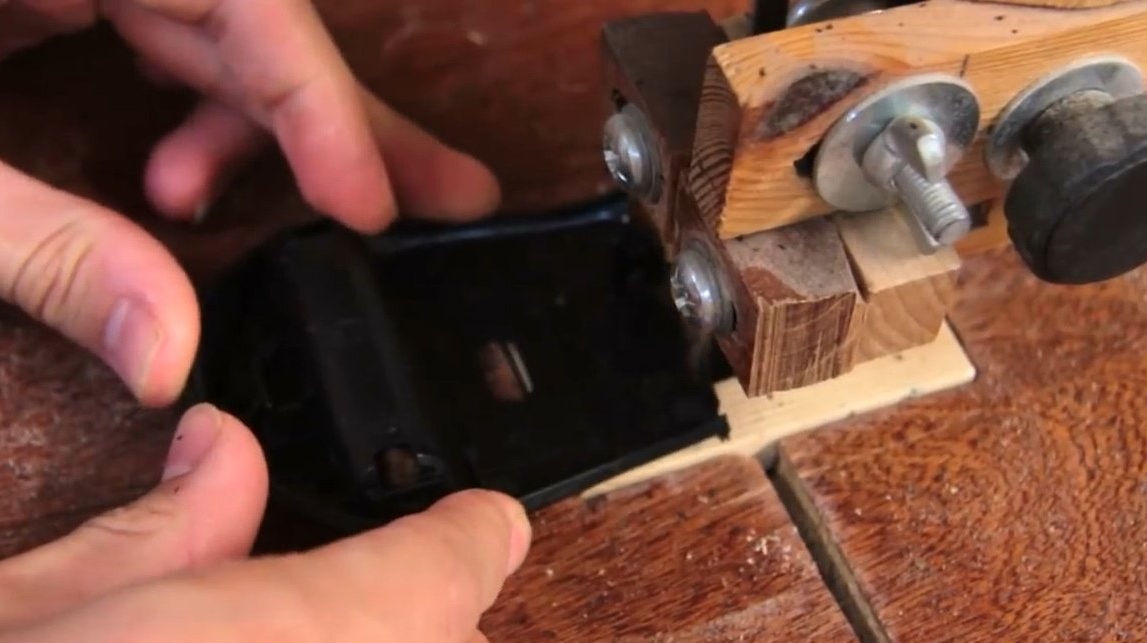
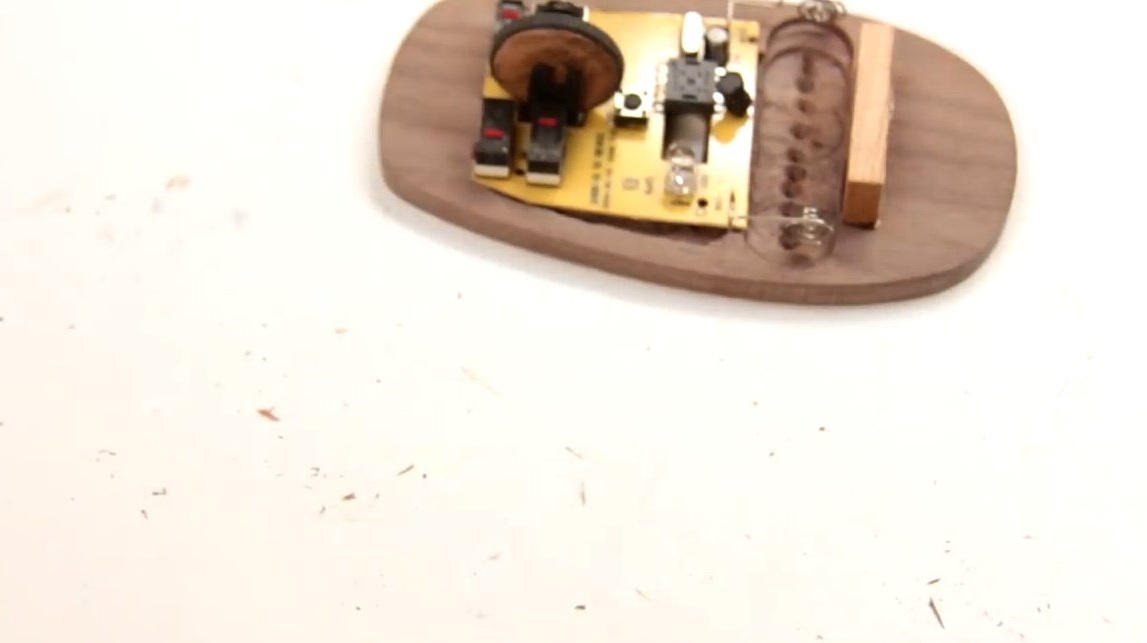
He will use this wireless mouse as a donor.
Materials
- Wireless mouse
- Mahogany bar
- Veneer
- Second glue, two-component glue
- A piece of foam
- masking tape
- Double-sided tape.
Instruments, used by the author.
- Band-saw
- Jigsaw, planer
- Drilling machine
- Grinding nozzles
- Forstner drills
- Belt sander
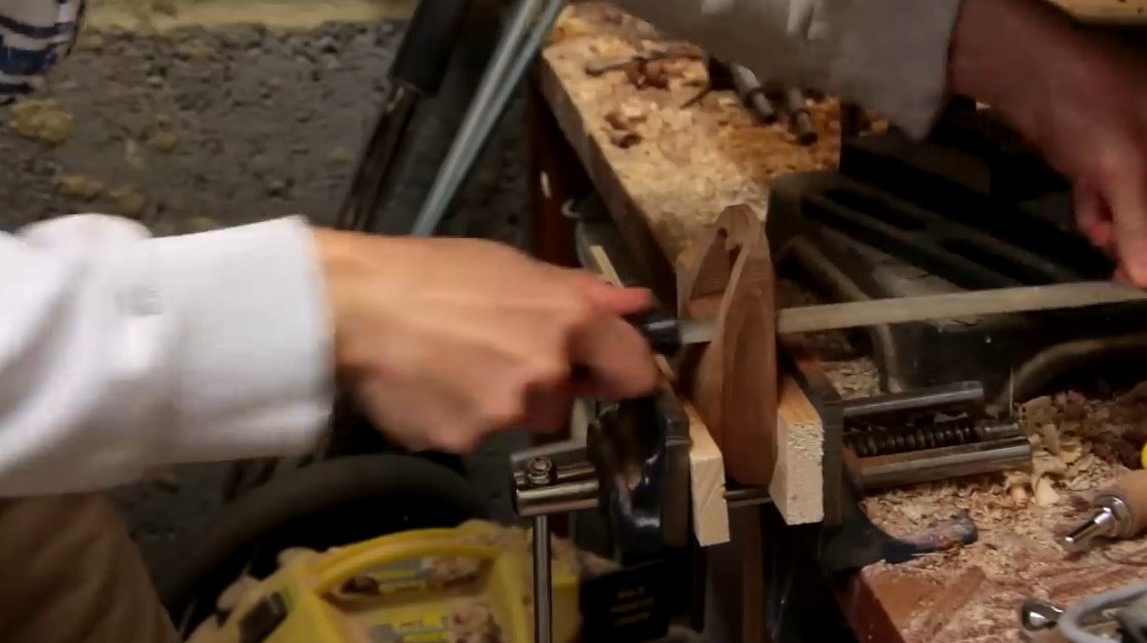
- Lathe, chisels
- A pencil.
Manufacturing process.
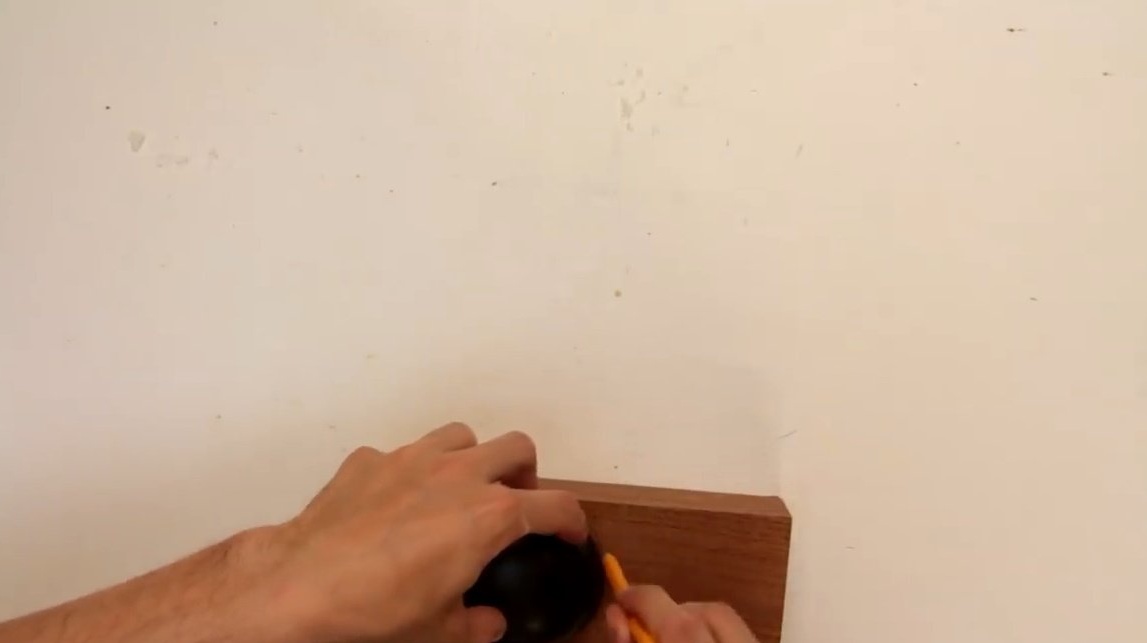
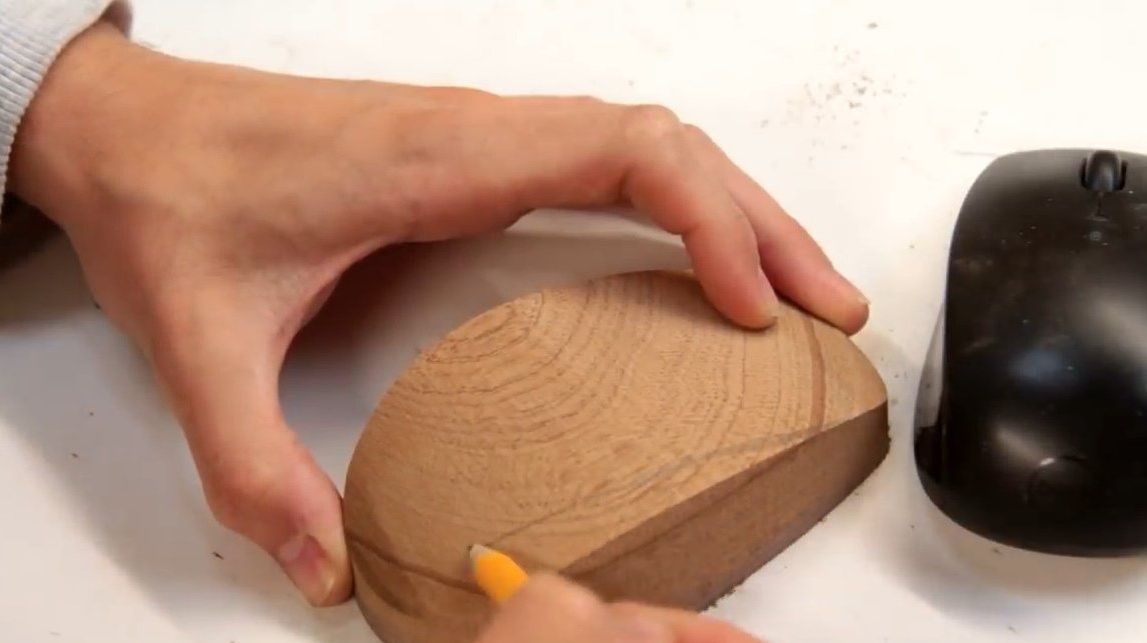
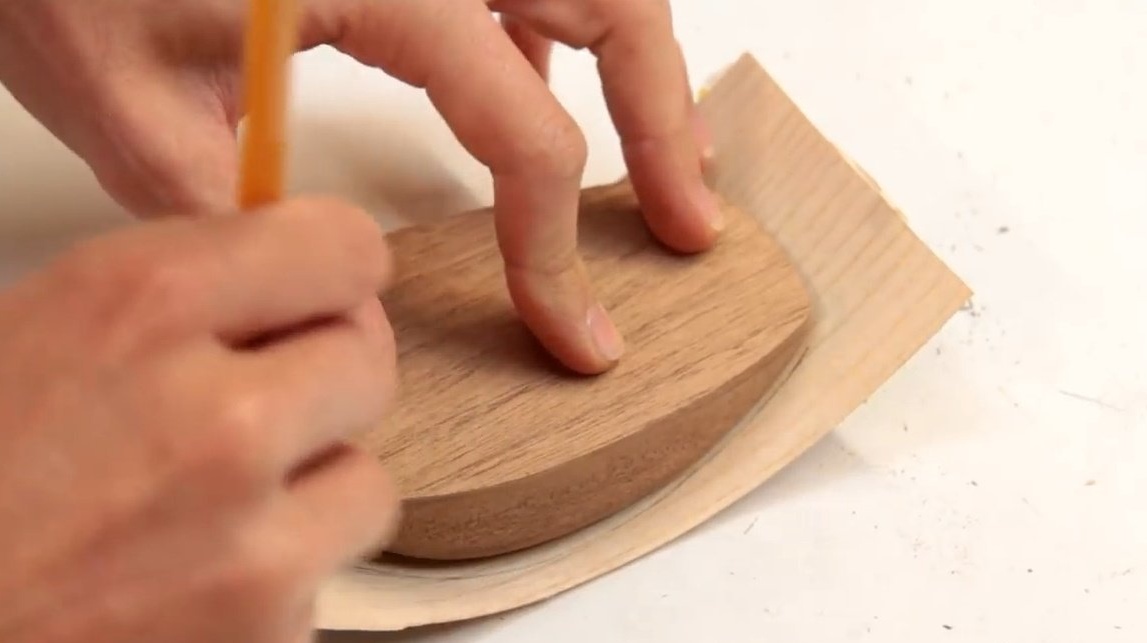
And he begins his project with the fact that in general he sketches the outline of a mouse on wood material. This can be done manually, but the author liked the form.

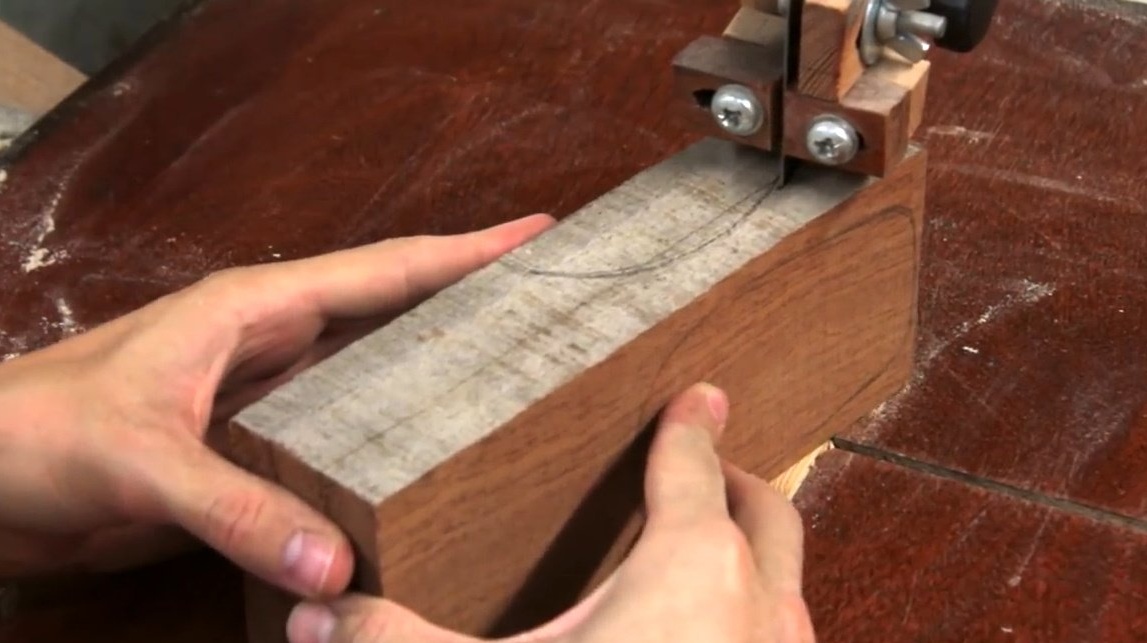
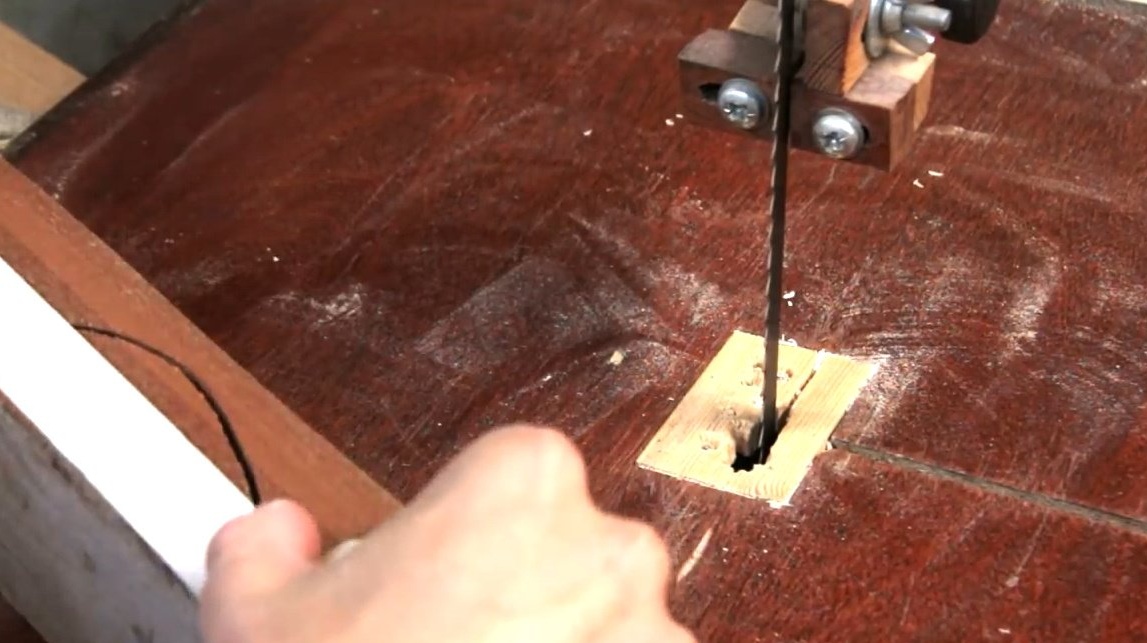
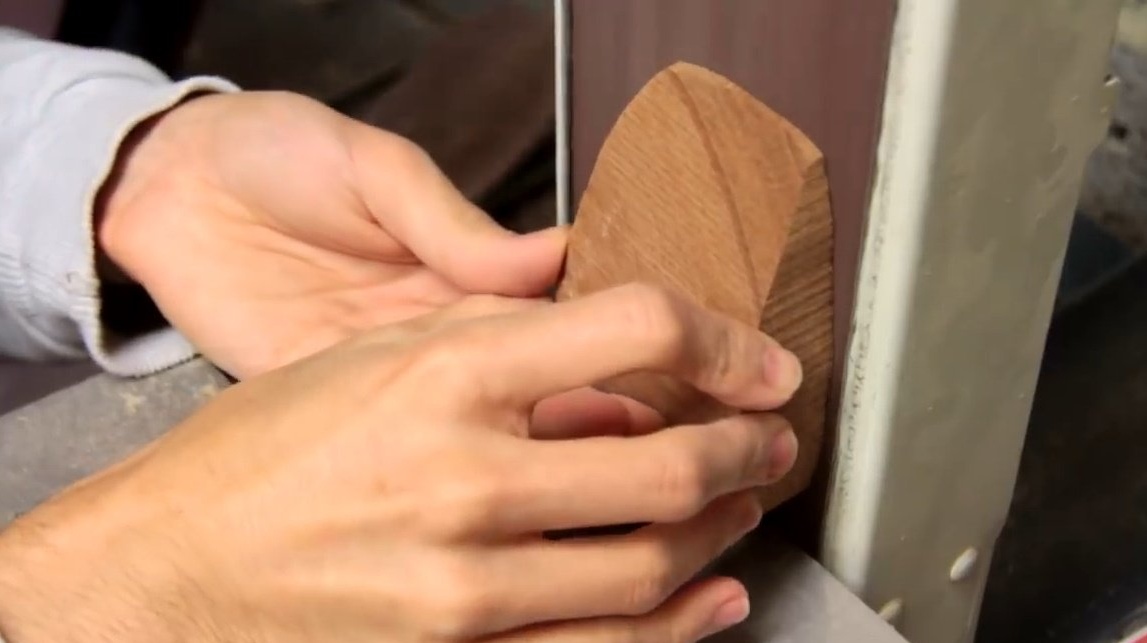
Already finished lines, he cuts a longitudinal shape on a band saw.
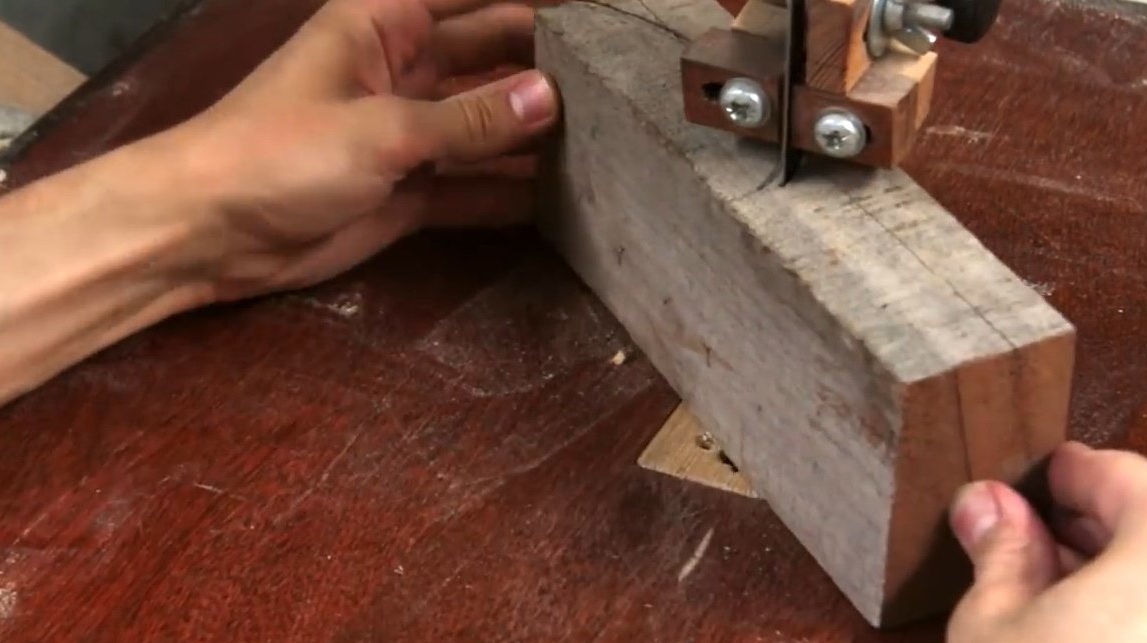
He uses masking tape to pull off the elements before making a vertical cut.
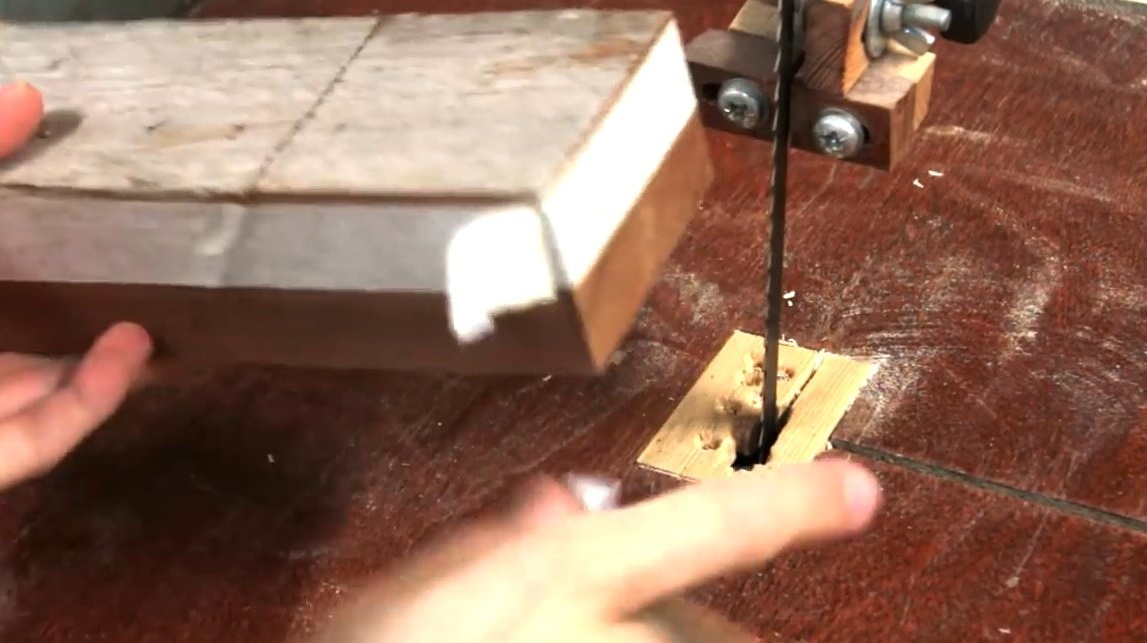


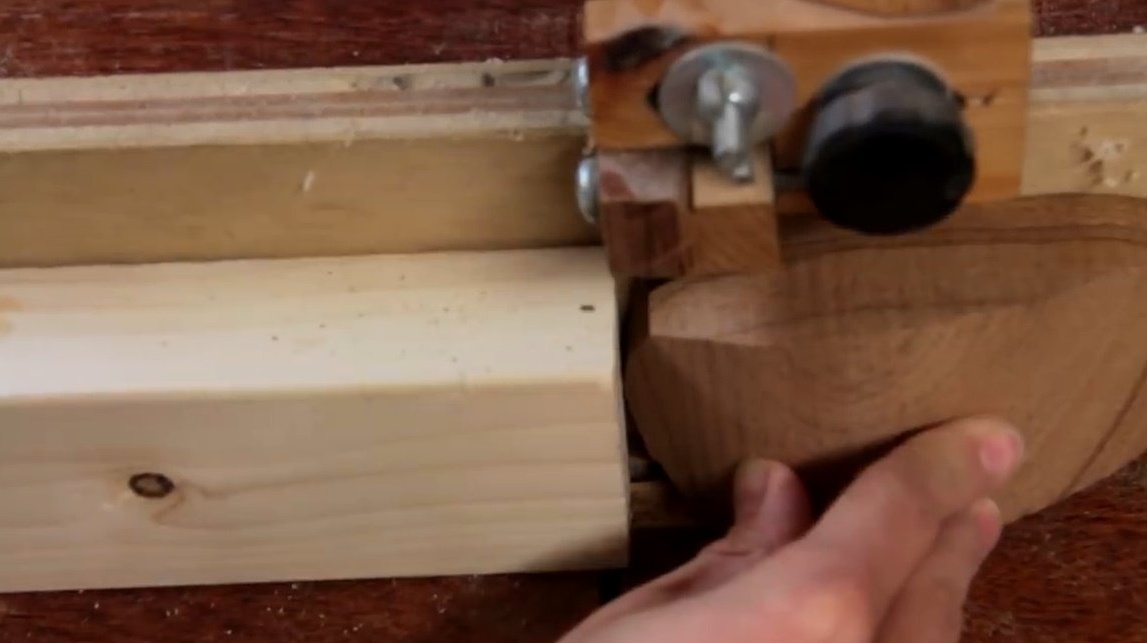
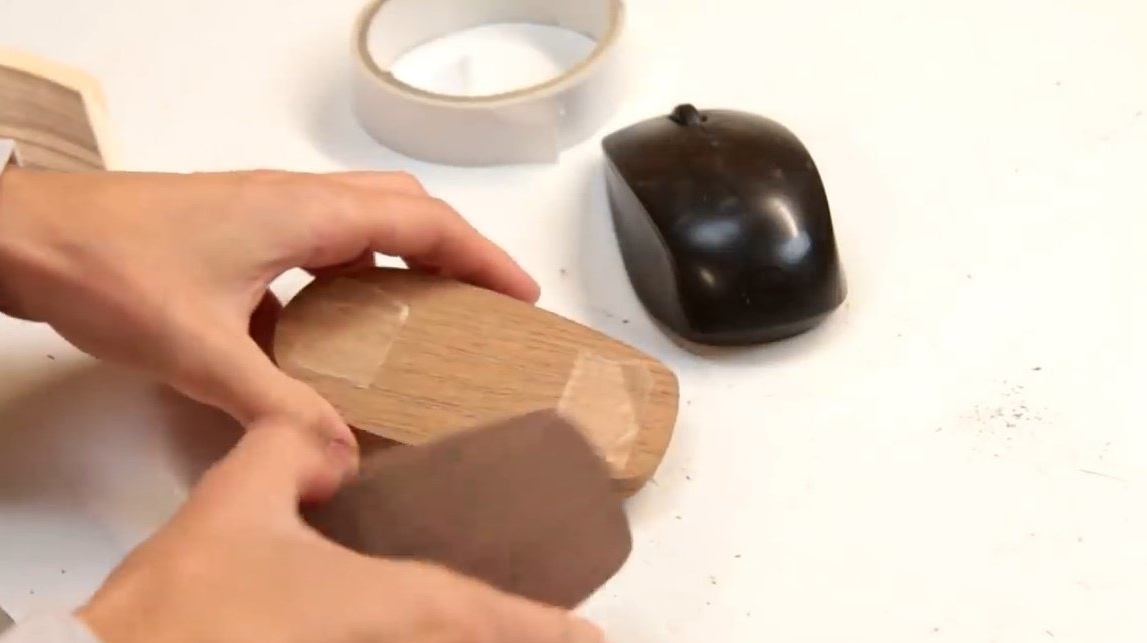
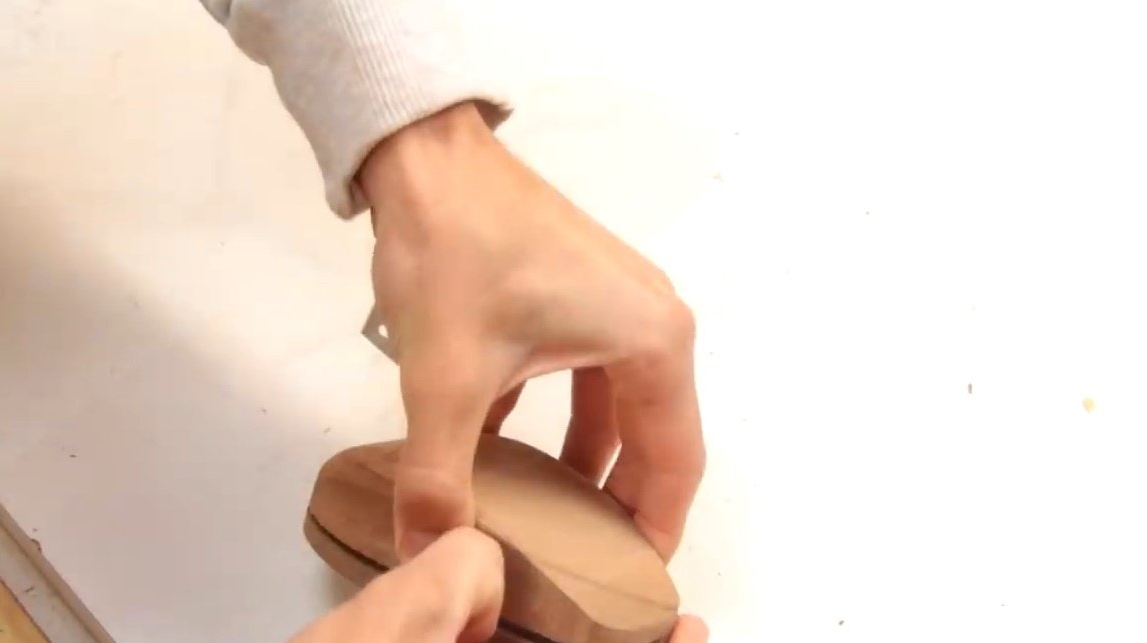
Alex decides to make the base of the device from a contrasting color of wood, so he cuts a thin layer from the base.
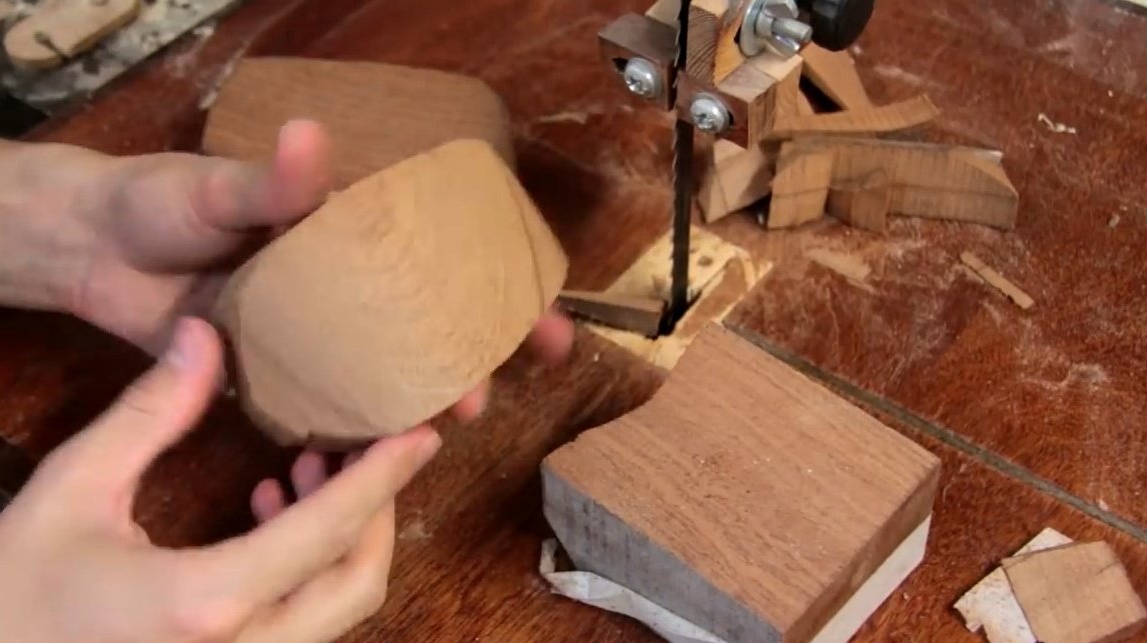

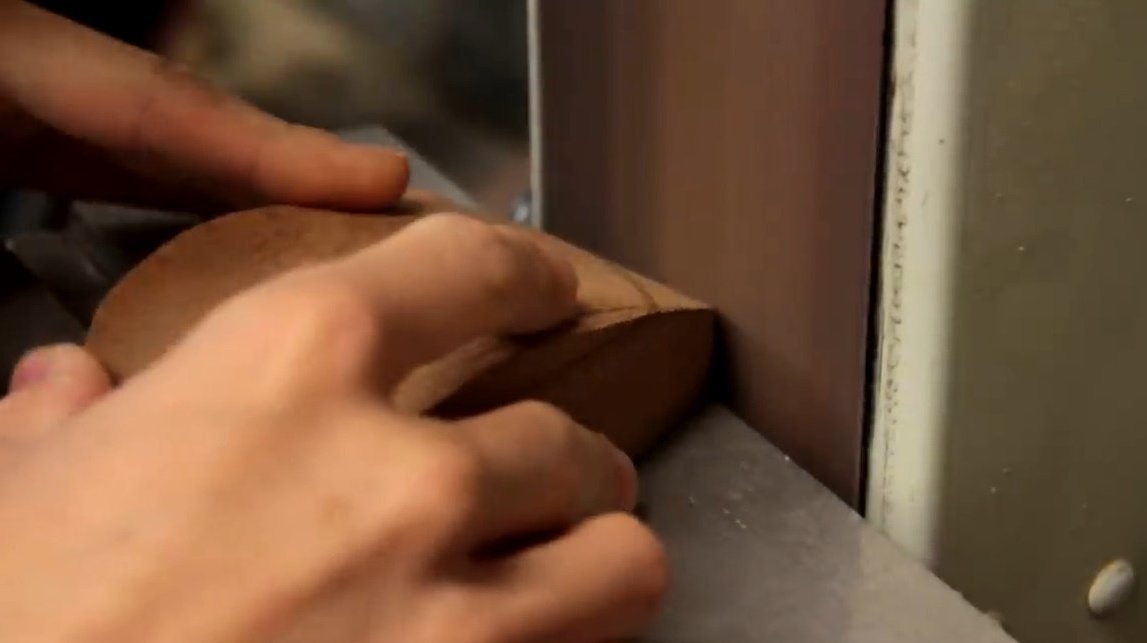
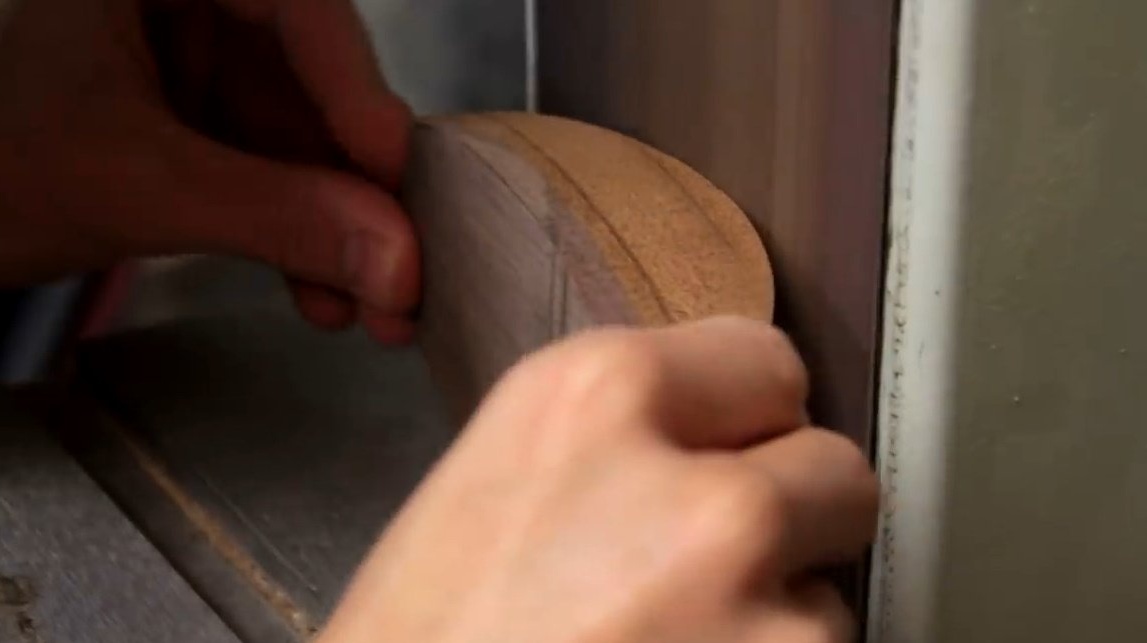
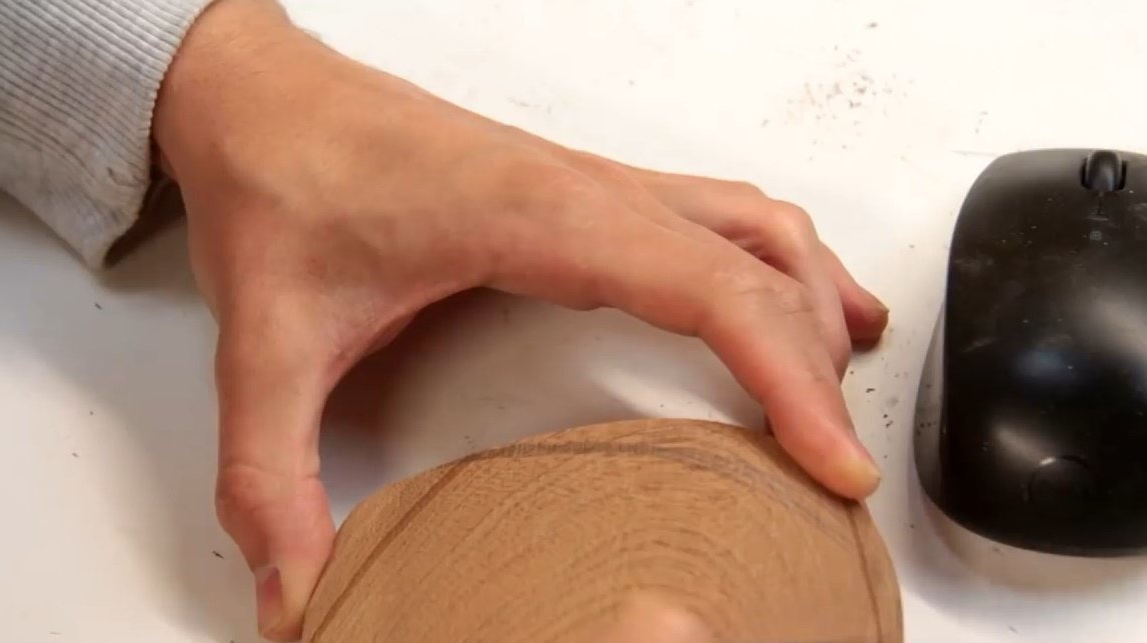
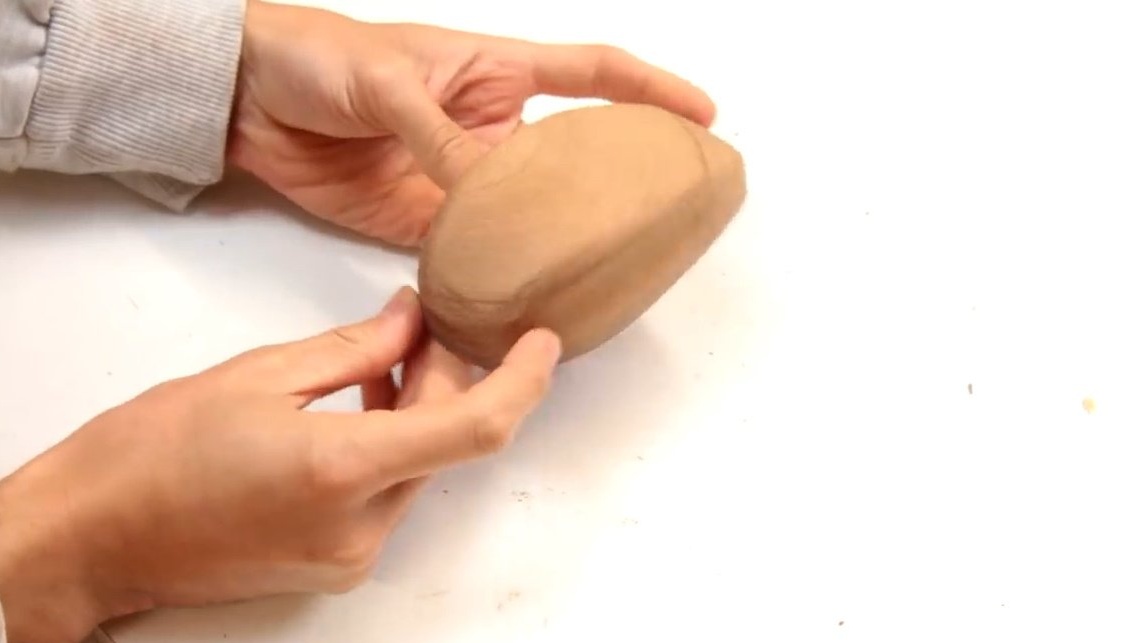
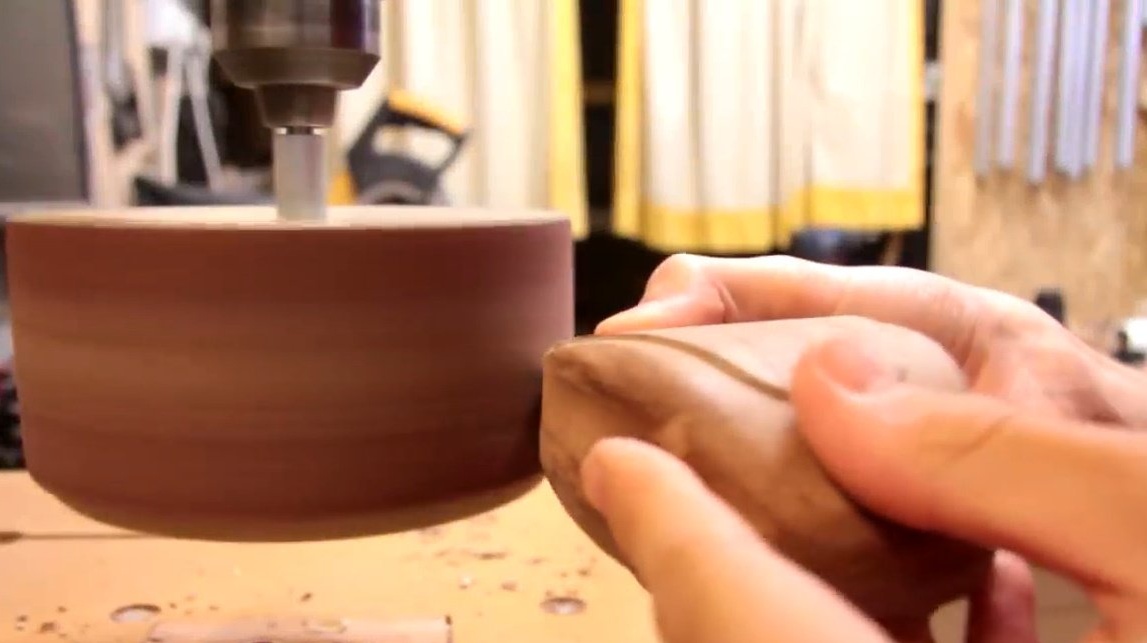
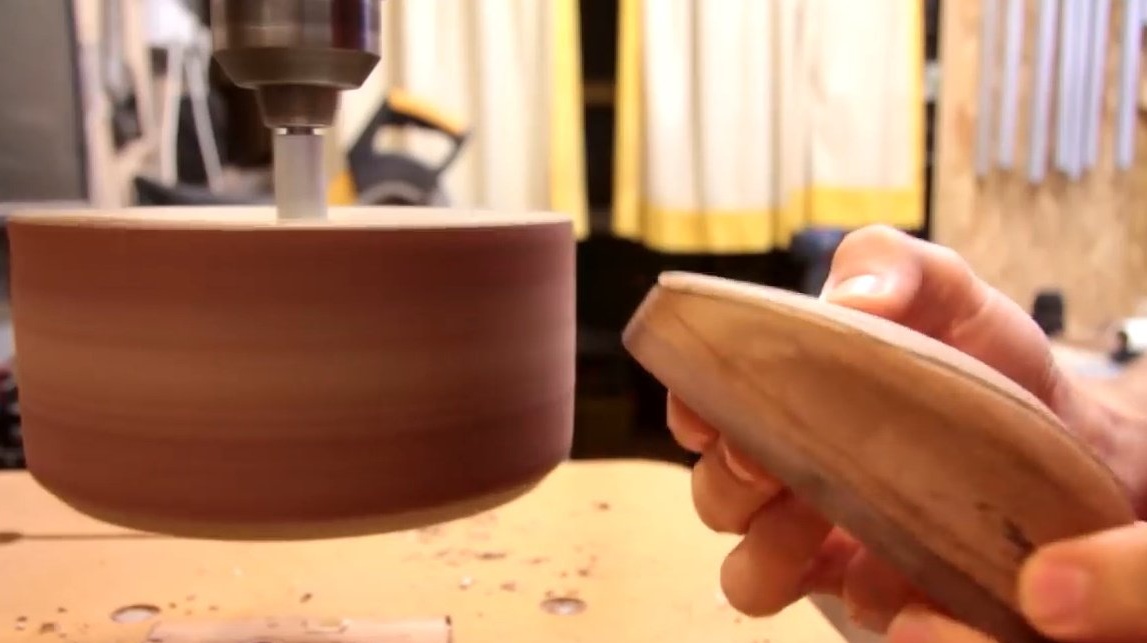
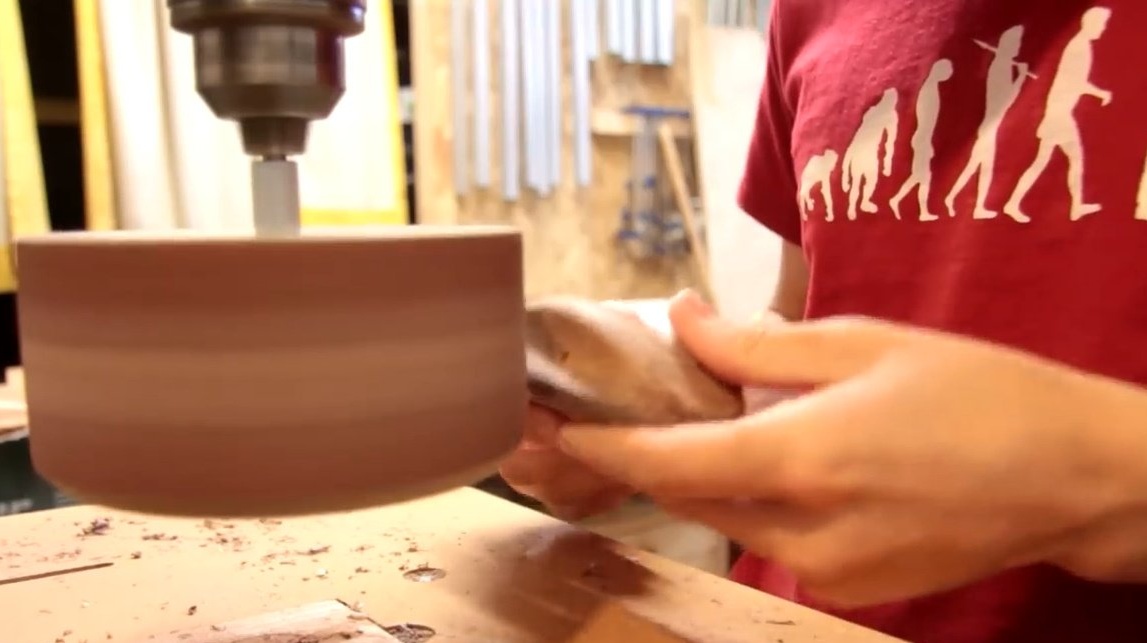
Then he polishes the workpiece on a tape machine.
Having marked the contour of the bottom, cuts it out.
The author uses double-sided tape to glue two elements and give them a common shape.
Finishes the connection points on the grinder.
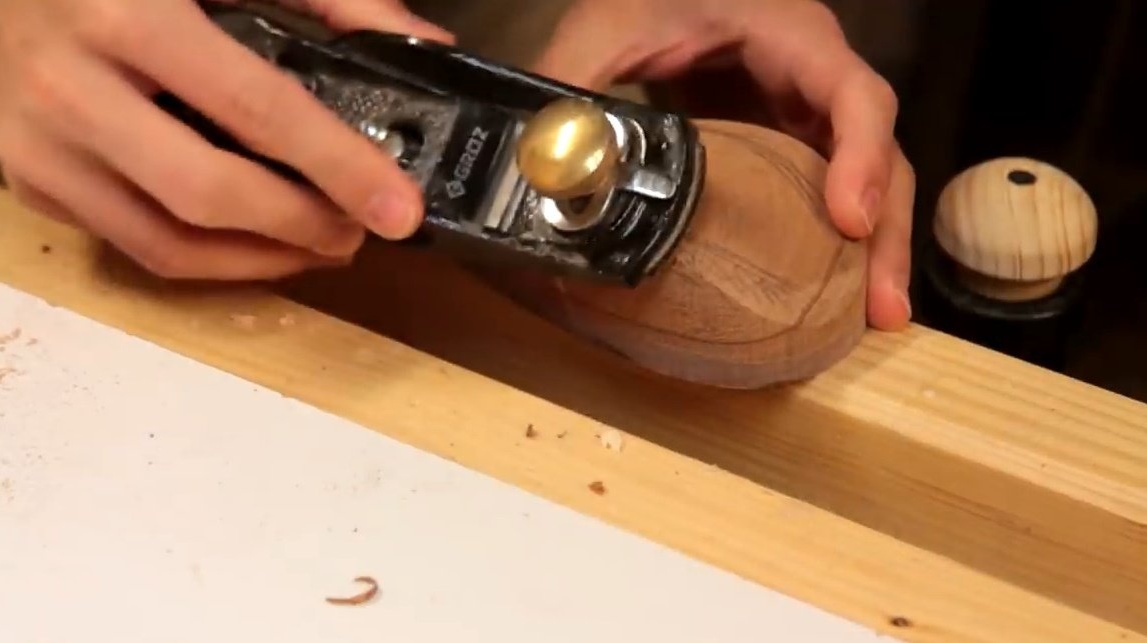
Now he uses the small plane at his disposal to study the small bends of the form.
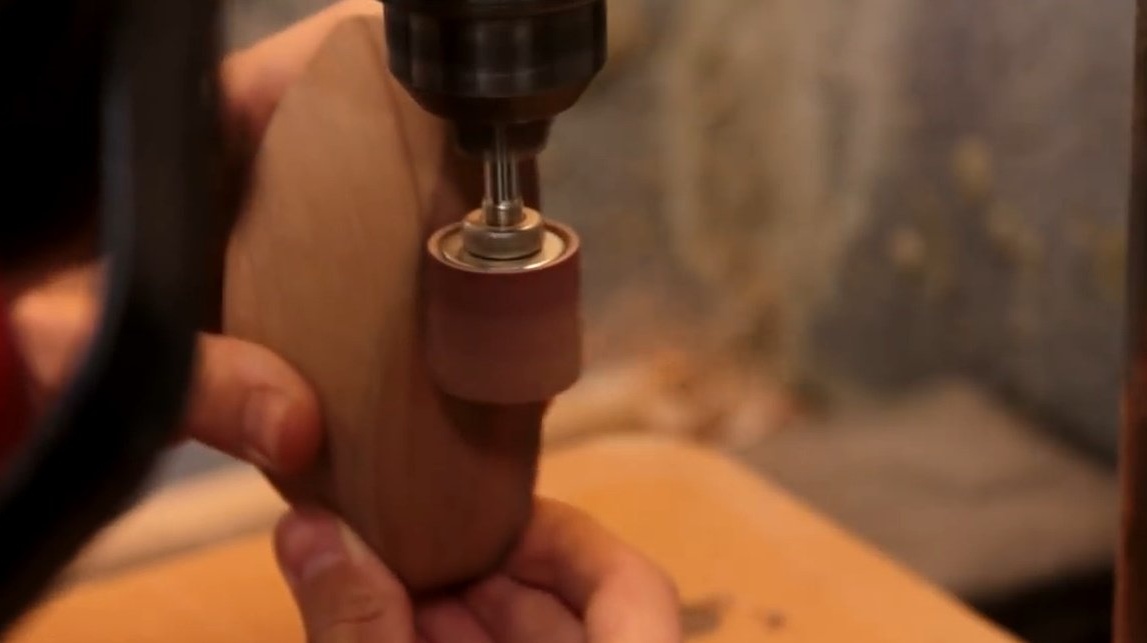
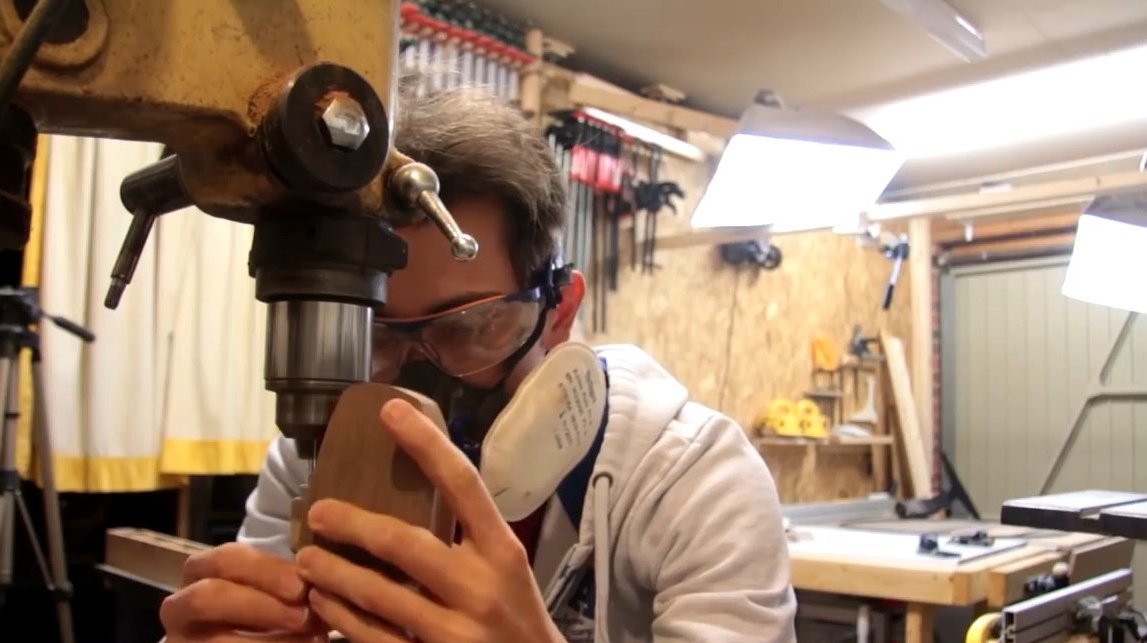
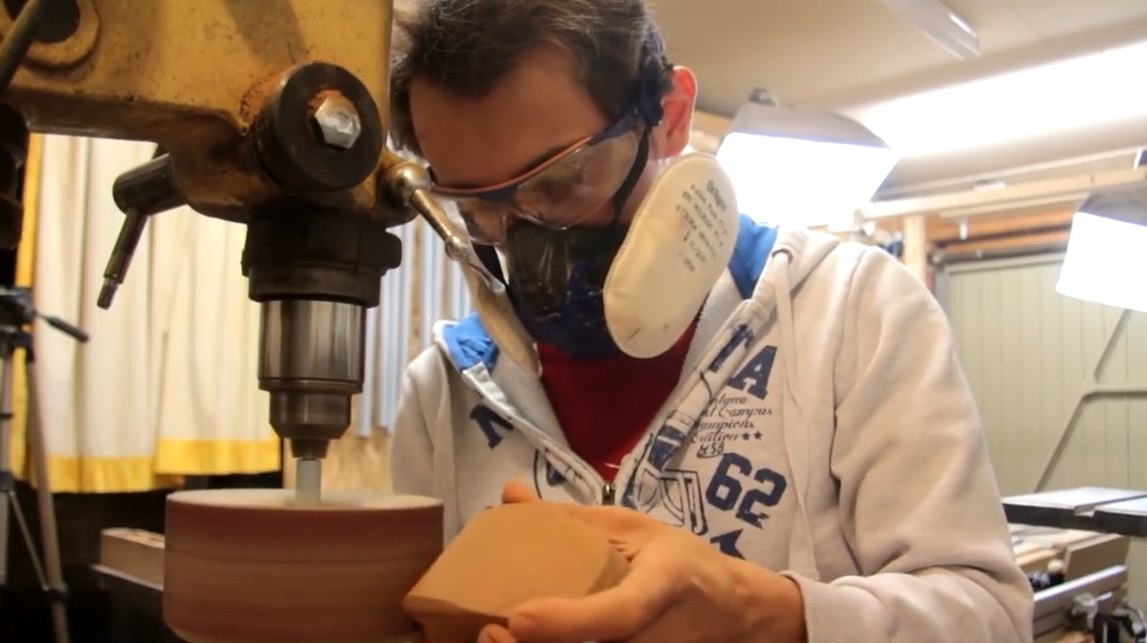
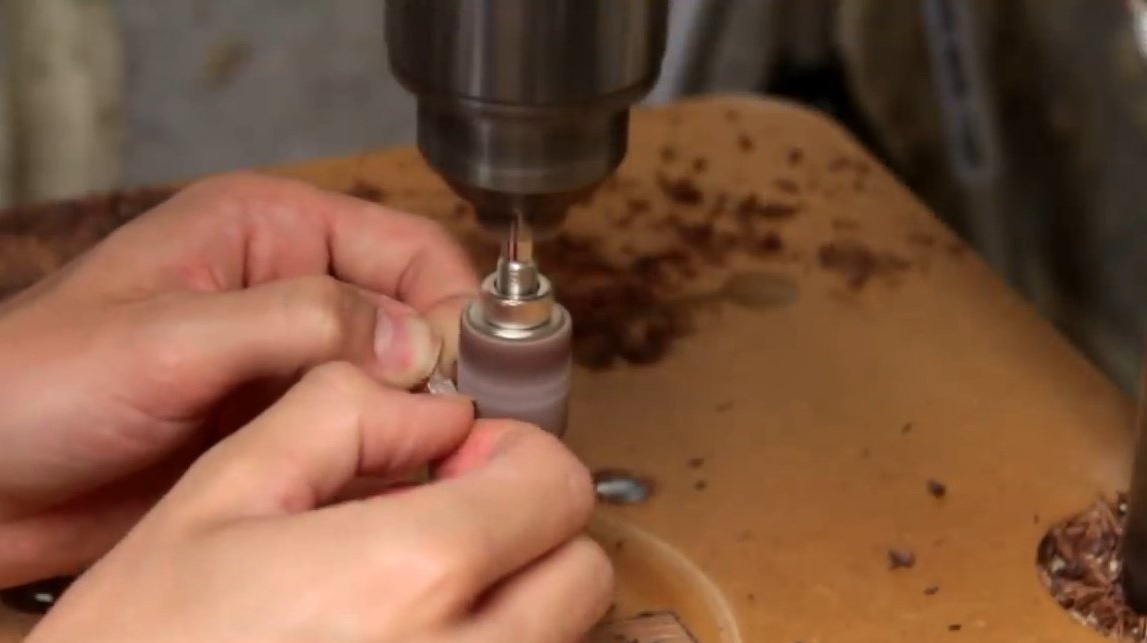
Installs the grinding nozzle in the drilling machine, works out the side recesses.
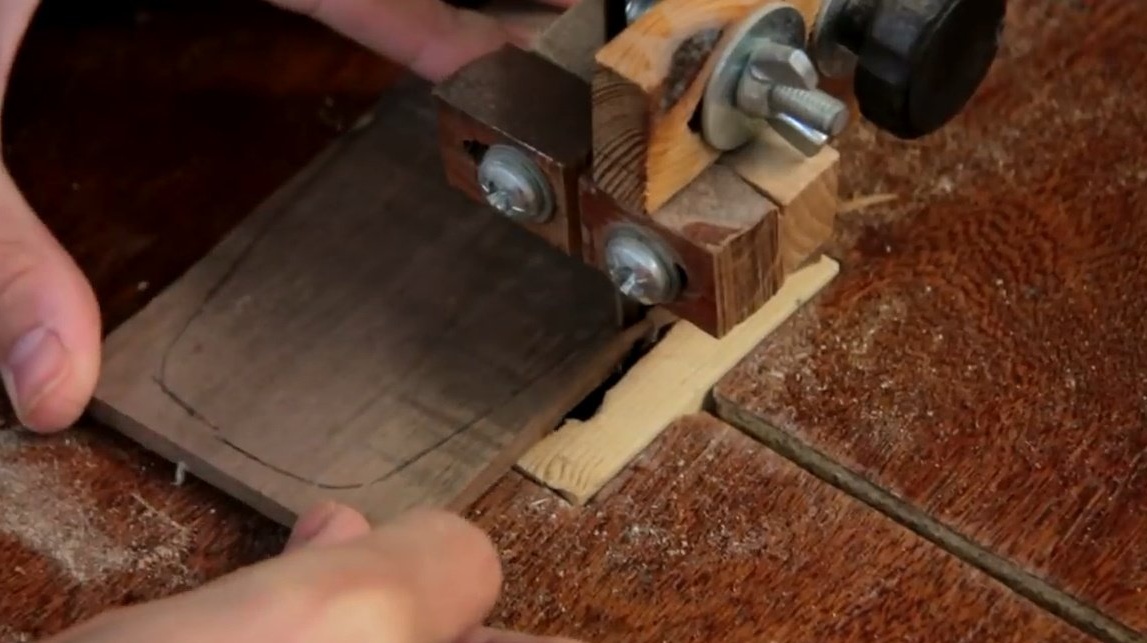
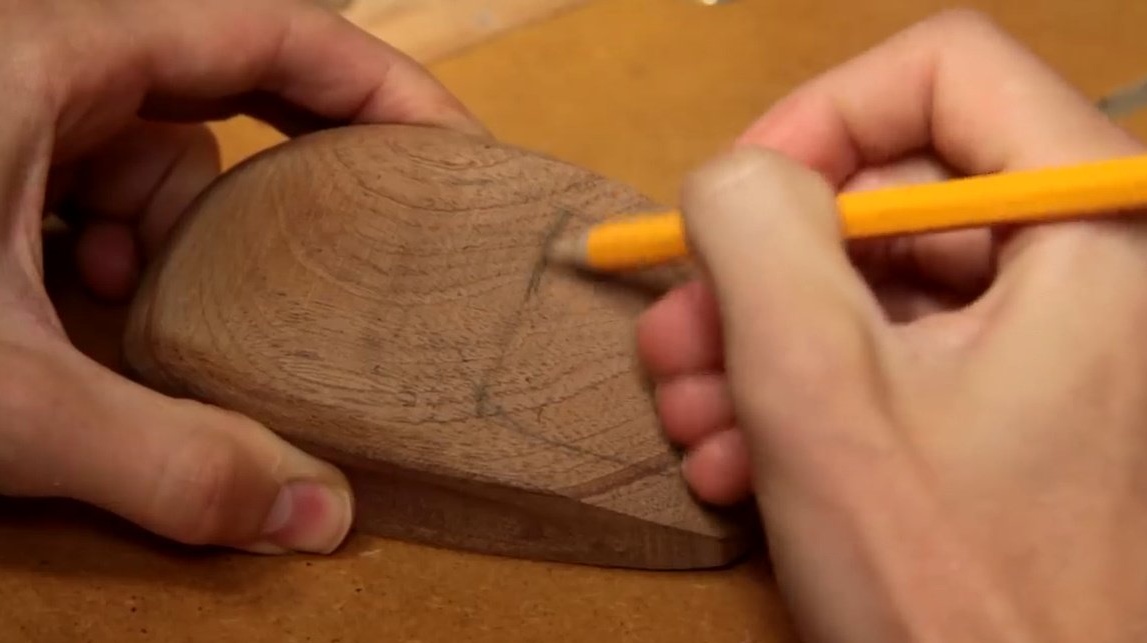
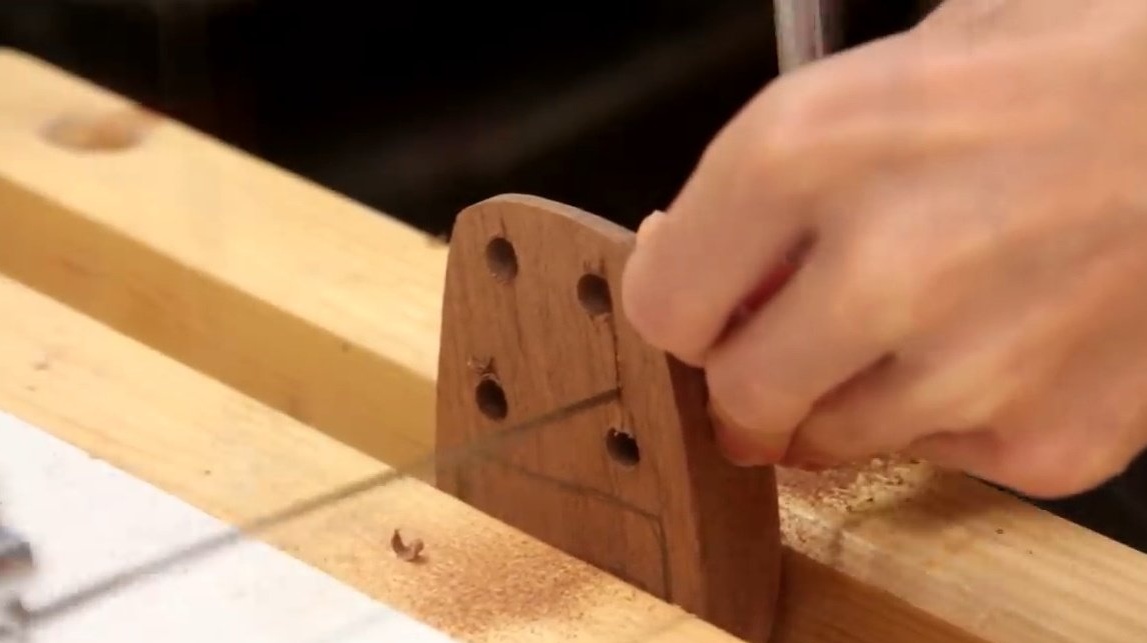
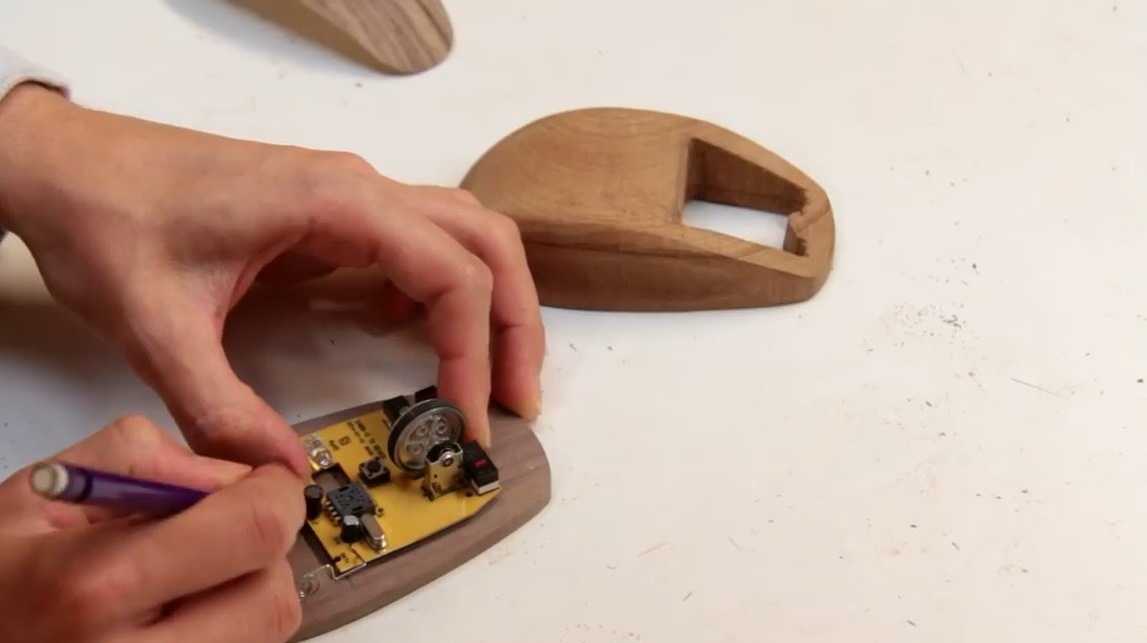
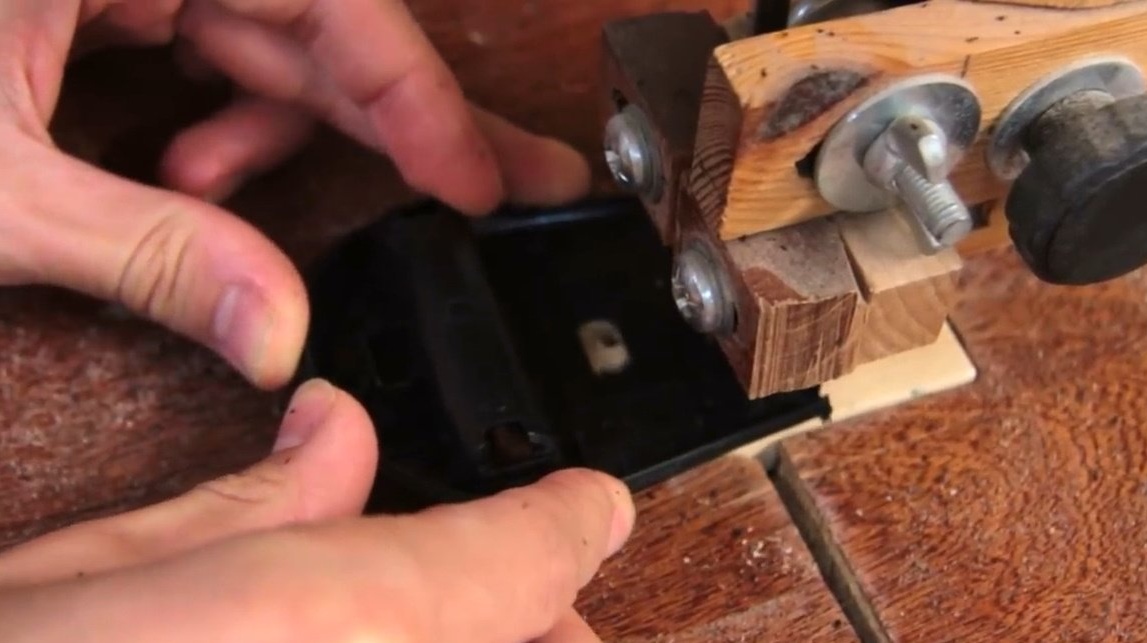
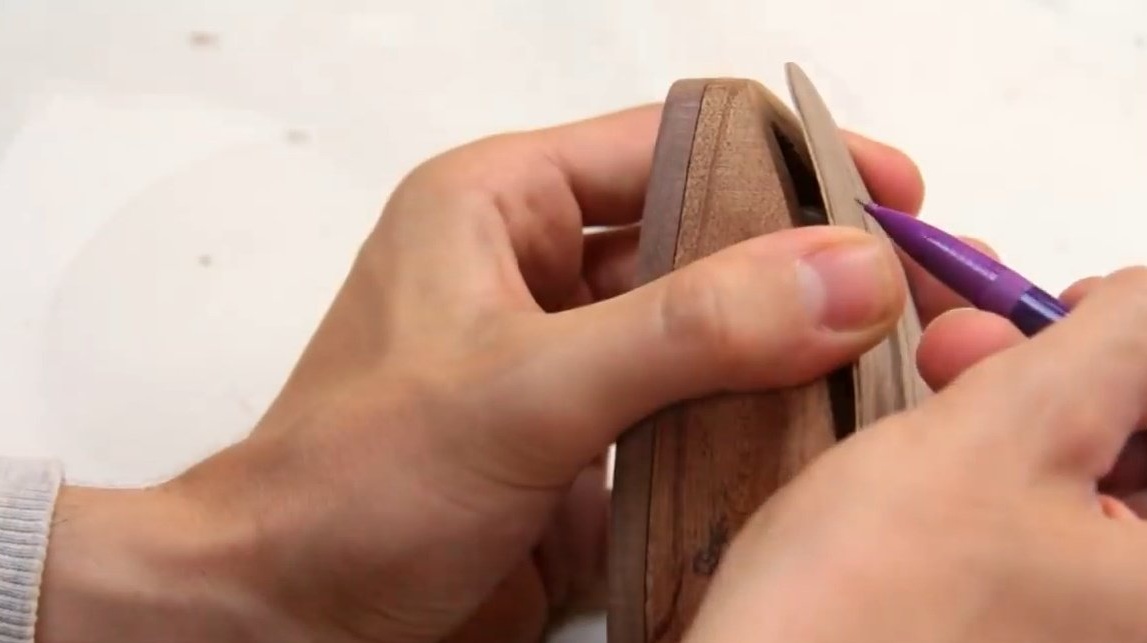
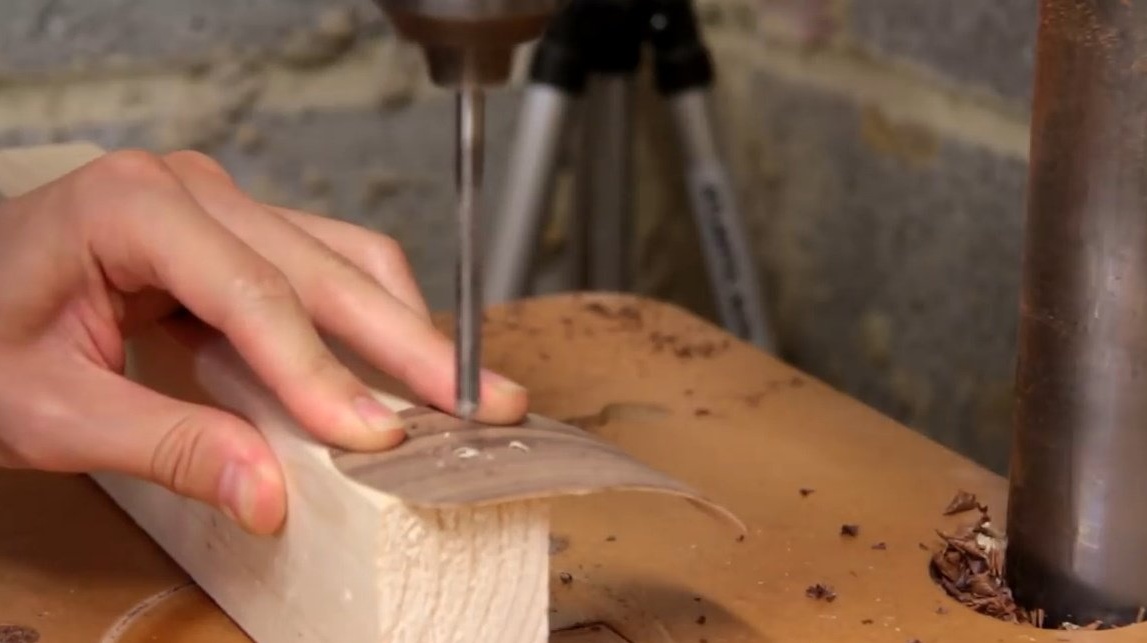
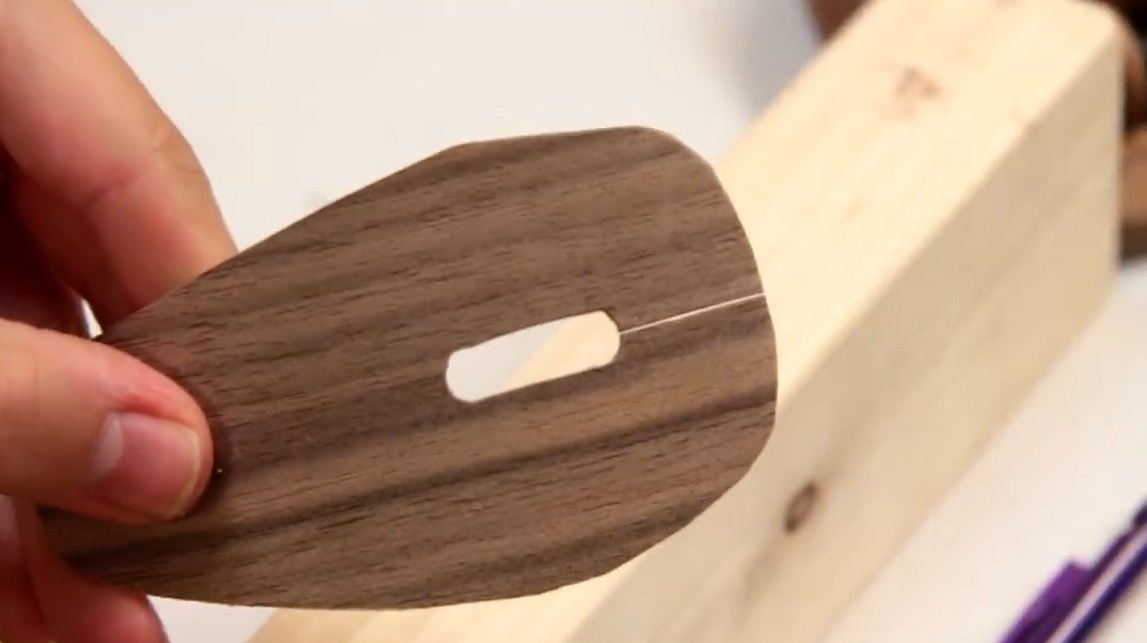
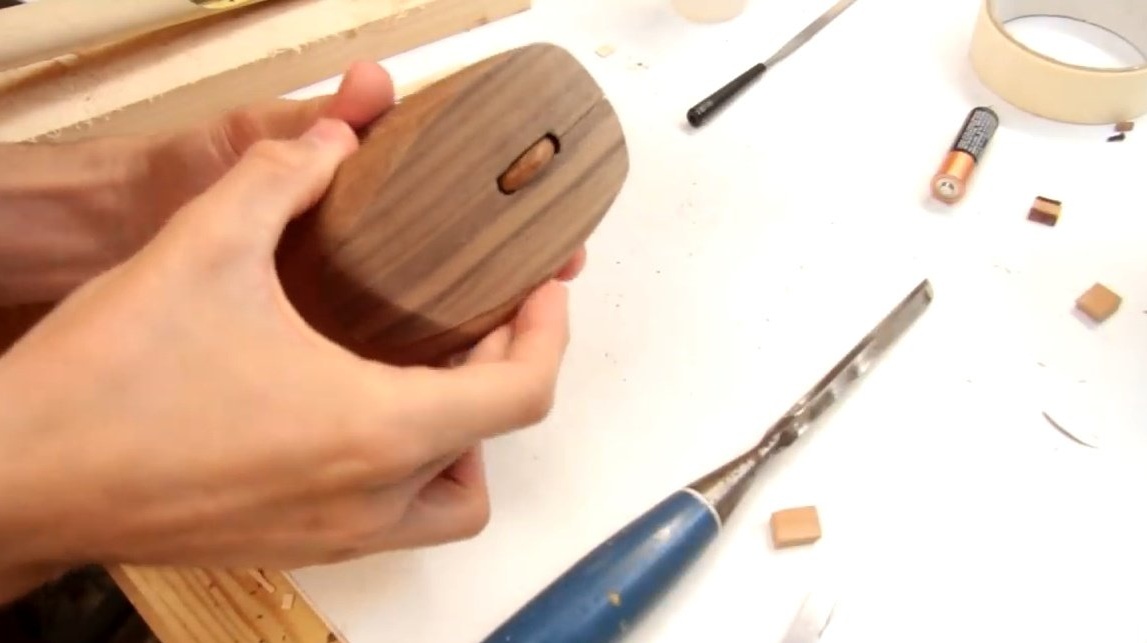
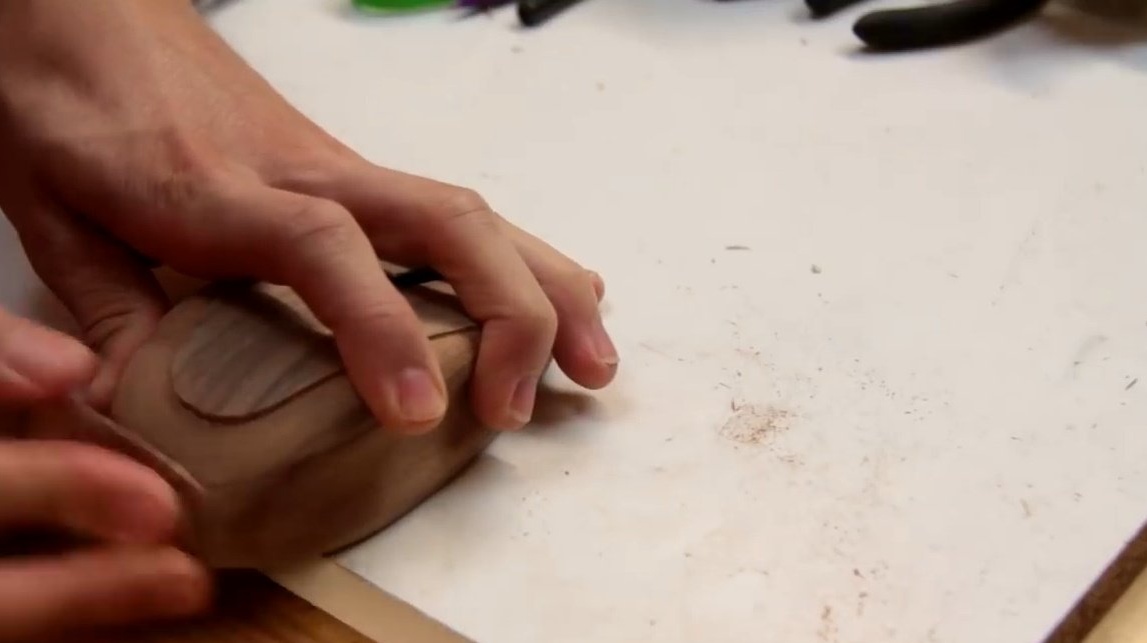
He disconnects the workpieces, then he switches his attention to the cavity in which they should concentrate electronic details of the mouse, that part of the board where the buttons and wheel are located. He fluently marks her contours with a pencil.
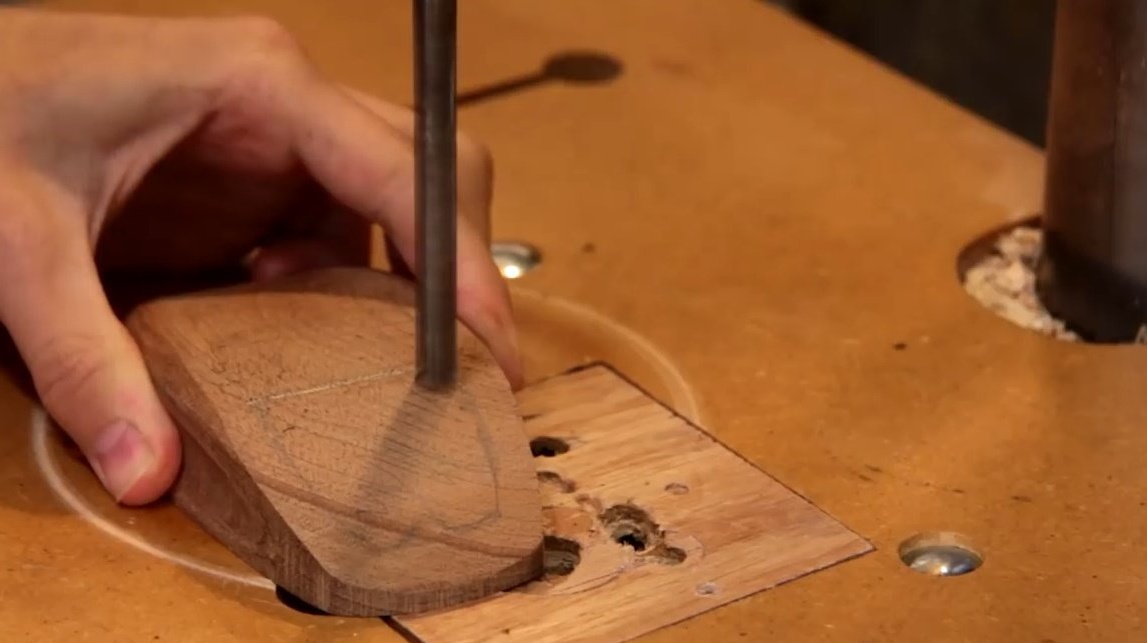
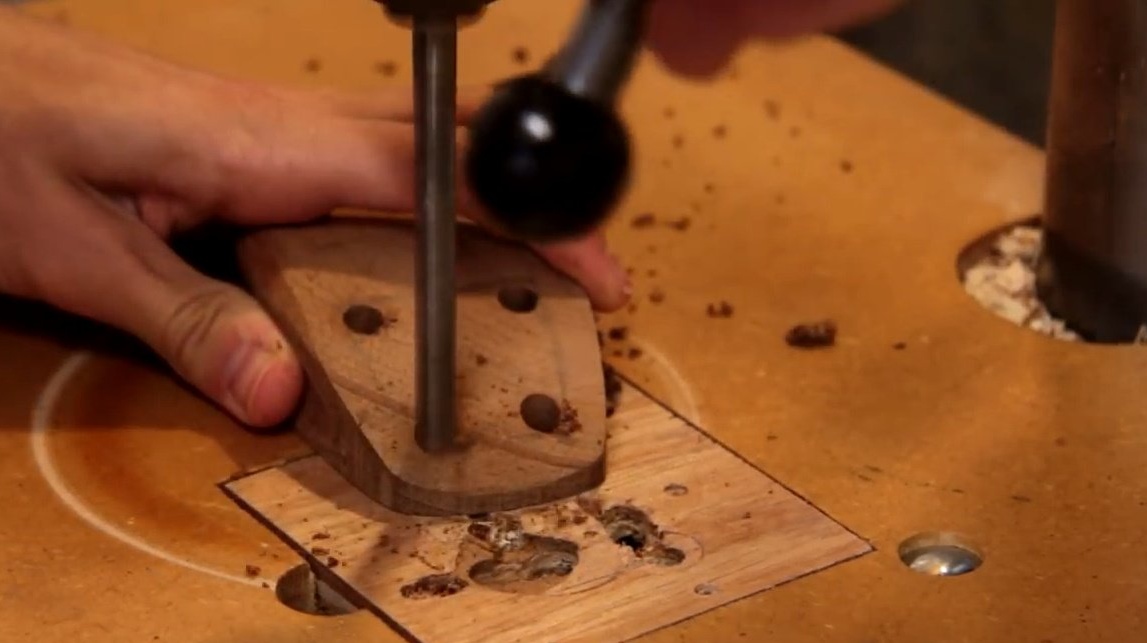
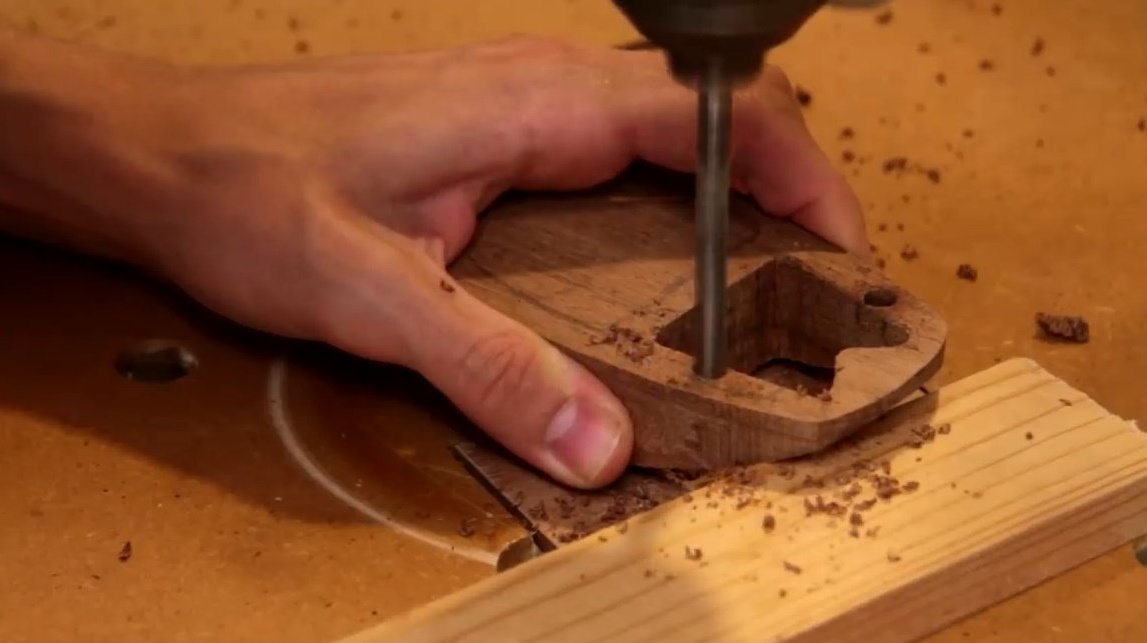
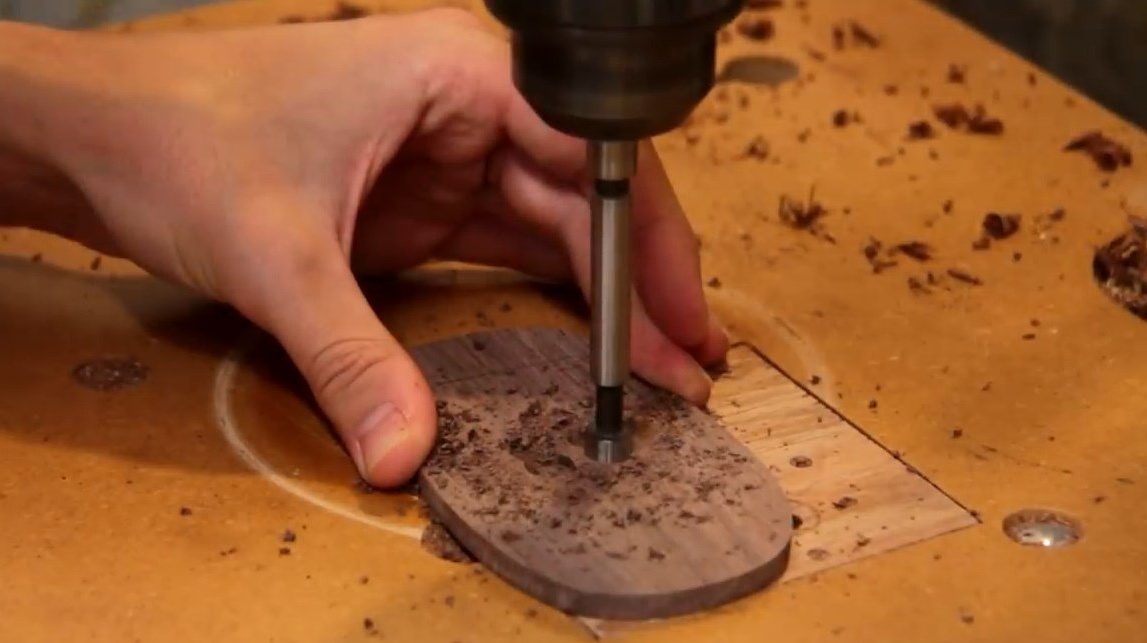
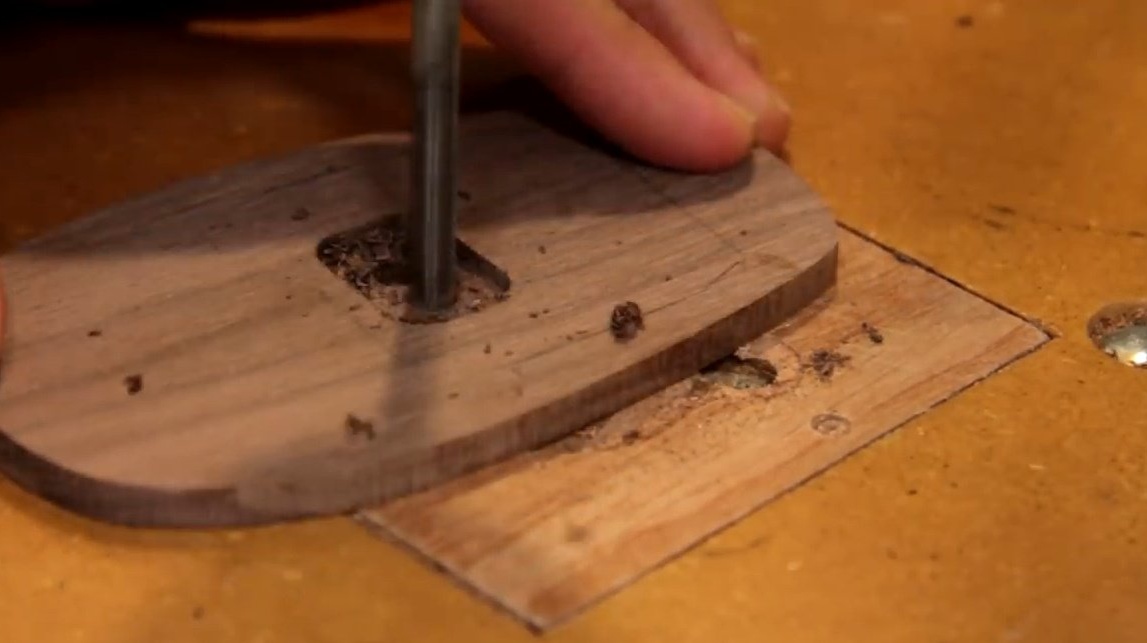
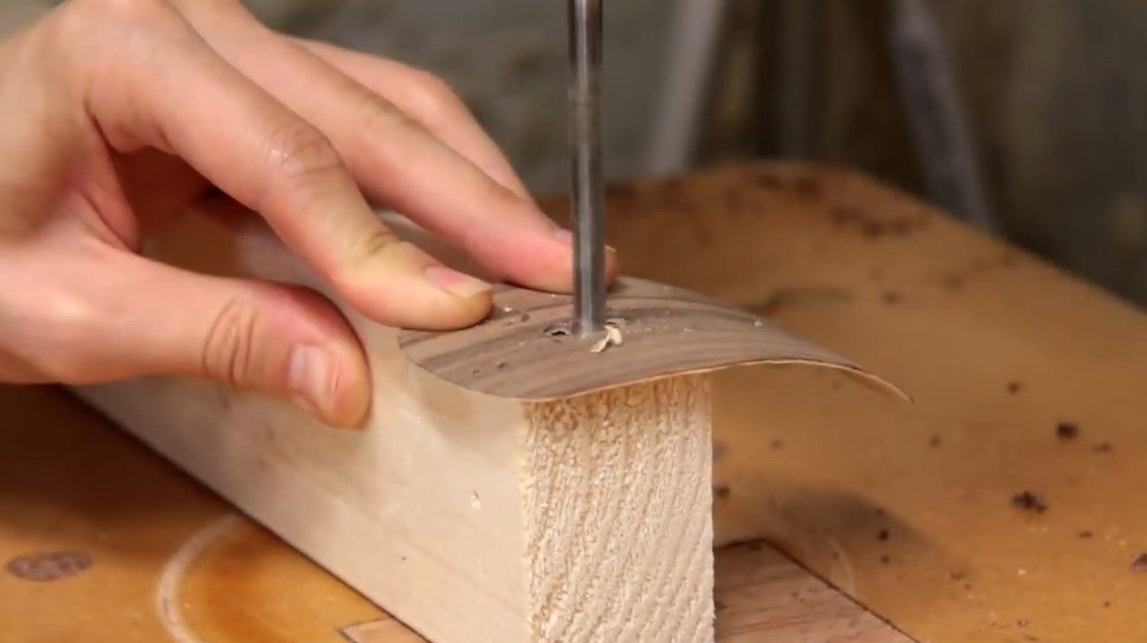
And then on a drilling machine, he drills through holes at four corners and, at the end, cuts the contours around the perimeter with a jigsaw.
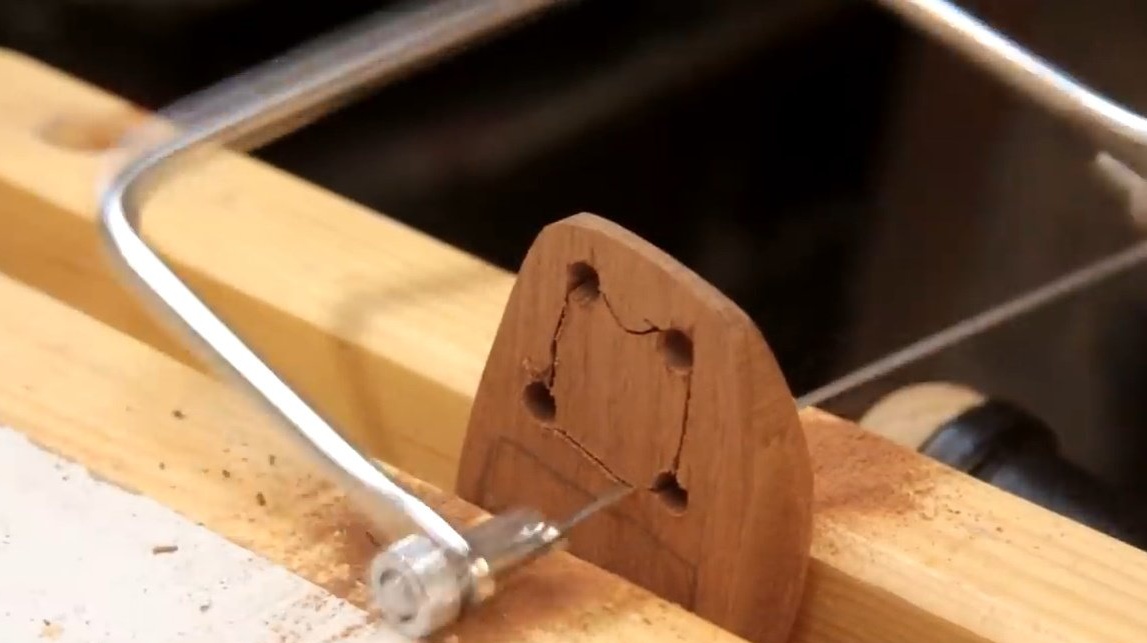
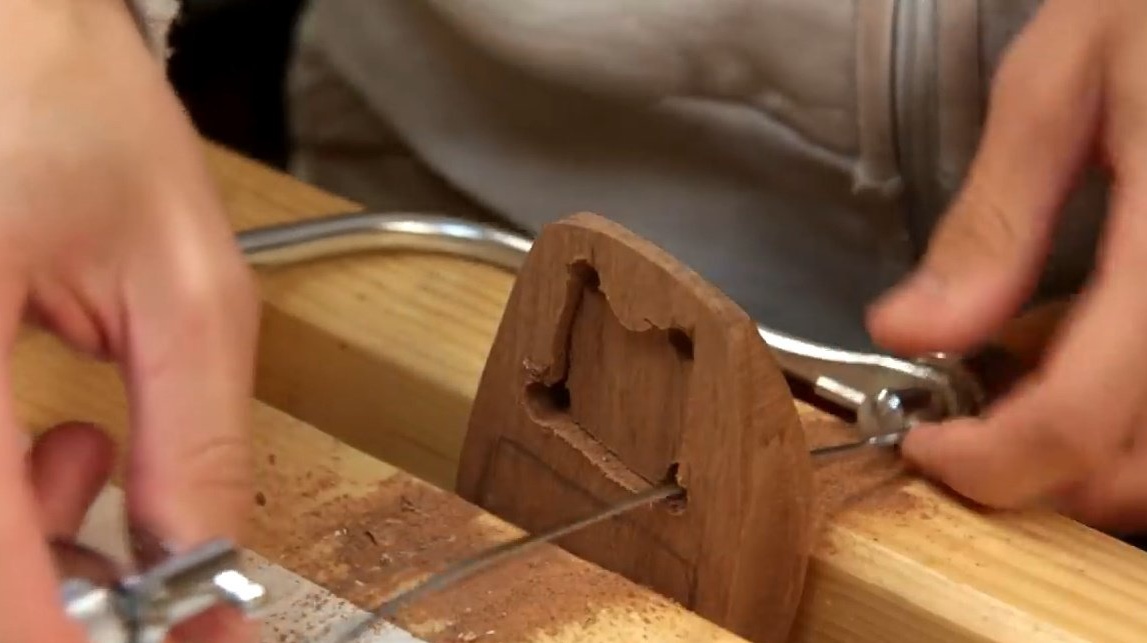
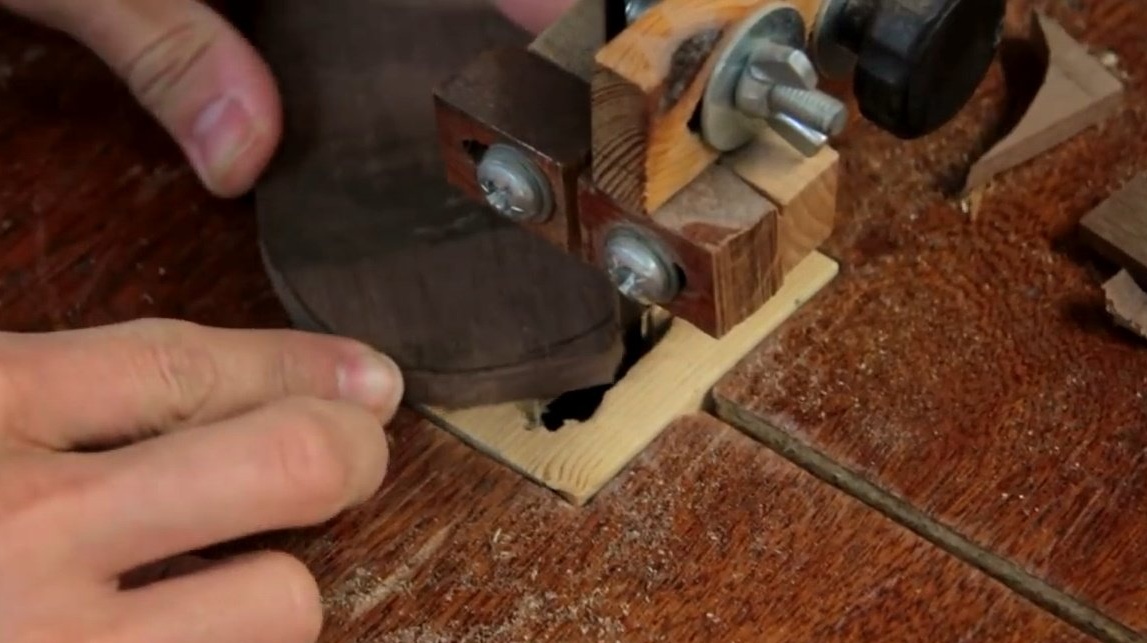
It turned out a bit messy, but the edges are perfectly aligned with a file.
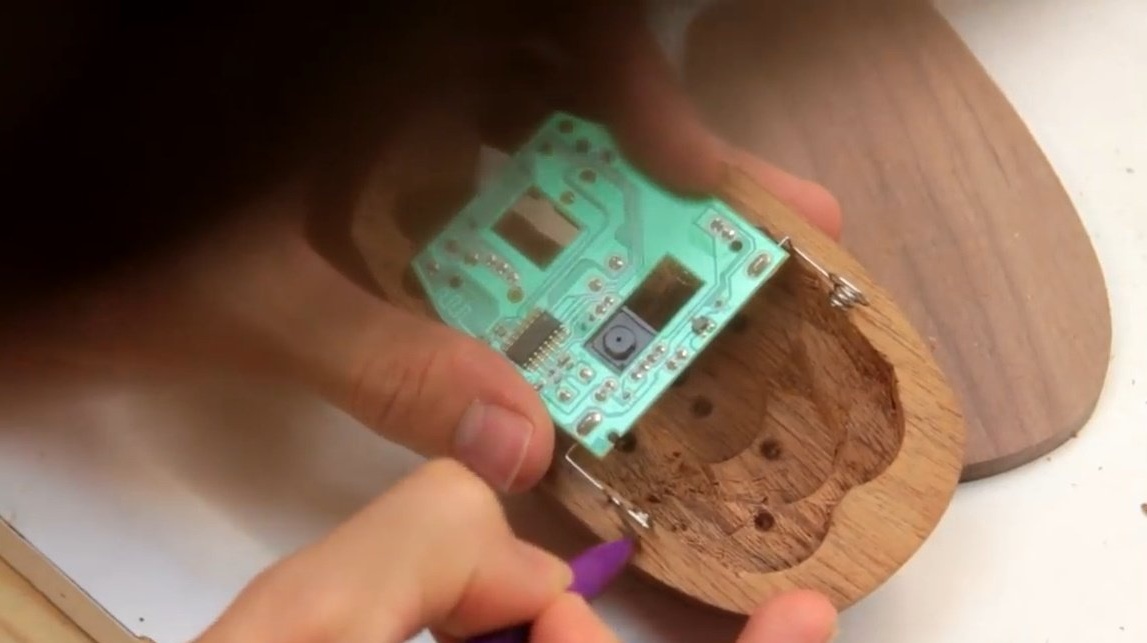
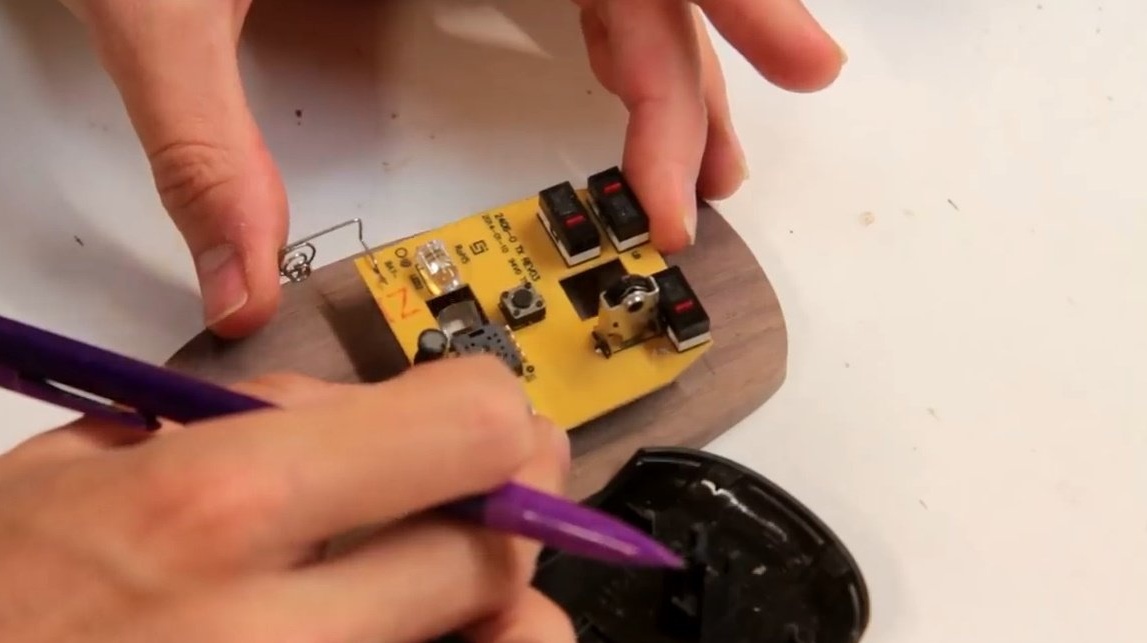
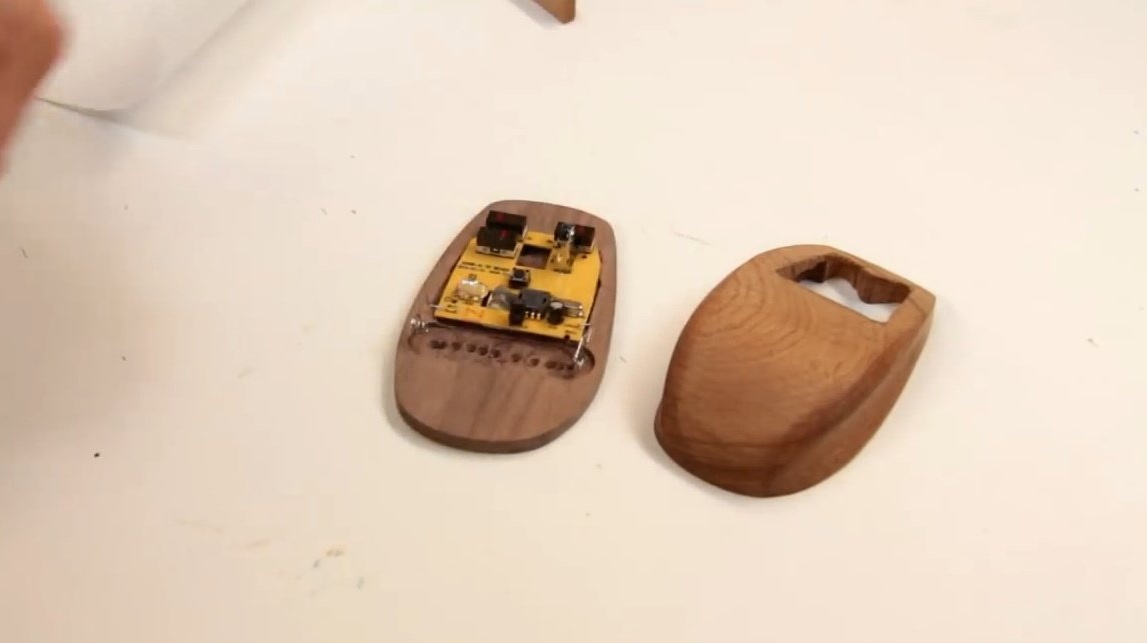
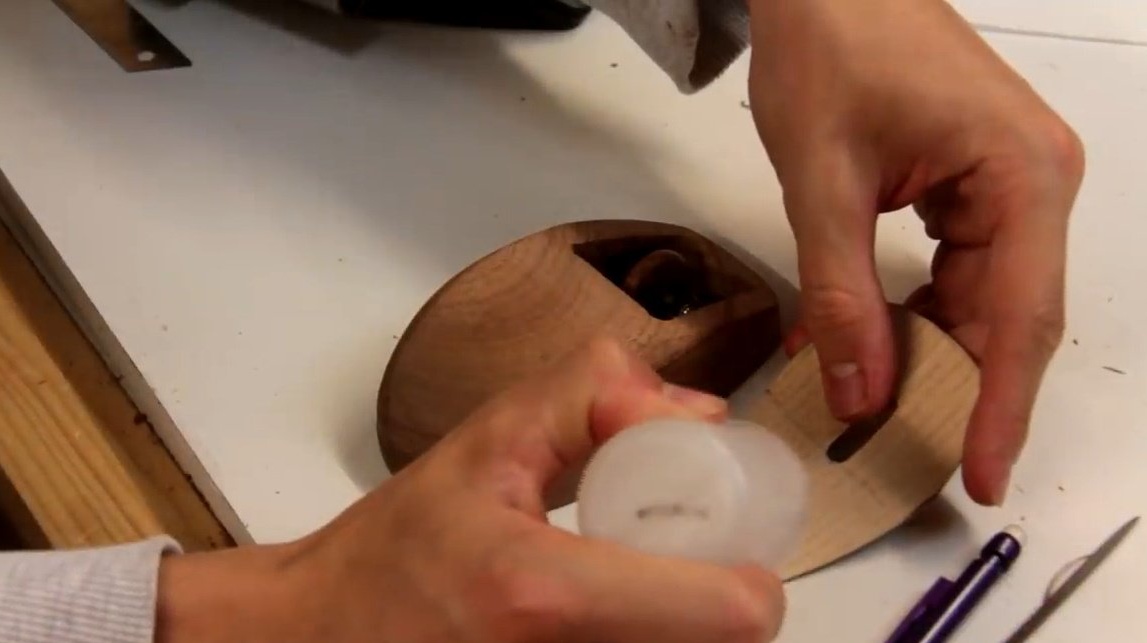
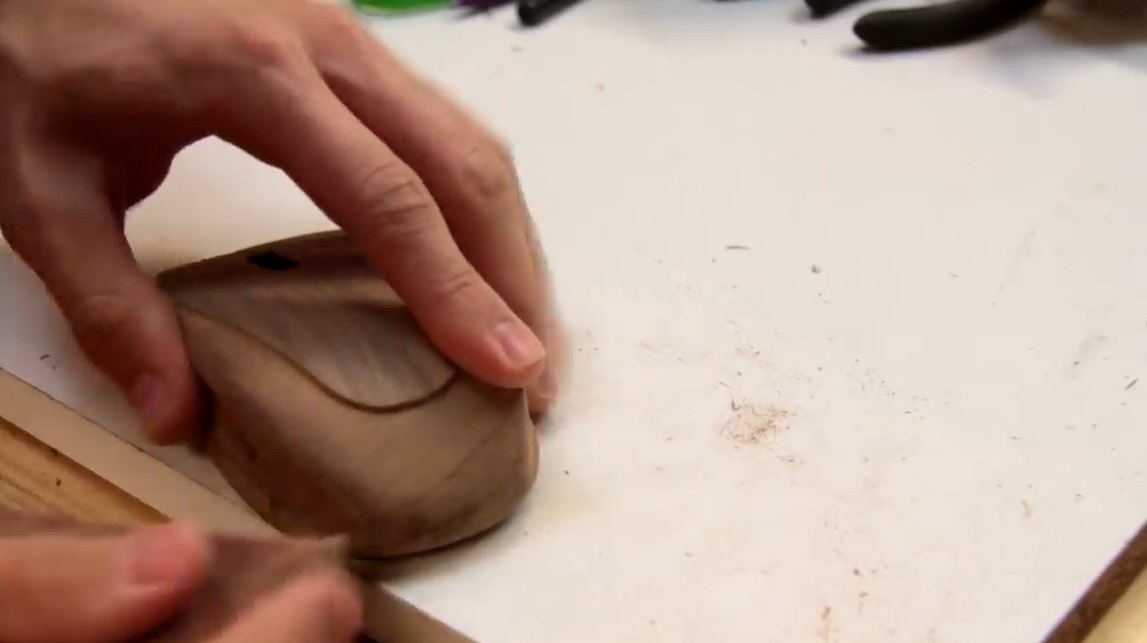
To make sure that the electronic board has not moved out of place, Alex outlines it with a pencil. He once again checks in which place the board comes up against the edges of the notch, marks these zones, and drills them on the machine.
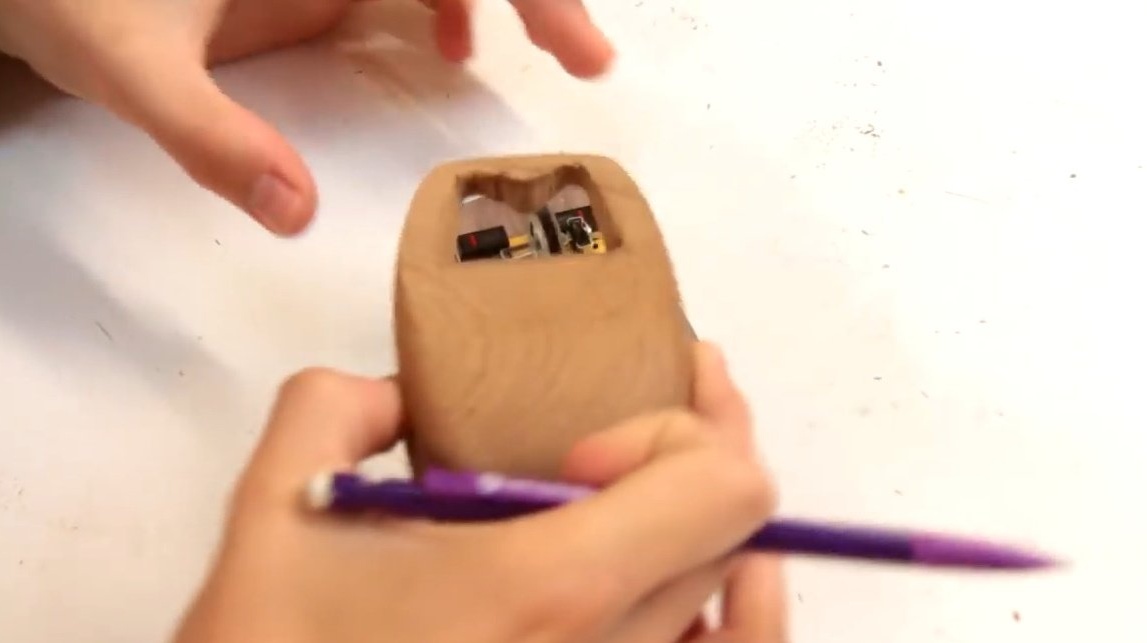
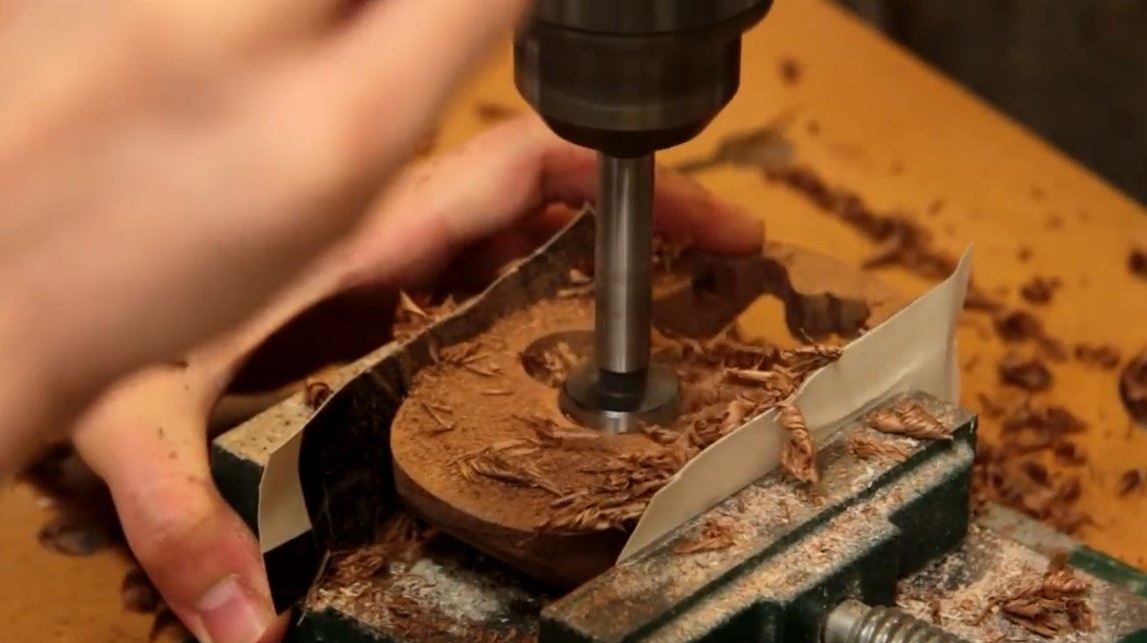
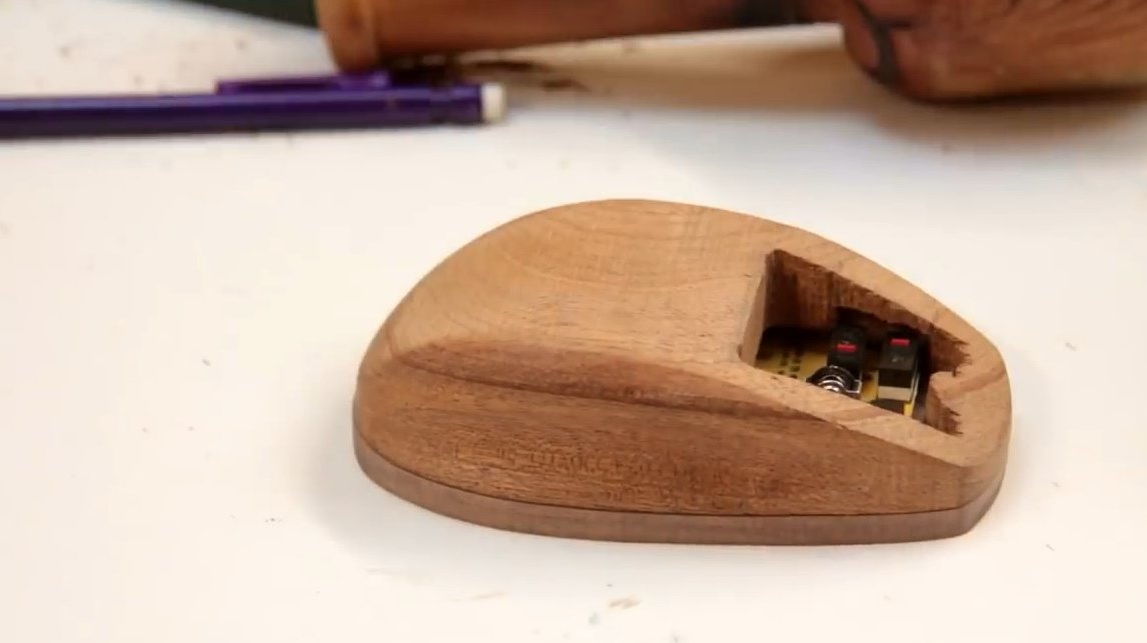
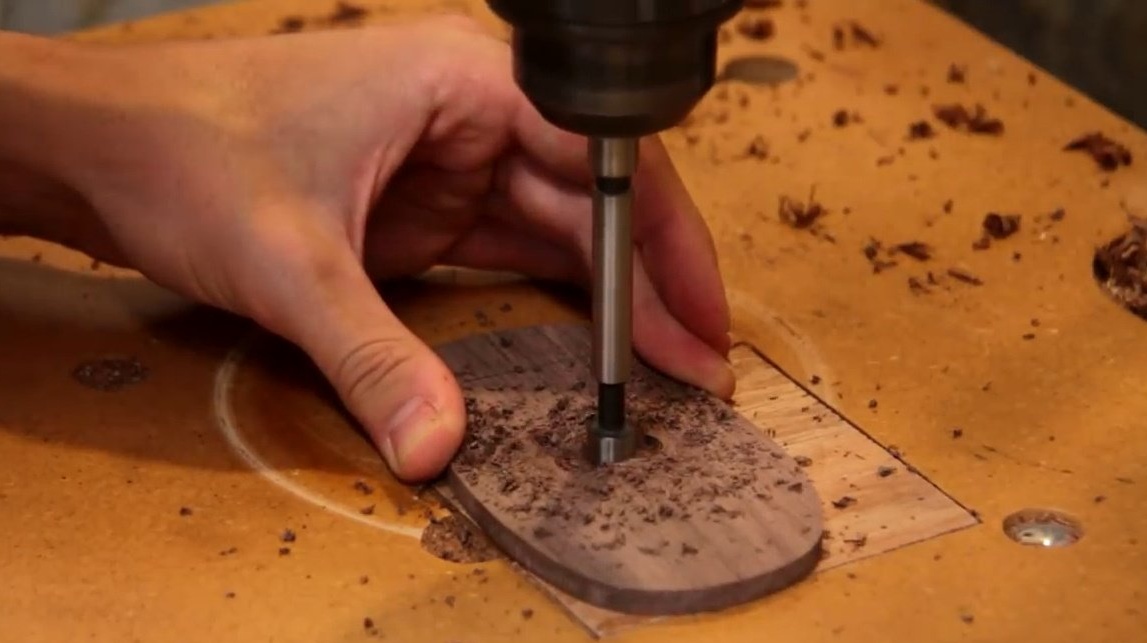
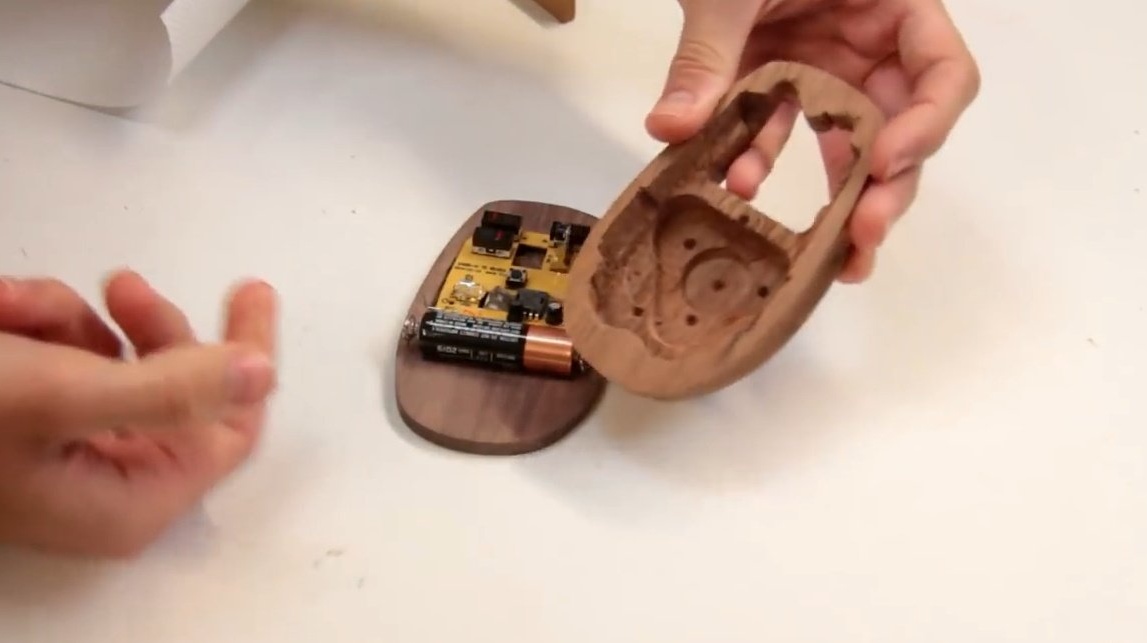
Installs a Forstner drill, drills a recess for the second part of the board and battery.
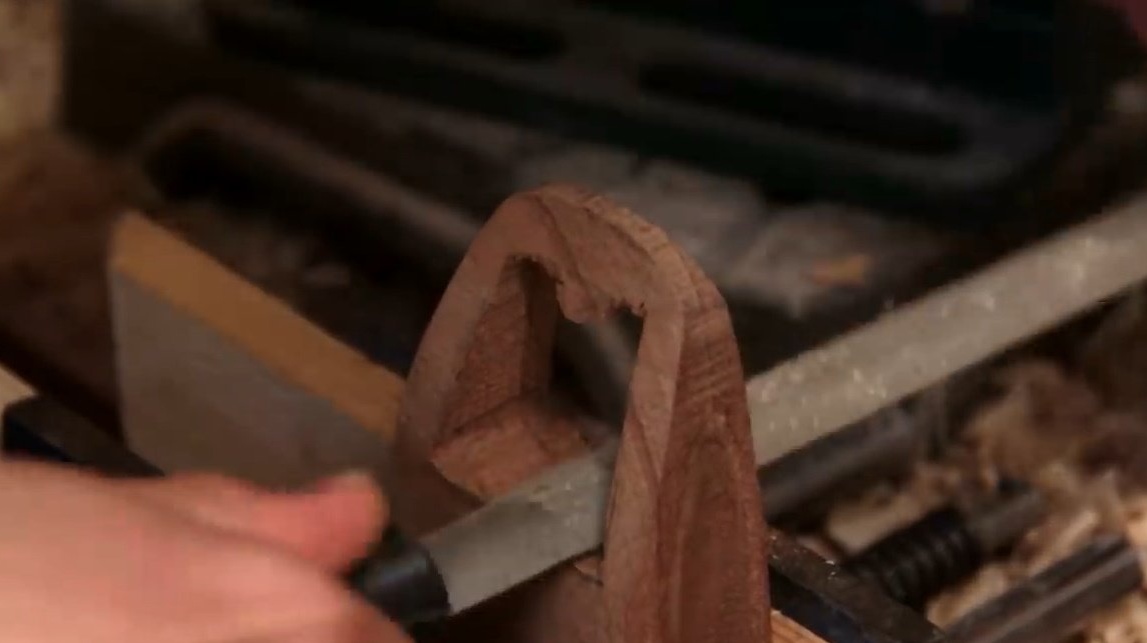
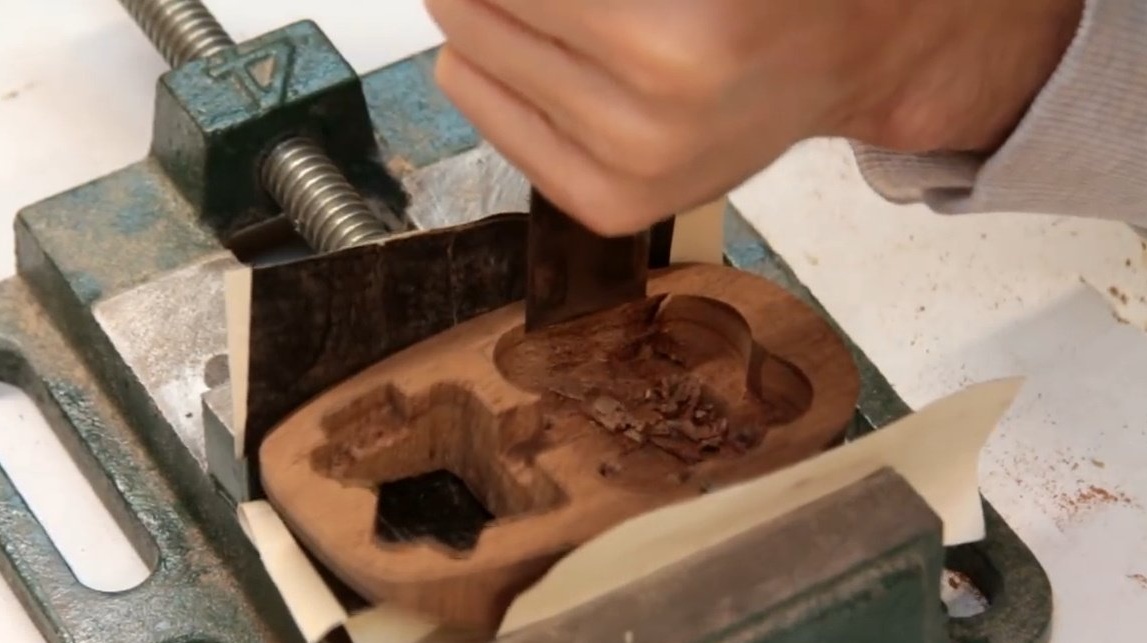
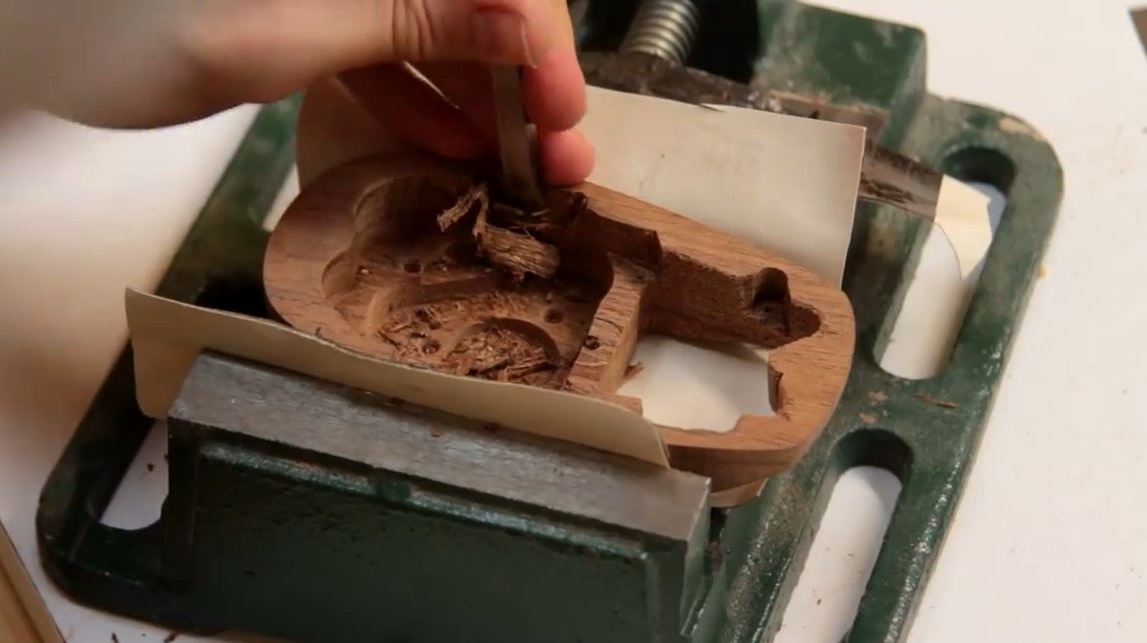
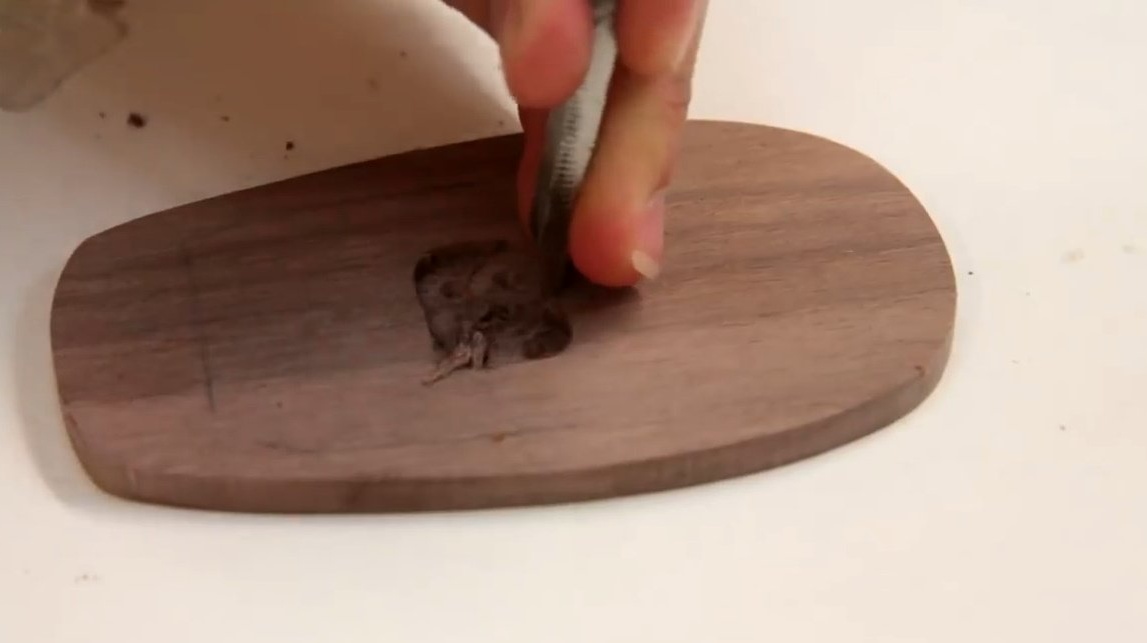
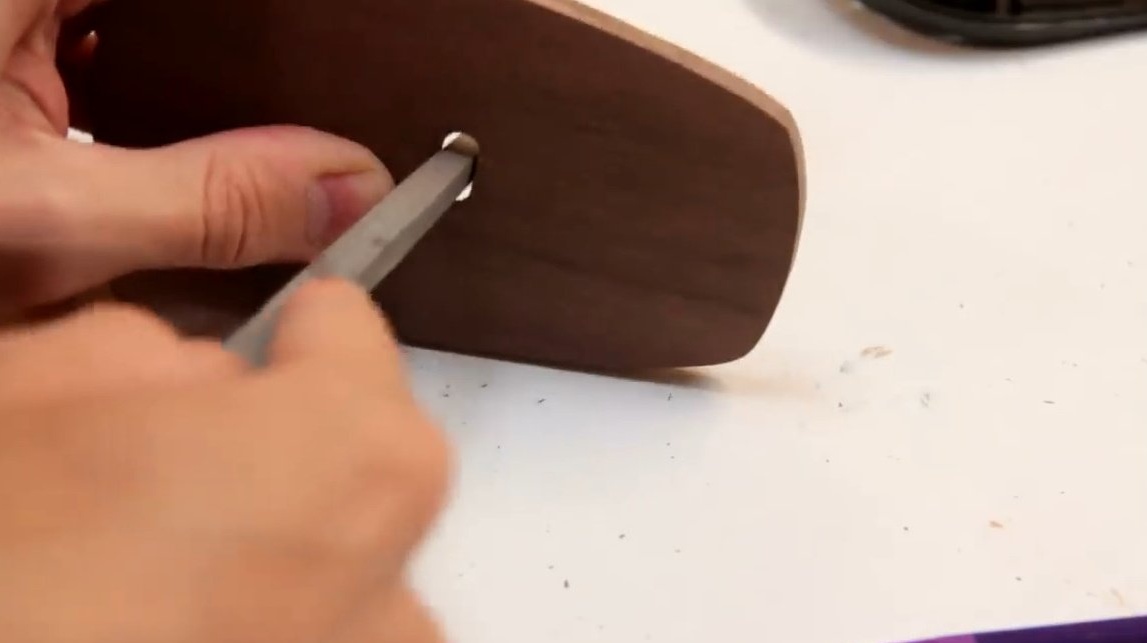
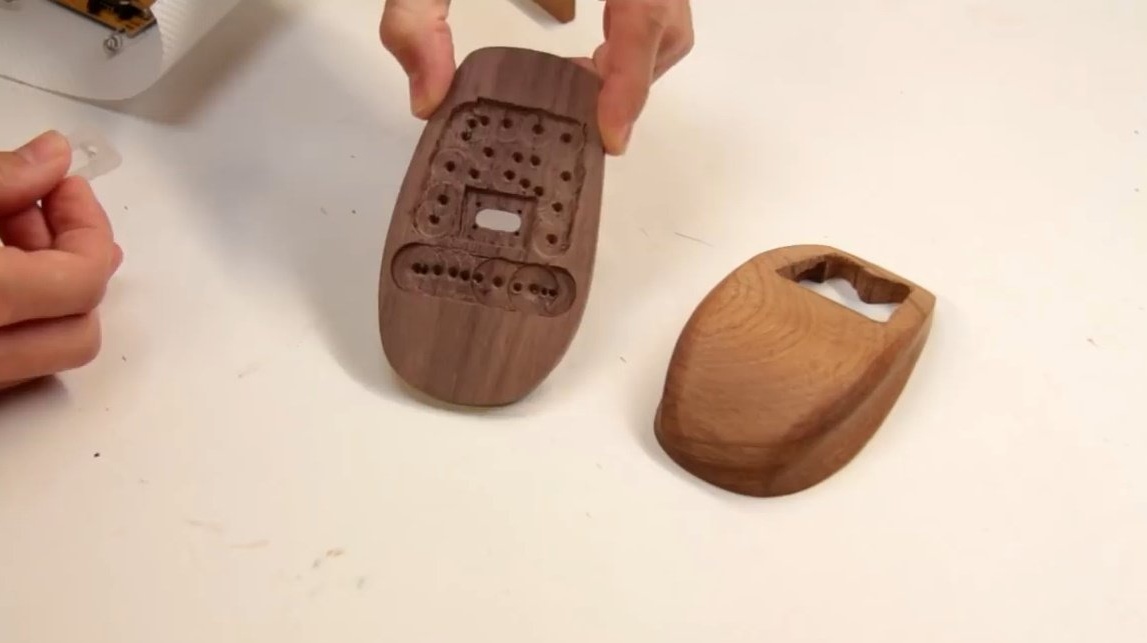
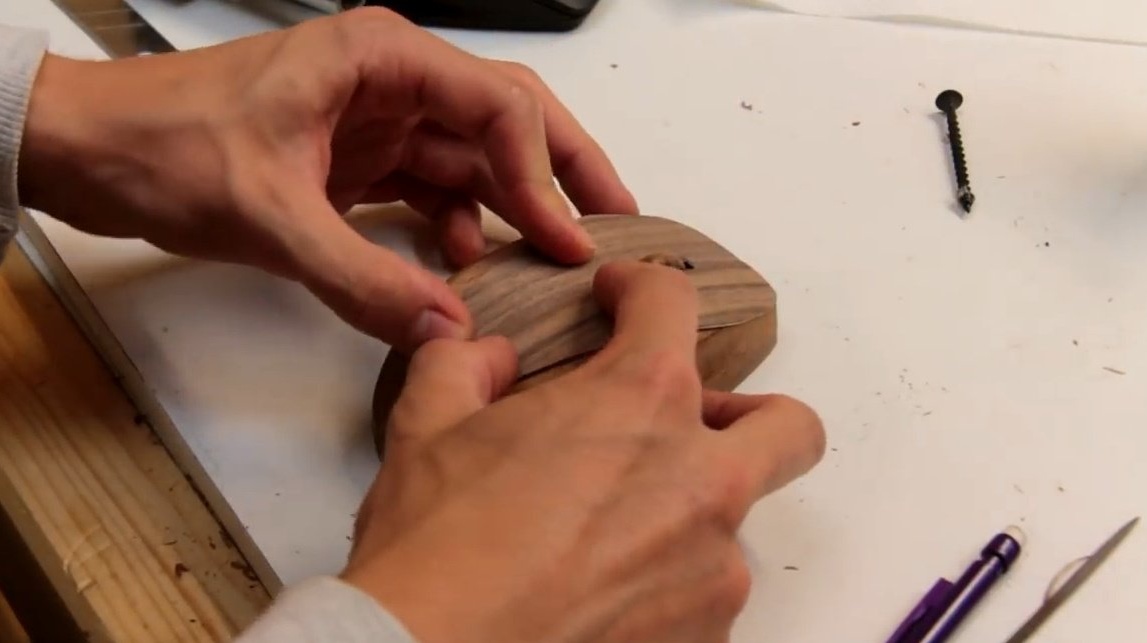
After the main cavity has been drilled, the master chisels out the remains of the material and aligns the edges.
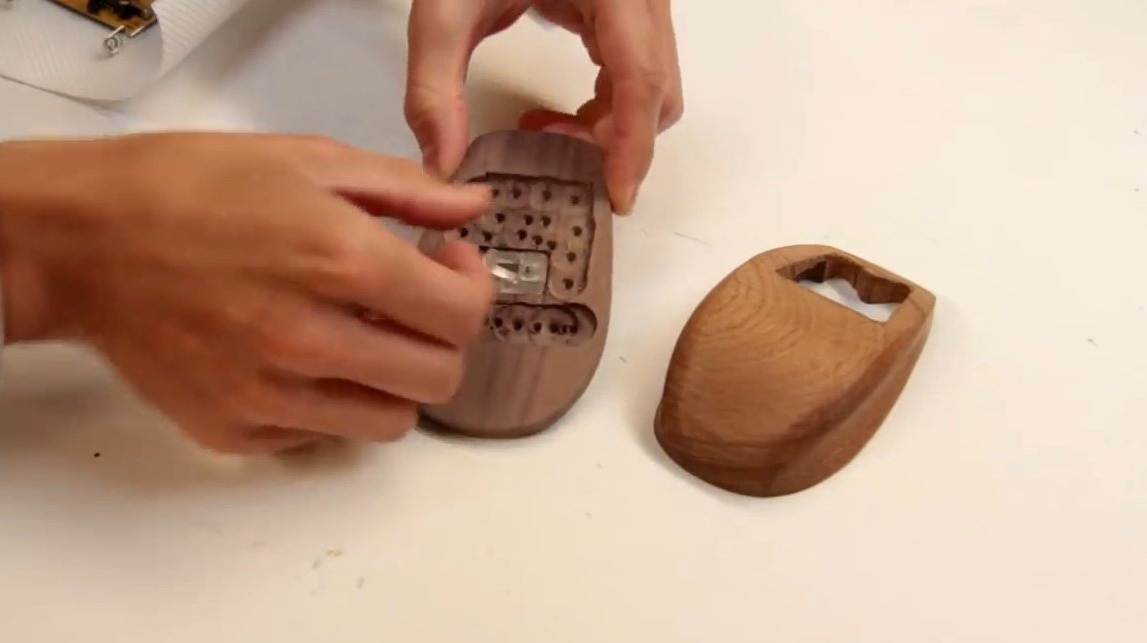
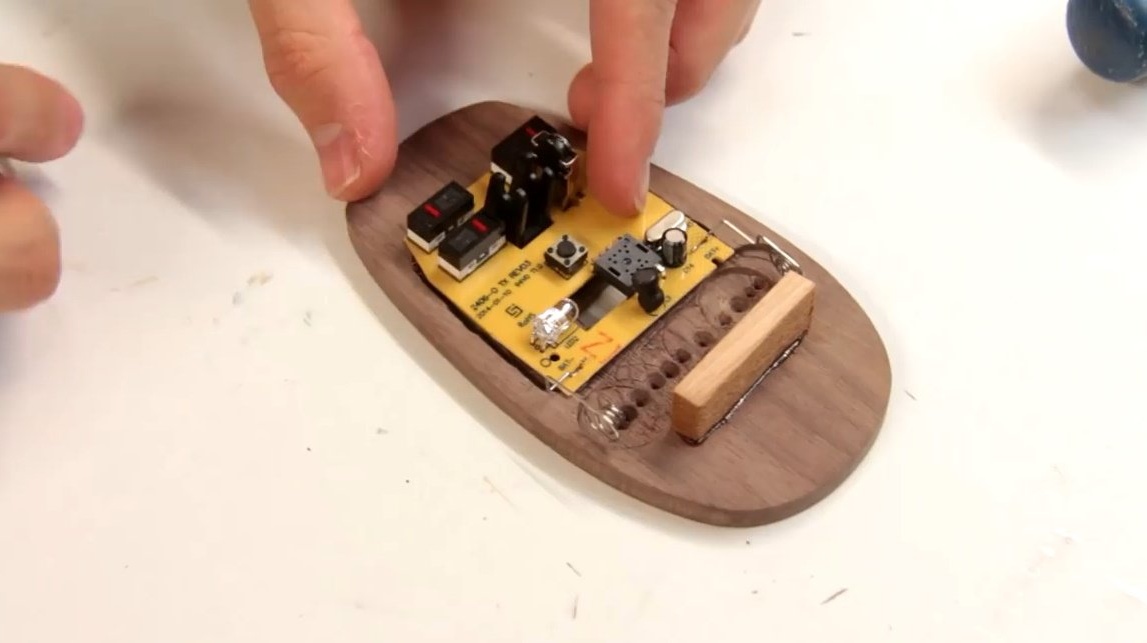
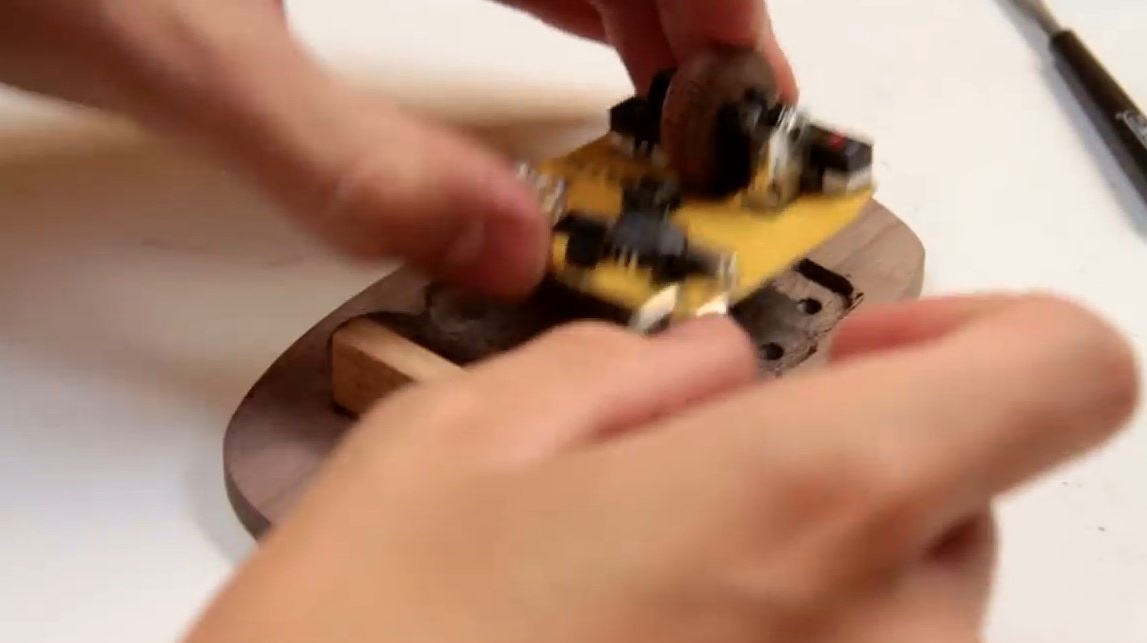
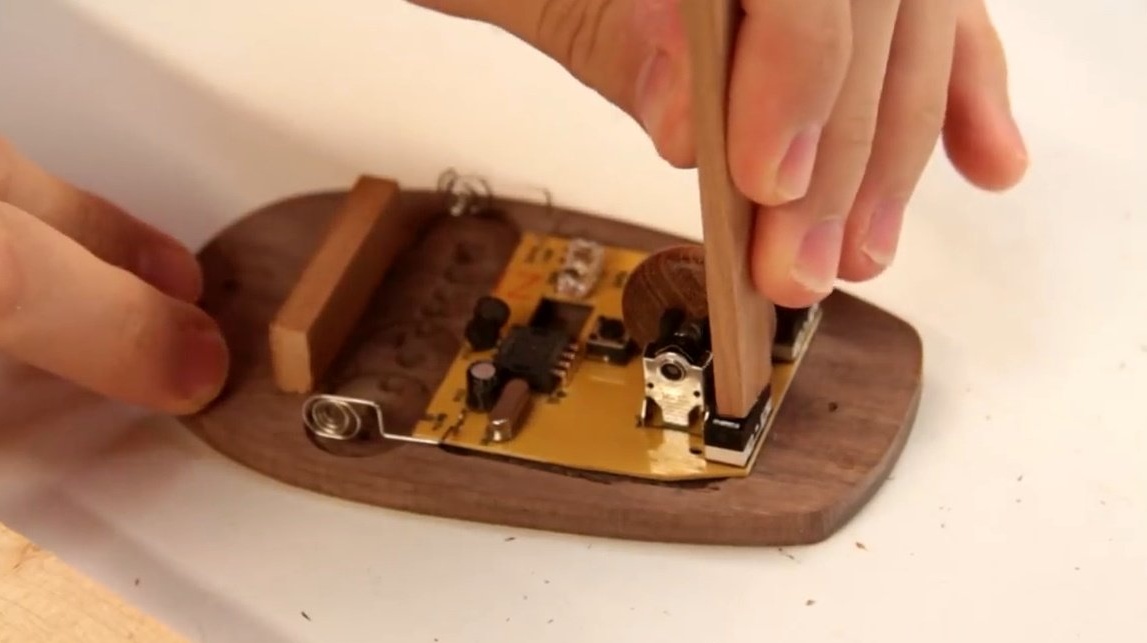
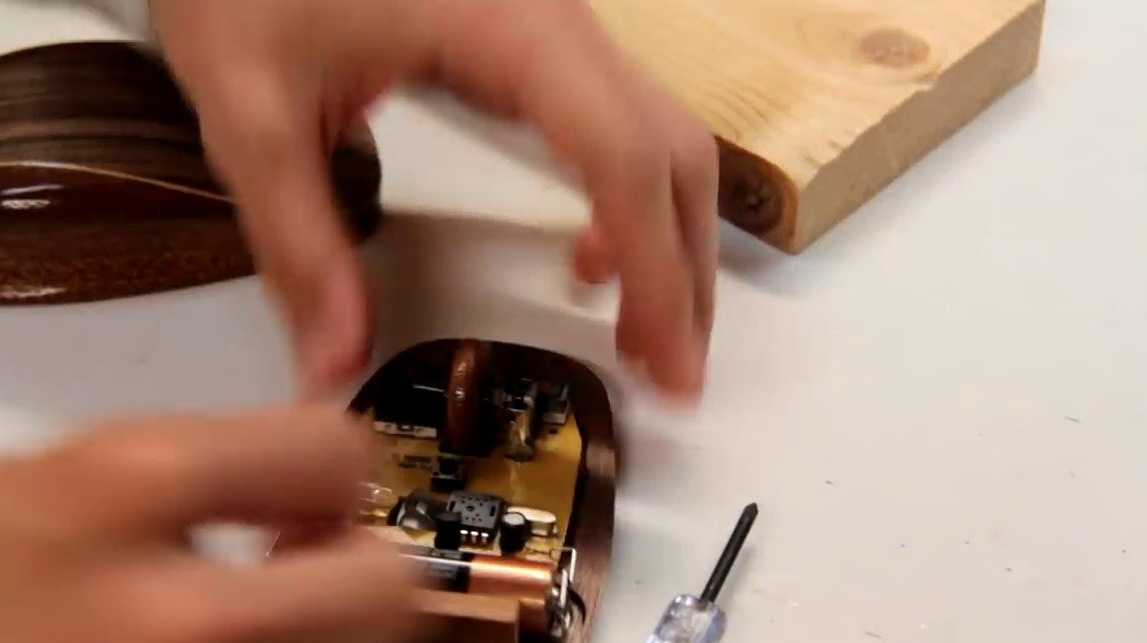
Now all the electronics neatly lay in the internal cavity of the mouse.
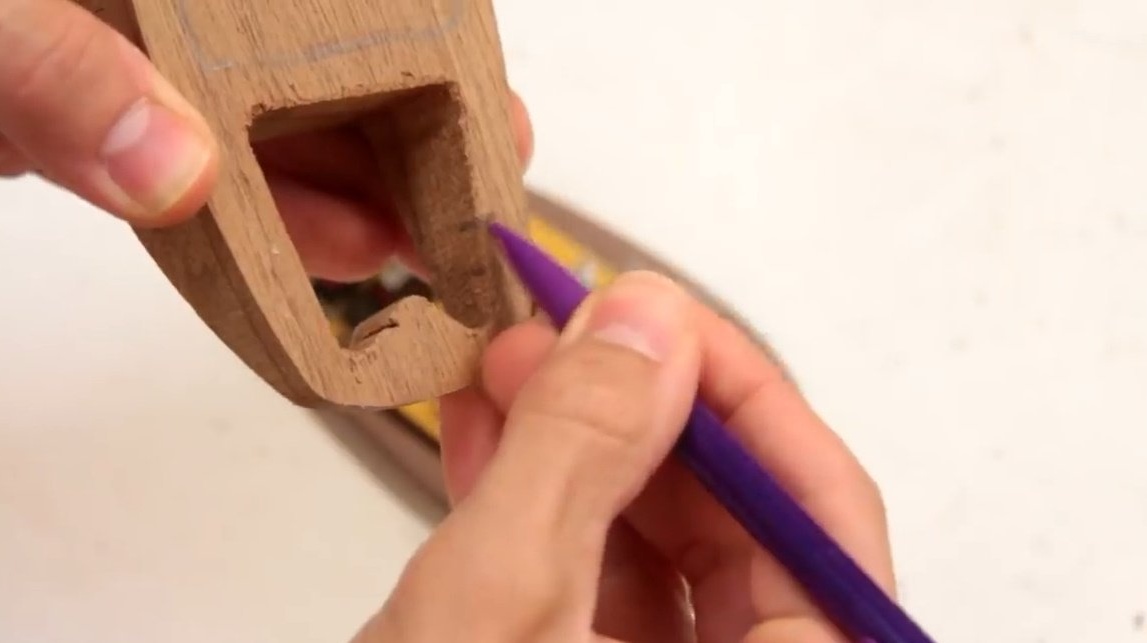
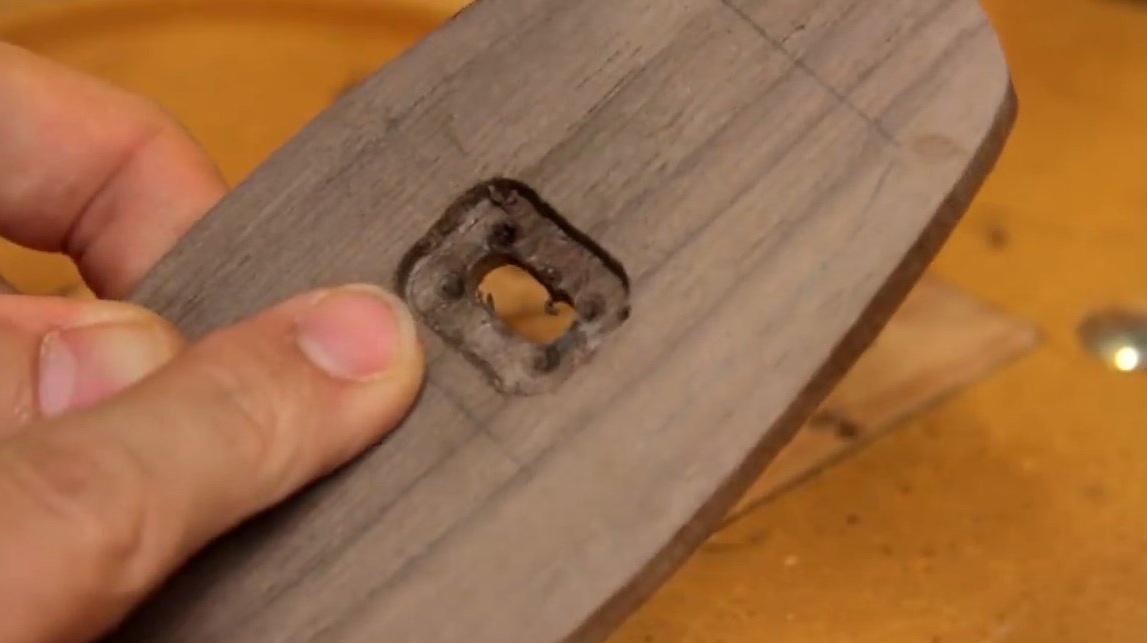
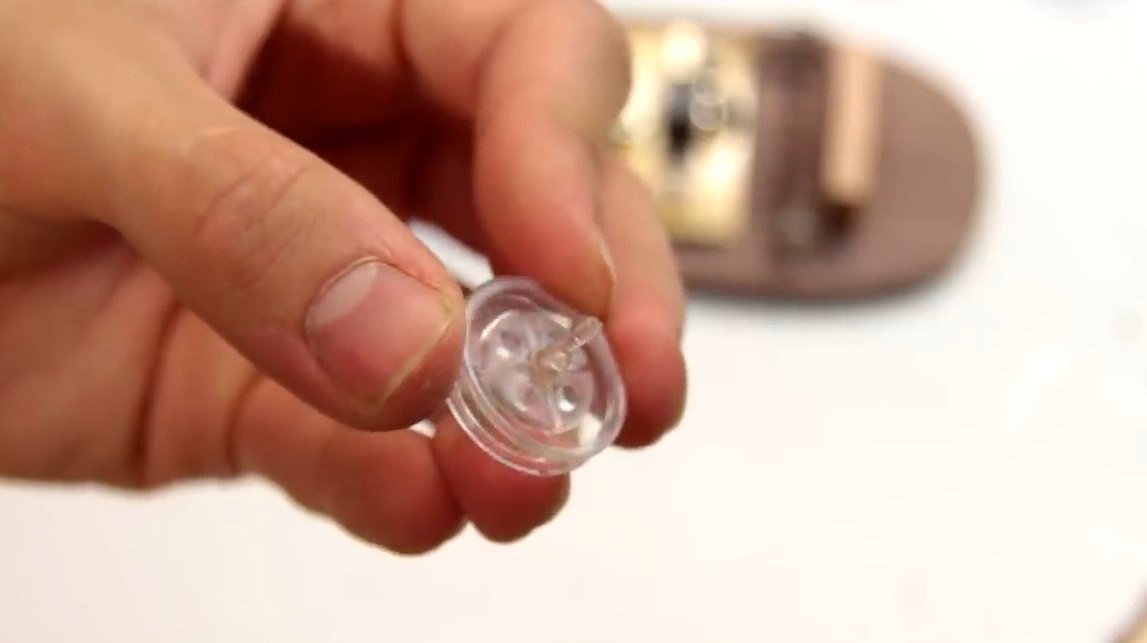
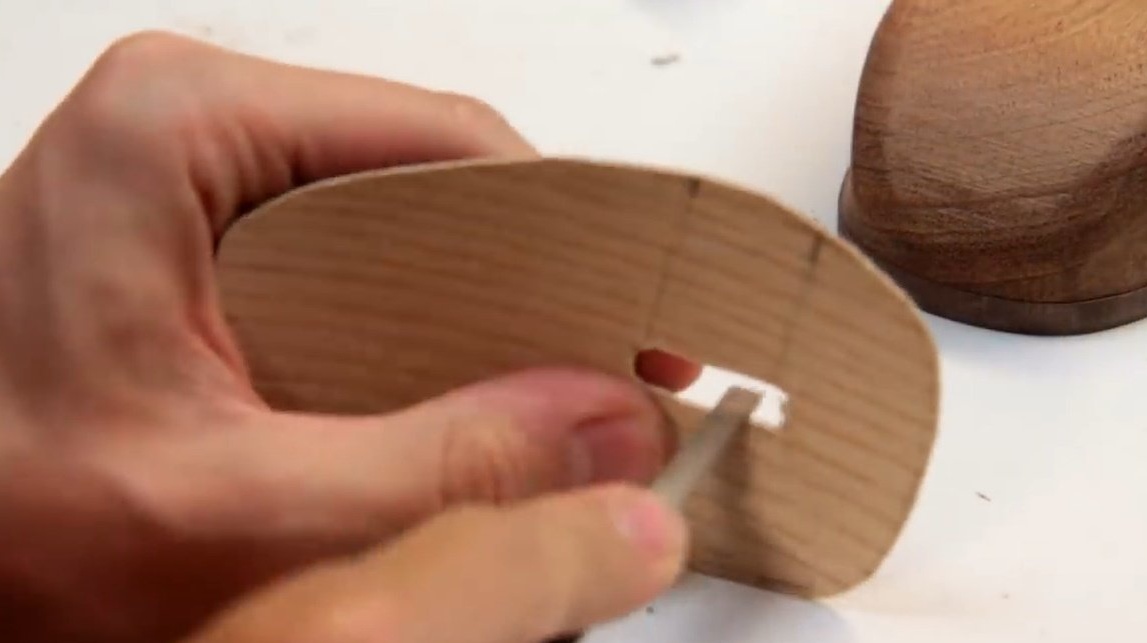
The author focuses on the window for the laser lens in the lower part of the mouse.
It should wander relatively freely at the base of the mouse. Since the author makes an optical mouse, one of the most difficult moments will be calculating the distance from the surface. The laser beam should reflect back from the surface. We must try to maintain the factory parameters as accurately as possible.
Drills a groove, then the window itself, and processes the edges with a chisel, then a file.
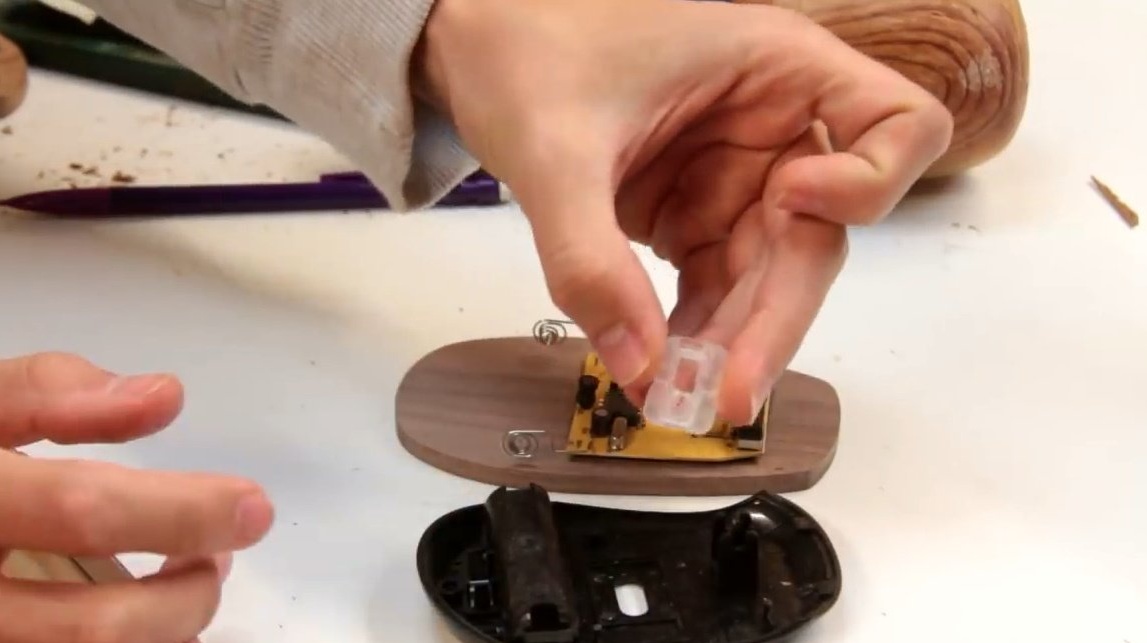
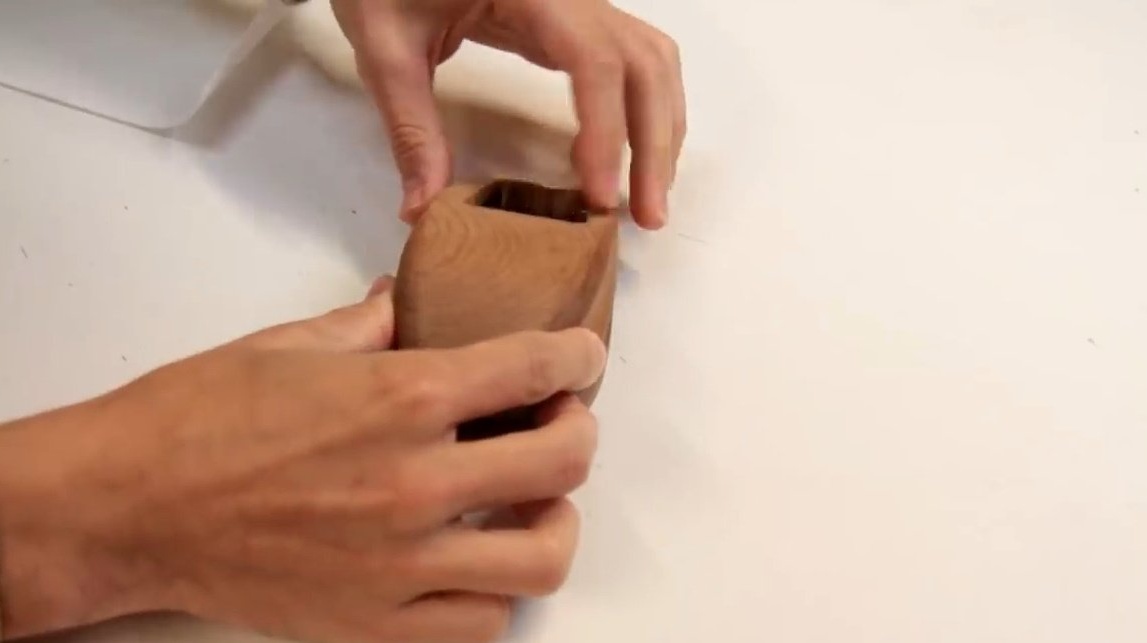
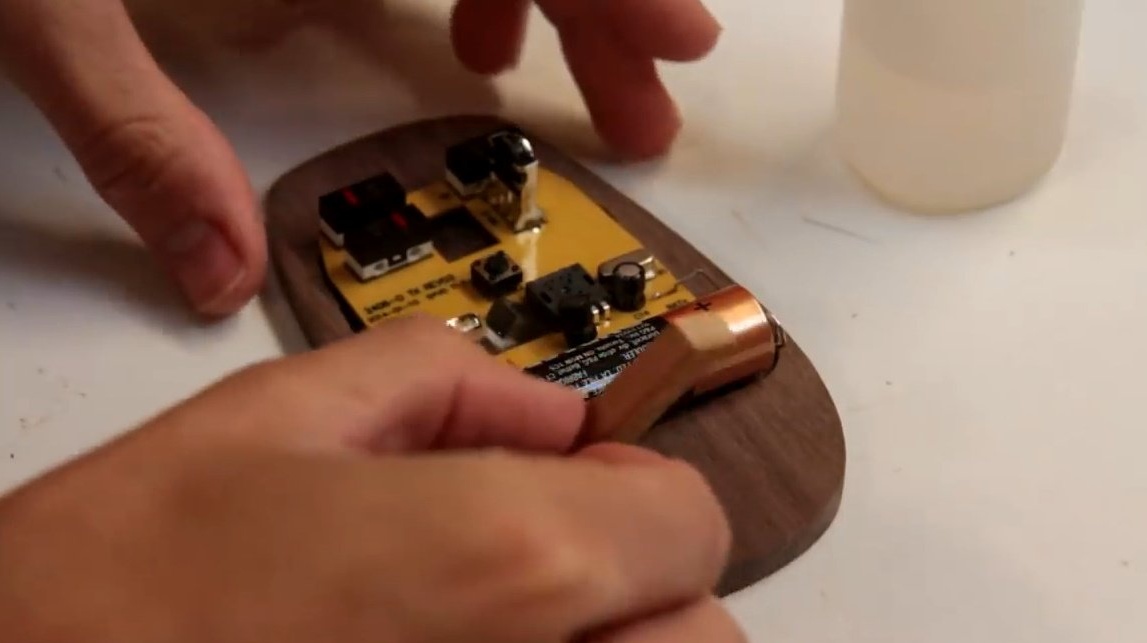
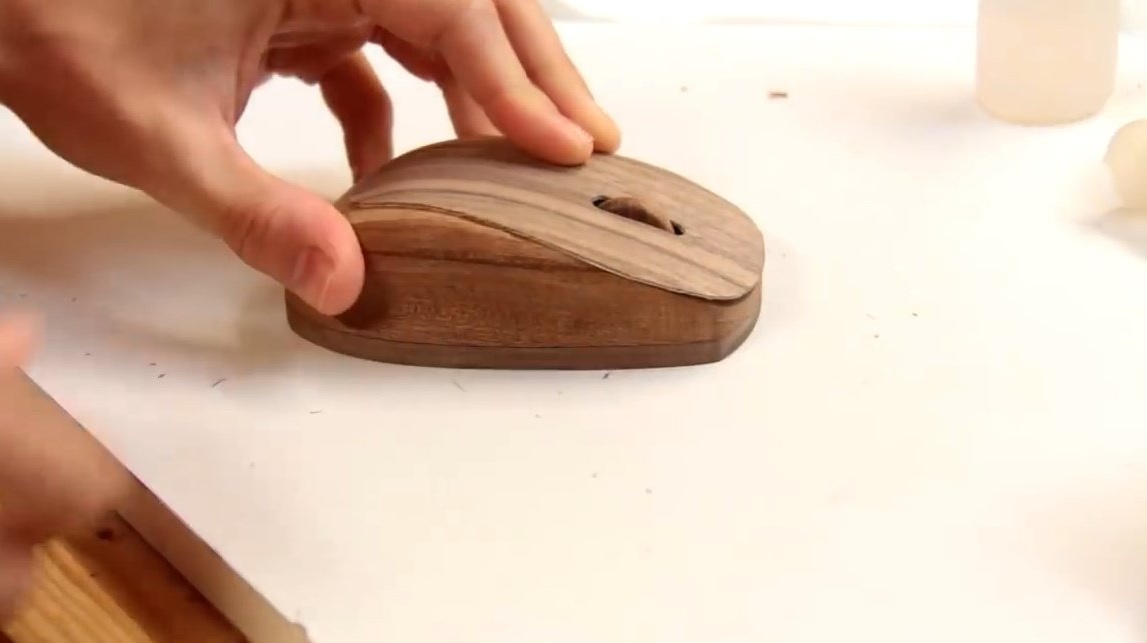
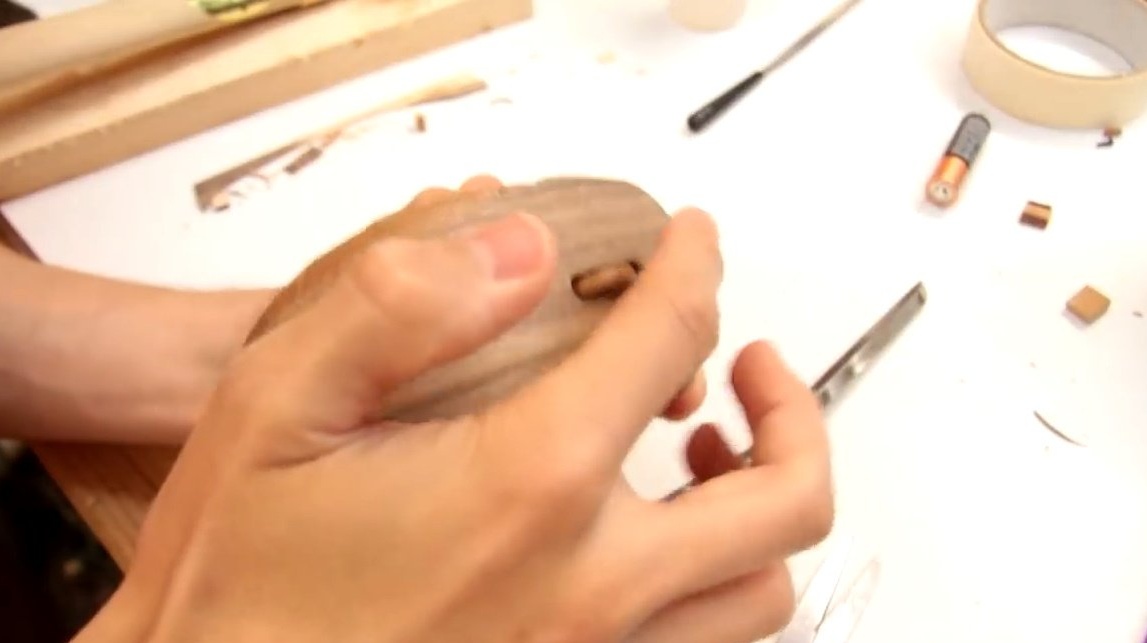
Once again collects the mouse. Now almost everything is ready.
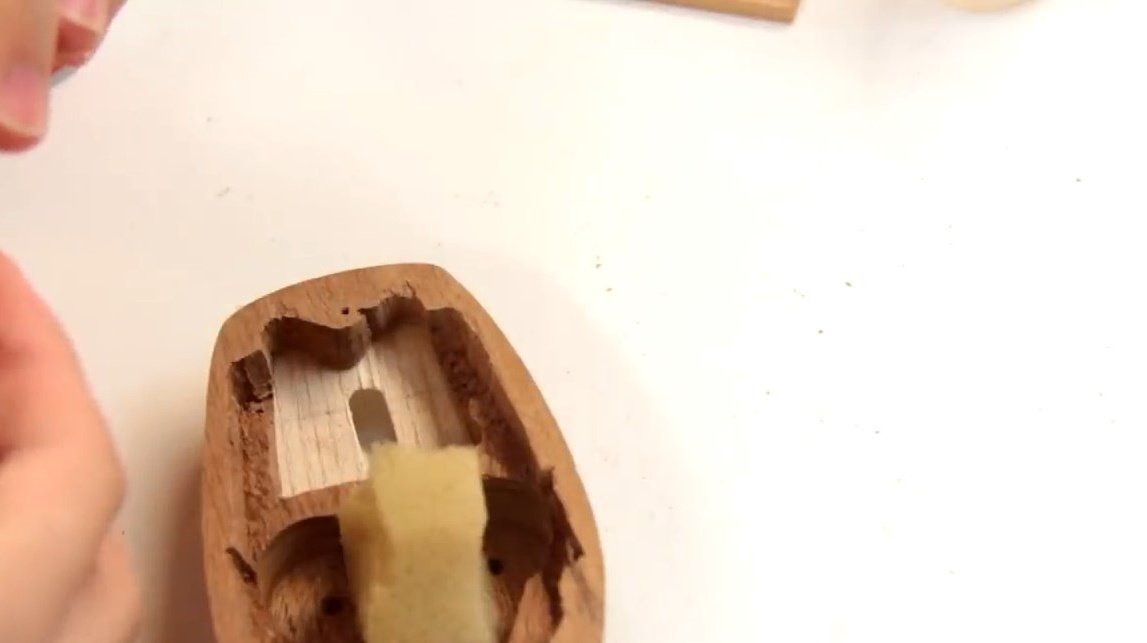
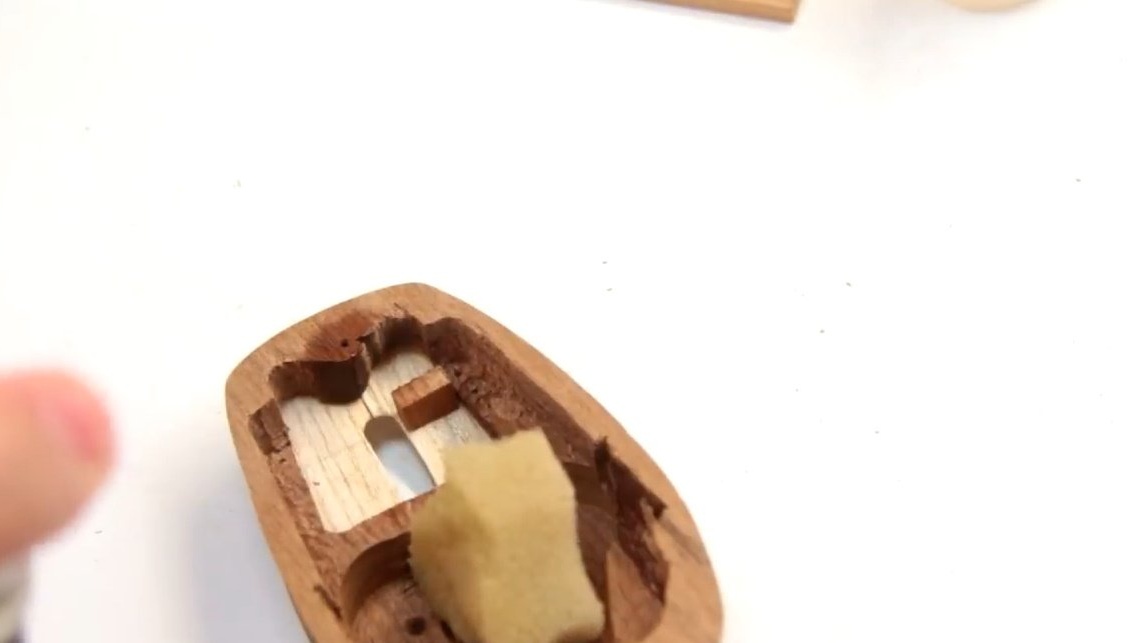
Then he smears a small piece of wood with two-component second glue to secure the battery. Then sprinkles with hardener.
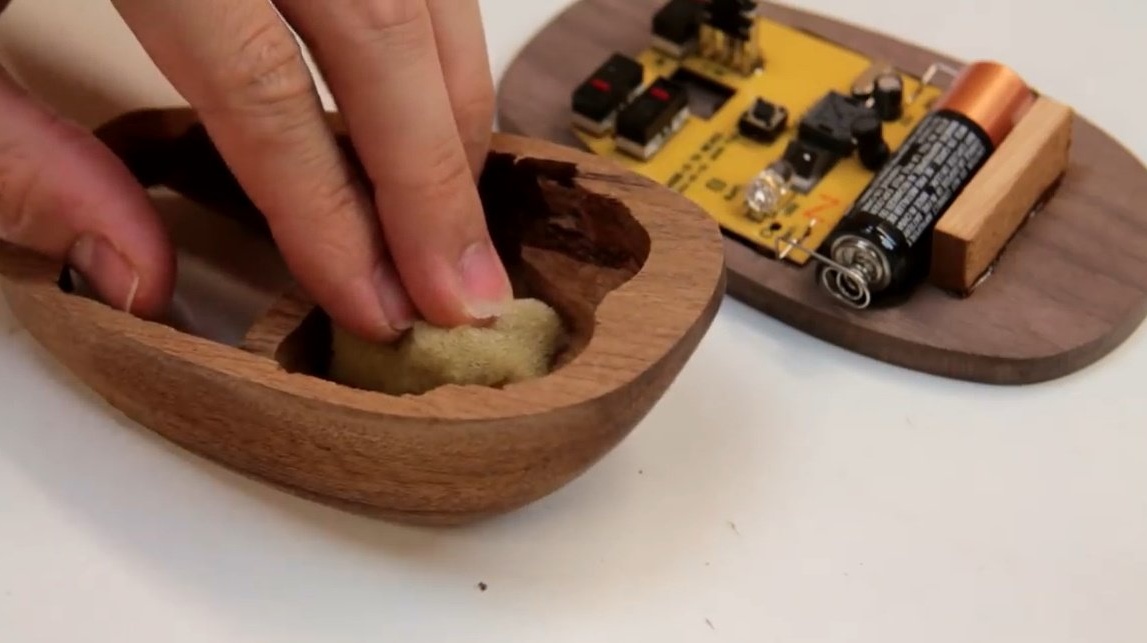
In the upper cavity, just above the battery, Alex lays a small piece of foam so that the battery is firmly clamped.
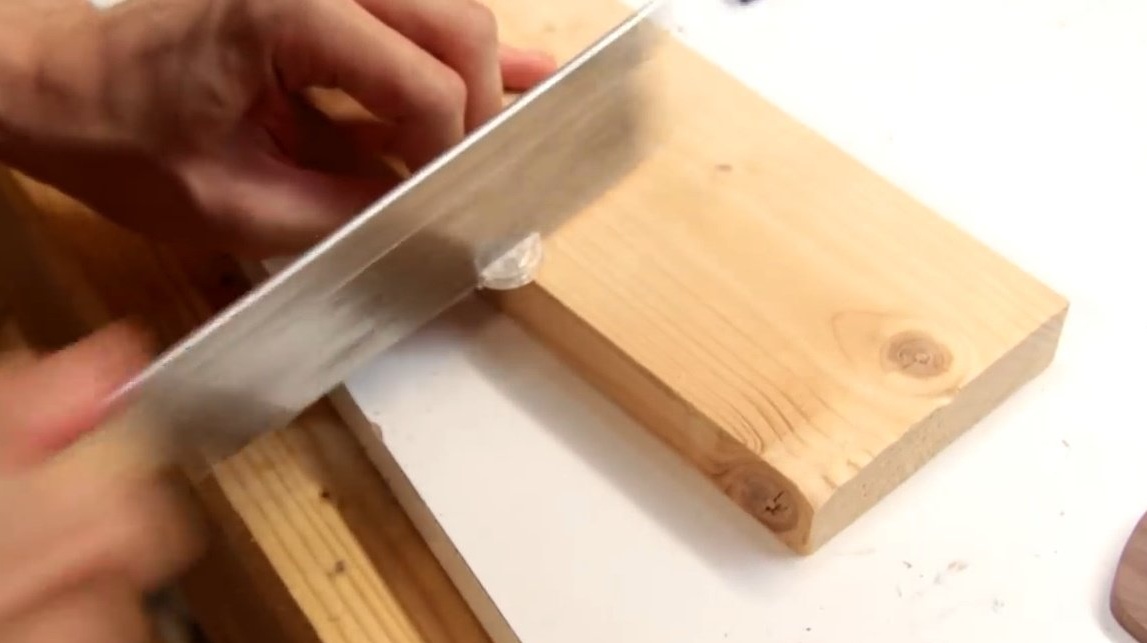
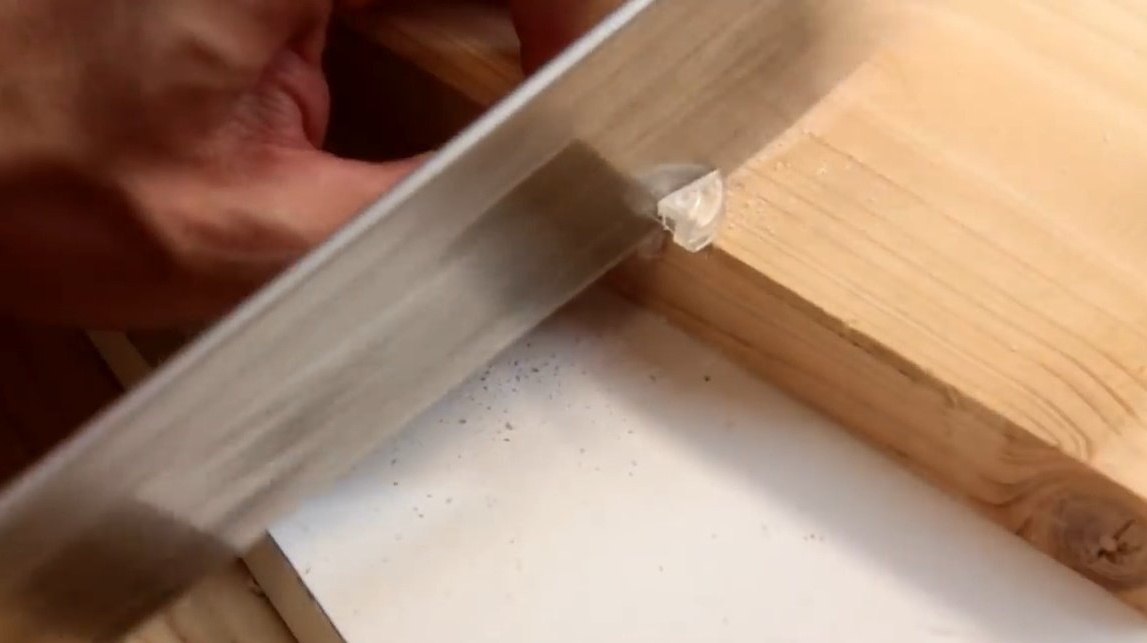
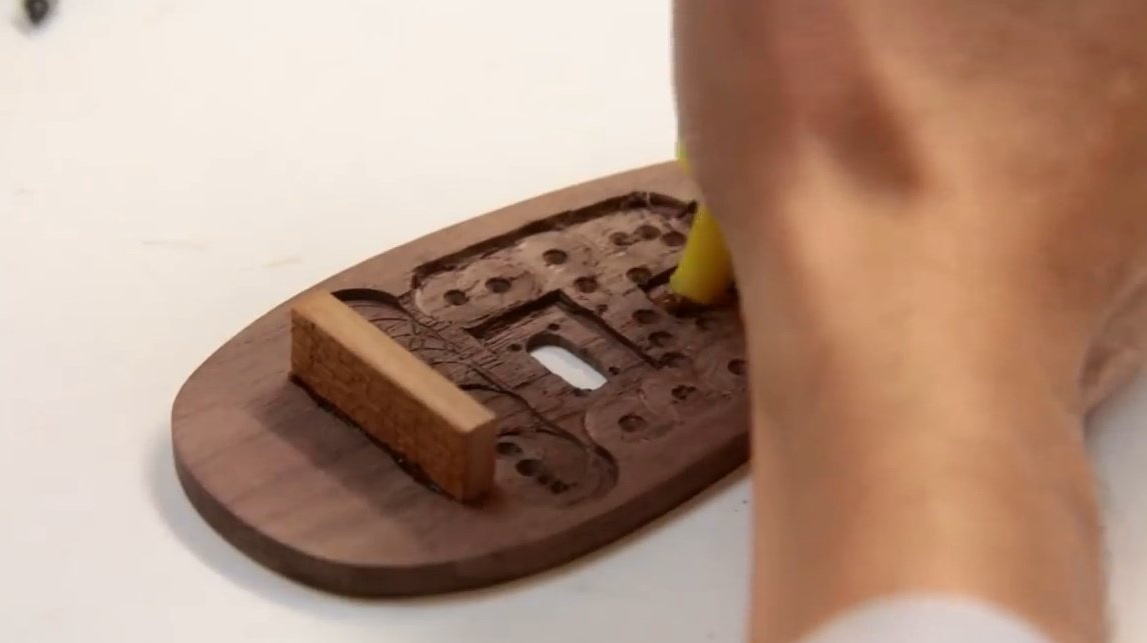
The next stage of the project is the installation of the scroller wheel. To save time and effort, the master cuts out a small part of the plastic from the original mouse and sticks it to the place where the wheel support should be.
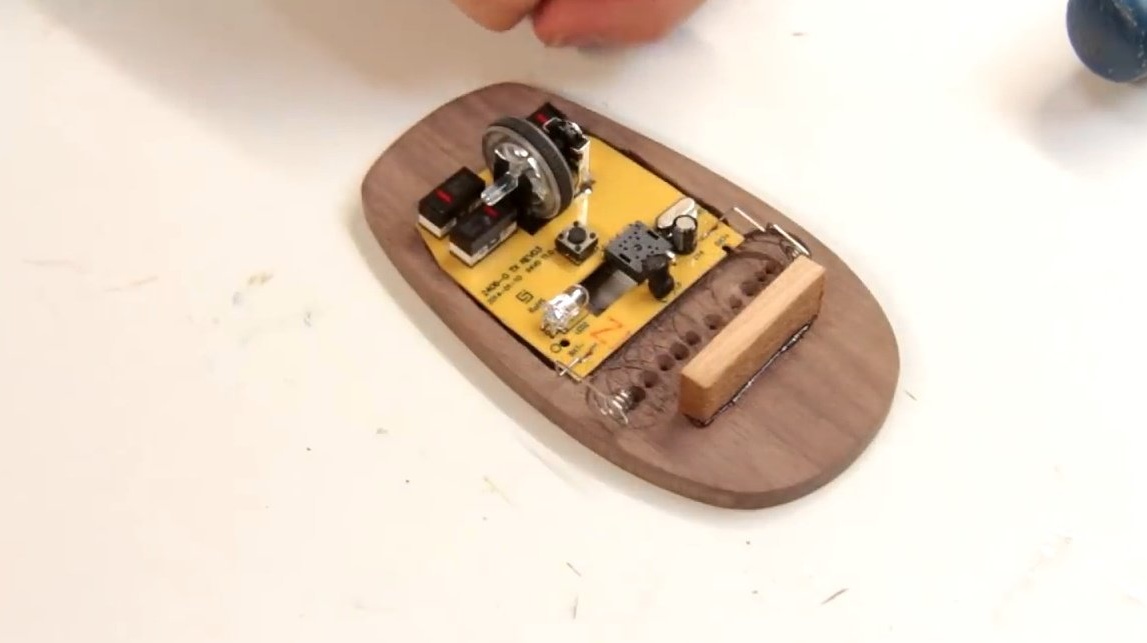
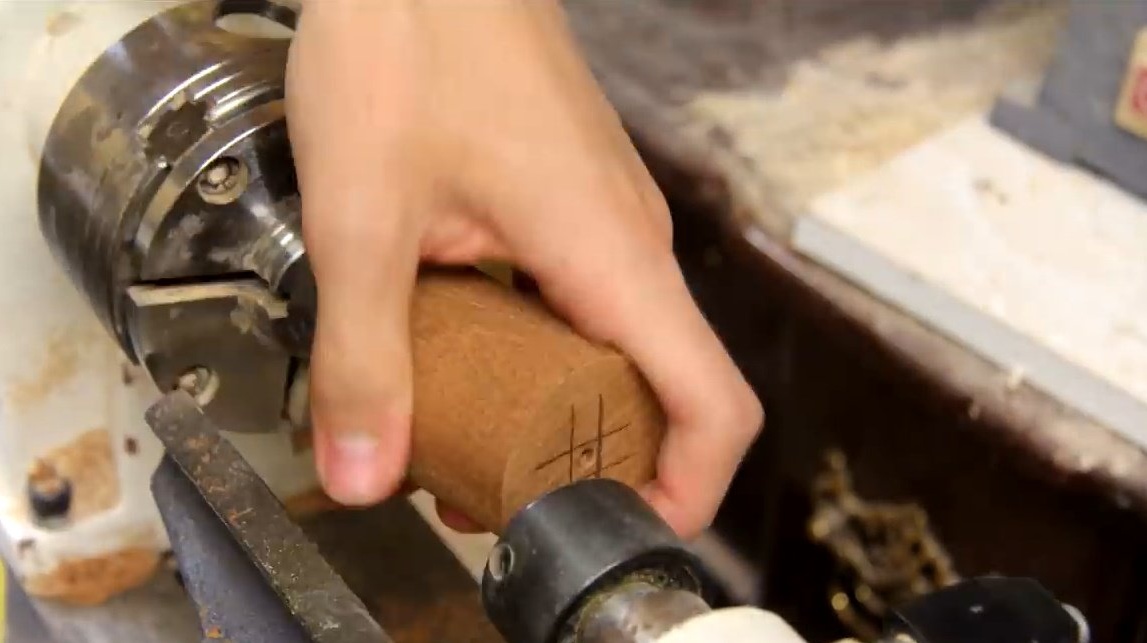
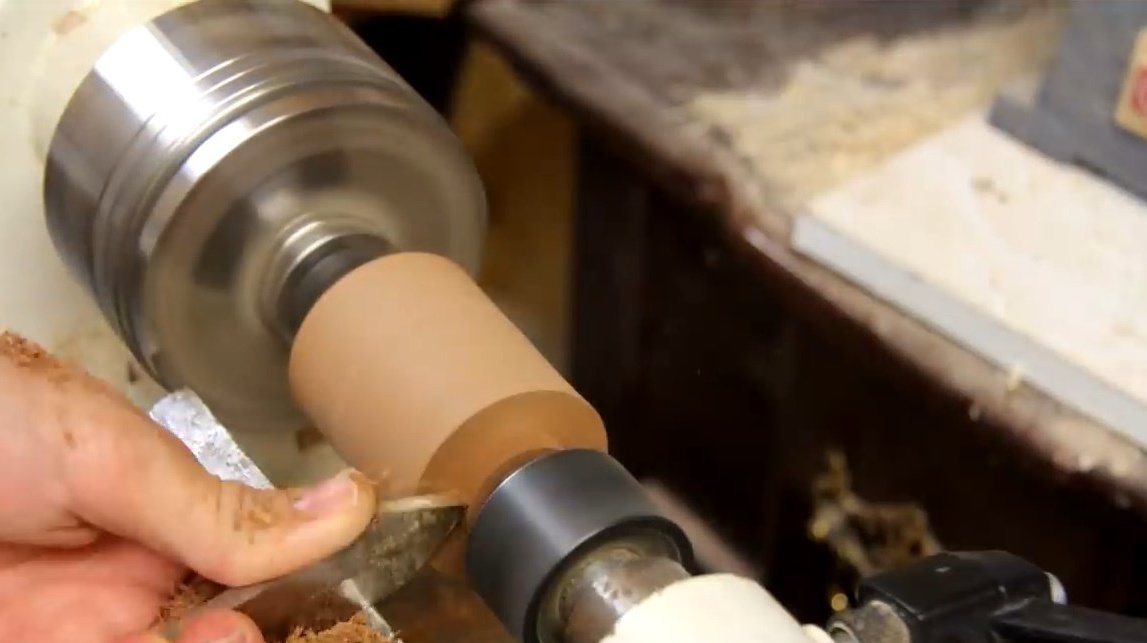
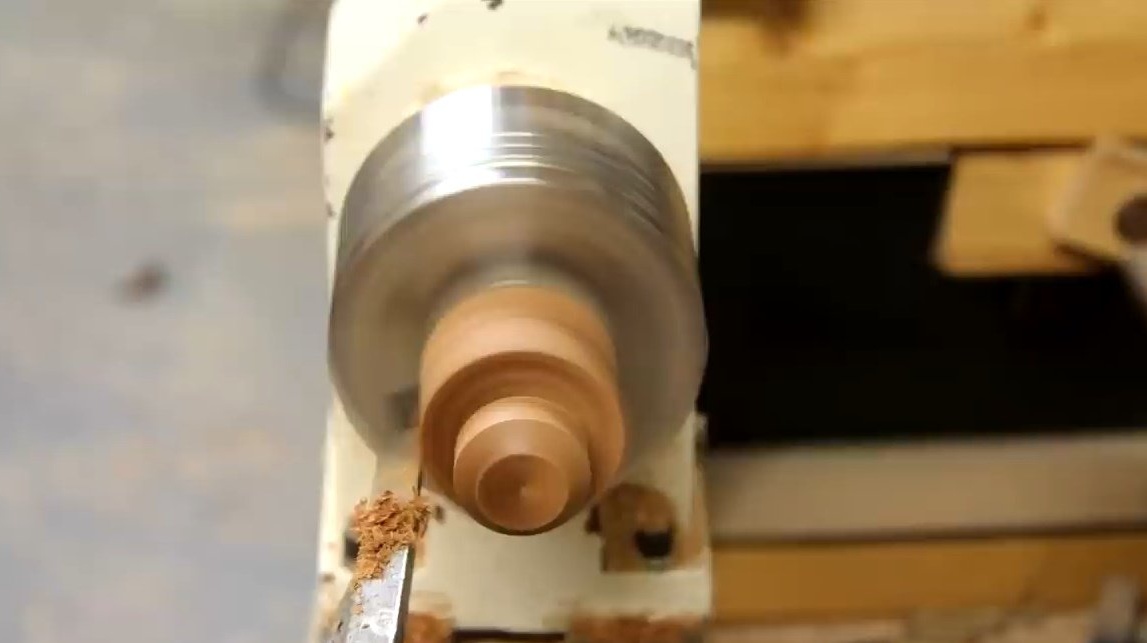
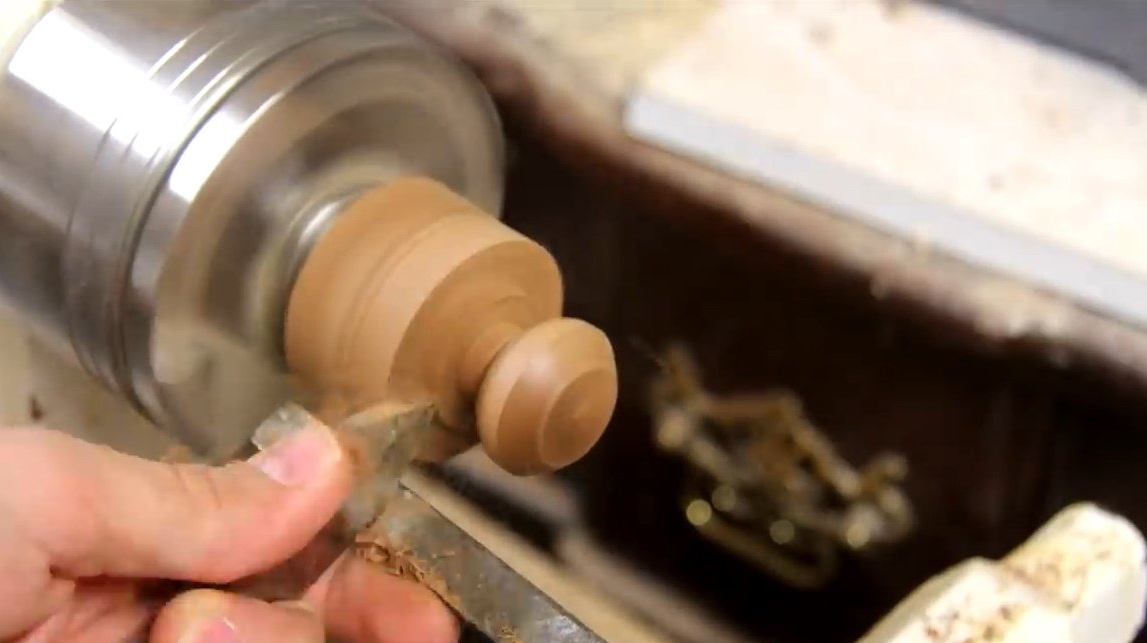
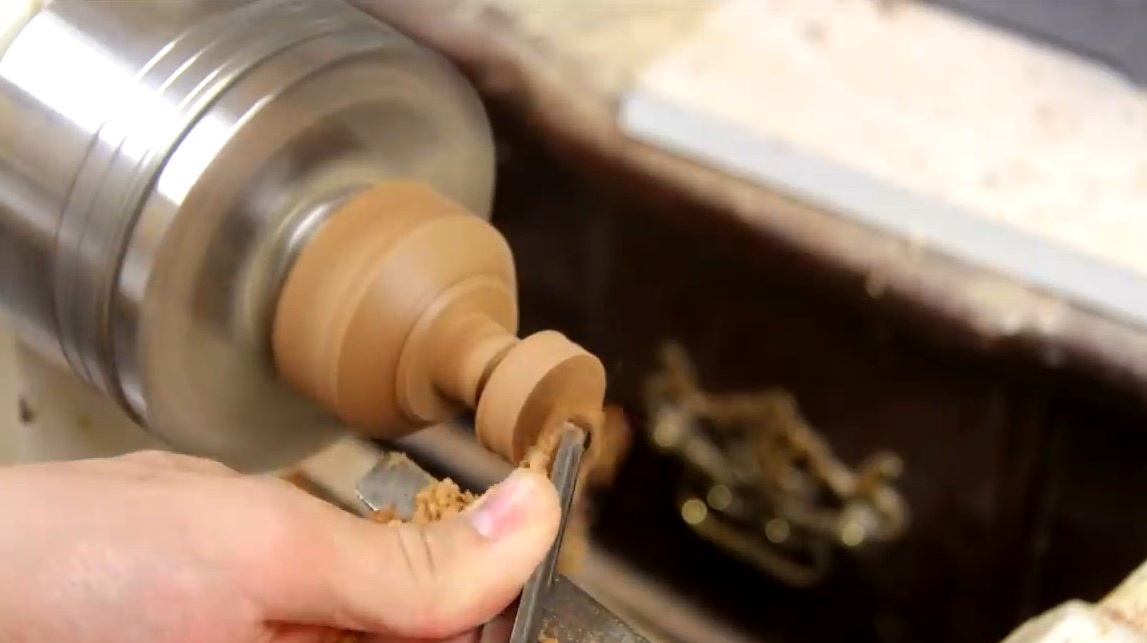
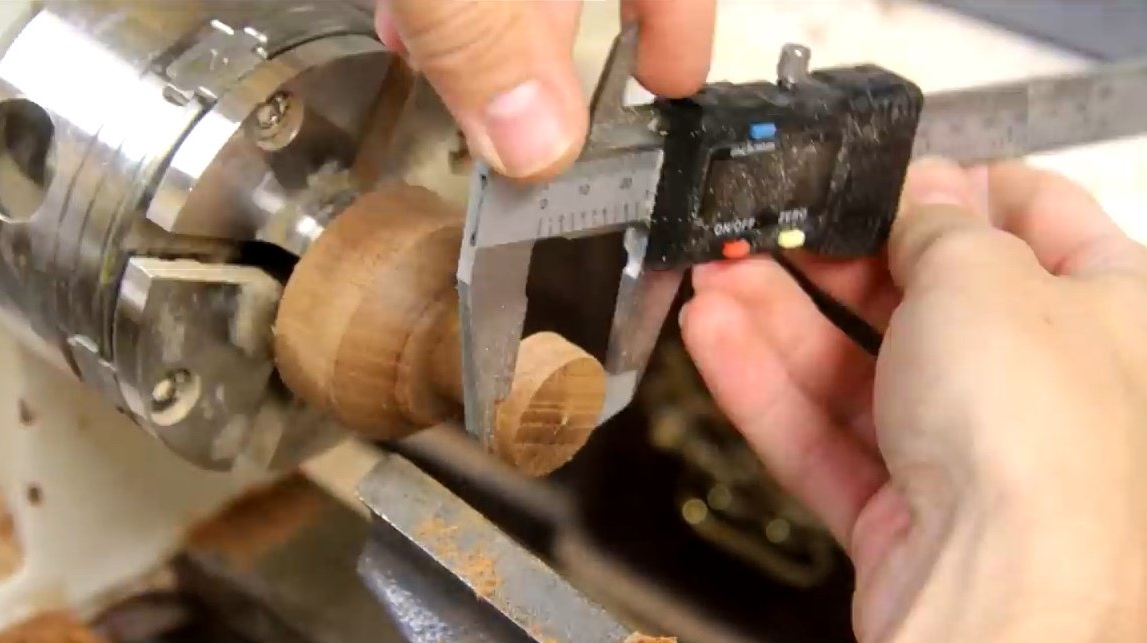
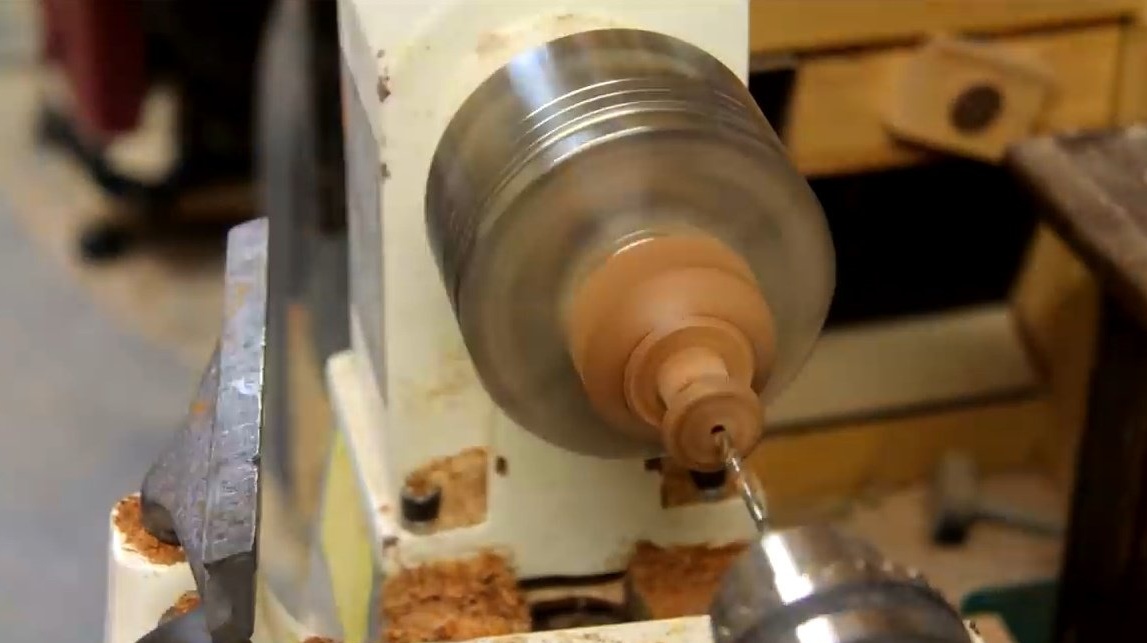
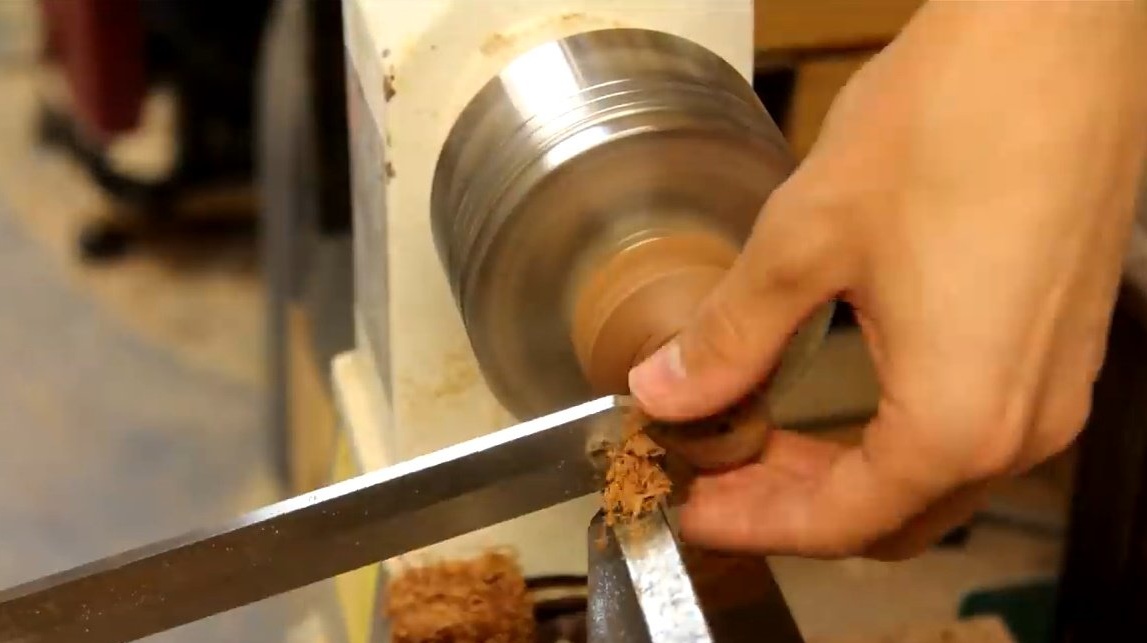
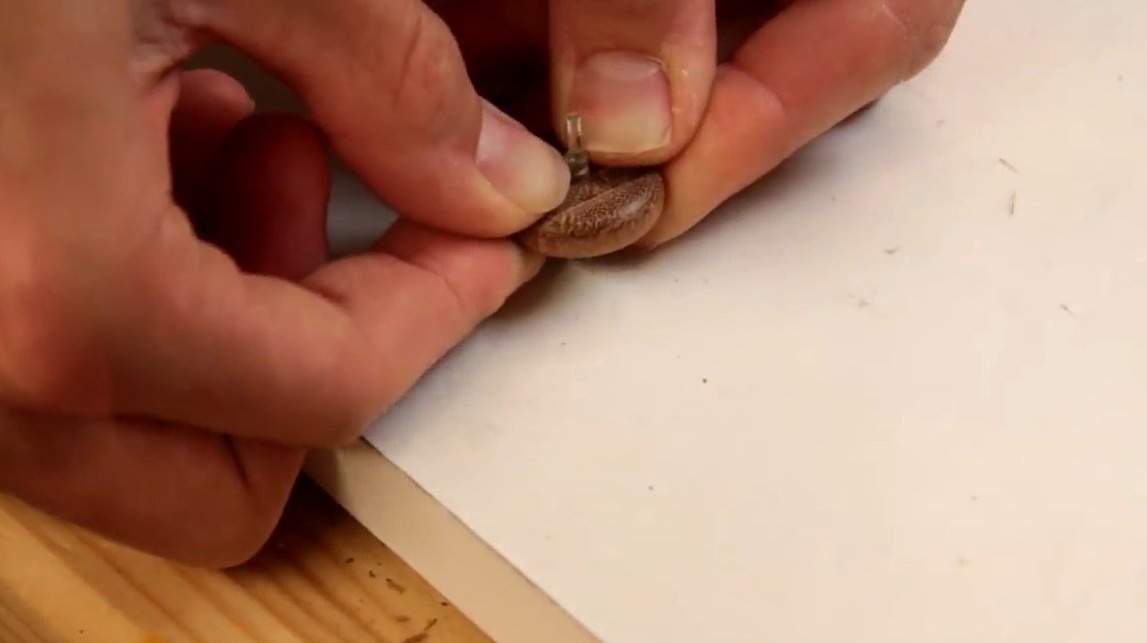
On a lathe, the author cuts a wooden wheel. In principle, this element can also be manufactured on a drilling machine. It would be possible to use an original plastic wheel in the device, but the author decided in favor of the wooden one, as he preferred the effect of "whole wood".
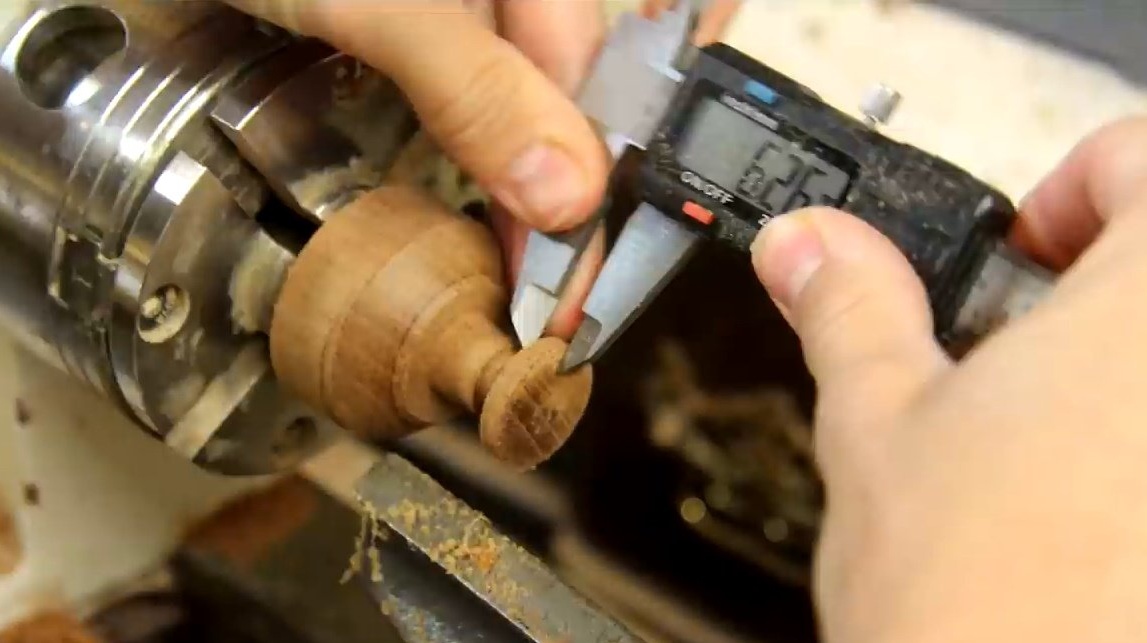
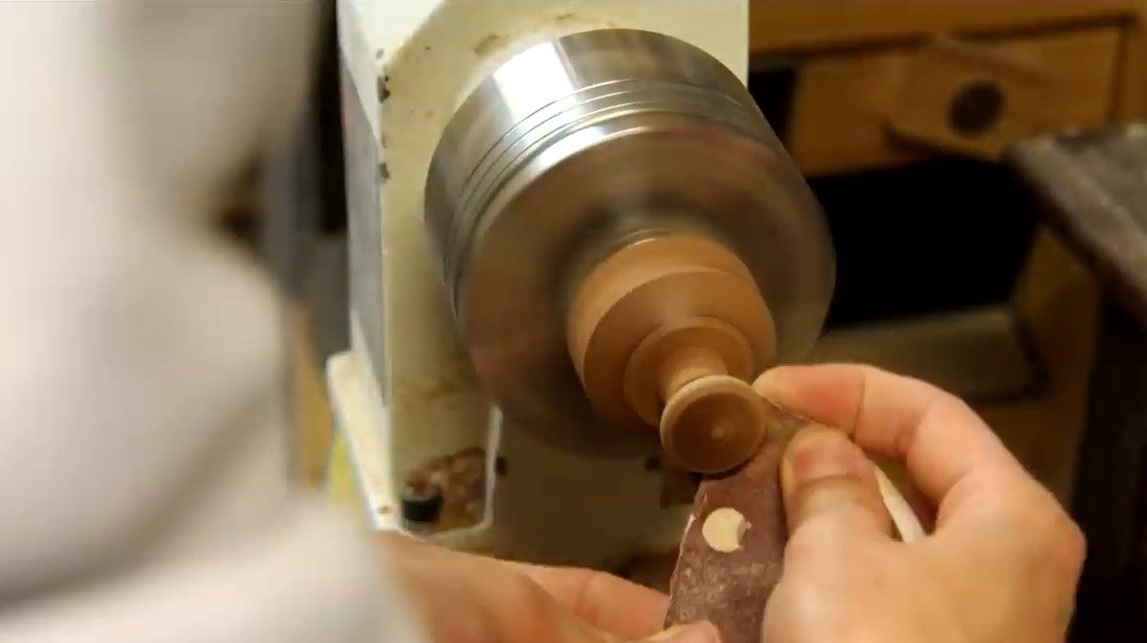
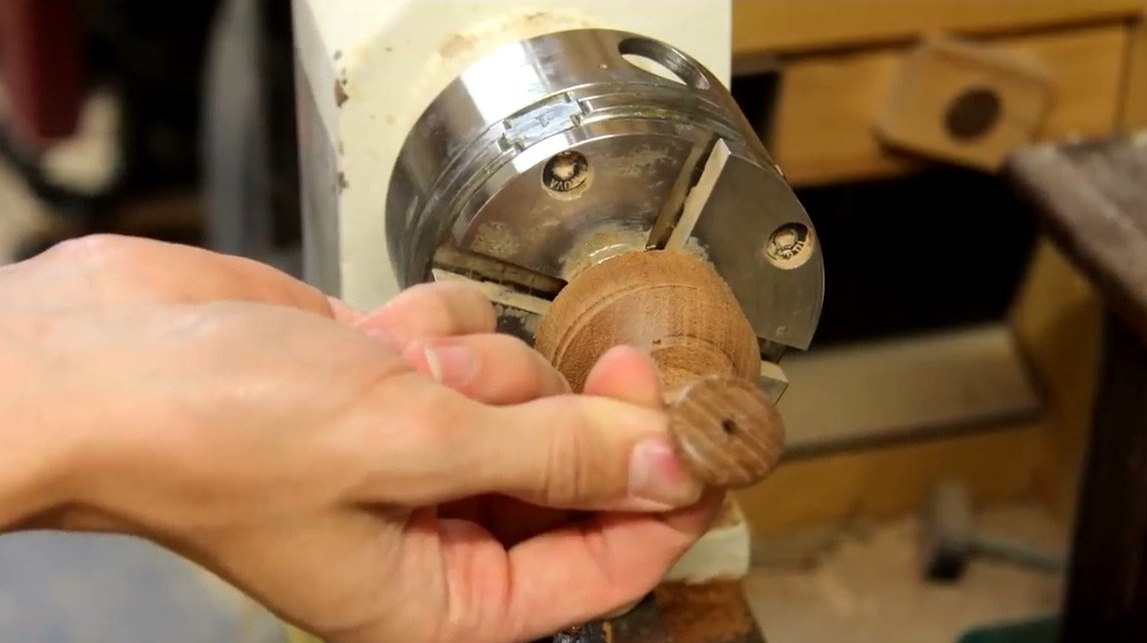
He puts the original gum on the wheel and tries on it.
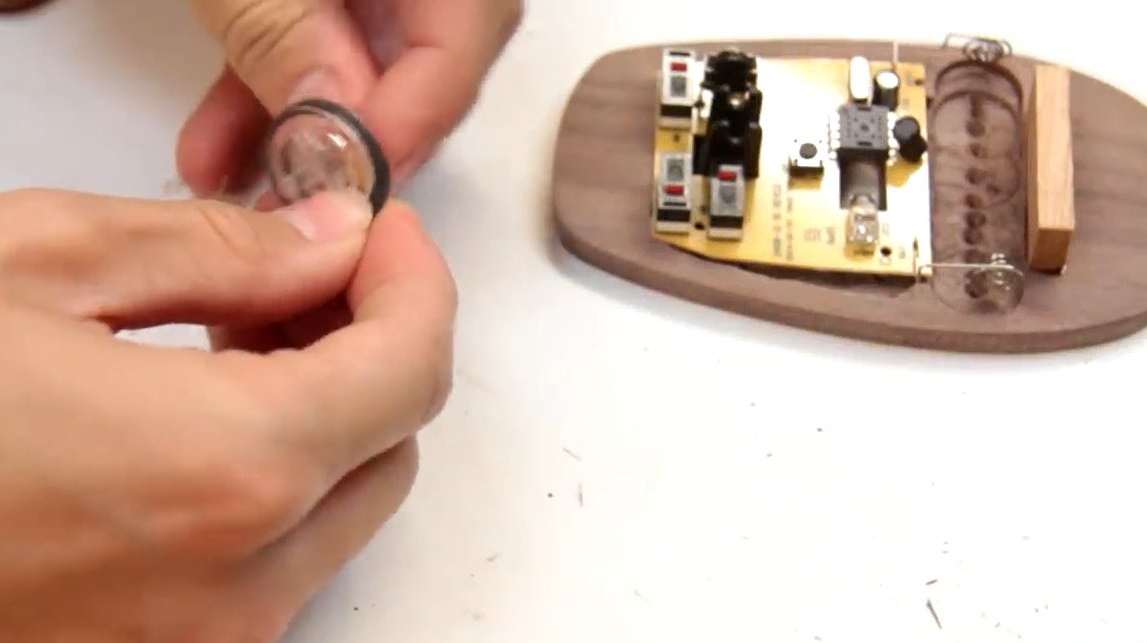

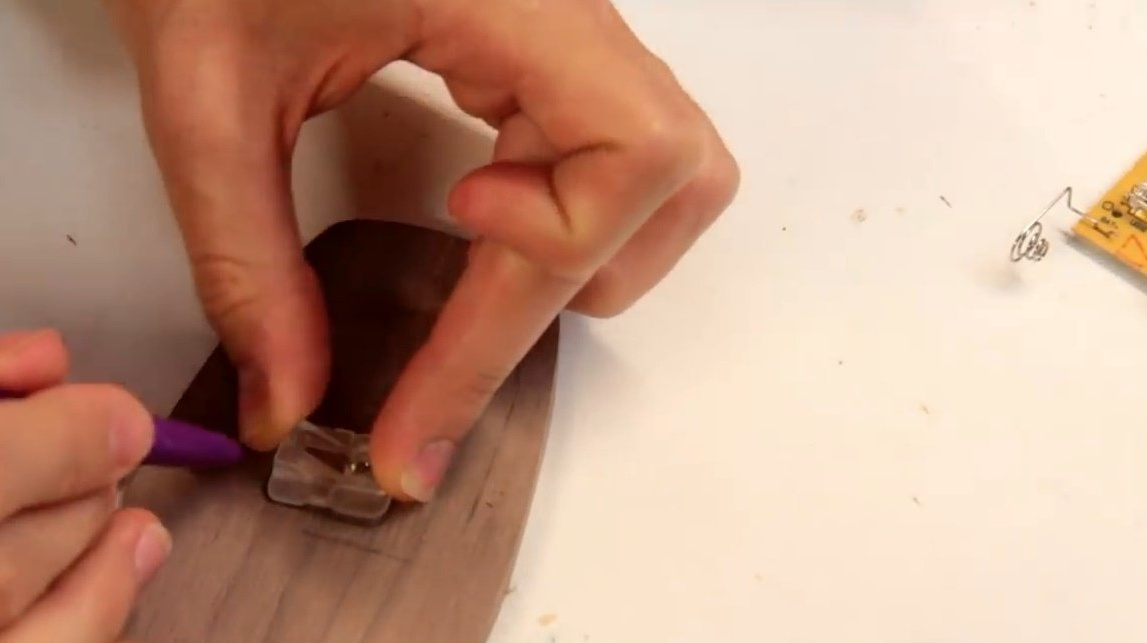
One of the most difficult moments in this project was the separation of the plastic axis of the wheel, which has a unique shape. Then he inserts the axis into the wooden wheel.
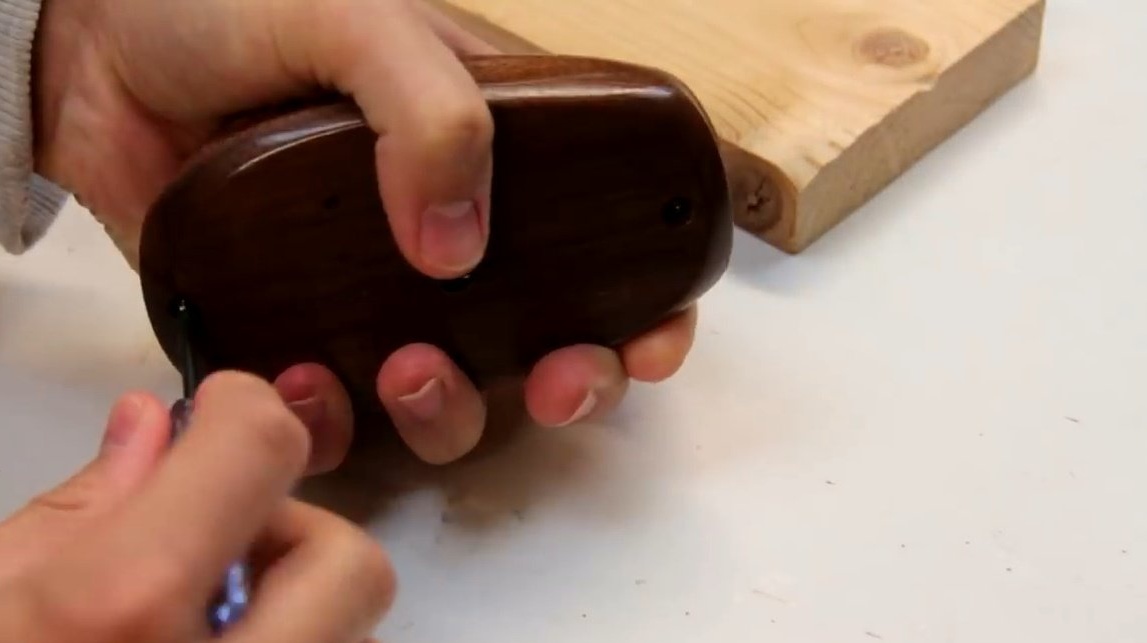
Now you can stick the support for the board. The author drills a pair of holes for the bolts that will hold the structure together with the base. Then installs the battery, and collects the mouse.
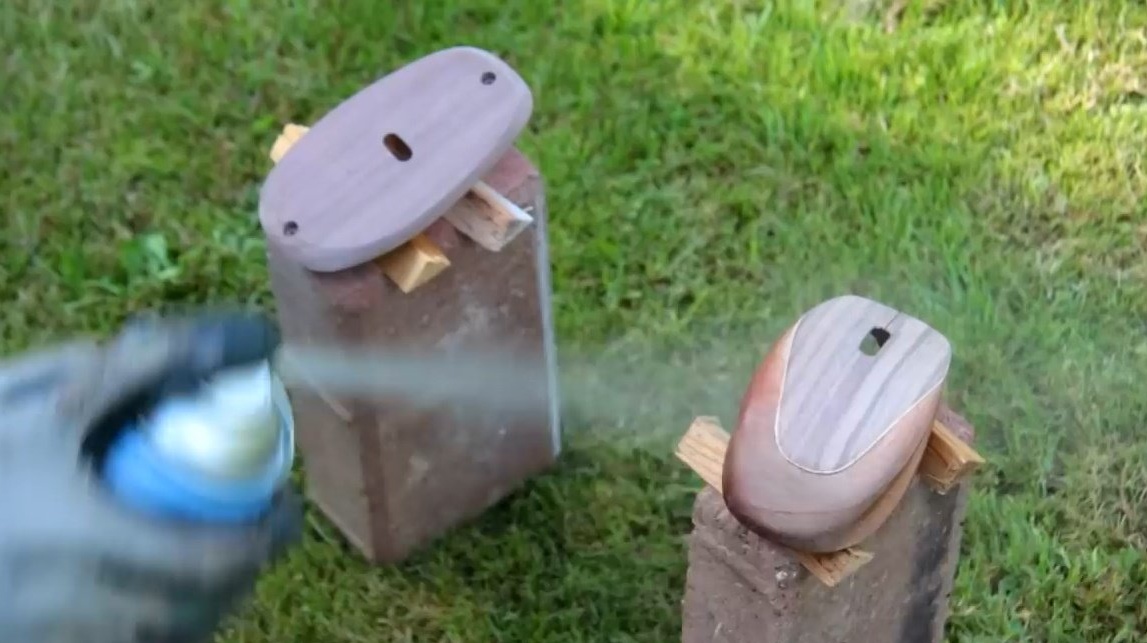
Unfortunately, the author has lost links to videos that talked about how to glue two sheets of veneer. As you can see in the photo, they were previously fixed with adhesive film on an iron can of paint. As a result, the veneer has acquired the desired bend.

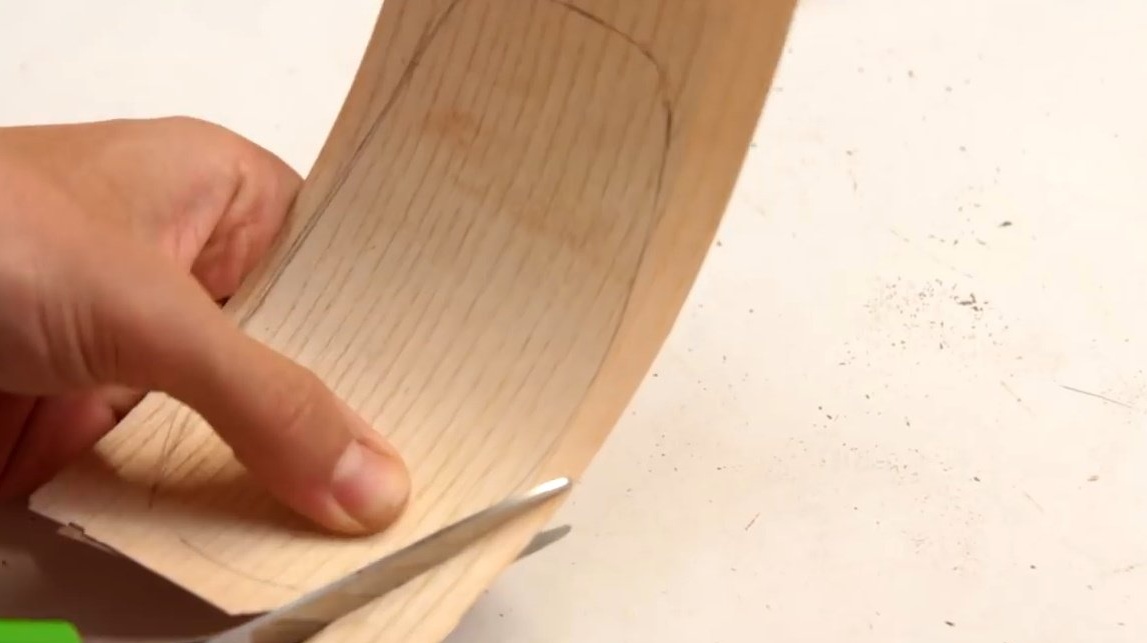
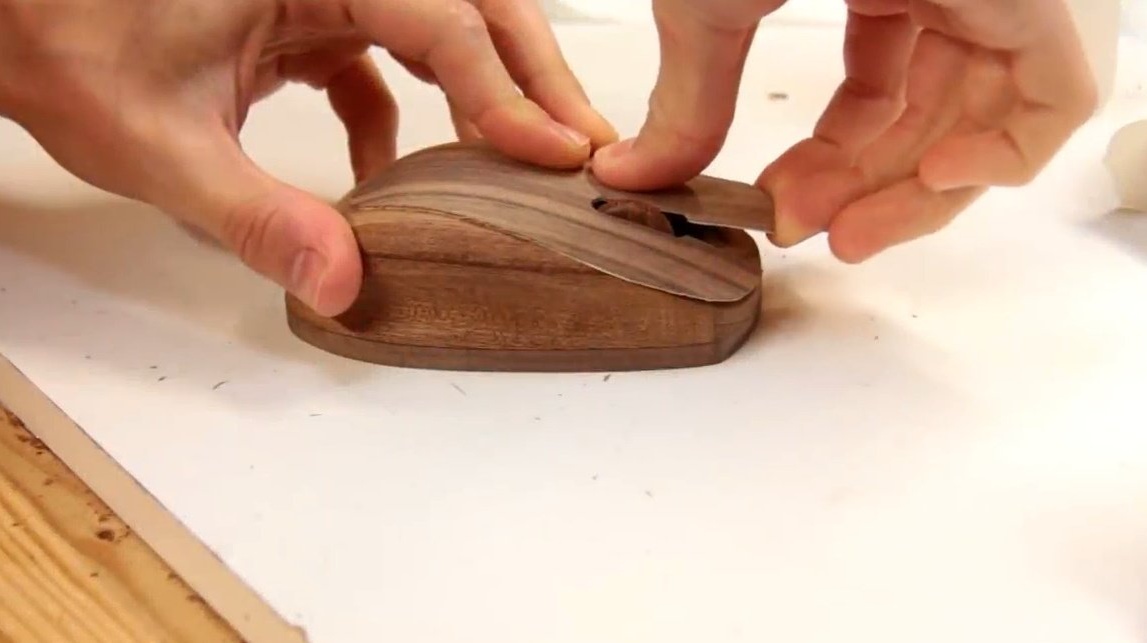
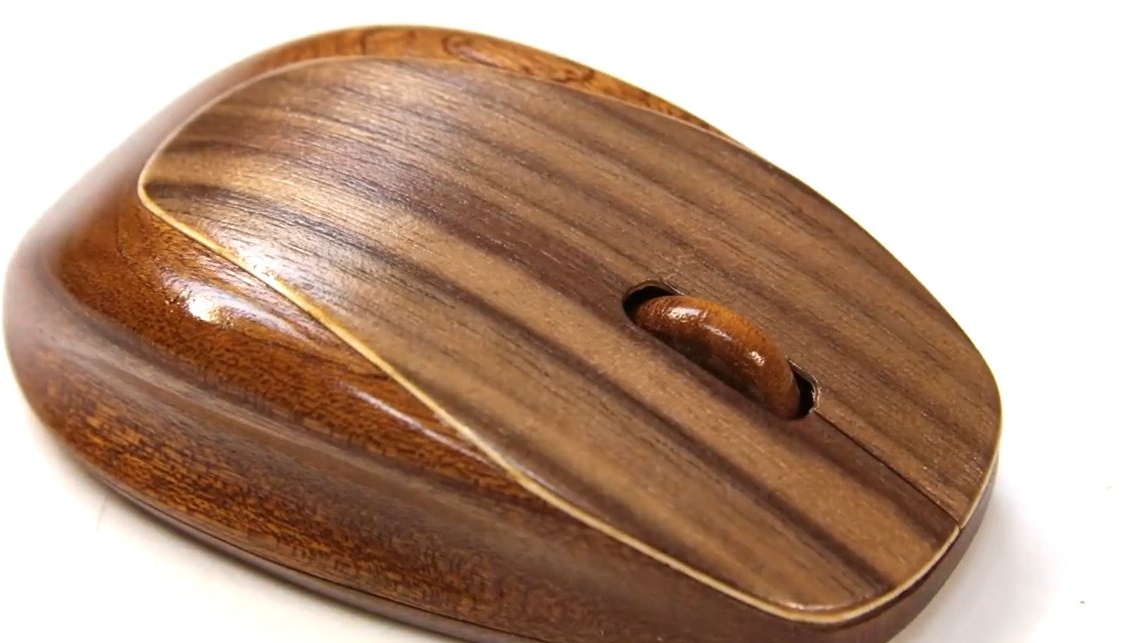
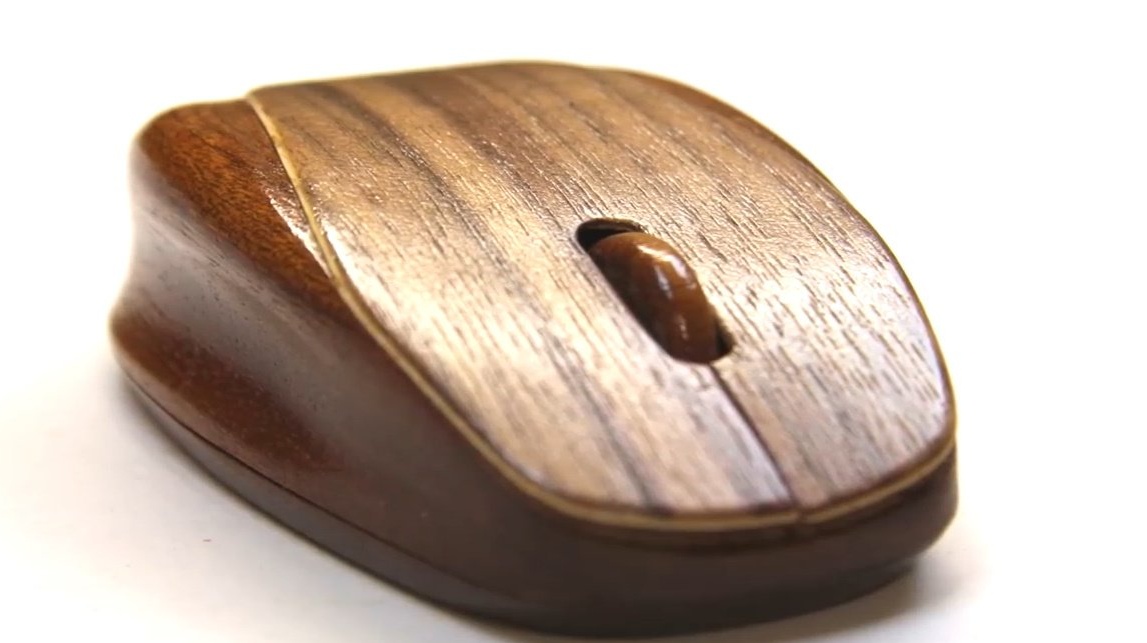
Now it remains only to cut the veneer in the shape of the product. From the outside it is dark, and inside it is light. This combination will give a bright strip on the outer contour.
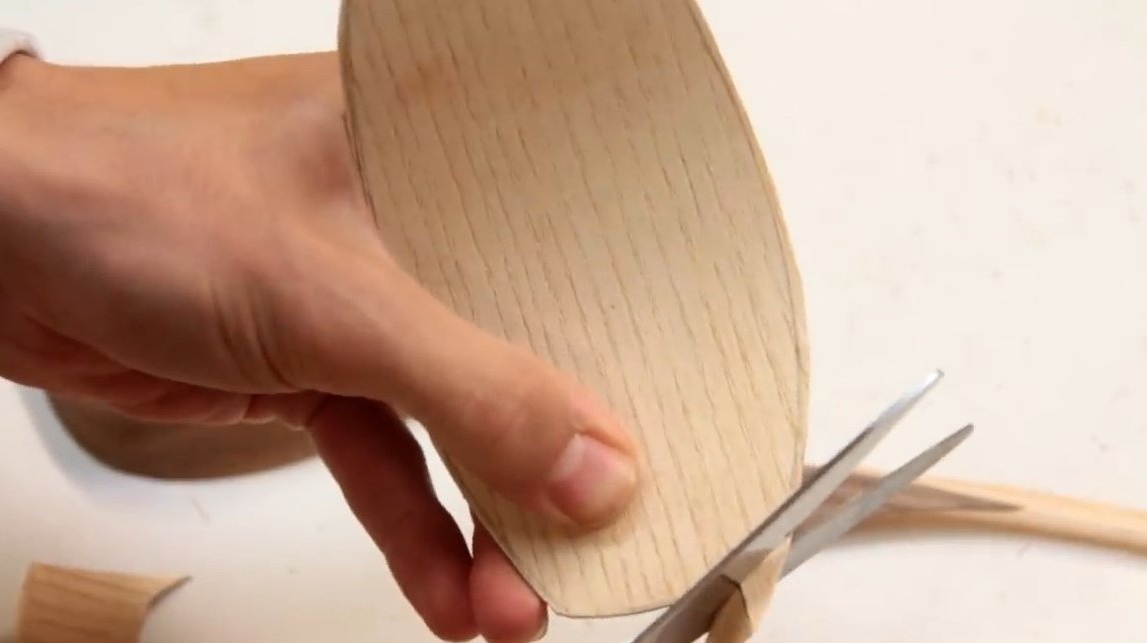
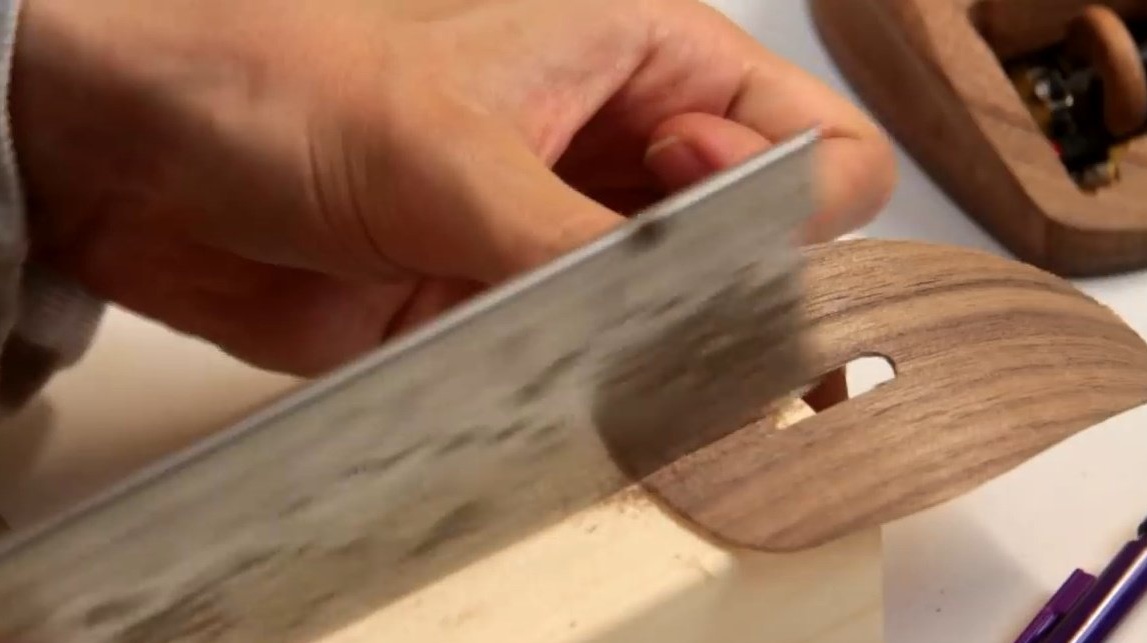
Then he cuts the groove for the wheel, and cleans it with a file.
Separates the right and left keys.
It remains only to fix the veneer in place.
When the glue has dried out, the author slightly bends the veneer in the opposite direction to provide a spring effect.
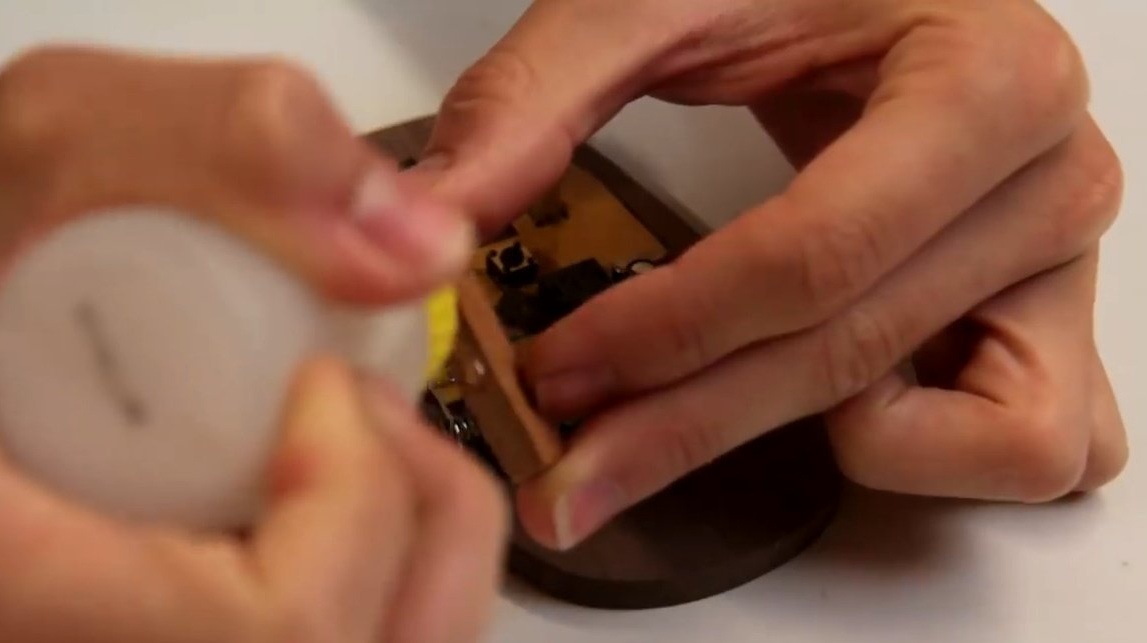
He sticks a couple of tiny pieces of wood so that the keys reach the buttons.
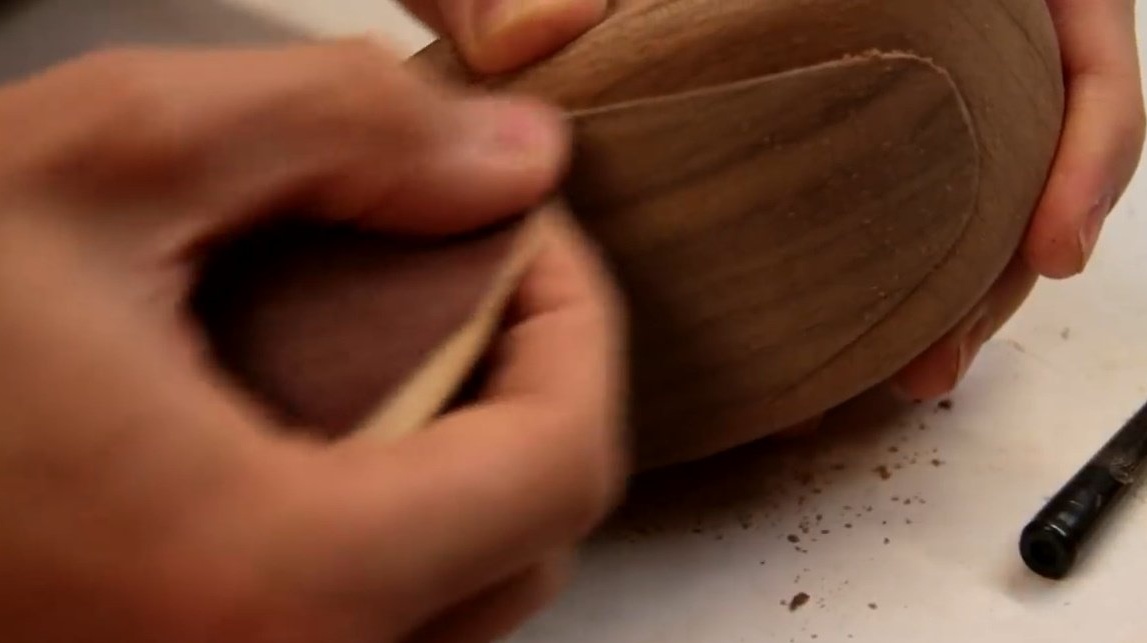
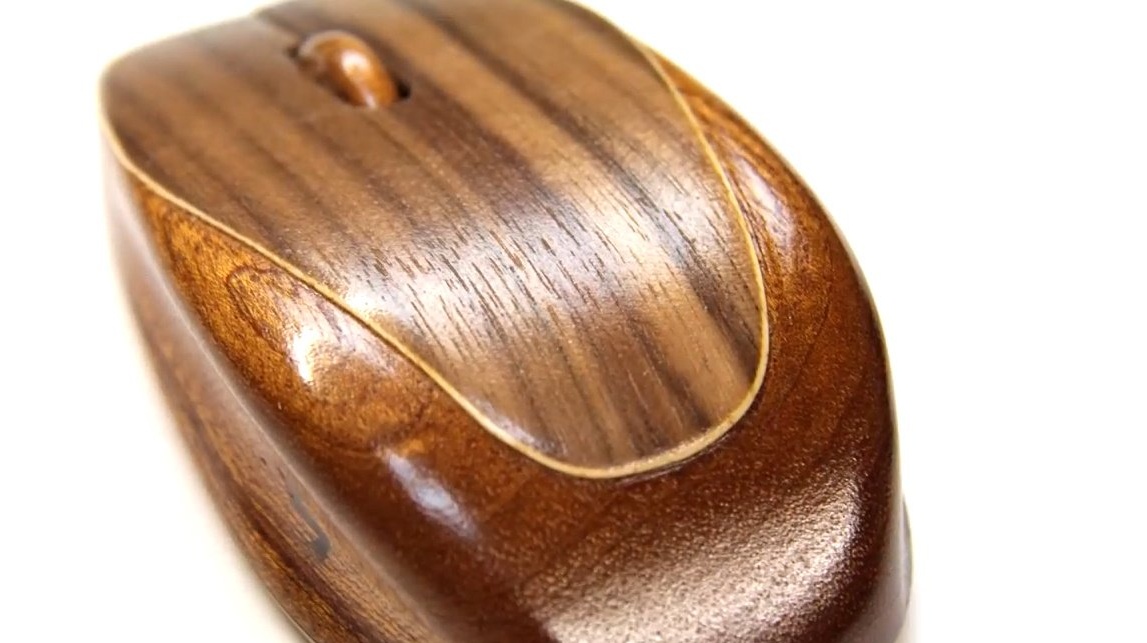
Now follows the final stage of grouting and polishing wood.
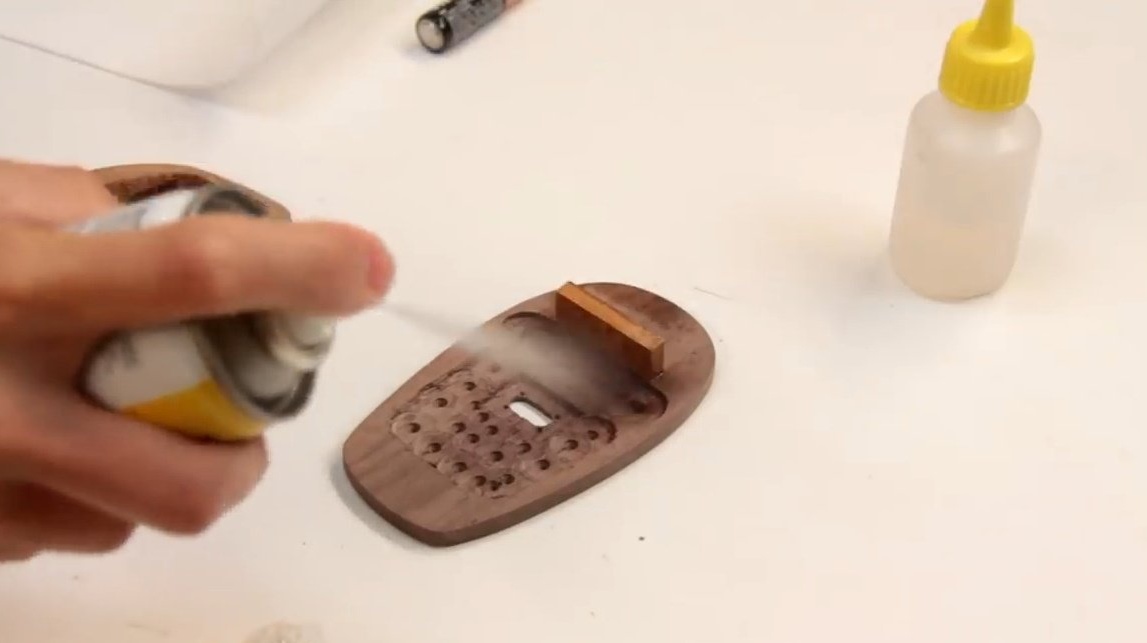
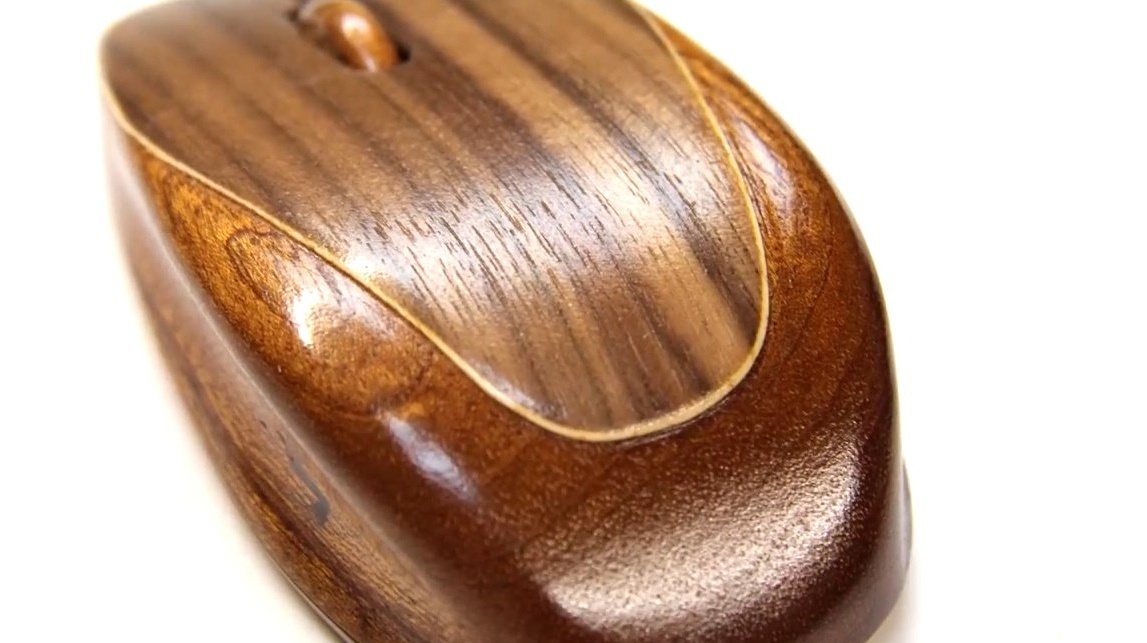
To protect the wood and for aesthetic purposes, Alex covers the product with aerosol varnish.
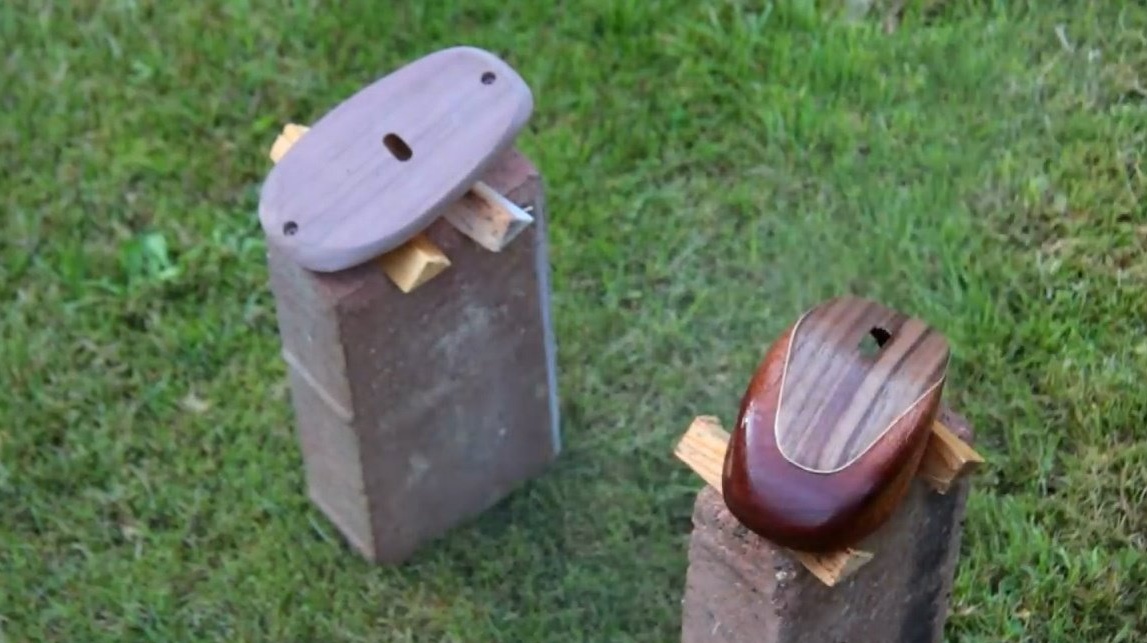
That's all, the mouse can be assembled and checked.
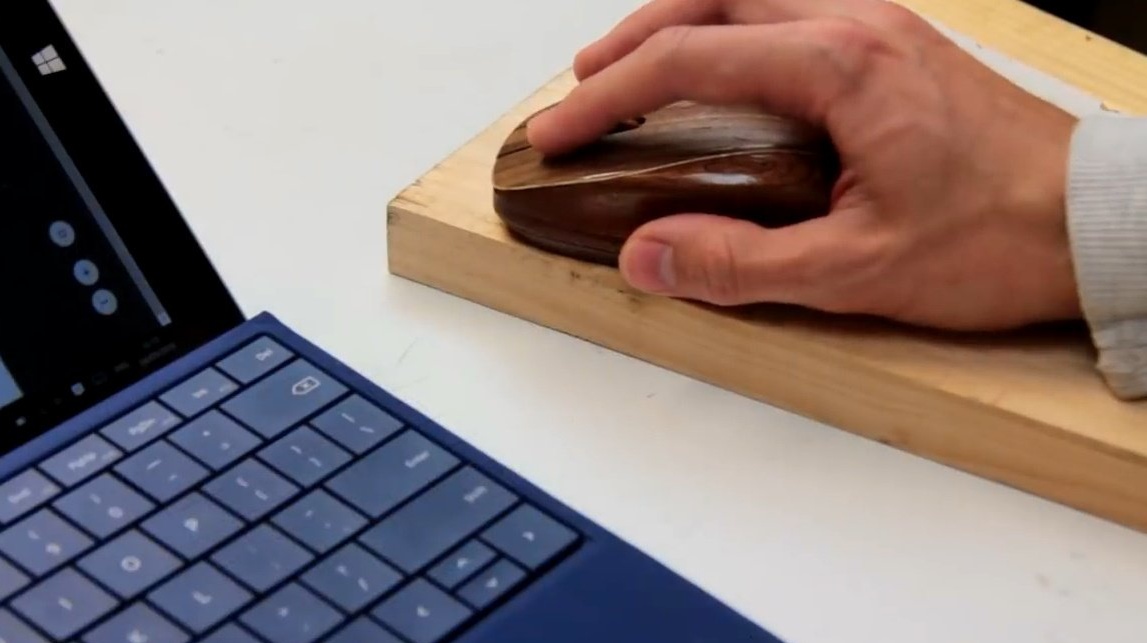
Thanks to Alex for a beautiful workshop on creating a wooden case!
All a good mood and interesting ideas!