
In this article, Jemal, the author of YouTube channel "cemaL AÇAR", will tell you how to make a universal tool from old circular saw blades. He combined a machete, a saw, a nail puller and a hammer in one product.
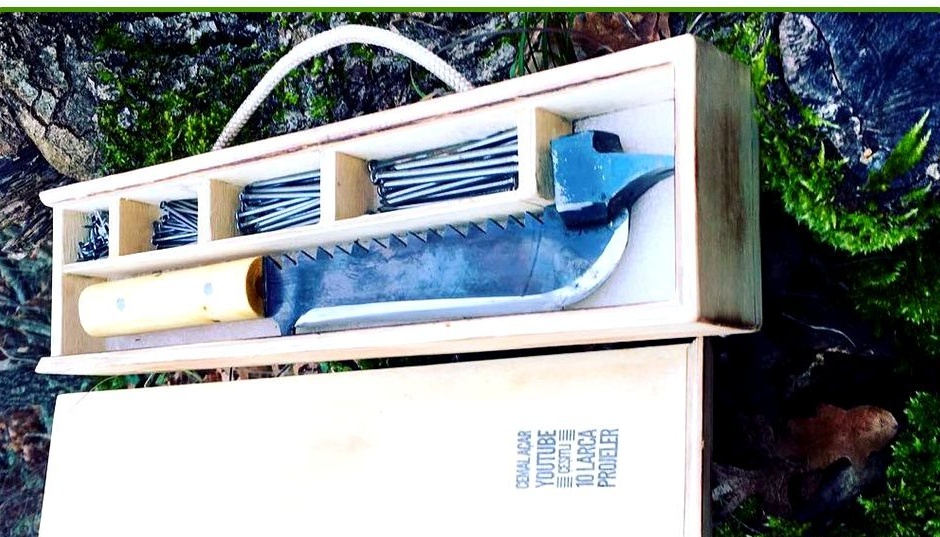
Moreover, the weighted head of the tool allows you to create a more powerful blow when working as an ax. In addition, a box for this tool with cells for various nails will be made.
Materials
- Old circular saw blades
- sheet plywood
- Hammerhead
- Pruned wooden round handle
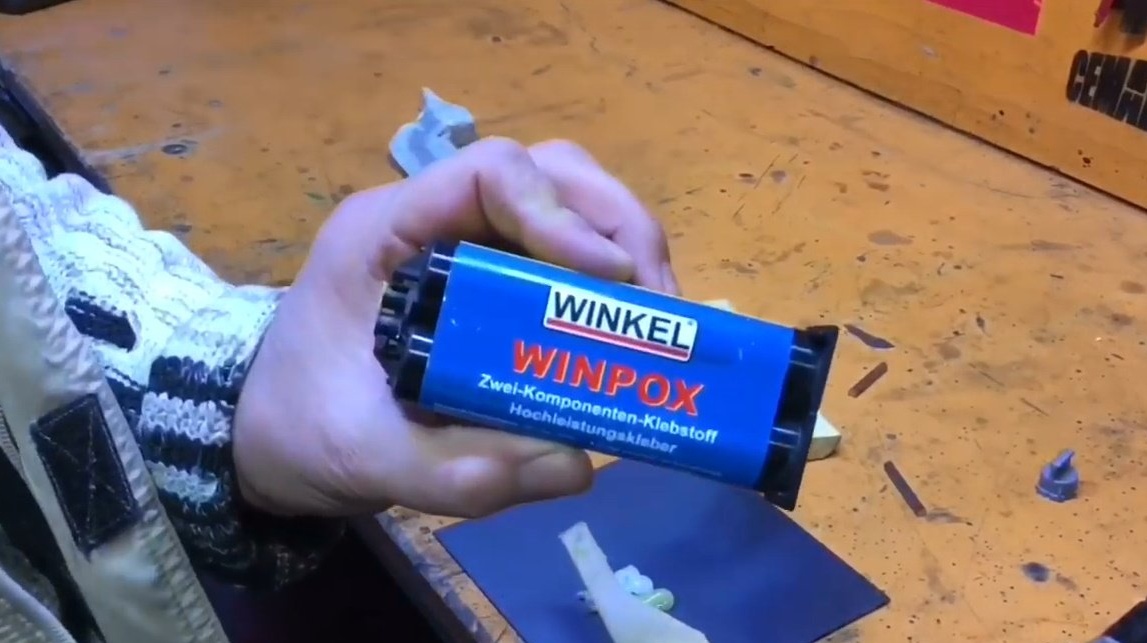
- Two-component epoxy resin
- Yacht varnish on wood
- Second two-component glue
- Masking tape
- WD-40
- Nails.
Instruments, used by the author.
- Welding machine, electrodes
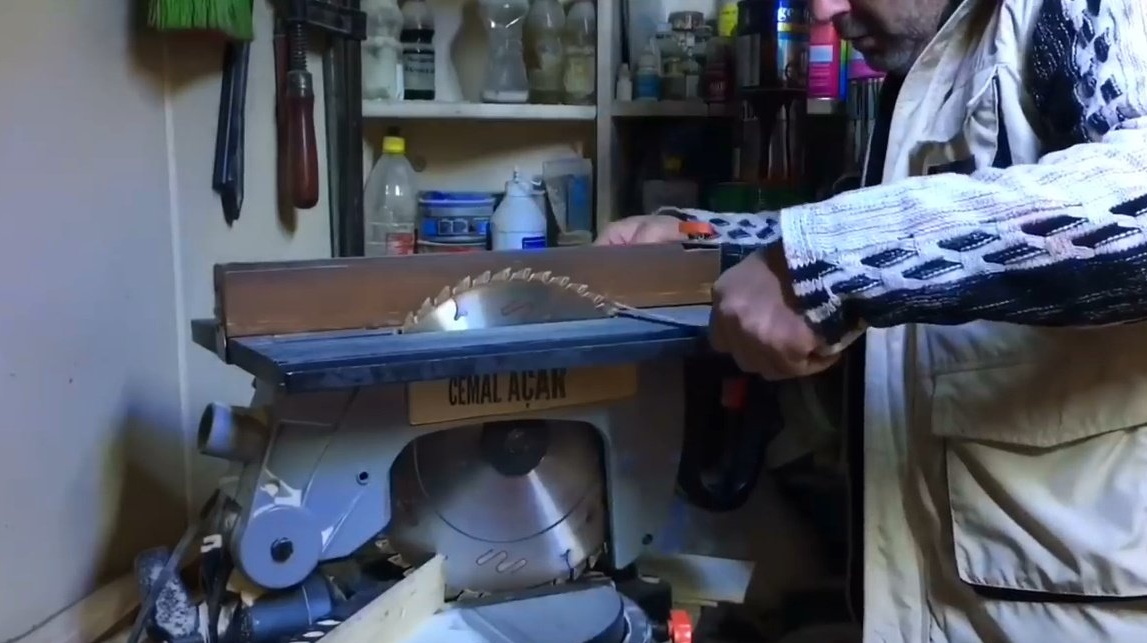
- Miter saw
- Gas-burner
- Drill or screwdriver
- Grinder, cut-off and flap scraping discs
- Grinding and grinding discs for grinders
- Vise, anvil, clamps
- Sandpaper
- Hacksaw for wood
- Caliper, ruler, square, tape measure, scissors
- Brush, marker.
Manufacturing process.
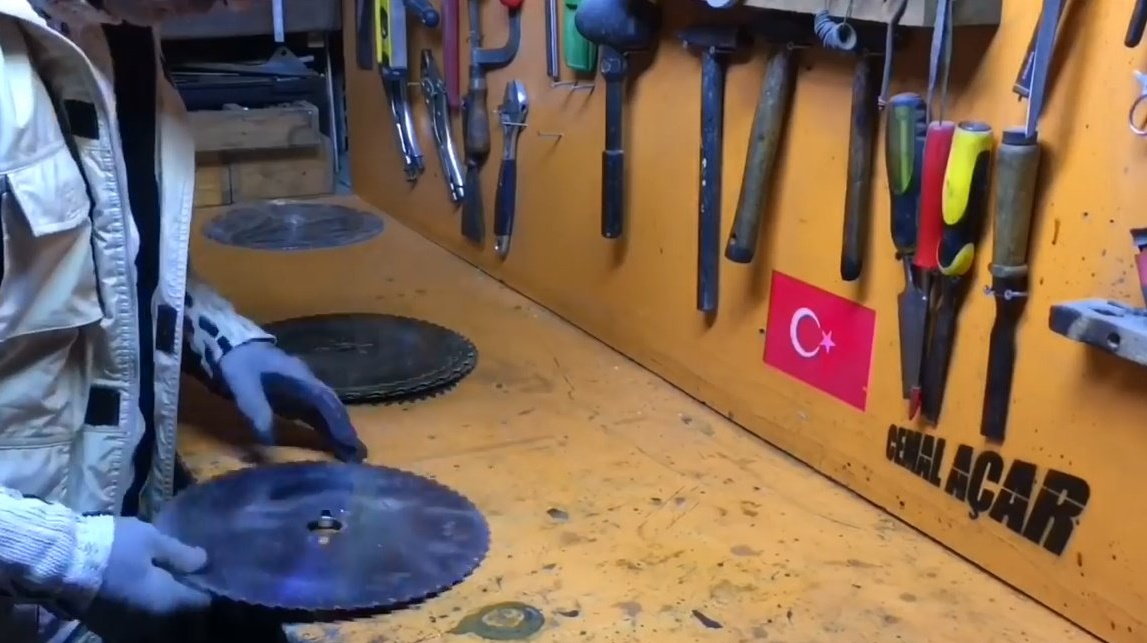
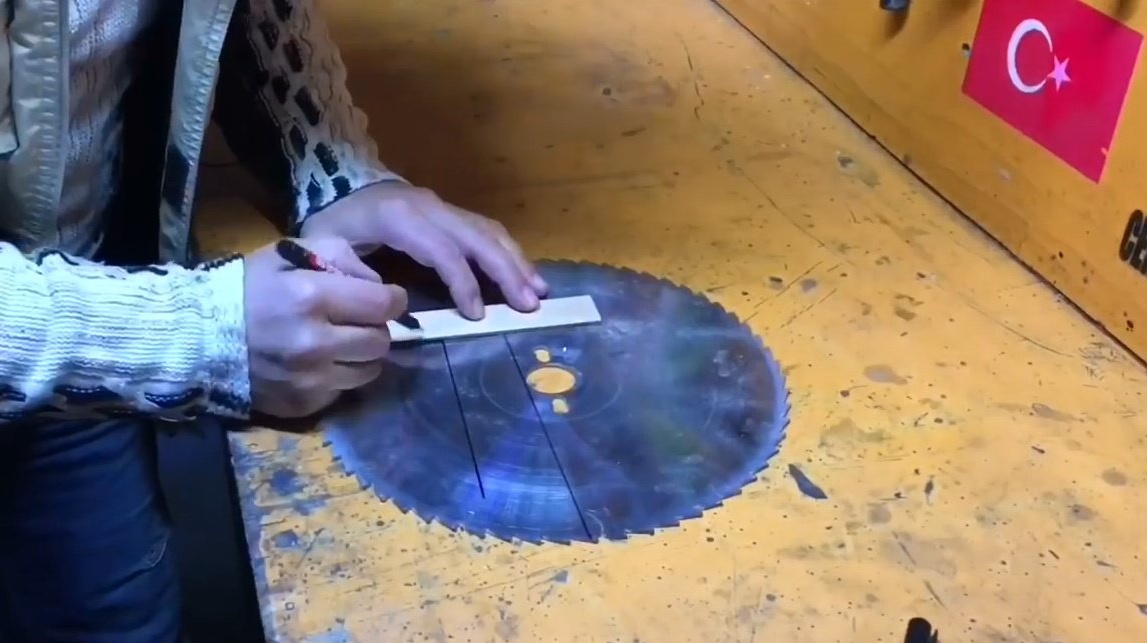
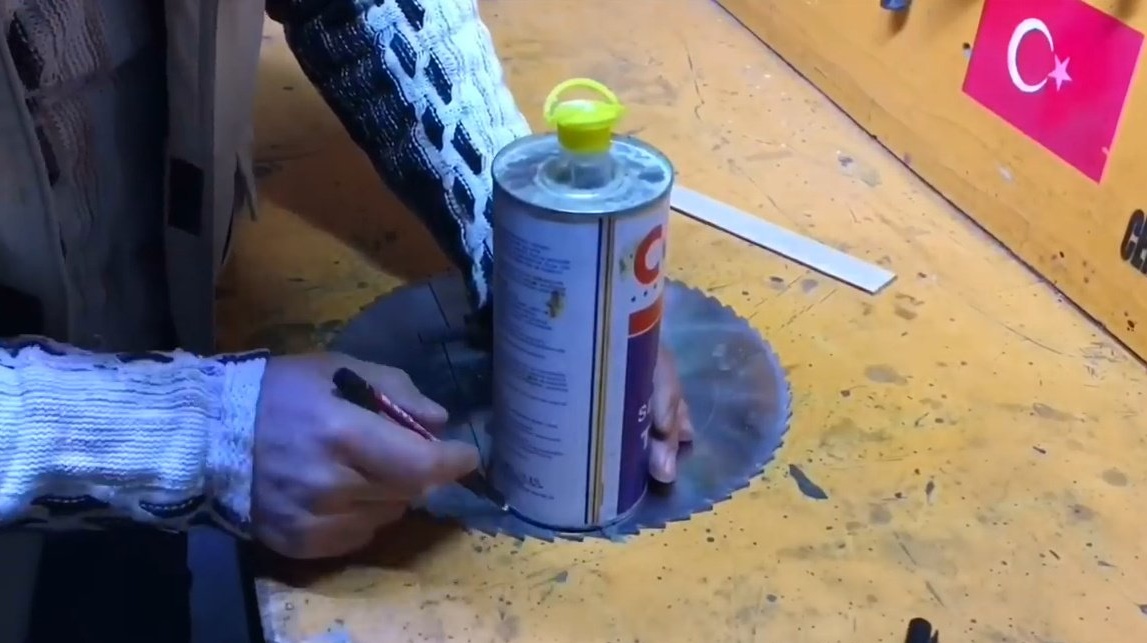
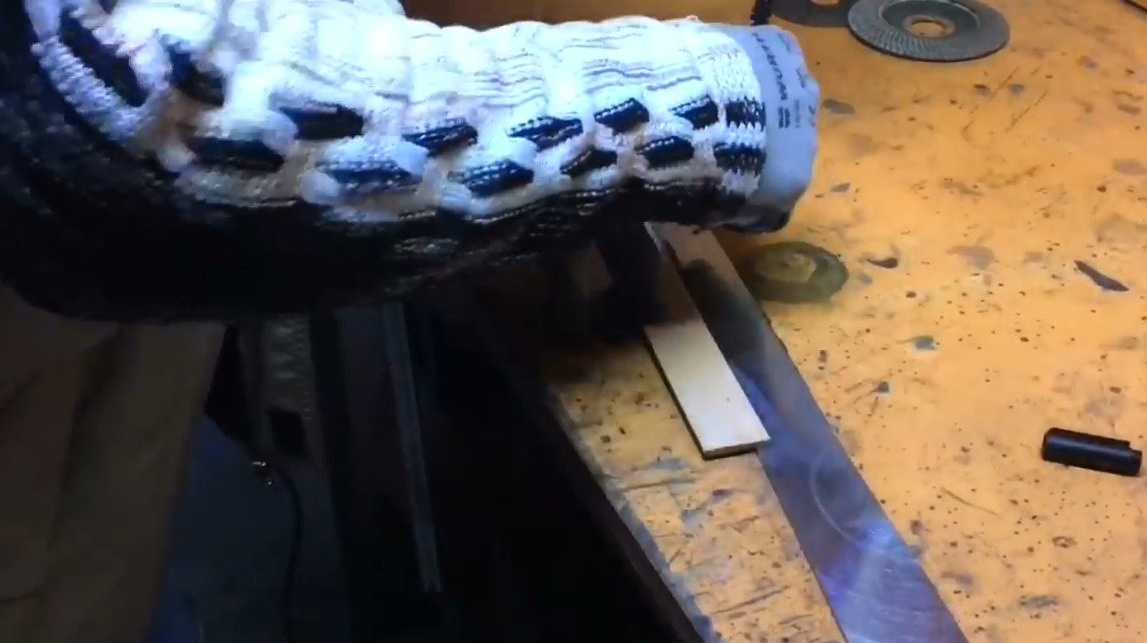
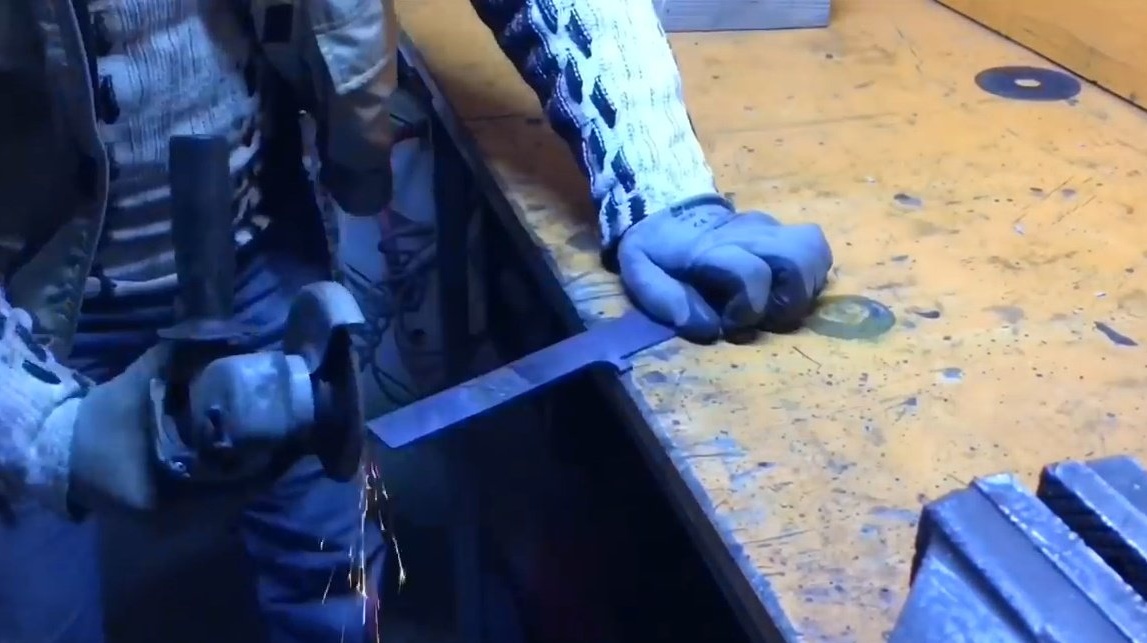
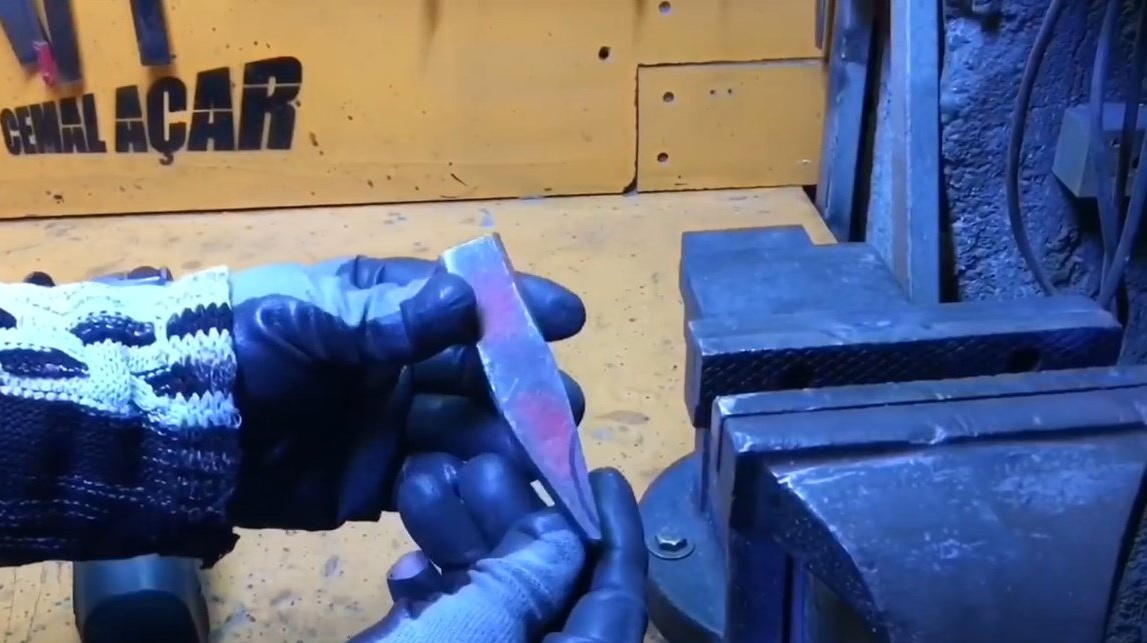
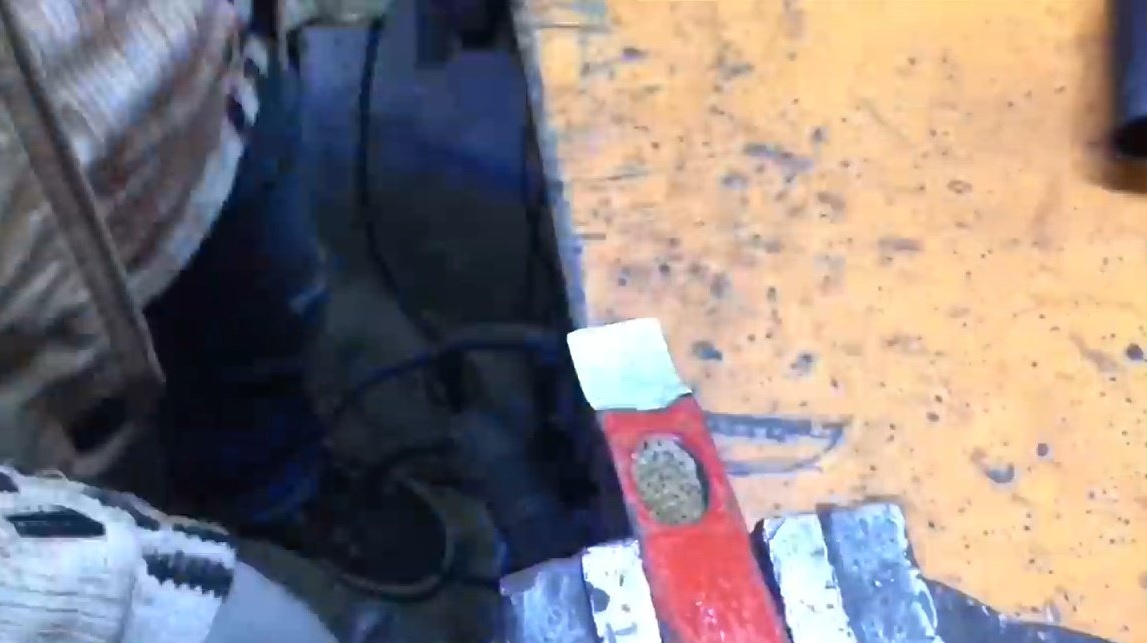
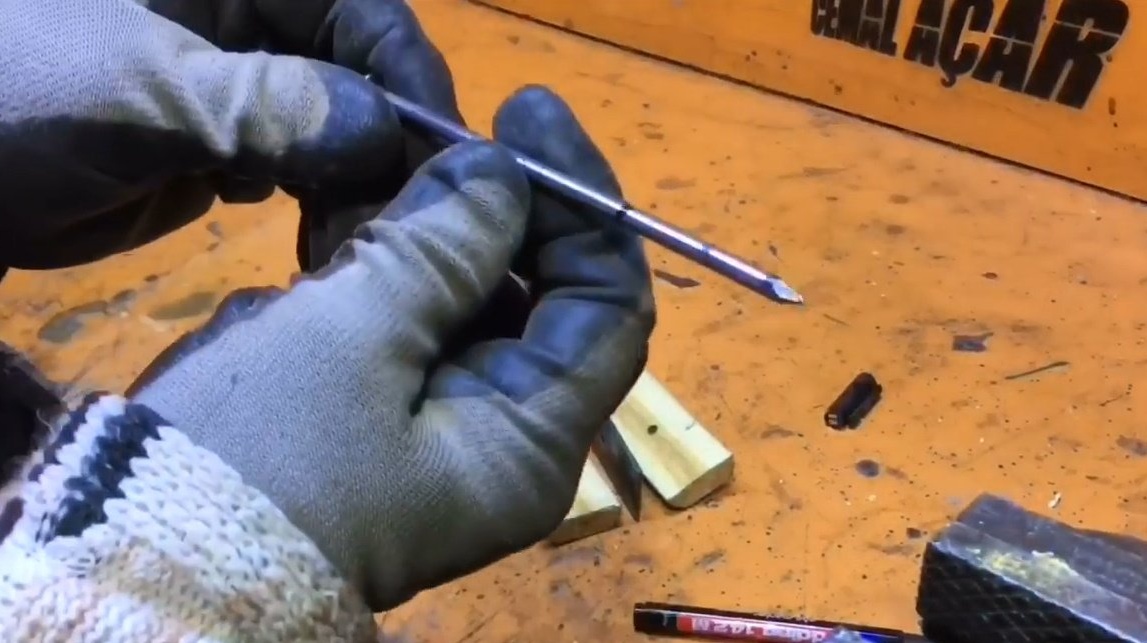
So, the author selects the disk of the required size - the larger - the better, and marks the contours of the main part.
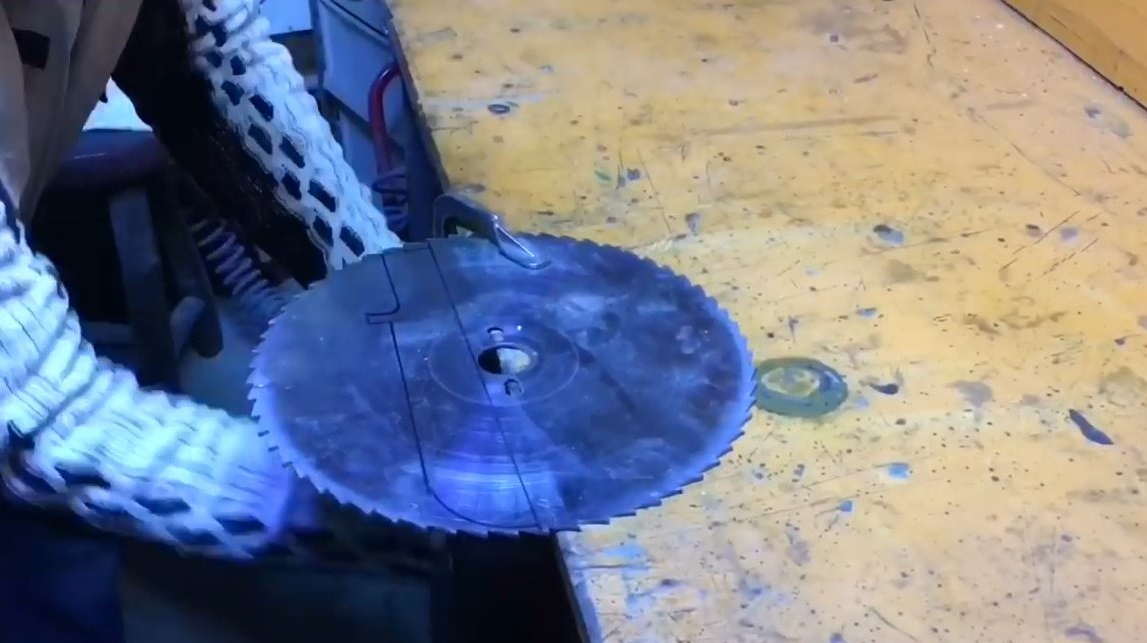
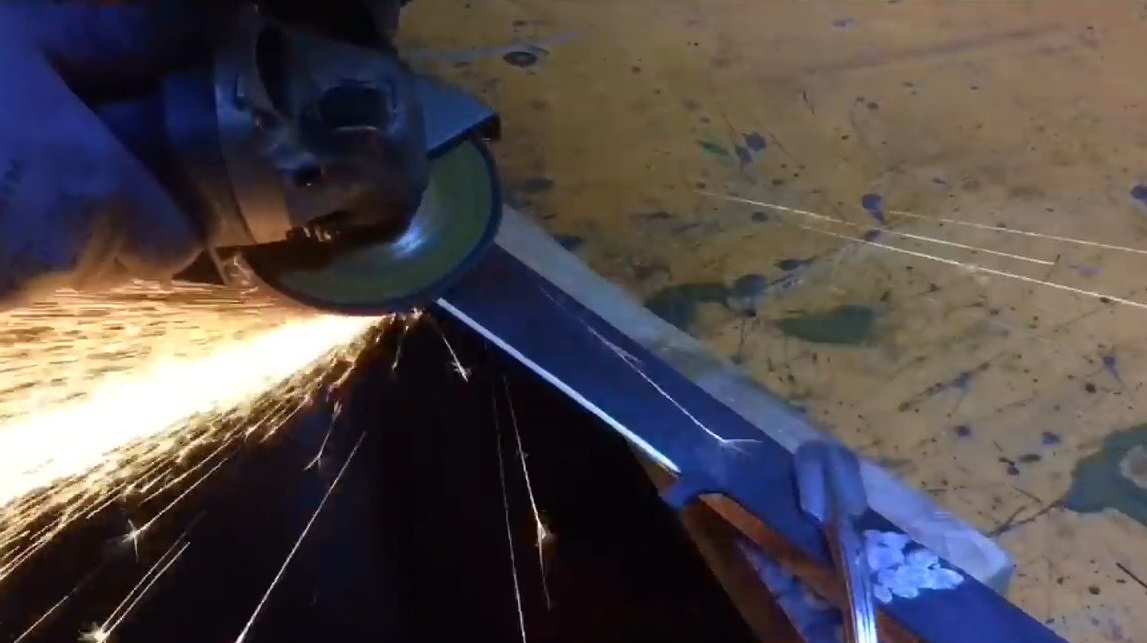
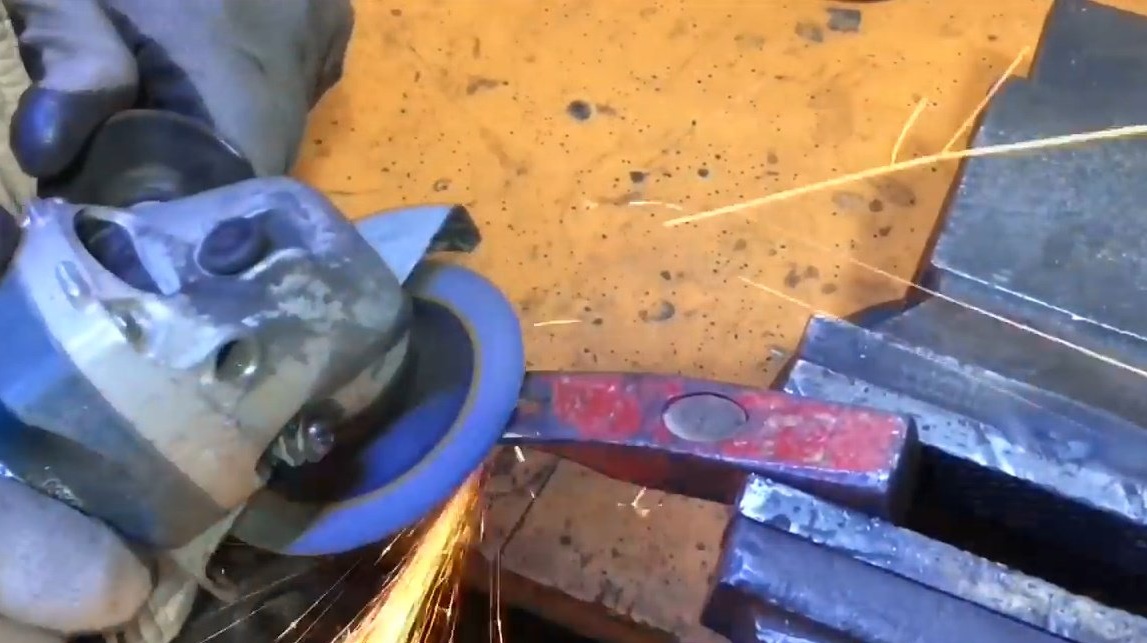
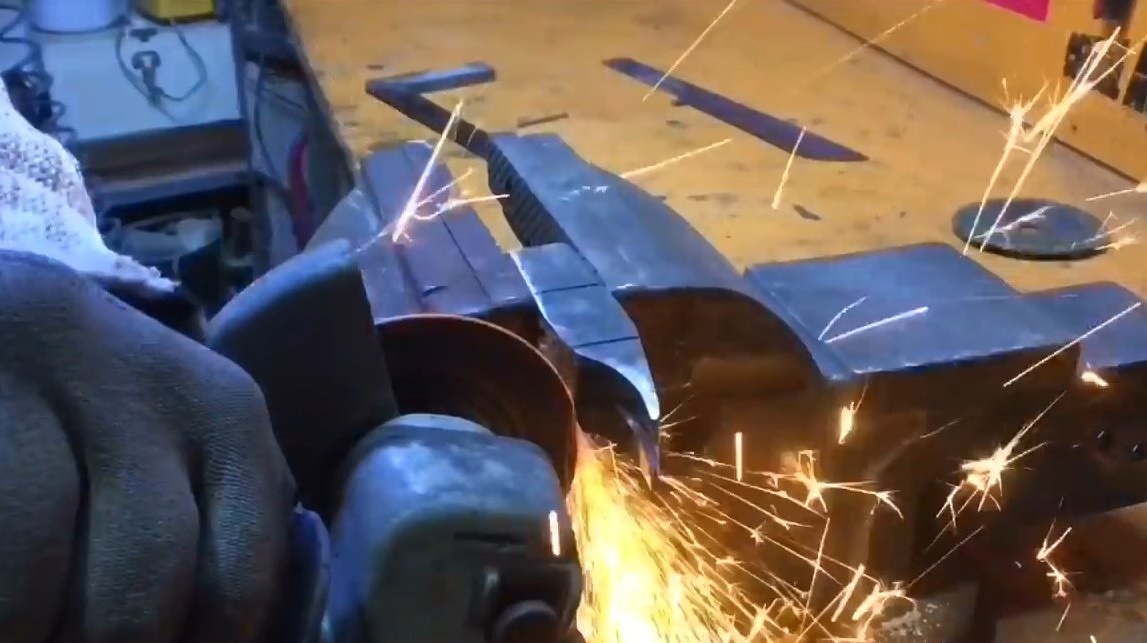
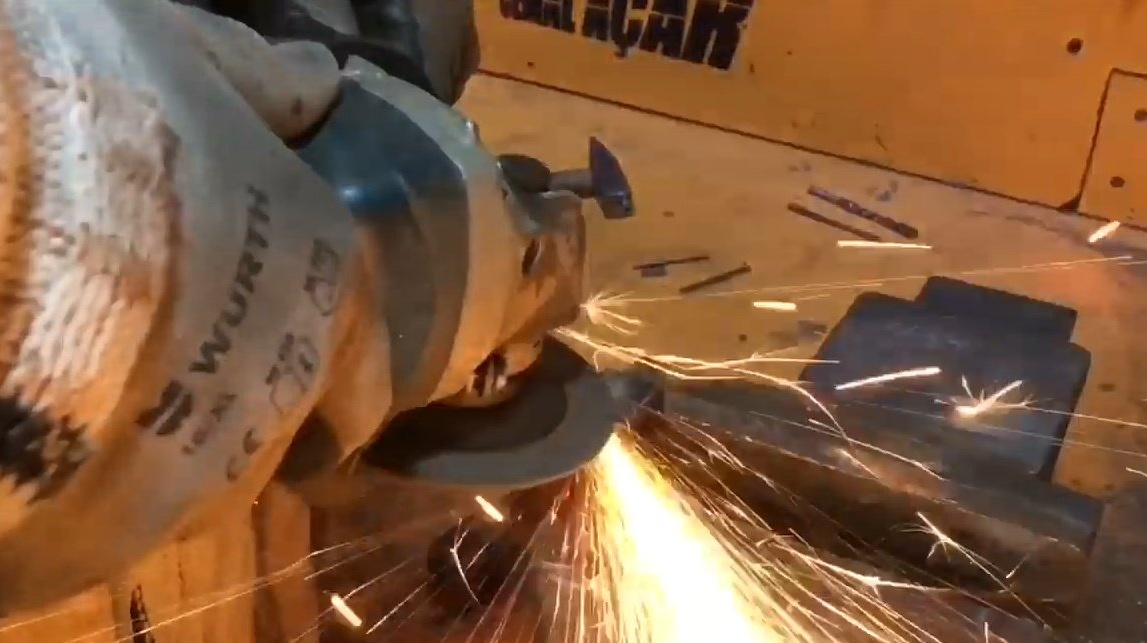
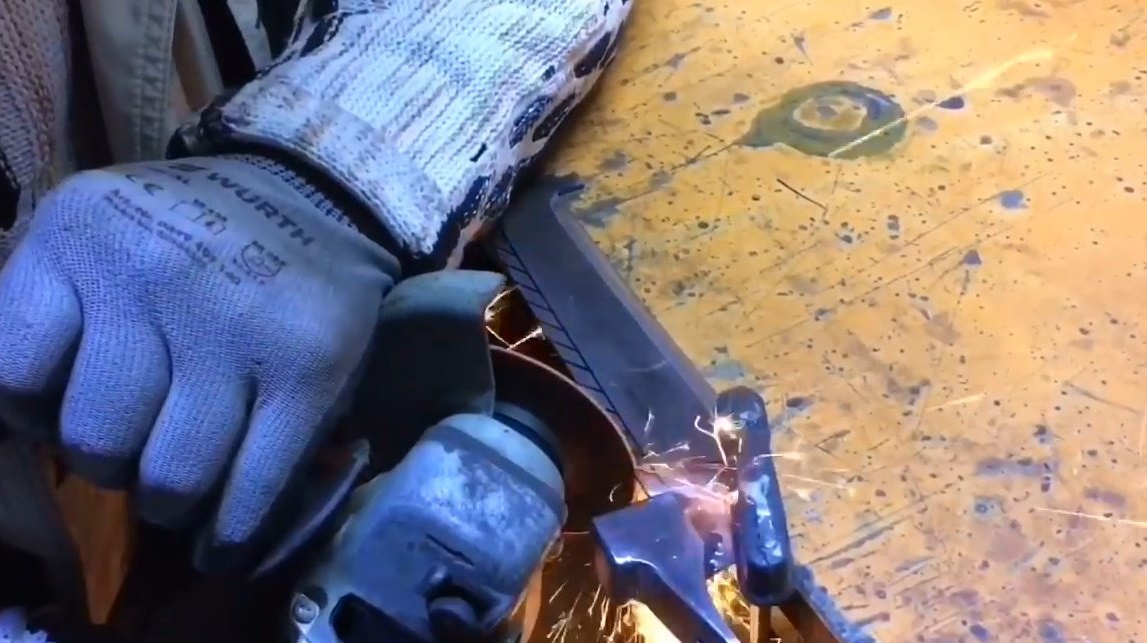
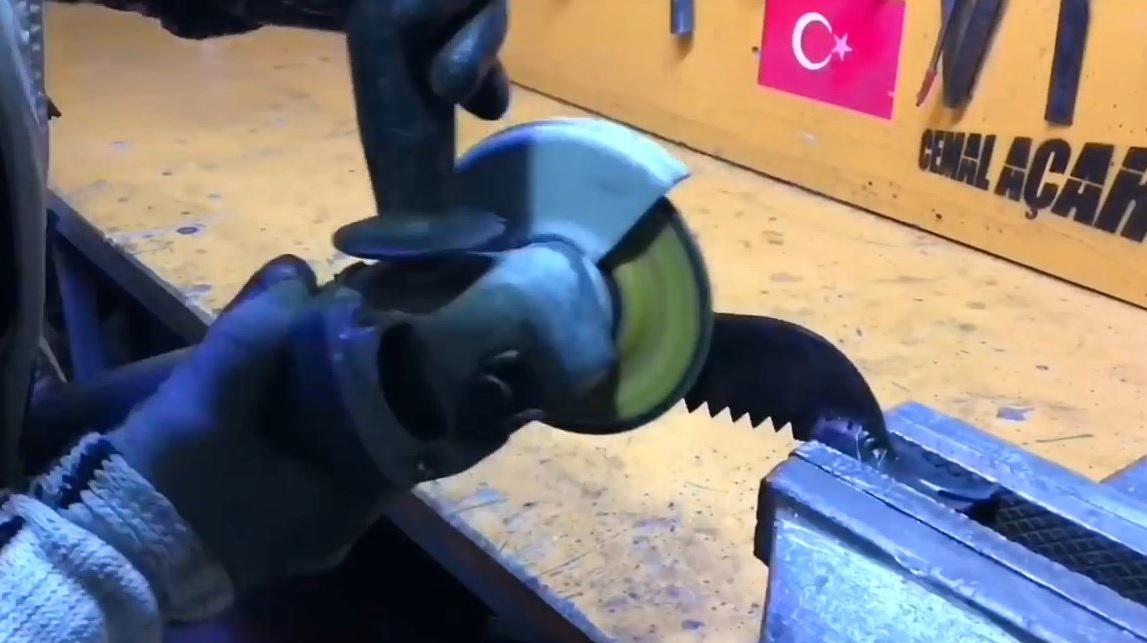
Then cuts the workpiece with a grinder.
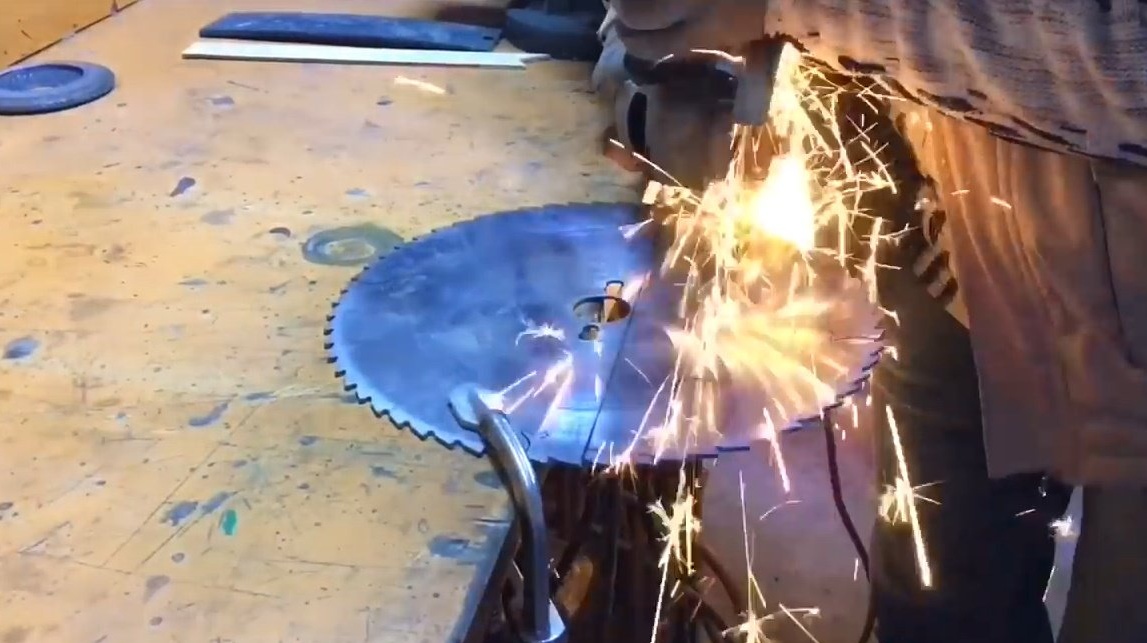

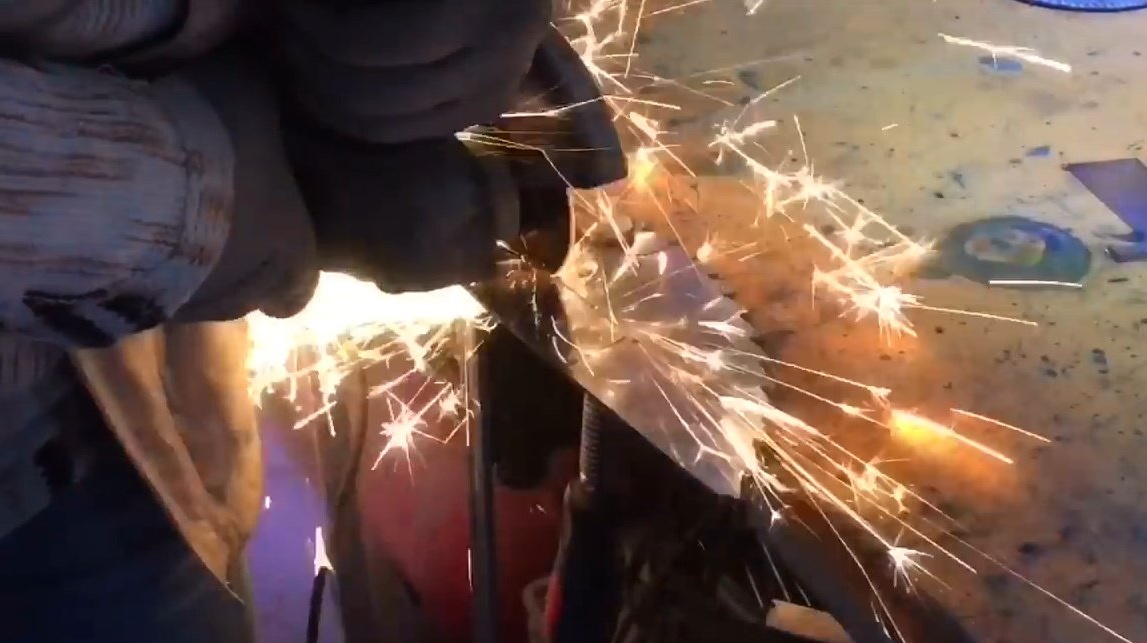
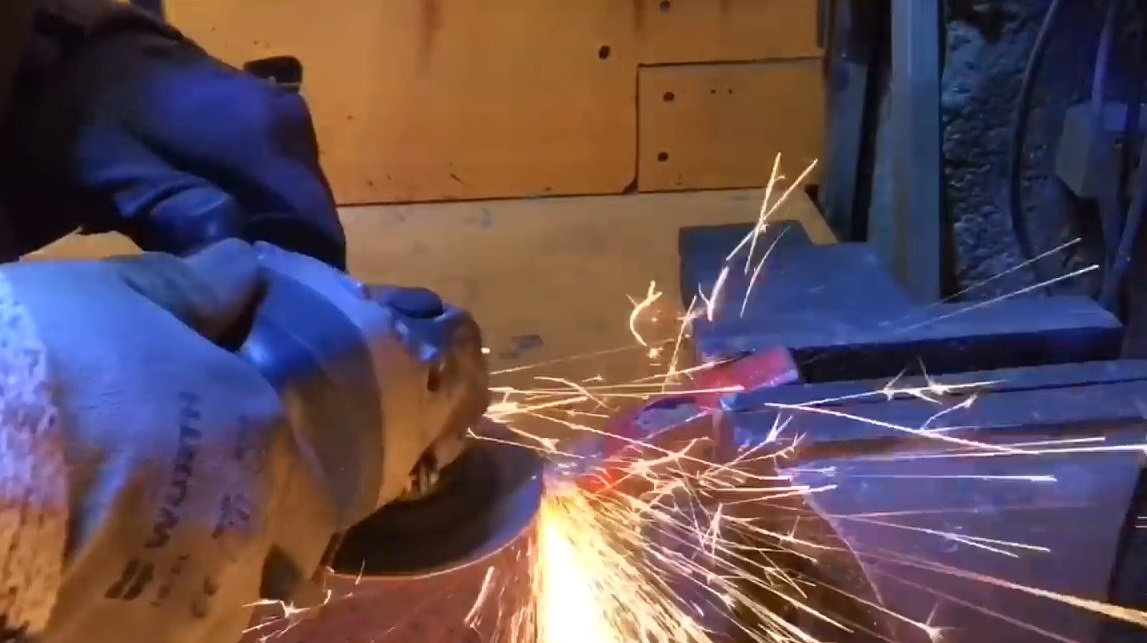
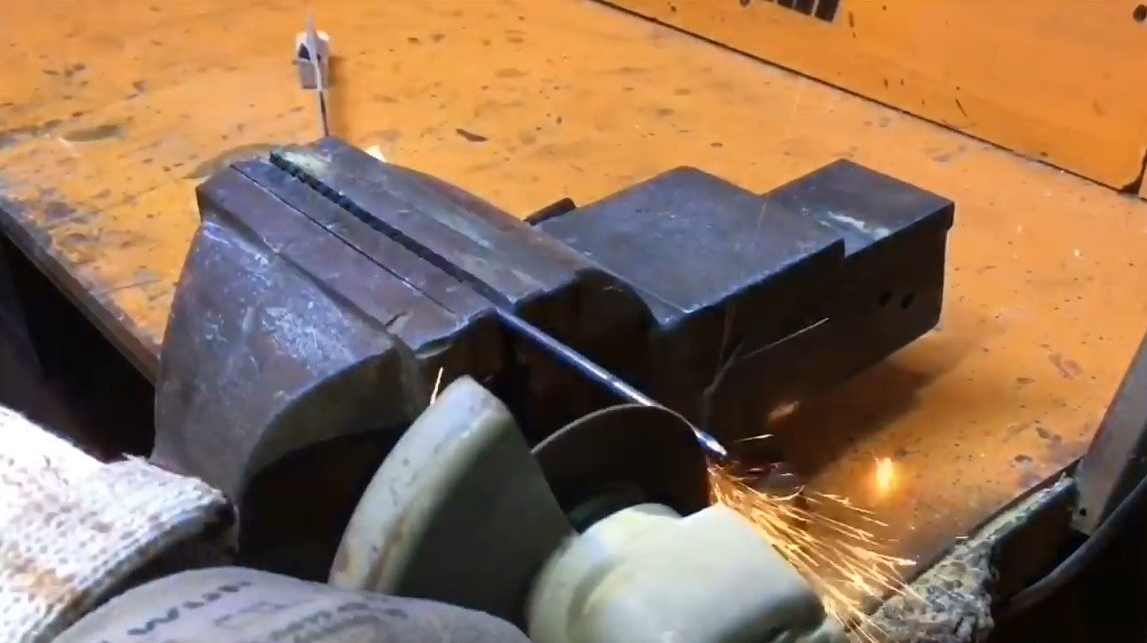
Grinds the spout of the knife and the guard with a grinding wheel.
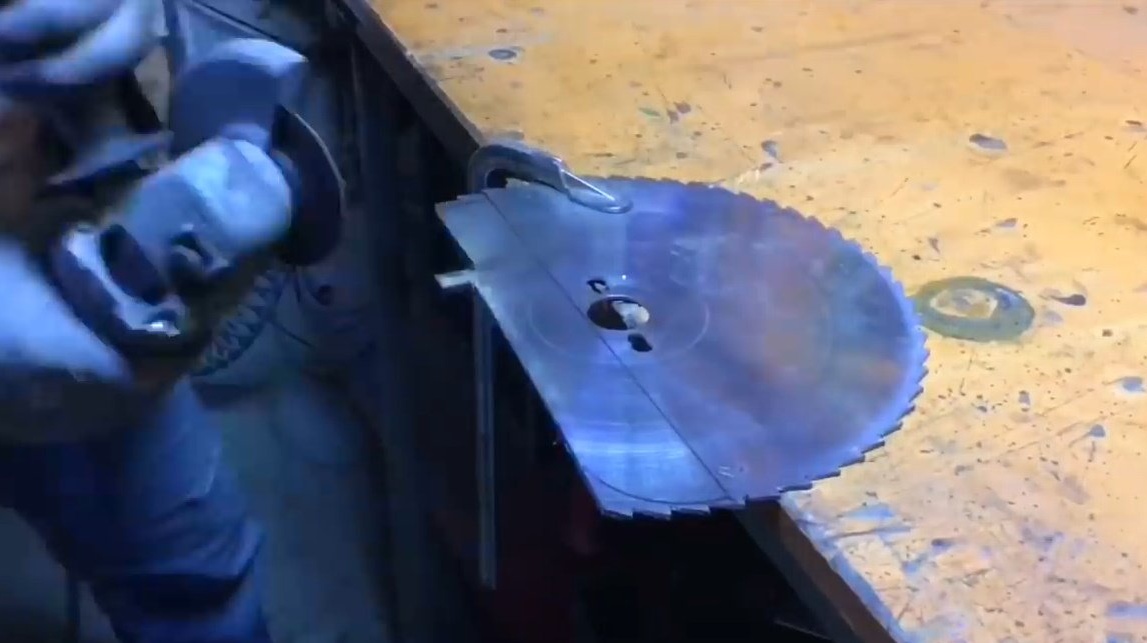

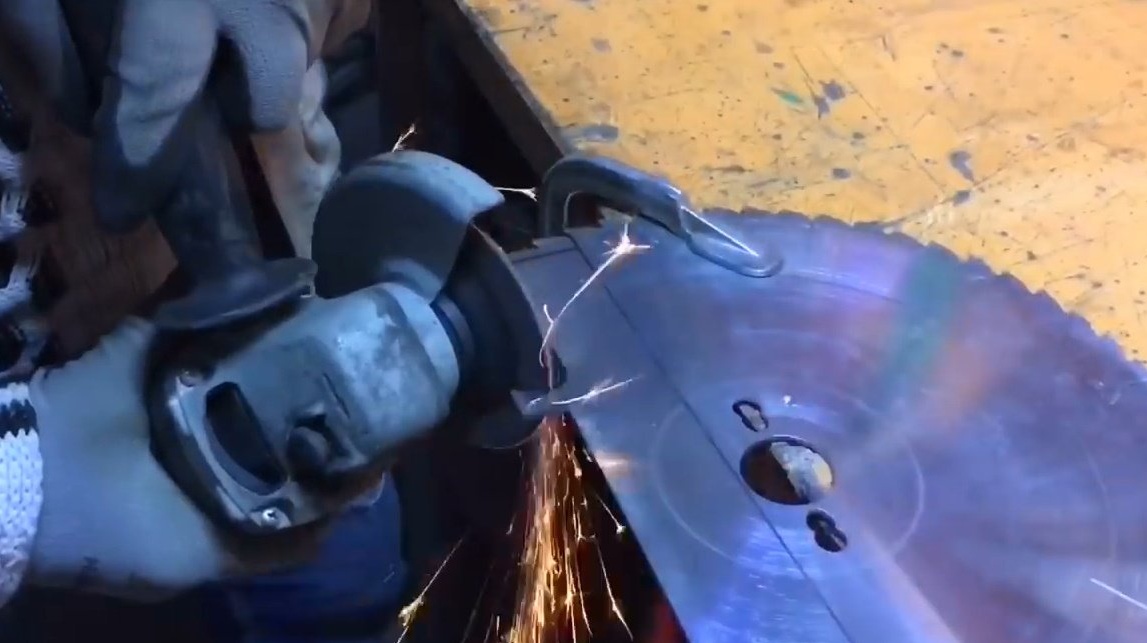
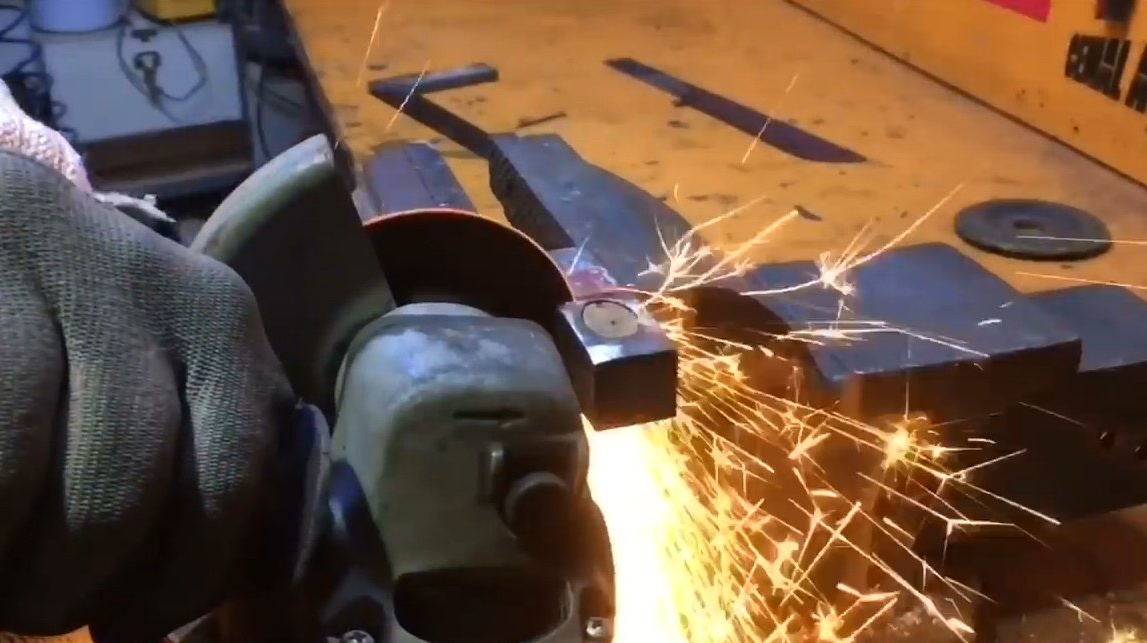
Now cuts off the workpiece from the main disk array.
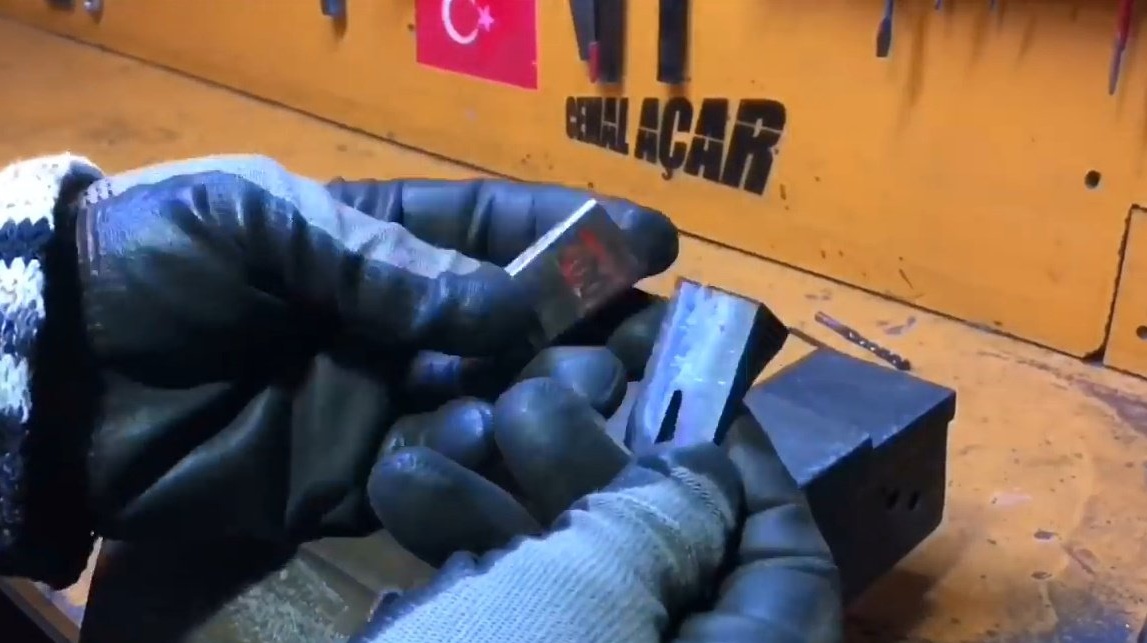
The main part is ready, but its length is not enough to create a pen. The author has to cut another piece.
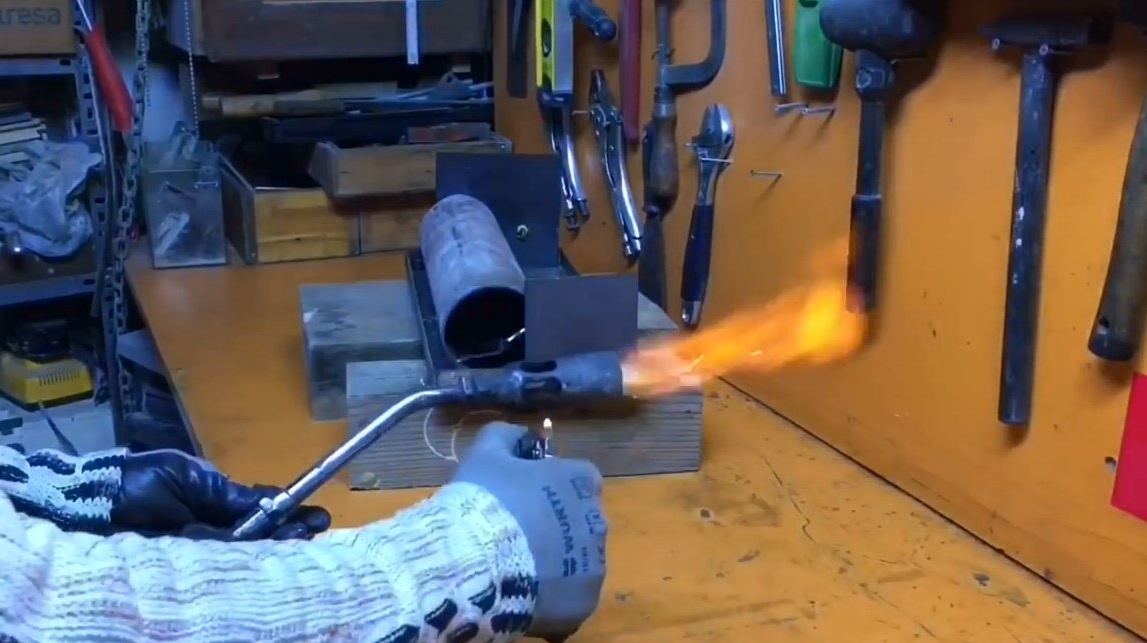
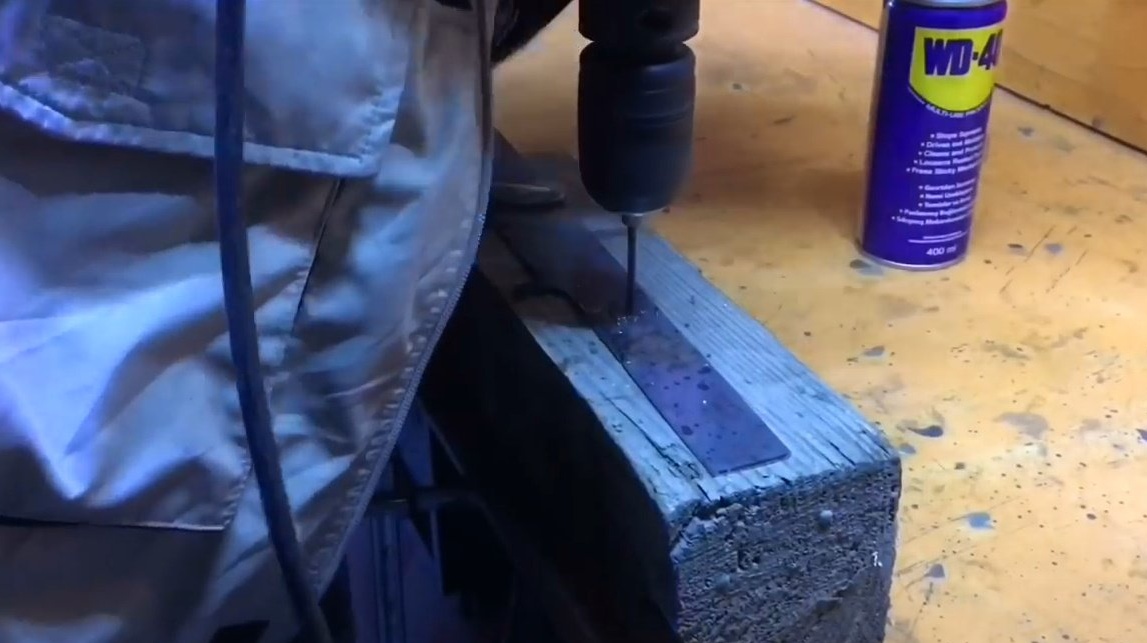
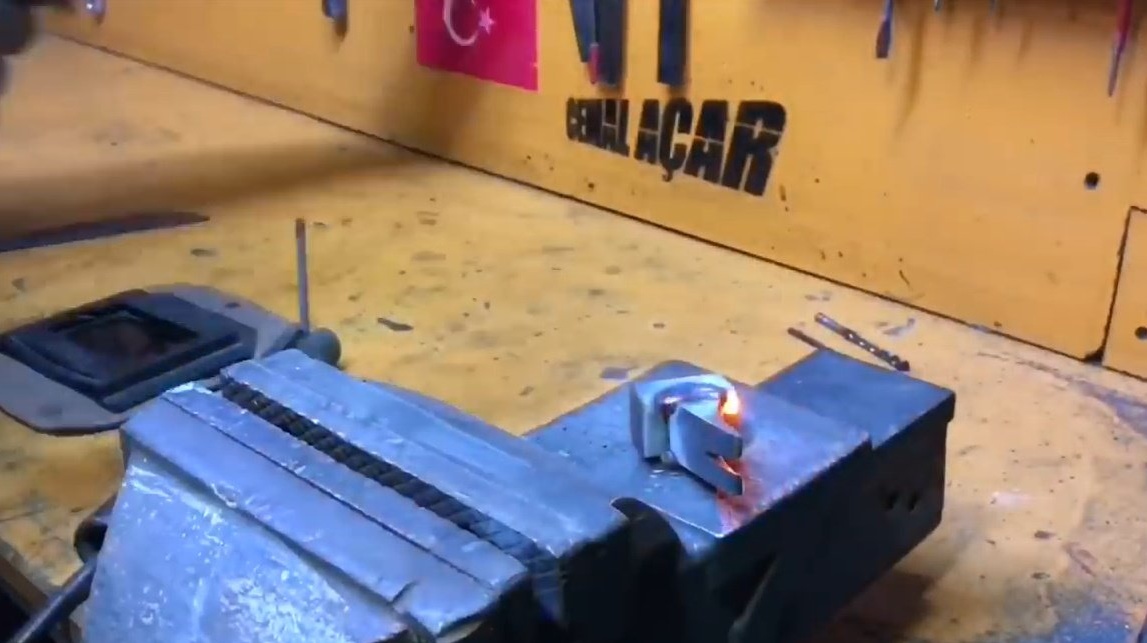
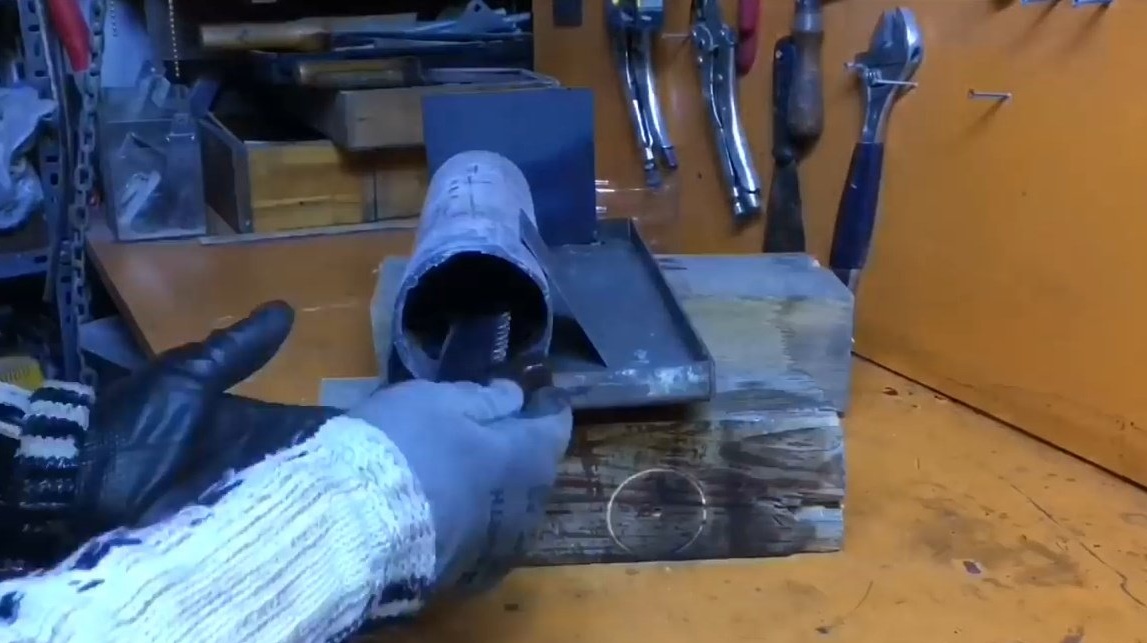
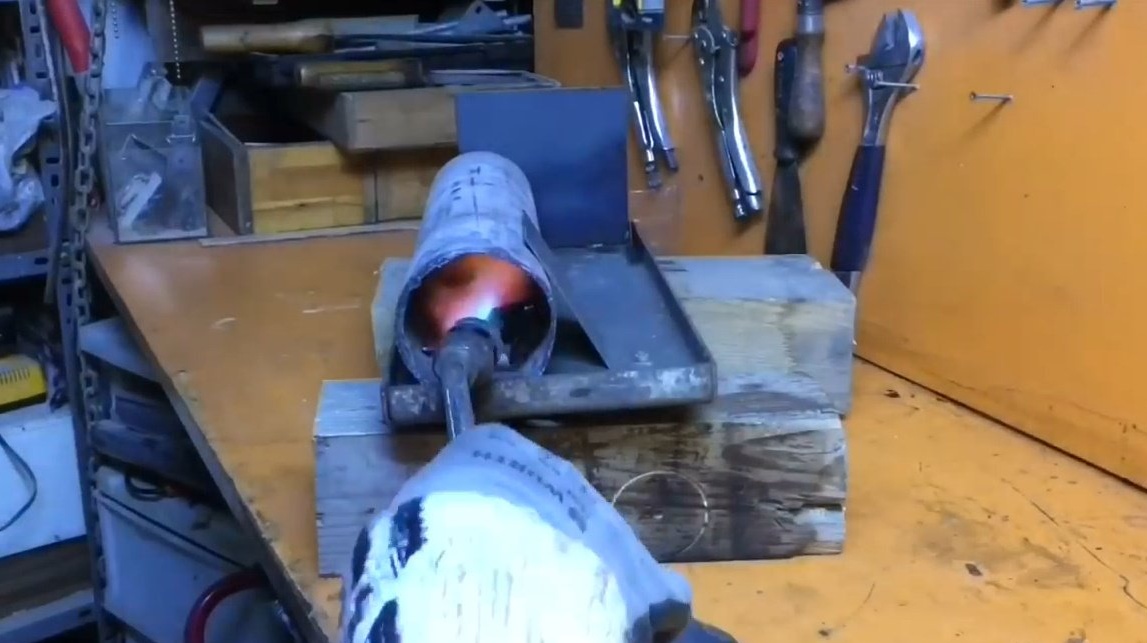
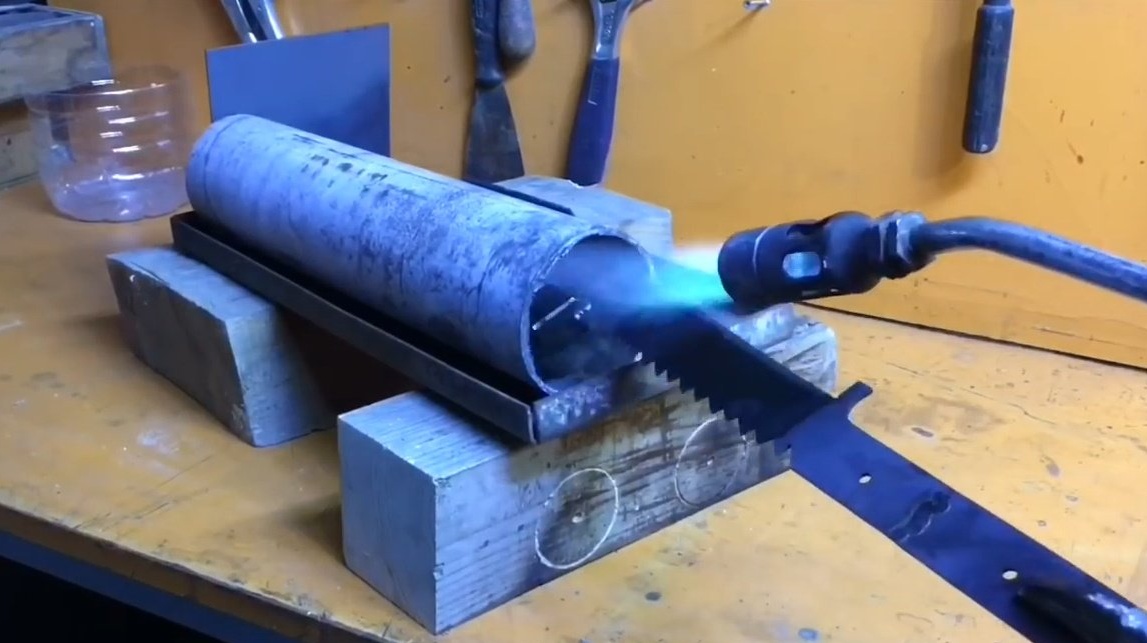
The steel of these discs is already hardened, it will be very difficult to drill and process, so the master ignites the gas burner and heats the workpieces, then allows them to cool smoothly. In this way, the steel softens.

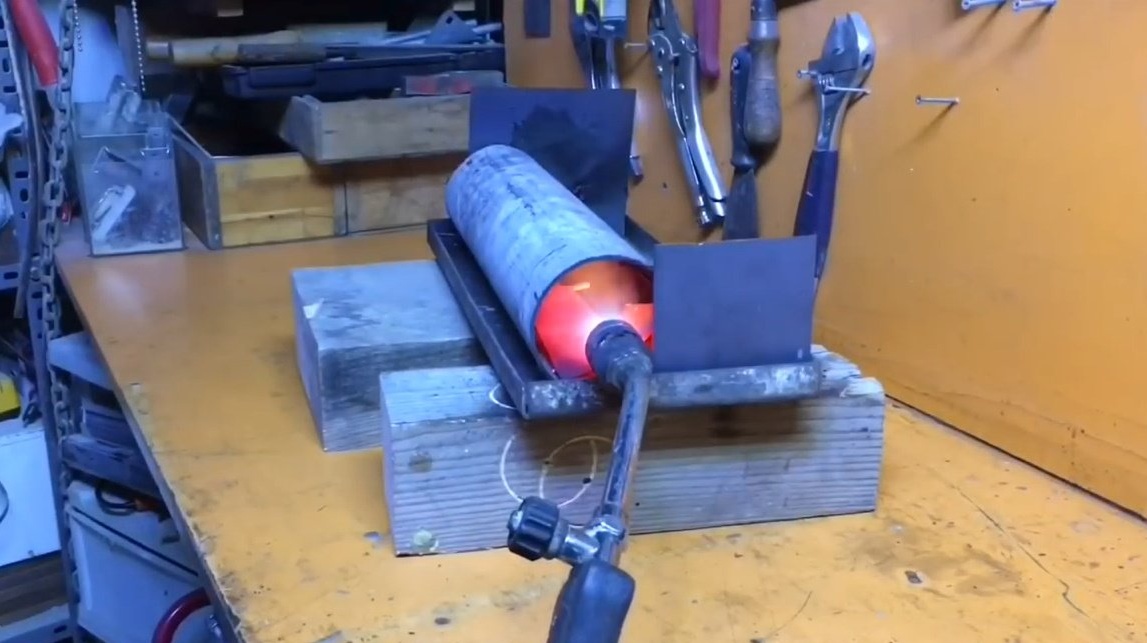
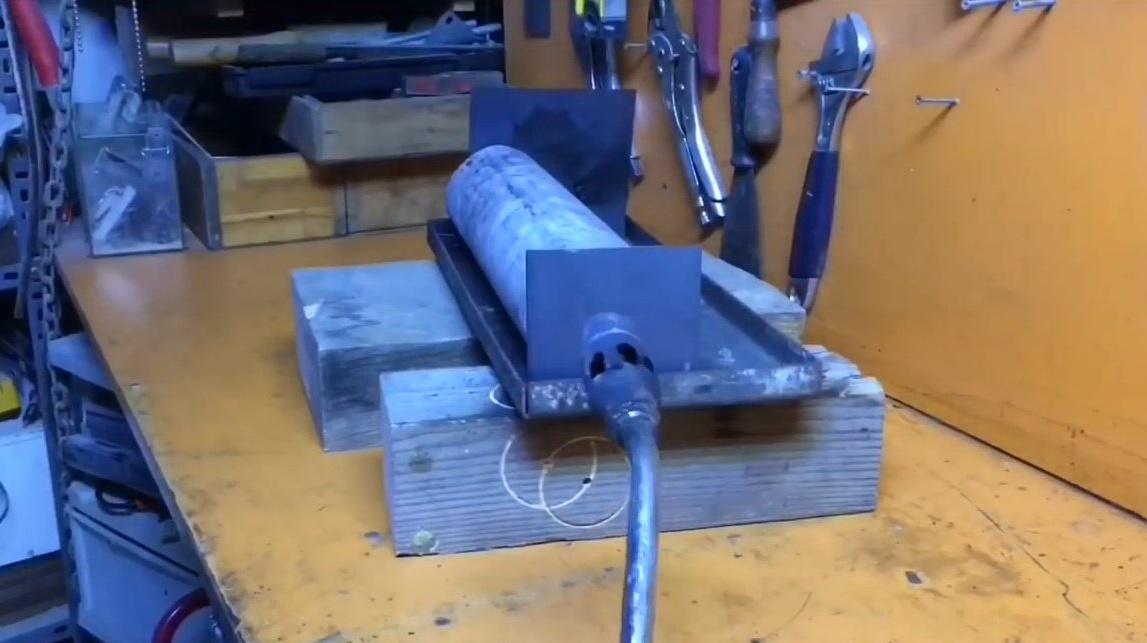
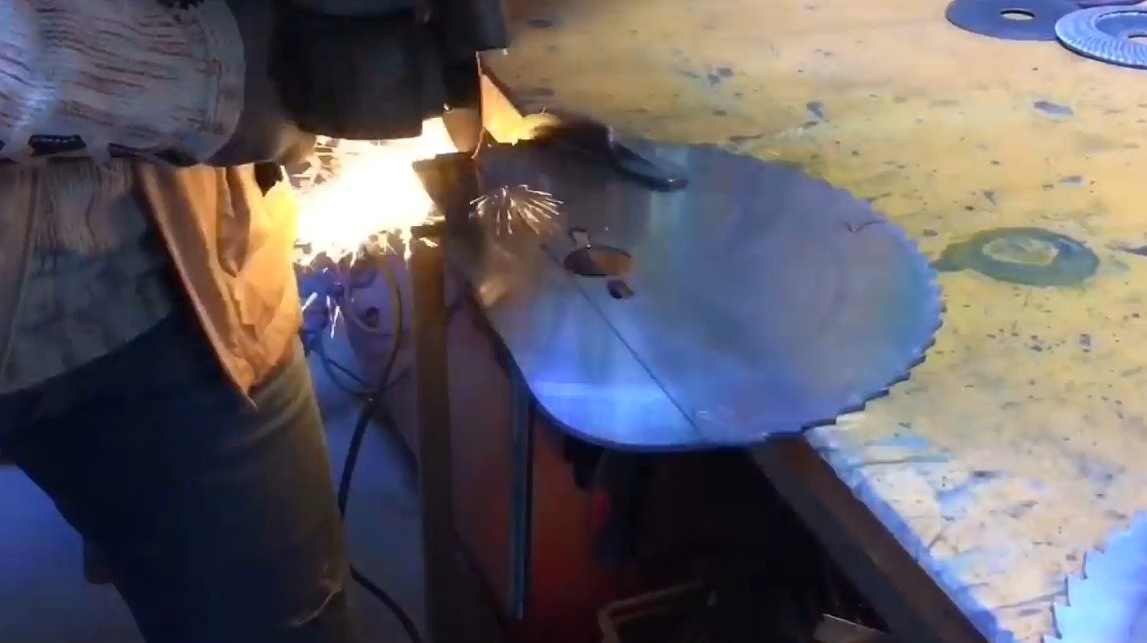
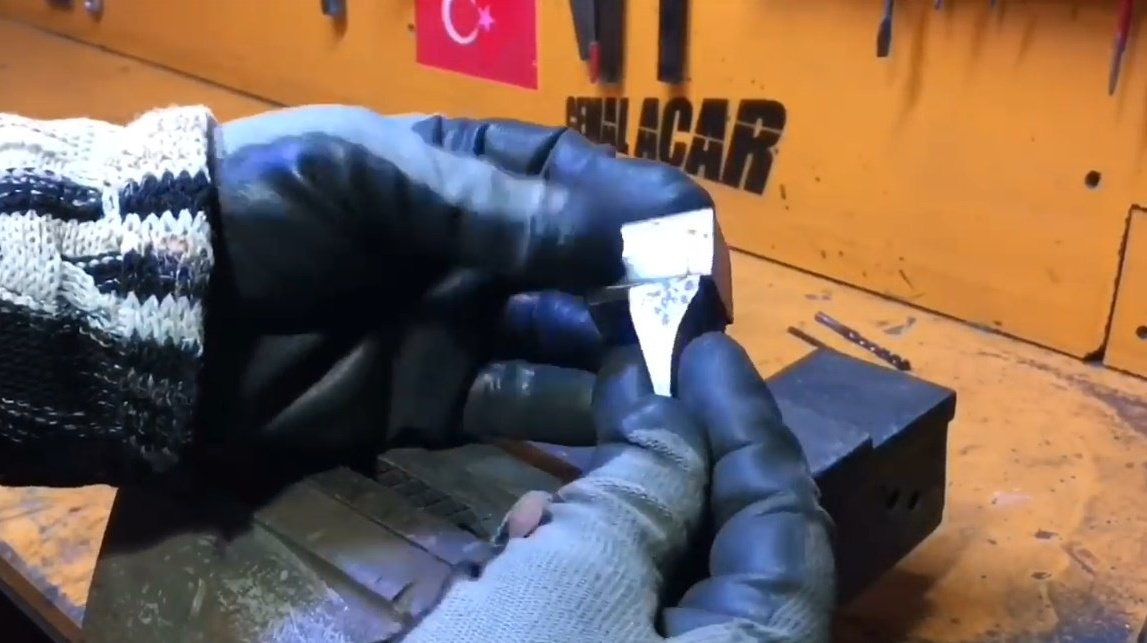
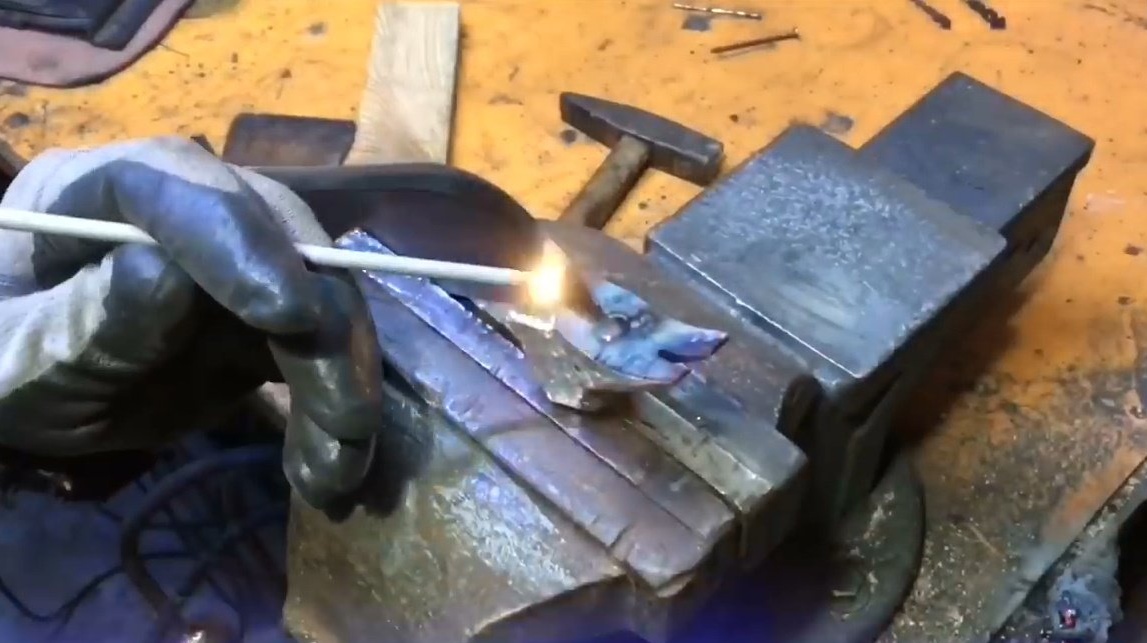
Now welds the base and extension cord.

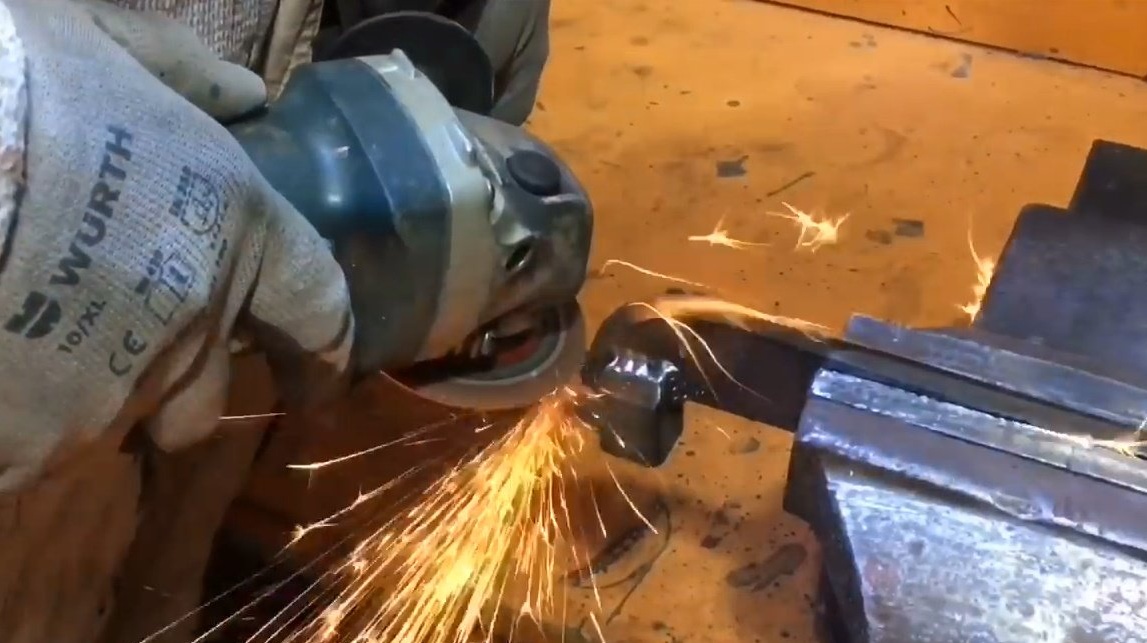
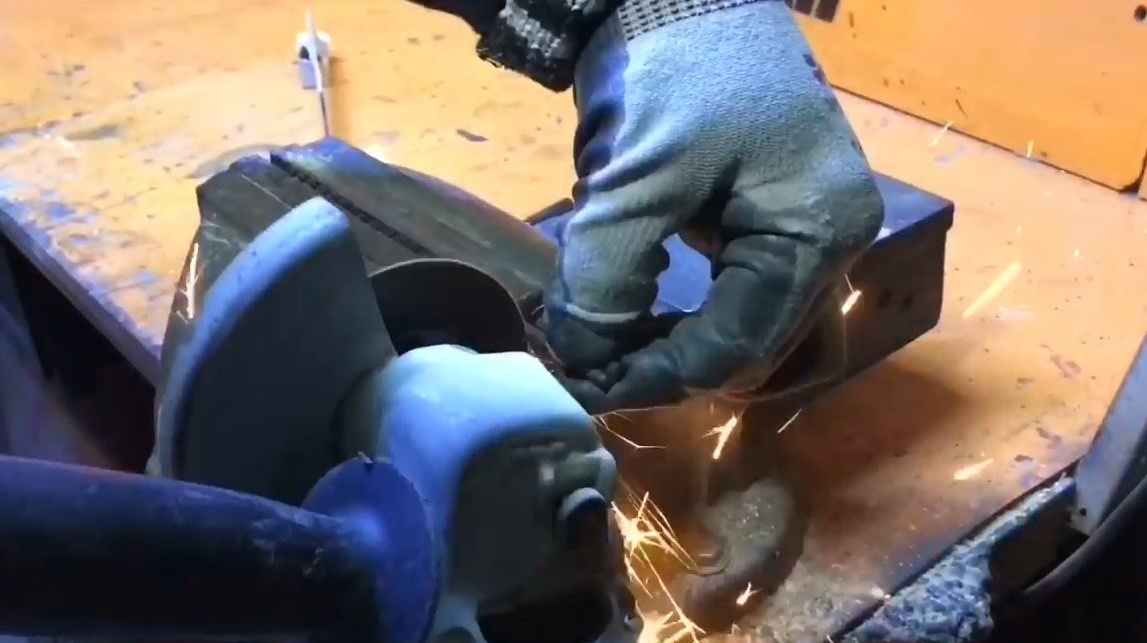
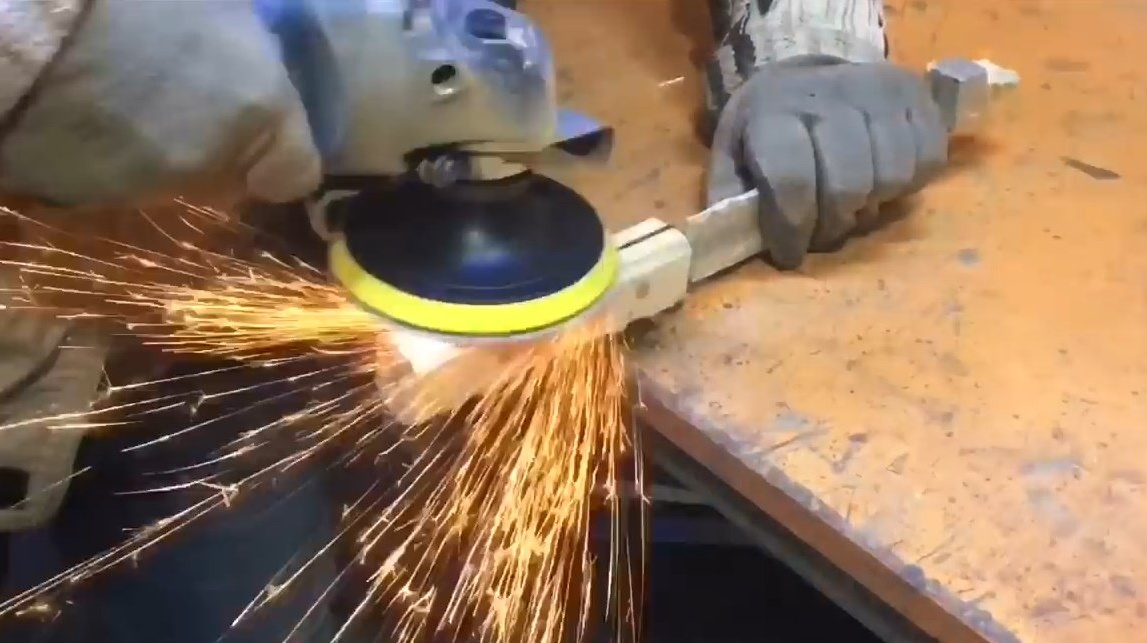
Then it knocks the scale, and cleans the seam, smooths sharp corners. A petal stripping disc is well suited for this.
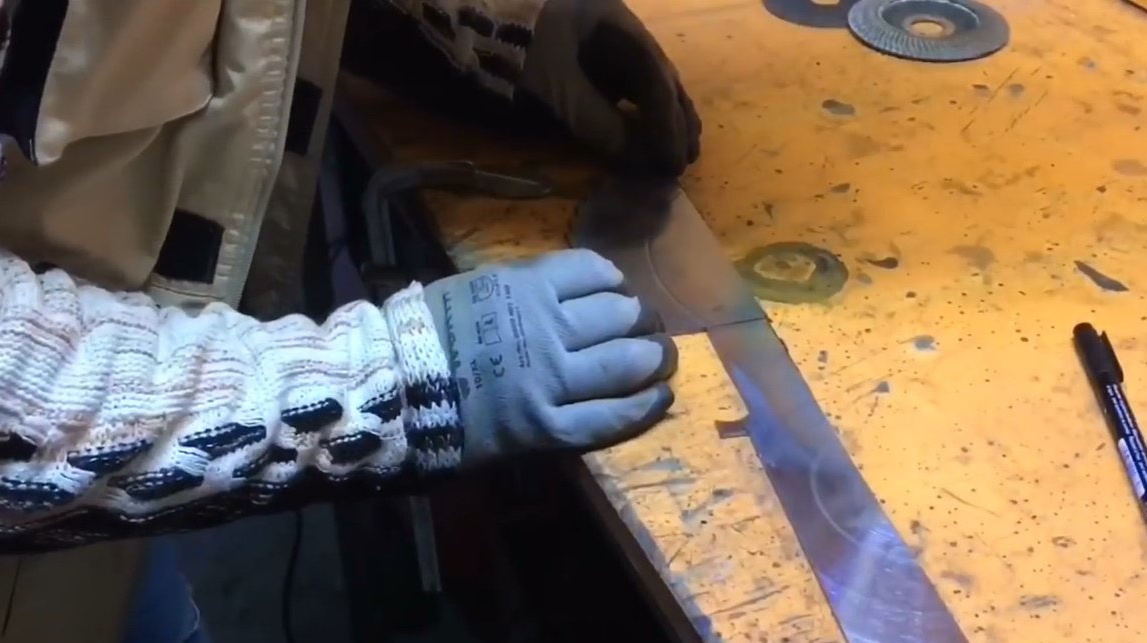
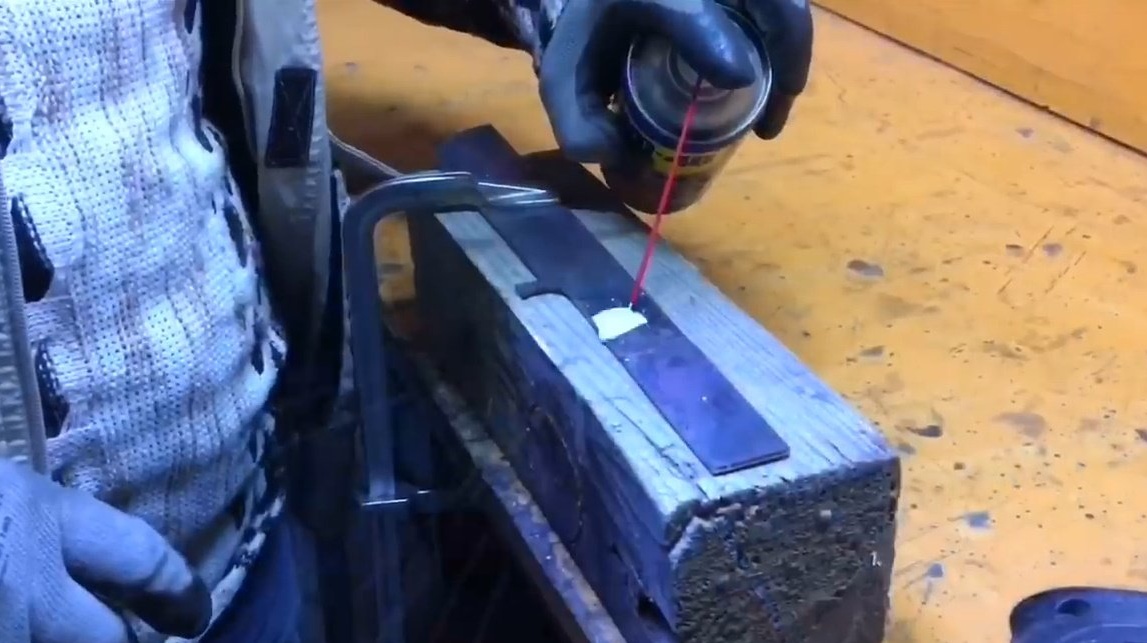
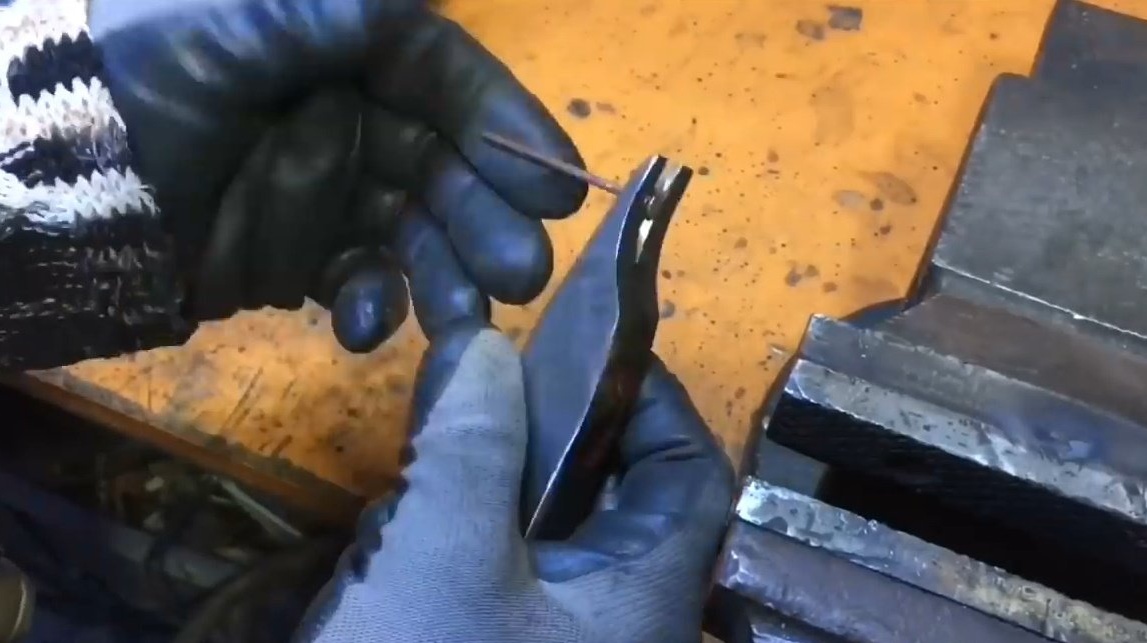
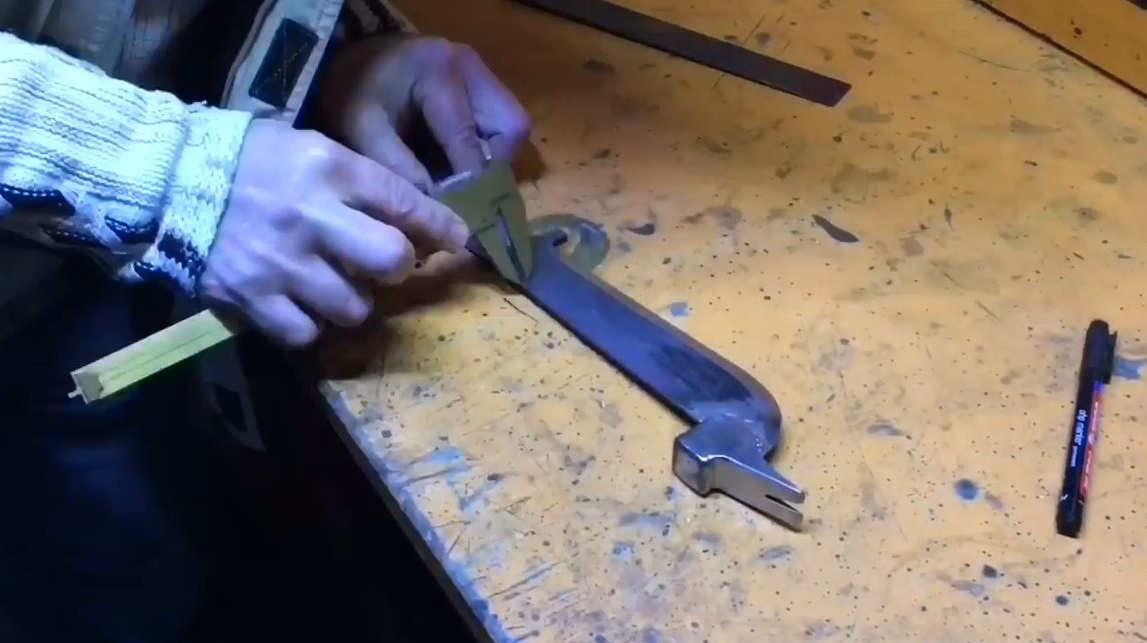
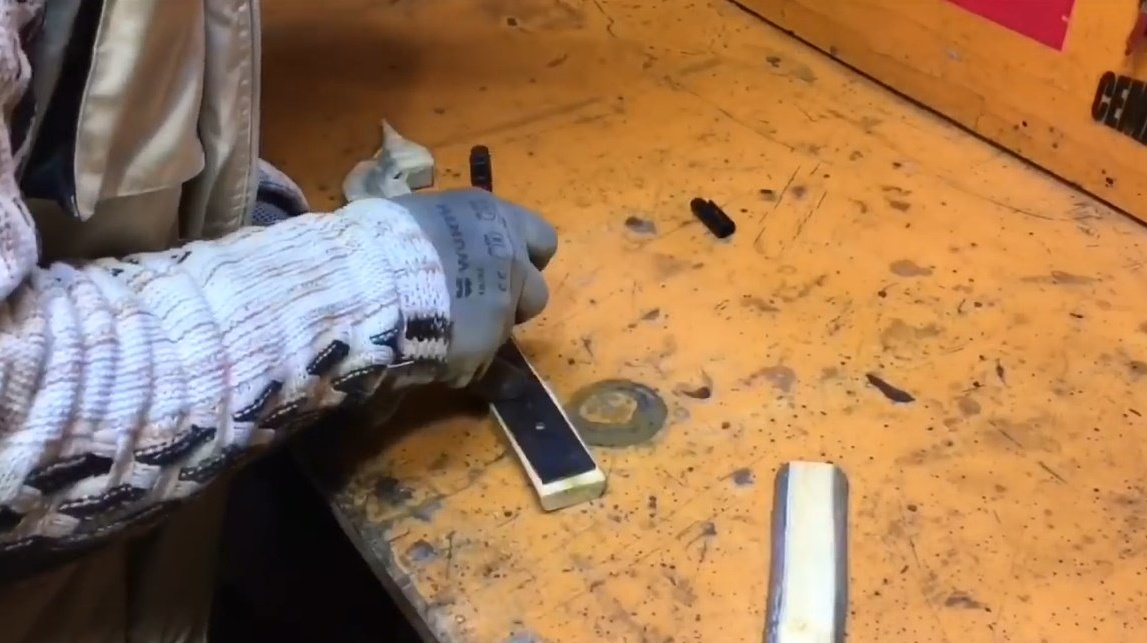
Having marked a couple of future rivet holes, and having lubricated them with the WD-40, he drills the holes.
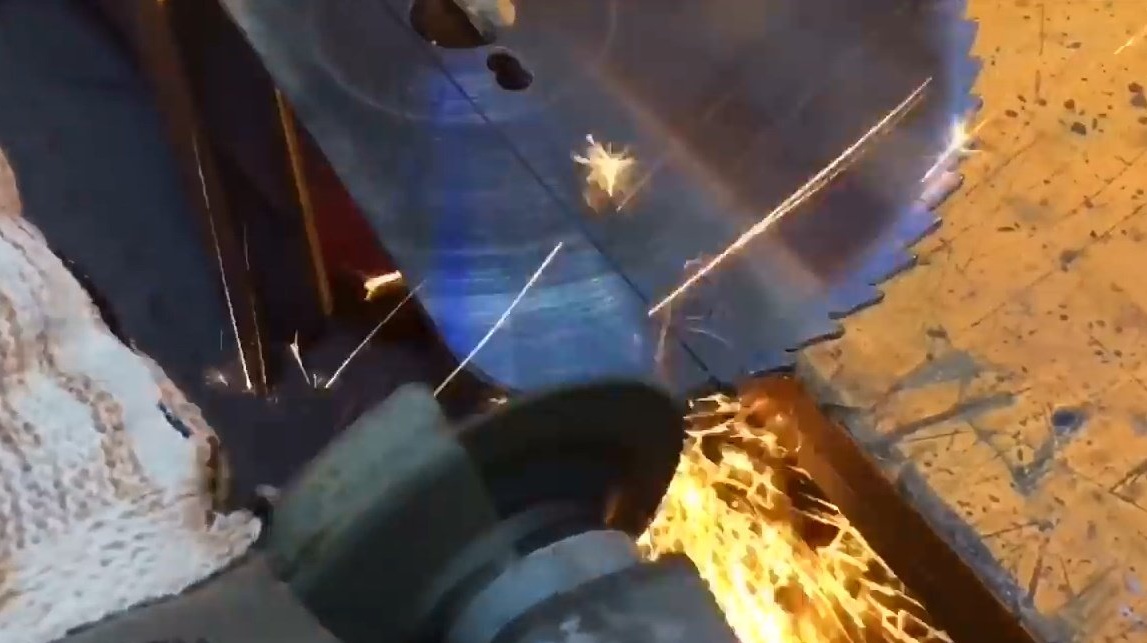
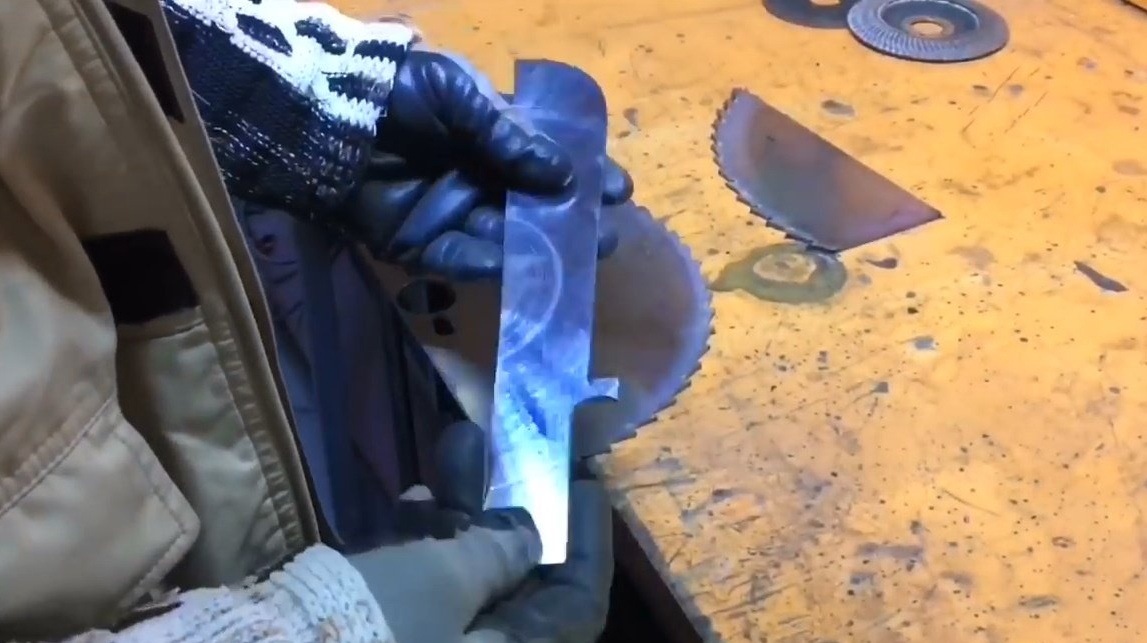
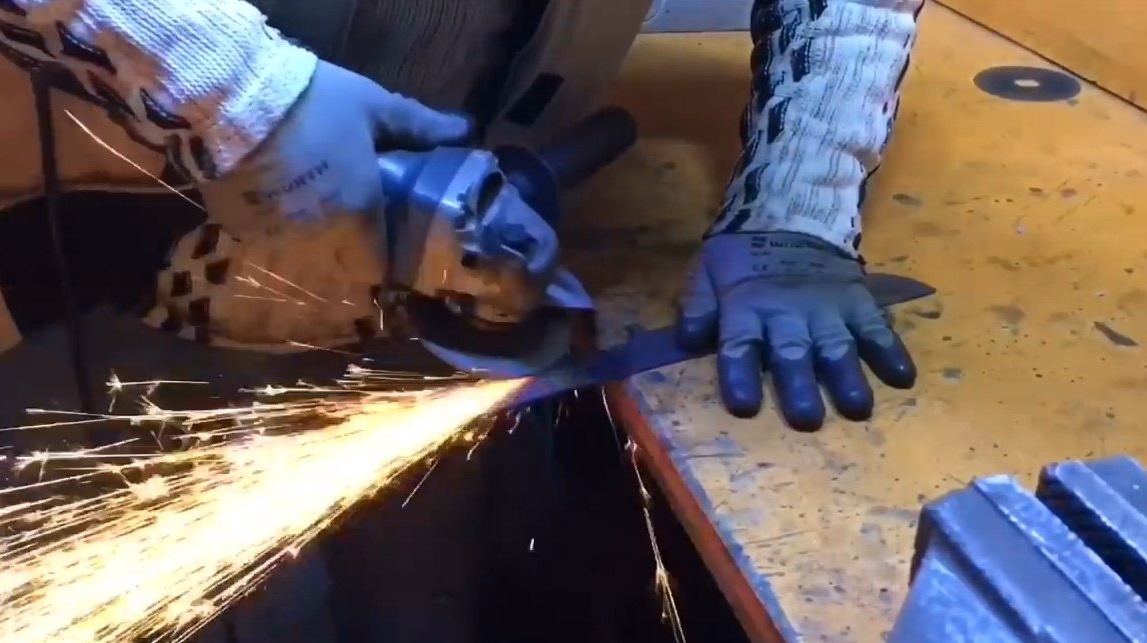
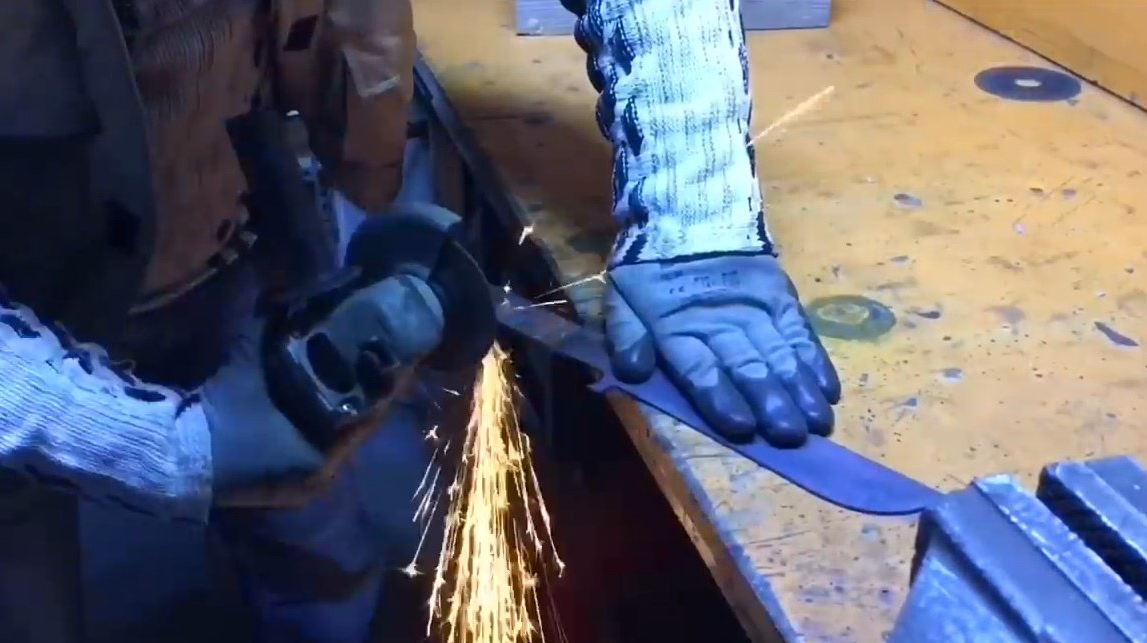
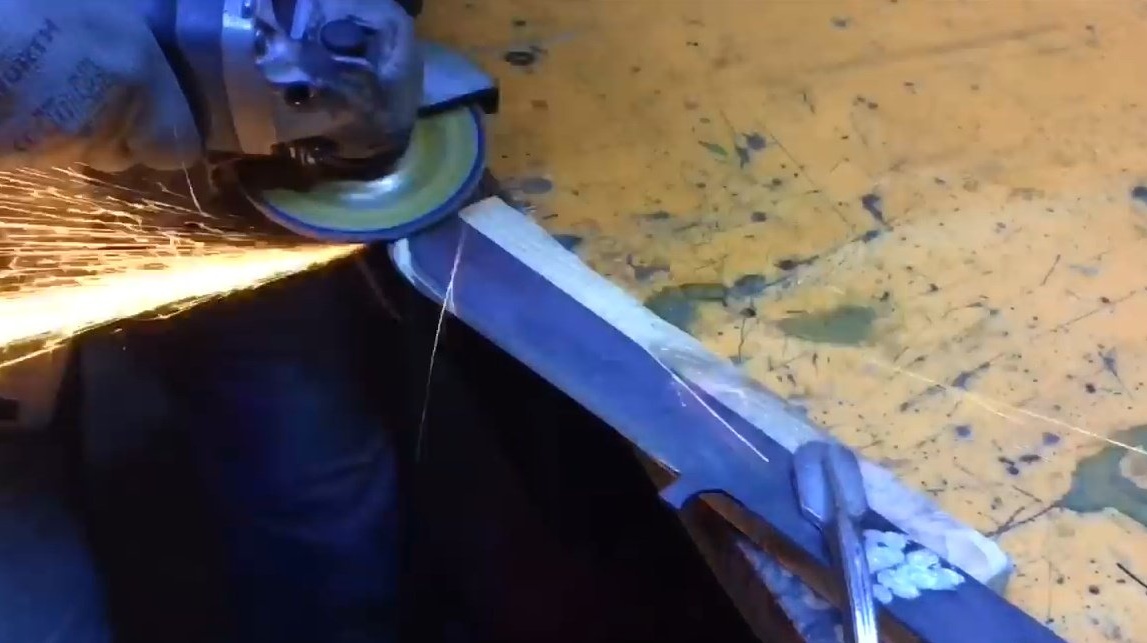
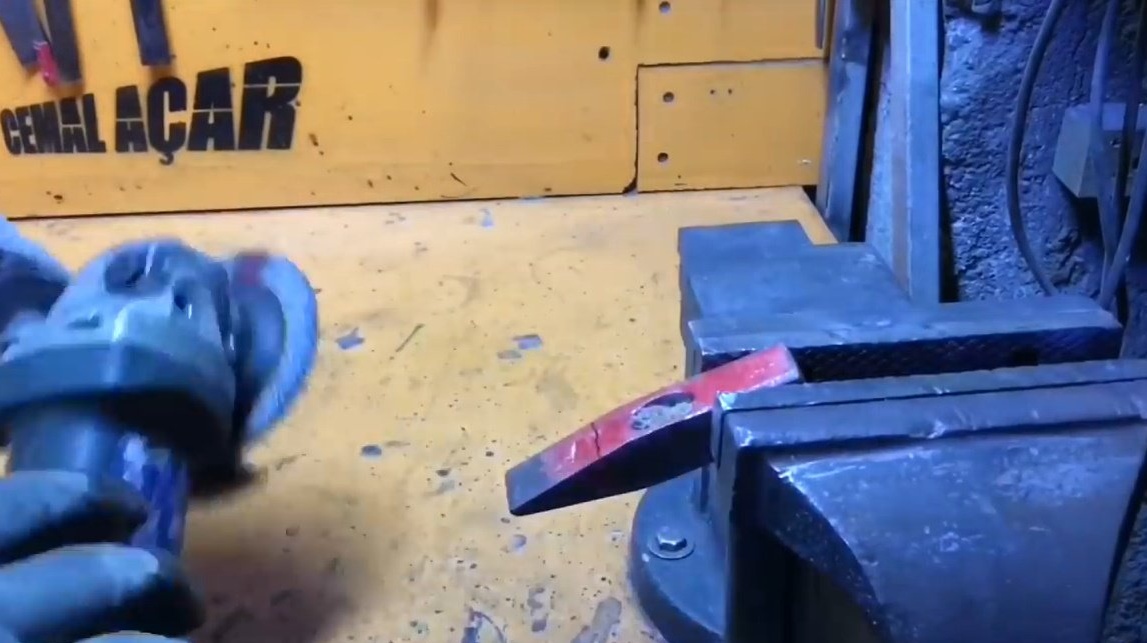
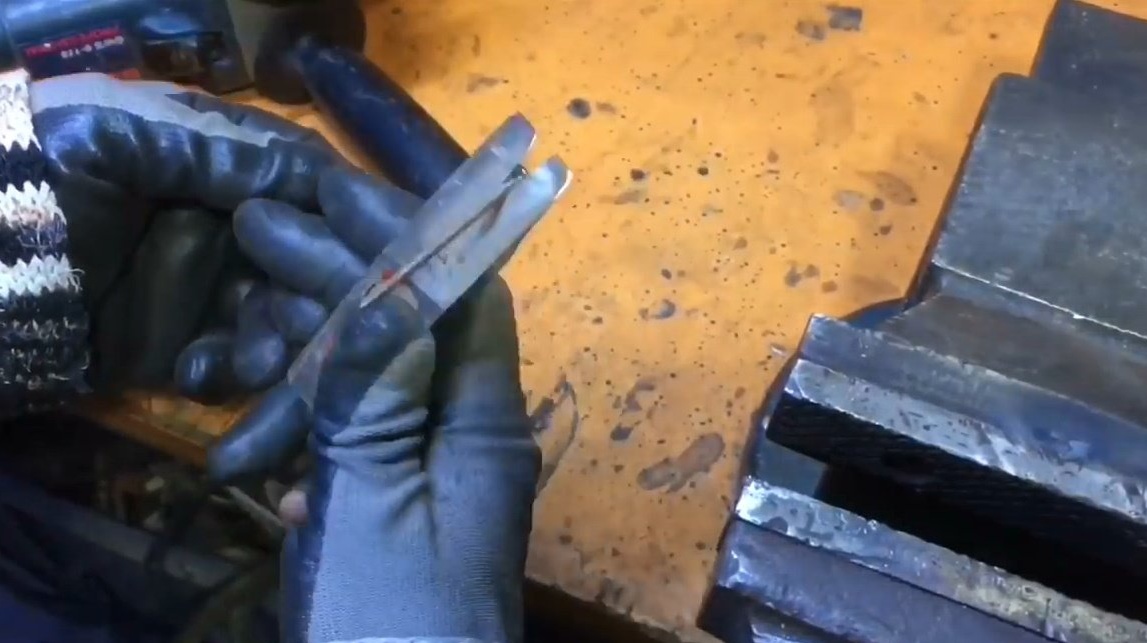
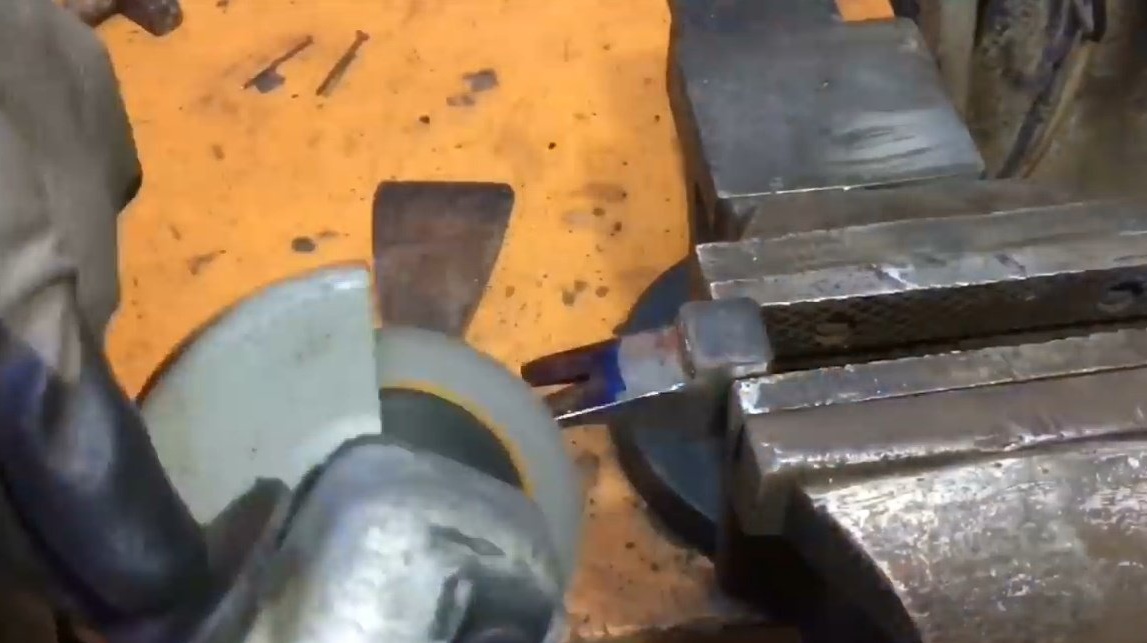
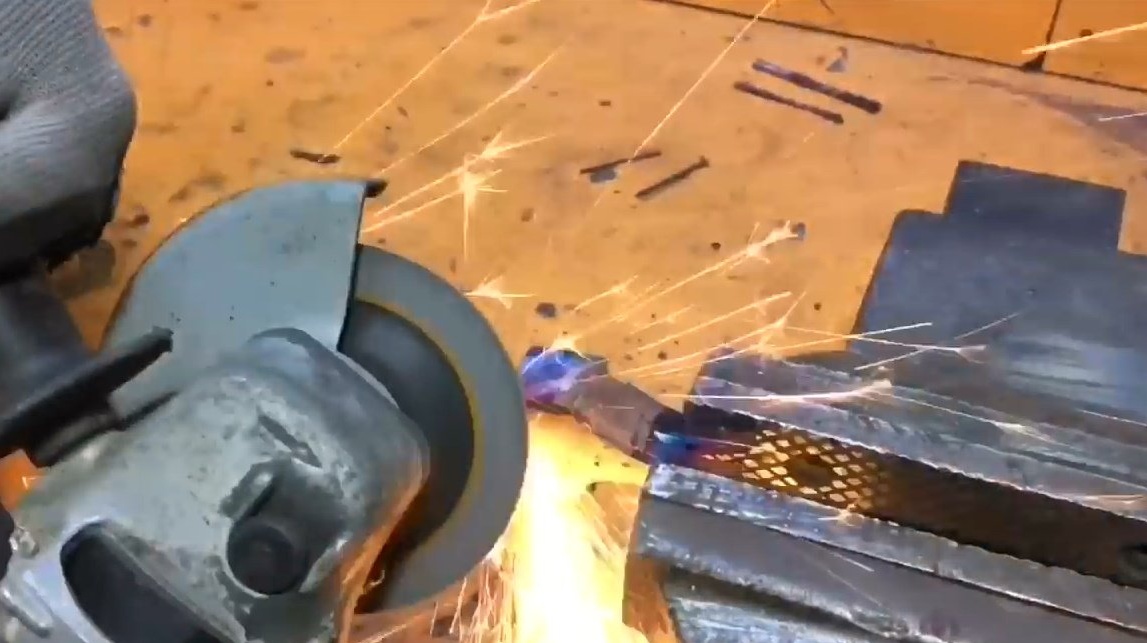
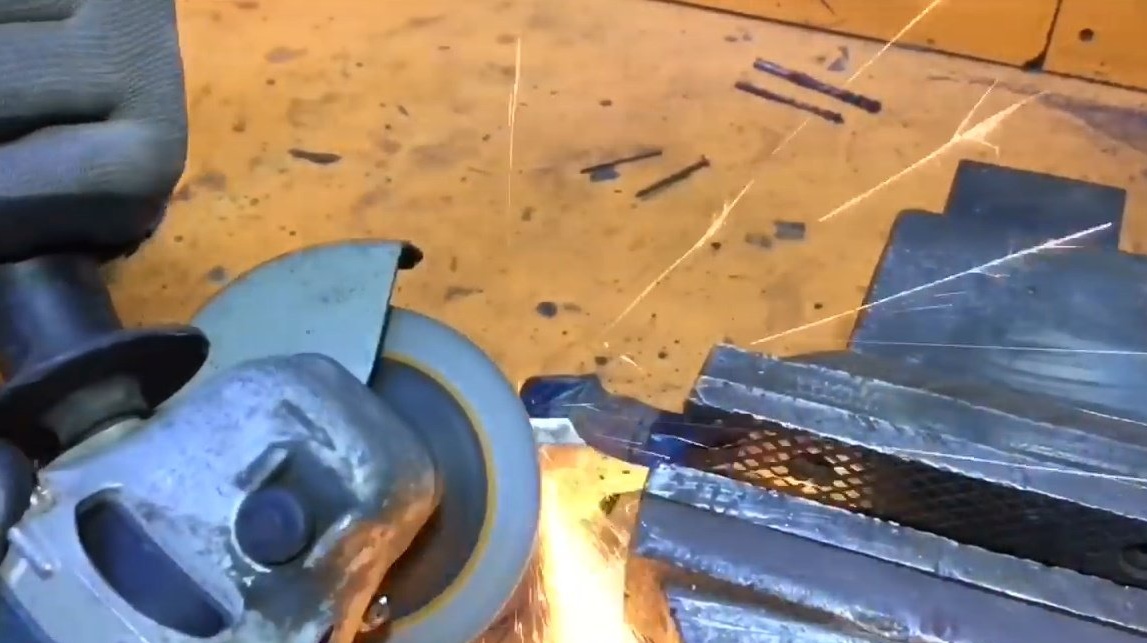
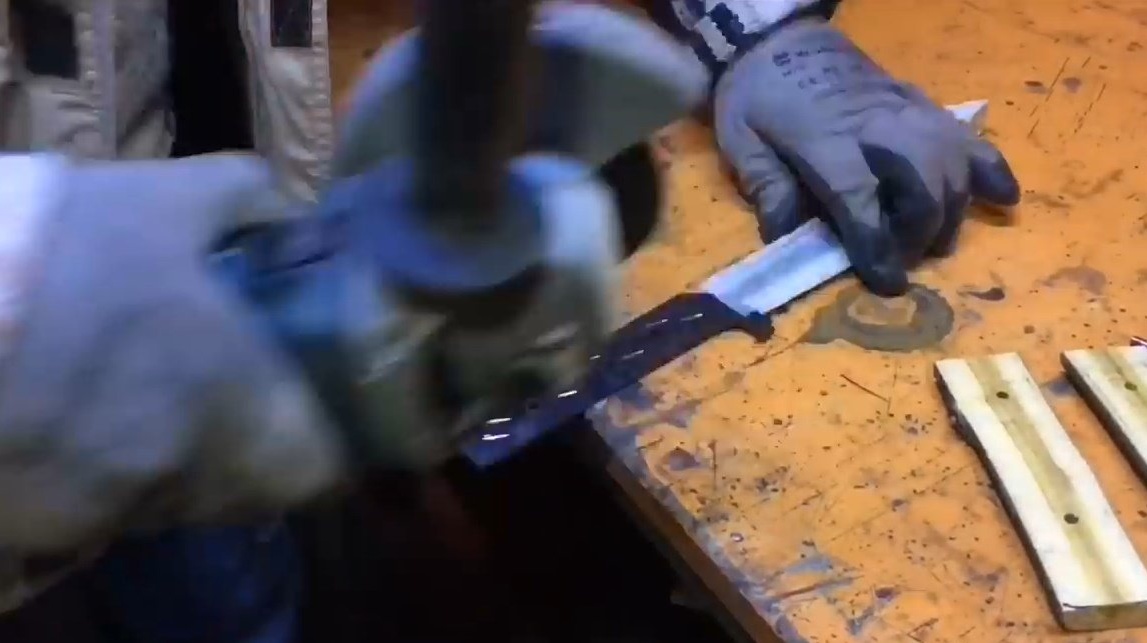
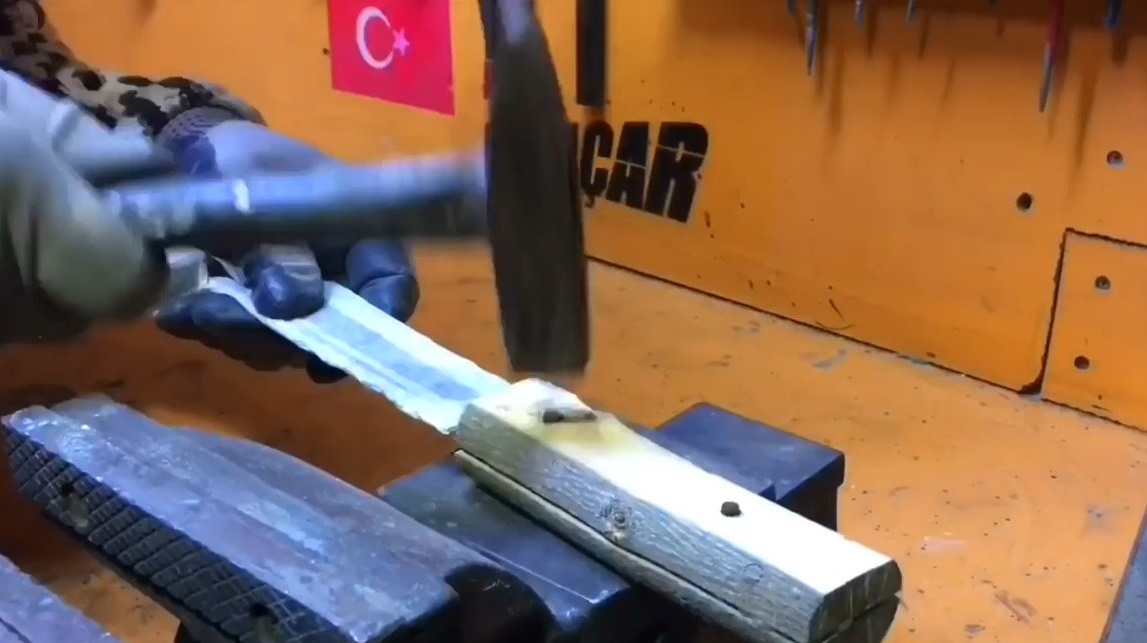
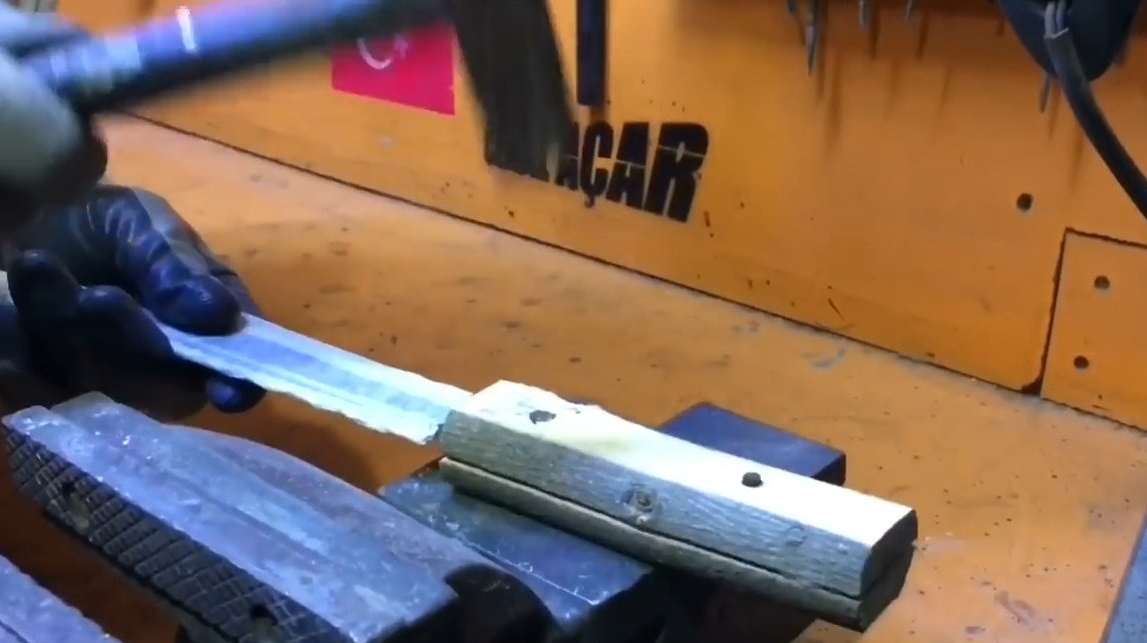
He presses the workpiece to the table with a clamp, putting the rest. Then he turns the first descent of the blade.
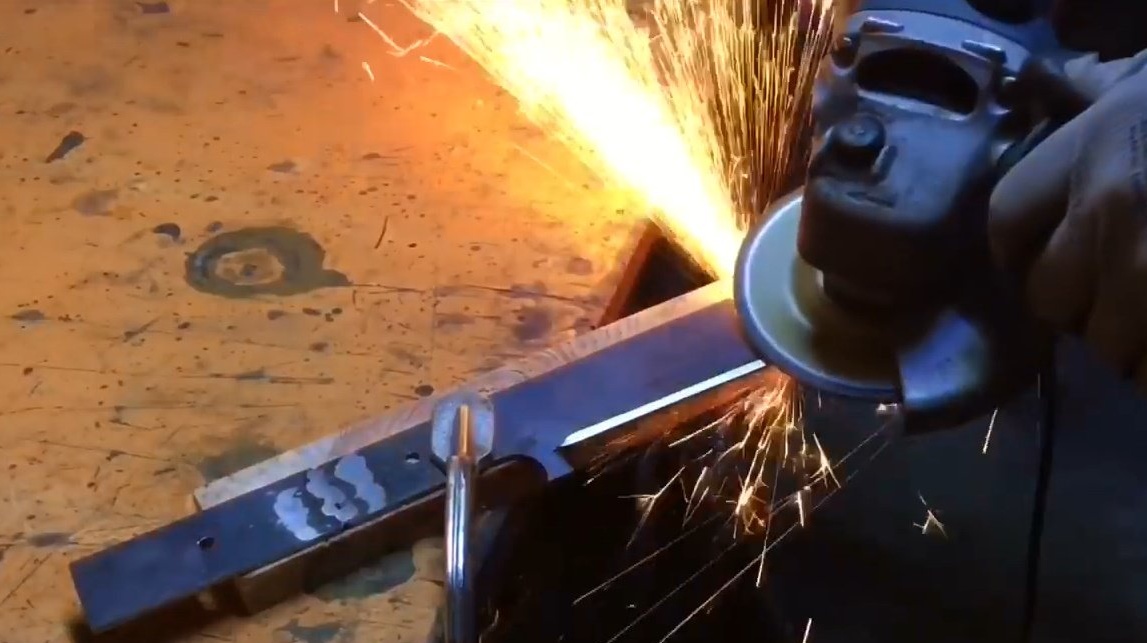
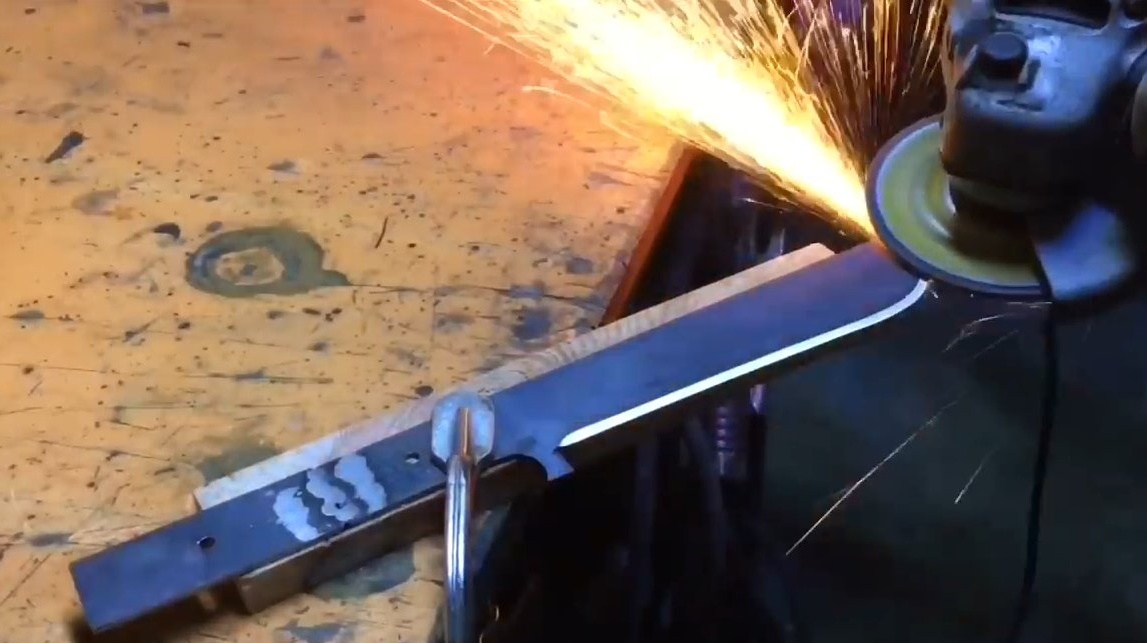
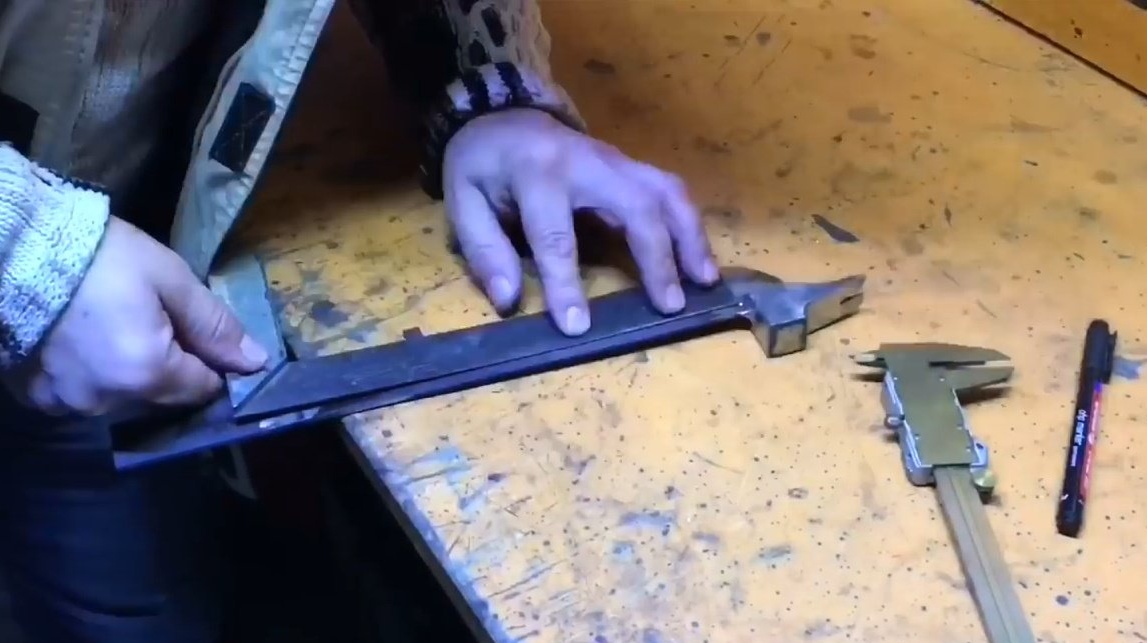
Turns the part over and grinds the other side of the blade.

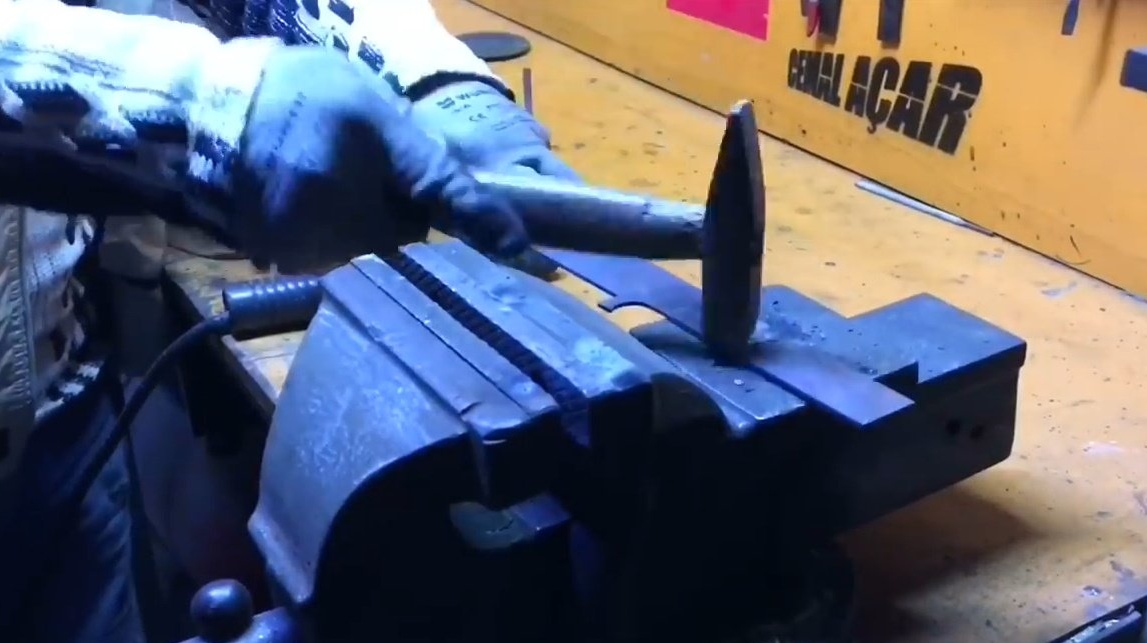
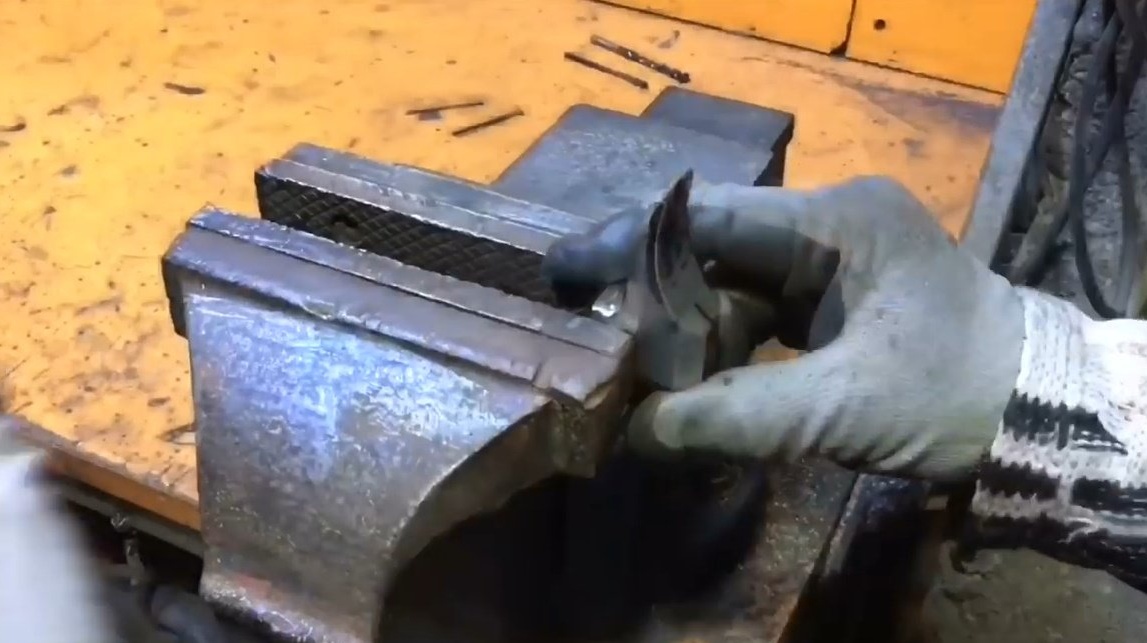
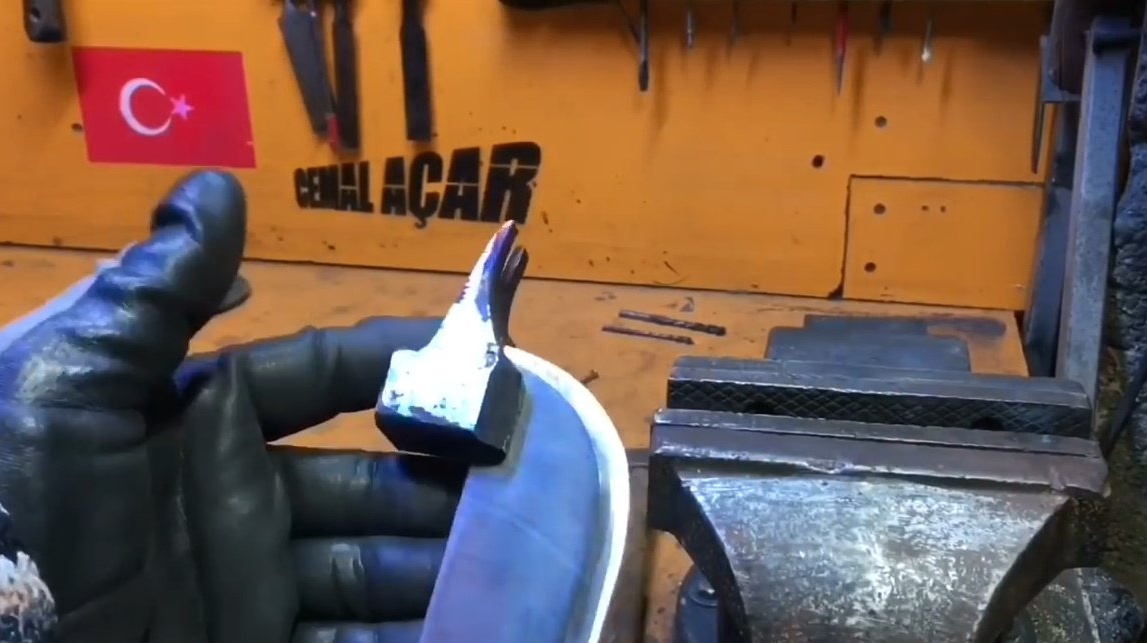
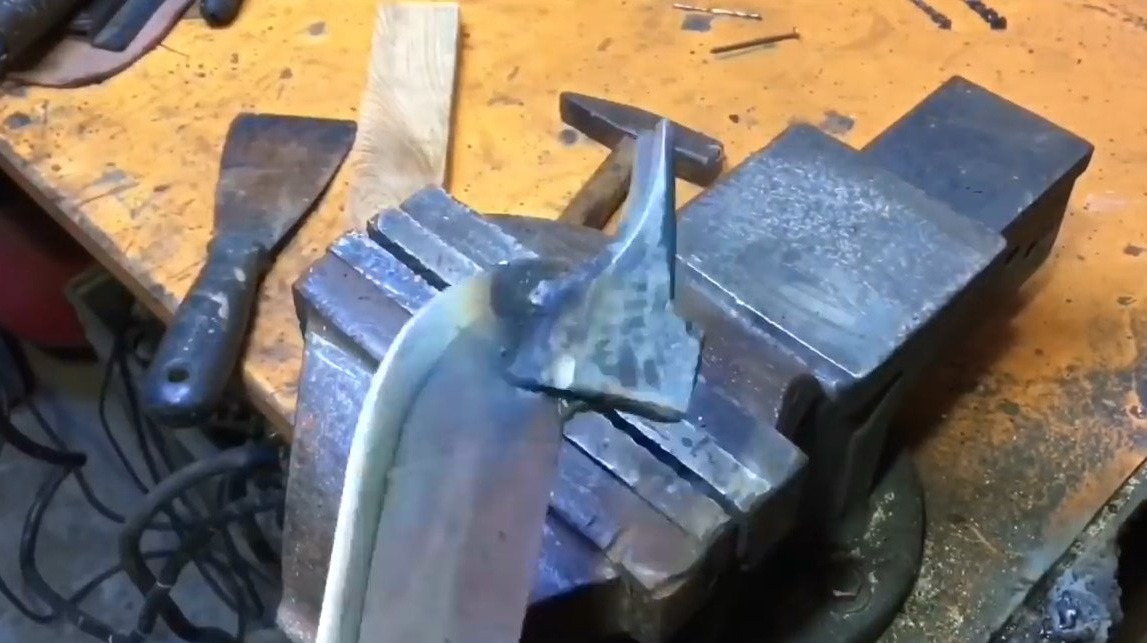
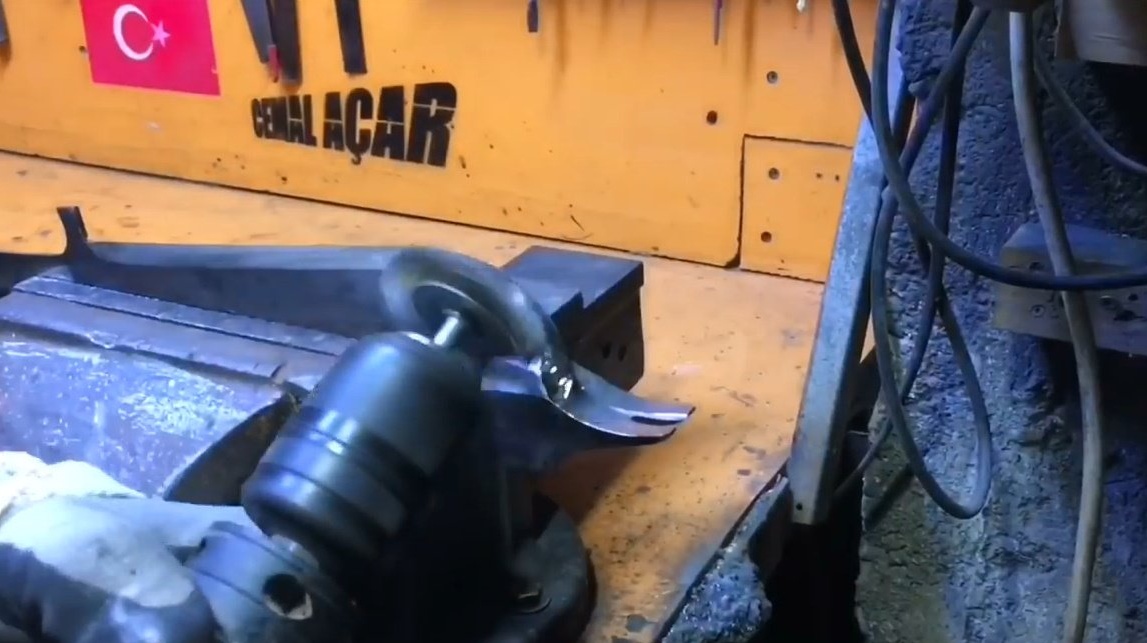
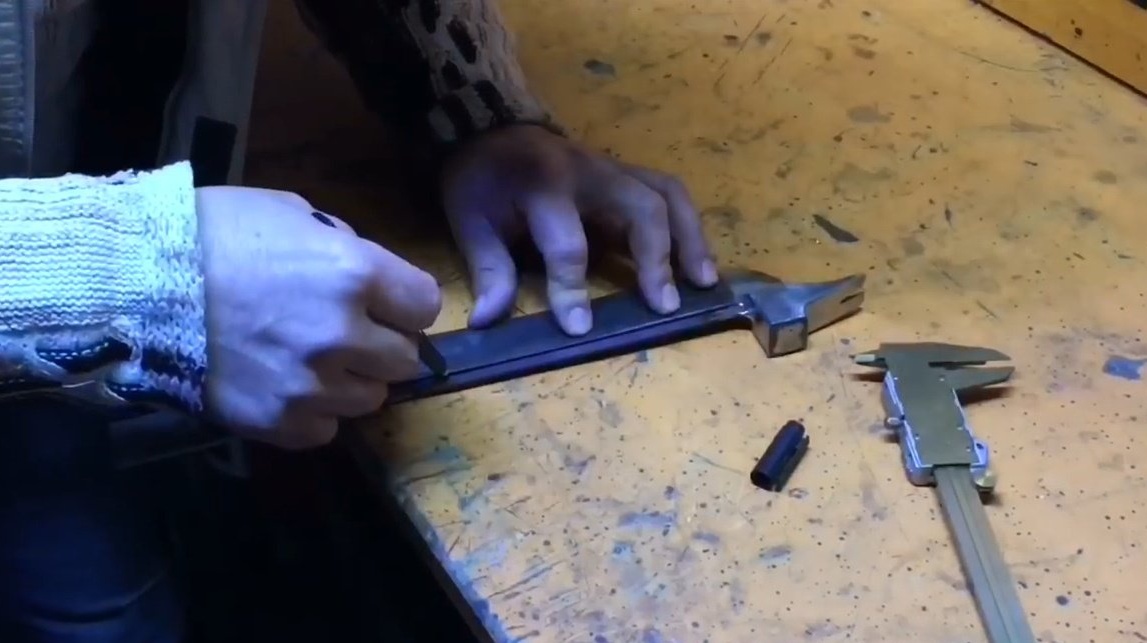
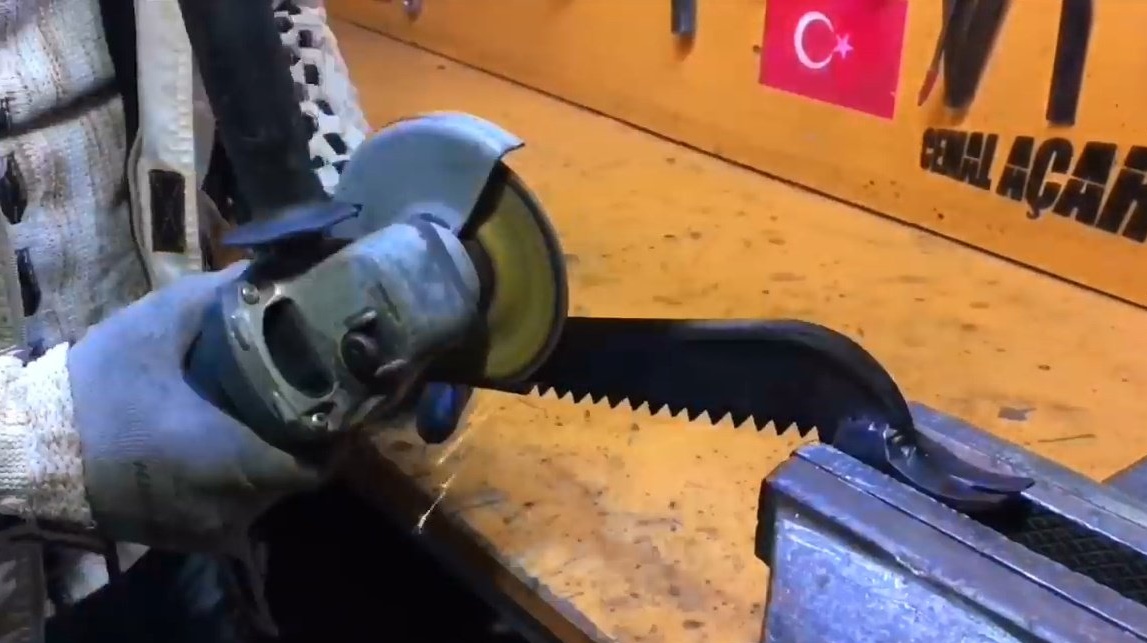
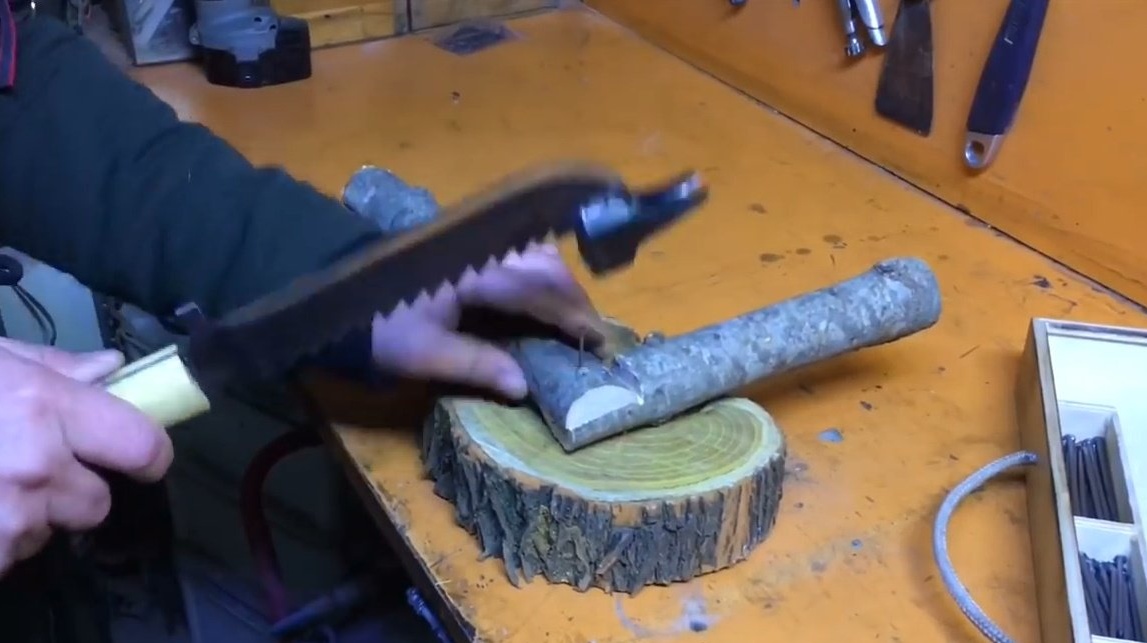
So, the base of the tool is almost ready, now the master needs to choose a suitable head from the hammer.
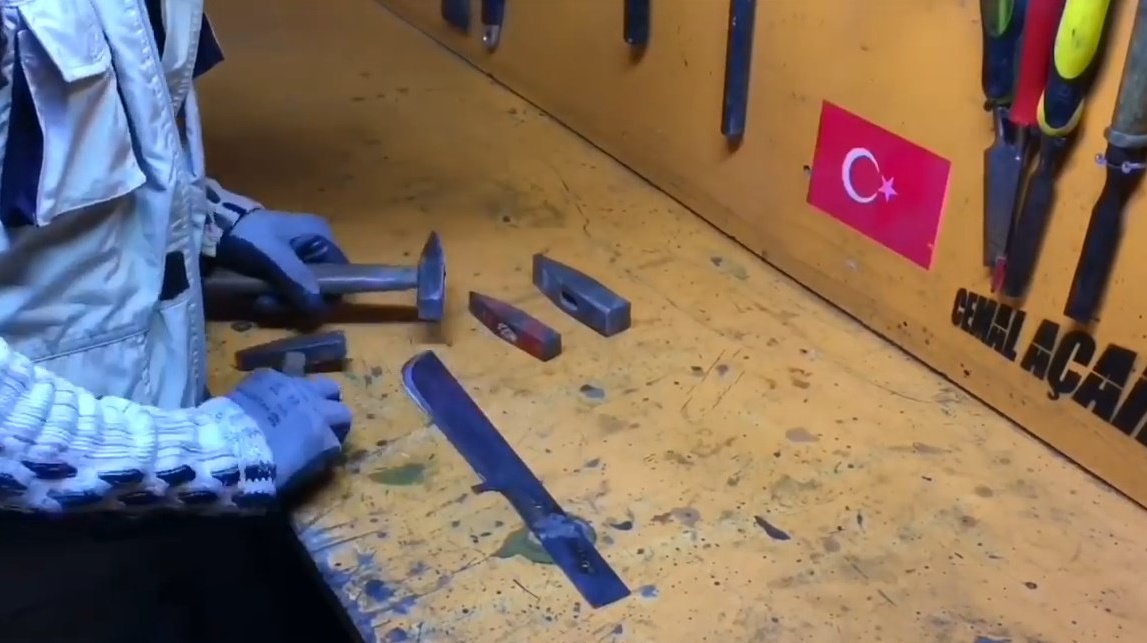
Having marked the nose of the head, grinds the descent for the nail clipper.
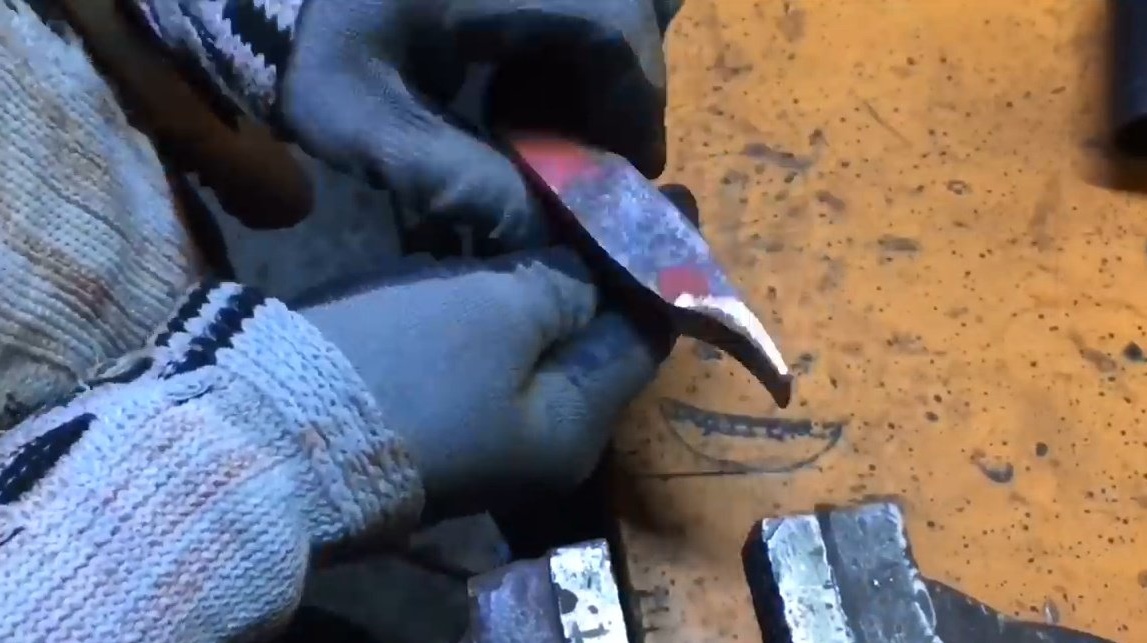
Then the master cuts out a groove for grabbing nails.
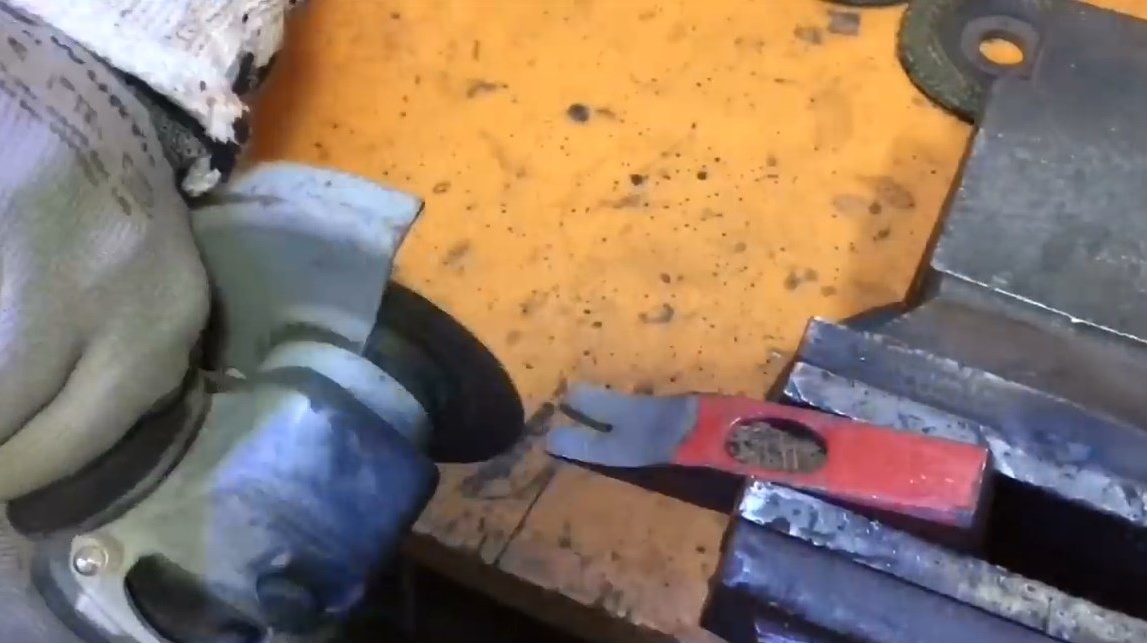
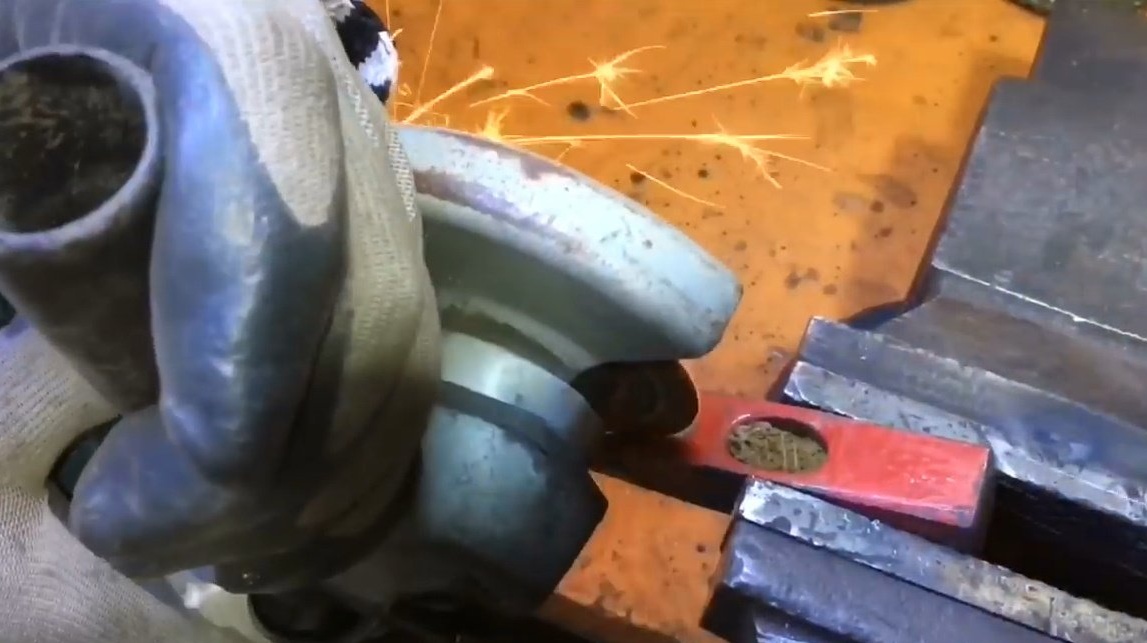
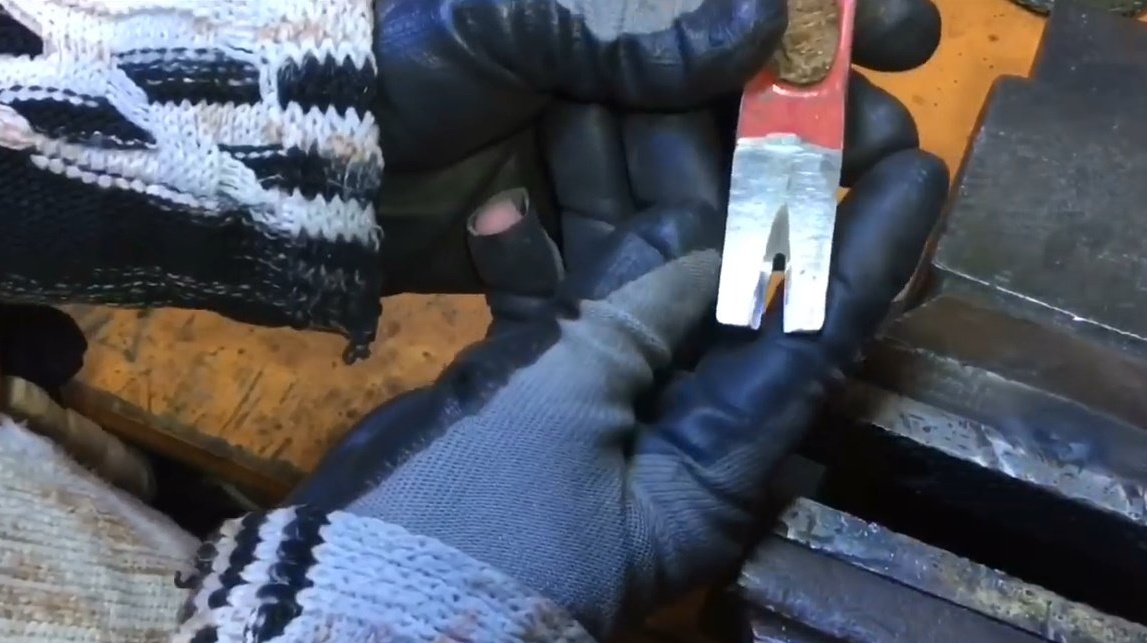
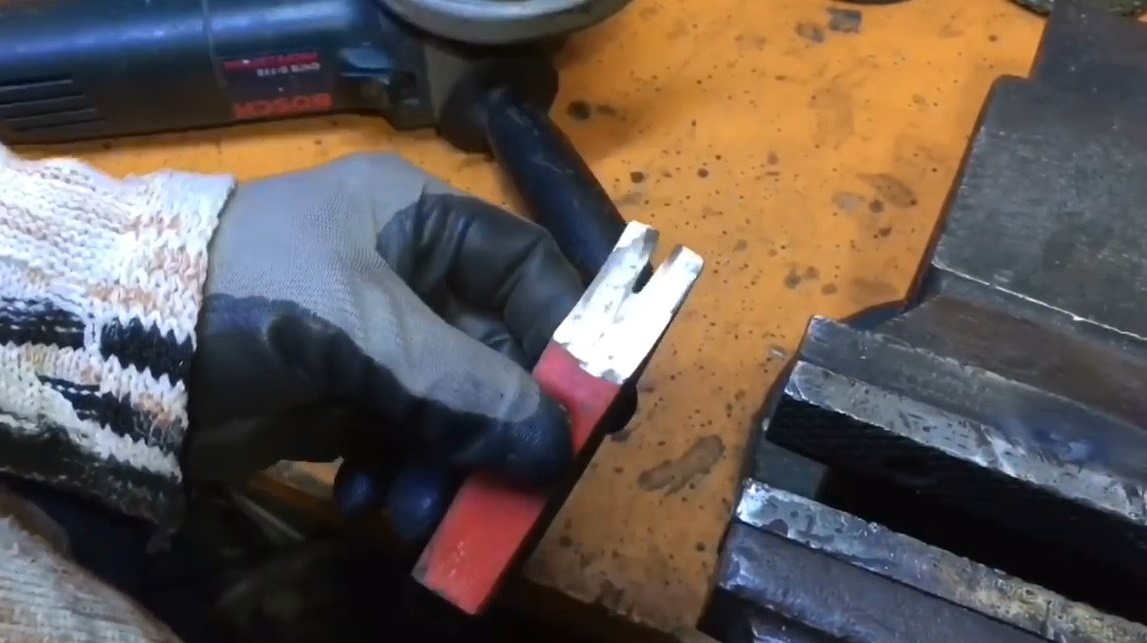
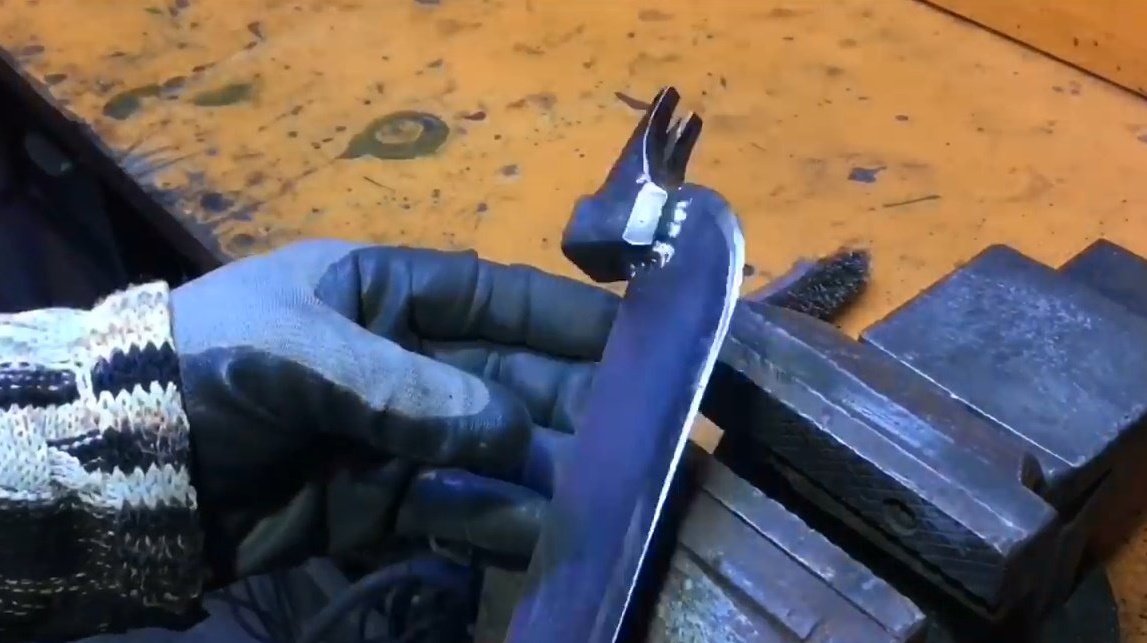
It remains to clean all the surfaces of the head, and check whether the nail is gripped securely.
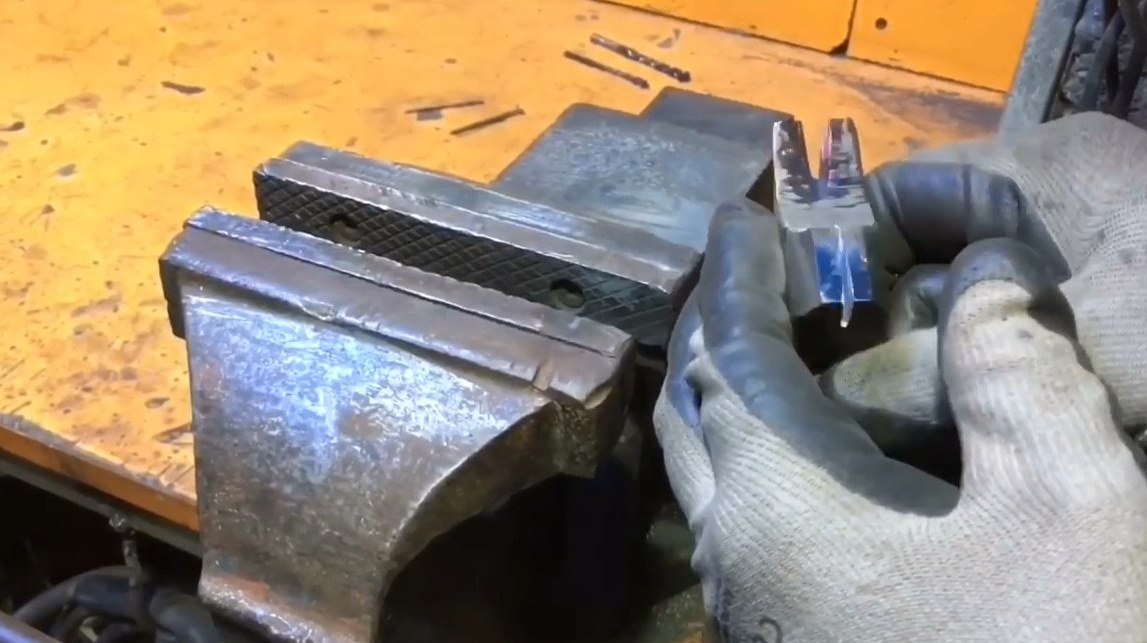
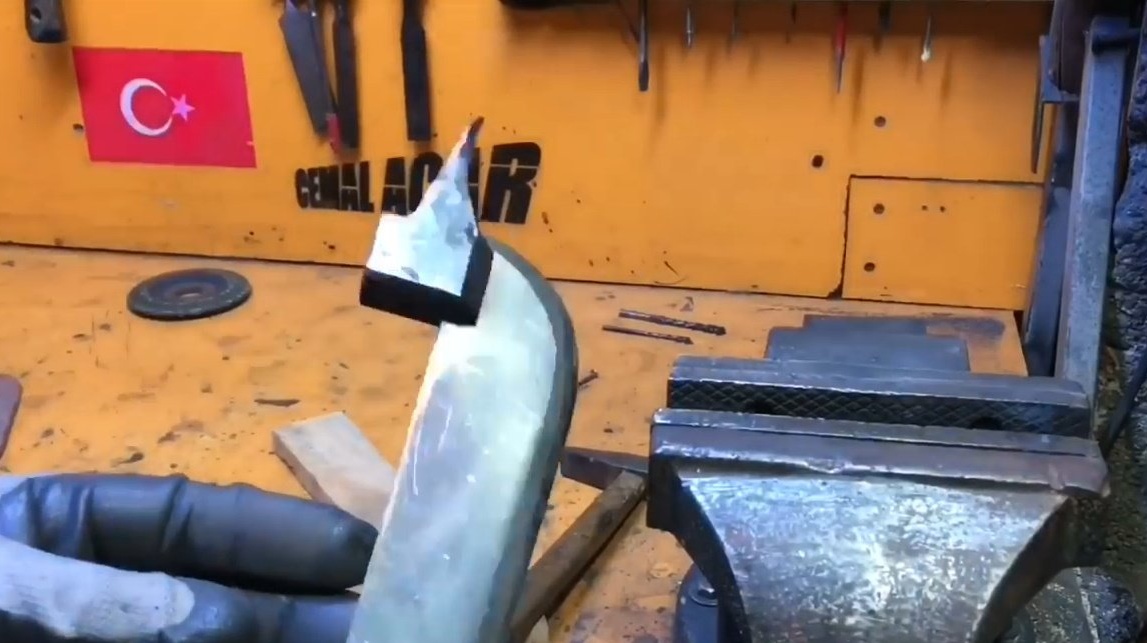
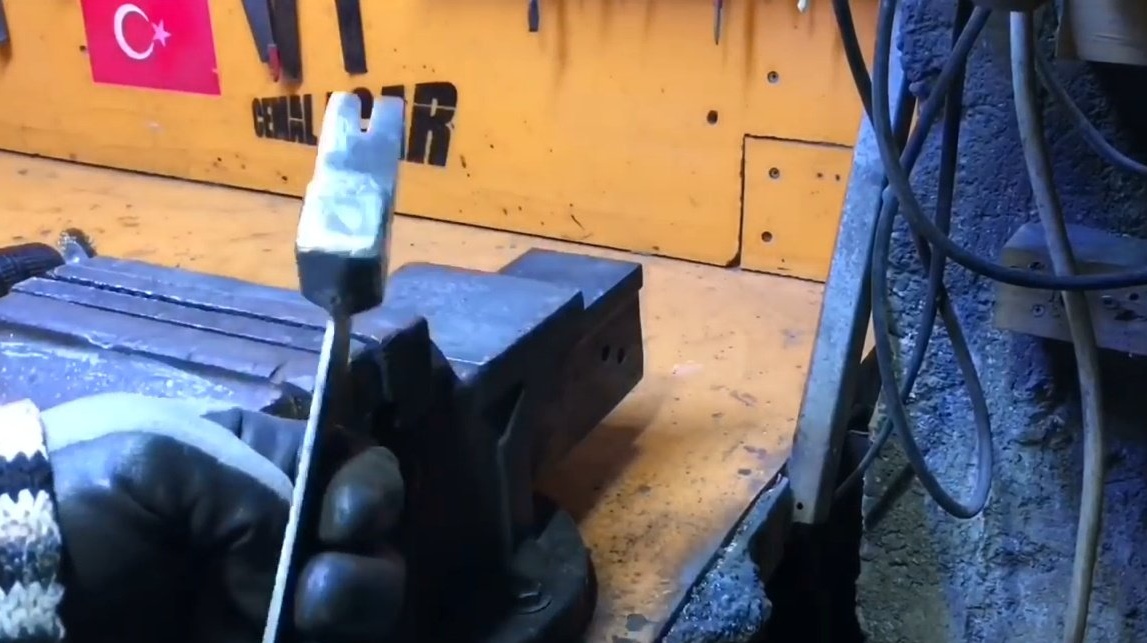
Now the author removes the central part of the head, leaving only the drummer and nail clipper.
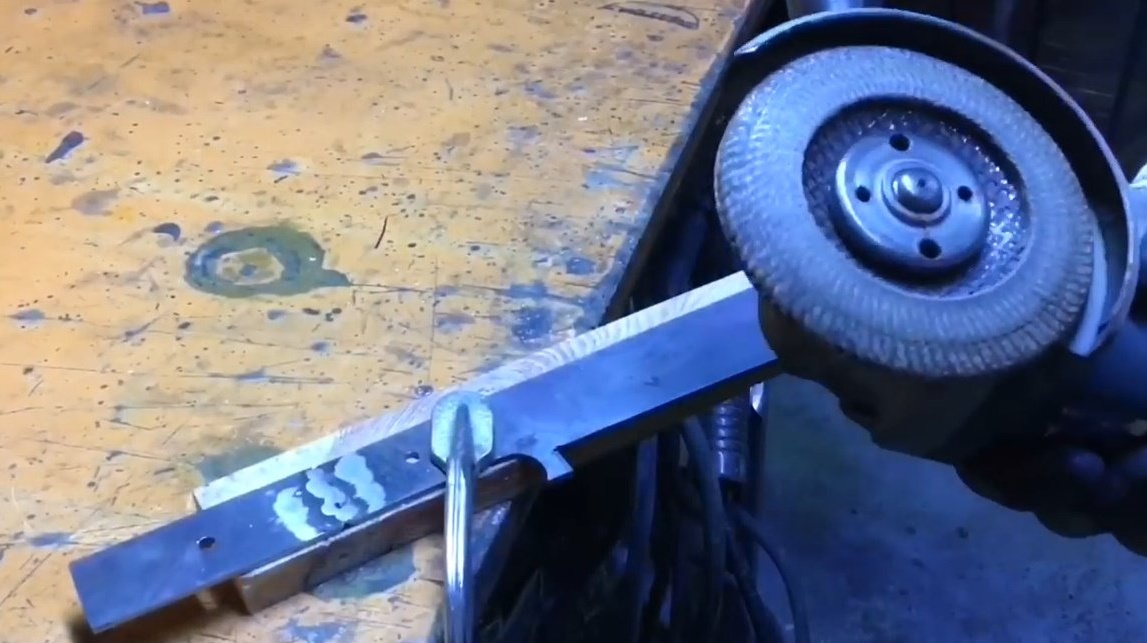
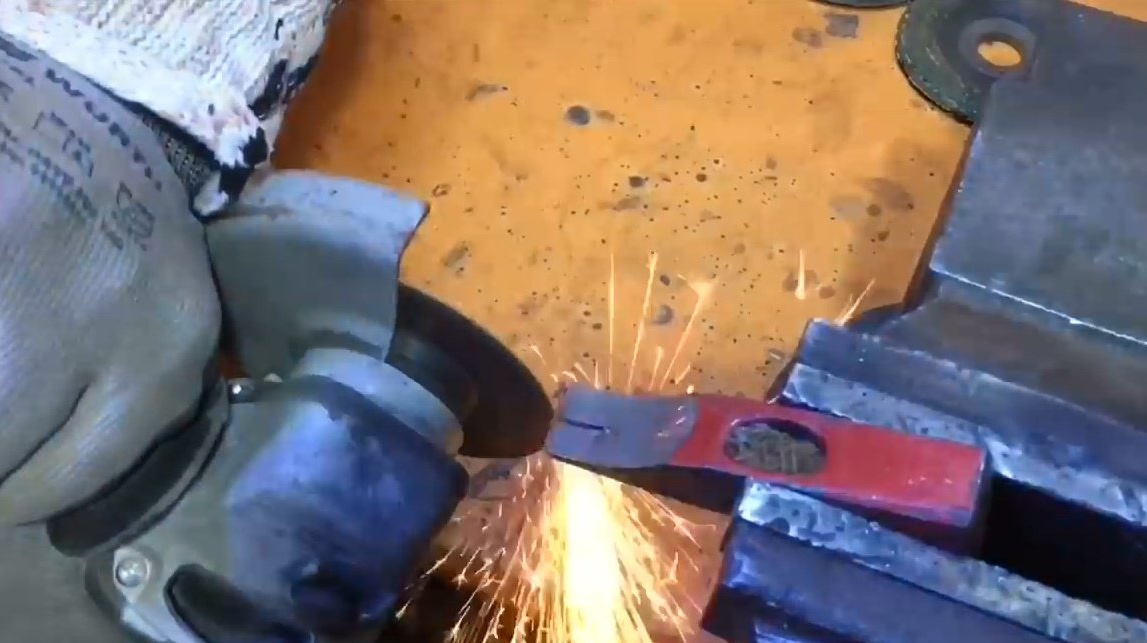
Welds the two resulting workpieces together, and knocks the scale from the seams.


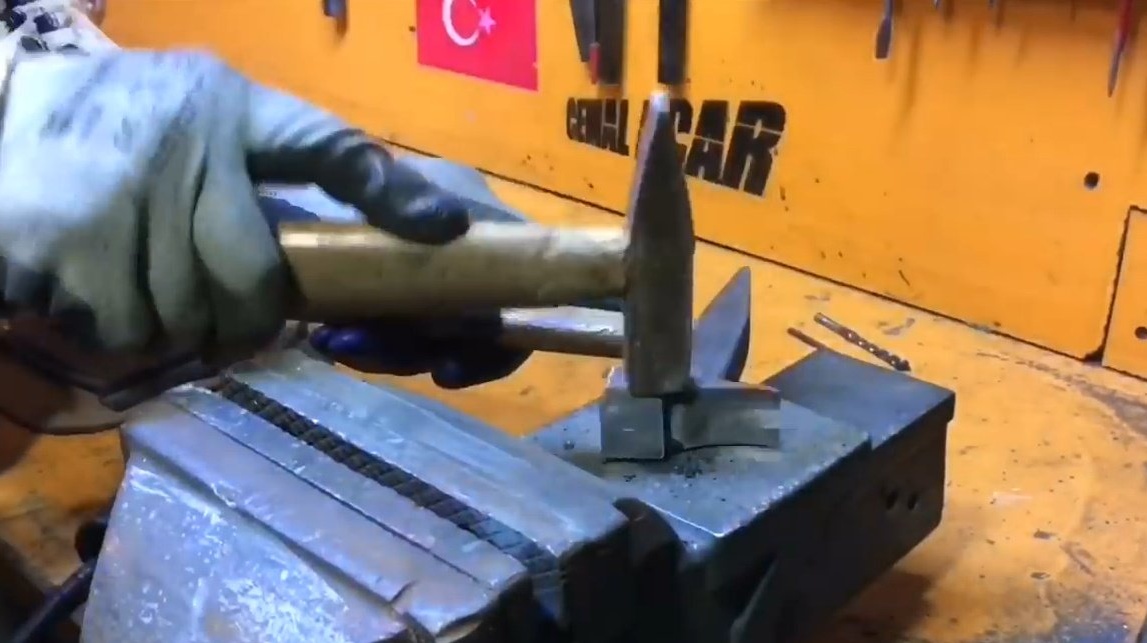
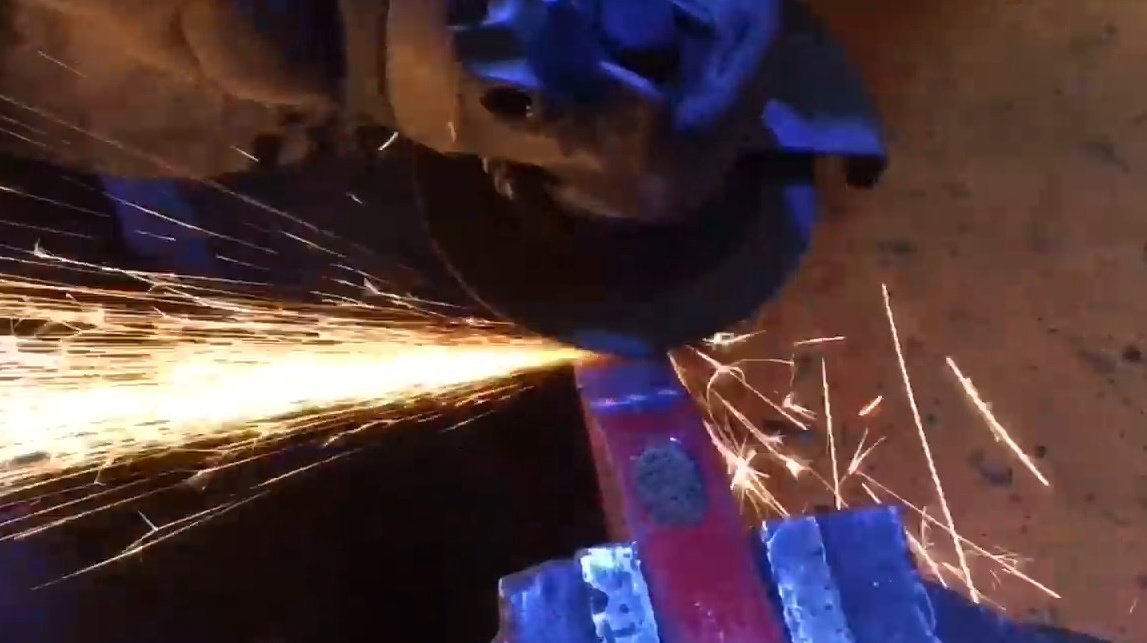
He grinds all sharp external edges with a petal stripping disk, and grinds them at 30% of its width on the drummer.

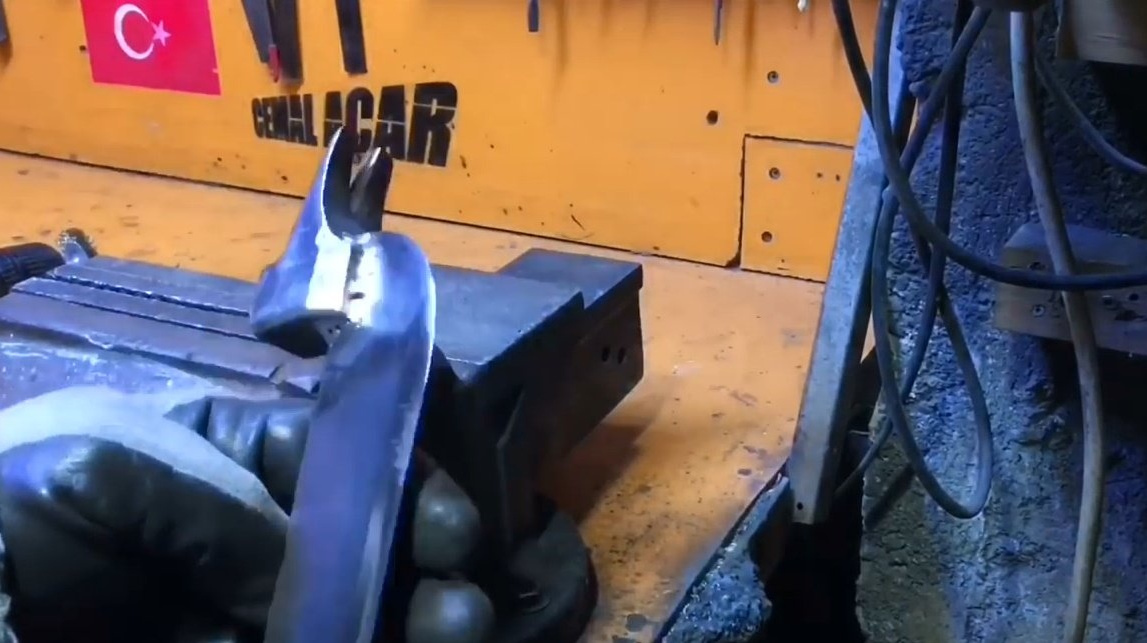
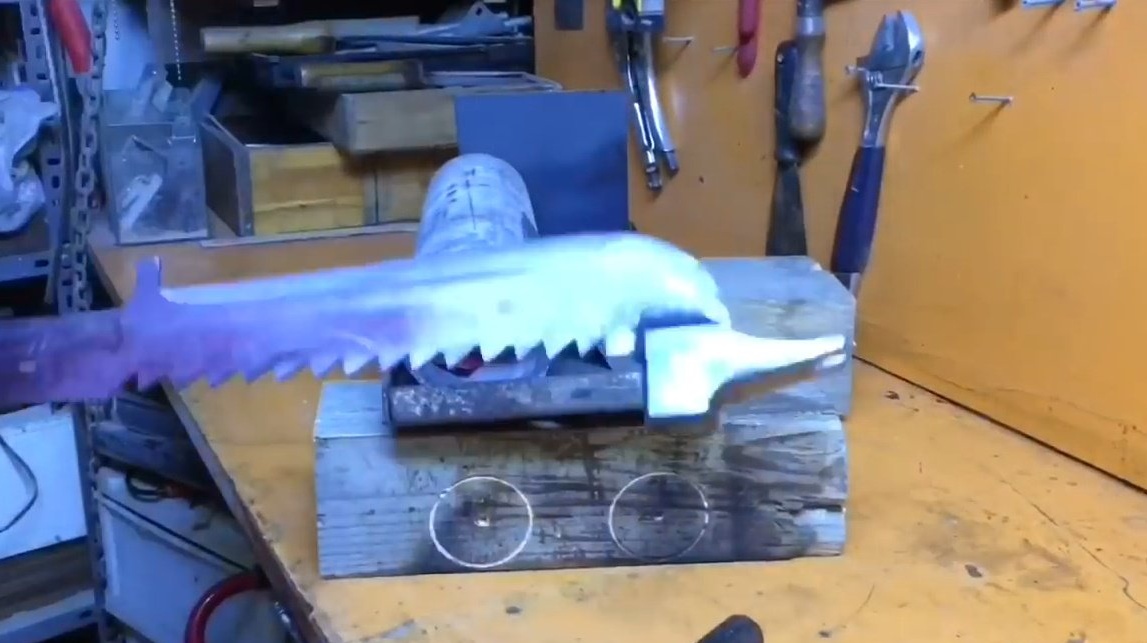
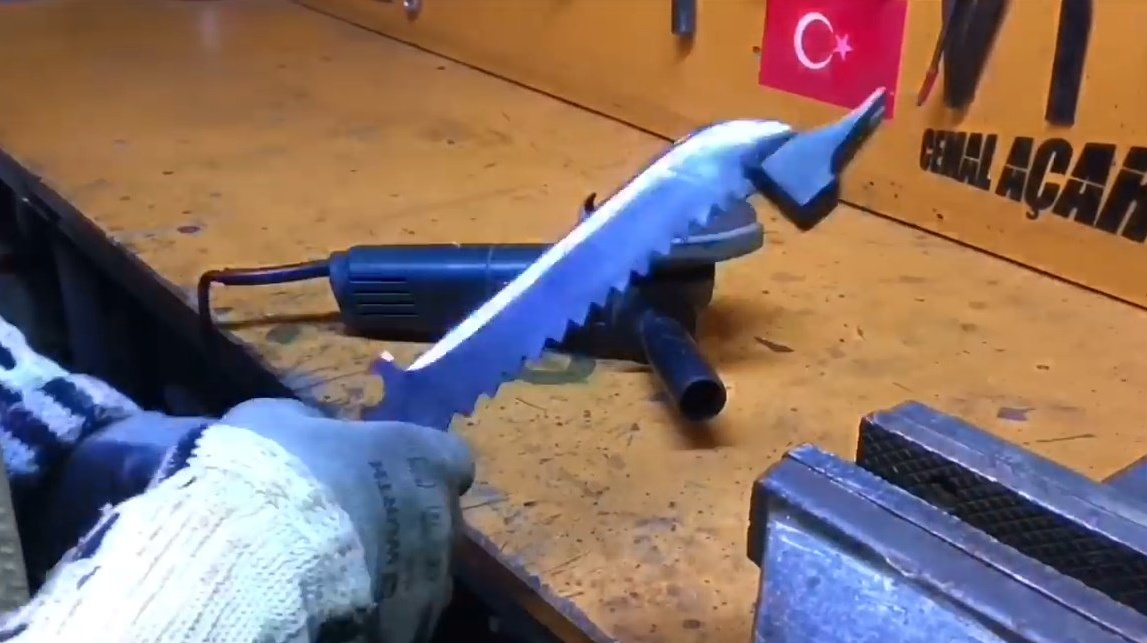
Now you need to cut the groove to insert the base into the head.
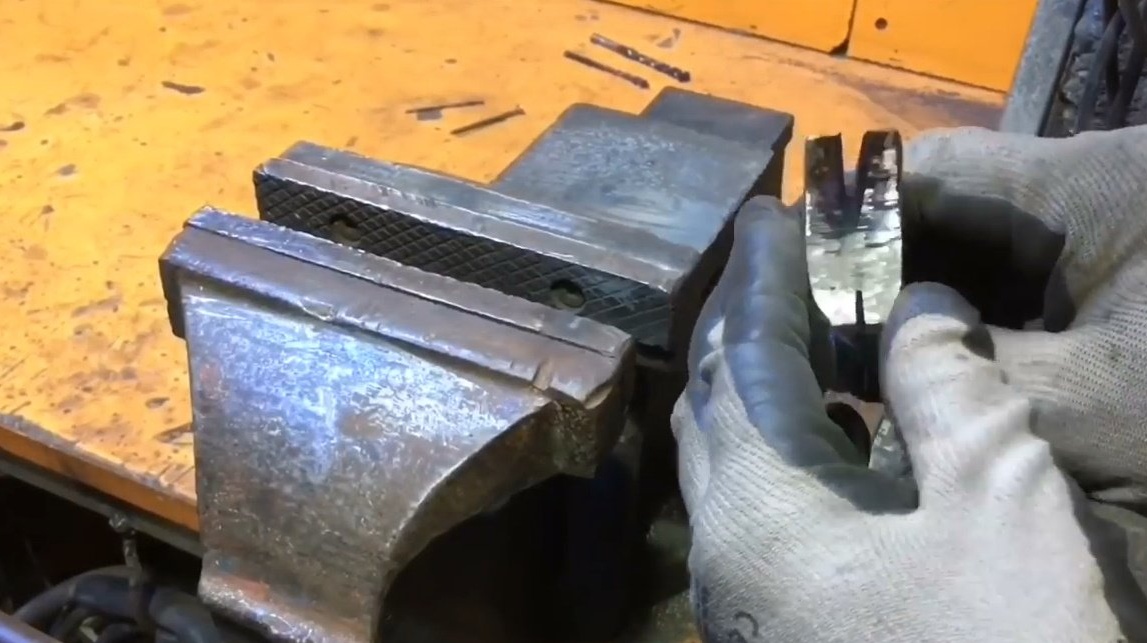
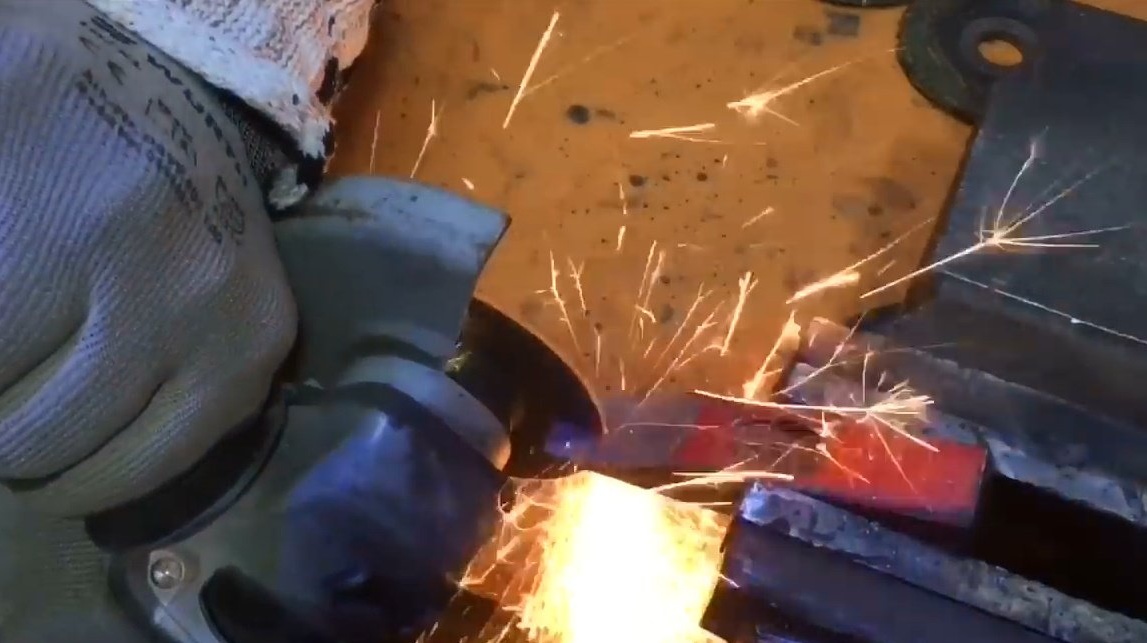
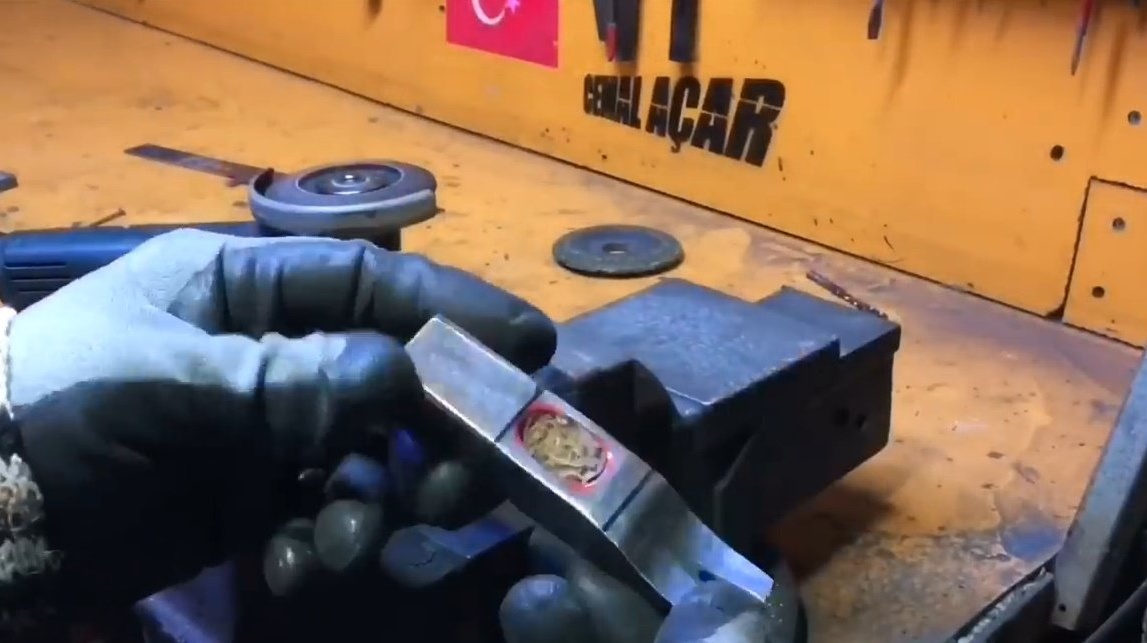
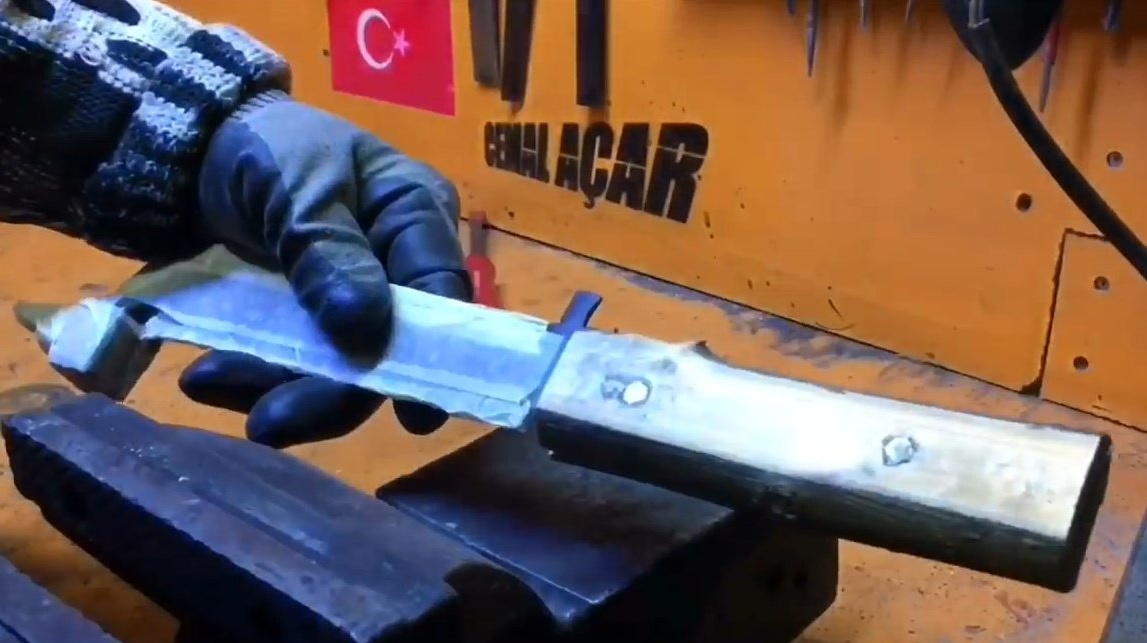
It connects the head and the main blade, then welds them together.
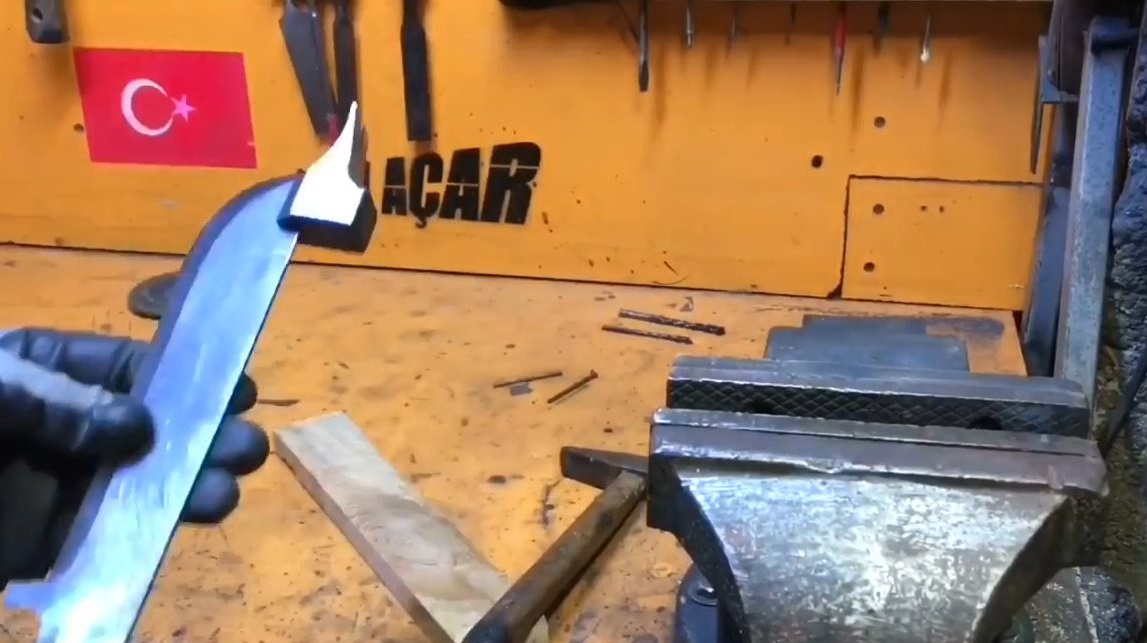
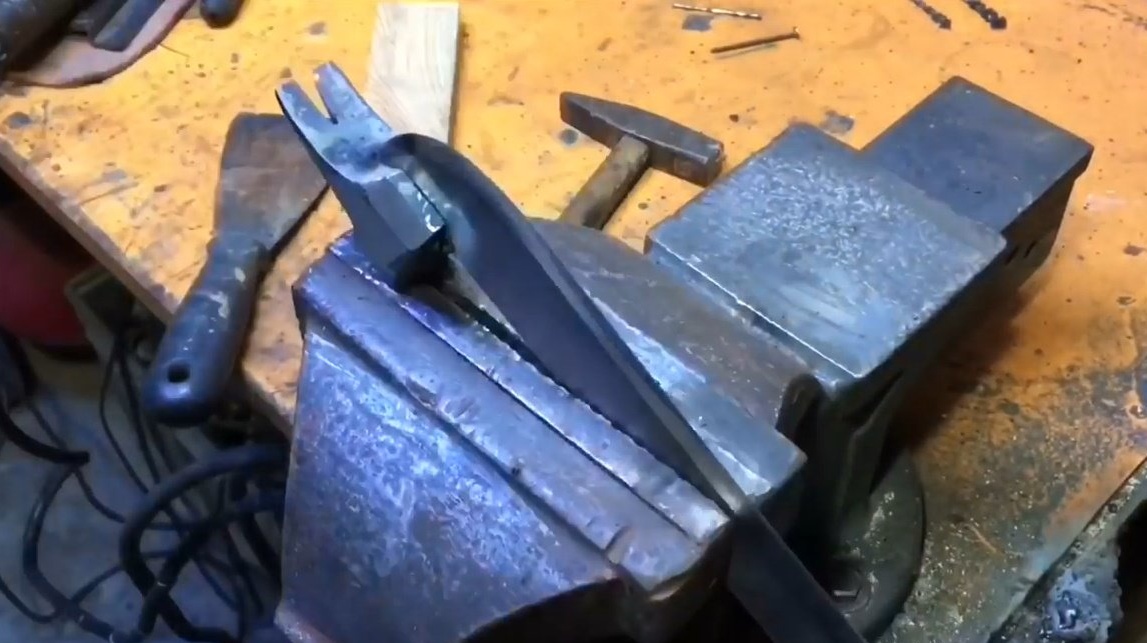
Thoroughly cleans the seams, because the tool must have a good appearance.

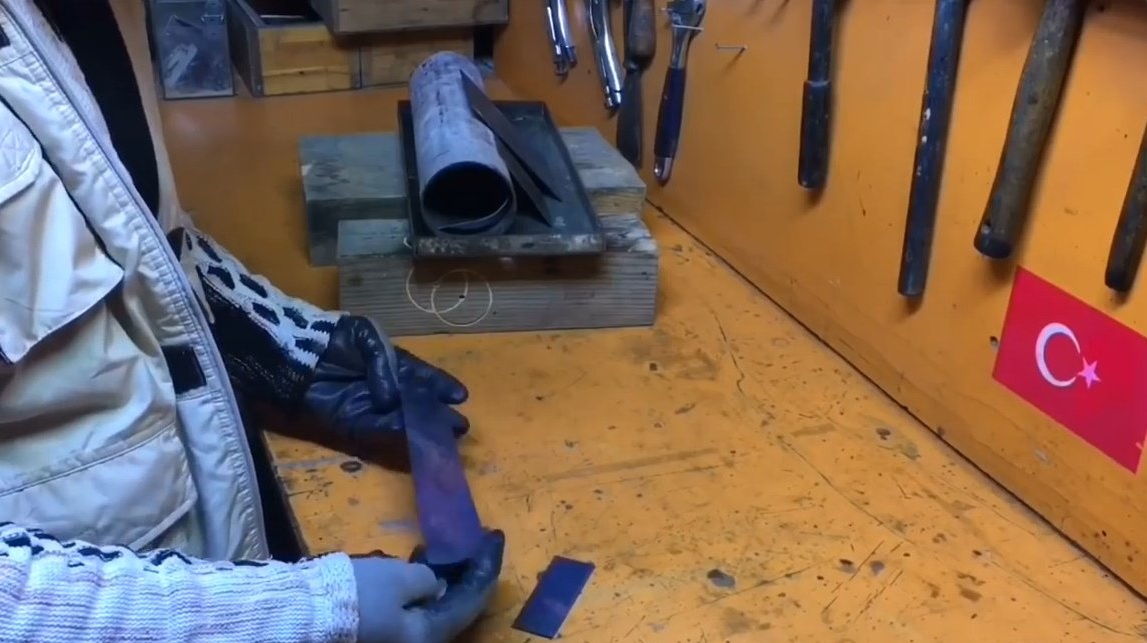
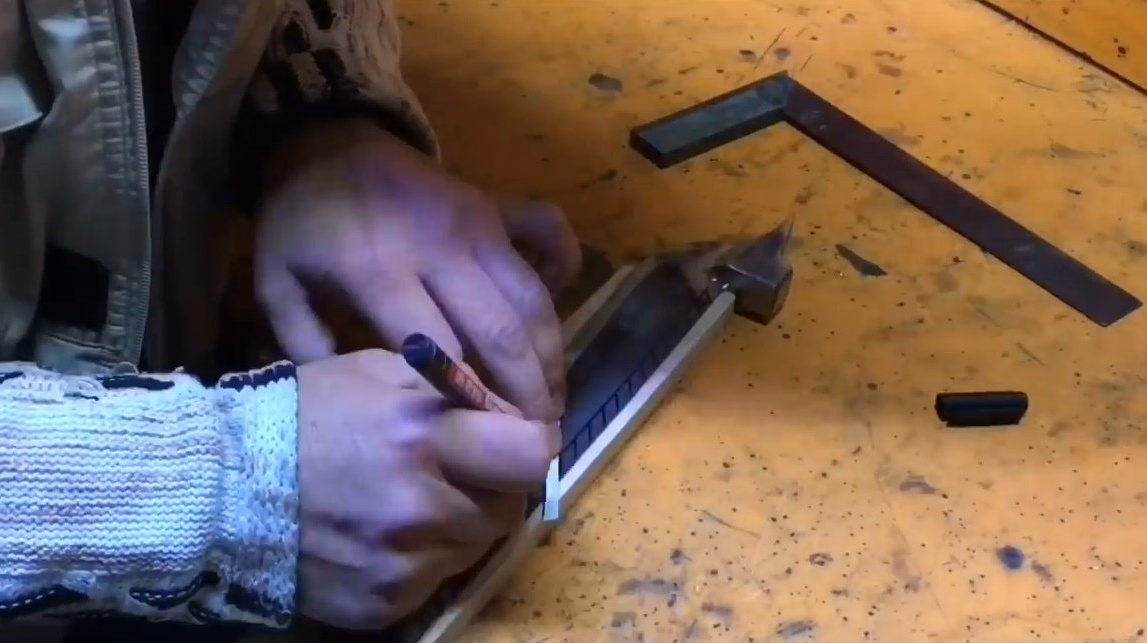
So, the main stage of the formation of the structure is passed.
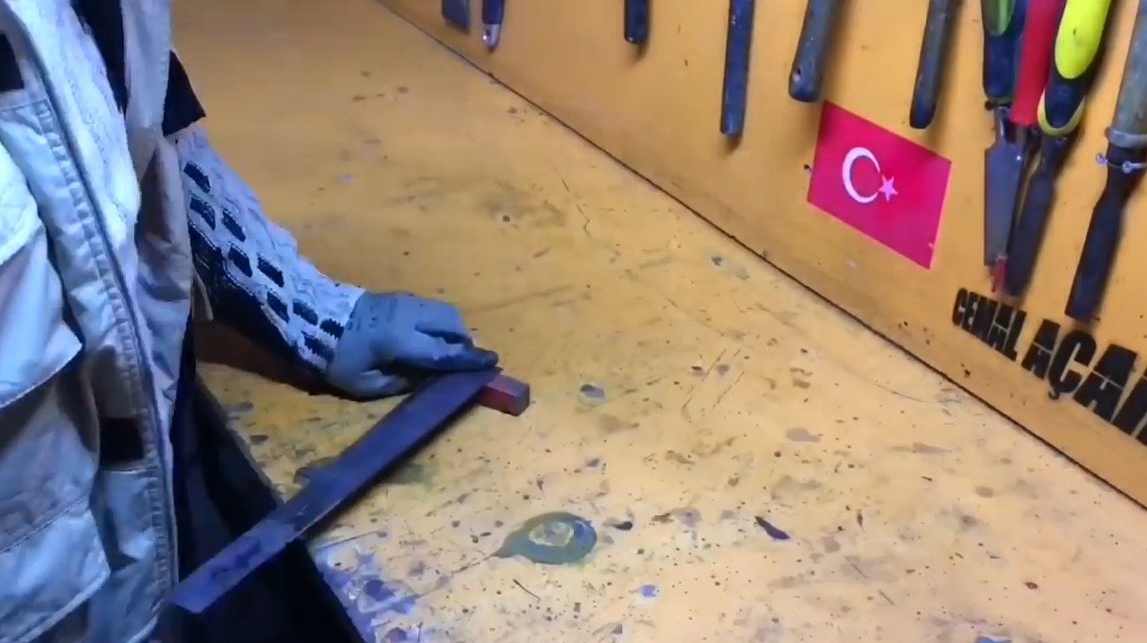
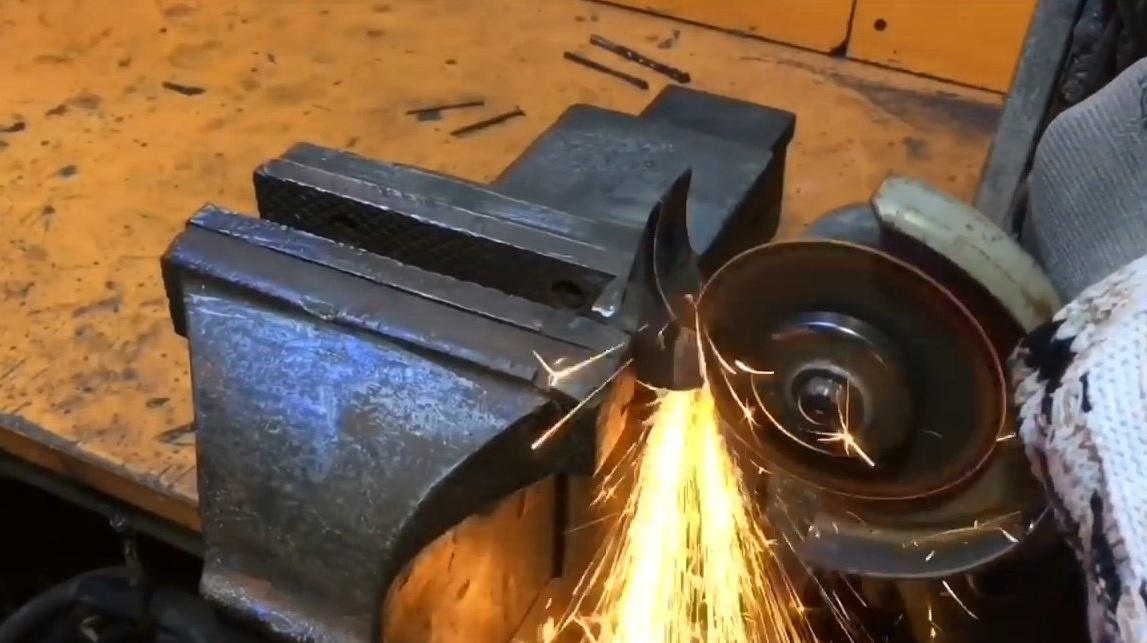
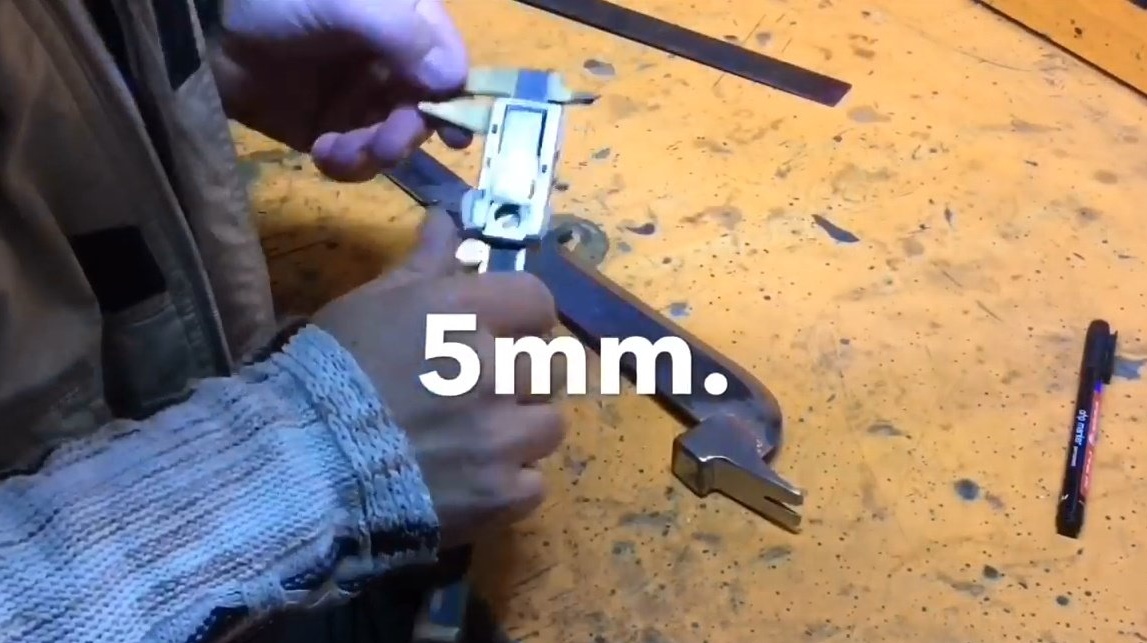
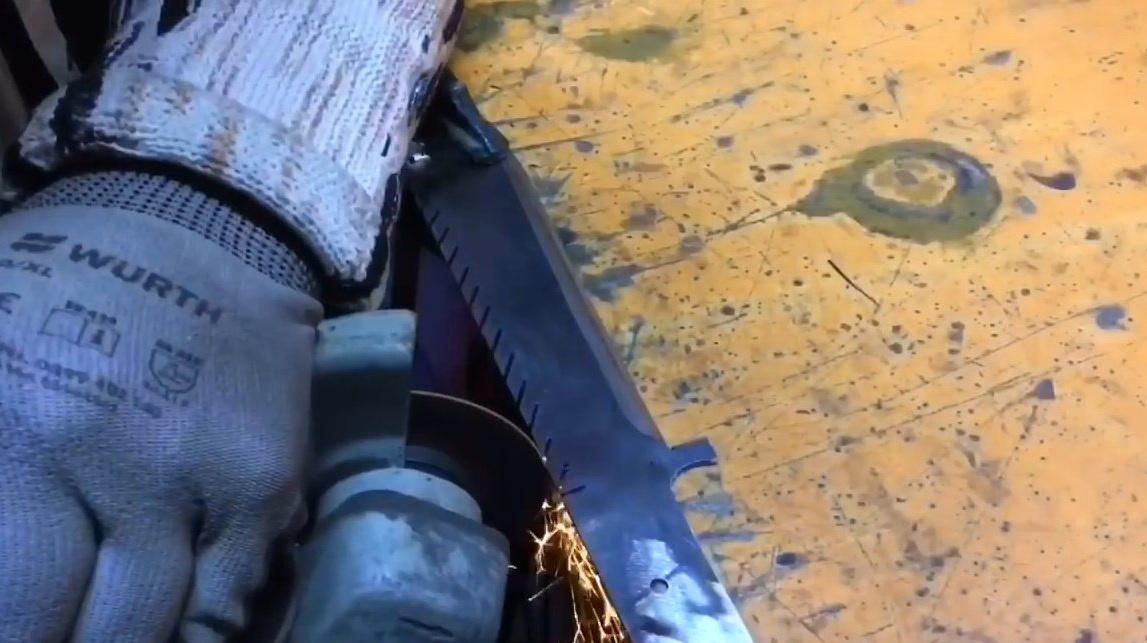
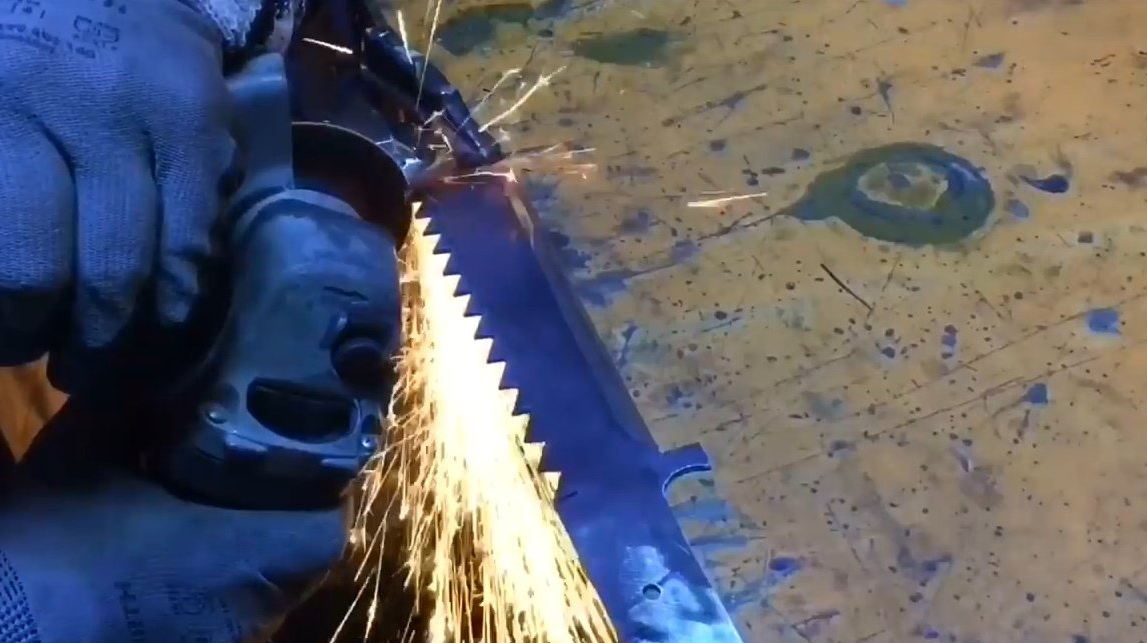
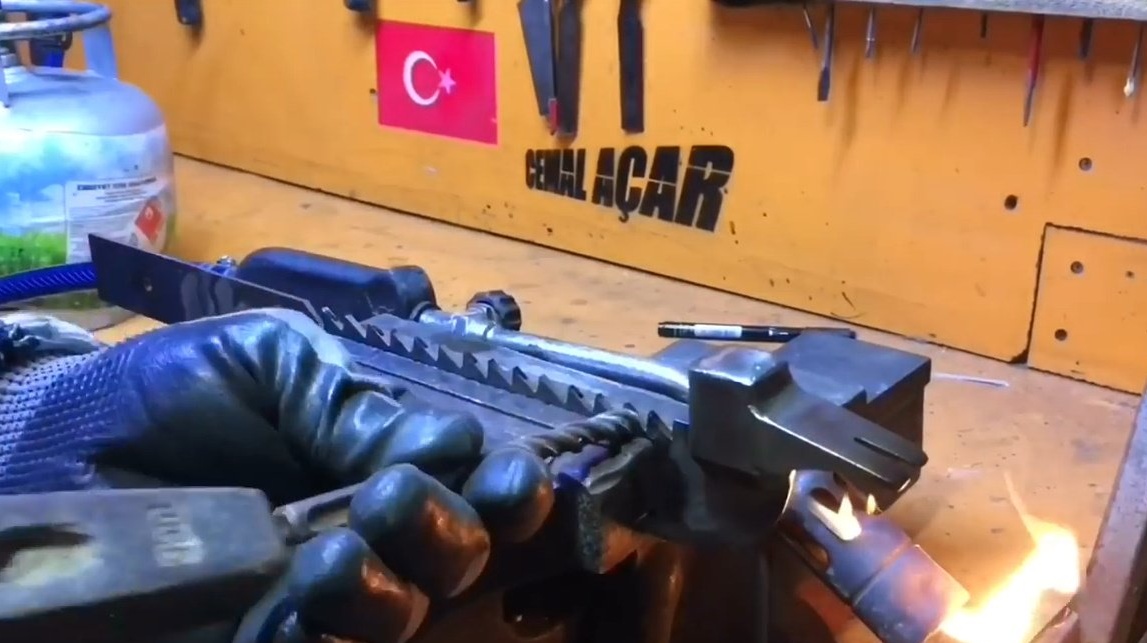
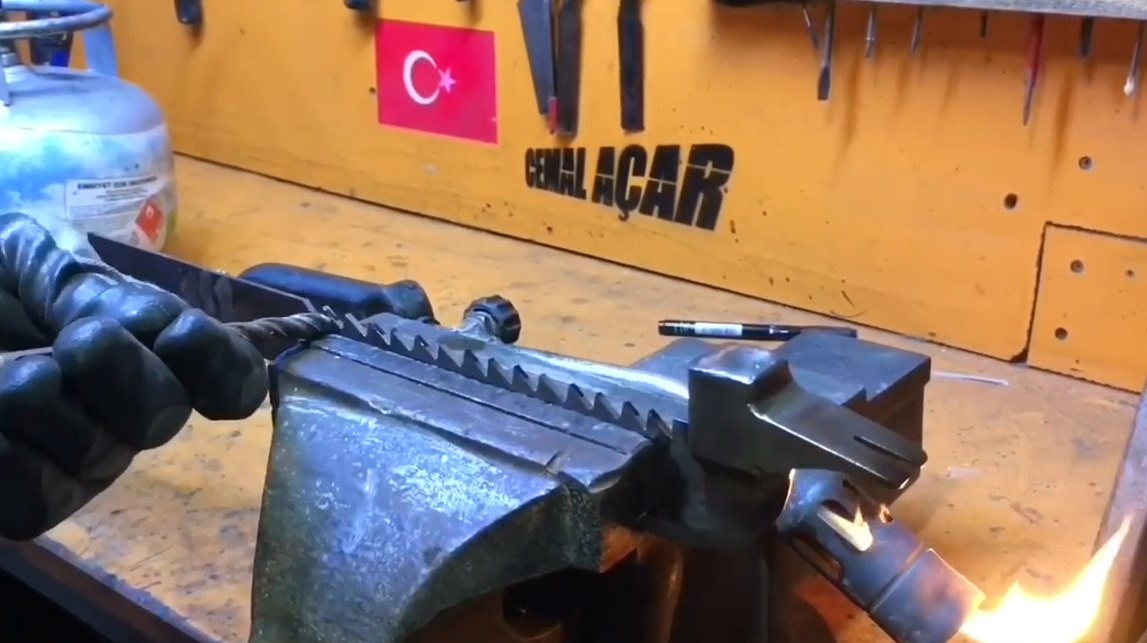
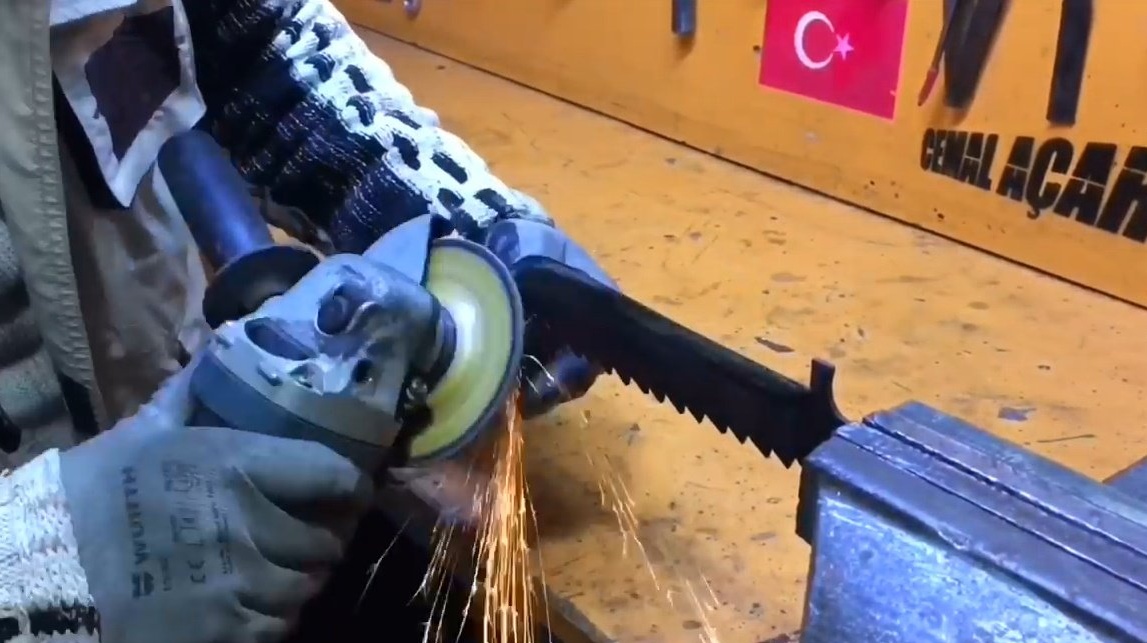
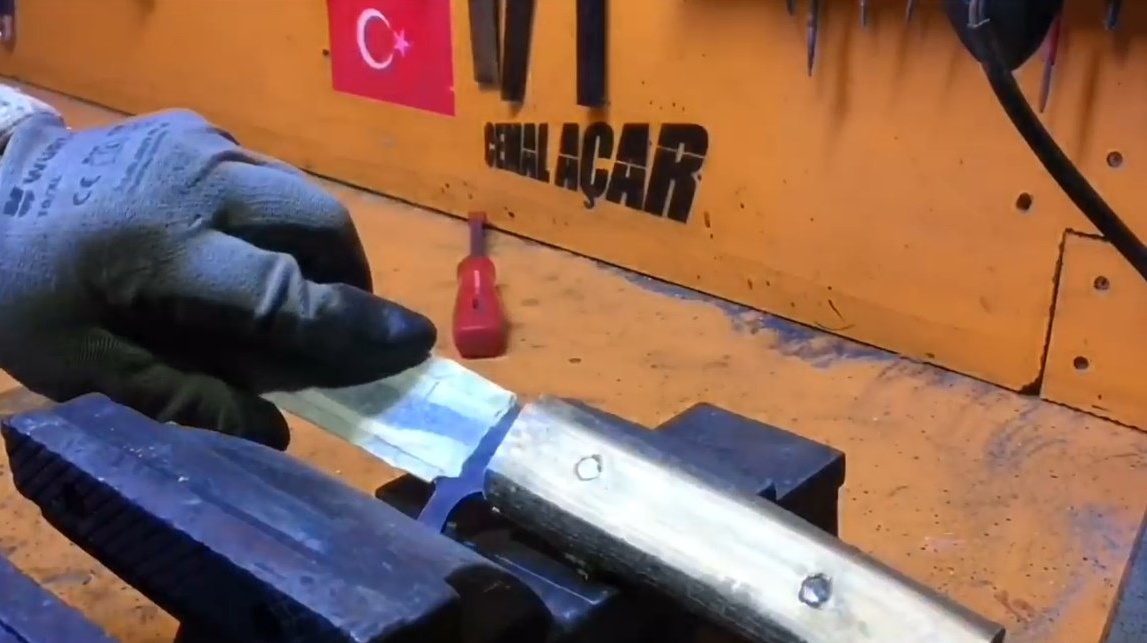
Now the author marks the strip at a distance of 5 mm from the edge opposite the blade. This will be the height of the saw teeth. And marks future teeth at an angle of 45 degrees.
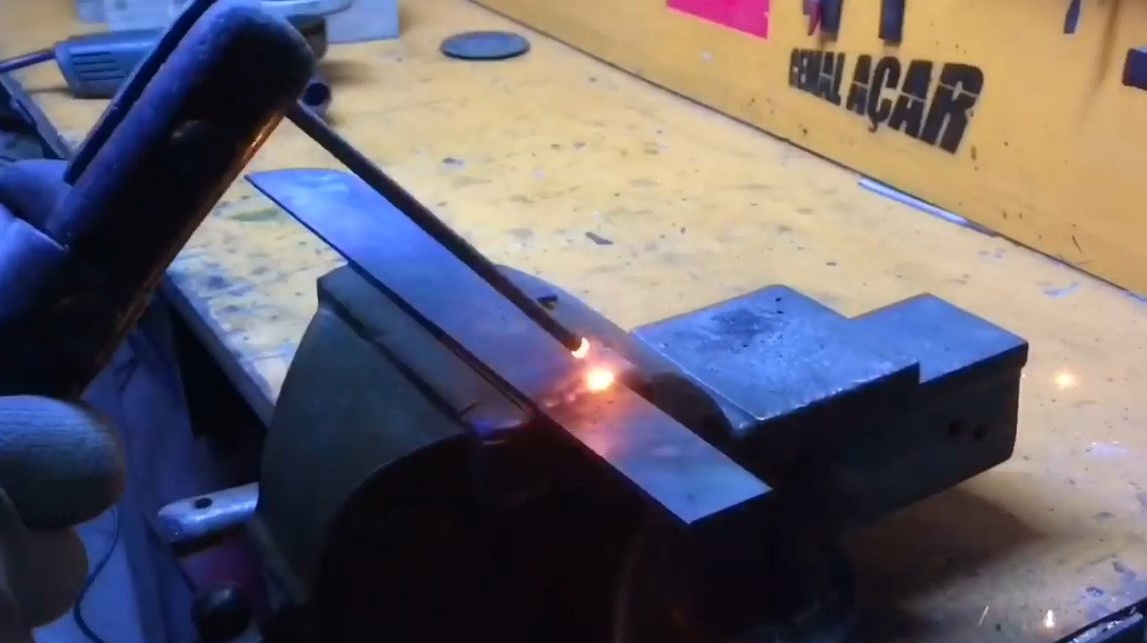
Then cuts out each clove first at 45, and then at 90 degrees.

It fixes the tool in a vice so that only the saw teeth look out of the jaws and heats them with a gas burner. After warming up, the odd teeth are first bent by the shock method. Then he turns over the workpiece, warms up again, and bends the even ones.
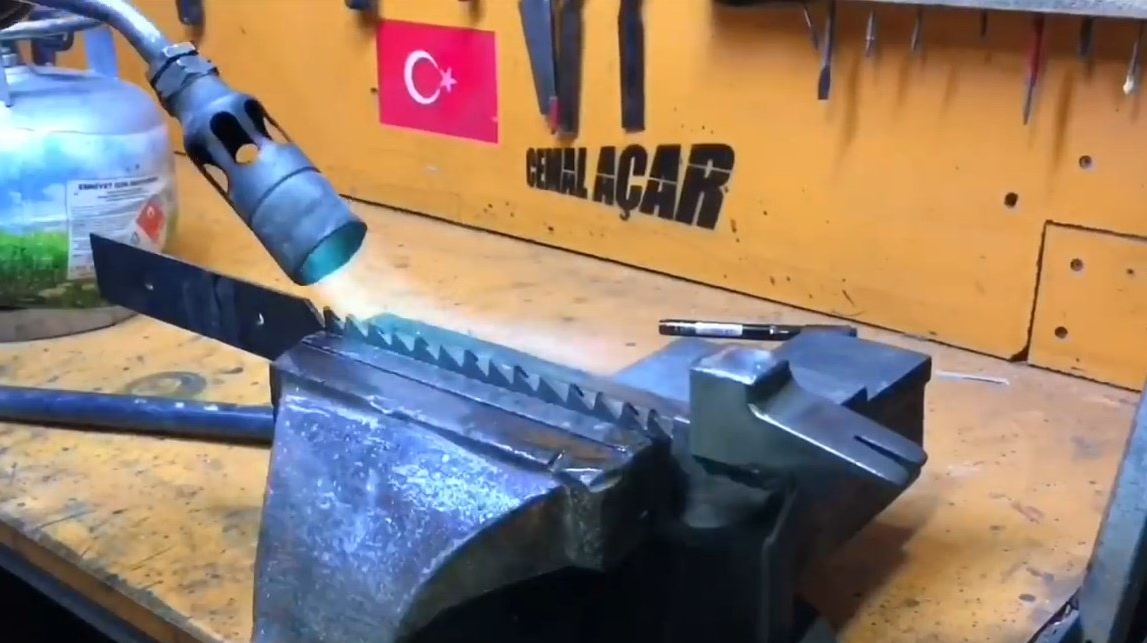
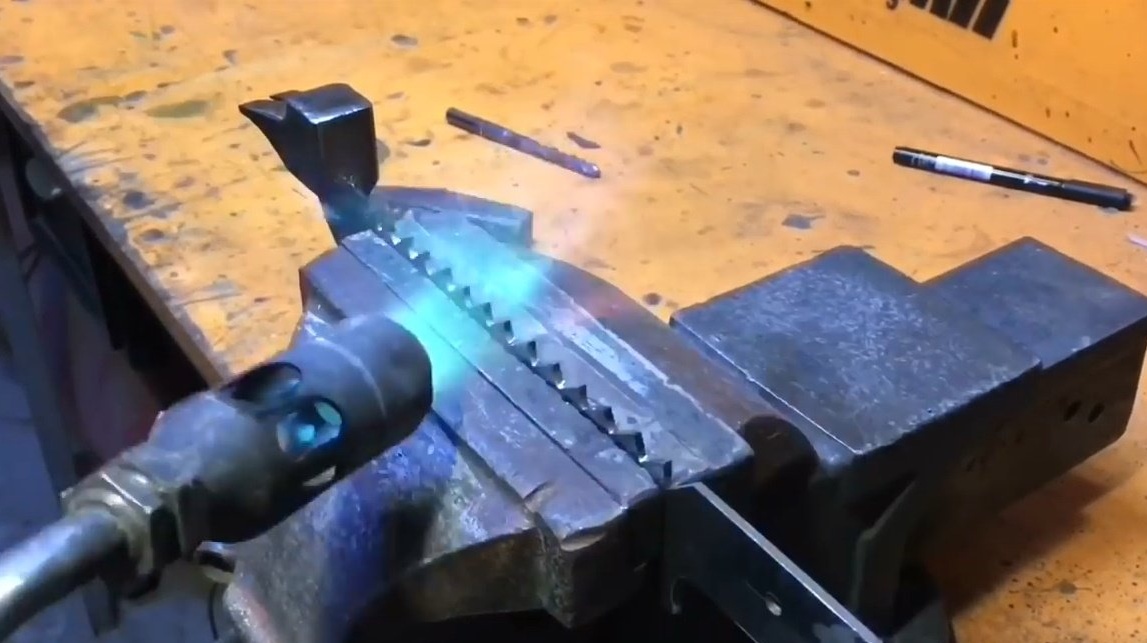
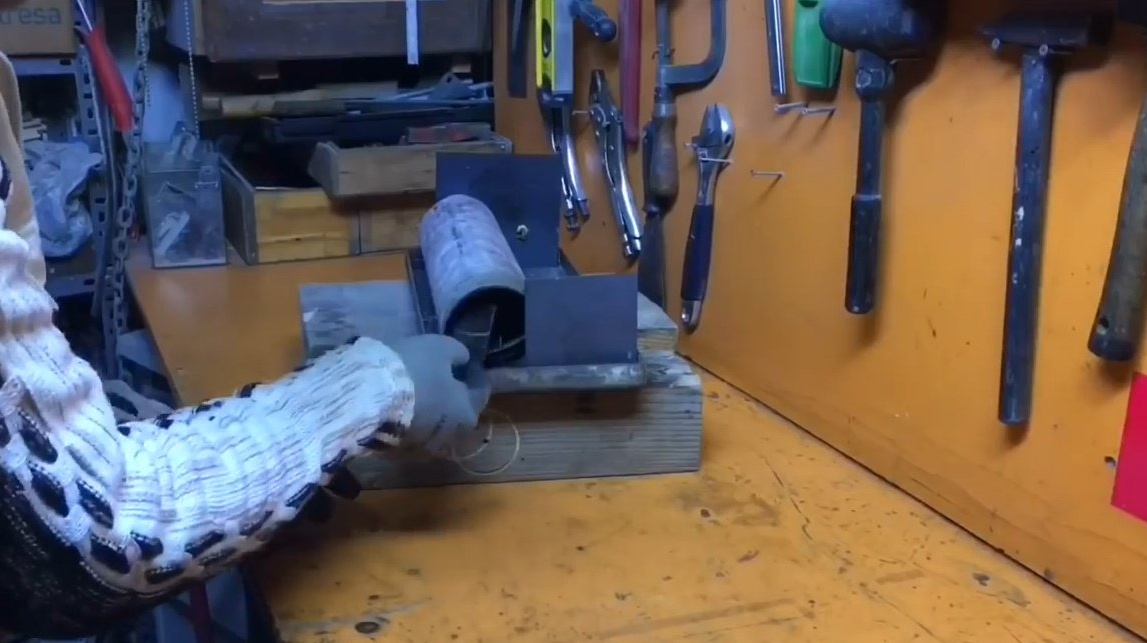
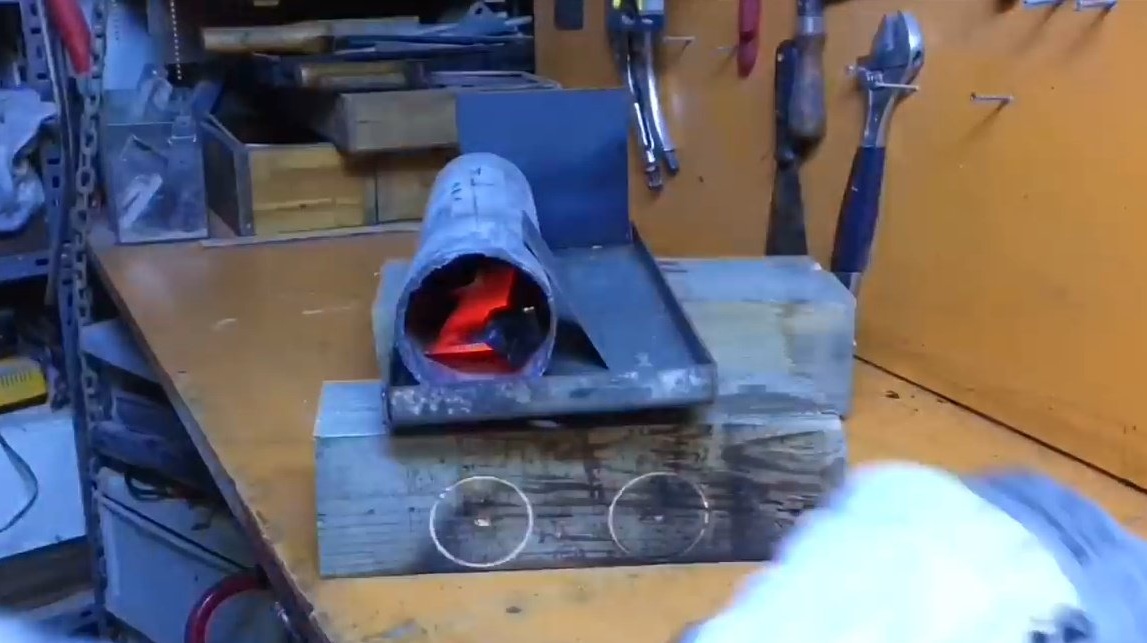
After all the actions, the master again heats the tool in an improvised furnace, and performs oil quenching.
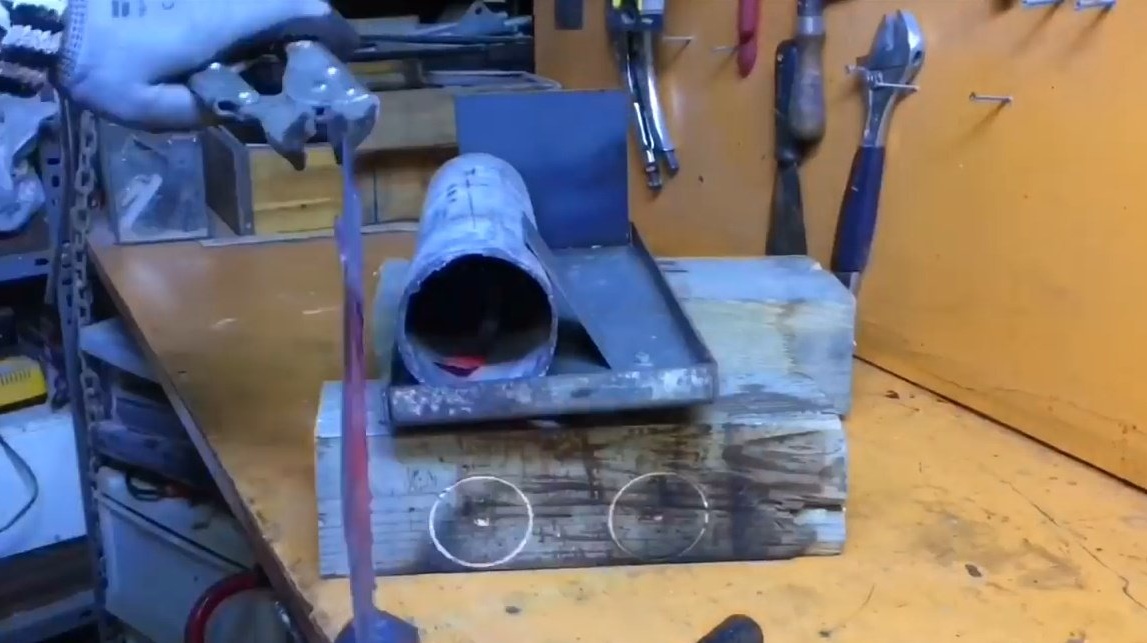

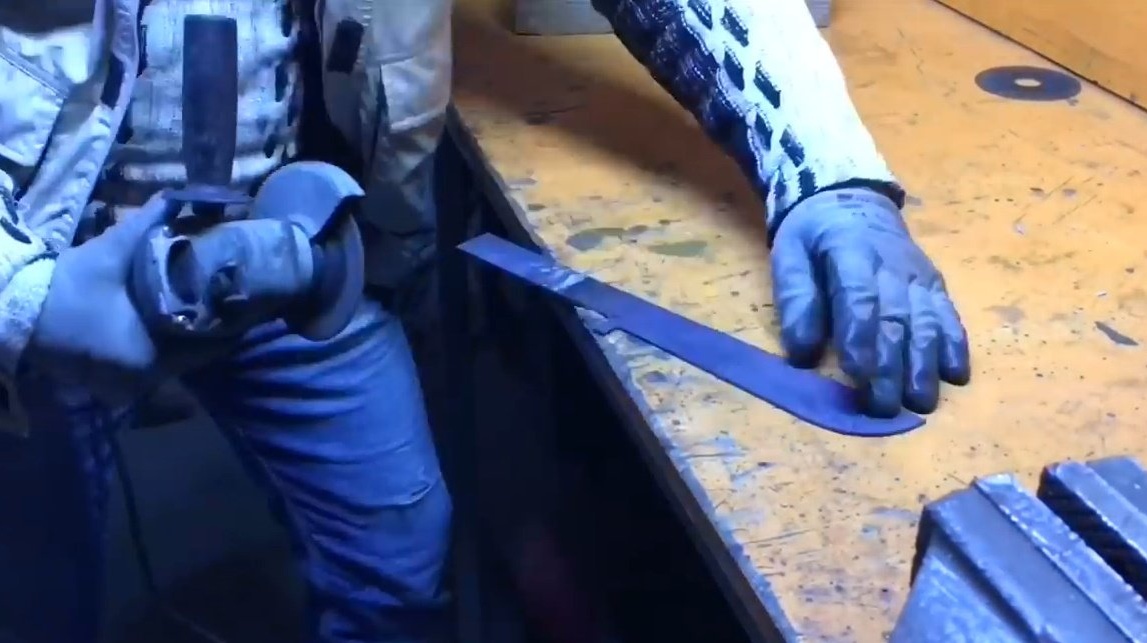
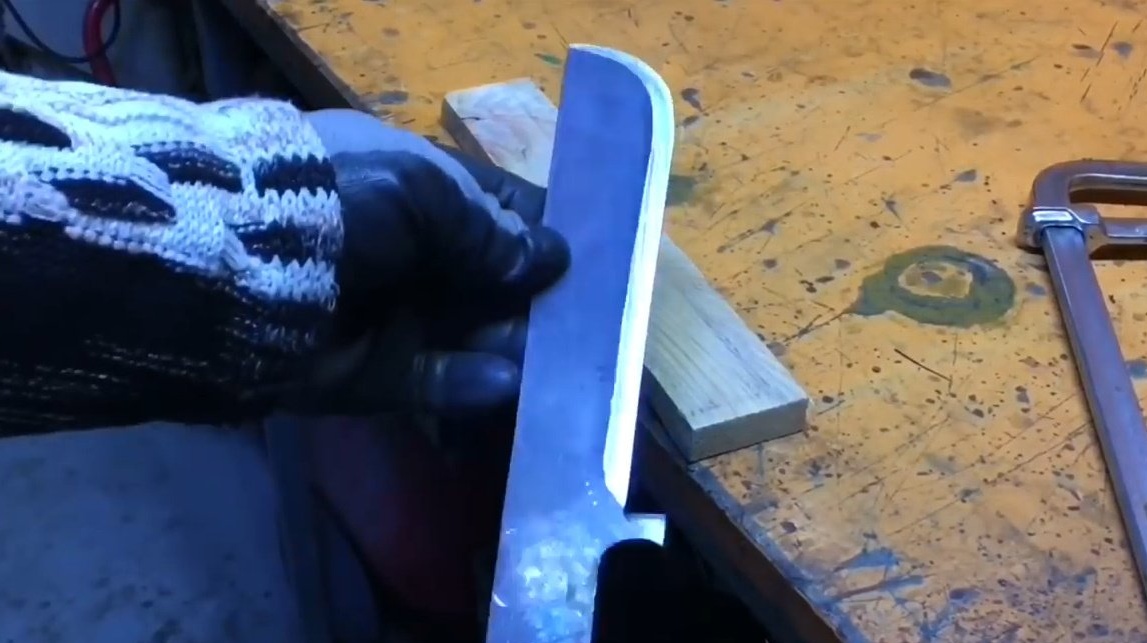
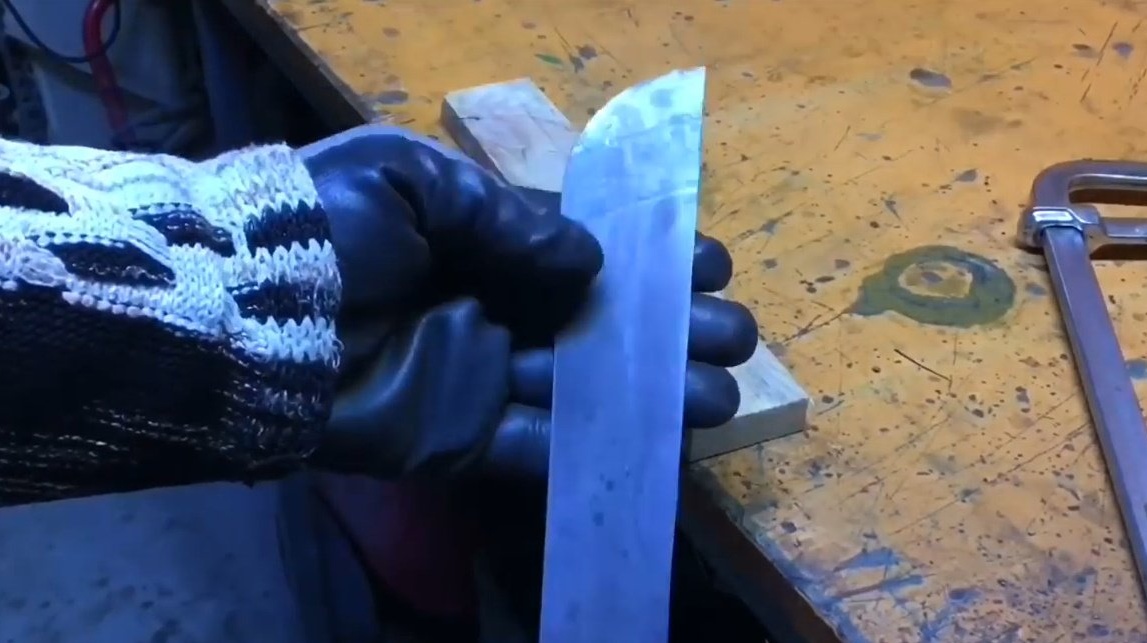
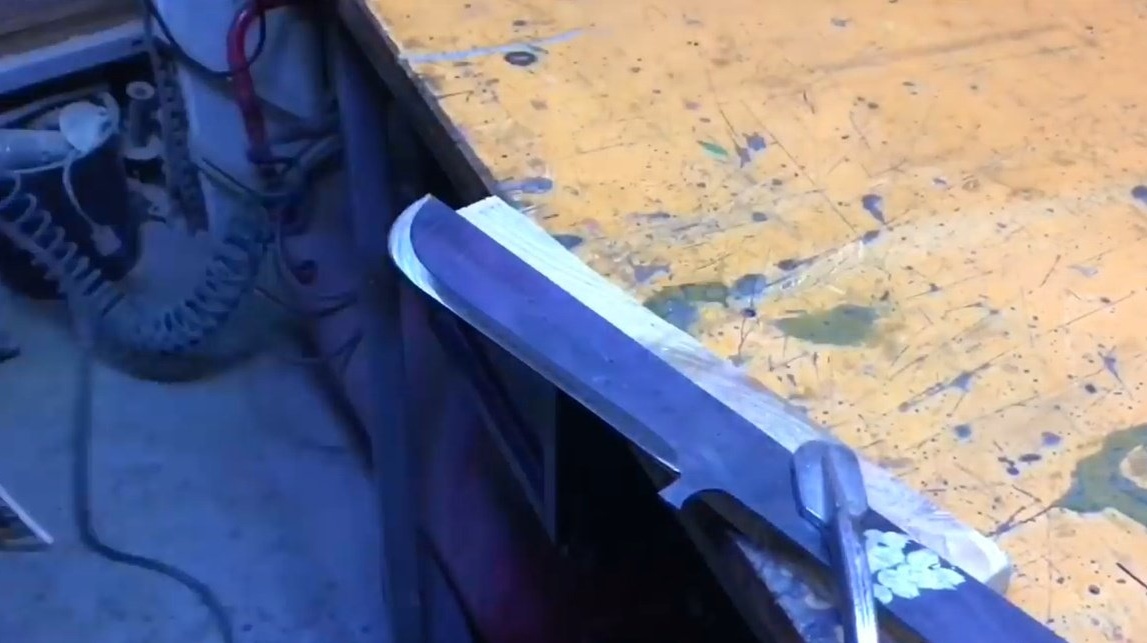
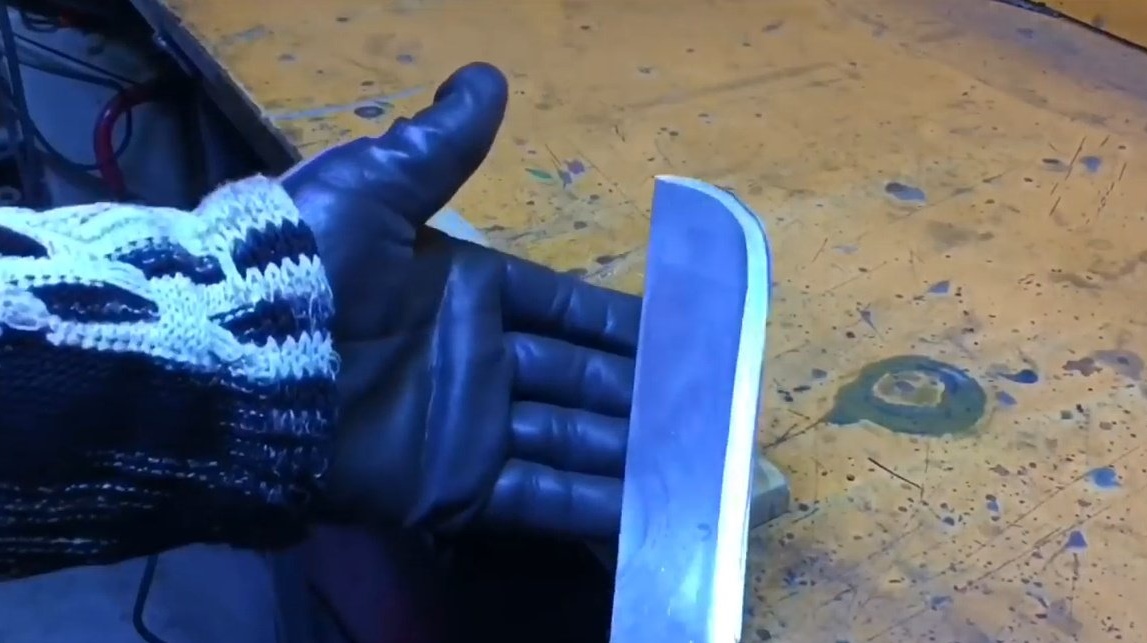
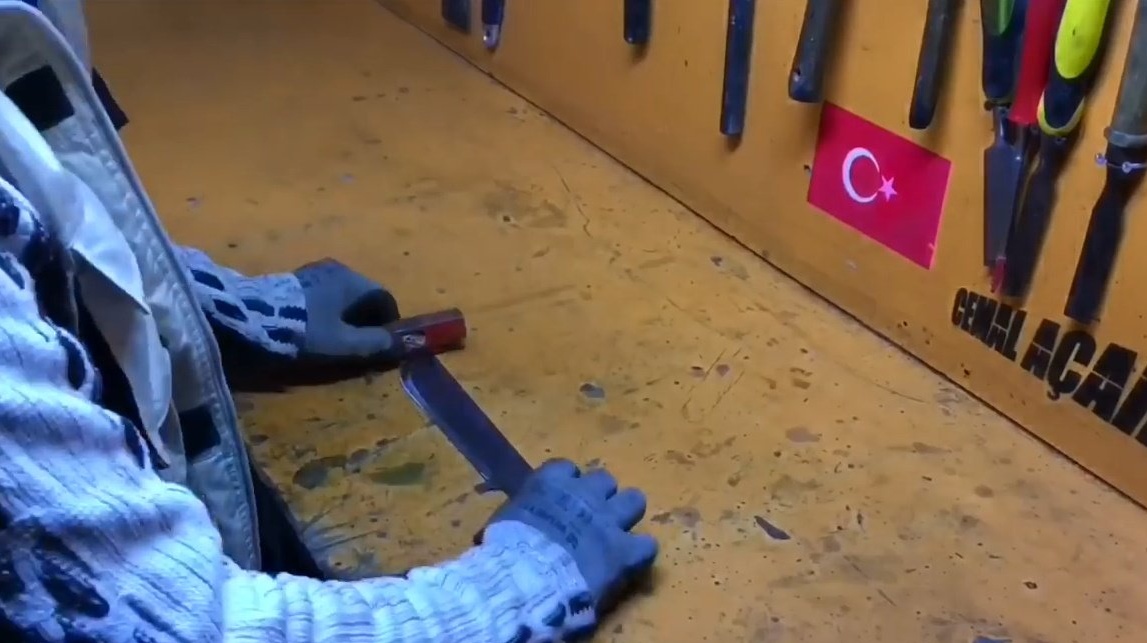
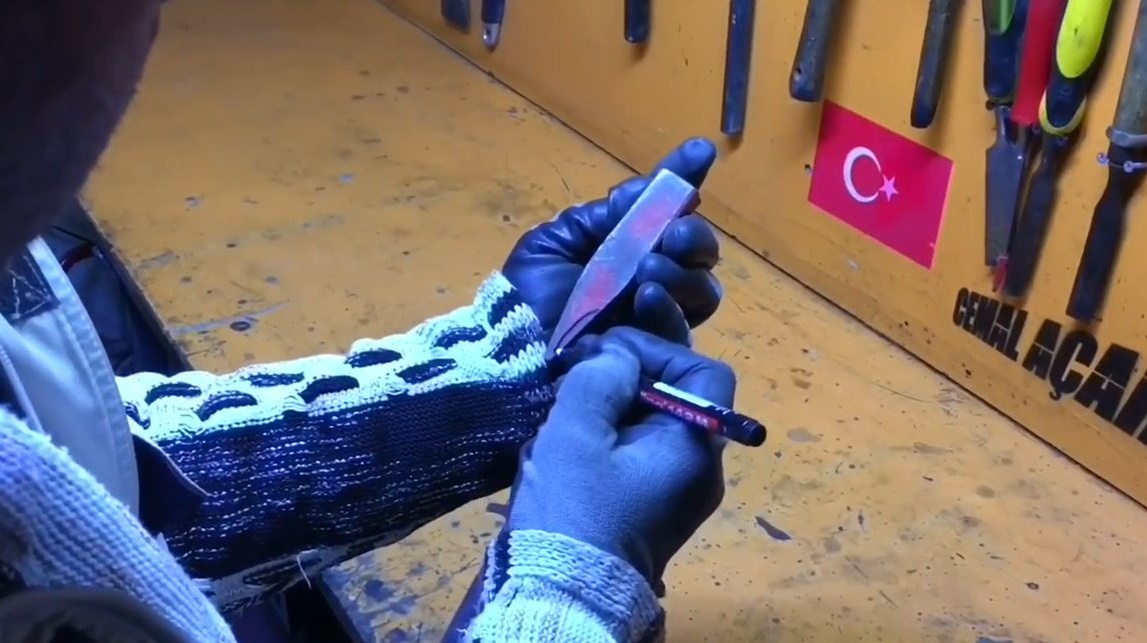
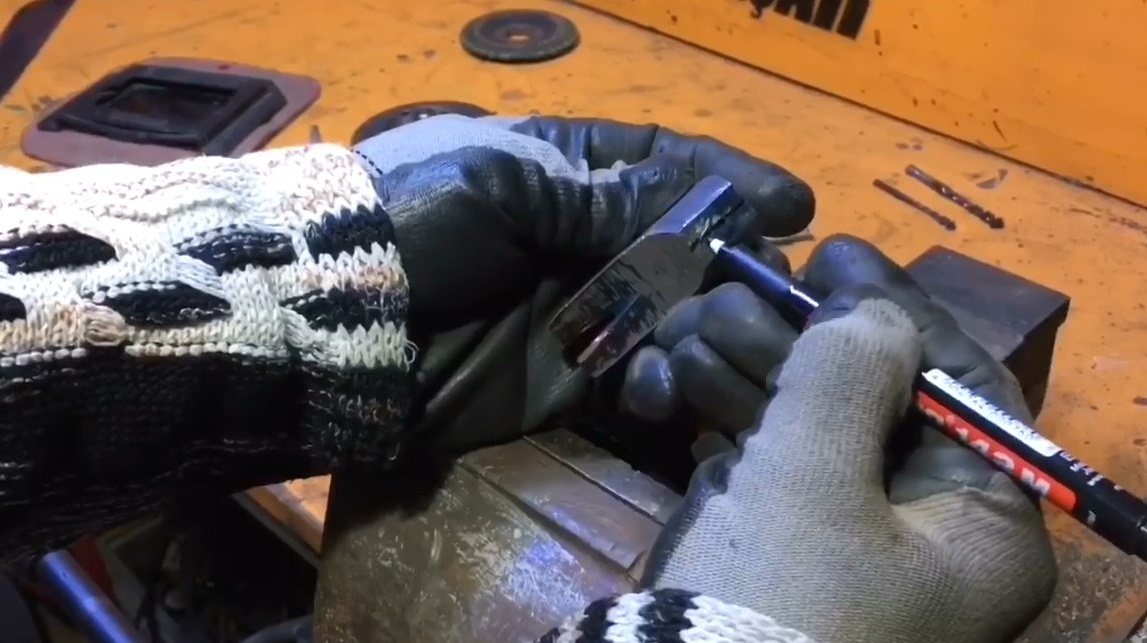
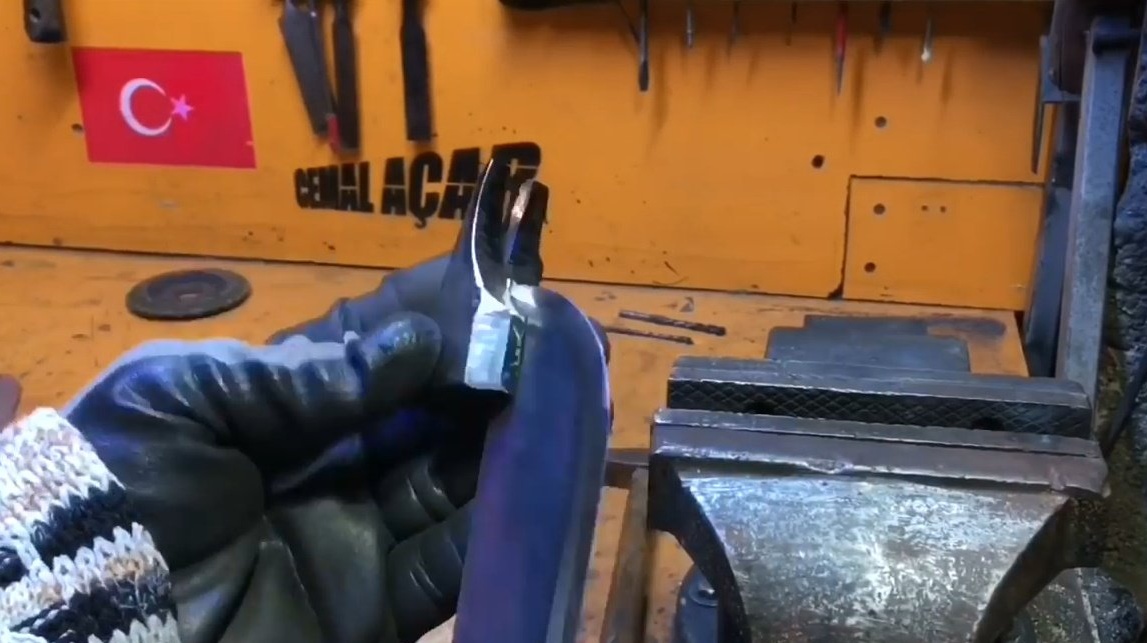
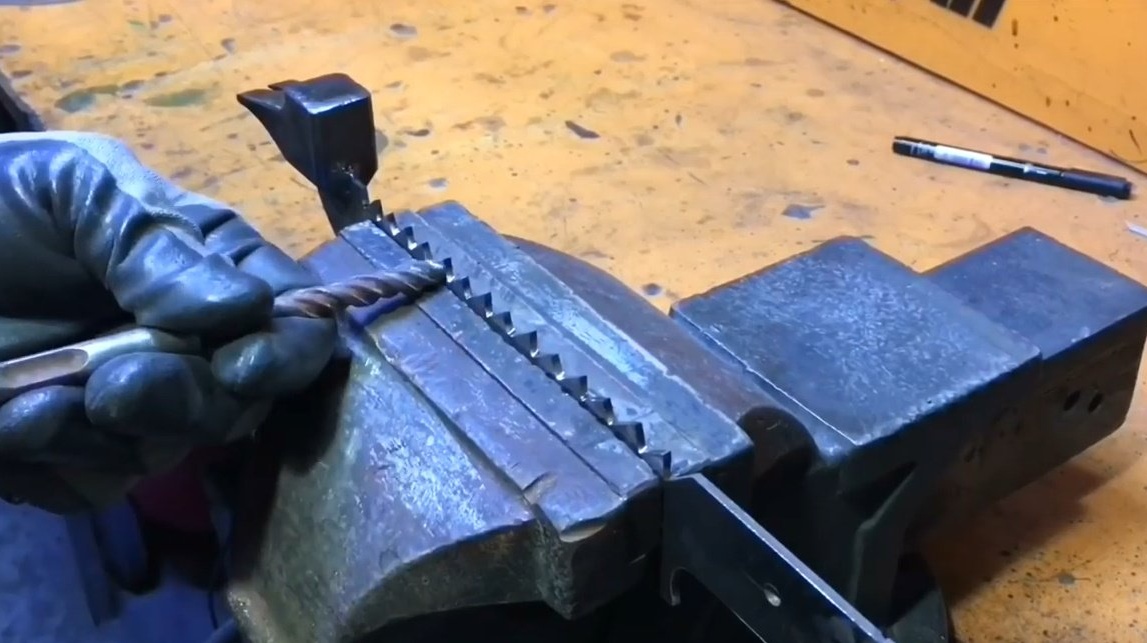
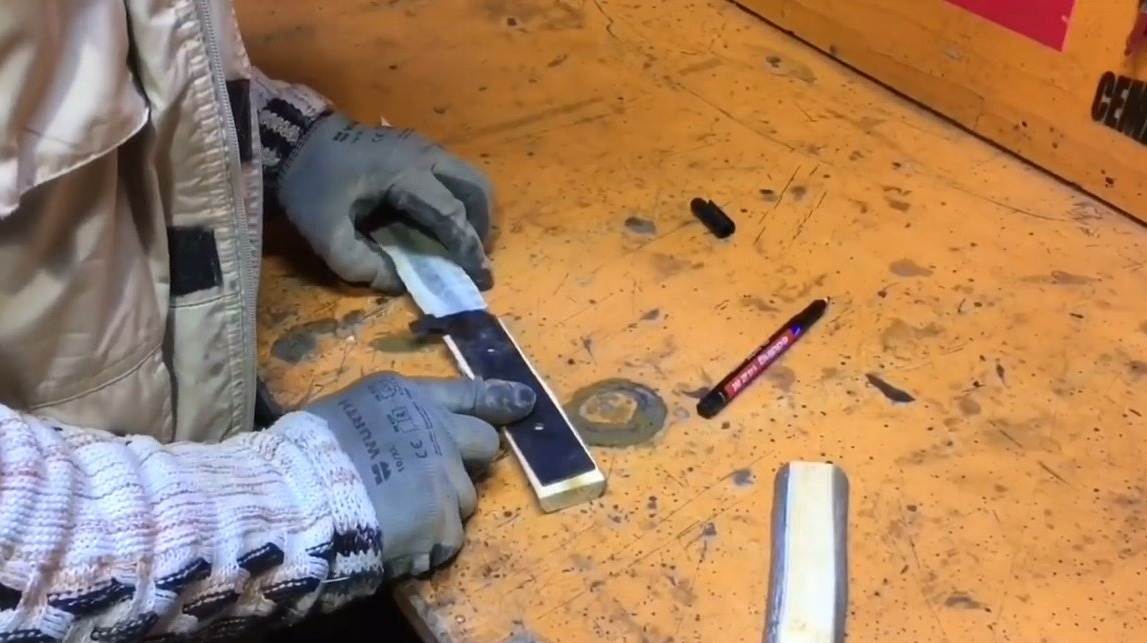
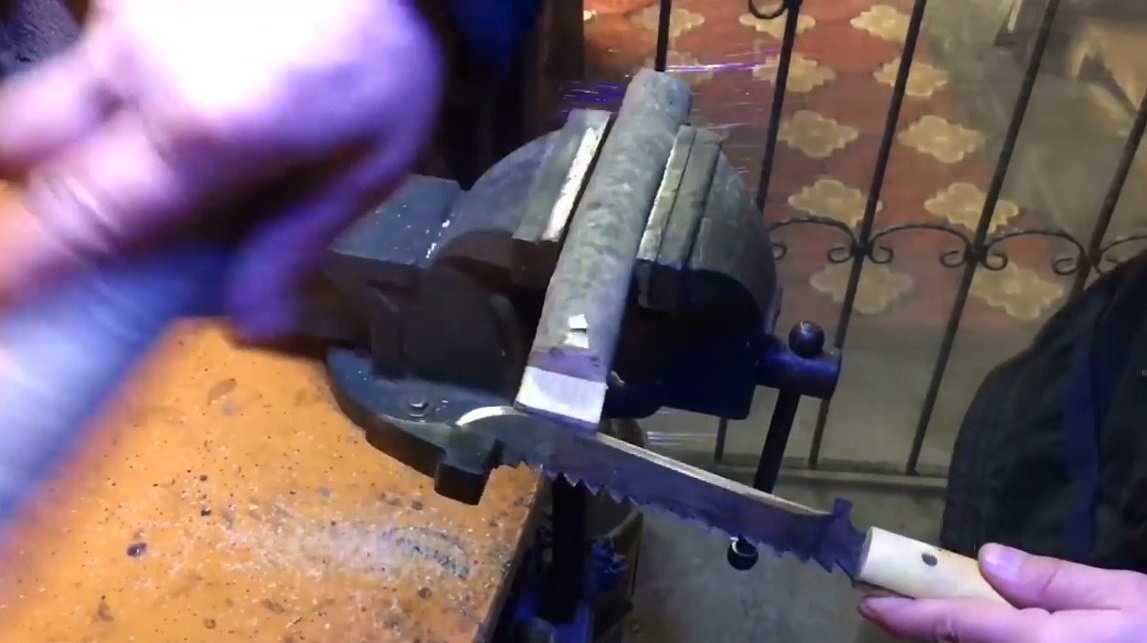
Now you can sharpen the blade completely.
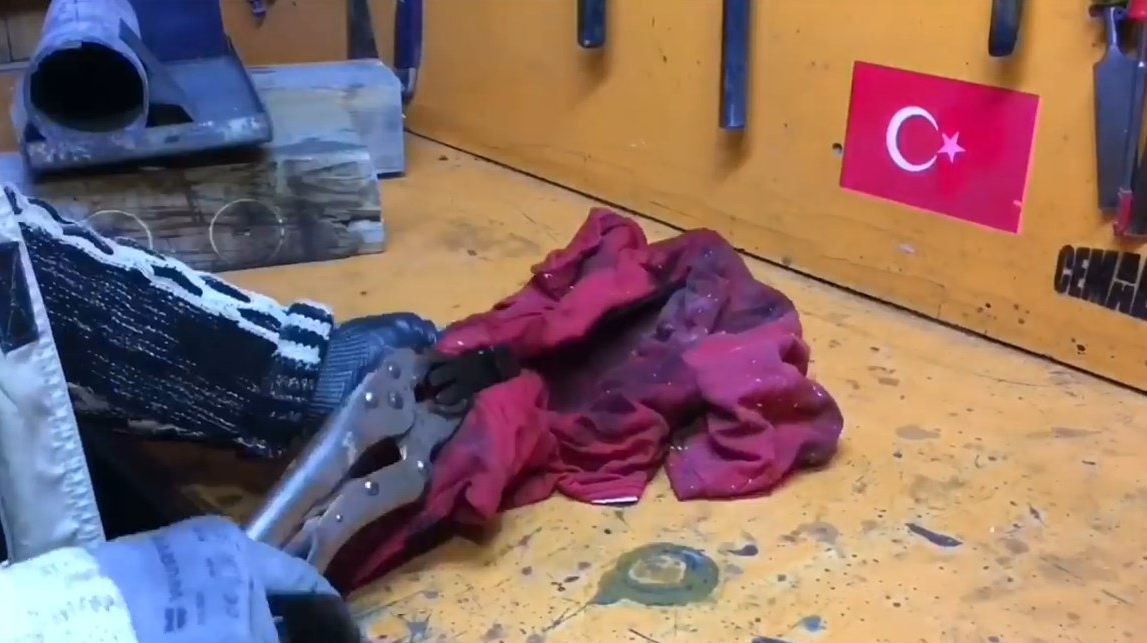
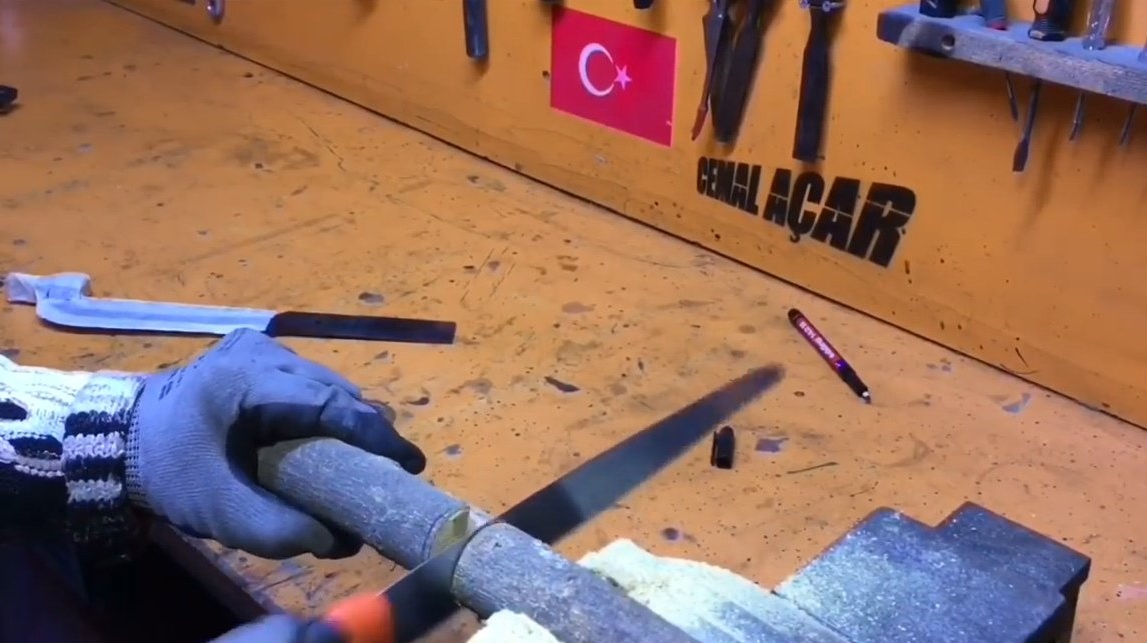
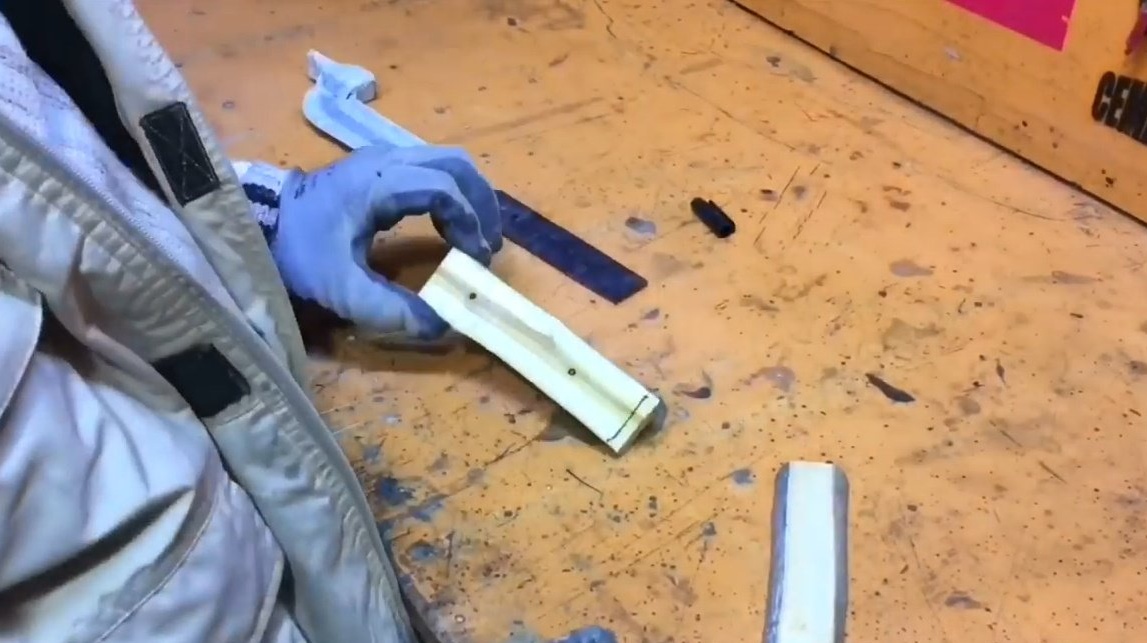
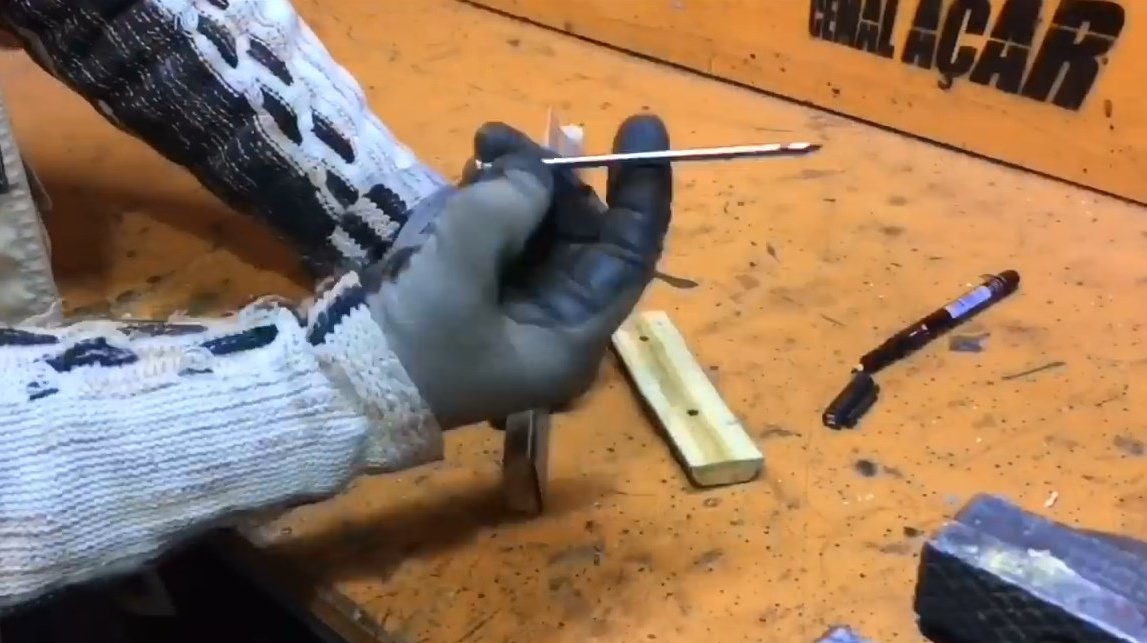
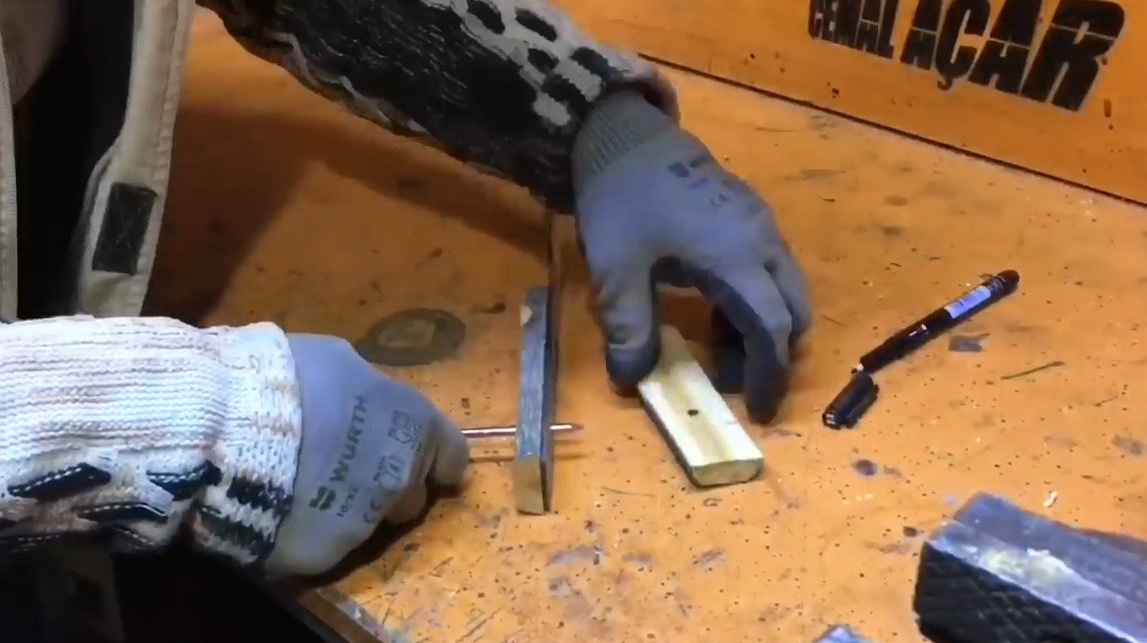
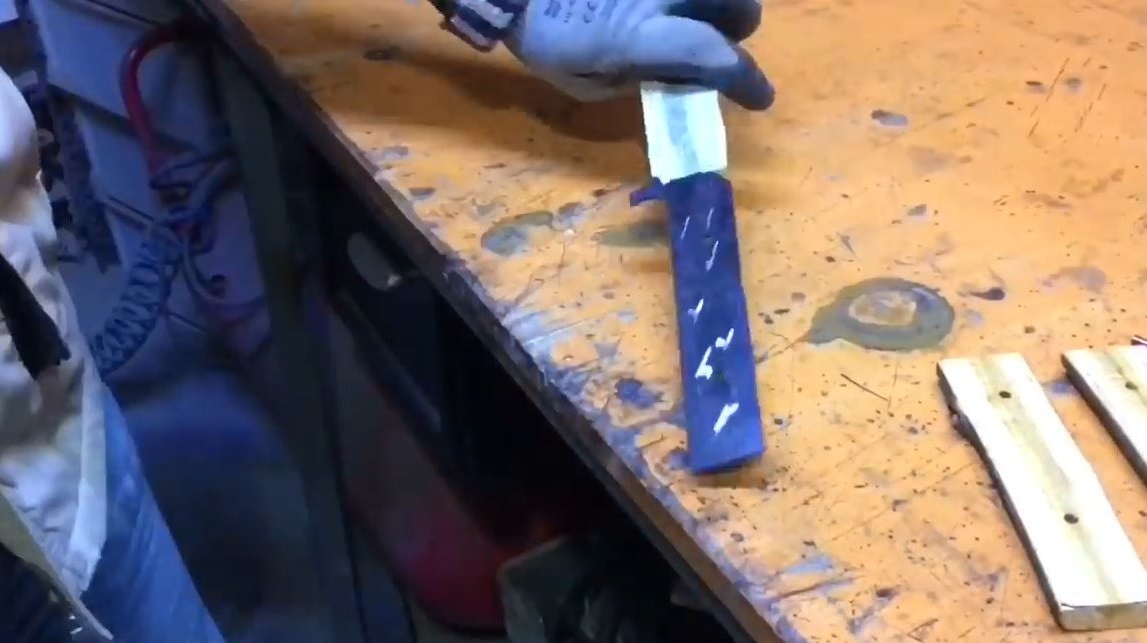
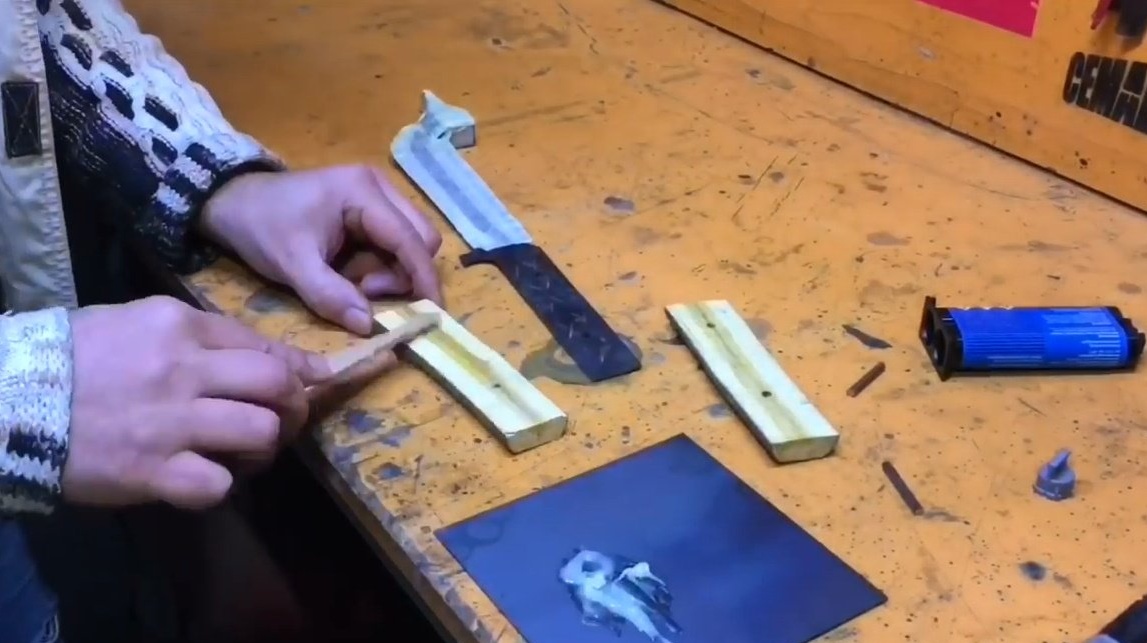
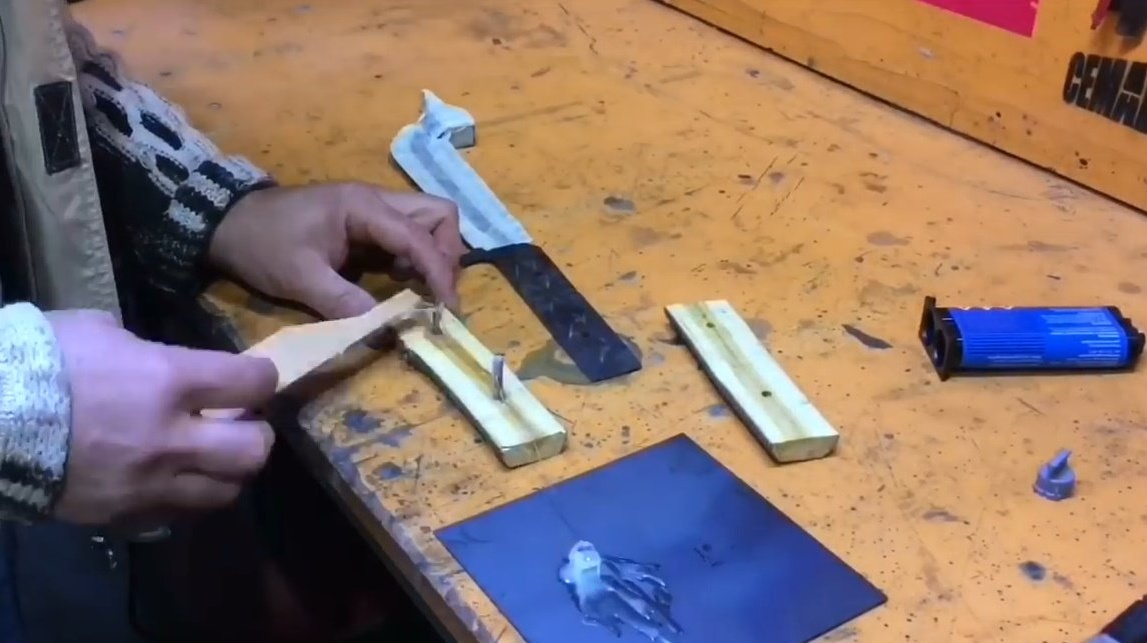
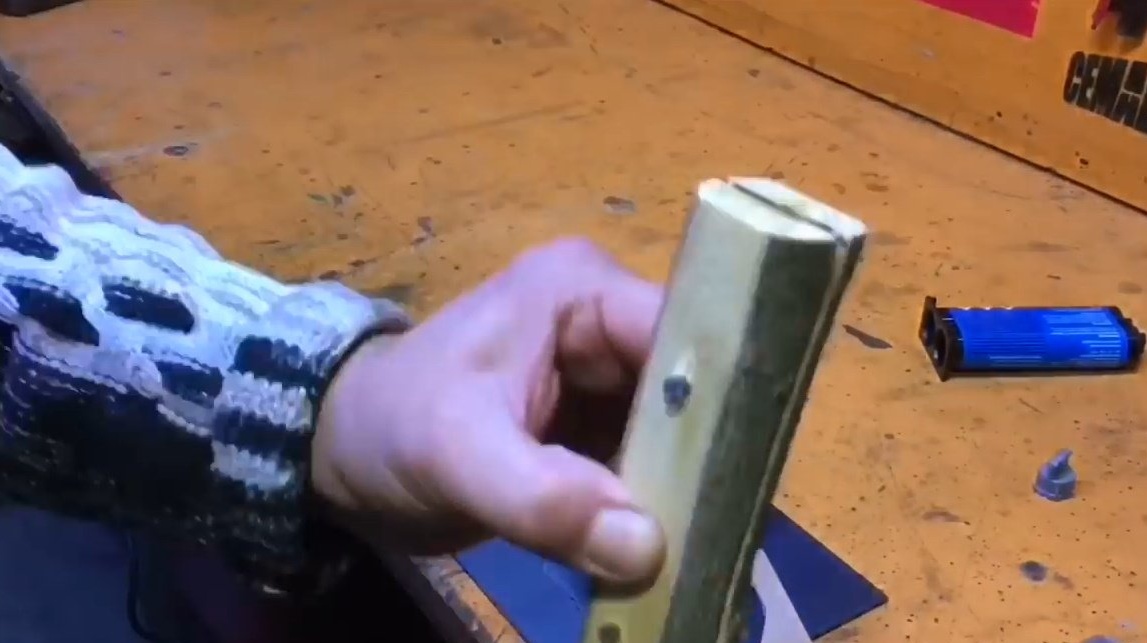
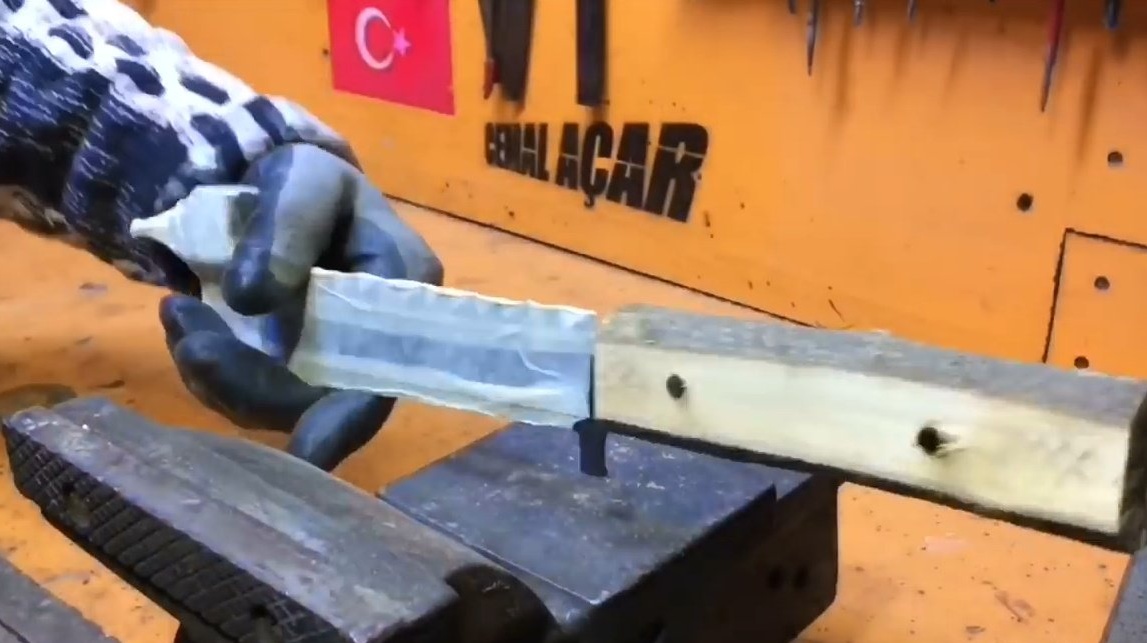
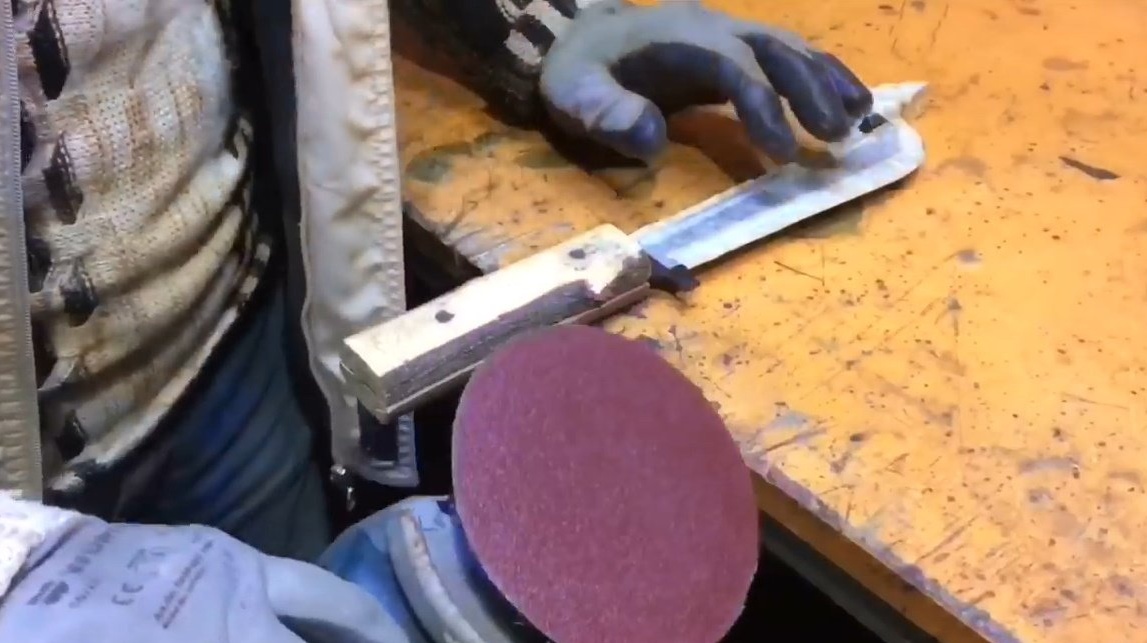
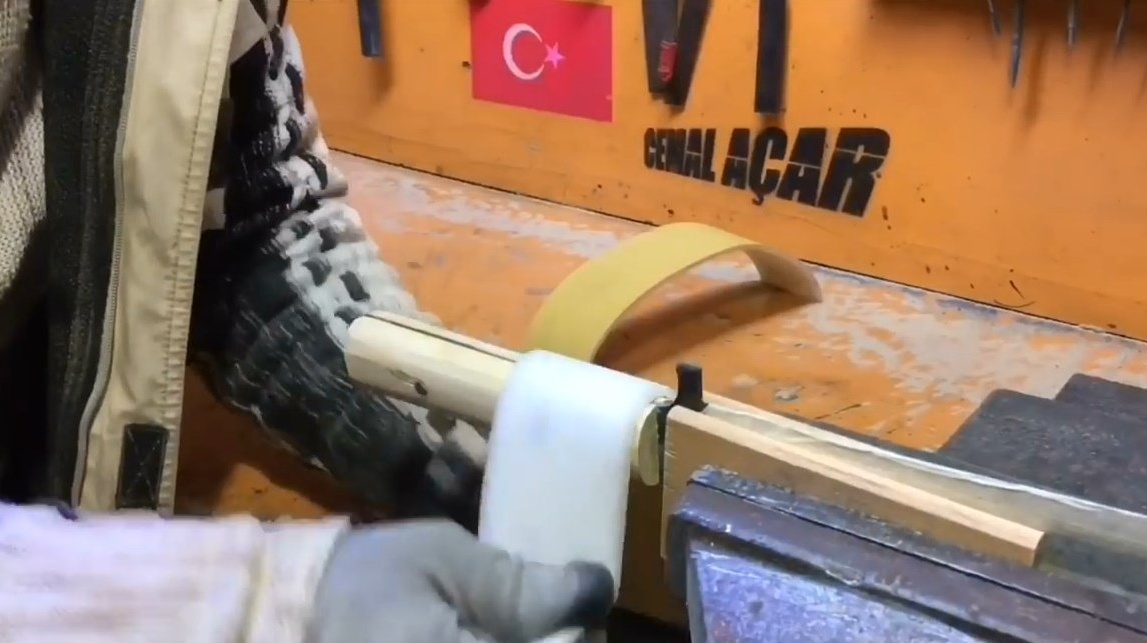
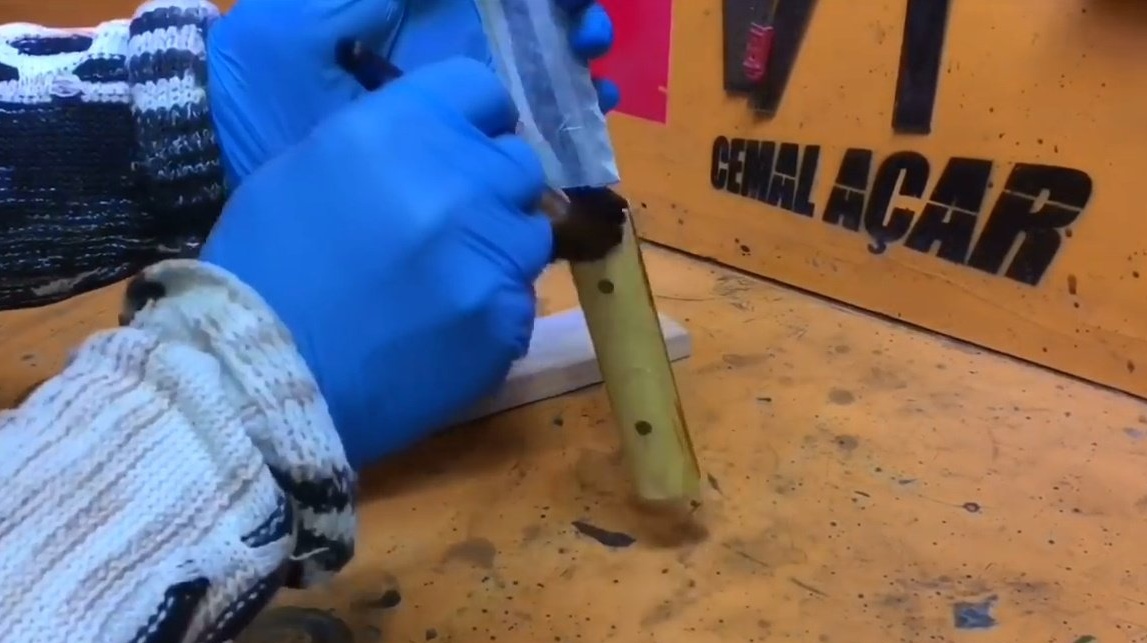
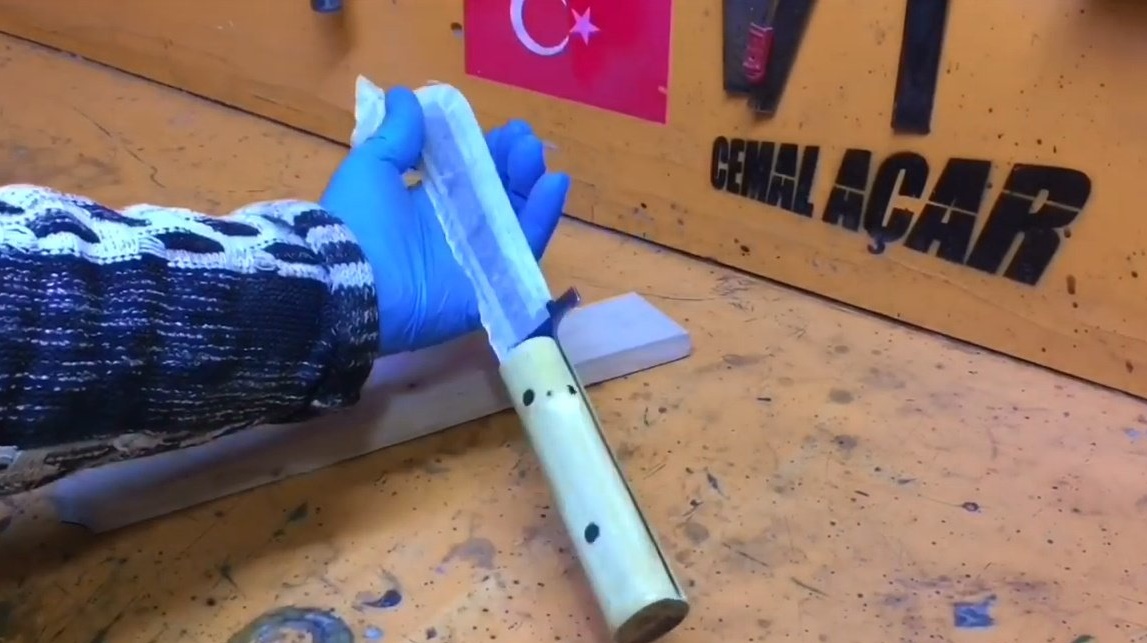
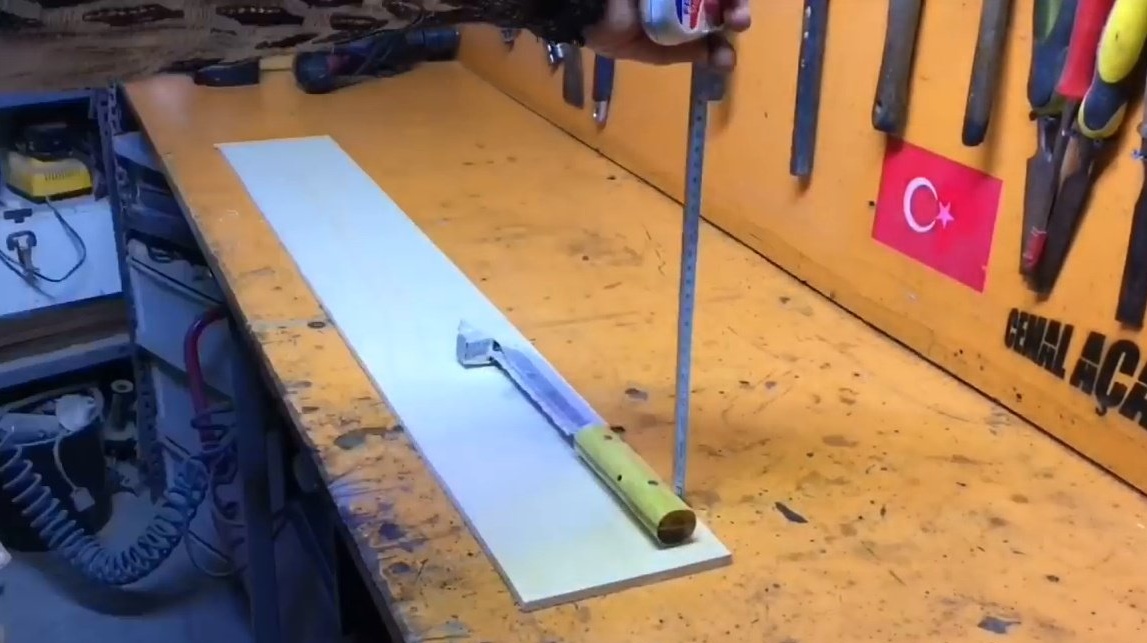
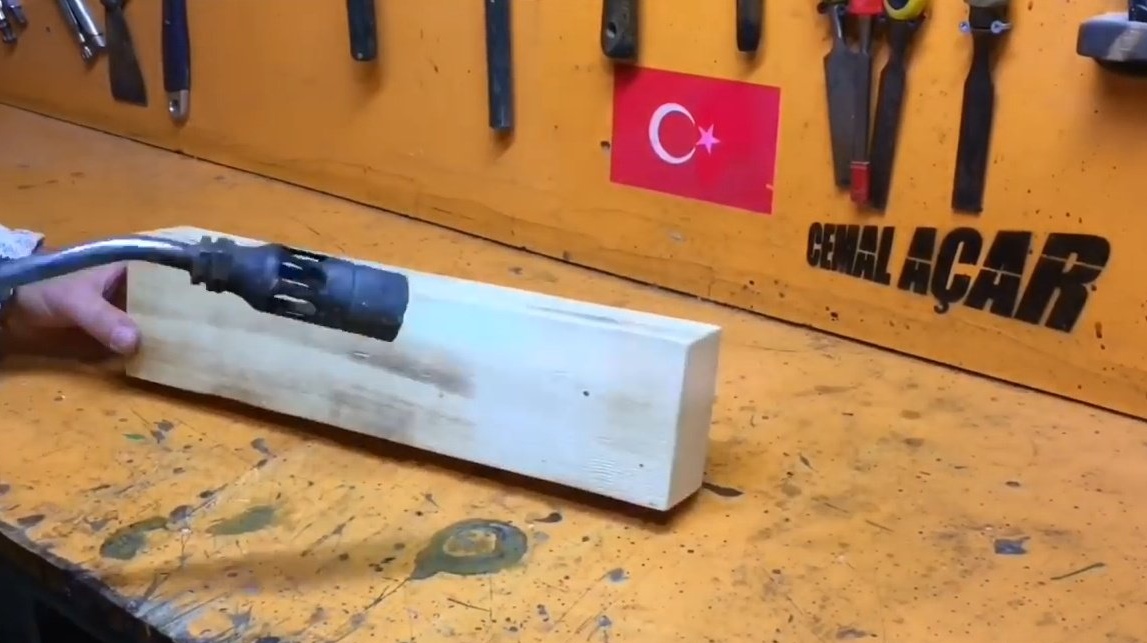
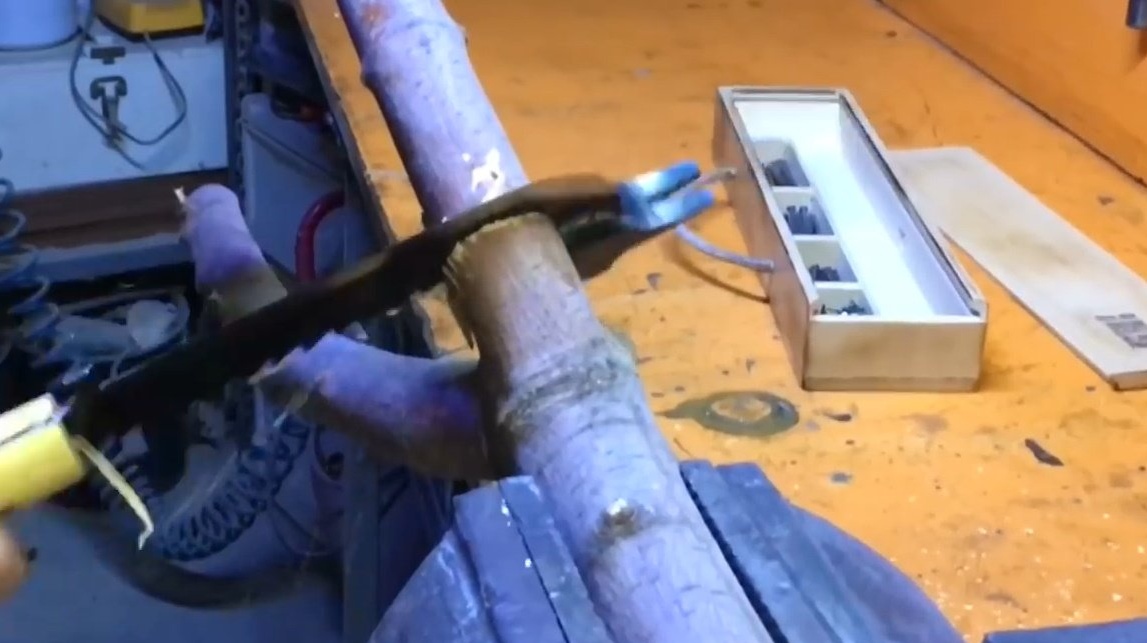
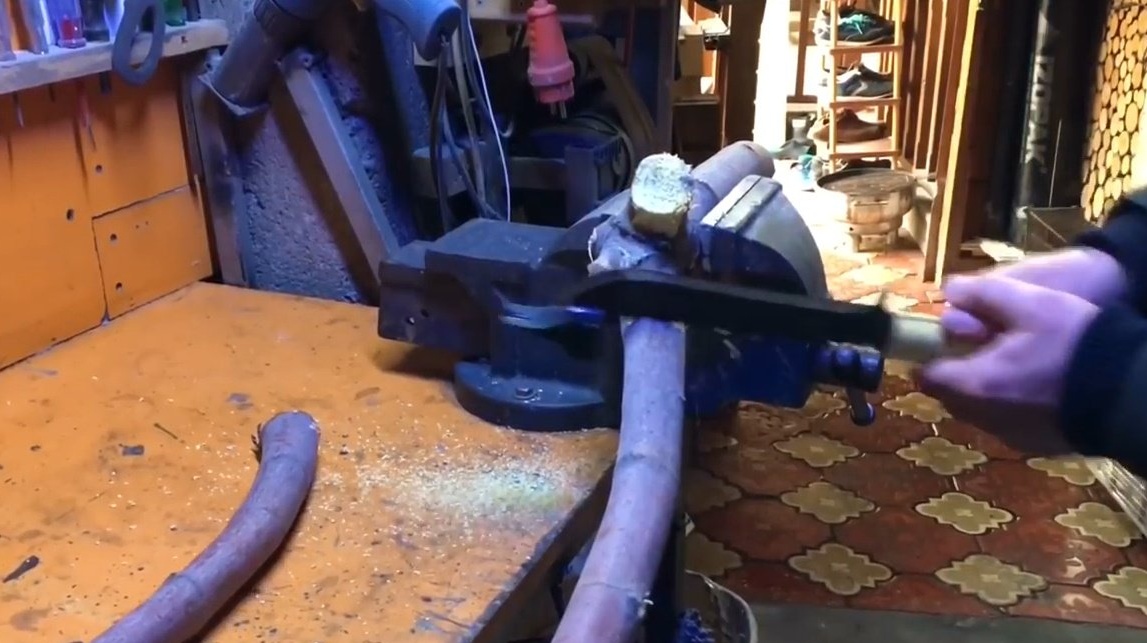
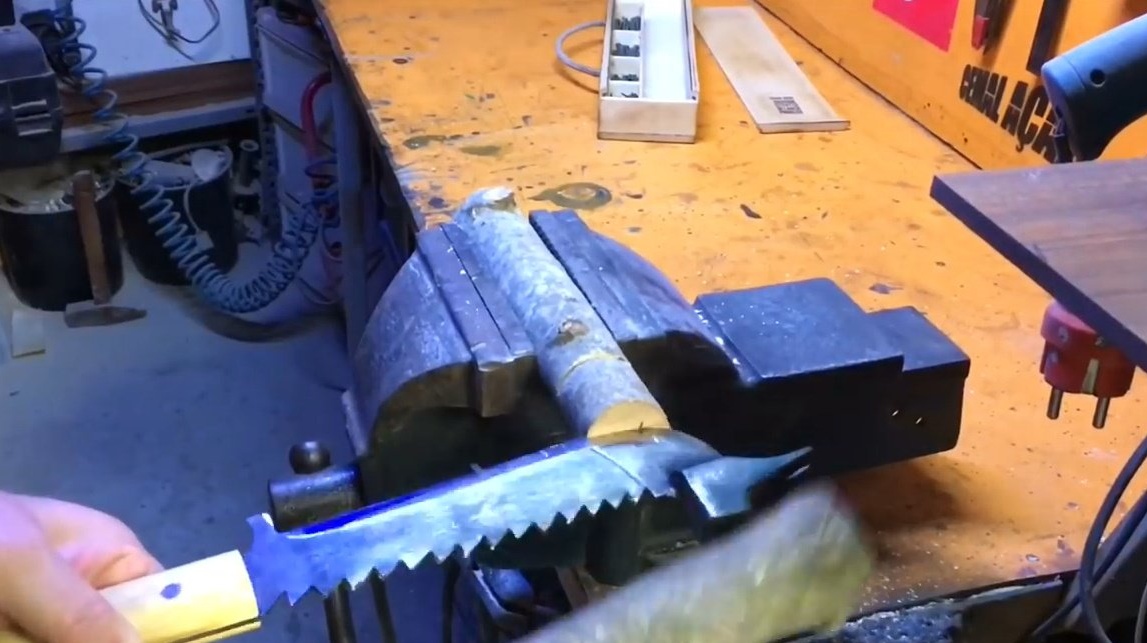
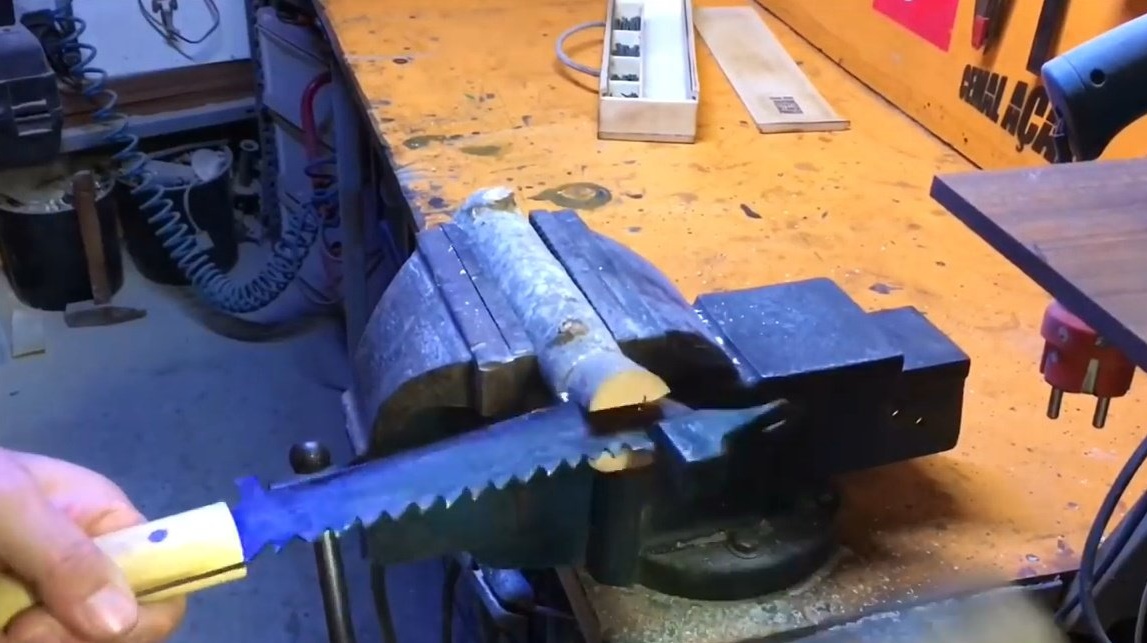
He wraps the blade and the saw with masking tape and proceeds to manufacture the handle. To do this, pruning a thick branch.
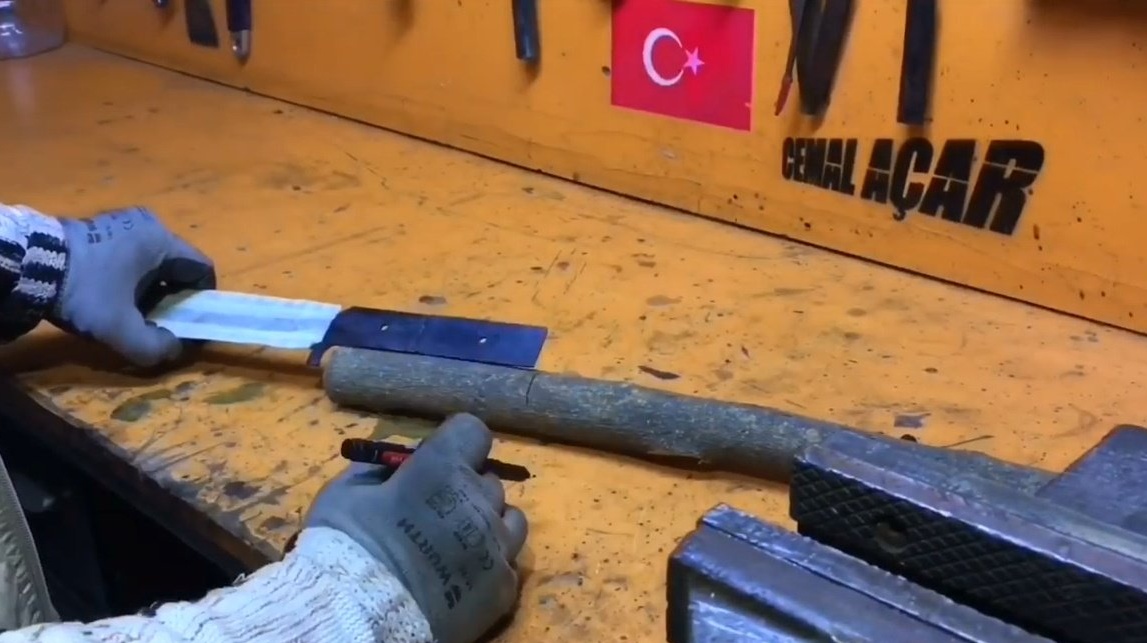
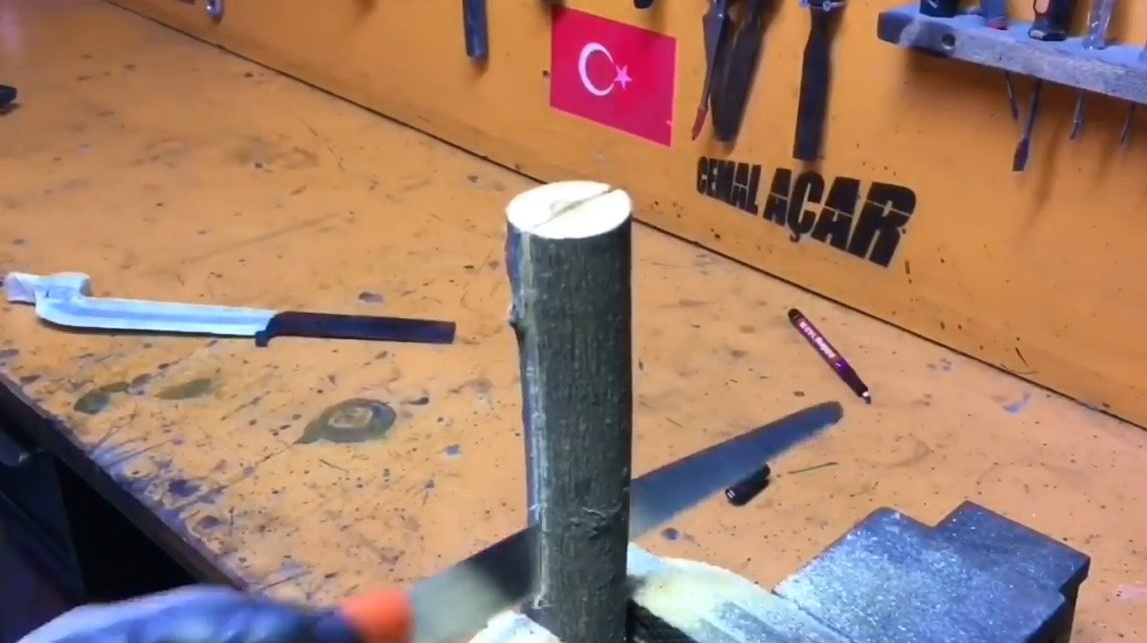

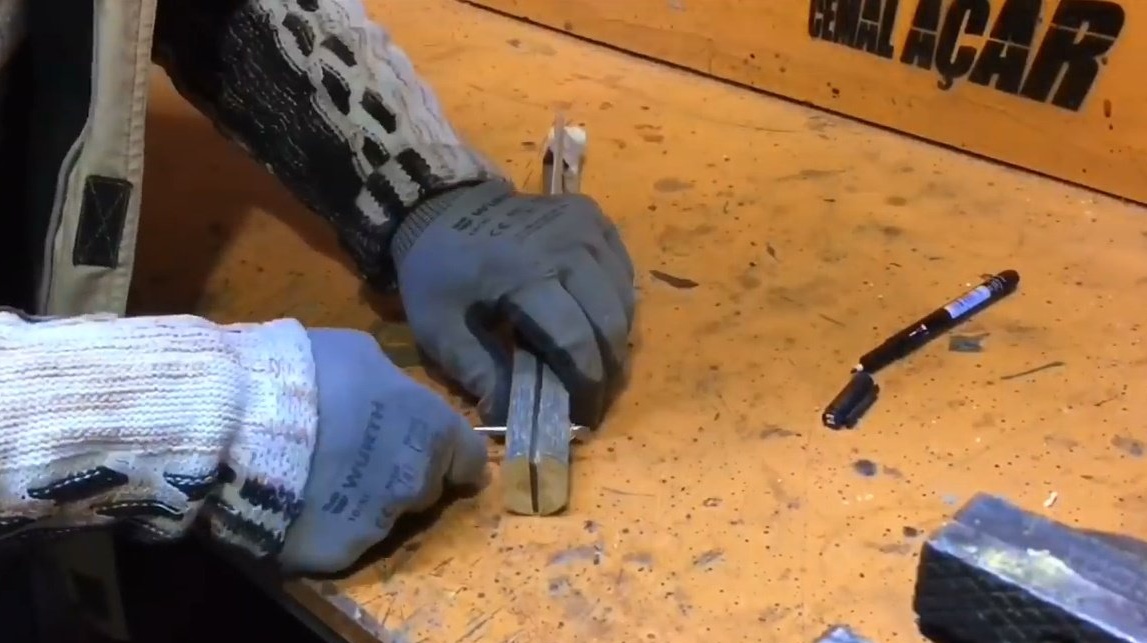
After grinding the outer fillets, he marks out a pair of rivet holes.
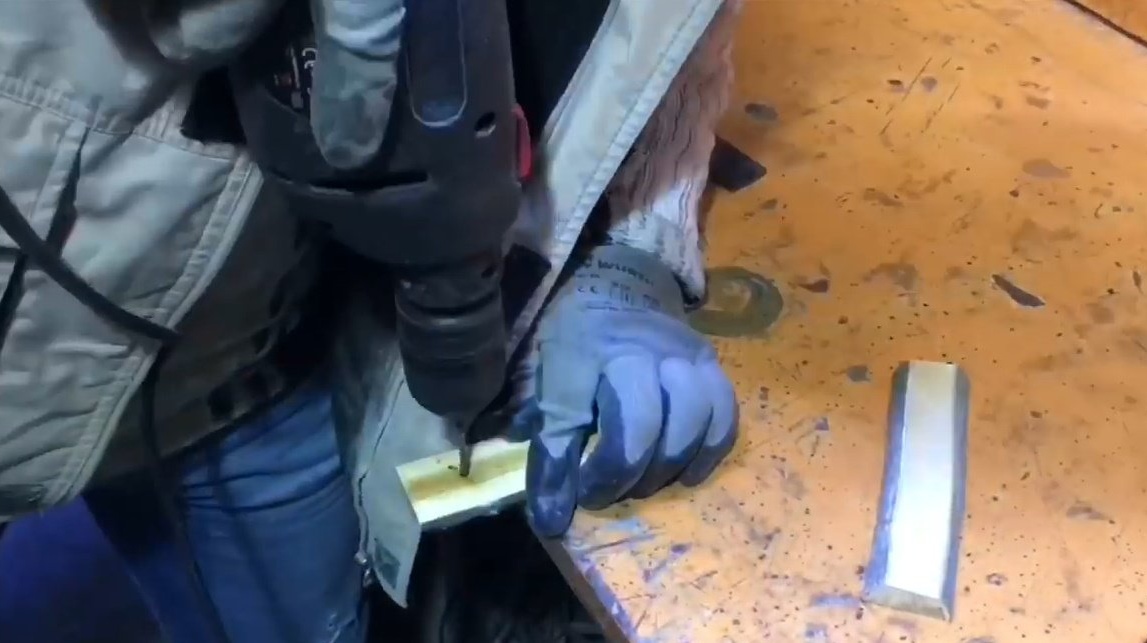
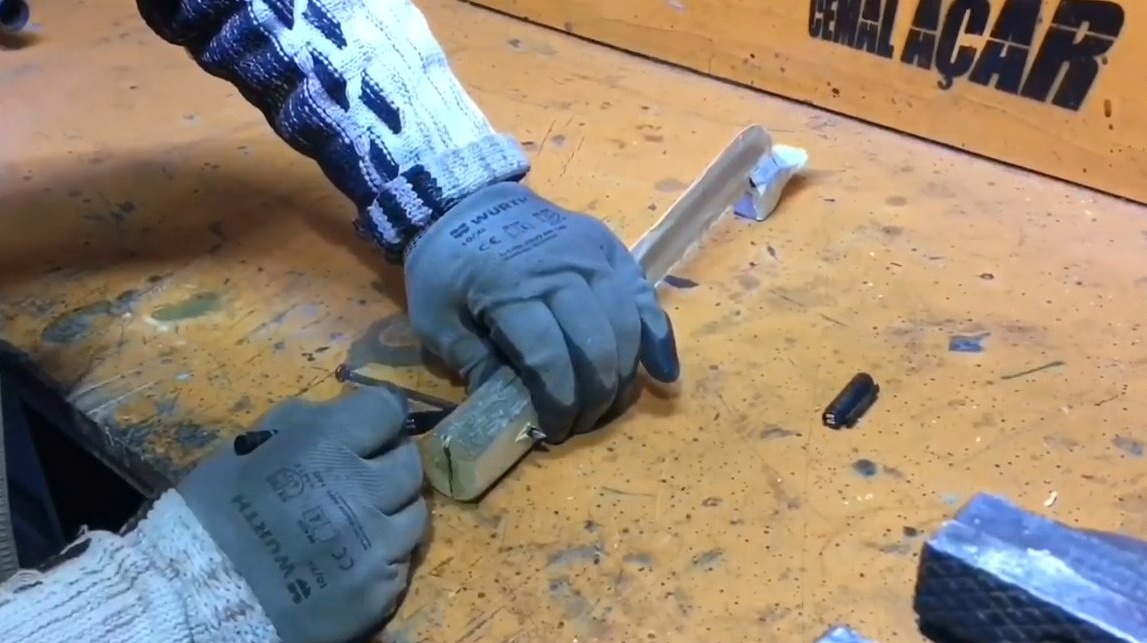
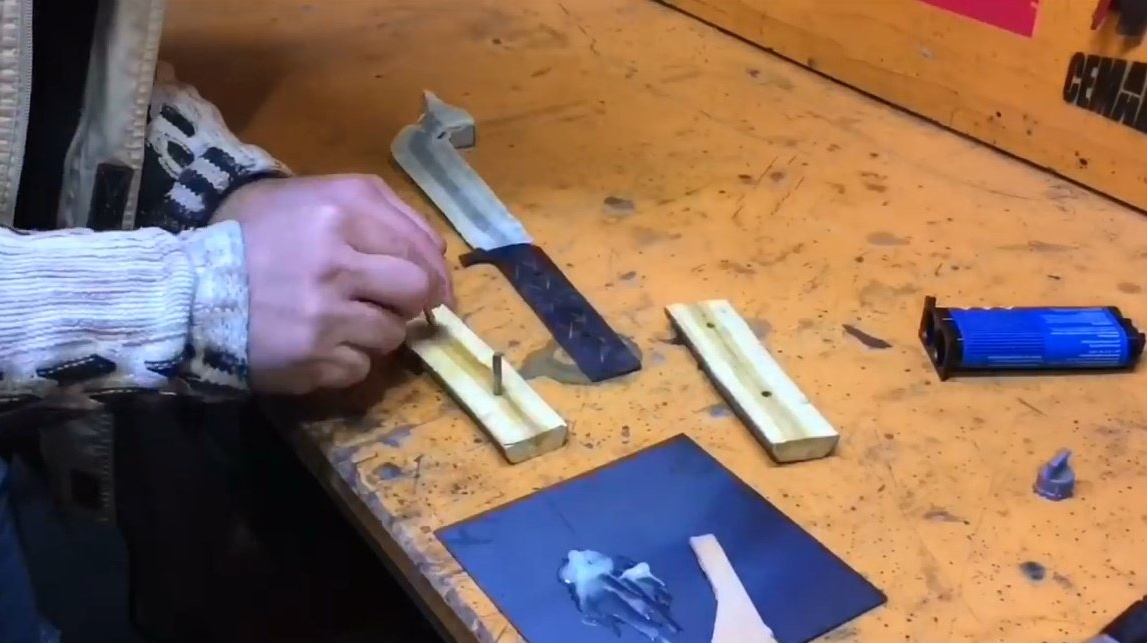
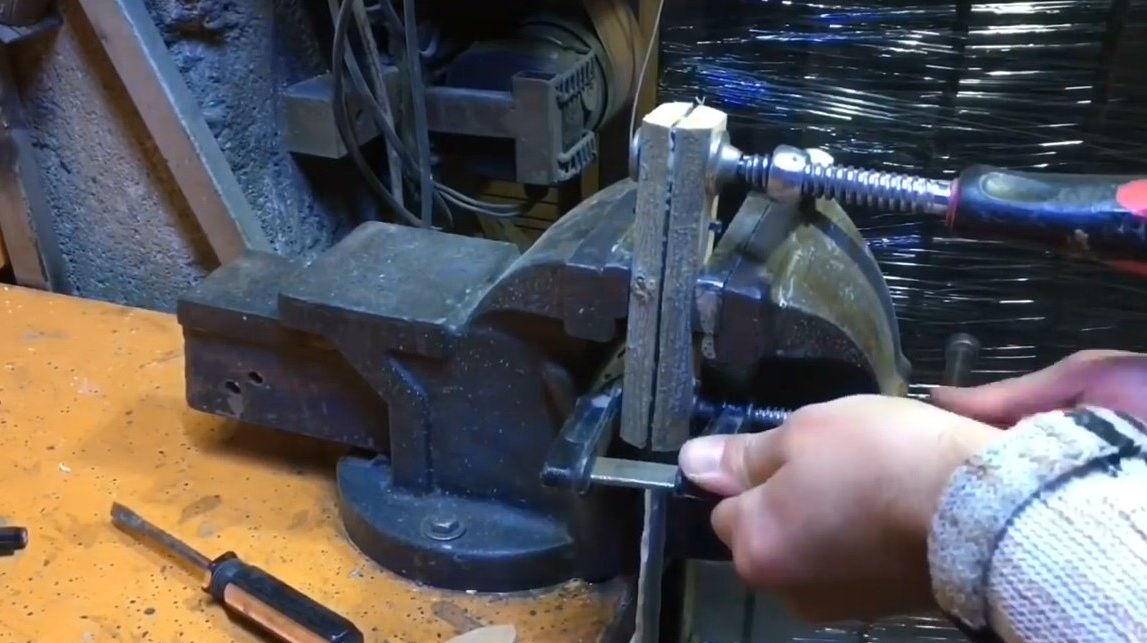
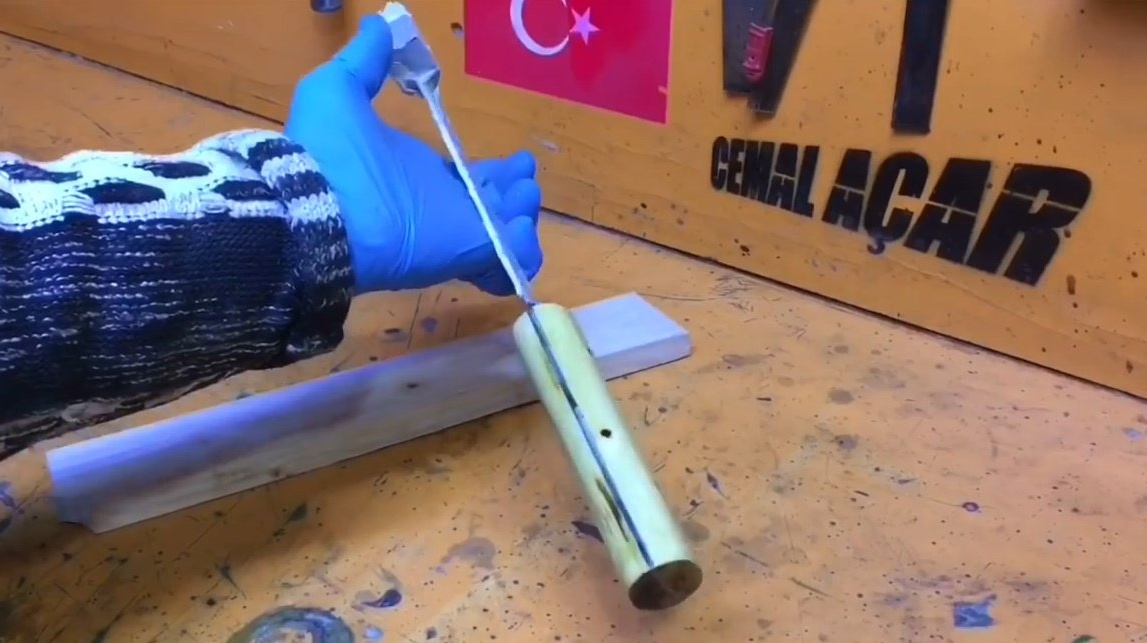
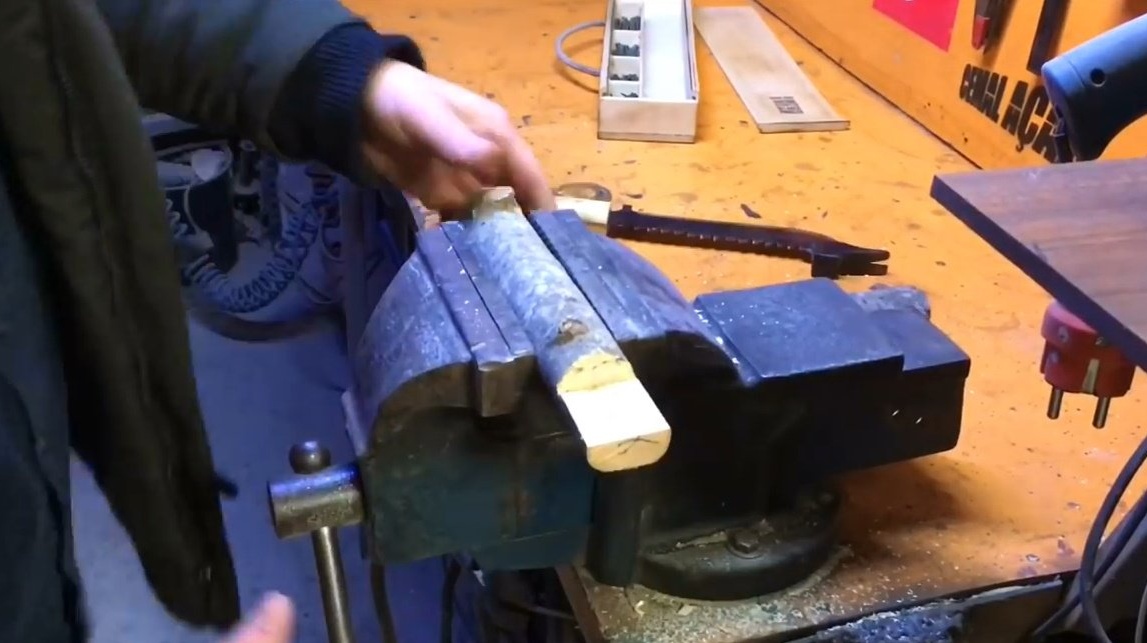
Drilling holes in one half of the handle, connects the workpieces, clamps them in a vice and drills holes in the second half.
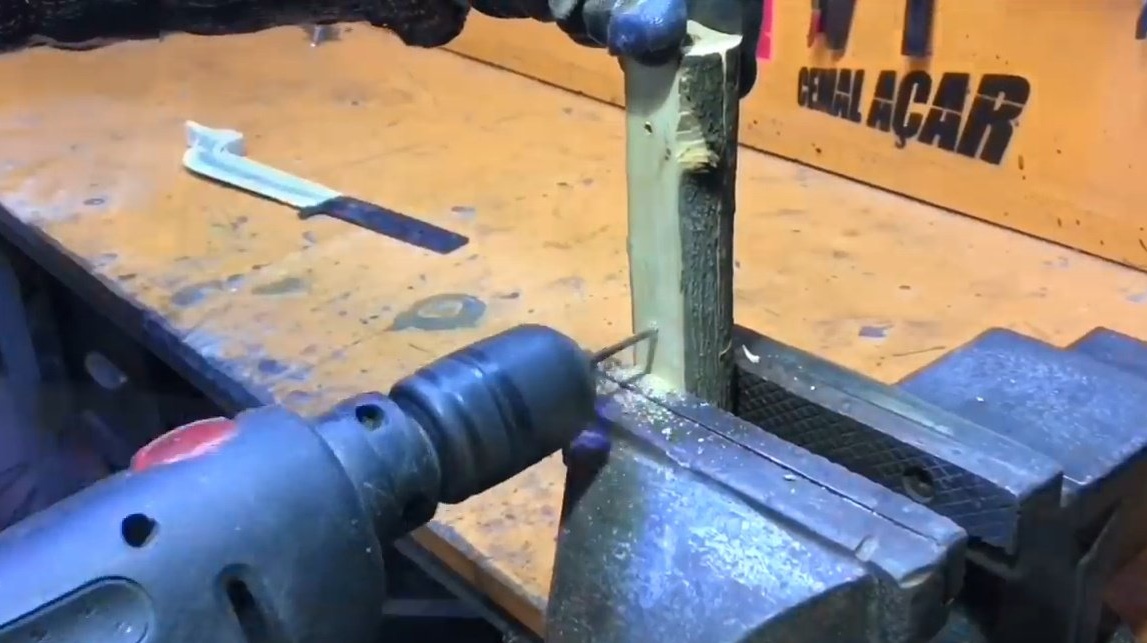
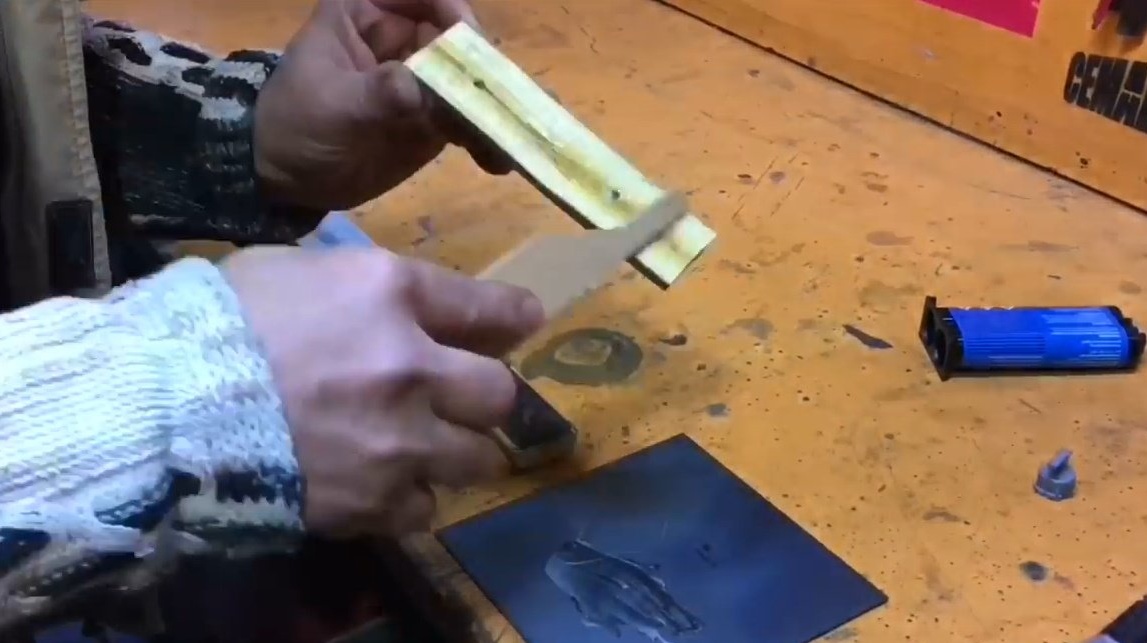
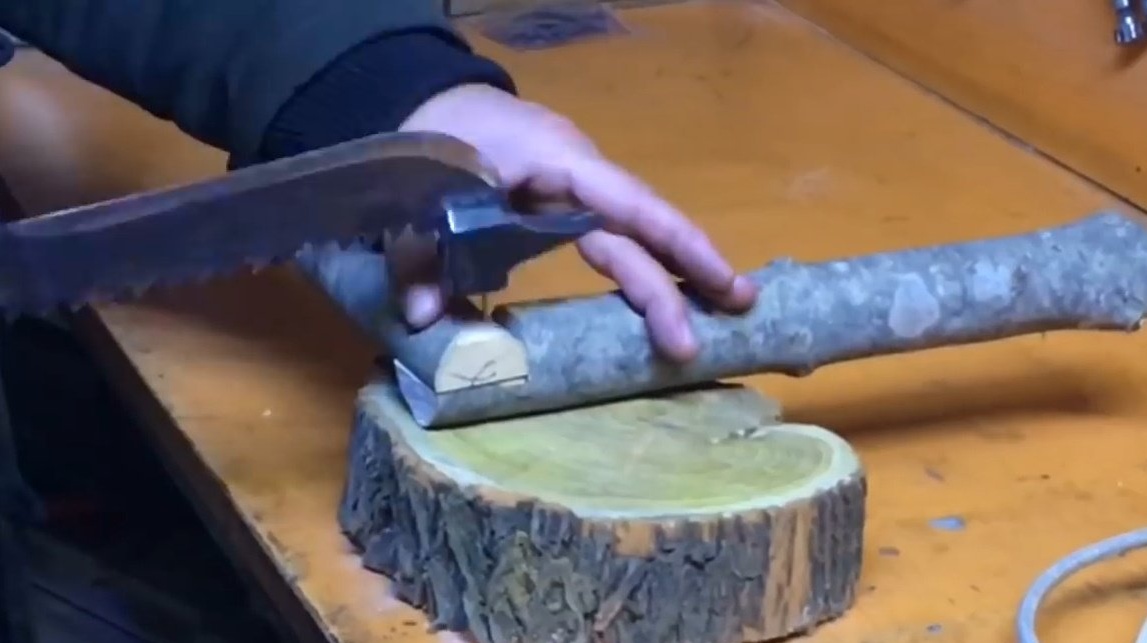
From an ordinary nail, trying it on the handle, makes a couple of rivets.
And on a steel handle it does a notch, for better adhesion of epoxy to the surface.
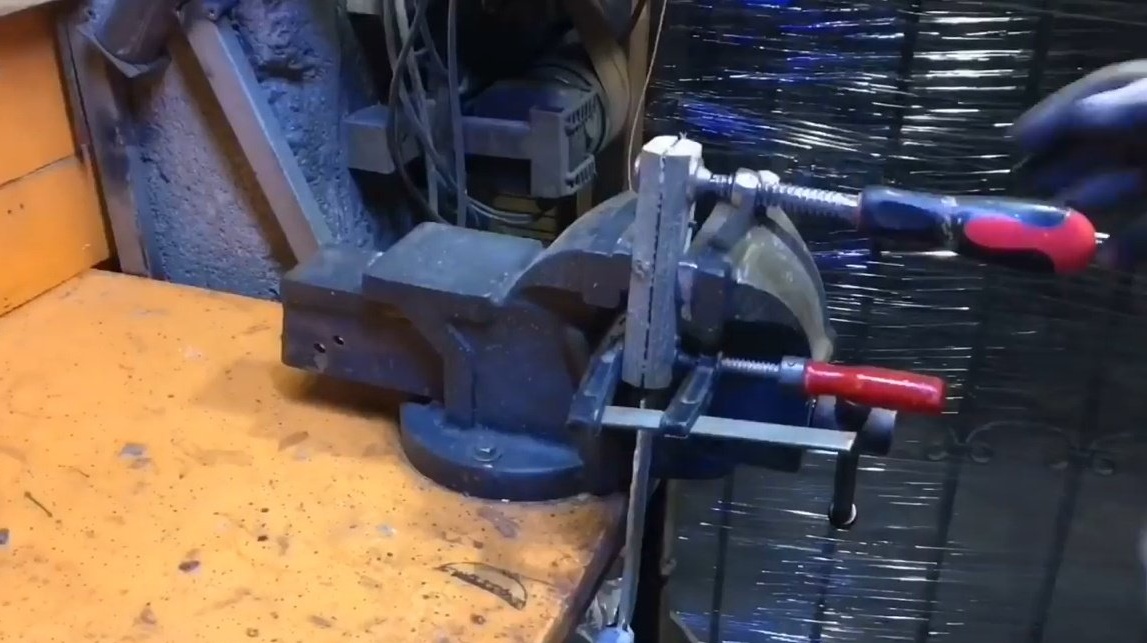
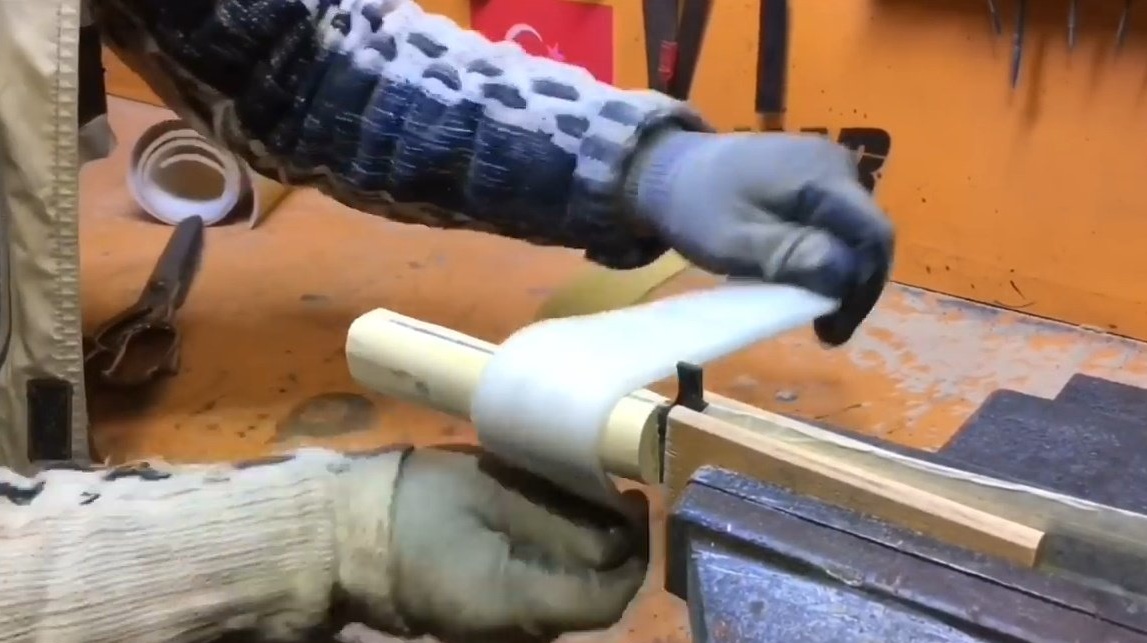
Mixes the components of epoxy resin, inserts rivets, lubricates both sides of the handle, and connects the elements.
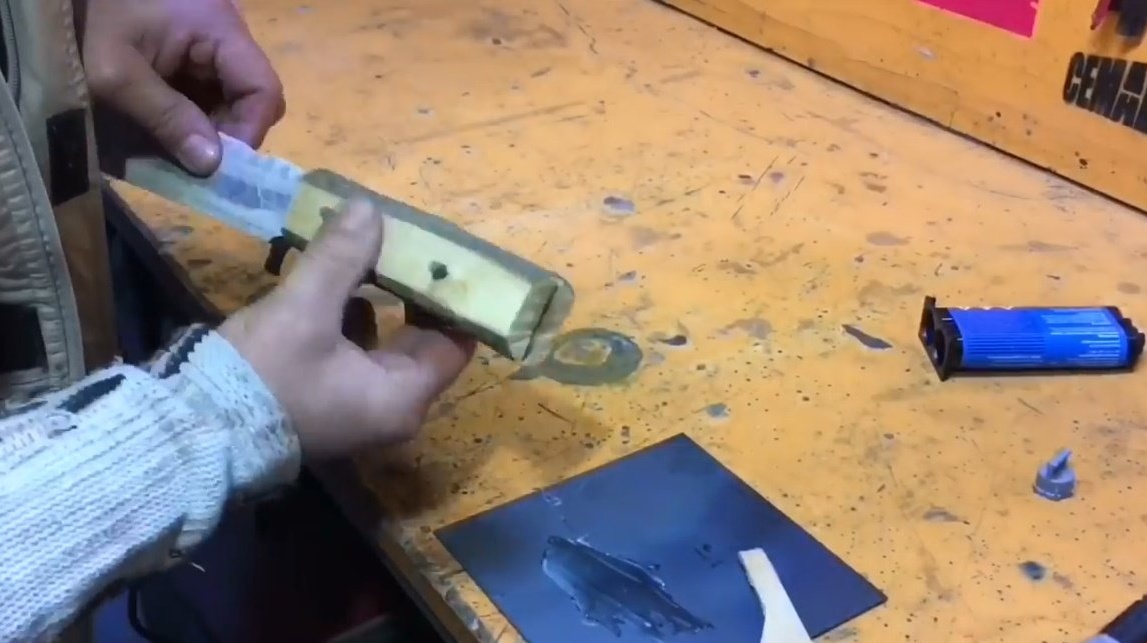
Then it clamps the central part of the handle in a vise, and fixes the edges with clamps.
So, the glue polymerized, you can rivet the rivets on the anvil.
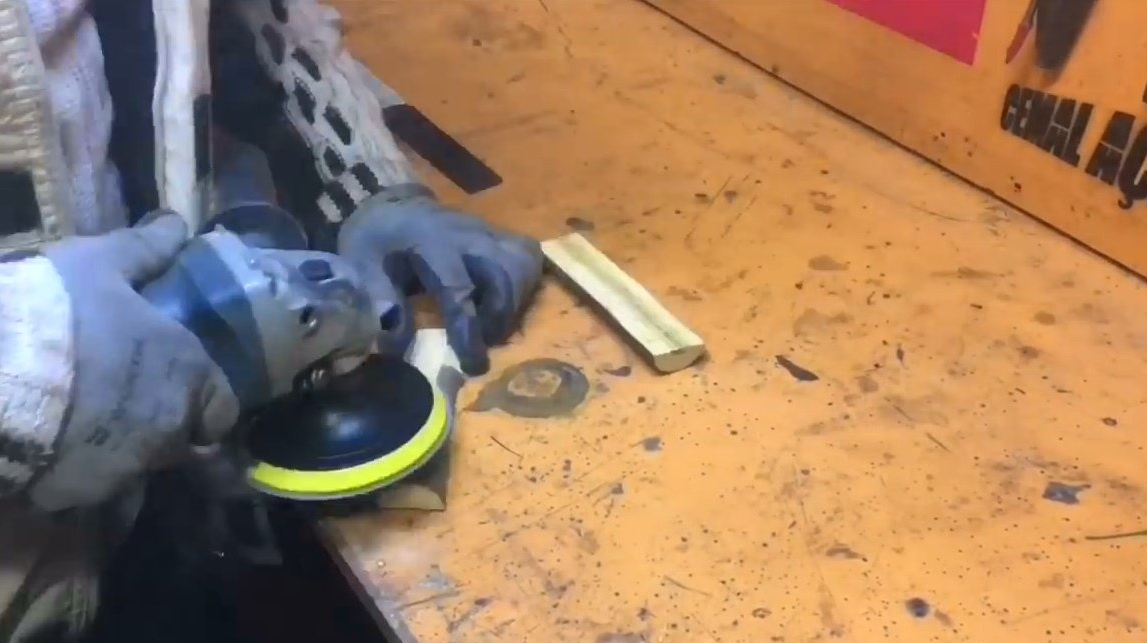
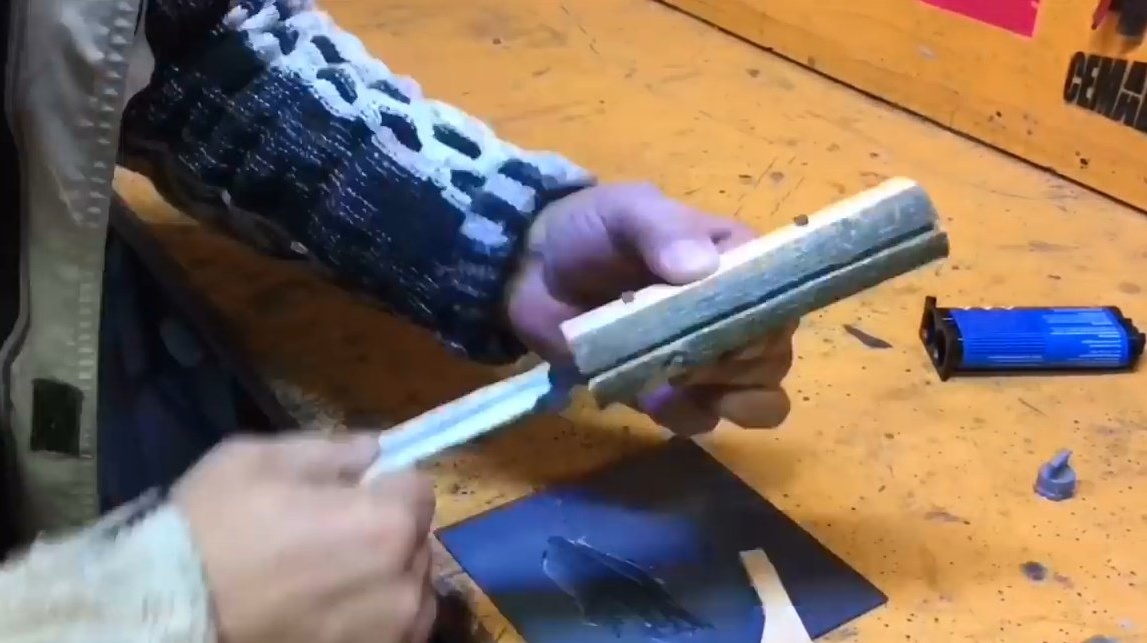
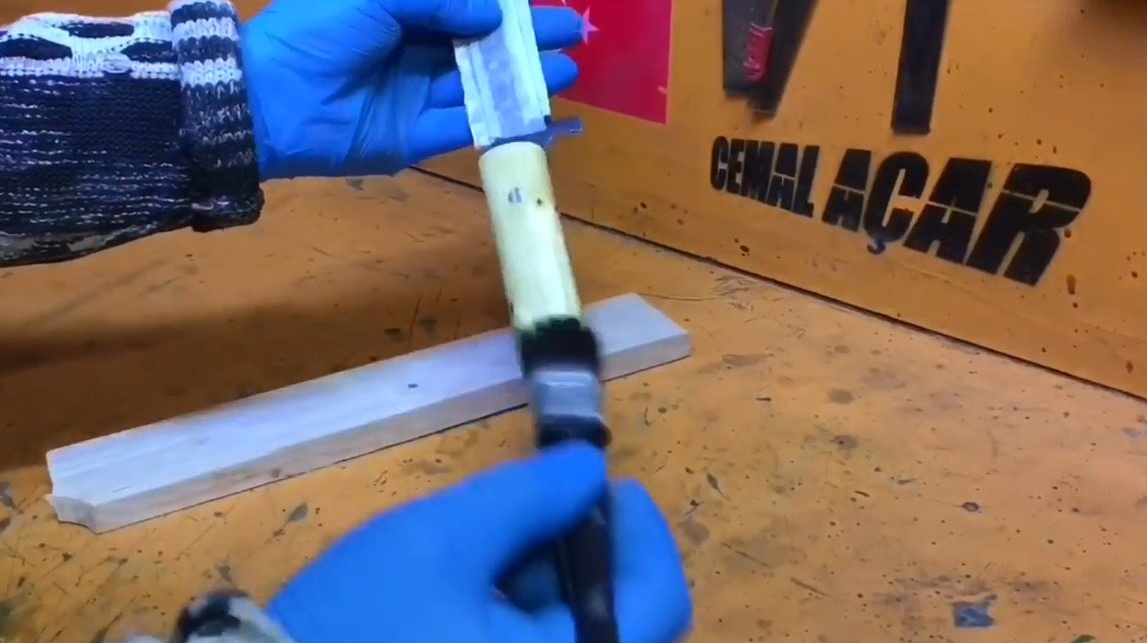
Now the master polishes the surface of the handle, removing the remnants of glue and the protrusions of the rivets.
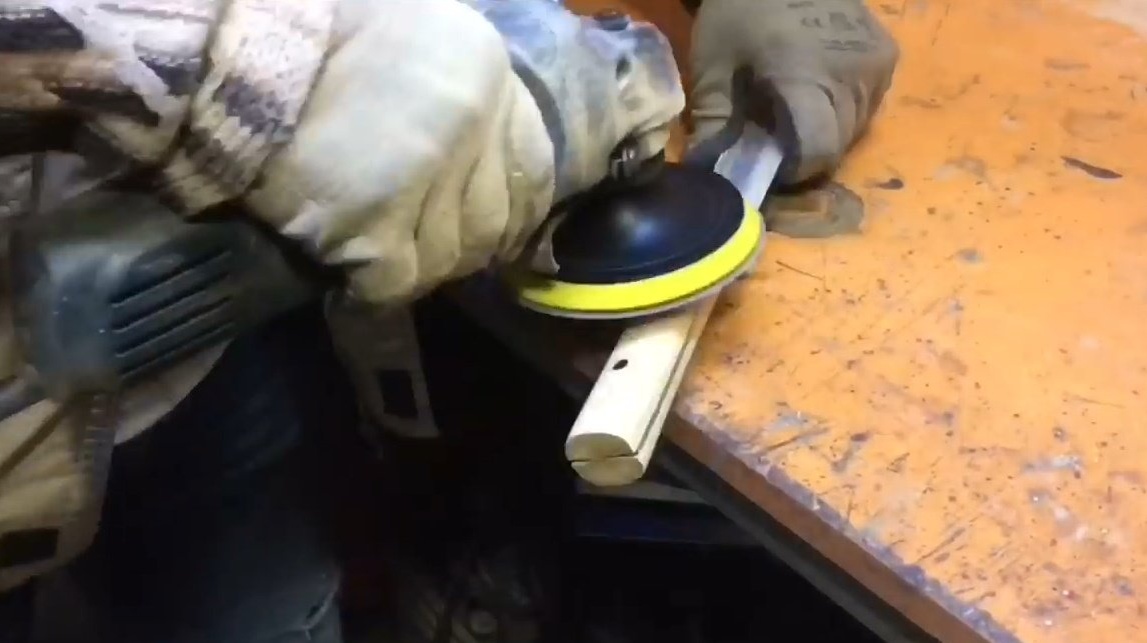
Manual sanding does not hurt.
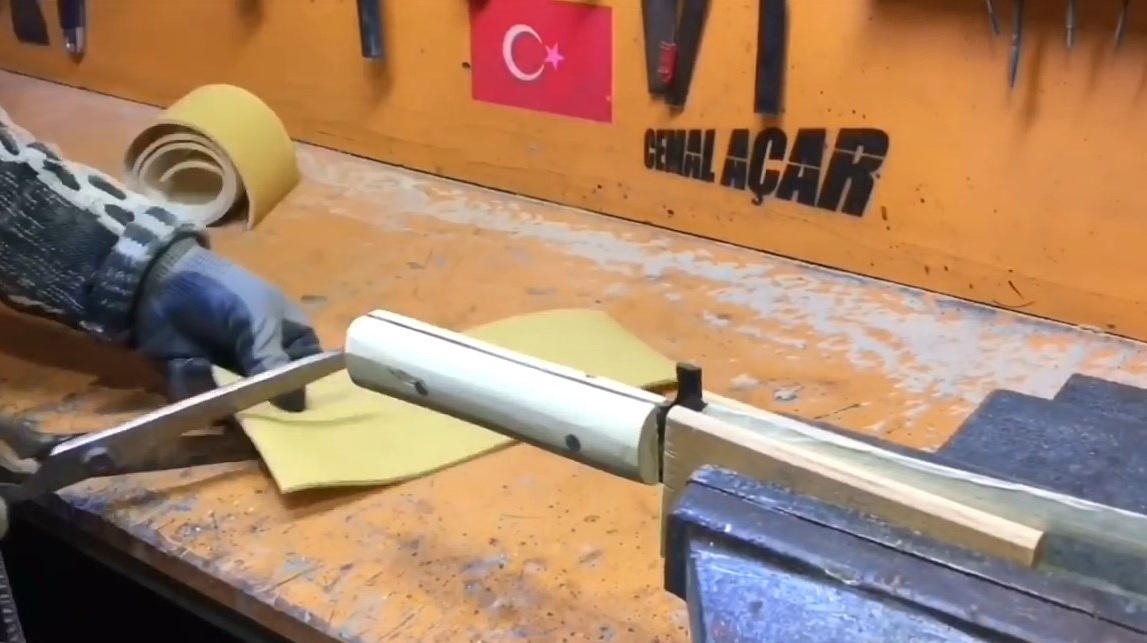
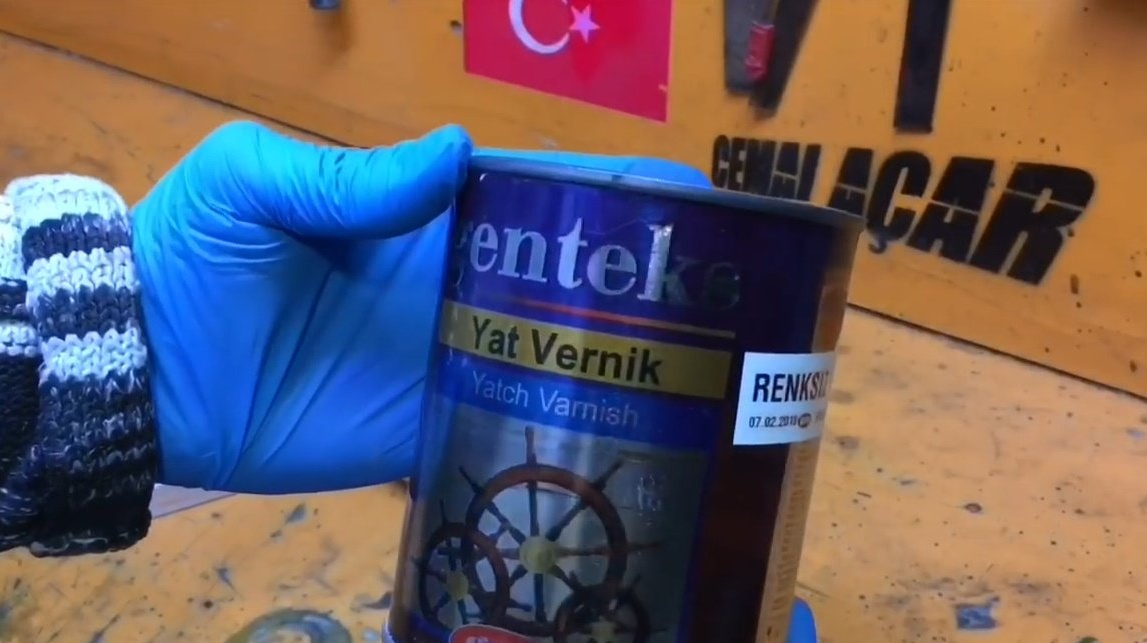
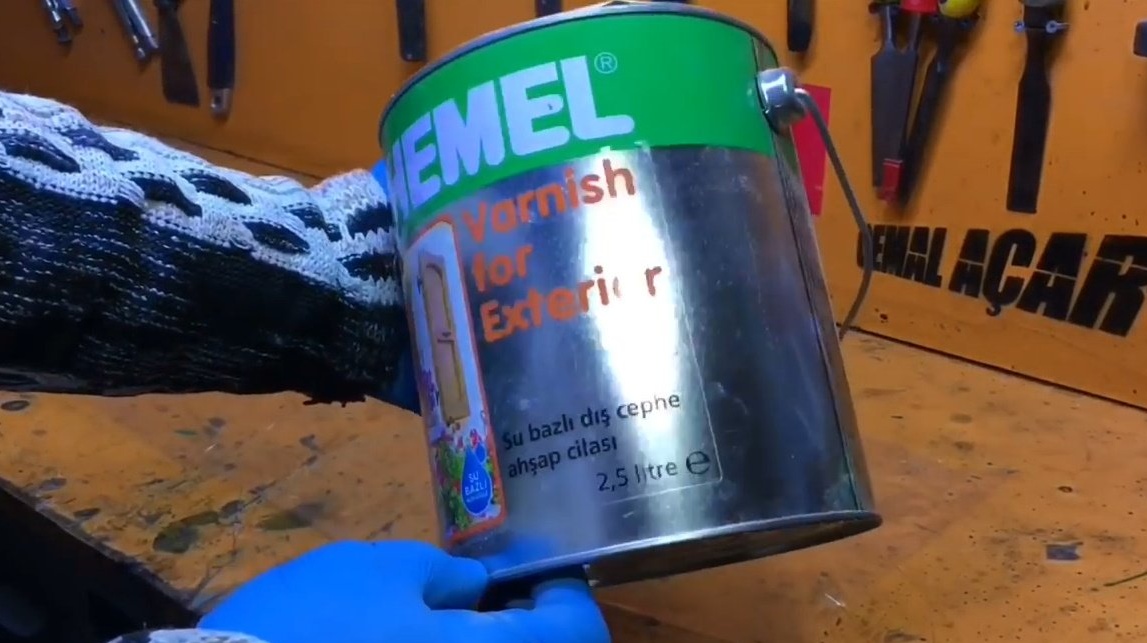
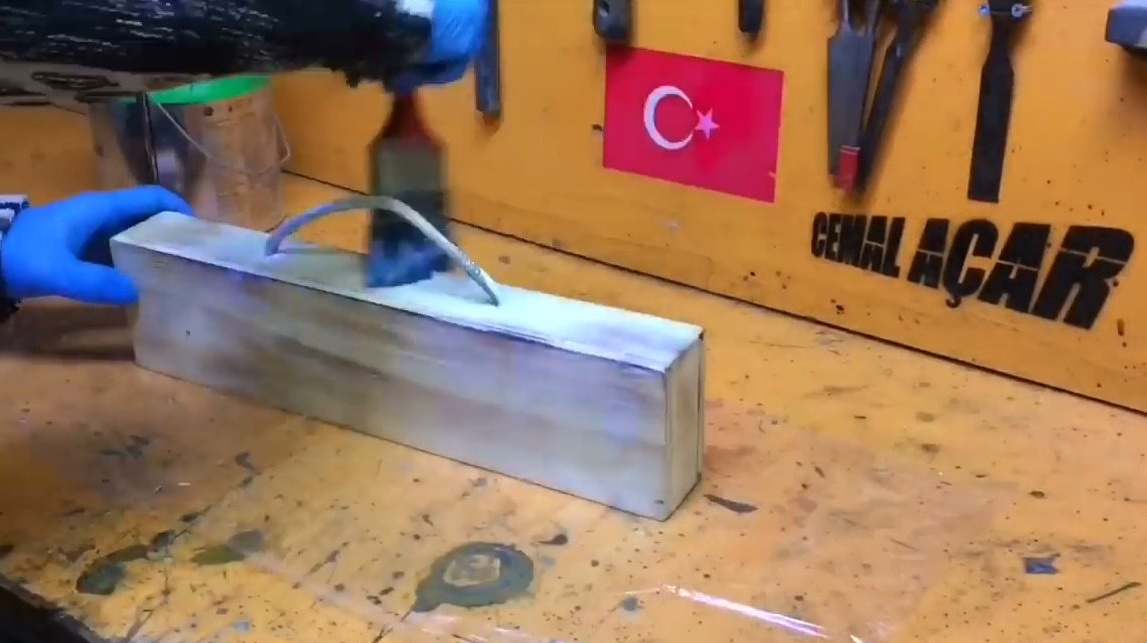
And the last step the master opens the handle with yacht varnish.
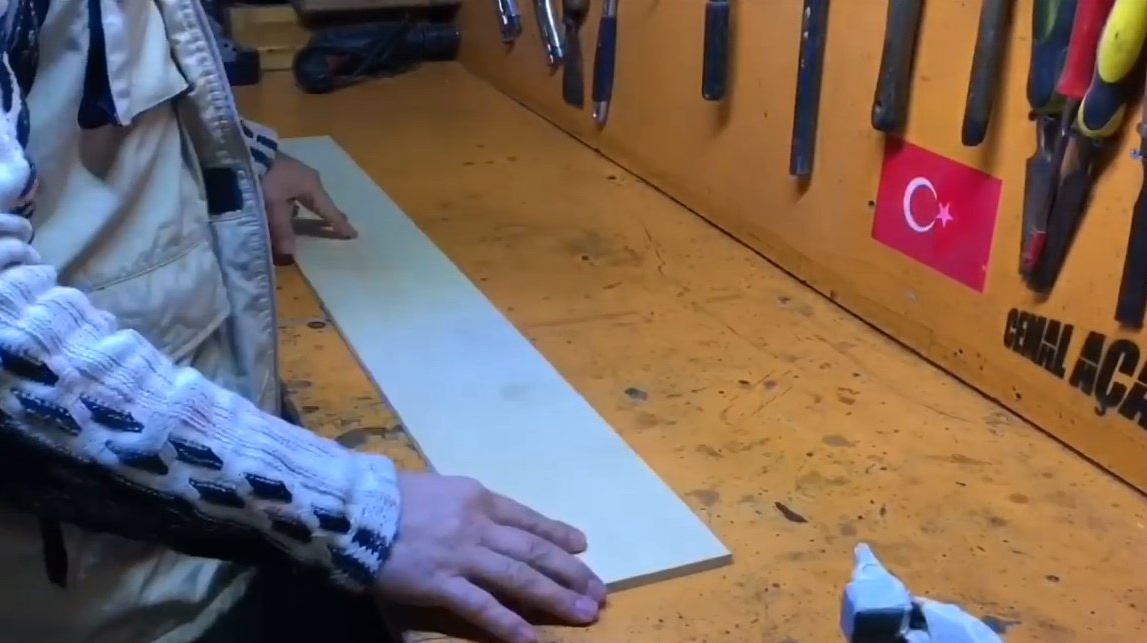
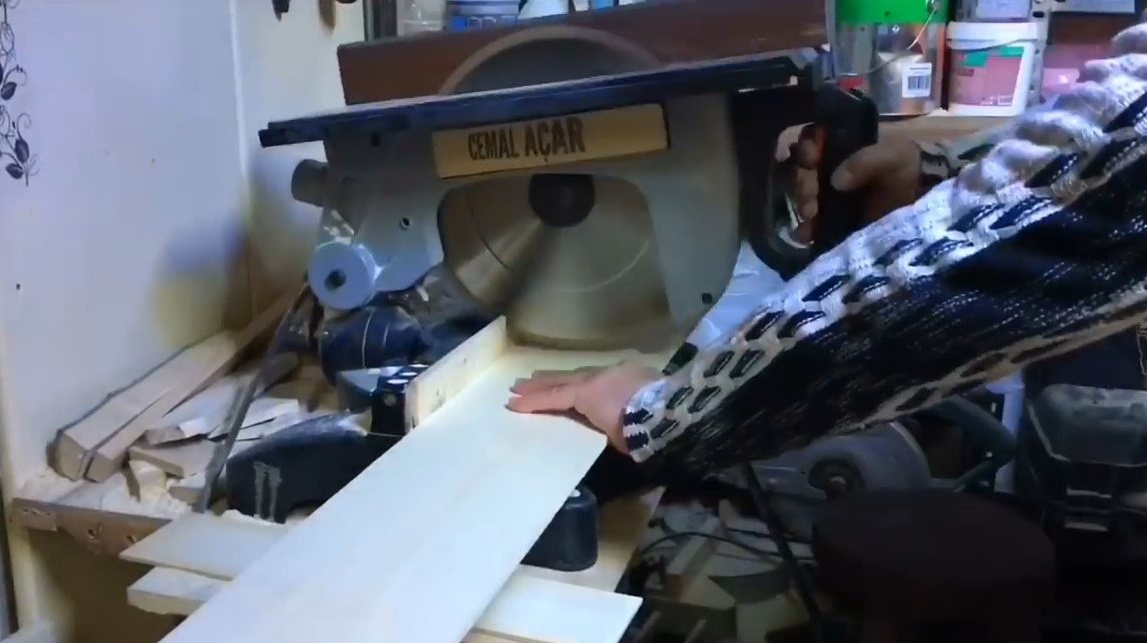
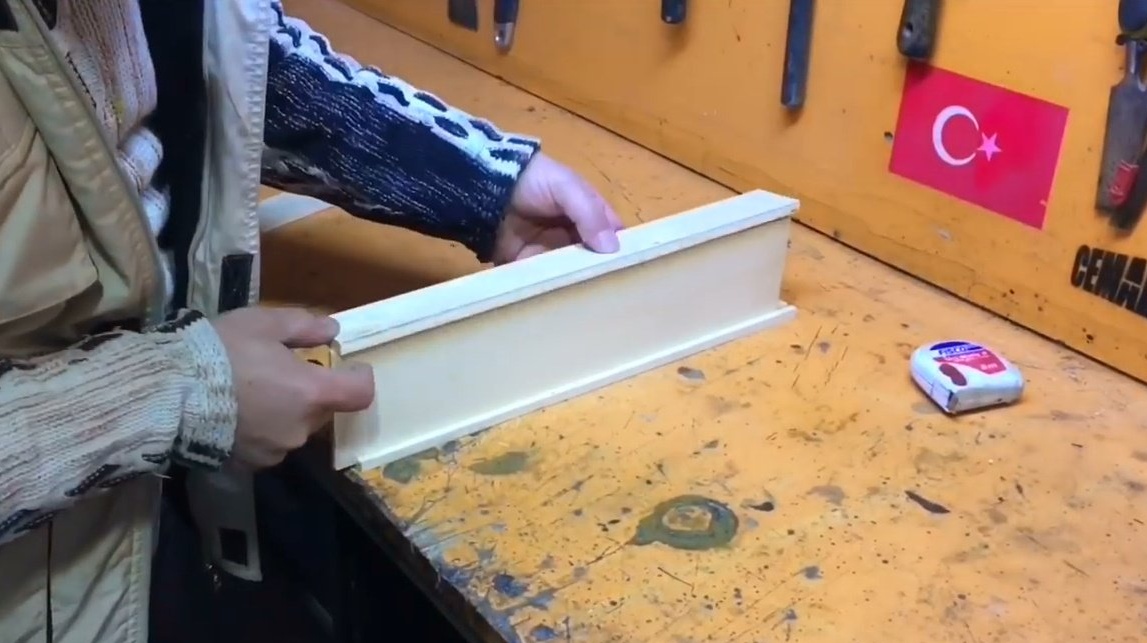
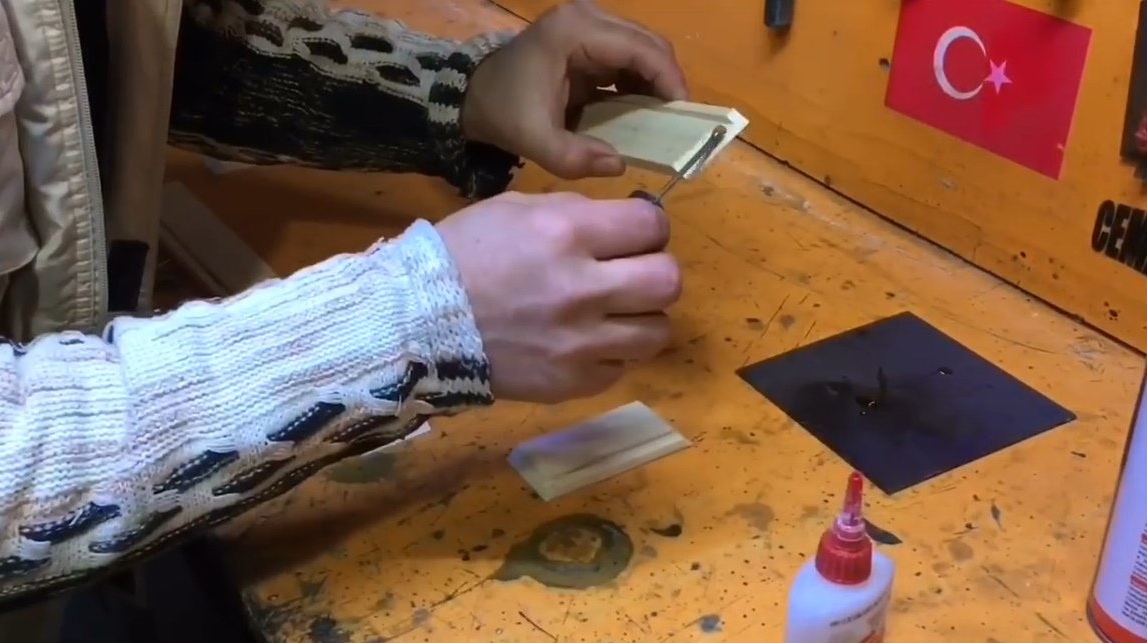
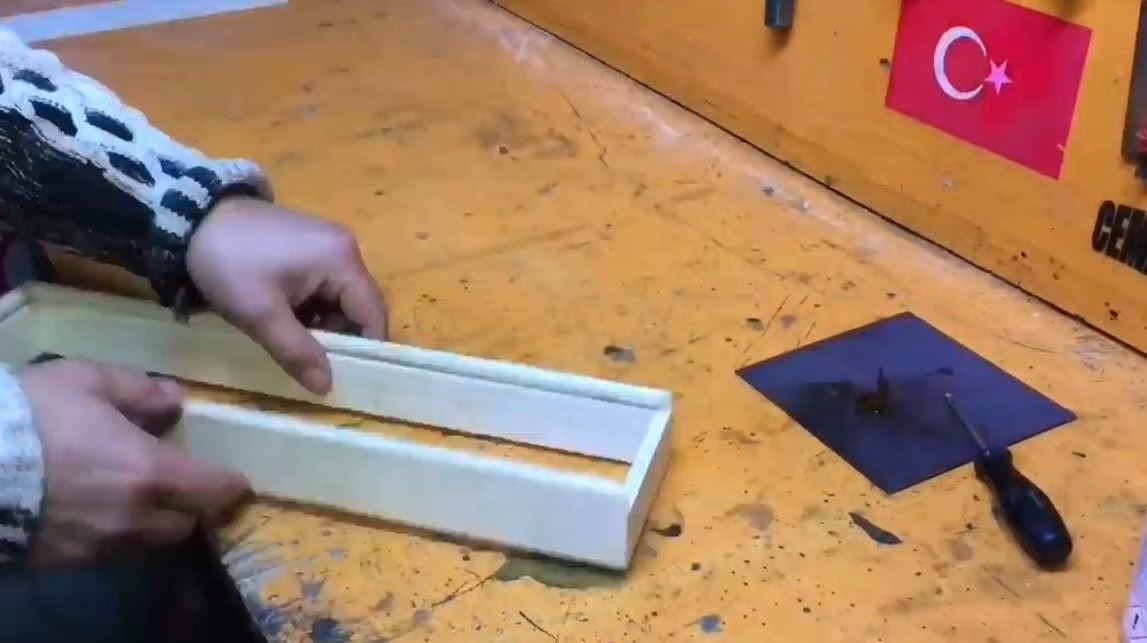
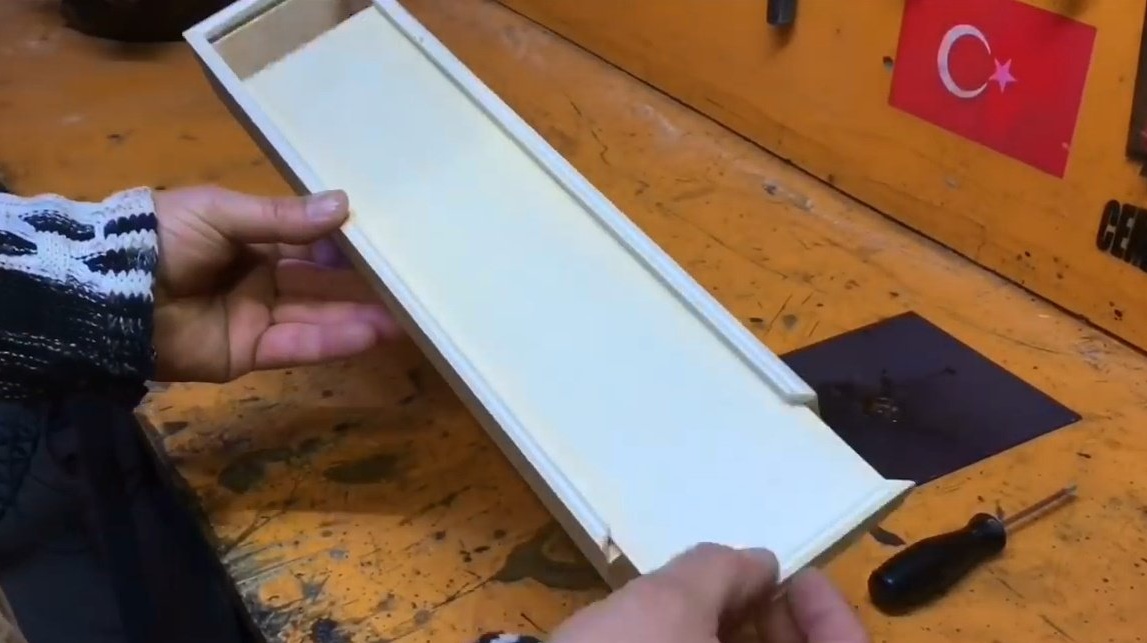
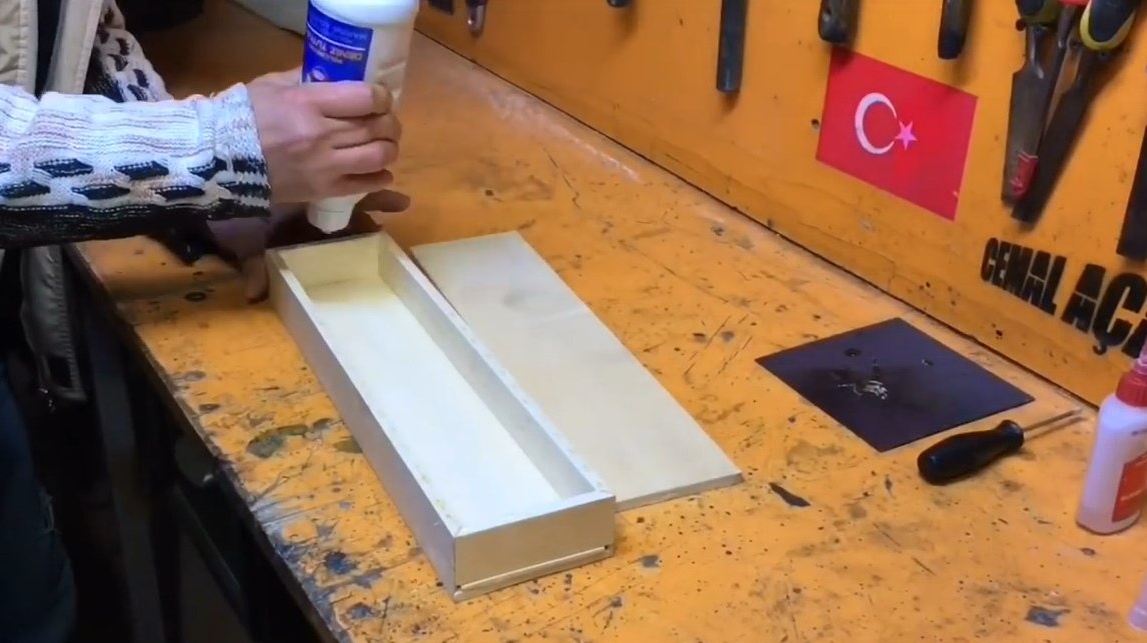
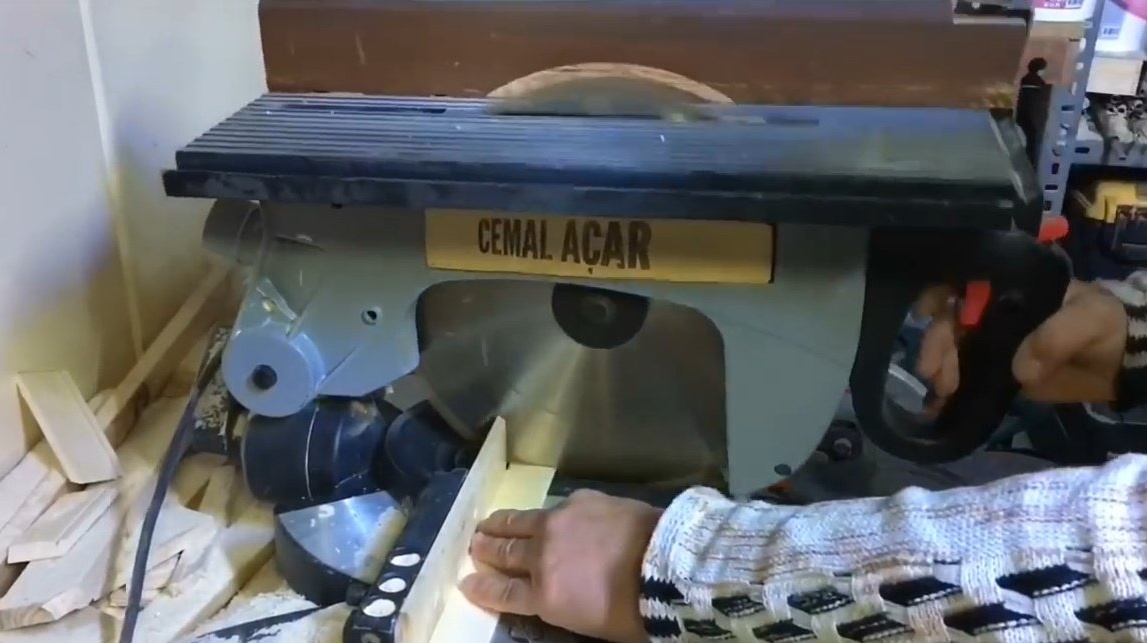
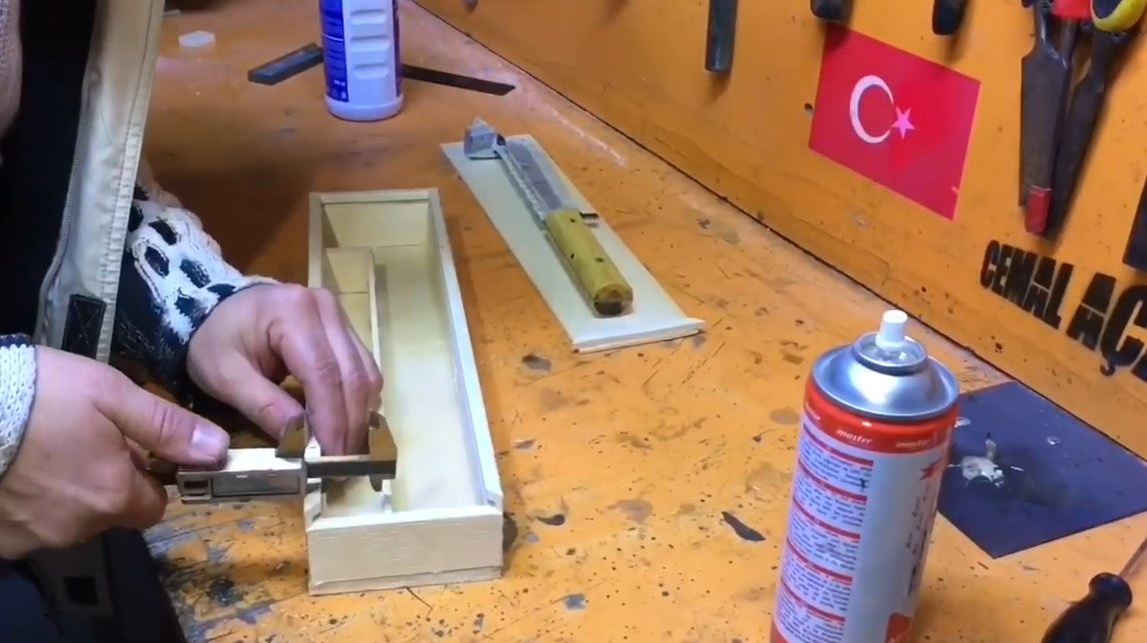
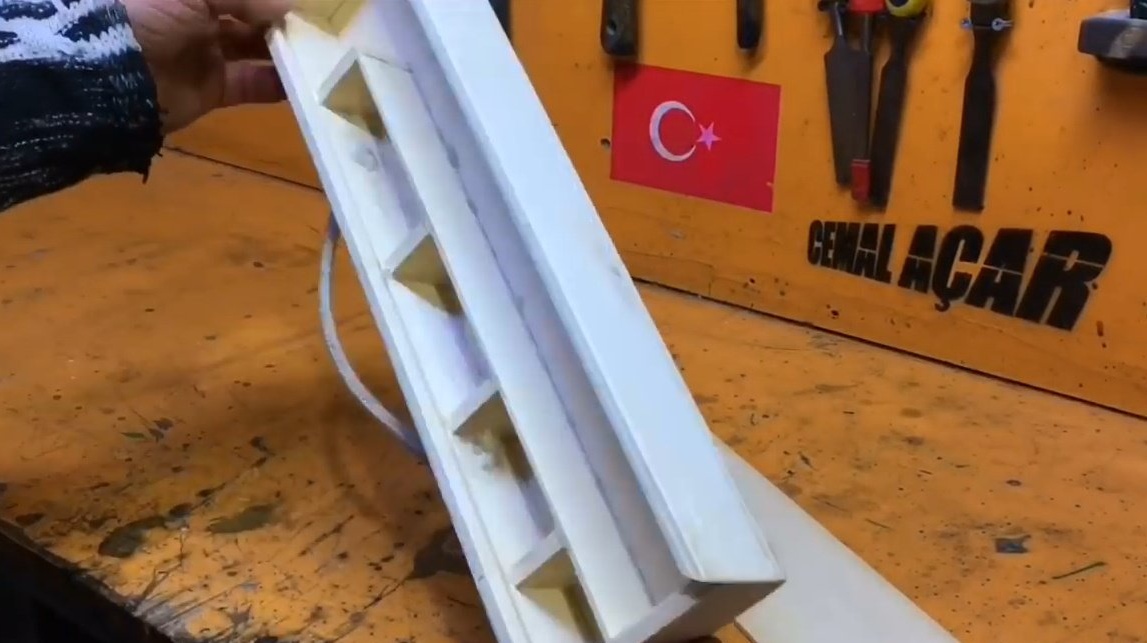
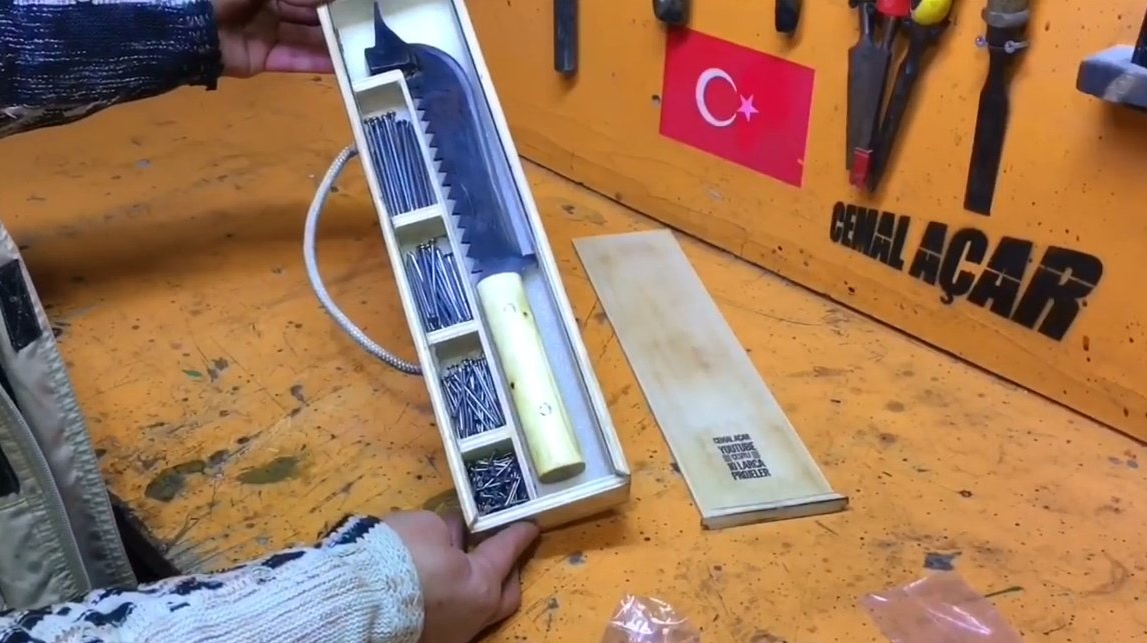
So the turn came to the box for this tool. The author cuts the side walls of sheet plywood.

Marks the slots for the retractable cover, and lowers the circular saw blade. Cuts out grooves.
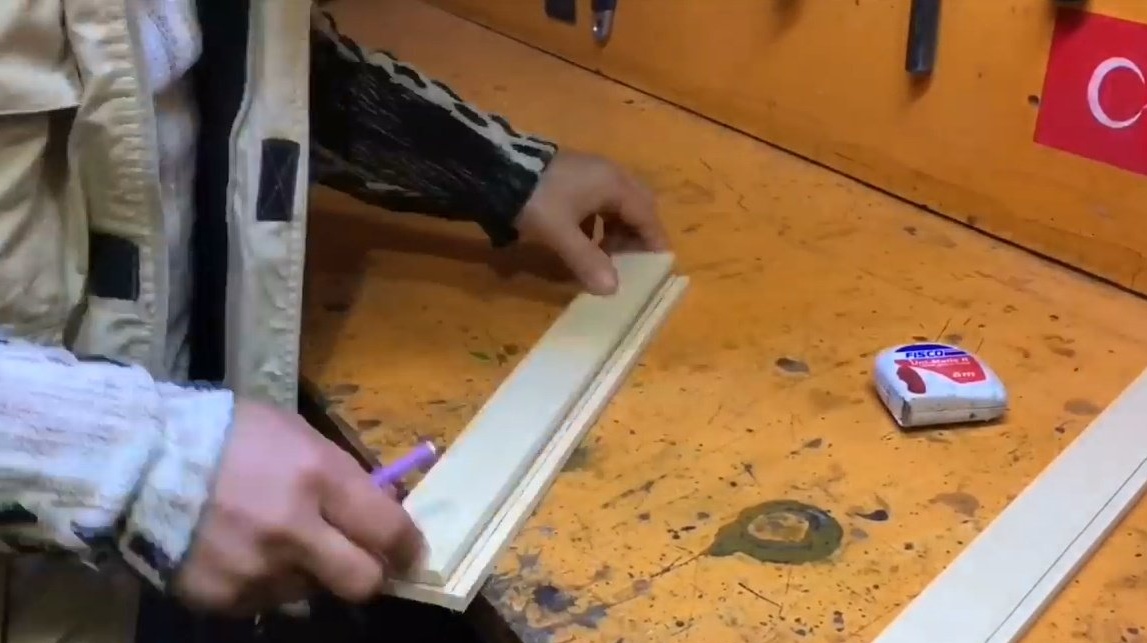
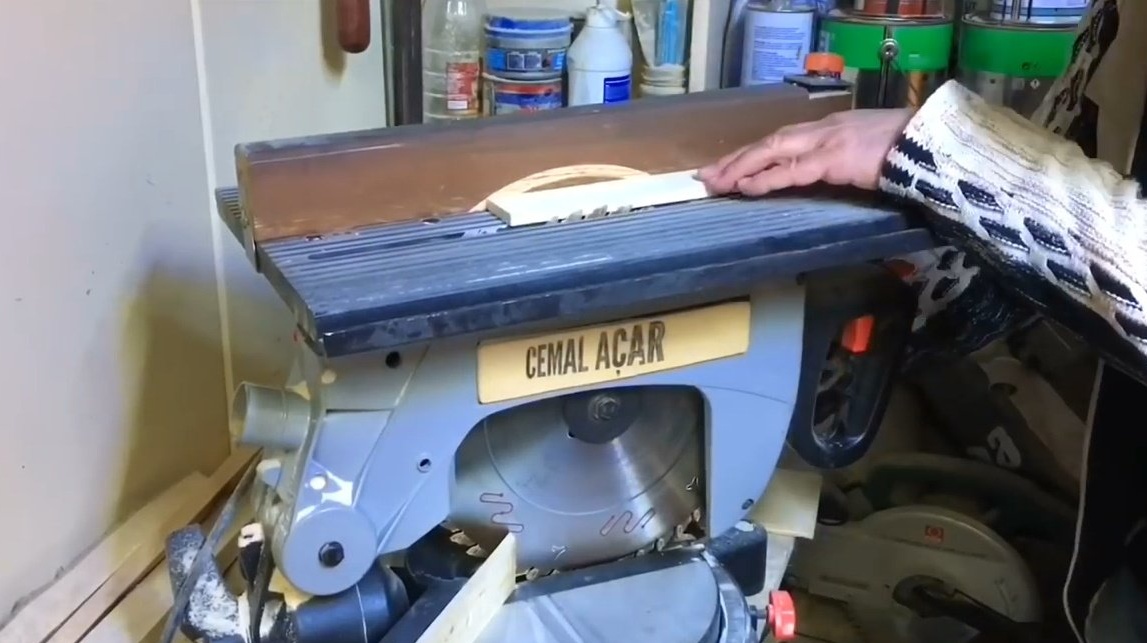
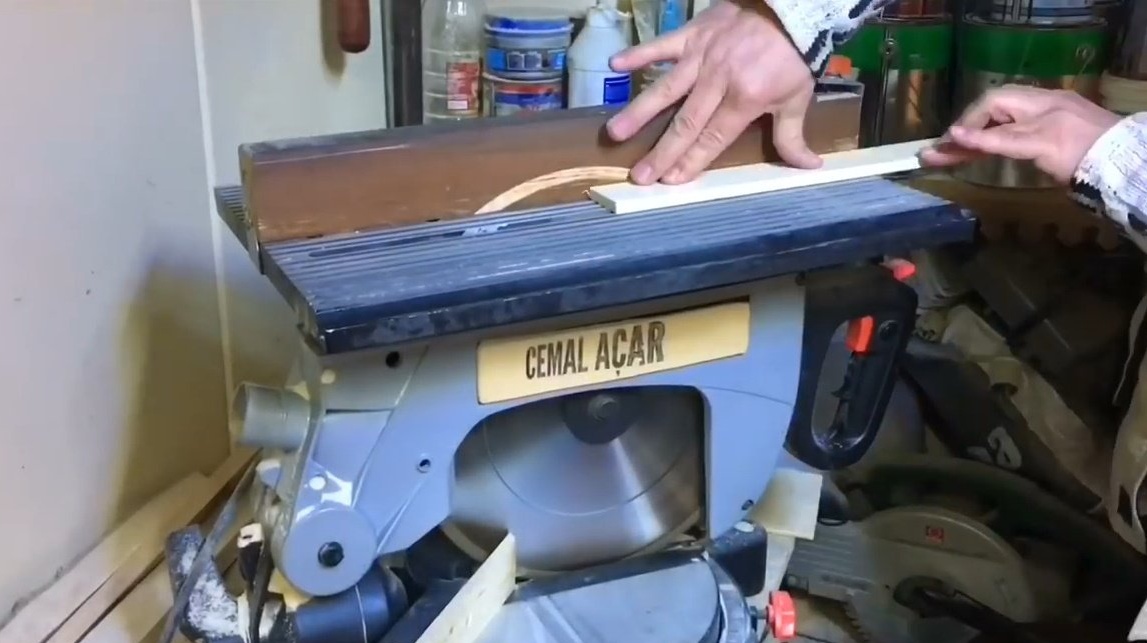
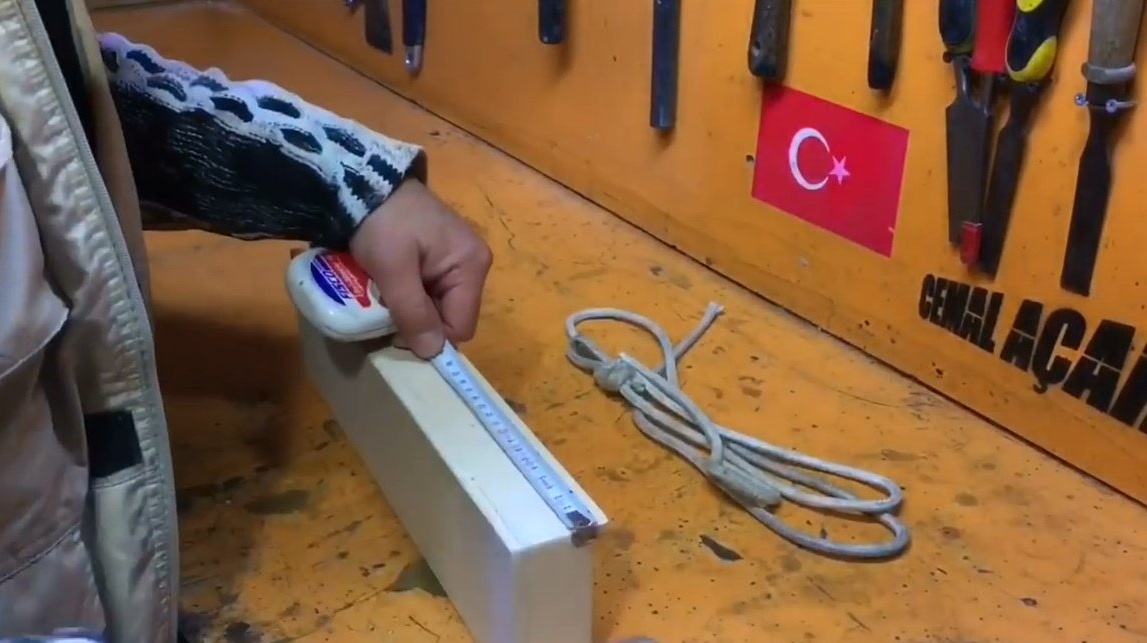
Now trying on the cover and the required size of small walls.
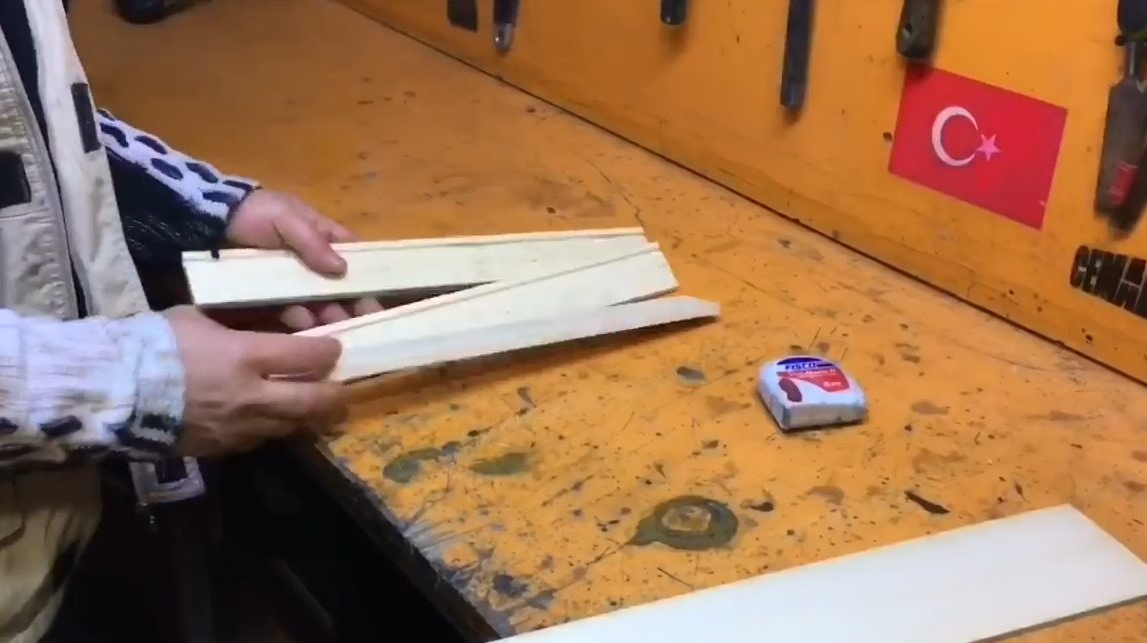
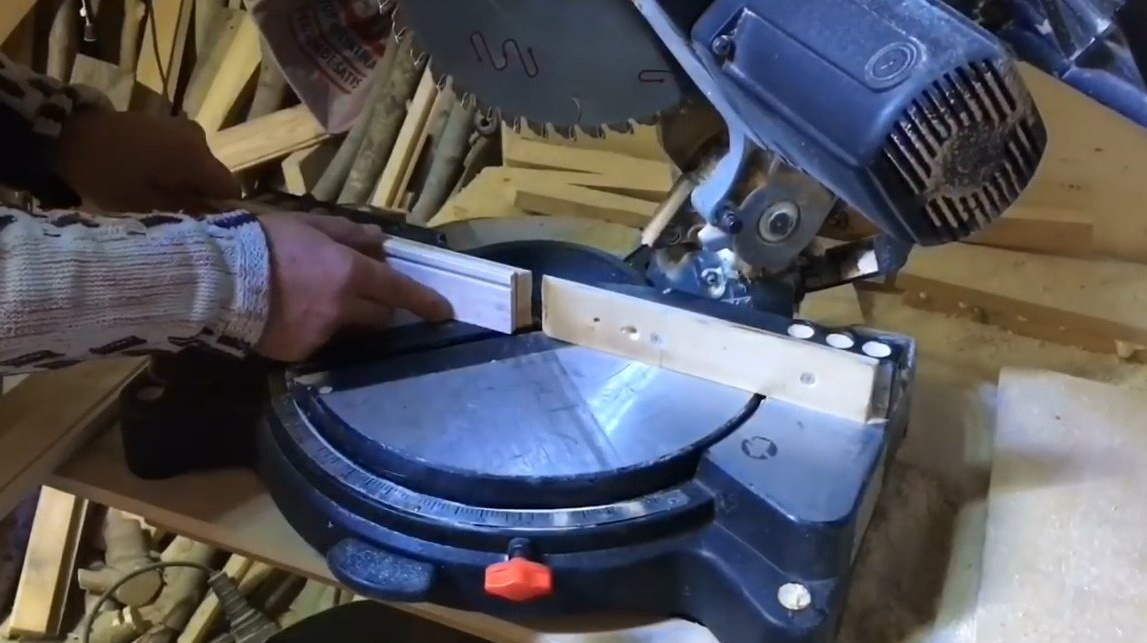
Cuts all ends of the sides at an angle of 45 degrees.
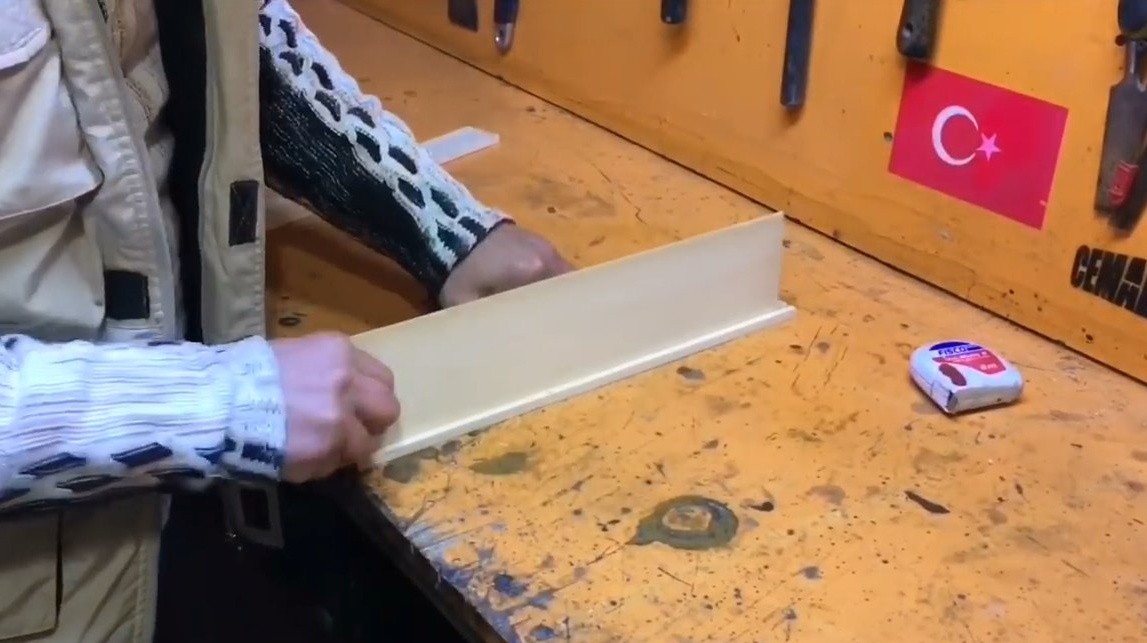
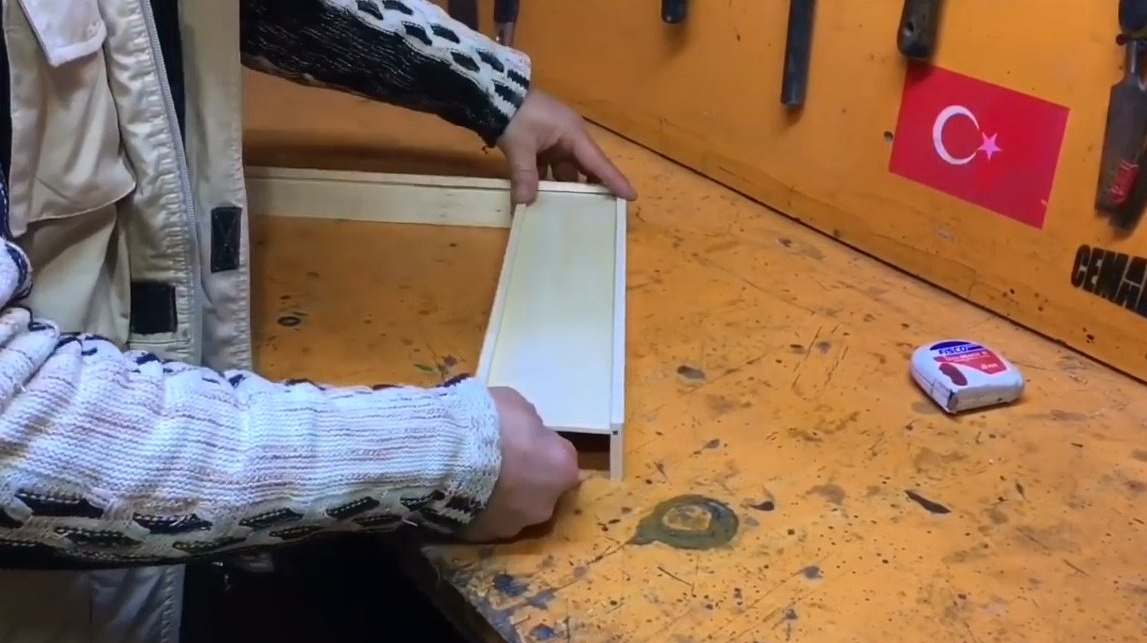
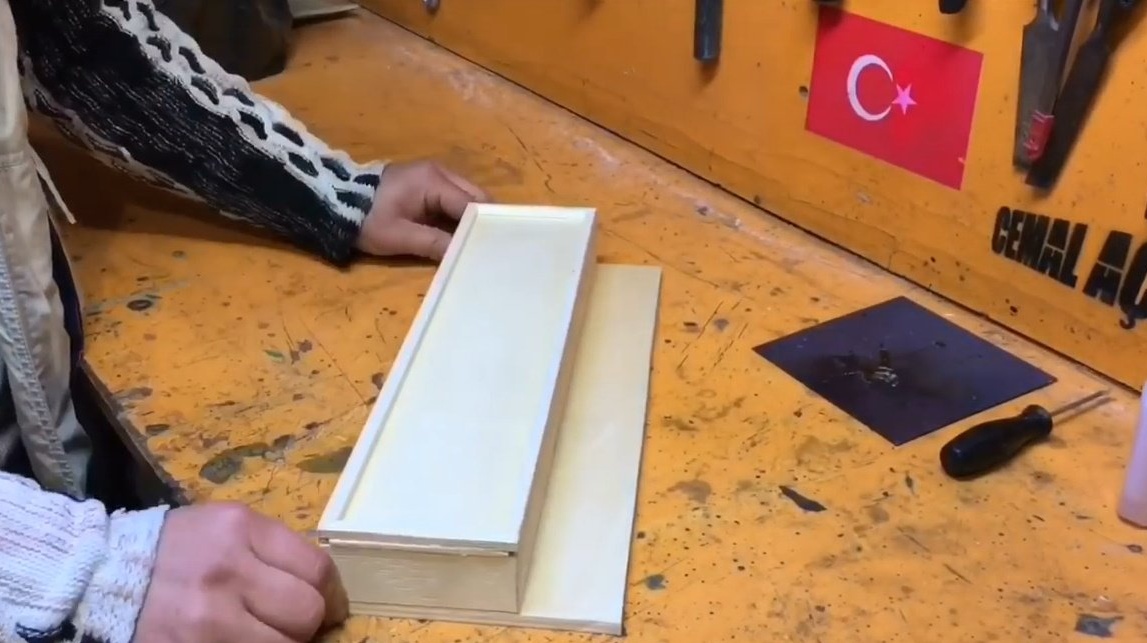
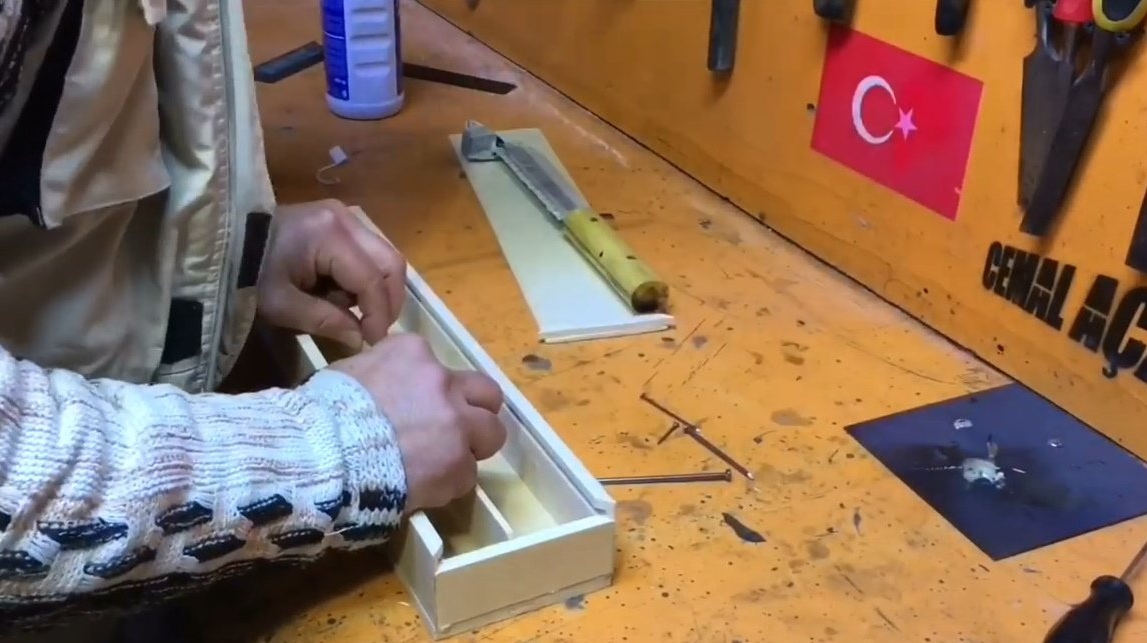
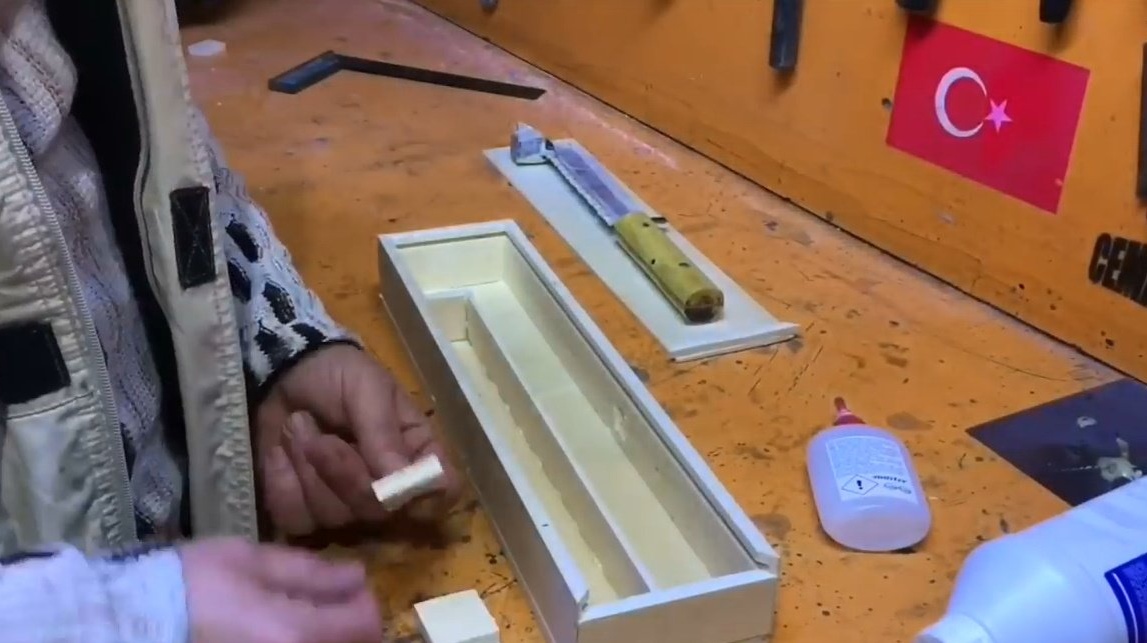
Glues the sides together using a two-component second glue.
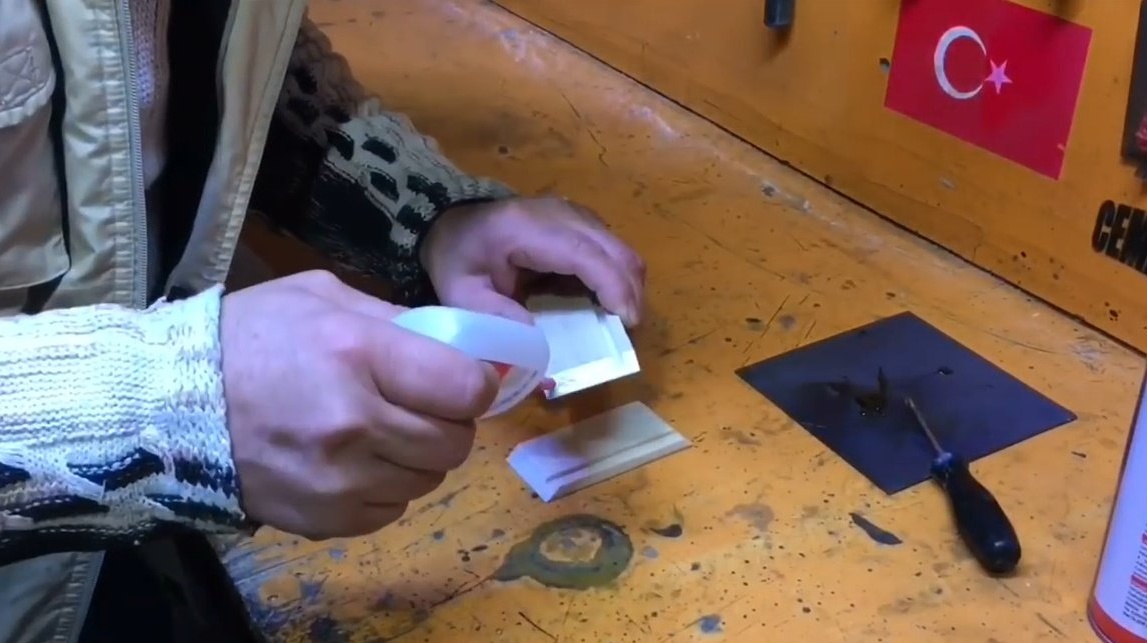
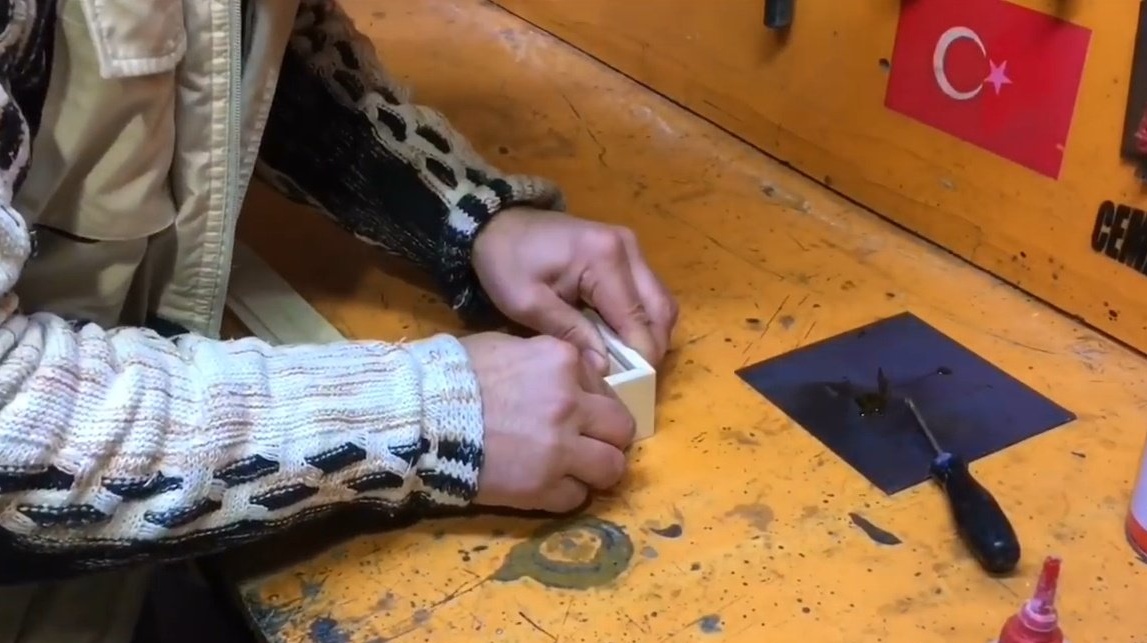

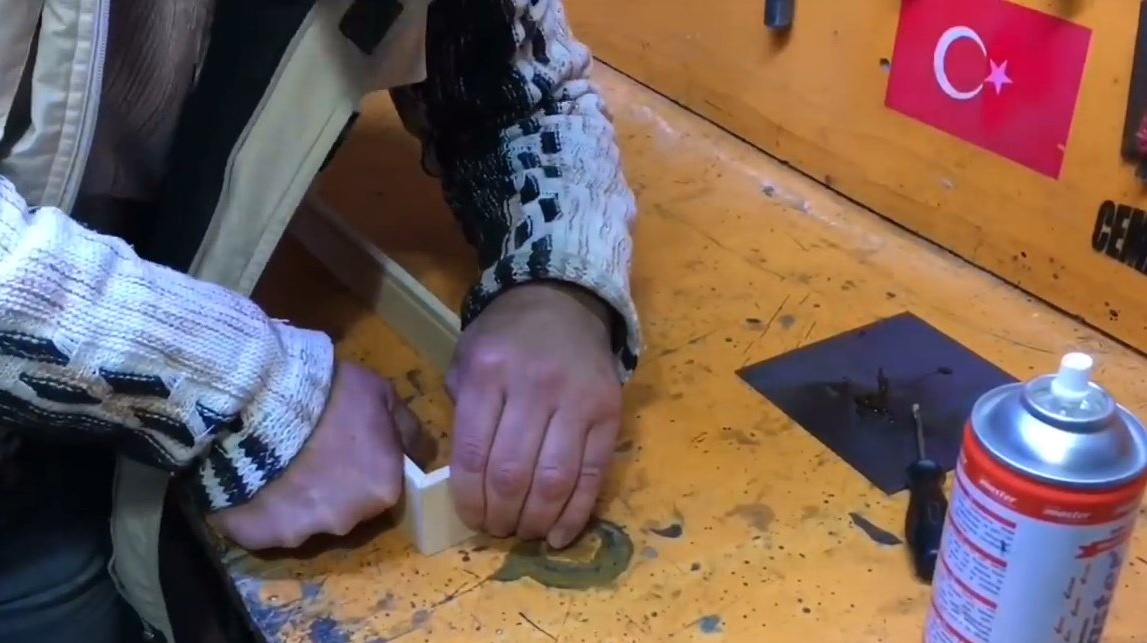
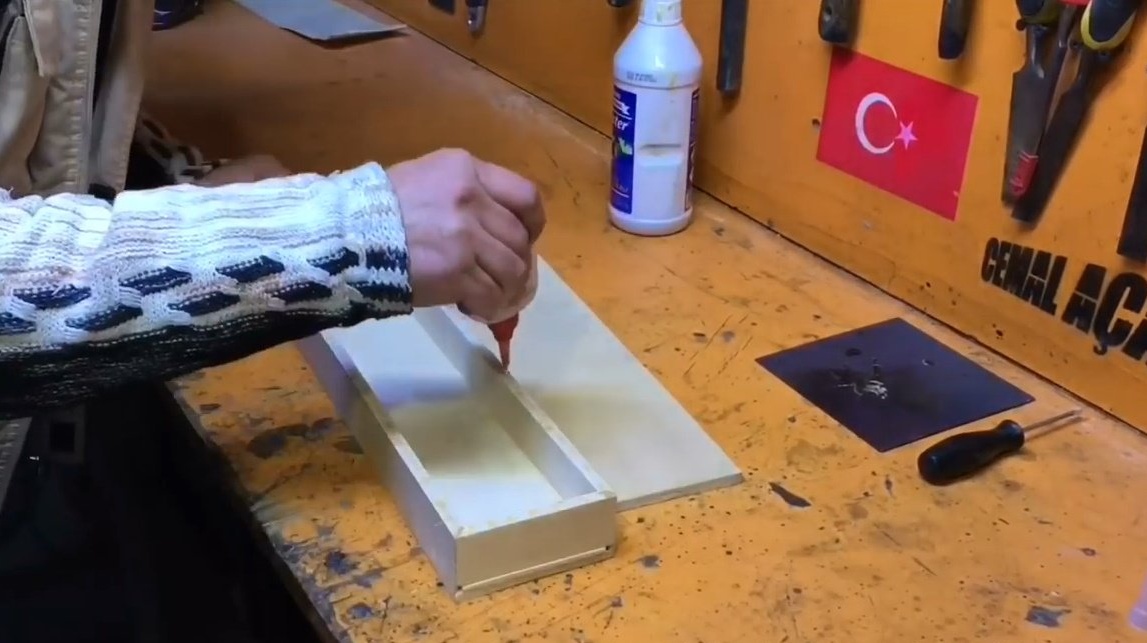
Then, inserting the lid into the grooves, glues a small side to its edge, for which it will be convenient to open it.
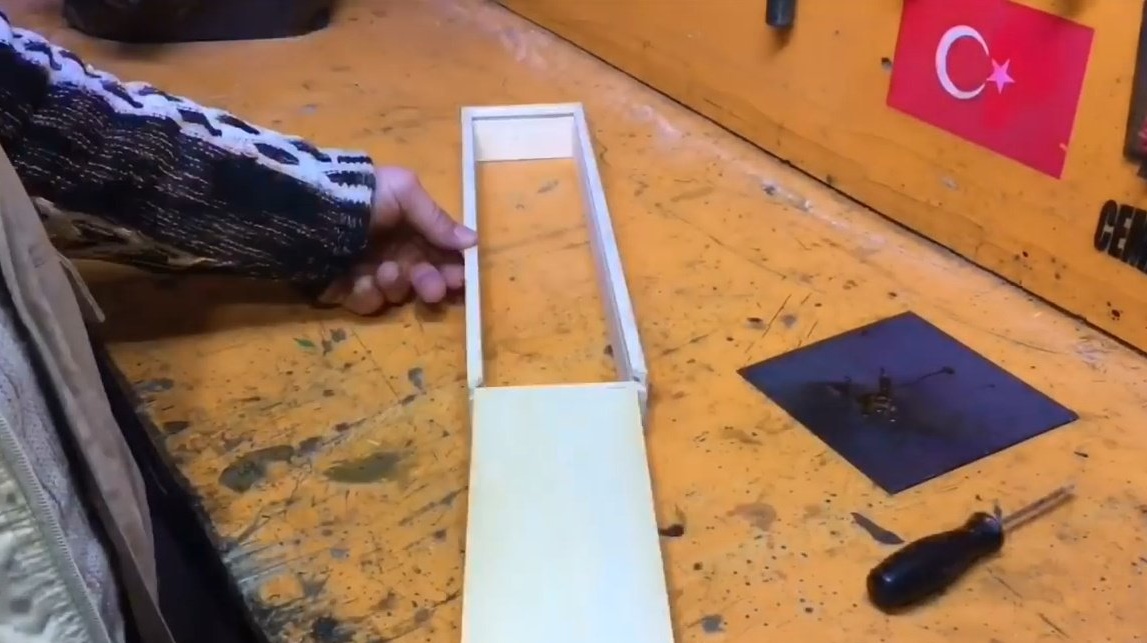

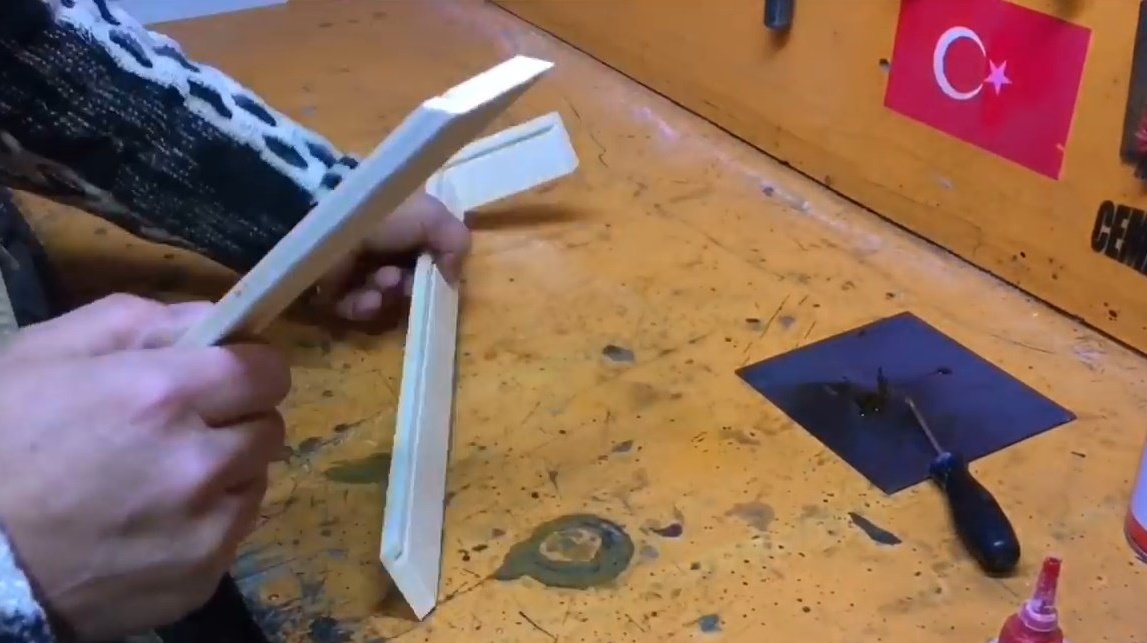
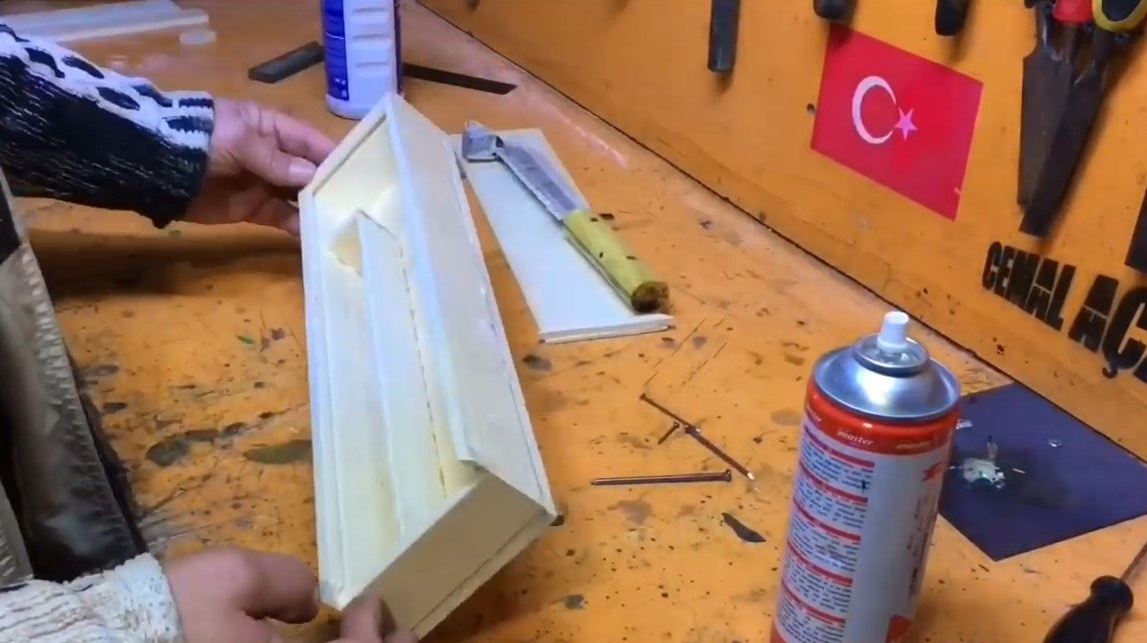
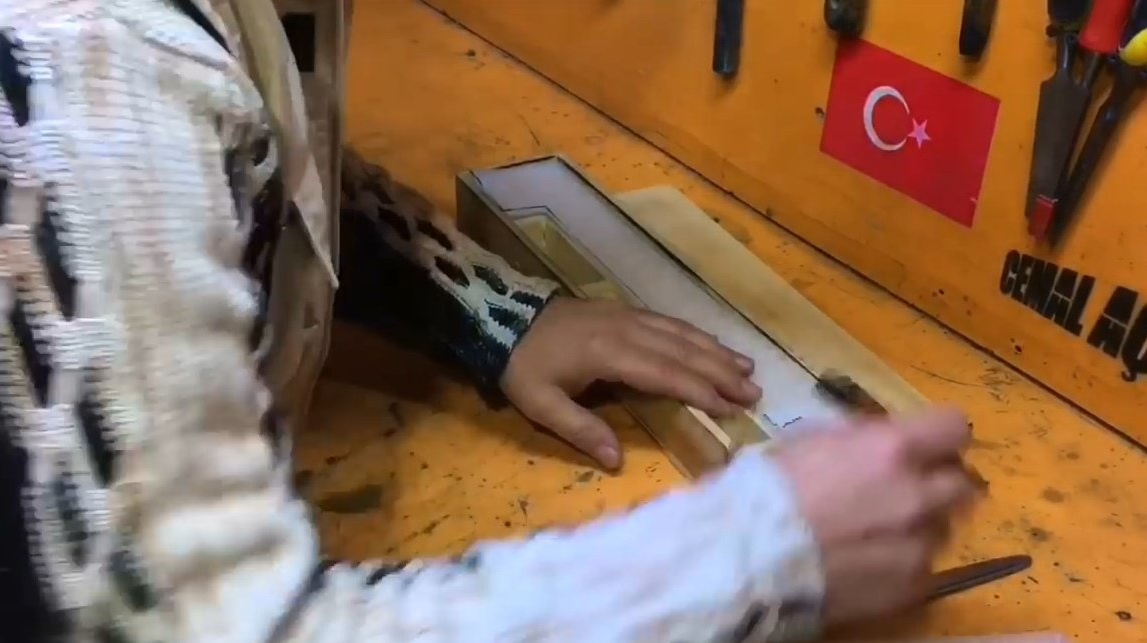
He tries on the finished case of the box to a sheet of plywood, cuts it off, and glues the resulting bottom.
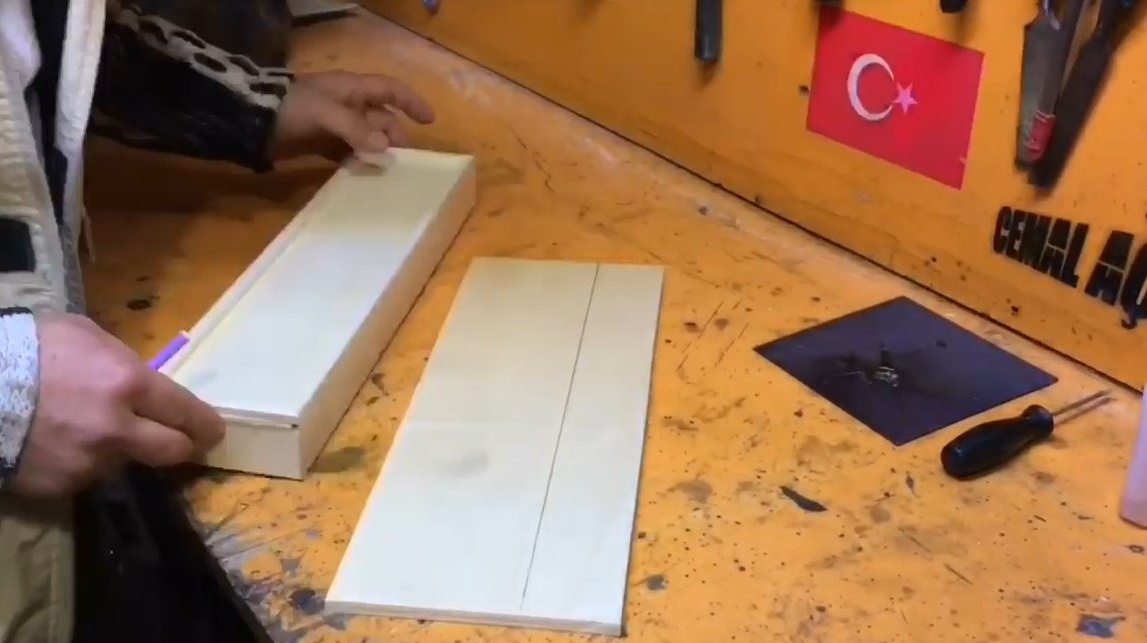
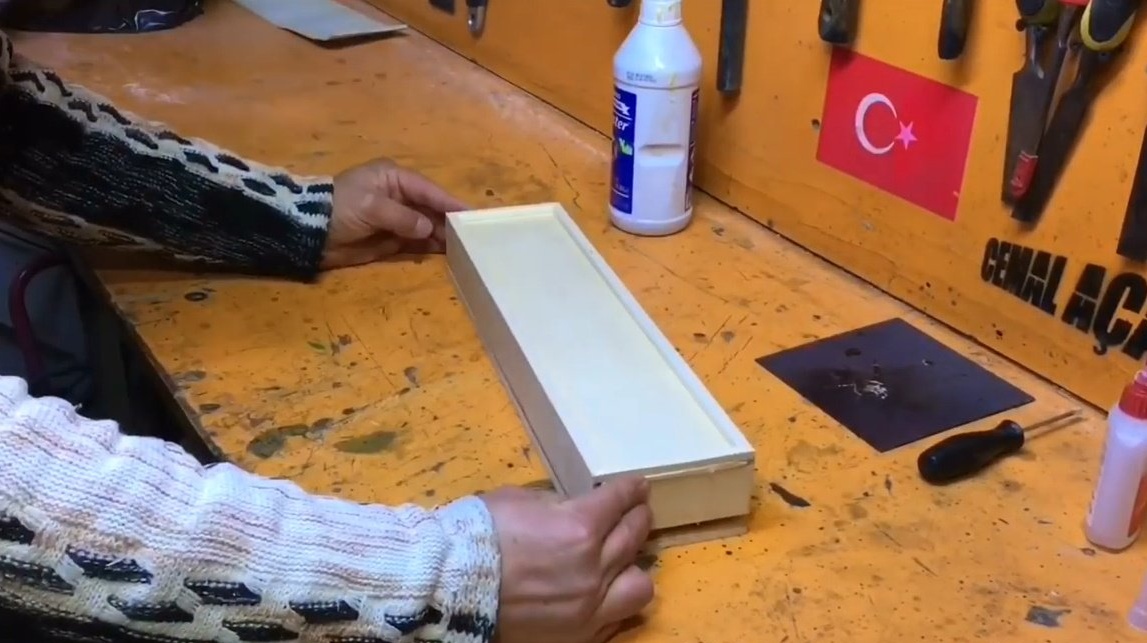
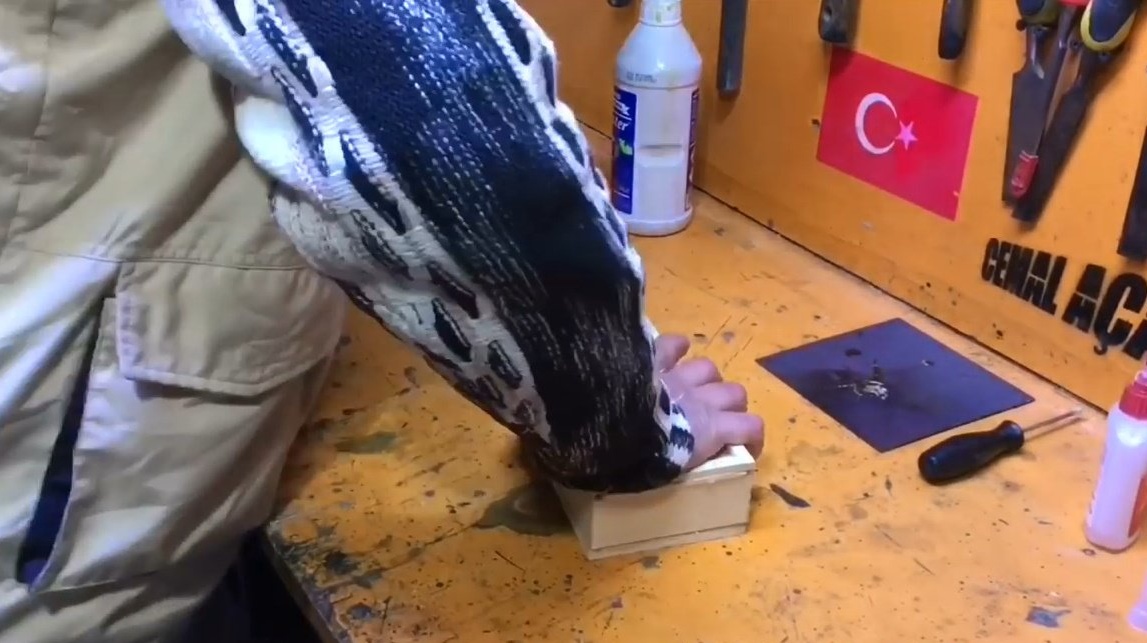
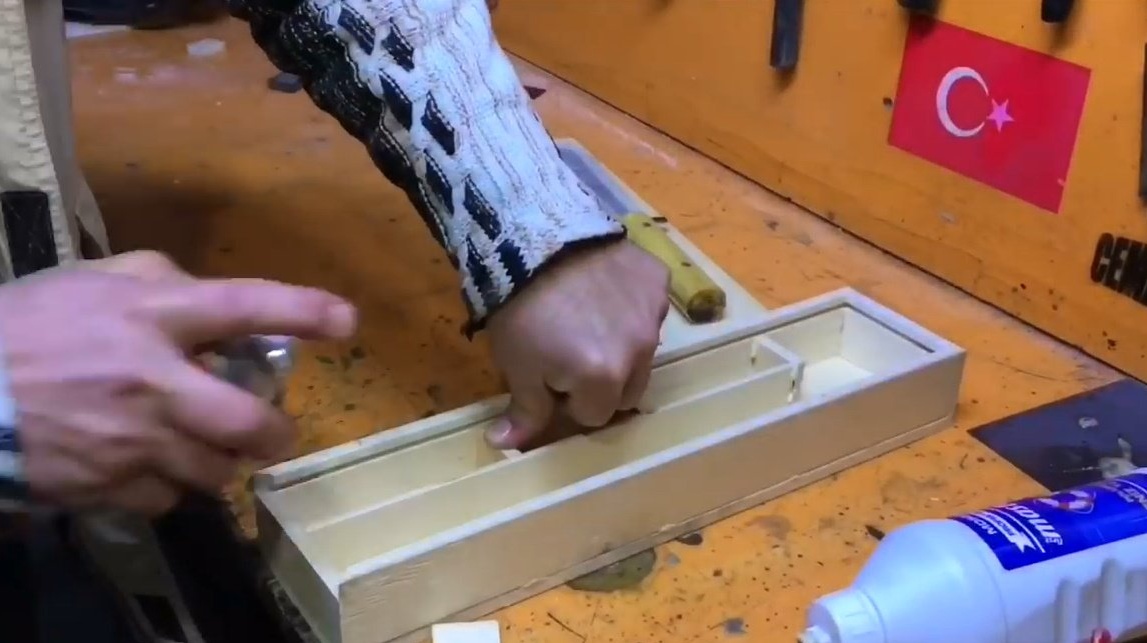
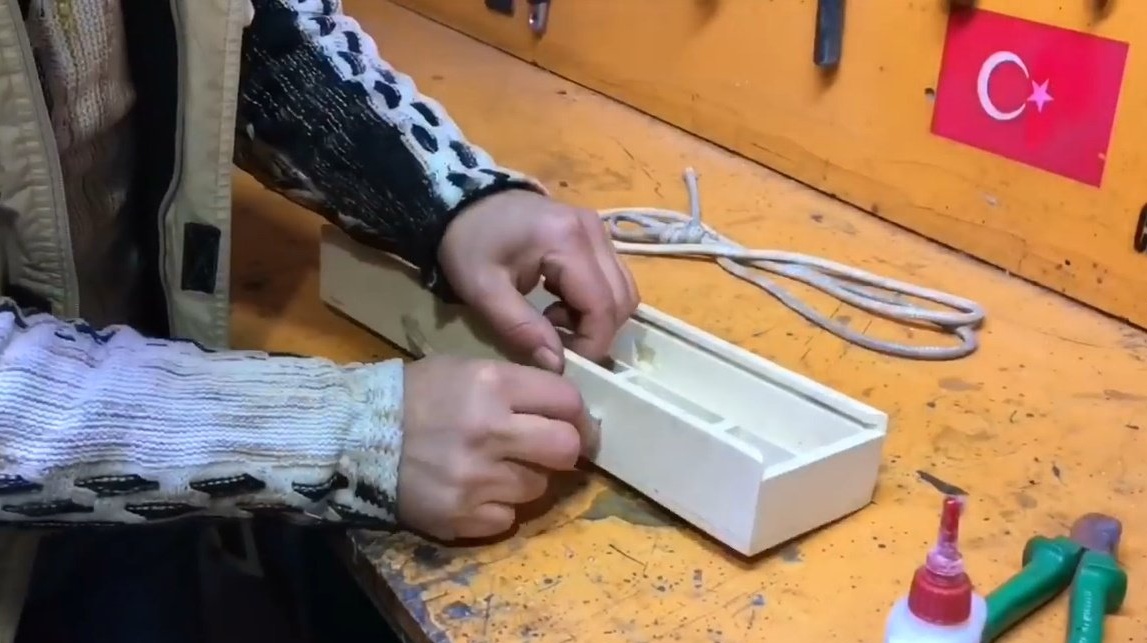
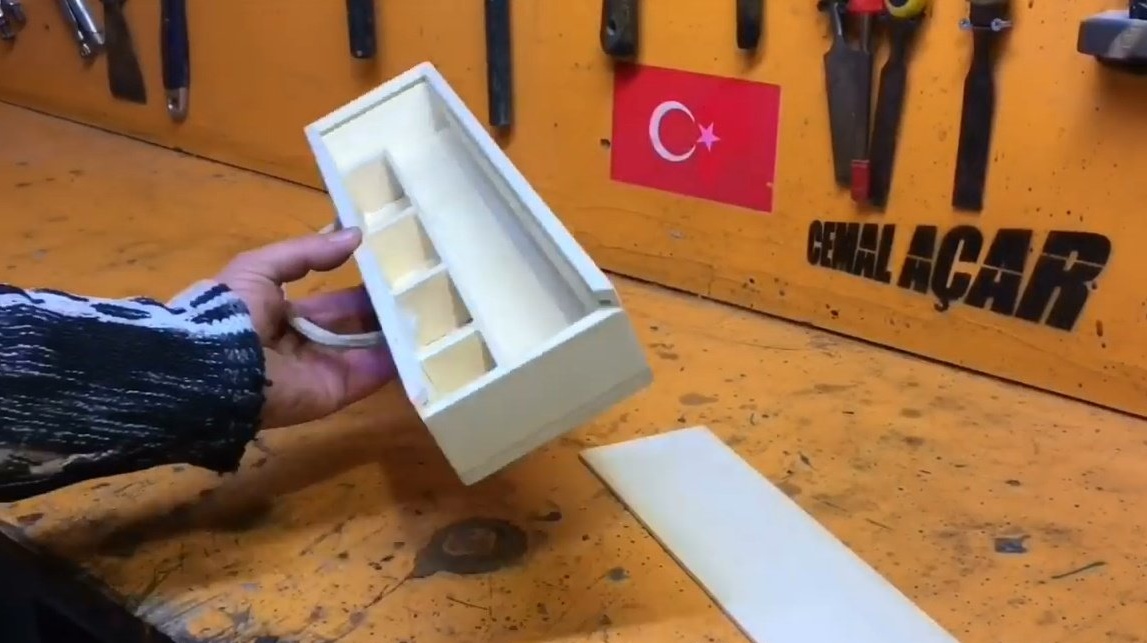
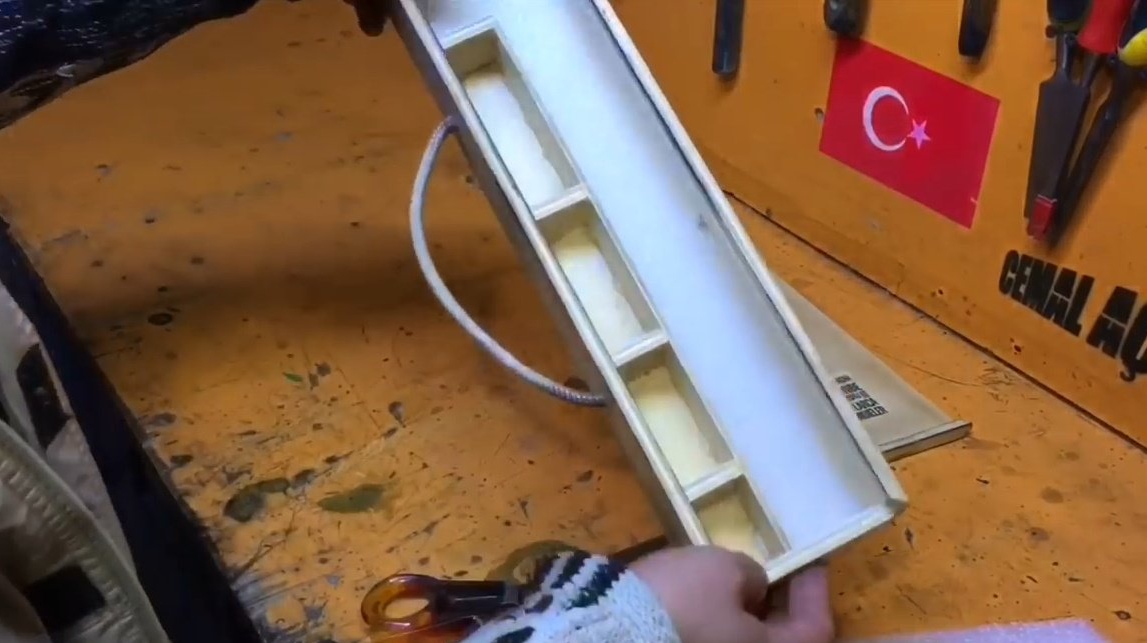
Forms internal compartments by installing partitions.
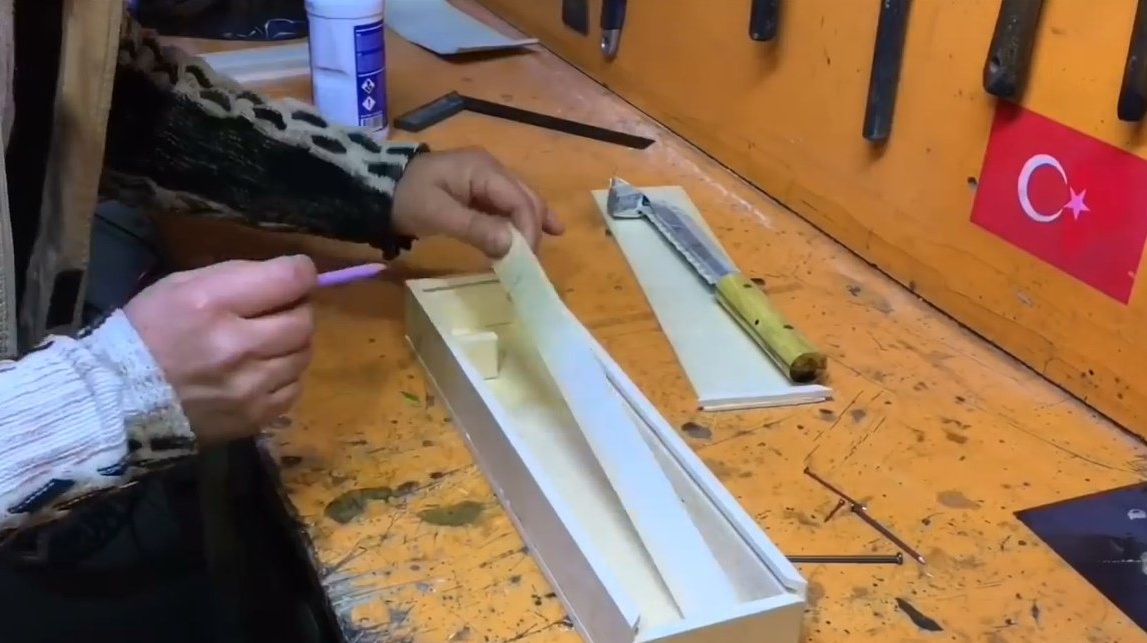
Then the large compartment is divided into three different sizes, gluing small partitions.
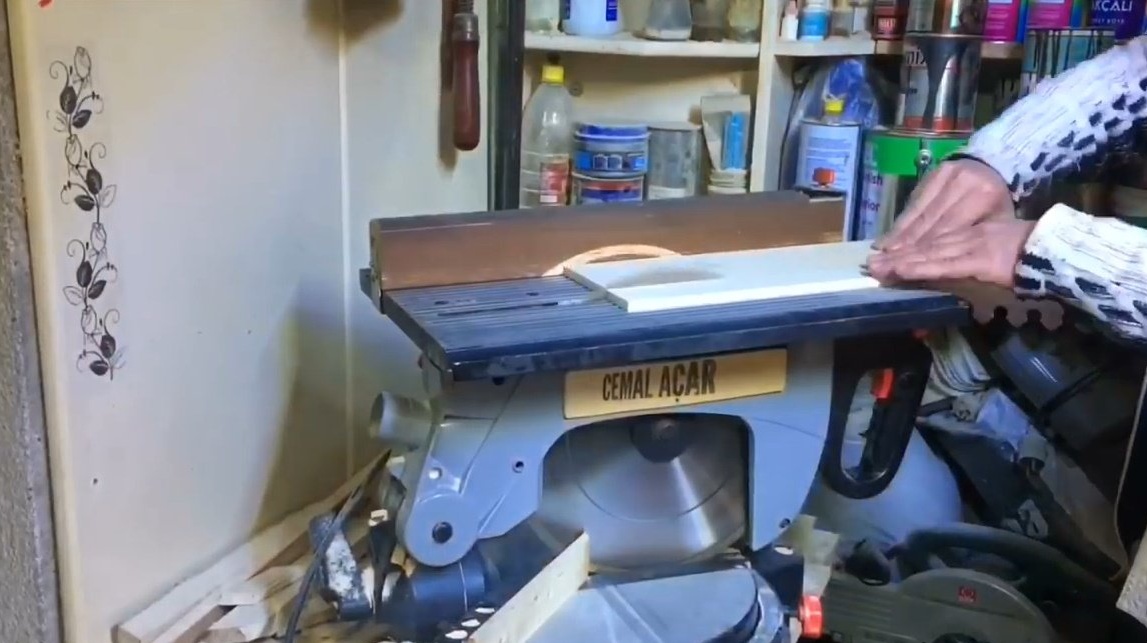
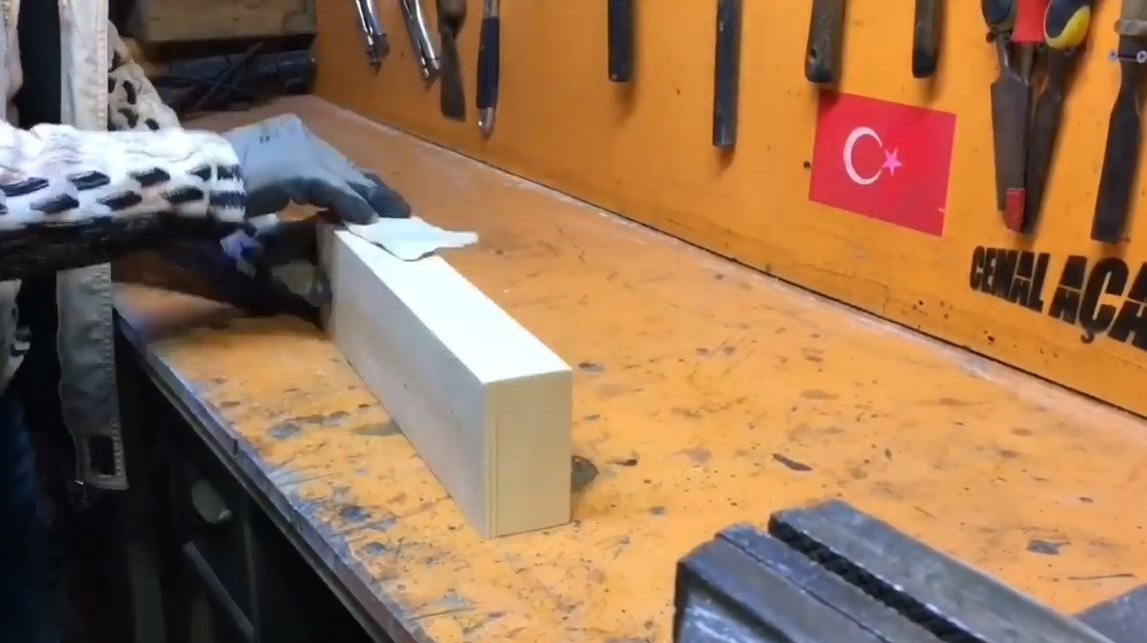
Polishes all joints with an orbital nozzle.
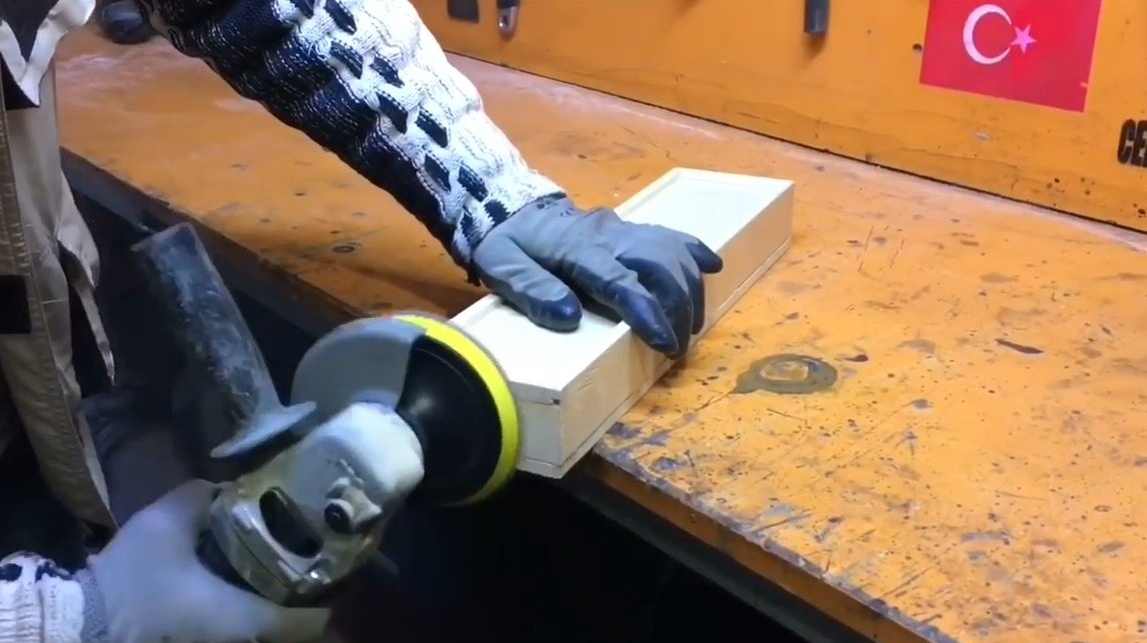
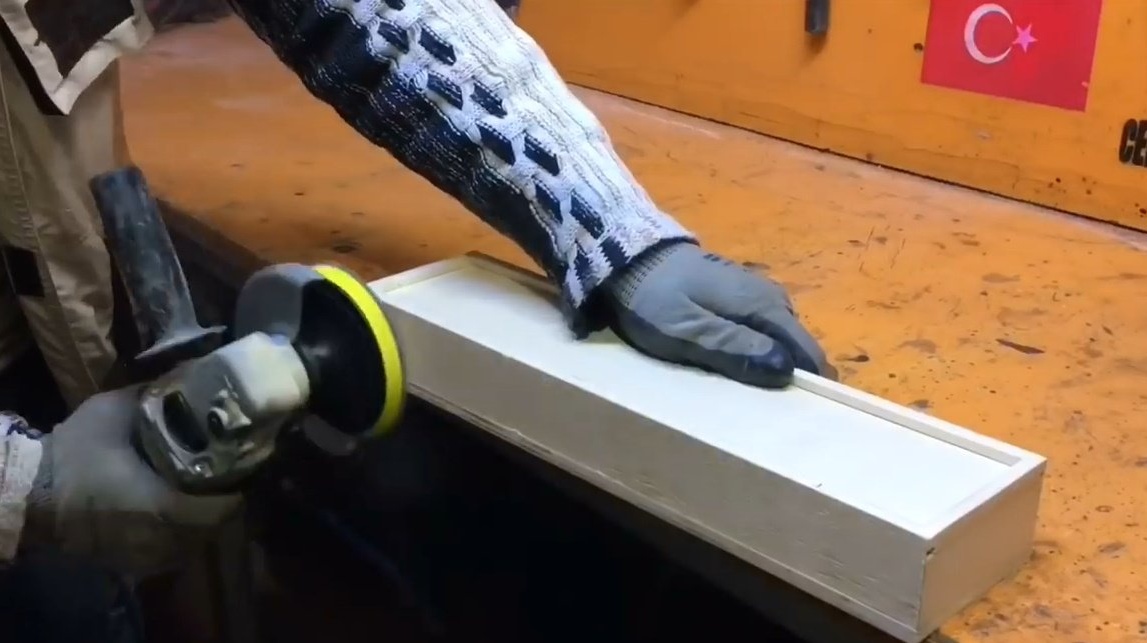
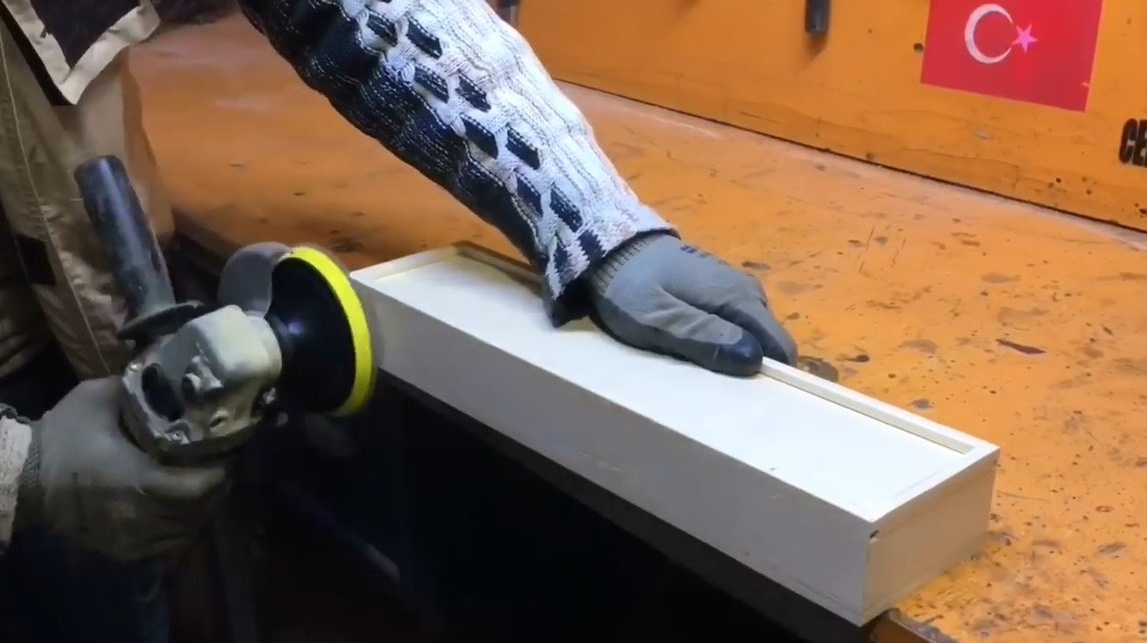
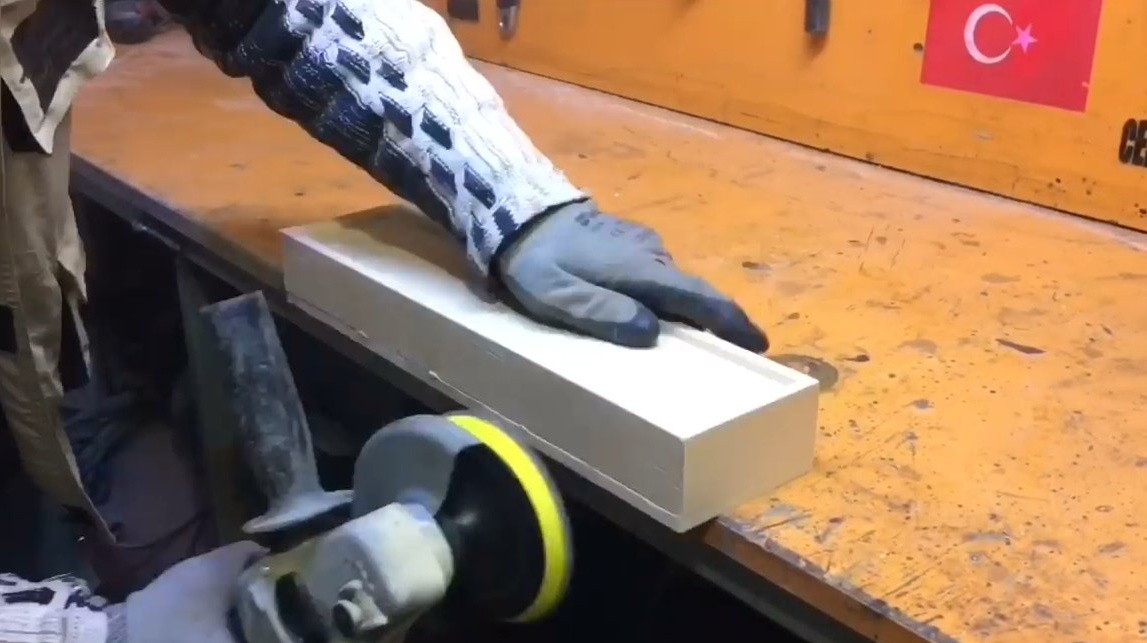
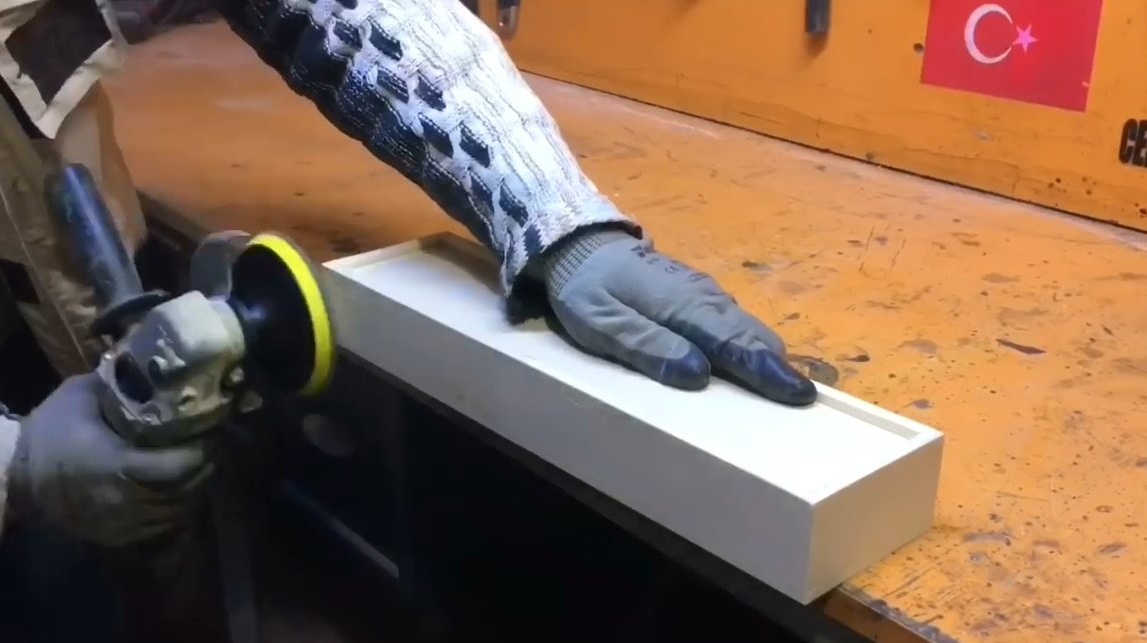
A little can be modified manually.
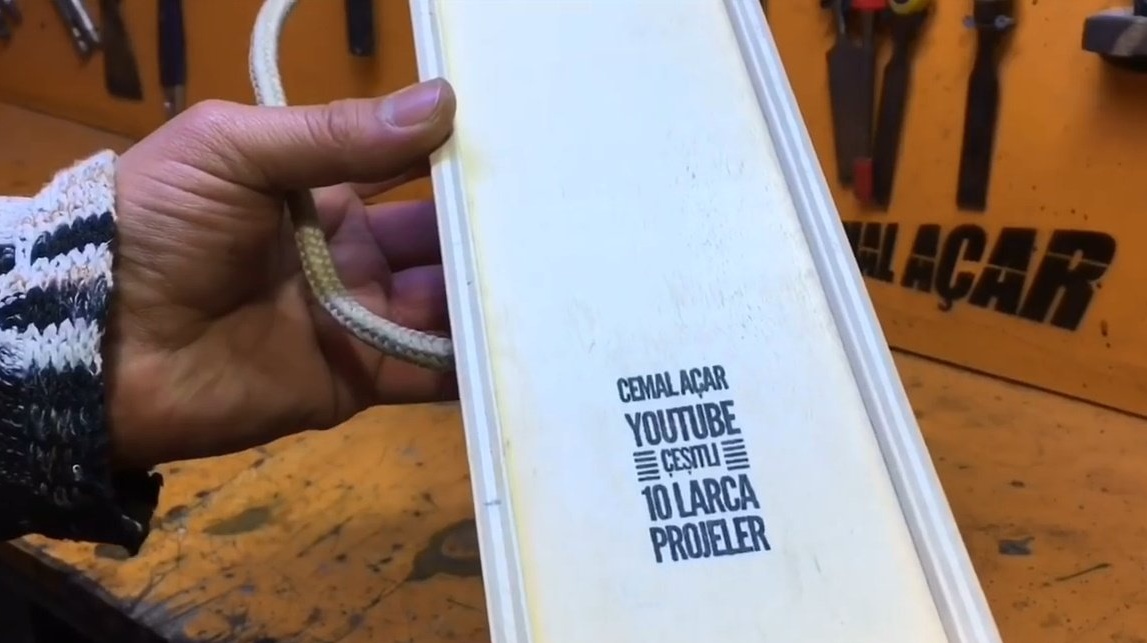
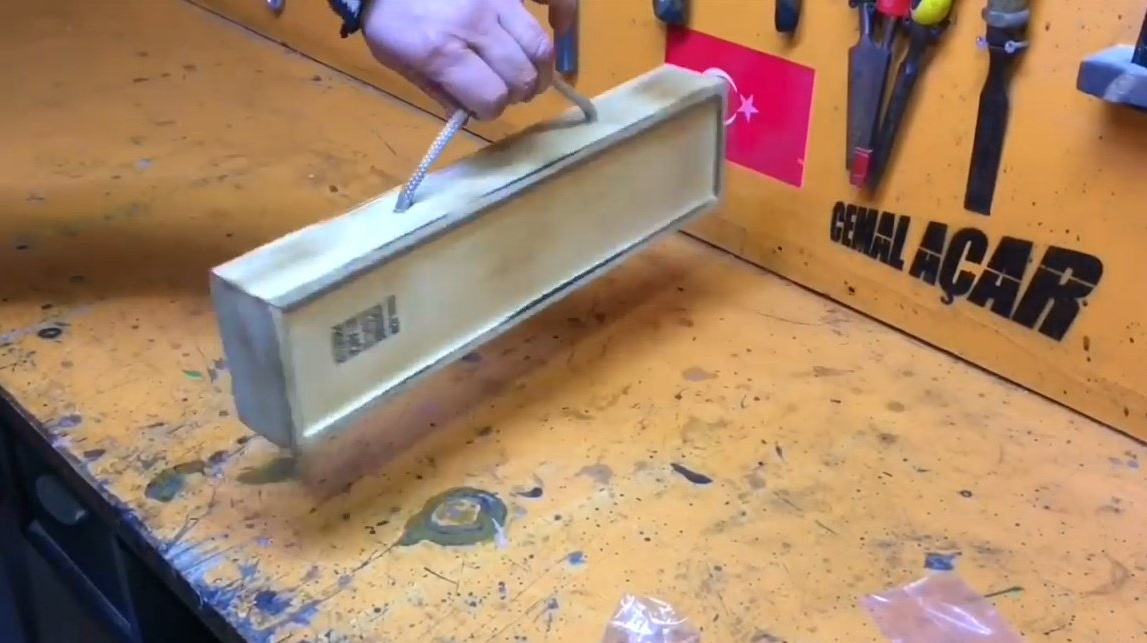
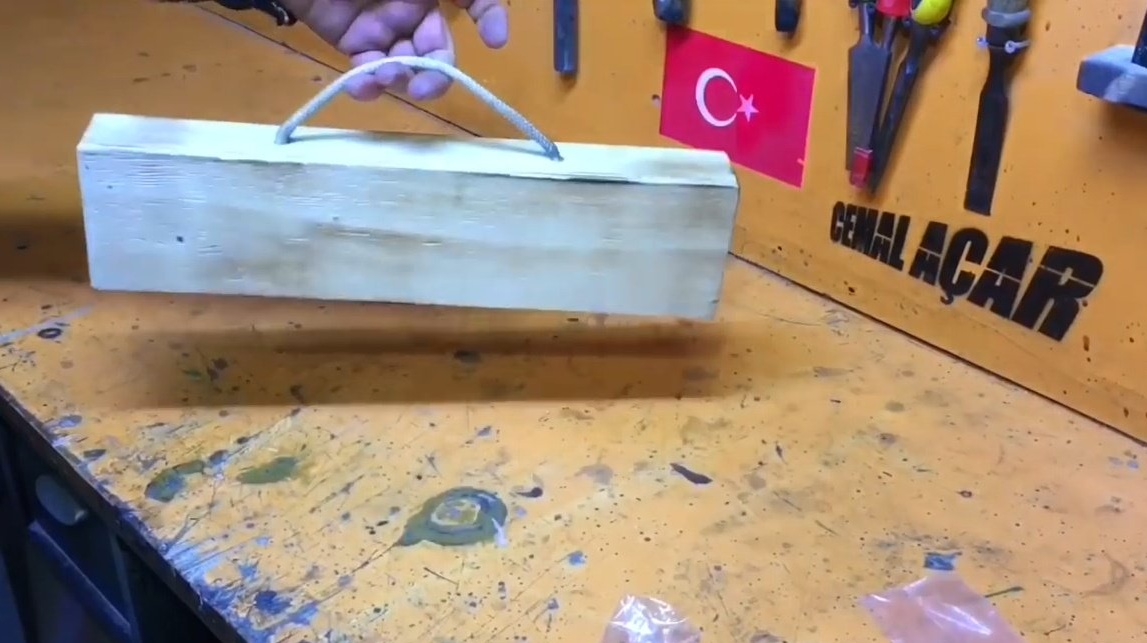
Now he drills holes for the handle, which he will form from the rope.
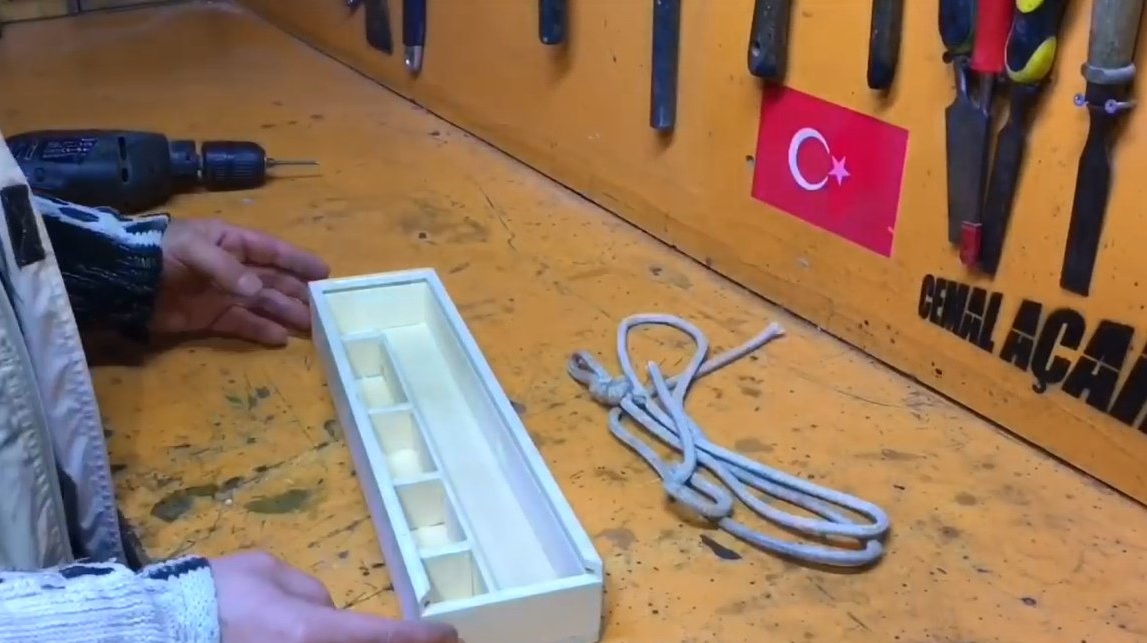

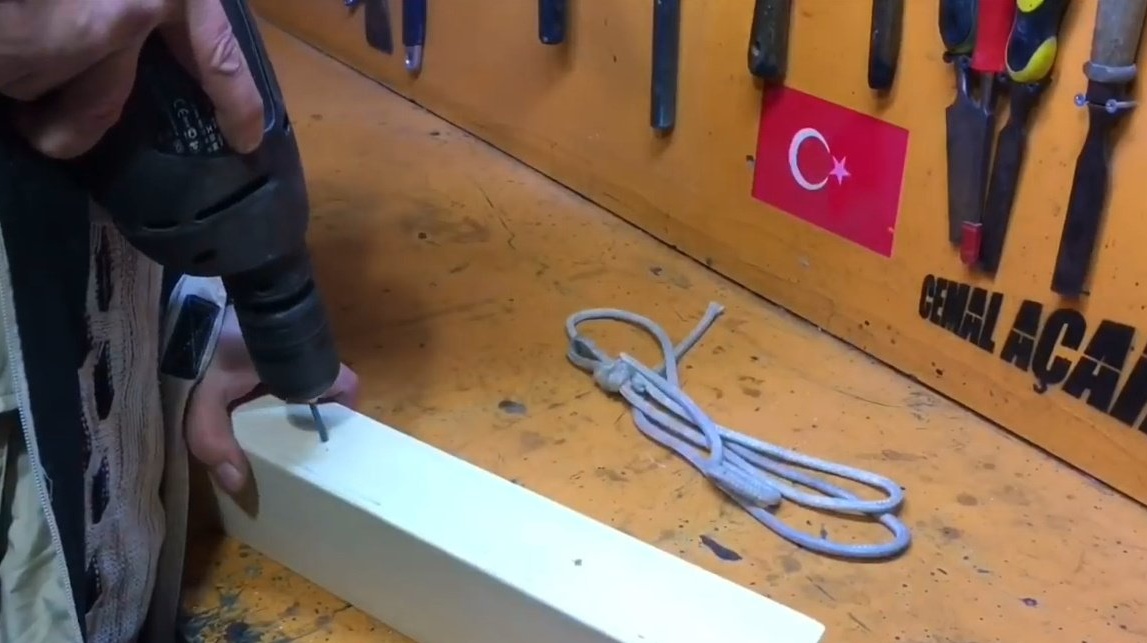
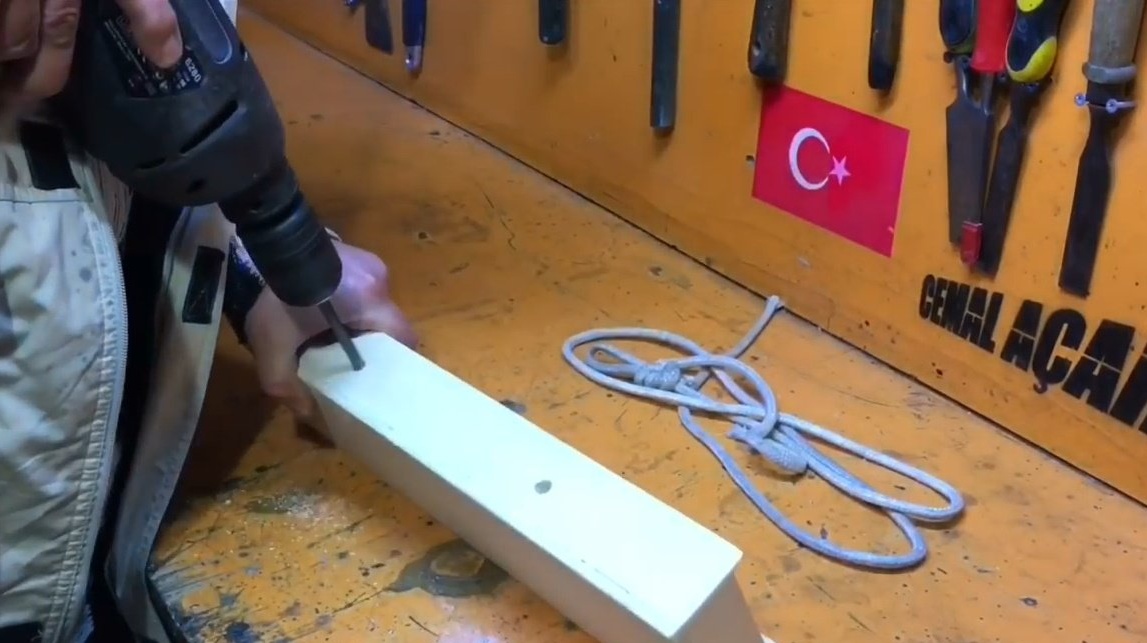
Simply glues the edges of the rope into the holes for a second glue.

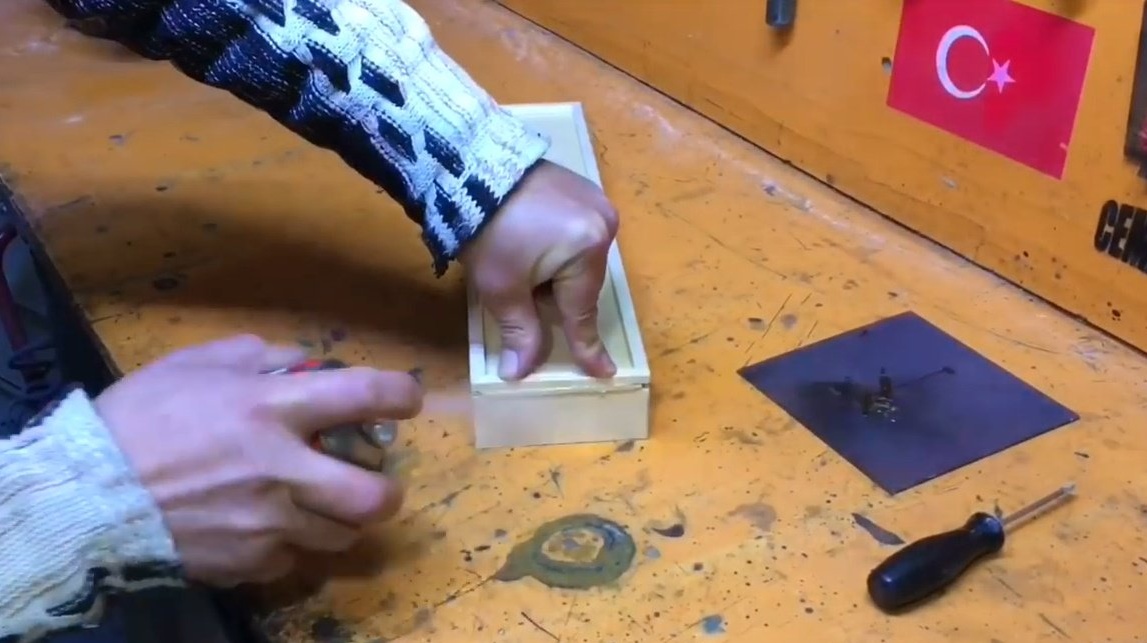
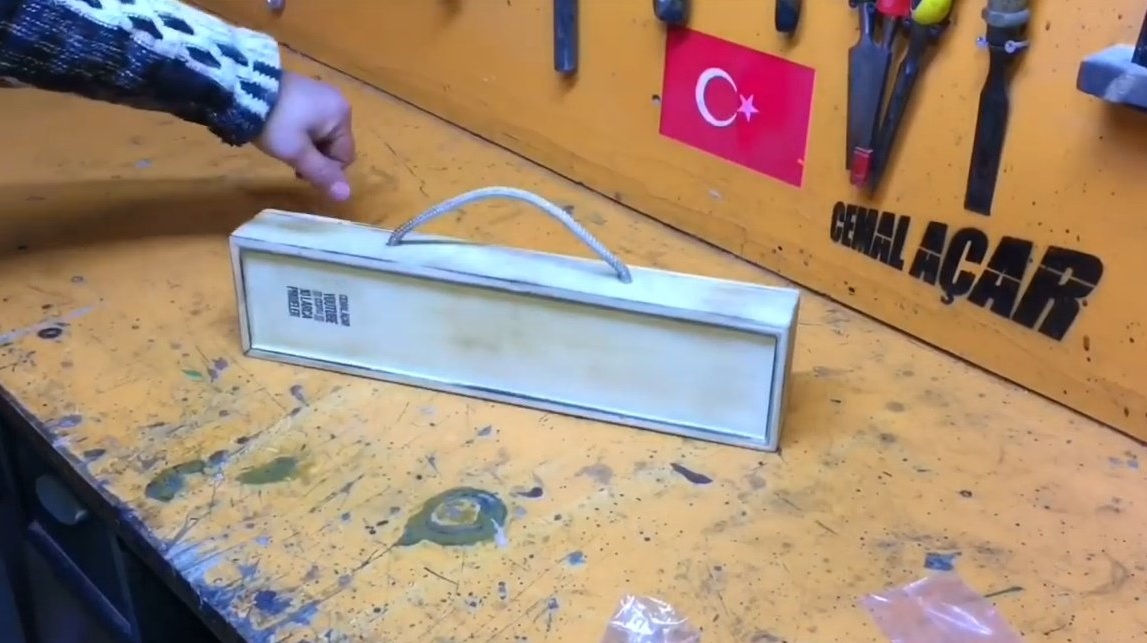
To give a special charm, slightly burns the surface of the box with a gas burner.
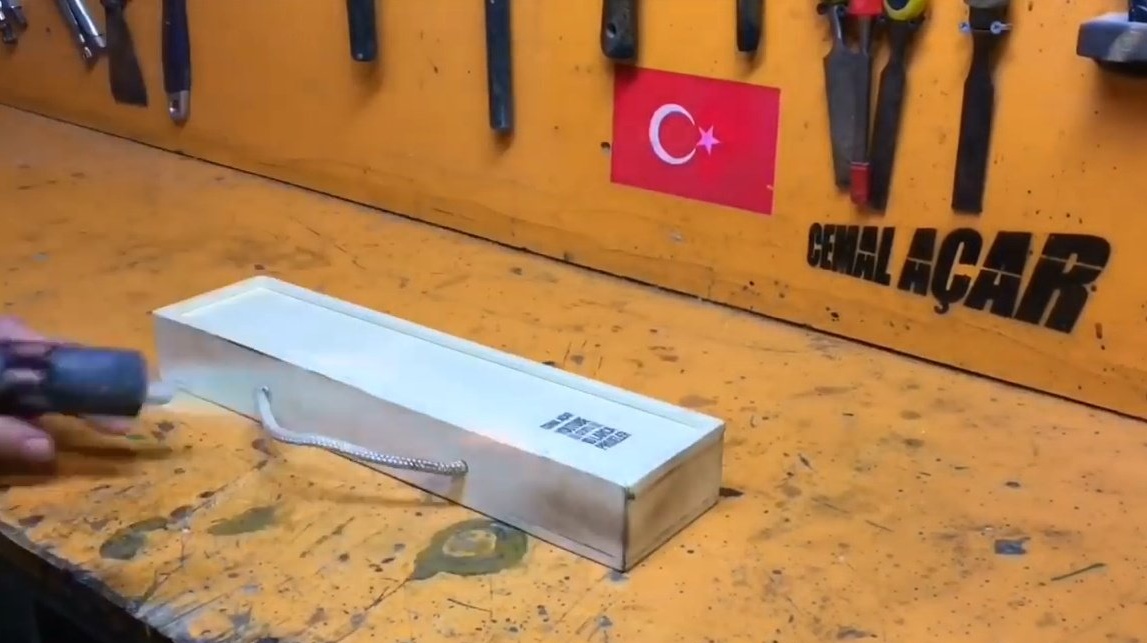
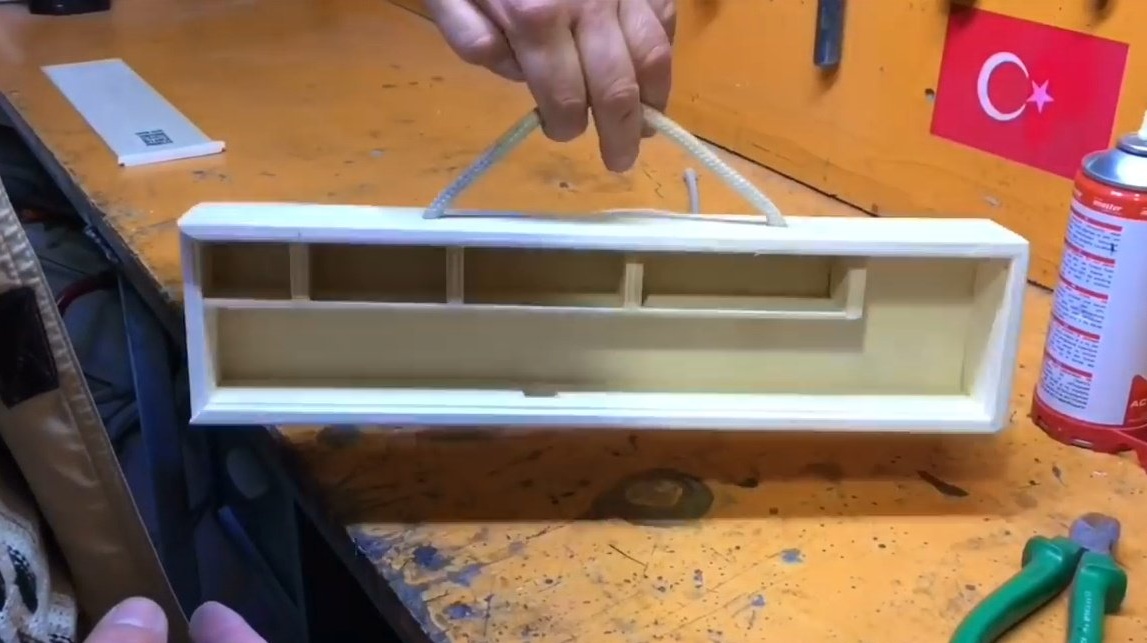
Open the surface of the box with varnish.
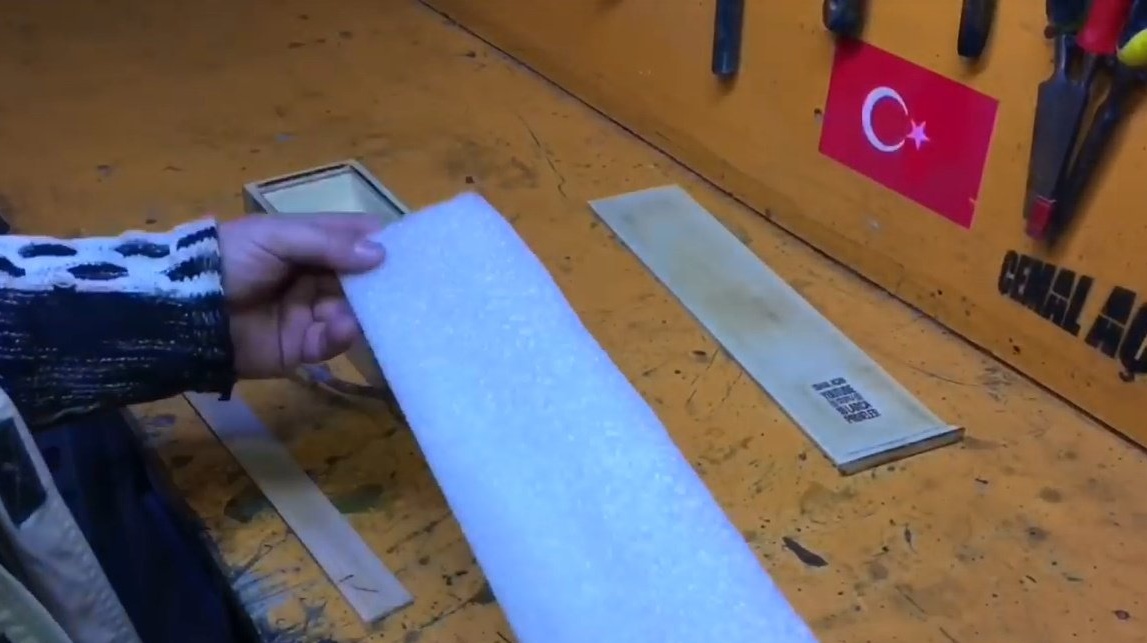
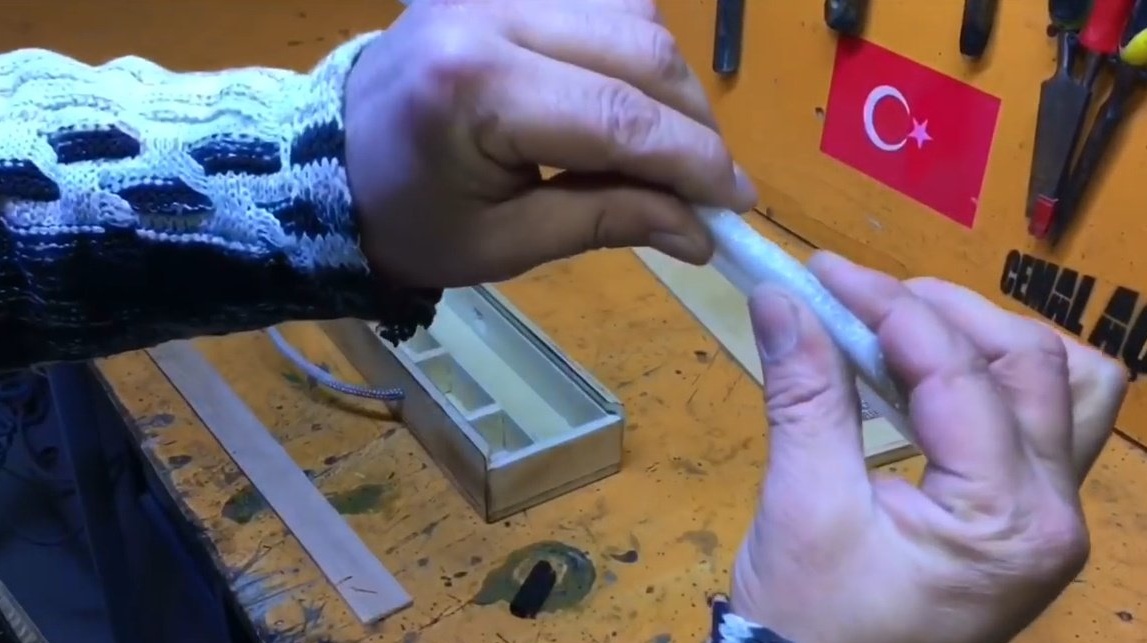
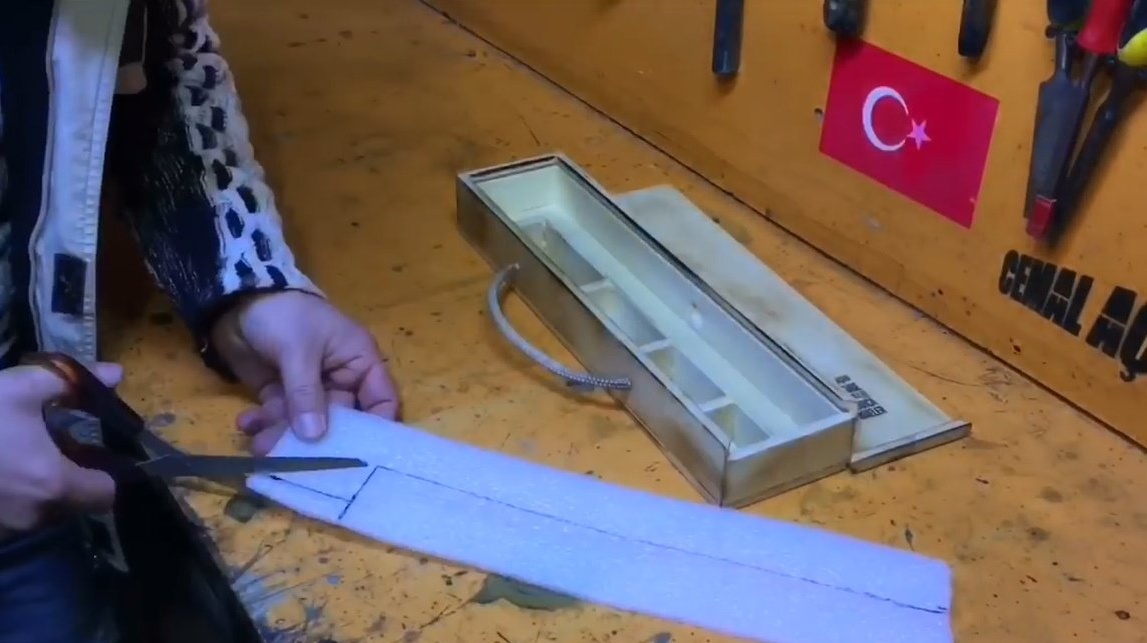
From the made foam polyurethane does a shock-absorbing lining.
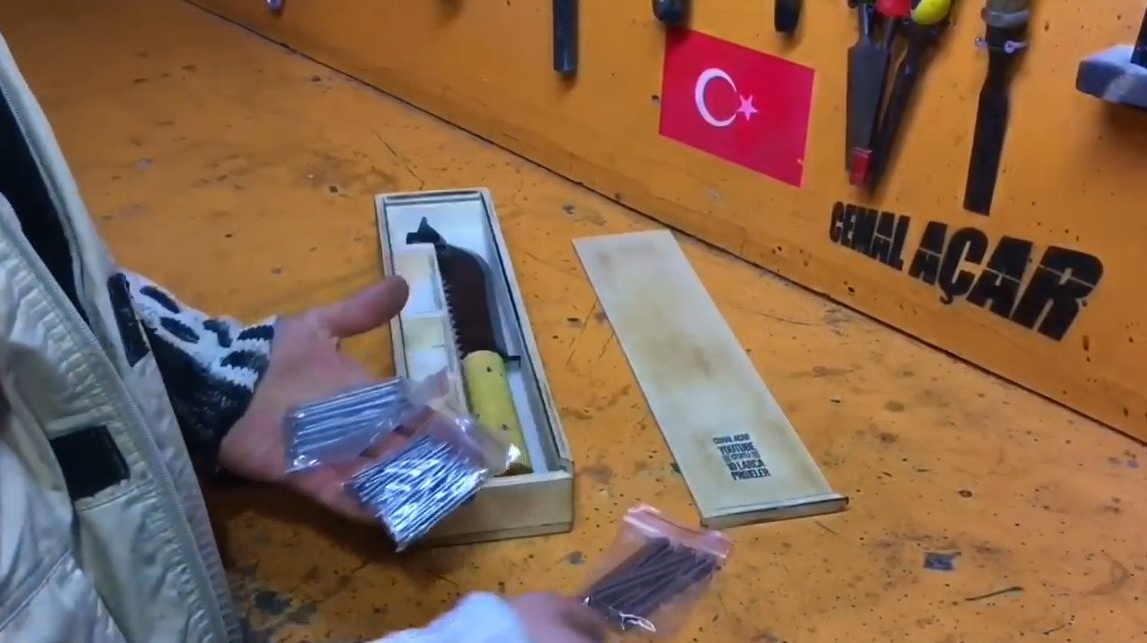
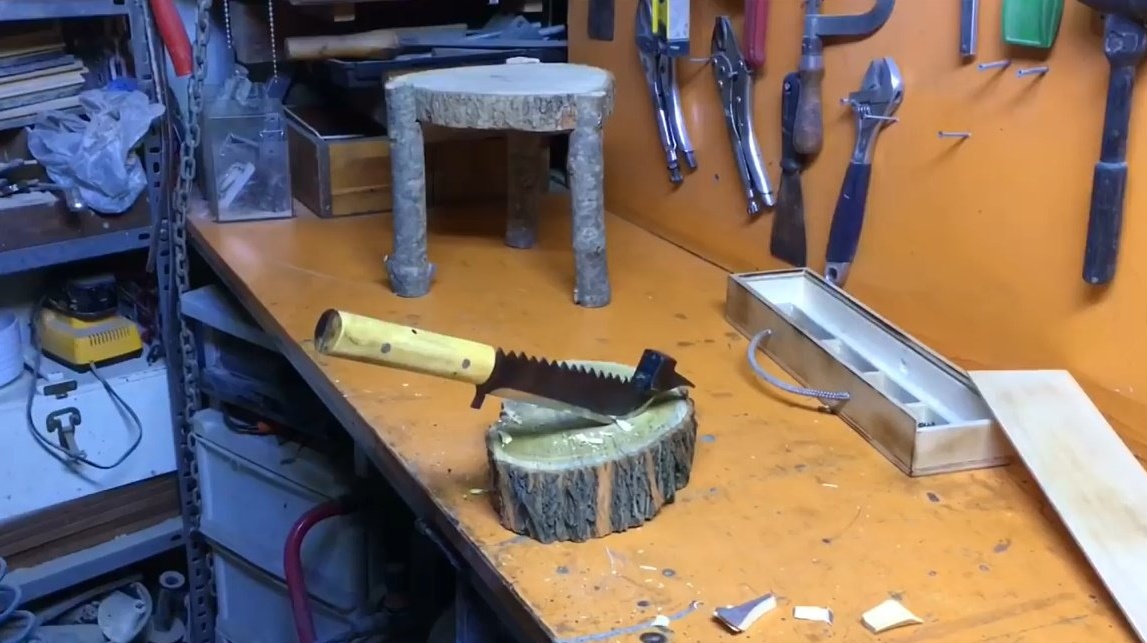
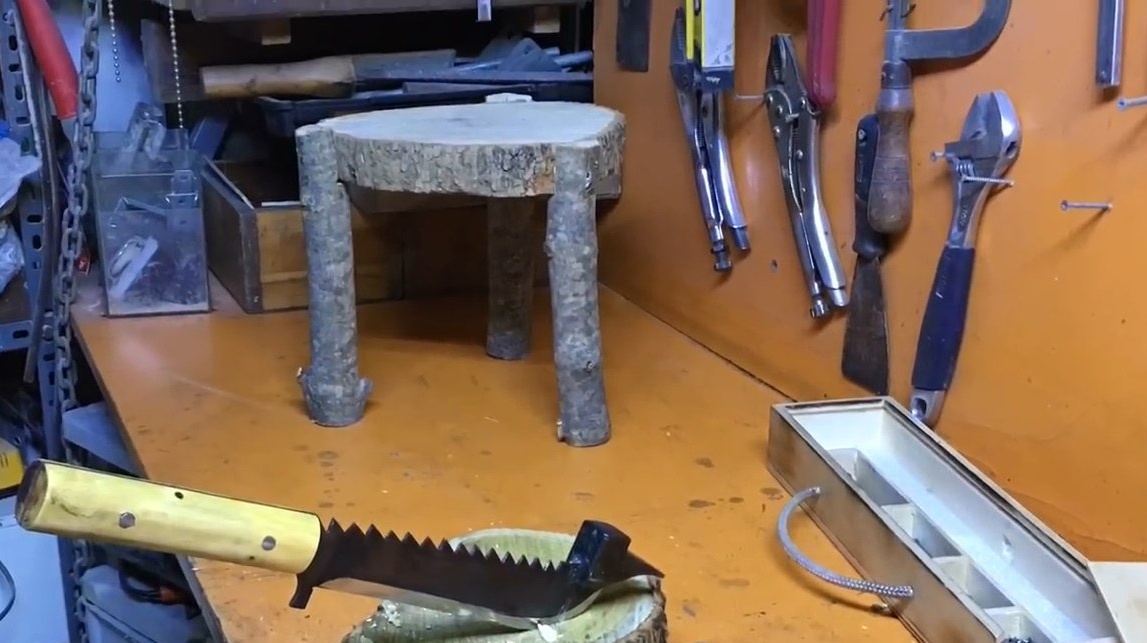
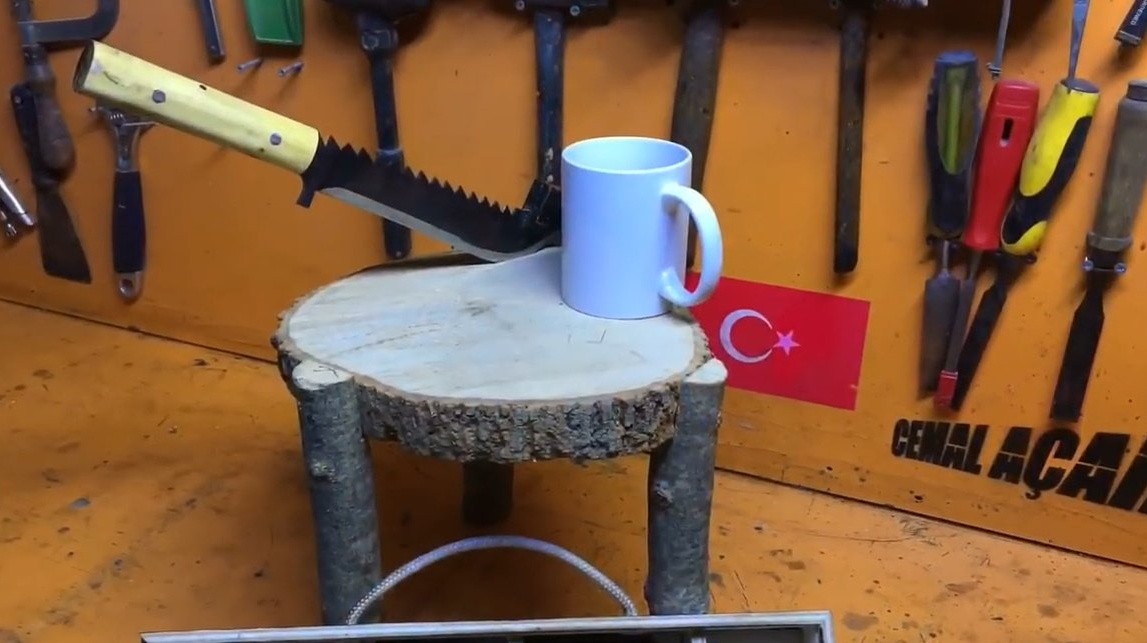
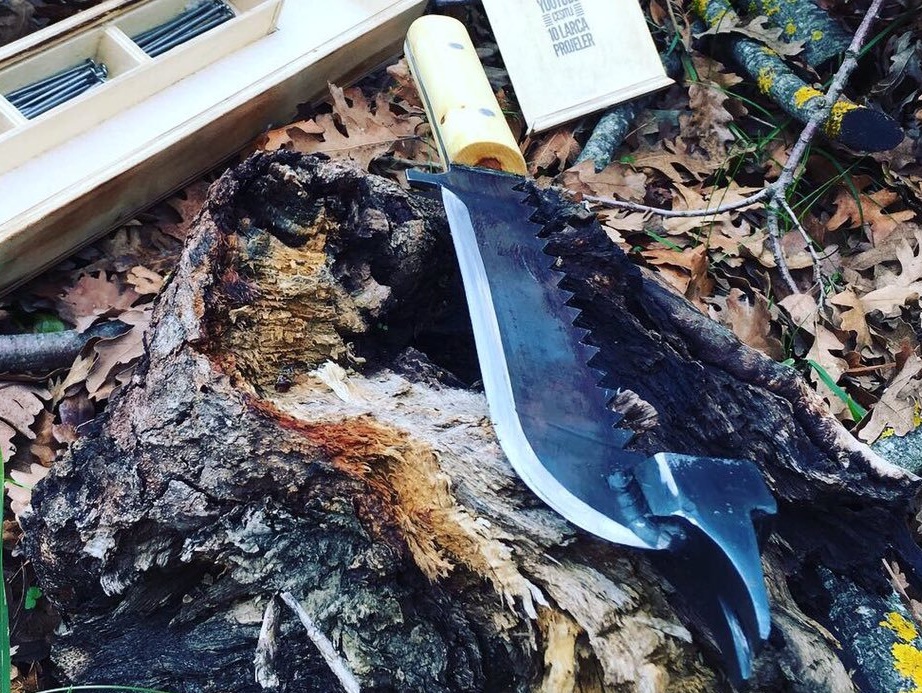
Everything, the tool is completely ready! Nails of different sizes can be laid out in compartments.
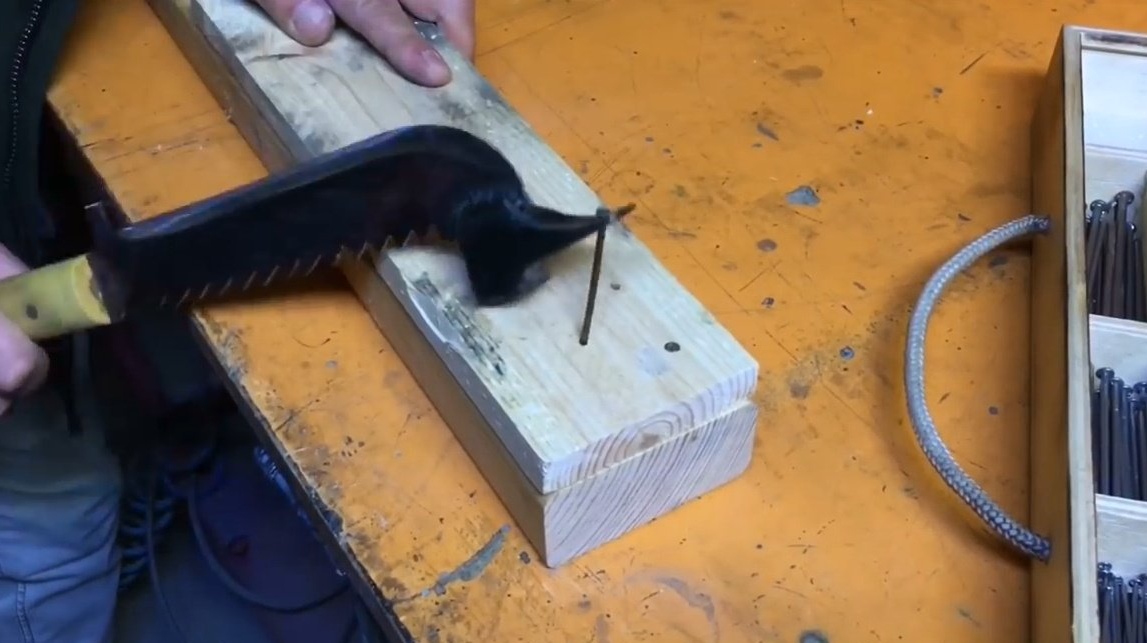
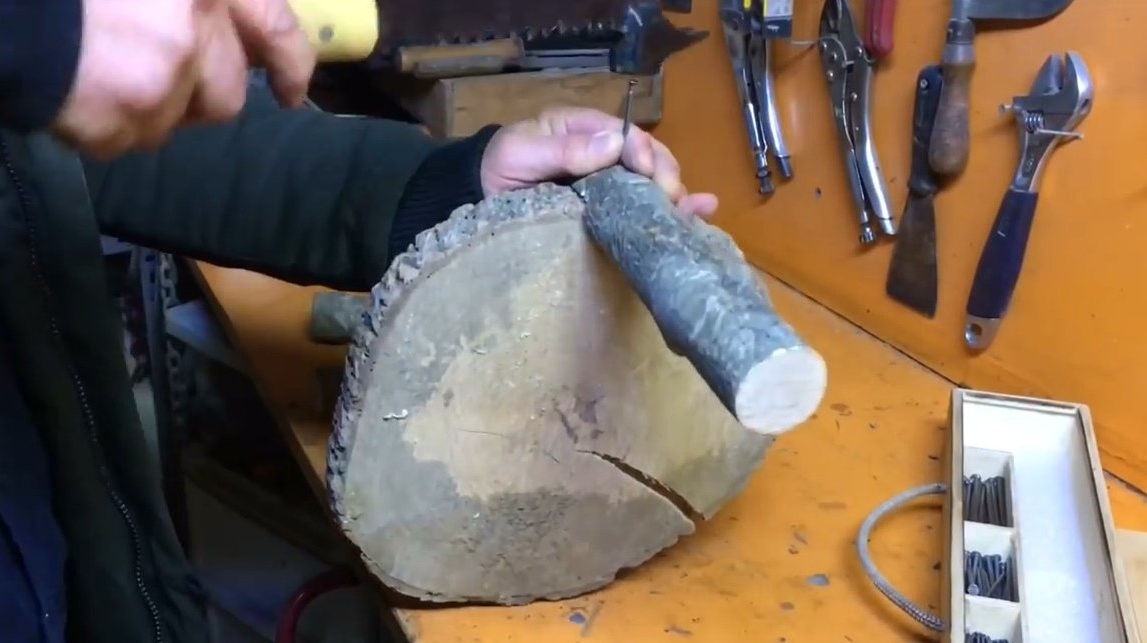
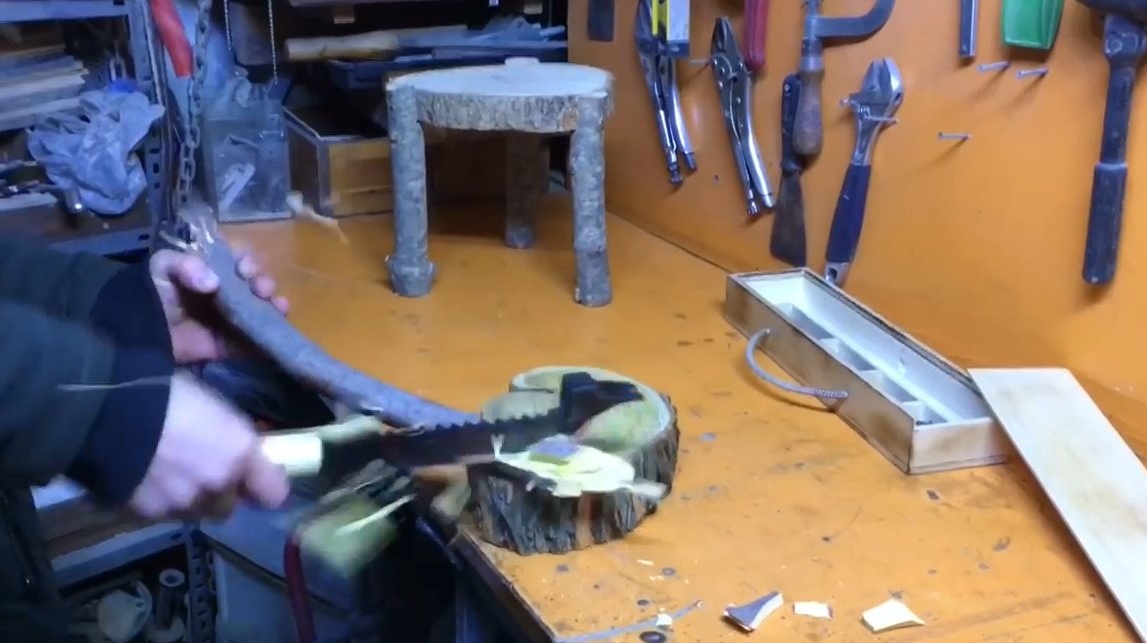
So, you can hammer a nail and pull it out.

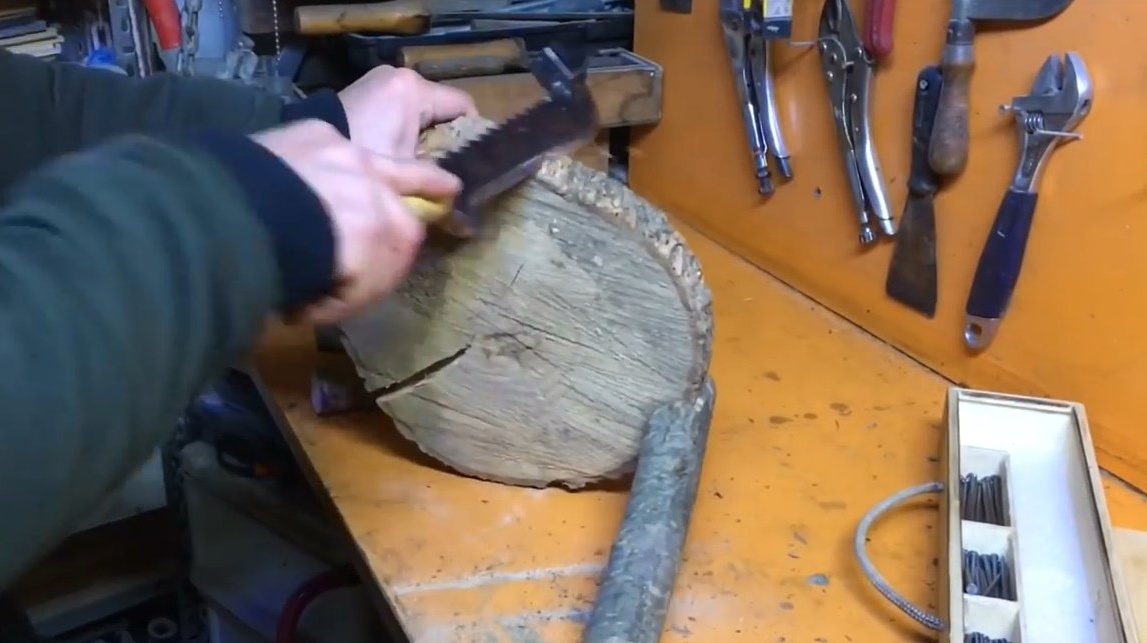
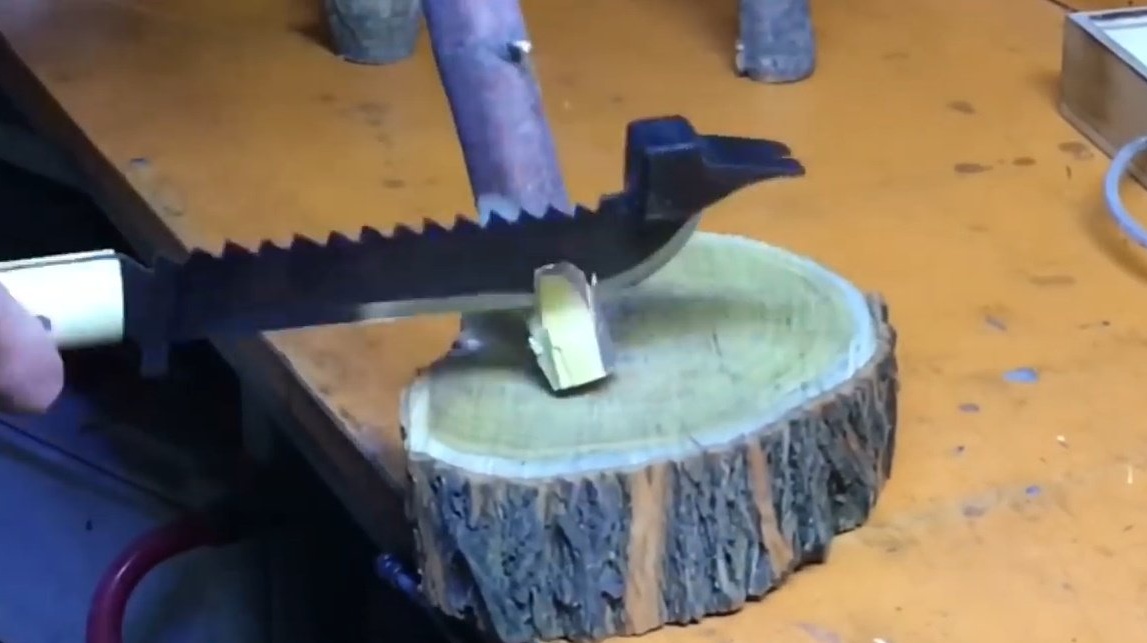
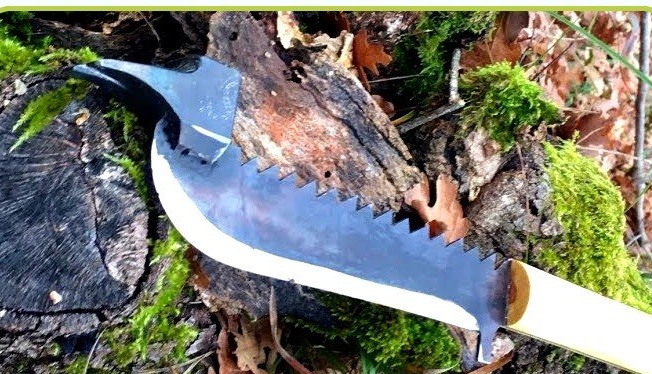
Branches saw cuts perfectly.
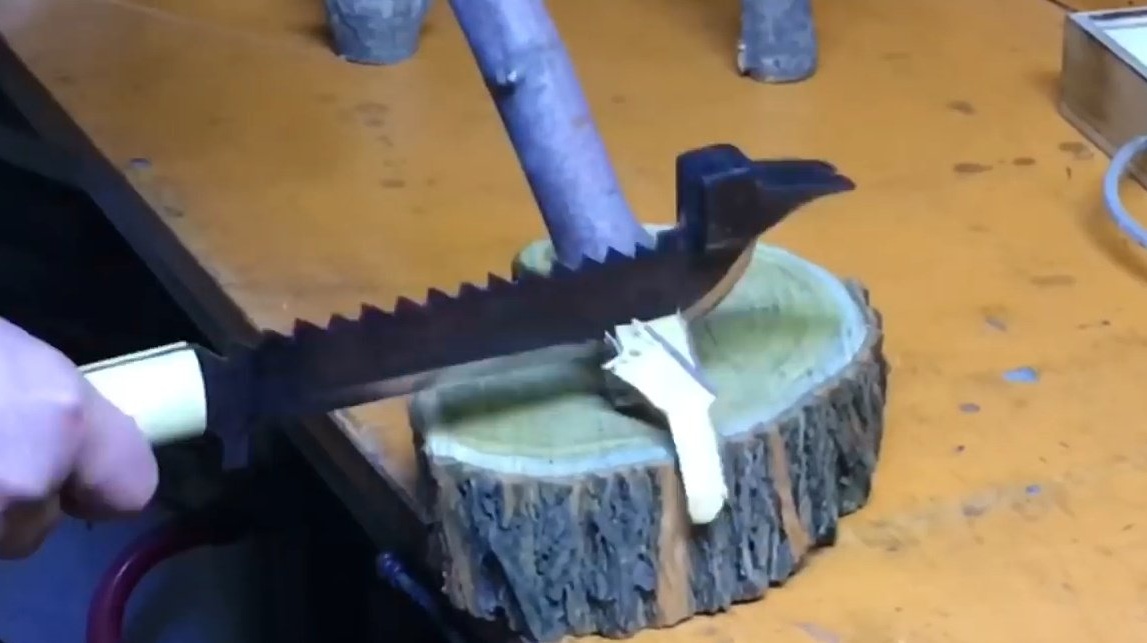
These types of joints can be made using a blade.
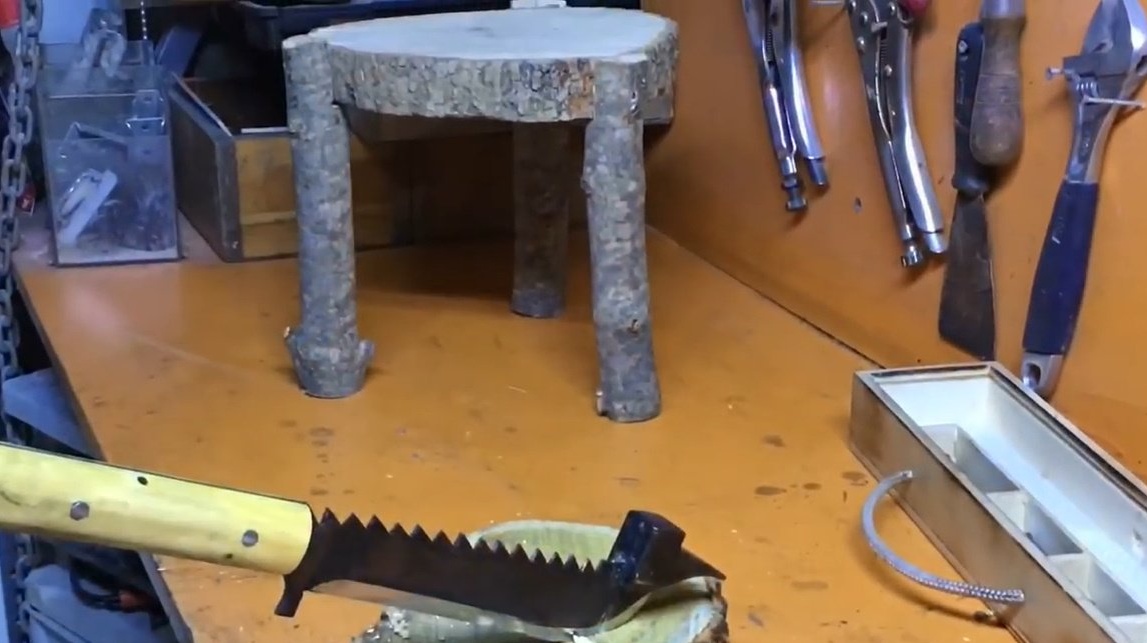
Or just work like an ax.
This is such a wonderful tool from Jemal.

Thanks to the author for the great idea of a multi-tool!
All good mood, good luck and interesting ideas!