
Good day to all dear friends! In today's article, I would like to show you and talk about a rather interesting idea homemade. This homemade product is good for home, the garage with smooth floors, and just to occupy your time. In general, today we will consider how to make a very simple "robot" cleaner on a wire control. Of course, wired control is not very convenient, but in this case, it’s both convenient and cheap if you understand at least a little electronics and know how to order goods from China, then I think it will not be difficult for you to transfer this unit to wireless control. But the minus of wireless control is that you have to use a powerful battery, which not everyone has and not many can afford, and almost everyone can lay two pieces of wire.
Well, I think enough of the long preface, let's go!
And so, for a simple “robot” cleaner we need:
- two large plastic containers
-7 powerful 12V electric motors with threaded locking
- fixing nuts for engines
a lot of wires
-4 wheels for motors, you can order everything on the same AliExpress
thin plywood
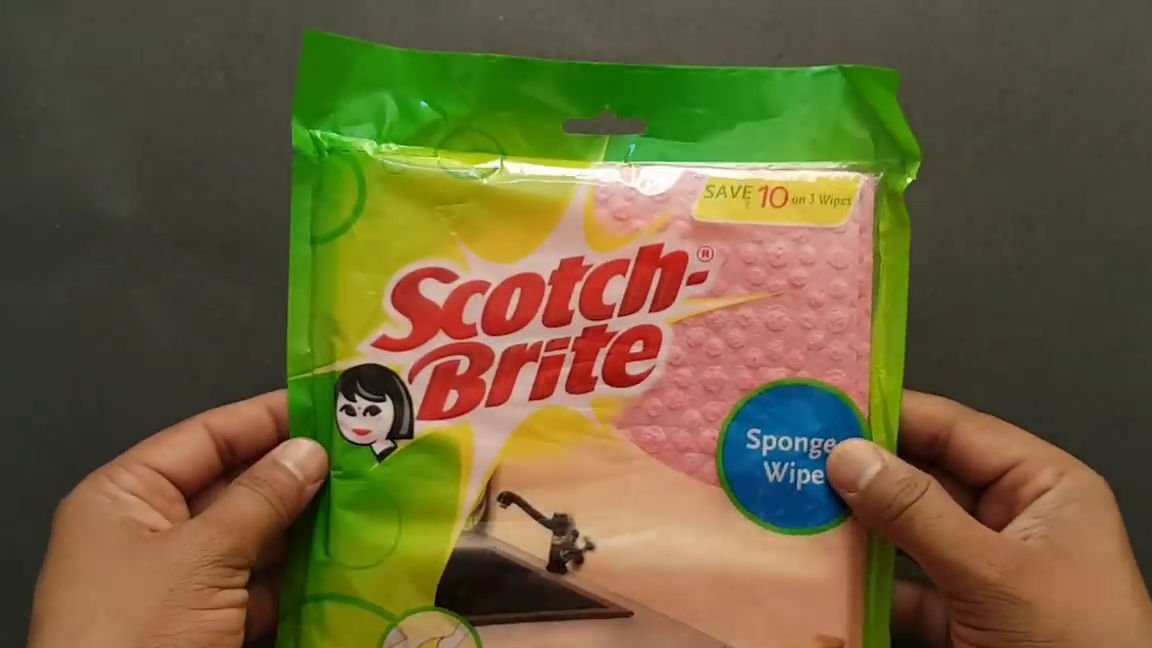
- special "sponges" - napkins for cleaning various coatings in your home
-Two computer coolers, by the way, not bad
-water PVC pipes and a tee for them, as well as metal mounts and a mechanical faucet for water
double switches
-button
- small container
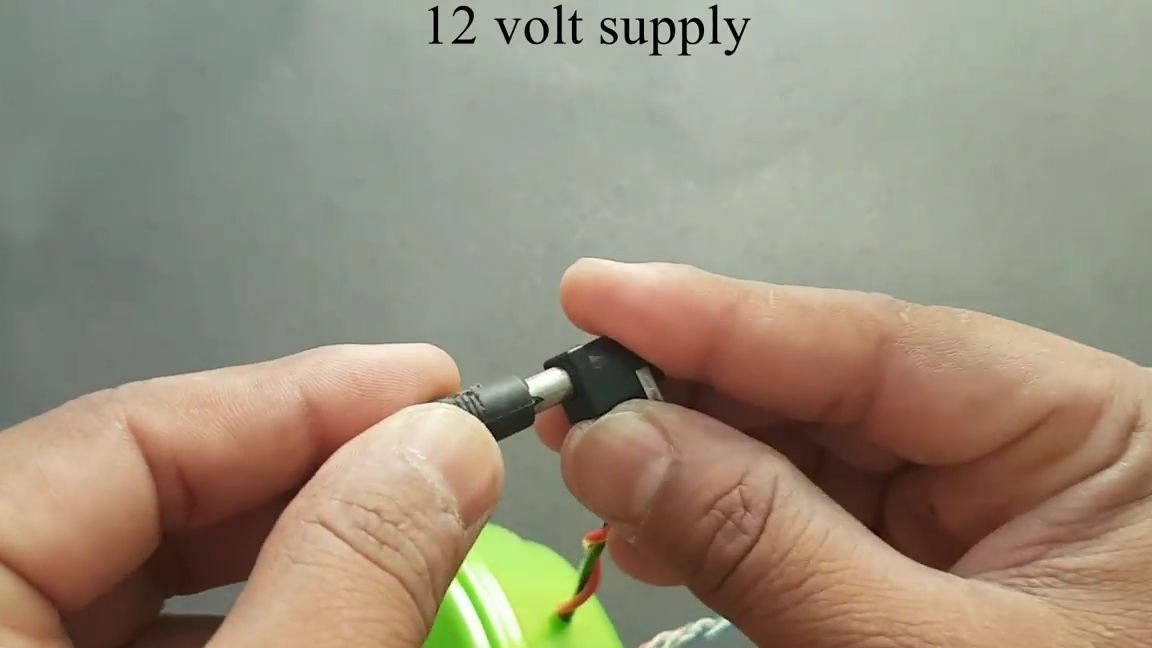
12V power supply
adapter for power supply
Of the tools we will also need:
soldering iron
hotmelt
-electric or conventional jigsaw
-stationery knife
And so, let's get started.
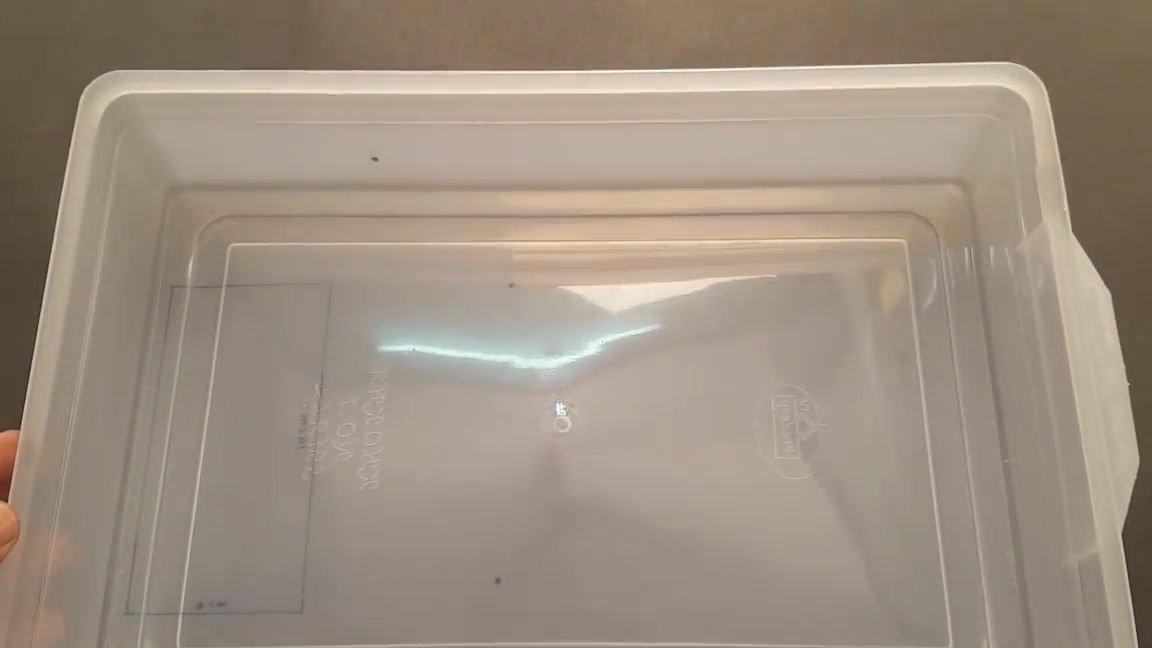
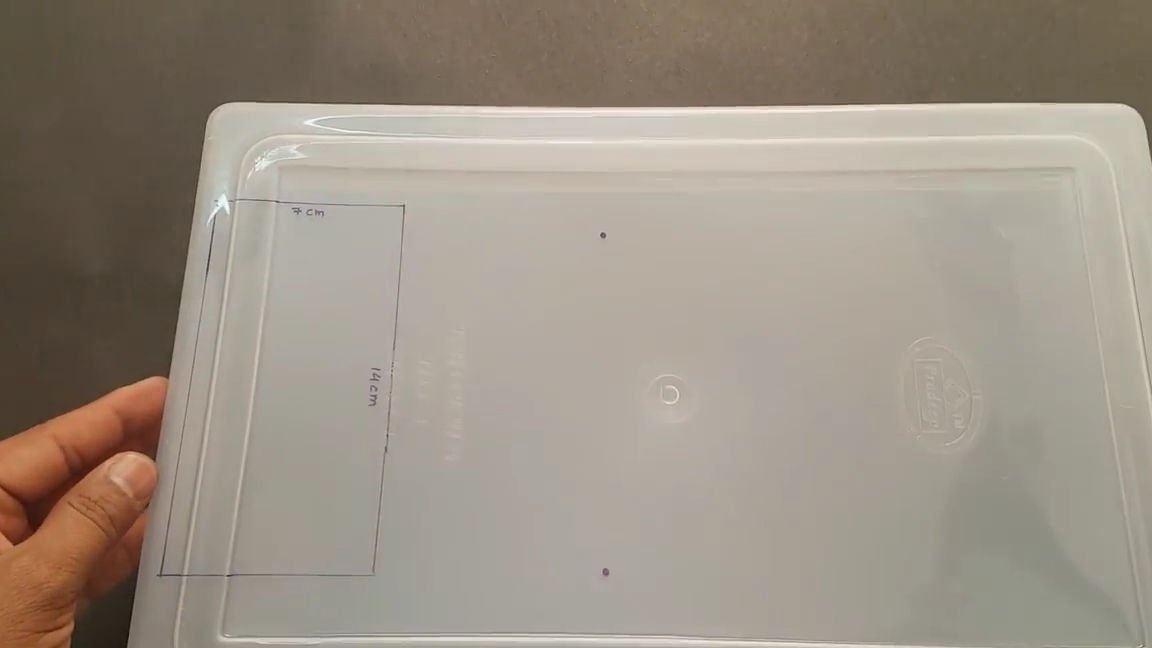
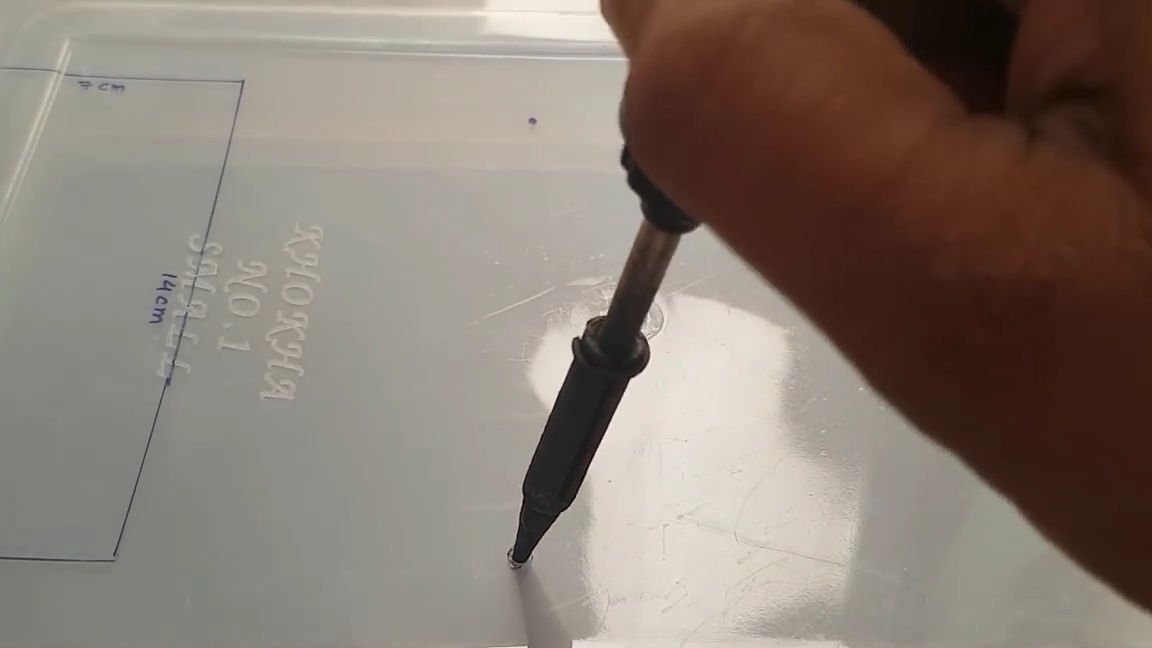
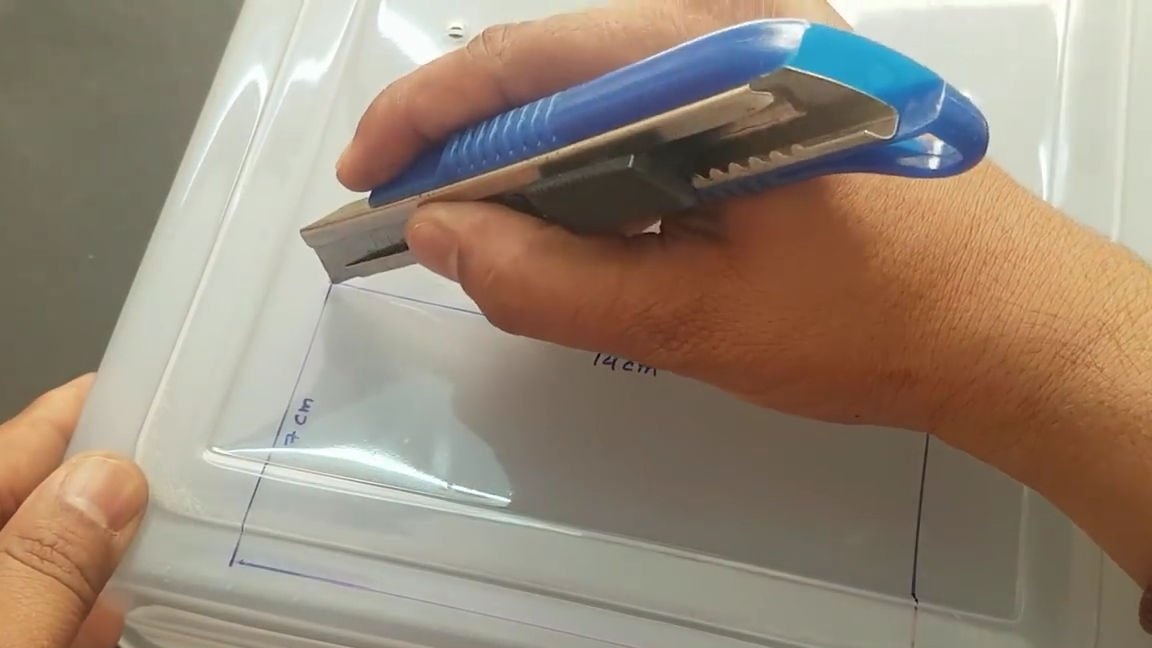
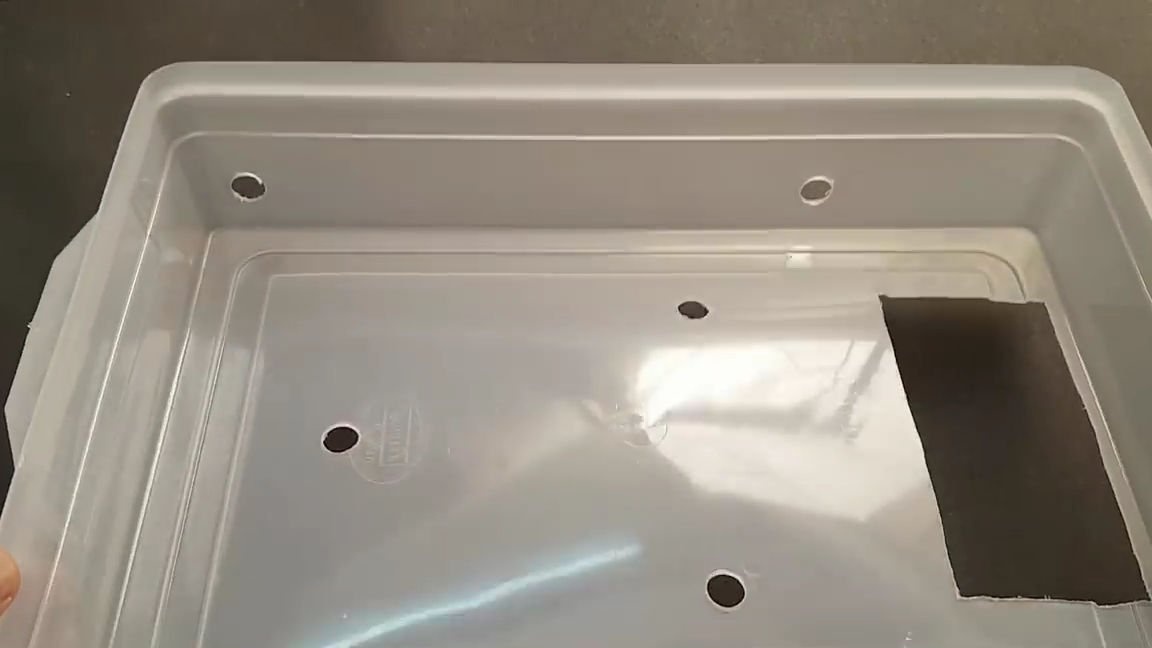
First of all, you need to take a large plastic container and draw a rectangle on one of its sides with a marker or a helium pen, with sides 7 by 14 cm, nothing complicated, and then, just cut it out with the help of an office knife. After that, we warm up the soldering iron and make several through, not thick holes, in the same place as in the photo below:
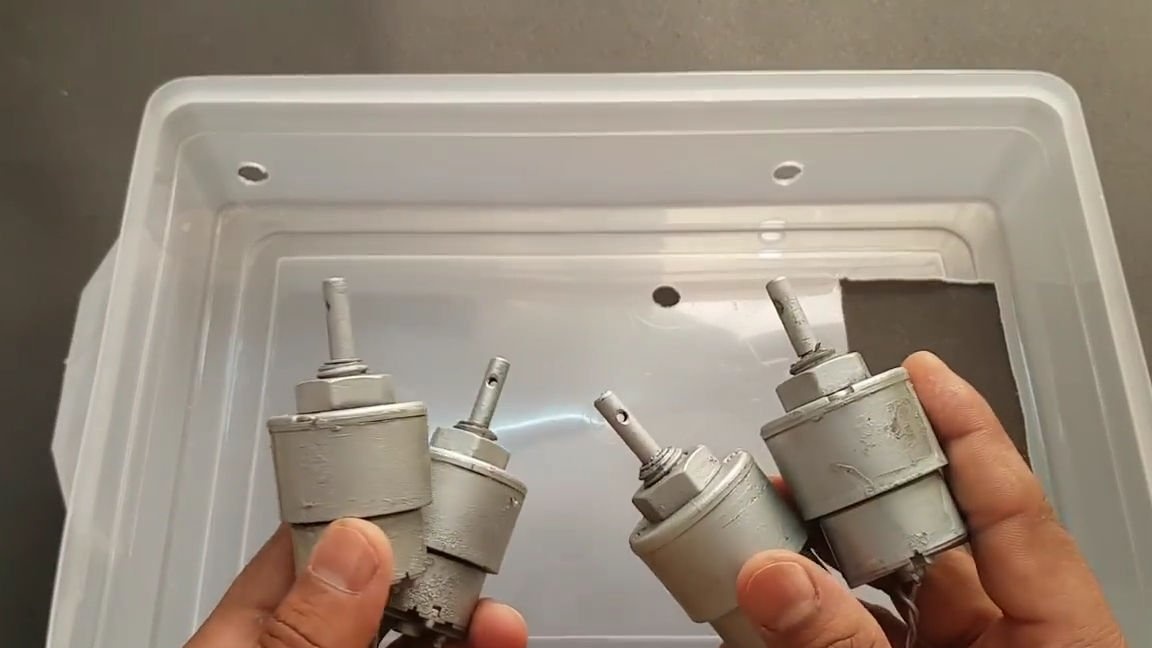
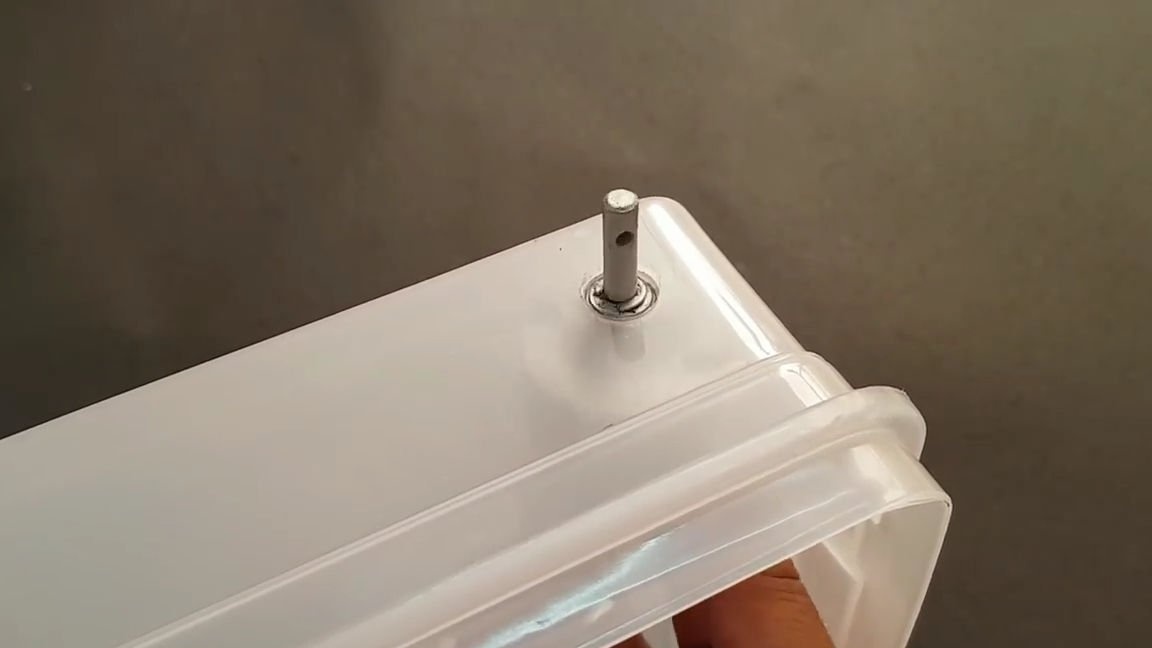
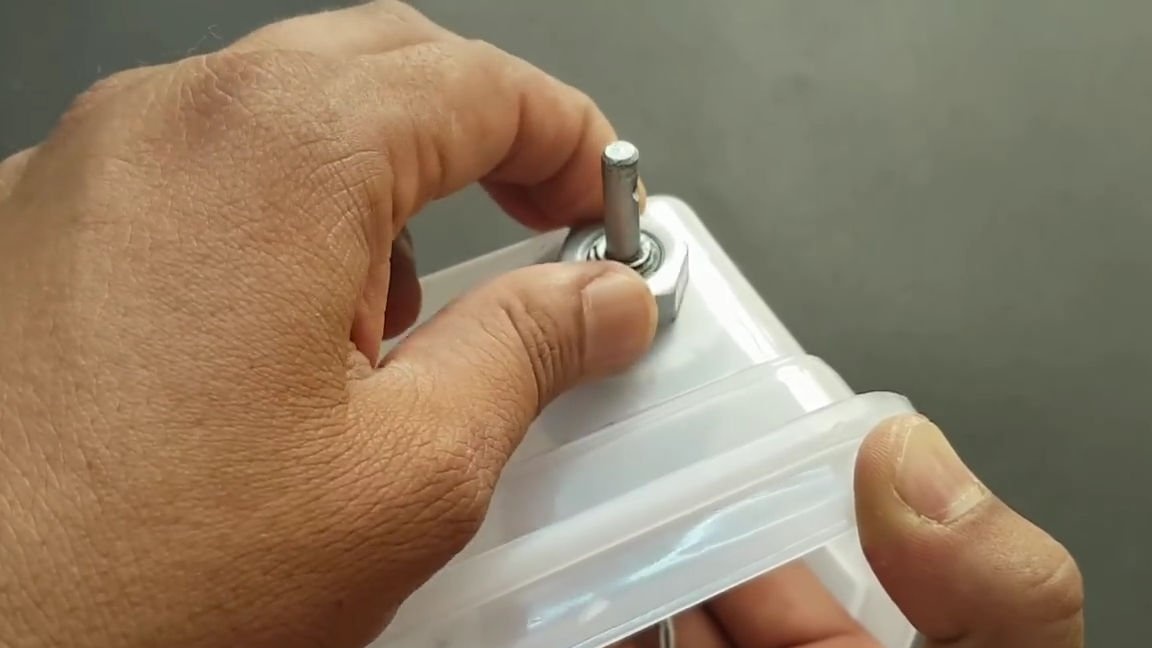
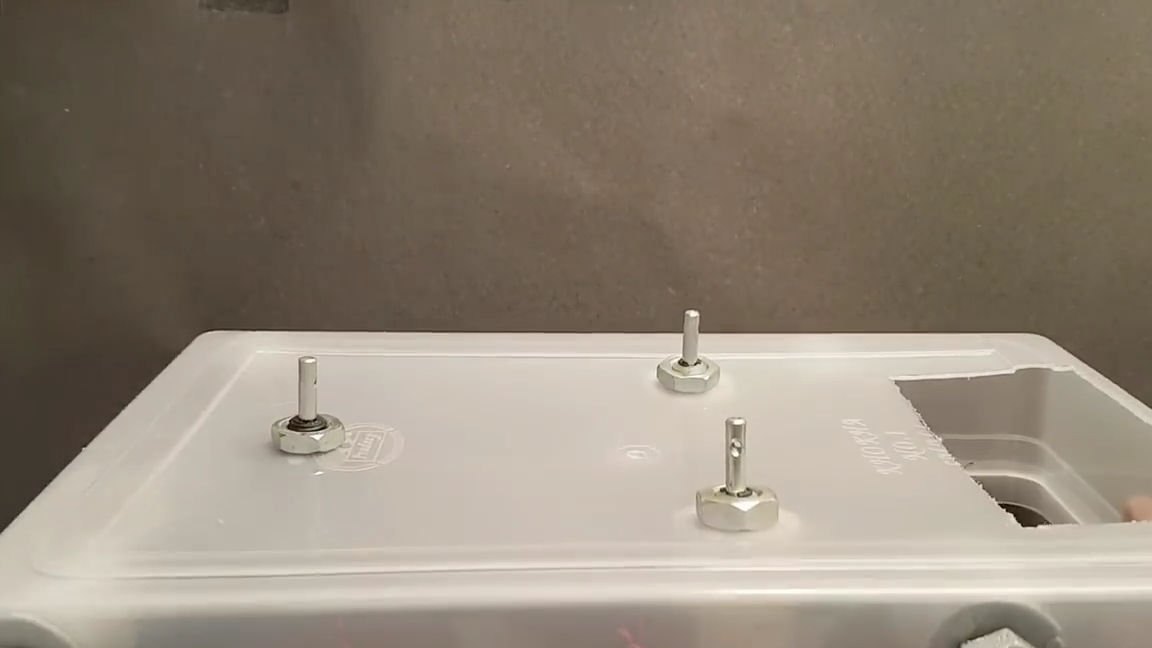
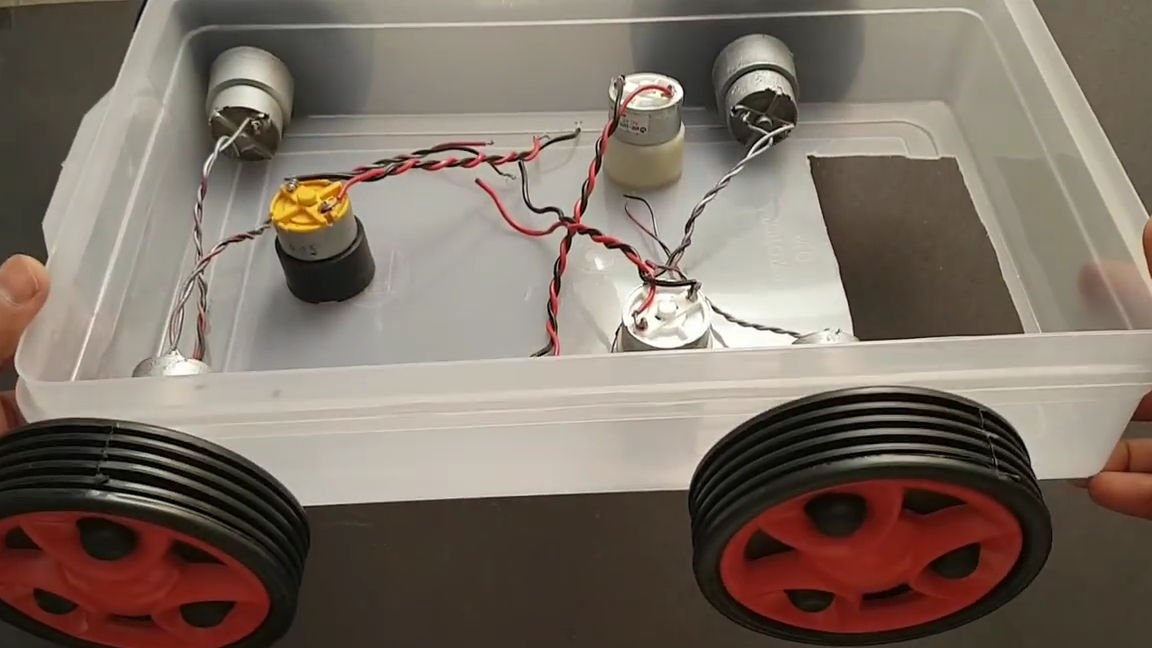
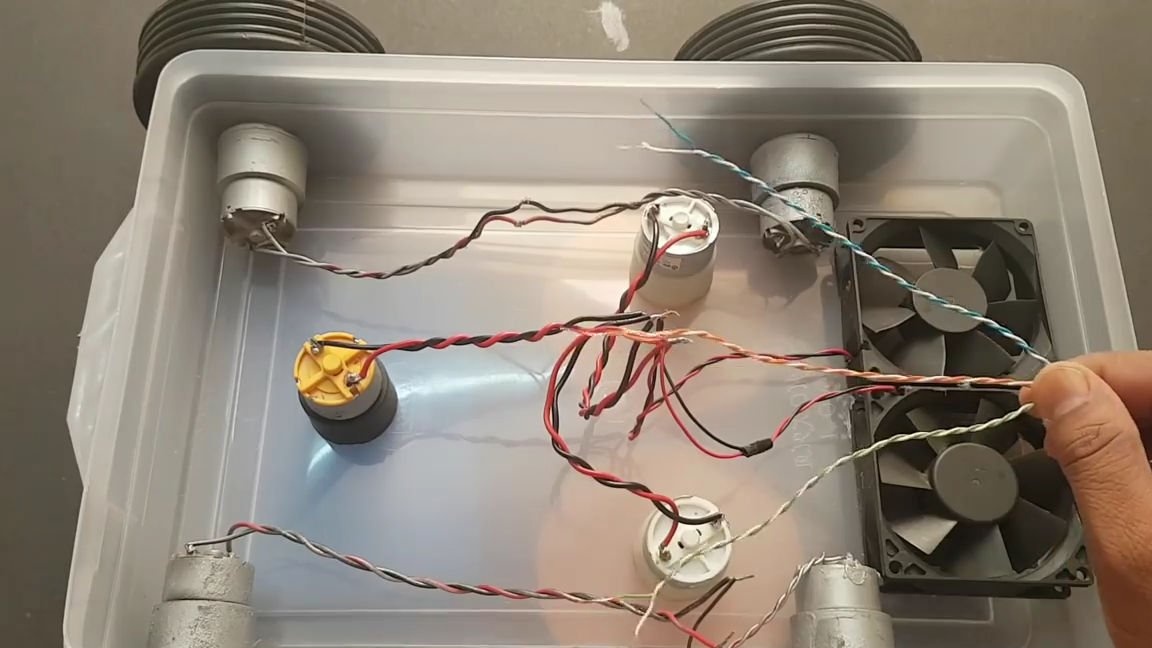
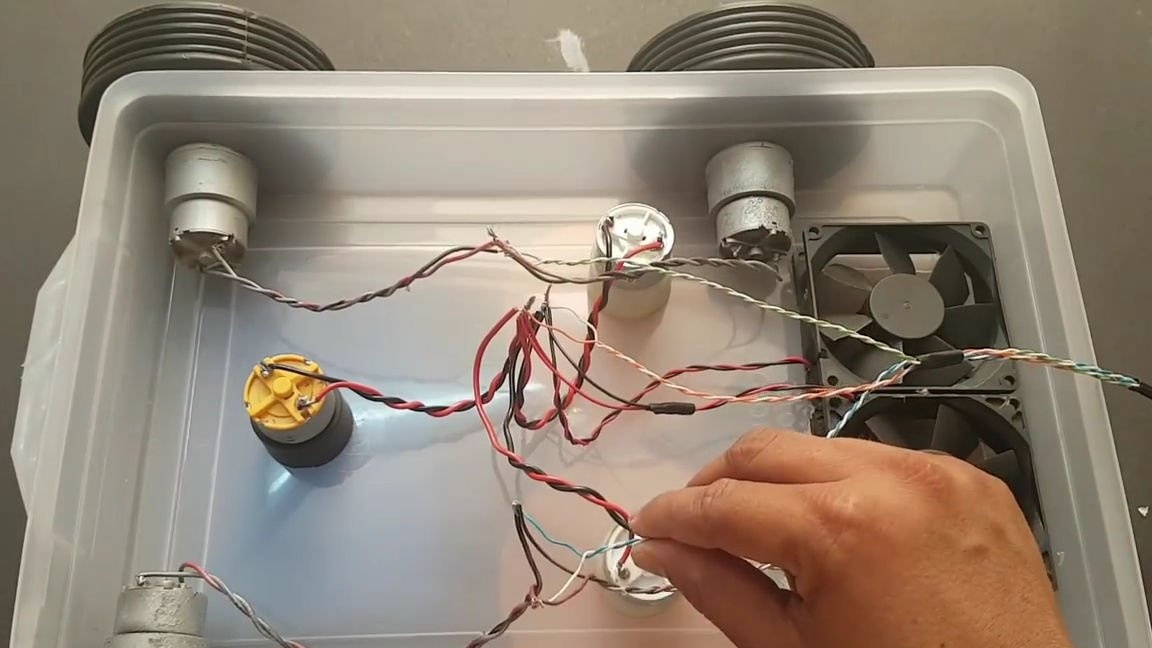
Take electric motors, and install them in their places, that is, insert the axis of each motor into the side holes and fix it with a nut. Wires from each pair of motors, twist into a pigtail for convenience.
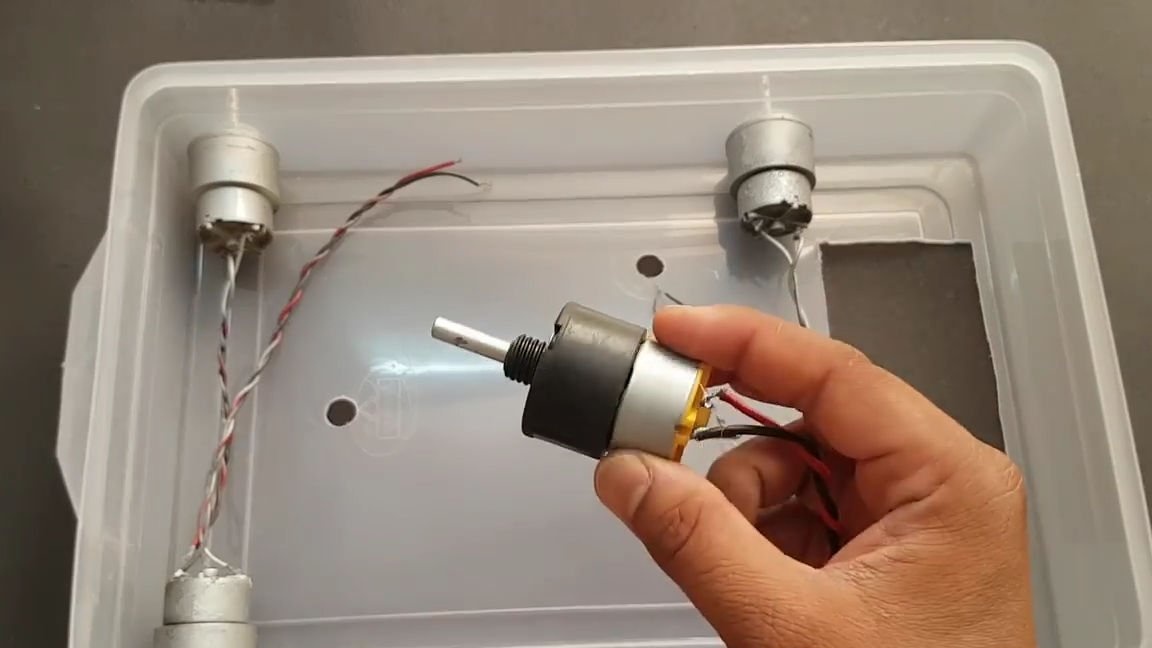
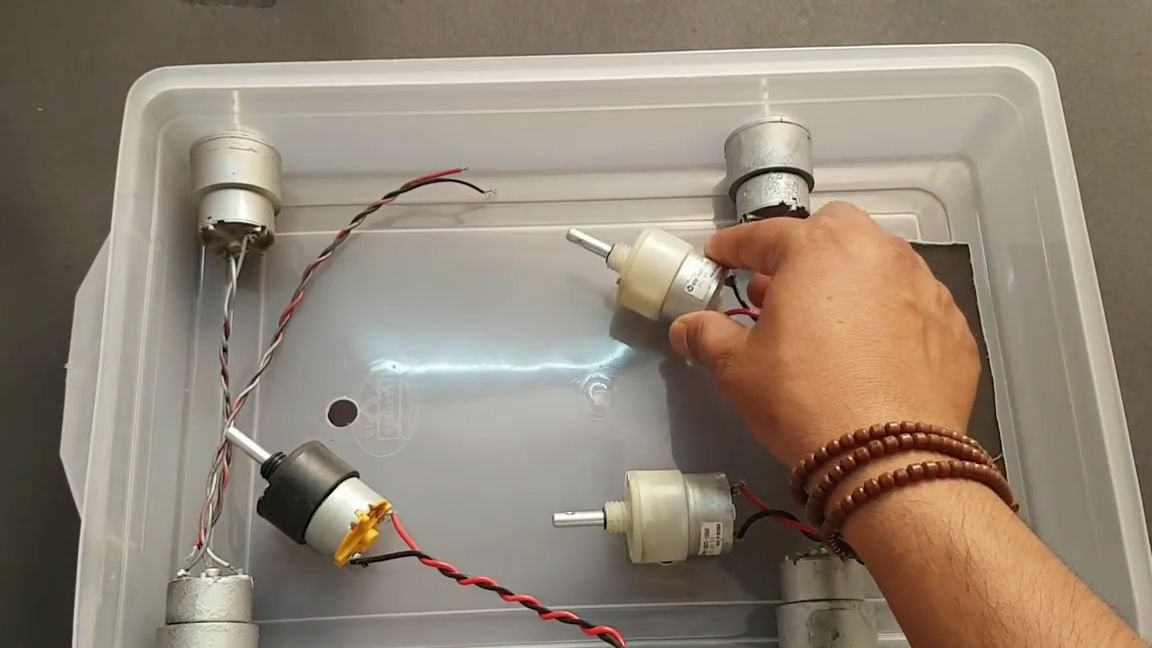
Now we take three more motors, and also install them in our grooves, in the same way as in the photo below. We also twist the wires into a pigtail for convenience.
We put on large wheels on the axis of rotation of the engines and also fix them, they should be level:

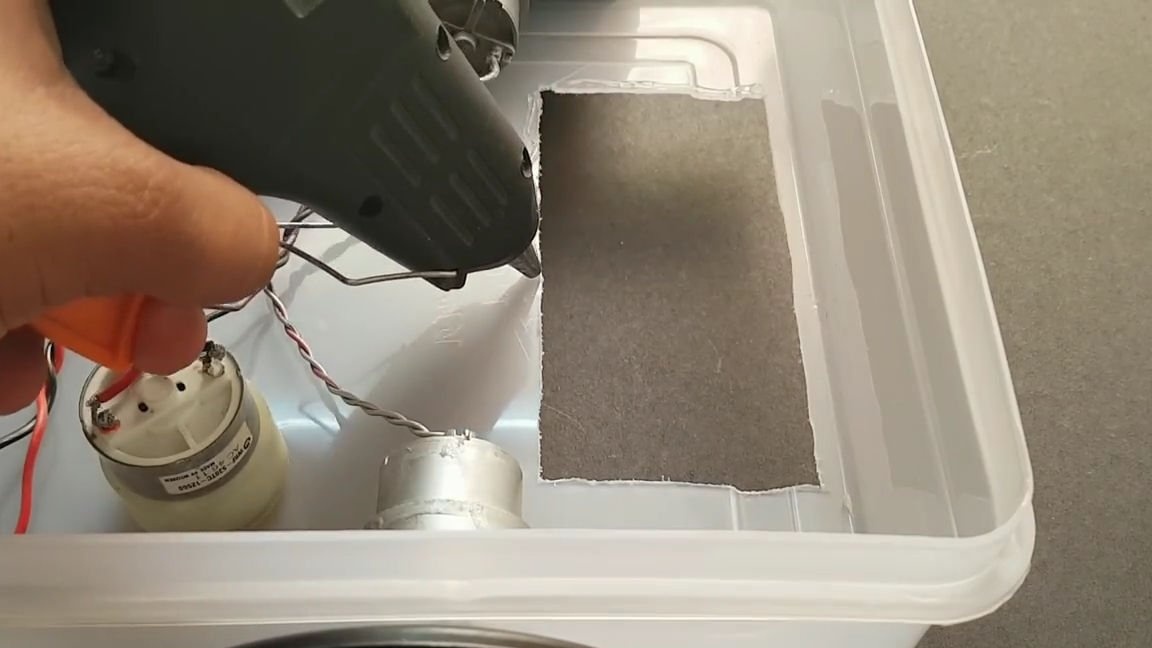
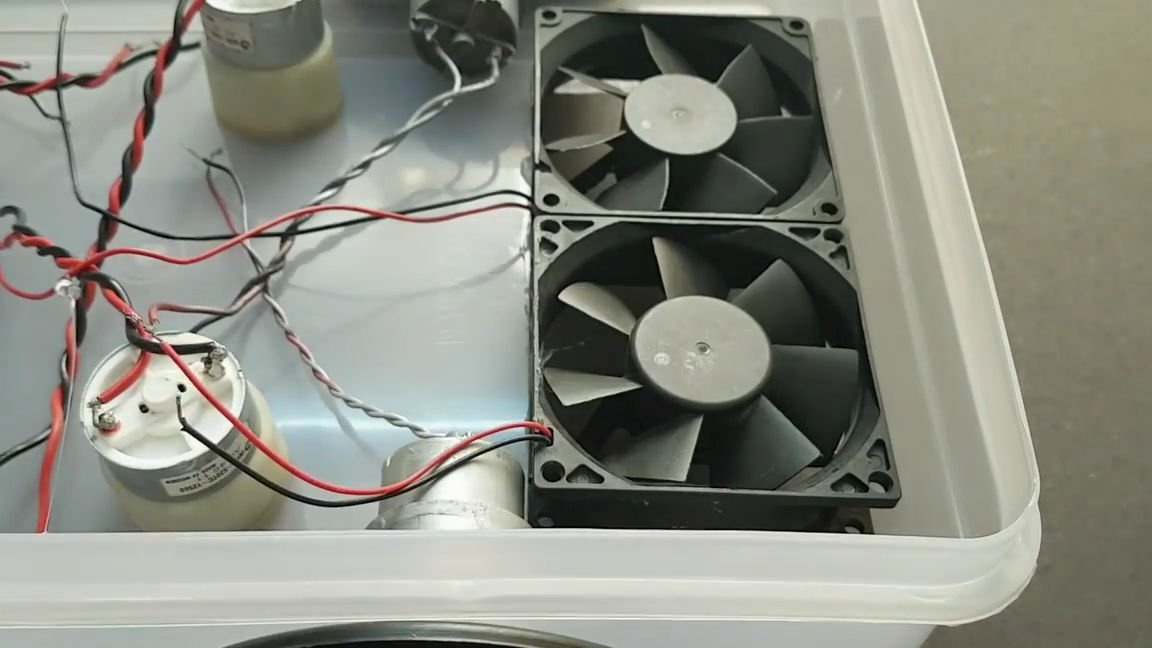
Now, using hot-melt glue, we glue two coolers above the hole previously cut, next to each other:
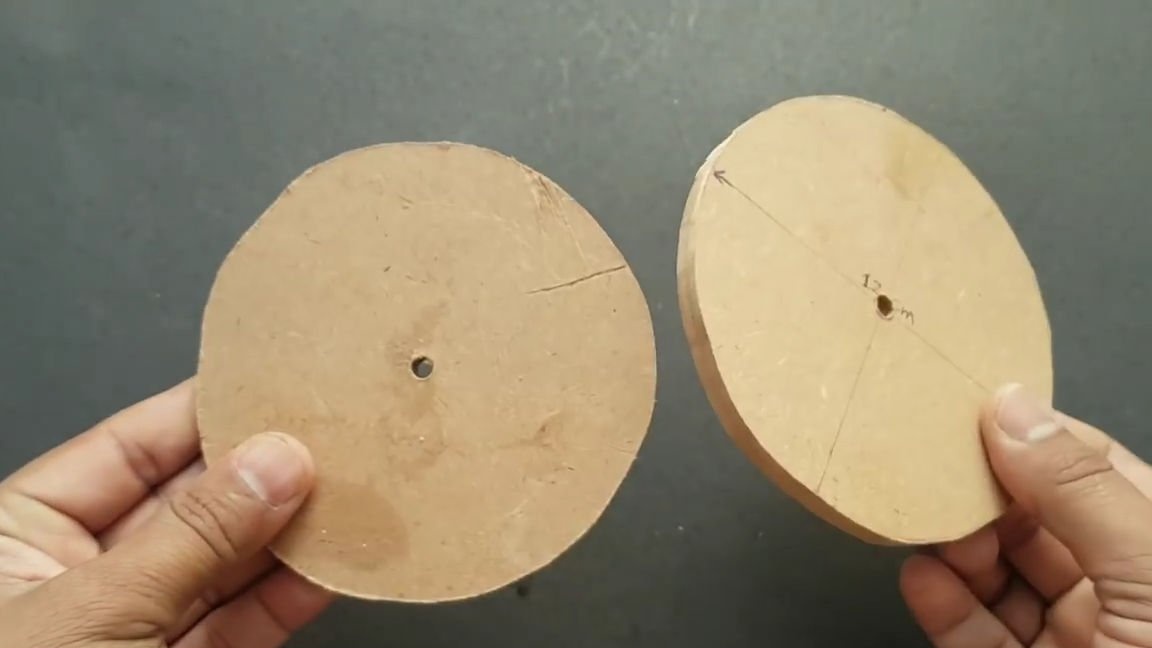
Using an electric or conventional jigsaw, we cut out two plywood circles, with holes exactly in the center.
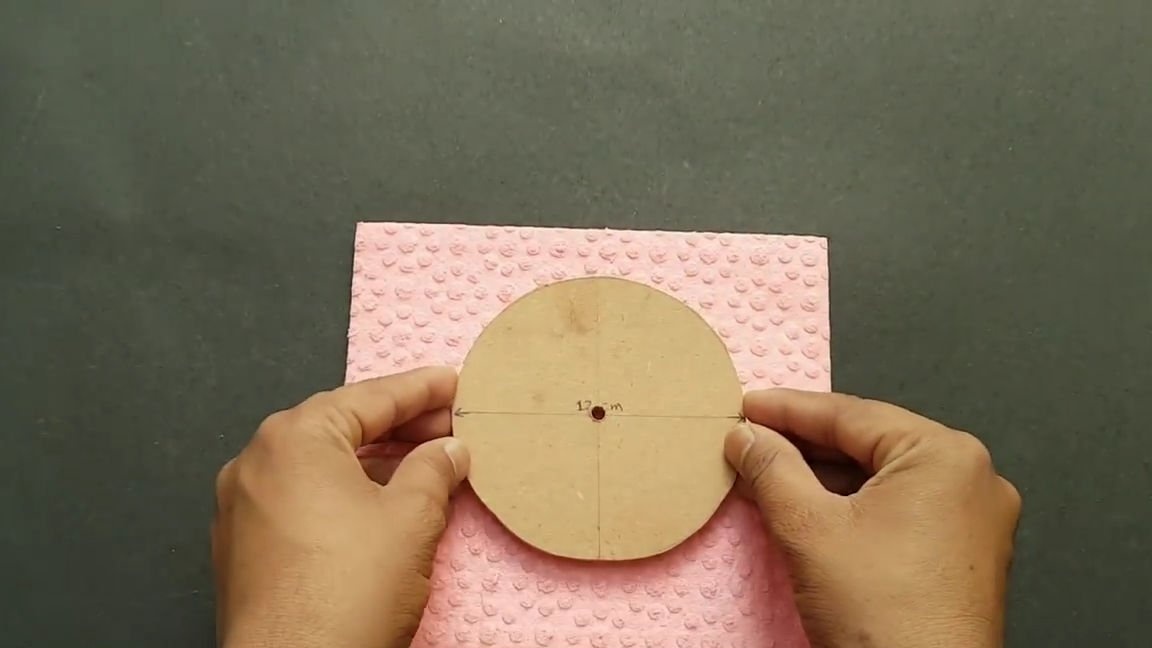
We take napkins for cleaning surfaces, apply one of them to the plywood circle, circle and cut it out, and then glue the circle from the napkin to the plywood:
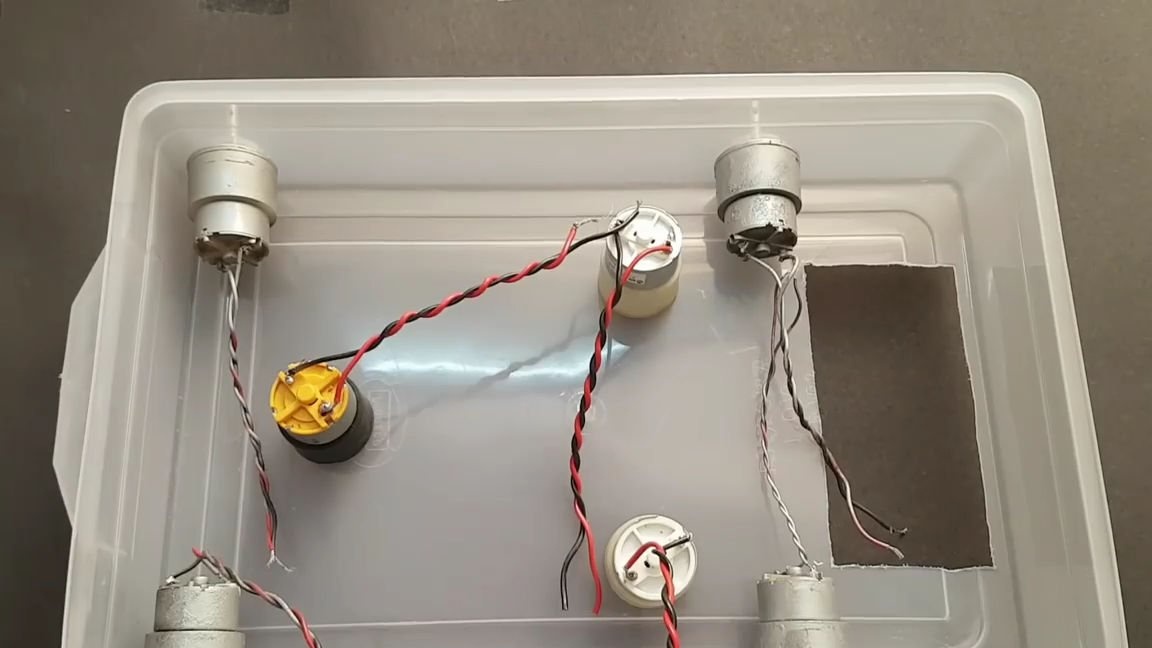
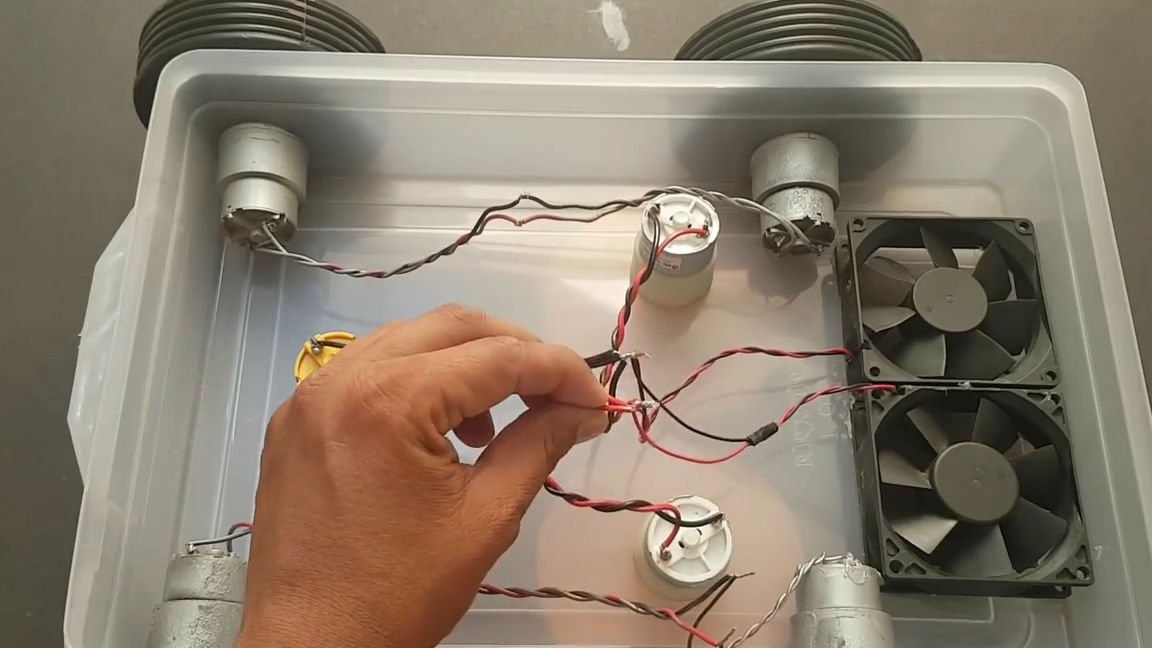
All wires of the structure must be hidden in a single (well, almost) circuit. We solder the coolers to three engines, which stick out from the bottom of the container, and also solder the side motors - right with right and left with left. Do not forget about the insulation of contacts using heat shrink or electrical tape.
Solder 6 more wires to the rest, or rather, to start, we rewind two in a pigtail. We solder one pigtail to the contacts of one side of the motors, and the other to the other side. The remaining two wires are soldered to the connection of coolers and lower motors. In general, we do everything as in the photo below:
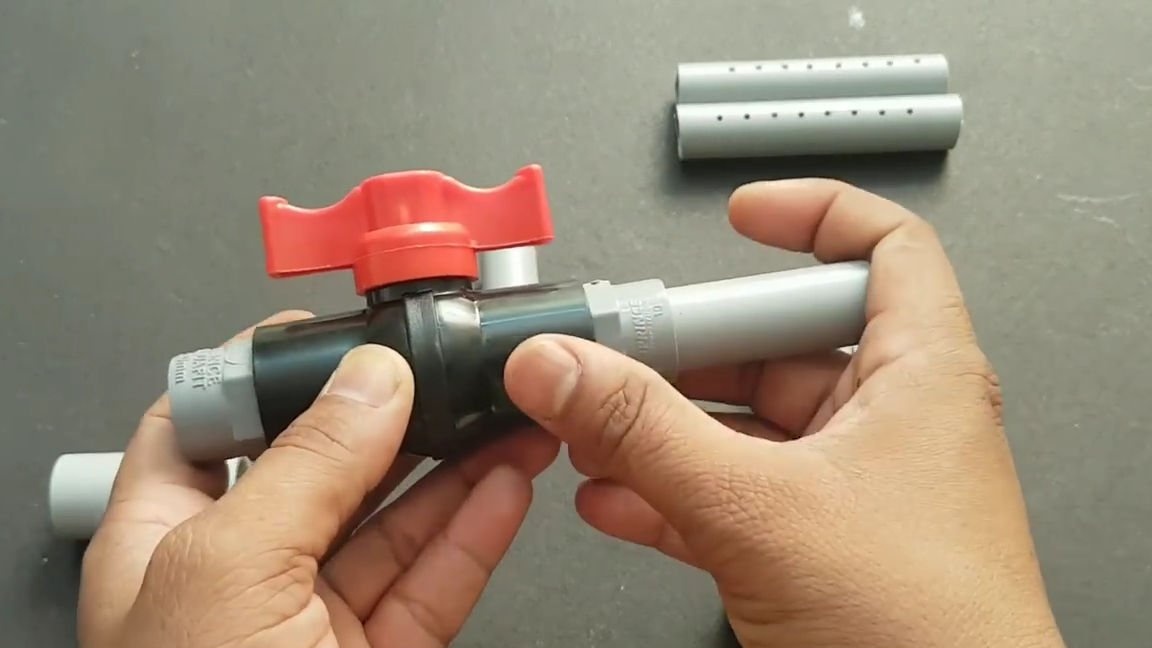
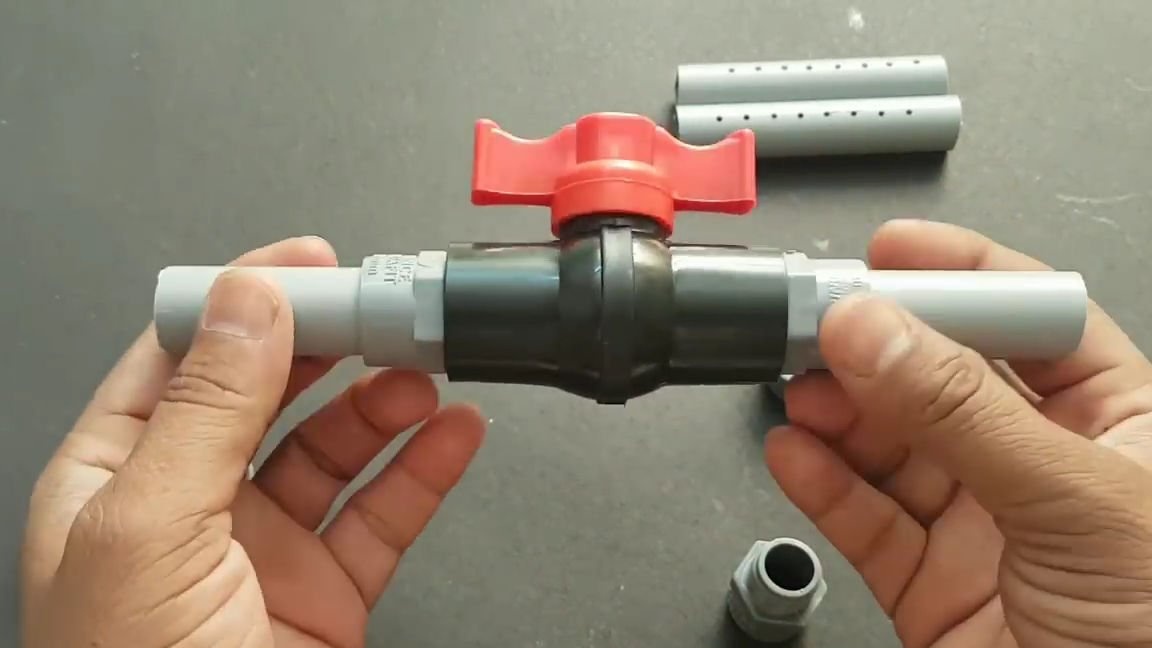
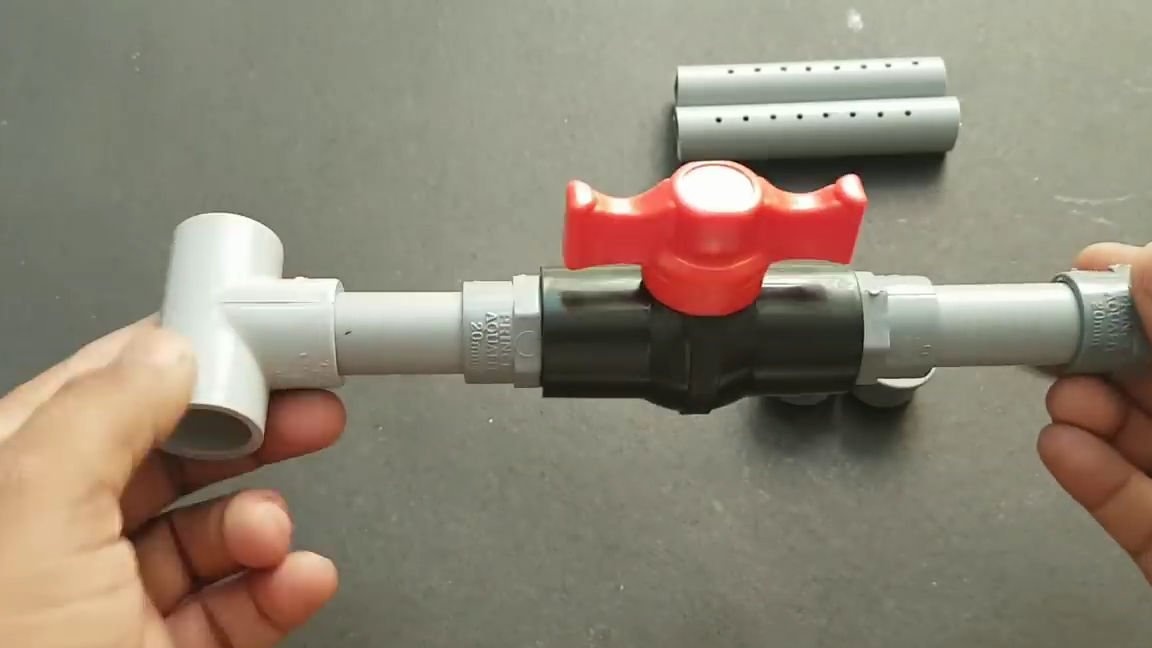
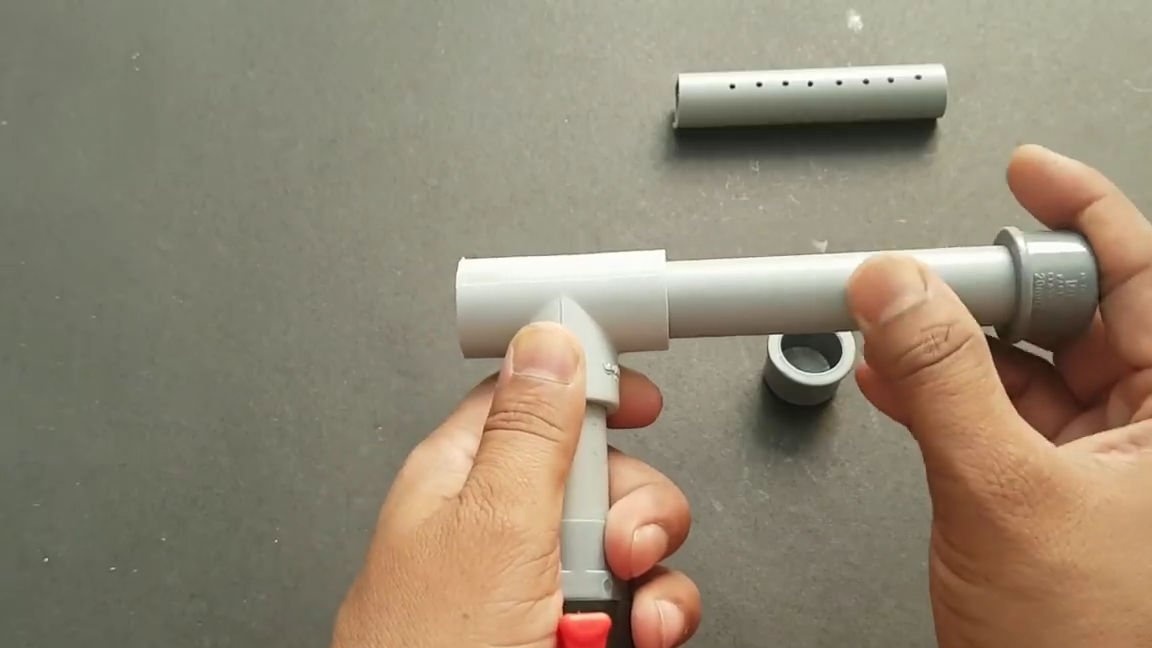
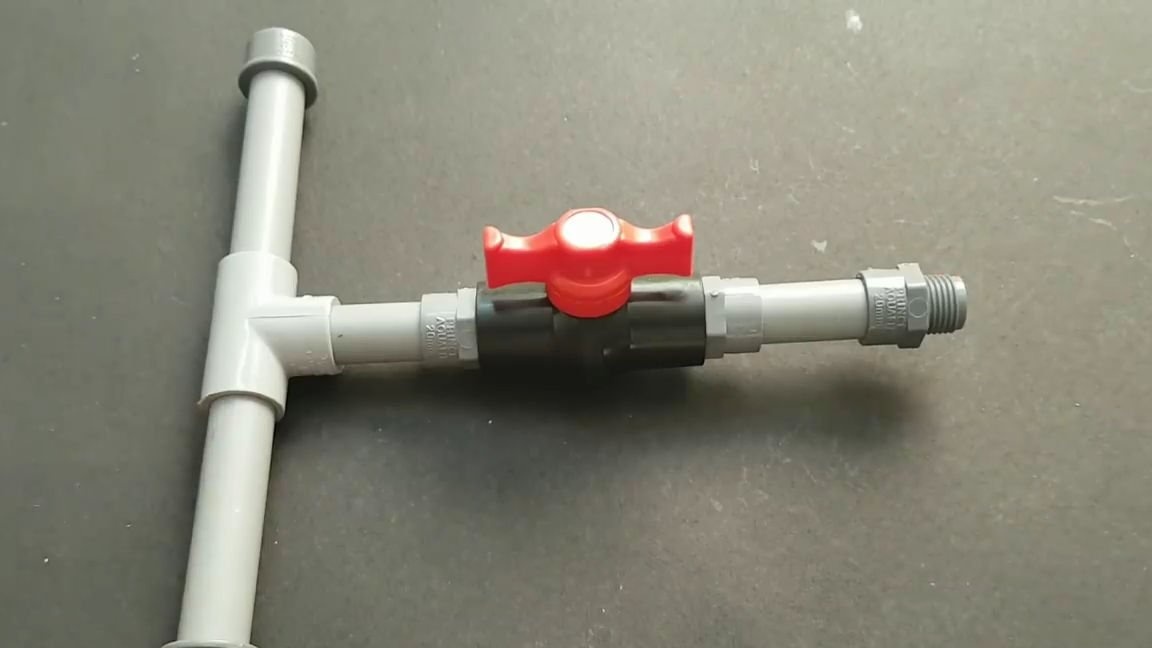
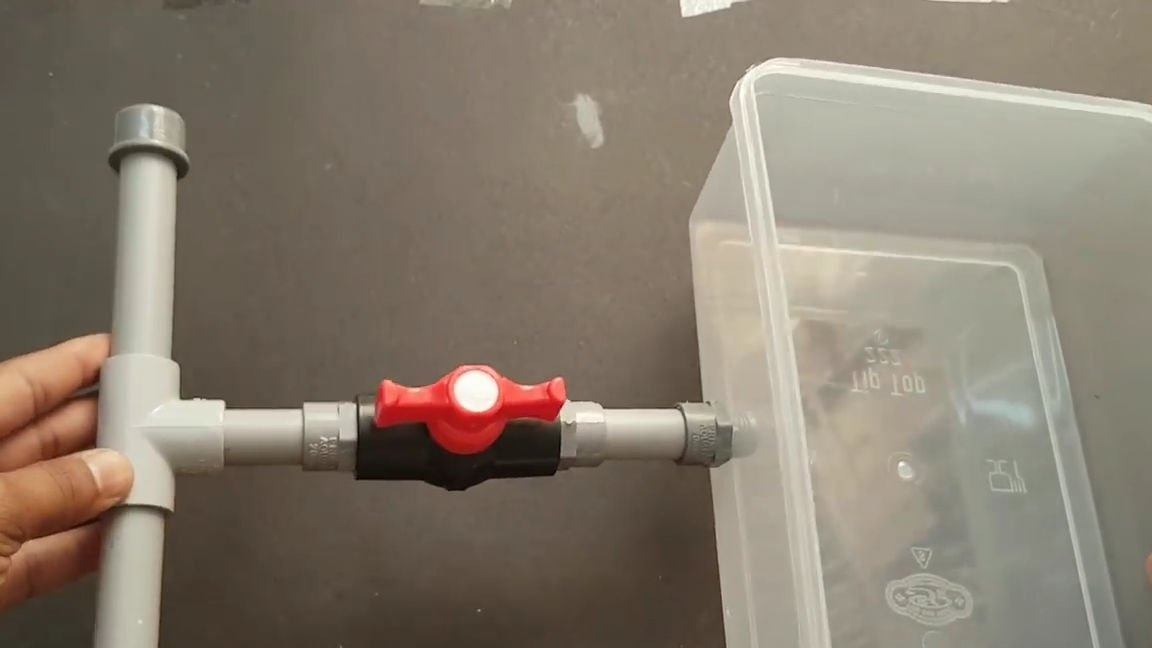
Now let's do the plumbing.
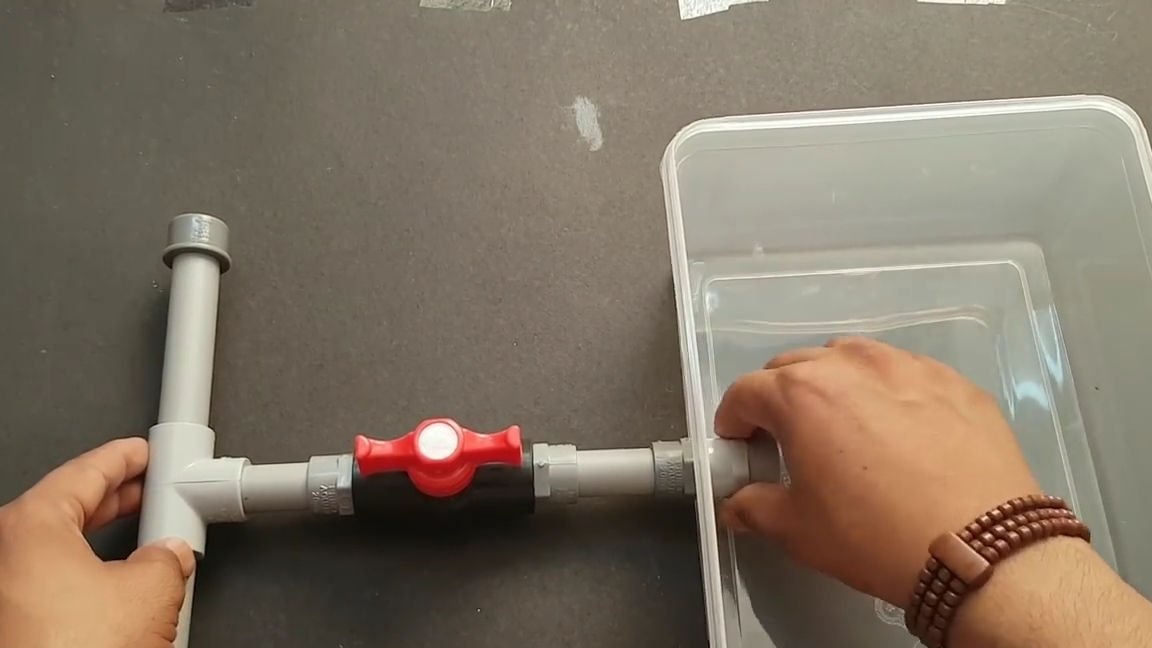
It is necessary to divide one short PVC pipe into two equal parts and drill several holes on one side, not very thick and only on one side. We prepare all the materials, and begin to combine them. In principle, there is nothing complicated and it’s enough to just do everything as in the photo below, so my comments here are superfluous, just collect.
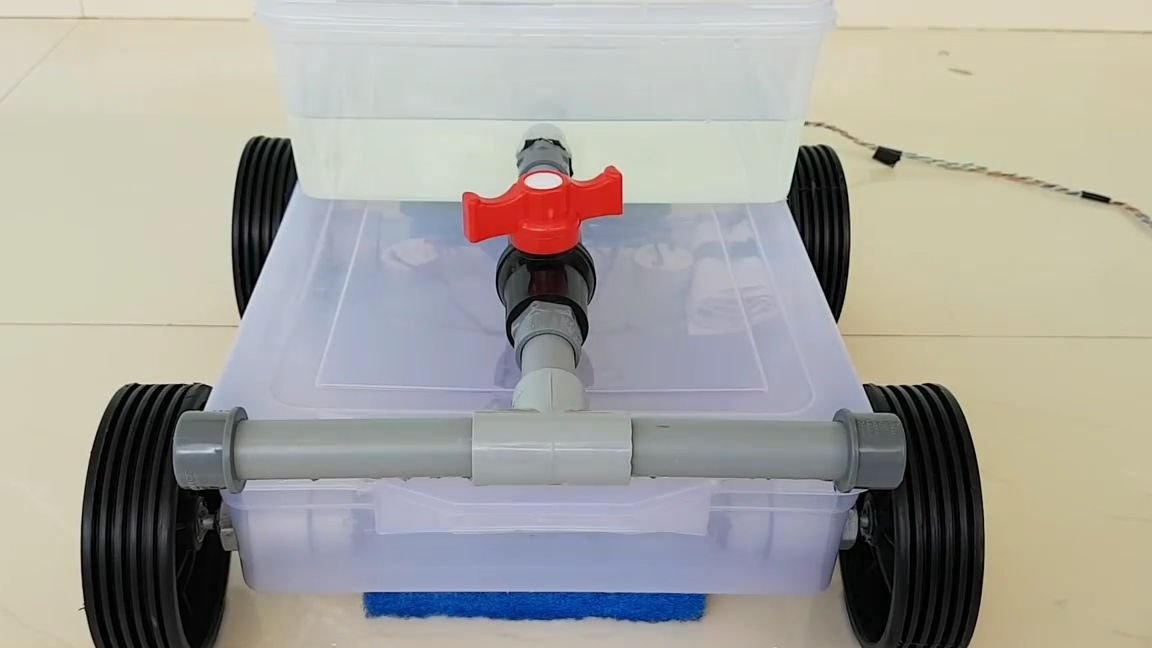
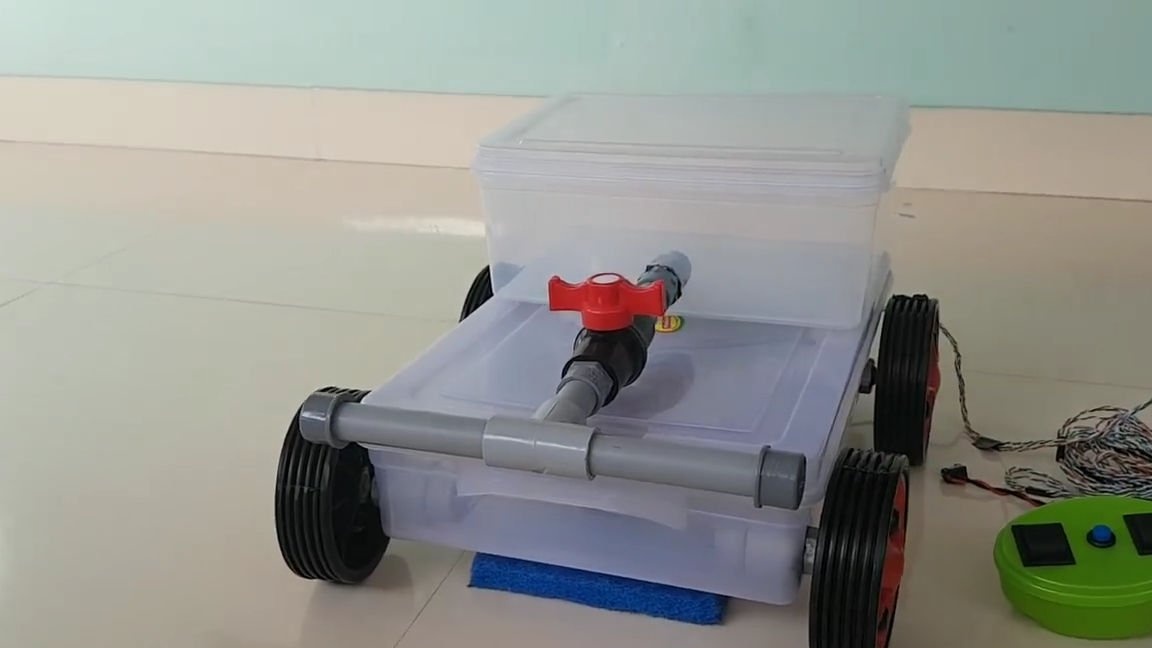
The result is a simple water dispenser to "robot"better washed the floor:

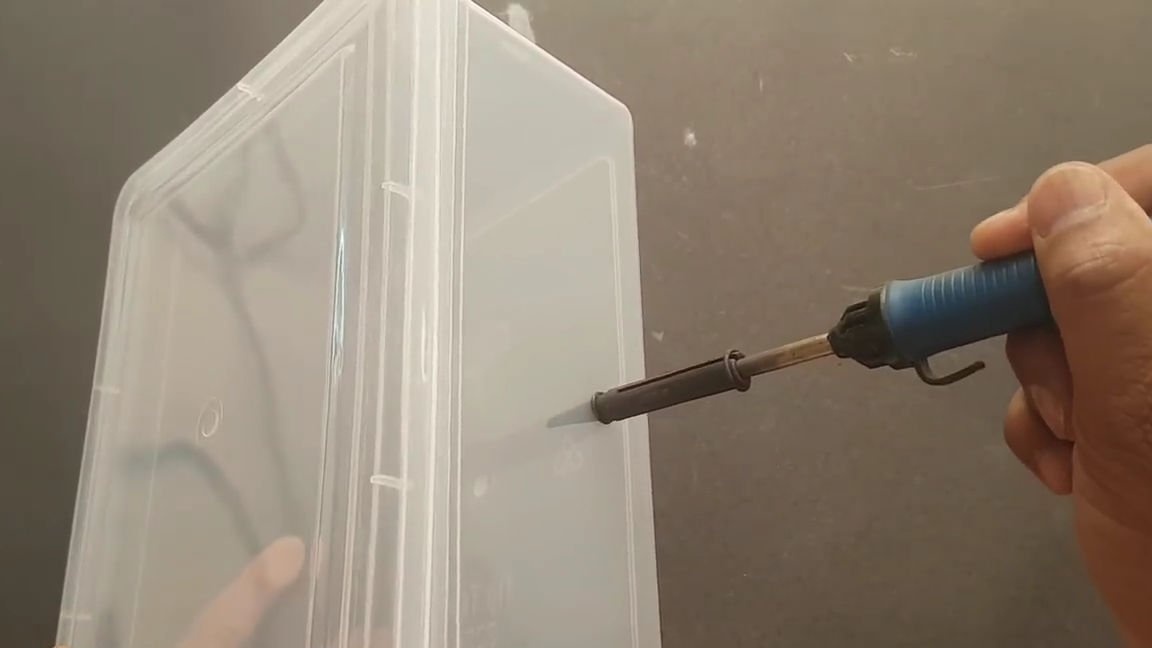
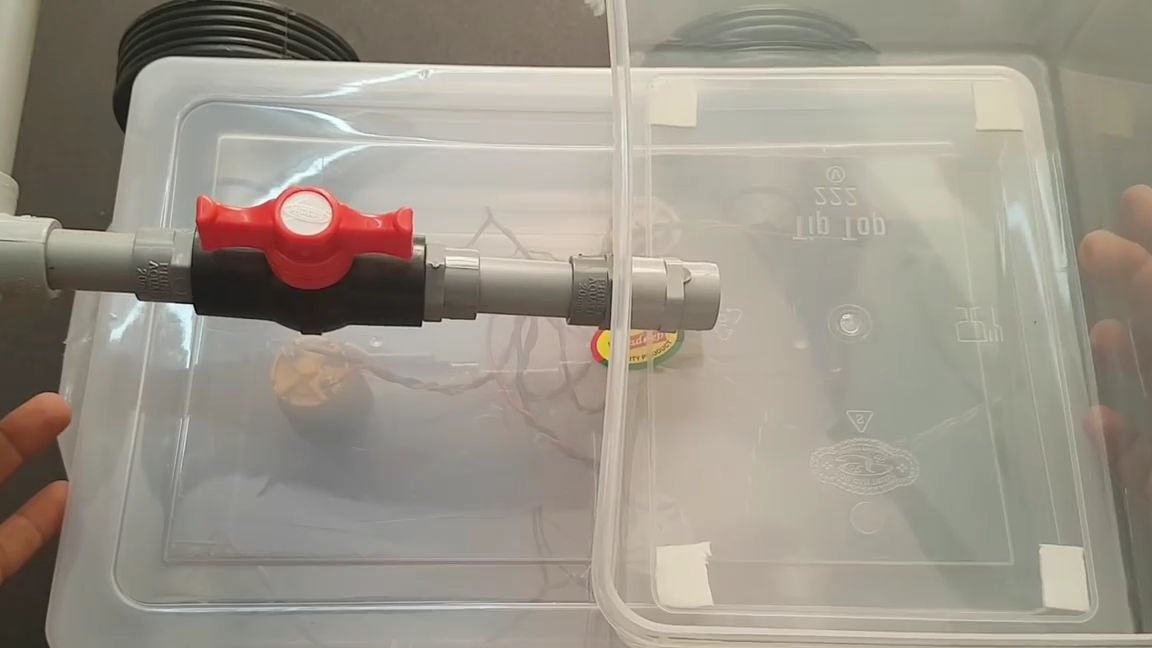
In another container, using a heated soldering iron, make a large hole and insert a “dispenser-sprinkler” there, firmly fixing it from the back. Everything should be airtight:
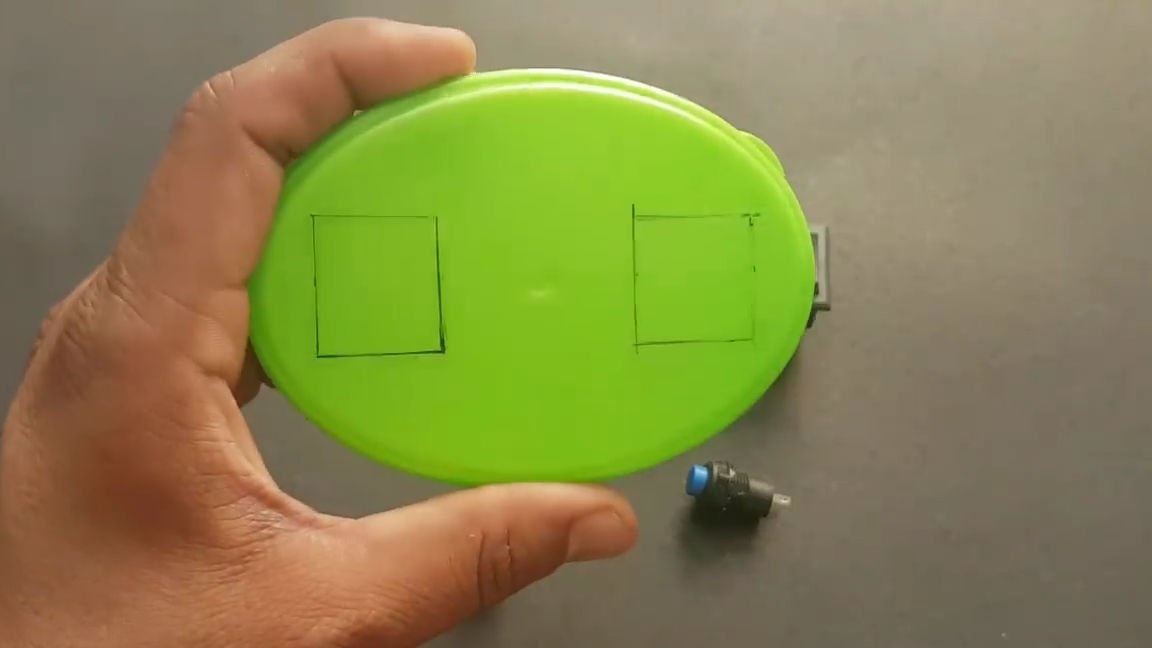
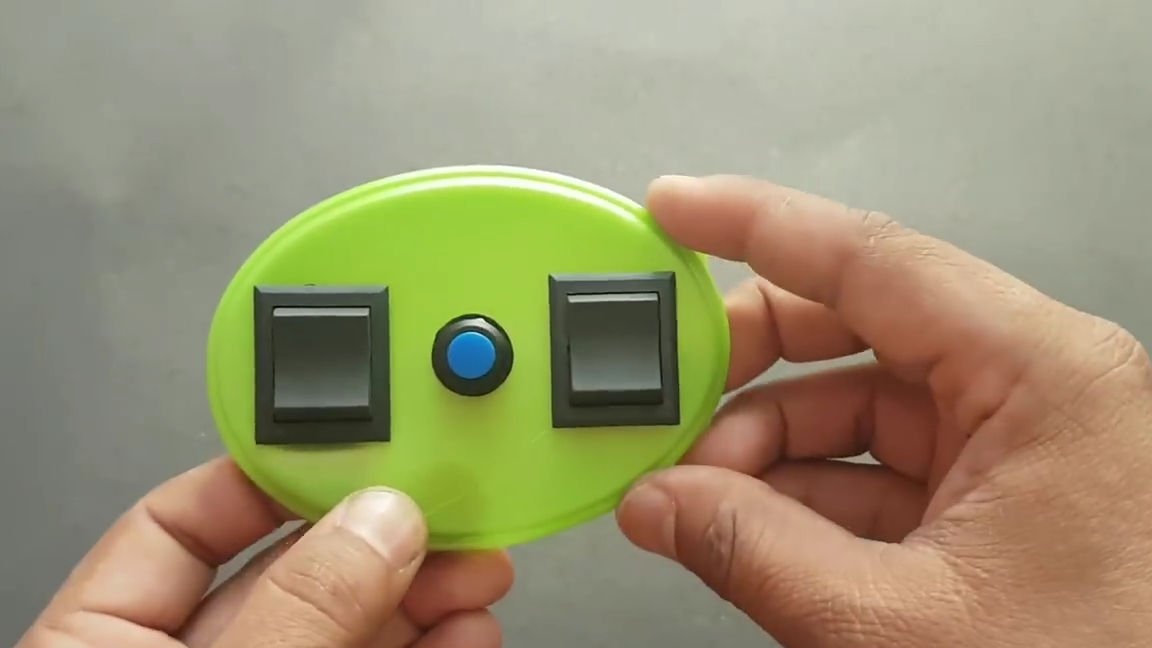
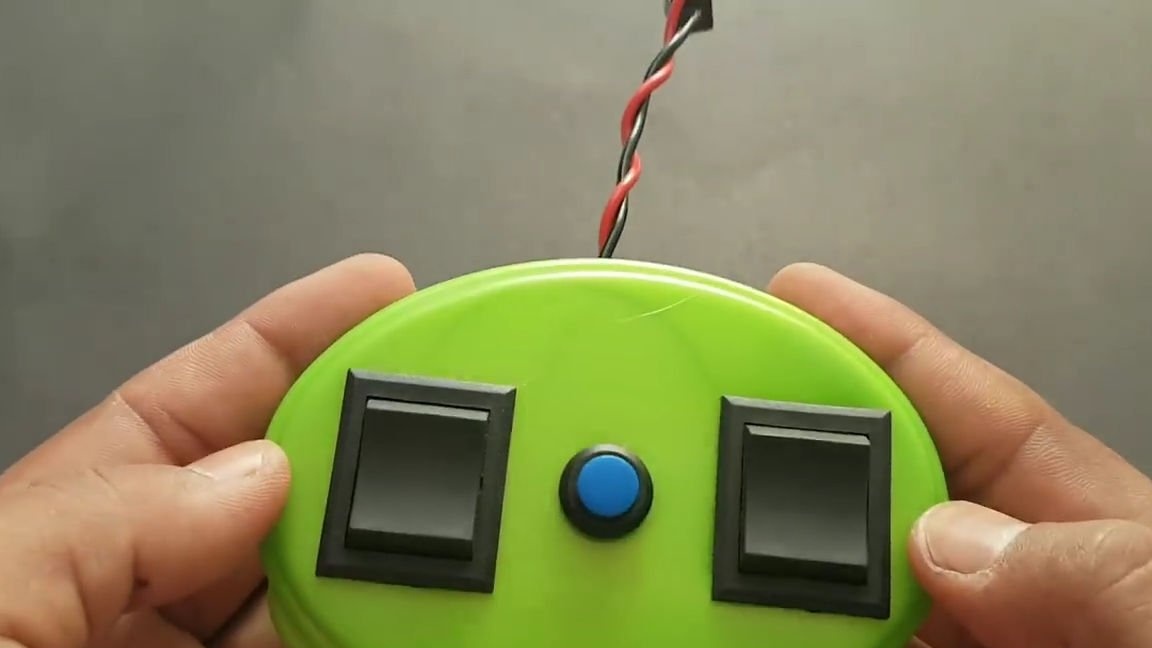
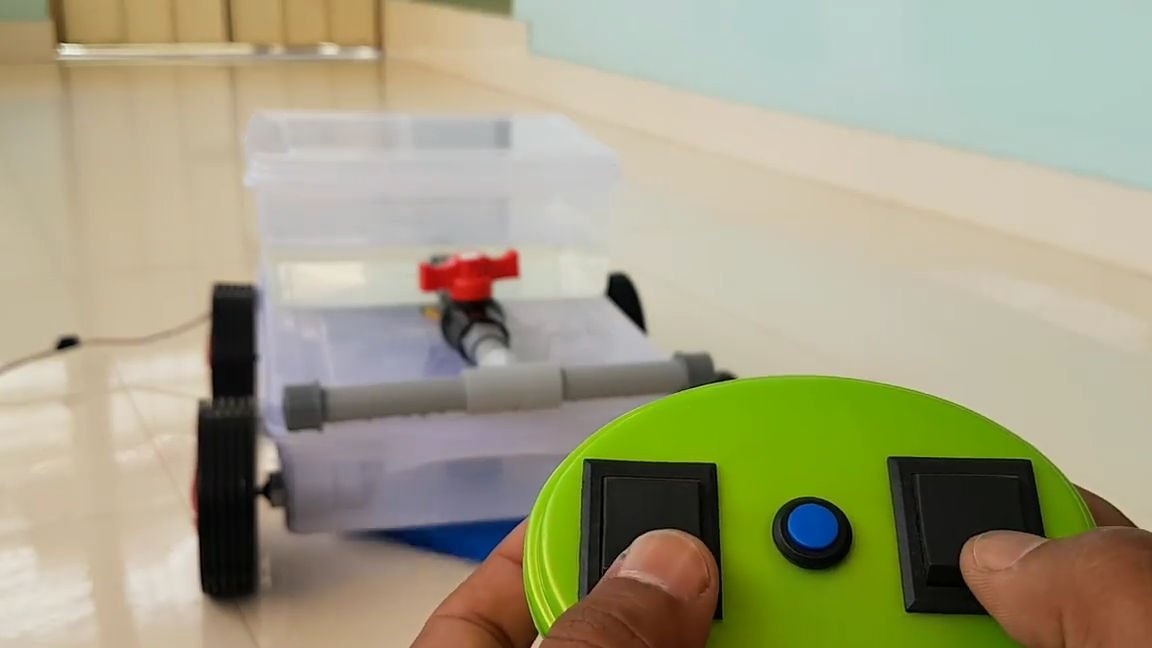
Now we begin to manufacture a control panel for this "robot" cleaner.
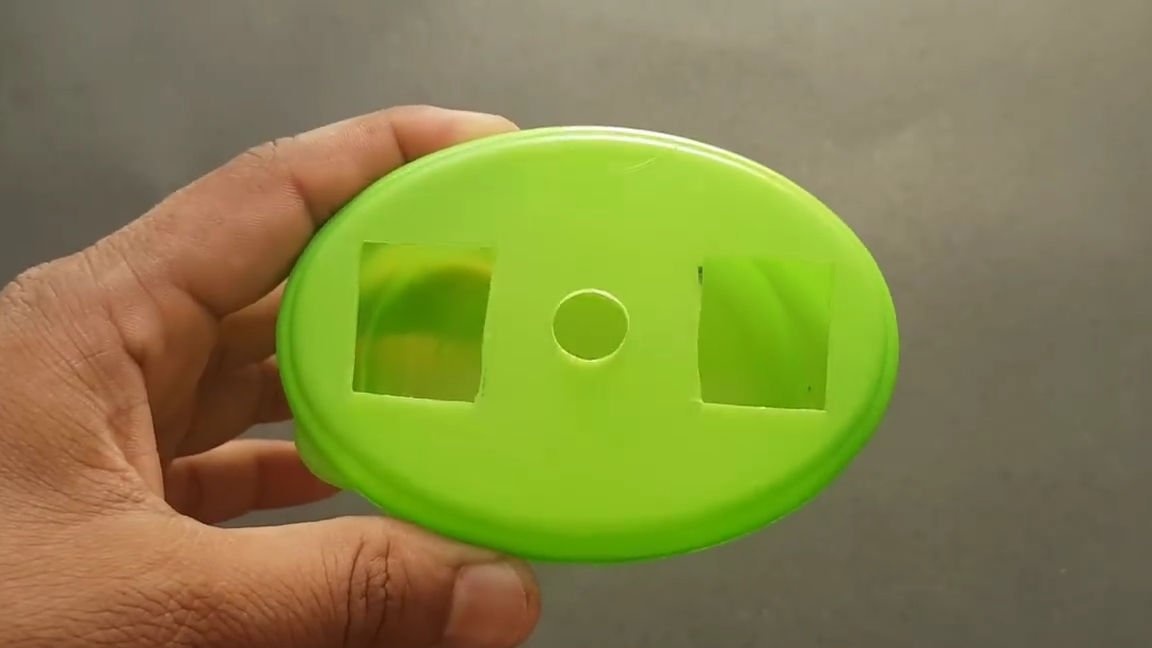
Take a small container and draw on the sides two rectangles for the switches and one circle in the center for the button. Then we cut them out.
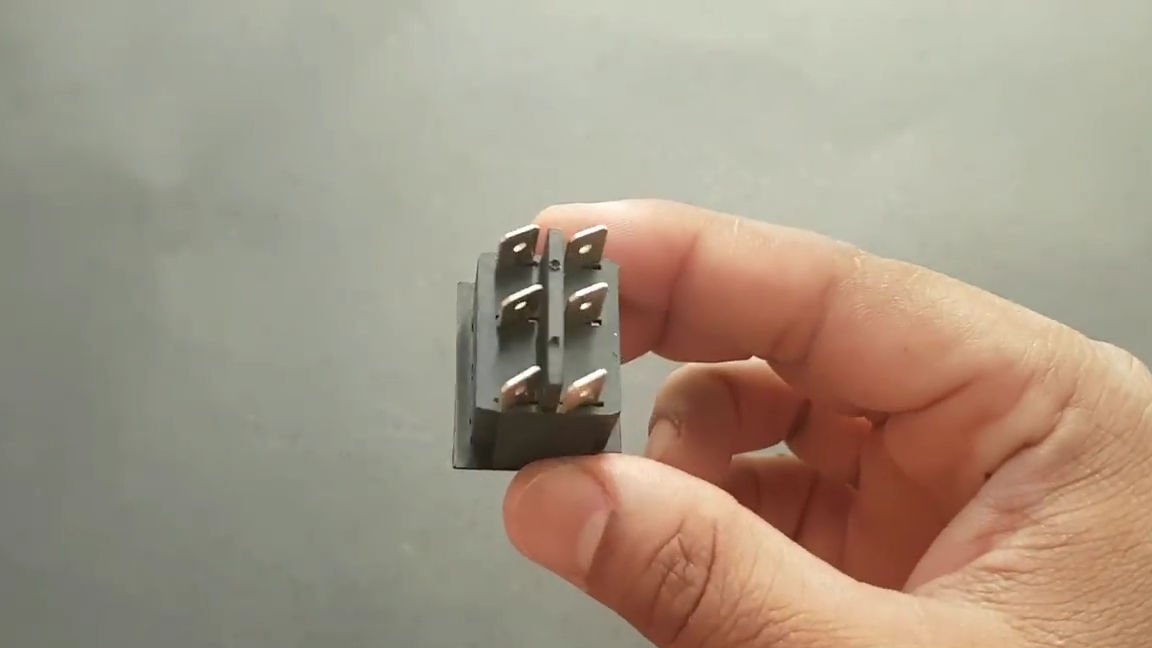
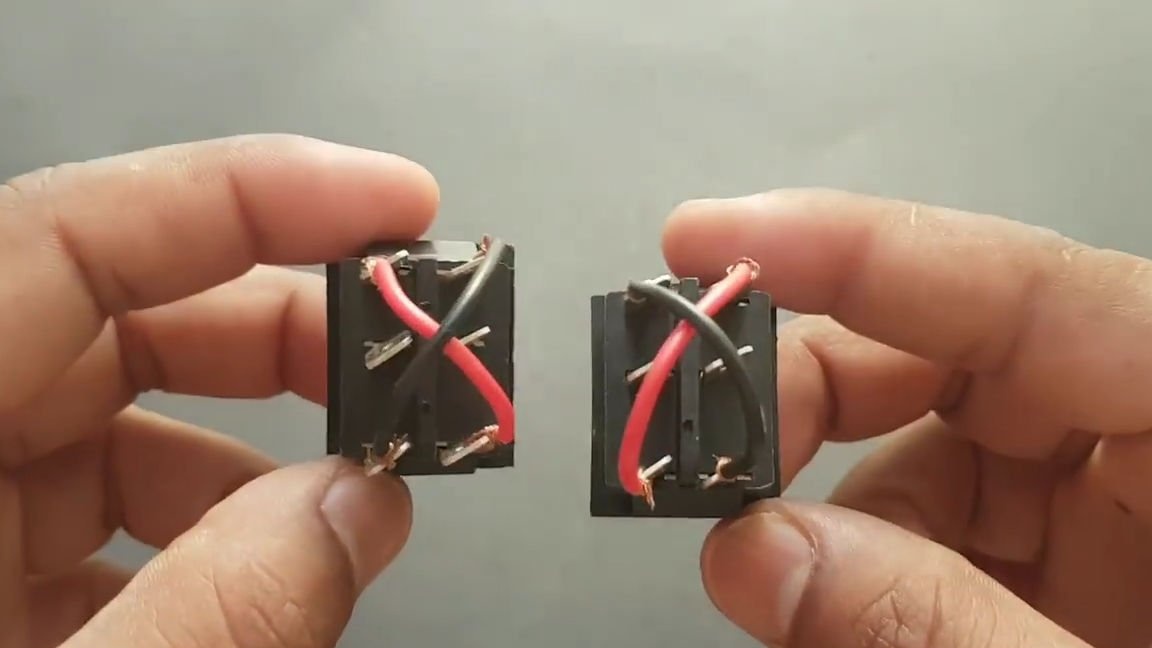
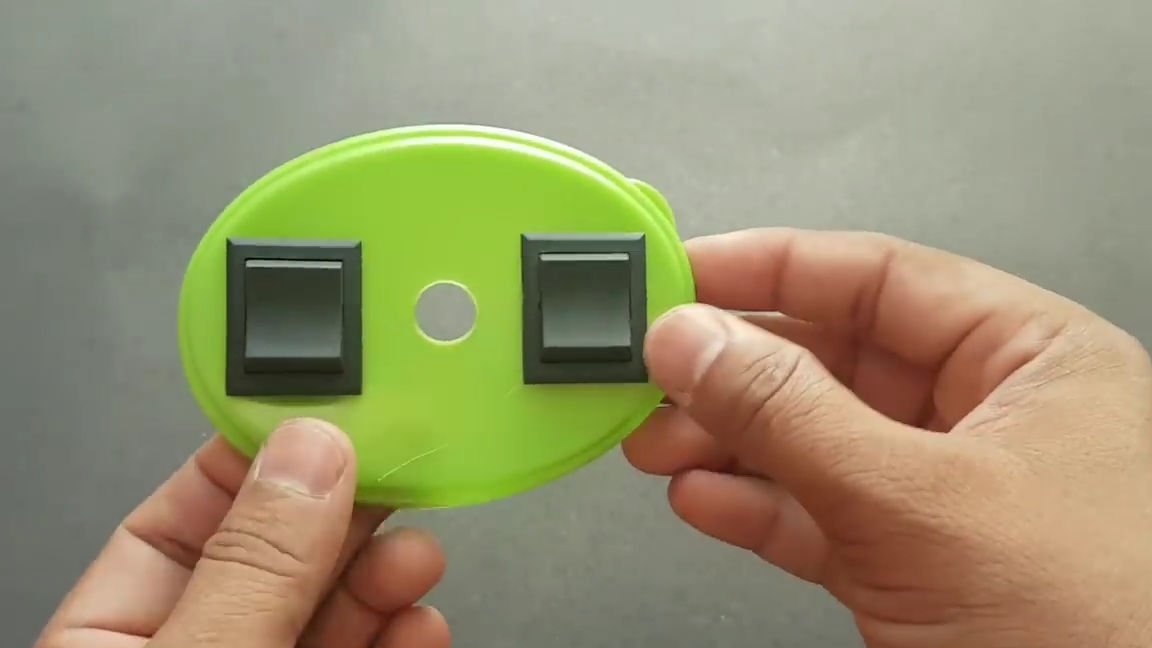
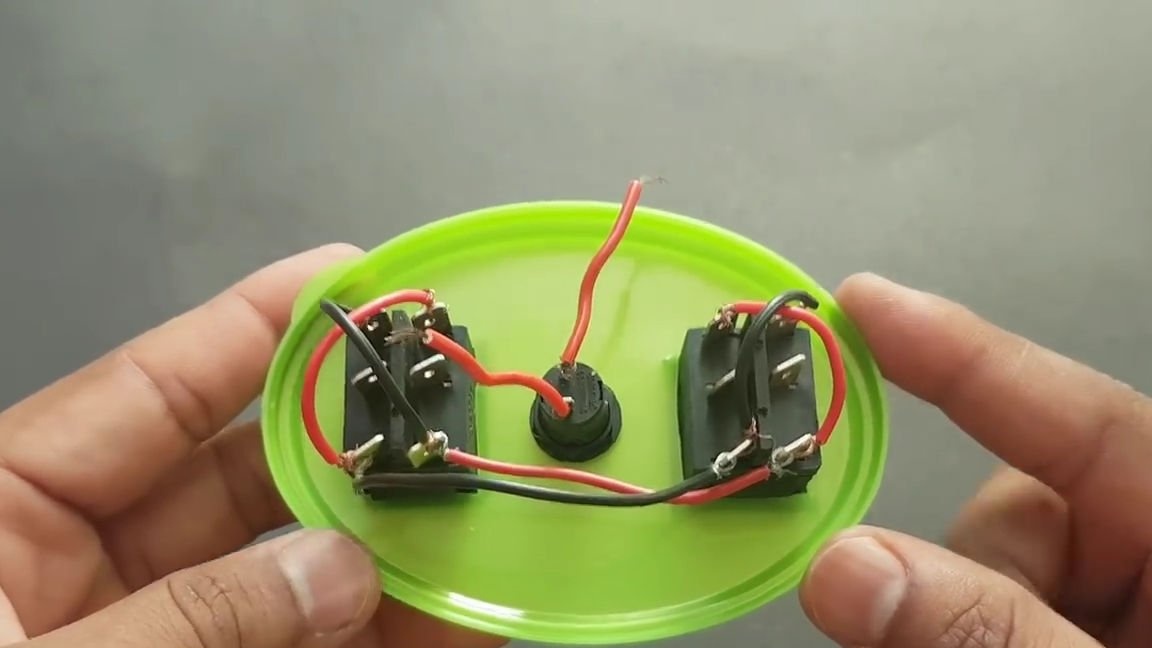
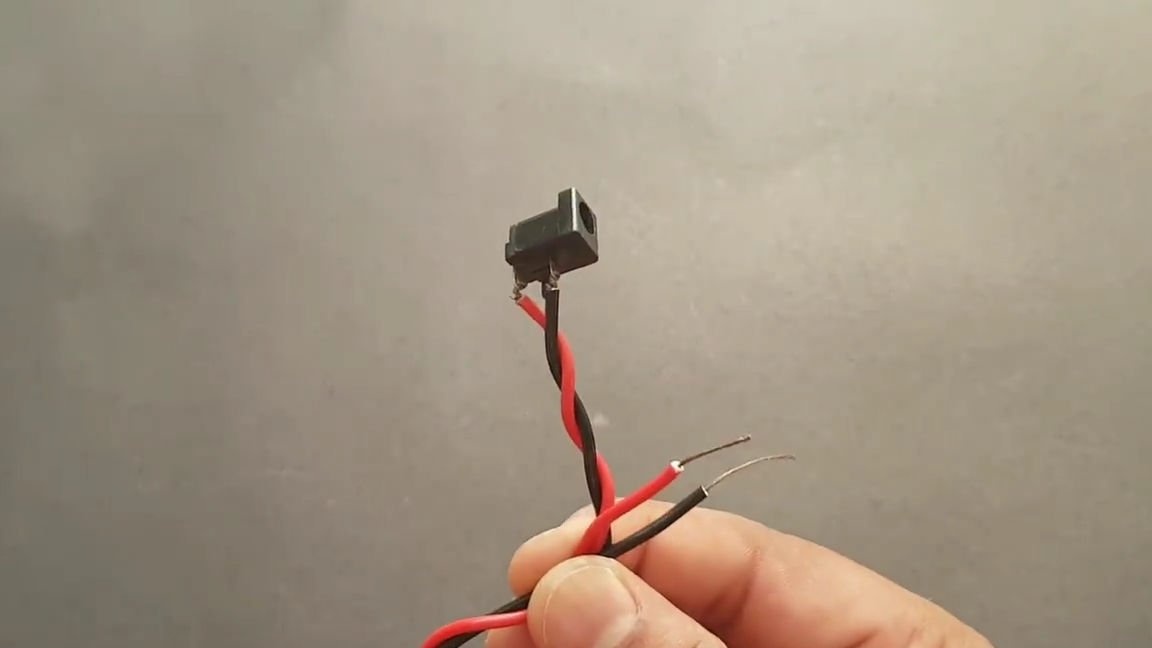
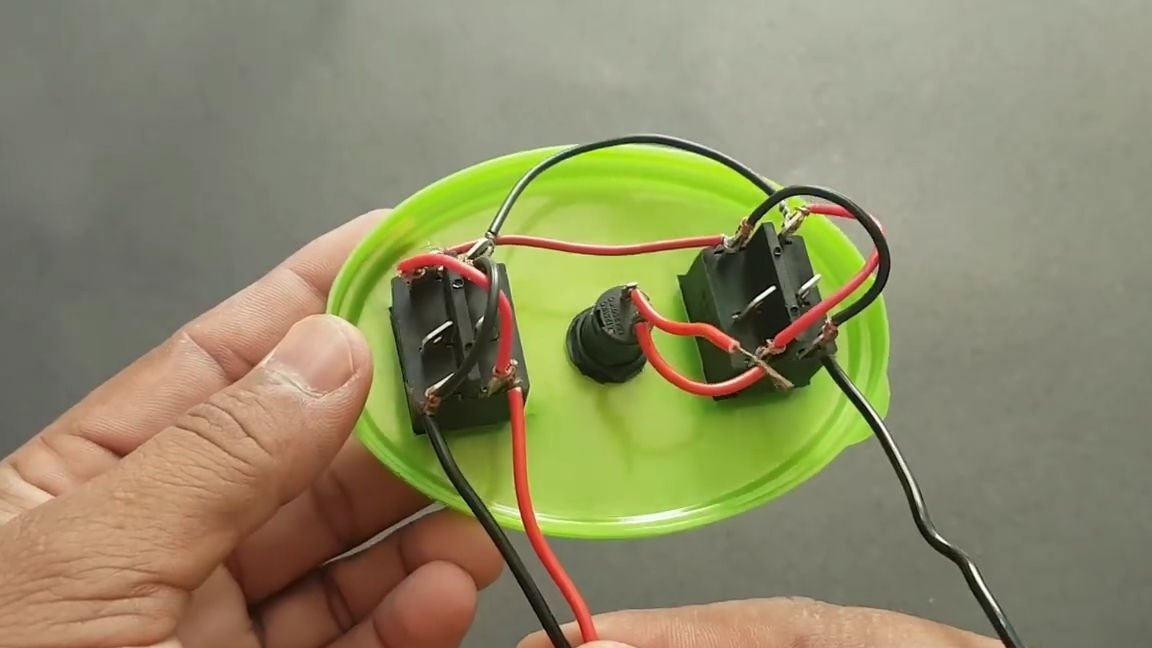
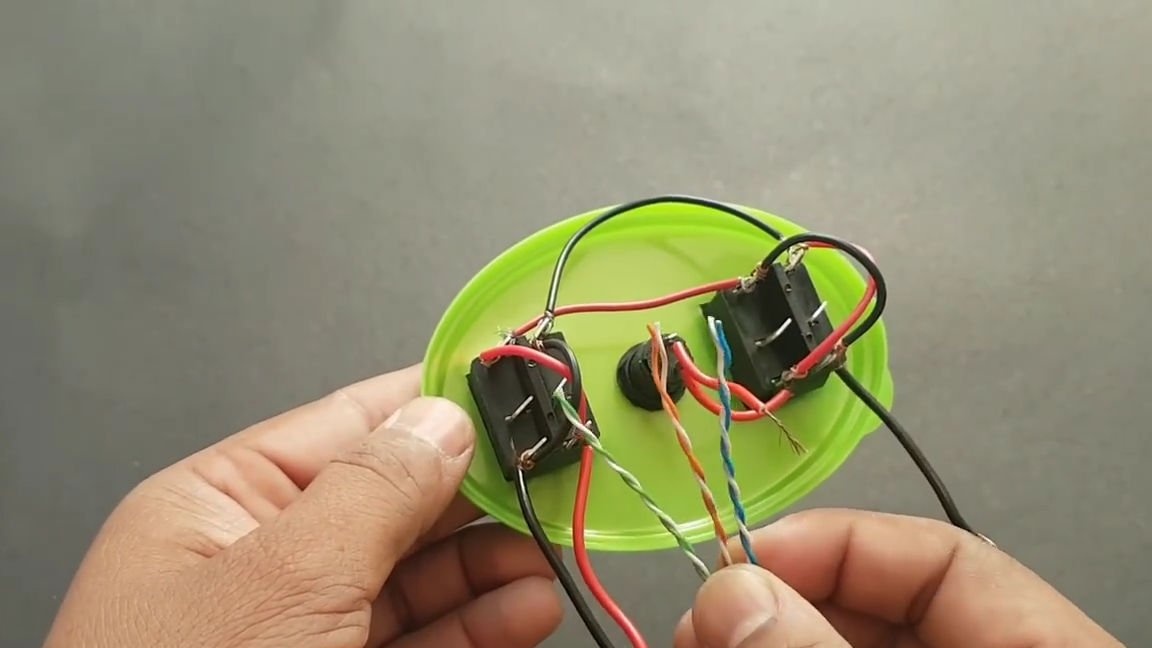
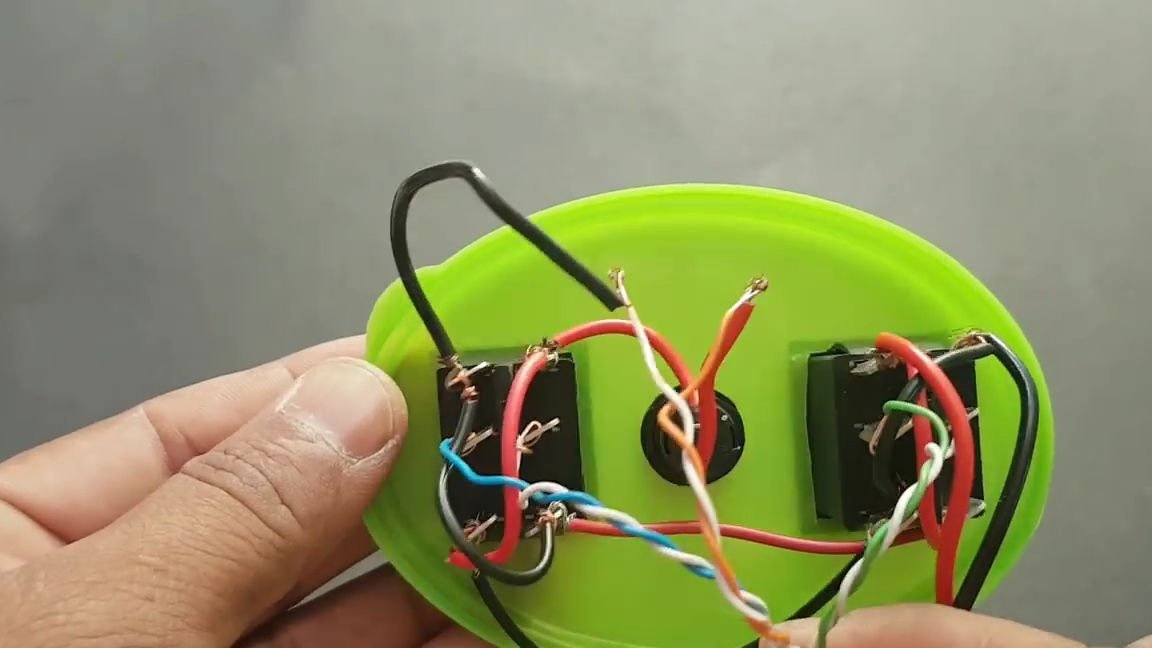
Then we take the buttons and solder their contacts with wires, as in the photo below, insert them into the holes under them. We also insert the button, with the wires soldered to it, we connect the switches together. We take the connector for the 12 volt power supply and also solder it to the switches:

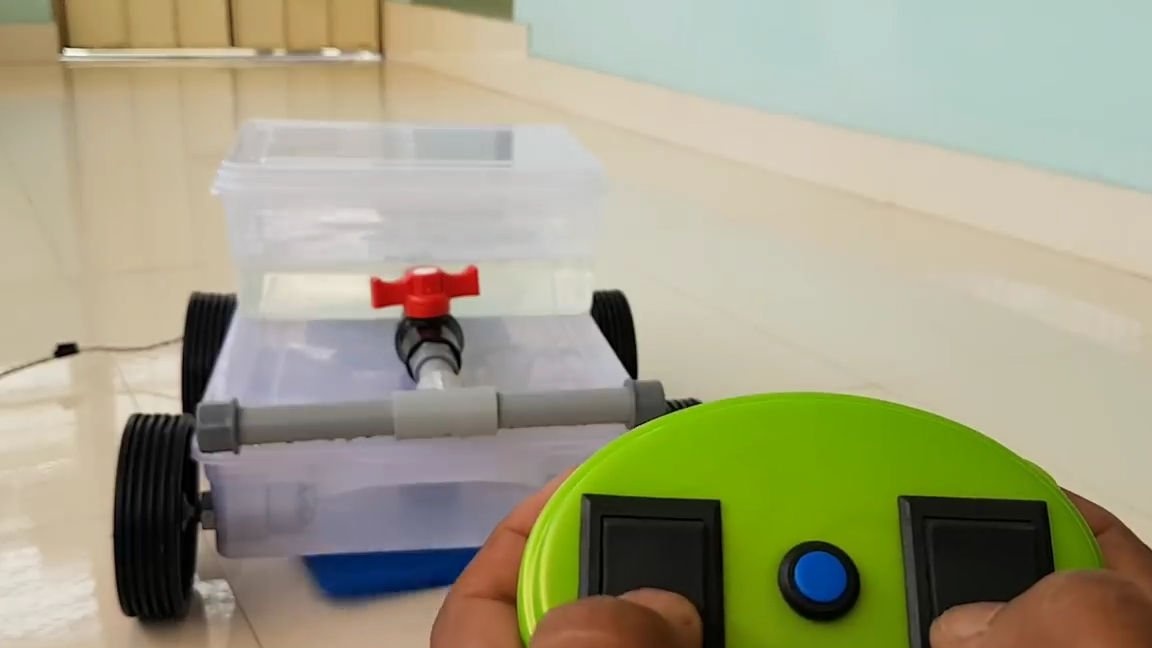
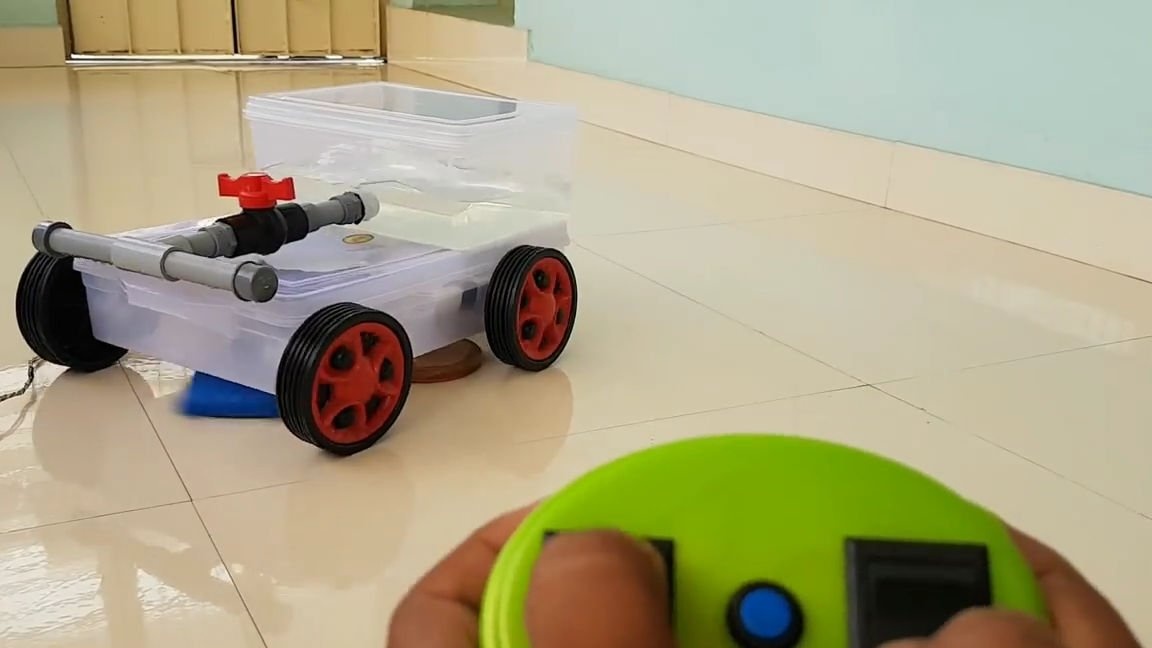
We connect the remote control to the motors and coolers, connect 12V, glue two plywood circles with napkins for cleaning to the lower motors, and just a sponge on the front motor. Install a large container with plumbing and that's it! A simple "robot" cleaner is ready and you just have to test it!
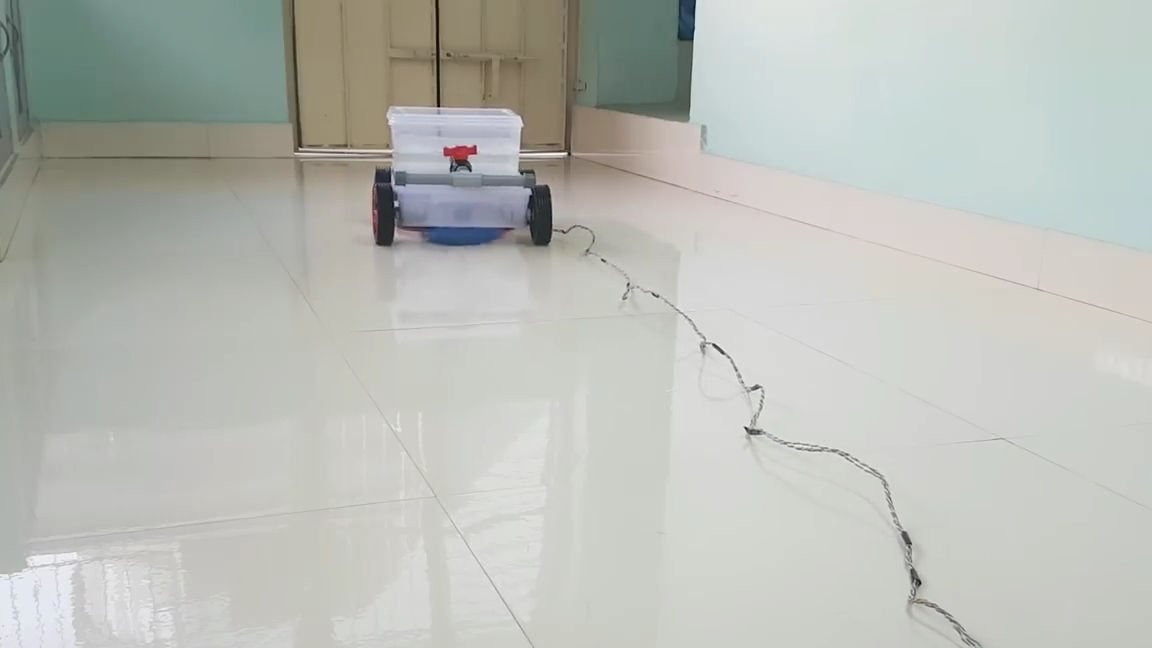
To do this, just take the control panel, start the entire structure using the button and start controlling the “robot” cleaner, while cleaning the smooth floor.
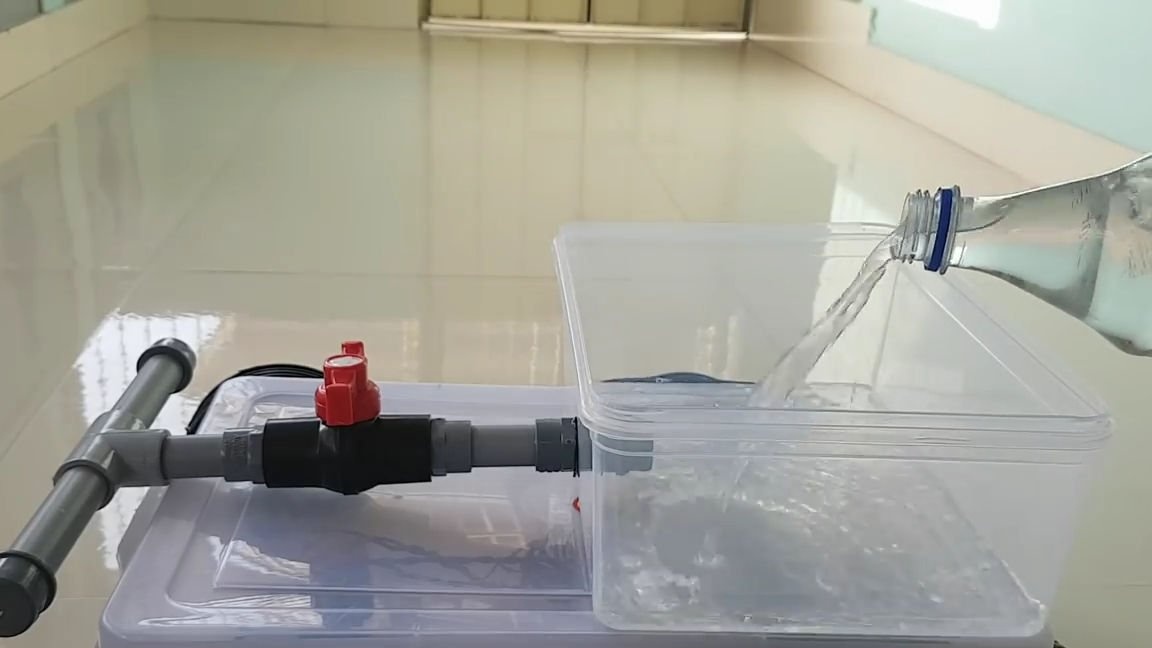
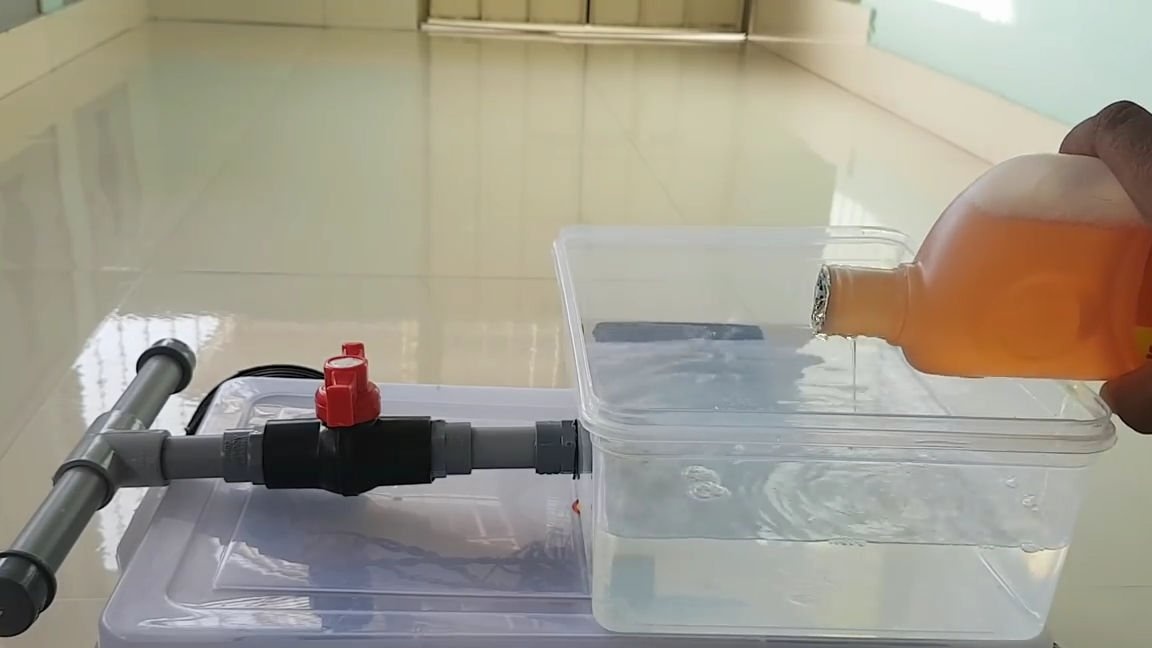
And yes, of course, you must not forget to pour a little water and detergent into the container with the plumbing and open the faucet so that the water drips a little, but not very much.
In general, this homemade product is already very funny and interesting, but there are many options for improving it, for example, as I already said, transfer it to wireless control or something like that. Write your options in the comments.
For leisure activities, this homemade product is perfect.
Here is a video from the author with a detailed assembly and with the tests of this homemade product:
By the way, who is interested in my video about assembling a simple mini "robot" do it yourselfLook who is interested)
Well, thank you all for your attention and good luck in future projects, friends!