
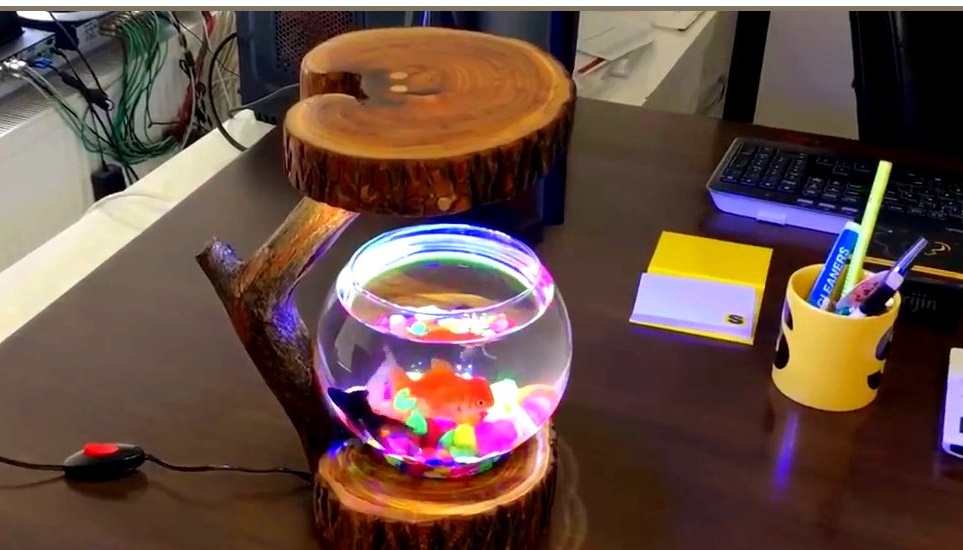
In this article, Jemal, the author of YouTube channel "cemaL AÇAR", will tell you how he created an original decorative illumination for a small aquarium with goldfish.
Materials
- Tree
- Two-component epoxy resin
- Wood screws
- Waterproof LED modules
- Heat-shrink tubing
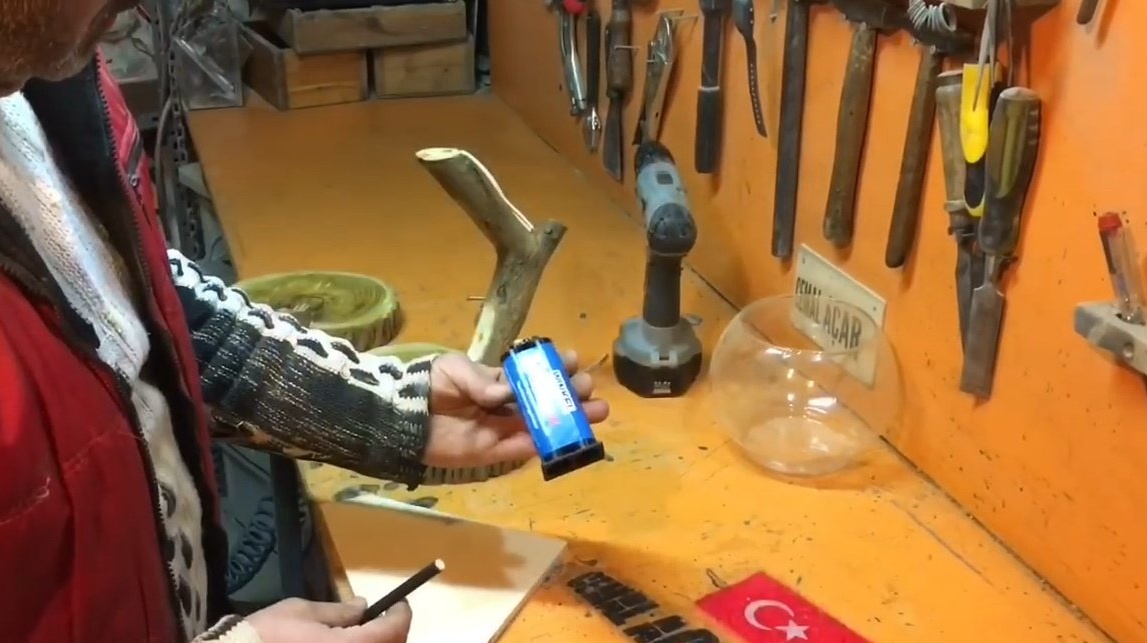
- 12V power supply
- switch
- Steel bar 8 mm
- Varnish for wood.
Instruments, used by the author.
- Chainsaw
- Bulgarian
- Hacksaw for wood
- Welding machine
- Clamps, vise
- Drill 8 mm
- Nippers, screwdrivers
- Screwdriver
- Hammer, carpentry knife, brush
- Soldering iron.
Manufacturing process.
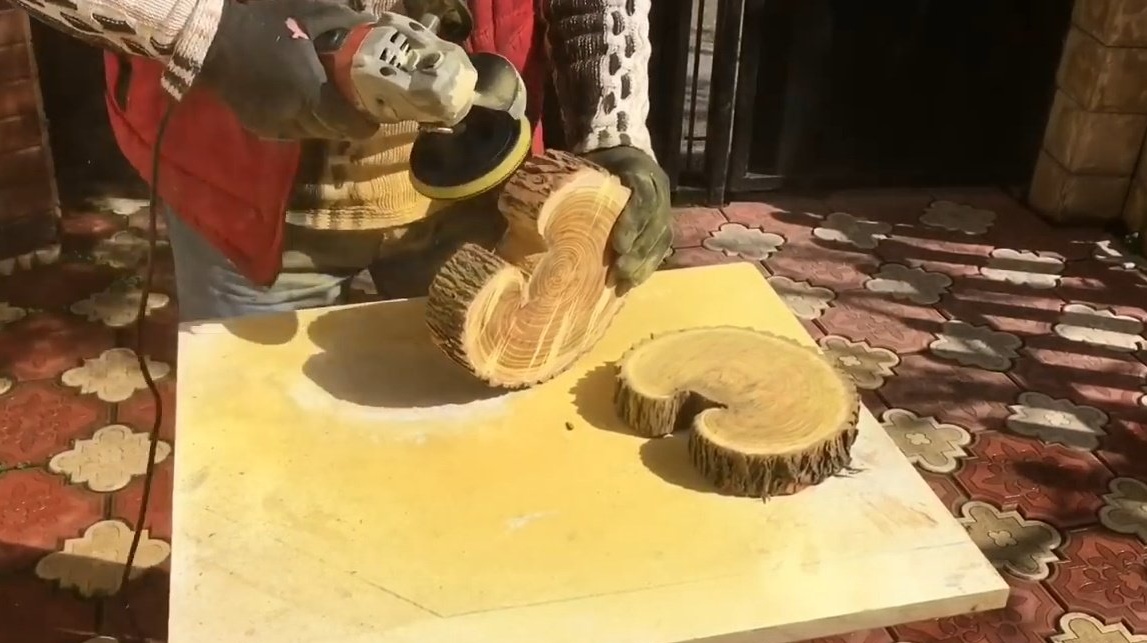
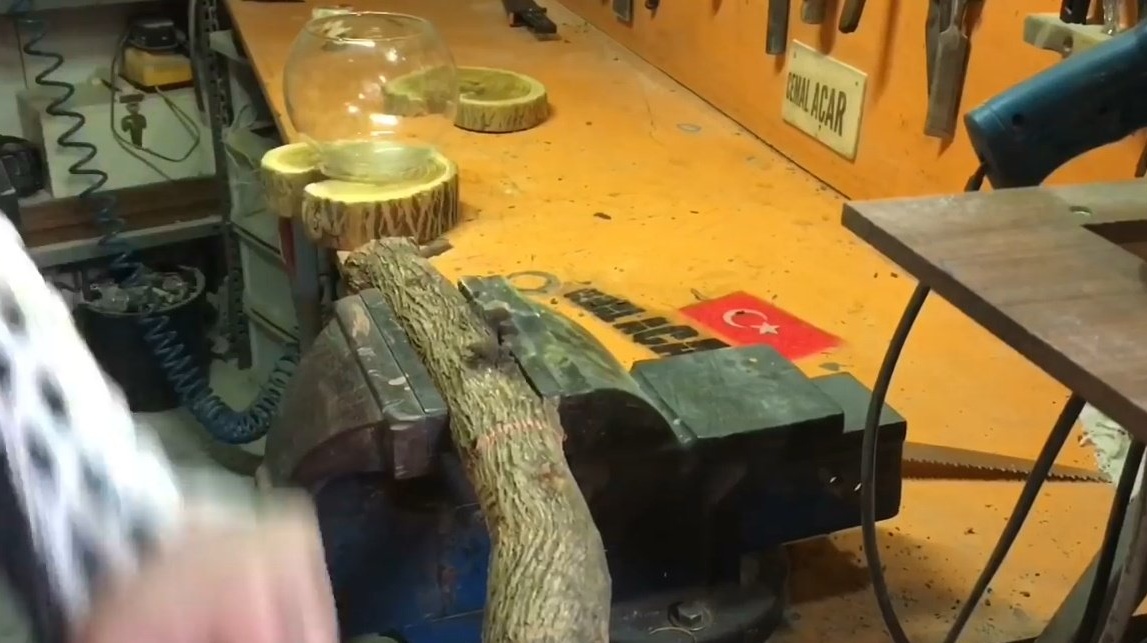
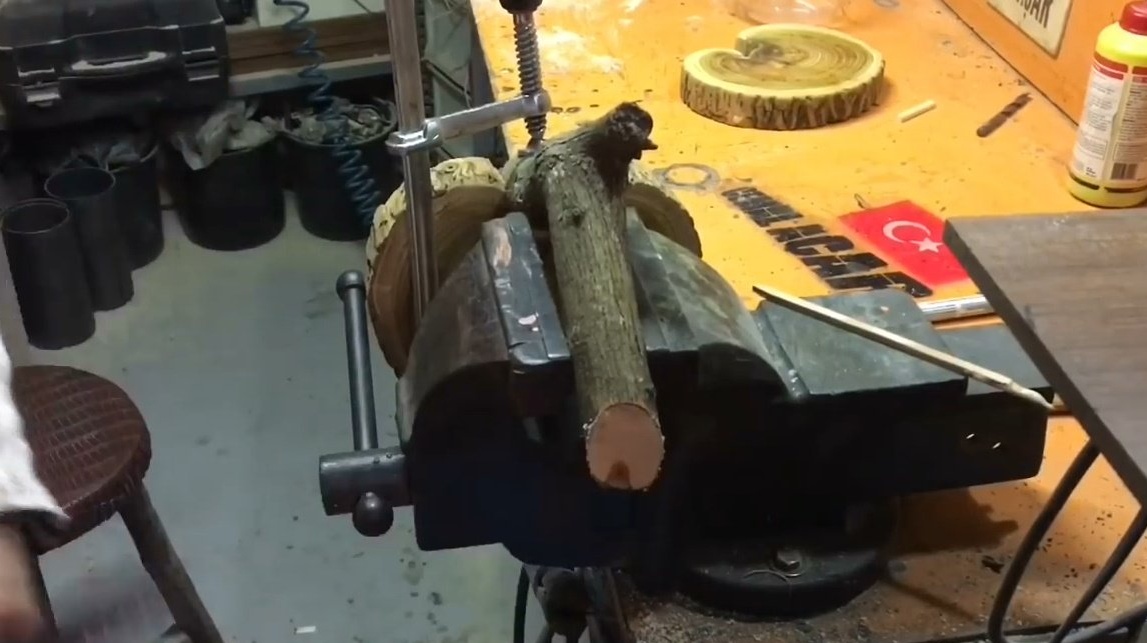
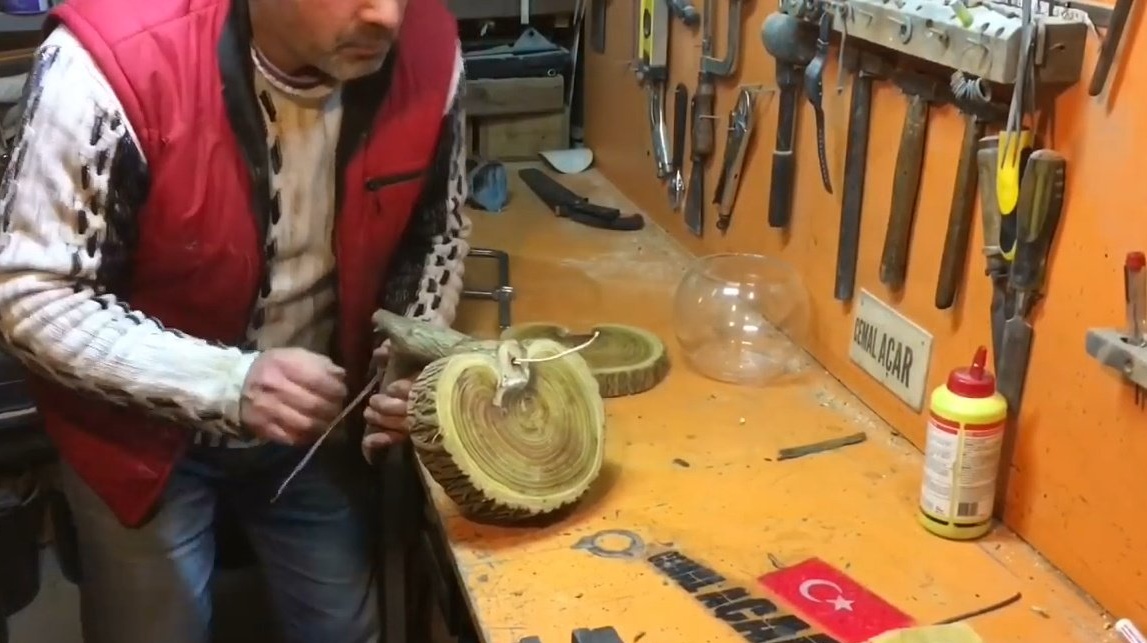
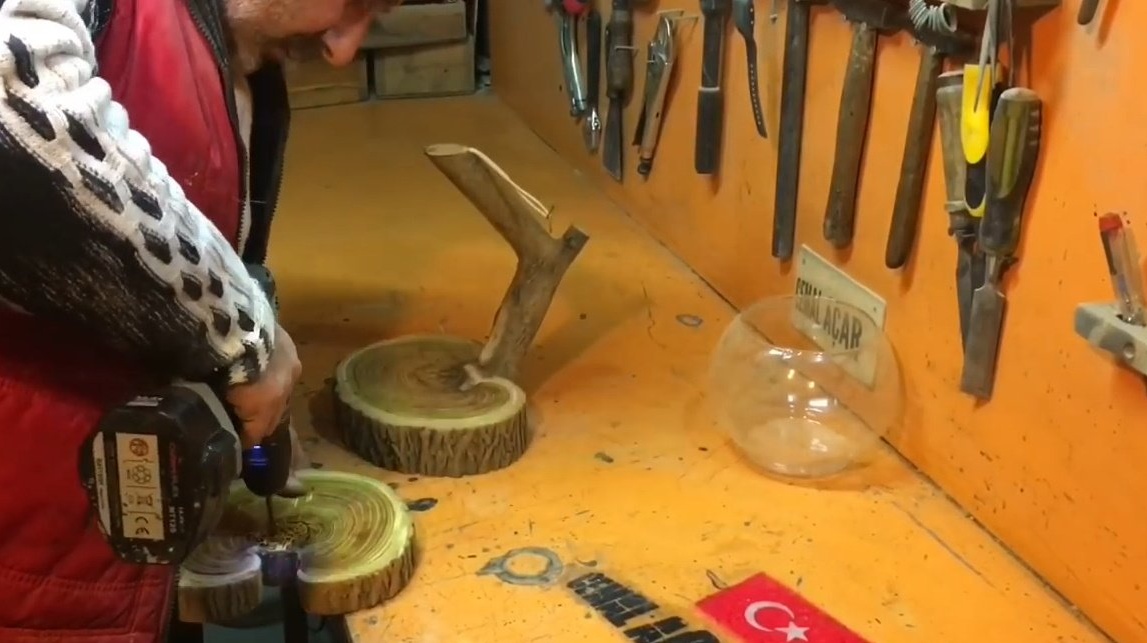
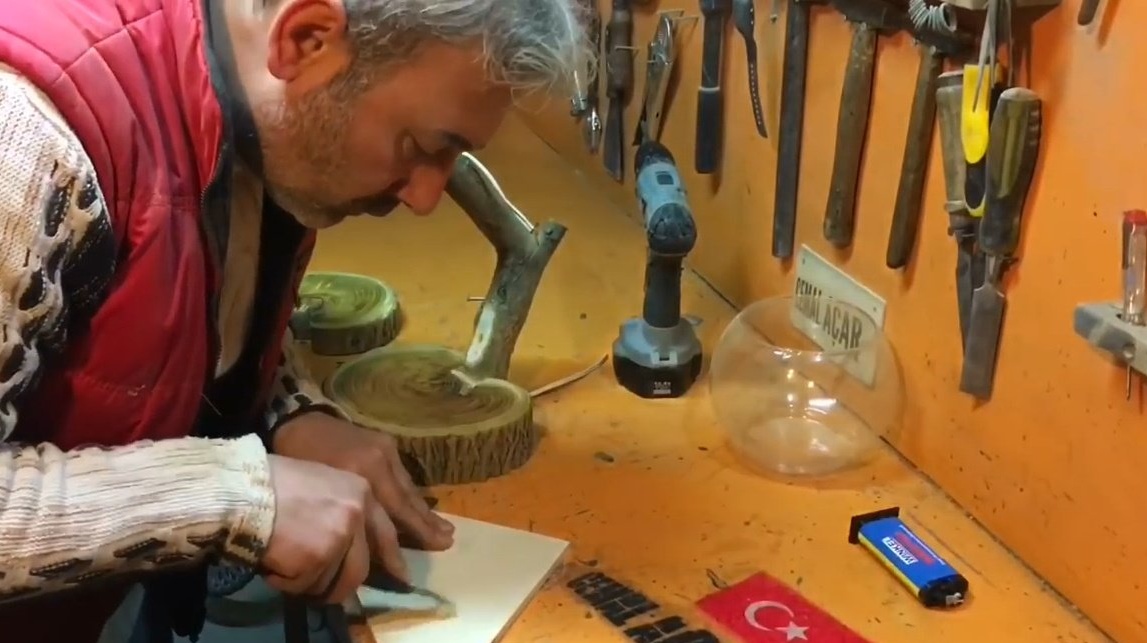
The author found a suitable warped tree trunk, and blocked it with a chainsaw, making a wedge-shaped incision.


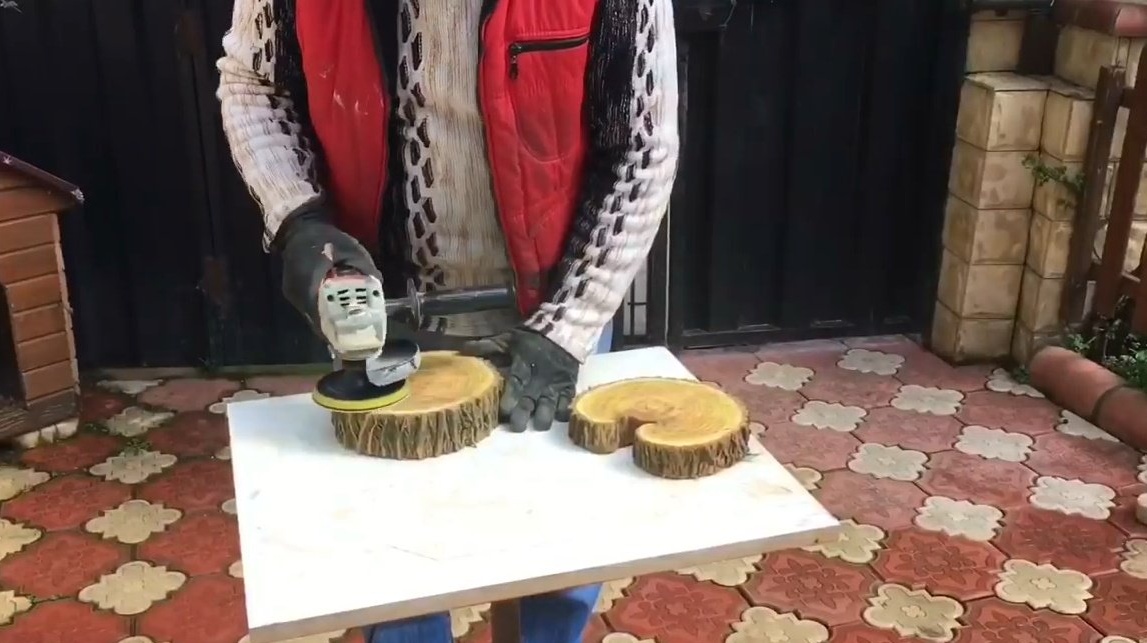
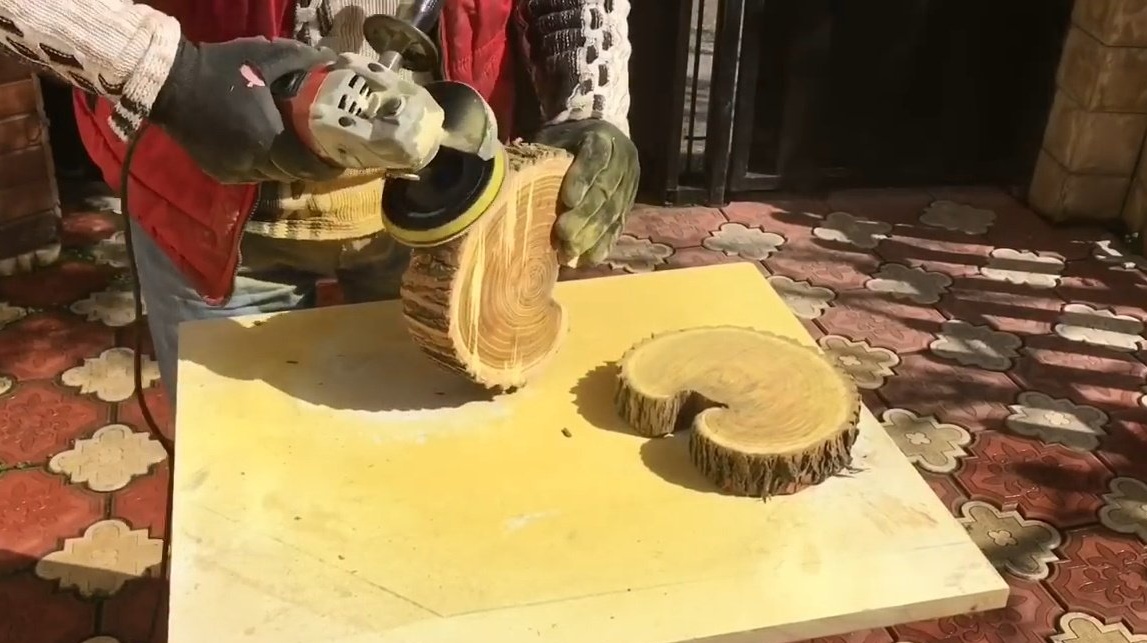
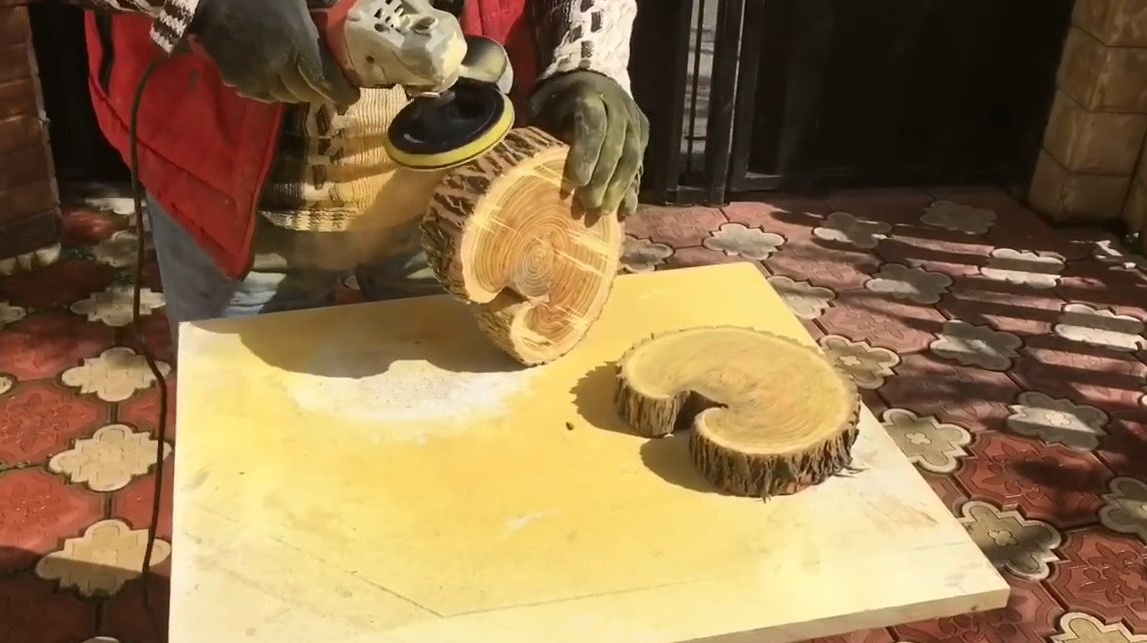
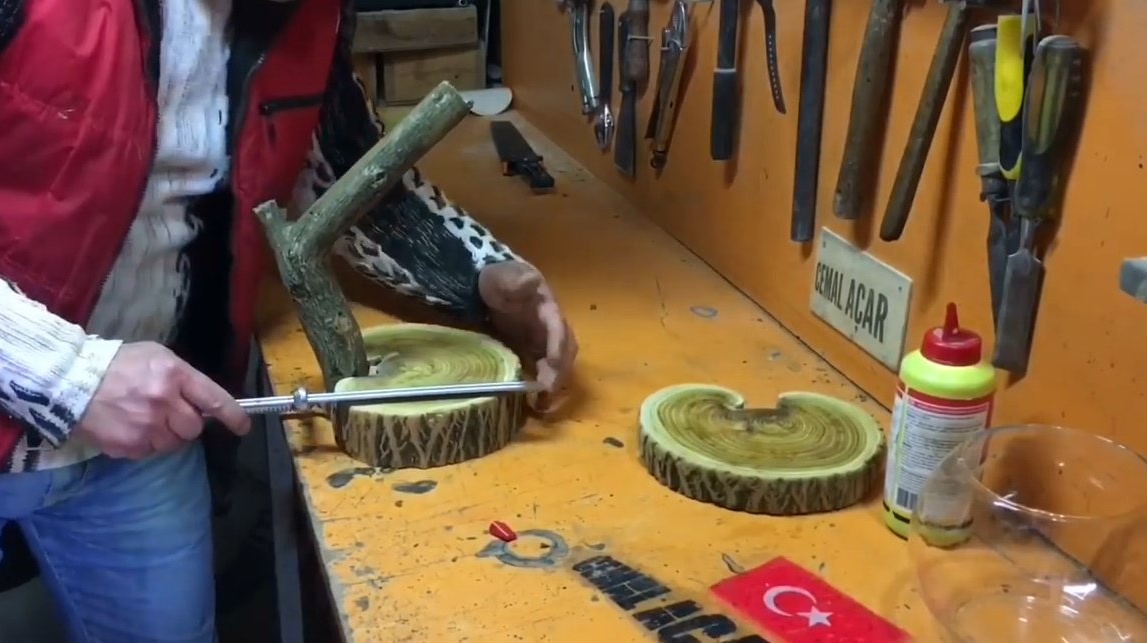
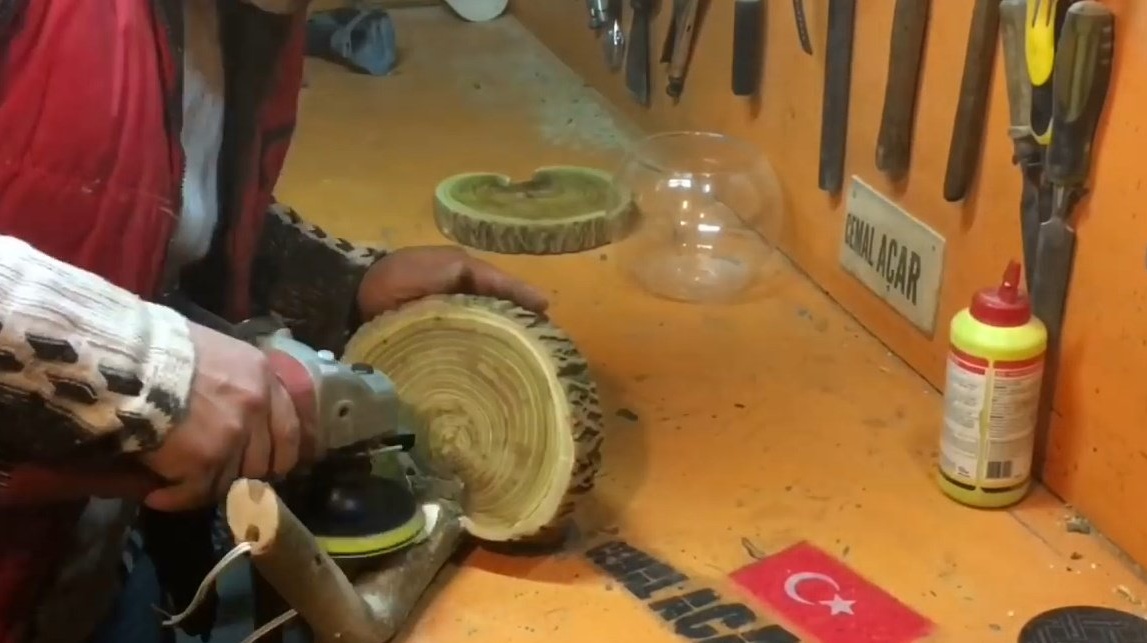
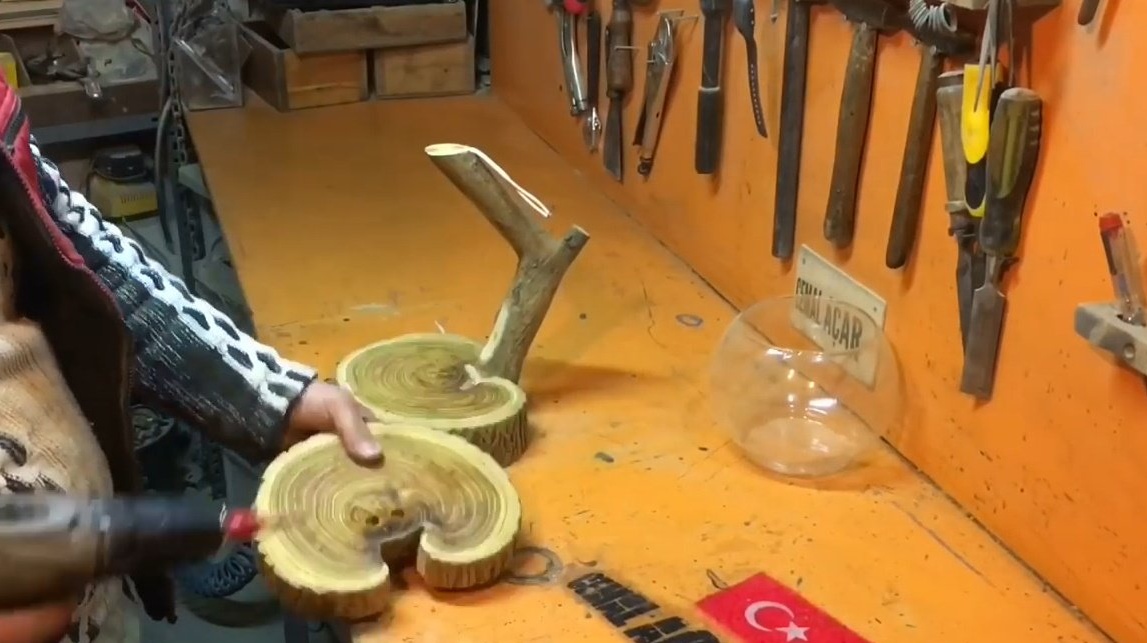
Then sawed off two suitable round logs from the trunk.


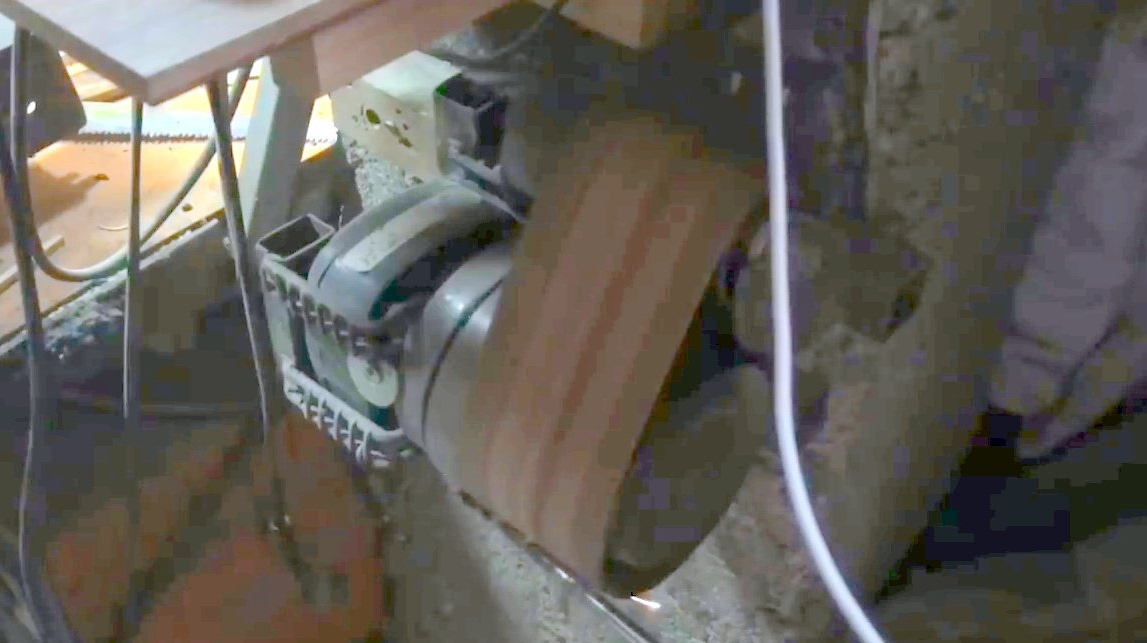
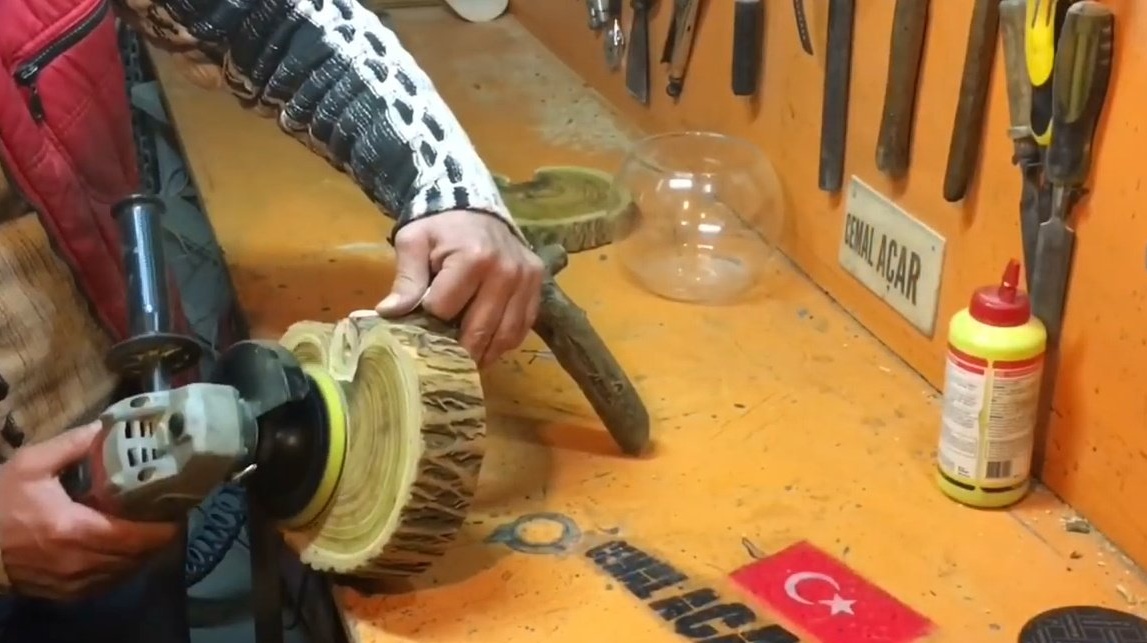
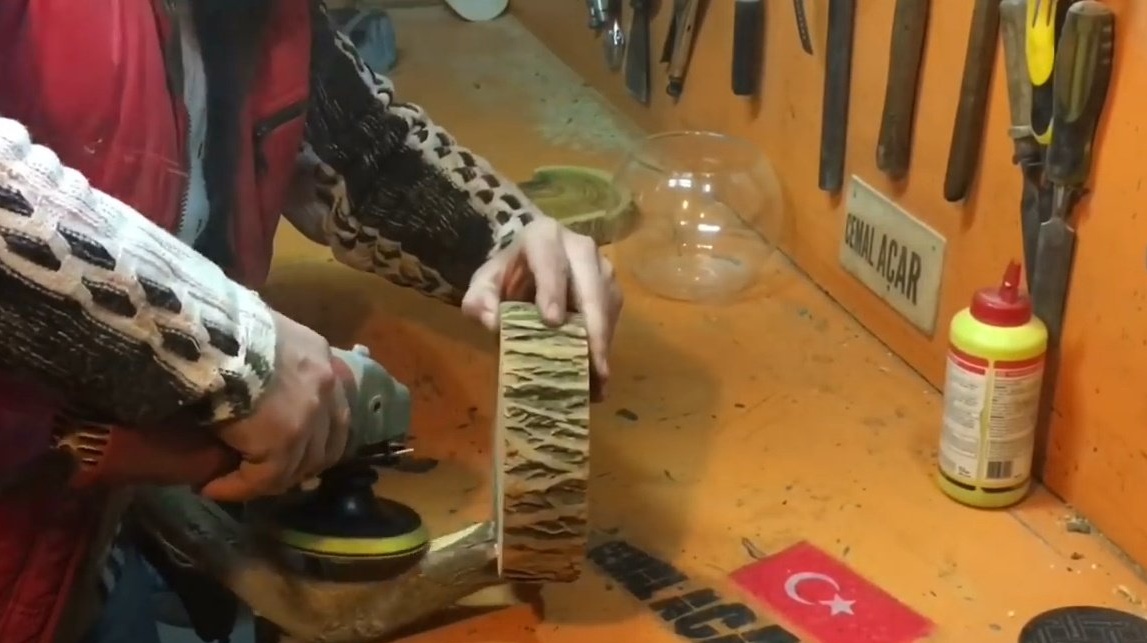
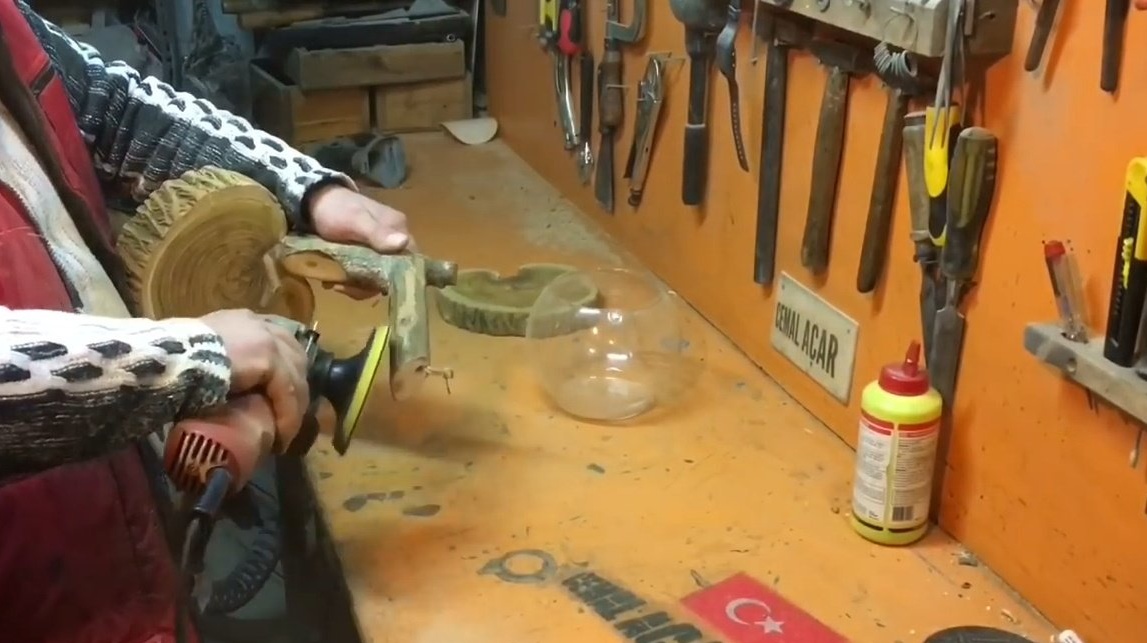
Using a grinder and a grinding nozzle, he treated the surfaces and removed the scaly bark.

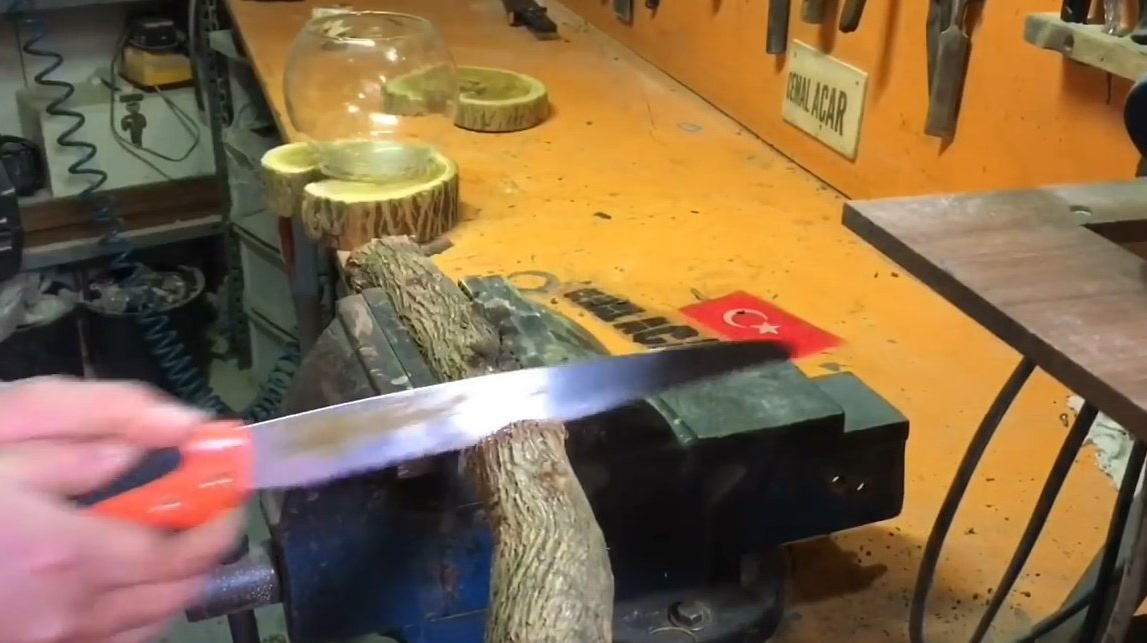
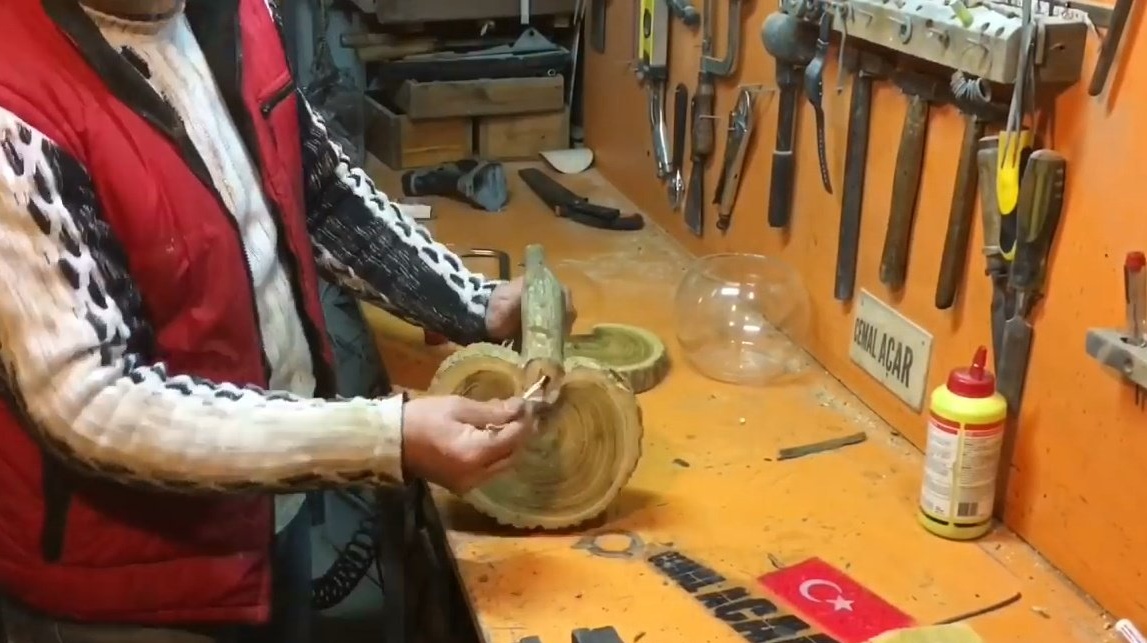
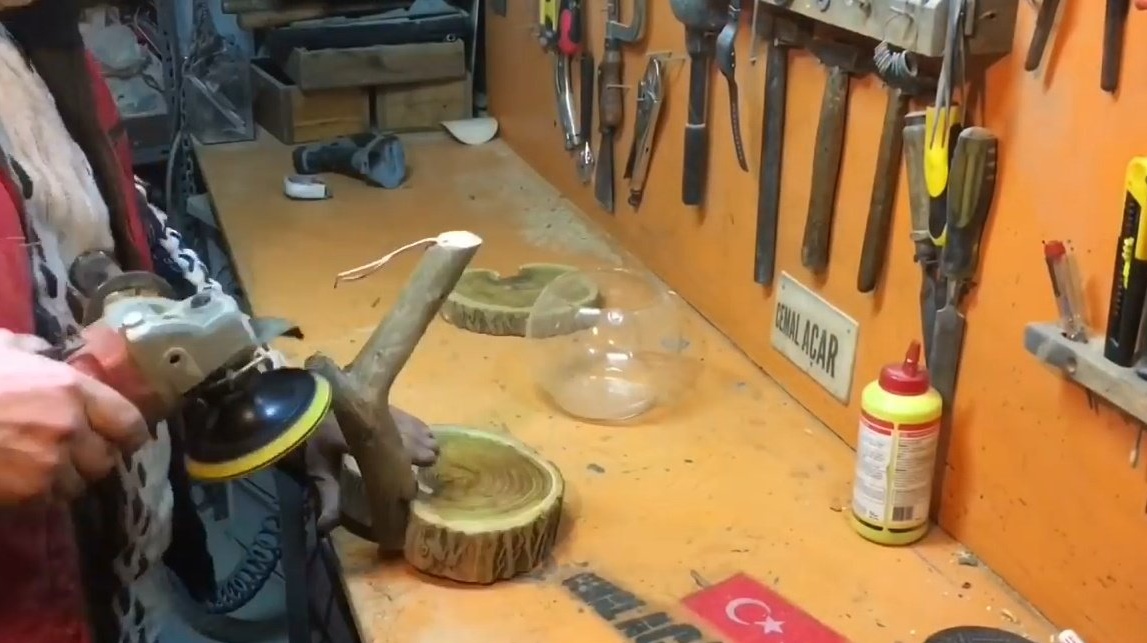
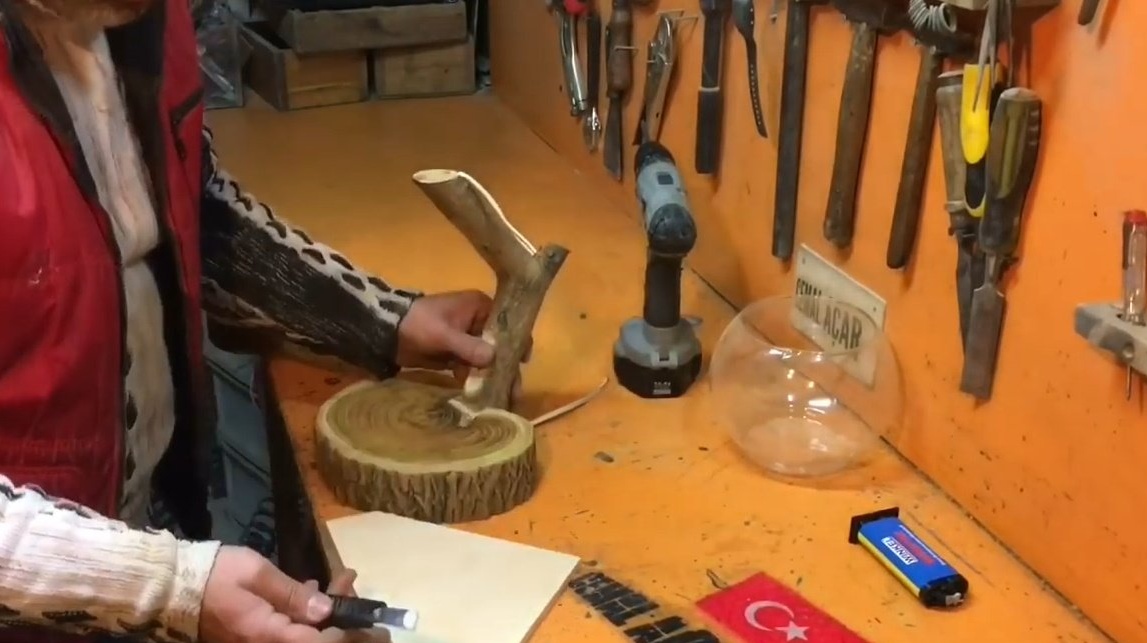
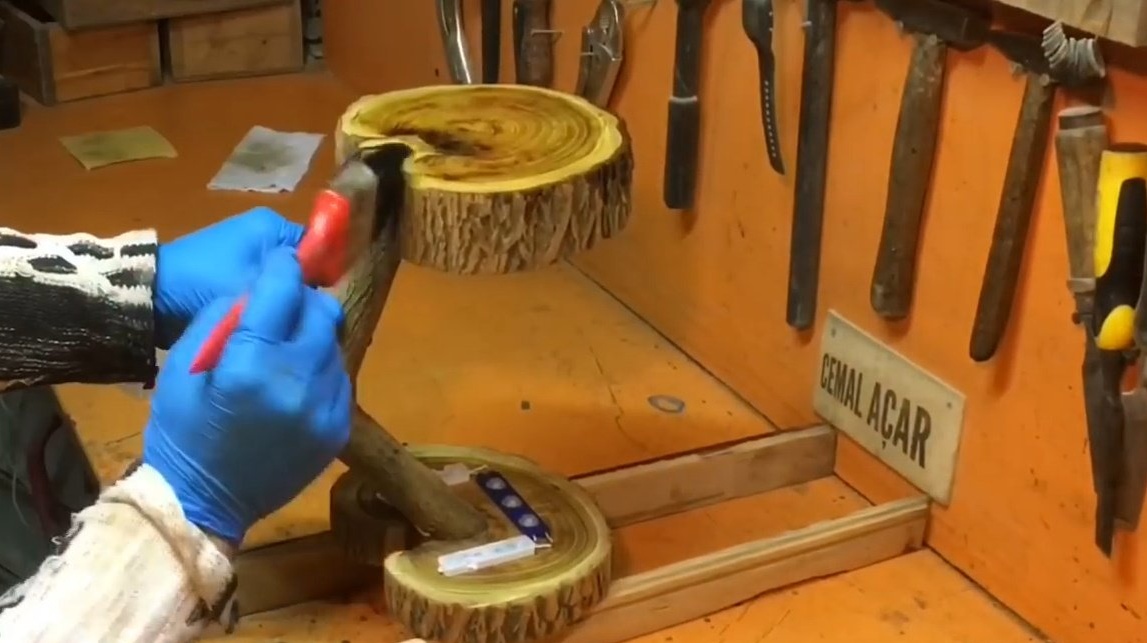
Then he picked up a thick curved branch, the master will use it as a hinge. Trying it on to the base of the stand, marks the location of the cut.
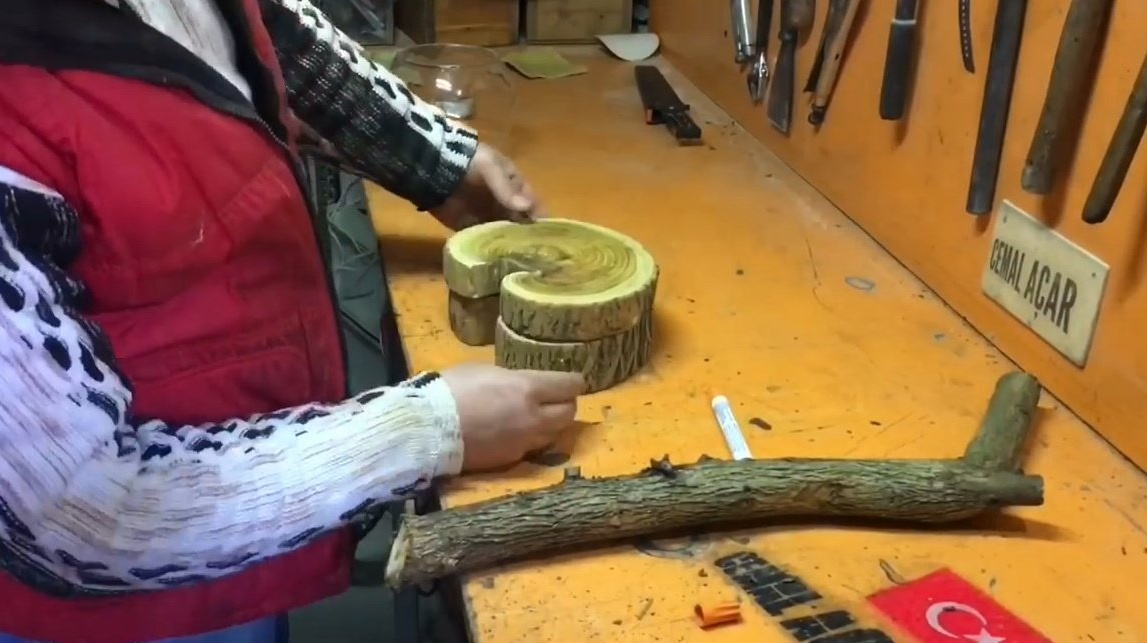


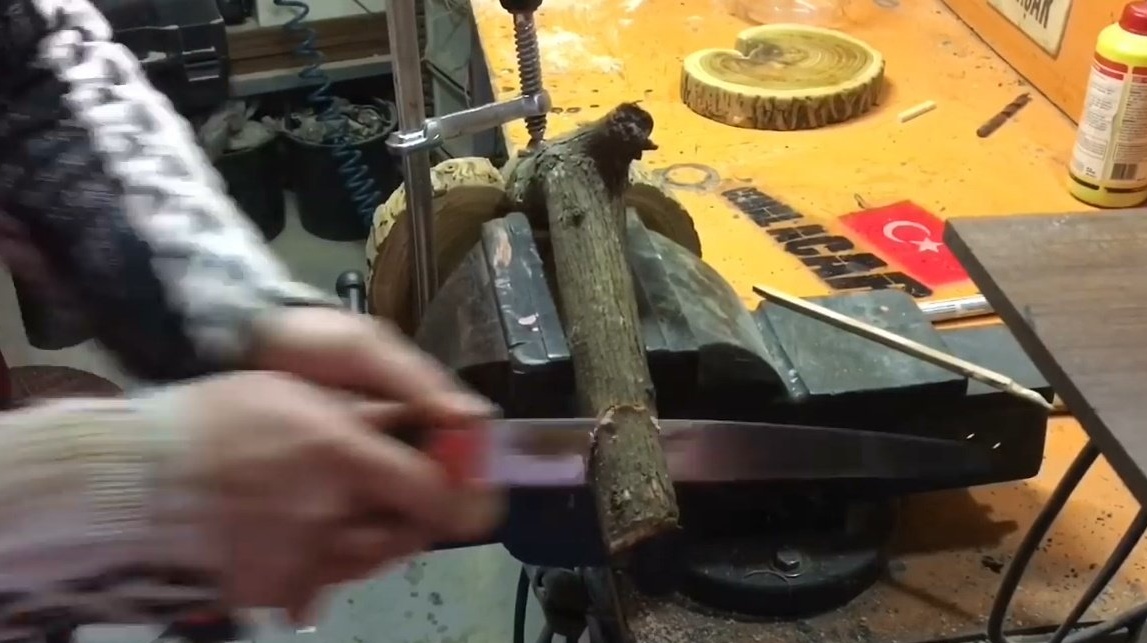
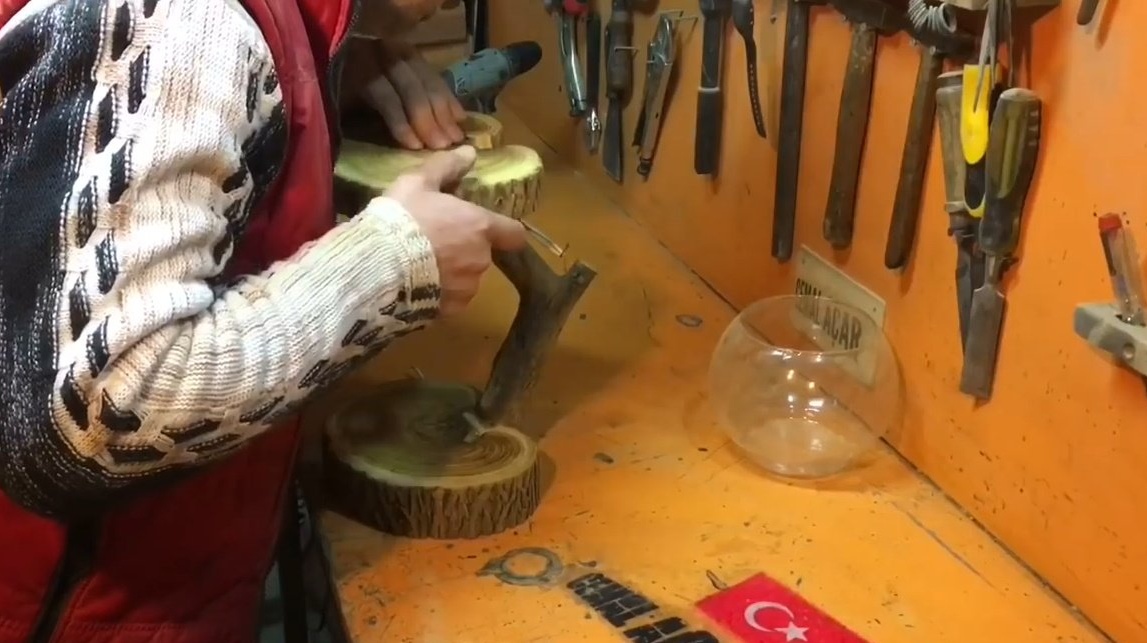
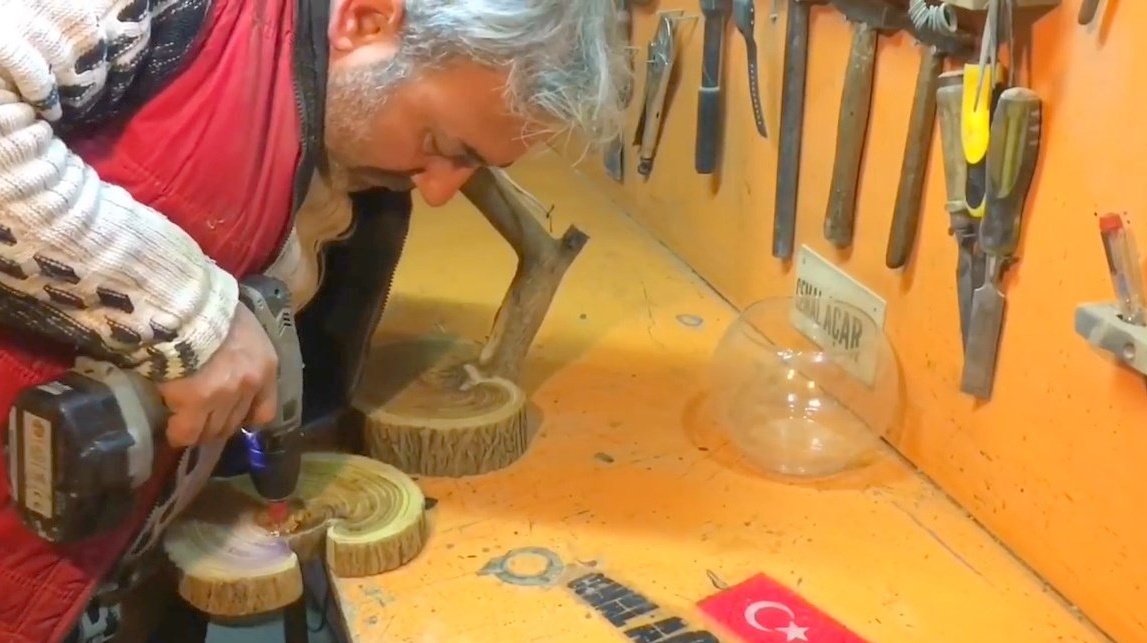
Clamps a branch in a vice, and cuts off the excess with a hacksaw.
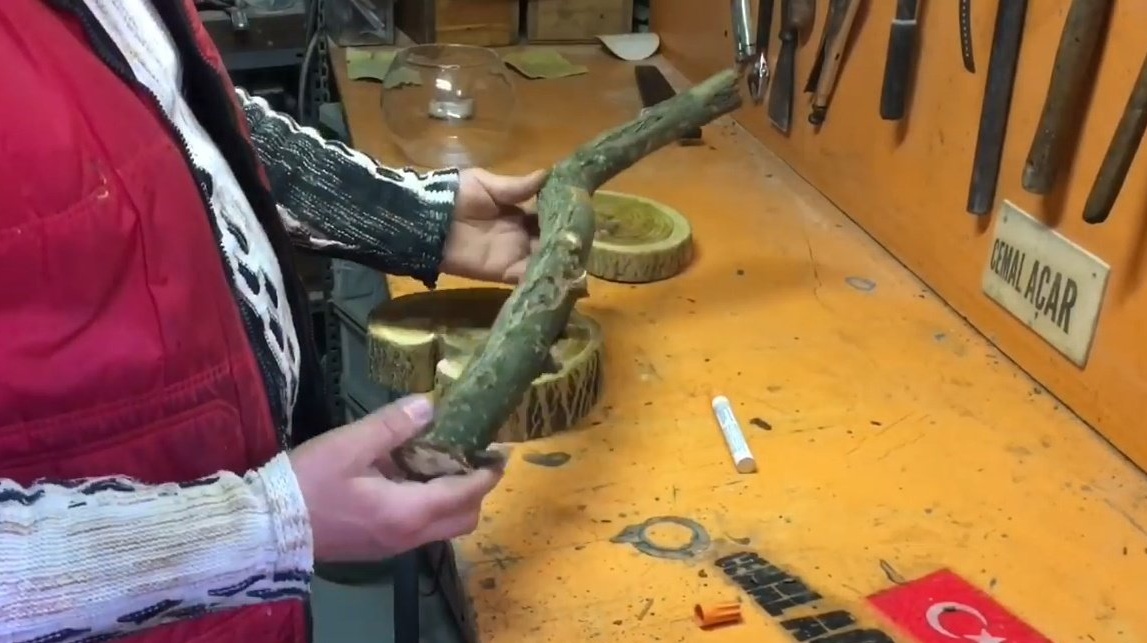
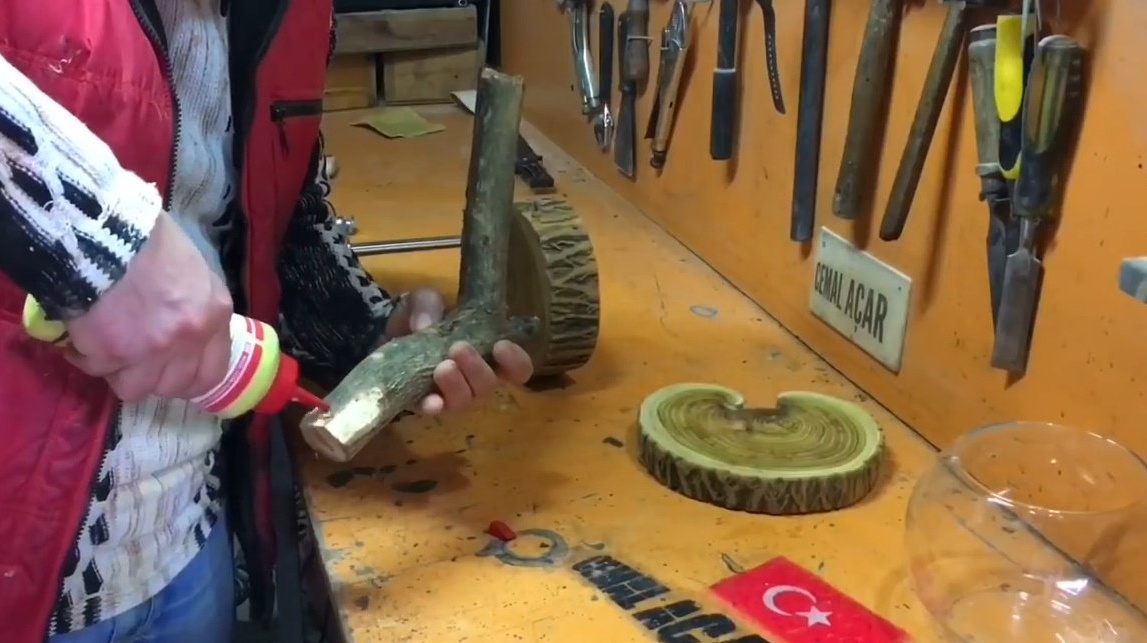
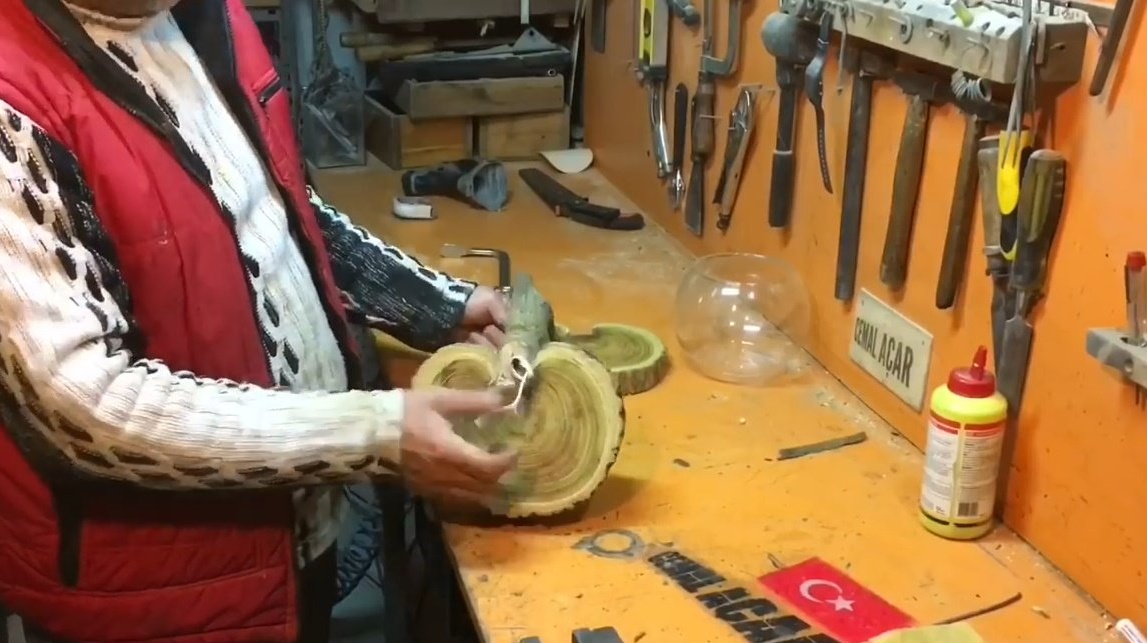
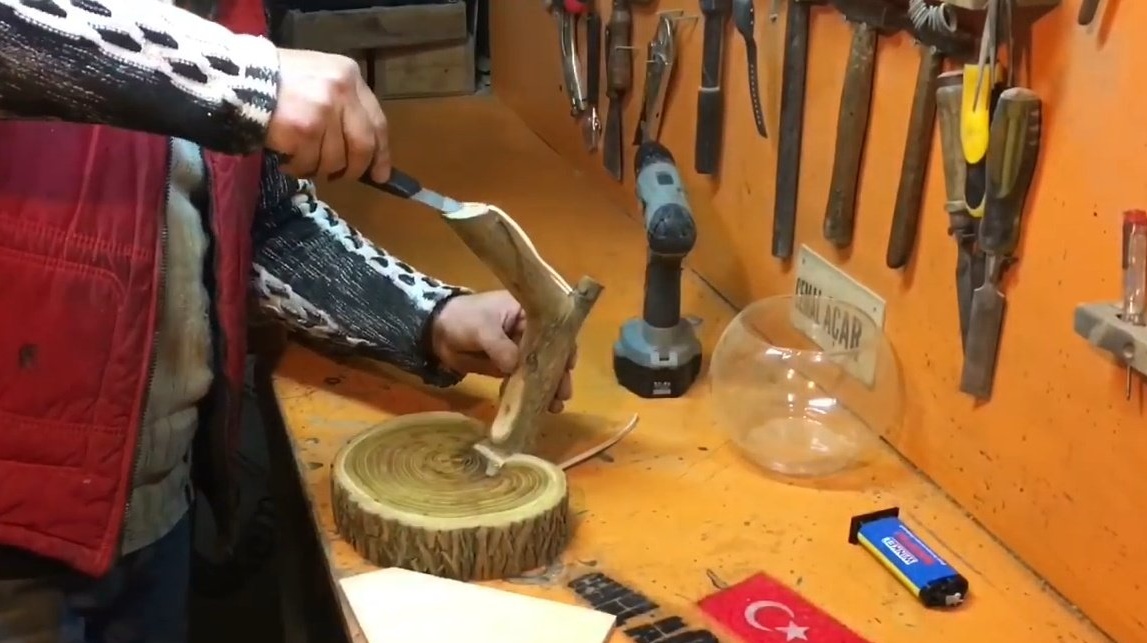
It cleans the edge of the trunk from the bark, and adheres to the base using second glue. Tightens the base and bracket with a clamp.
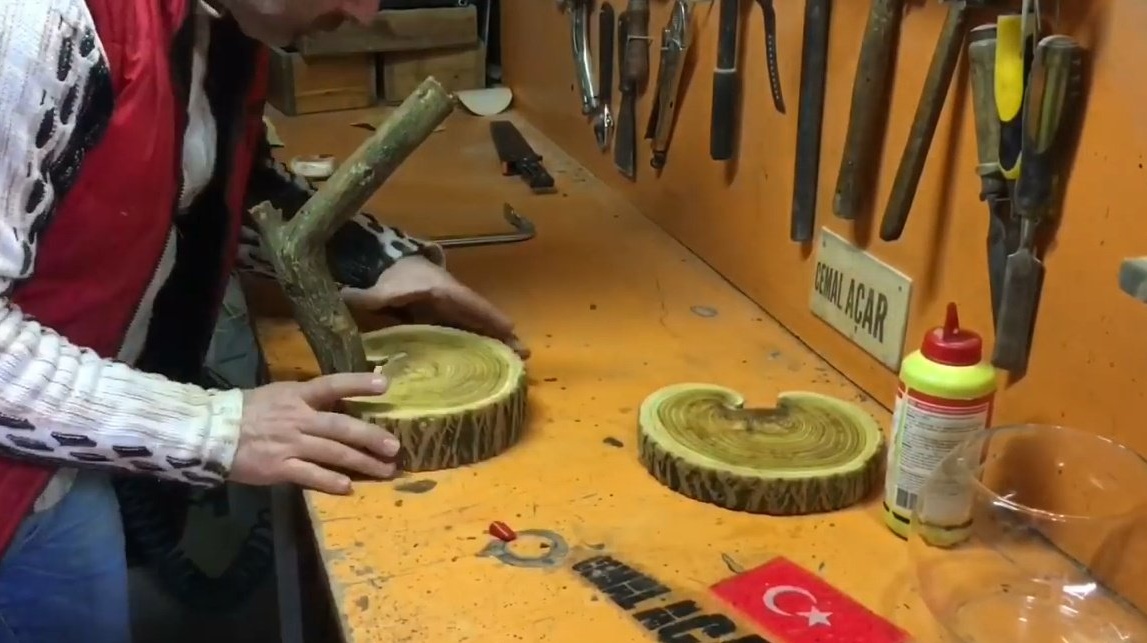

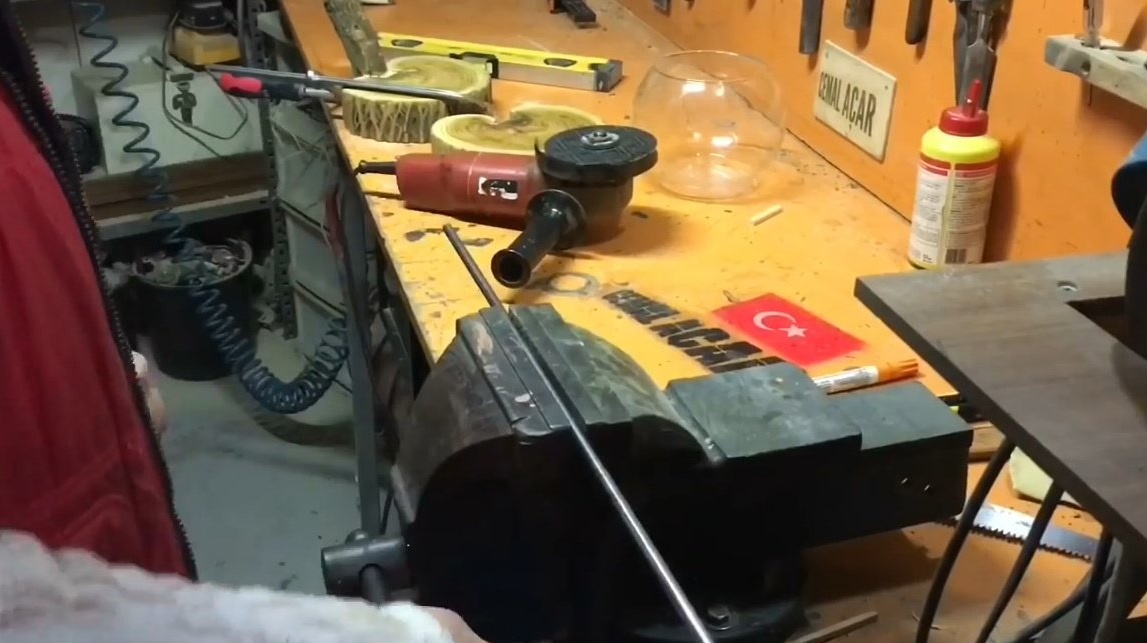
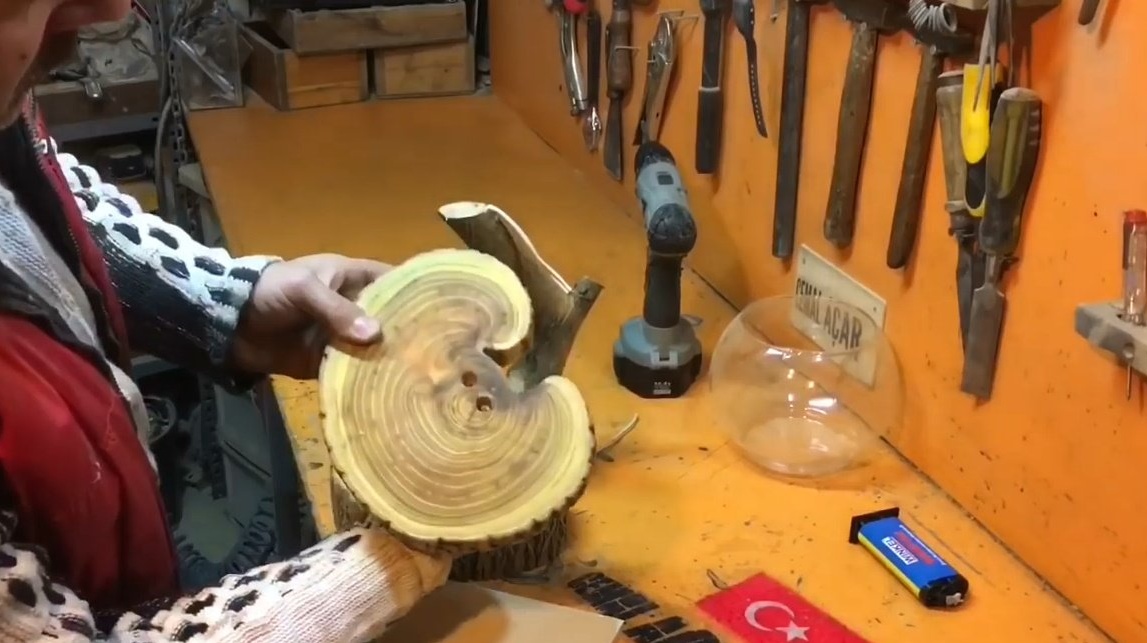
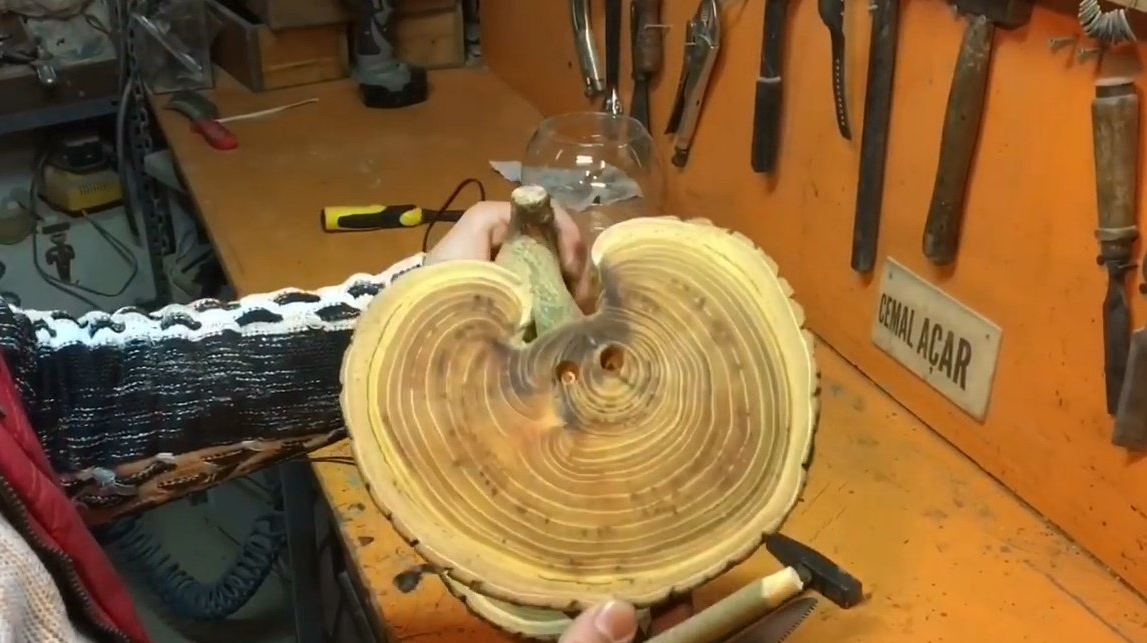
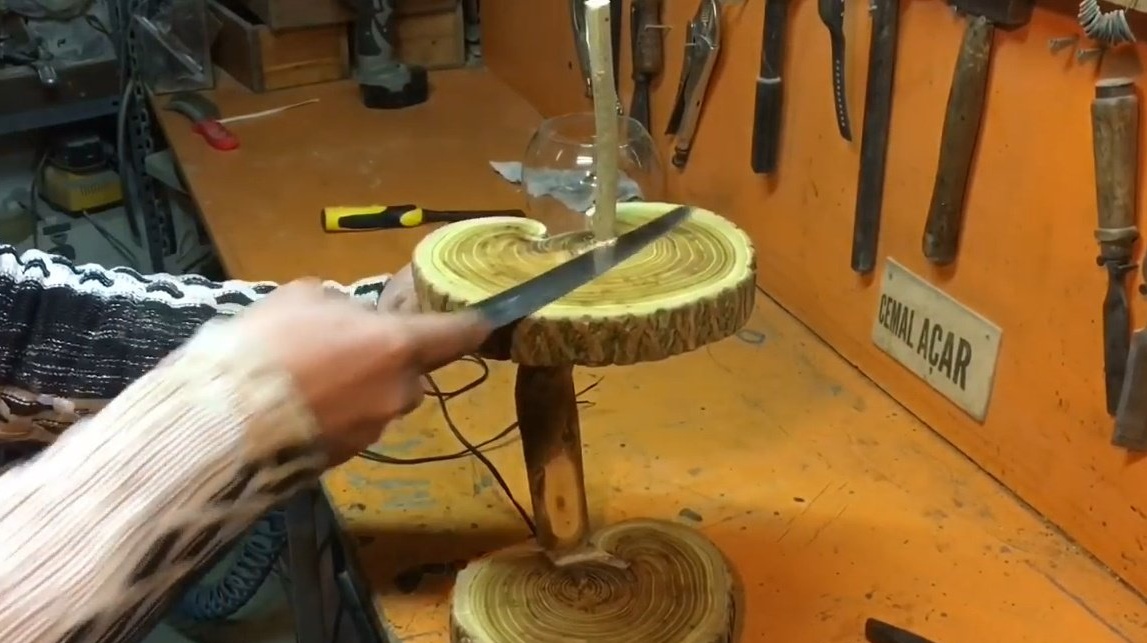
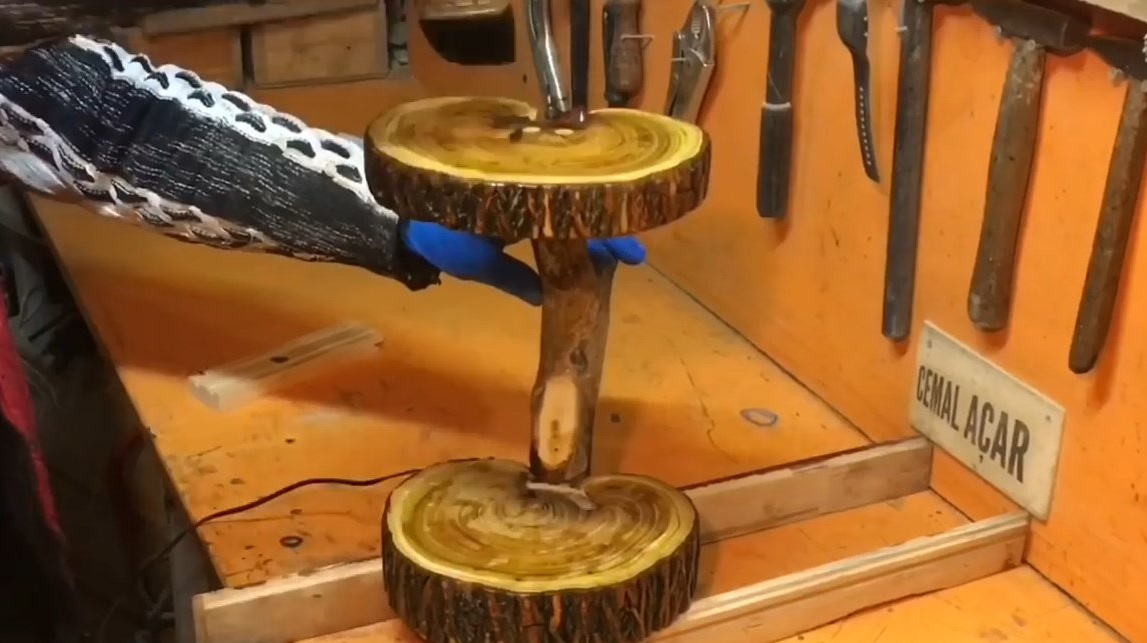
He tries on the upper part of the lamp, marks, then cuts at an angle.
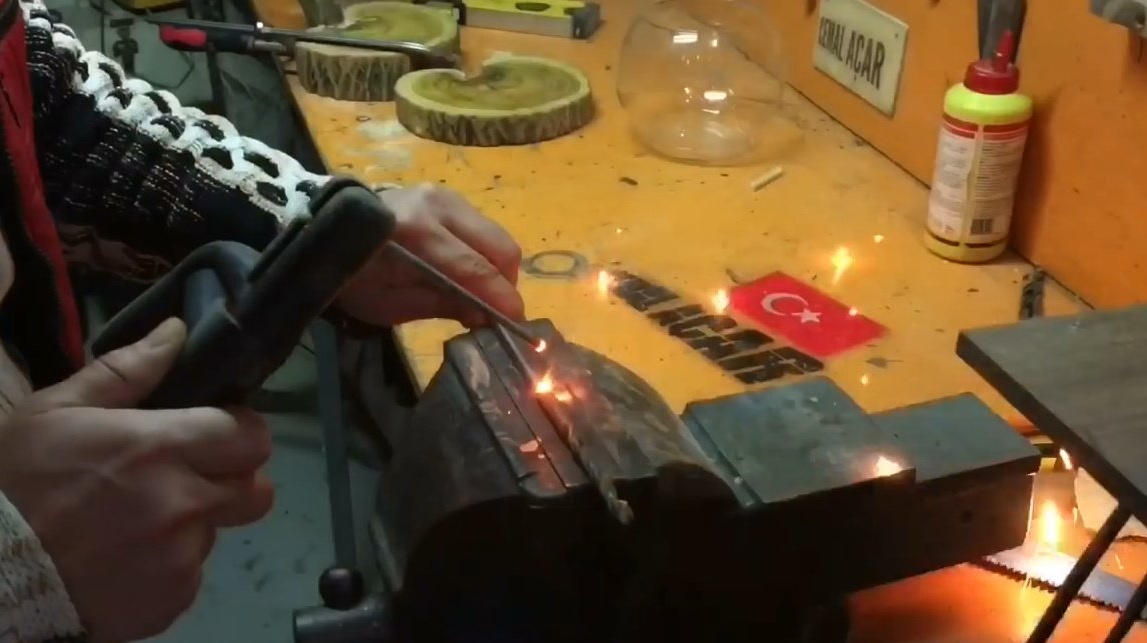
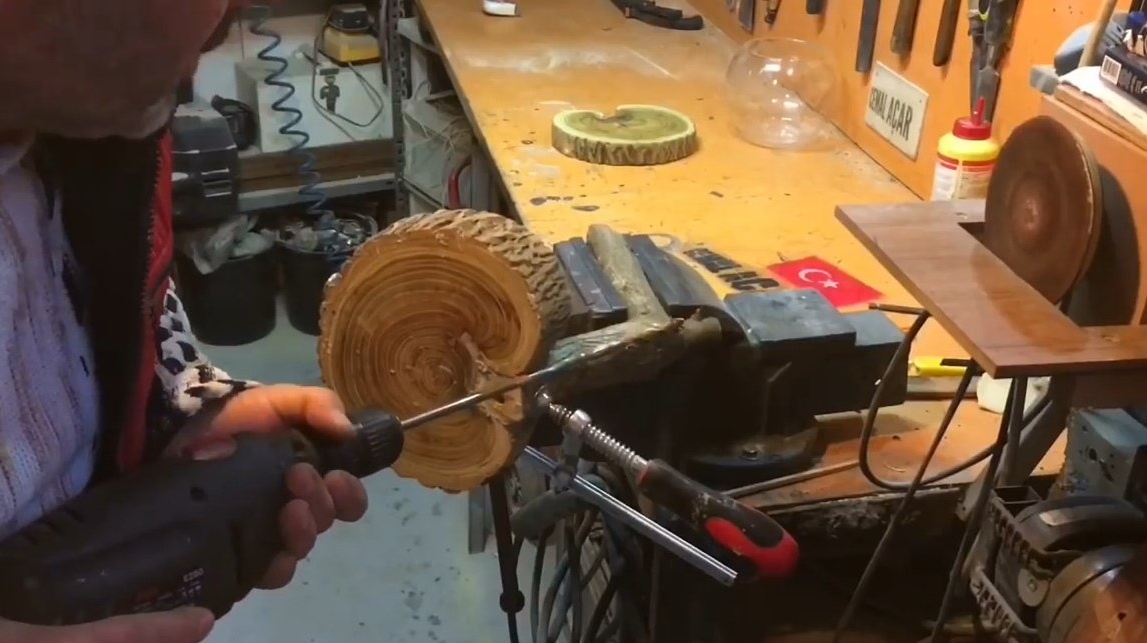
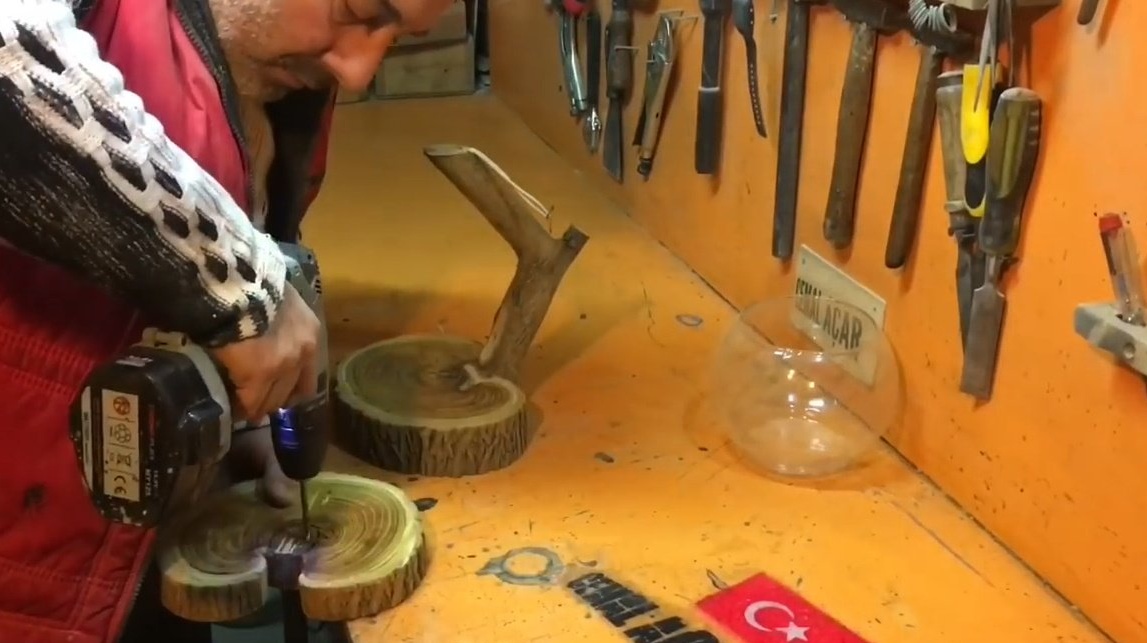
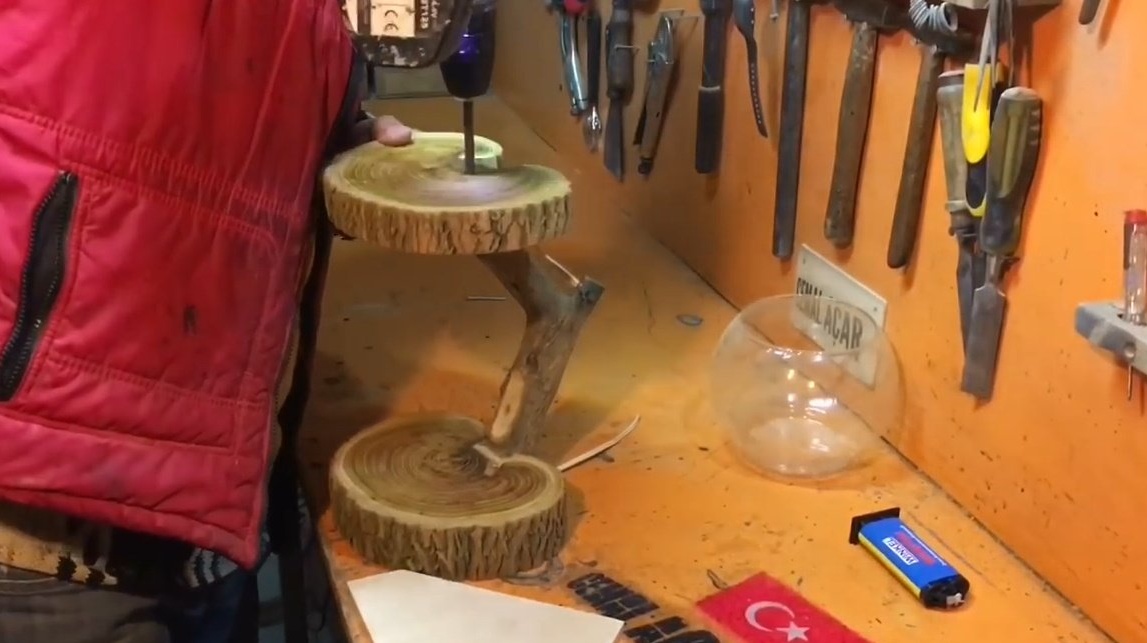
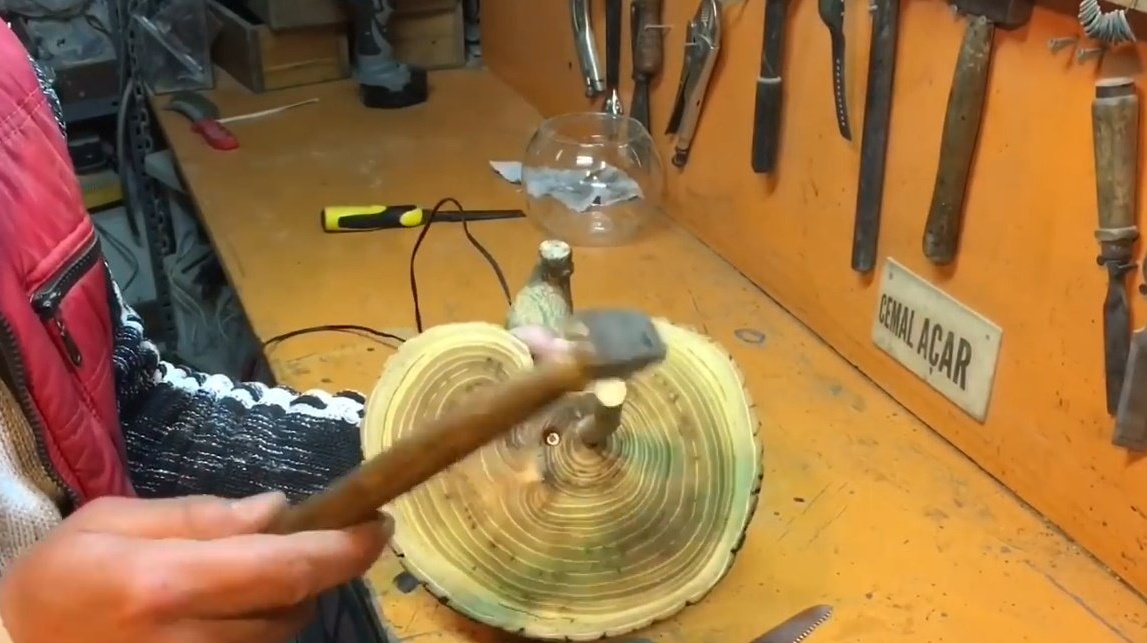
Dzhemal did not have a long drill, so he decided to make it on his own. To do this, he had to weld an 8 mm steel bar to a drill of the same diameter. It is very important to observe the alignment of the bar and drill. The author checks this point several times before final welding of the seam.
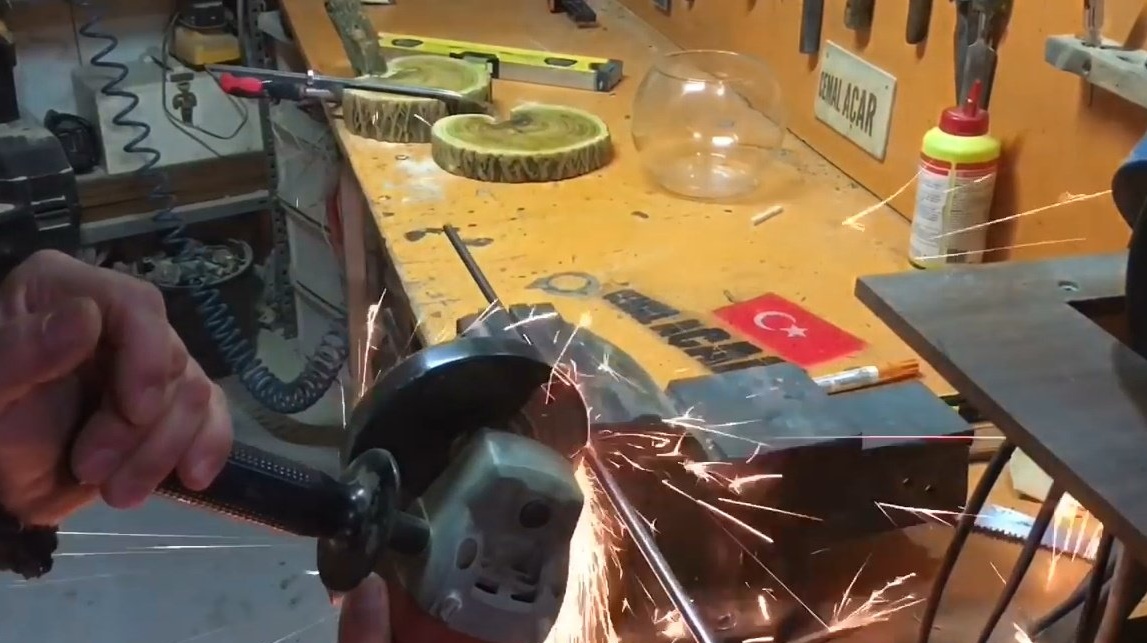
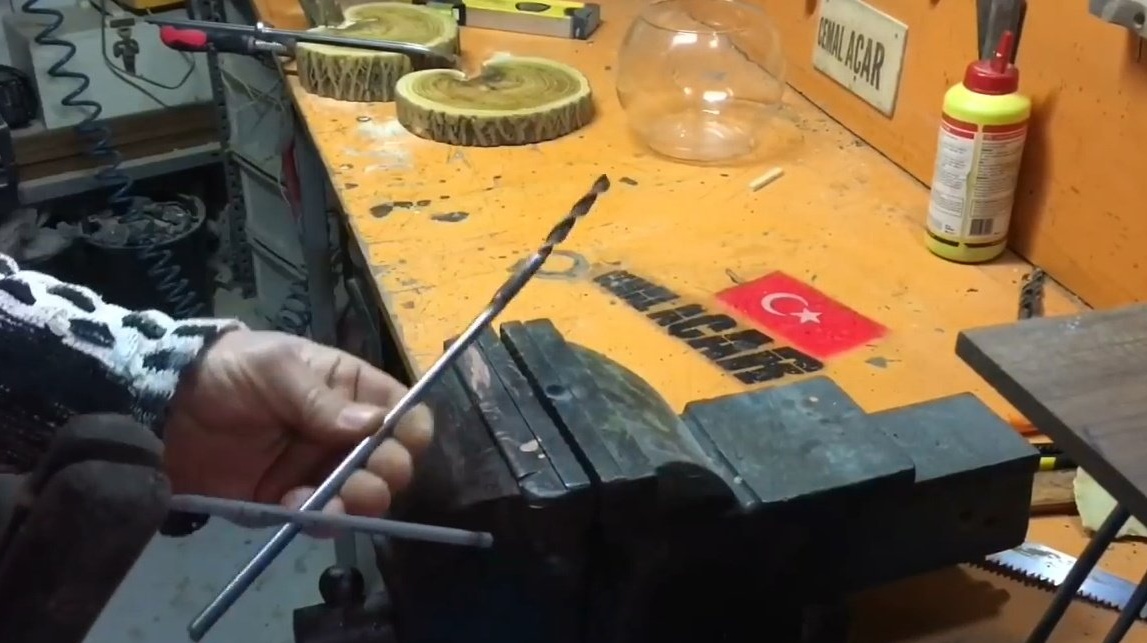
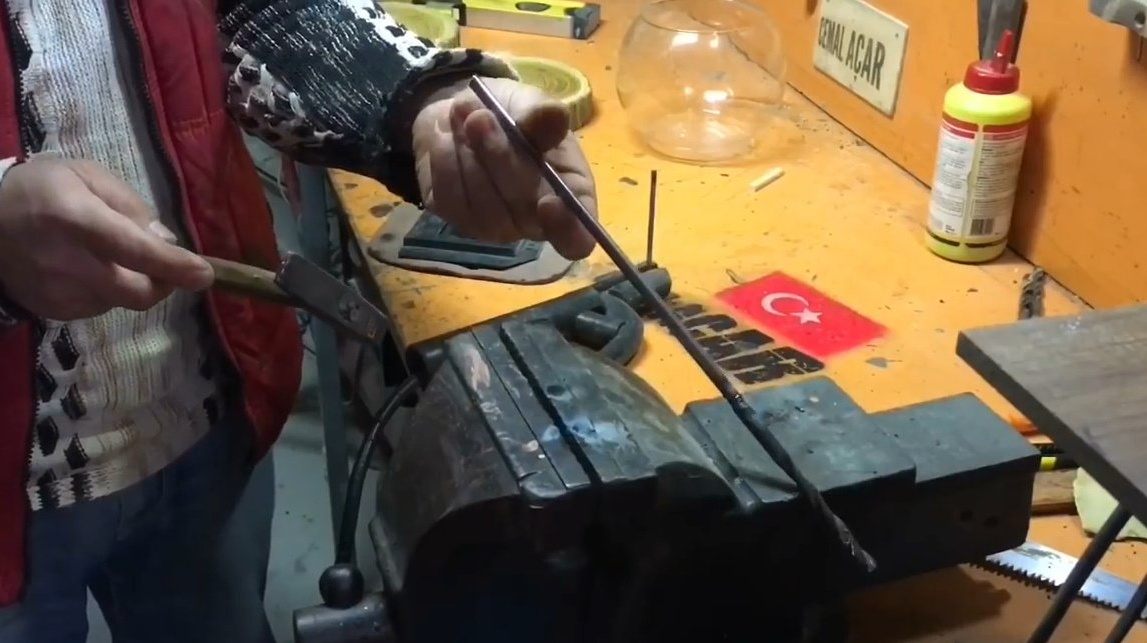
It remains only to eliminate the influx from welding with a belt sander.
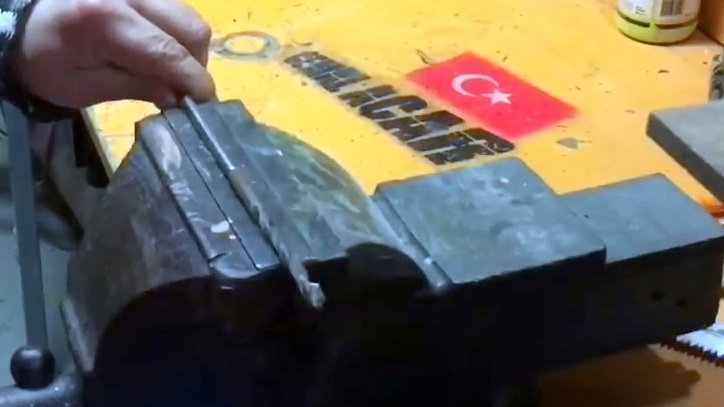
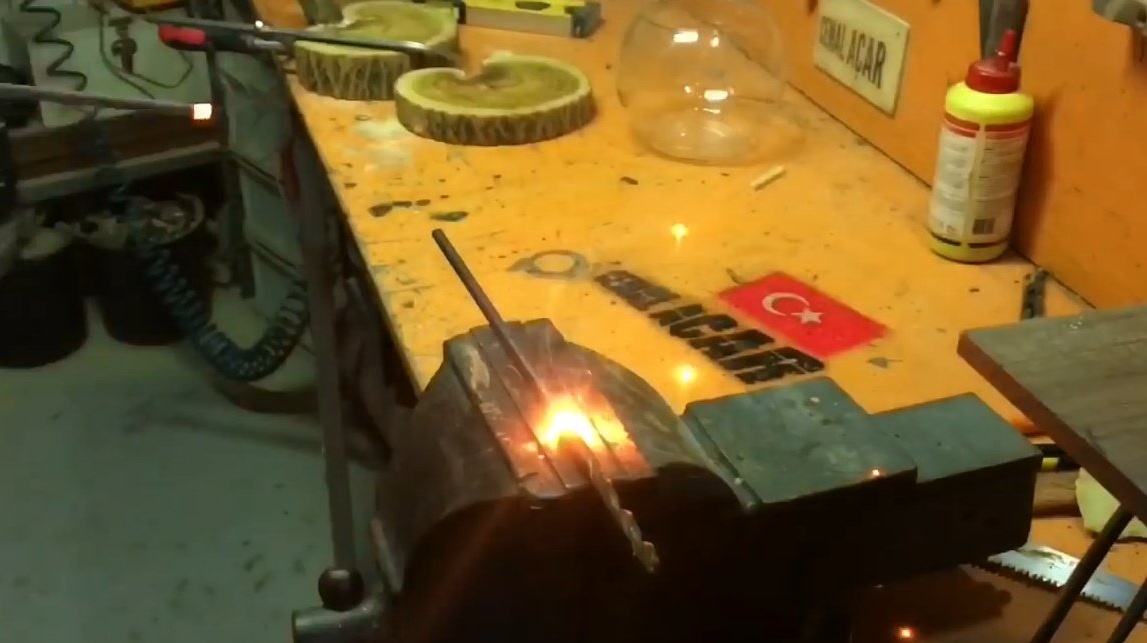
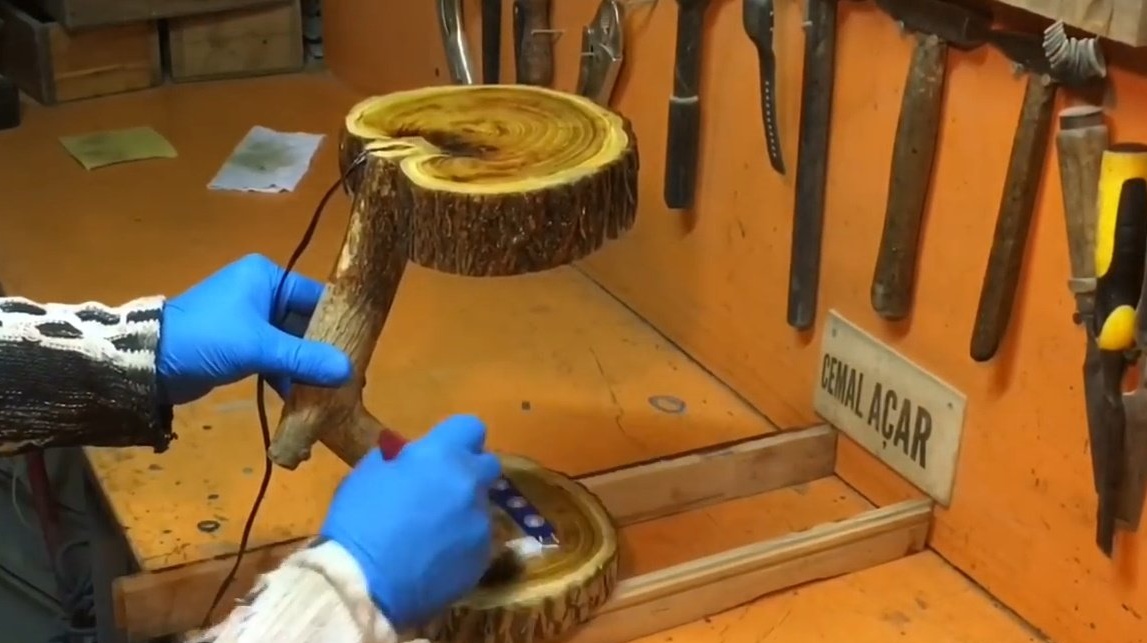
That's what such a long drill is for! The master wants to hide the wire in the bracket, and drills a hole for it.
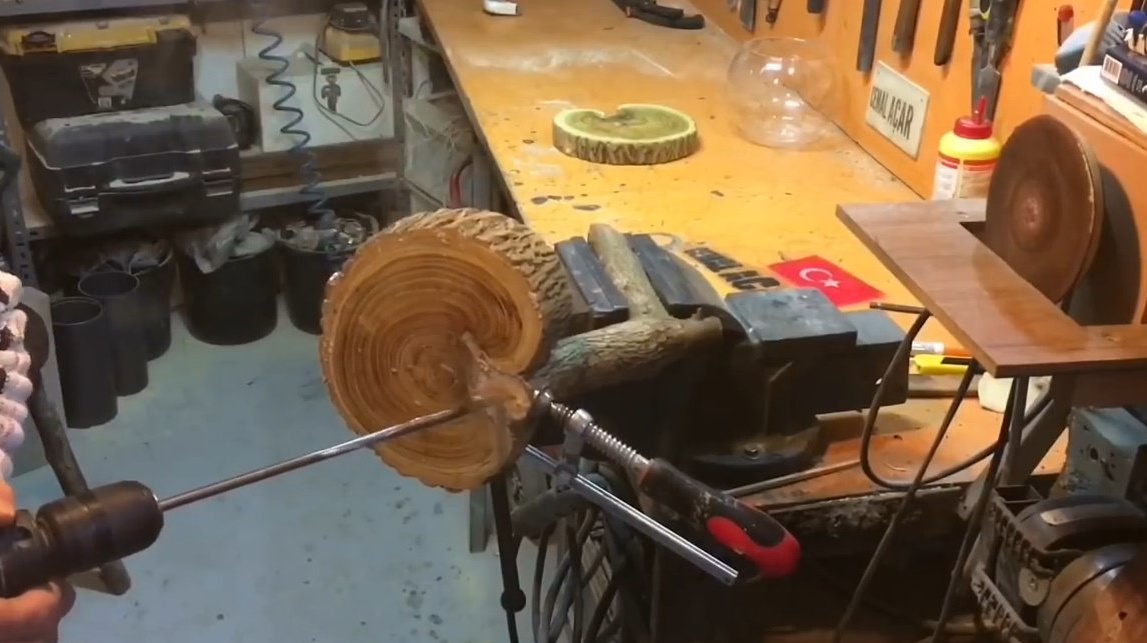
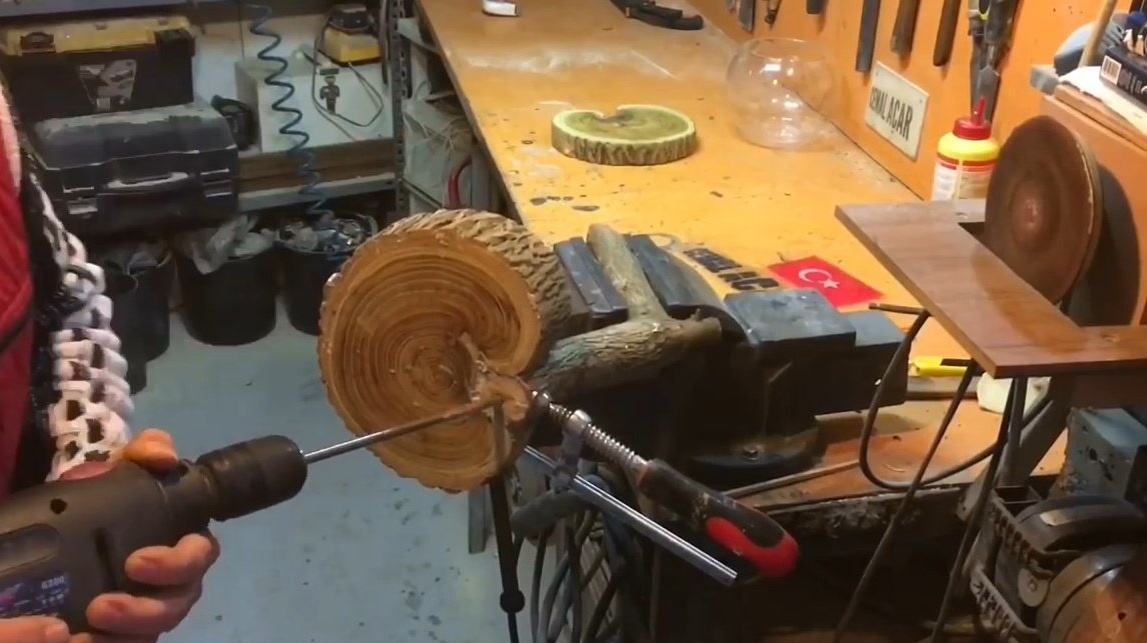
It is very difficult to get into the hole when drilling from the other side of the branch.
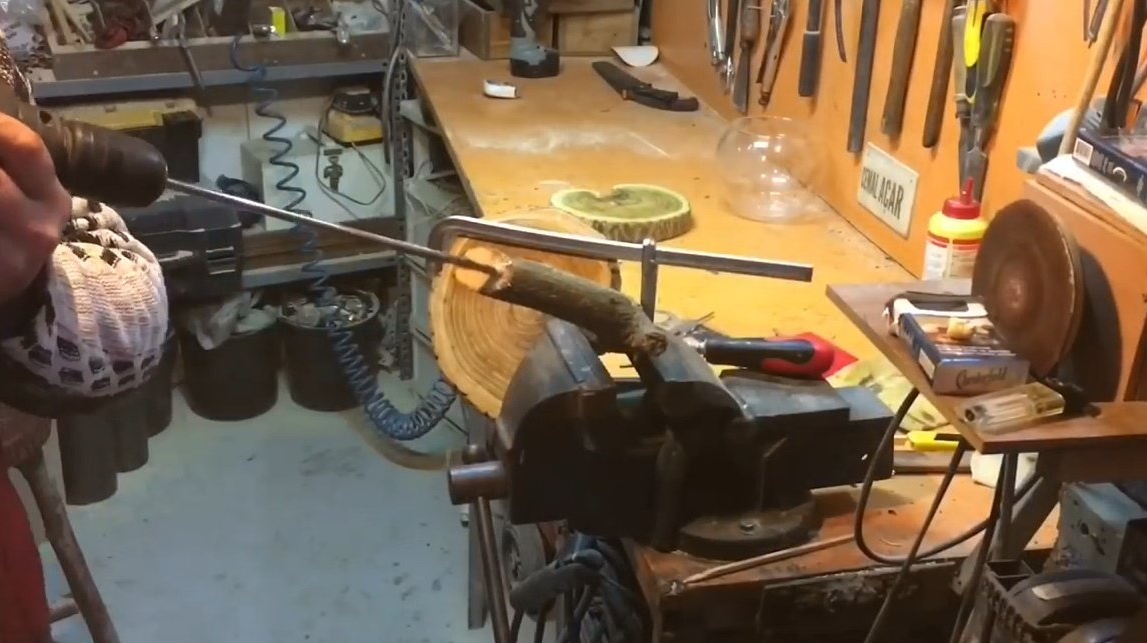
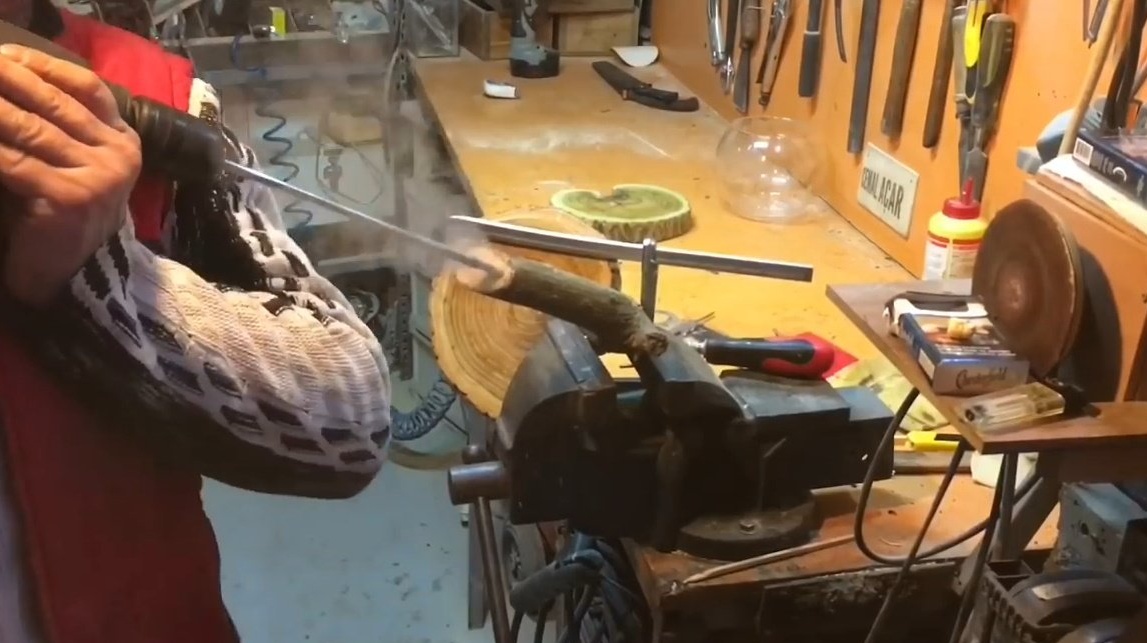
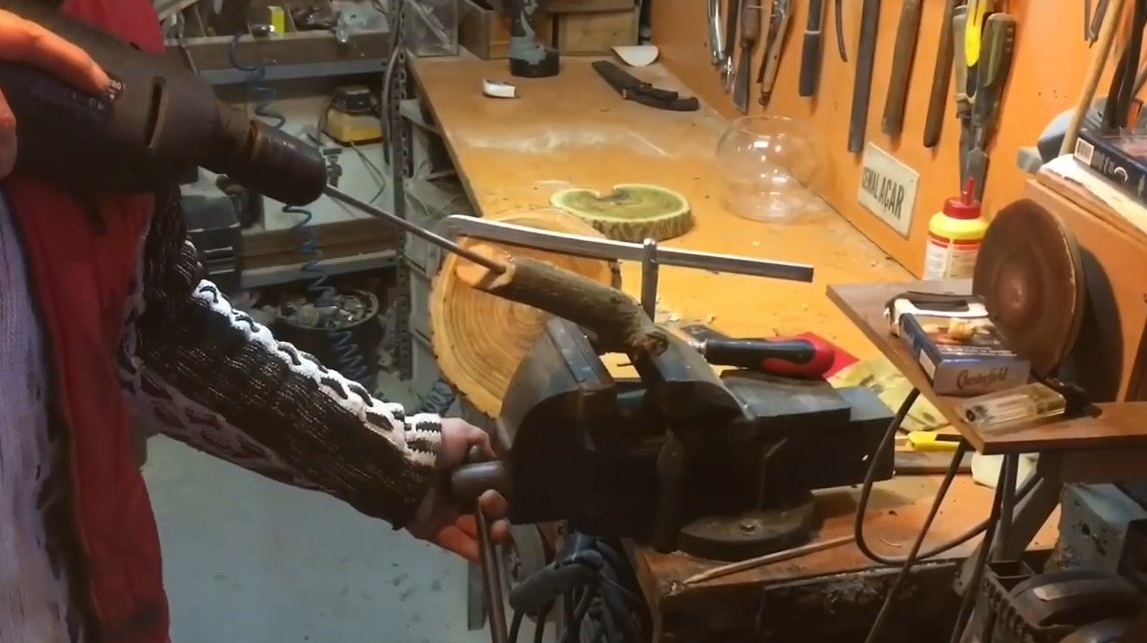
But Jamal succeeded, and he successfully passed the wire for the LEDs through the bracket.
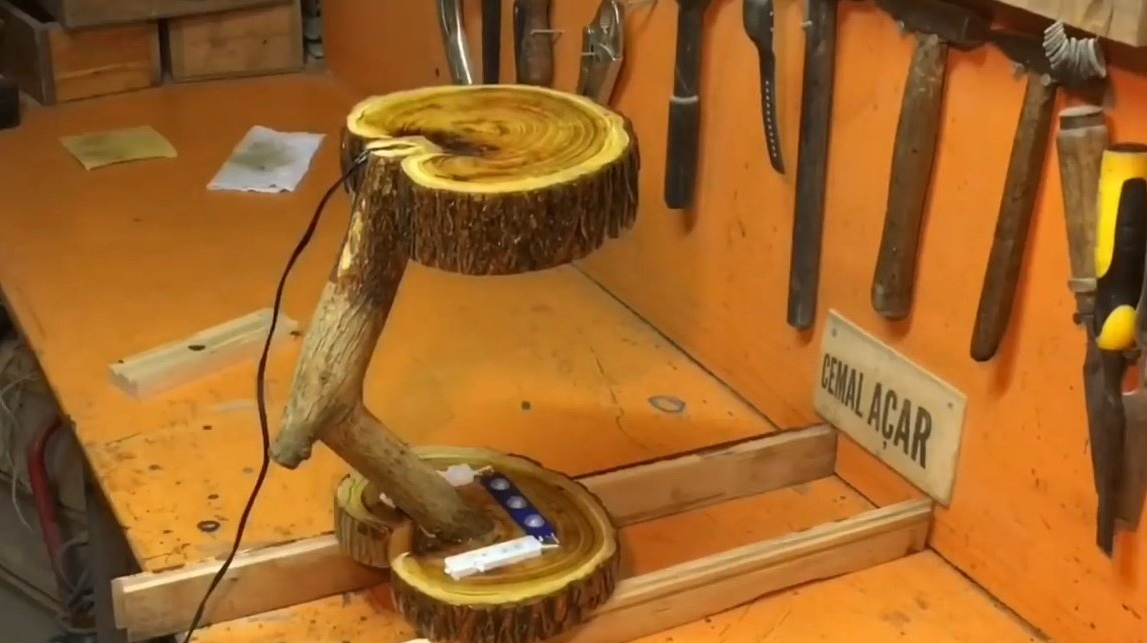
Now a little decorative grind with a grinding disc.
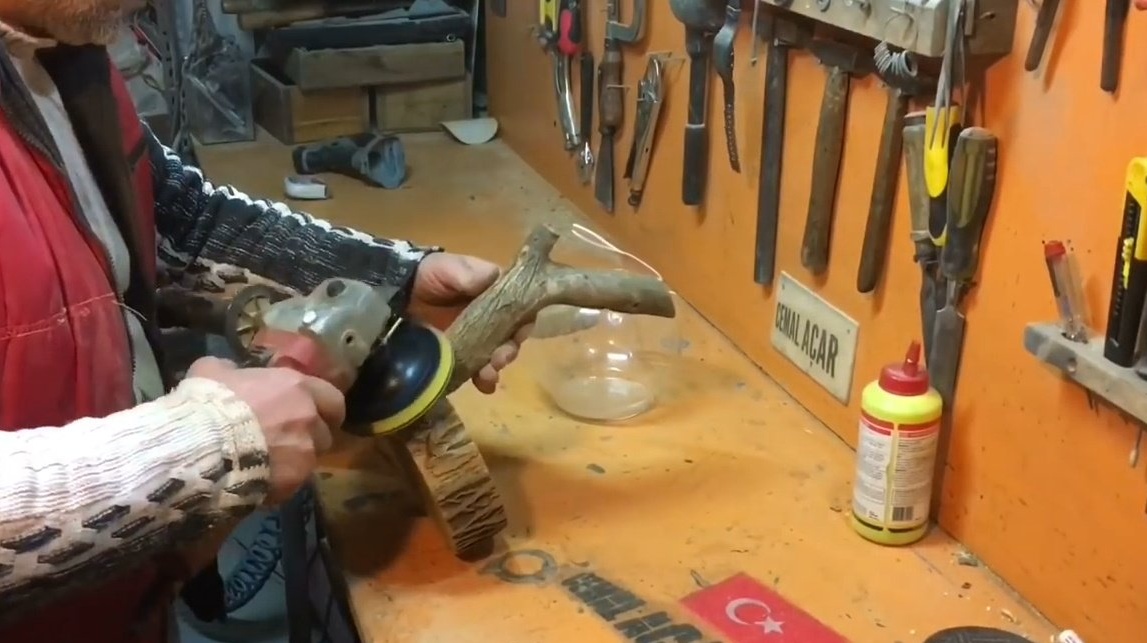
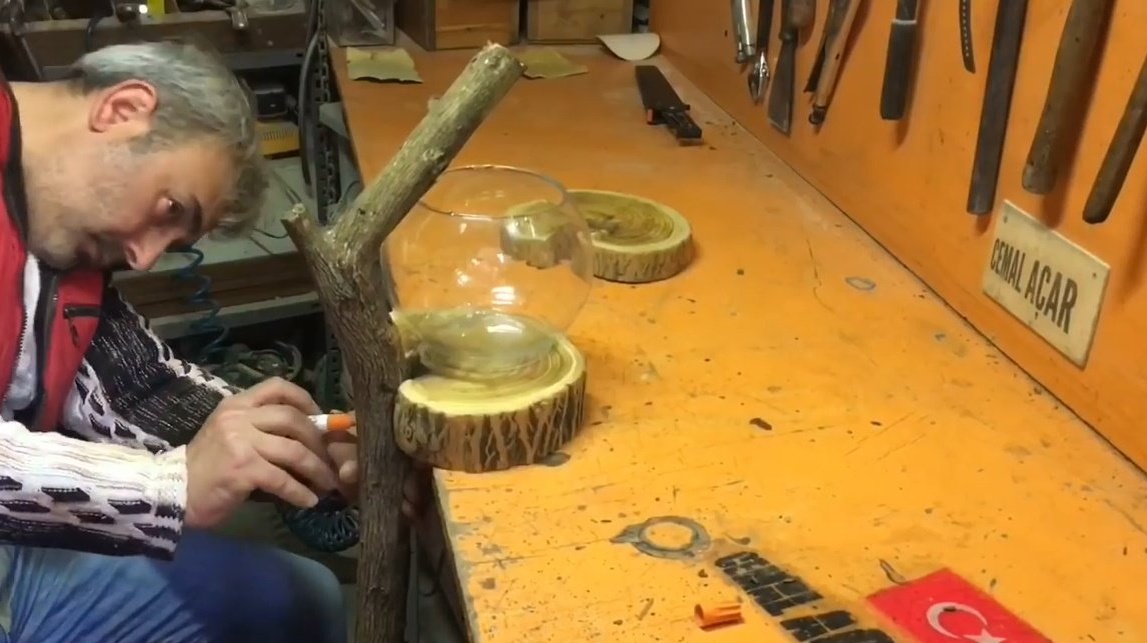
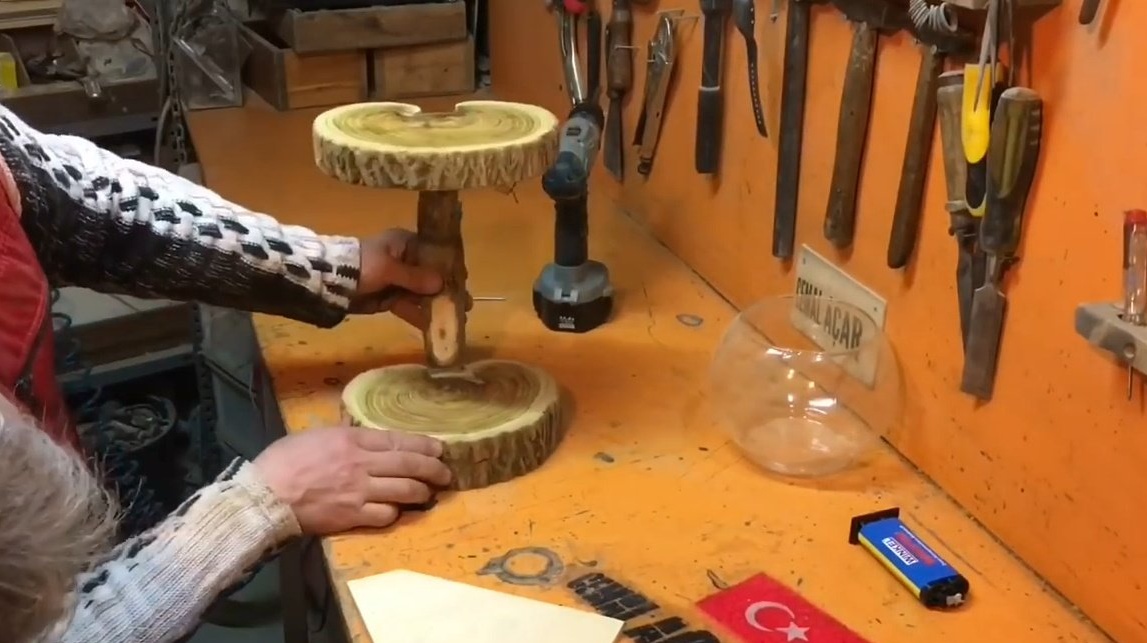
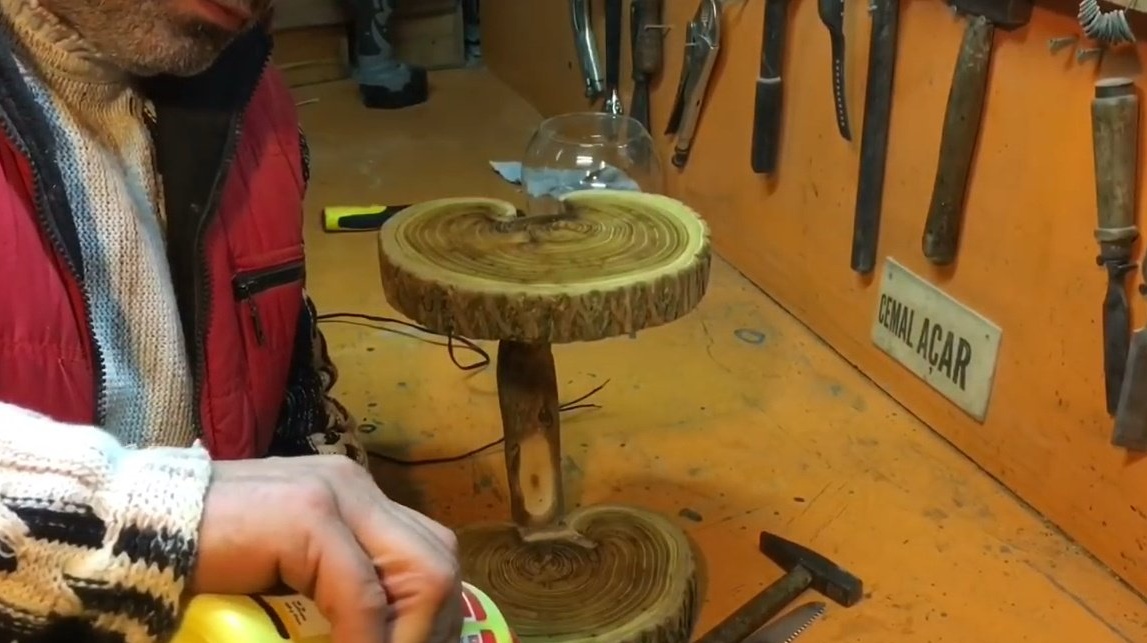
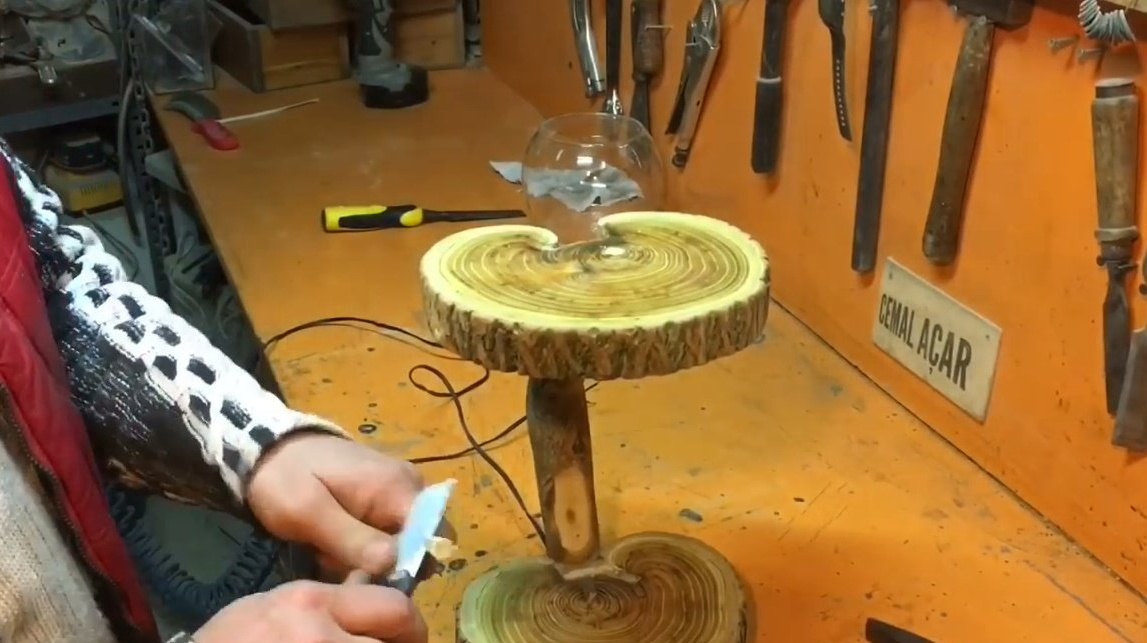
Now the author is trying on the top of the structure.
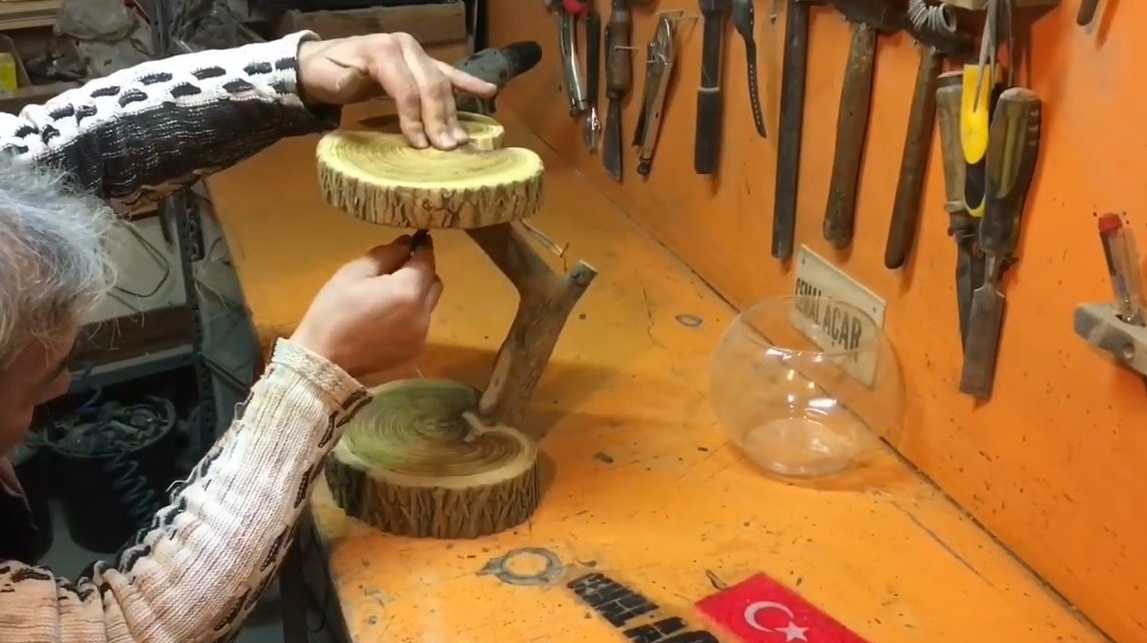

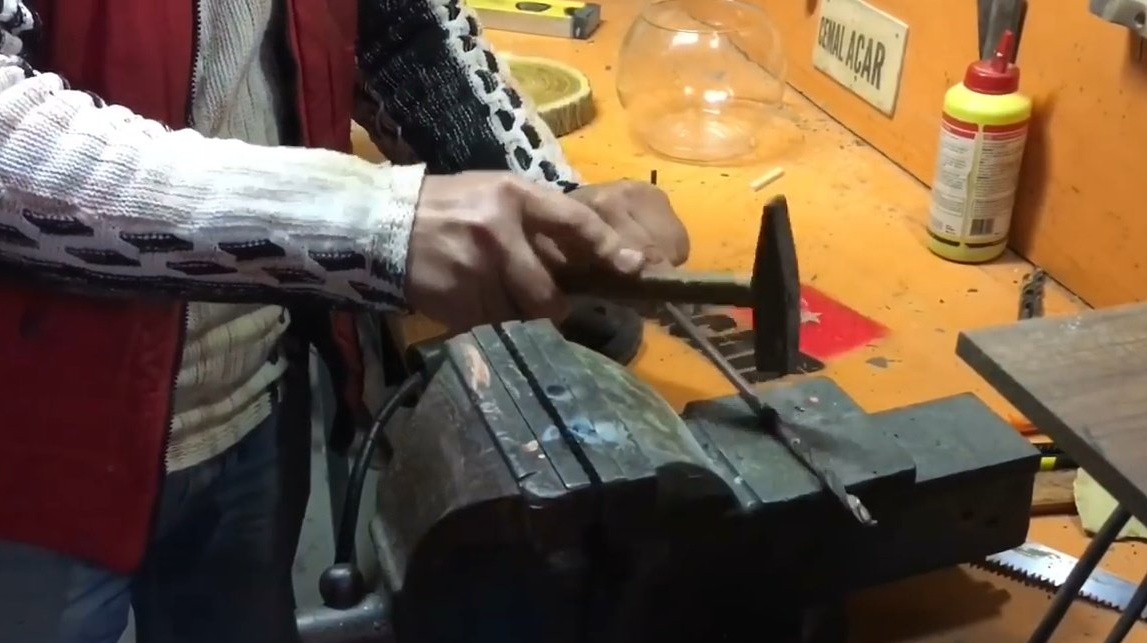
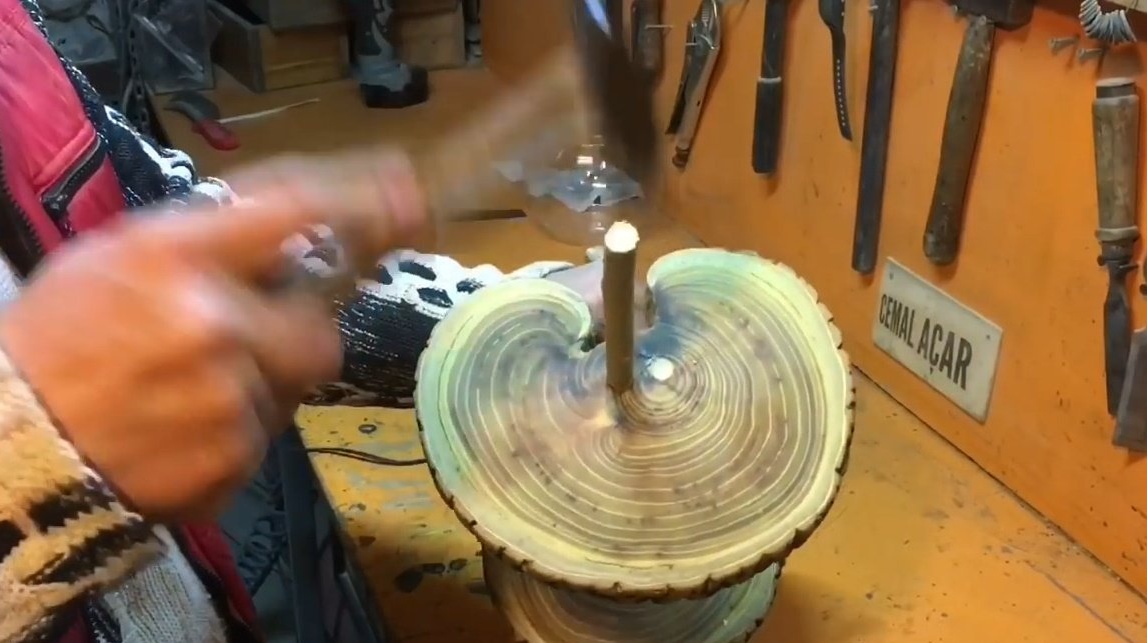
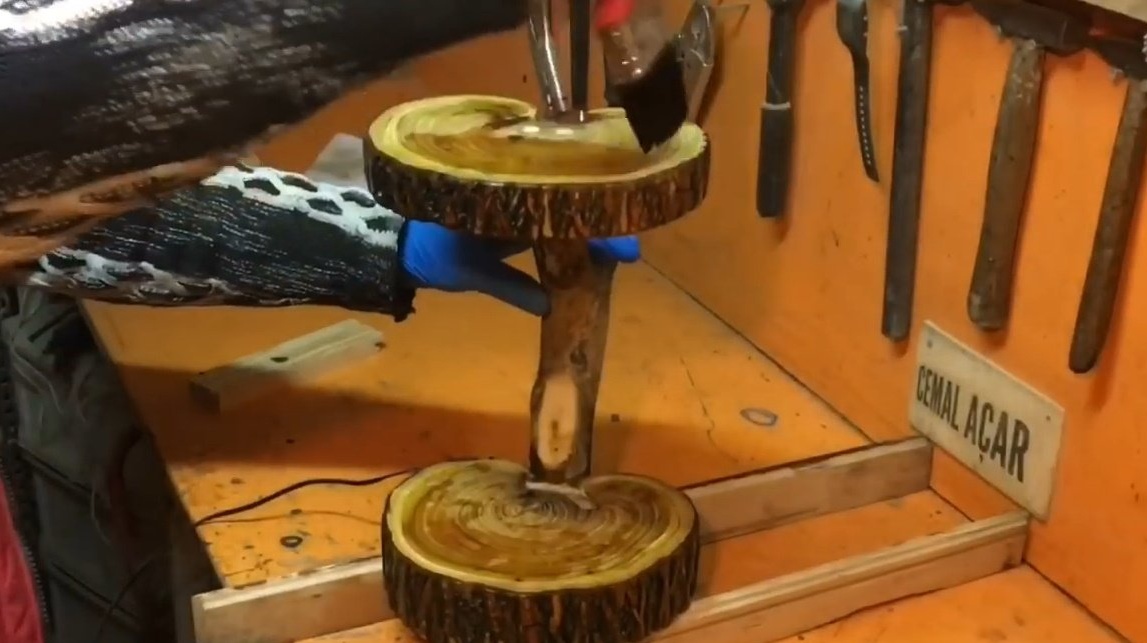
Drills and countersinks a couple of holes for screws.
To create a strong bond, the master uses epoxy. Lubricating her joints, tightens the screws. It is important not to get into the wire inside the bracket.
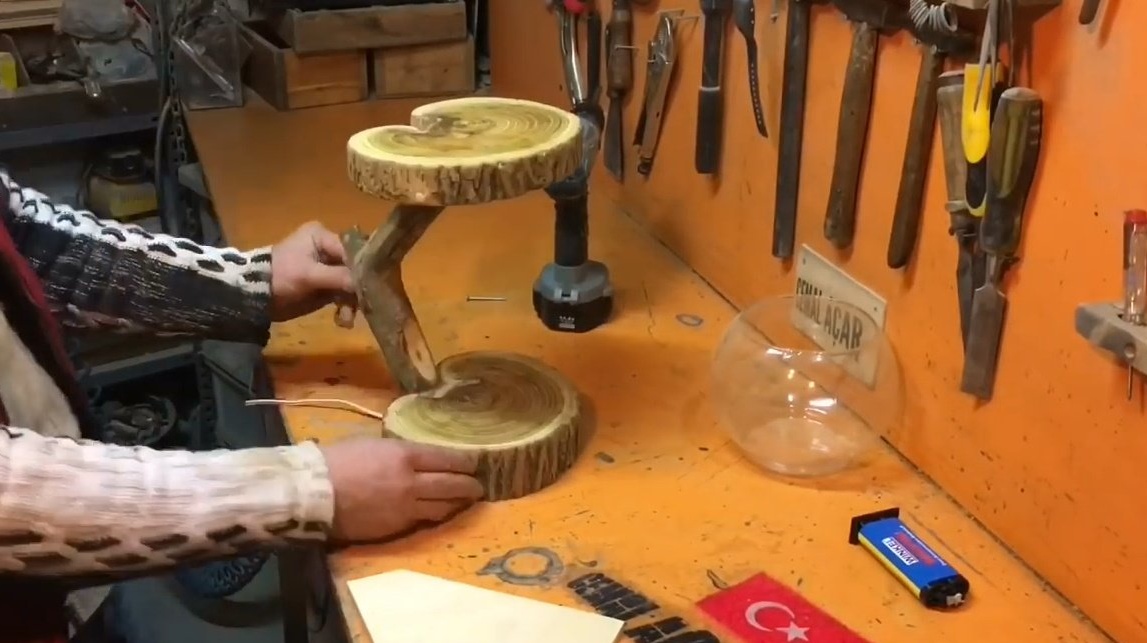
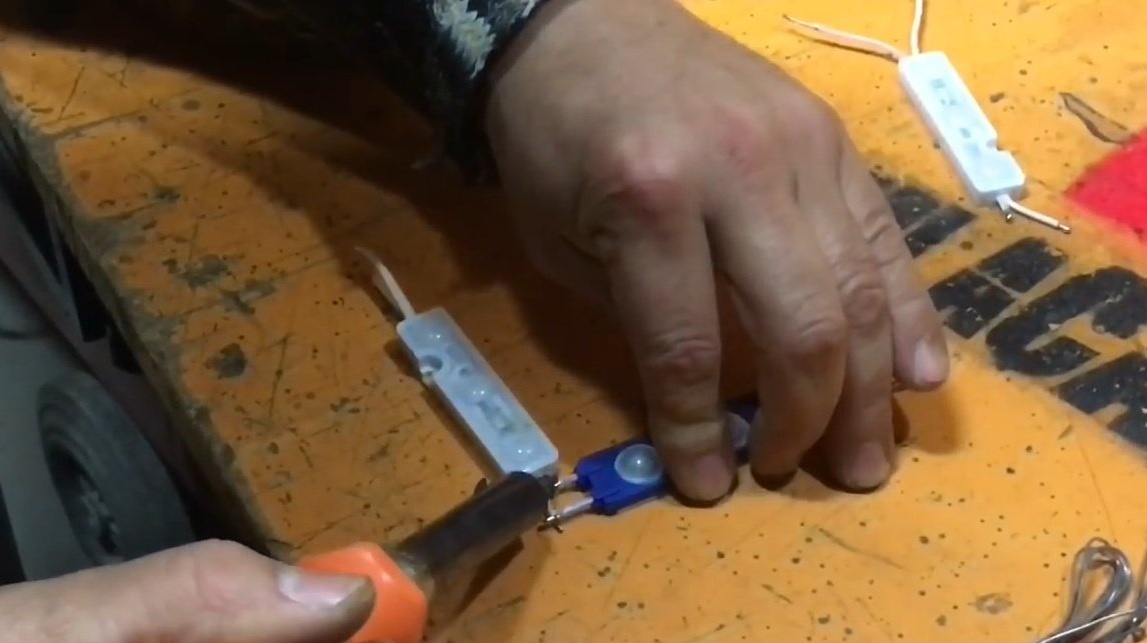
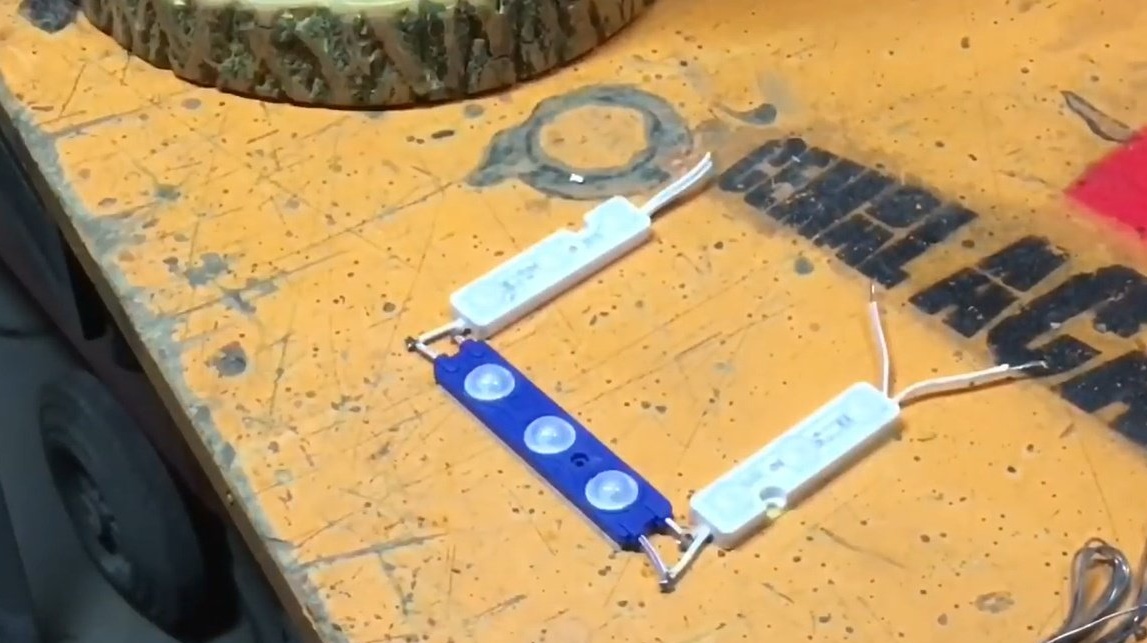
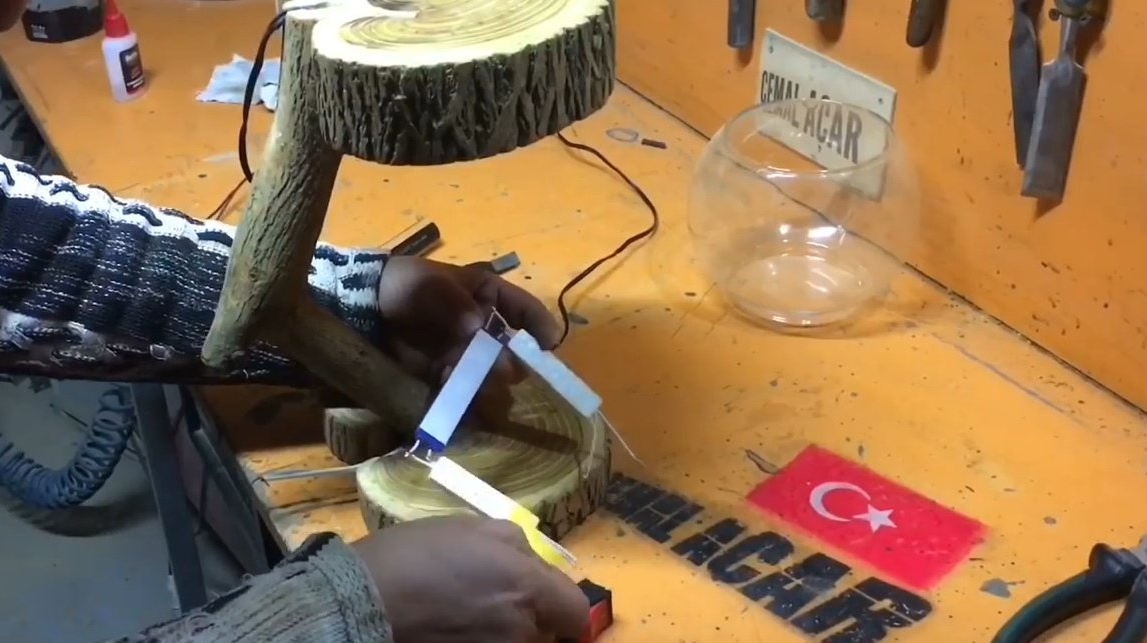
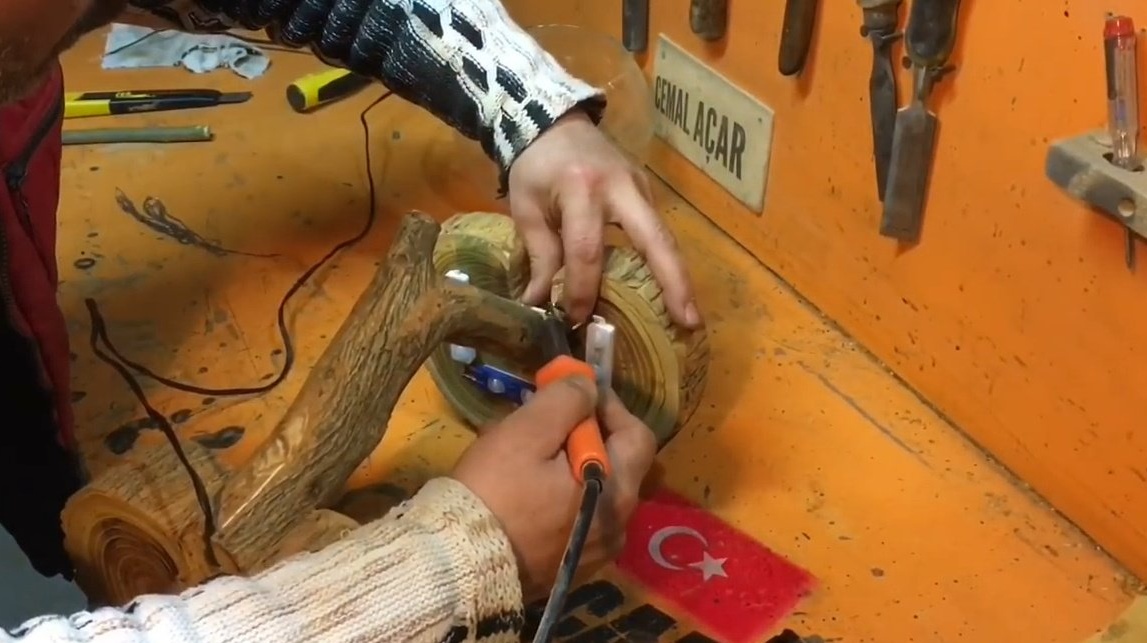
It solves the LED modules together.
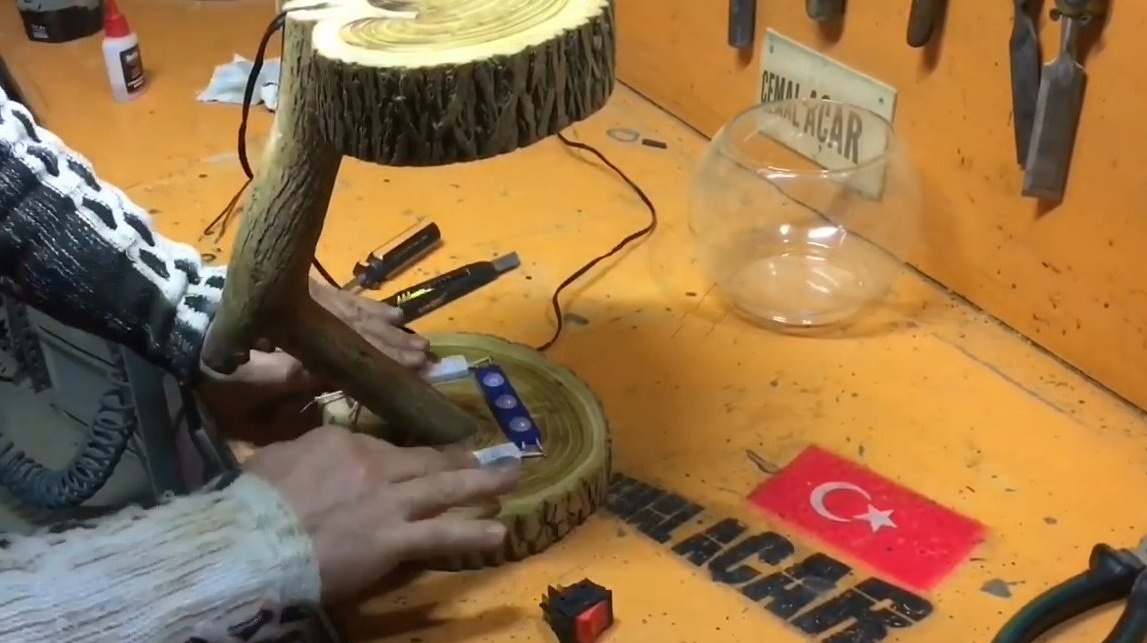
Then removes the protective film, and sticks them to the top of the stand.

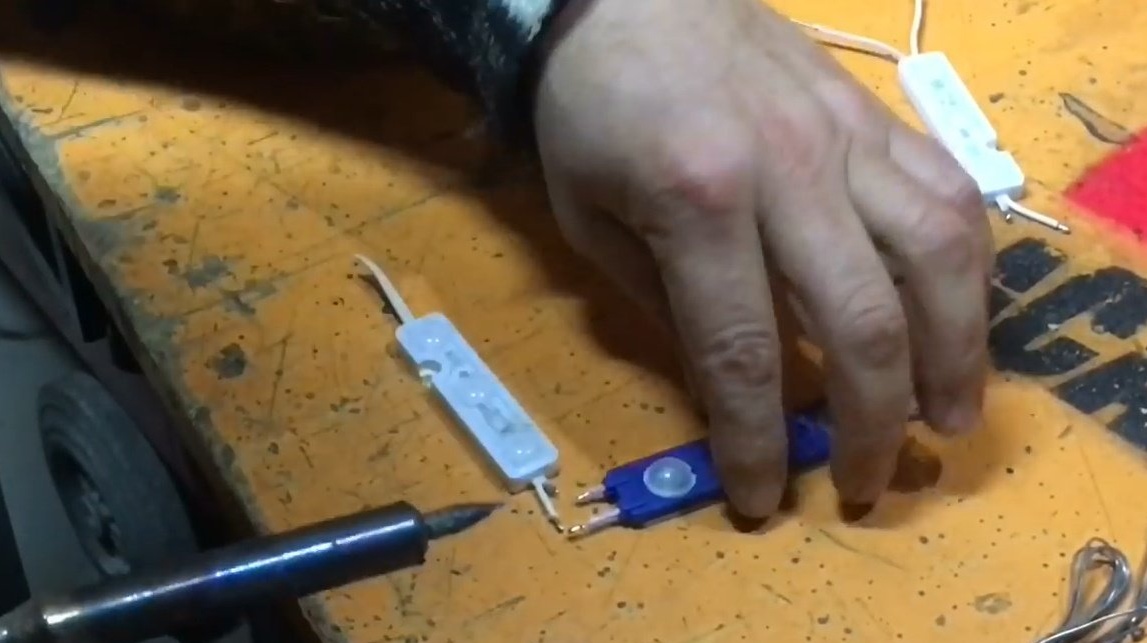
Solders the modules to the wire, isolates with a heat-shrink tube.
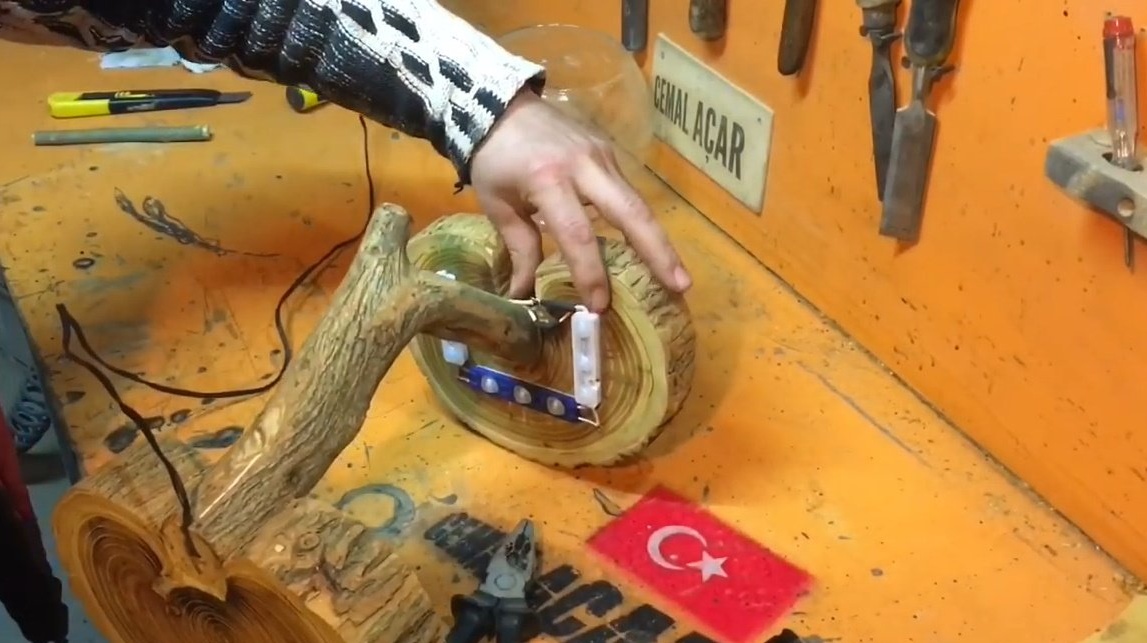
Checks the health of the device.


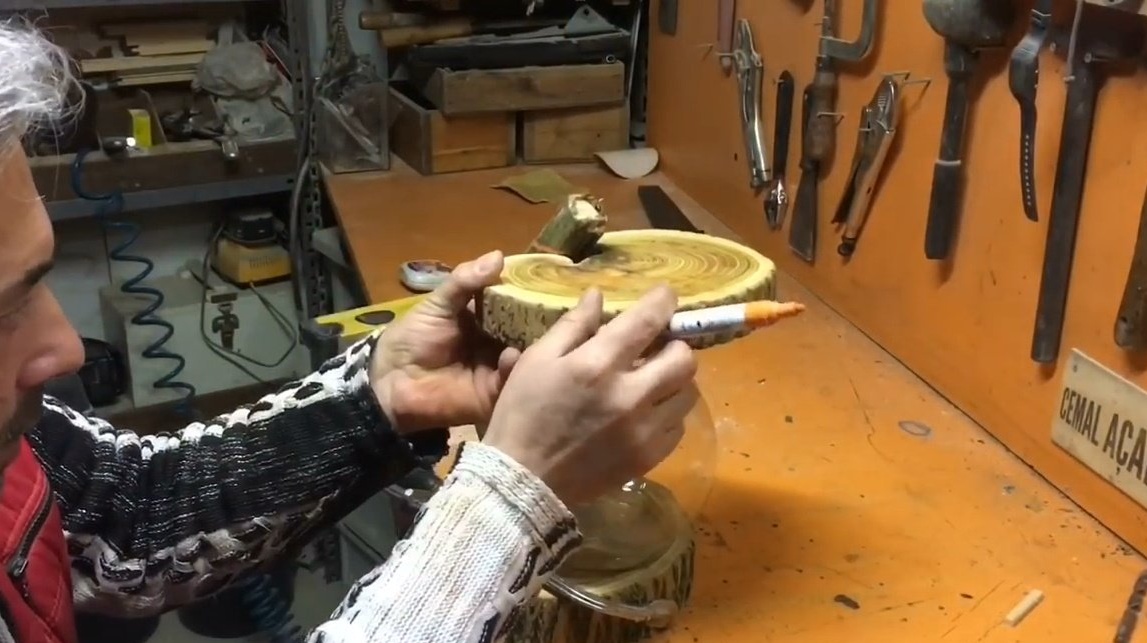
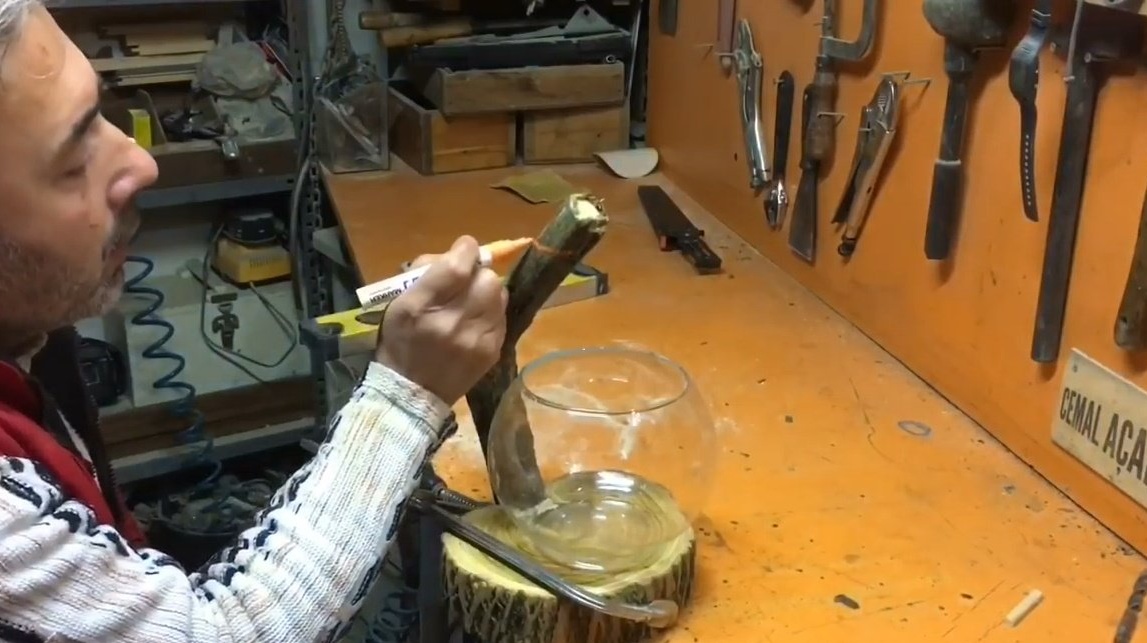
Now you need to camouflage the mounting points to the bracket. Glues, clogs, and cuts the dowel.
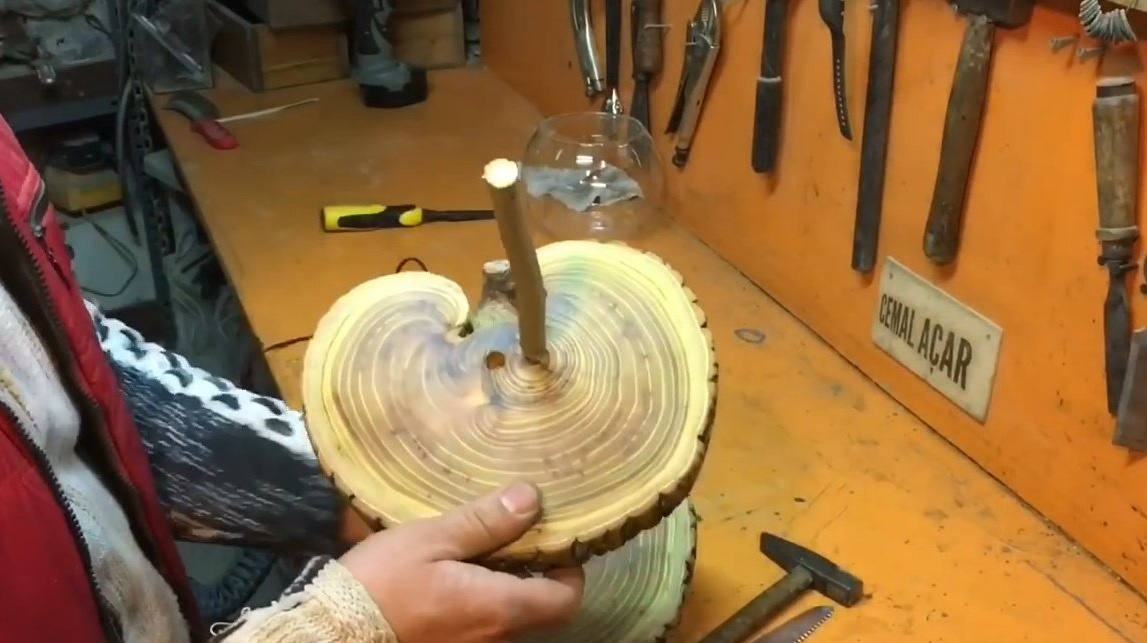
Similarly, with the second hole.
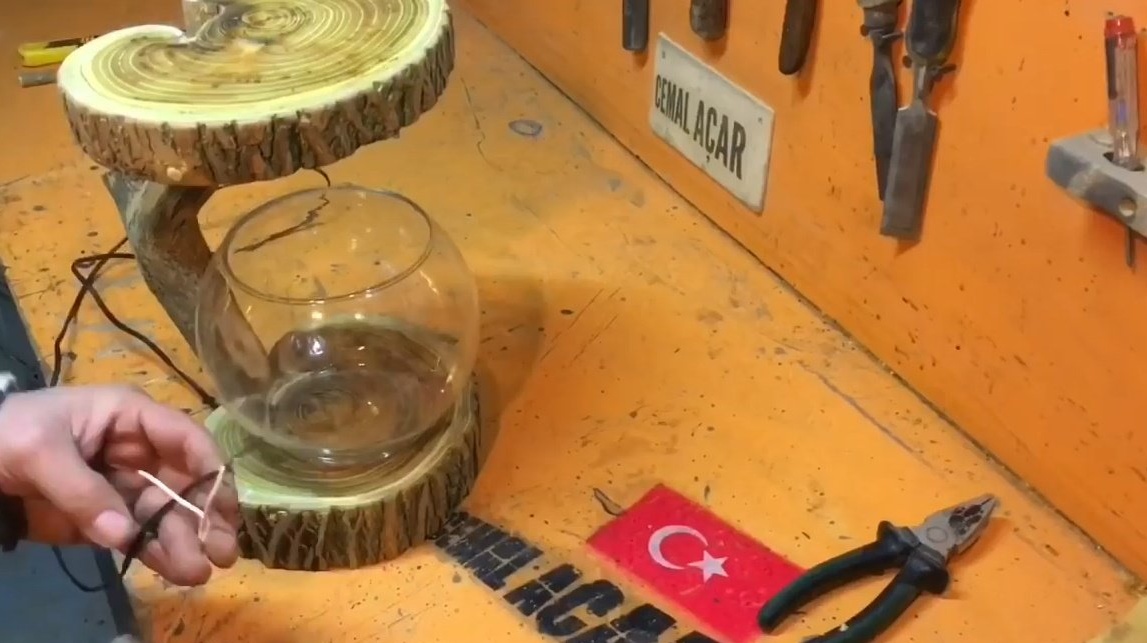
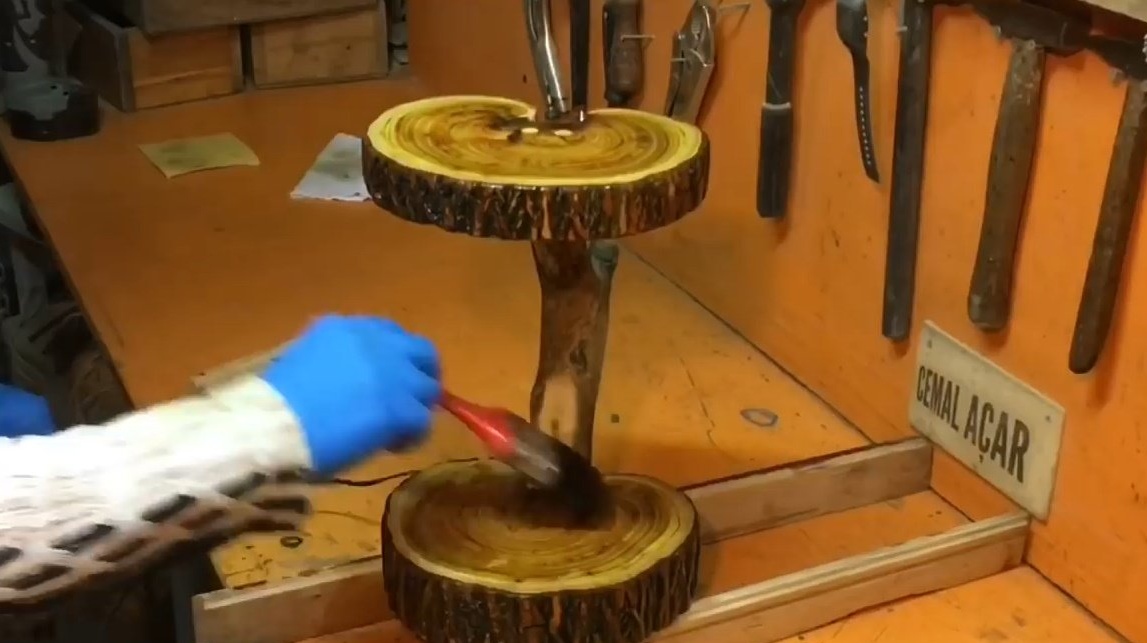
It's time to finish the entire stand with varnish. First processes the stand upside down.
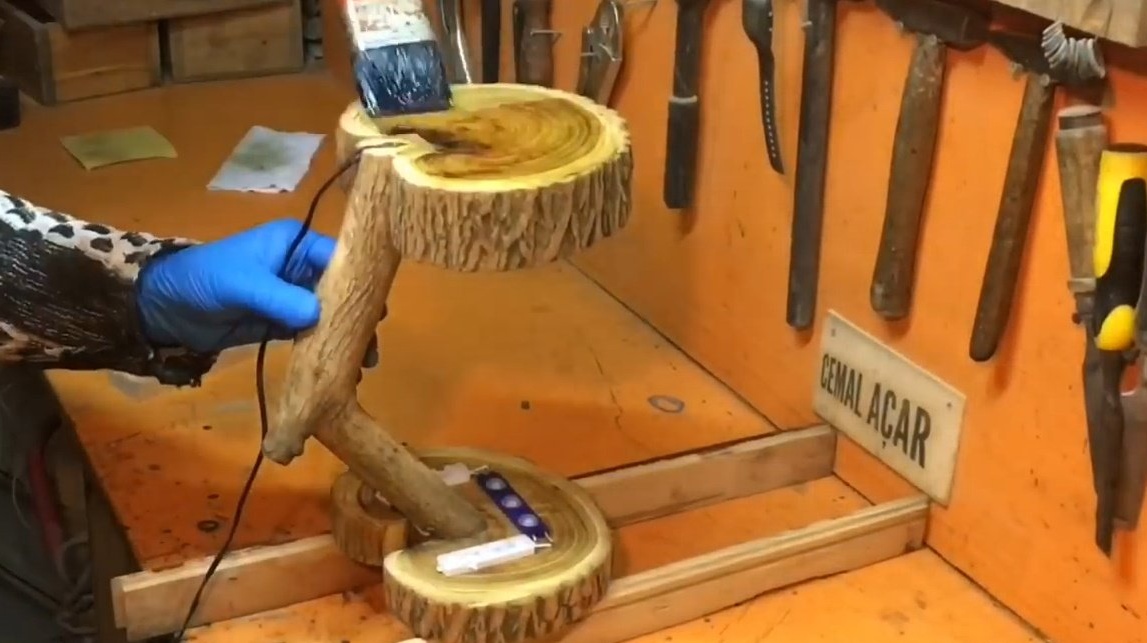
And then in a normal position, and allows to dry.
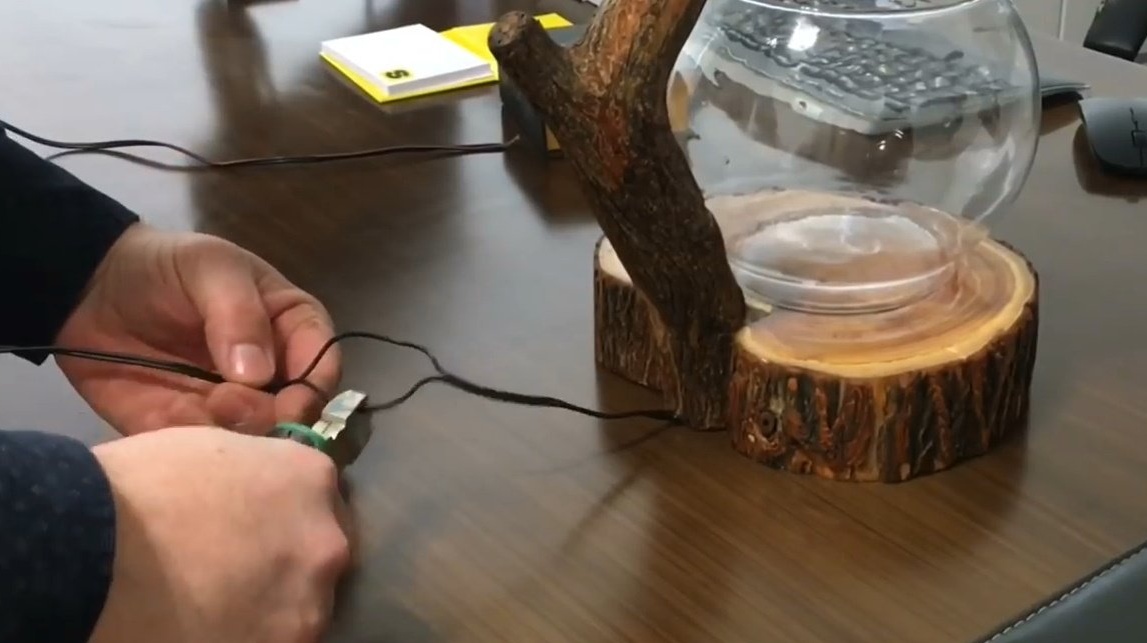
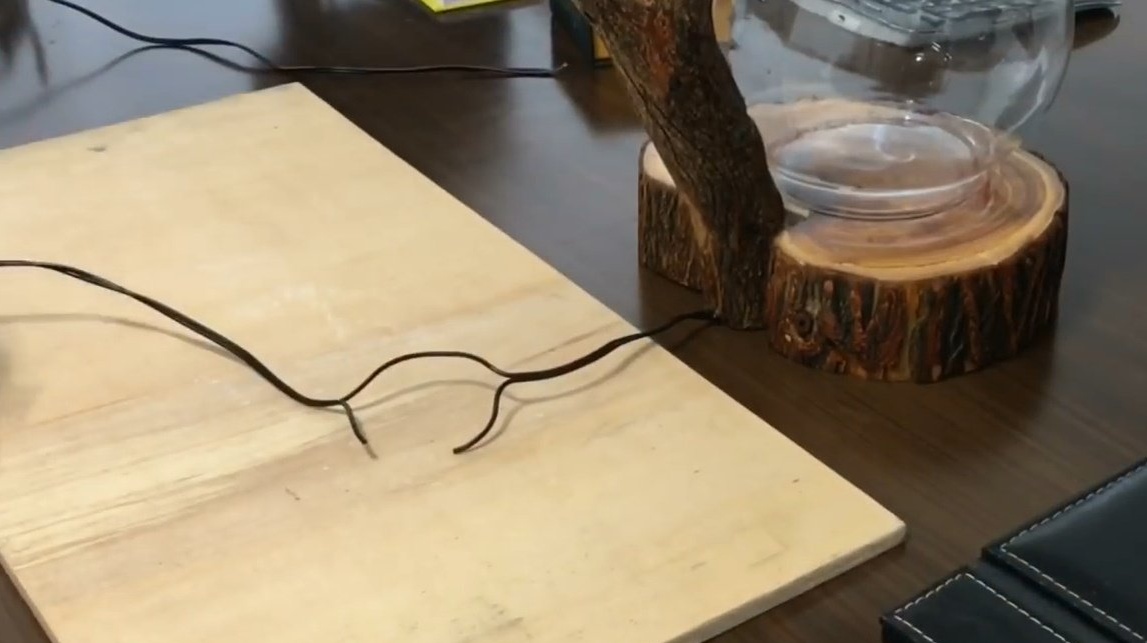
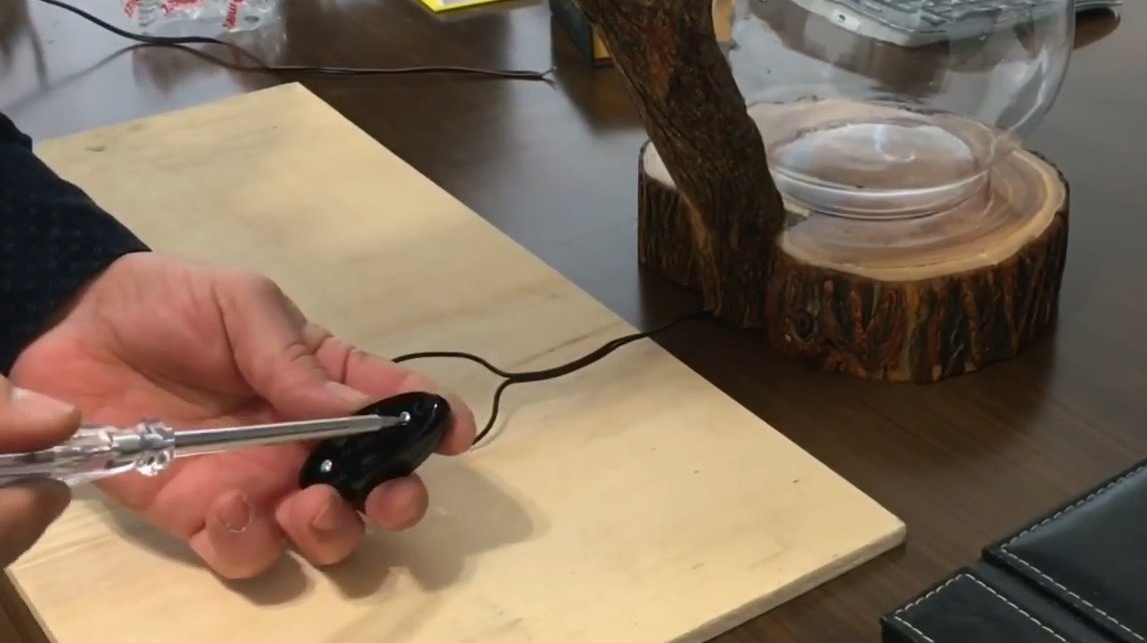
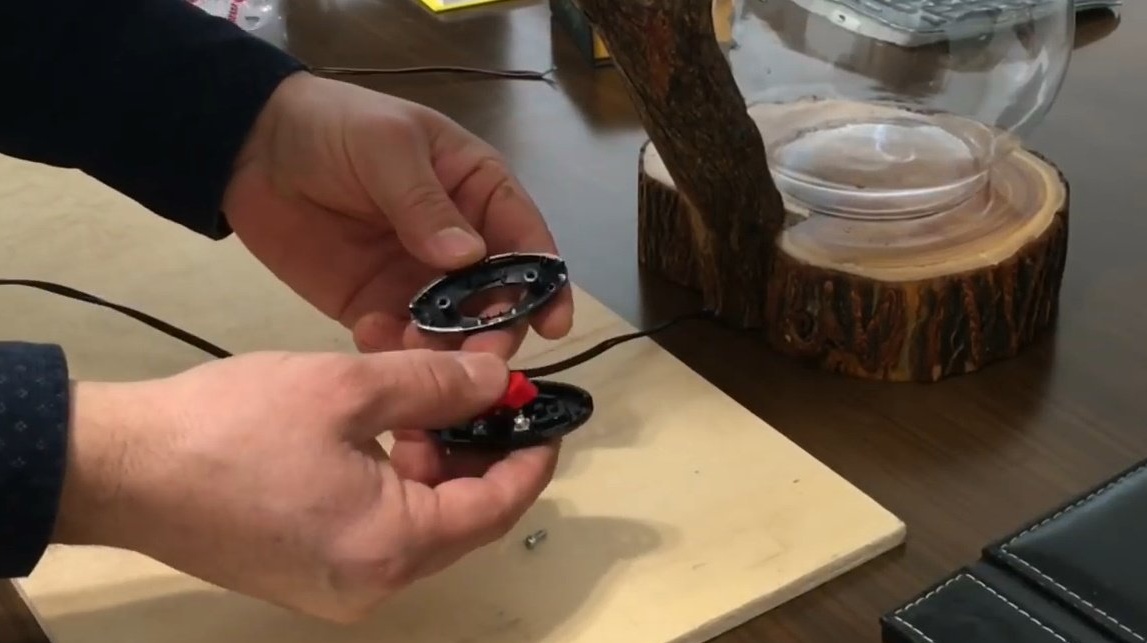
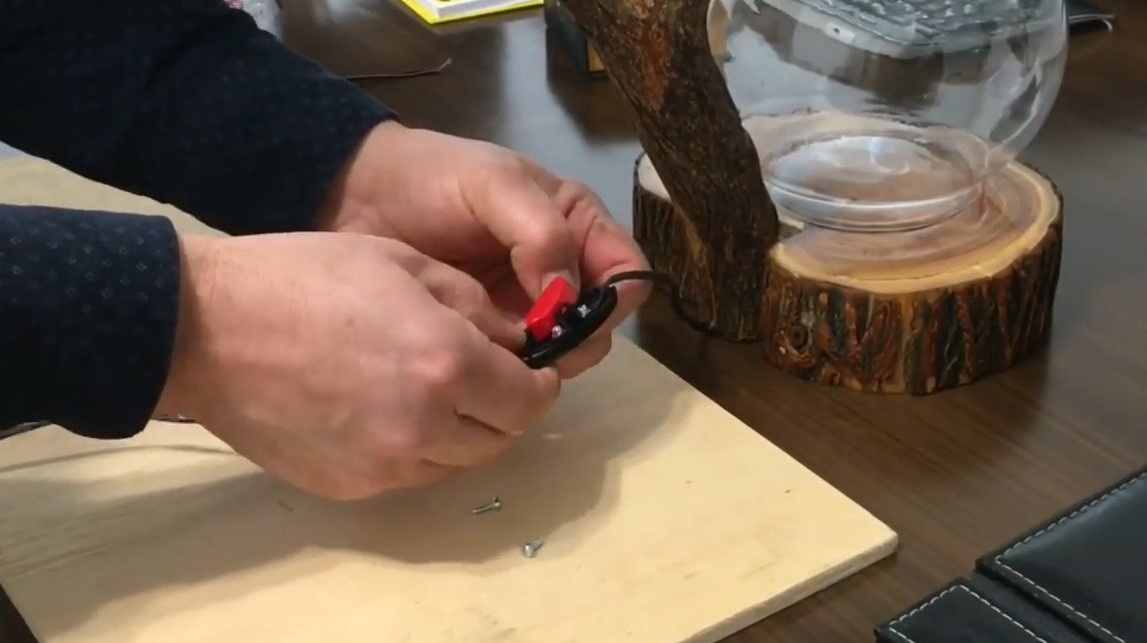
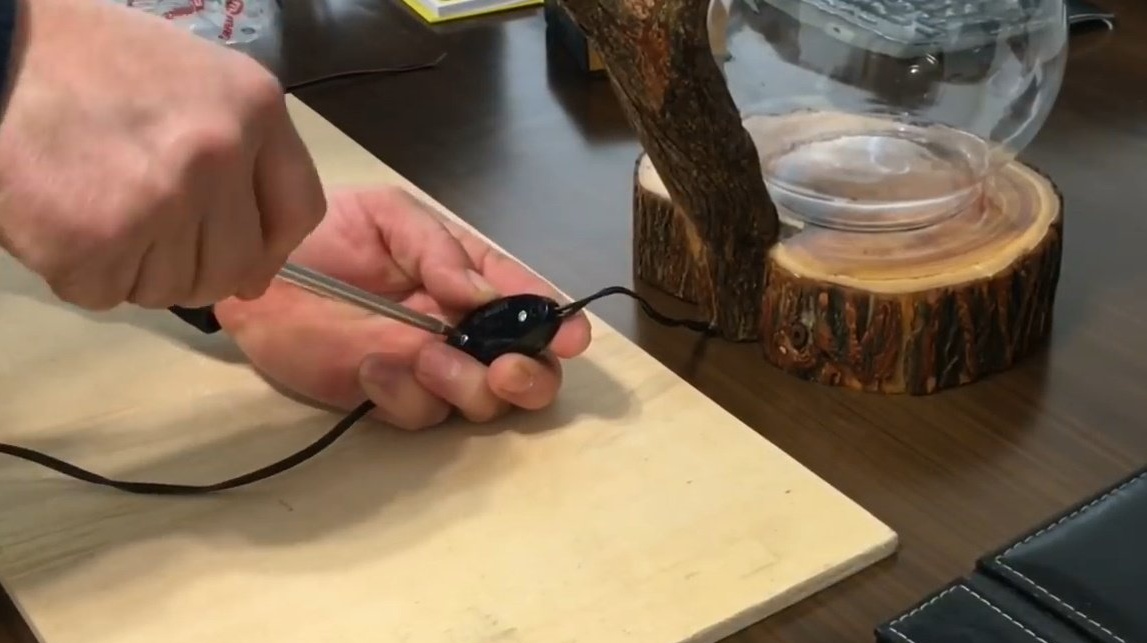
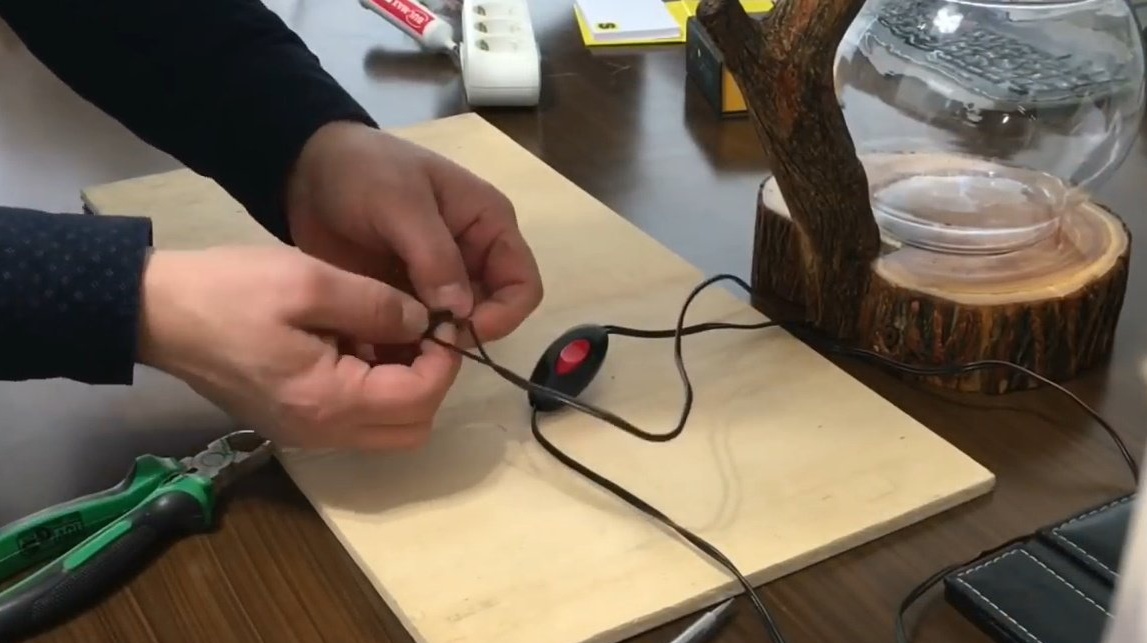
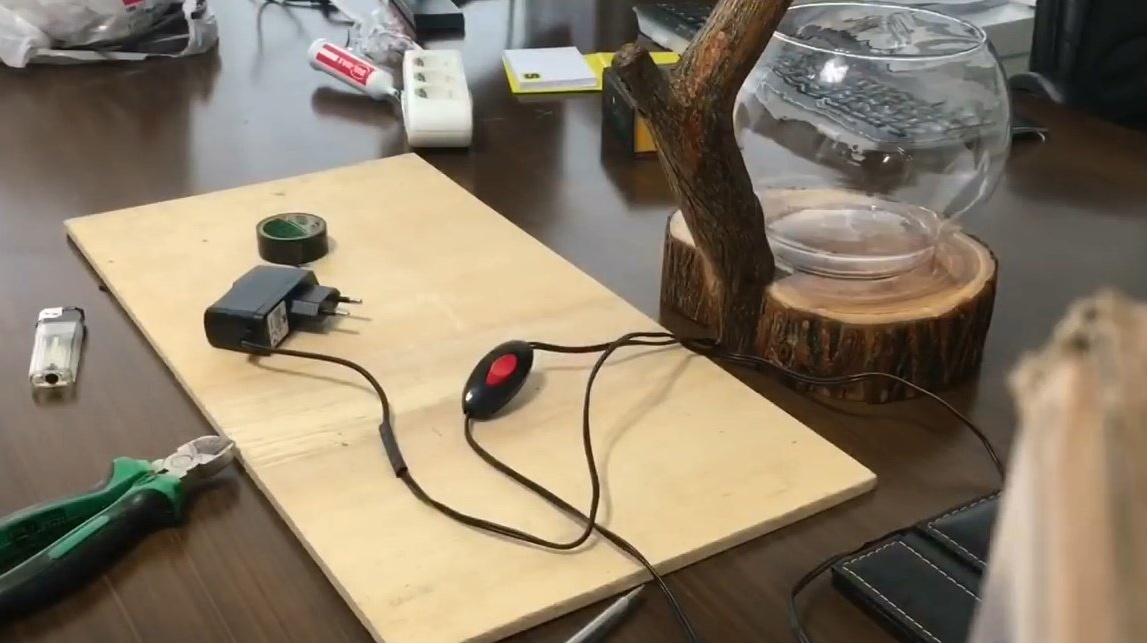
It remains to install the switch in the wire break. Splits the wire into two parts, one breaks off, and installs a switch.
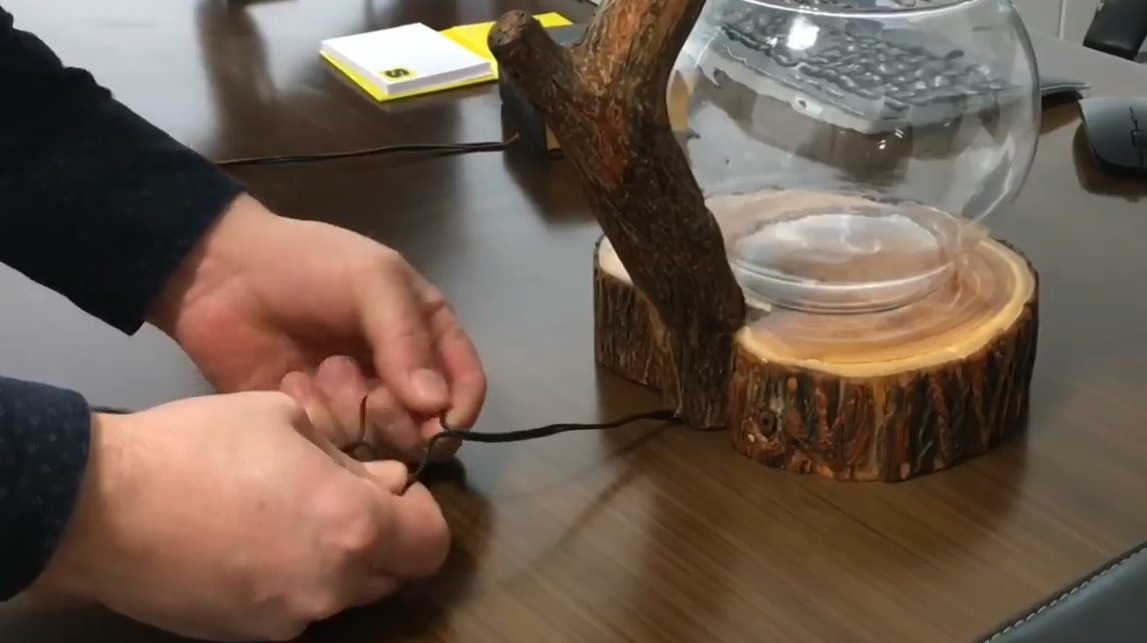

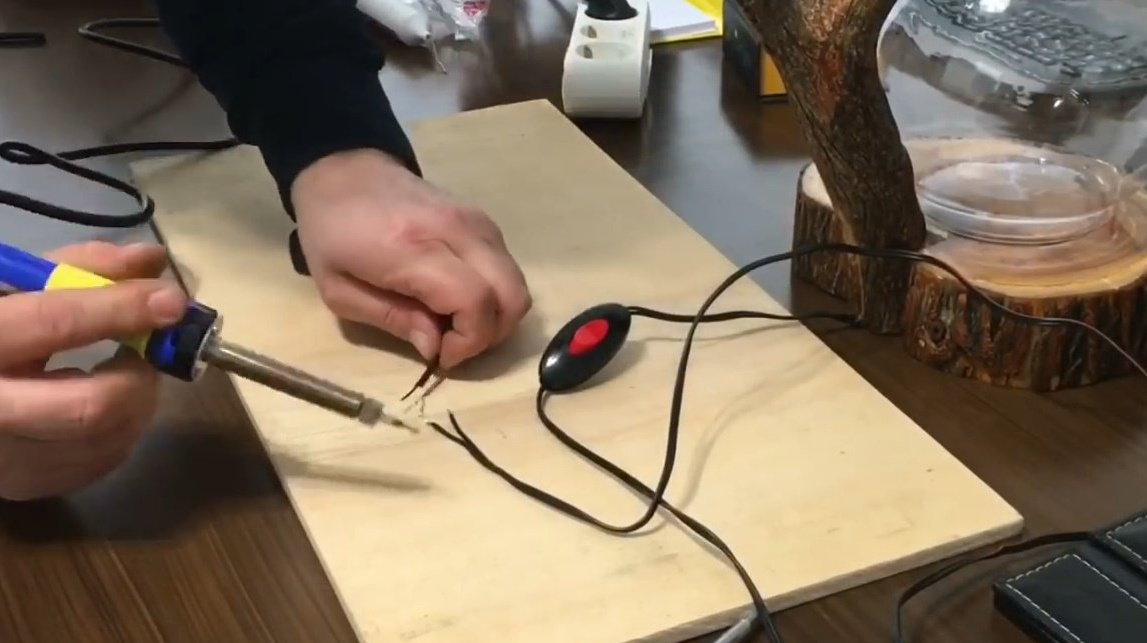
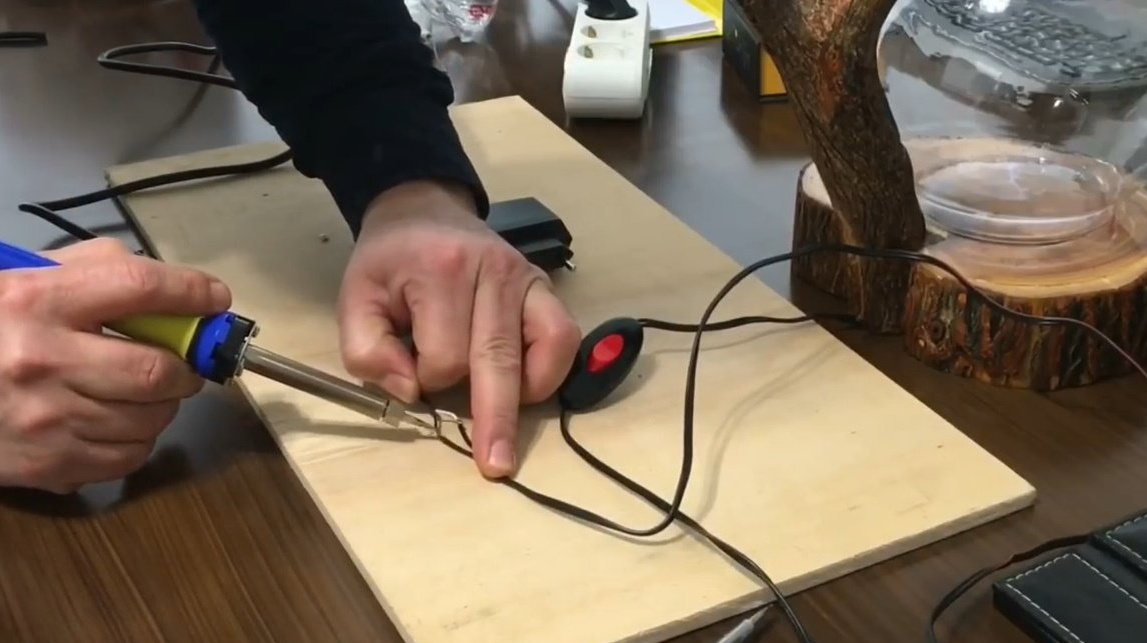
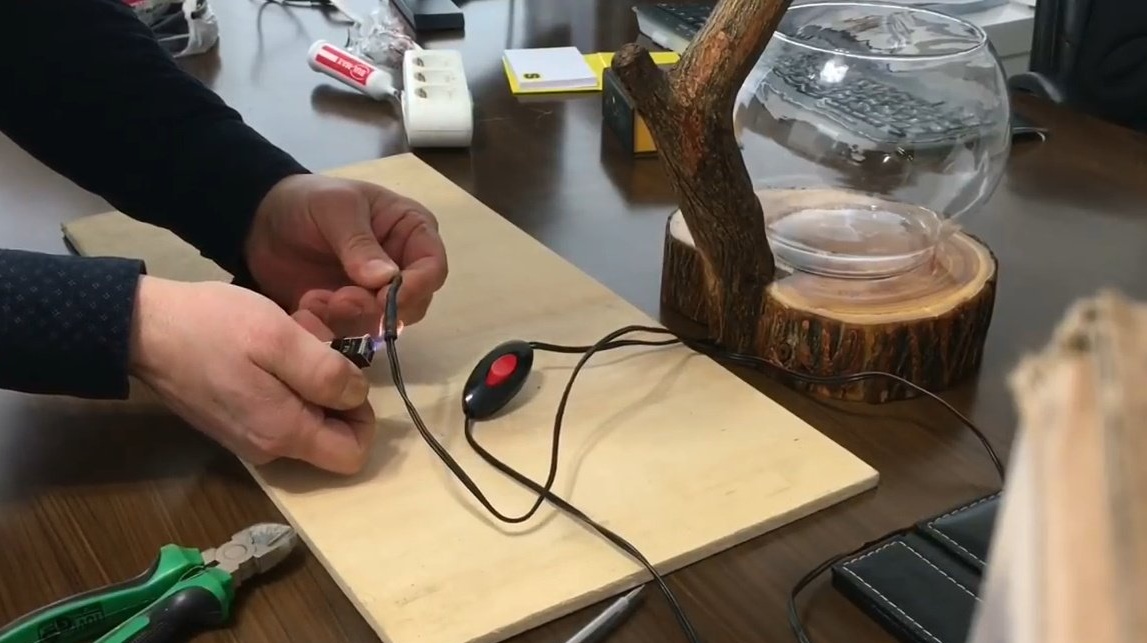
The author did not want to disassemble the power supply, and had to solder the wires together, then isolate it with heat shrink.
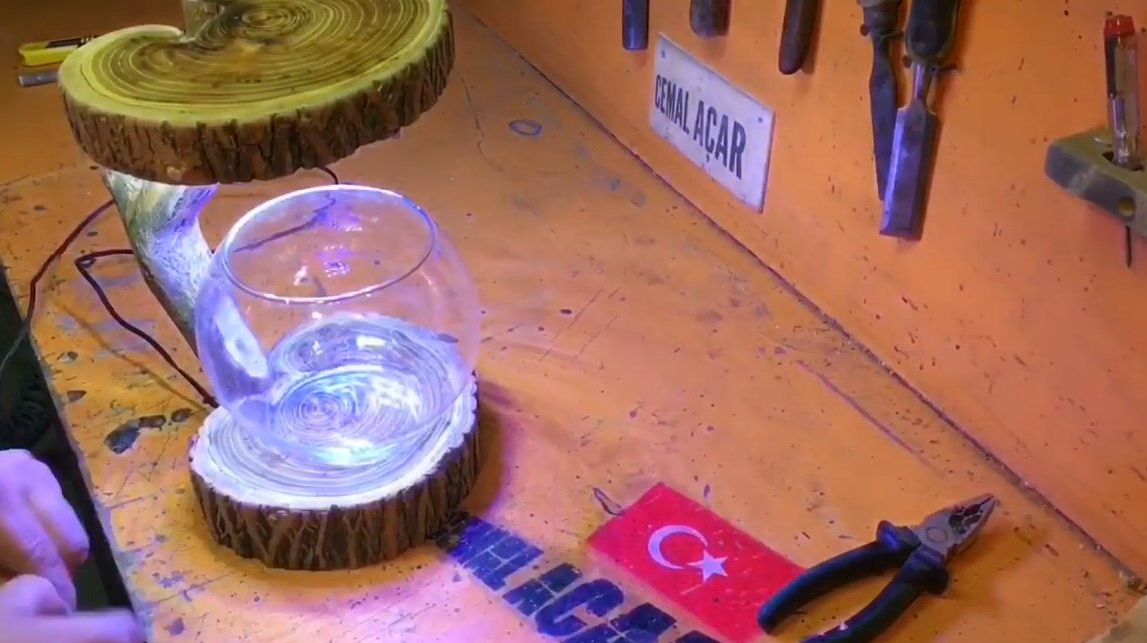
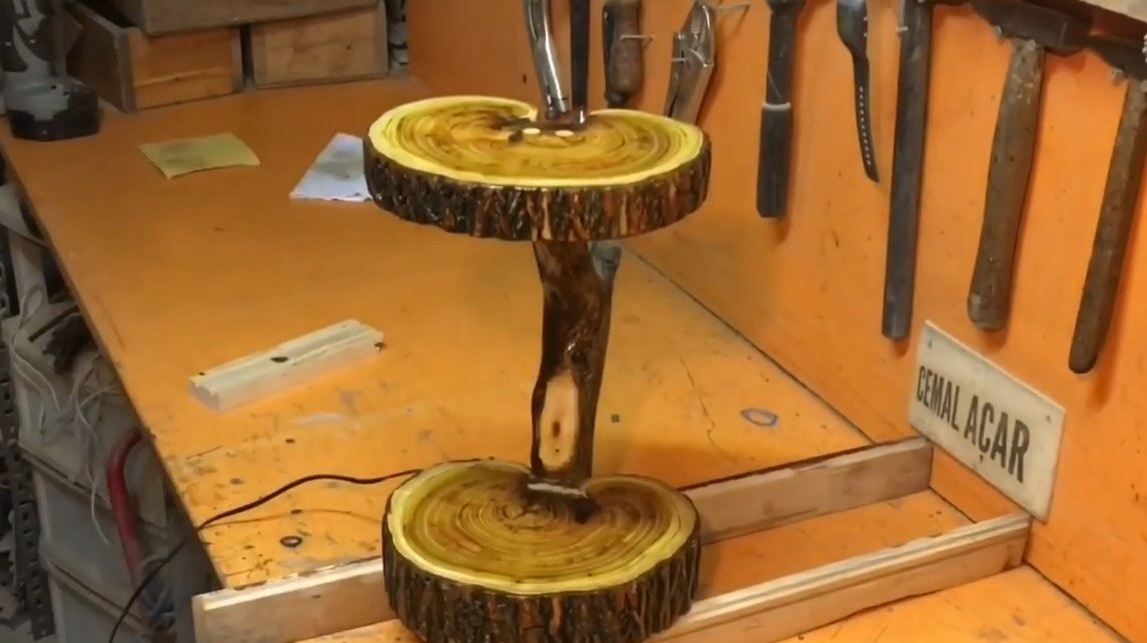
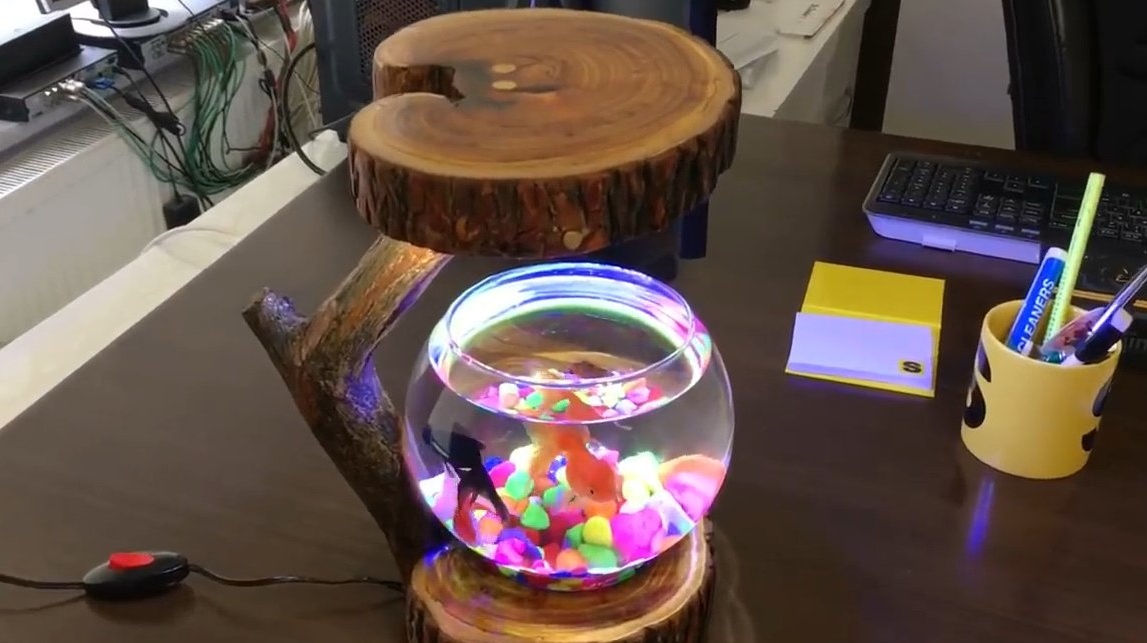
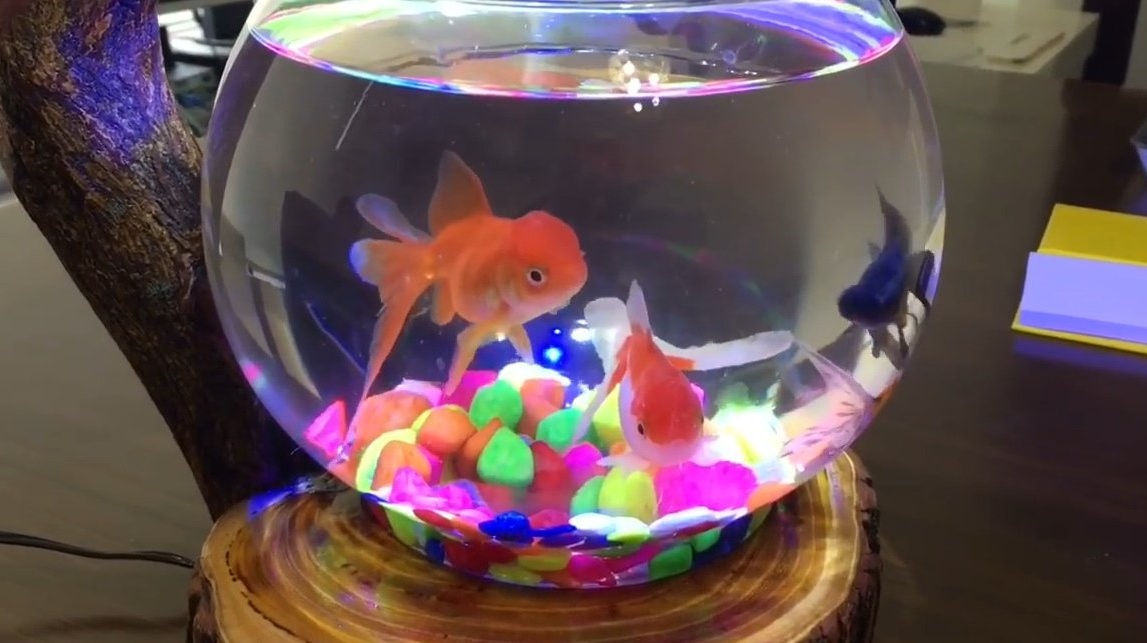
That's all, the stand-lamp for the aquarium is ready, you can populate the fish!
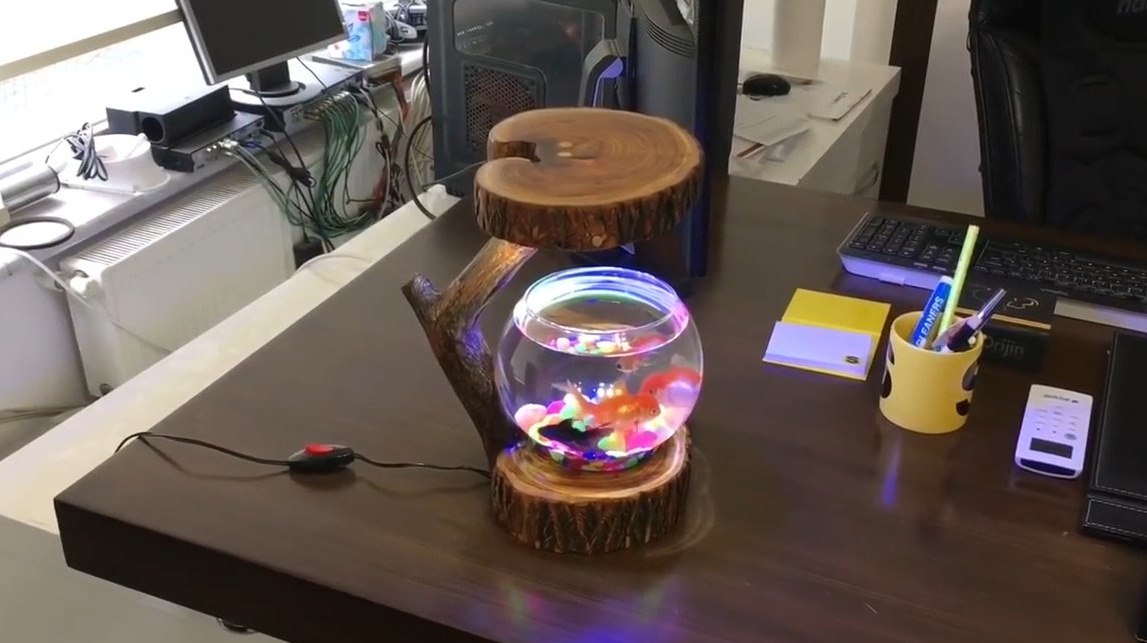
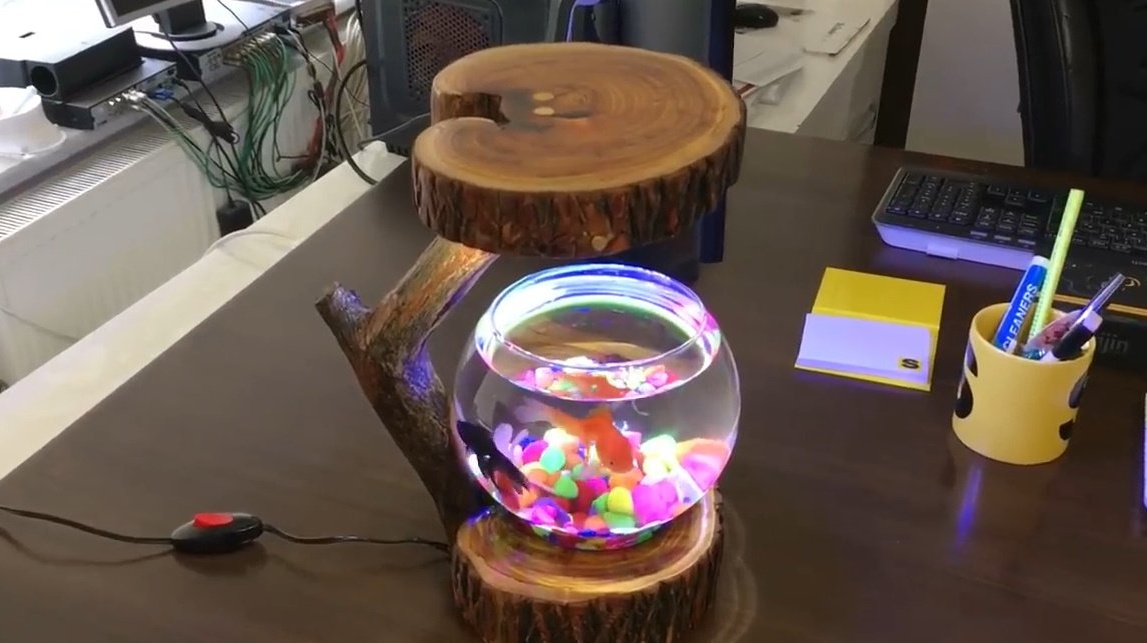
Thanks to the author for an interesting and unusual idea for a table lamp!
Good luck to everyone, good mood, and original ideas for homemade products!