
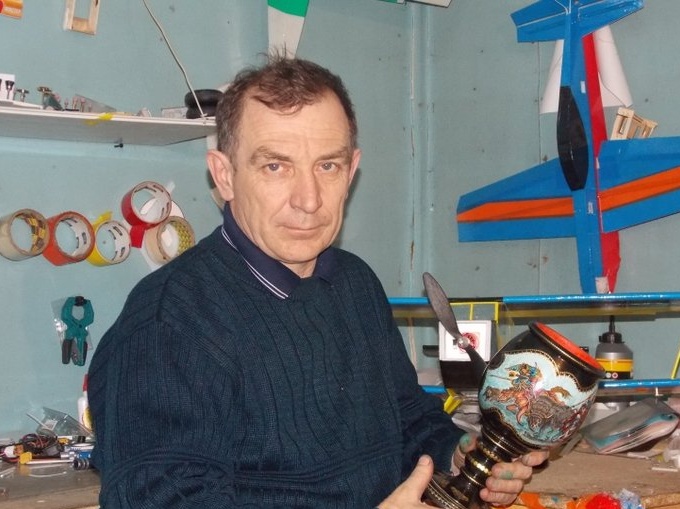
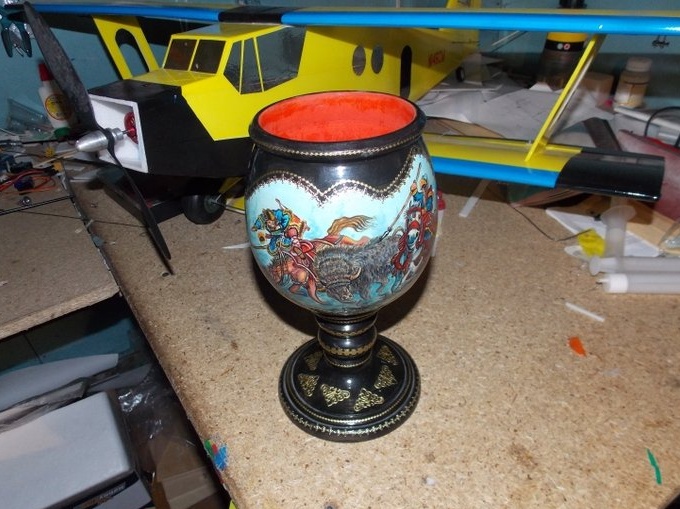
The author of this aircraft model is my friend Sergei Shevyrin from the village of Novoaltatka, Sharypovsky district of the Krasnoyarsk Territory. He once got my cup for a series of videos about building a Cessna model from the ceiling.
Now I want to tell and show how Sergey recommends building a biplane aircraft model.
Unfortunately, the author very sparingly gives explanations for the photographs, in the hope of the experience of those who decide to build such model, after viewing his photos.
I also want to note that the construction of this model, indeed, requires an initial experience in the construction of aircraft models.
I will try to correct his omission and in more detail, and popularly explain the actions of Sergey in each photo.
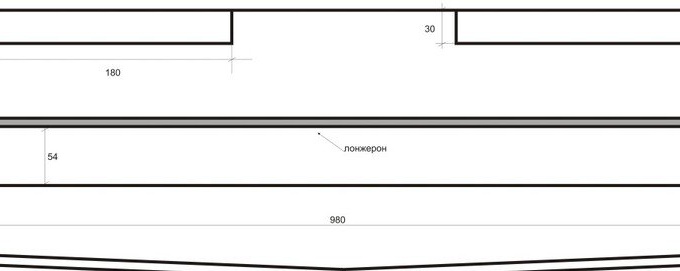
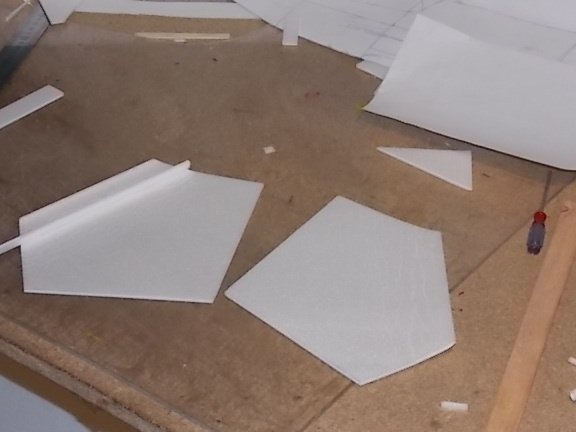
The drawings are so simple that there is especially nothing to explain. In accordance with the dimensions of the parts are marked on the ceiling and cut out.
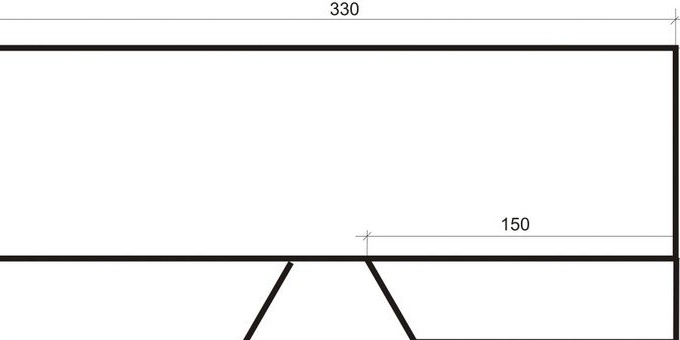
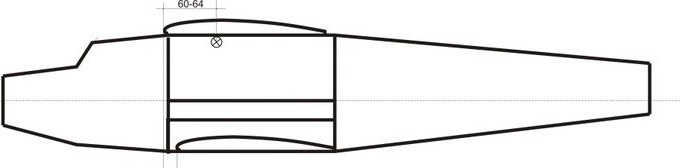
The construction itself, the author recommends starting with the manufacture of wings.
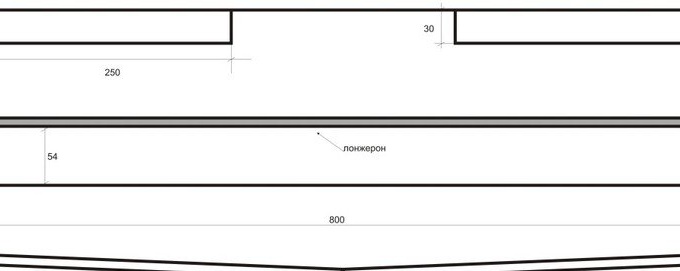
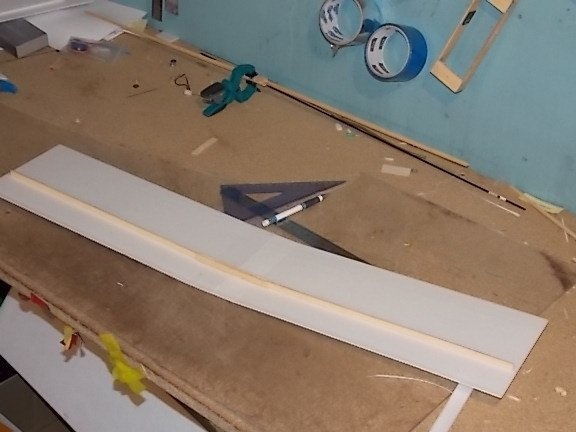
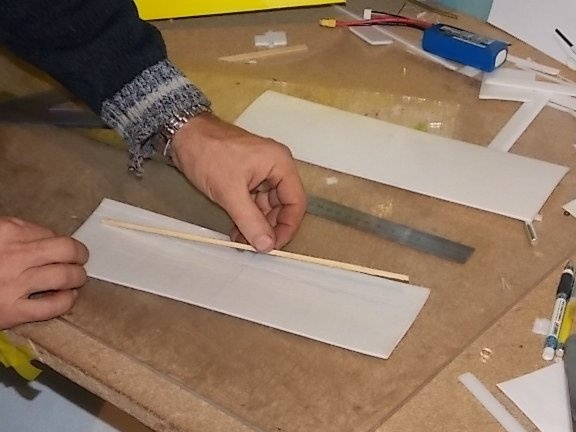
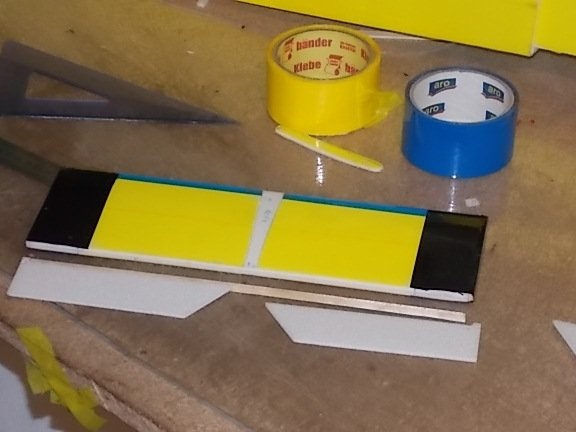
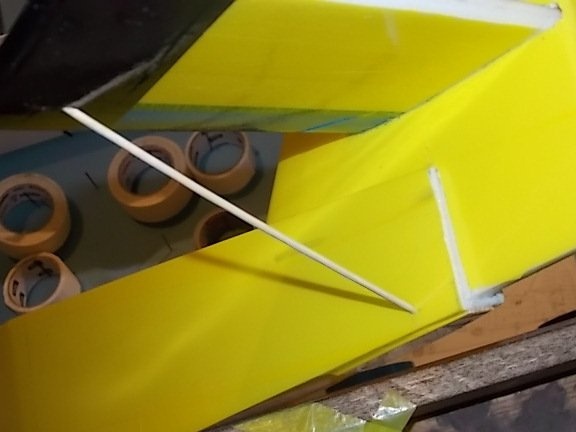
The very first and most crucial stage in the manufacture of a wing is the manufacture of a spar. It requires increased accuracy and accuracy, bordering on jewelry.
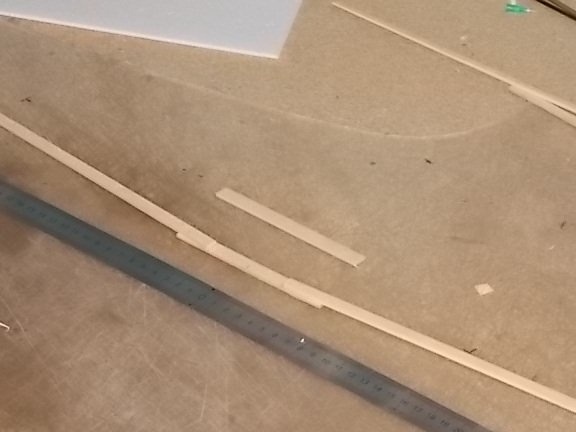
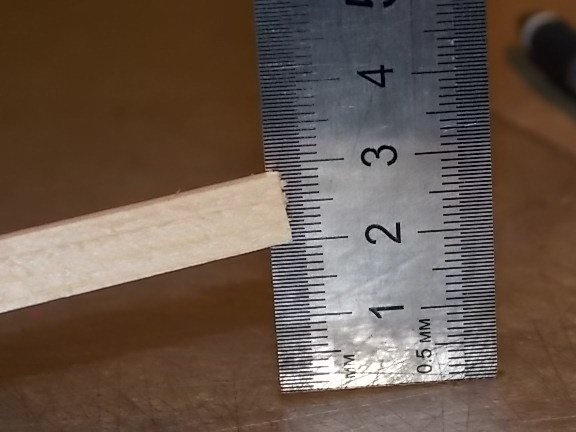
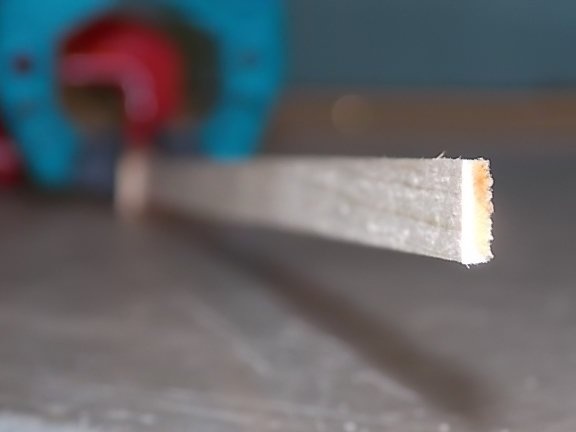
For the spar, a rack with a cross section of 8 X 2 mm is used, you can use a wooden ruler of the desired length.
The middle part of the spar is horizontal. consists of two laths between which lateral, inclined parts are clamped.
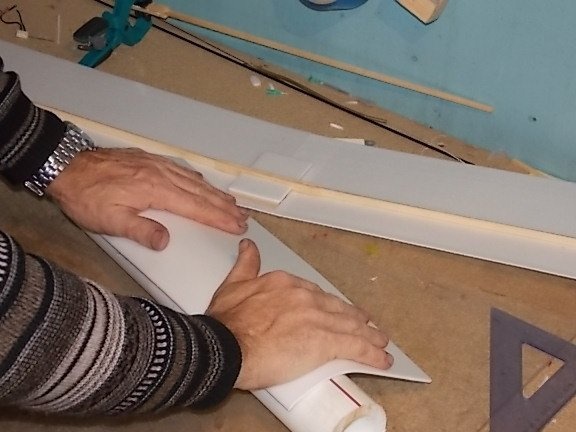
Having missed the spar and the wing blanks with glue, we assemble everything into one.
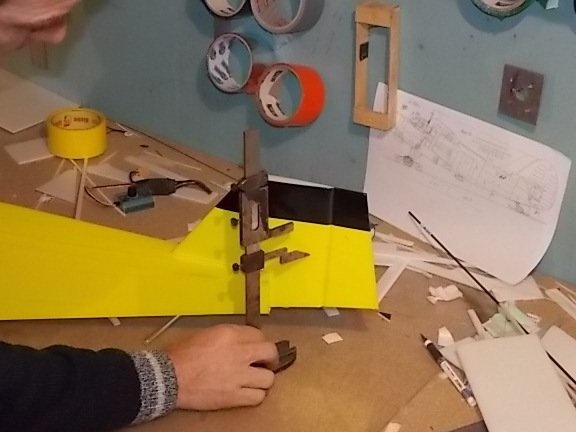
Do not forget to make the desired angle V by checking the location of the wing console from a horizontal plane at the desired height - 4 mm. on each side of the wing. Putting one console on a plane, between the plane and the raised console should be 8 mm.
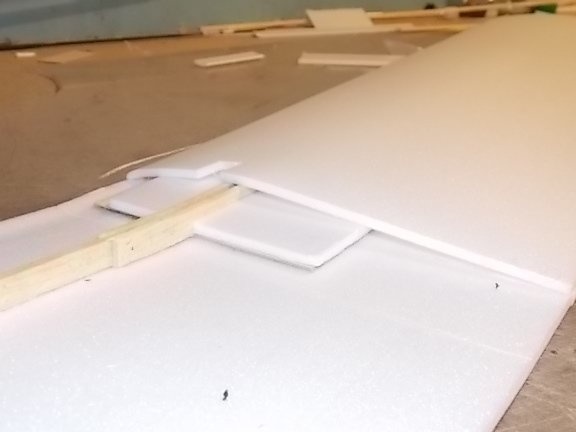
For mounting the chassis and the strength of the spar glued pieces of plywood, which compress the middle part of the spar on both sides.
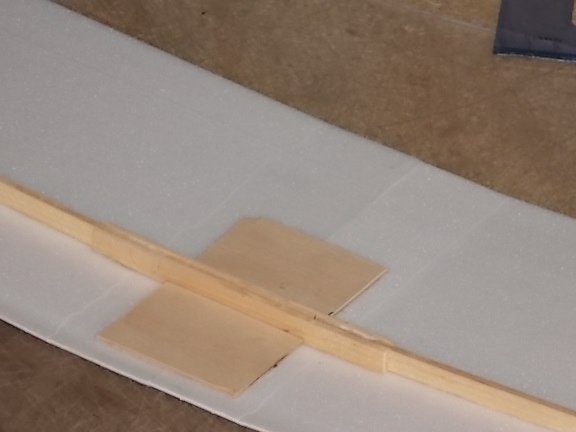
On top of the plywood pieces glued pieces of the ceiling, the size of plywood. The thickness of the plywood is not very important, preferably 3 mm.
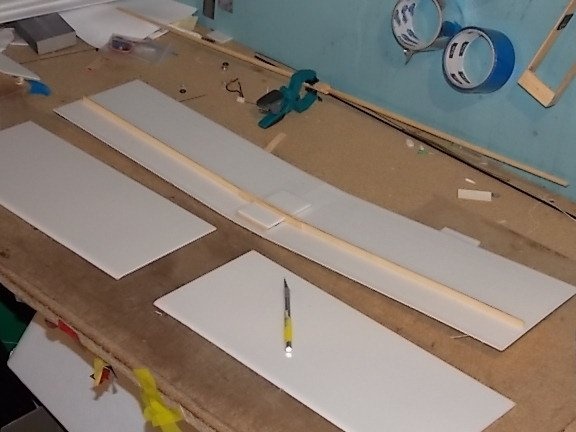
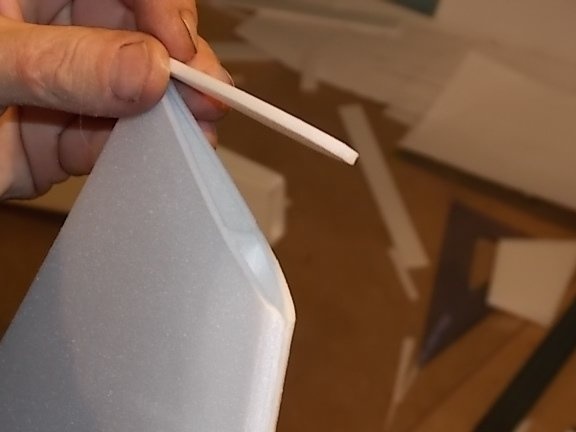
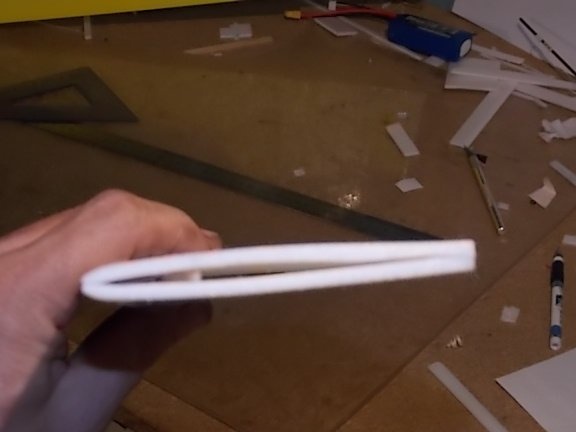
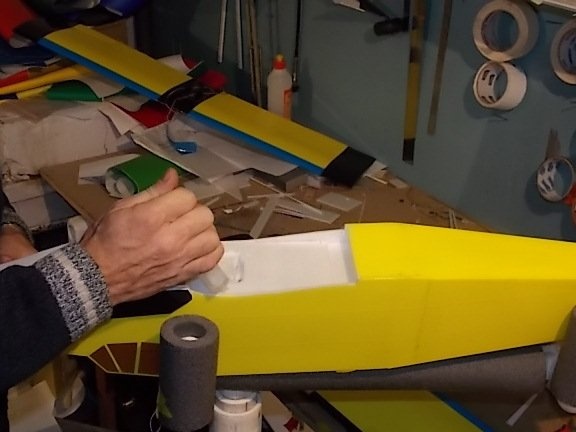
Preparations for the upper wing sheathing before installation, must first be rolled in order to give the desired shape to the profile and that during installation it would not burst.
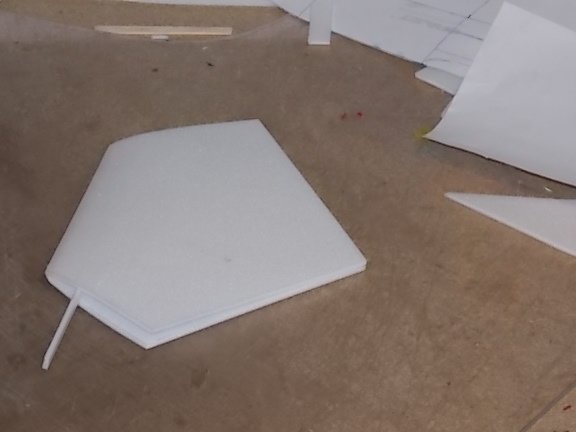
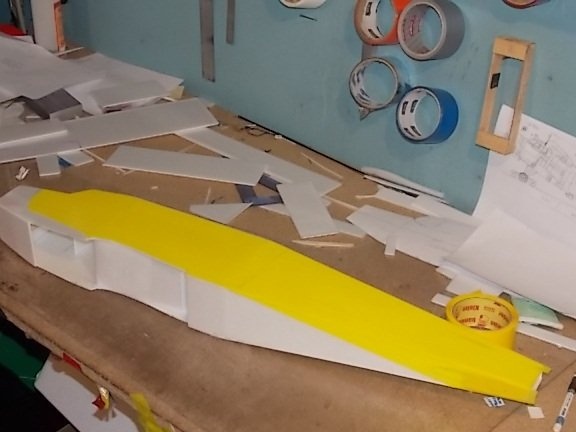
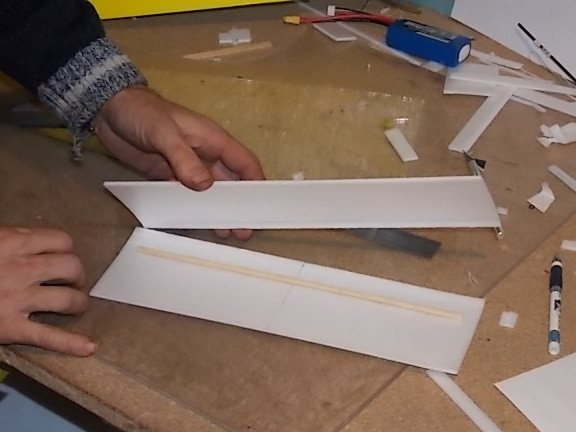
The wing console should look like this.
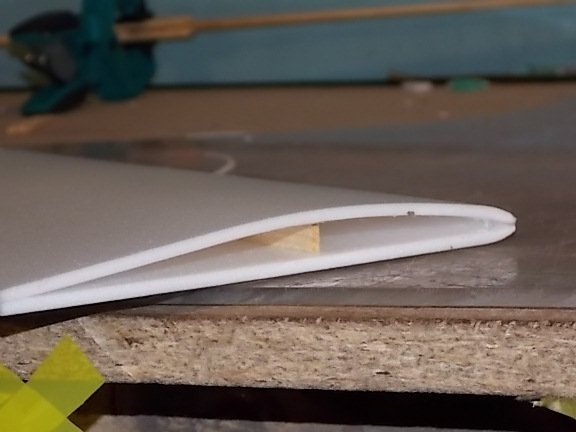
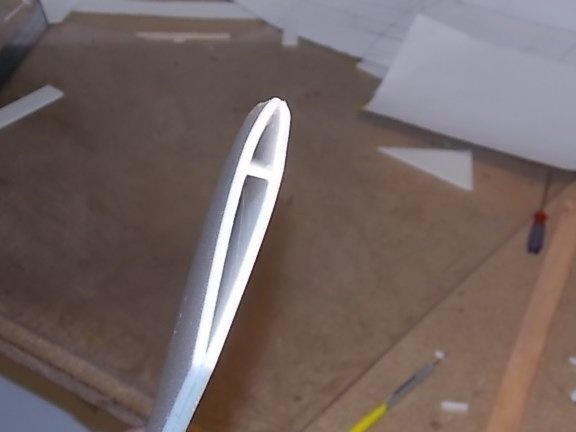
This is the wing profile.
Finished wing with carved ailerons.
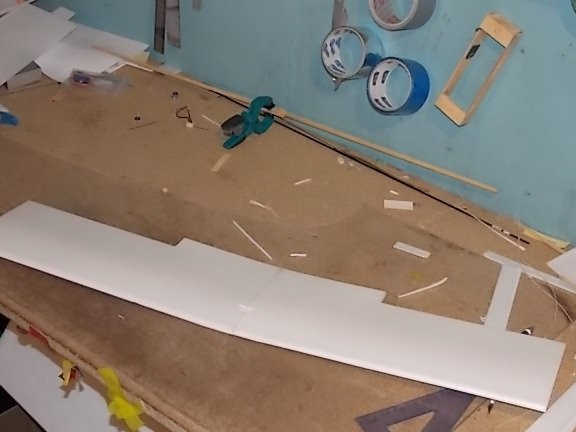
The second wing is likewise manufactured.
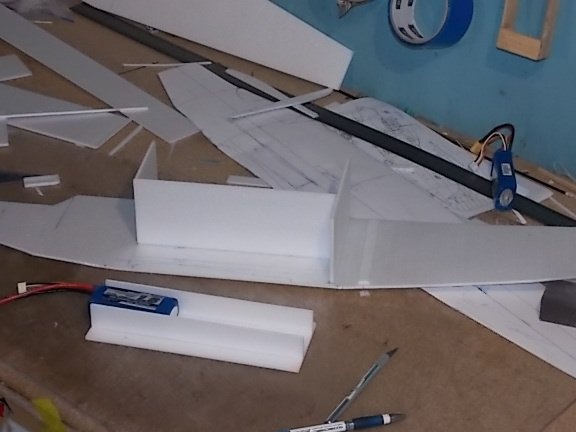
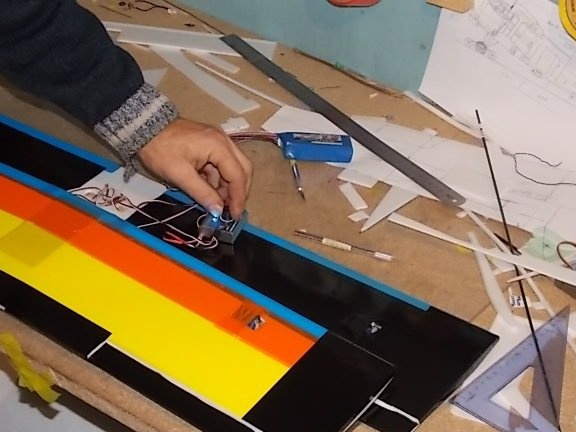
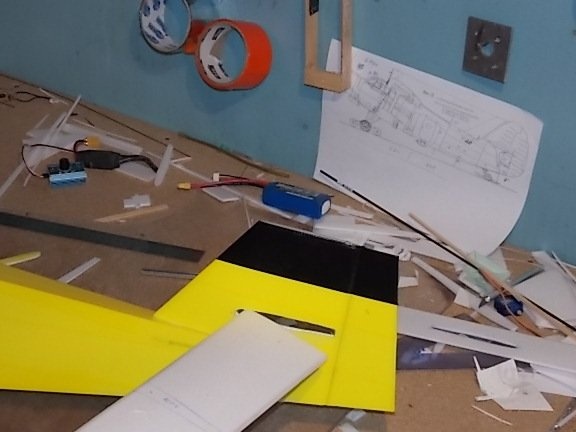
While the assembled wings dry, we begin assembling the fuselage.
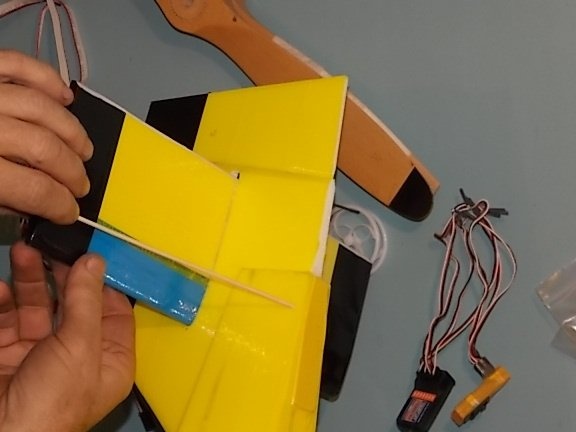
We mark out the approximate location of the electronics.
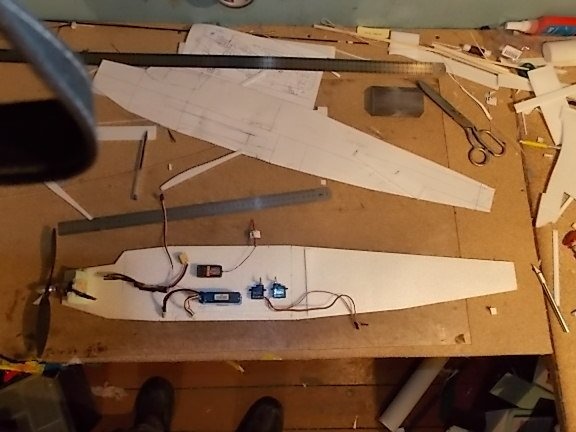
It is important to correctly make a place for the battery, so that it can be moved, to determine the central district (center of gravity).
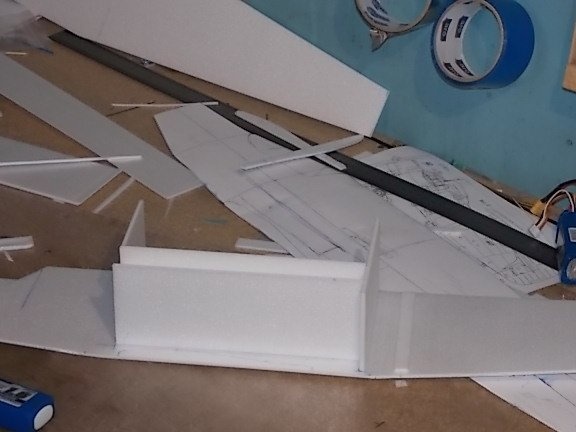
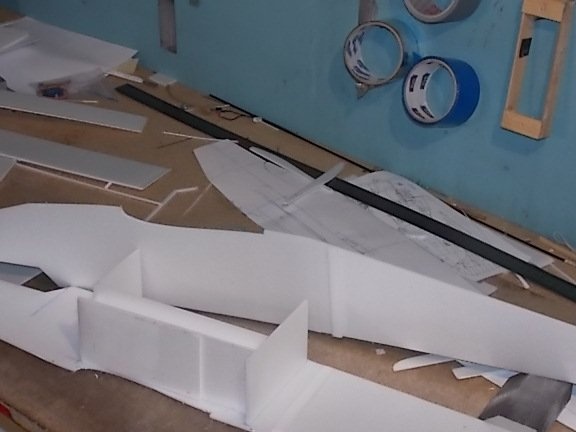
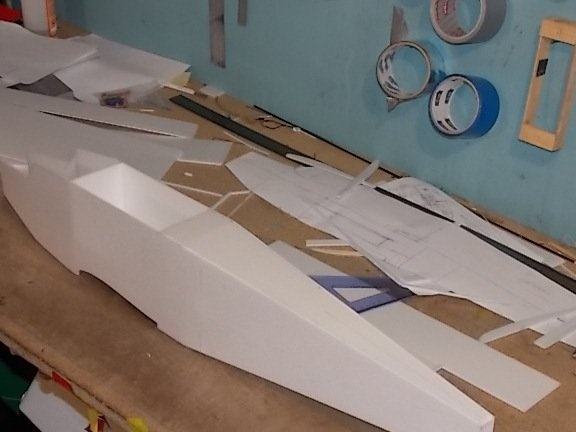
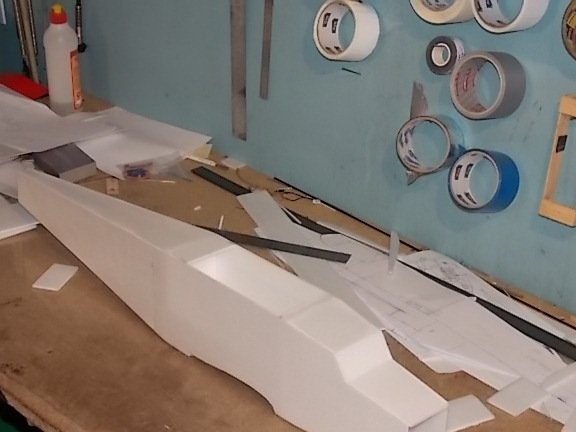
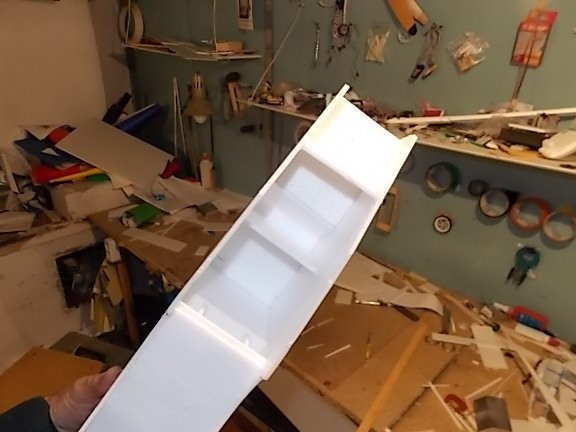
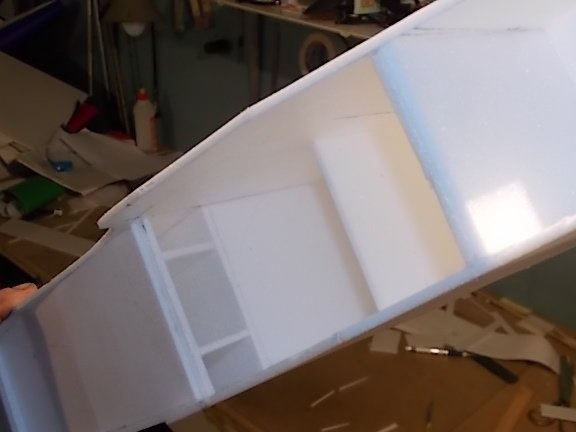
If all the partitions of the partitions are correctly cut, then there should not be any difficulties in assembling the fuselage.
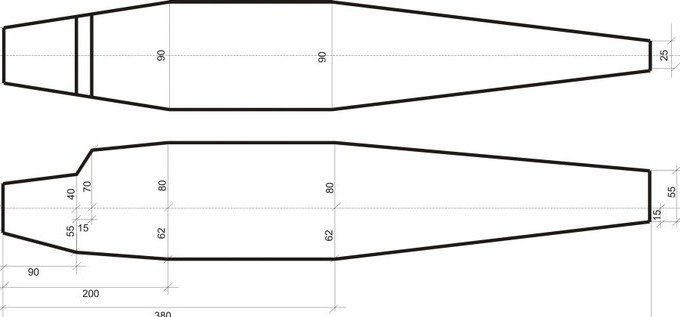
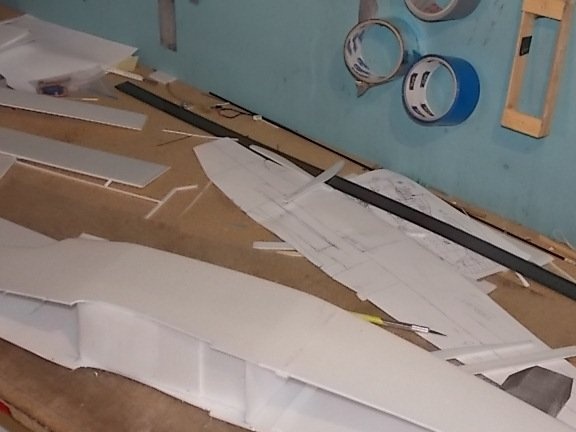
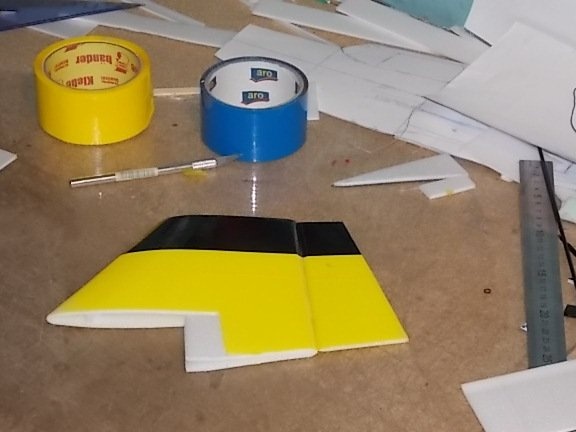
While the glue on the fuselage dries, a keel is made.
The keel is assembled from two halves.
It turns out here is such a profile.
Keel assembly.
The keel profile is sealed from above with a ceiling.
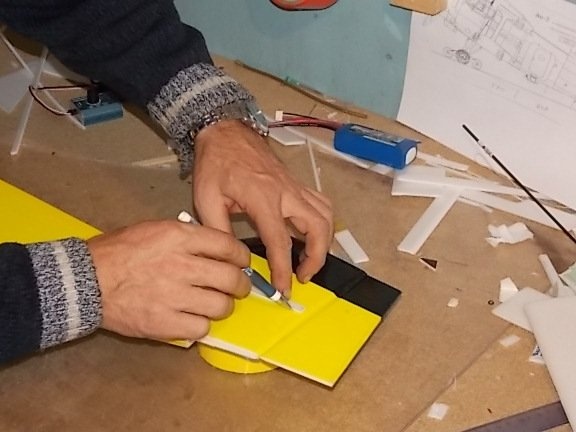
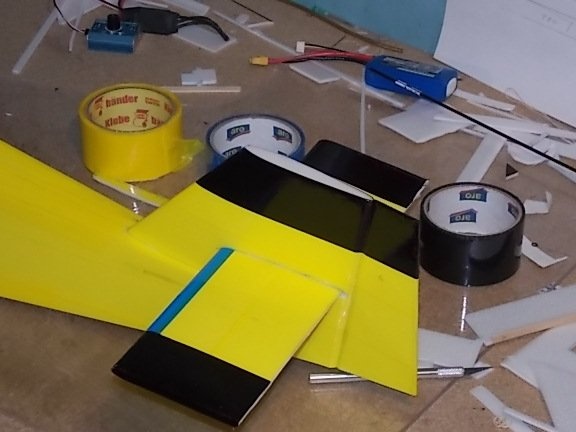
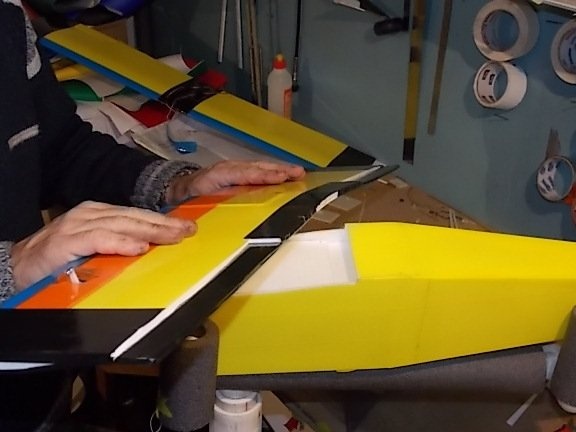
The sides of the fuselage are covered with colored tape.
Servos are mounted inside the fuselage.
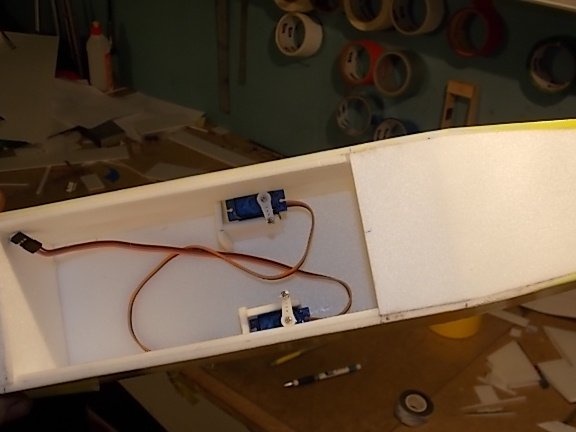
Before glueing the fuselage completely, it is necessary to install the bowden and connect to the traction servos for the PH (rudder) and PB (elevator).
The keel is also covered with colored tape.
The wings are dried and covered with colored tape too.
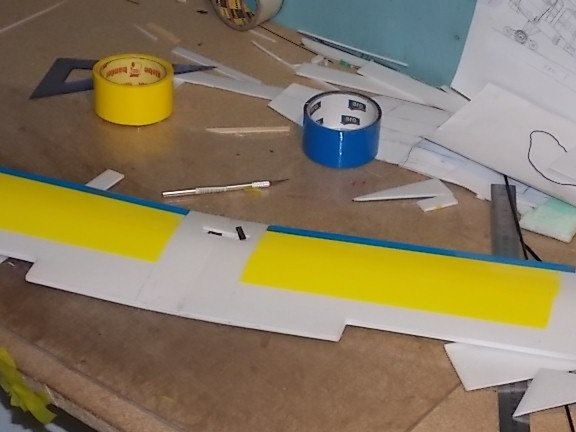
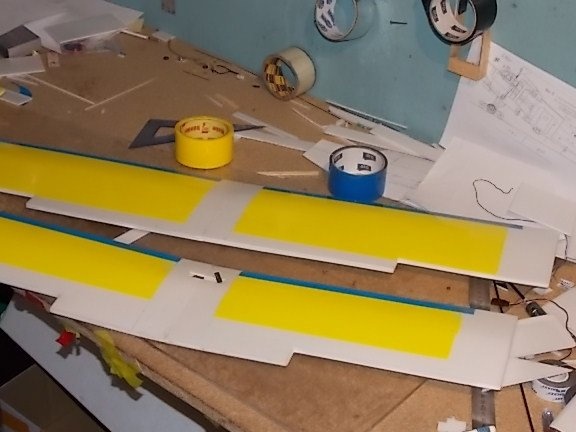
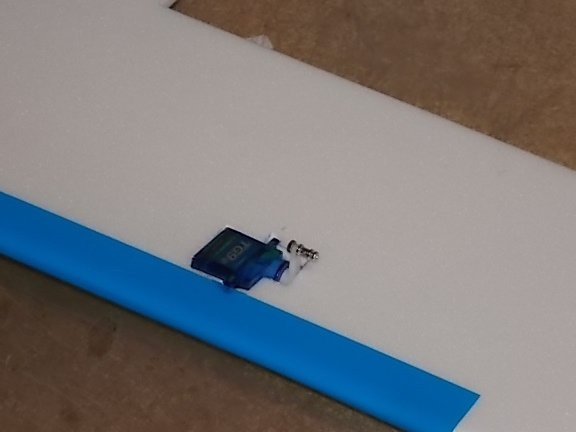
Servos are mounted on the wings.
The wingtips are glued to the ends of the wings.
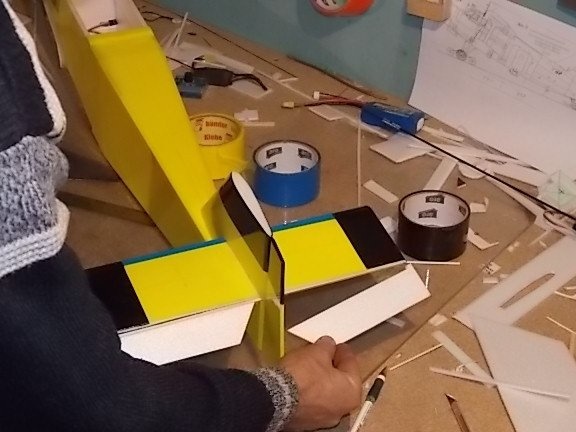
Wings try on the fuselage.
Before installing in place, servos are checked.
A keel is tried on the fuselage.
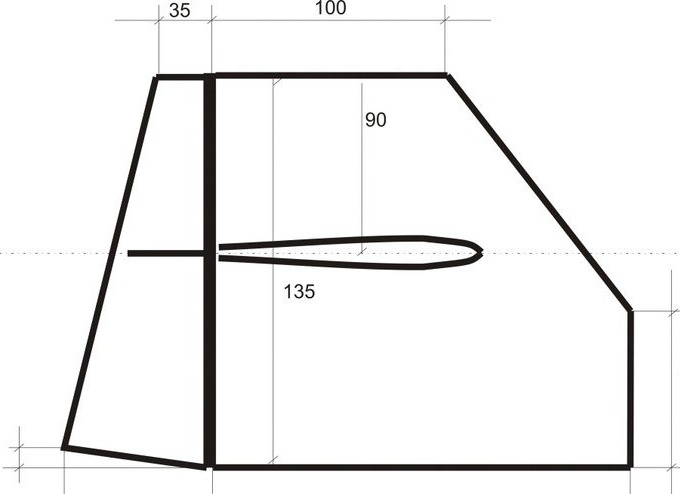
We begin the assembly of the stabilizer and elevator.
The stabilizer is also assembled from two layers of the ceiling.
Inside, a pine lath or a piece of a wooden ruler is glued.
It turns out the profile.
The keel is glued.
A cut for the stabilizer is made in the keel.
The cutout is made exactly along the profile of the stabilizer and checked.
The stabilizer is fitted with colored tape and a RV (elevator) is tried on it.
I want to note that the PB, LV and ailerons are hung using tape.
The stabilizer is glued into place and strengthened by spacers from pine slats.
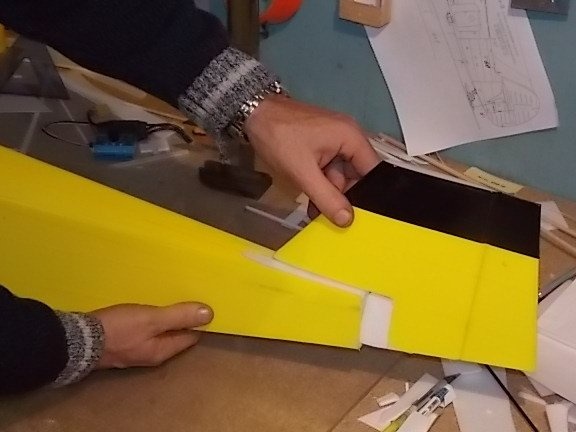
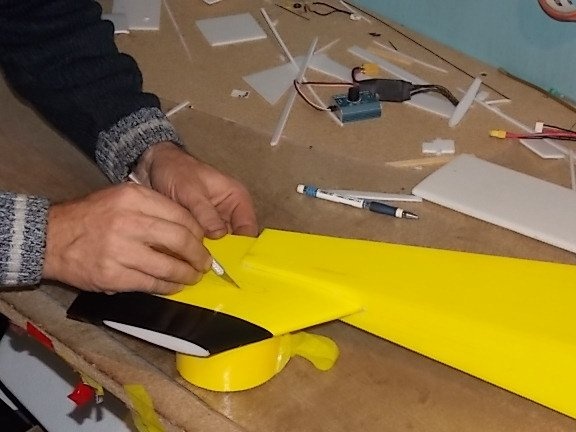
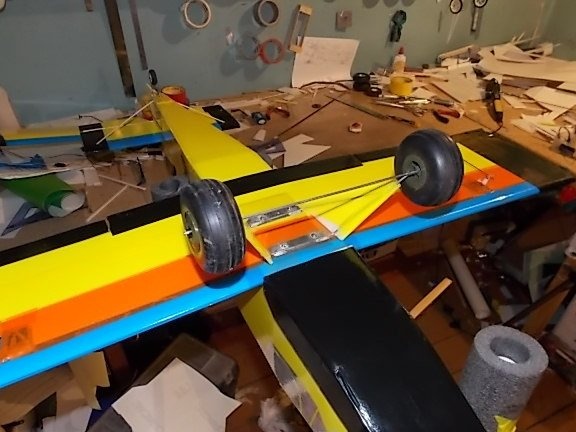
Before installing the lower wing, very precisely, along the wing profile, make cutouts in the fuselage.
Before mounting the wings, the installation sites on the fuselage are smeared with glue, just like the wings themselves.

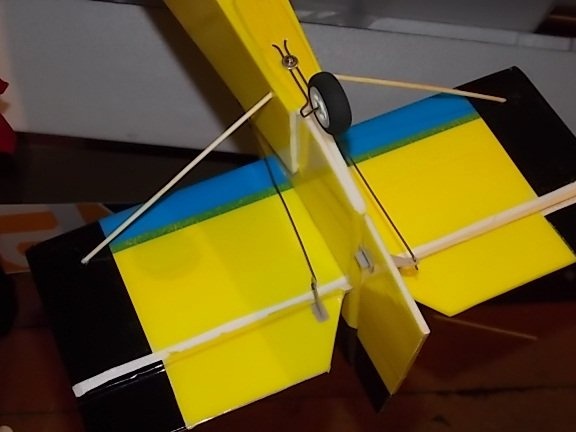
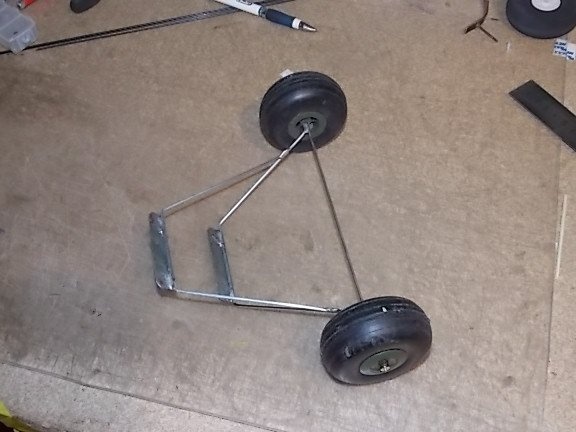
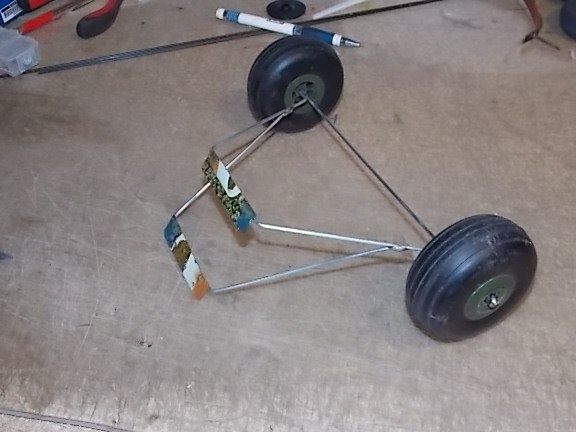
The author offers this chassis design, but it can be done differently. It depends on your capabilities and imagination.

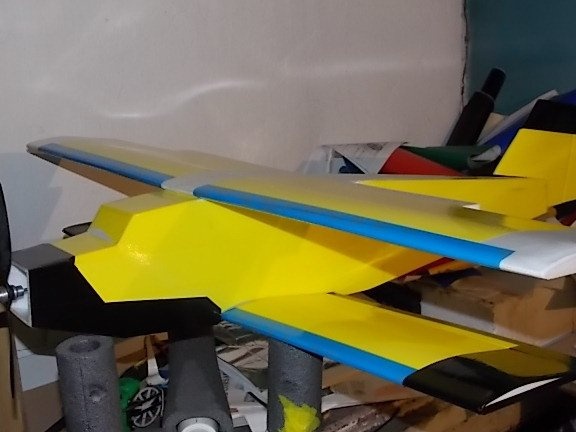
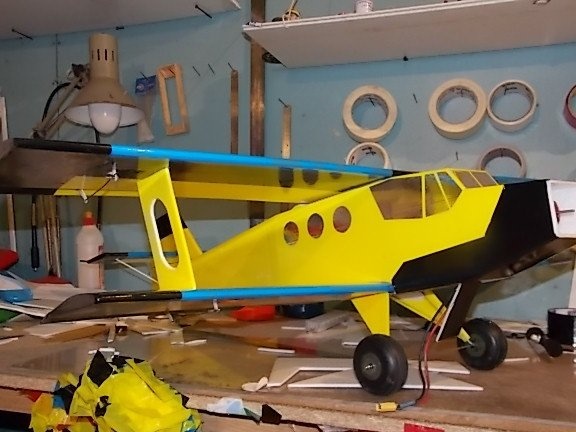
Installed a motor.
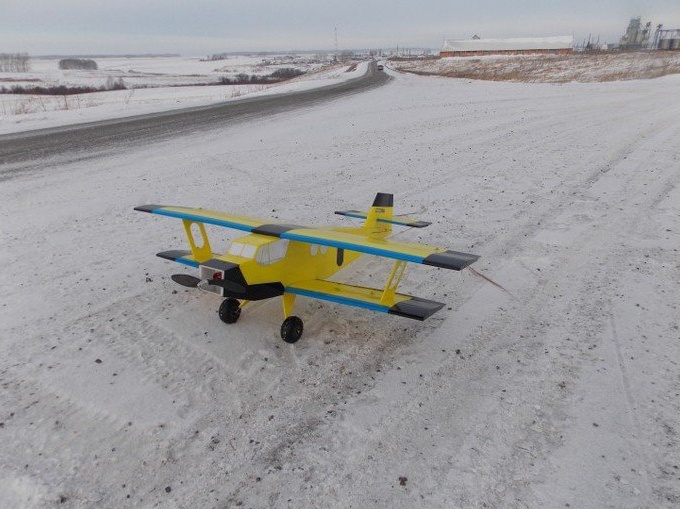
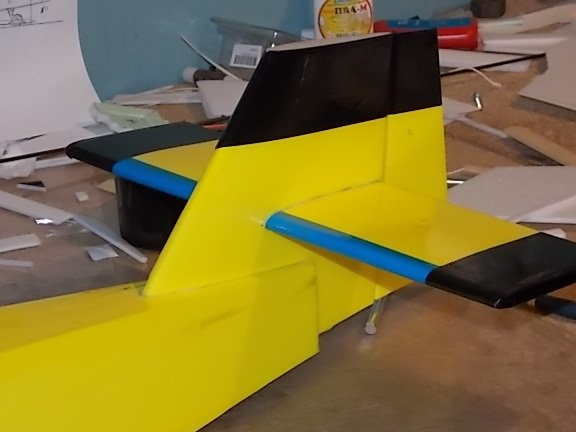
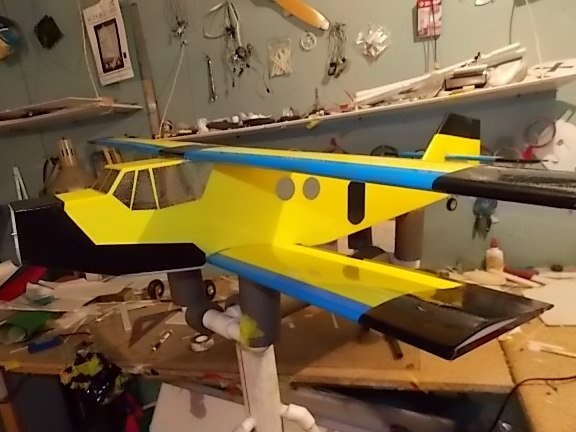
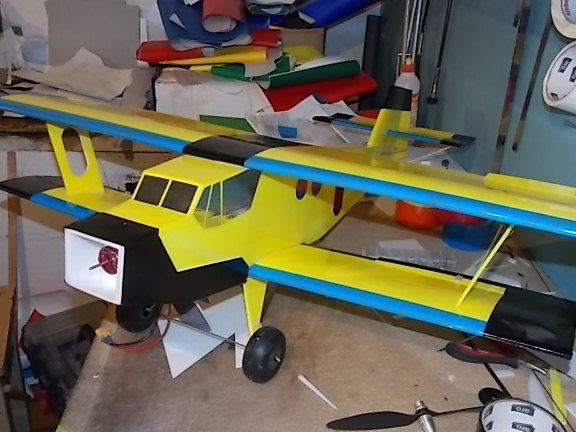
The model is ready.
Here she is . how it looks in the snow.
A bit about the model.
Model weight - 713 g.
Span - 980 mm
Length - 925 mm
Electronicsproposed by Sergey.
Motor - FC 28-22 Outrunner 1200kv
Regulator - Hobbyking SS Series 25-30A ESC
Servos - Turnigy TG9e, 9g / 1.5kg / 0.10sec - 6 pieces.
Screw - 9x4.7
Battery - Turnigy 1600mAh 3S 20C Lipo Pack
I hope that with the help of Sergey you can build this model. Good luck!