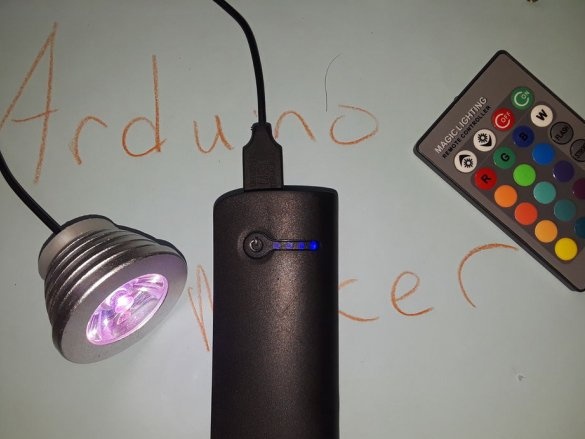
An ordinary LED lamp in most cases contains a simple current regulator without a transformer, from which a chain of white LEDs is connected in series. Another thing is an RGB lamp with a remote control: there often a power supply unit is pulsed and five-volt. You can remove the base and this unit, and instead connect a USB cable. Which is what the author of Instructables did under the nickname ArduinoMaker. This time, despite the nickname, he did without Arduino. On the Instructables website this homemade participates in the contest Make it glow.
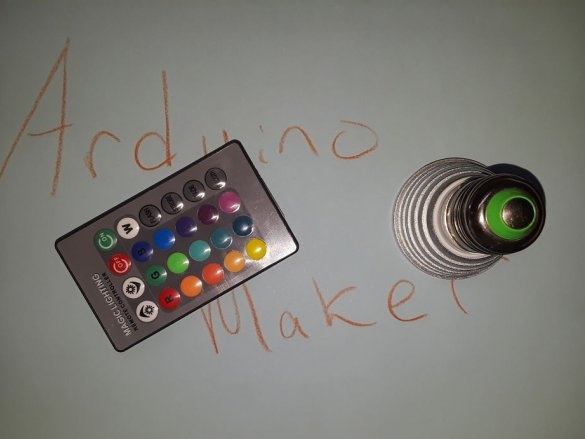
As a basis, the master took such an RGB lamp with a remote control:
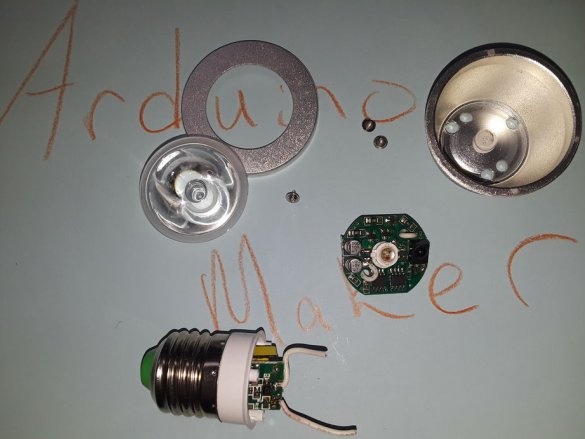
I disassembled it, unscrewing the ring holding the lens, then unscrewing the screws on which the base rests, and found that, as he had expected, there were two circuit boards in the lamp: on one PSU, on the other - the rest electronics and RGB LED:
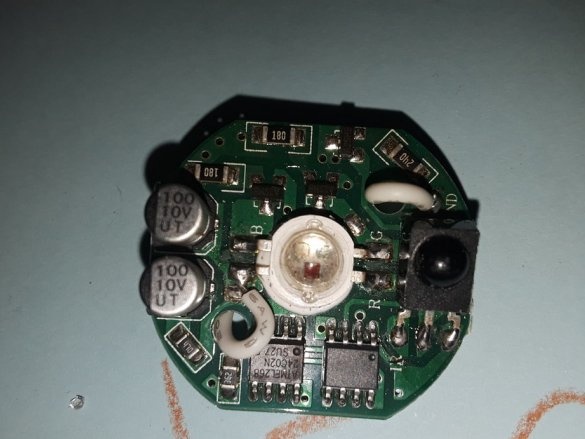
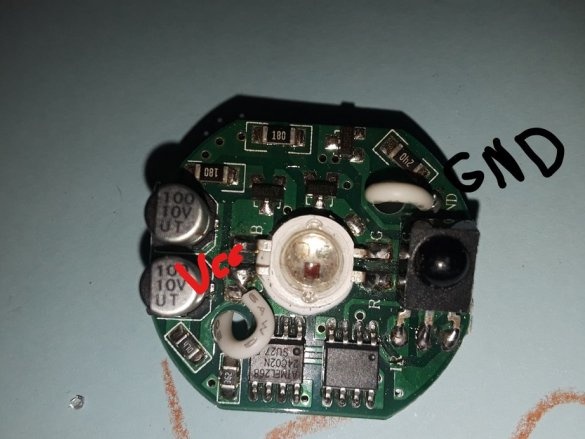
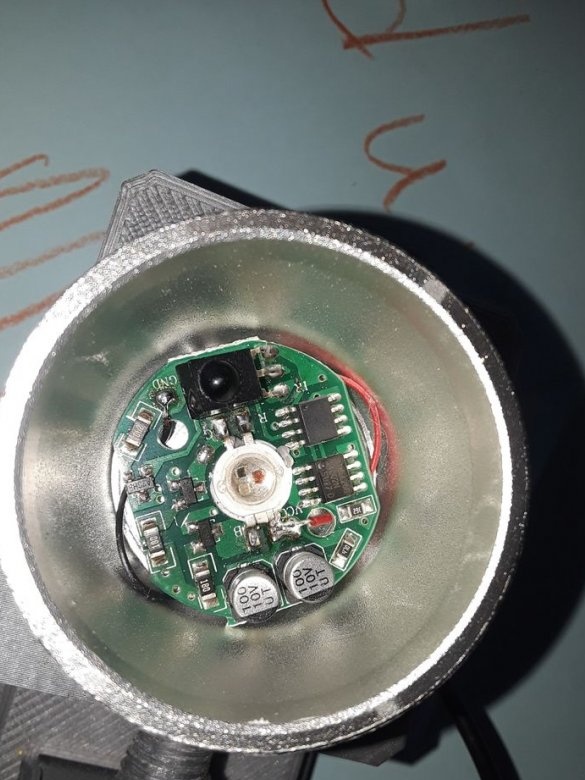
You can inspect the first board, after discharging the capacitor with a jumper, checking if the PSU contains an isolation transformer on it, and if so, postpone it until this unit is needed. Otherwise - to disassemble. Well, the master will make today's home-made from the second board. Let's look at it from a shorter distance:
Owners of 3D printers have a habit: grab onto them even when you can do without them. So ArduinoMaker printed a cover that will replace the base. Of course, you can make it manually.
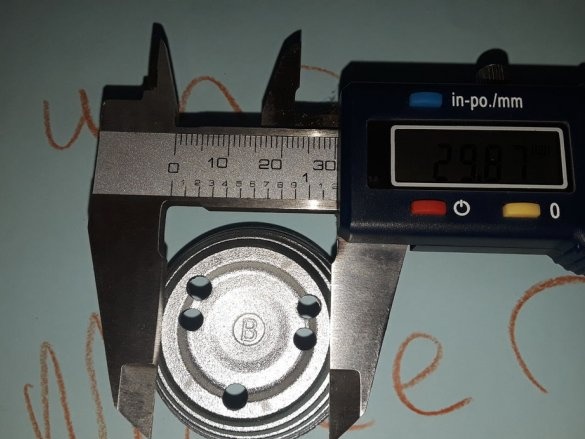
First, the master measures the diameter of the future cover:
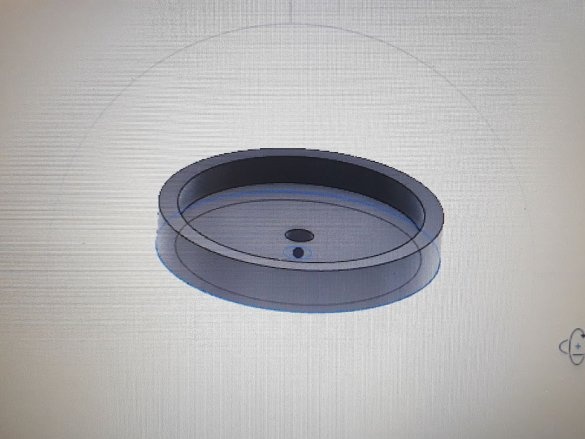
Then he designs it:
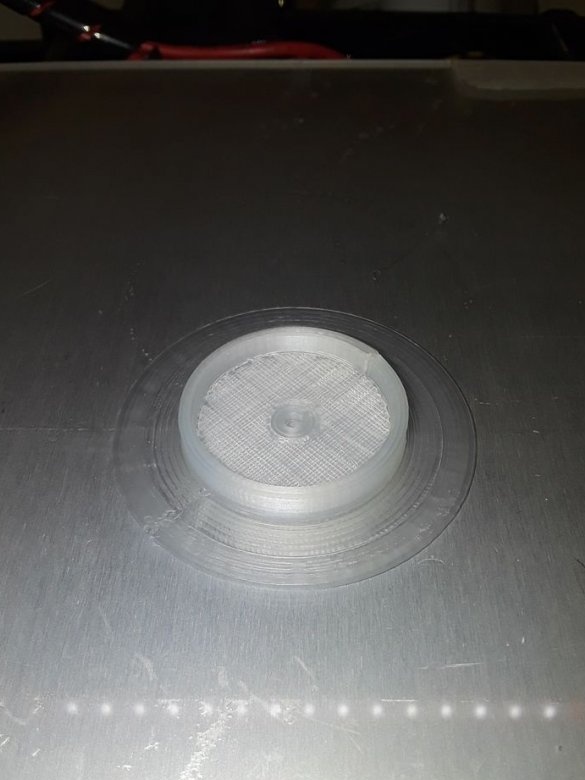
And prints:
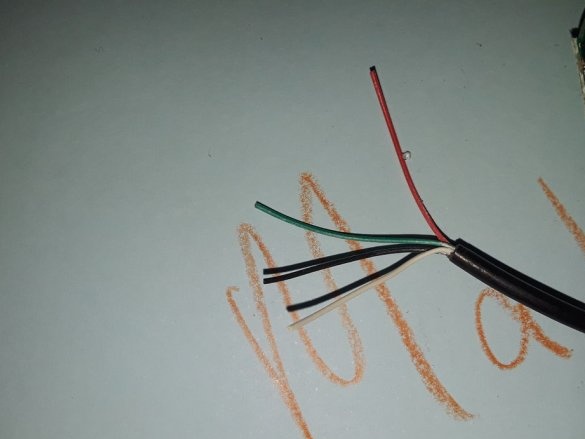
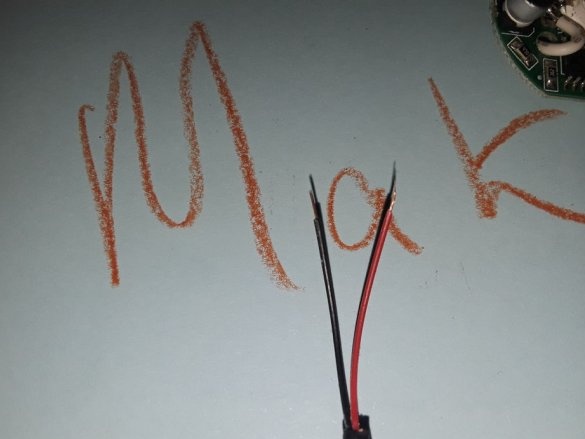
A file format STL does not lead. Instead, it proceeds immediately to the butchering of the USB cable:
Isolates and hides data wires, cleans and tears power wires:
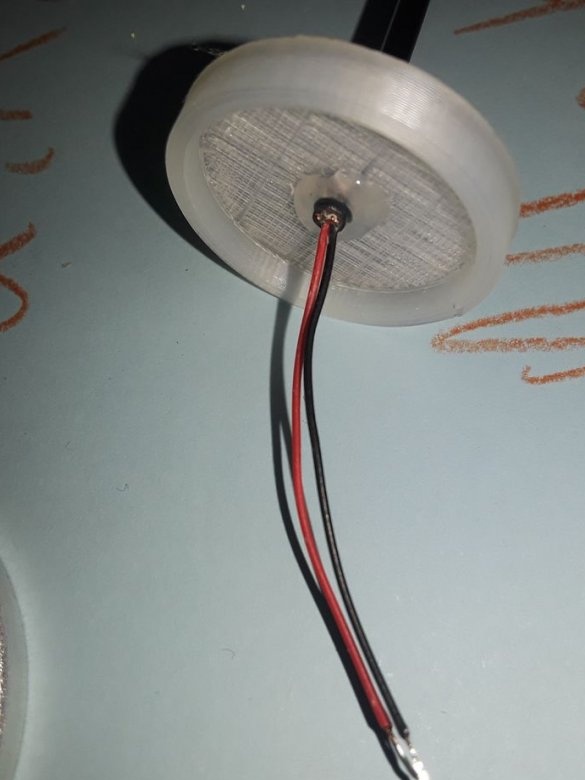
Passes through the printed cover:
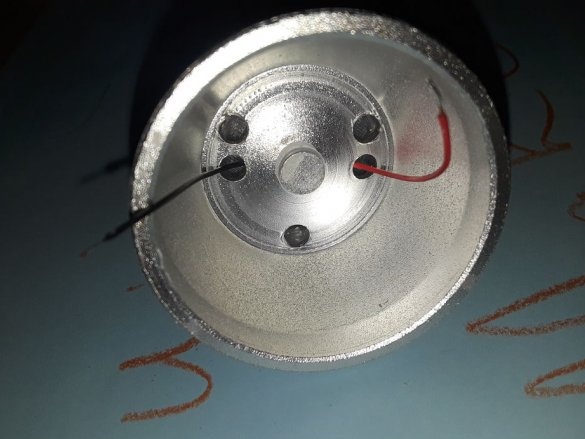
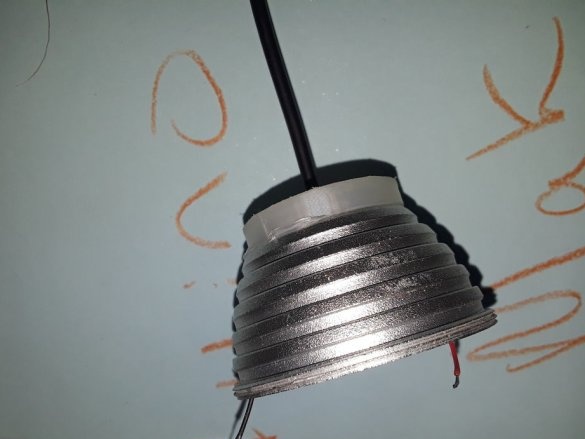
Then through the case:
It solders to the board in the correct polarity, unsoldering the bitten wires before it:
Put the board in place:
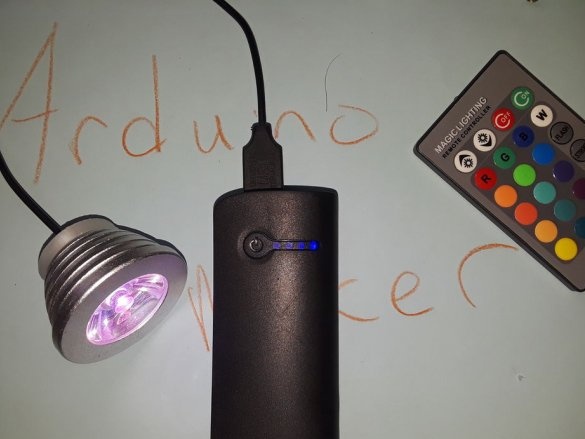
Collects and checks:

