LED lamps work for a long time, but, unfortunately, not forever. If the cause of the failure of the LED-bulb was a blown LED, then, given the comparative high cost of such devices, it makes sense to try to repair it, replacing the inoperative element with a similar but intact one. It can be removed, for example, from another similarly blown LED lamp.
In order to replace the LED of an LED lamp, it must be removed from the surface of the aluminum board to which it is soldered. People try to do this with a soldering iron, but this method often leads to damage to the part.
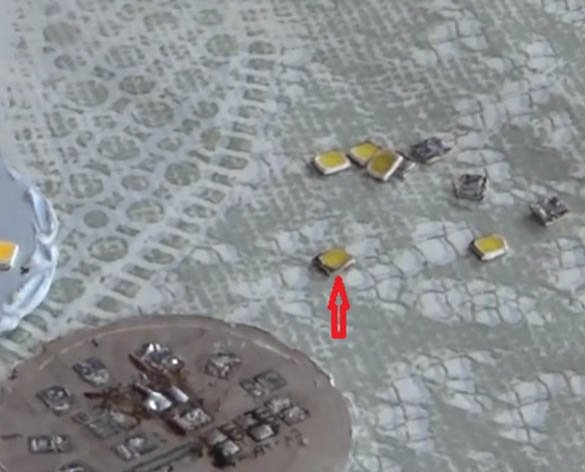
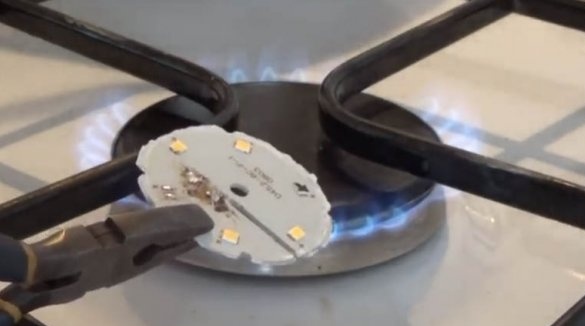
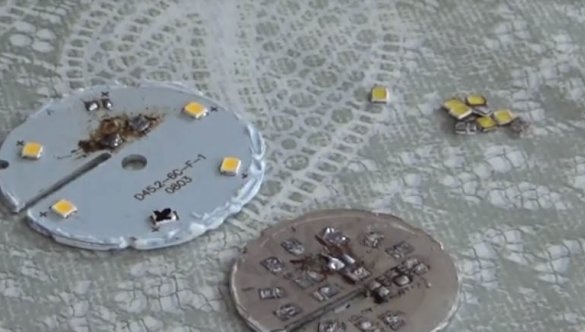
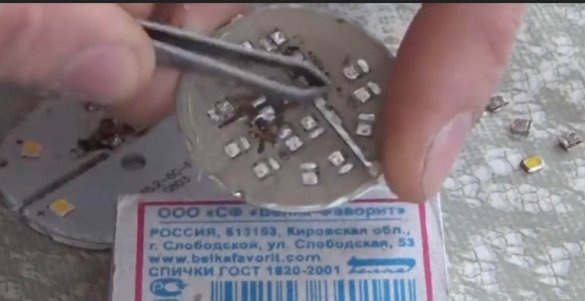
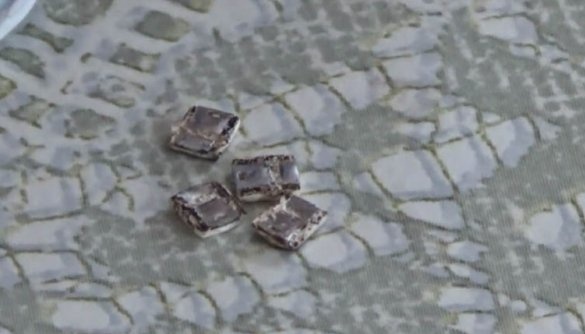
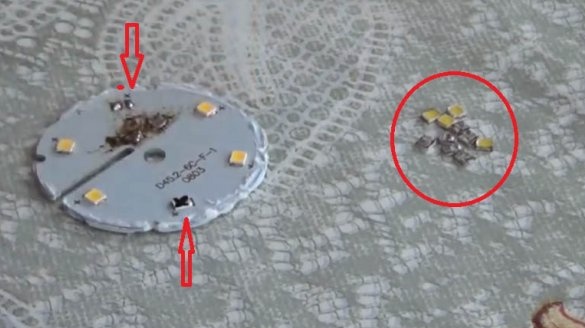
A more gentle option is to heat the board with an industrial hairdryer to a high temperature, and then easily remove the LED from the molten solder, but it is unlikely that someone will keep such a heating device at home. Therefore, the easiest way to dismantle the LEDs from the surface of the board is to go into the kitchen and use a conventional gas burner to heat it. If you heat the entire board on gas, then the LEDs literally "peel" off its surface with ordinary tweezers, while remaining intact.
Let us consider how, by heating the board of an LED lamp on gas, it is possible to dismantle not all LEDs from its surface, but, suppose, only two burned out, replacing them with working ones.
For this:
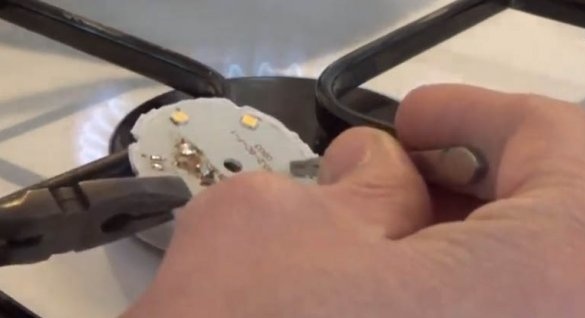
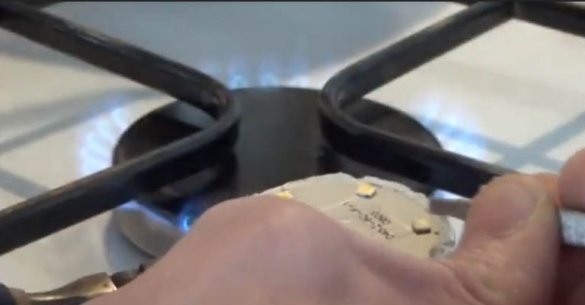
1. The edge of the board with the burned-out LED, holding it with pliers, is heated to gas (of course, they heat the side of the board that has no parts).
In this case, tweezers control the strength of fixing the LED on the board. Usually, in order for the solder of parts to become soft, 10-15 seconds of heating are enough.
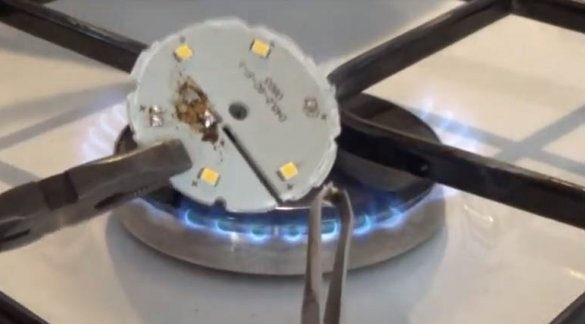
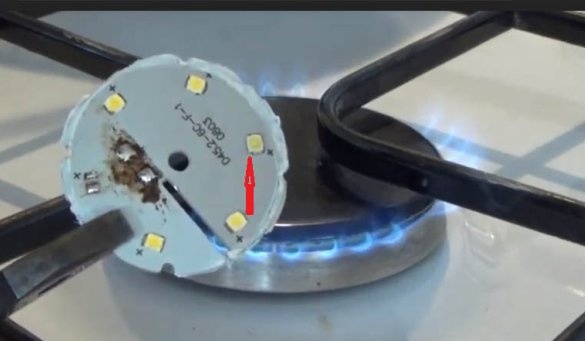
2. After the solder softens, the non-working LED is hooked with tweezers and dismantled from the surface of the board.
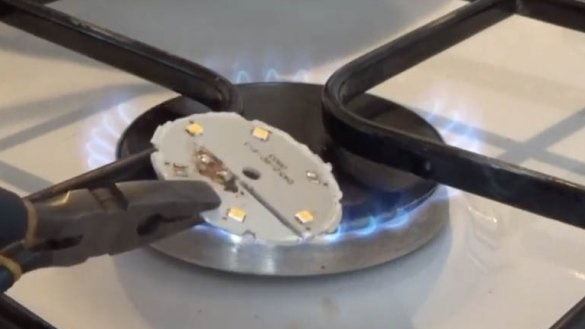
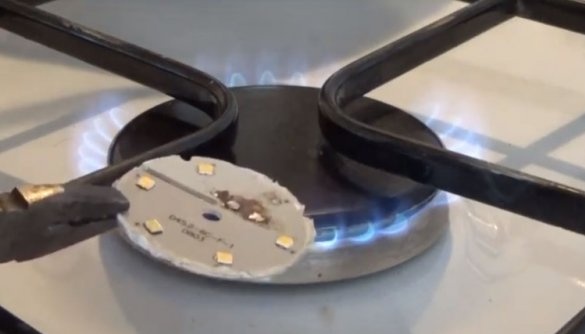
3. Having dismantled the burned-down LED, the part of the board where it was located is again heated with gas
and install in its place another same, but serviceable part.
In this case, one must pay attention to the correctness of its placement so as not to confuse the polarity. The negative terminal of the LED corresponds to its ground corner.
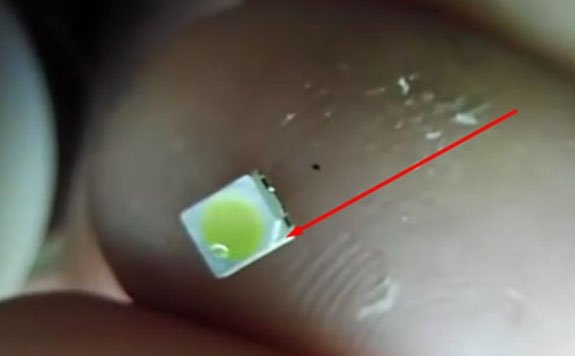
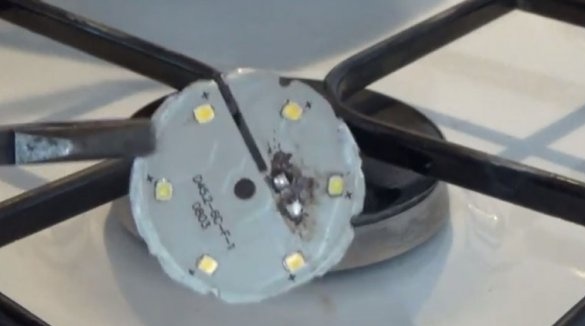
4. In the same way they act with the second burned-out LED, heating the place of its placement on the board and installing a working part in this “socket”.
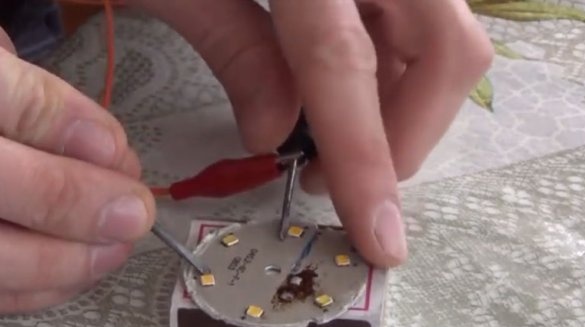
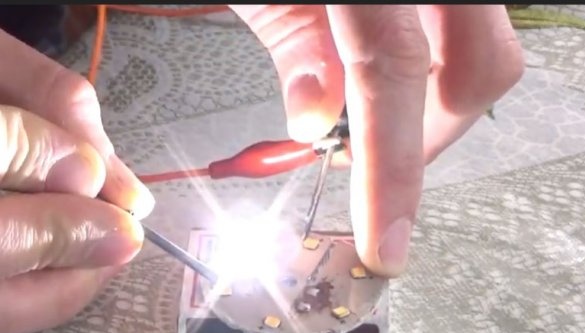
5. After replacing the LEDs on the board, the LED lamps check their operability. To do this, using a power supply supply voltage to neighboring parts.
This method of replacing the LEDs of a LED lamp is convenient in that it allows you to change them individually, while there is always a risk of “blowing” working parts off of it with an industrial hairdryer, too. In addition, the board heated by gas cools down for a sufficiently long time, which allows for some time to correct the position of the LEDs installed on it. It is only necessary to remove the sealant from its edges before heating the board, which is used to fix it more securely in the design of the LED lamp.
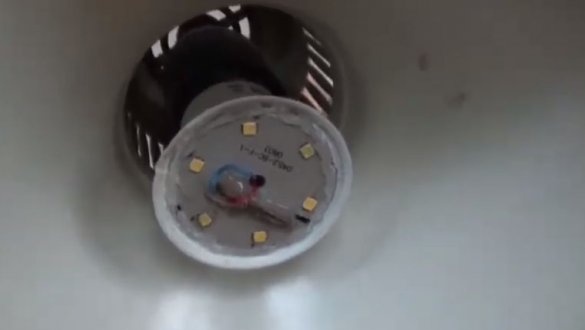
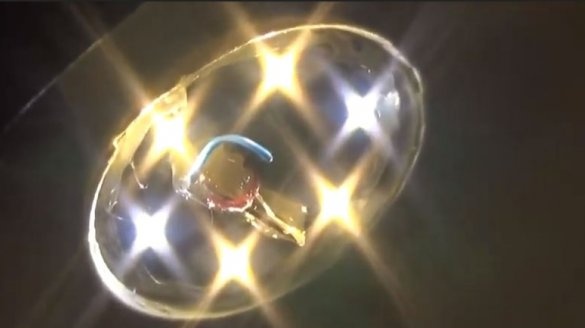
After the assembly of the LED lamp, the operation of the replaced LEDs is not inferior in efficiency to the work of the rest. The main thing is that they are suitable for technical specifications. This can be seen, for example, in the photo below, where the new LEDs of the LED lamp glow in bluish color.
Video how to replace the LED lamp with gas

