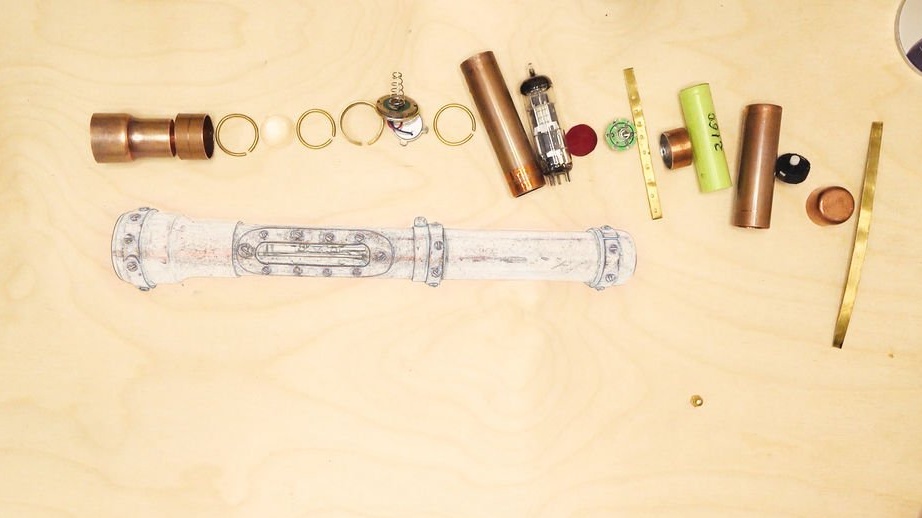
In this article, we will look at how the Master made a flashlight in the style of steampunk. For the flashlight he needed the following
Materials and tools:
-Copper tube;
-Copper stub;
- Brass tube;
- Brass screws;
-List brass;
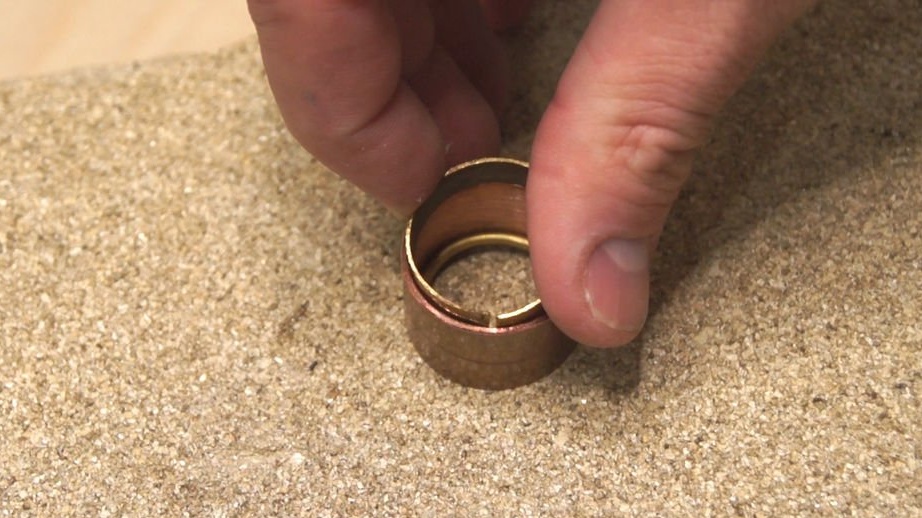
-Rings split;
-Glass from a flashlight;
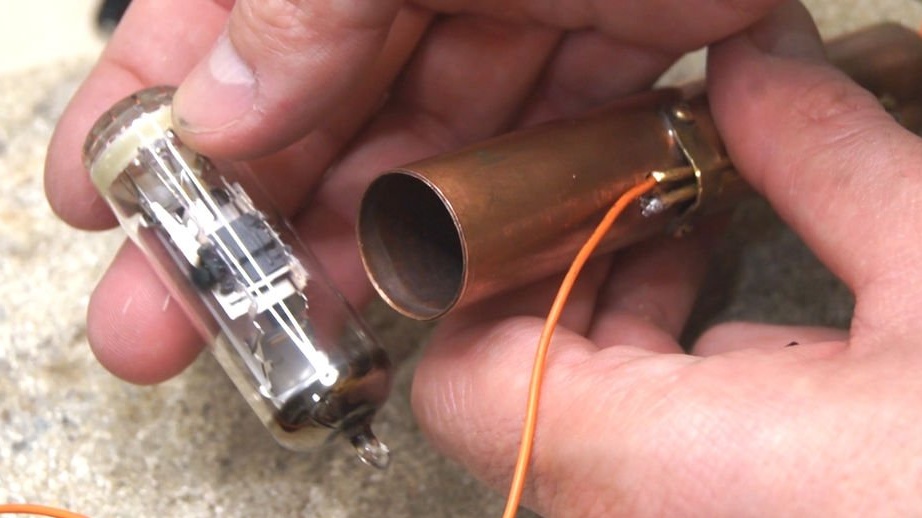
-Old radio lamp;
-Battery 18650;
-Battery compartment;
-Power button;
-LED and driver from a flashlight;
-Burner;
-Pipe cutter;
-File;
-Soldering iron;
-Drill;
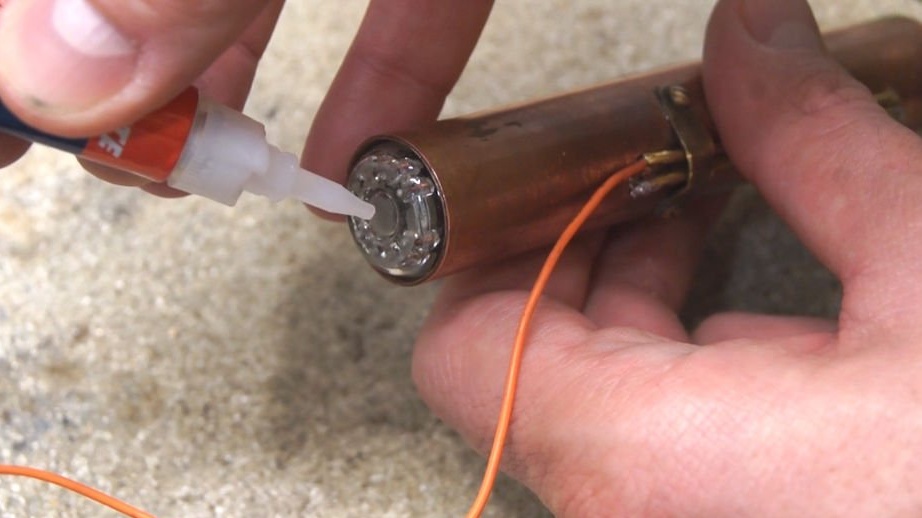
-Super glue;
- Jigsaw;
-Grinder;
-Sandpaper;
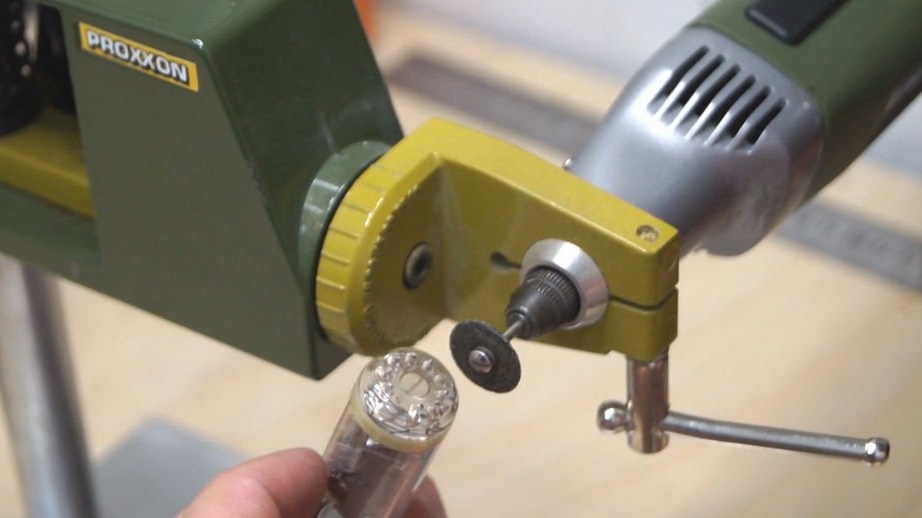
-Dremel;
-Scissors for metal;
-Rule;
-Marker;
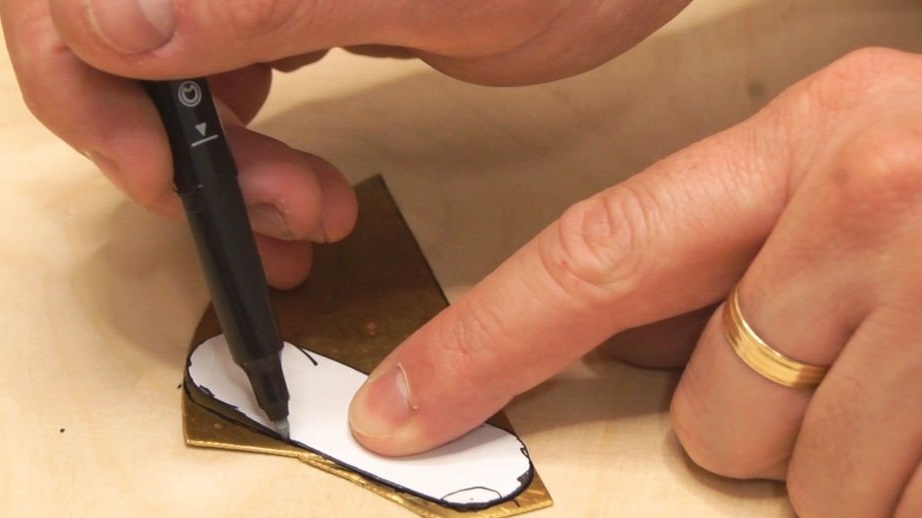
Step One: The Back
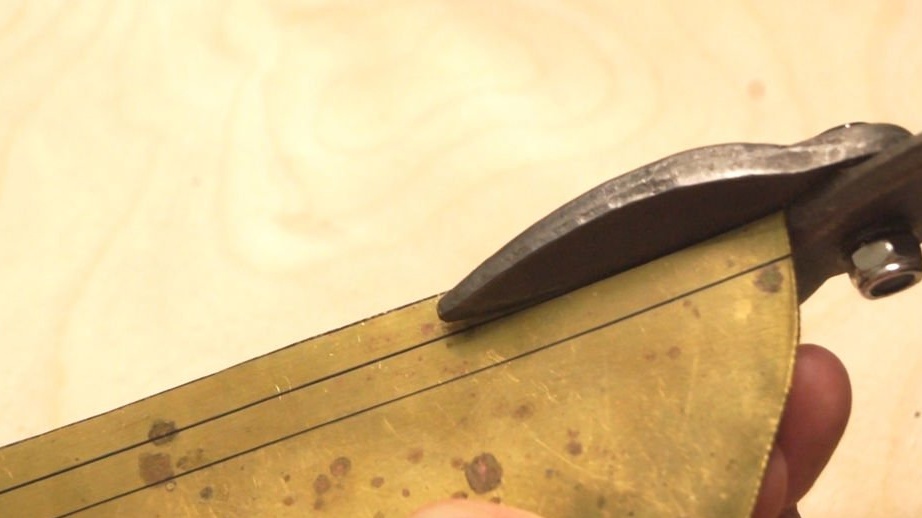
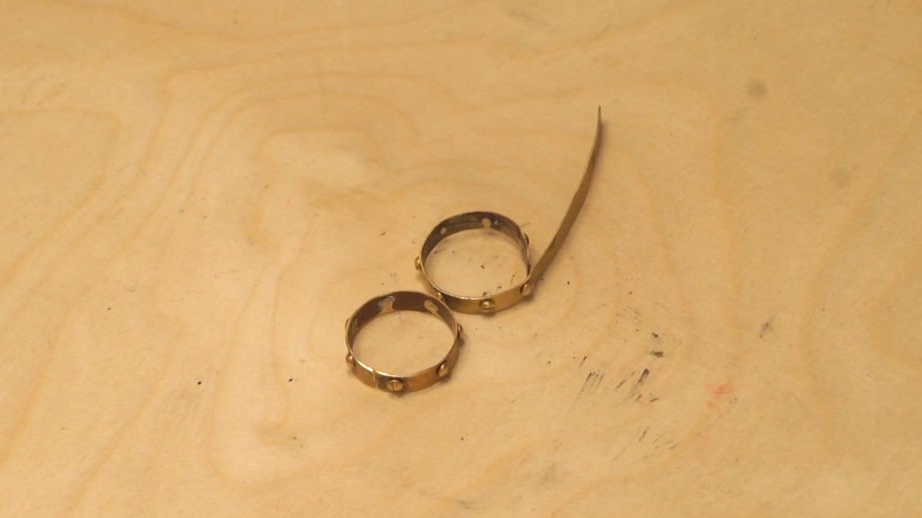
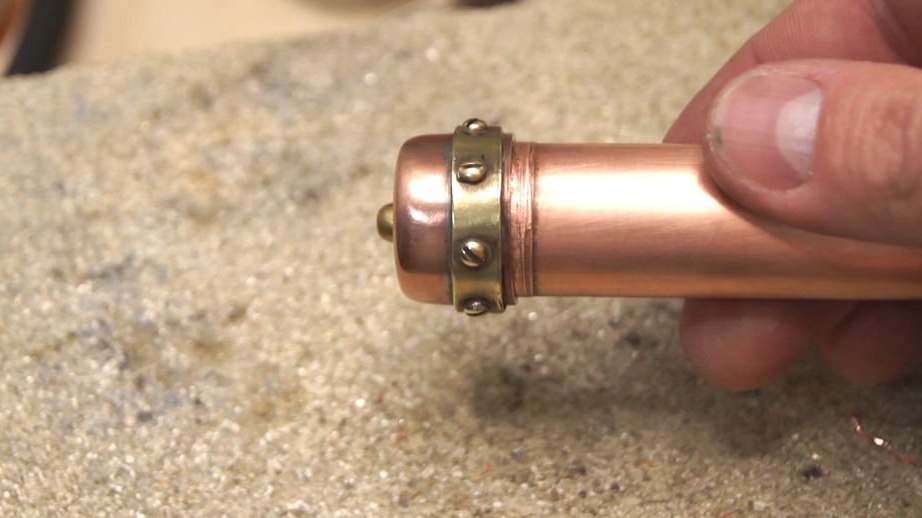
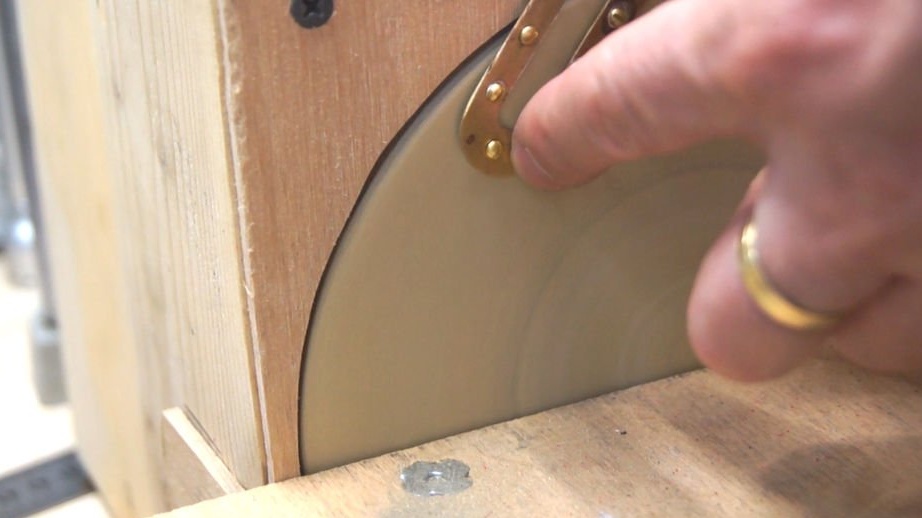
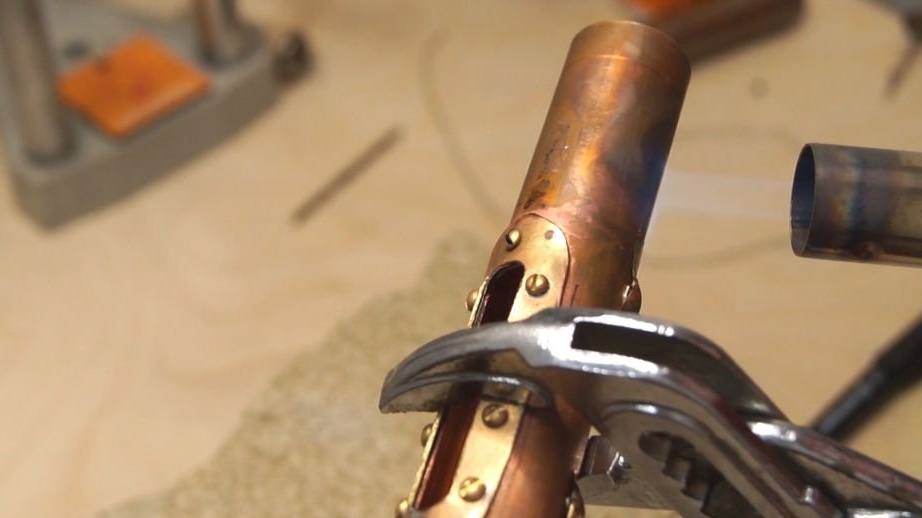
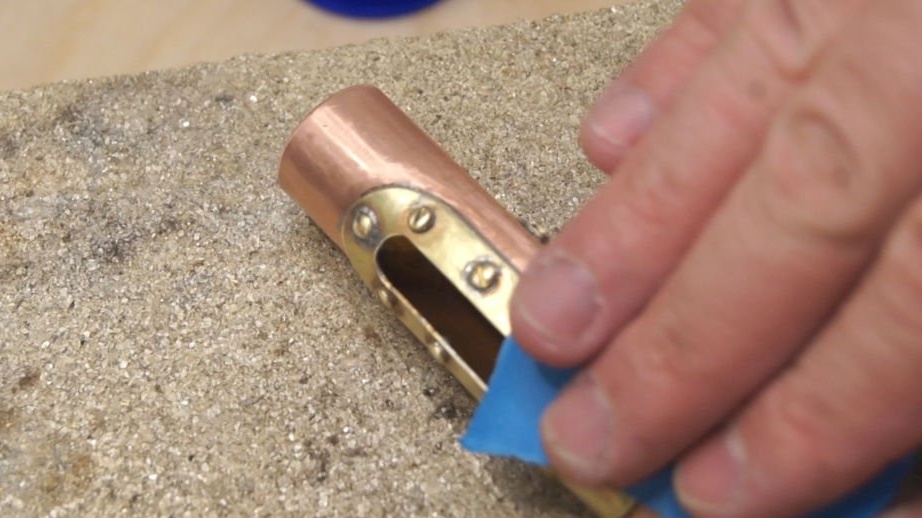
Slices two brass strips. Drills the entire length of the strip every 5 mm holes. It inserts the heads of brass screws into the hole and solders them from the back. Grinds the soldered side. Wraps strips, one around the copper plug, the second around the case. Solder.
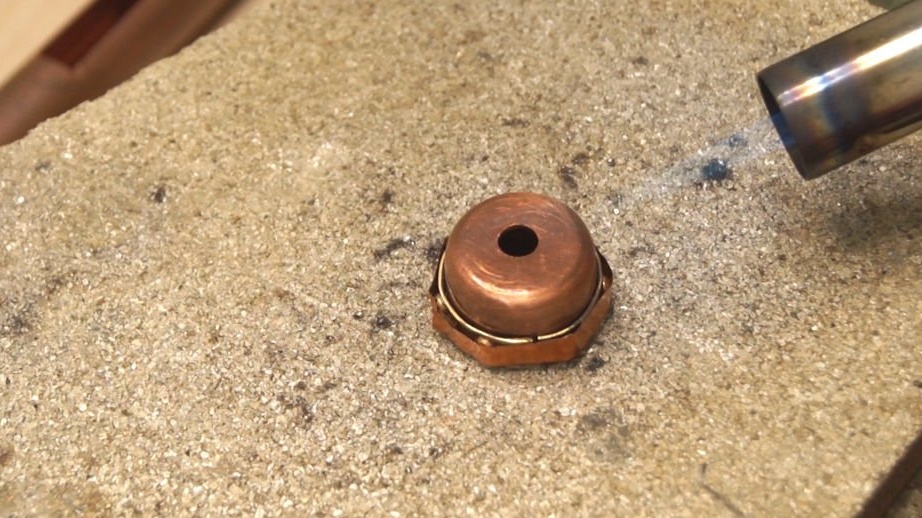
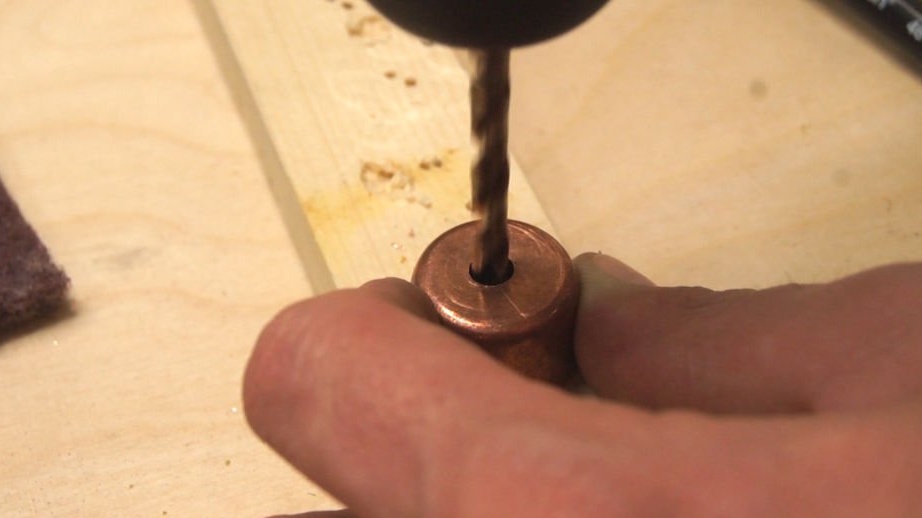
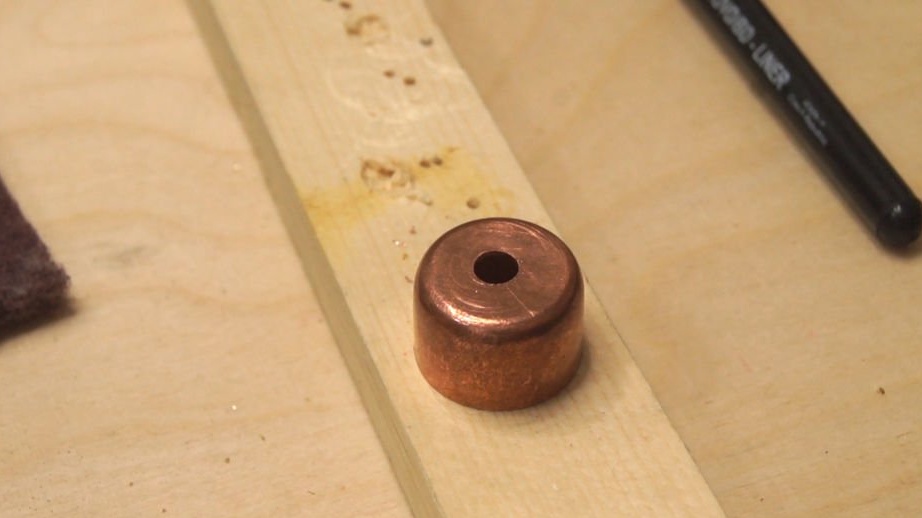
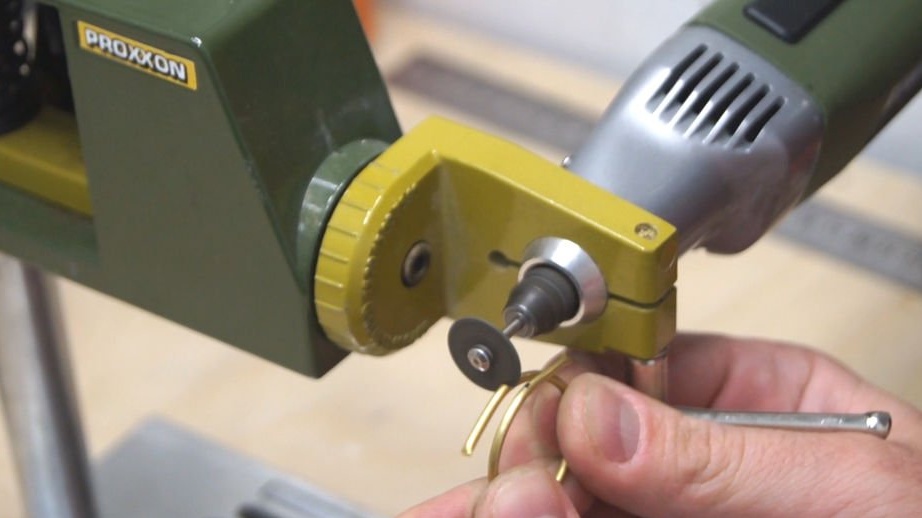
Drills a hole in the plug. A brass head with nut is inserted into the hole. Installs a button with a battery compartment in the case. Installs a cap on the back of the chassis.

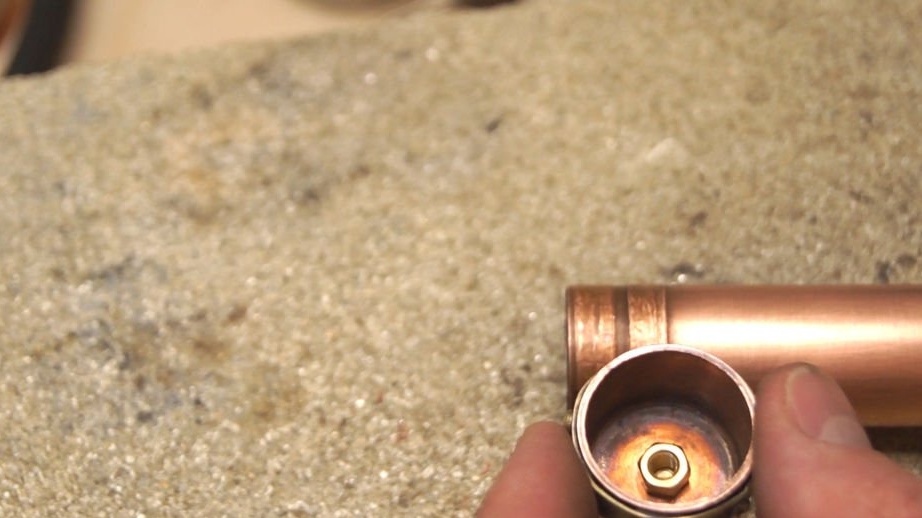
Drills a hole to connect the rear and middle parts.

Step Two: The Middle Part
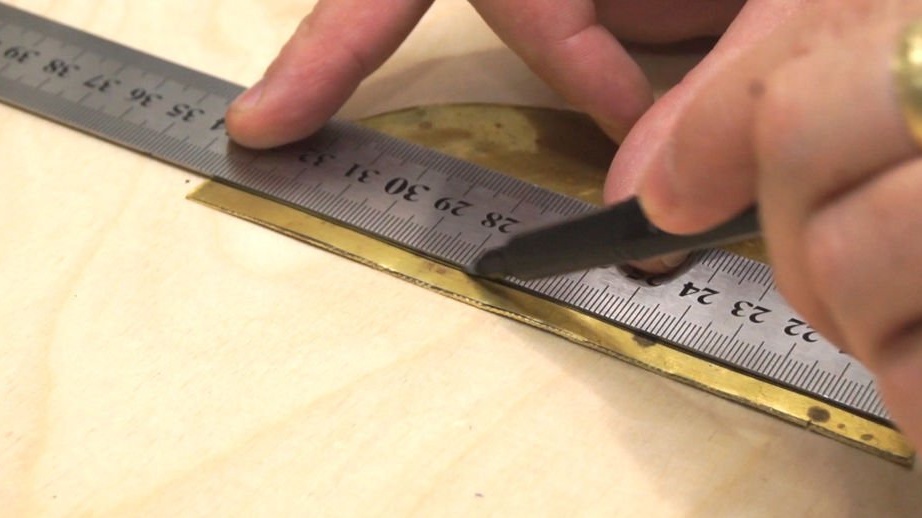
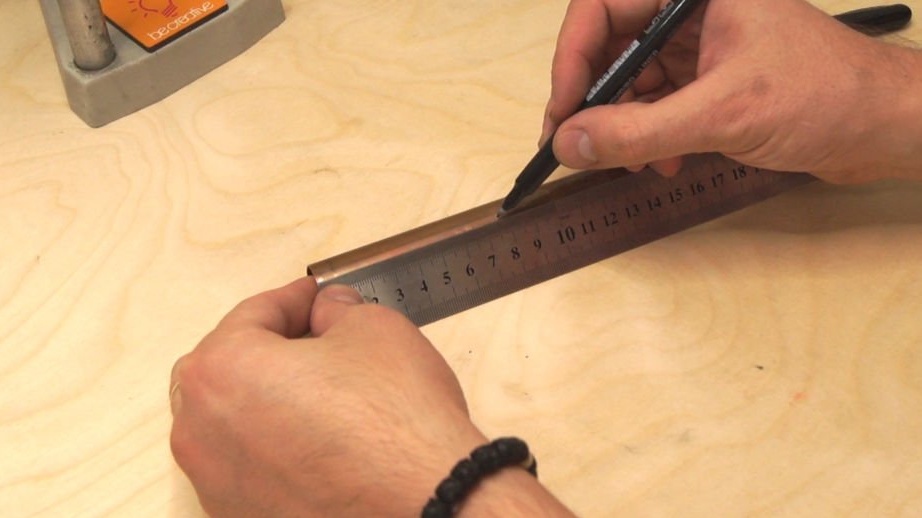
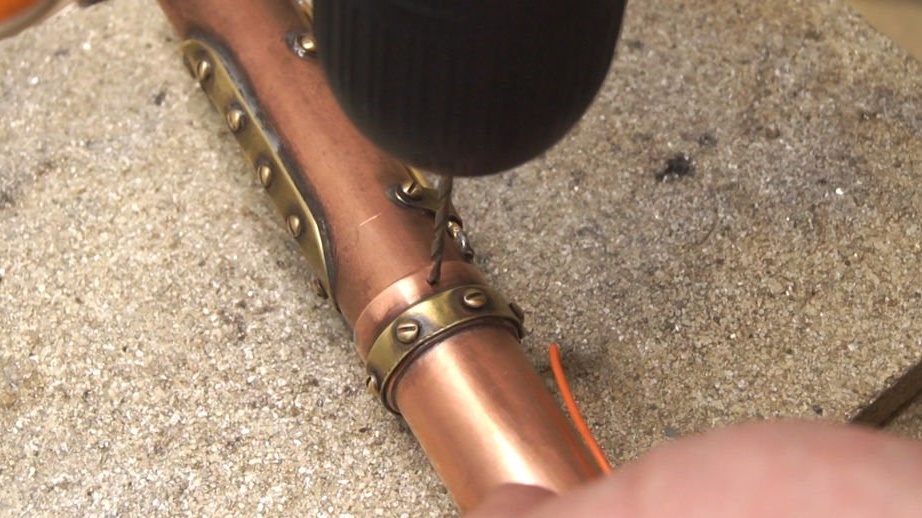
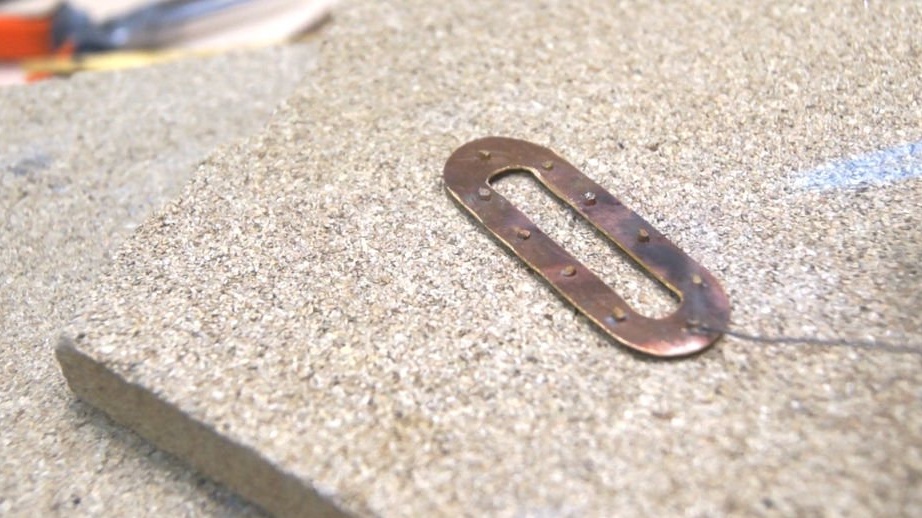
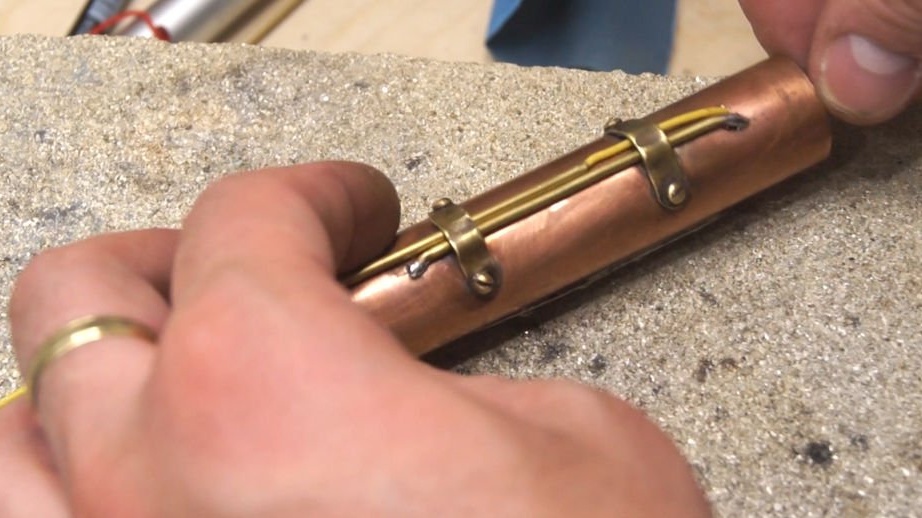
Cut oval brass strip. Cuts the middle part in a strip. Drills around the perimeter of the hole every 5 mm.
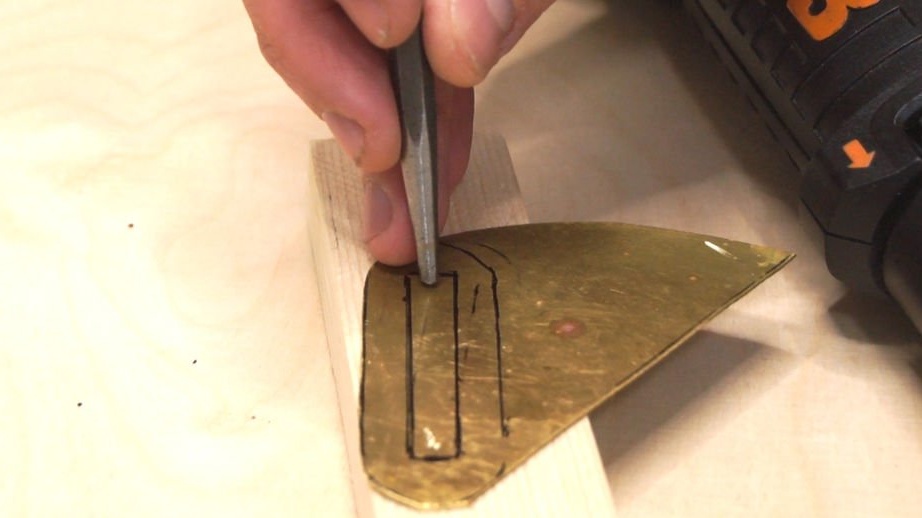
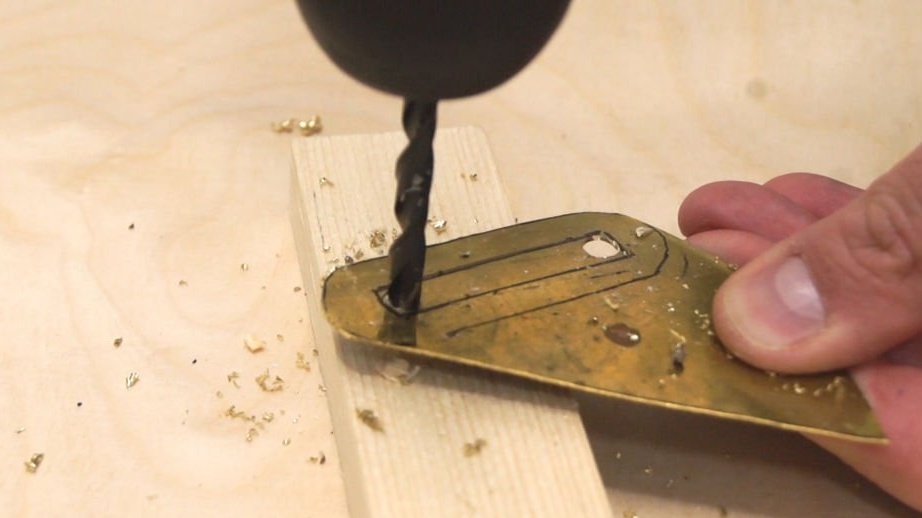

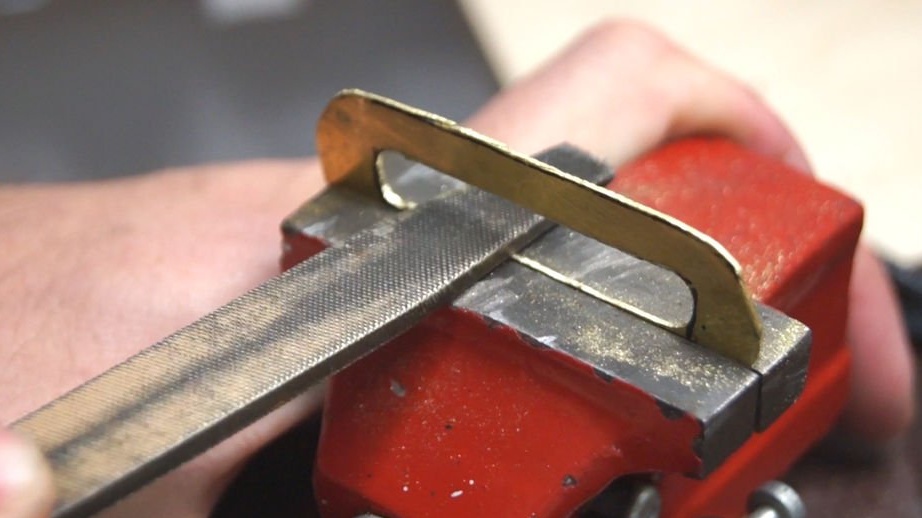
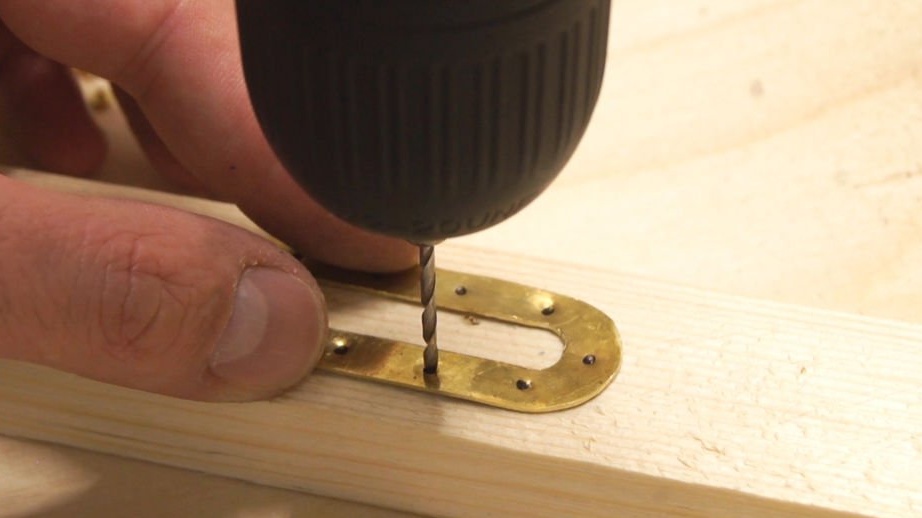
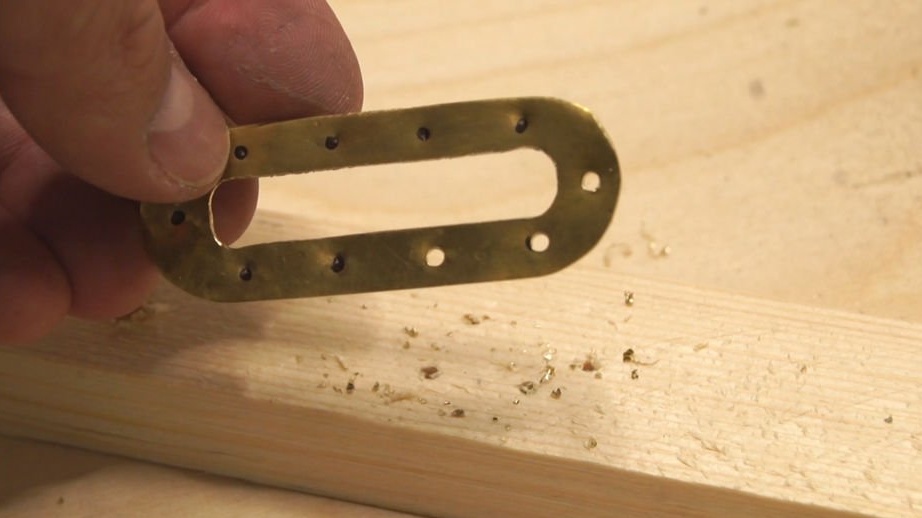
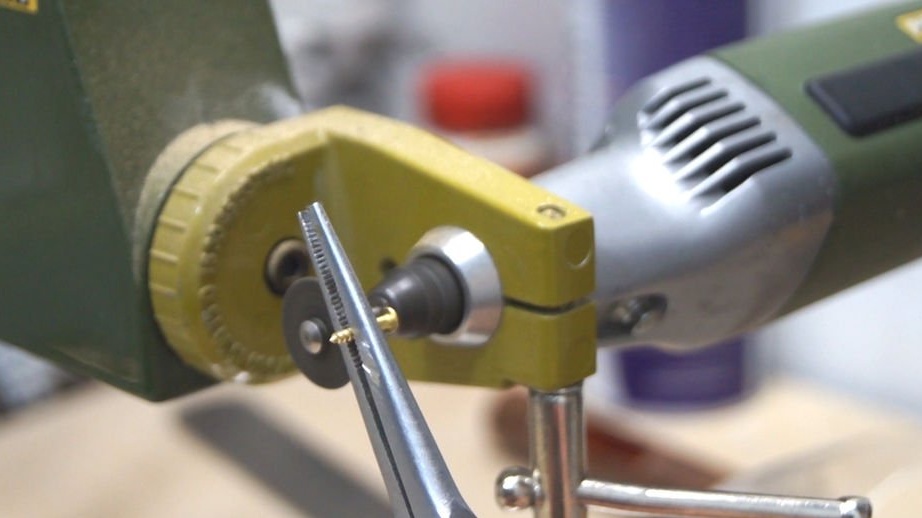
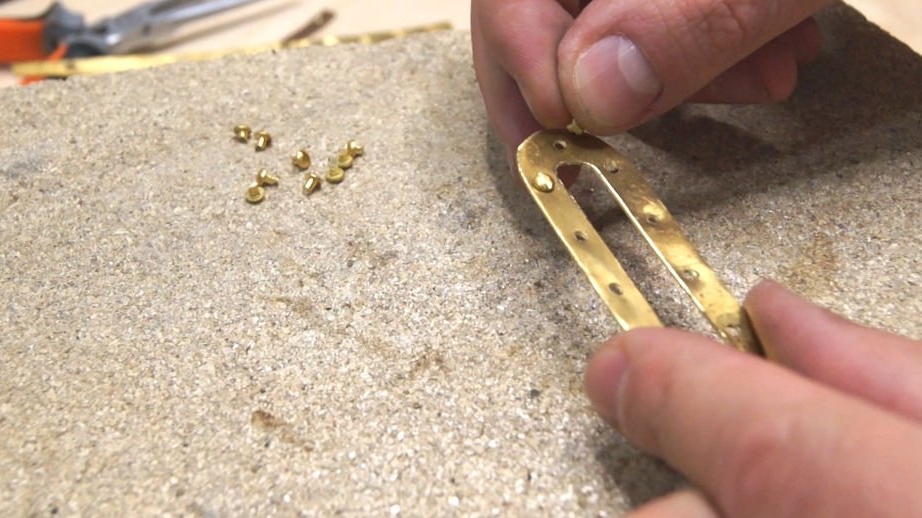
Cuts off brass screw heads. Solder them around the perimeter of the plate. Grinds.

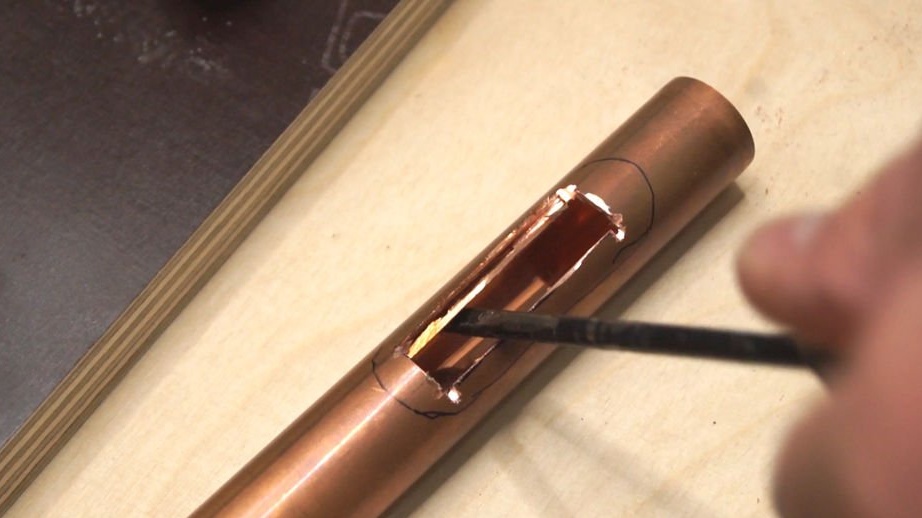
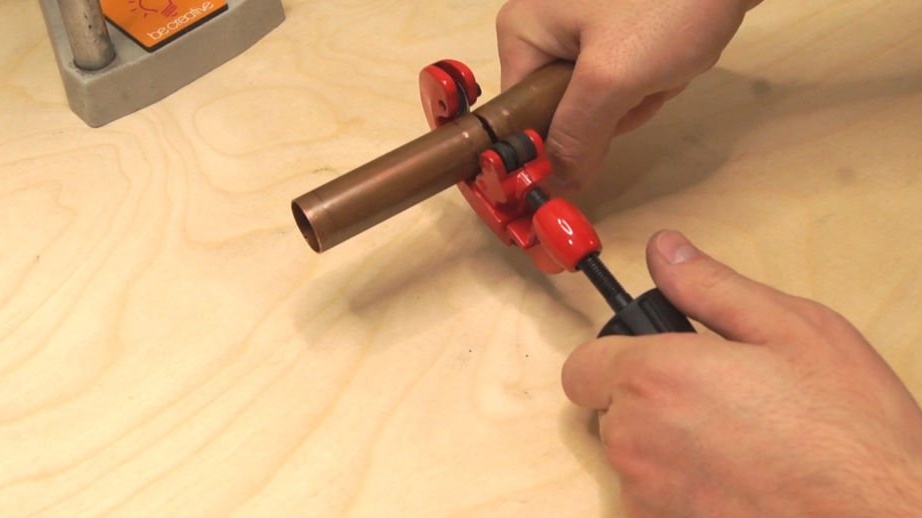
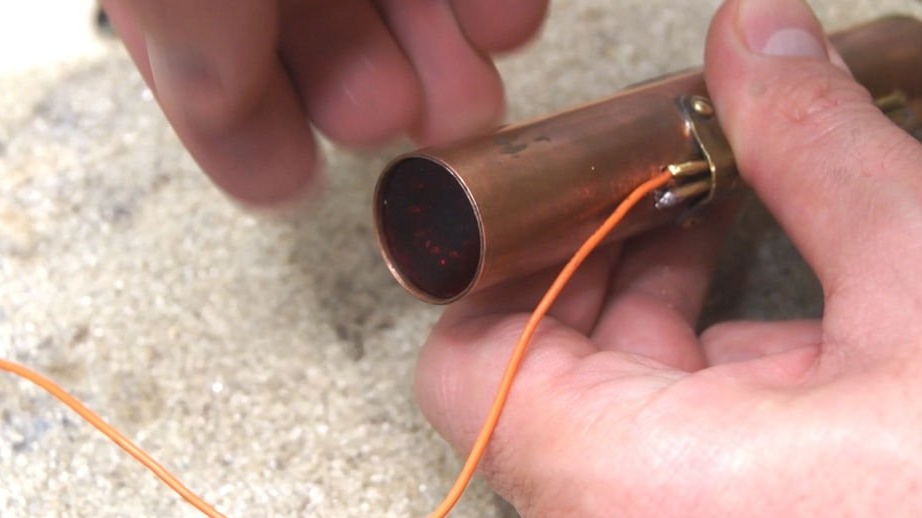
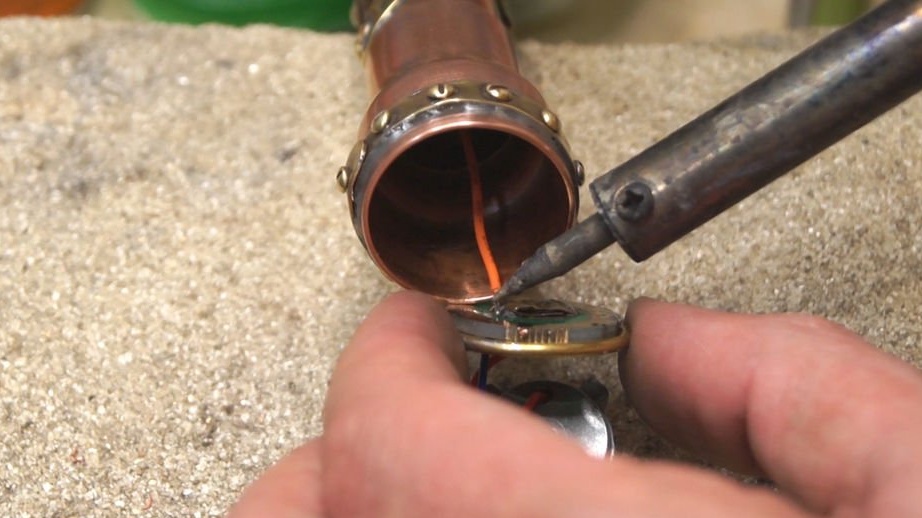
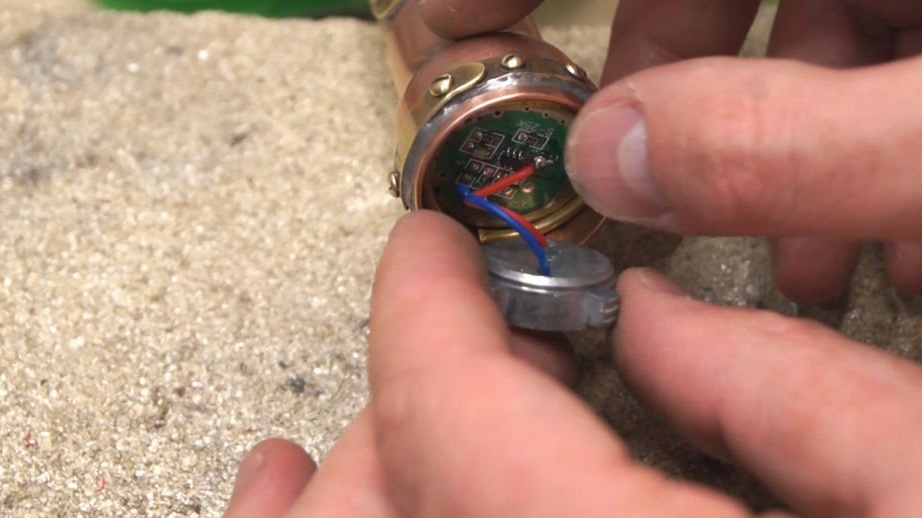
It cuts off the copper tube (middle part of the body) and cuts a hole in the tube, as on a plate. Solder the plate to the middle of the case by aligning the holes. On the back of the case, the brackets that hold the thin copper tube are soldered. Inside the tube, the master extends the positive wire.
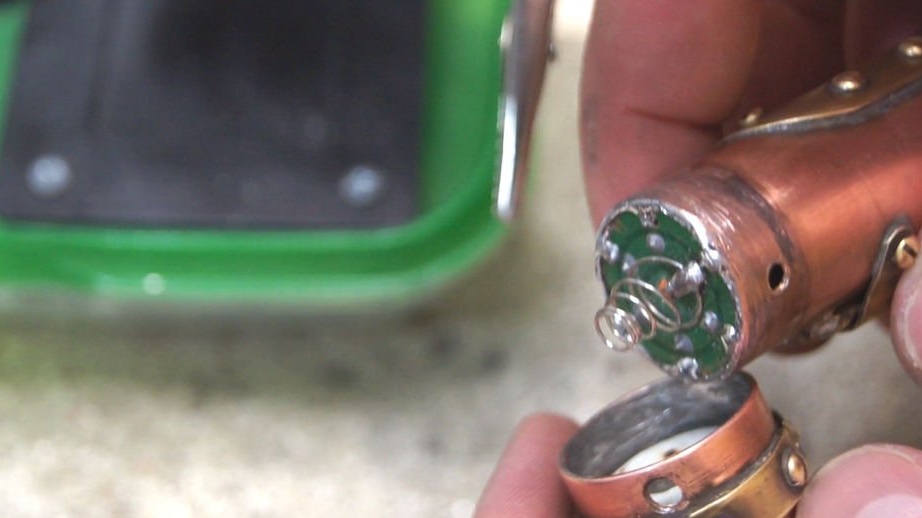
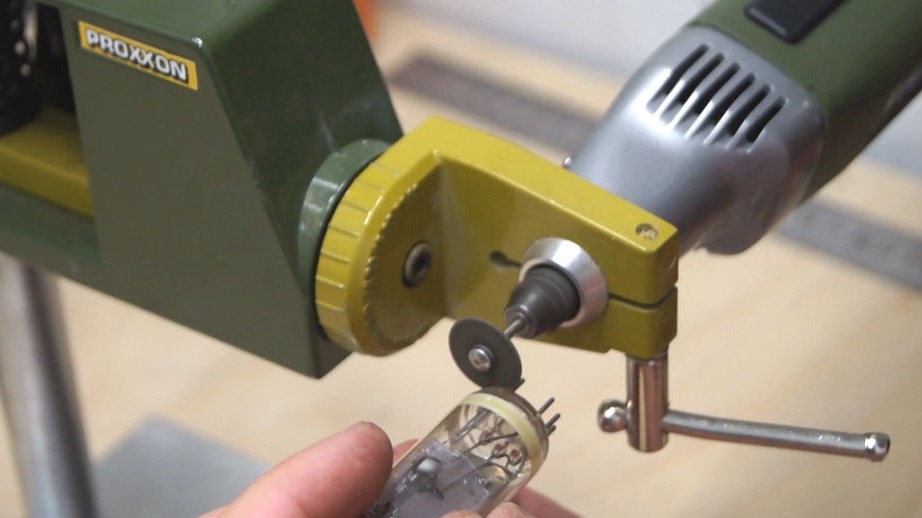
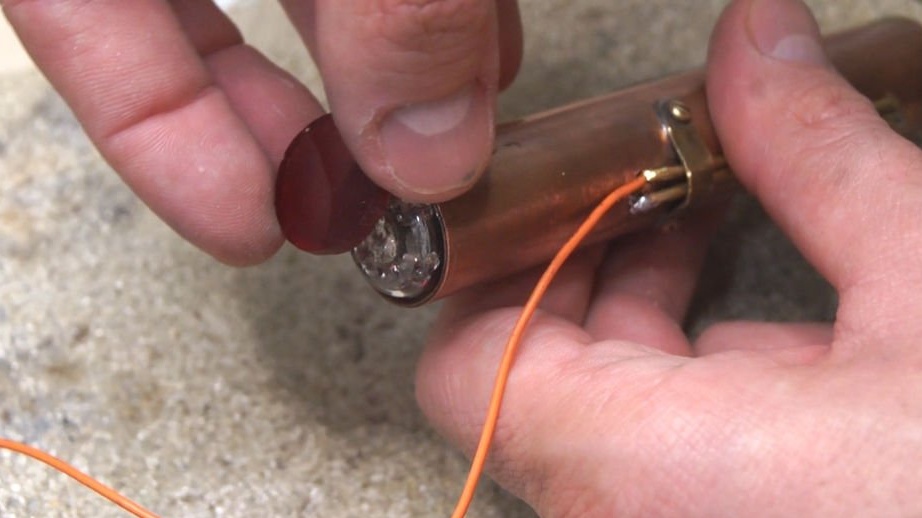
Cuts off the legs of a radio tube. Inserts it into the case and glues a red plastic disk to it.
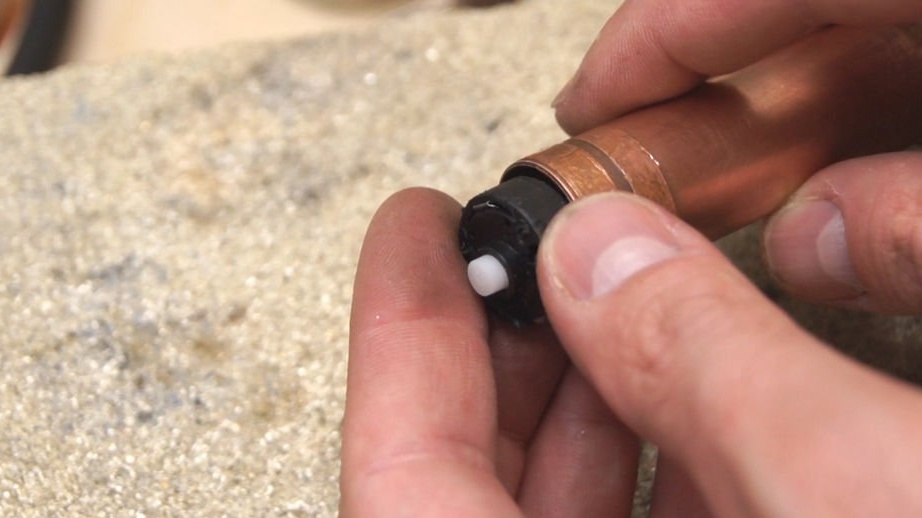
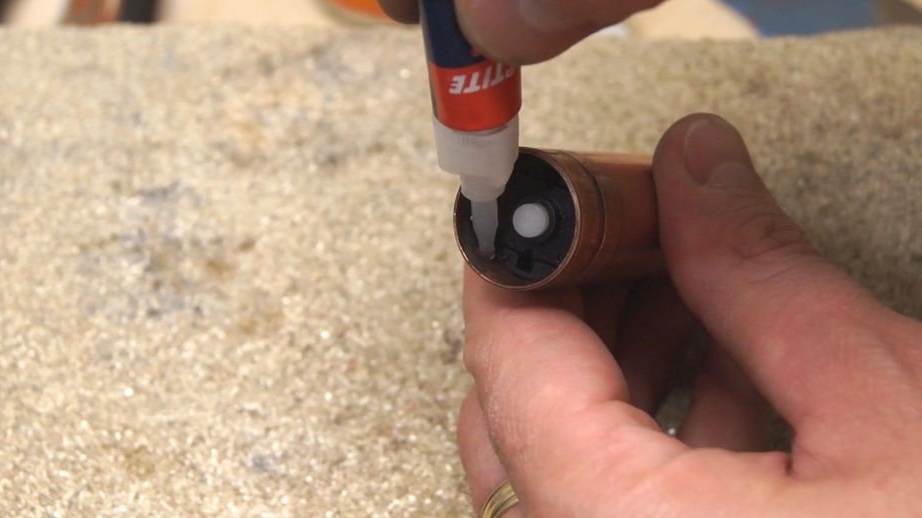
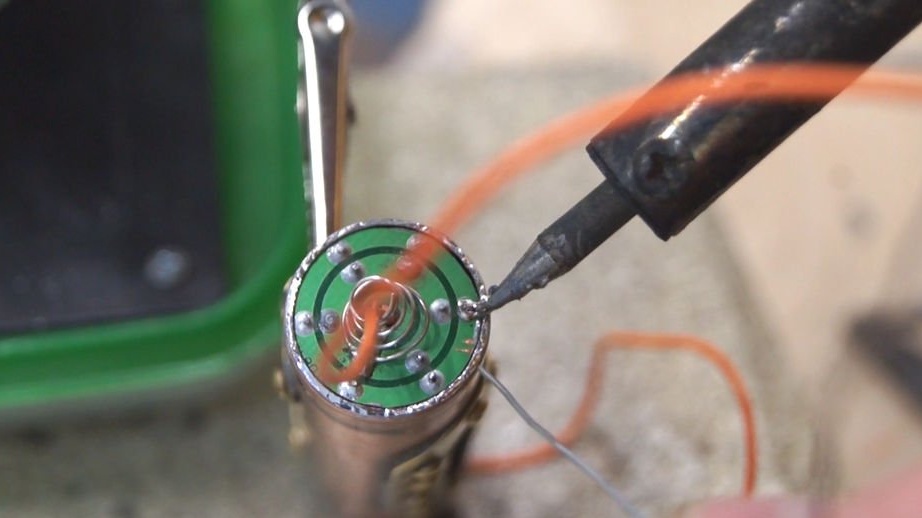
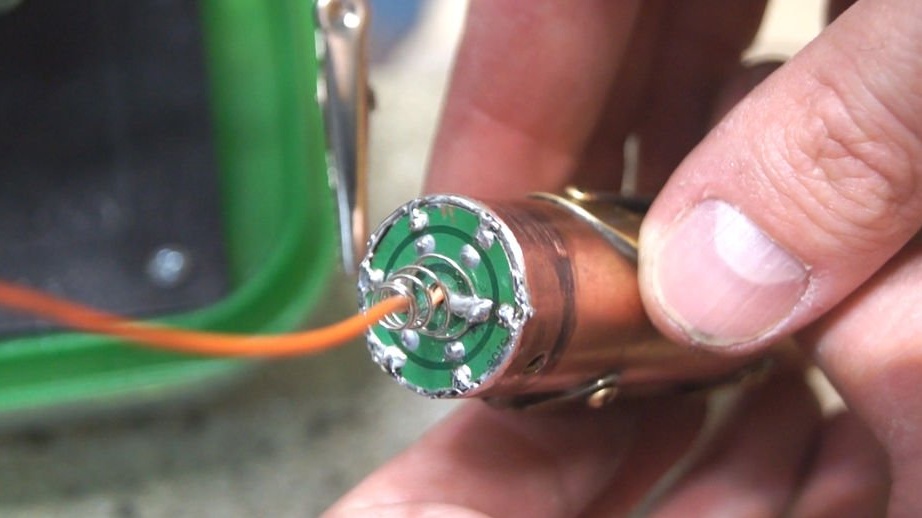
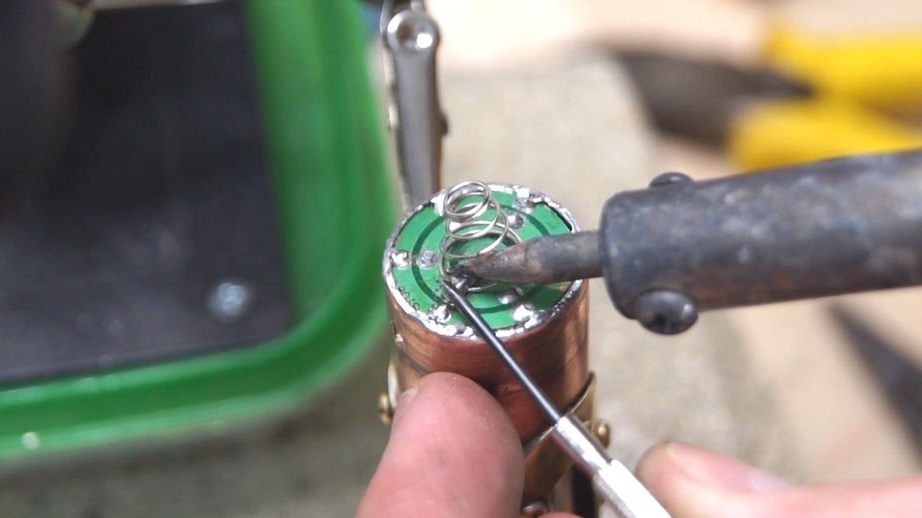
Installs and solders the circuit board with a spring. Solder + and - contacts.


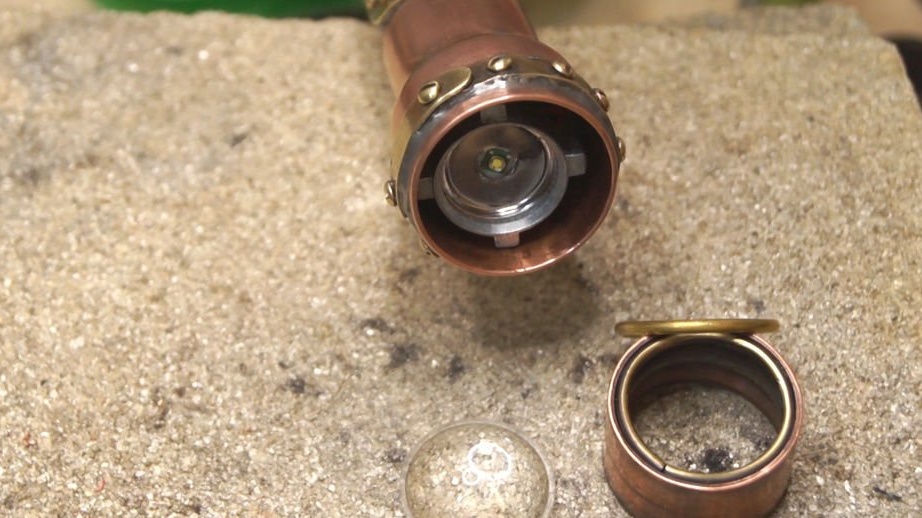
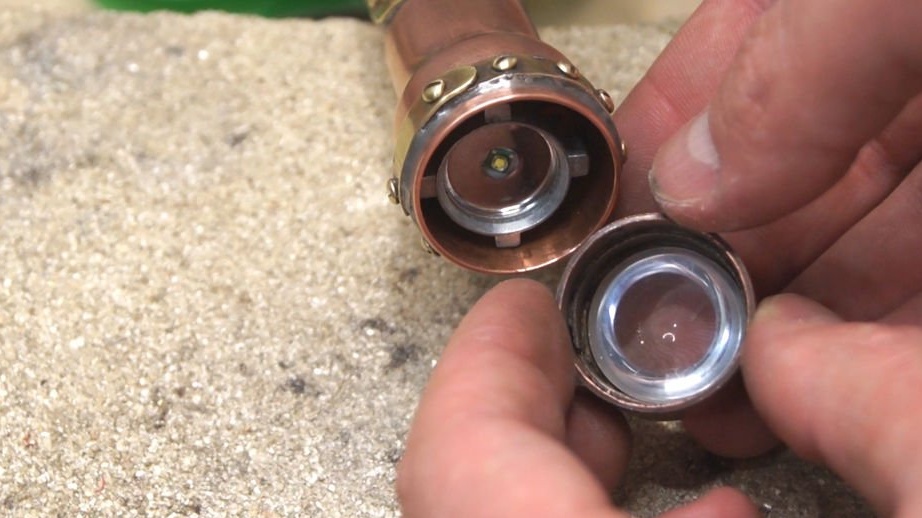
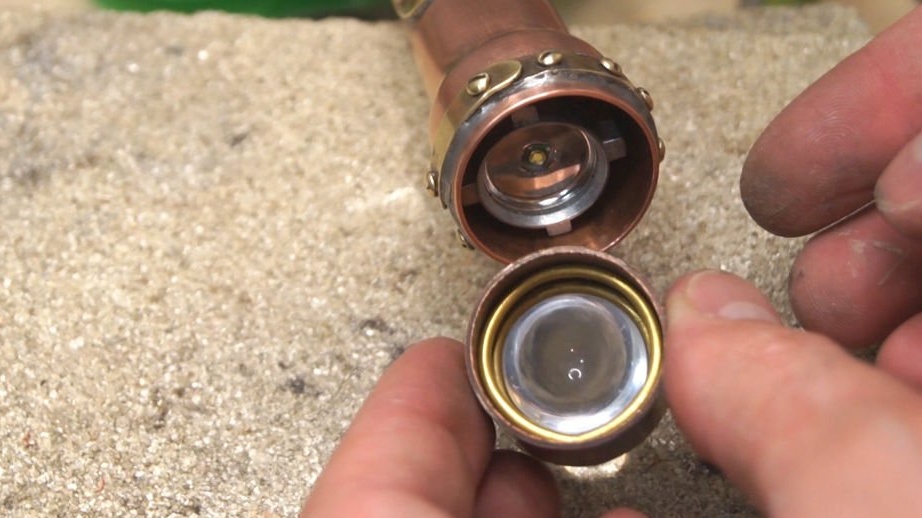
Step Three: Front
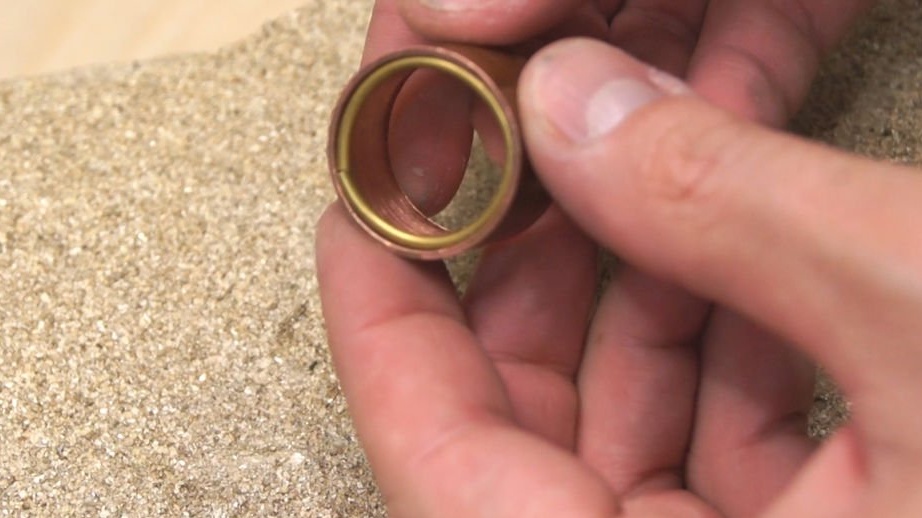
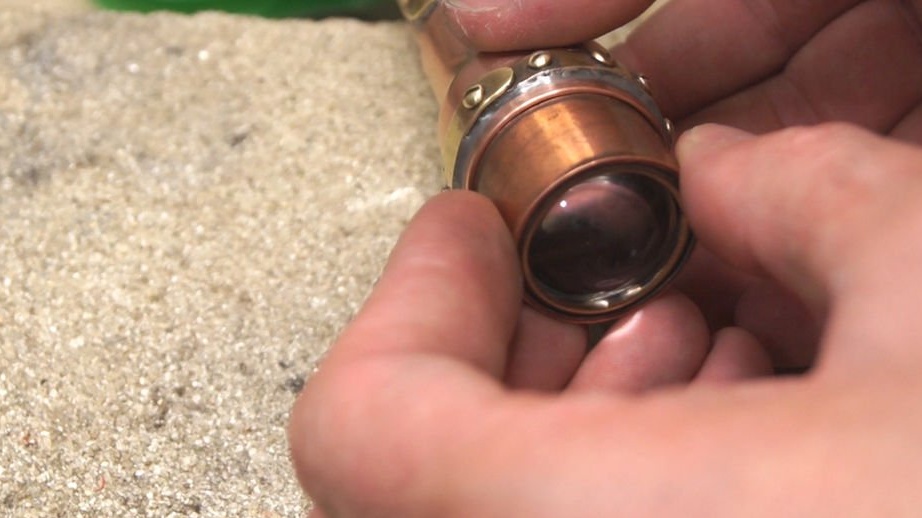
Now it remains to assemble and install the front part. The master puts on a brass ring around the driver board, one end solders to the minus of the board. Solder the positive wire. Solder the wires to the LED. Sets the glass. Connects the front and middle parts, fixes.
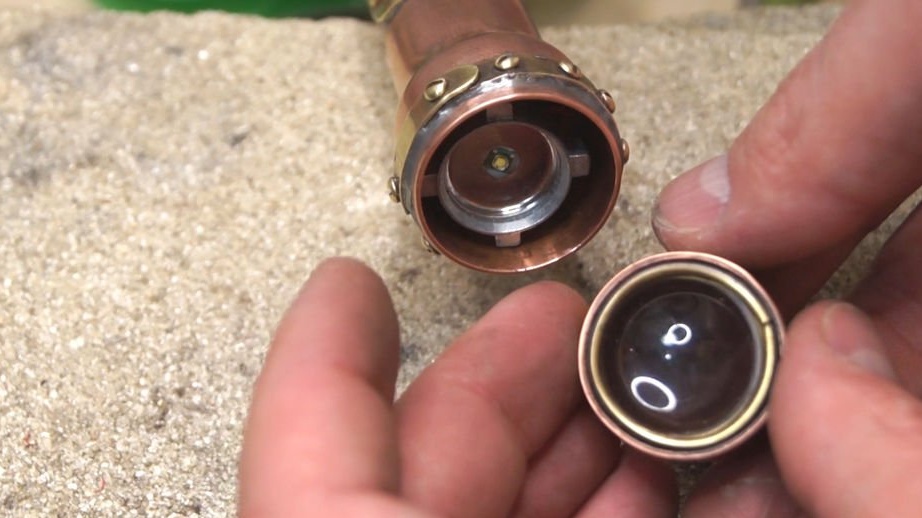
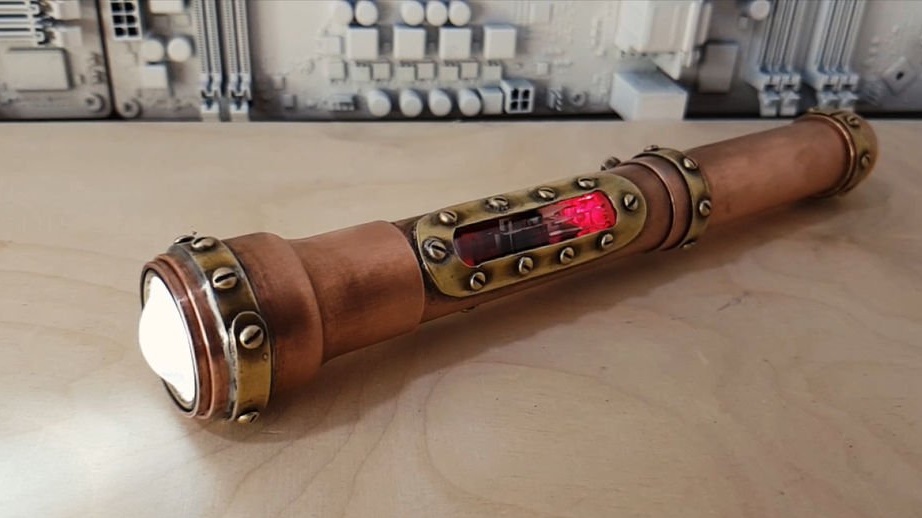
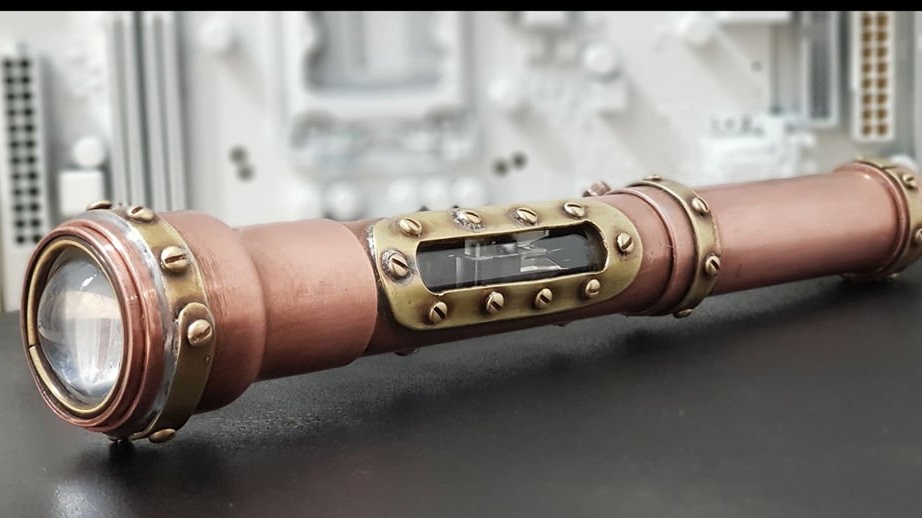
A flashlight in steampunk style is ready.