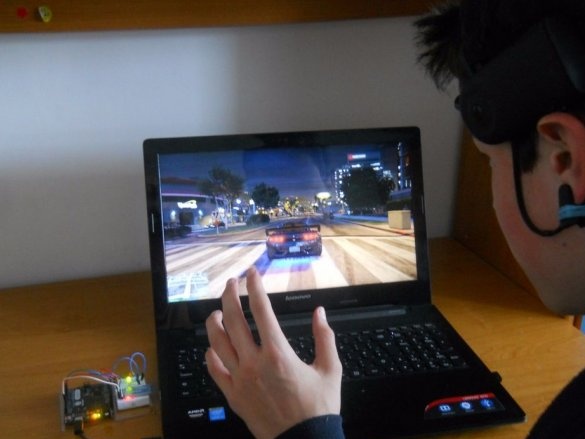
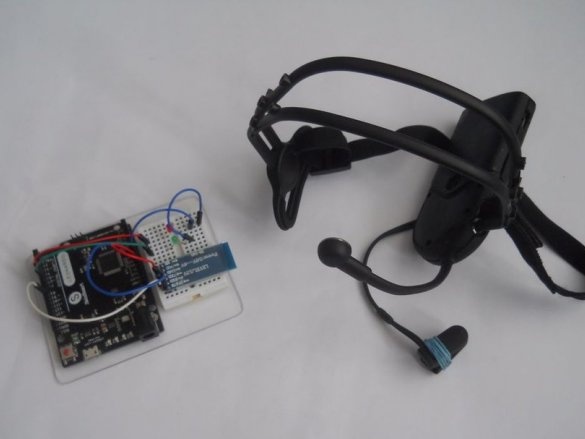
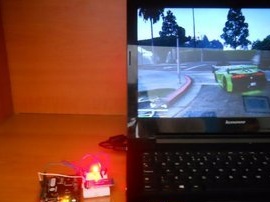
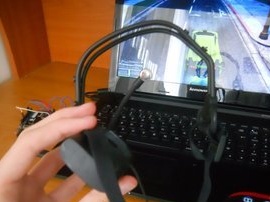
This is a project that will allow you to play any games only by the power of your mind. The device can emulate the keys W, A, S and D to play any games on your computer ... You do not need to press any keys, think only about the steering wheel: left, right or right. You can change these keys to any other or mouse button. Of course, you need to work out to control the games, but on the other hand it is a great thing to train your attention span.
[media = https: //youtu.be/MC7lOypxXhY]
The basis of this project is an electrophysiological monitoring method for recording the electrical activity of the brain, i.e. for a simple reason it is EEG (Electroencephalography).
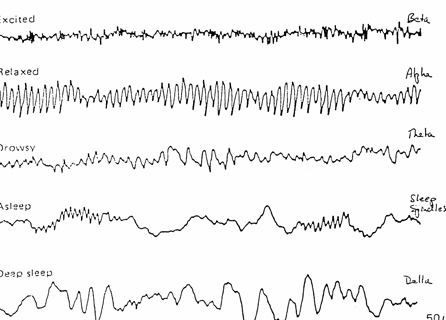
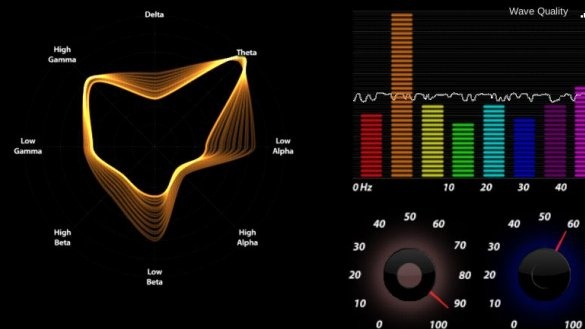
EEG measures voltage fluctuations as a result of ion current in brain neurons. Diagnostic applications usually focus on the spectral content of the EEG, that is, on the type of neural oscillations (commonly called “brain waves”) that can be observed in the EEG signals. (thanks to Wikipedia). But in this case, two very precise values are used.
• Alpha is a frequency range from 7 Hz to 14 Hz. It occurs when you close your eyes and when you relax, and it weakens when you open your eyes or mental stress.
• Beta frequency range from 15 Hz to 30 Hz. Low-amplitude beta with multiple and different frequencies is often associated with active, busy, or anxious thinking and active concentration.
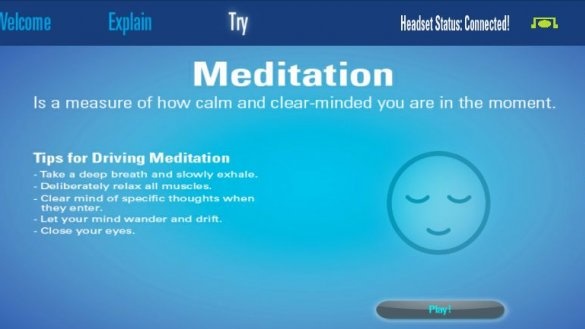
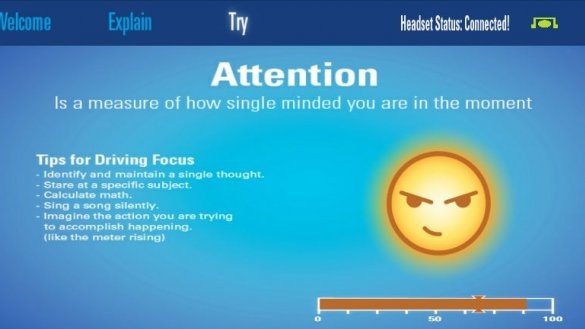
In fact, the device can determine your level of attention, the level of meditation and blinking. The more focused you are, the higher the level of “attention” becomes, the more relaxed you are, the higher the level of “meditation” becomes.
Games specially "ground" under the control of brain waves:
All are available at
But after a few hours you will get tired of playing them.
Tools and materials
Instruments:
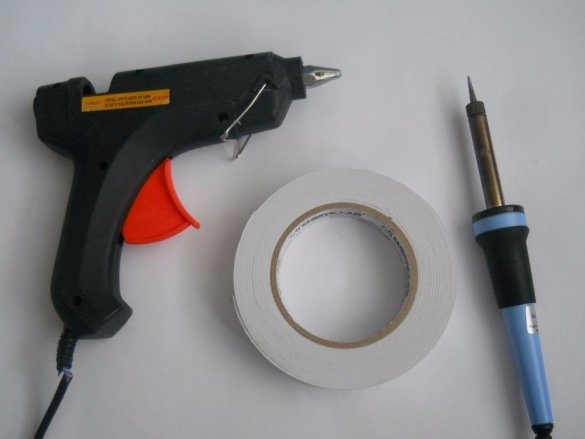
• Glue gun
• Double-sided tape
• Soldering iron
• solder
Software:
•
•
•
Equipment:
Headset Parts:
•
•
•
• (Disassemble the module and connect the circuit that contains the charger and additional modules. This way you have the charger and the power circuit.)
• 100 ohm and 200 ohm resistor
•
• Wires
Spare parts for the receiver:
•
•
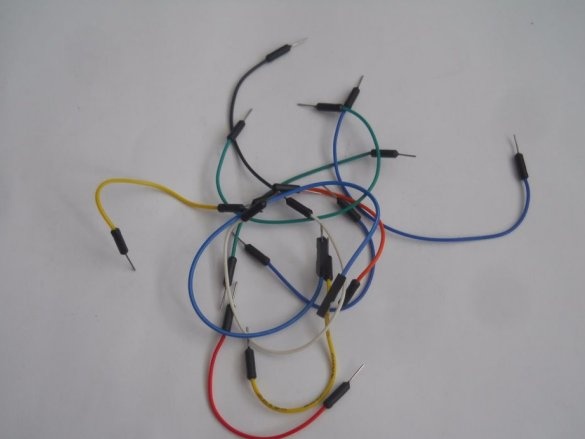
• Wire jumpers
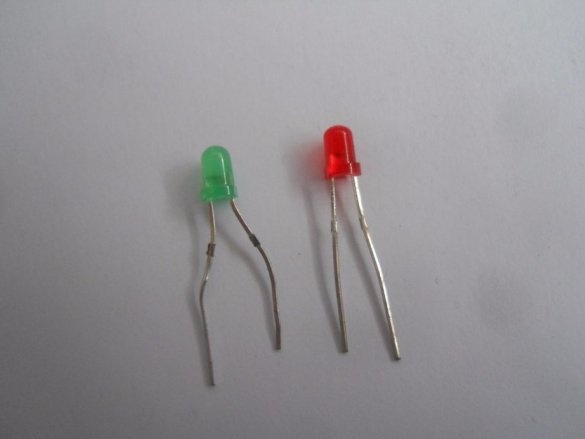
• One green and one red LED
•
• Plexiglass
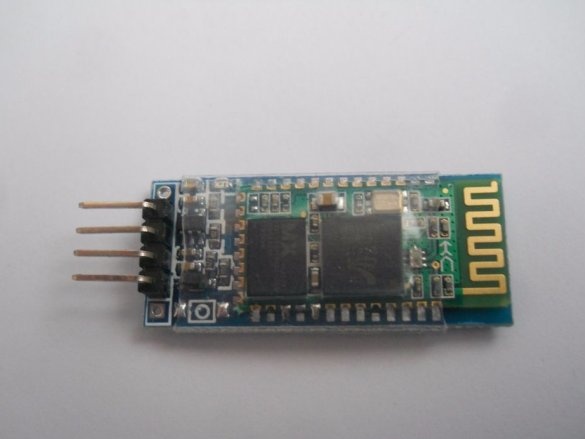
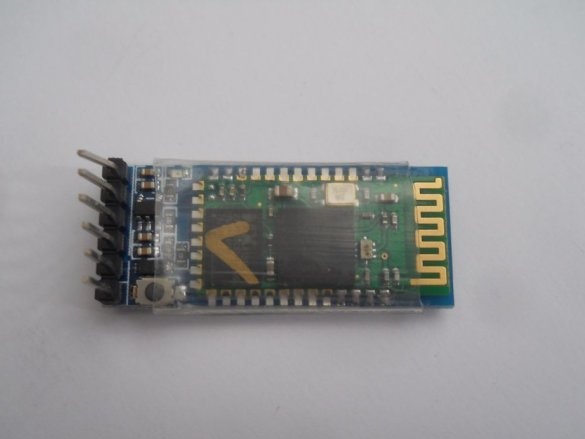
HC-06
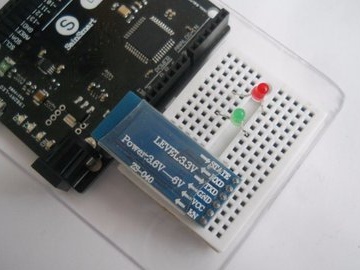
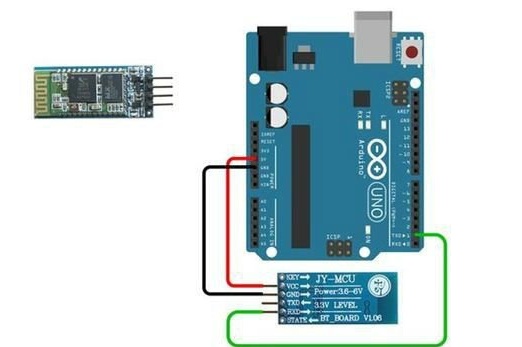
: First upload the sketch named “HC_06_Bluetooth” to Arduino UNO, then connect the Bluetooth module as shown in the diagram.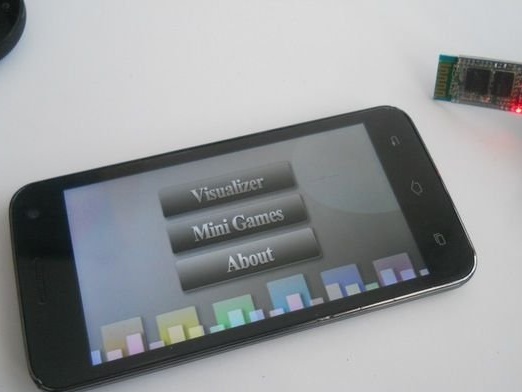
Open the Serial Monitor in the Arduino IDE and wait for the Arduino to configure the BT module. Your Bluetooth module is now set to 57600 baud.
// HC-06-Bluetooth

void setup () {
   // Start the hardware serial.
Serial.begin (9600); // default HC-06 baud rate
delay (1000);
Serial.print ("AT");
delay (1000);
Serial.print ("AT + VERSION");
delay (1000);
Serial.print ("AT + PIN"); // to remove password
delay (1000);
Serial.print ("AT + BAUD7"); // Set baudrate to 576000 - eg Necomimi dafault
delay (1000);
Serial.begin (57600); //
delay (1000);
}
void loop () {
}
You can try many BCI (Brain Computer Interface) applications because the hacked Bluetooth Necomimi toy will be compatible with everyone. You can use these apps to learn how to control your brain waves.
HC-05:
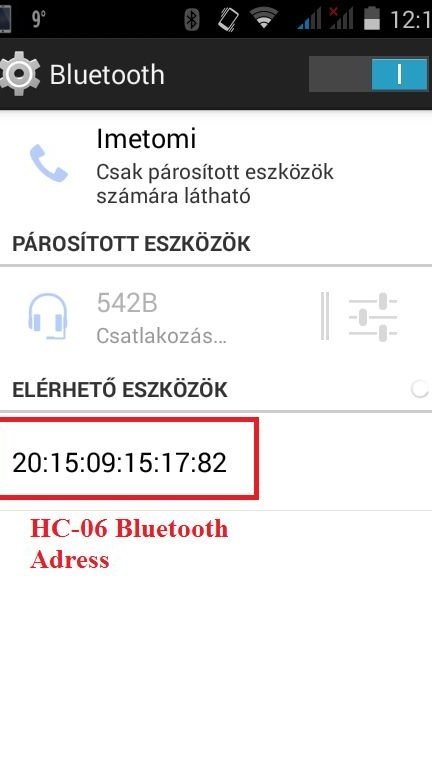
Then use HC_05_Bluetooth and load your Arduino the same way you did before. Connect the "EN" pin of the HC-05 to the 3v3 Arduino. You must write the address of your HC-06 module in code. Check the address of the BT module on the Android smartphone, as in the picture Replace ":" (double dots) with "," commas in the code.
// HC-06-Bluetooth

void setup () {
  // Start the hardware serial.
  Serial.begin (9600); // default HC-05 baud rate
  delay (1000);
  Serial.print ("AT");
  delay (1000);
  Serial.print ("AT + VERSION");
  delay (1000);
  Serial.println ("AT + ROLE = 1"); // set the HC-05 to master mode
  delay (1000);
  Serial.println ("AT + LINK =" Insert your address here "); // now the module should connnect automatically
  delay (1000);
  Serial.print ("AT + UART = 57600,1,0"); // Set baudrate to 576000
   Serial.begin (57600); //
  delay (1000);
}
void loop () {
}
Verify the HC-06 address with your Android phone (see the picture). And you must change the address in the code: 20: 15: 09: 15: 17: 82 ==> 2015.09.151782 Thus, the HC-05 module can recognize the address. So just remove the ":" Now your Bluetooth modules should be connected to each other. If you have problems connecting the modules, you can read in more detail
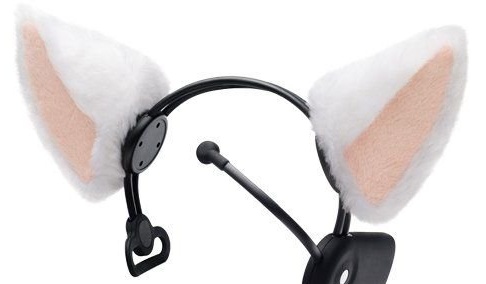
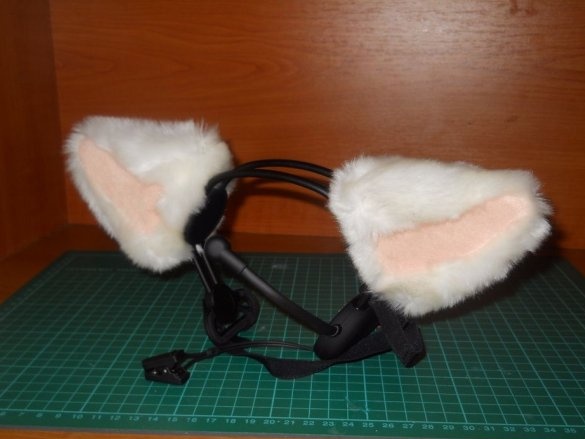
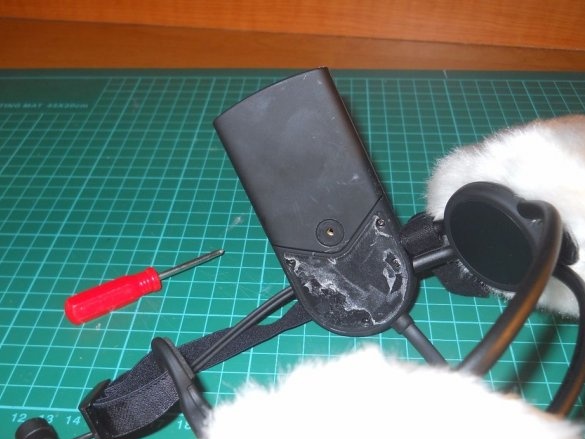
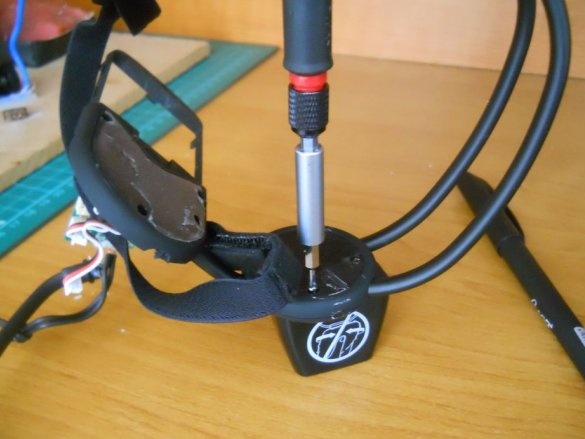
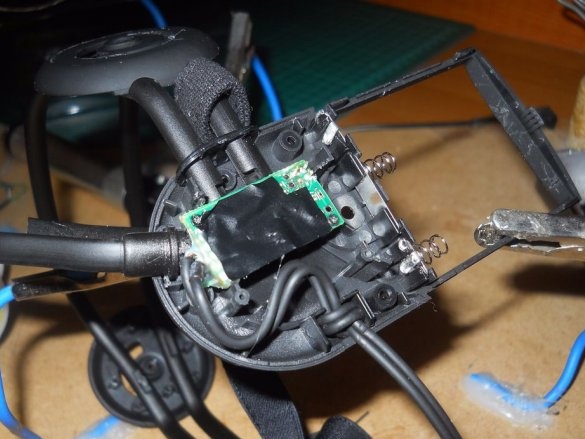
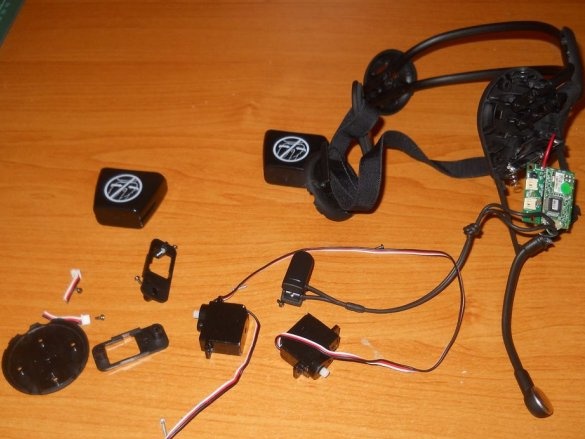
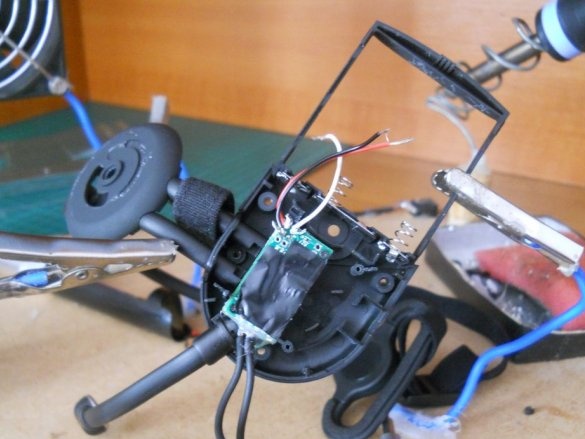
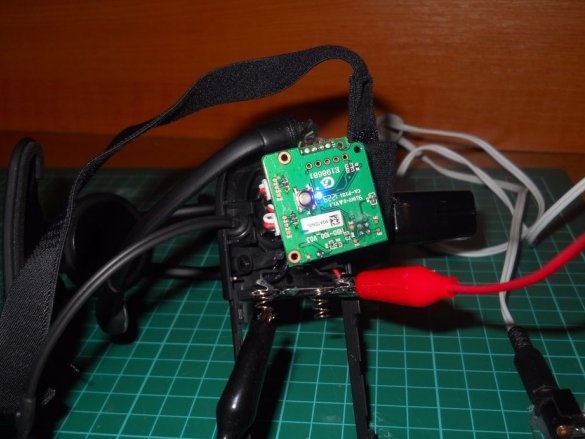
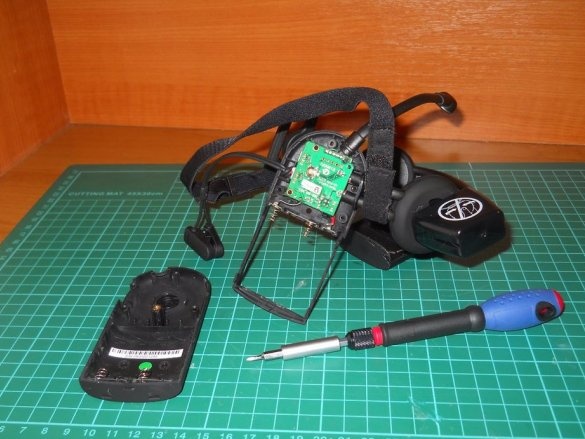
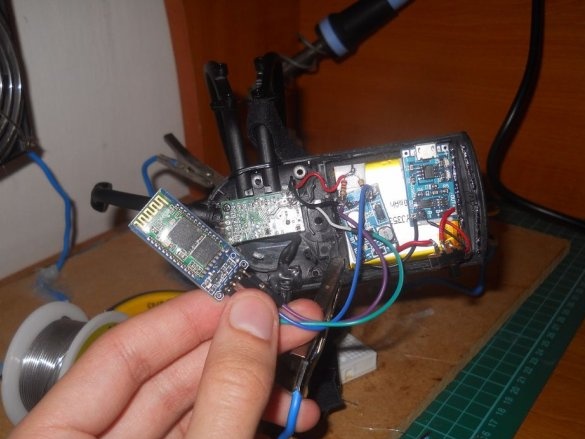
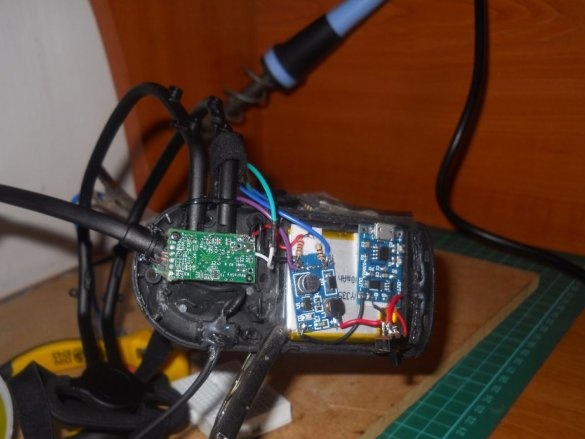
Details that will catch your brain waves are taken from Necomimi. This toy can move your ears depending on your waves. A useless toy, but inside there is a small chip that reads brain waves, filters out noise and gives a very good signal. It works with the UART (Serial) interface, so with some hacking, you can use Arduino to read brain waves. The role of this headset is to wirelessly transmit brain waves to the Arduino Leonardo. Nobody needs cables on their heads, so a comfortable headset was invented. The photo below shows how to disassemble a toy and make a headset out of it.
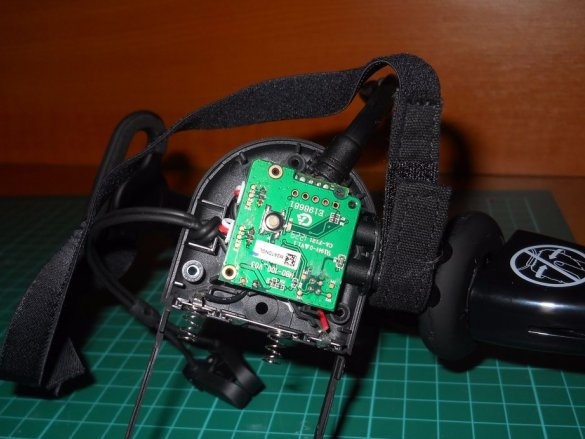
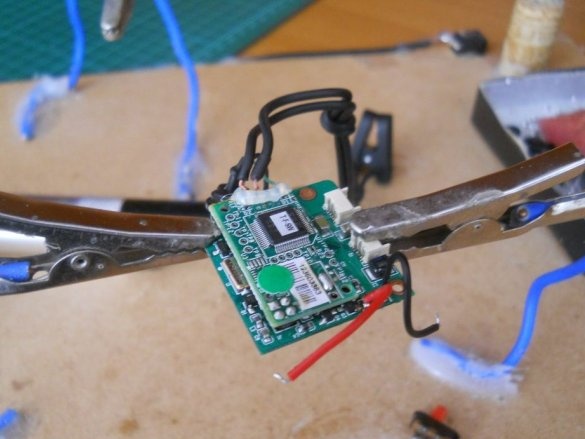
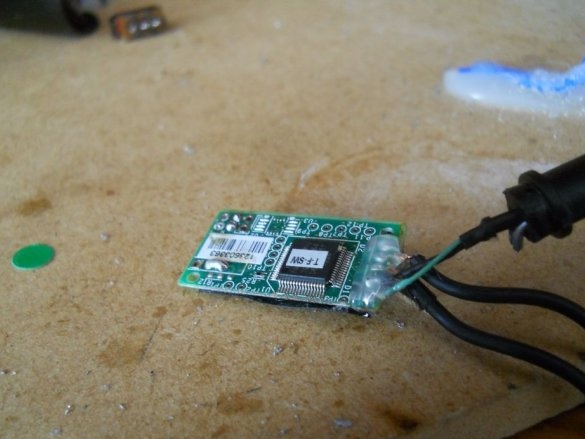
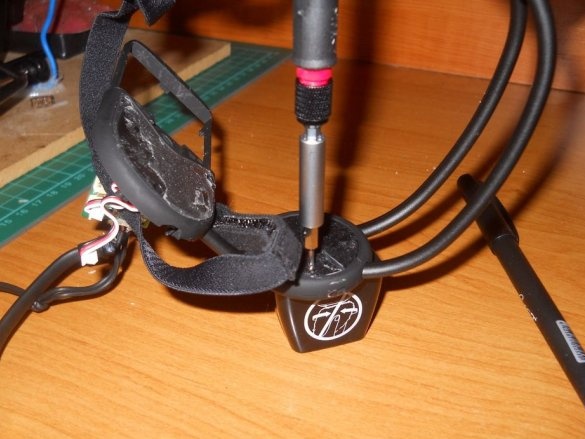
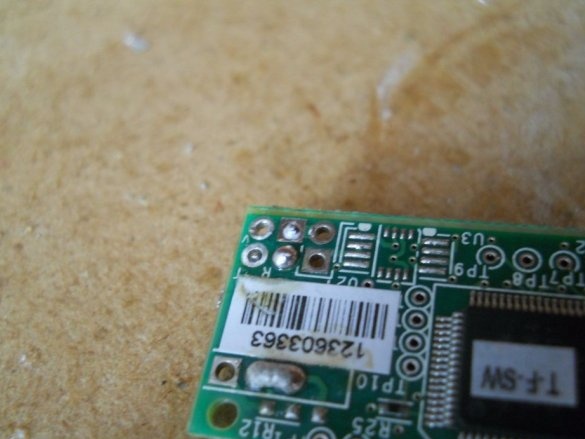
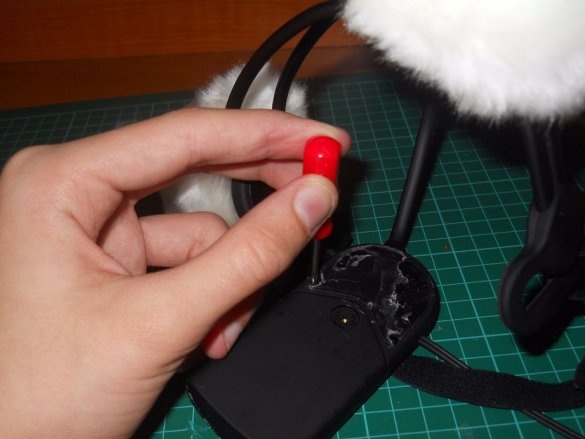
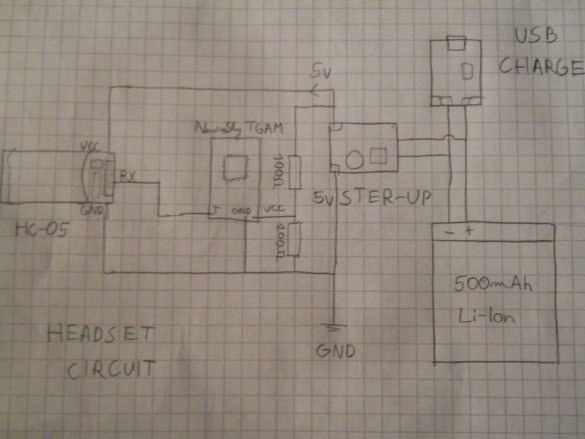
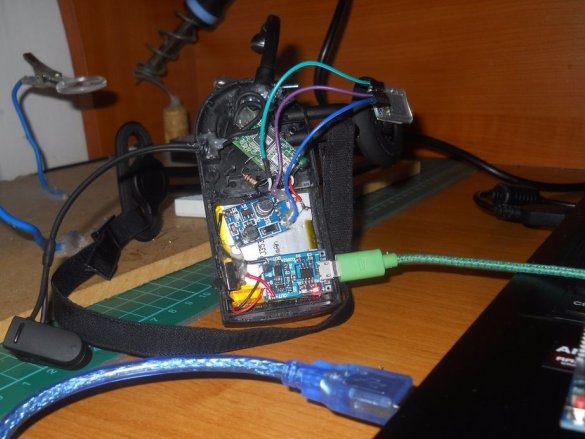
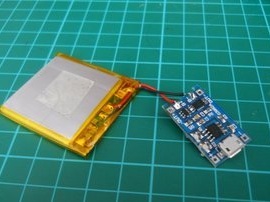
First, let's take a look at the case. Screws are under the sticker. Remove the sticker and the back of the device, and you will find a small board inside. We need one that is under a large board - this is a Neurosky TGAM chip. It is connected by four contacts to the main board of the microcontroller, so take a soldering iron and carefully unsolder the board with the chip from the main board. Now you can build your own power supply. The author used a 500 mAh lithium-ion battery, a USB charger circuit, a 5 V boost circuit, and two resistors (100 Ohms and 200 Ohms) to provide a 3.4 V power supply for the chip and the Bluetooth module.
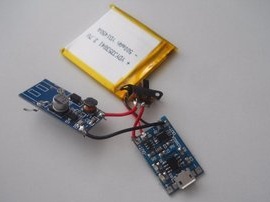
Charger board connection
See the diagram to put it all together.
After removing the batteries, connectors and all that is unnecessary, use double-sided tape to install everything on the left side of the headset. First, create a battery circuit with a charger and with a DC-DC 5V boost module. After that, solder the two resistors - this is a 3.3 volt divider. It provides power to the sensor. Now solder the wire to the T-pin on the Neurosky TGAM board, which sends data to the BT HC-06 slave module.
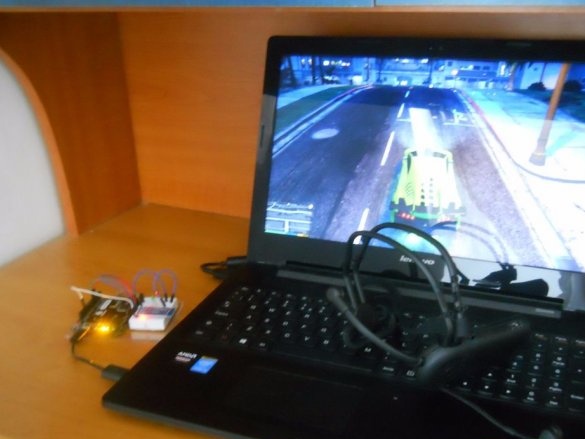
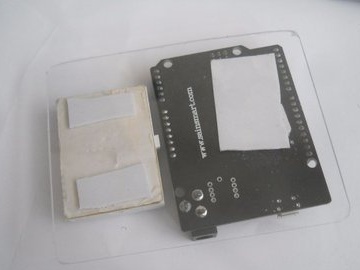
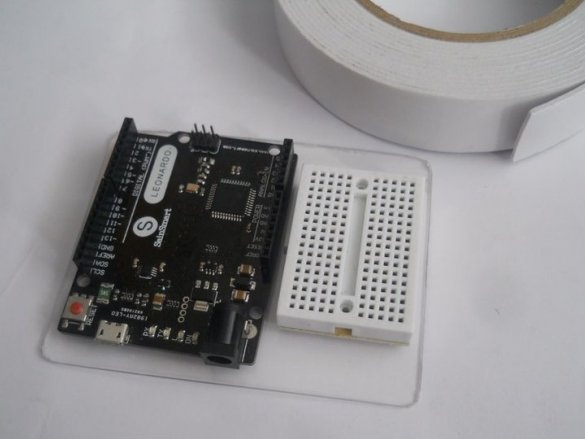
The entire receiver circuit is mounted on a piece of plexiglass using double-sided tape.
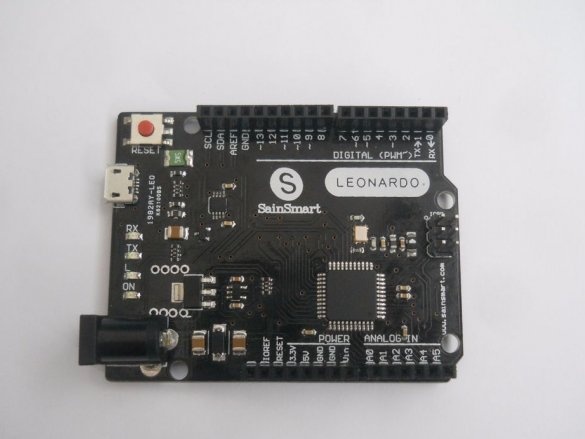
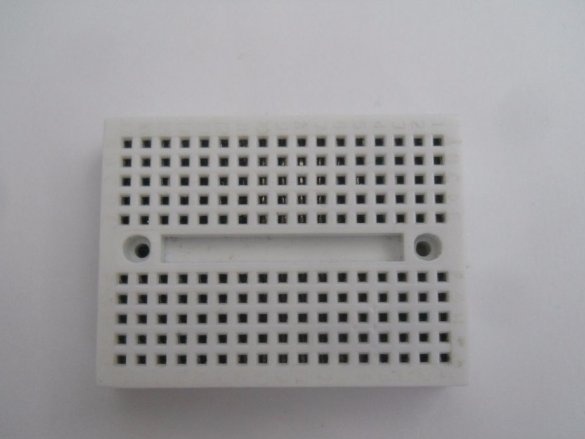
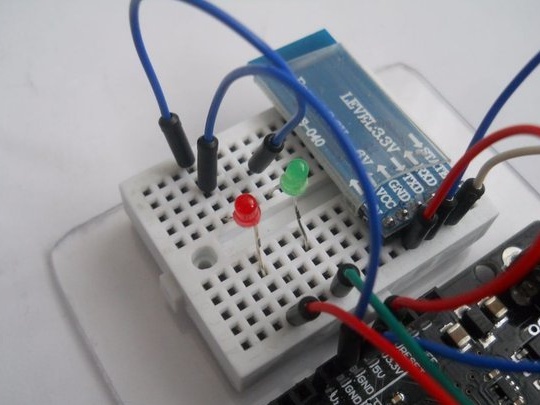
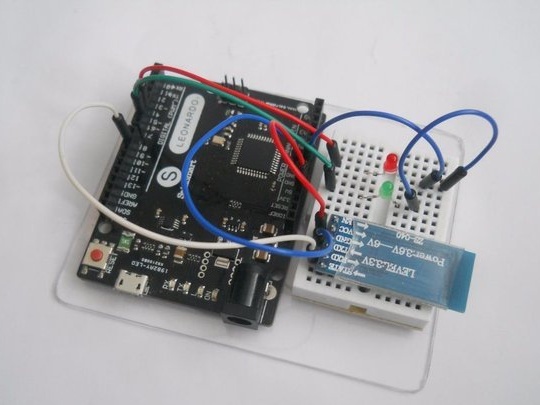
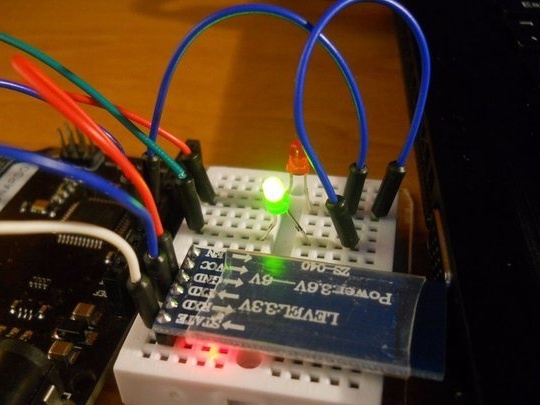
Connect the Arduino Leonardo to the breadboard, then connect the Bluetooth module and LEDs. Use the Bluetooth HC-05 module that is already configured here. Using several jumpers, make the following connections:
1. Arduino Leonardo-5v for Bluetooth-VCC and cathodes of two LEDs
2. Arduino Leonardo-GND for Bluetooth-GND
3. Arduino Leonardo-D9 for Bluetooth-TX
4. Arduino Leonardo-D5 for the anode of the red LED
5. Arduino Leonardo-D6 for the green LED anode
That's all, so now you have to download the program code
The Arduino Leonardo board can emulate a keyboard or mouse. Using this function, the author created a code that imitates WASD and controls many games on your computer. NeuroSky uses eSense values: concentration and meditation from 1 to 100 and detects blinks. If the eSense value reaches the limit (70 for meditation and 65 for attention) or detects blinking, emulates the pressed key.
The role of the two LEDs is to indicate when you have reached the limit of attention or meditation. Red indicates attention, and green indicates meditation.
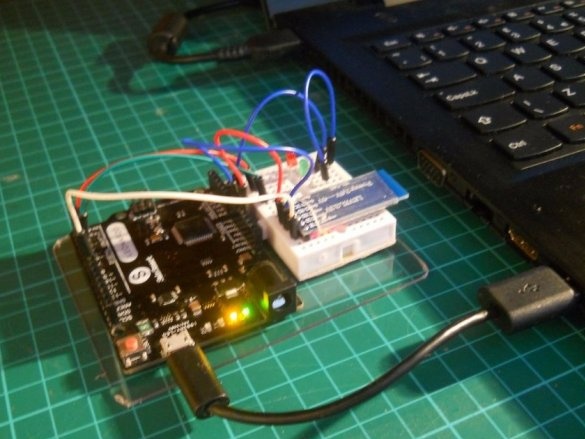
Connect your Arduino Leonardo and download the code below.
/ *
  Code created by Tamás Imets for playing videogames with mindwaves
  Feel free to use it
  25th of March, 2016
* /

#include
#include
#include

SoftwareSerial bluetooth (9, 8); // softwareserial pins
Mindwave mindwave; // mindwave library activated

int medlimit = 70; // set limits
int attlimit = 65; // set limits

void setup () {
  bluetooth.begin (MINDWAVE_BAUDRATE); // set Baudrate
  pinMode (5, OUTPUT); // setup pins
  pinMode (4, OUTPUT); // setup pins
}
void onMindwaveData () {

  if (mindwave.quality () <95) {/ if you blink
    Keyboard.write ('w'); // presses W

  }

  if (mindwave.quality () == 100) {
    Keyboard.write ('');
  }

  if (mindwave.meditation ()> medlimit) {// if you meditate
    digitalWrite (5, HIGH);
    Keyboard.write ('d'); // presses D


  }

  if (mindwave.meditation ()  attlimit) {// if youe focus
    digitalWrite (6, HIGH);
    Keyboard.write ('a'); // presses A
  }

  if (mindwave.attention ()
Download the libraries indicated at the beginning of the article Bluetooth modules are already configured, so after downloading the code, you can start playing video games.
How to use?
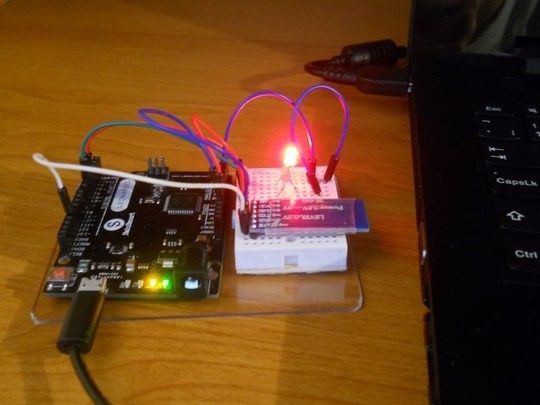
It’s easy to learn how to use this device. Several hours of practice make you a real racer, with it you can manage almost any game. Only your brain needs to get used to controlling its activities. If the device is ready, follow these steps to use your mindwave game controller.
1. Put the headset on your head.
2. Connect the receiver to the computer.
3. Check if the Bluetooth modules are connected.
4. Turn on the circuit and try to increase your level of attention or meditation. If the LEDs are lit, then you have done a good job. Now you can try playing games
5. Enjoy the game Ultimate Gamer.
To control the game, do the following things:
• Blink to start the car (emulates the "W" key)
• Blink again to stop (emulates the space bar)
• Relax to stay to the right (simulates the “D” key)
• Focus to turn left (simulates the “A” key)
You can play GTA, Need for speed, online games, action games.

