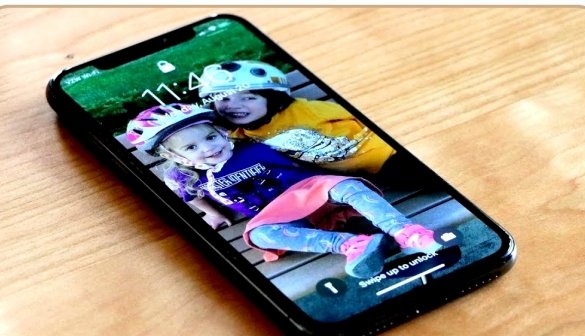
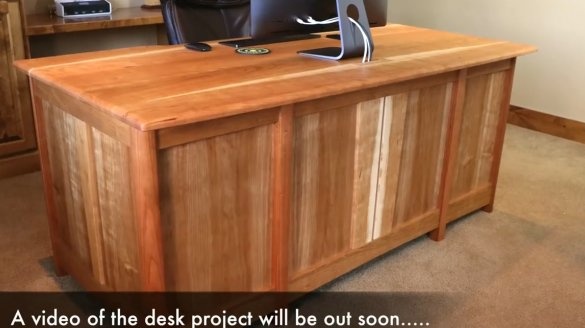
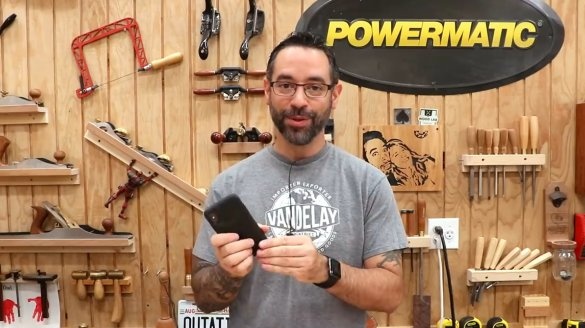
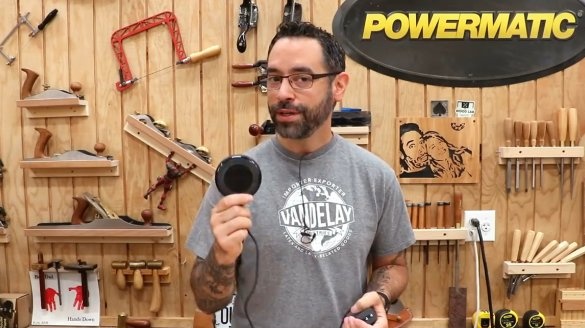
In this article, the author of the YouTube channel "The Wood Whisperer" will tell you how to upgrade the desktop to charge a mobile phone on it wirelessly. Is this possible? Or is it just a trick!
So, imagine: you put a mobile device on a countertop and .... it charges, and no wires! In order for the miracle to become a reality, it is enough to successfully disguise the charger and the cord from it. The author of this article has already met with such decisions when a small indentation was made in the countertop on top of which the charger module was placed. The appliance was flush with the table, but it was still quite noticeable.
Materials
- Wireless Charger
- The table.
Instruments, used by the author.
- Manual frezer
- Ruler, tape measure
- Caliper, pencil
- Glue gun.
Manufacturing process.
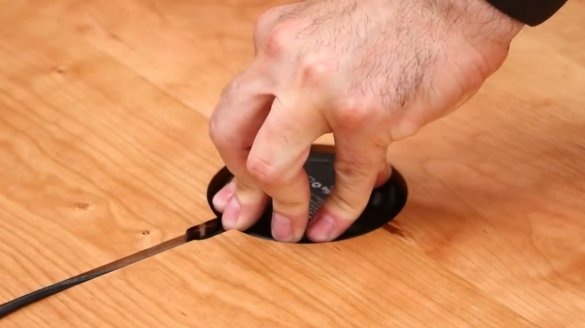
The author conceived a more elegant solution. He decides to drill a hole for the device and the cord from the bottom of the countertop. So, nothing is visible from the top of the table, the charger is camouflaged reliably. This solution has another hidden advantage: the device can be easily removed from there and inserted in its place. The thing is that modern technologies are developing rapidly, and the design of the chargers, their size and shape, will also change. Well, do not change the table every time, indeed!
But there is one very significant difficulty in this project. The question is how thick the material layer above the charger can be so that the phone can charge.
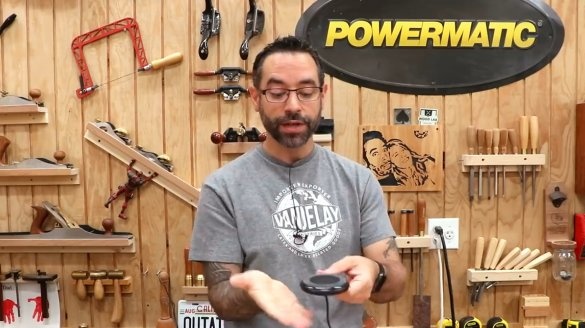
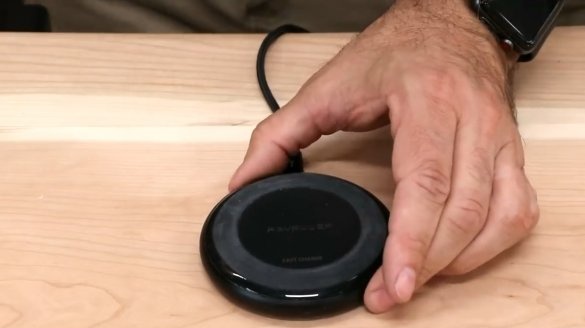
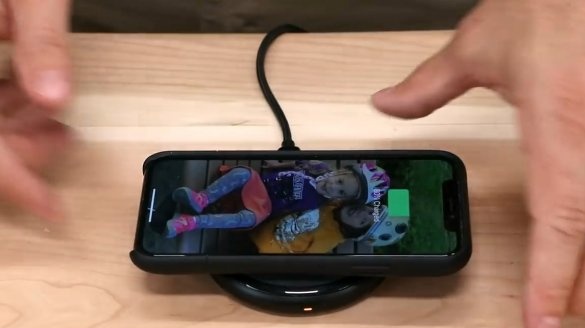
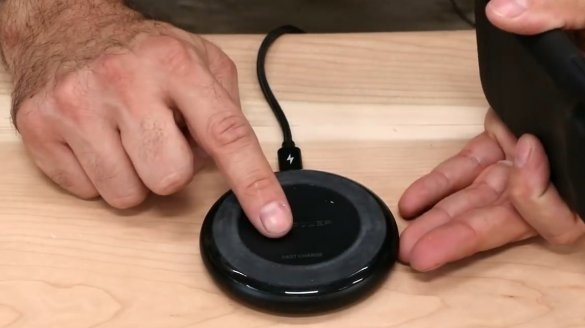
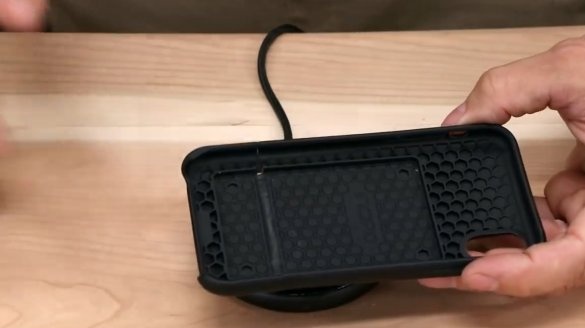
Before us is a pretty high-quality charger. He gives 10 watts of output. However, this current is slightly higher than what this mobile phone needs. Its norm is 7.5 watts. When the author puts it here, without problems, charging is successful. At the same time, the phone has a protective case and it is quite dense.
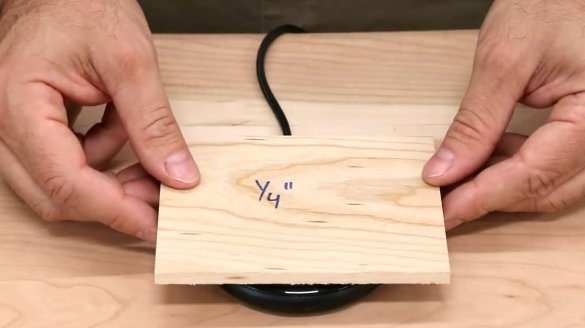
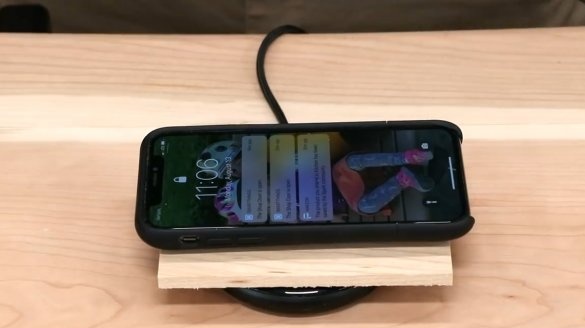
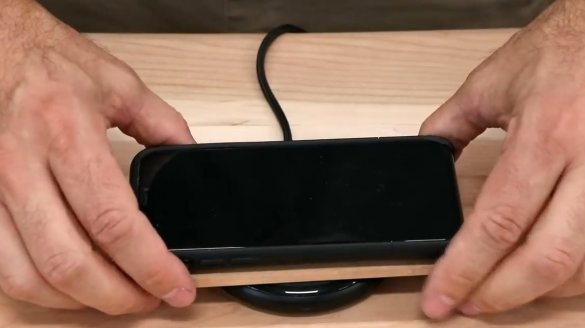
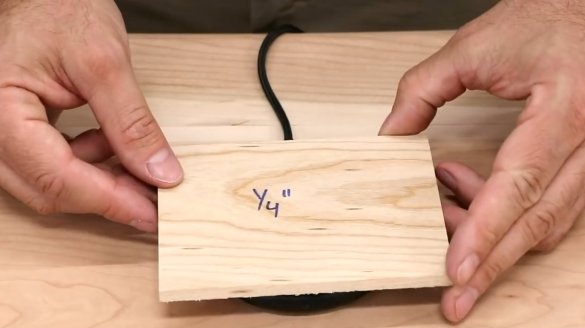
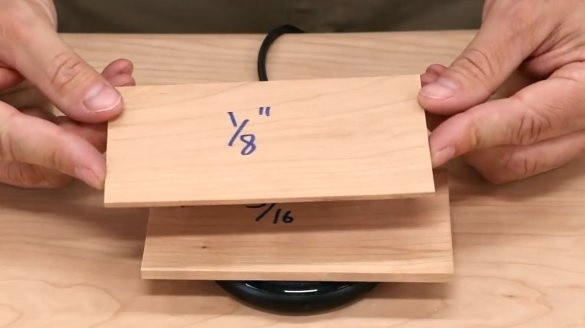
The question arises in connection with the thickness of the wood on the countertop. Let's try to experiment. This 1/4 inch thick sweet cherry wood plaque. We put the phone on top - there is no charging signal.
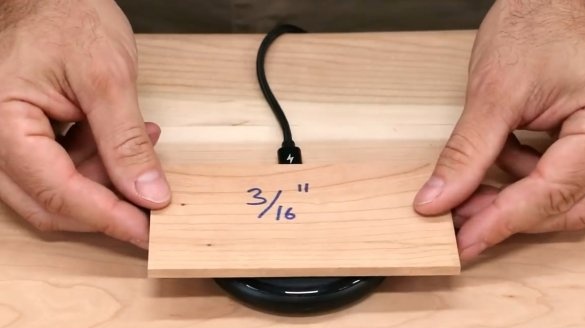
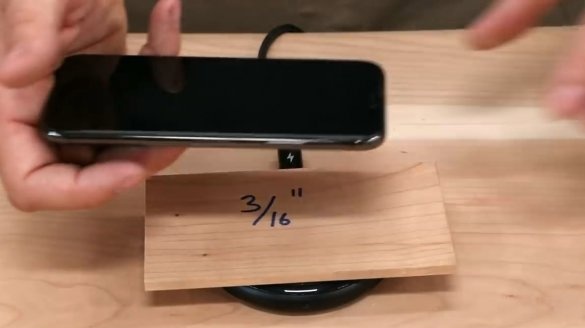
The next size is 3/16 inch. There is no signal again.
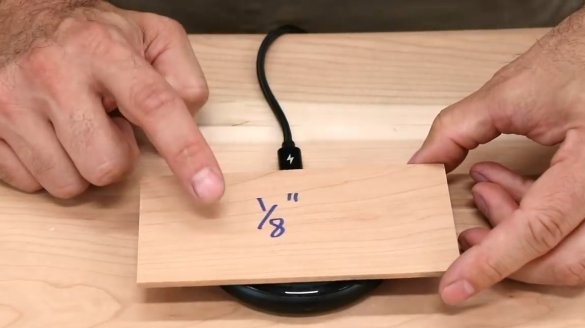
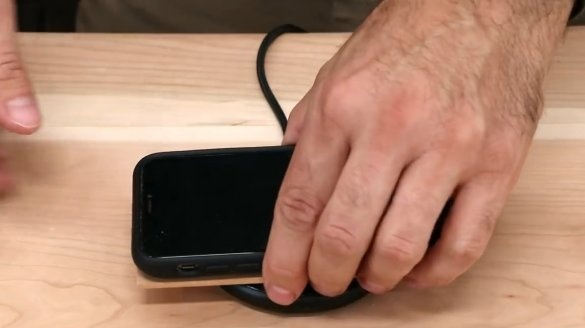
1/8 inch - and again a dark screen!
And this is the minimum thickness of wood that the author recommends. Otherwise, the layer will become too fragile for the countertop. So, the signal radius of this model, as a matter of fact, of many other models, is not very large and strong in order to break through a layer of a tree. And then there's a thick case!
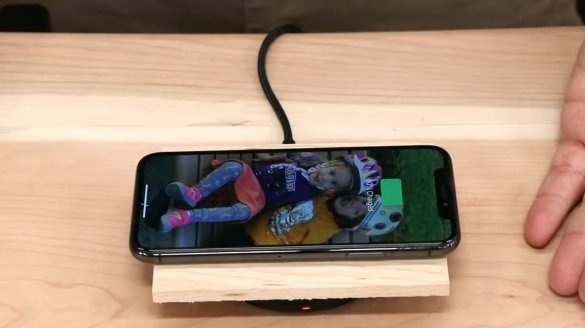
The author removes the case and conducts the experiment again, starting from the 1/4 inch. And, lo and behold, it works! Well, if you use a bare phone without a case, you can stop at that thickness. But the author still recommends aiming at a thickness of 3/16 inch for those (and most of them) who wear a not-so-thick case.
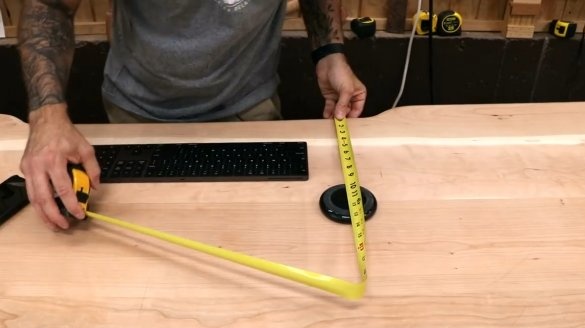
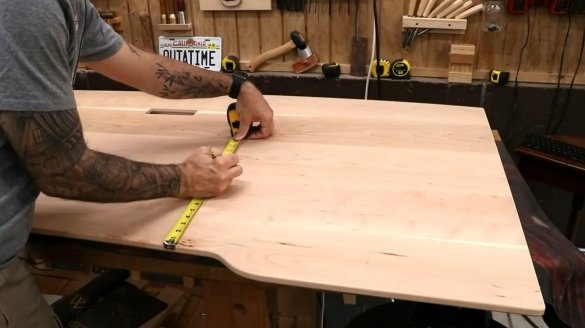
The first thing to do is choose the perfect location for the charger.
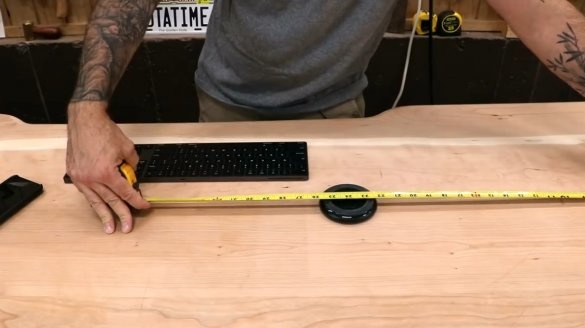
Knowing how the keyboard is on the countertop, the author determines a convenient position for the phone.
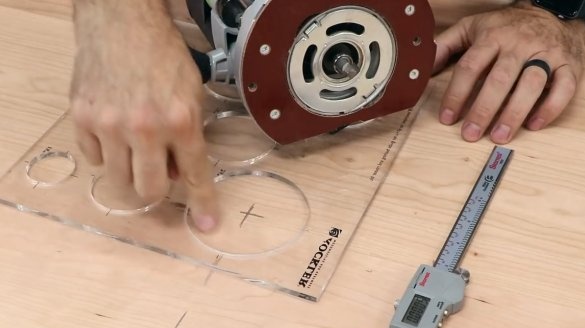
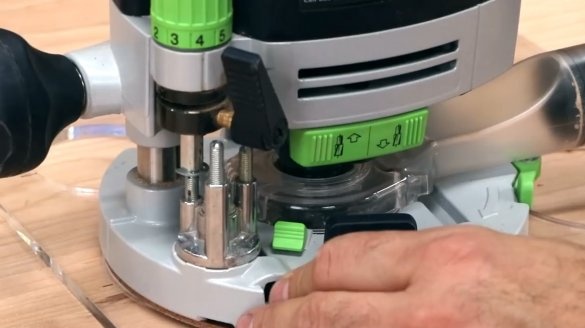
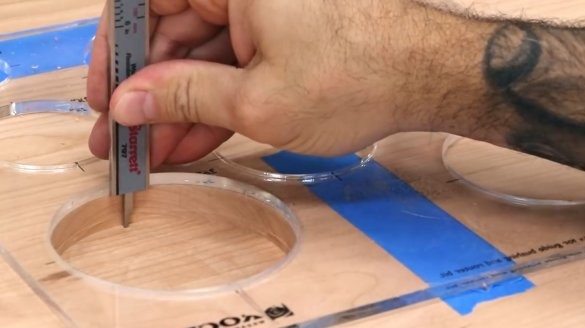
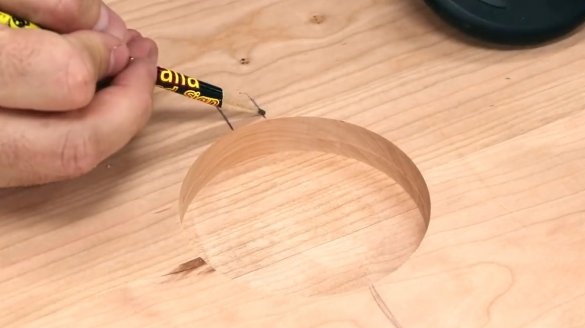
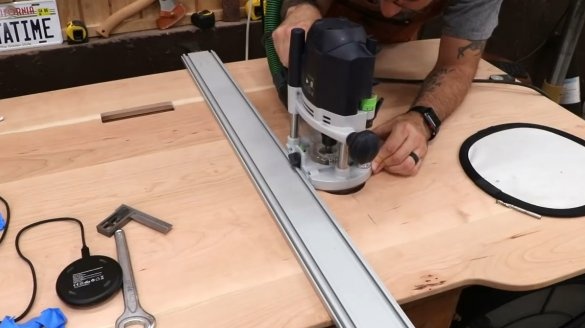
Now you can drill a niche using a curly cutter and a circle template. In order not to go through the countertop, the master carefully carries out all measurements, and sets the depth of the cutter.
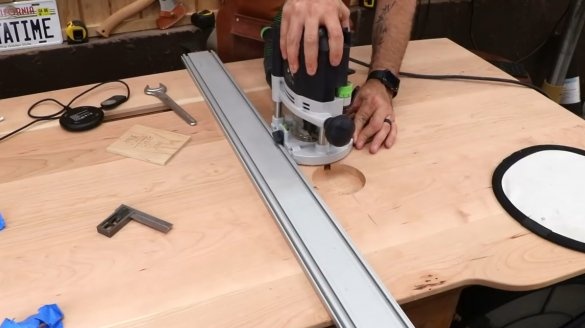
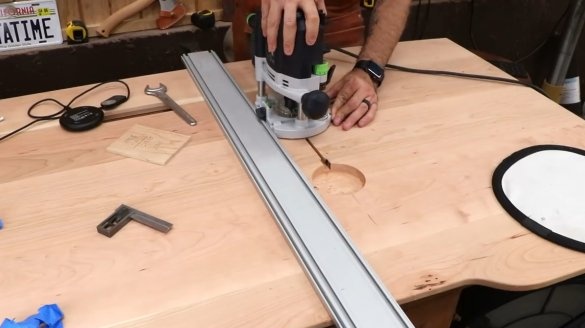
Mills the hole for the charger.
After the main cavity is ready, it makes an additional cut for the power connector and a long slot for the power cord.
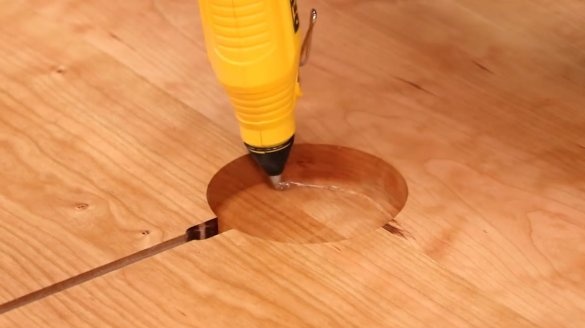
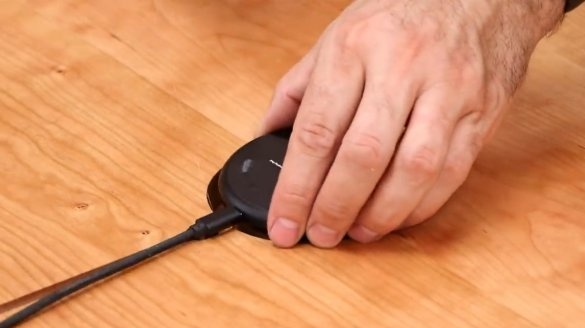
After finishing work on the countertop, the author uses a little hot glue to fix all the elements in place. This is a removable mount option in case you need to replace the charger.
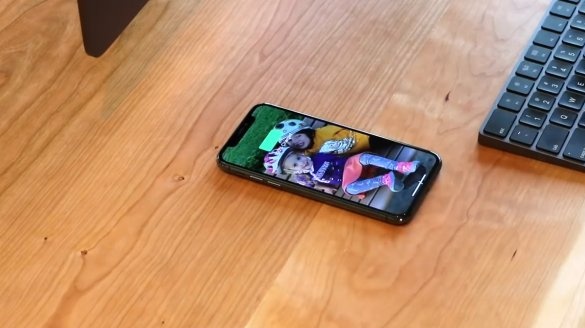
We are testing and the author succeeded!
It remains to recall one thing: when planning such an improvement, leave yourself the opportunity to replace the charger in case of breakage or the purchase of a new phone.
Thanks to the author for an interesting solution to improve the table!
All good mood and successful homemade.

