
In this article, YouTube’s author of The Wood Whisperer tells you how he made a transformer bench.

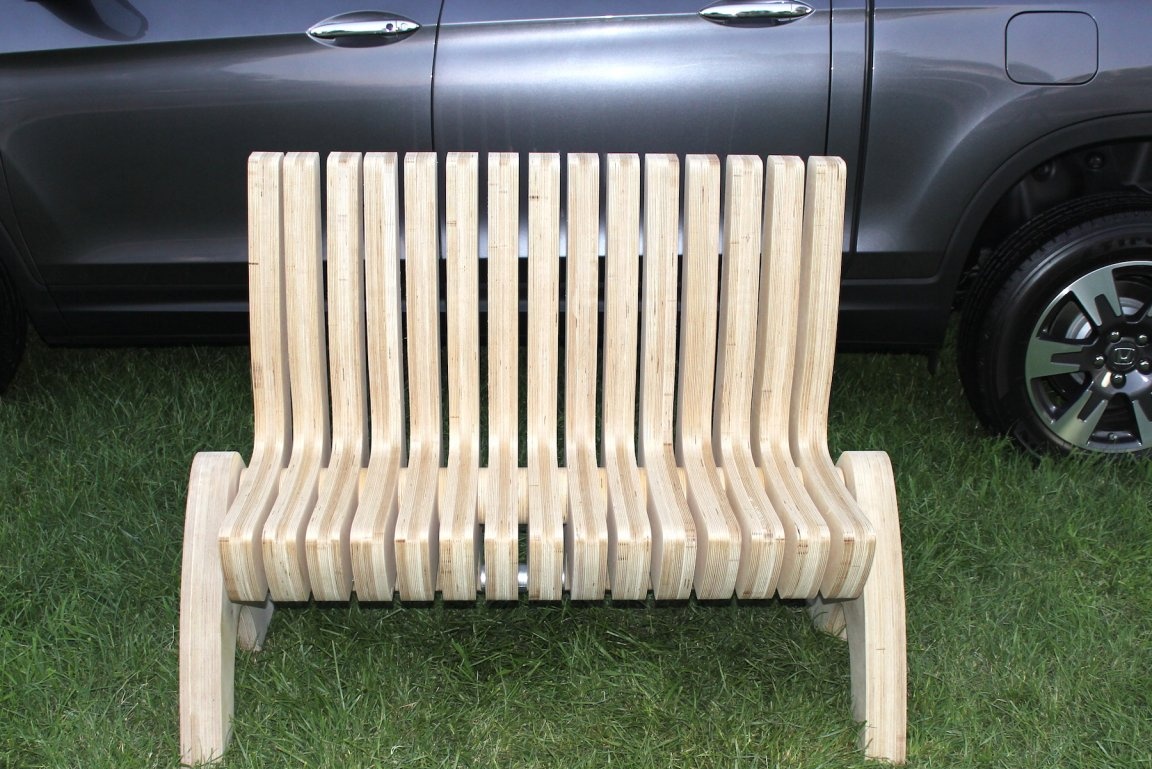
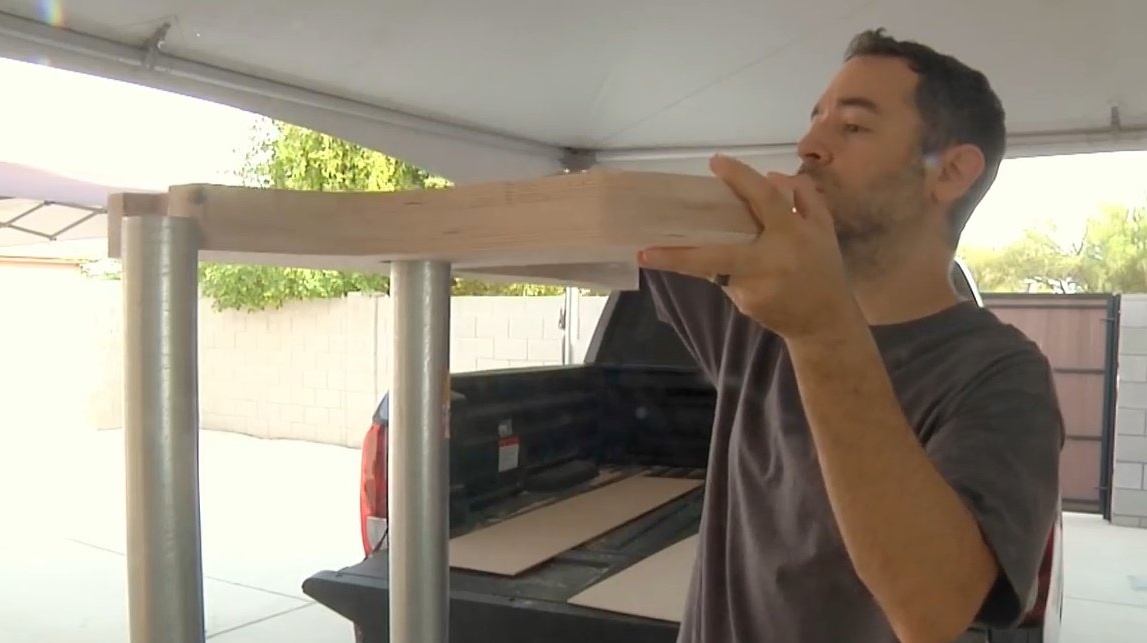
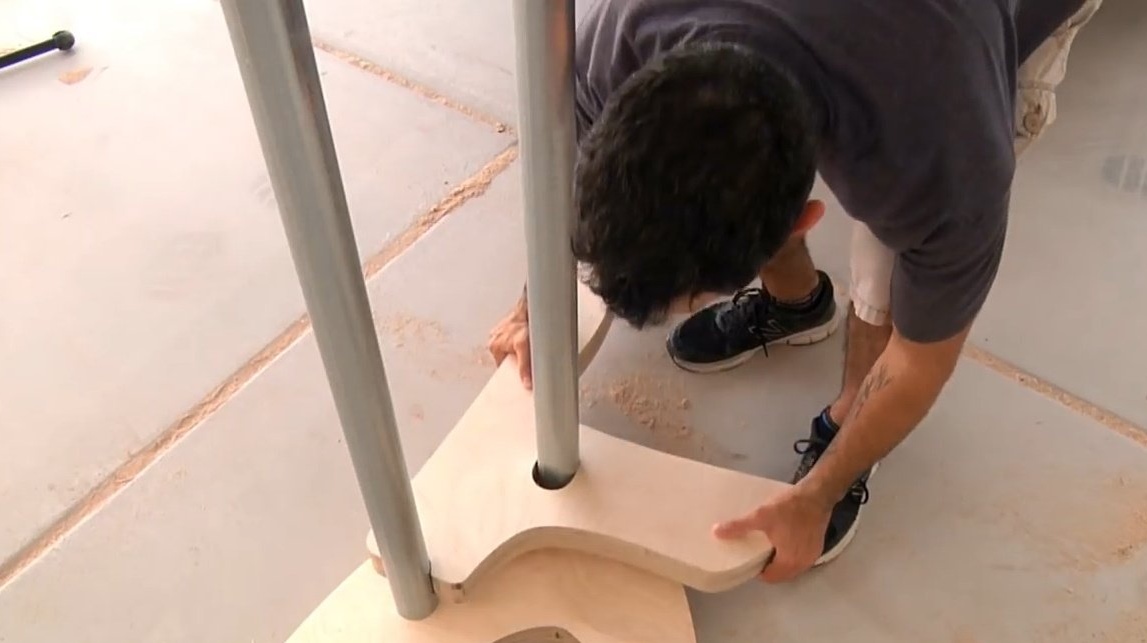
Bench, table, double bench, chair for two and a chair with a built-in table. We’ll talk about all this today. The transformer bench will also be transported in the back of a Honda Ridgeline. But first, the author will show us how this shop works. It has an incredibly simple, but very smart system. Basically, the shop has two pipes running from edge to edge. One pipe allows the elements to rotate, and the second serves as a kind of support or lock.

All you need to do is slightly raise the segment of the structure and slightly push forward. This is the second position. If you want to return everything to its original position, it is as easy as the previous movement: rotate, slightly raise and put in focus.


The author was inspired by this project after watching videos of several European designers. And so he presents his interpretation of the design.
Link to drawings of structural elements is available here.
Materials
- sheet plywood
- Joiner's glue
- 2.5 inch steel pipe
- Putty
- Paper.
Instruments, used by the author.
- Electric jigsaw
- Manual frezer
- Screwdriver
- Crowns for wood
- Reciprocating saw.
- File, vise
- Orbital sander.
Manufacturing process.
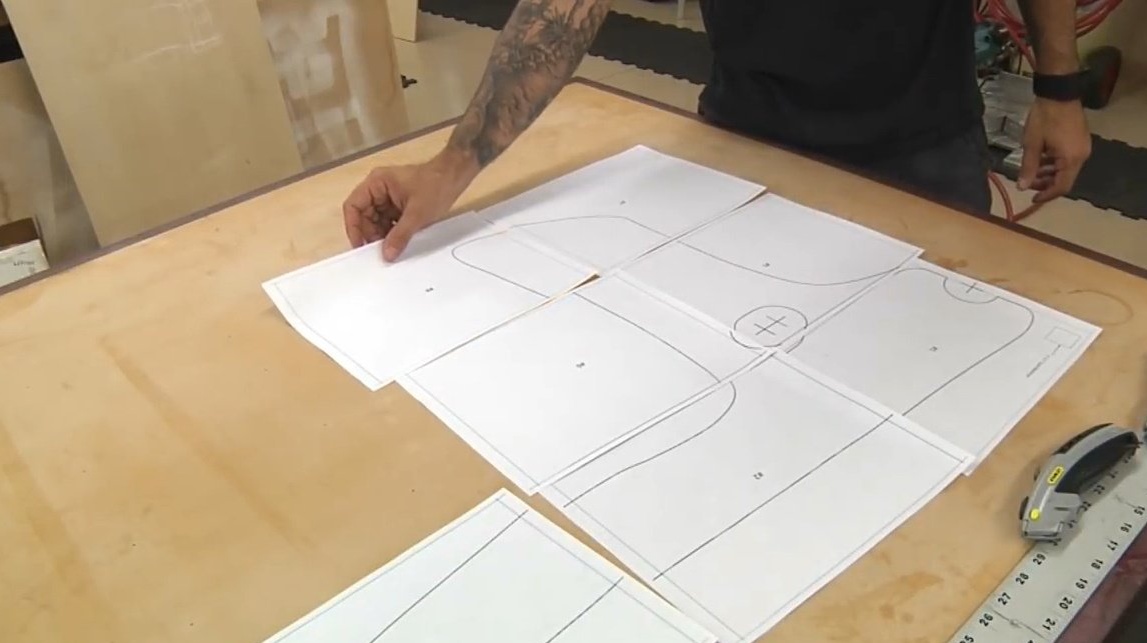
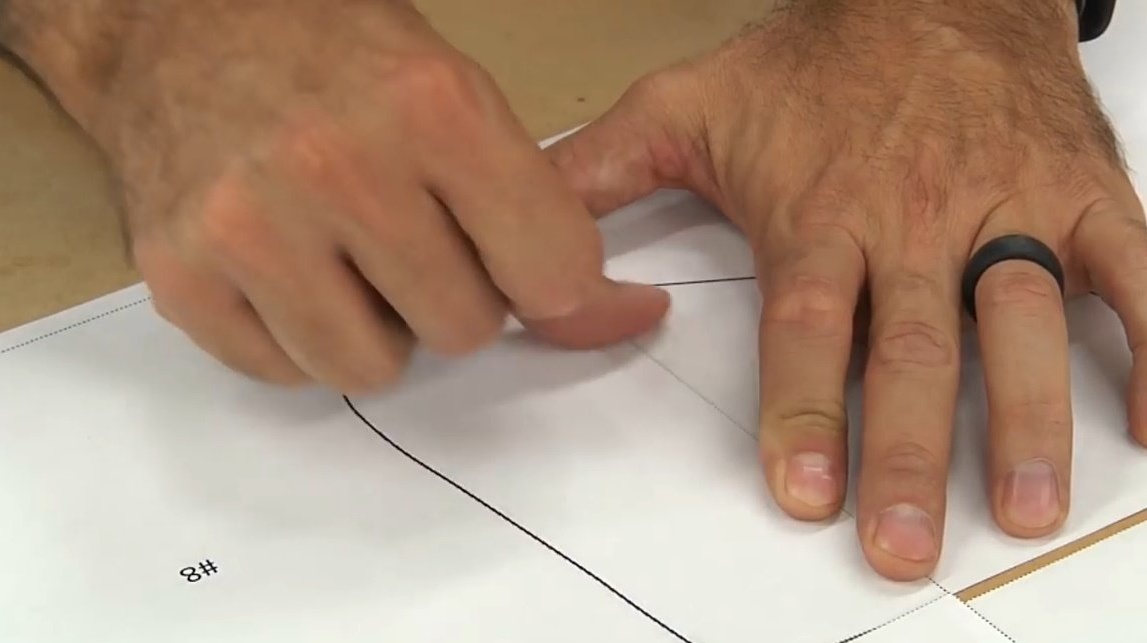
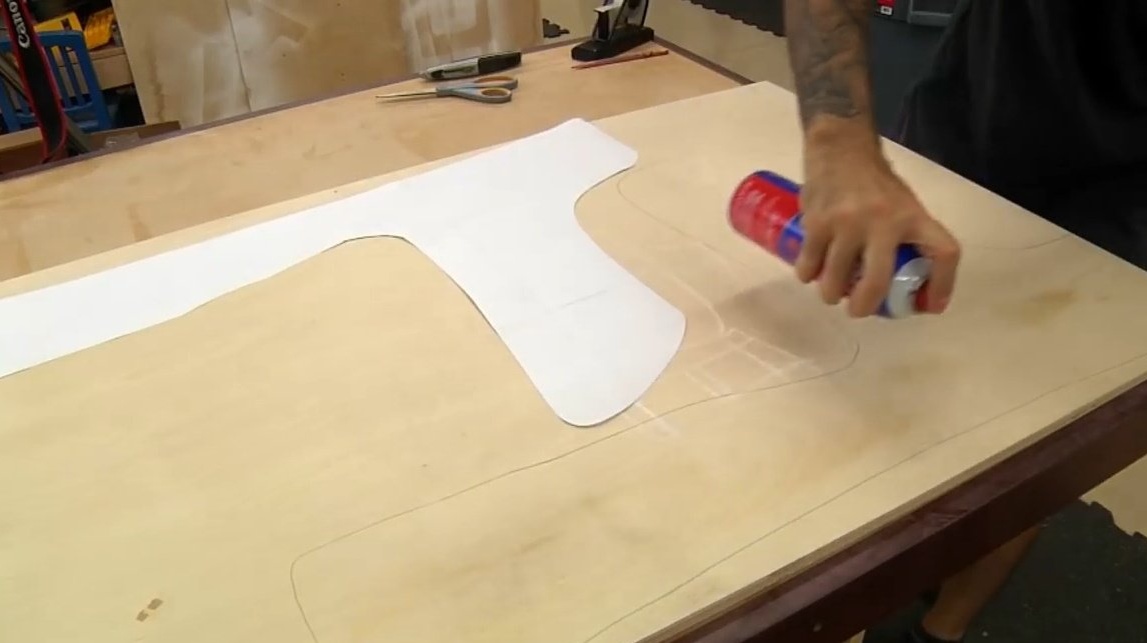
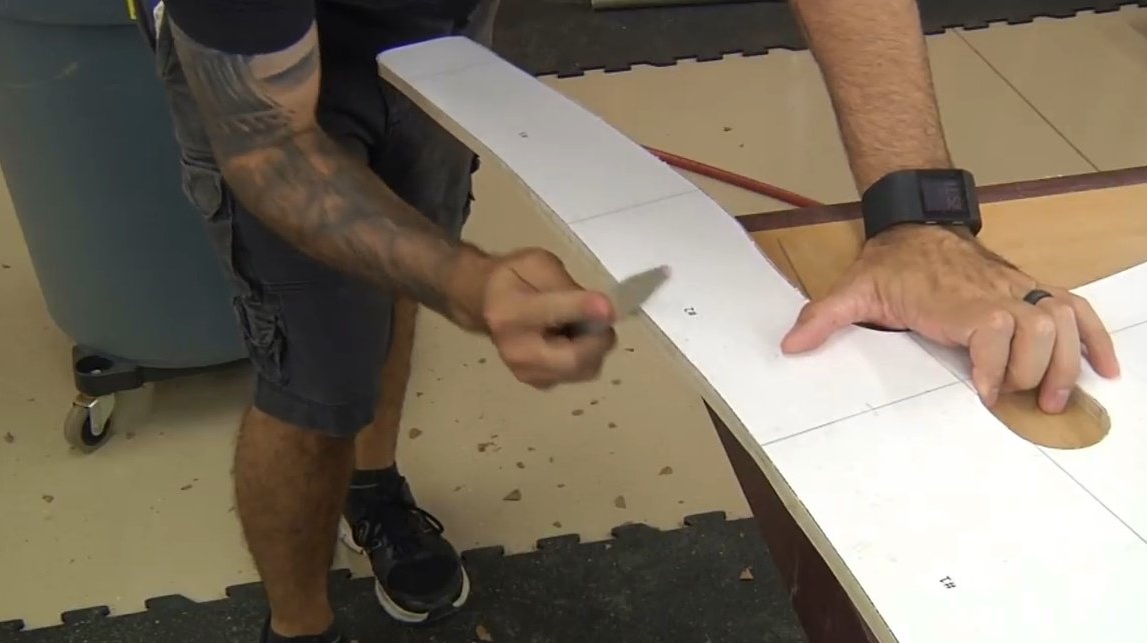
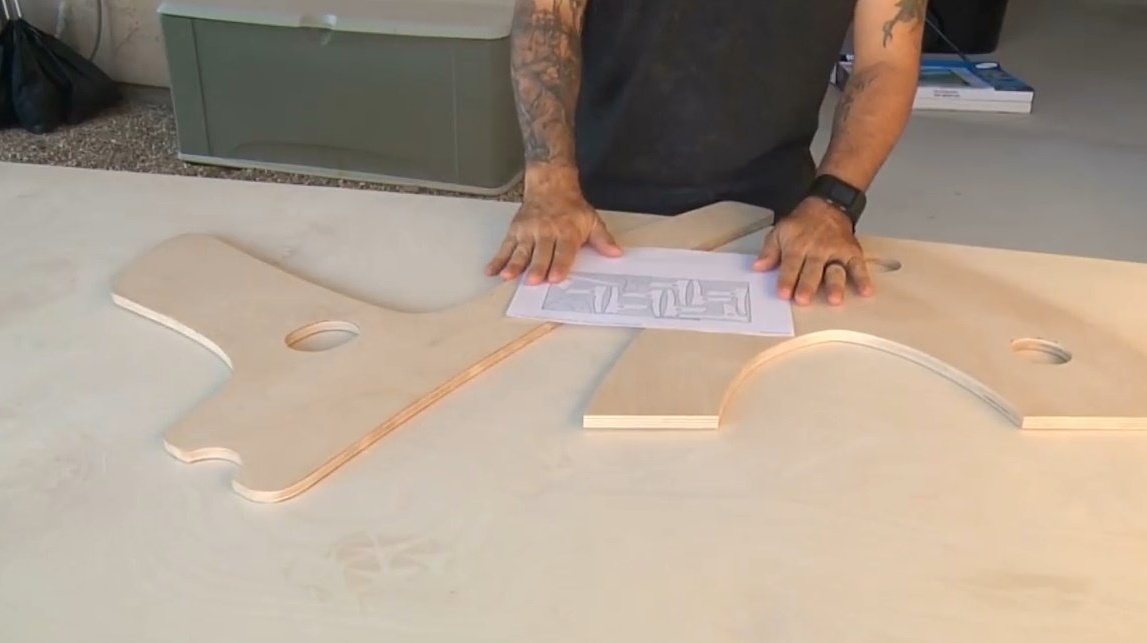
So to the point. We print two templates for the side and main parts. Then cut along the contour, and glue to the plywood.
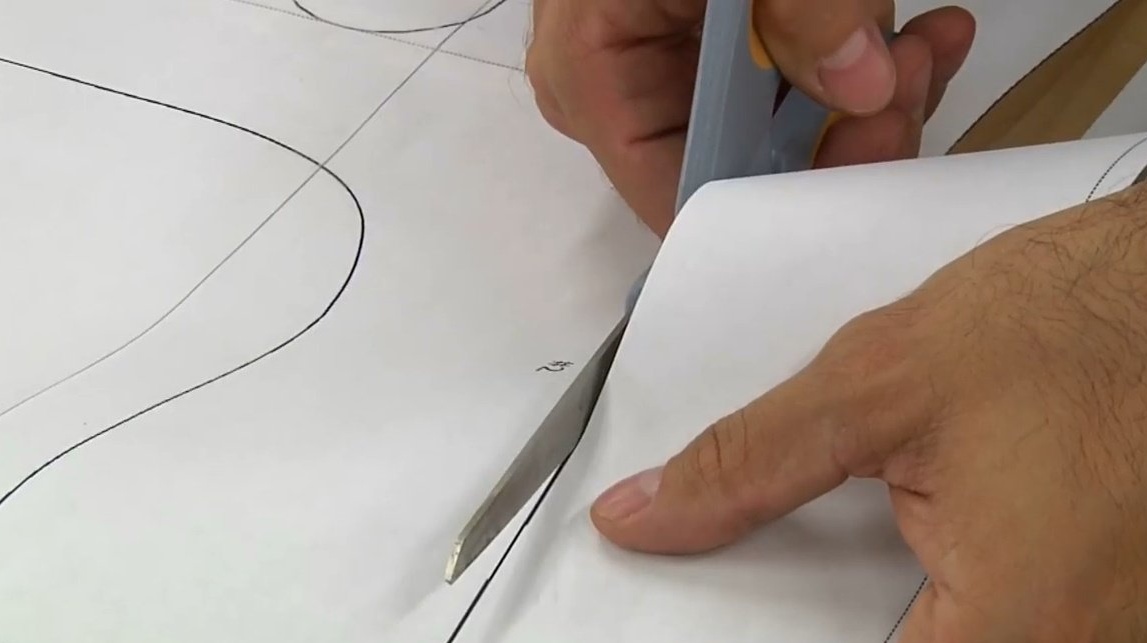

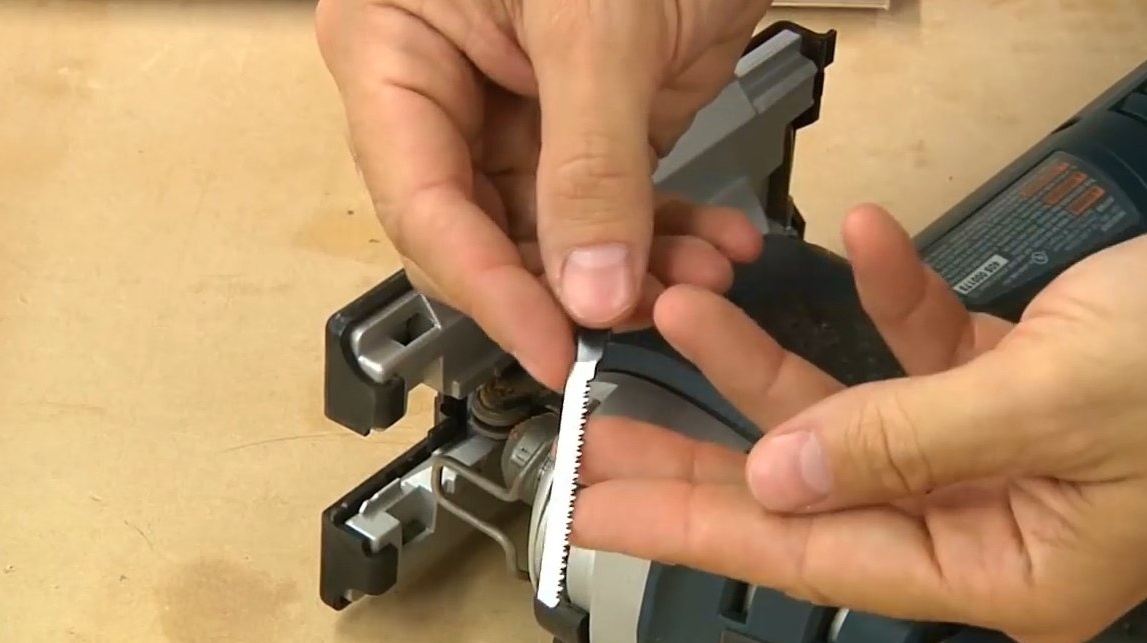
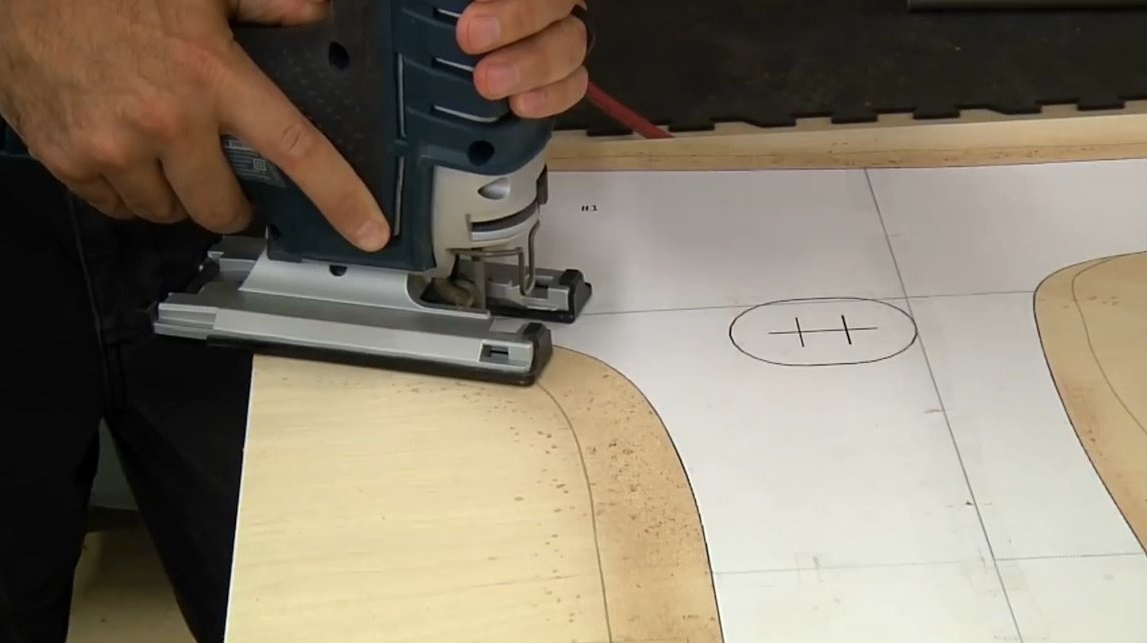
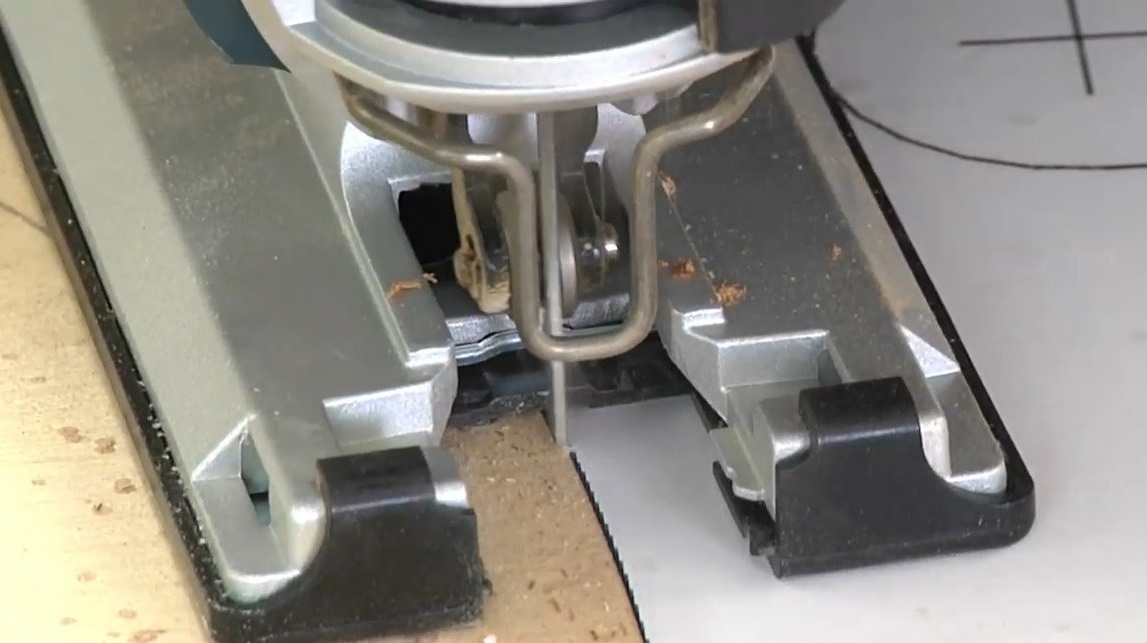
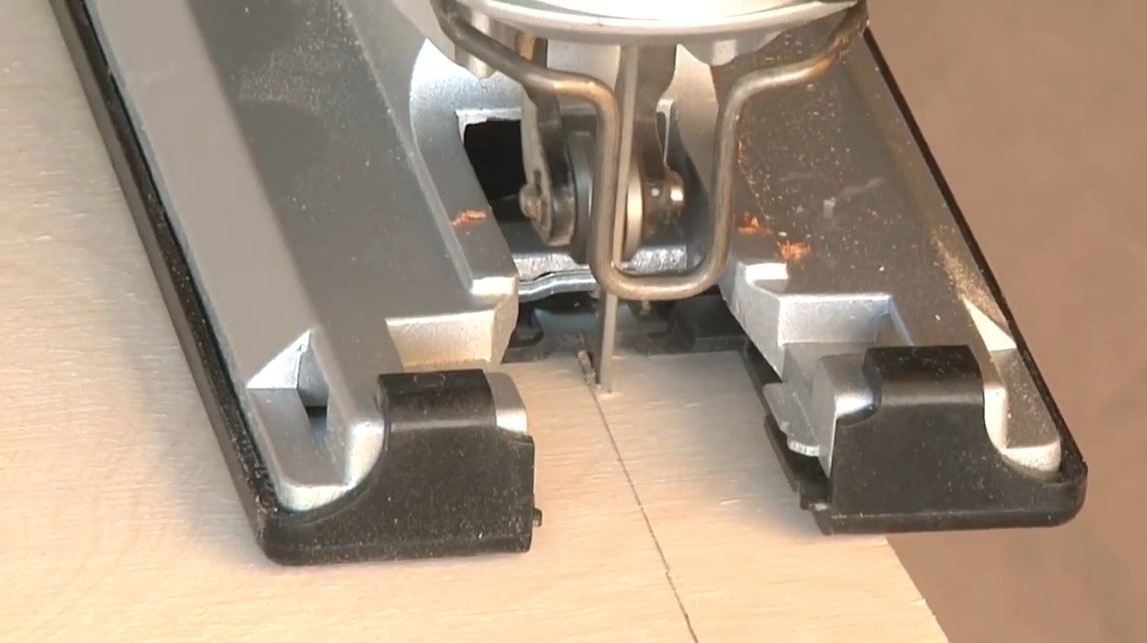
To cut the contour of the product we use a thin serrated blade for an electric jigsaw. We move as accurately as possible along the contour line of the paper template.
We clean everything with a file, a rasp or emery paper.
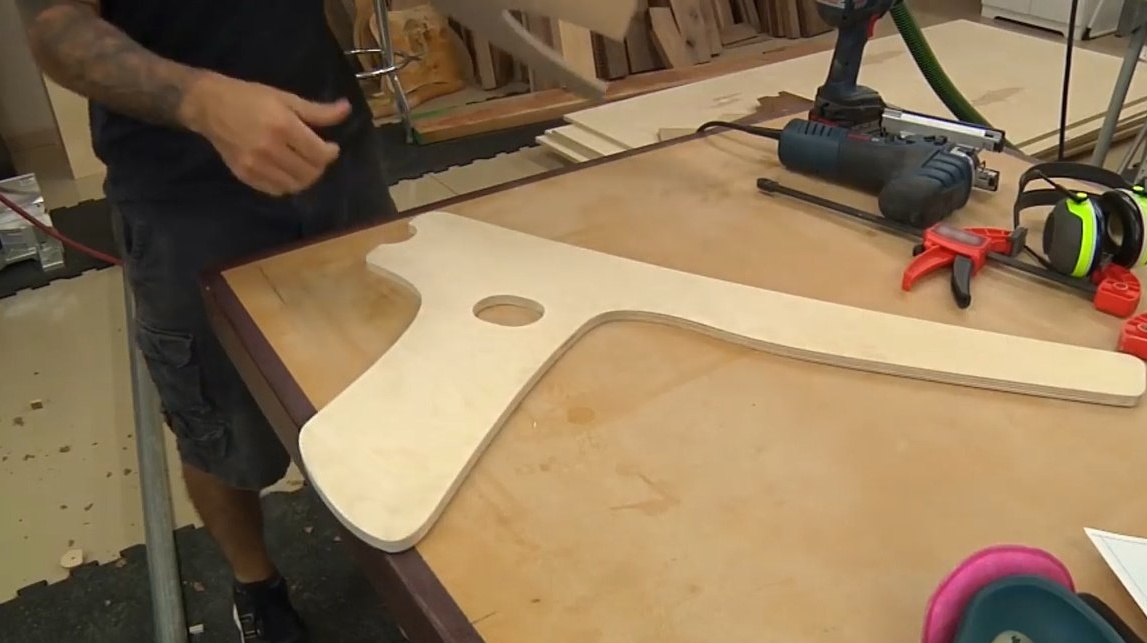
And now we have two ready-made templates.
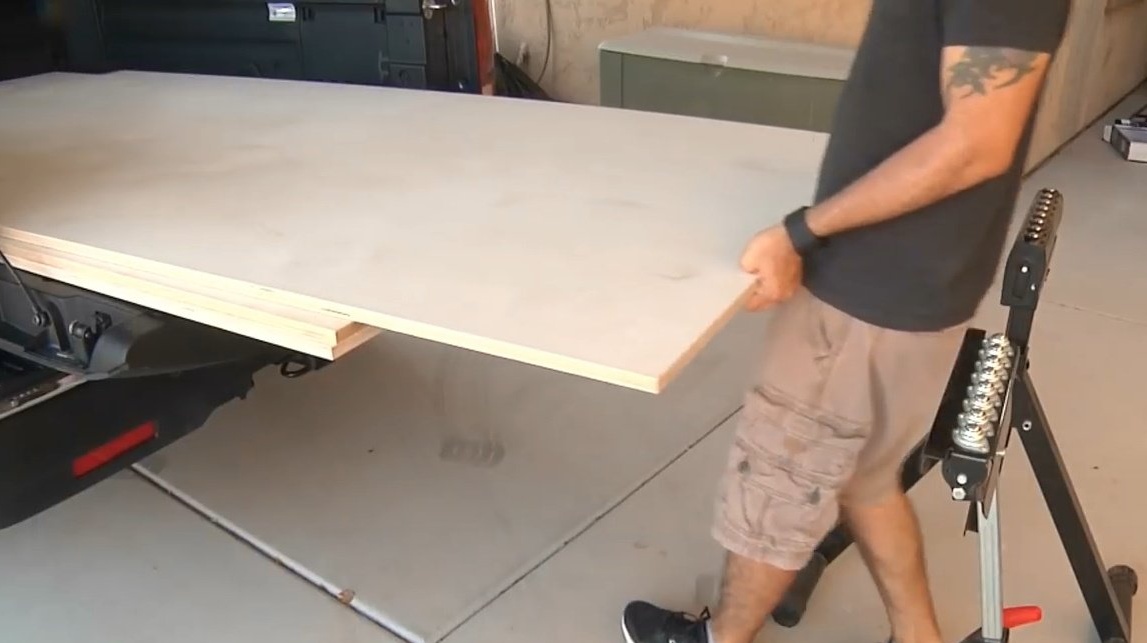
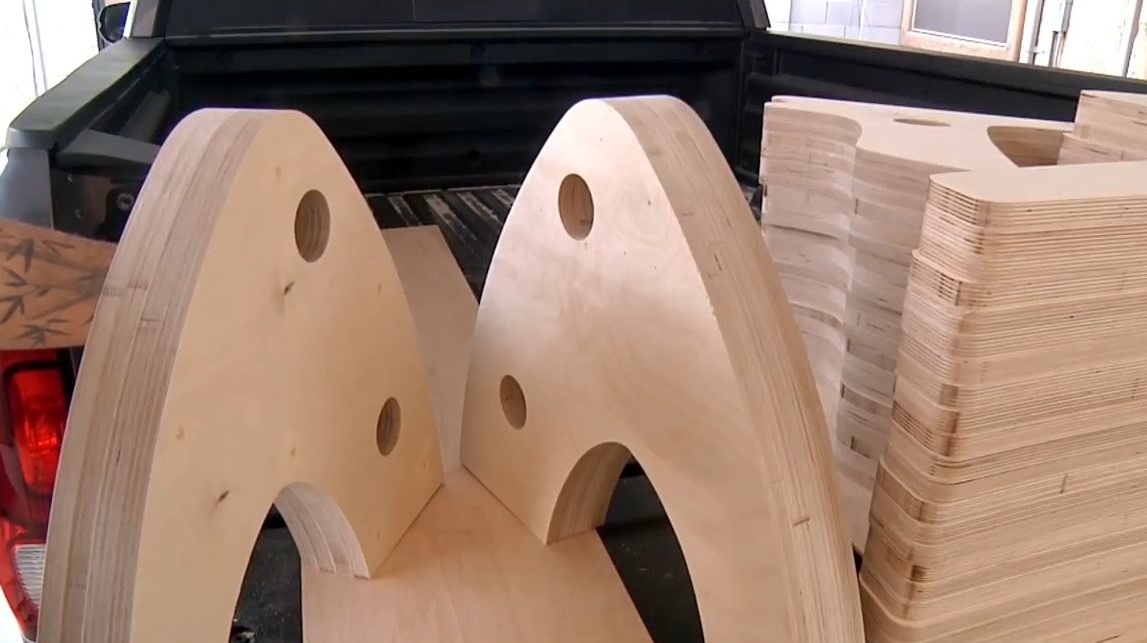
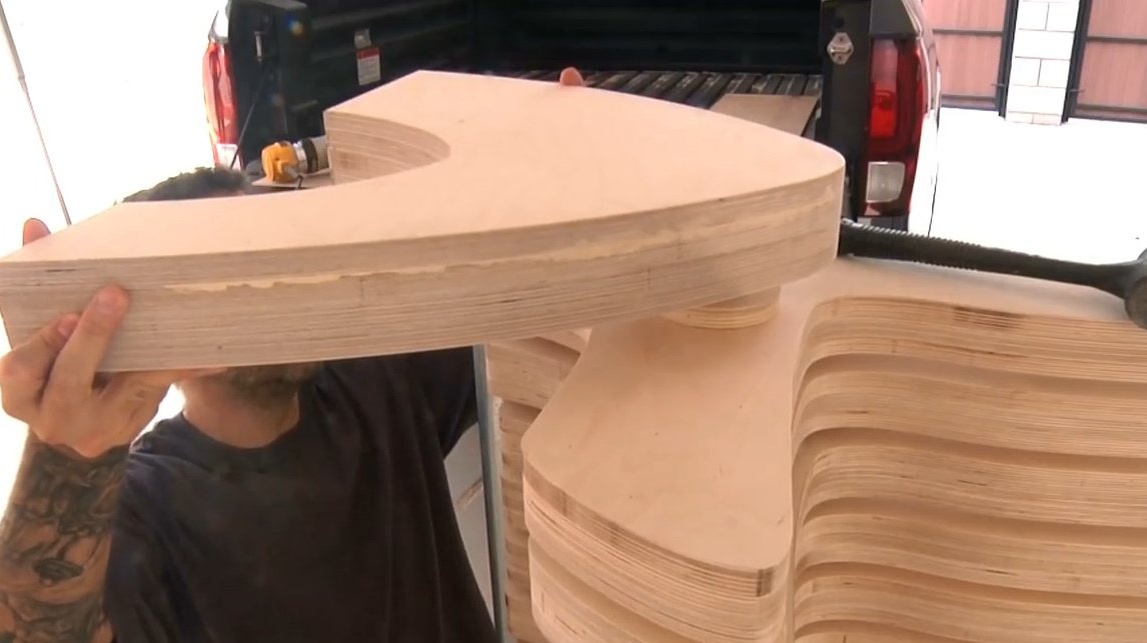
Ridgeline can hold four sheets of plywood, which is great because a project will require five plywood sheets.

Draw the shape of the template on a 3/4 inch thick plywood sheet according to the layout of the elements.
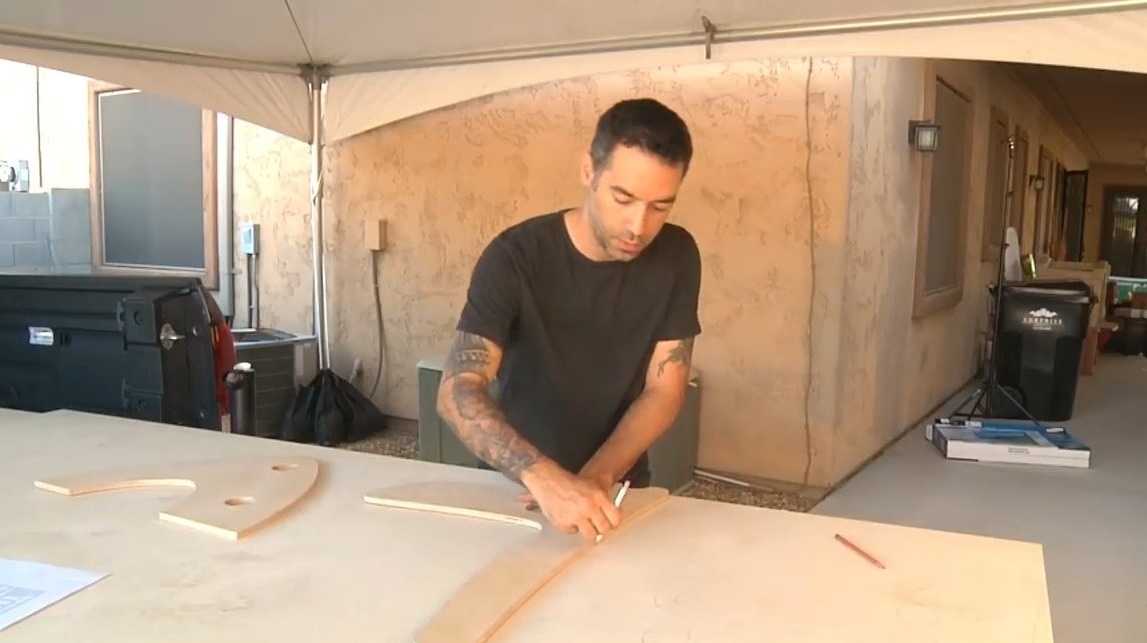
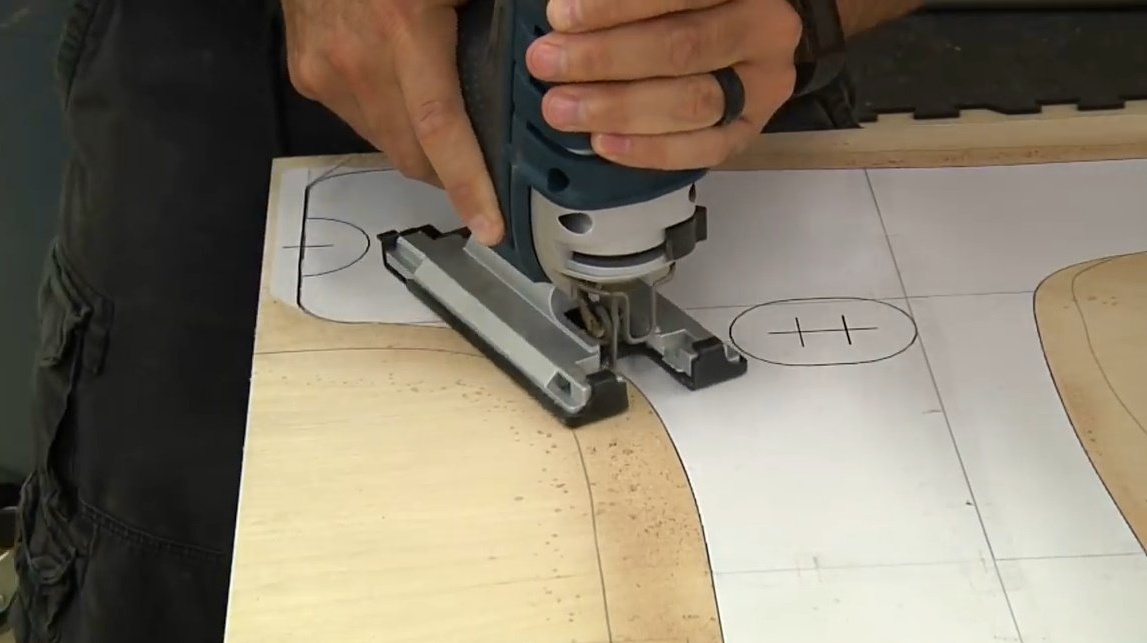
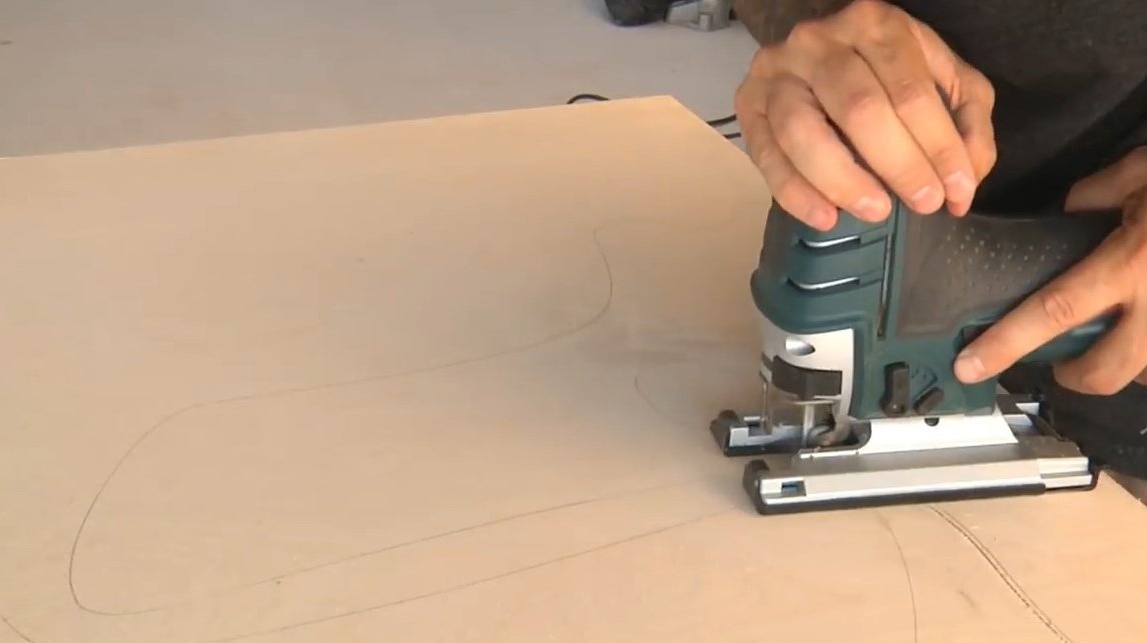
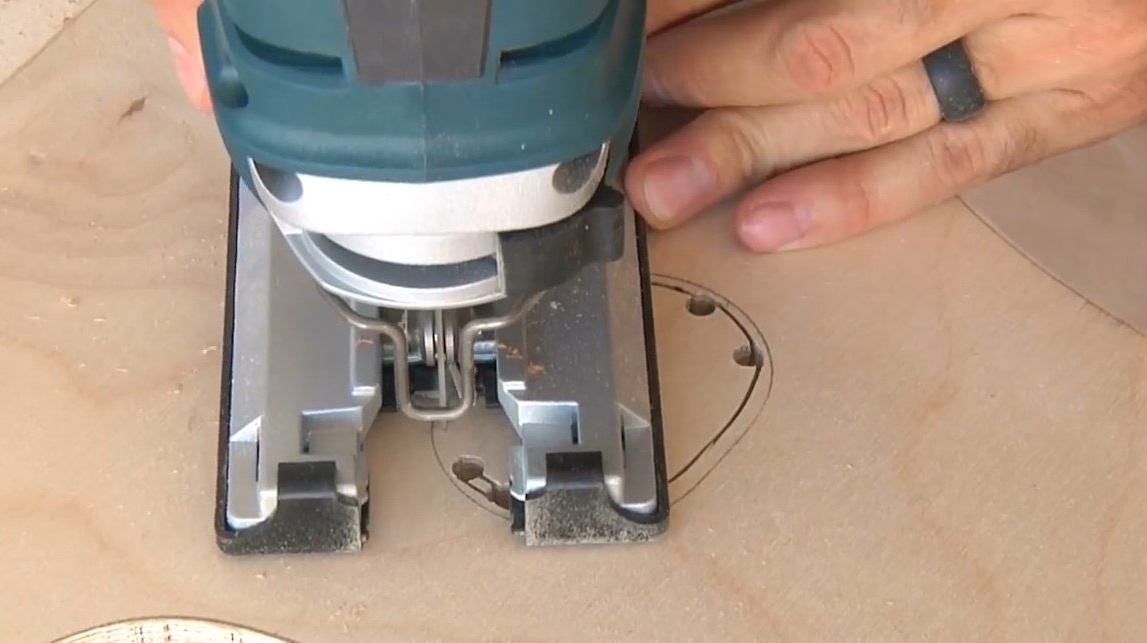
Roughly cut each element with a jigsaw. The Honda Ridgeline is a great place to deploy a project.

When cutting the final / final segments, make sure that at least two of them remain solid, without holes. Why - the author will tell later.
It will take 45 L-shaped parts and another 8 for the side supports. This is really a lot of work.And it's time to invite friends, but on one condition: if they know how to use a jigsaw and bring along pizza.

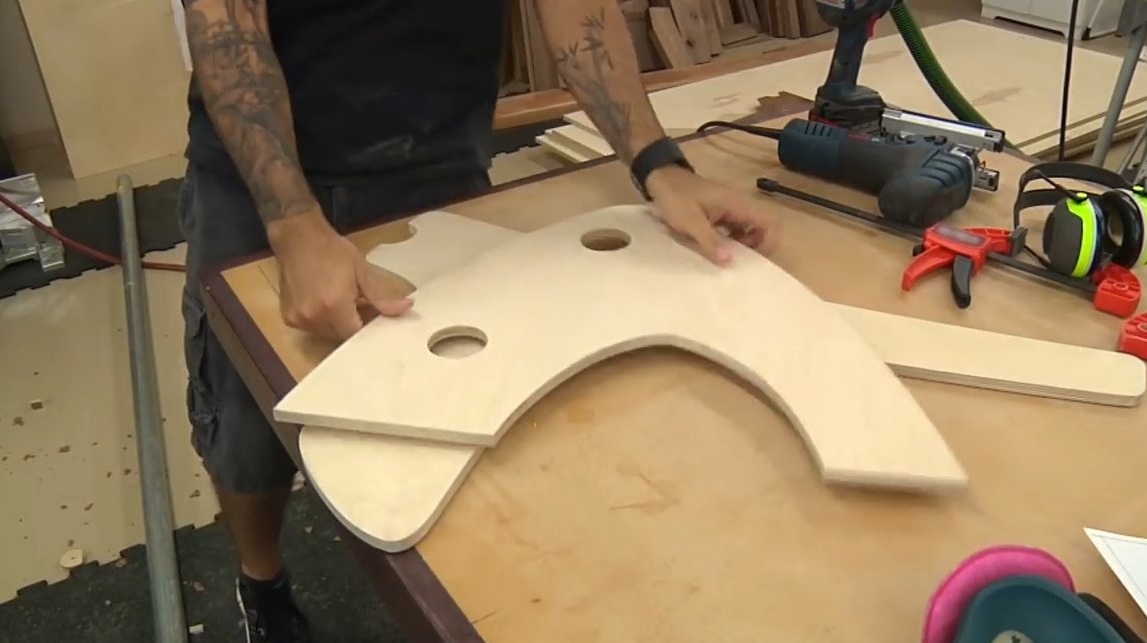
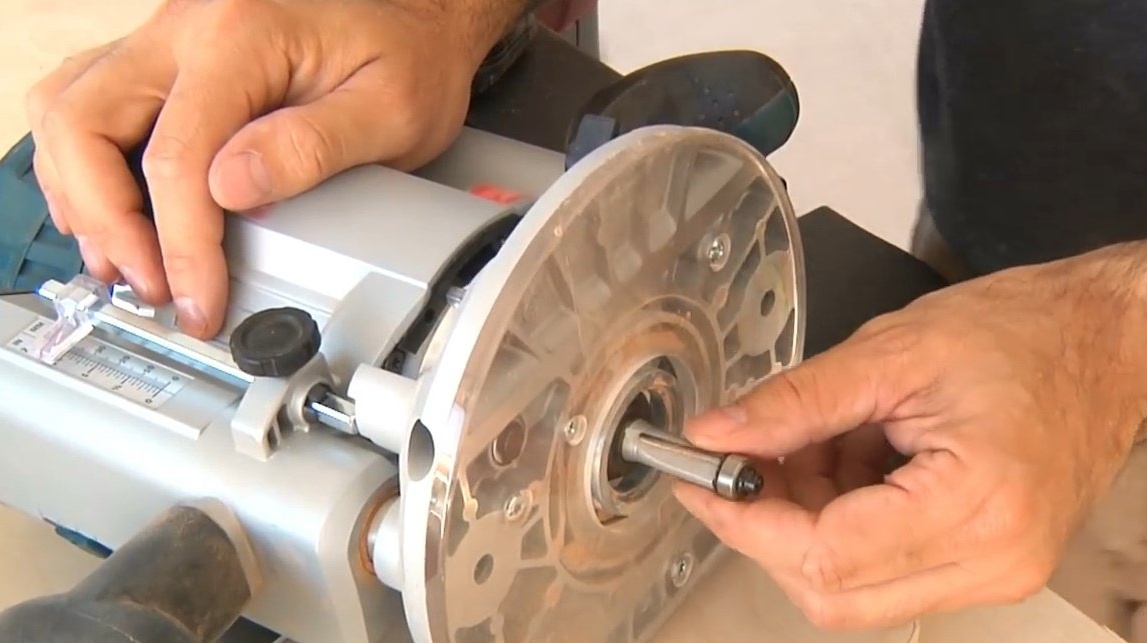
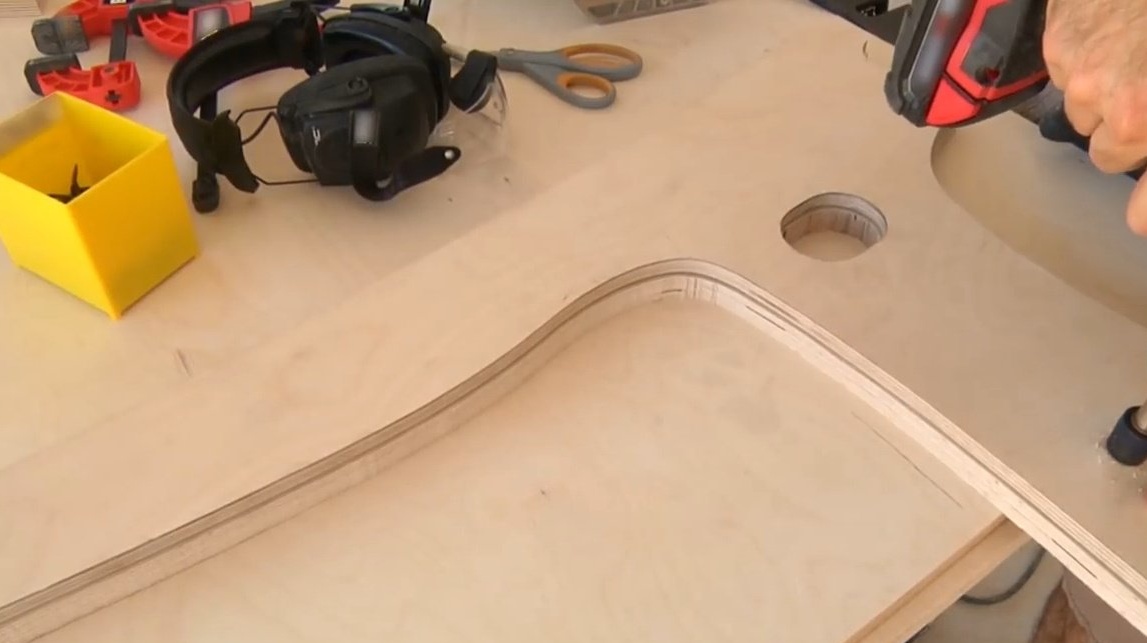
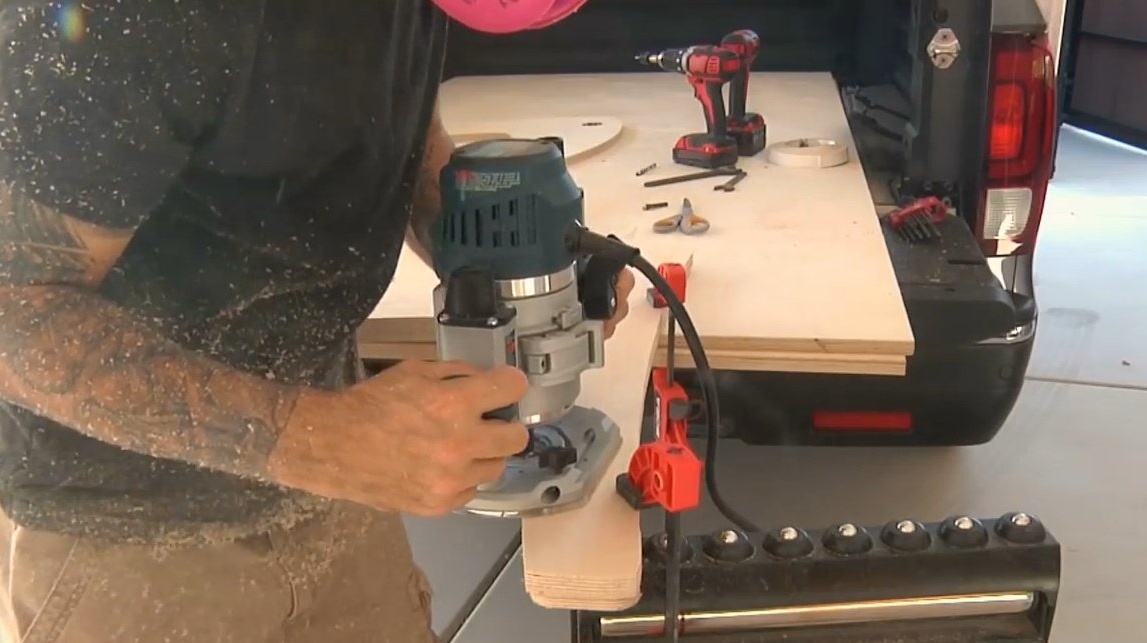
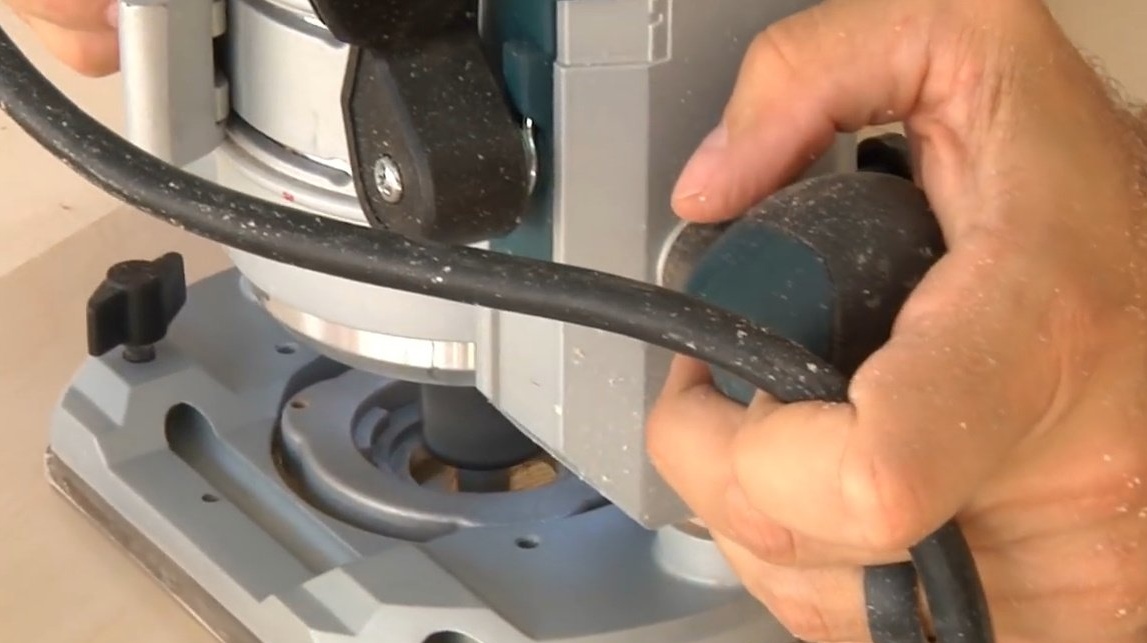
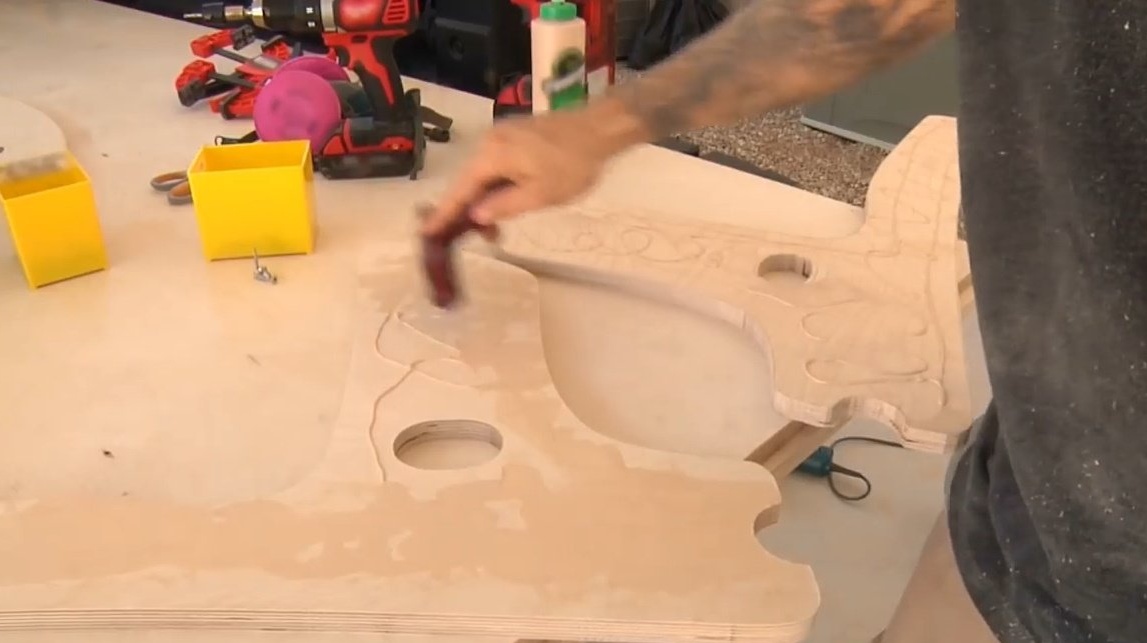
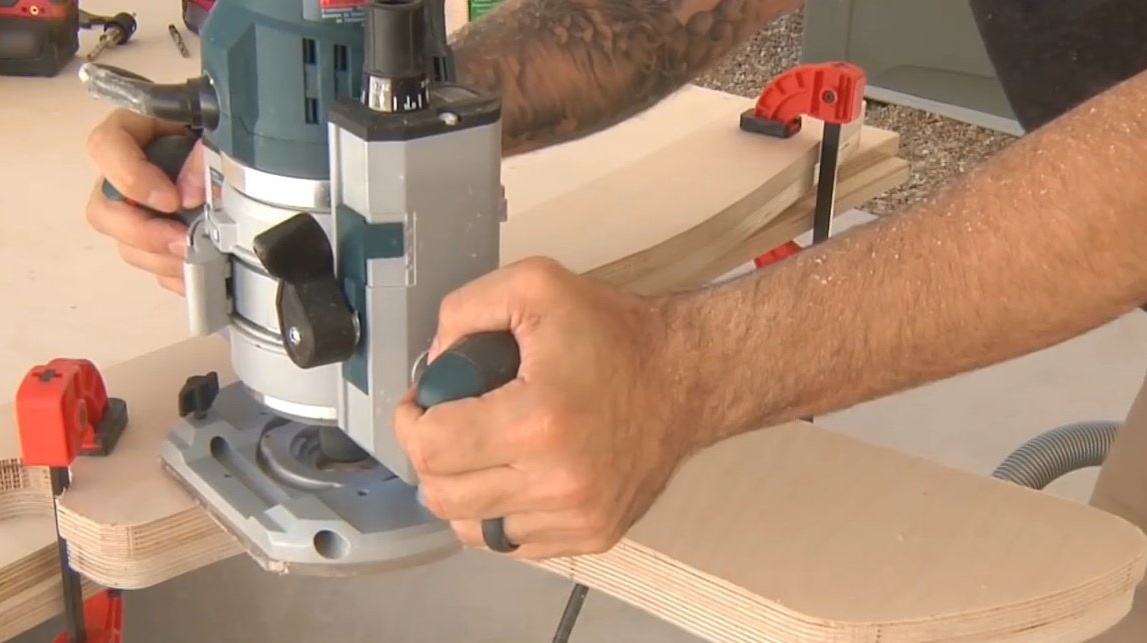
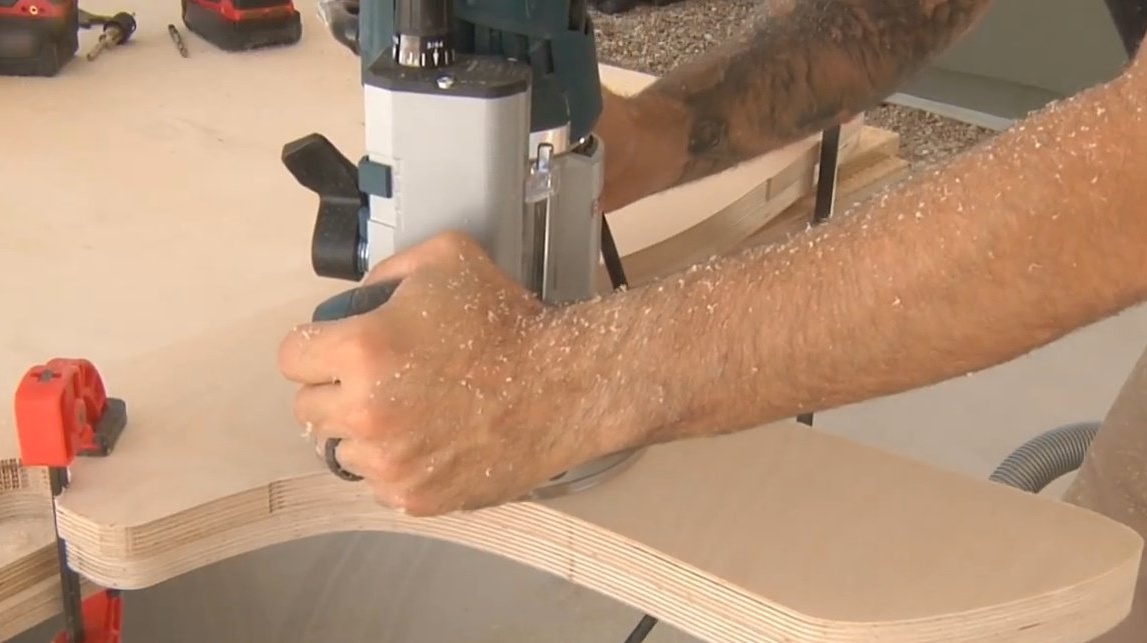
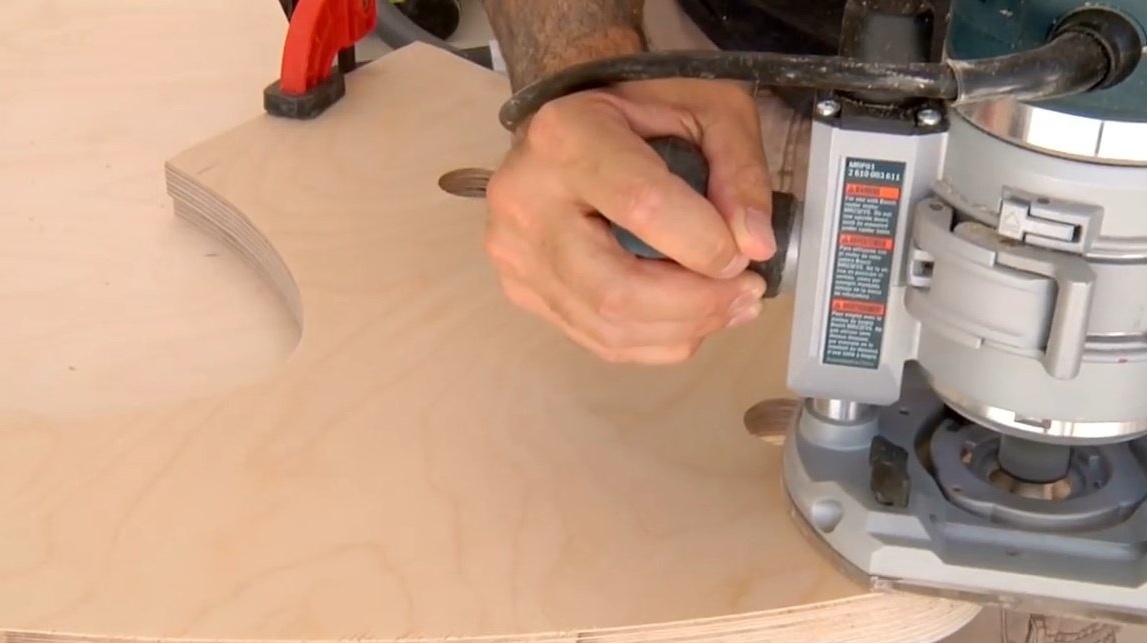
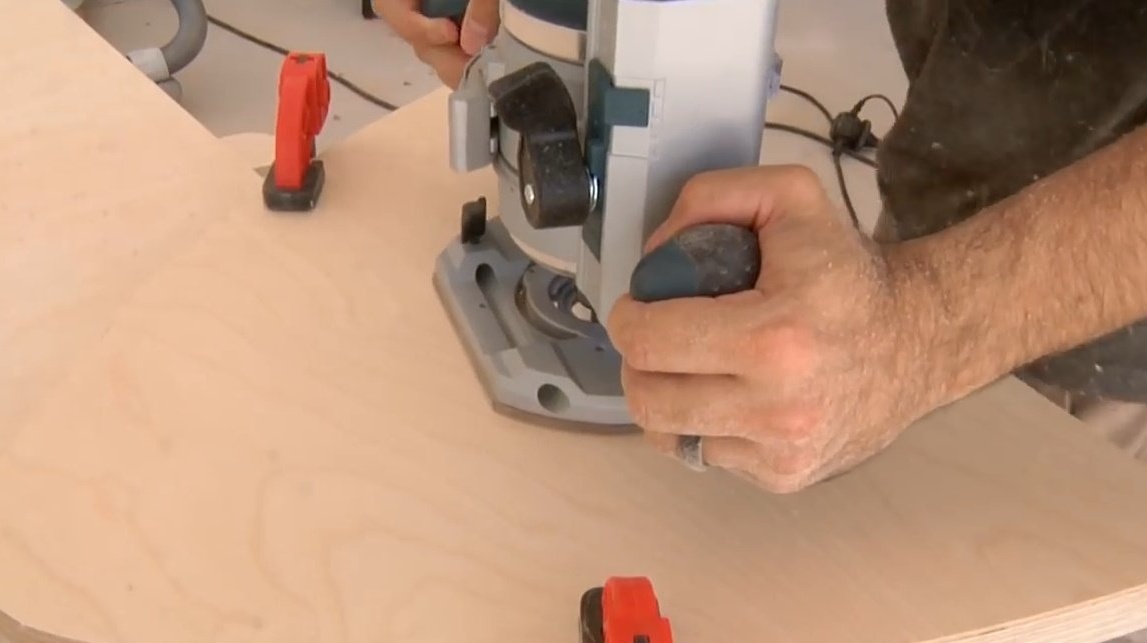
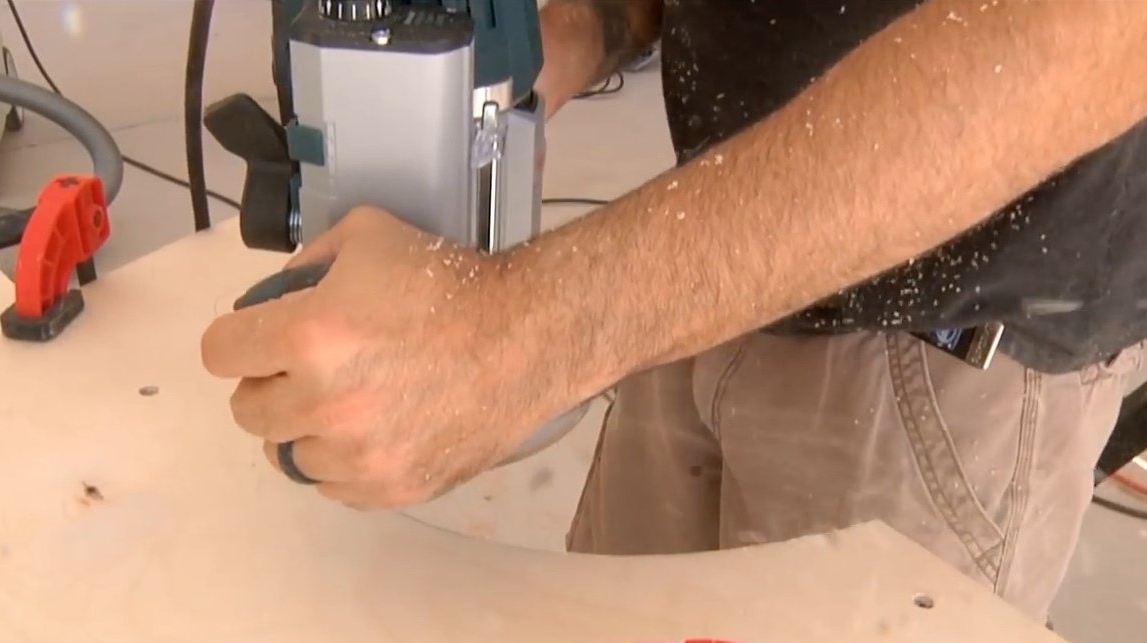
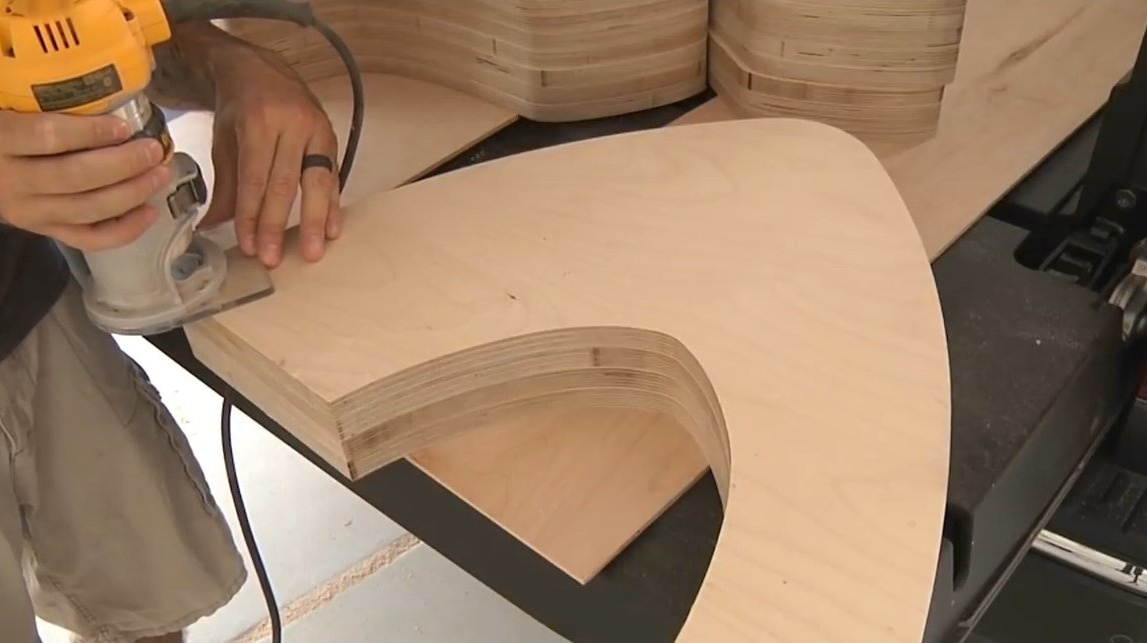
To finalize the details, we use a milling cutter and a milling cutter with a thrust bearing.
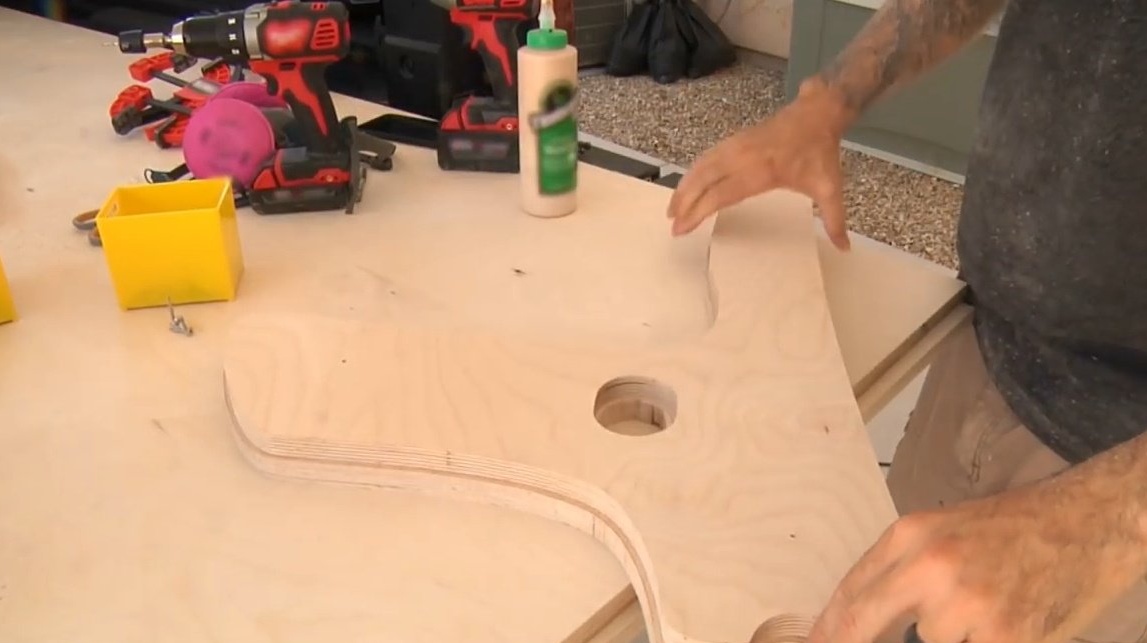
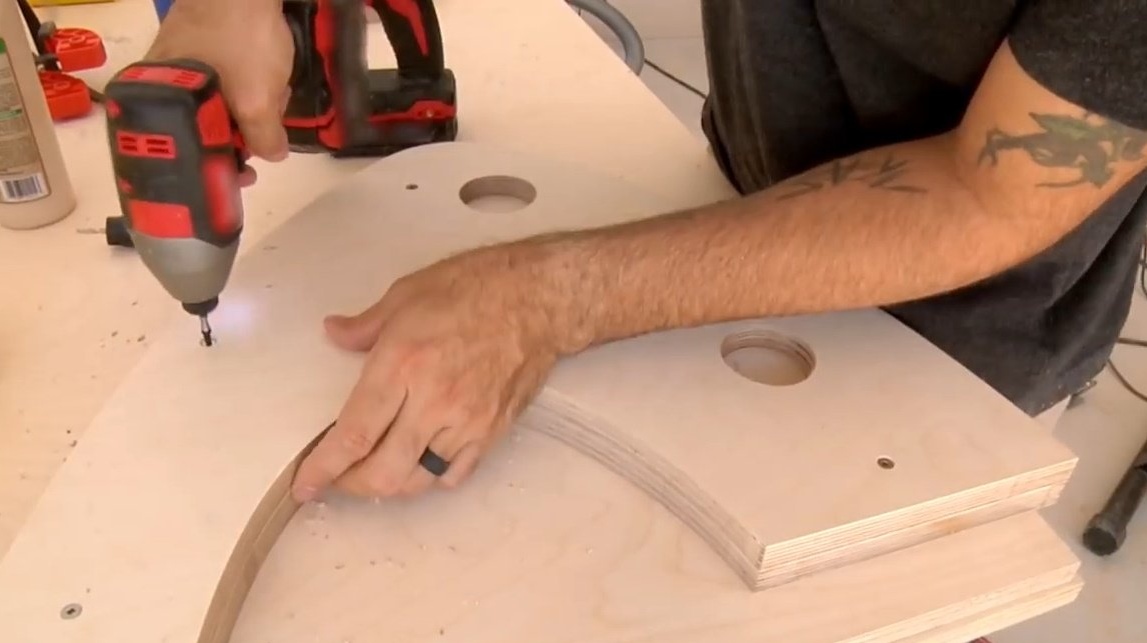
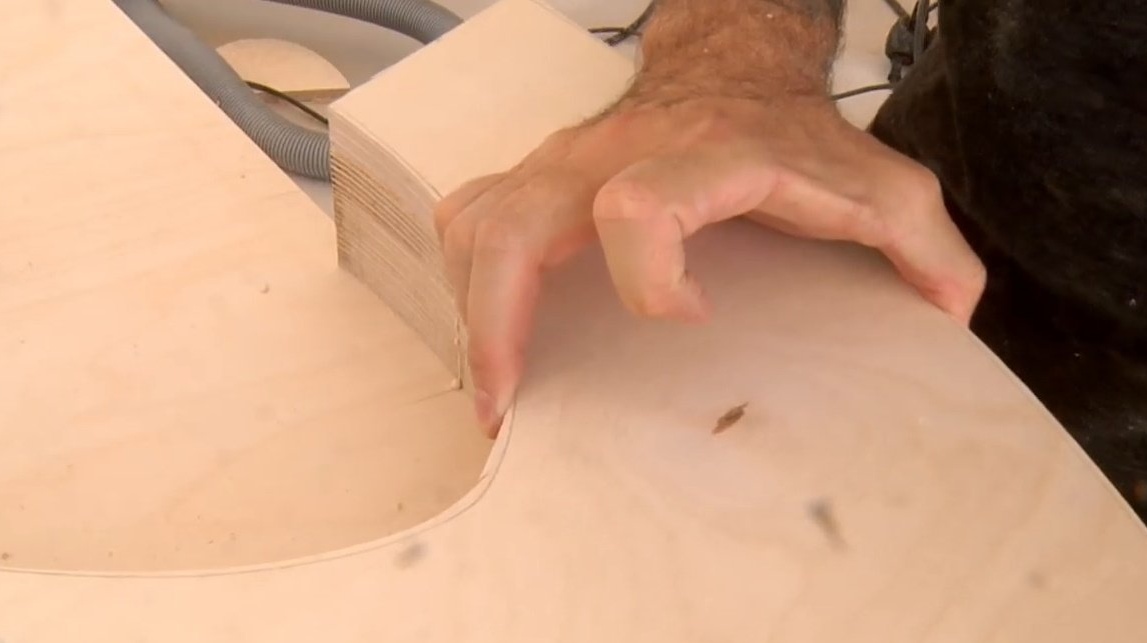
We fasten the template with one of the working segments with the help of several countersunk screws.
Putting the part with the template down, we mill the edges, removing excess material, exactly repeating the outline of the template. We only need a template for the first milling circle.
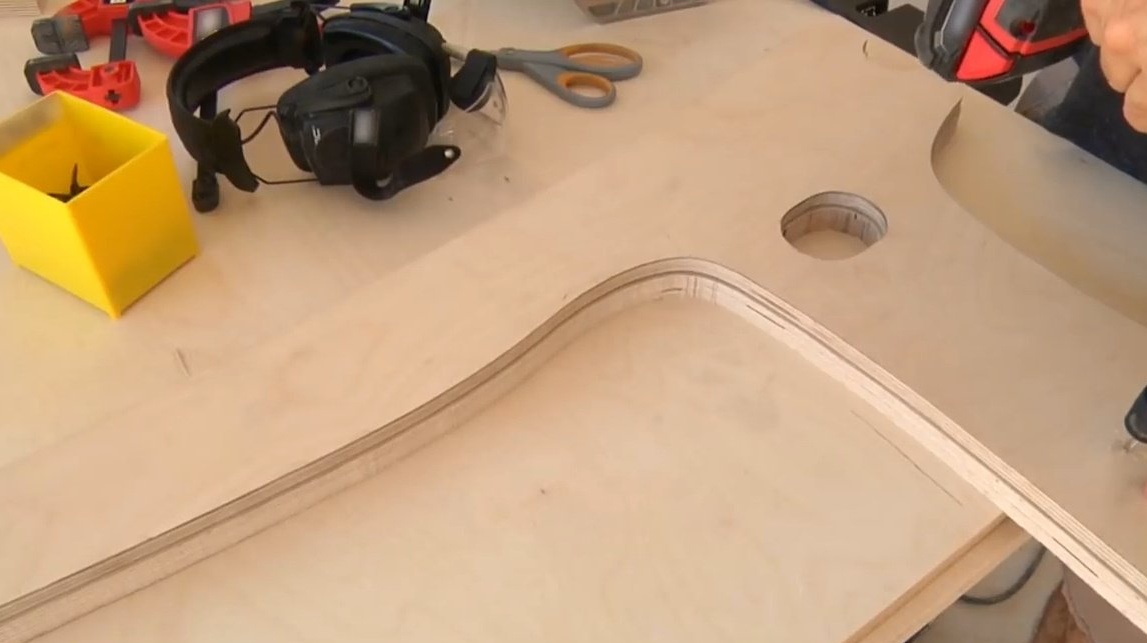

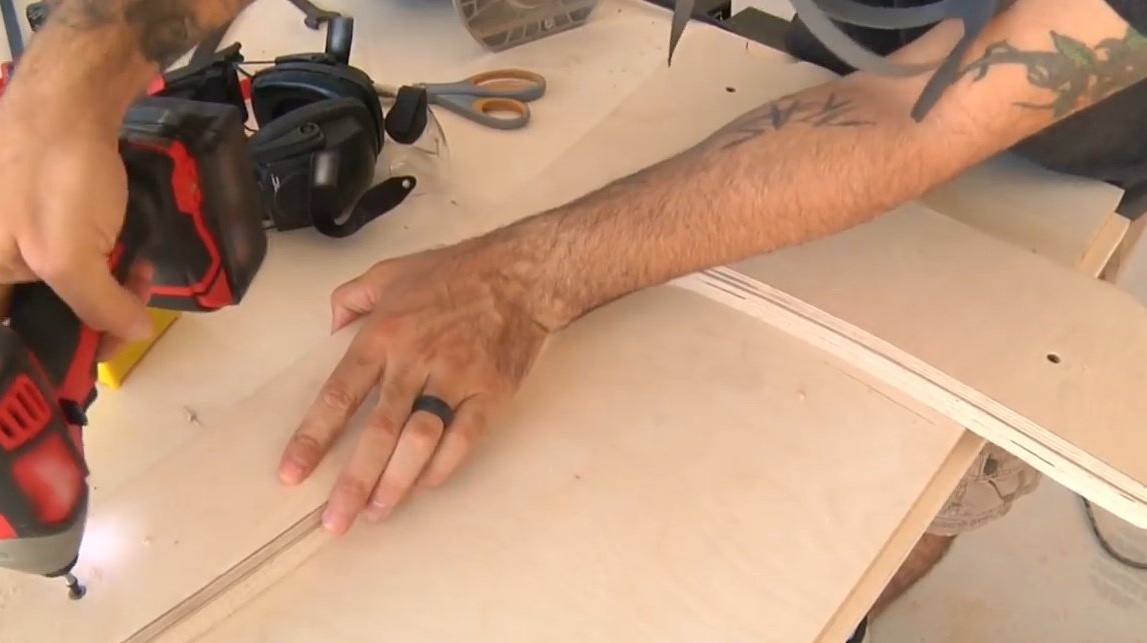


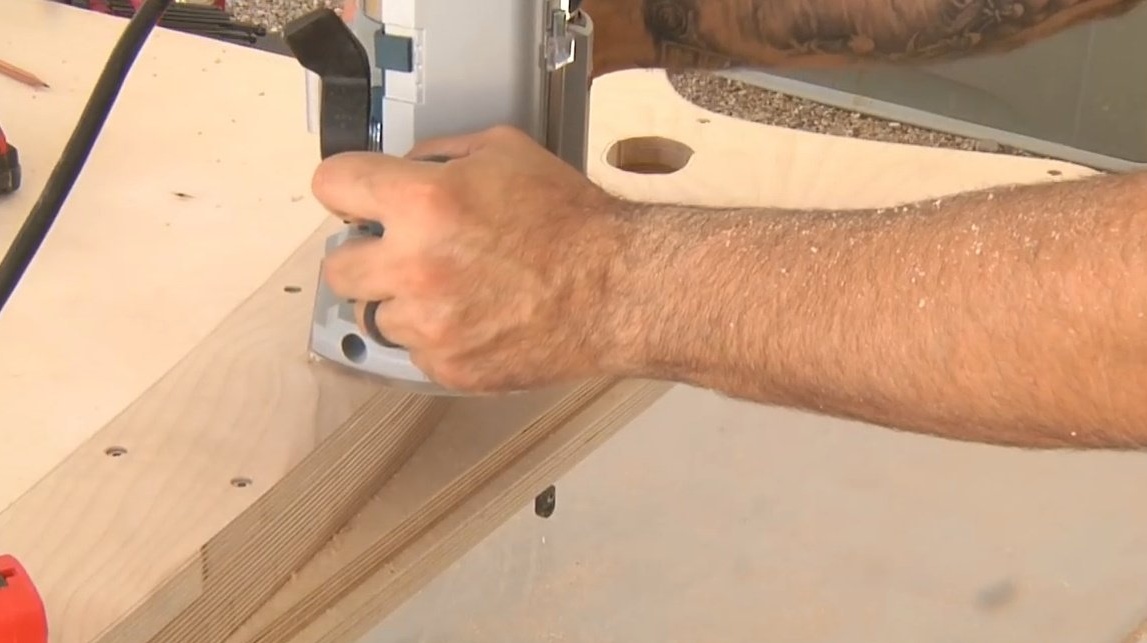
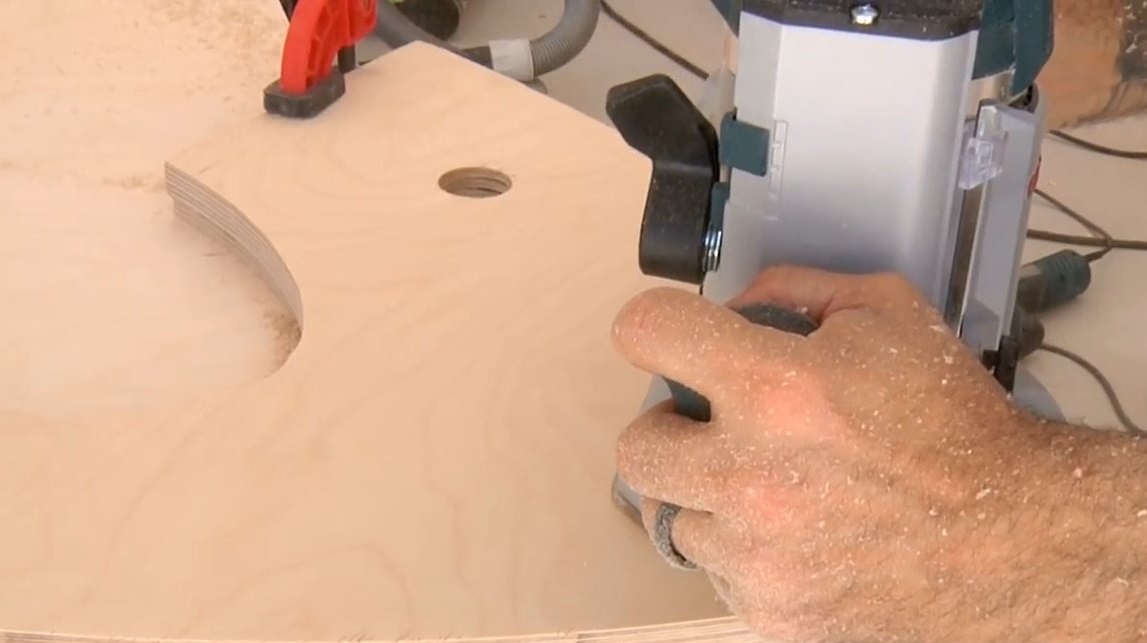
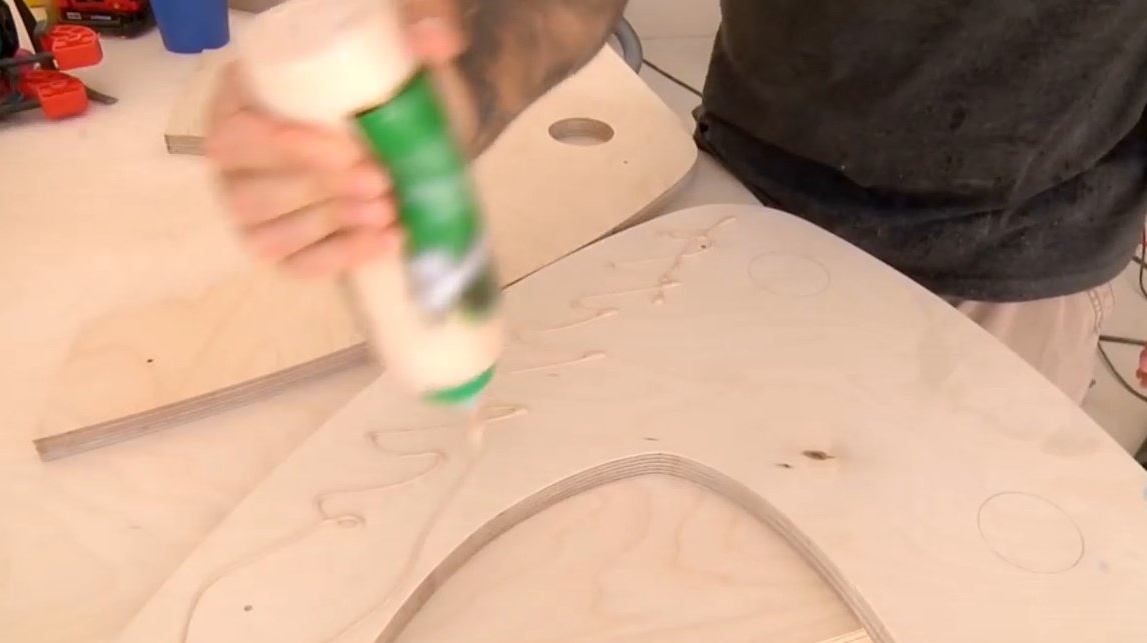
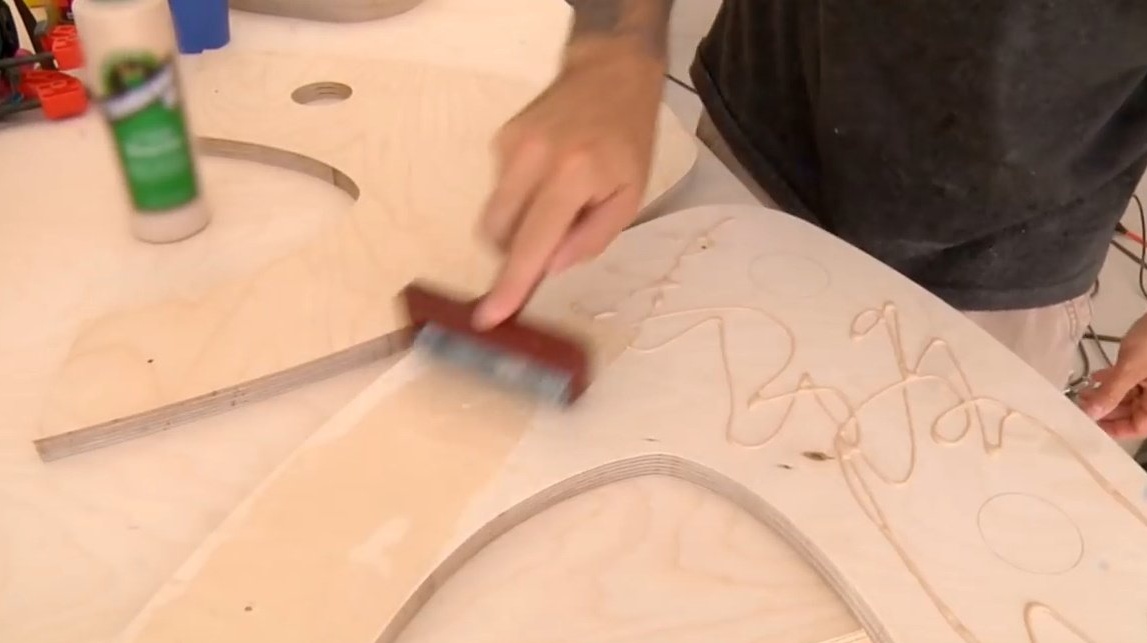
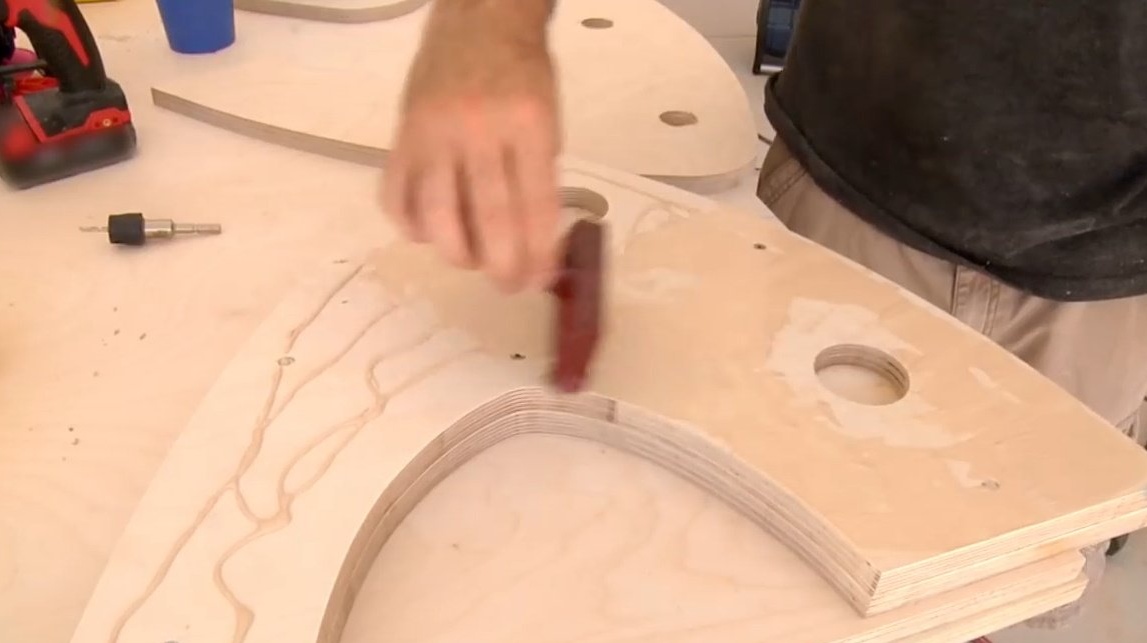
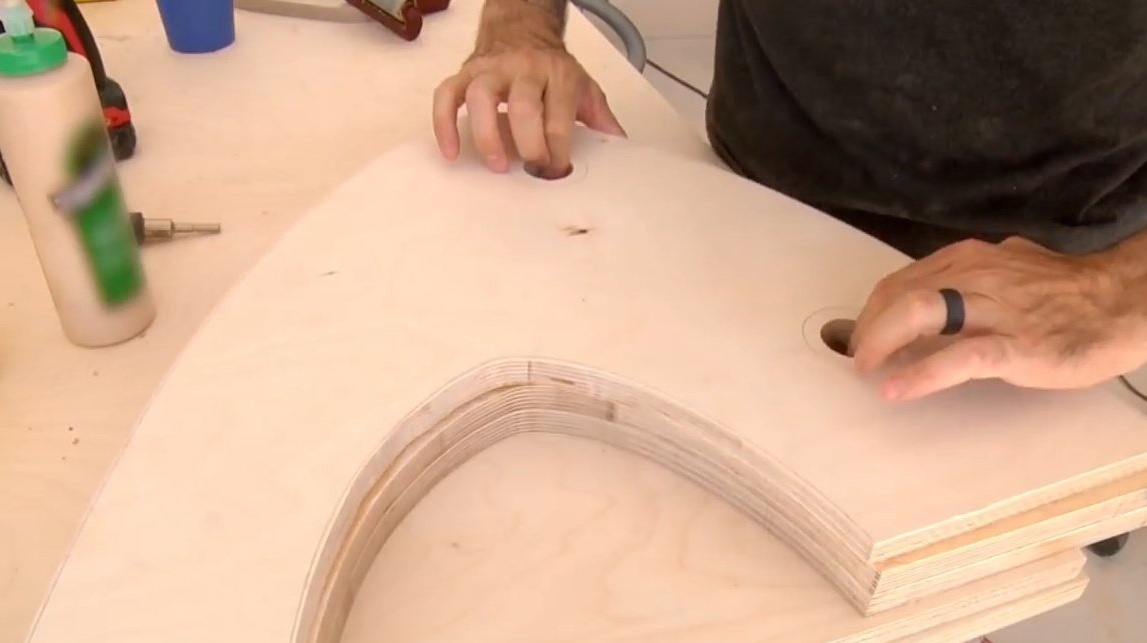
We glue the newly milled part to another unprocessed part and screw in countersunk screws. Turn the structure over to the other side and continue to mill.
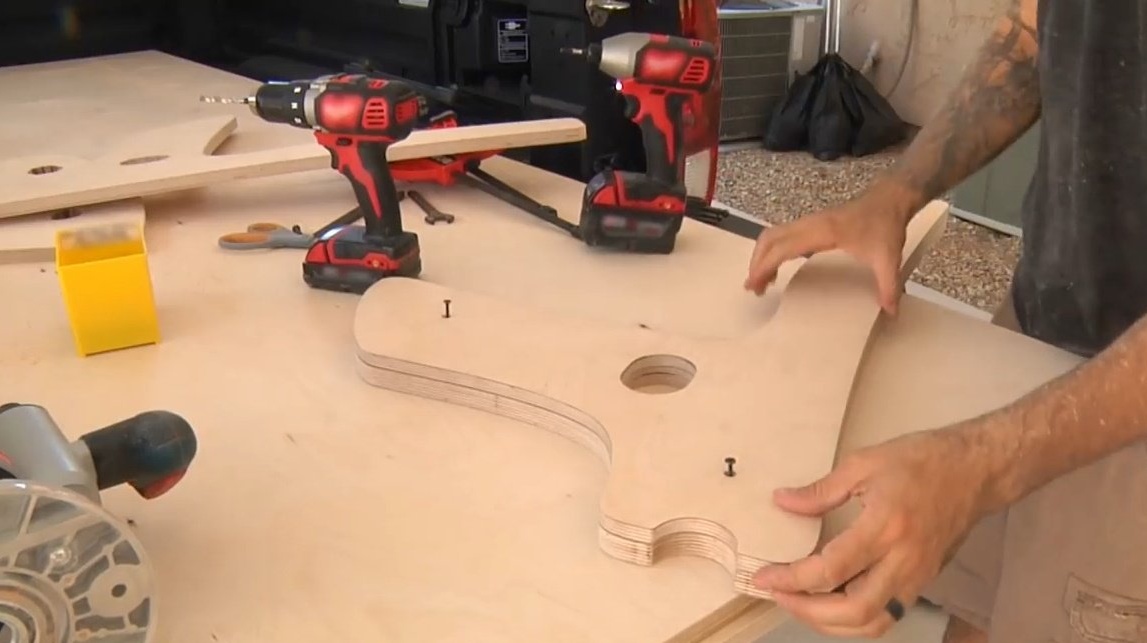
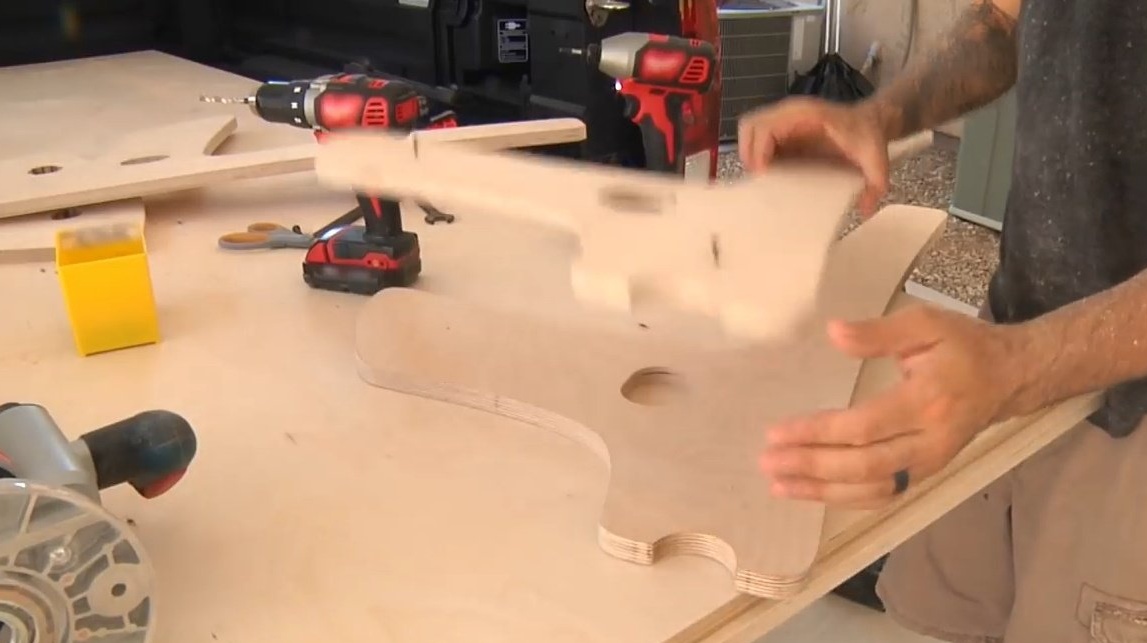
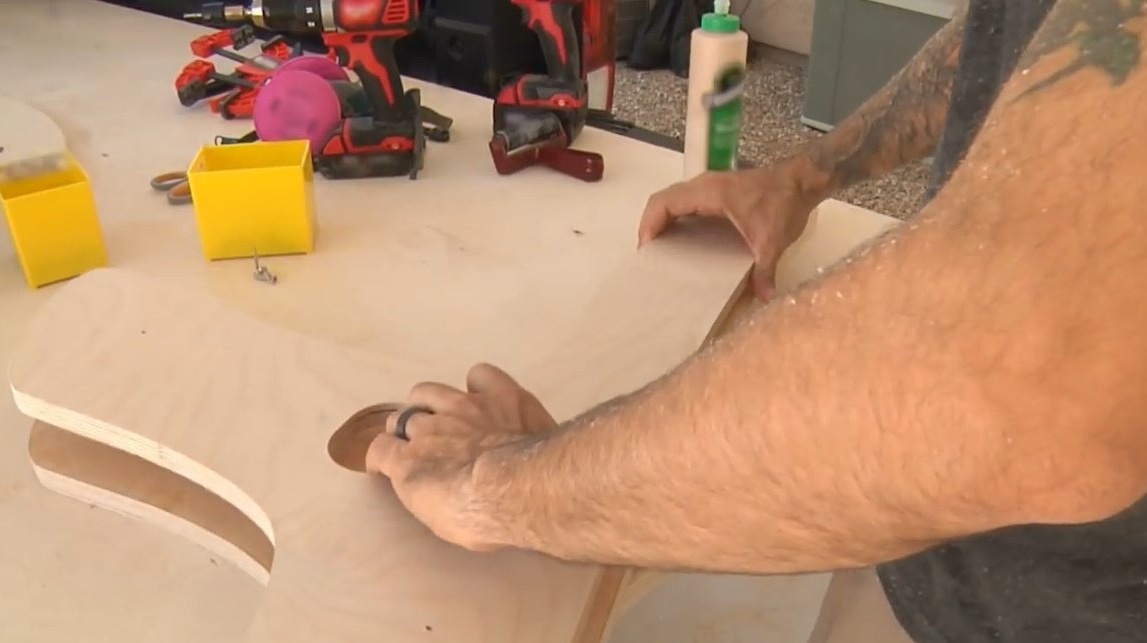
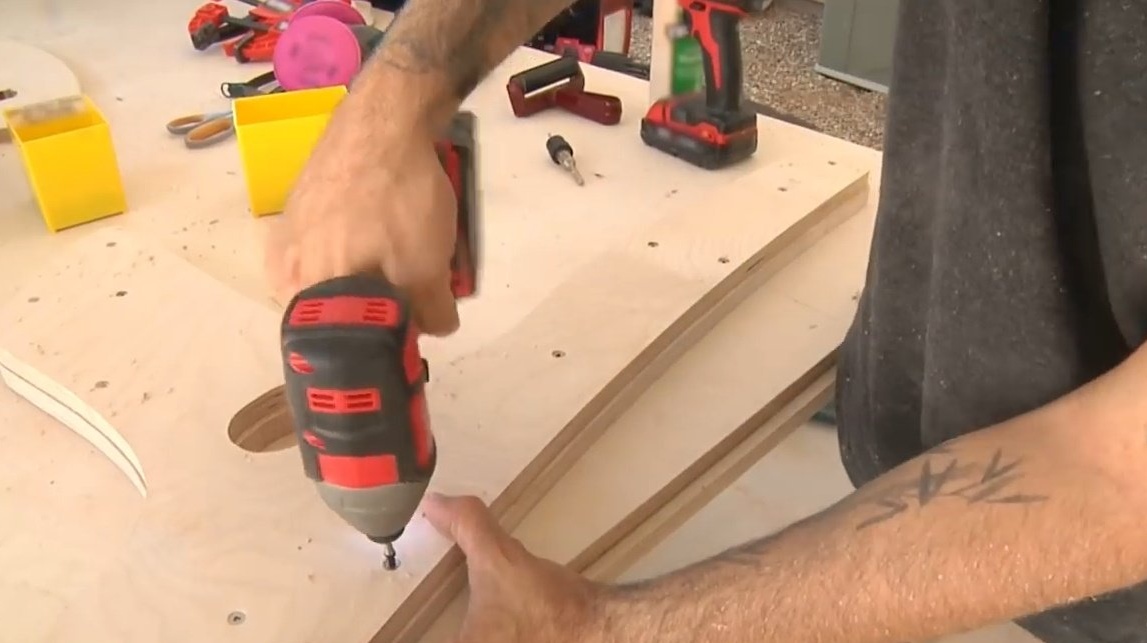
Now we add one more untreated element and put it on the side on which the hats of the screws go, and again we glue it to the structure and screw it with screws. Re-milling.
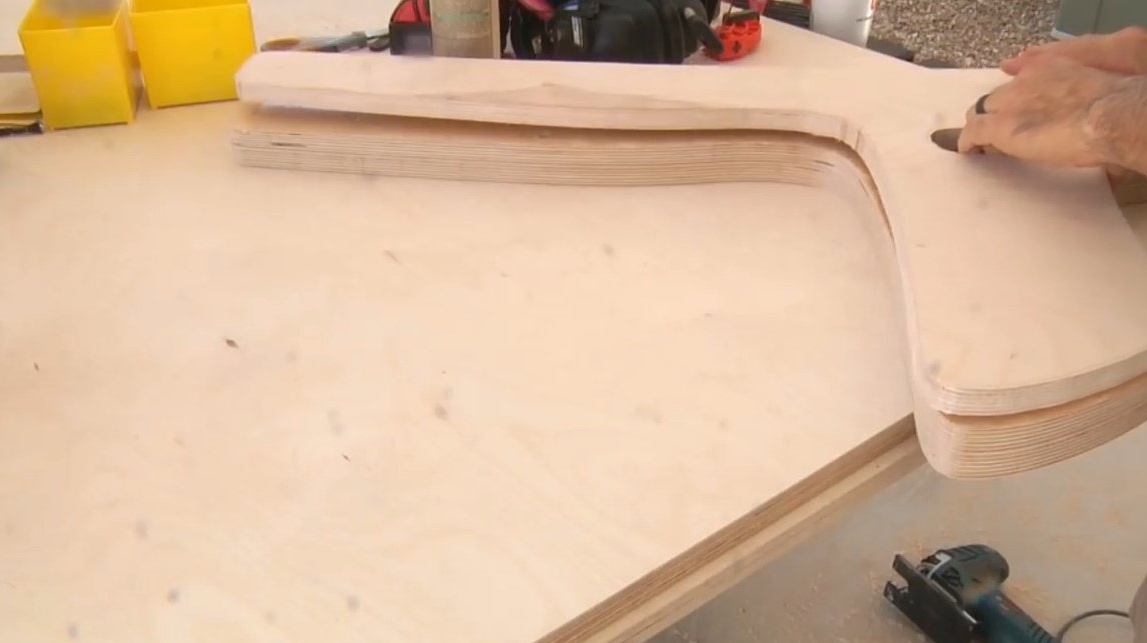

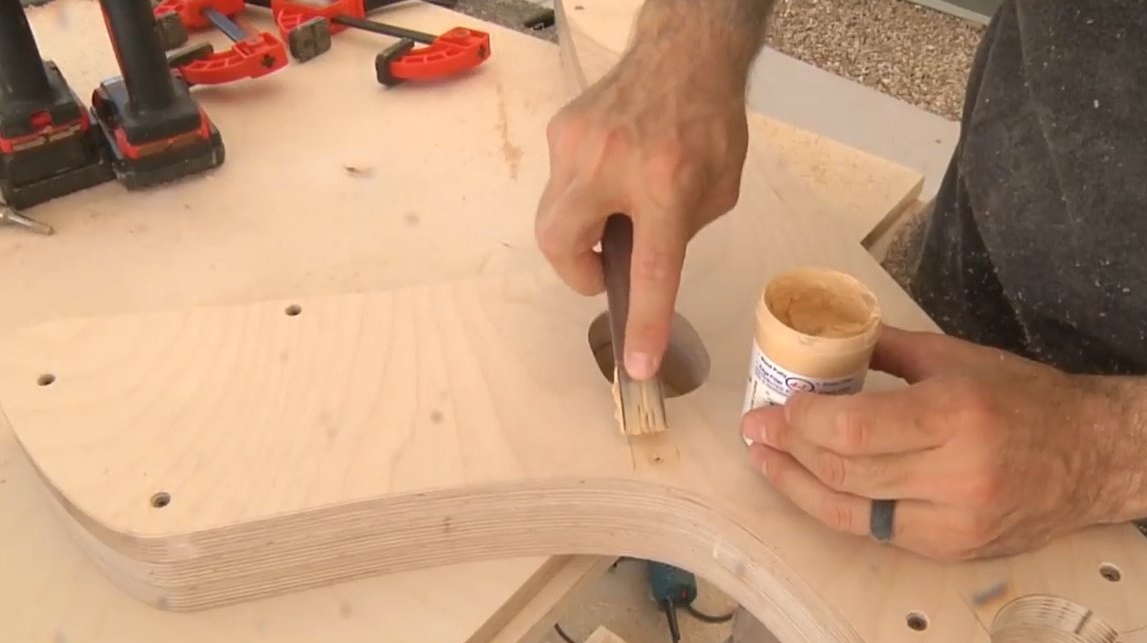
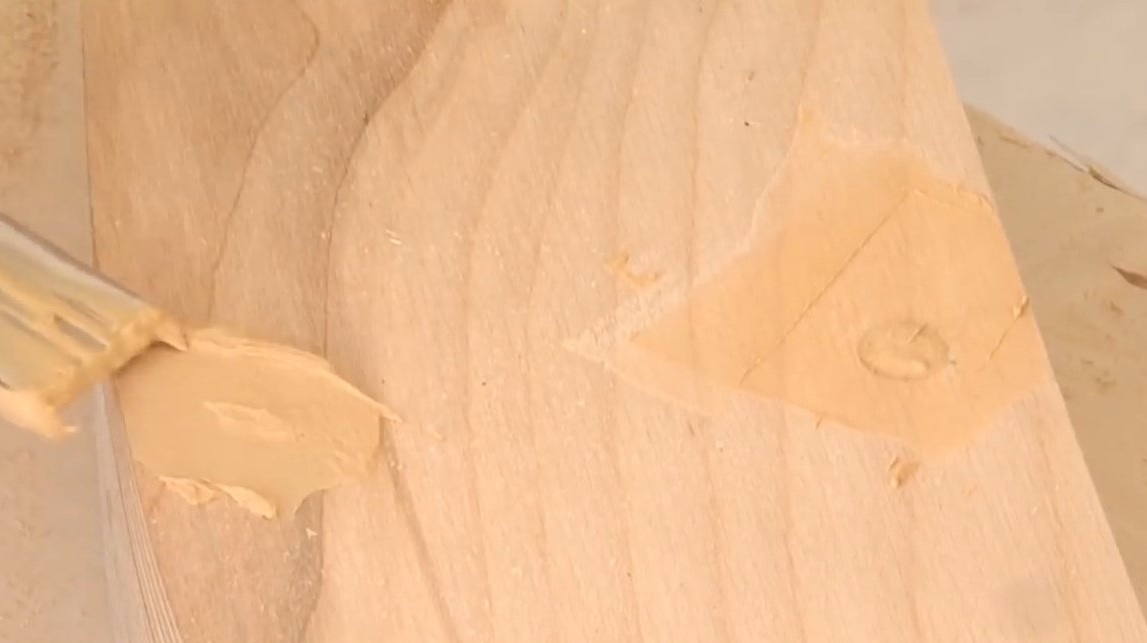
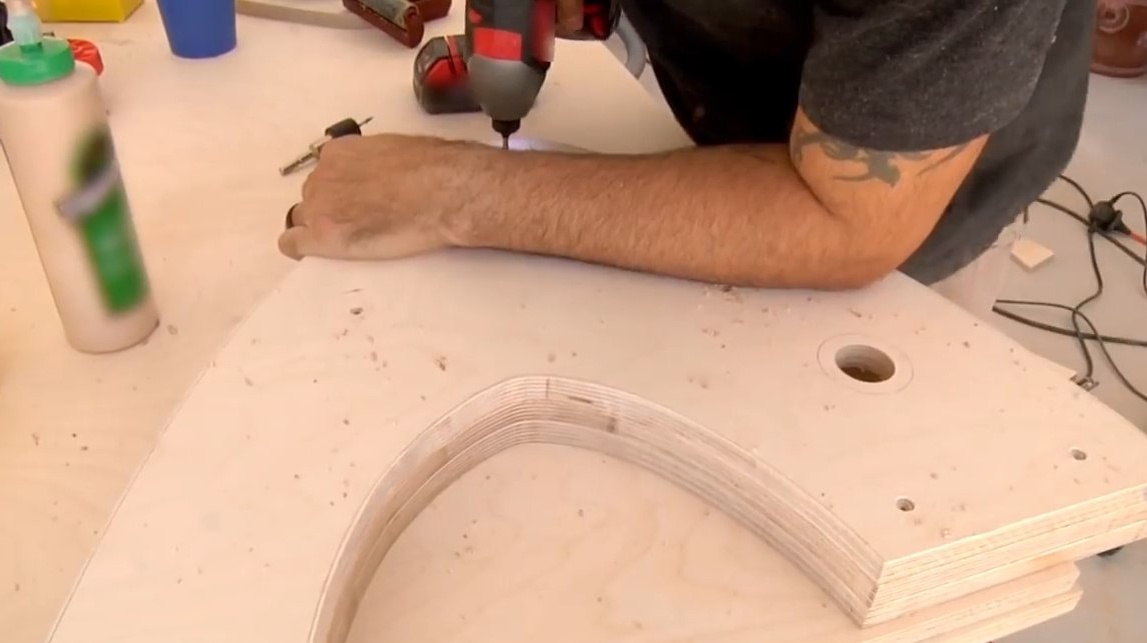
We close the hats of the screws with putty. And one of the 15 elements of the seat is ready.
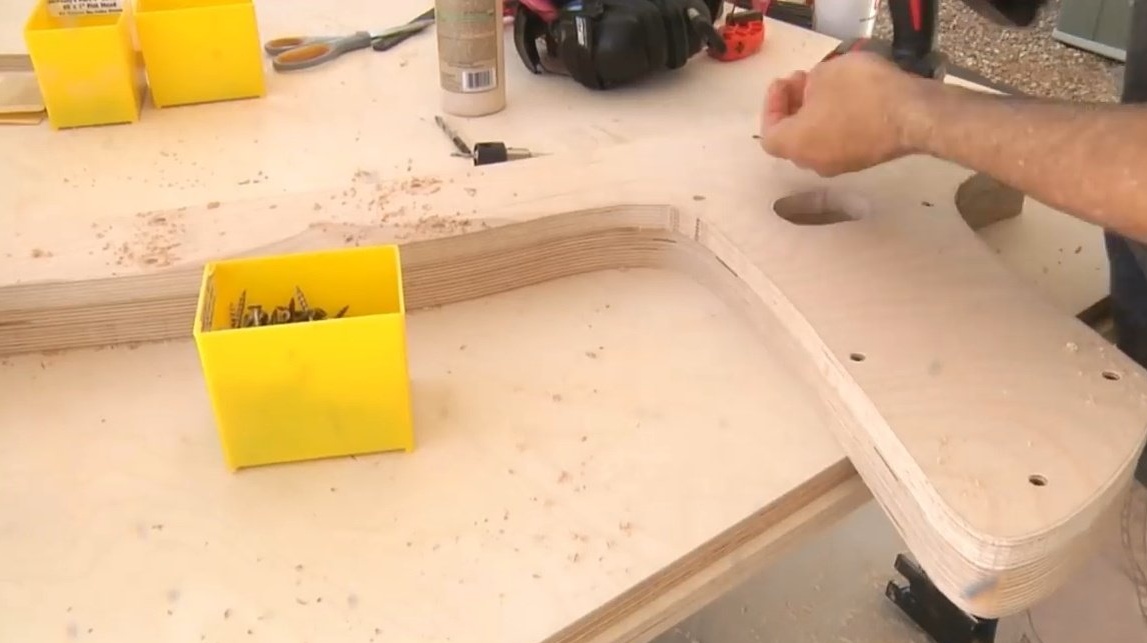
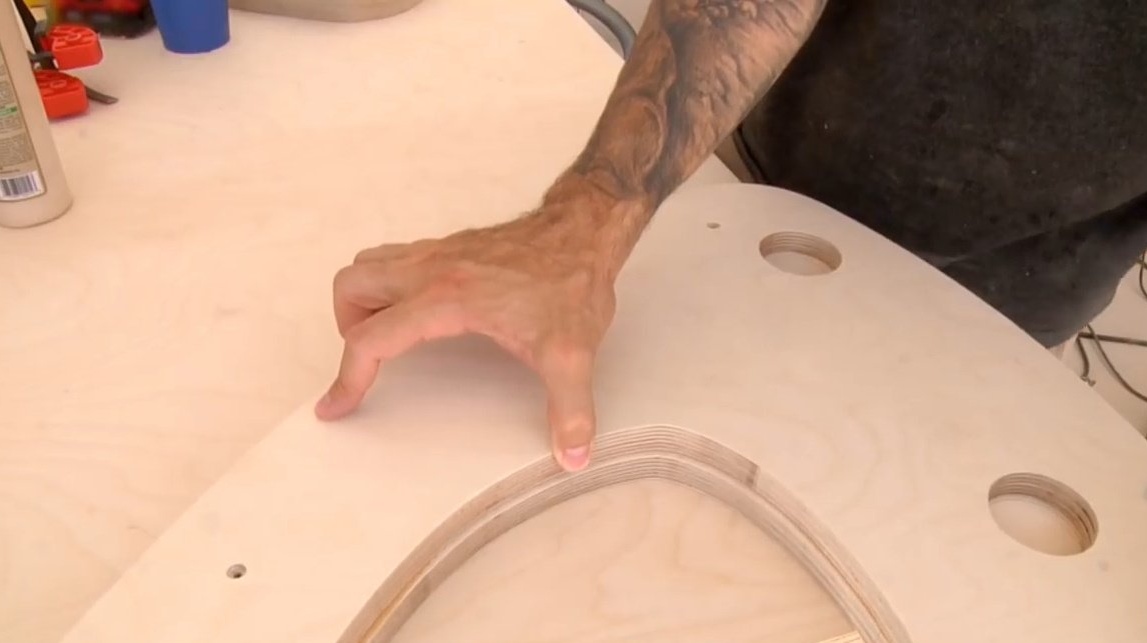
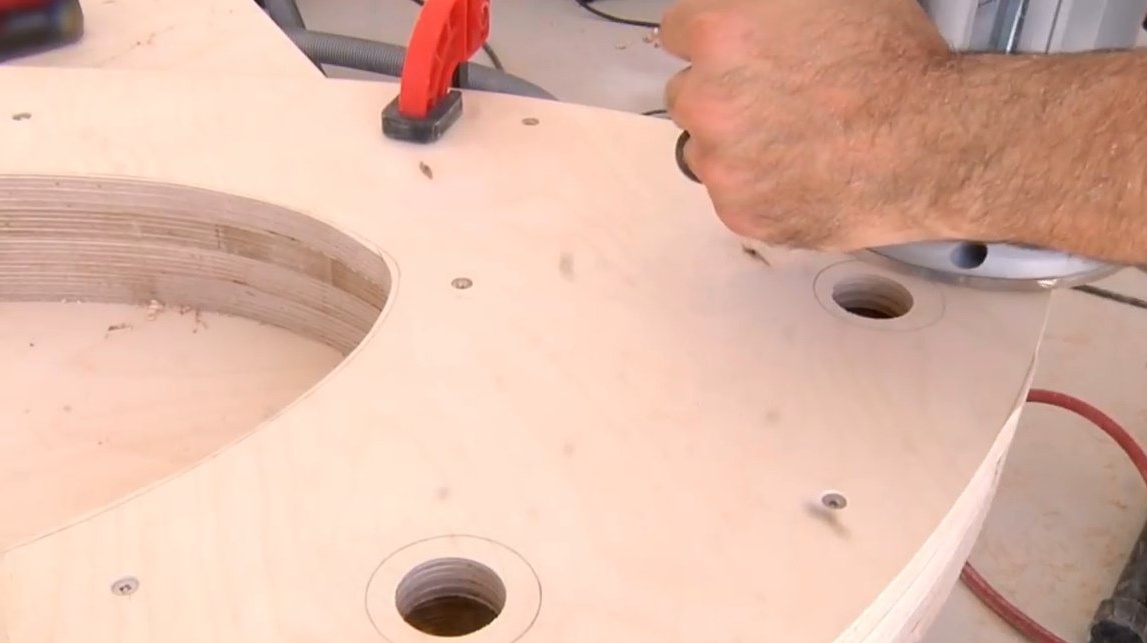
With the side supports, we do this in a similar way, only 4 elements for each go to them. And there will be no holes in the outer part! Next, we fasten the template to one of the side panels with holes. And again we grind the form with a milling cutter and delete the template.
Then we glue one of the panels without holes to the part that we just milled and tighten them with screws.
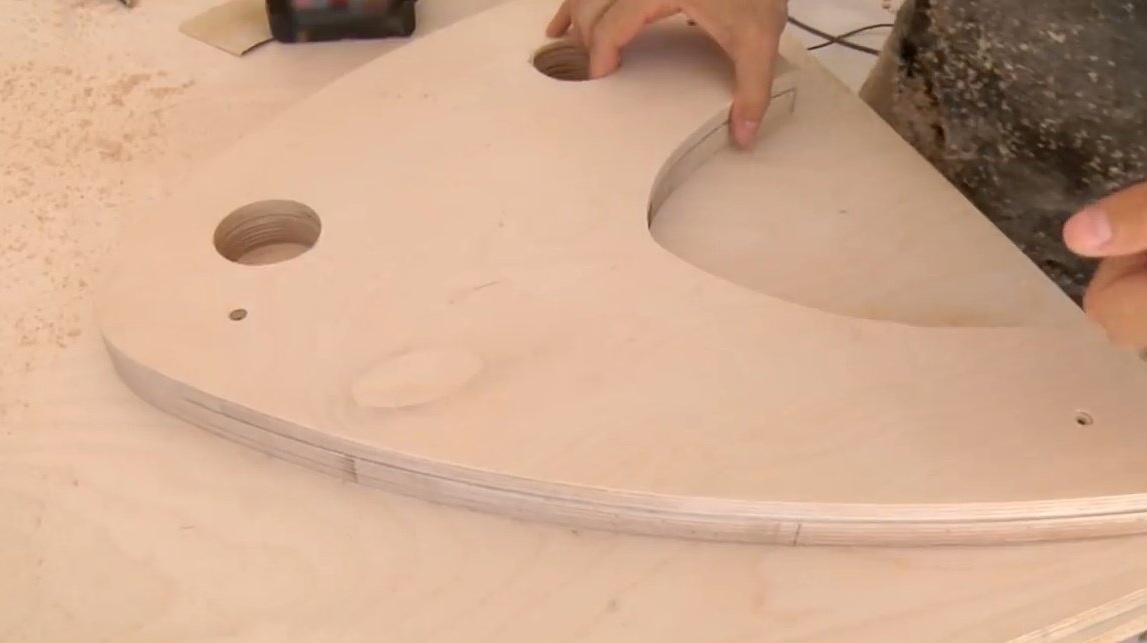
Turn the panel over to the other side and mill along the perimeter. Glue the third untreated component and process it with a milling cutter. We repeat the same process with the fourth final detail.

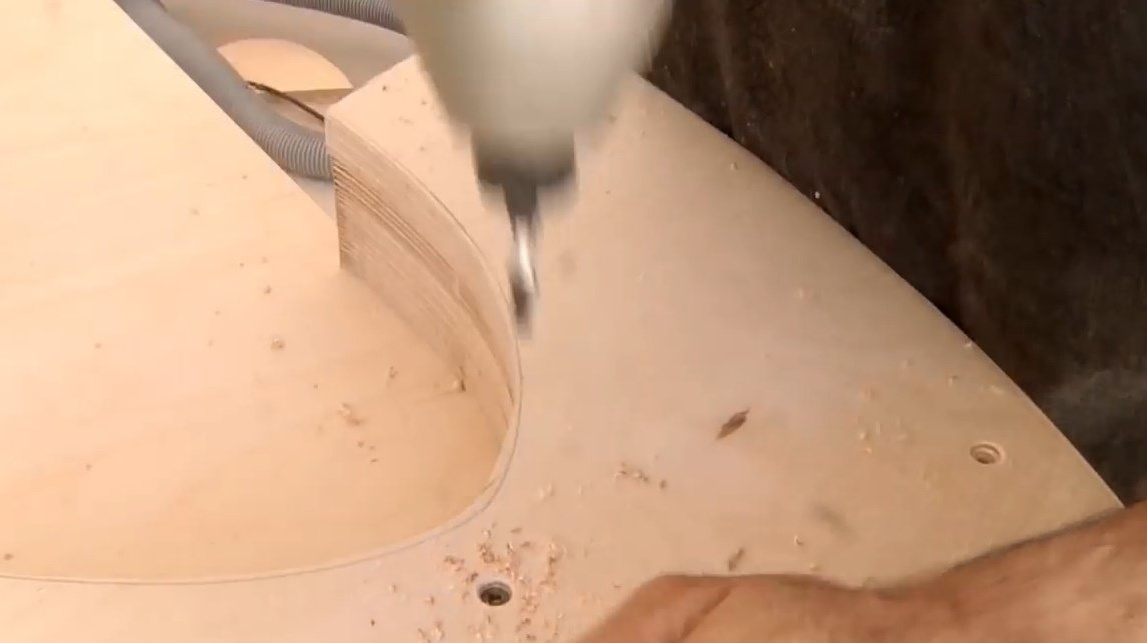
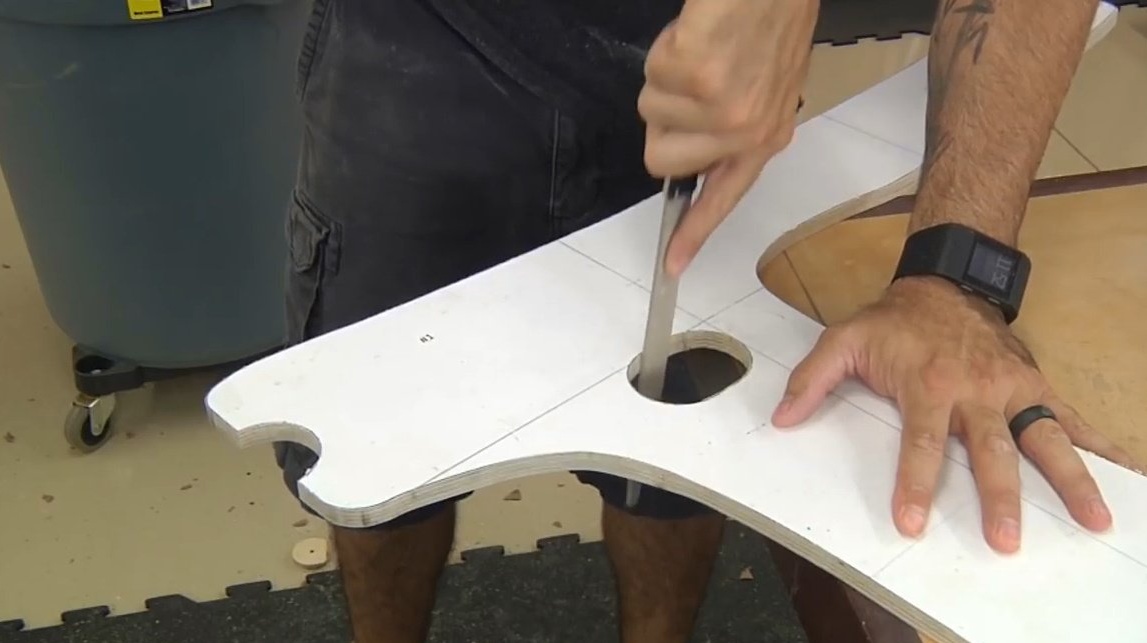
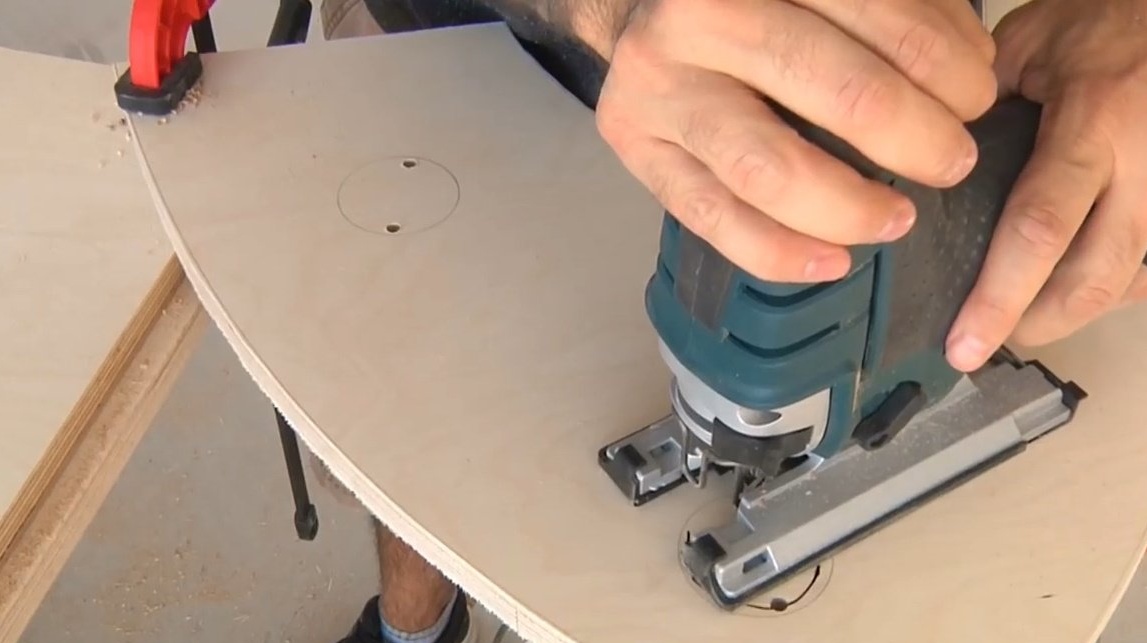
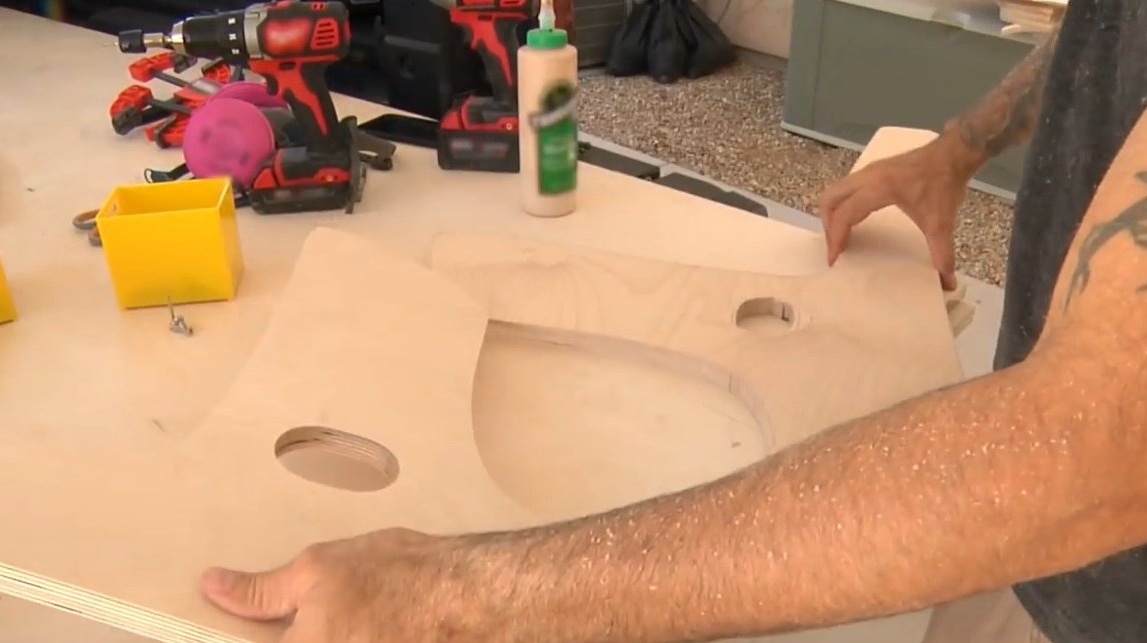
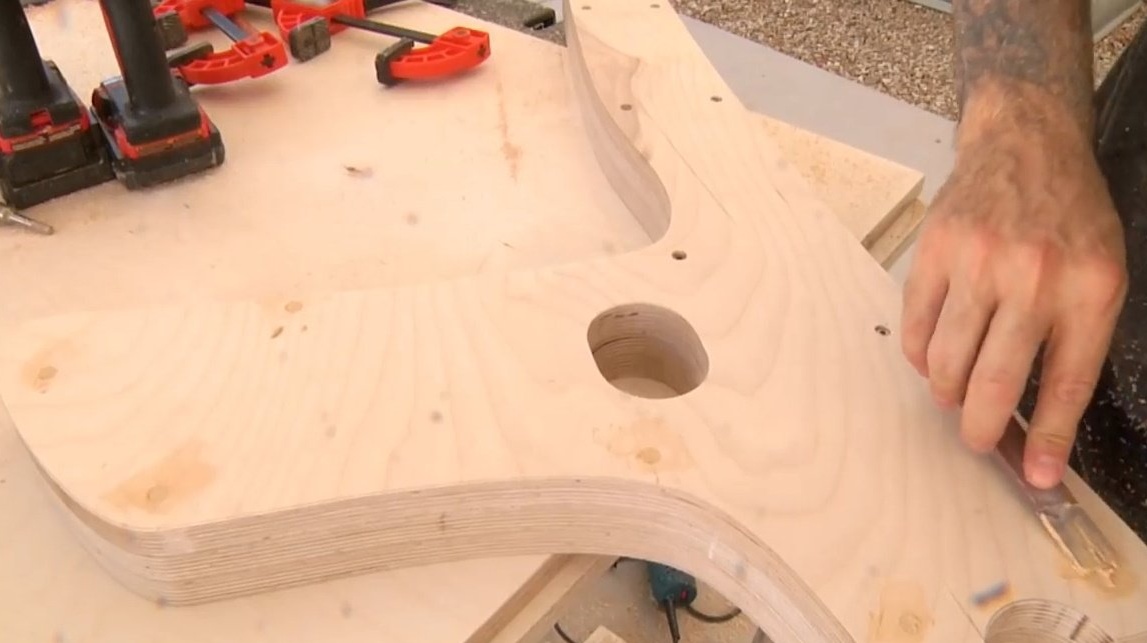
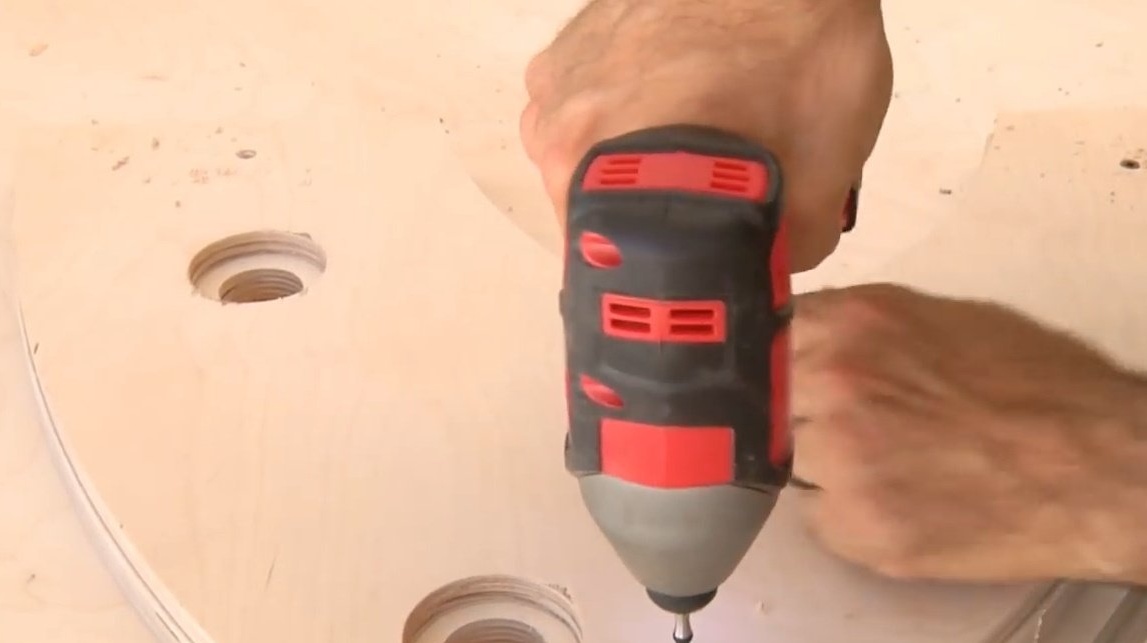
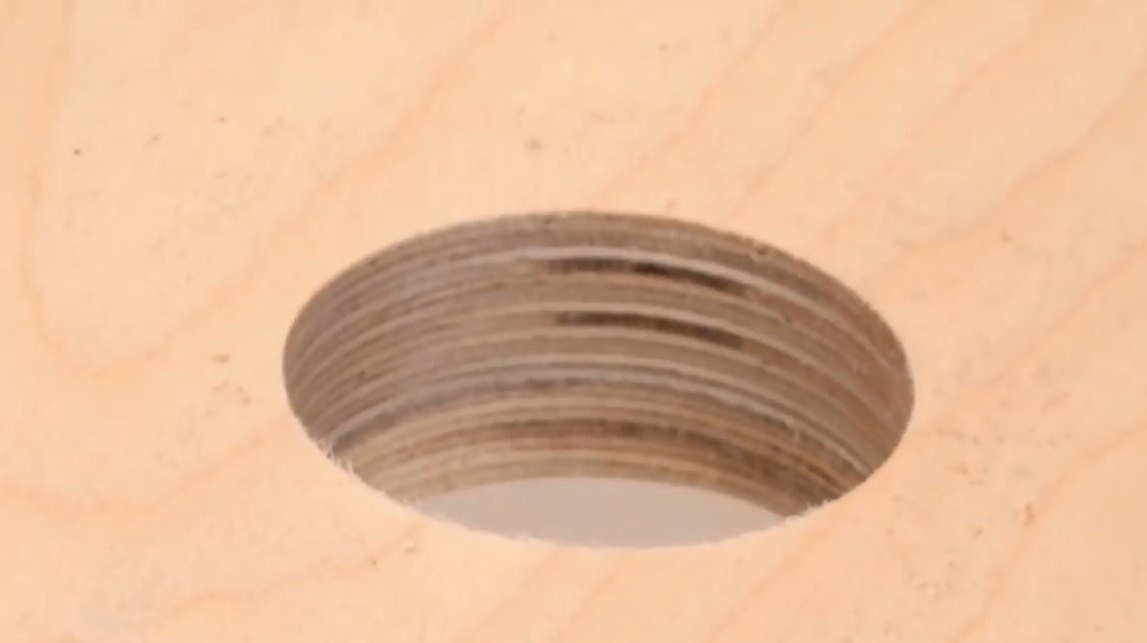
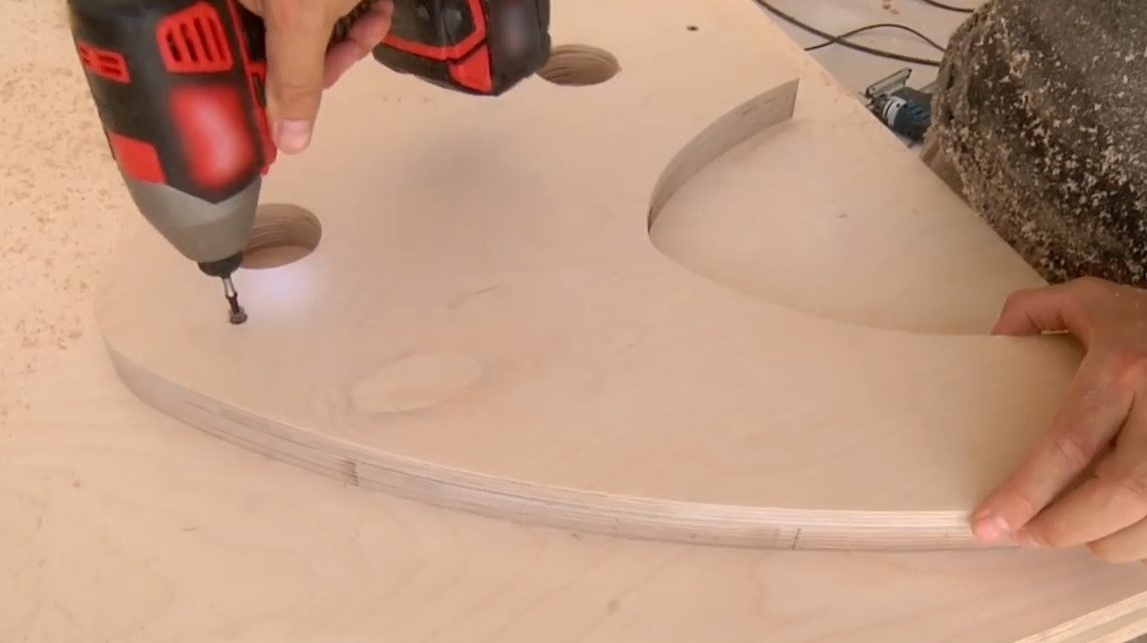
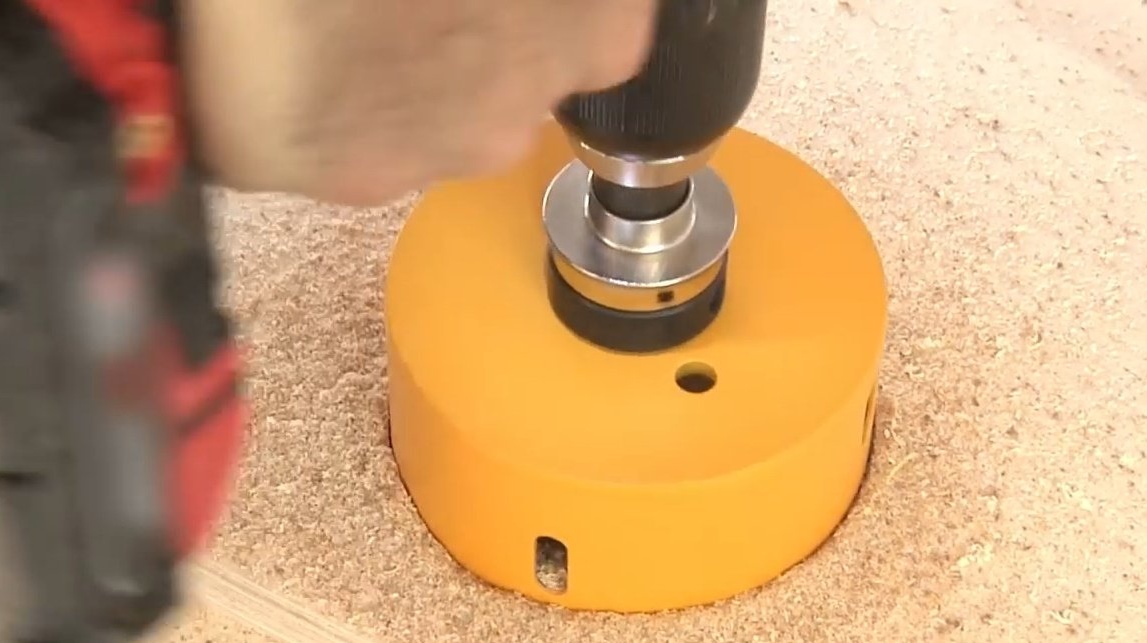
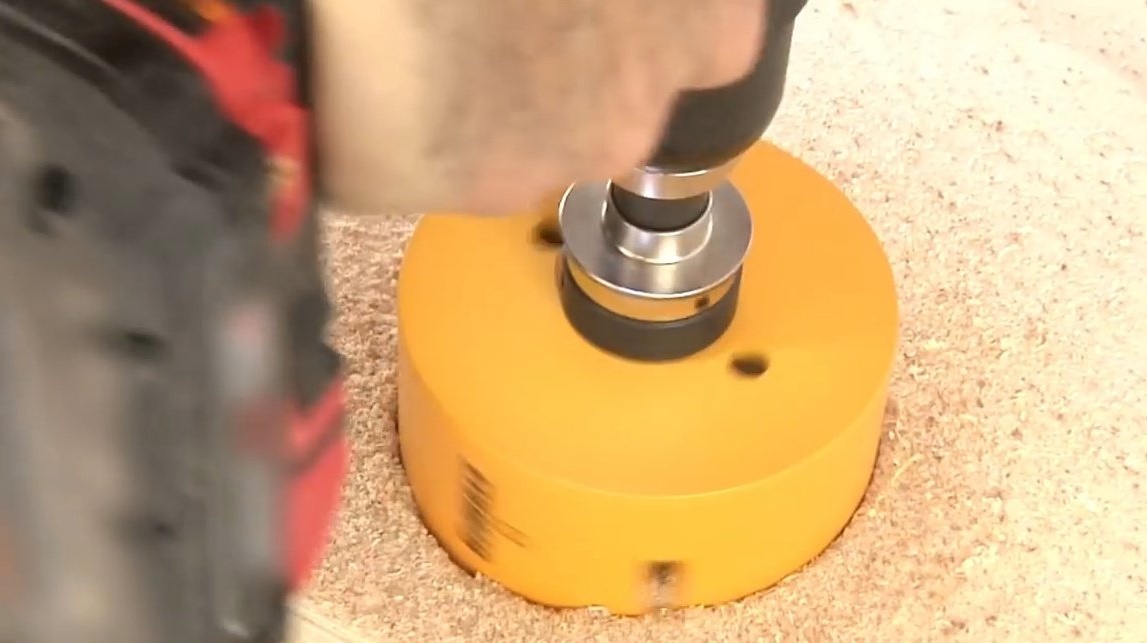
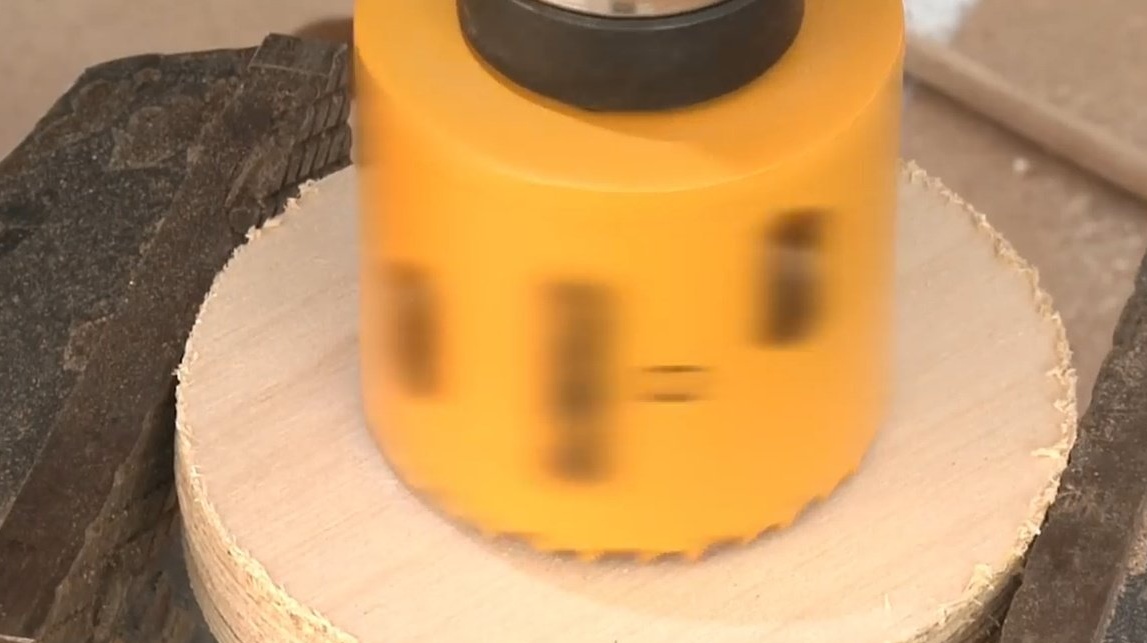
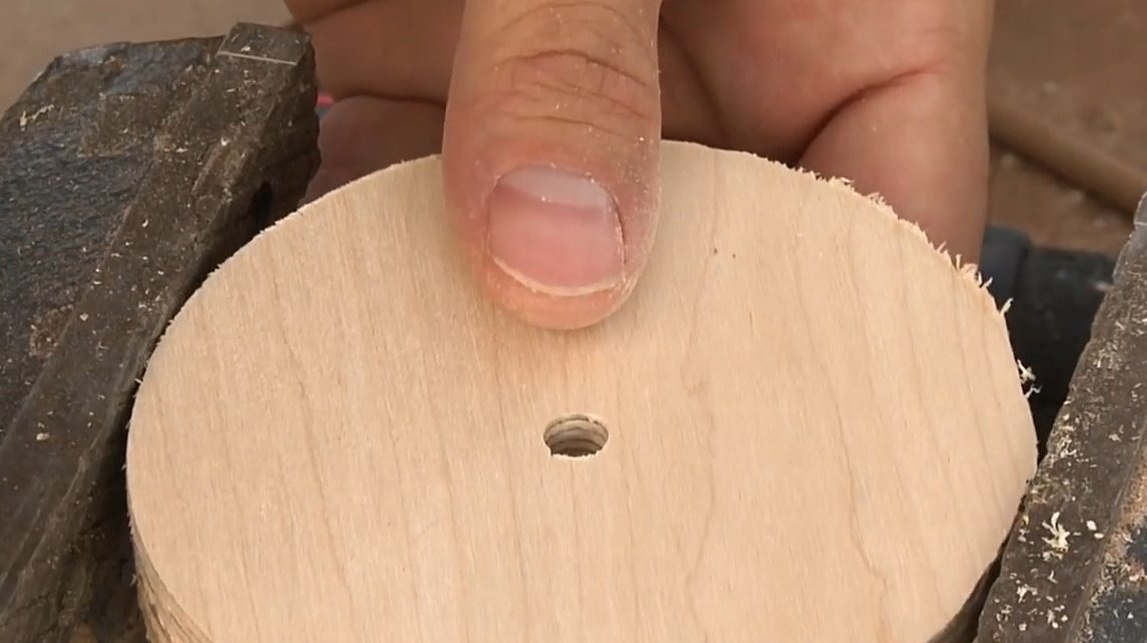
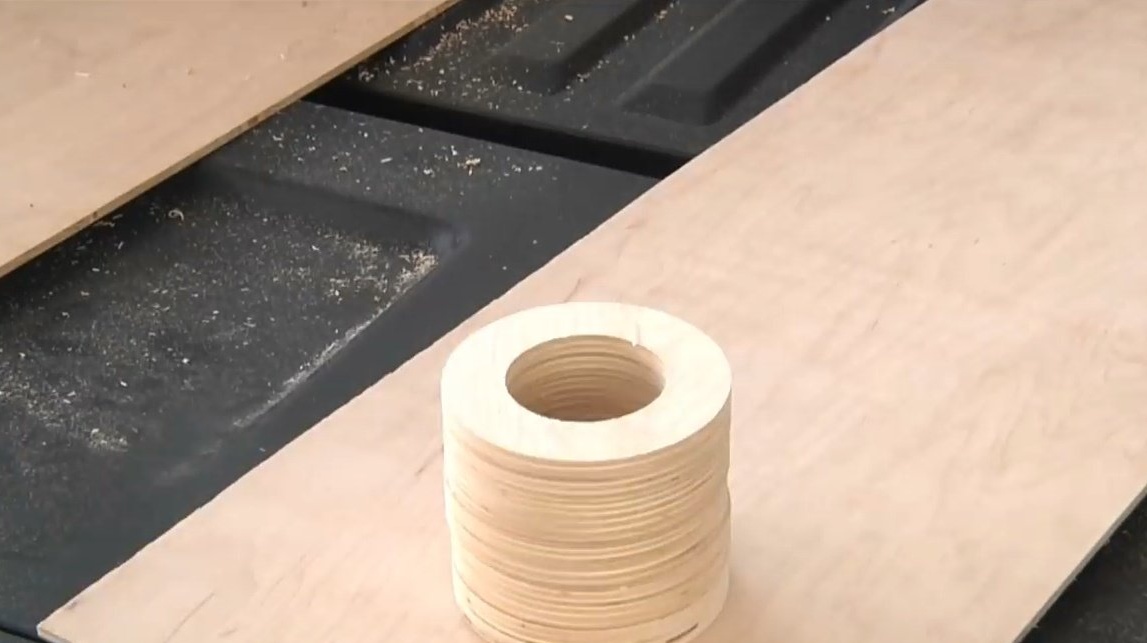
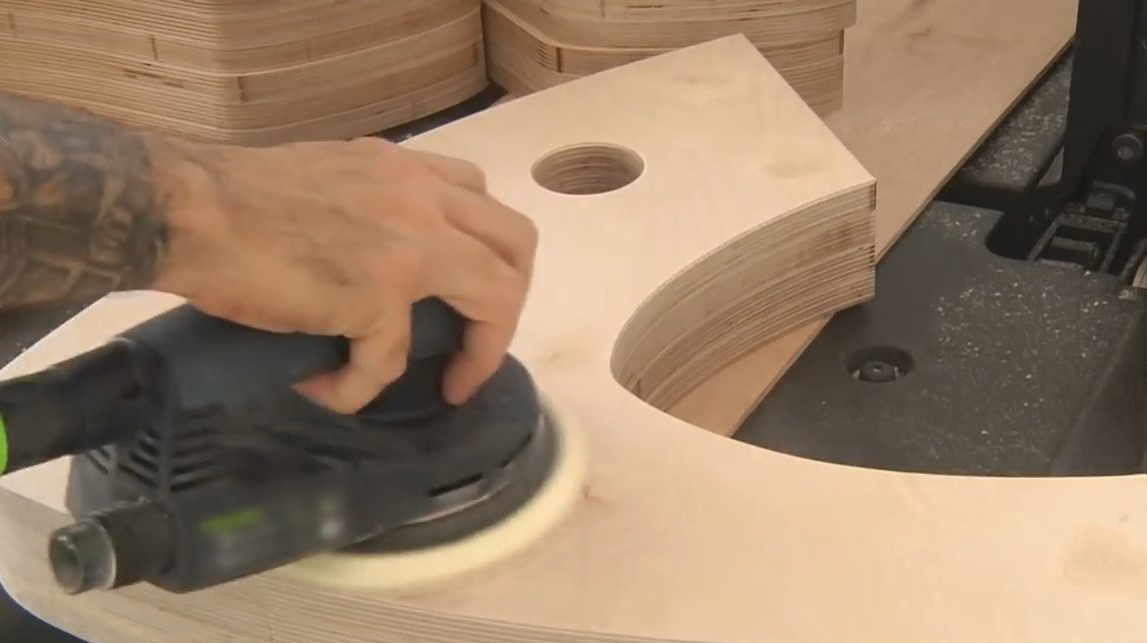
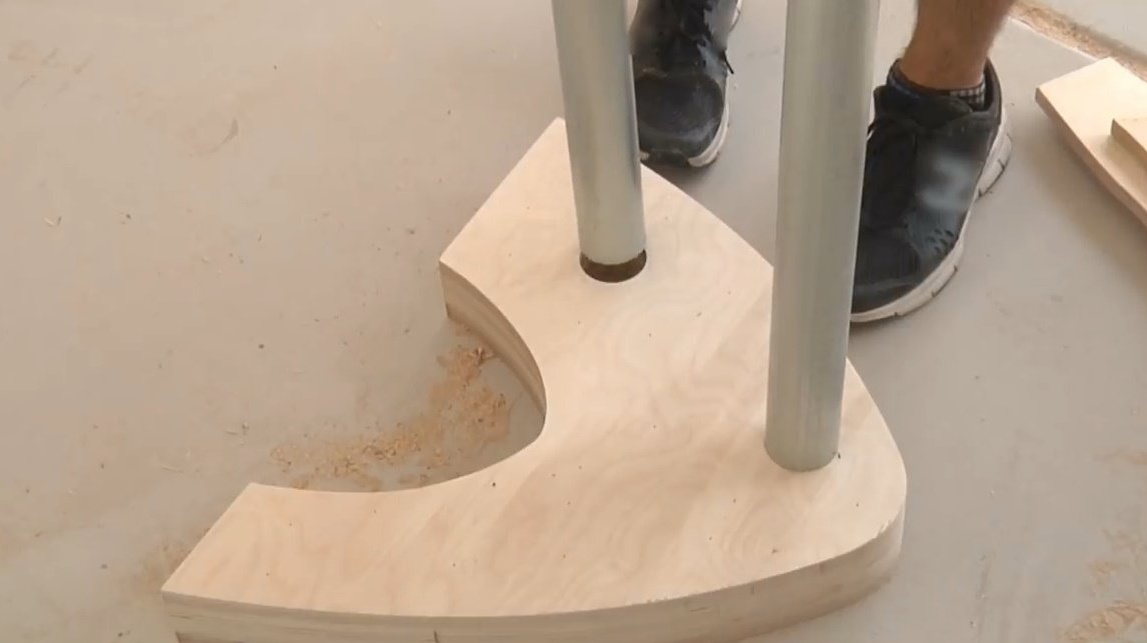
To make the spacer rings, we need two crowns for wood of different diameters: 2.4 and 4 inches. As well as the usual drill 1/4 inch.

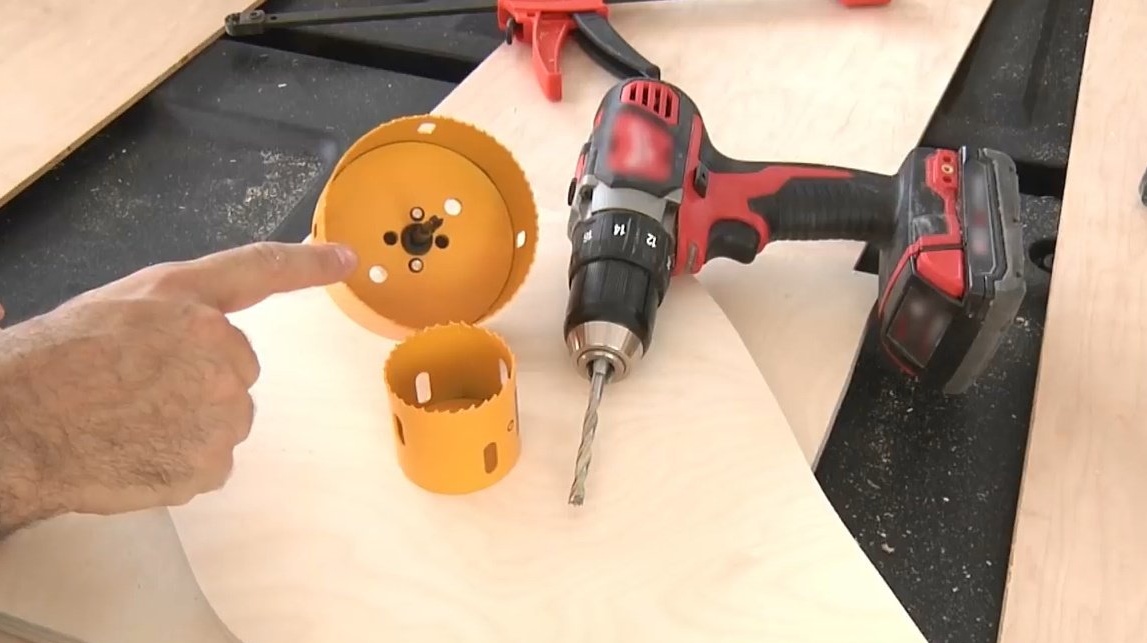
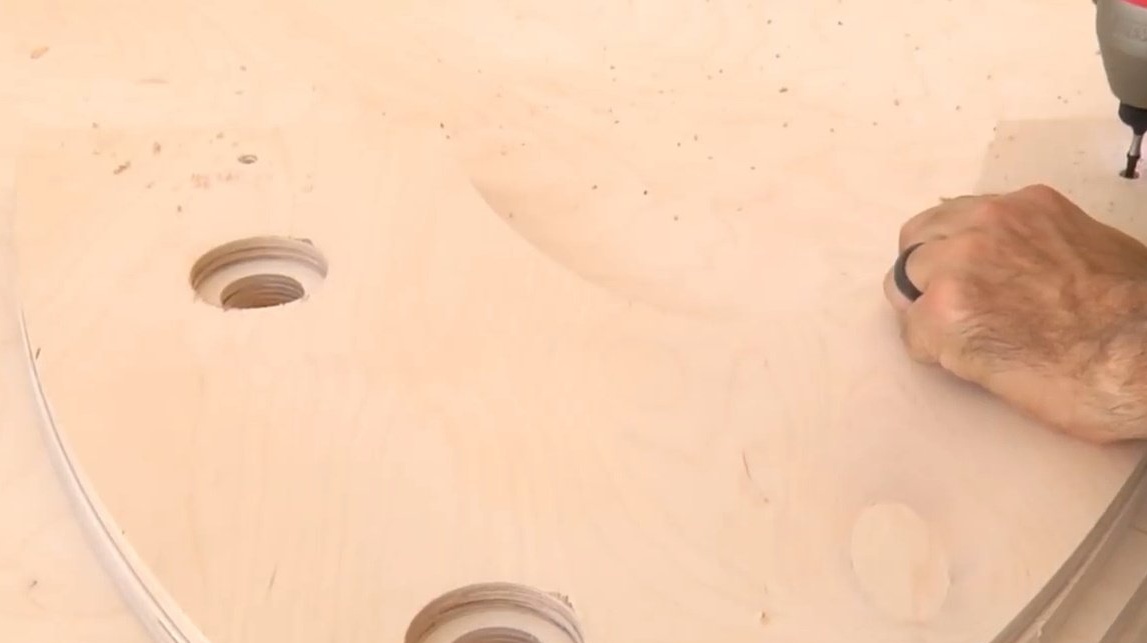
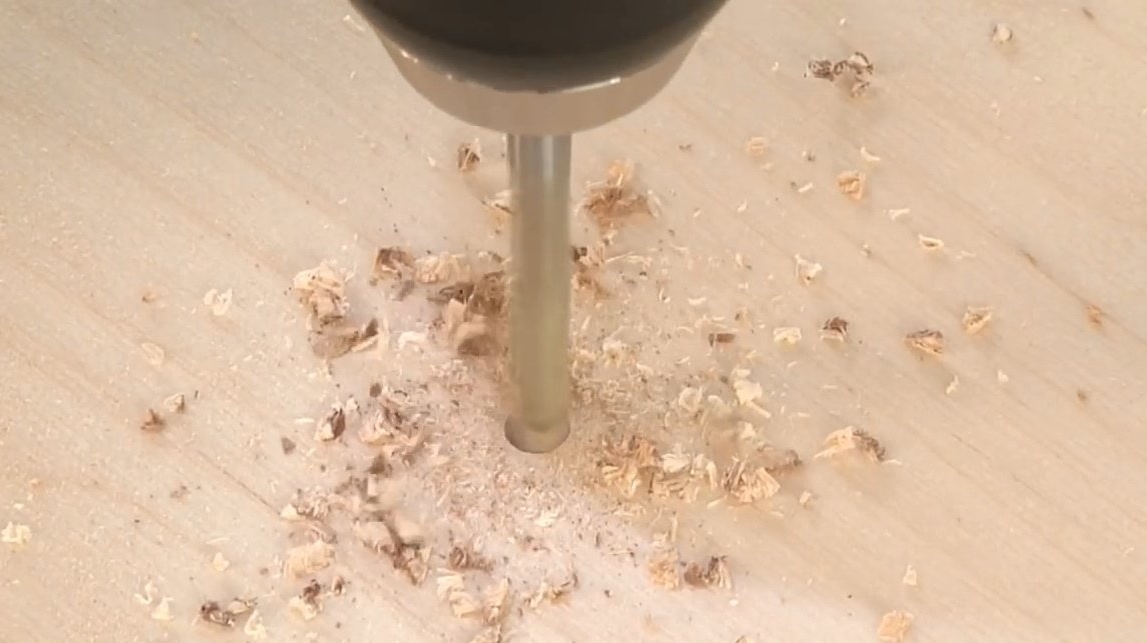
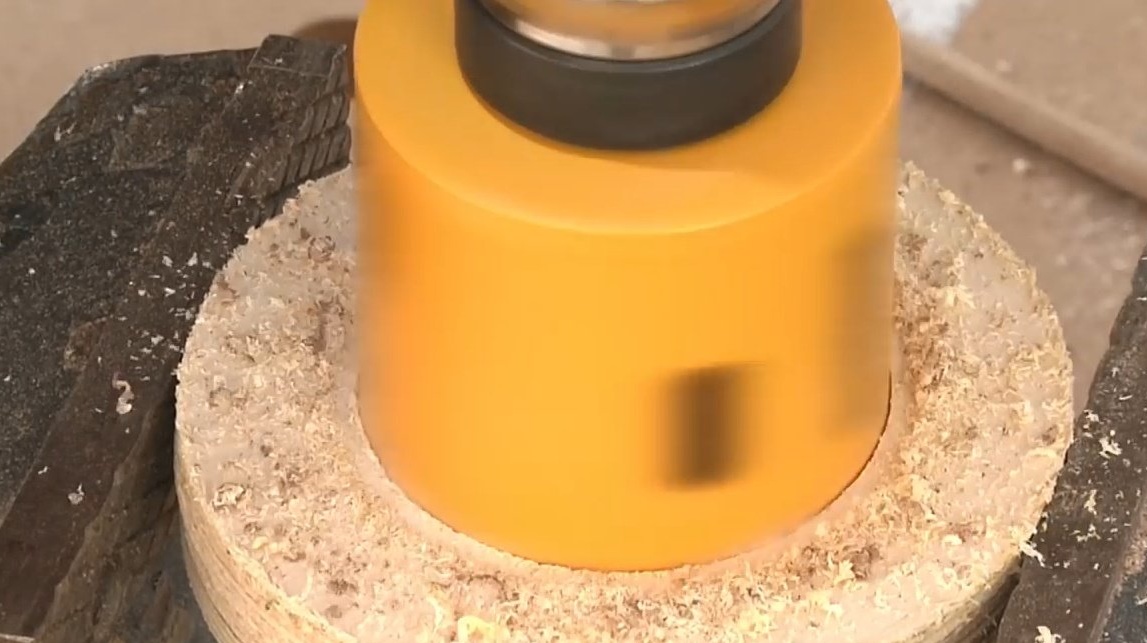
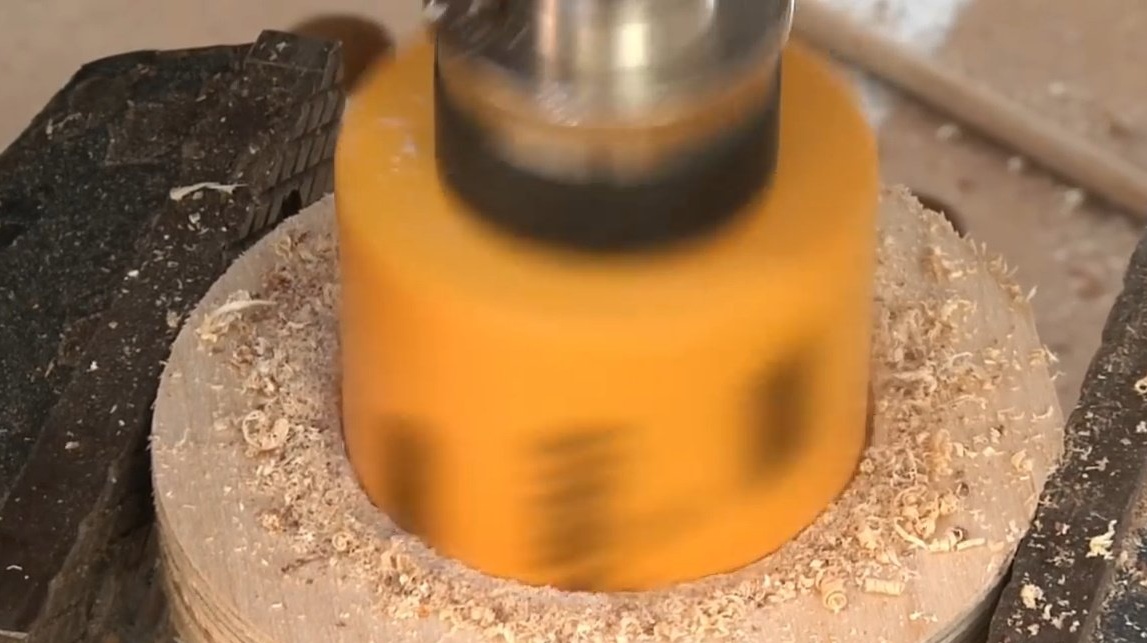
The primary hole is made with a drill 1/4 inch. Then go to the 4-inch nozzle, using a 1/4 inch hole as a guide.
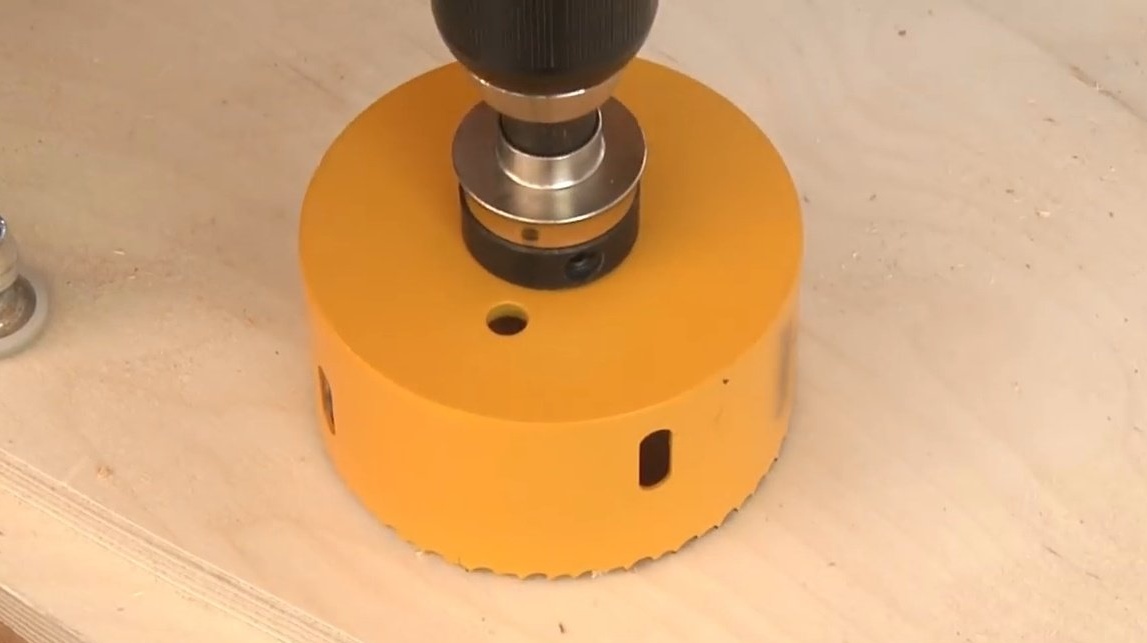
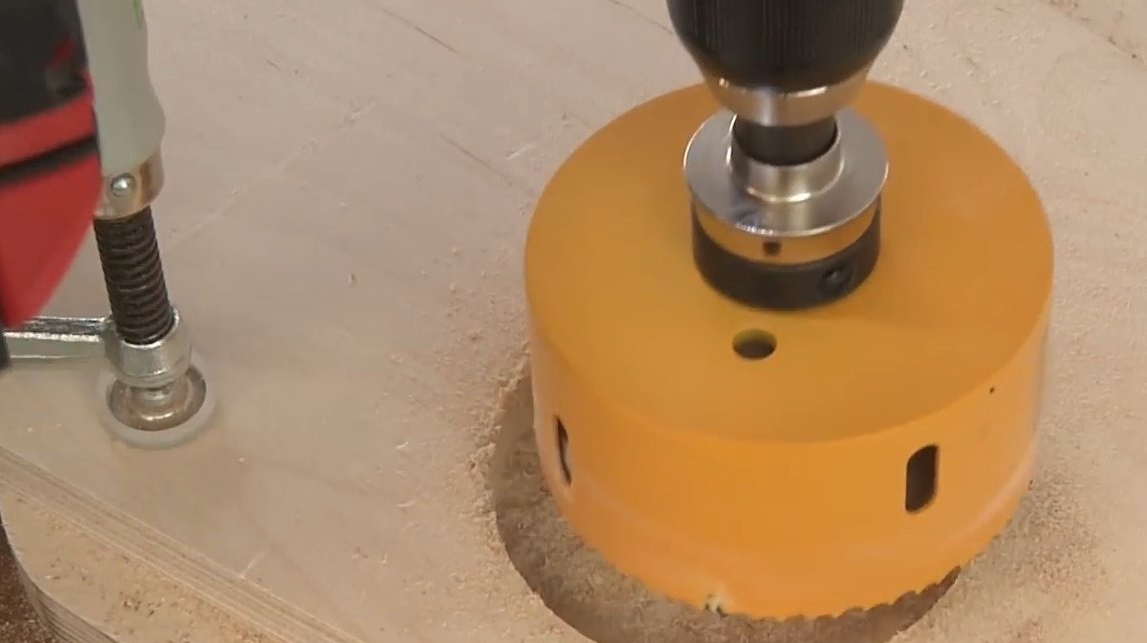
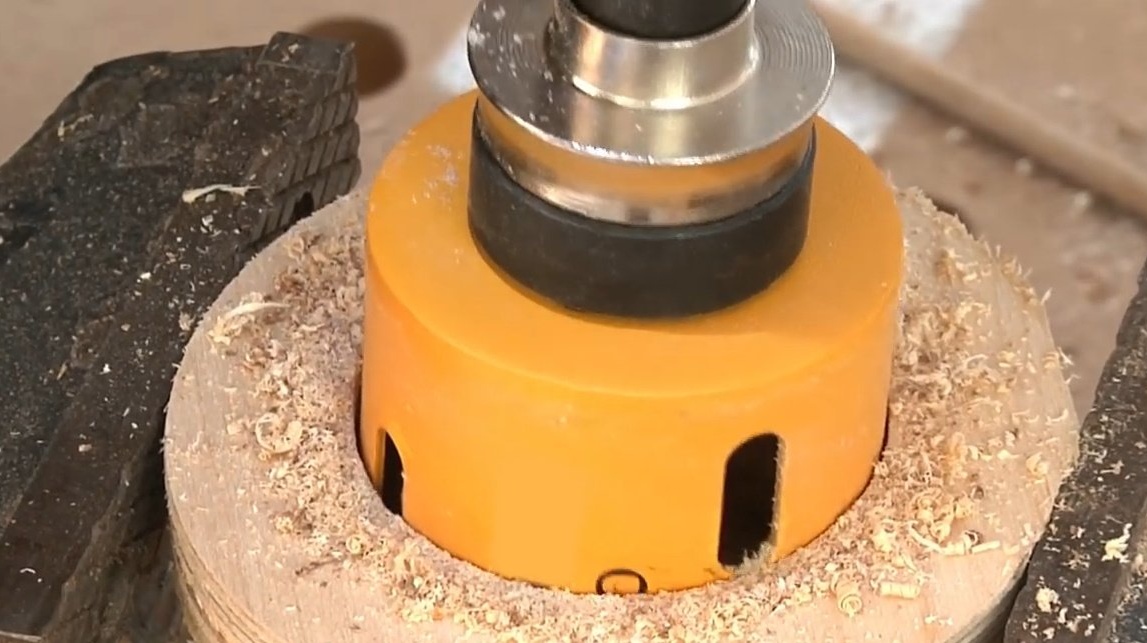
The key to successful use of crown bits is the slow filing of the material. We hold the drill confidently and perpendicular to the plane and simply give the process the proper time. If you move too fast or push, the file may become stuck, and this will block the drill.
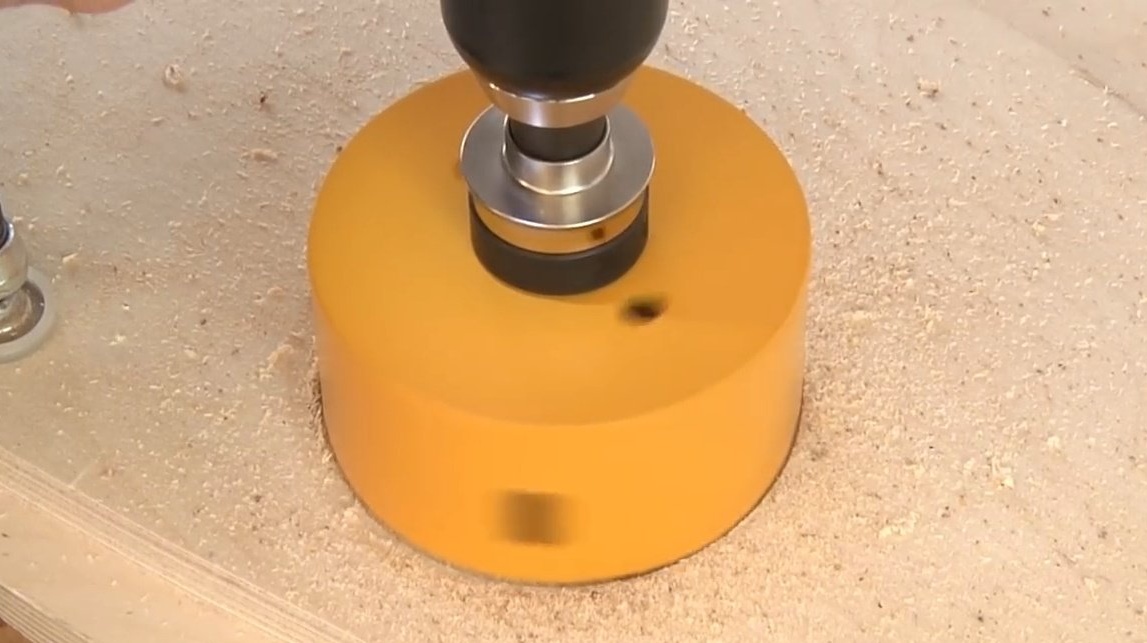
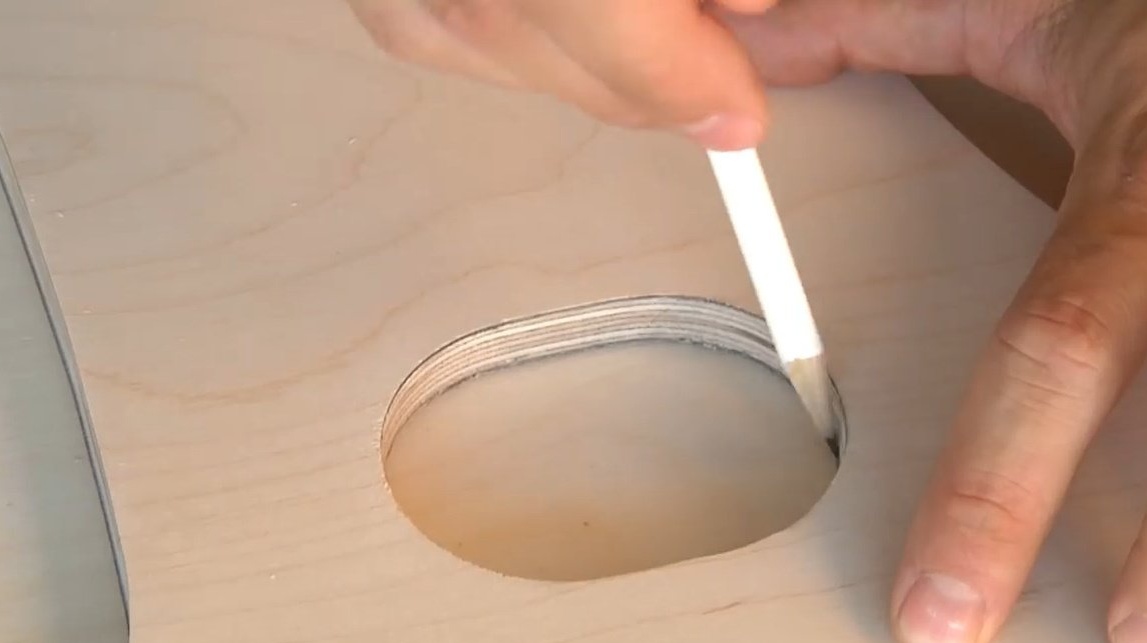
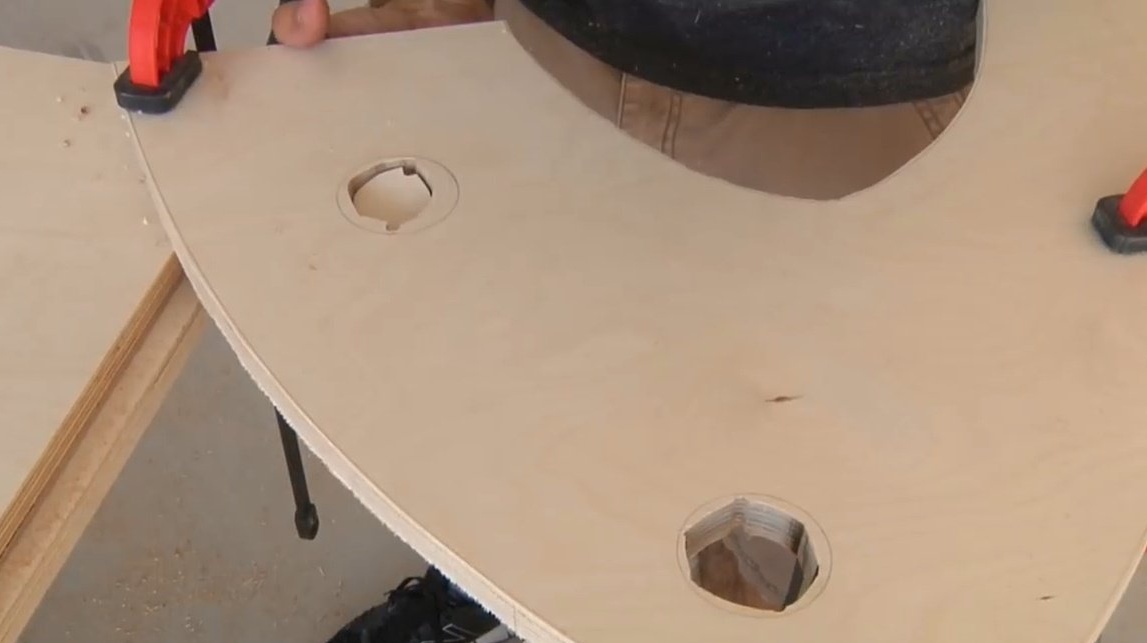
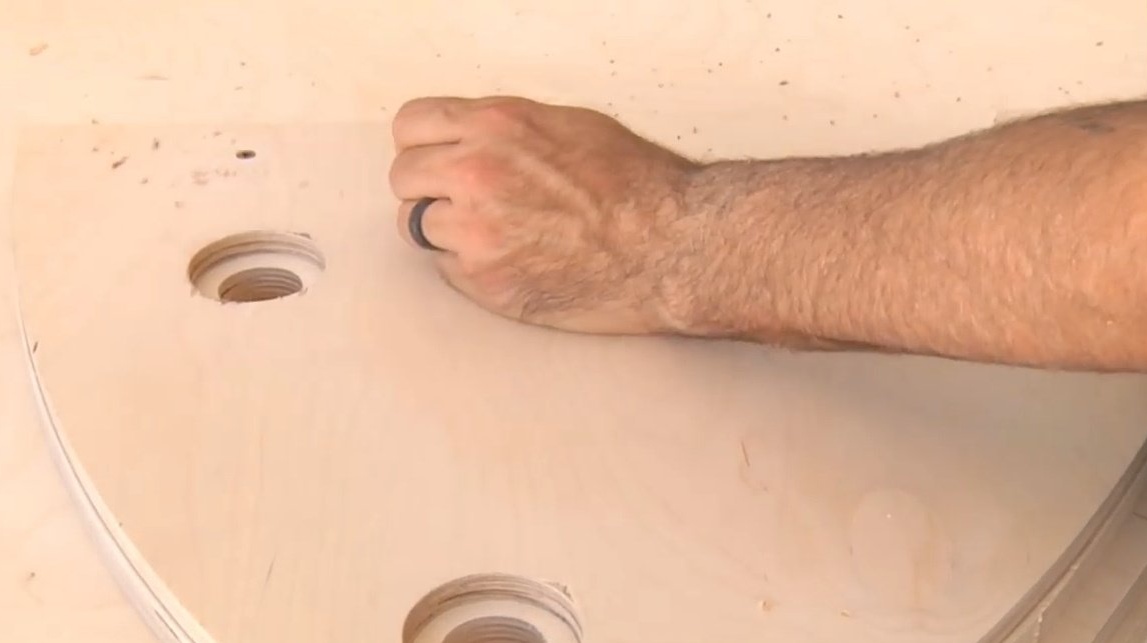
Usually the round drops itself, but if this did not happen, use a regular pencil.
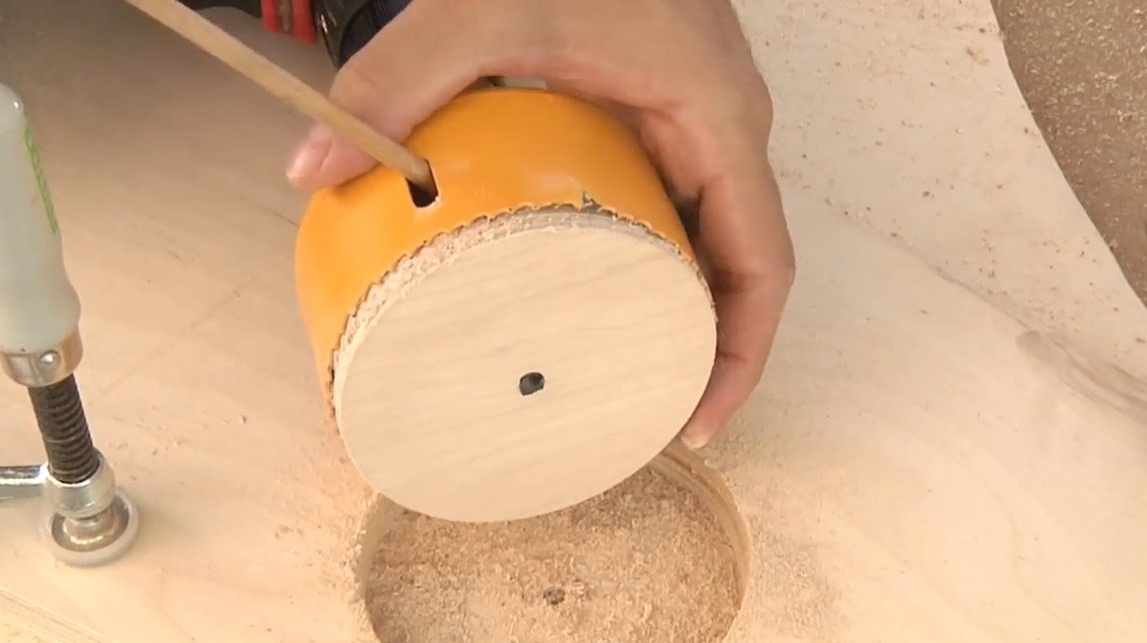
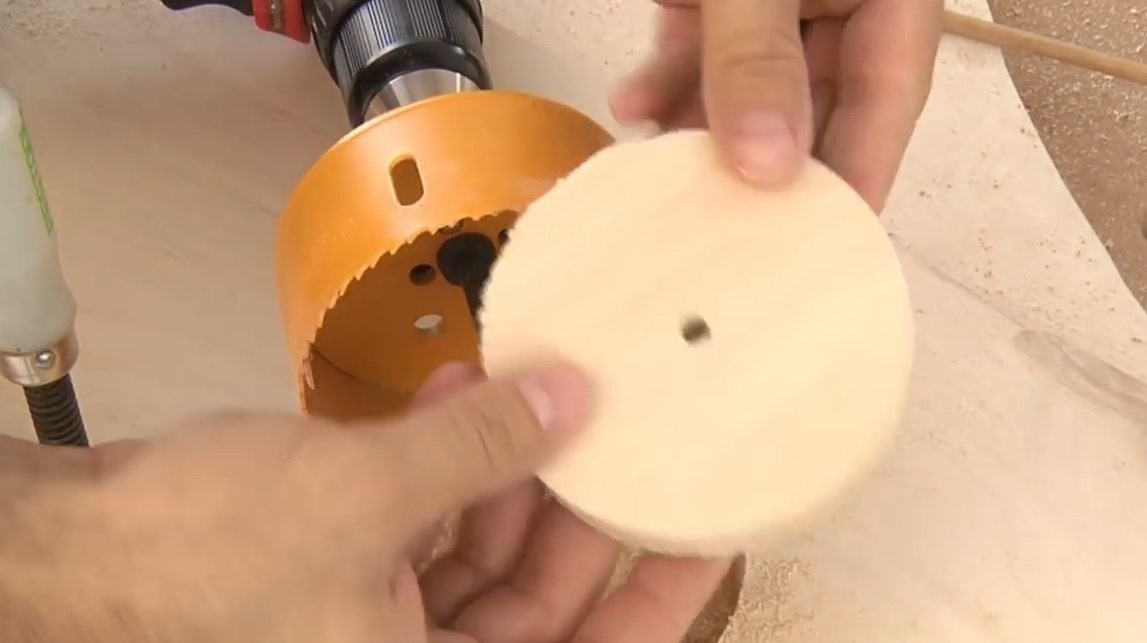
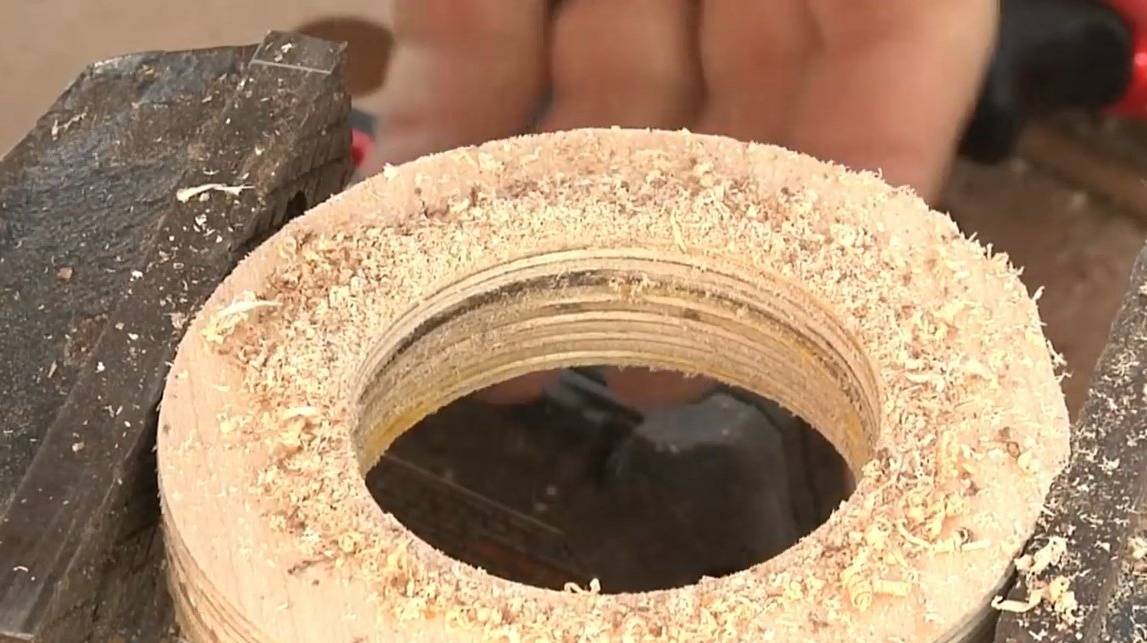
To make a hole of 2.4 inches, hold the gasket in a vise and drill the center.
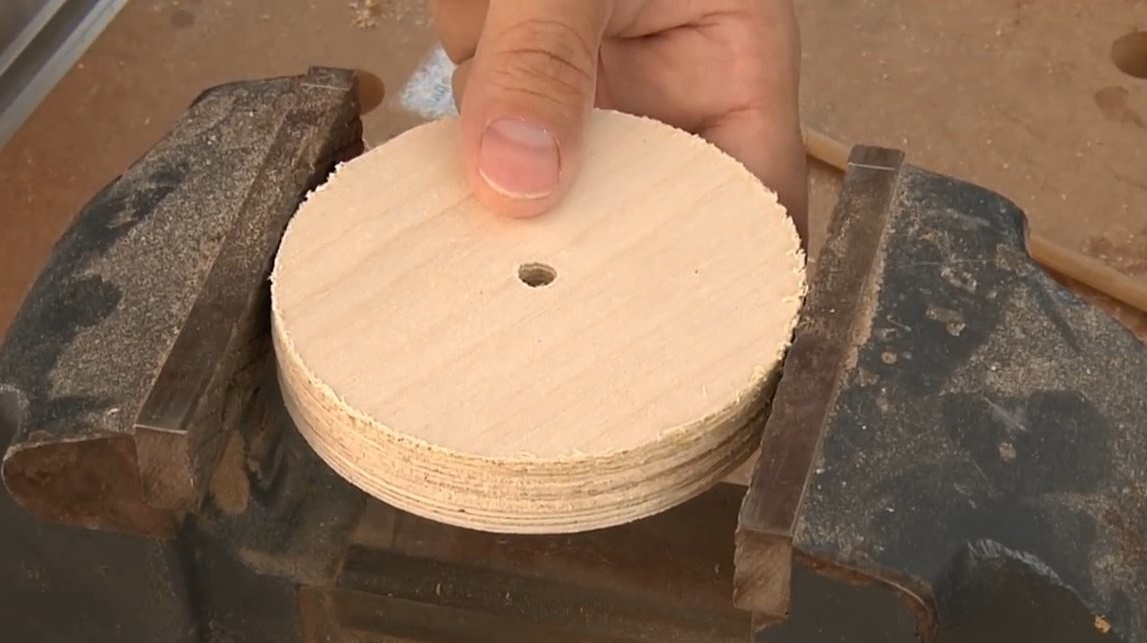
For a better result, flip the ring before we completely go through the material and start drilling from the other end. So the edges will be cleaner. You need to make 16 of these spacer rings.
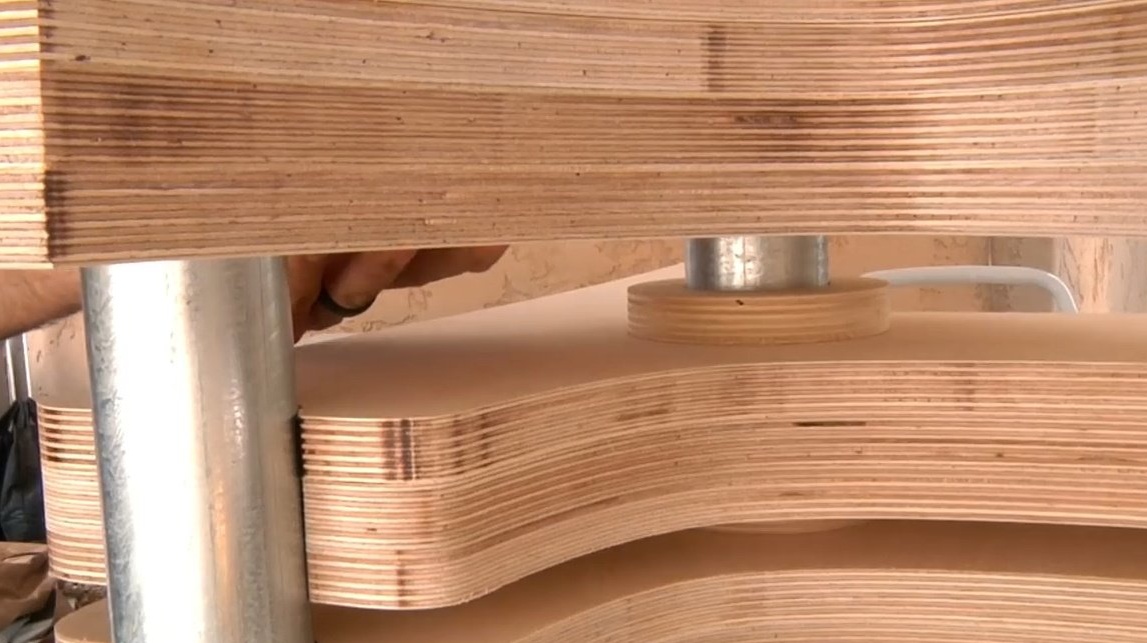
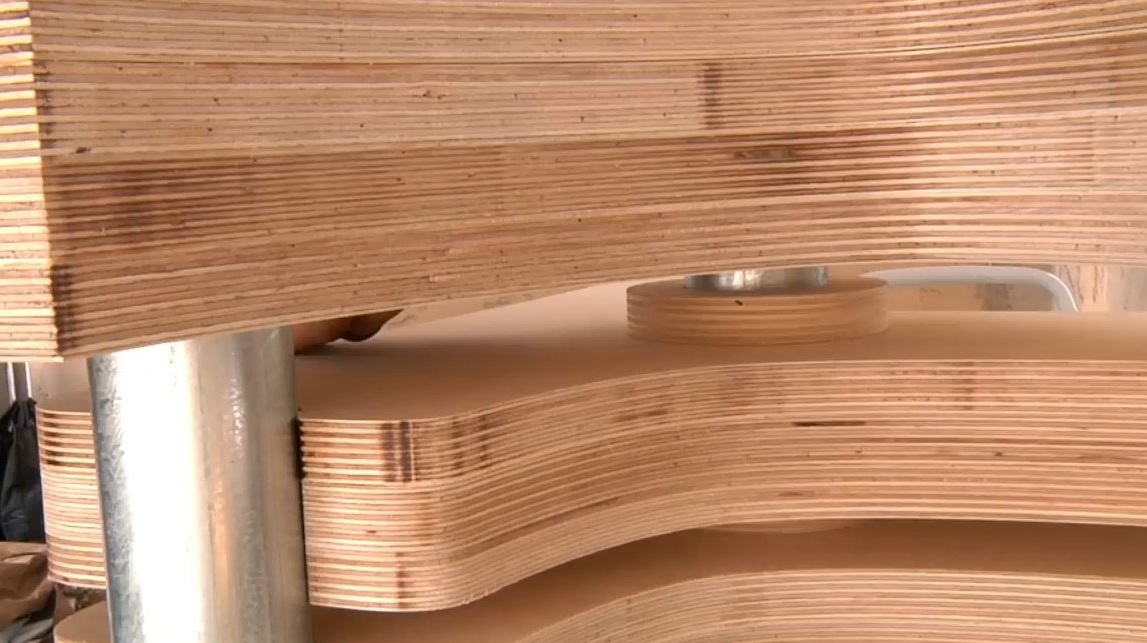
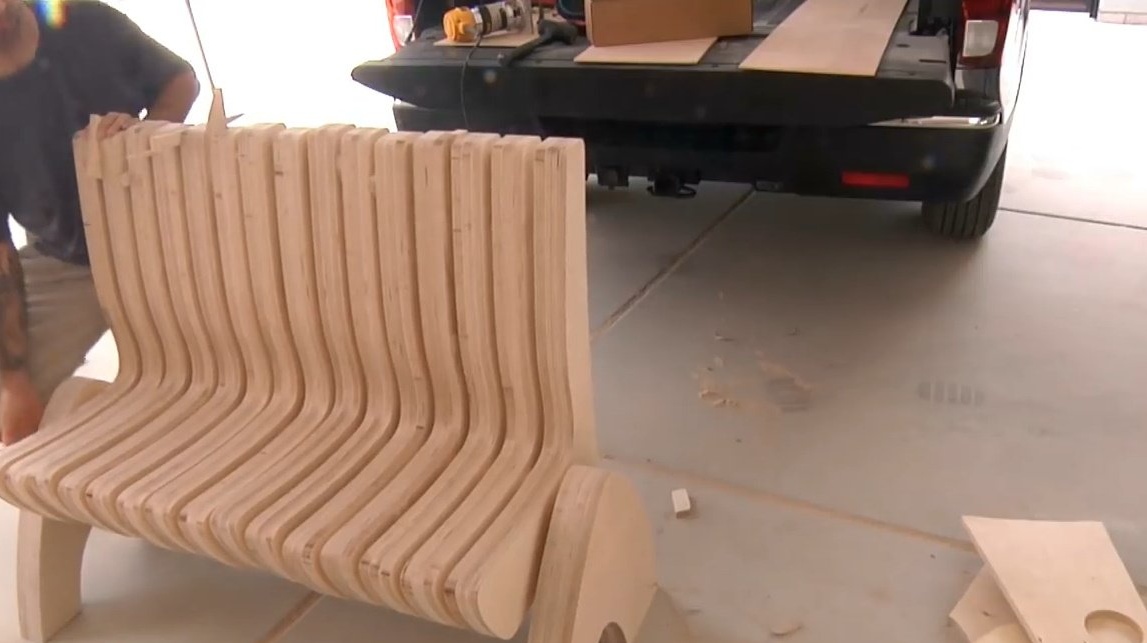
Then we assemble the side support with pipes.
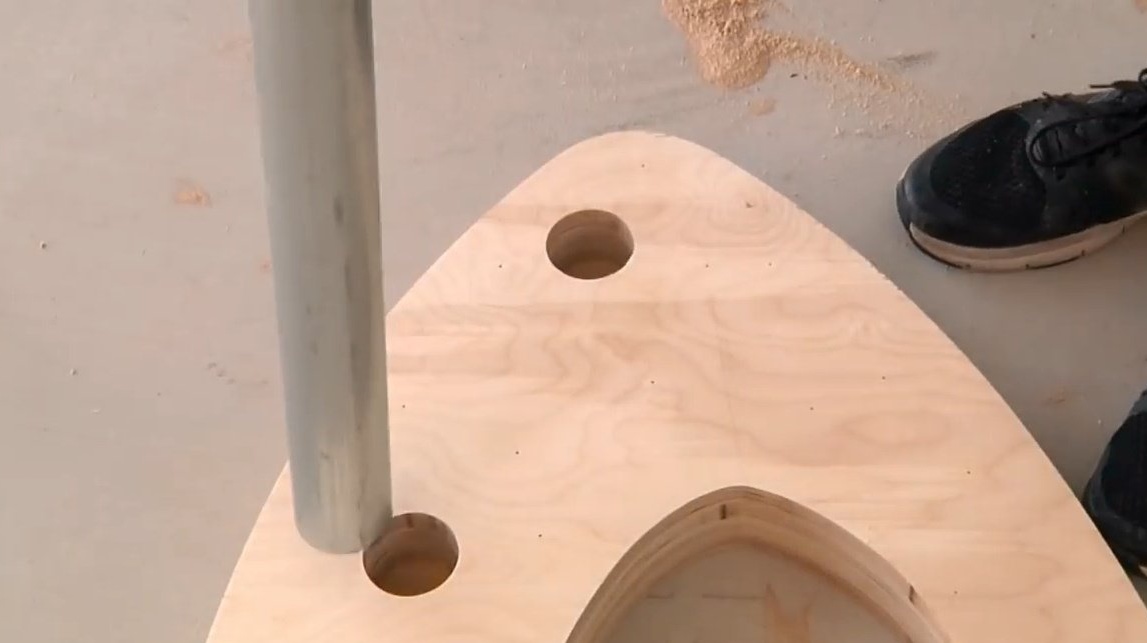
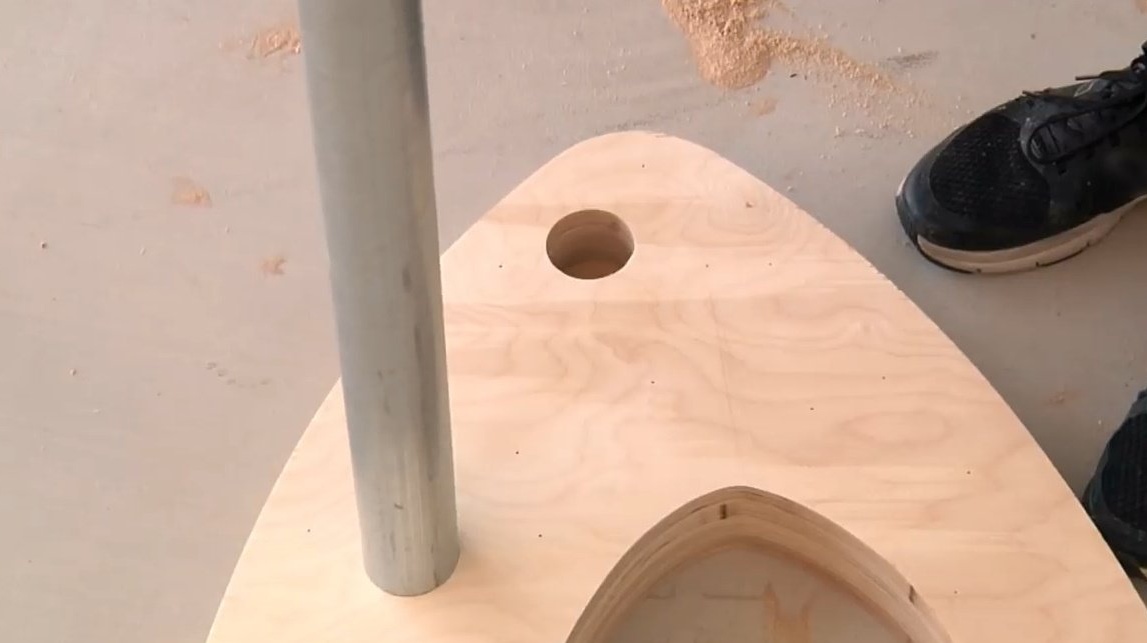


We build a stack from the existing elements, alternating each panel with a spacer ring. To align them all, we put small pieces of wood between the sections at the top of the structure.
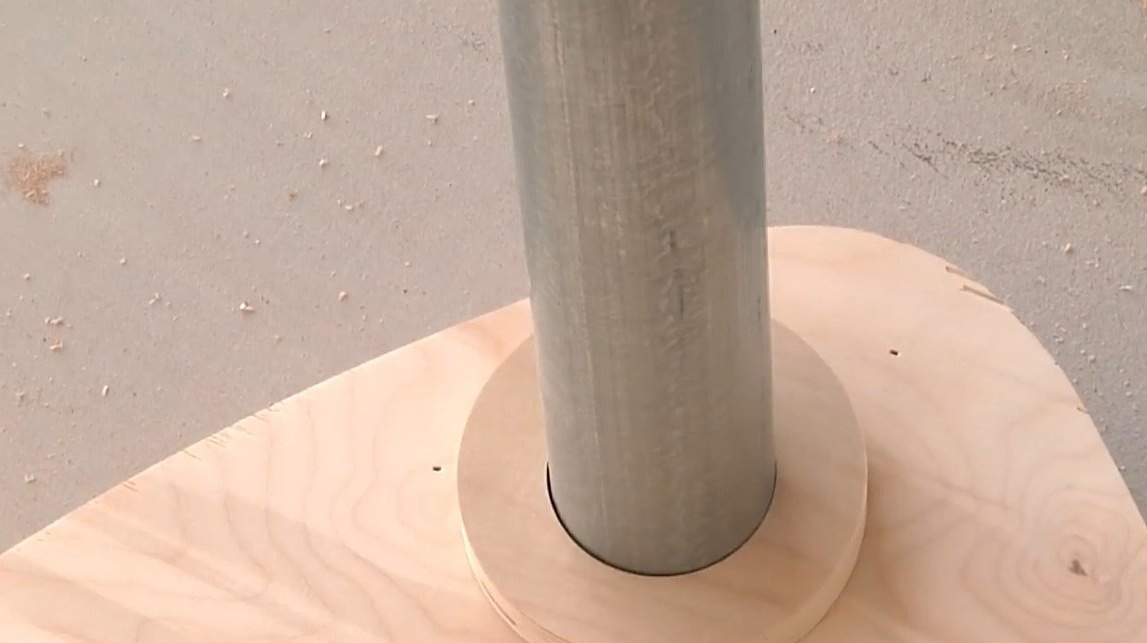
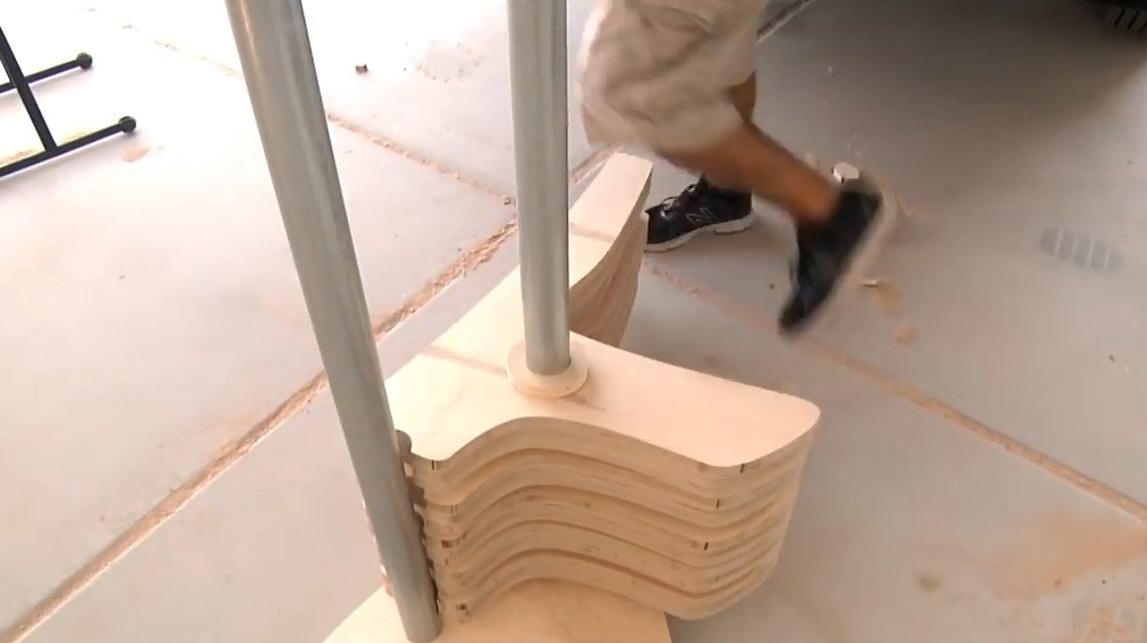
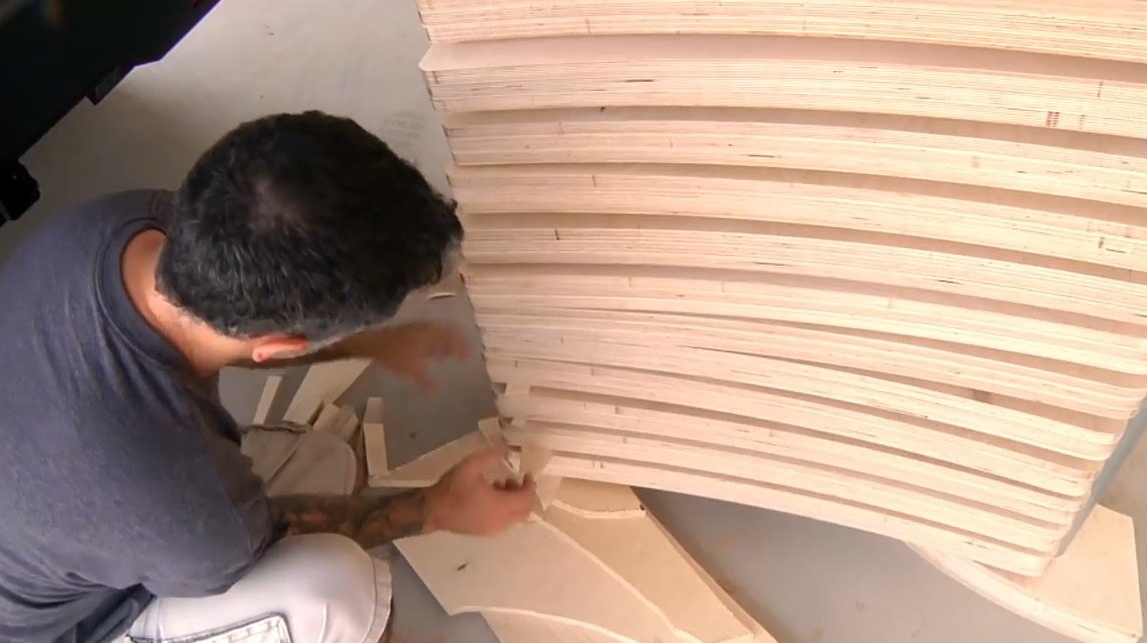

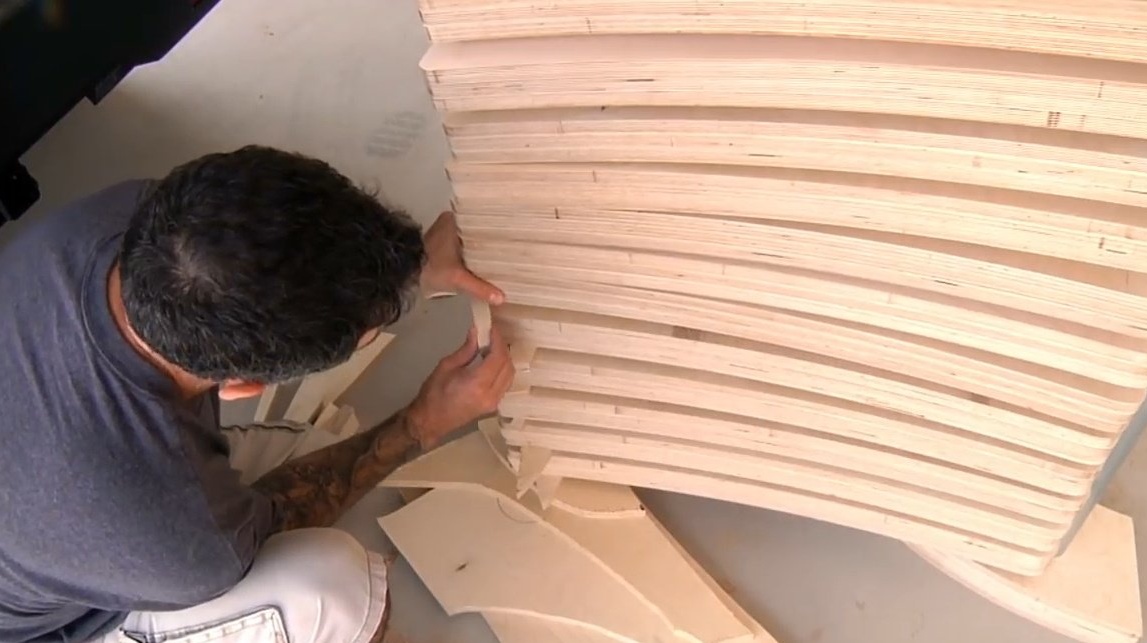
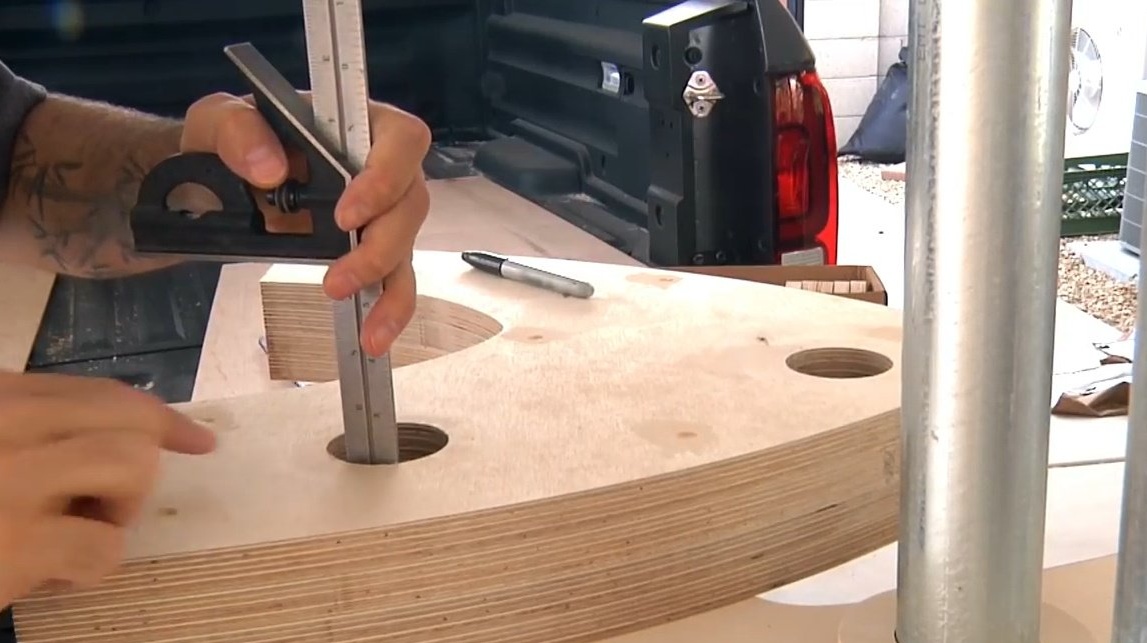
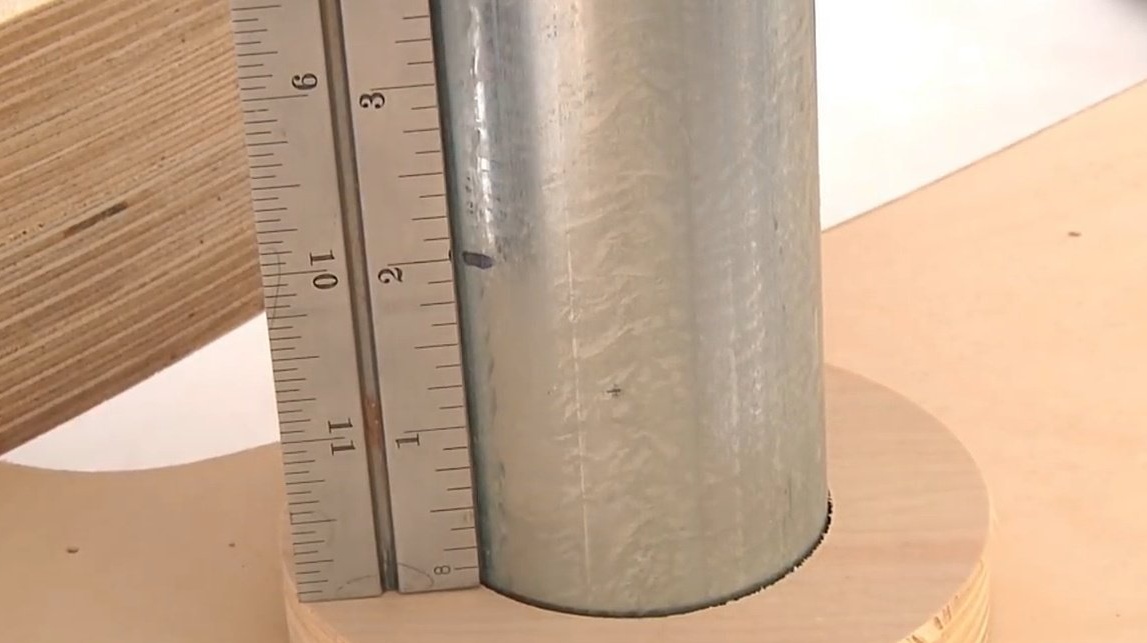
The last section is not yet attached. Instead, we measure the depth of the hole and transfer the measurements to the pipe using a ruler attached to the upper plane of the last gasket ring. We give all the elements a rounded shape and process them with an orbital sander before the last assembly.
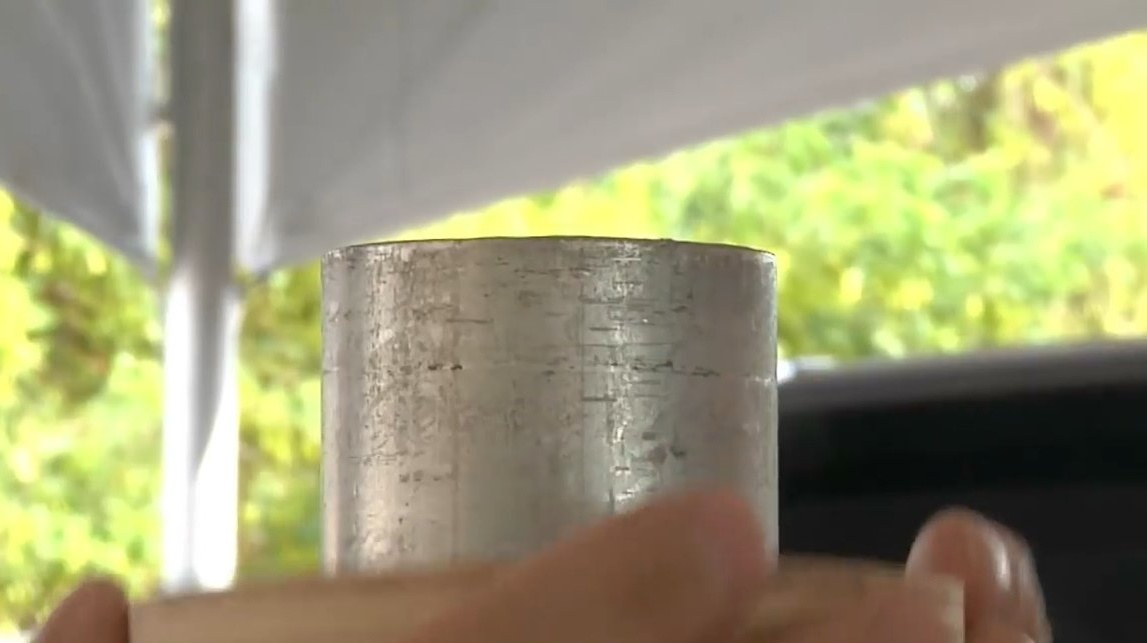
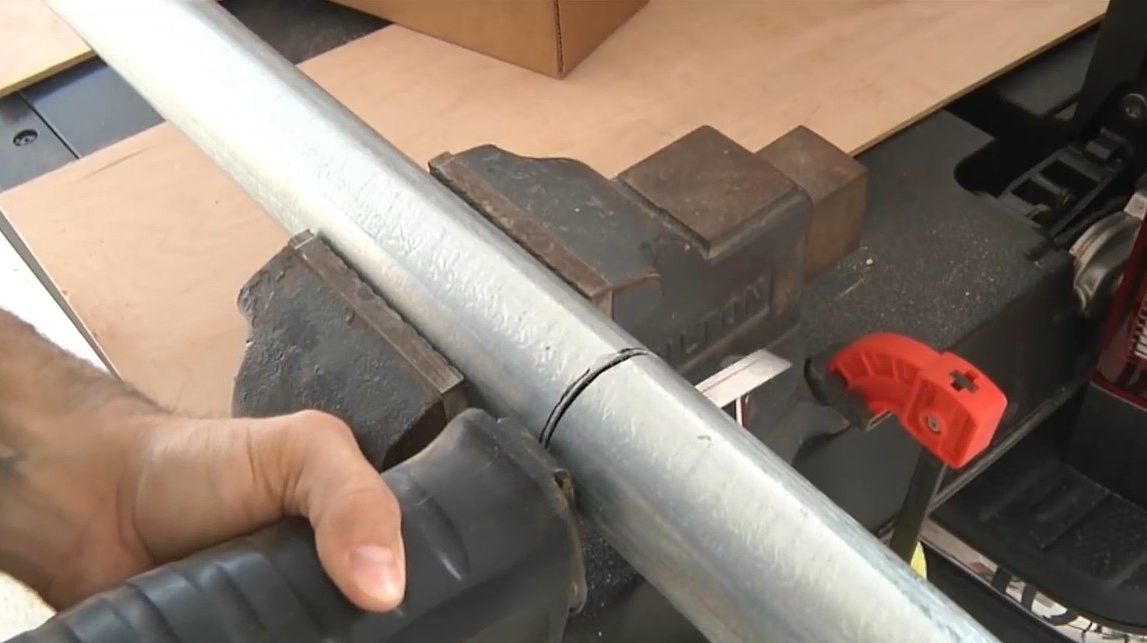
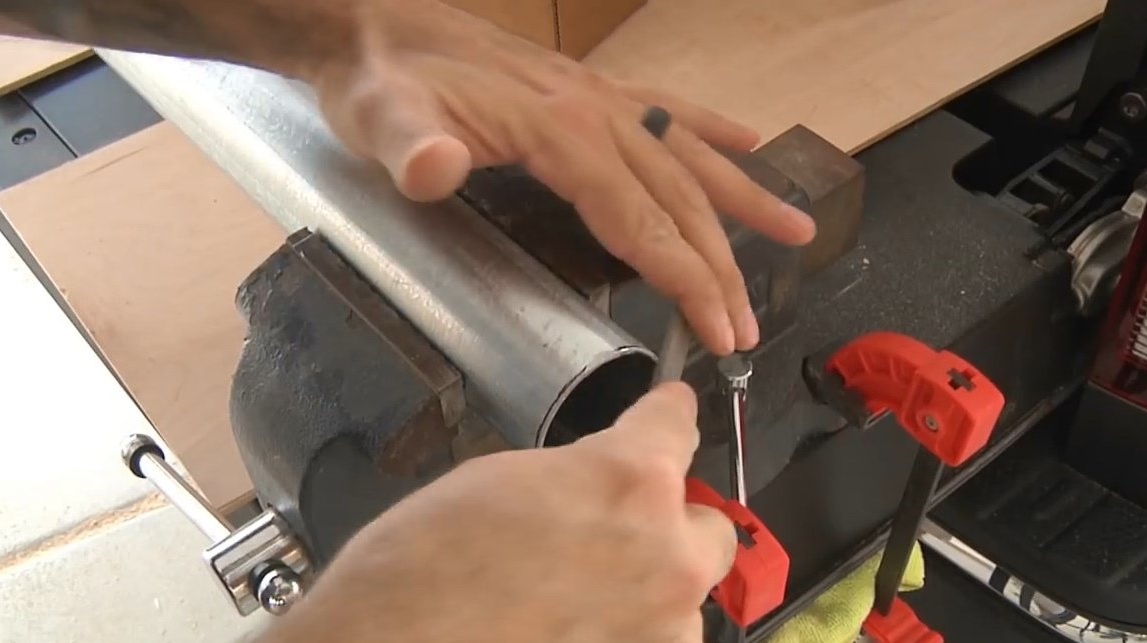
Now we take out the tubes and cut them to the desired length.

Optionally, pour a little epoxy into the holes for a more reliable connection.
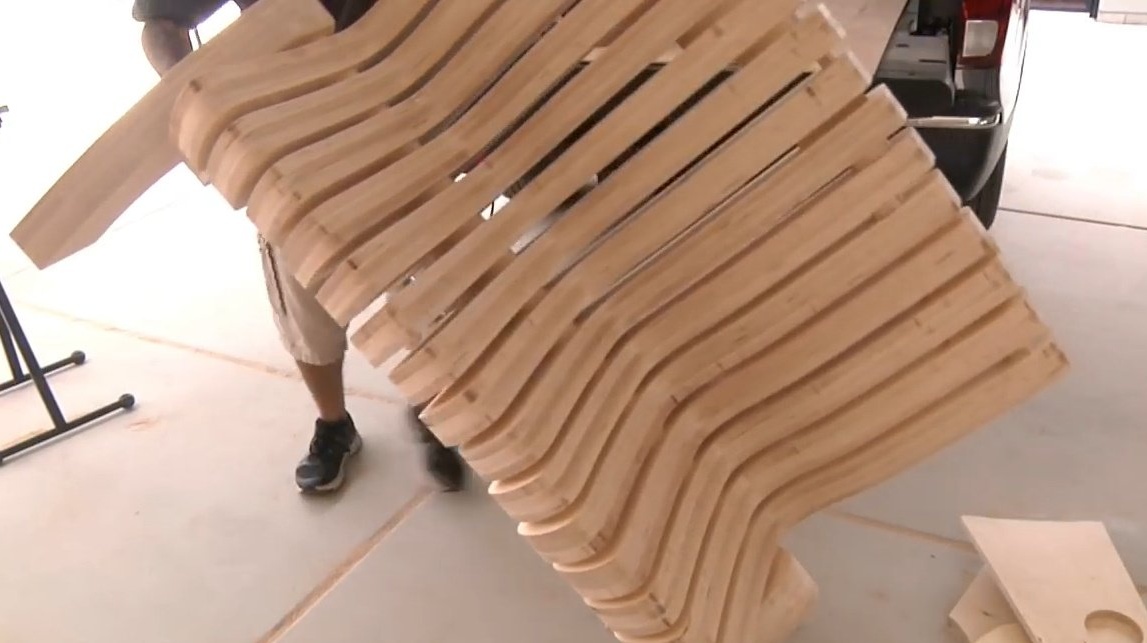
Well, and heavy, beast! Do not forget to bend your knees when you turn it over.
Transformer bench templates and drawings can be found on The Wood Whisperer website
Now that the work is finished, you can relax!

Thanks to the author for the original idea!
All a good mood and interesting homemade goods!