
In this article, the author of the YouTube channel "The Wood Whisperer" will tell you how to easily and quickly make grooves for dowels and not only.
As it turned out, many of those who are just starting to do carpentry do not know how to make grooves. Your attention is invited to a quick, easy and fairly cheap way to produce them.
Materials
- Boards.
Instruments, used by the author.
- Manual frezer
- Vise
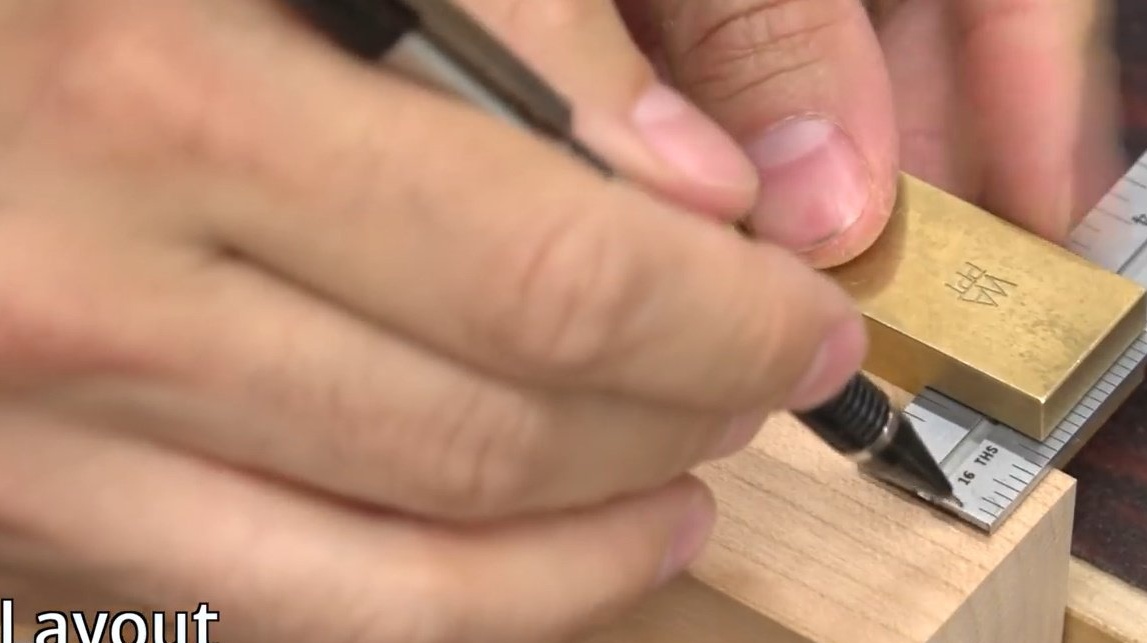
- Fine tip marker
- Square, pencil, vernier caliper
- Marking planer.
Manufacturing process.
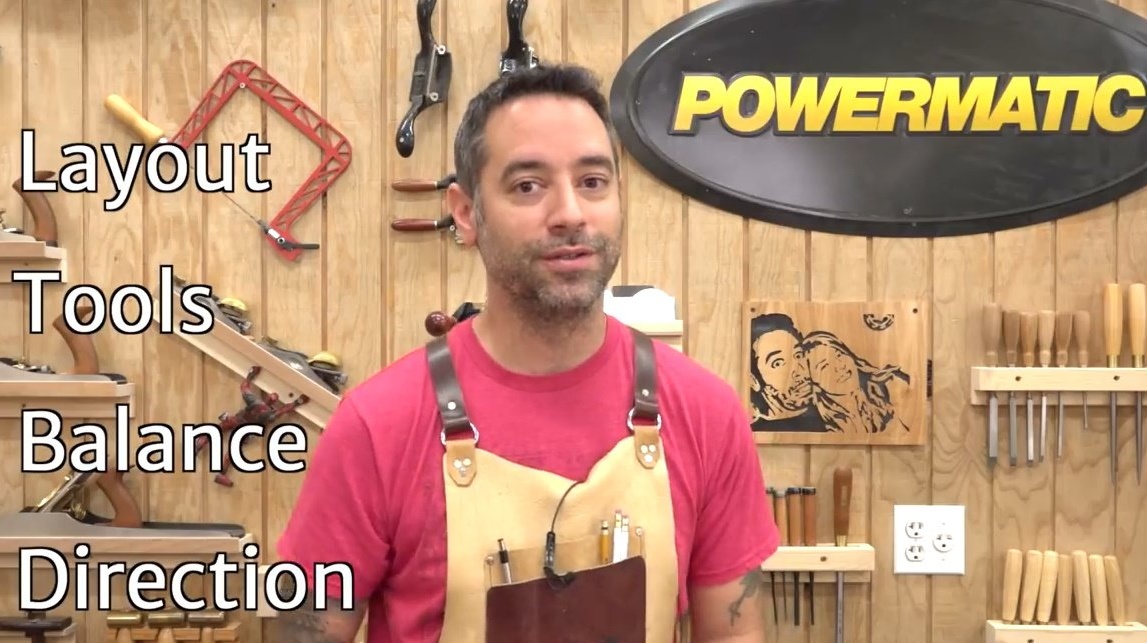
In order to more reliably remember the 4 components of success in the production of high-quality grooves, the author came up with an acronym - RIBN:
1. Markup
2. Tools
3. Balancing
4. The direction of movement.
In the original - LTBD: layout, tools, balance, directions.
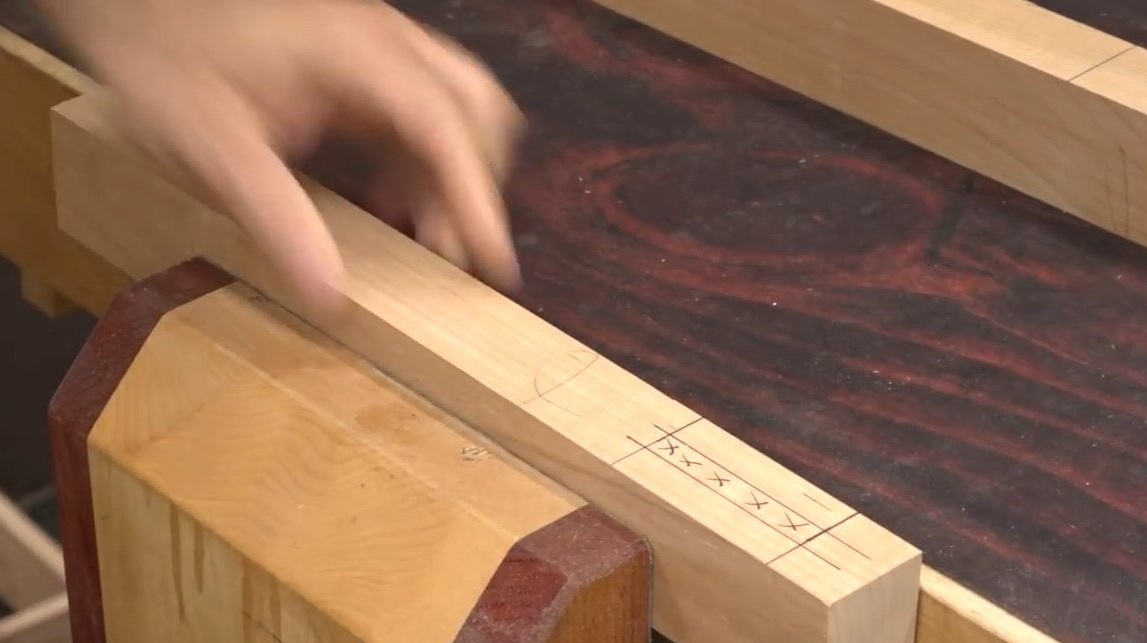
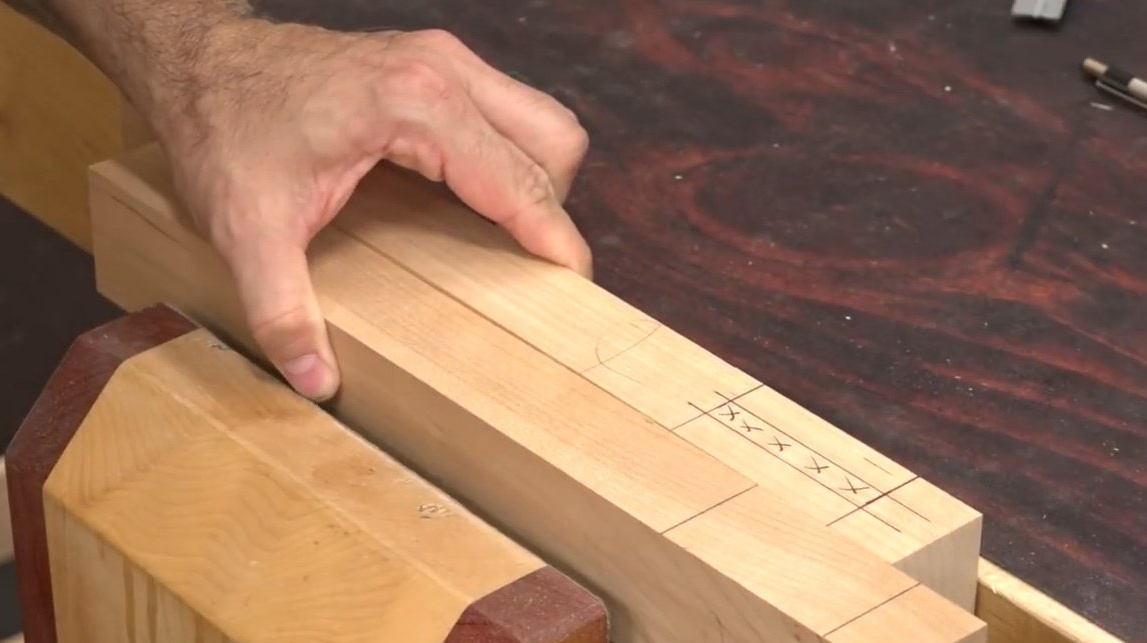
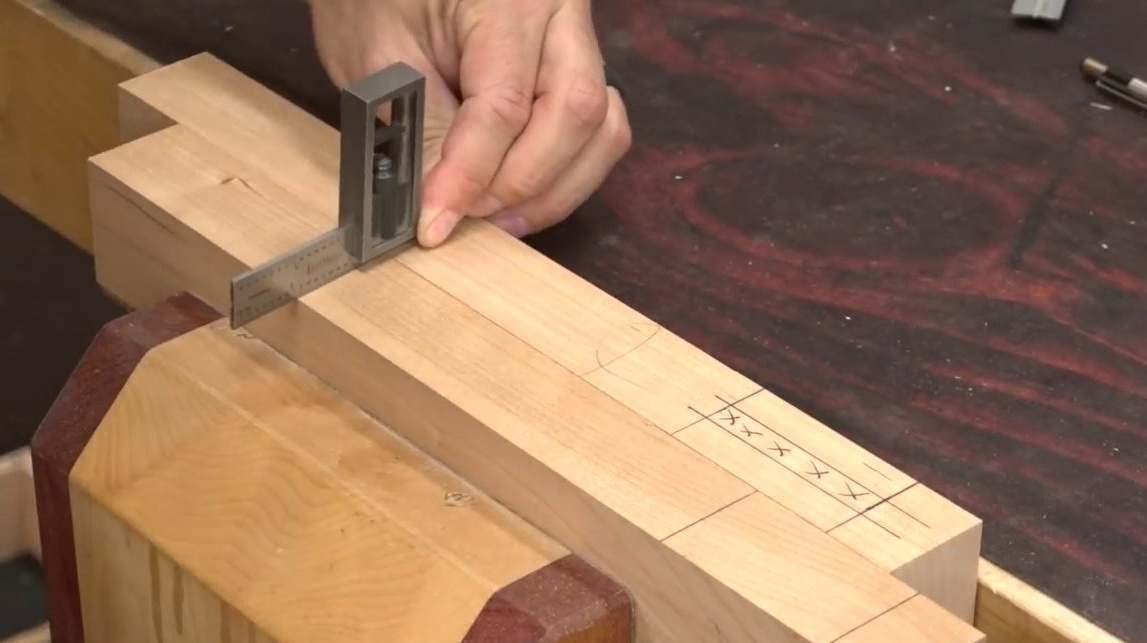
And now in more detail about each of the four components. Proper markup means a lot, at least in the first step. The author uses a good, sharp, 0.5 mm pencil for optimal accuracy, and a marking surface gage.
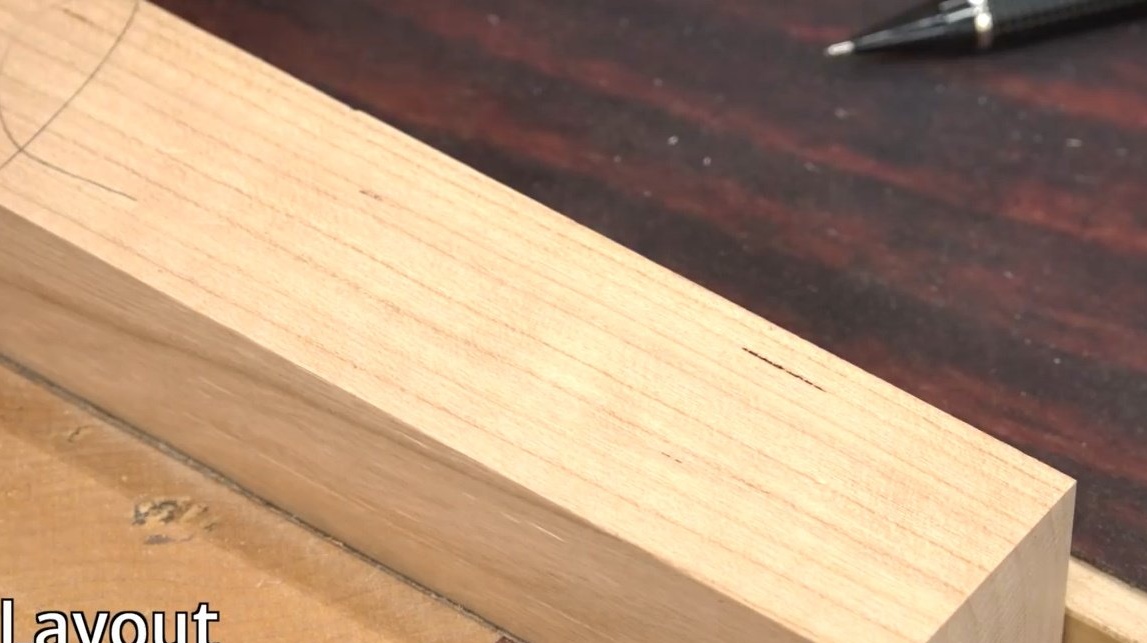
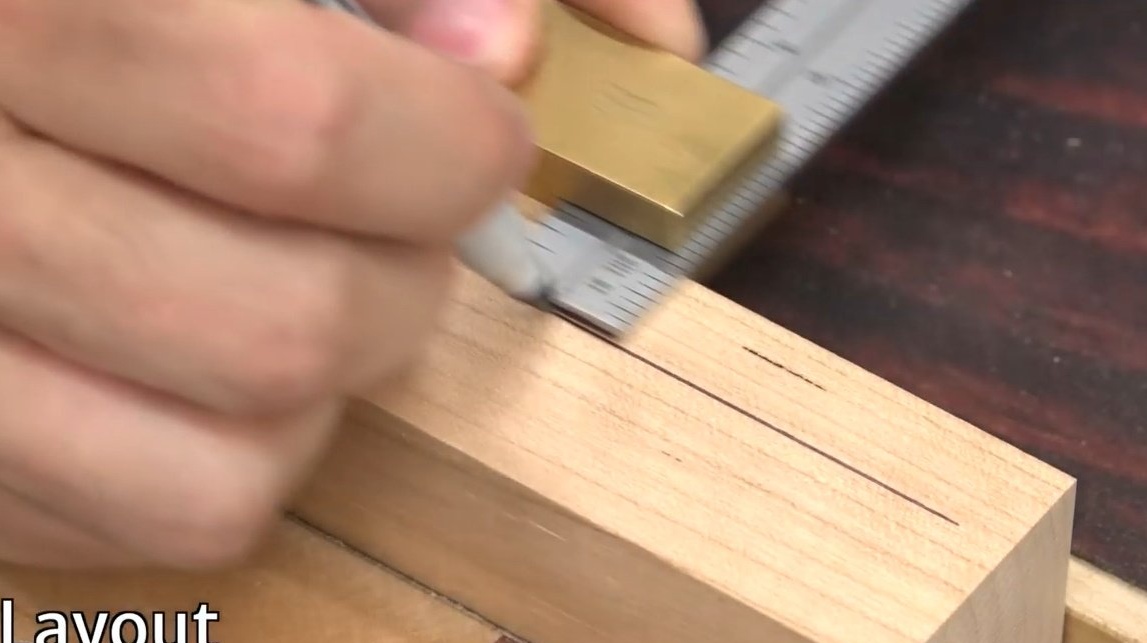

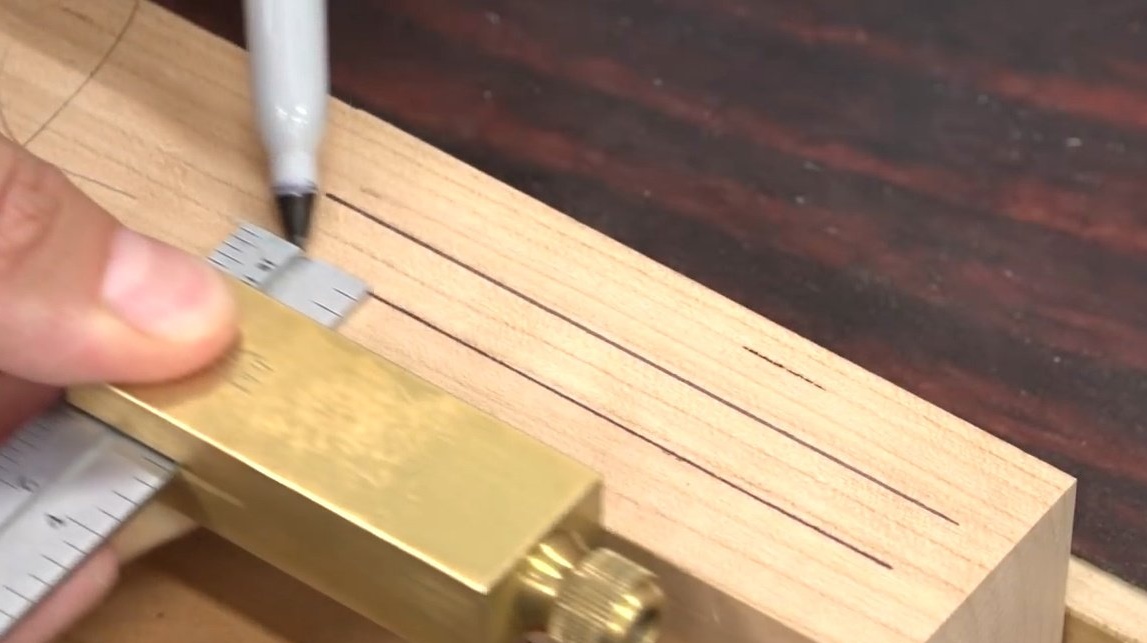
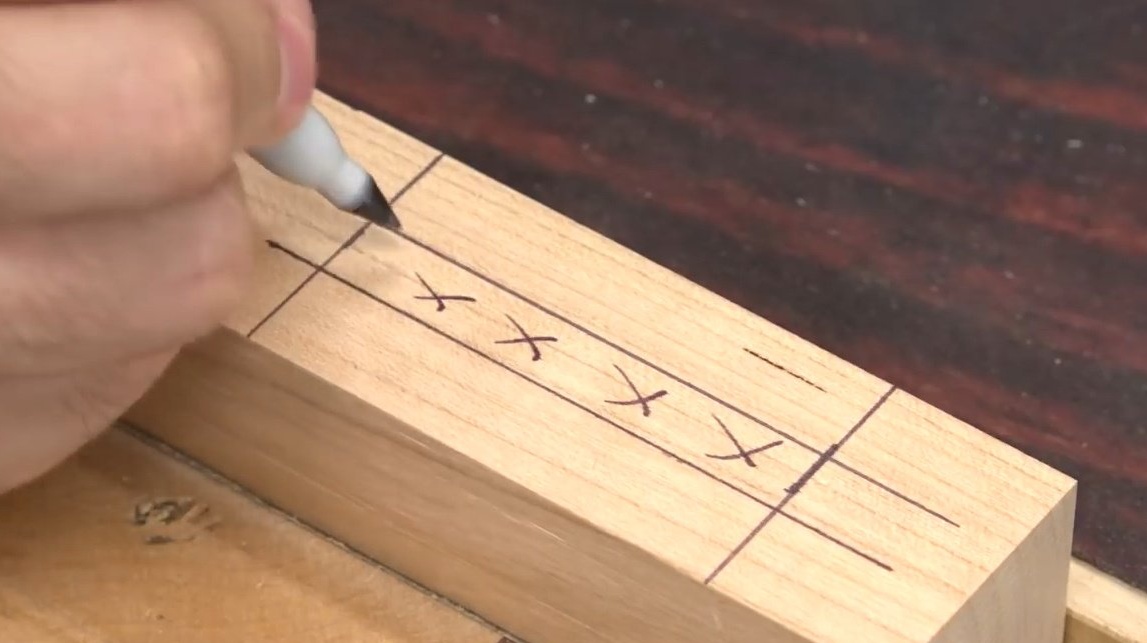
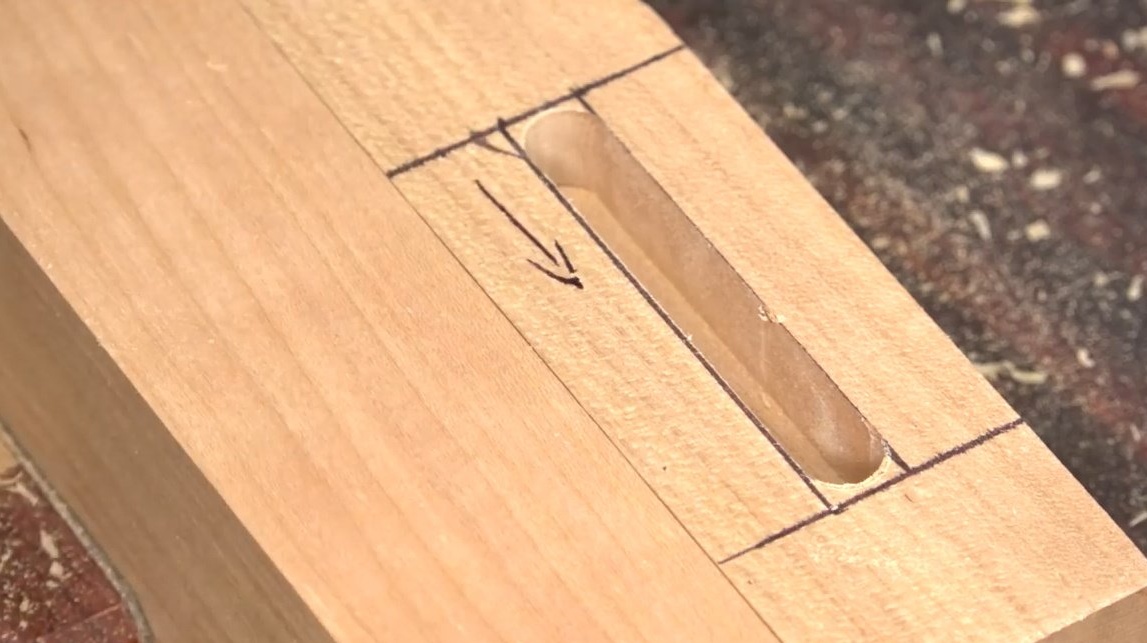
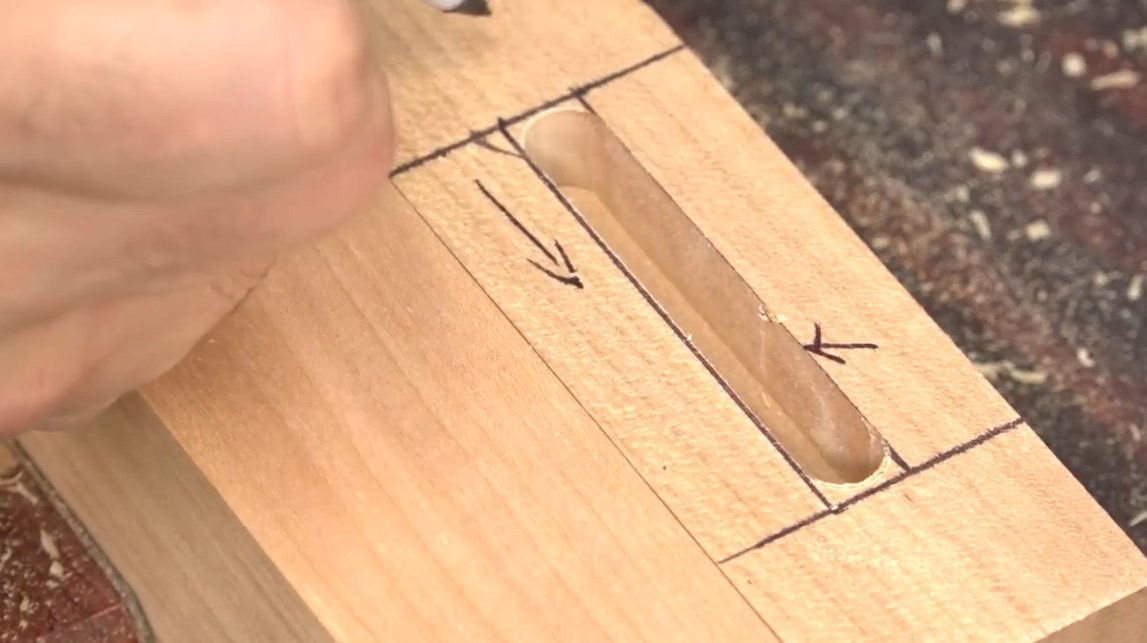
Typically, the entire groove is placed entirely on one part or wood billet. On the resulting contours of the grooves, the start and end lines, as well as the sampling lines, should be highlighted.
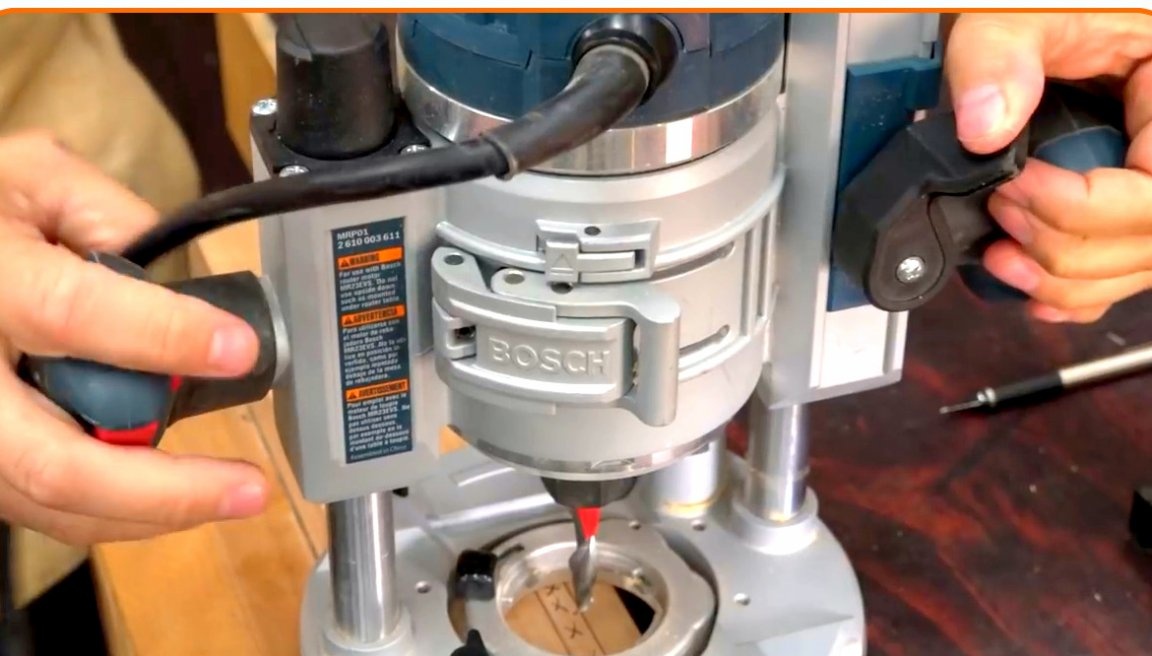
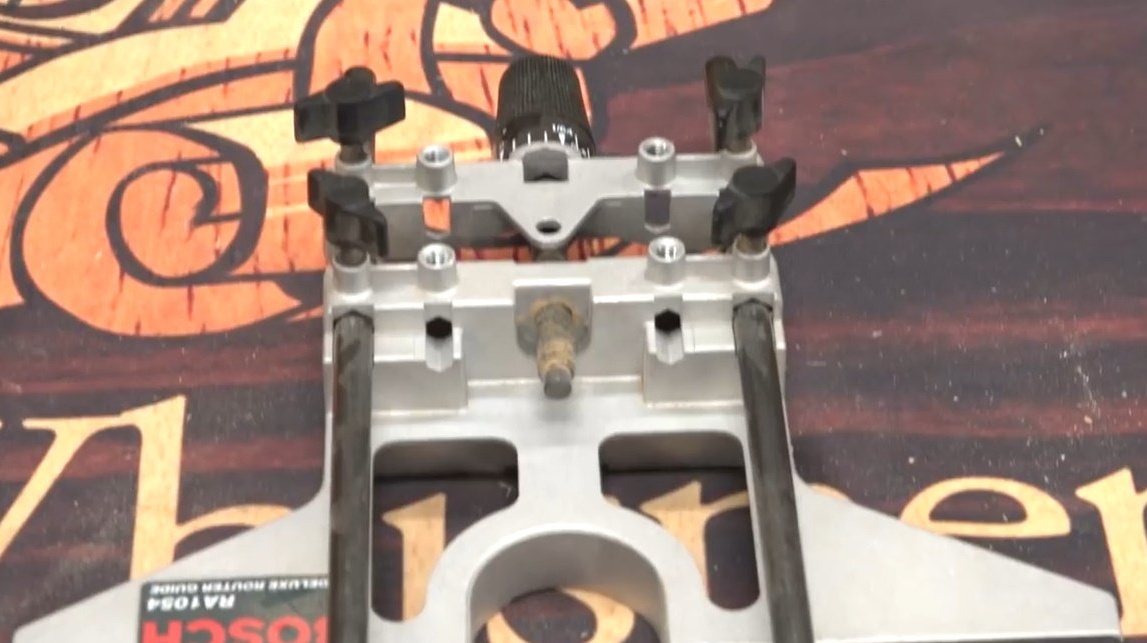
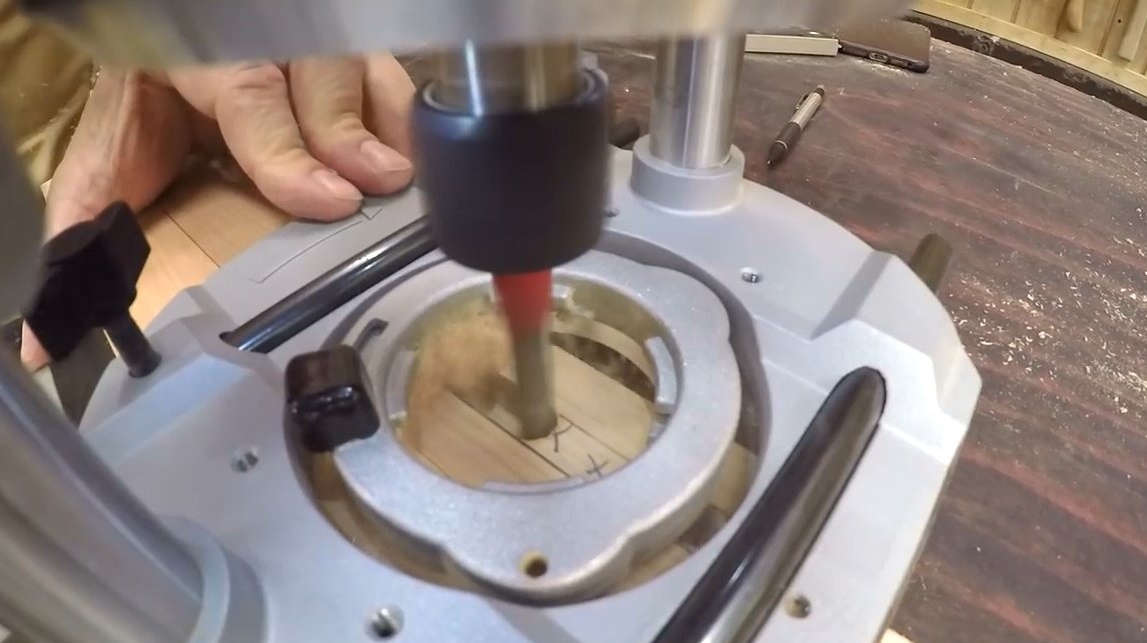
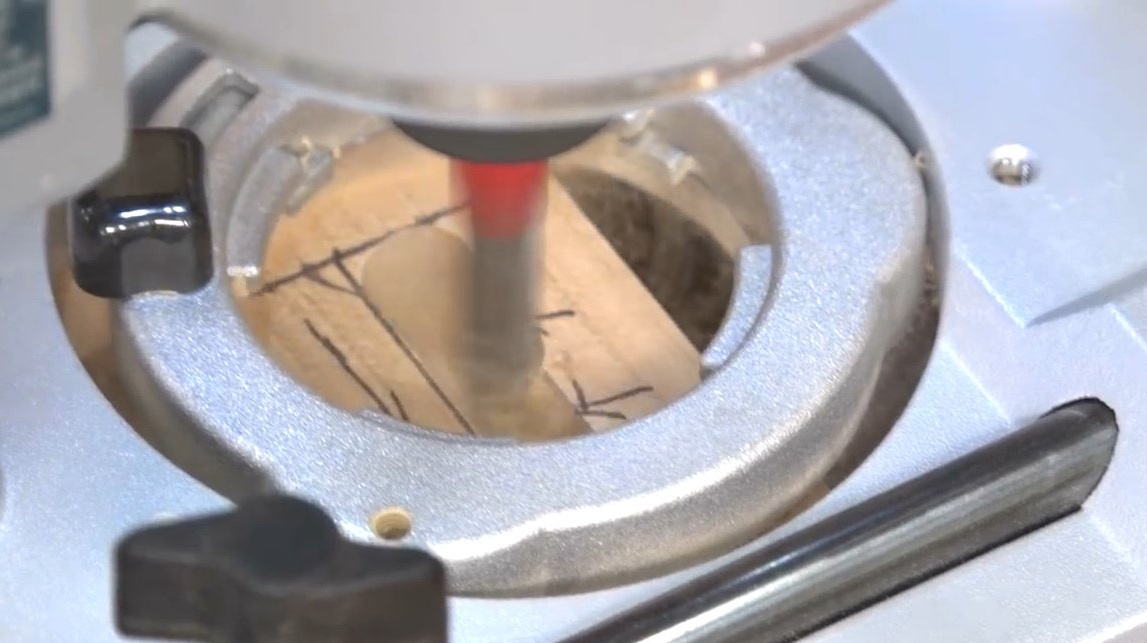
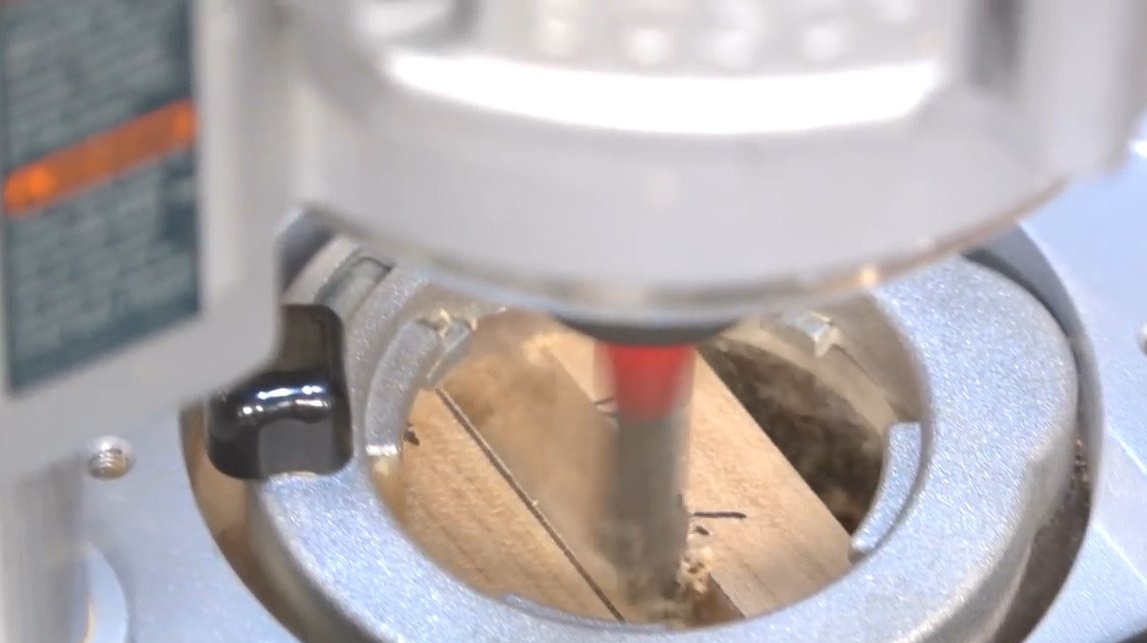
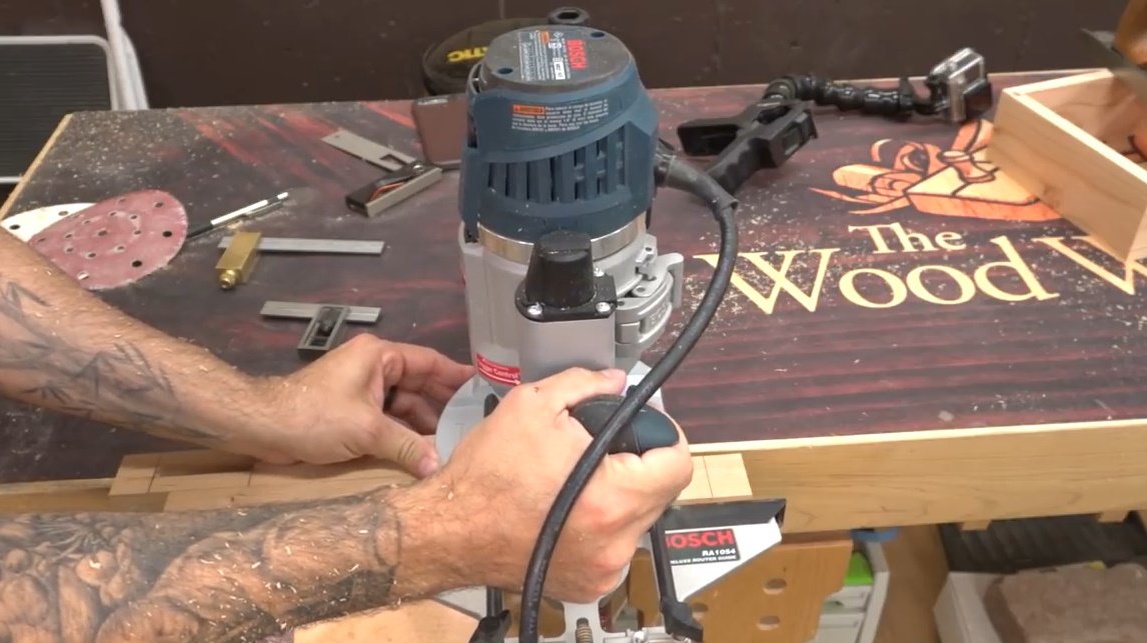
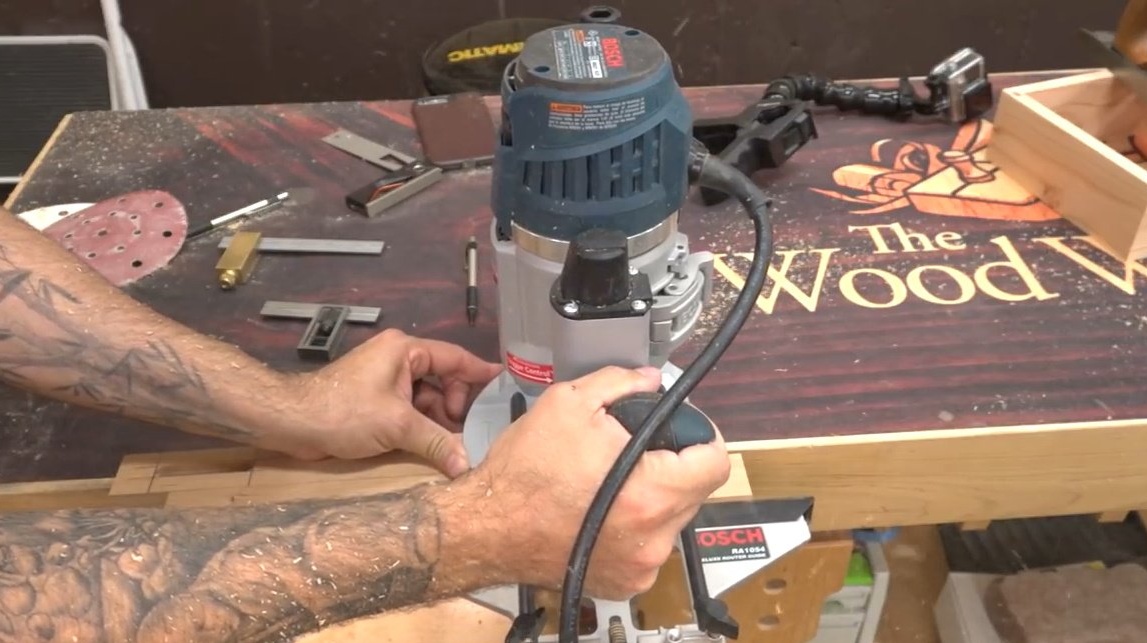
Now about the tools: for work, you need a decent milling cutter, preferably a submersible, or a lamella one.
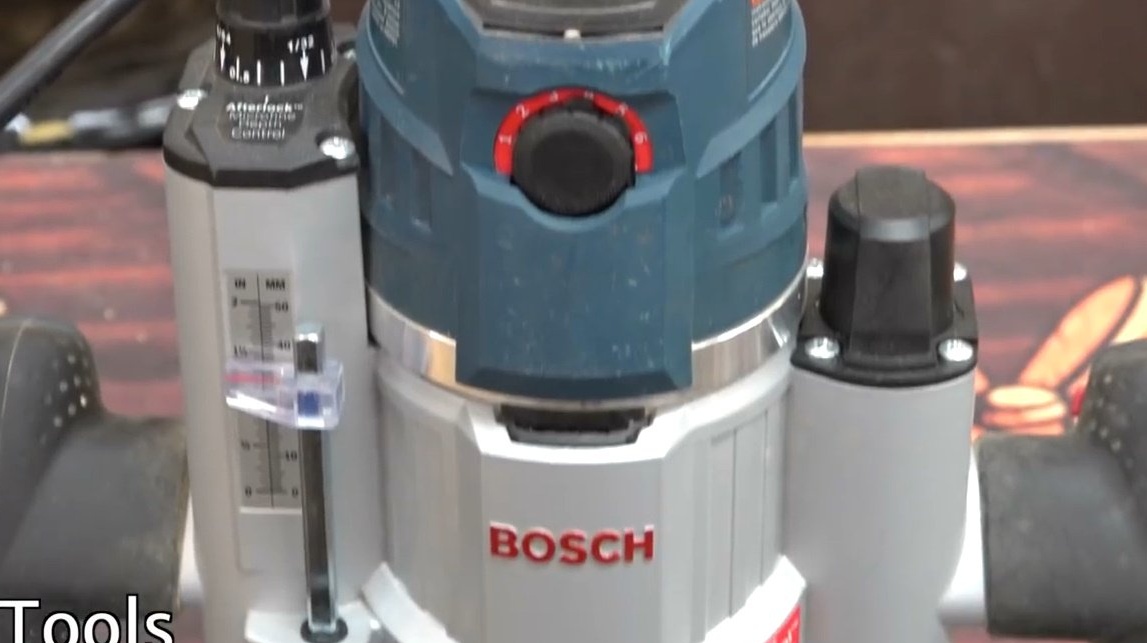
Reliable thrust device that controls the position of the edge of the part, a mill with an upward spiral, which due to its shape will remove chips from the groove during milling.
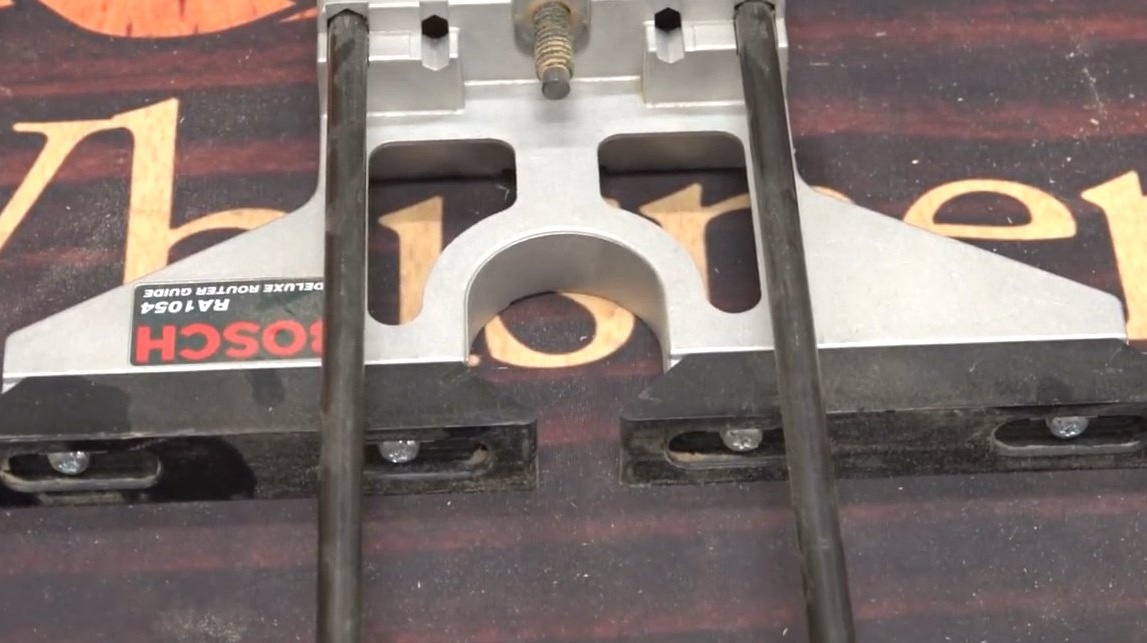
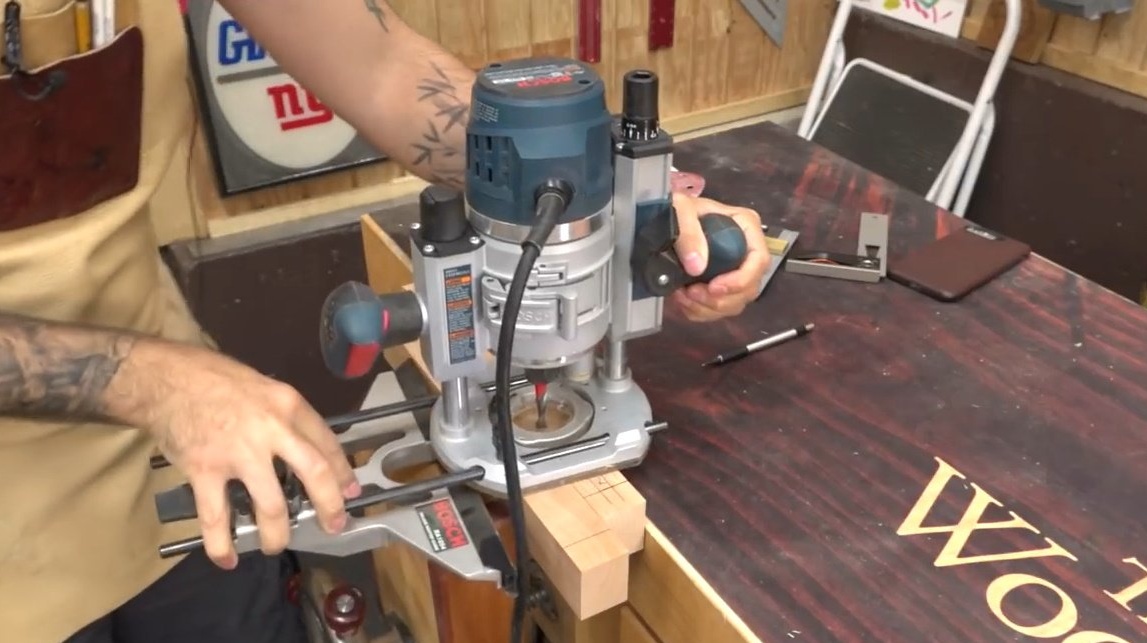
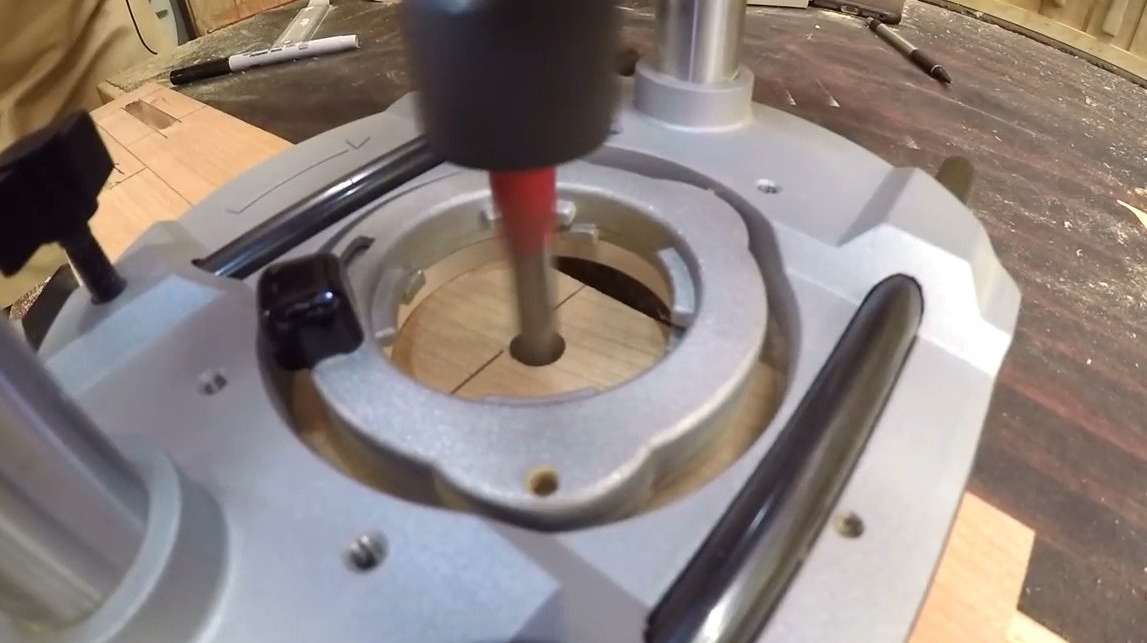
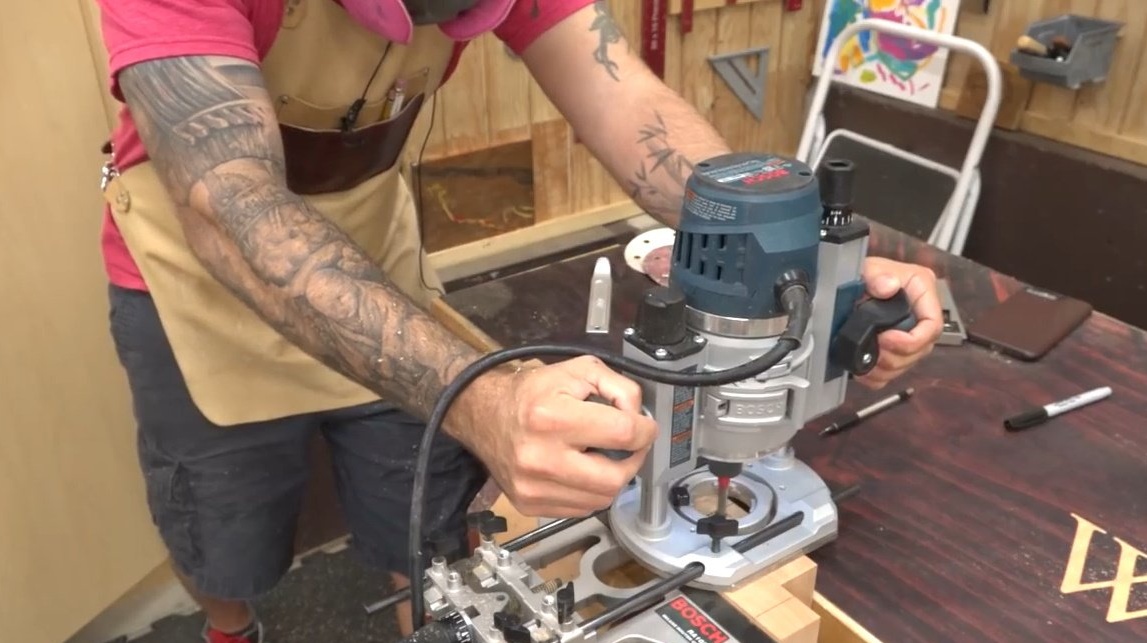
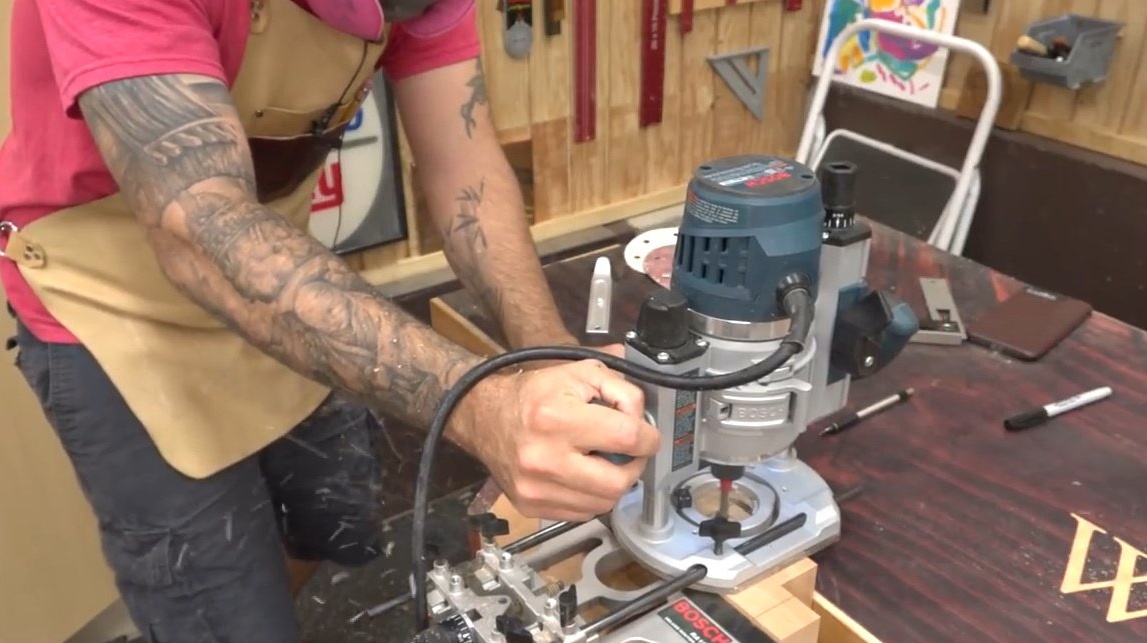
Next, we fix the workpiece with clamps, or fix it in a vice.

Then we check how stable the router is "sitting".
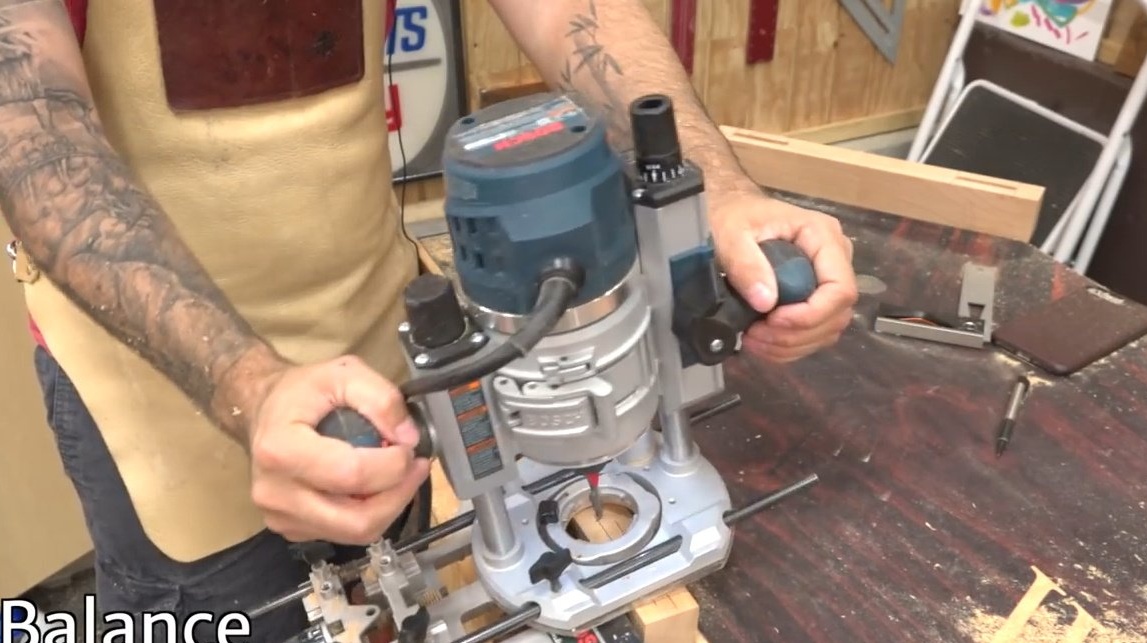
And if there is a feeling that he is slightly heeling, use an additional support - a wooden block or some other wooden blank.
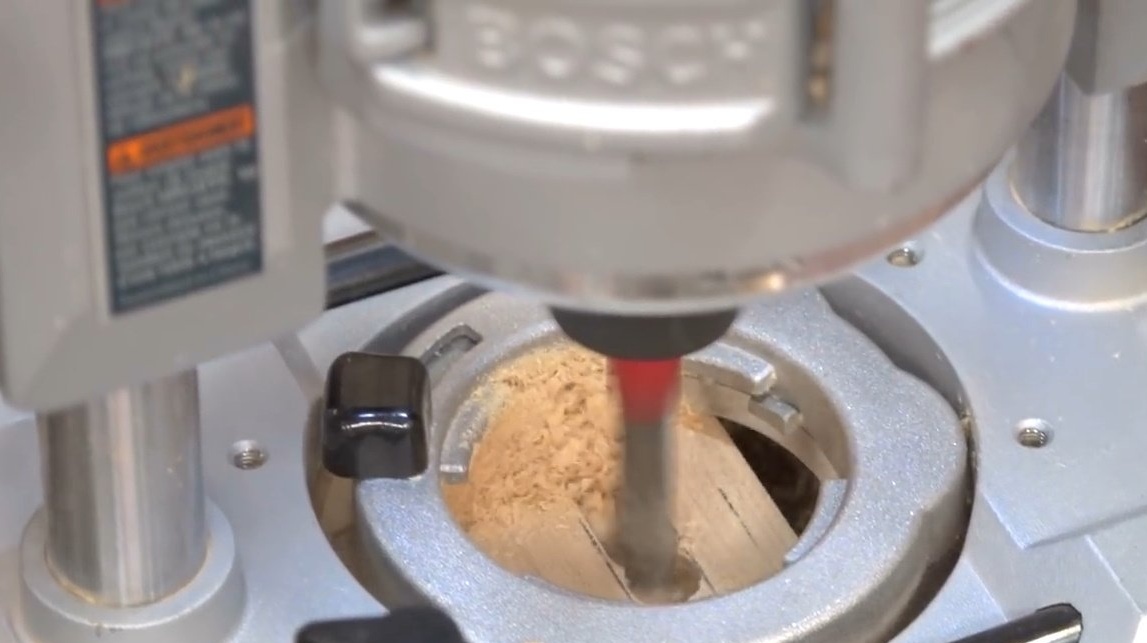
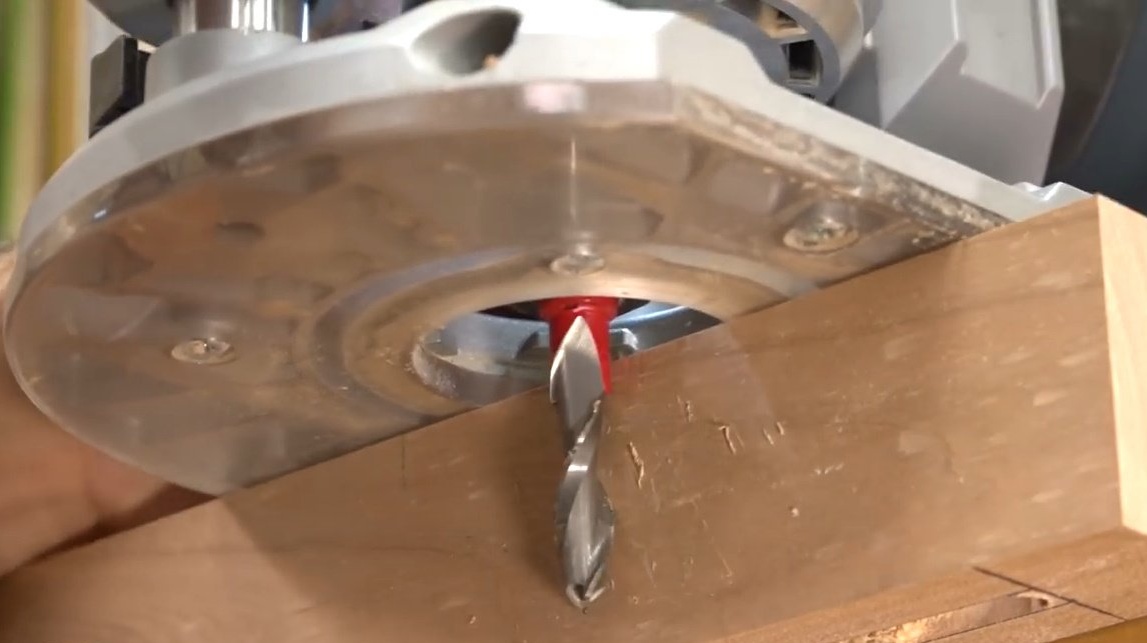
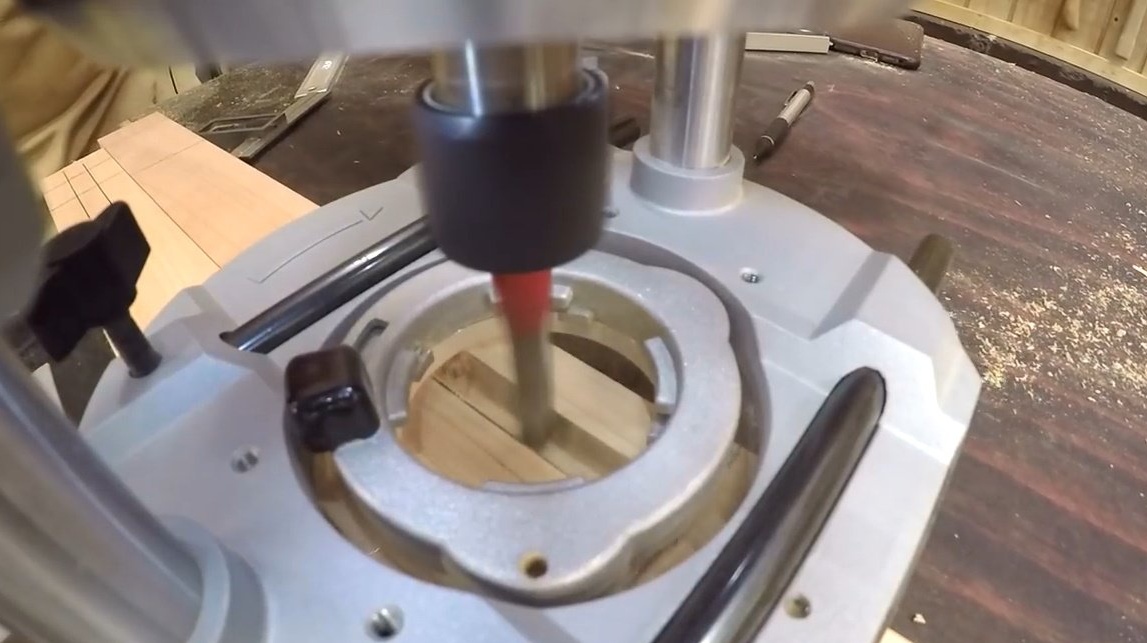
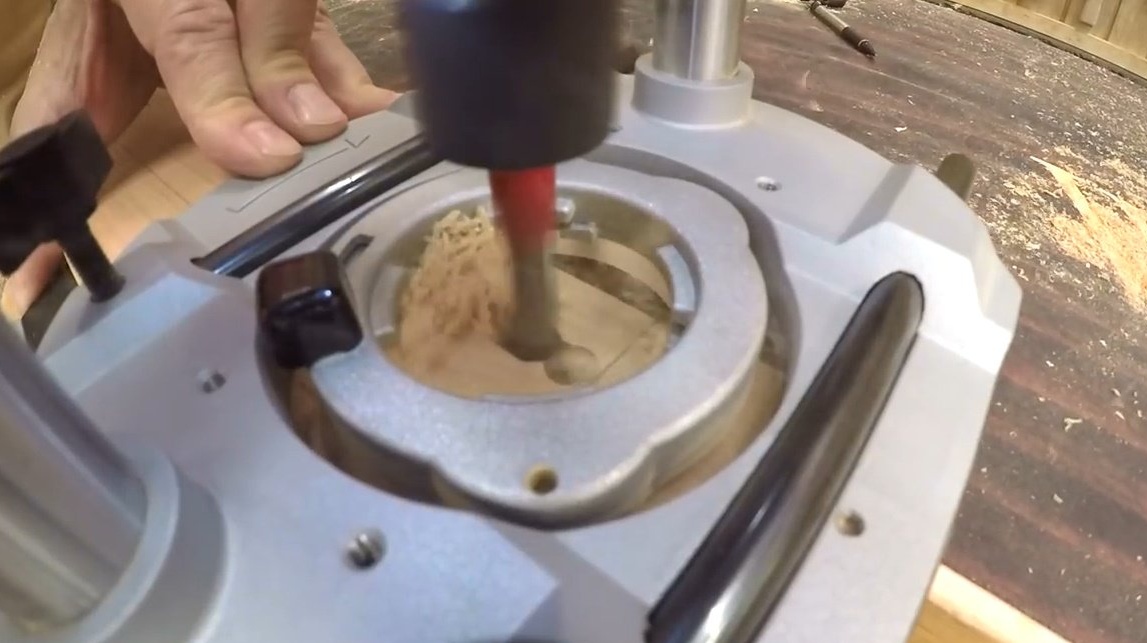
We place the router on the workpiece and slightly withdraw the drill so that it only touches the surface. We use limiters to set the desired depth.
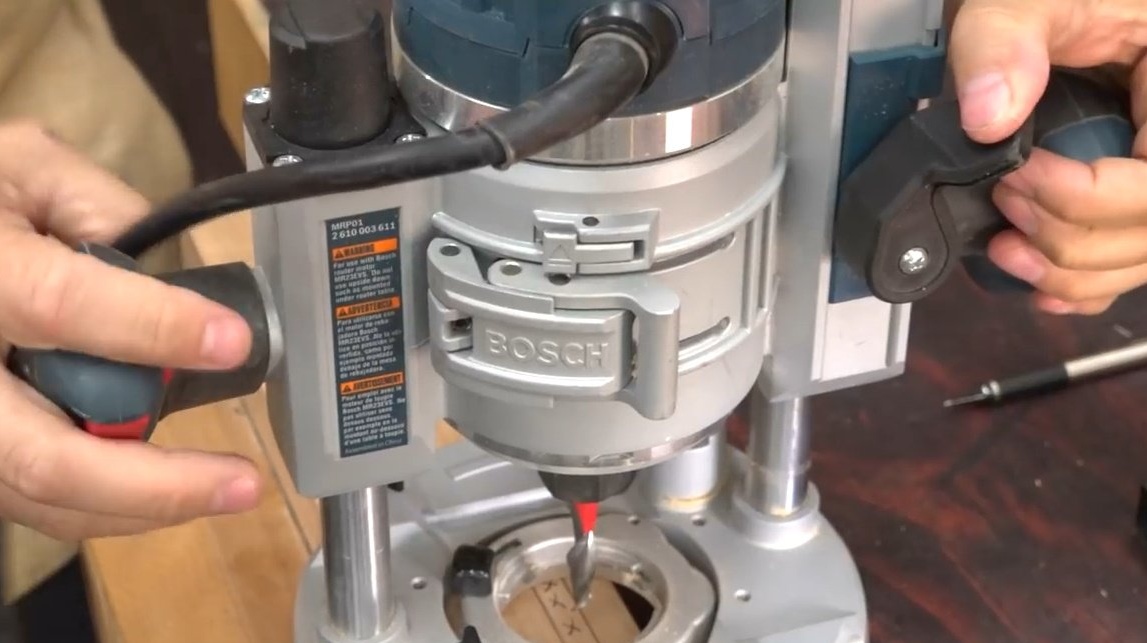
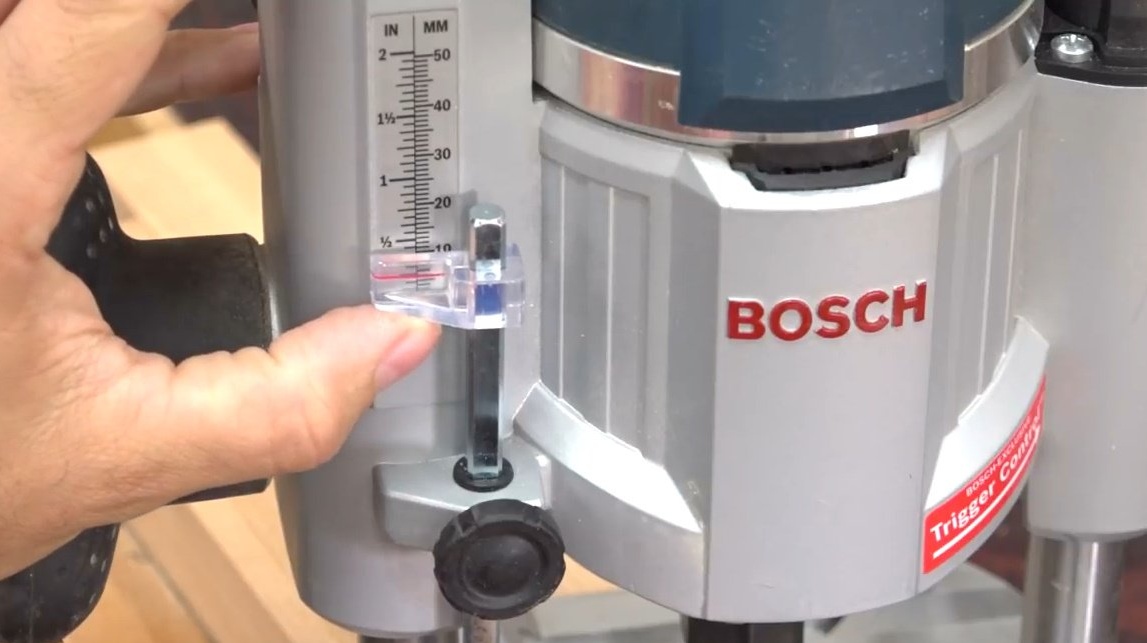
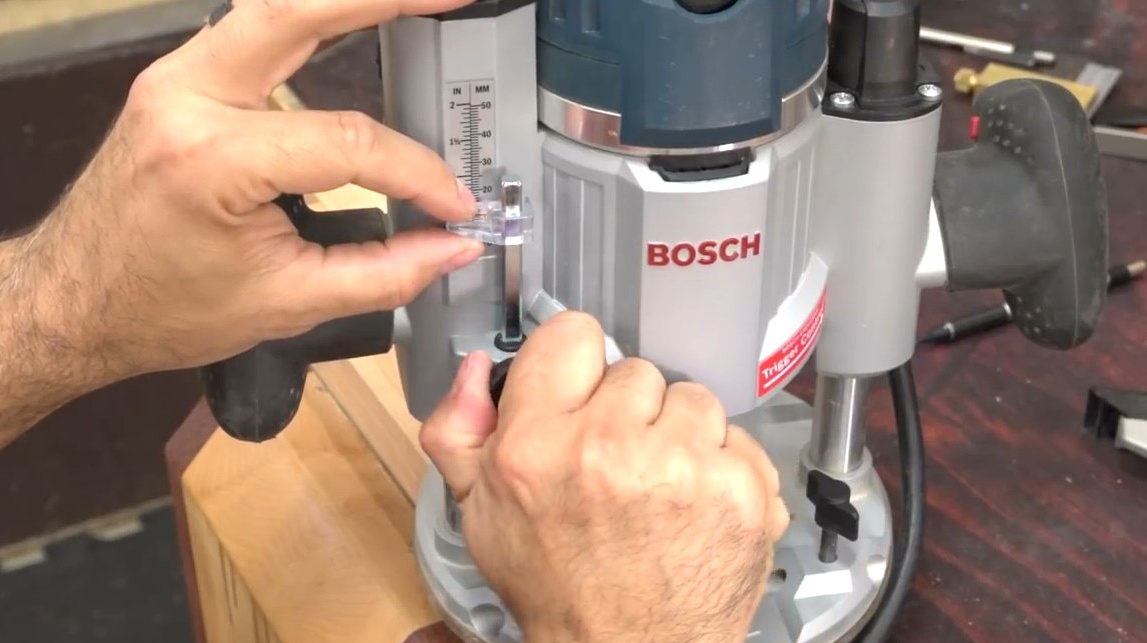
Now you can fix the device that controls the position of the edge of the part.

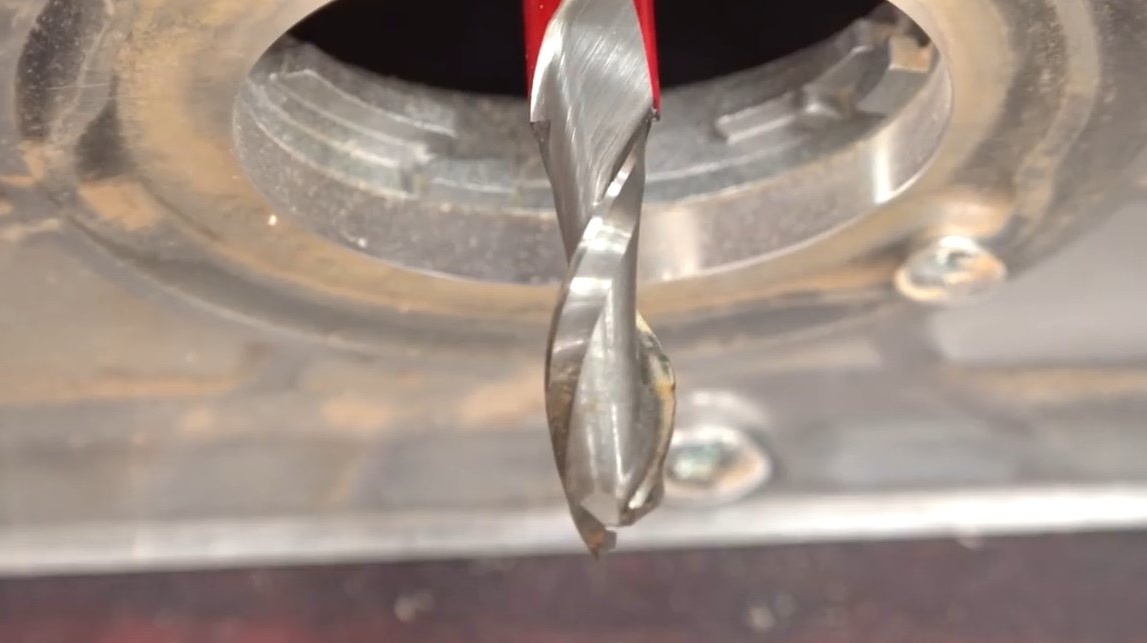
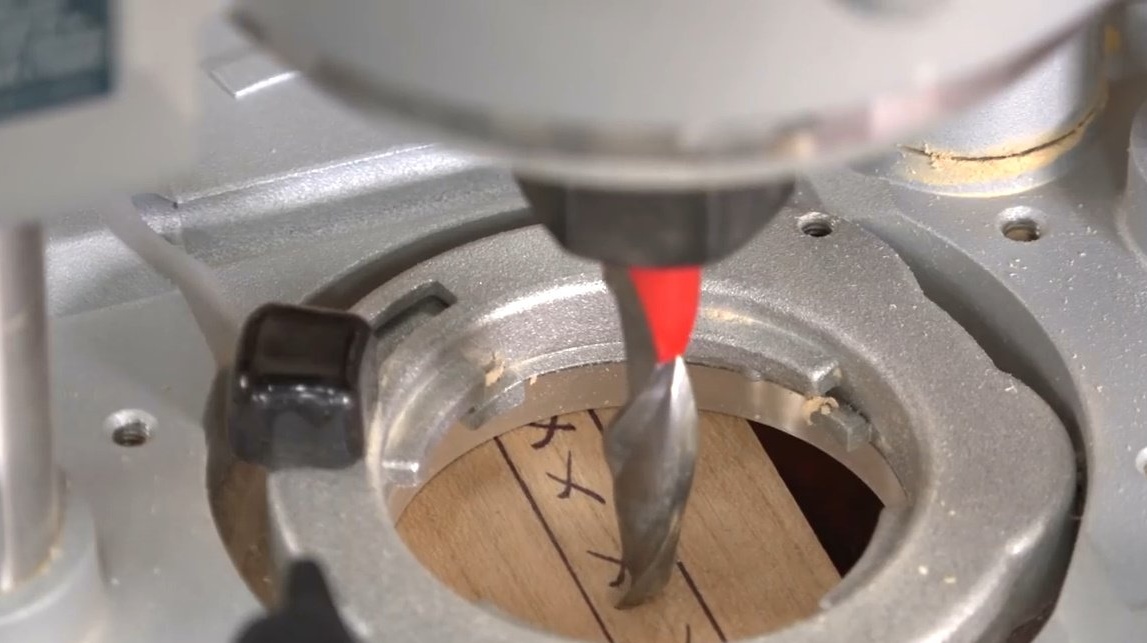
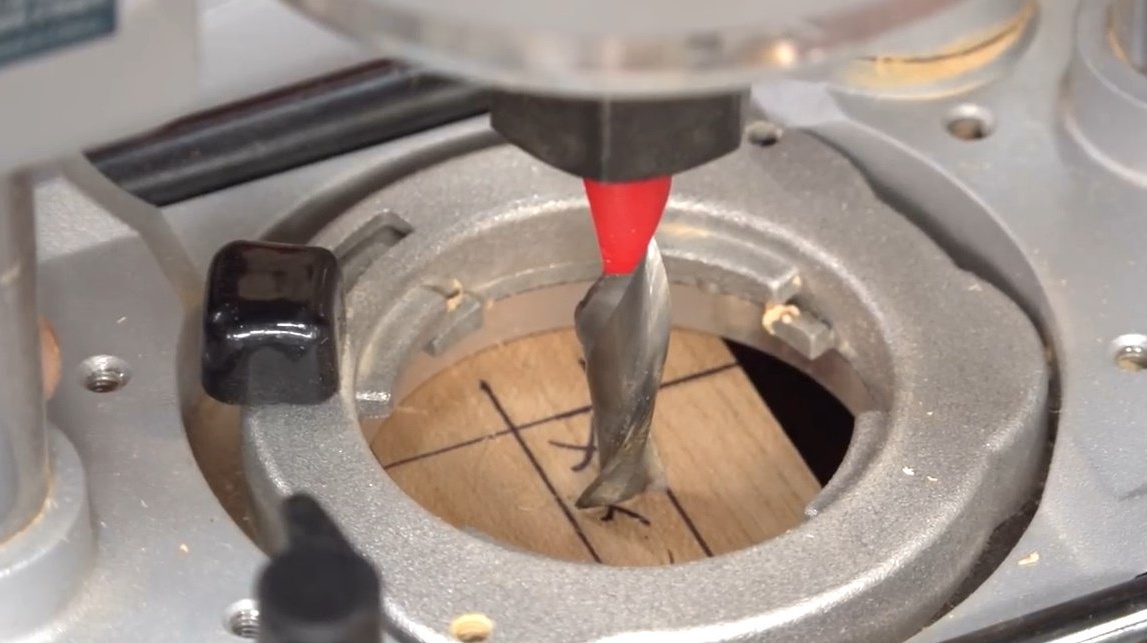
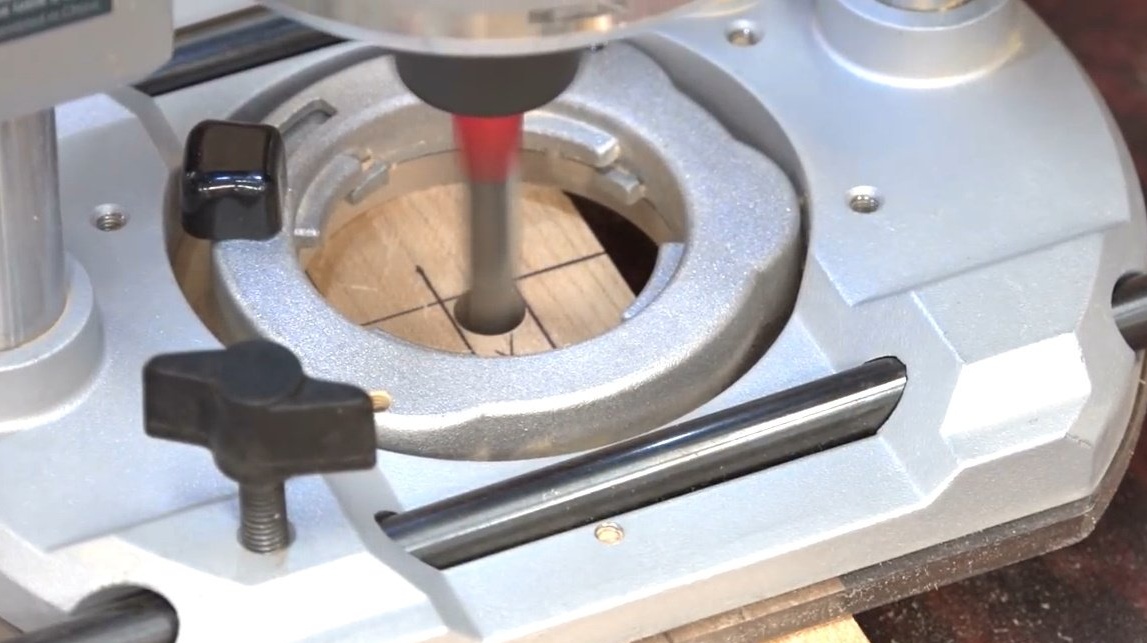
We install the drill so that its tip is at right angles to the future groove. As a result, it’s much easier to install a drill just between two sketchy lines.

After everything is set, we fix the emphasis and turn on the milling cutter.
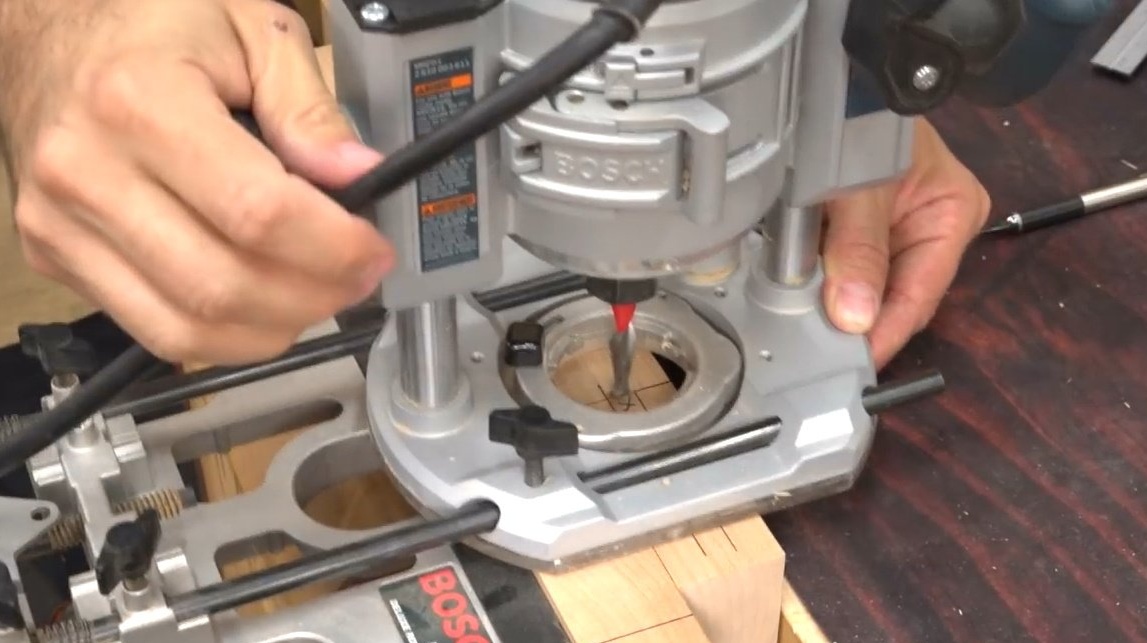
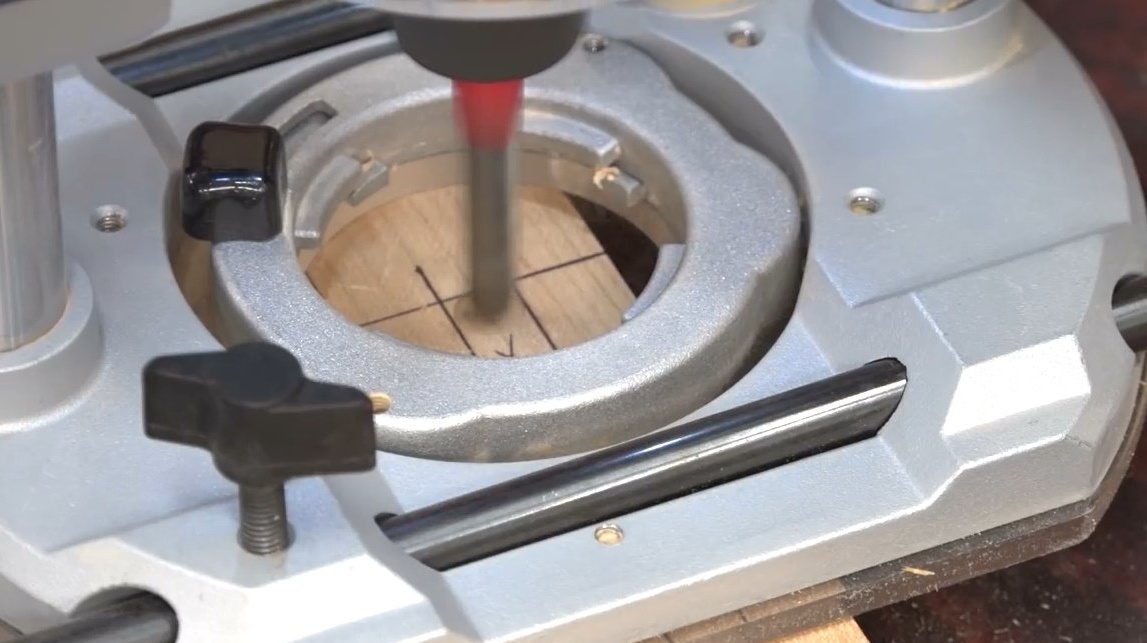
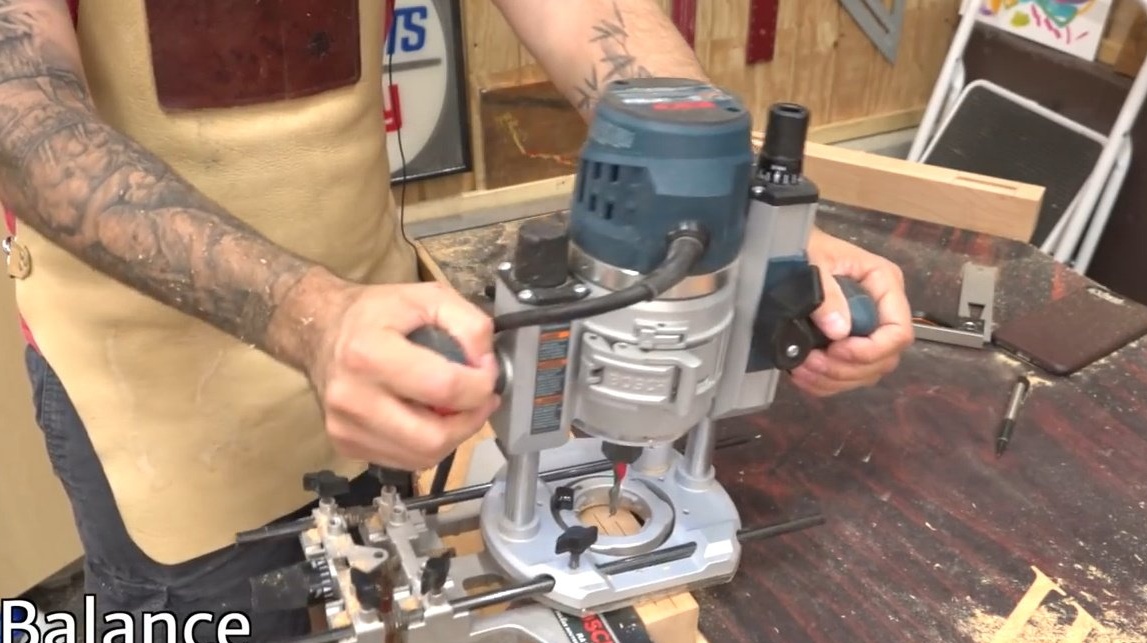
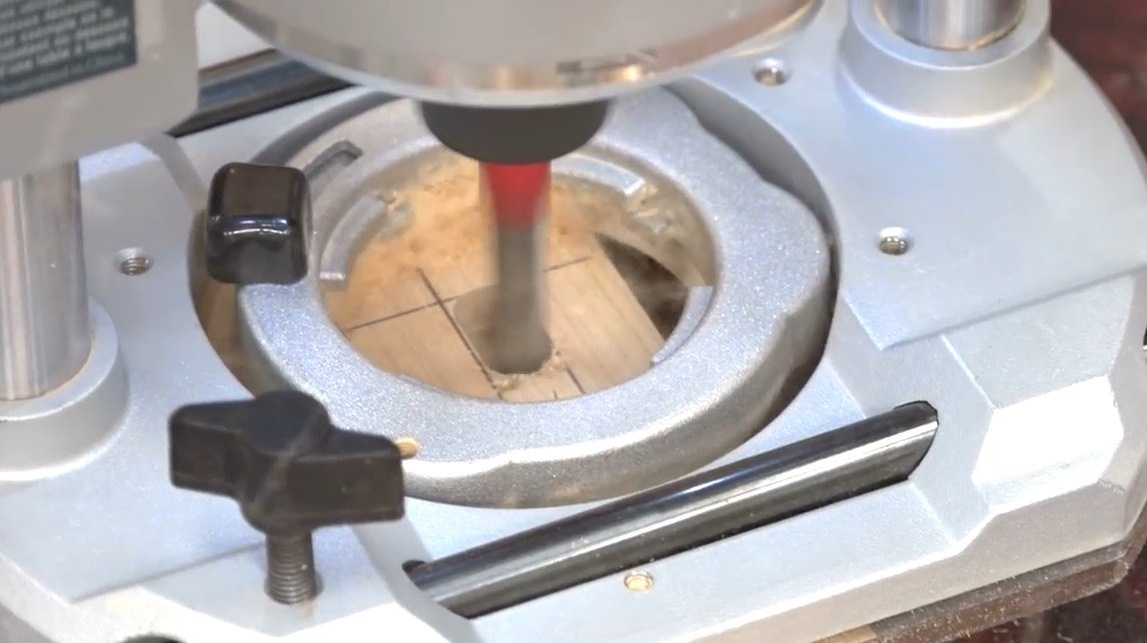
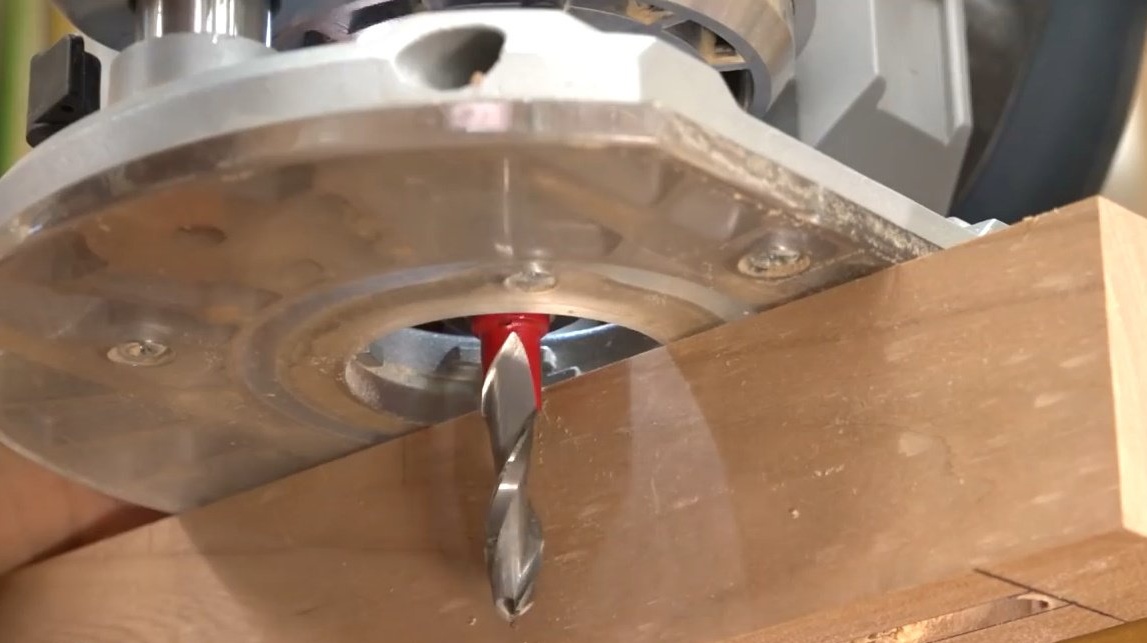
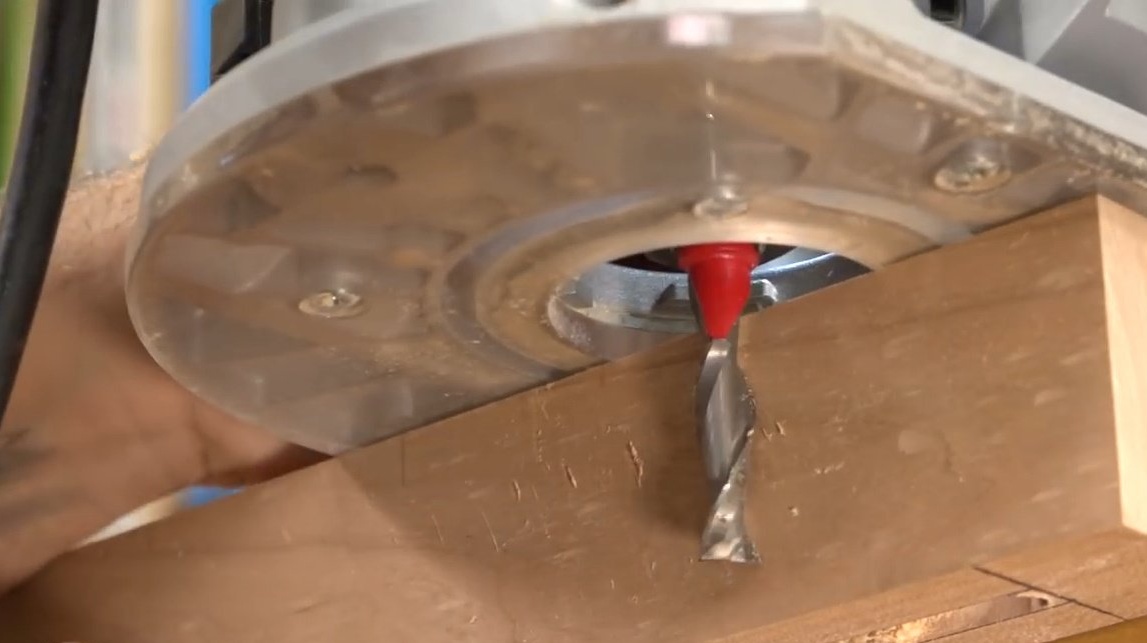
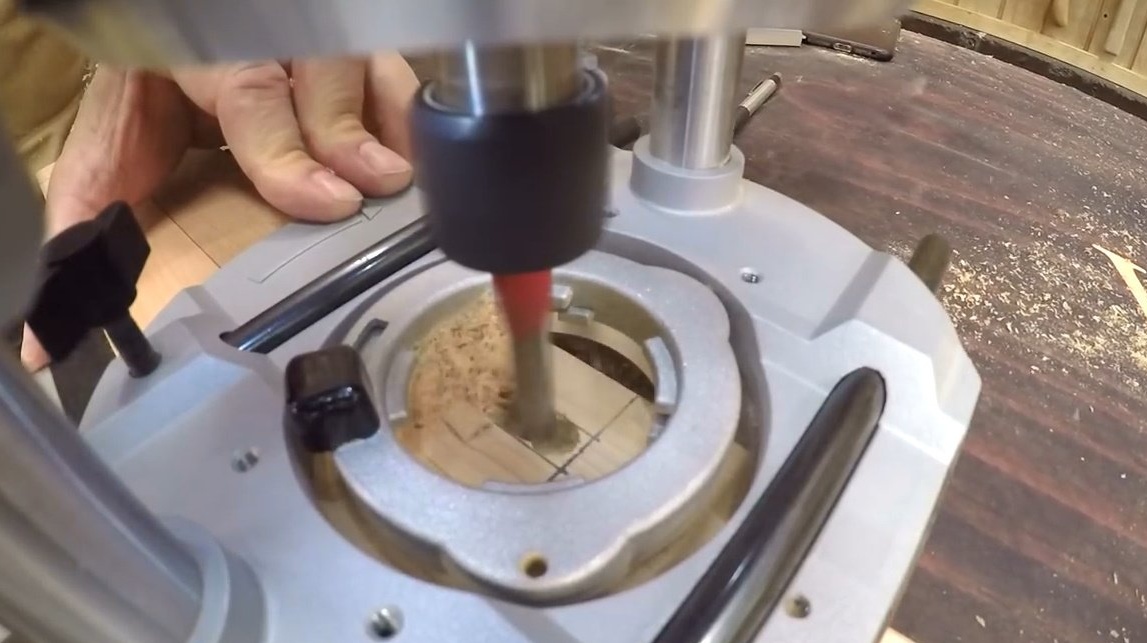
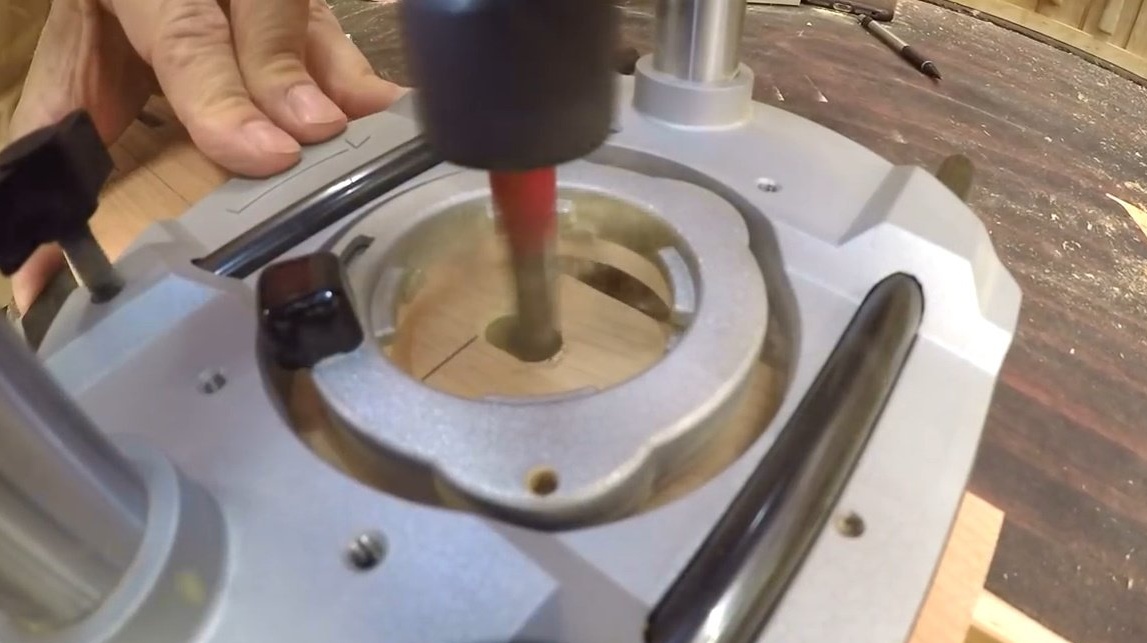
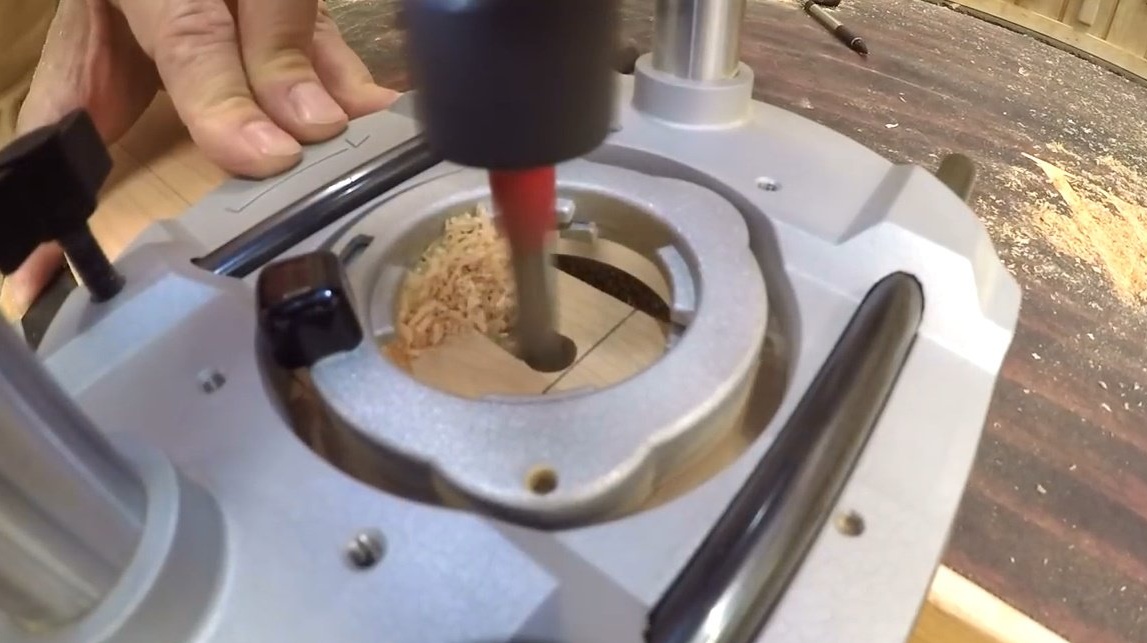
We drill the first hole to full depth.So we mark the beginning and end of the groove, which gives an accurate start and a clearly defined finish point, and also physically allows you to feel the end of the groove, thereby not allowing you to move on. This feeling is especially valuable if dust and sawdust interfere with the normal view of the part.
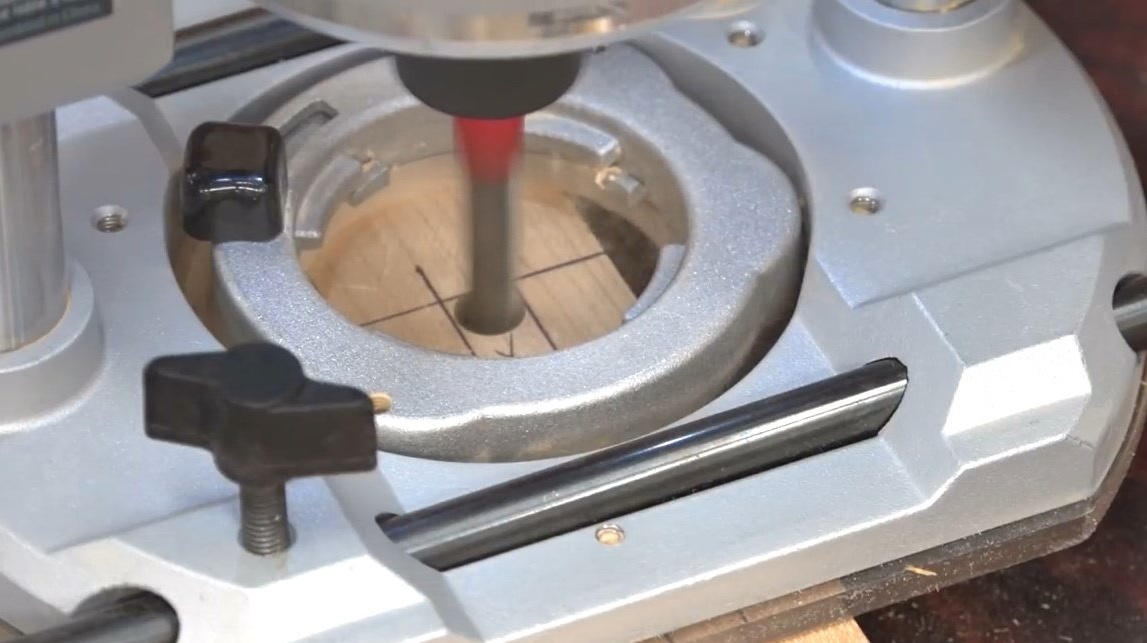
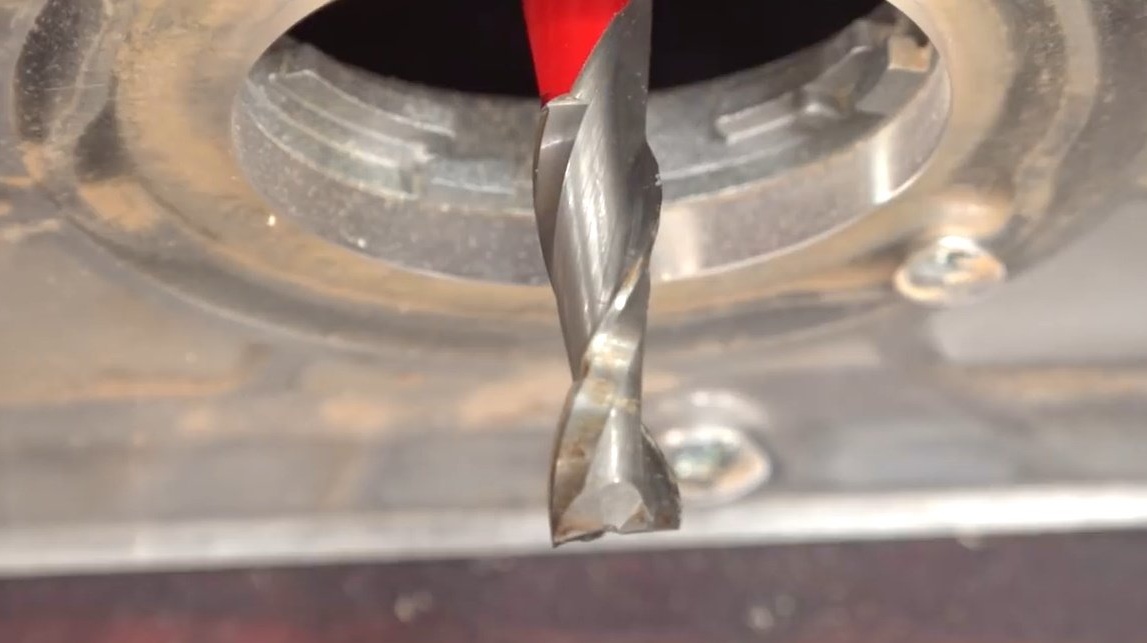
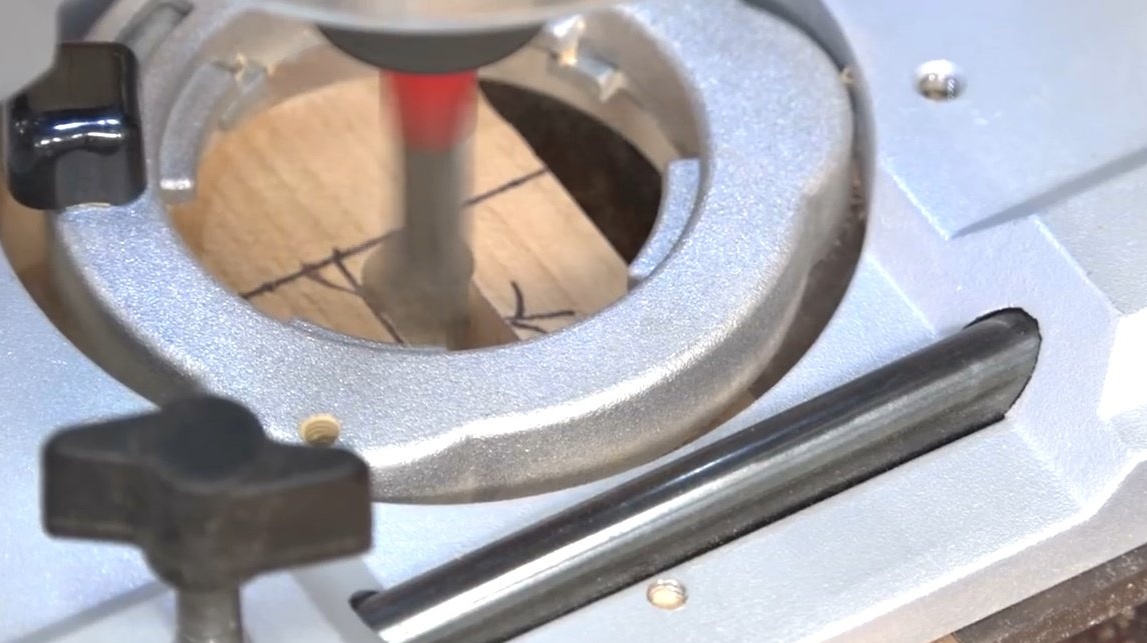
Then we return to the beginning and clean the central part of the groove between the two holes, moving from left to right, pushing the device away from you. This movement and position helps to engage the entire length of the cutter.
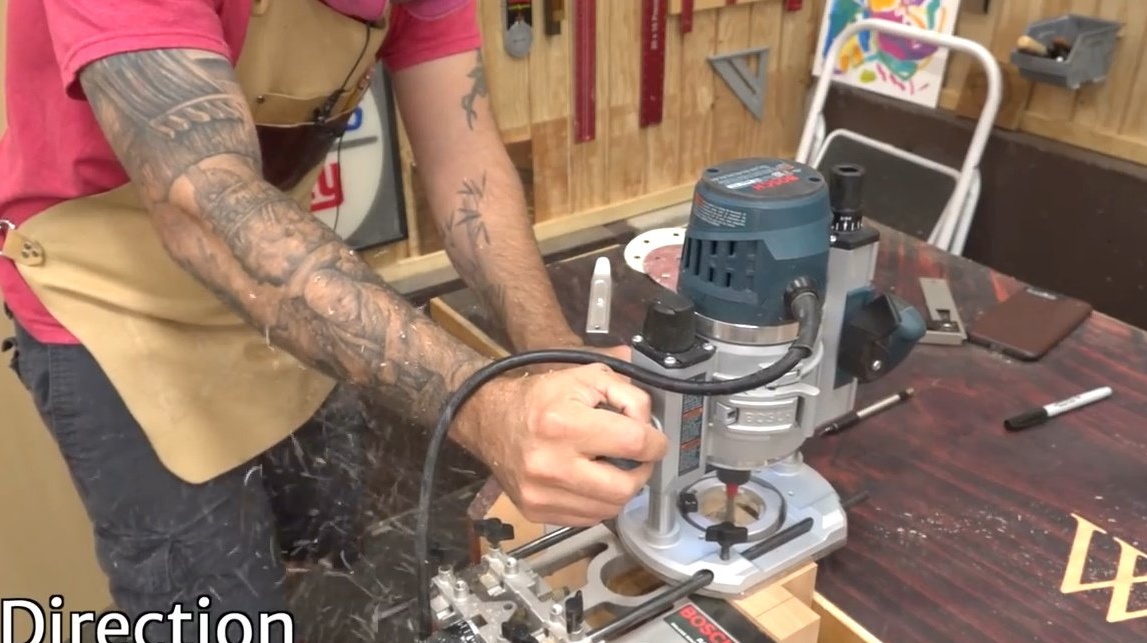
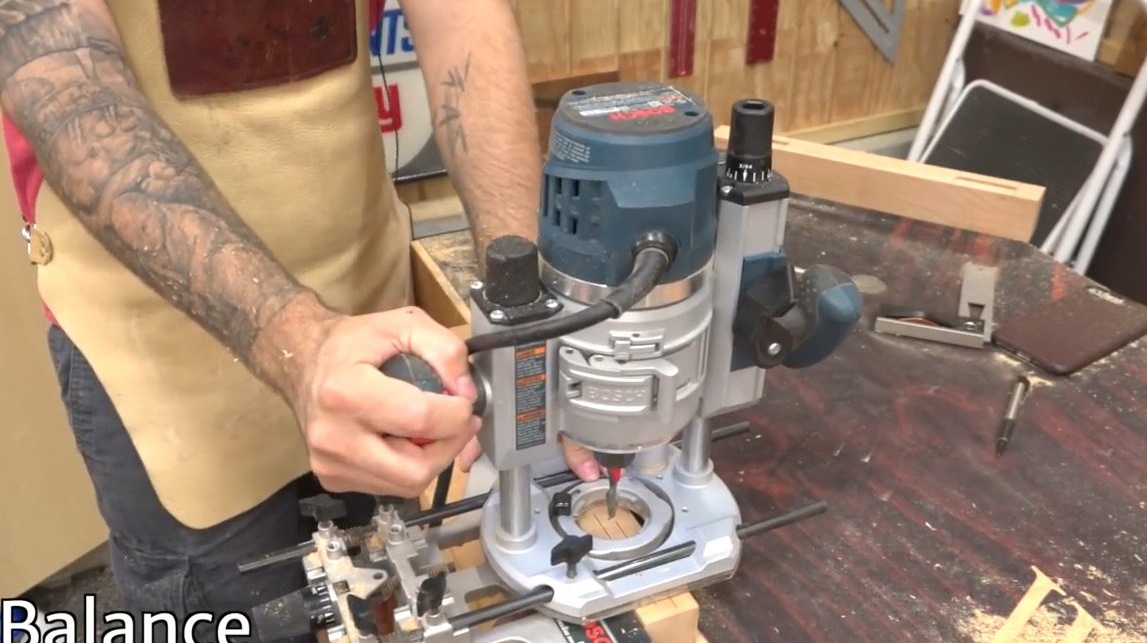
If you choose a different direction, moving the router to you, the drill has a better chance of getting off course. Why is that? - you ask. Answer: this is due to the direction of rotation of the drill. When the drill moves clockwise, there is always a desire to move the device in the direction opposite to the direction of this rotation. As you can see in the image, the milling cutter resists forward movement due to the fact that the drill constantly stops in the material.
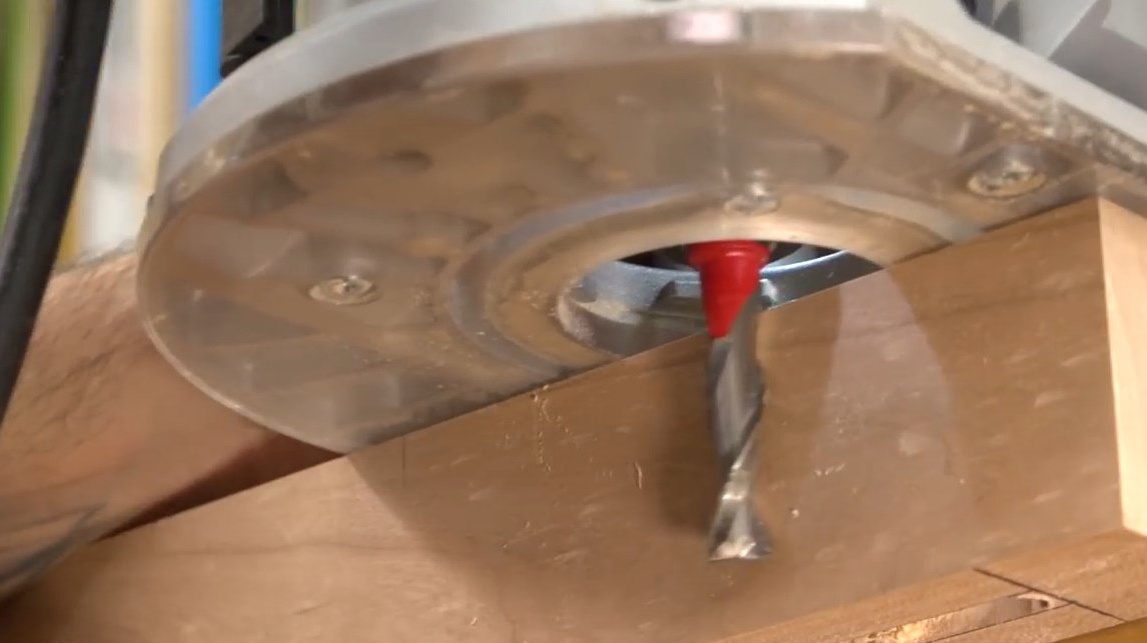
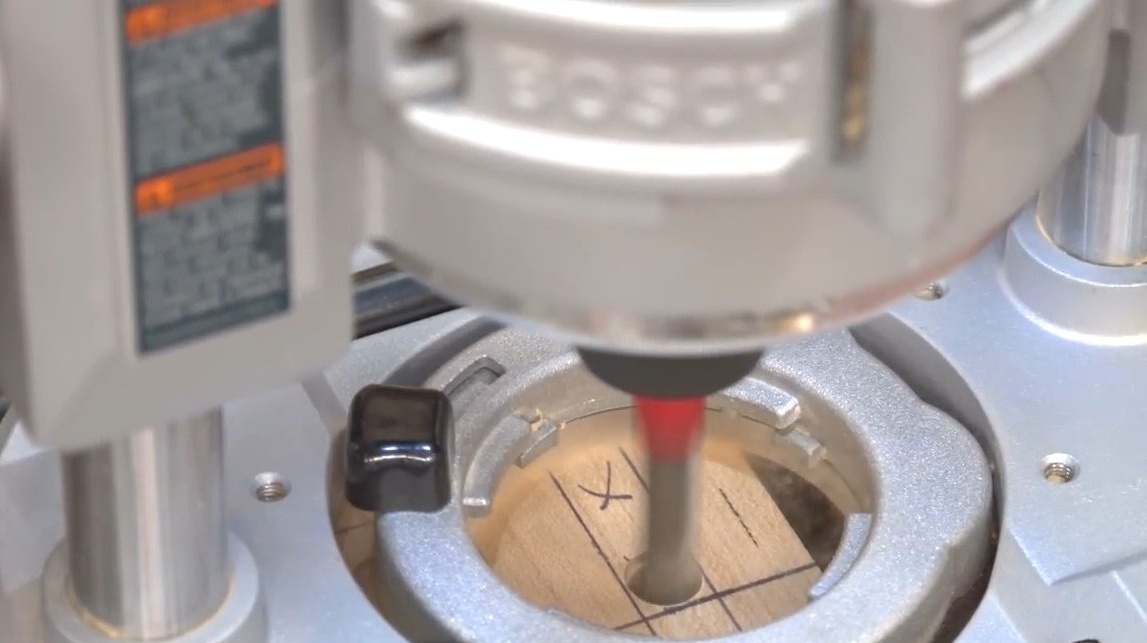
If you move the device in the opposite direction, towards yourself, and not away from you, its movement will coincide with the rotational moment of the drill and the advancement of the milling cutter will be easy. The ease with which the machine glides over the material, and can cause a loss of control, resulting in a deviation from the desired course.
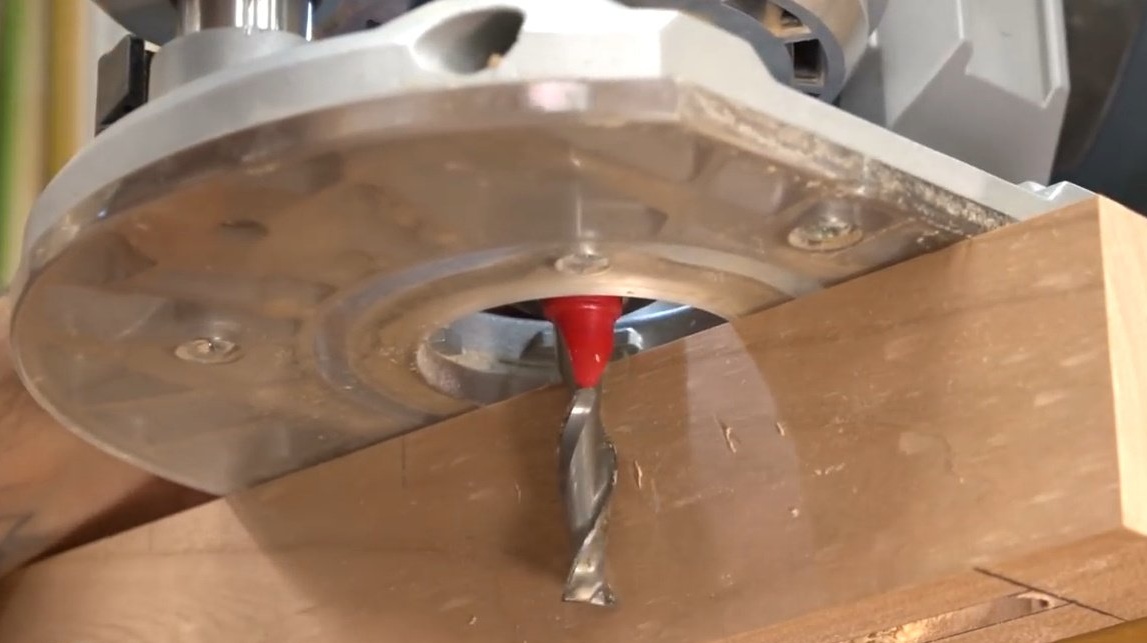
This does not play a significant role if the drill is surrounded on all sides by wood, however, movement in the right direction stabilizes the process.
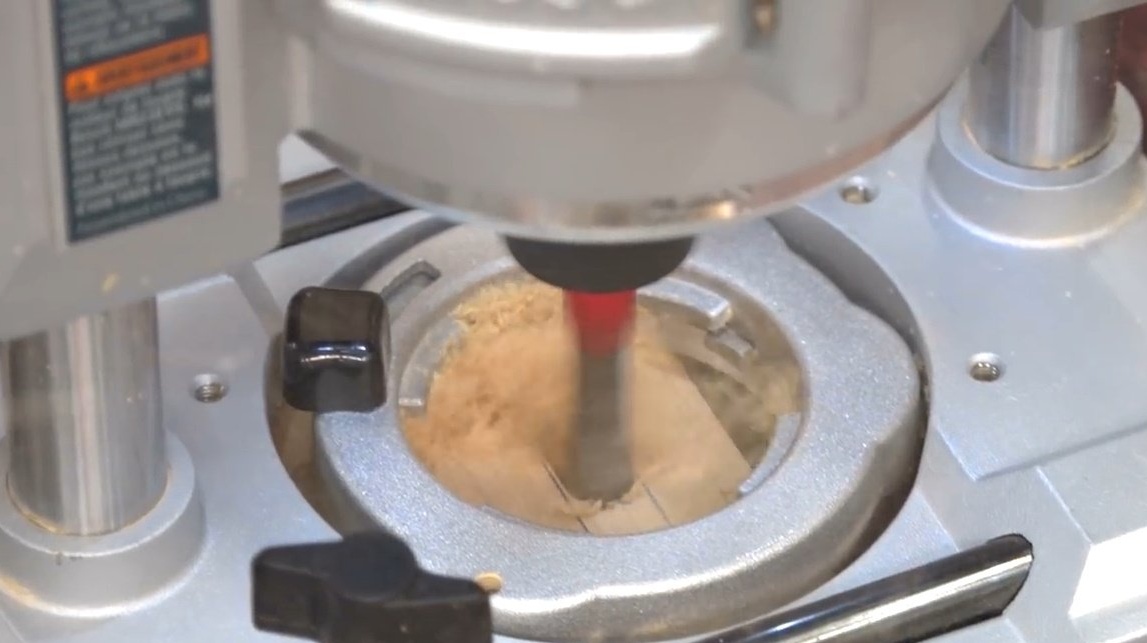
If you need to make a wider groove, when you need to make more than one pass with a drill, always check that the material that you are removing is located behind the far side of the drill. And you continue to move from left to right. If you need to cut several identical grooves, you only need the start and end lines to cut all the other grooves.
And finally, pay attention to the position of the hands: if you move your hand closer to the drill, you get a feeling of better control of the device. When the left hand mainly pushes the device forward, it better controls the process if it occupies a position below, at the base of the router.
In addition, this position of the hands creates less pressure on the tip of the drill.
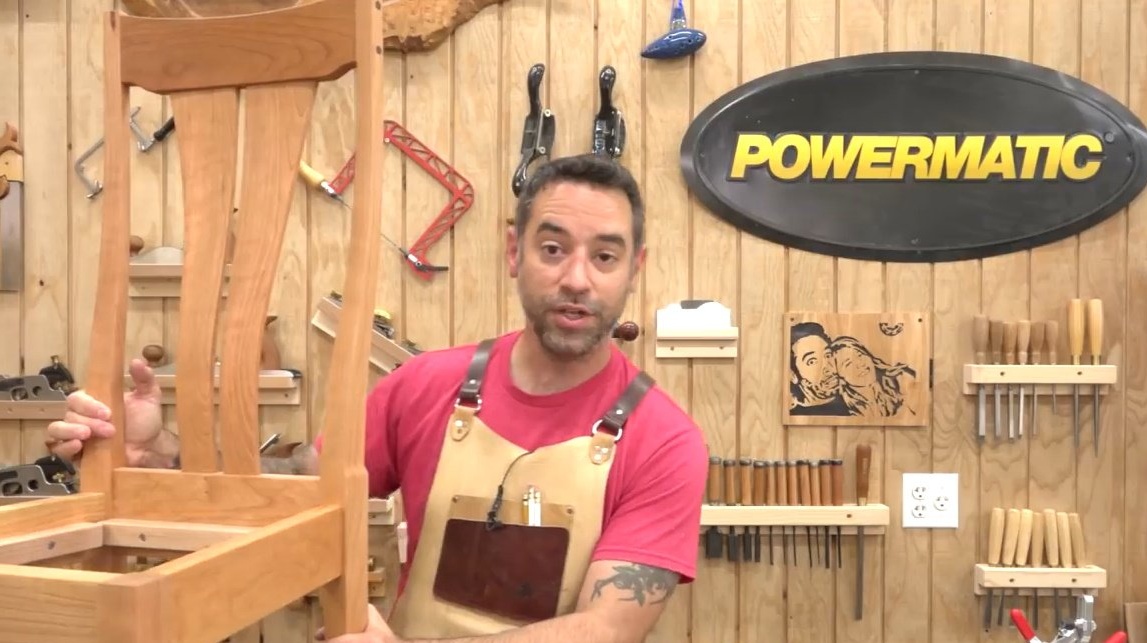
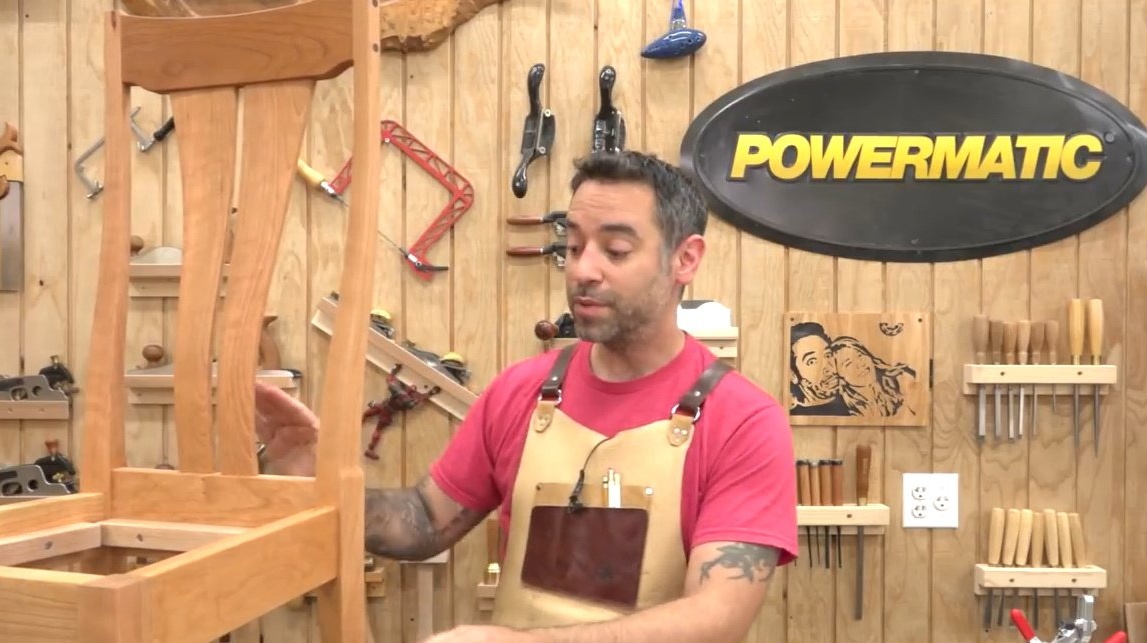
So, now a little practice - and you will be able to drill grooves in almost any workpiece. This whole chair was made and assembled using this technology! So the back to the base, a bunch of crazy corners and dowels were attached - all this was done with a manual milling cutter!
Thanks to the author for an interesting workshop!
Good luck to everyone, good mood, follow safety precautions!