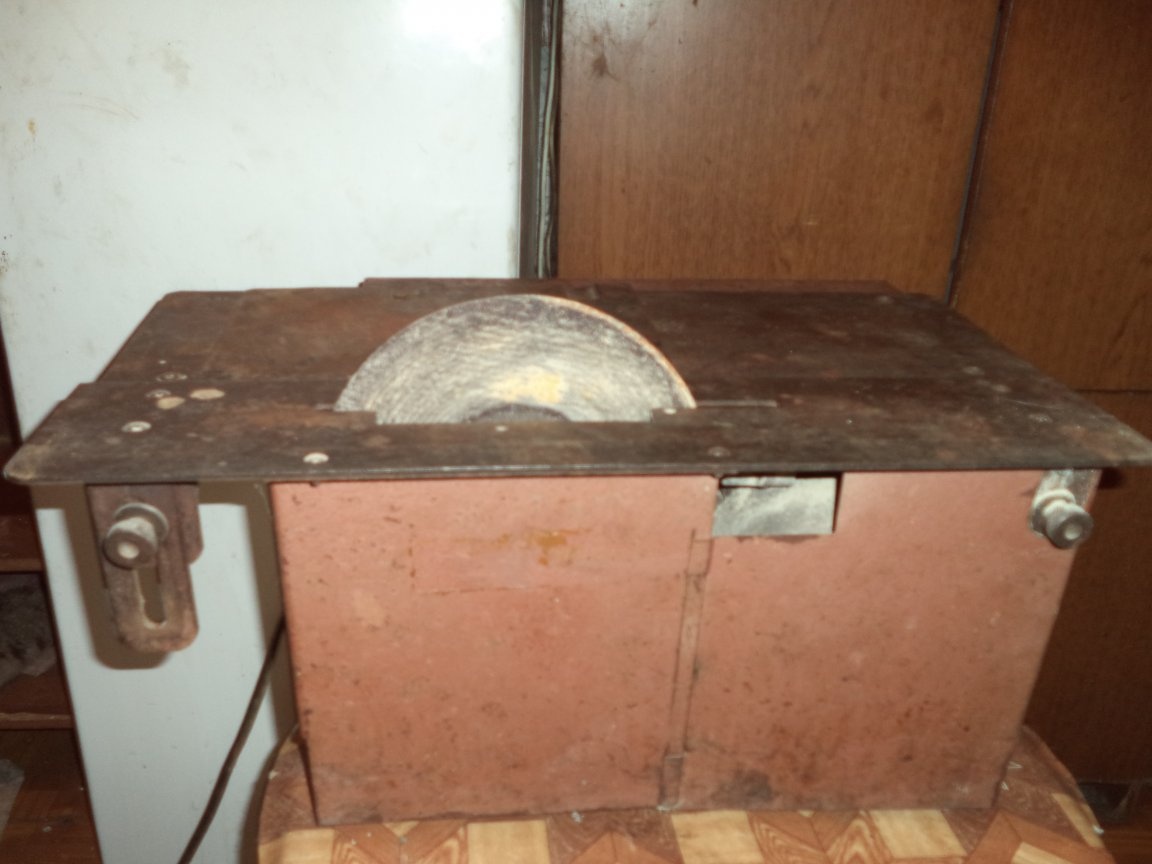
Good afternoon, in my instructions I will tell you how to make a cooling system for a small pan-coating machine, in order to provide a layer-by-layer coating of various nuts, raisins or roasted peanuts with chocolate, as a result of quick and uniform cooling of chocolate. Cold air enters the panning drum from the window, and its temperature directly depends on the outdoor temperature.
The device is powered by 220V.
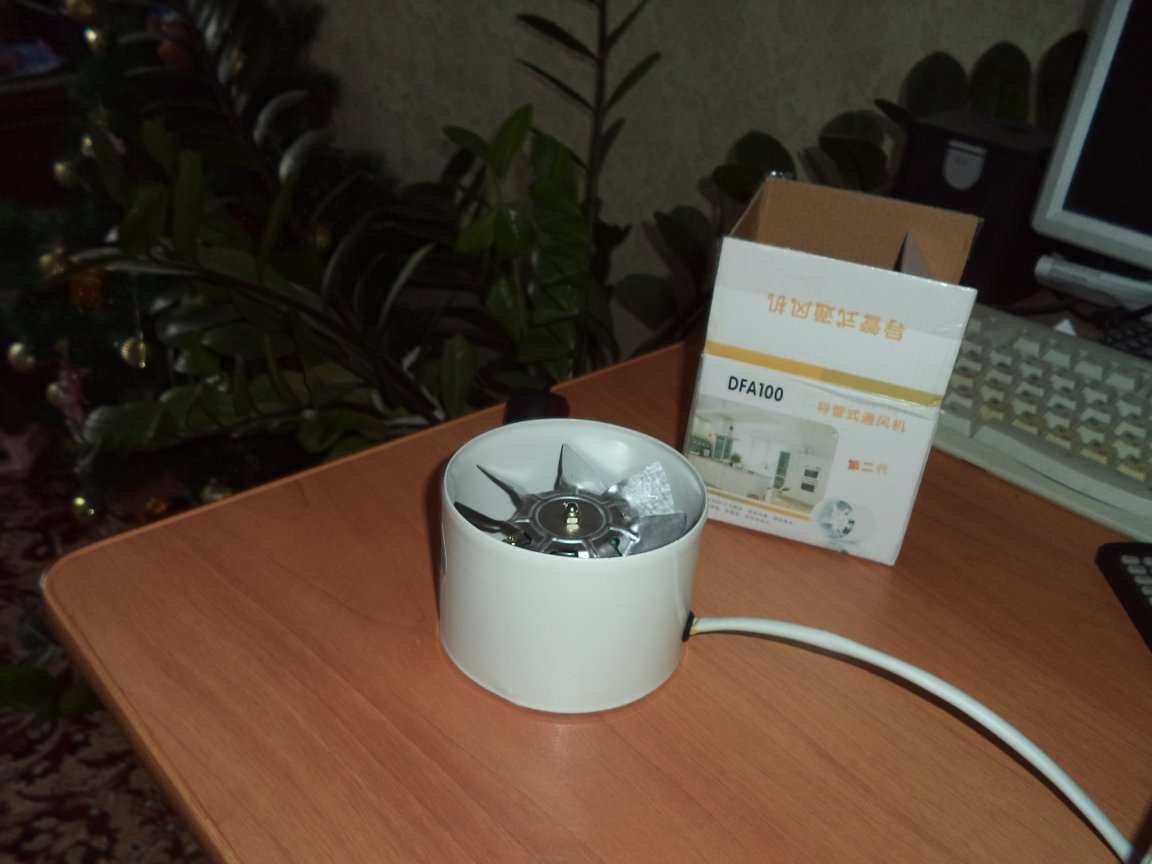
The machine runs on a fan for hoods with a diameter of 100 mm.
All other machine parts were made. do it yourself from improvised means.
Materials and tools that I used:
Material List:
1. The fan for an extract with a diameter of 100 mm;
2. A wire with a plug;
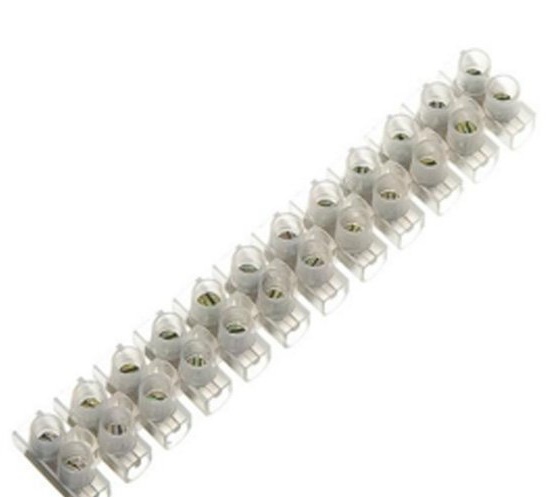
3. Terminal block;
4. Corrugated pipe, aluminum for hood with a diameter of 100 mm;

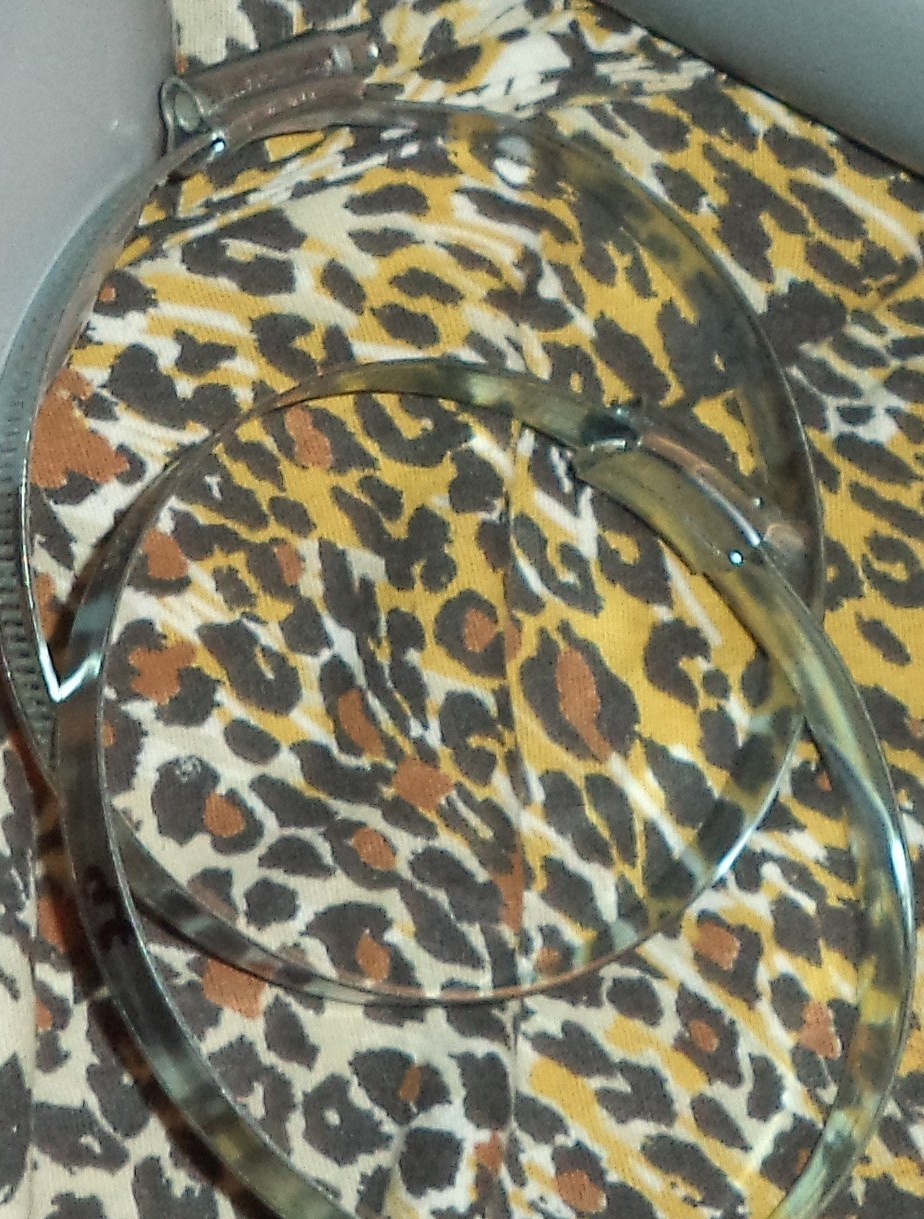
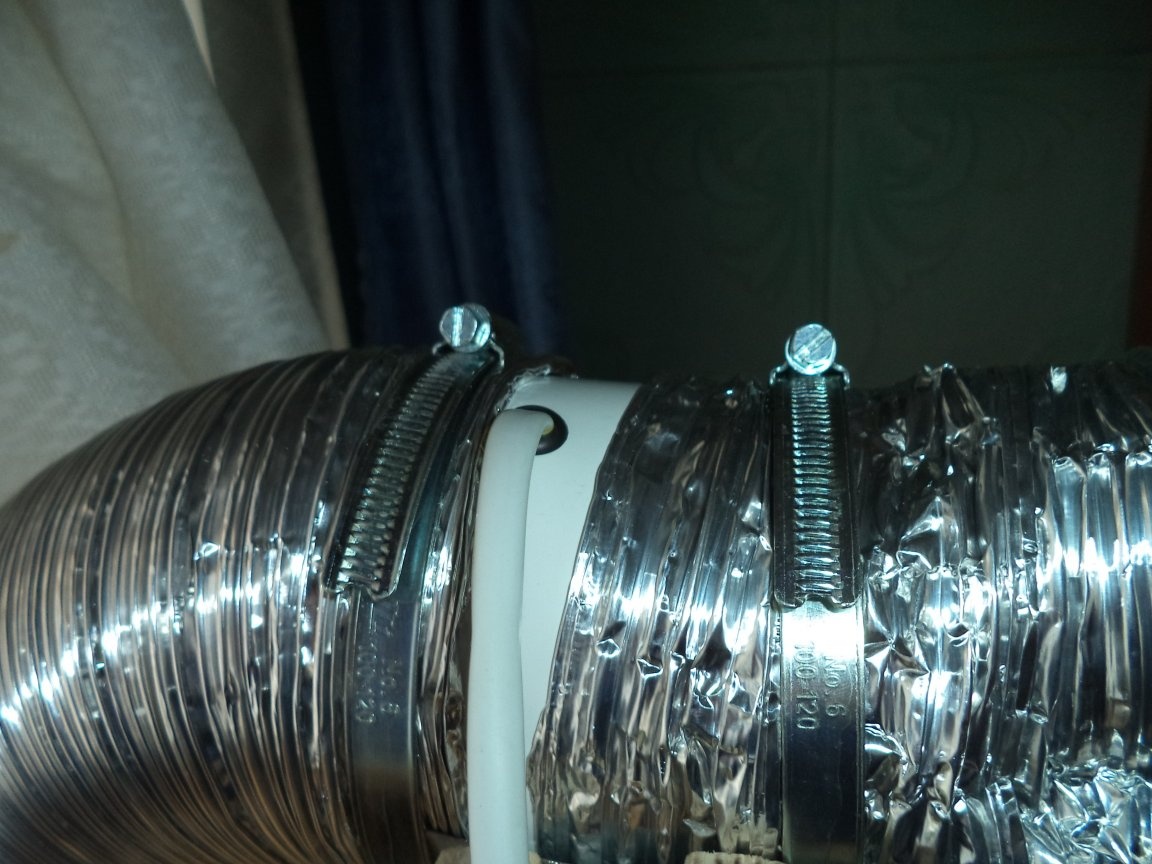
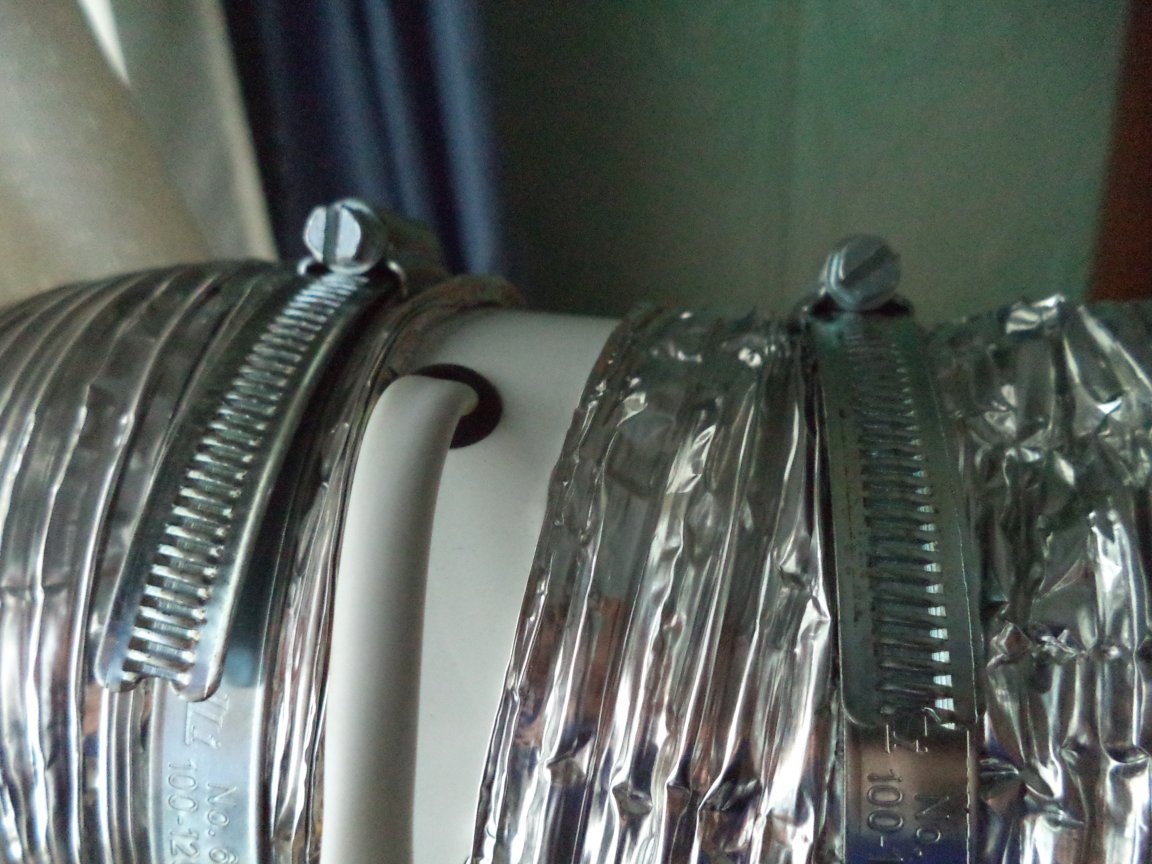
5. Two worm clamps 100-120 mm;
6. Screws, screws;
7. Plywood with a thickness of 14 mm.
8. Thin sheet 0.3 mm thick;
9. Steel thin wire;
10. Disposable napkin for the kitchen;
Tool List:
1. Universal woodworking machine;
2. A metal disc with a glued skin;
3. Electric jigsaw;
4. drill;
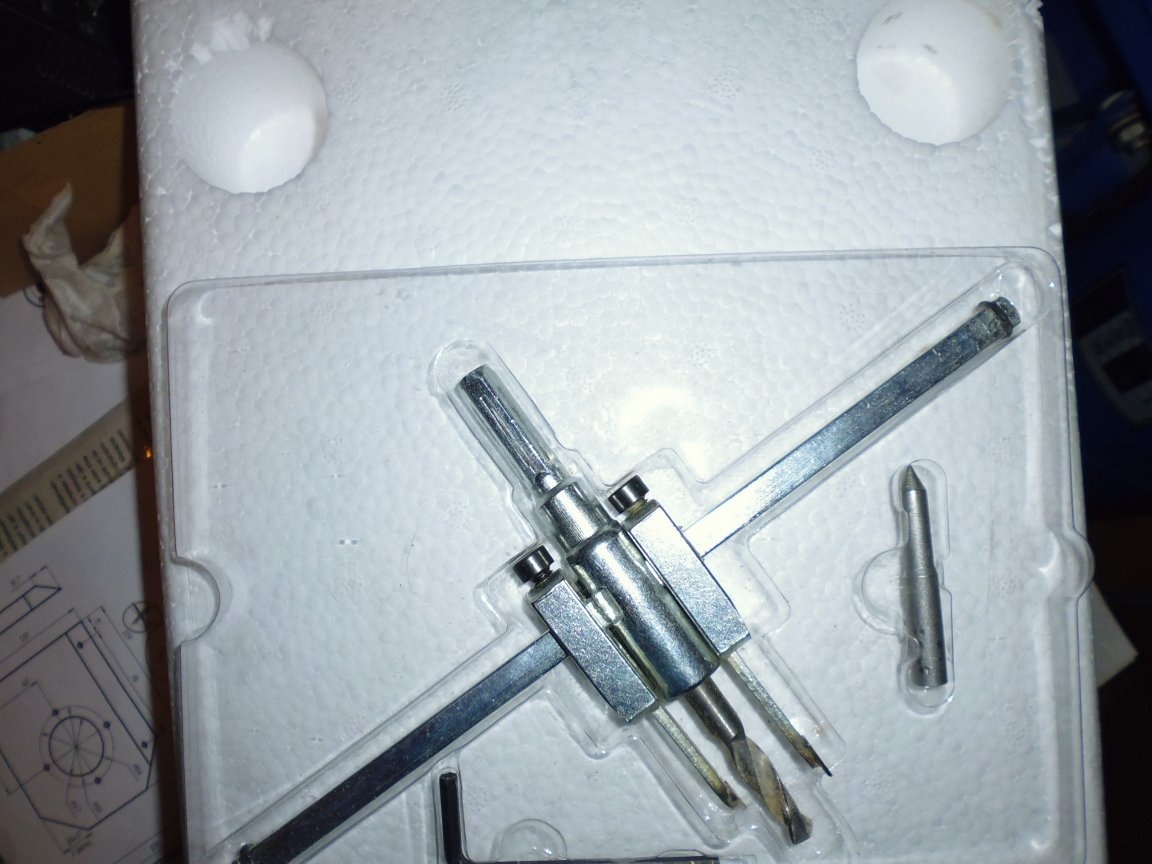
5. Ballerina;
6. Drills for metal;
7. Dupel;
8. The compass;
9. Scissors;
10. Scissors for metal;
11. Files round and flat;
12. Phillips and flat head screwdrivers;
13. Clamp;
14. The line;
15. The hammer;
The manufacturing process of the cooling system for a panning machine:
Step one: Production of blanks of a rack, rib, fan bed.
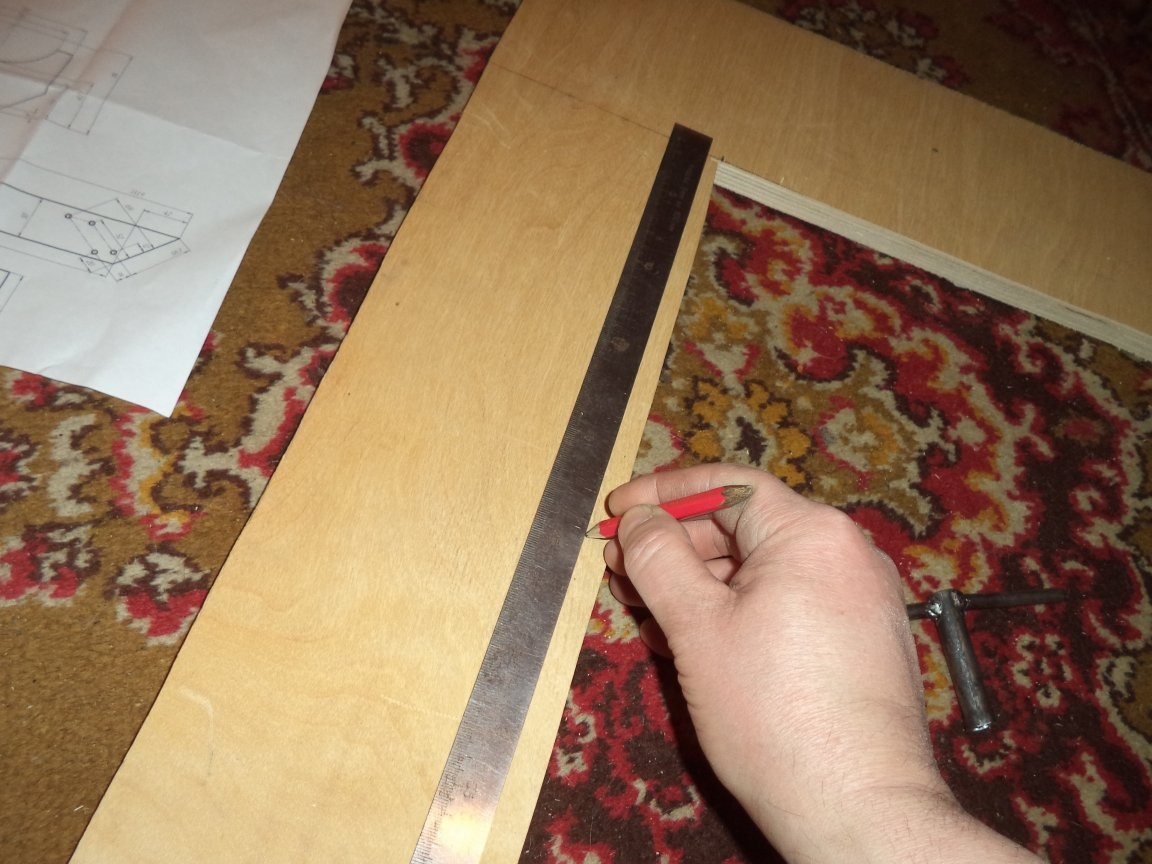
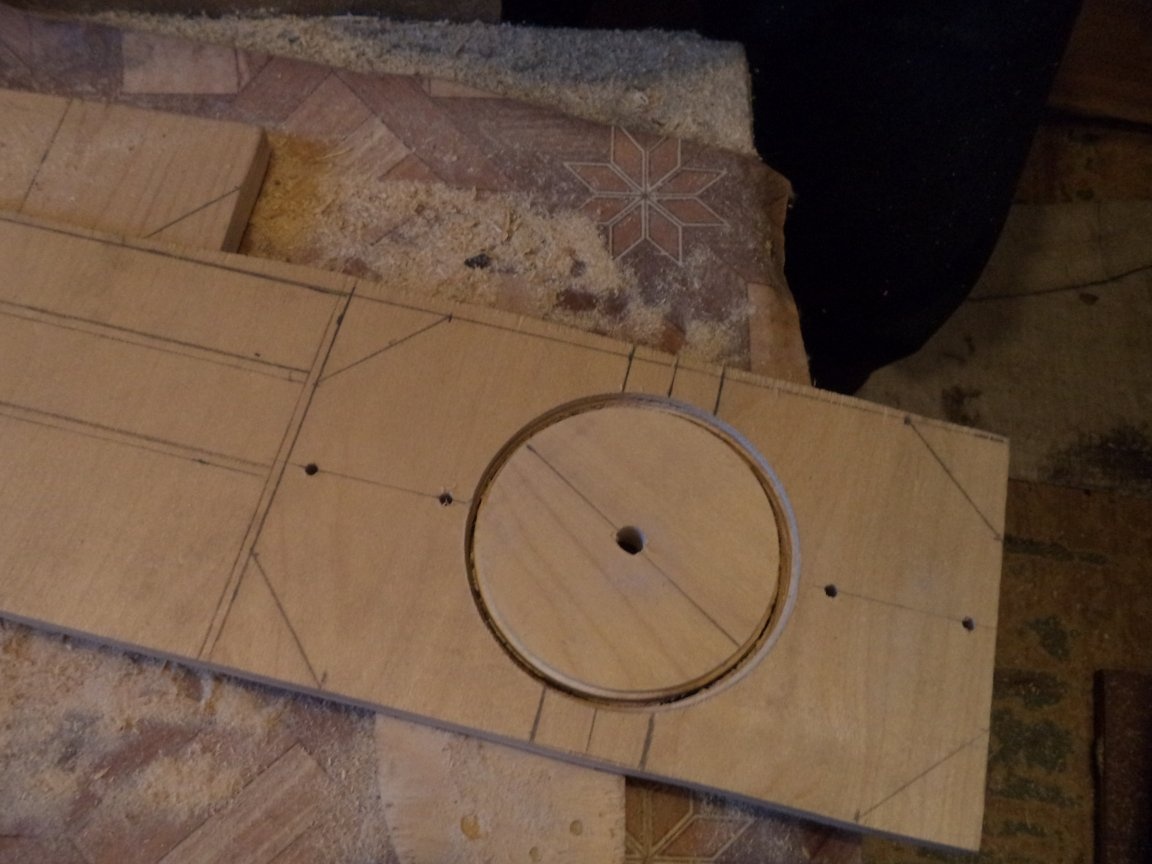
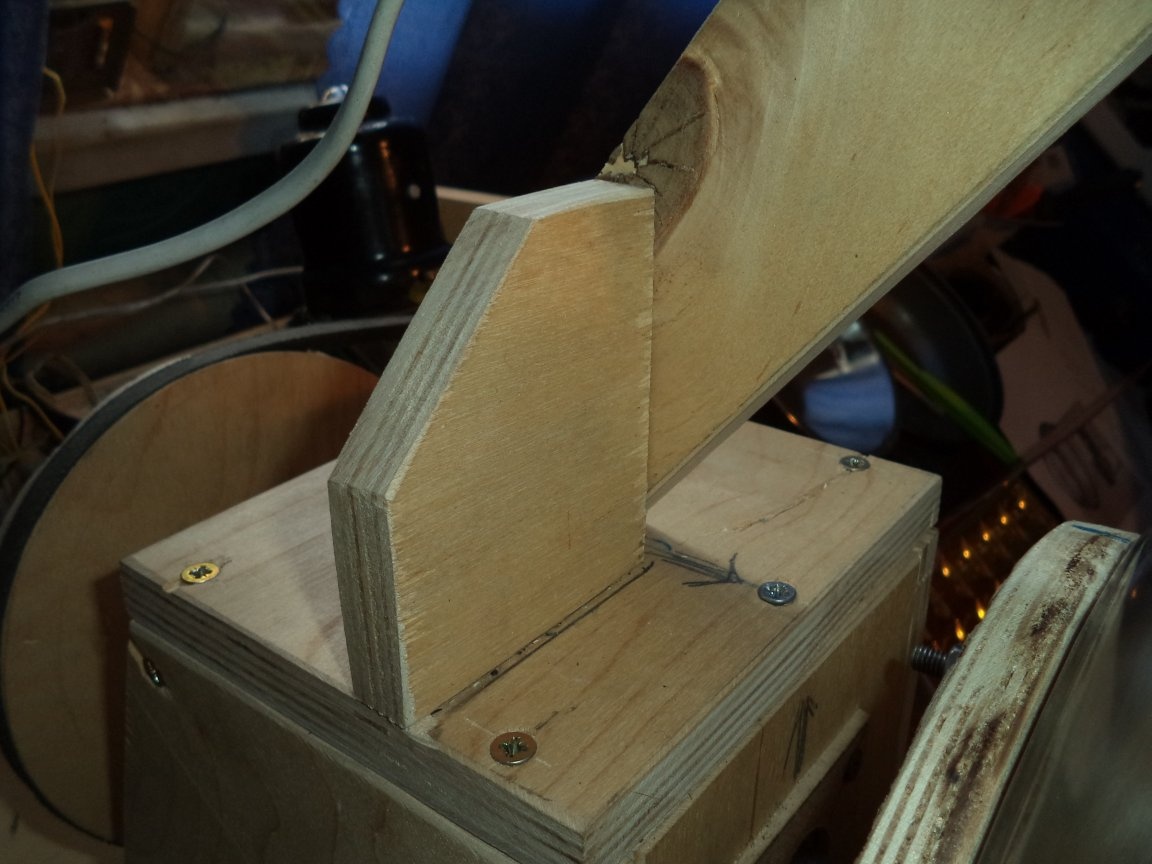
1. On the plywood mark the blanks of the rack, ribs, two fan beds located in such a way that the diameter is common for them.
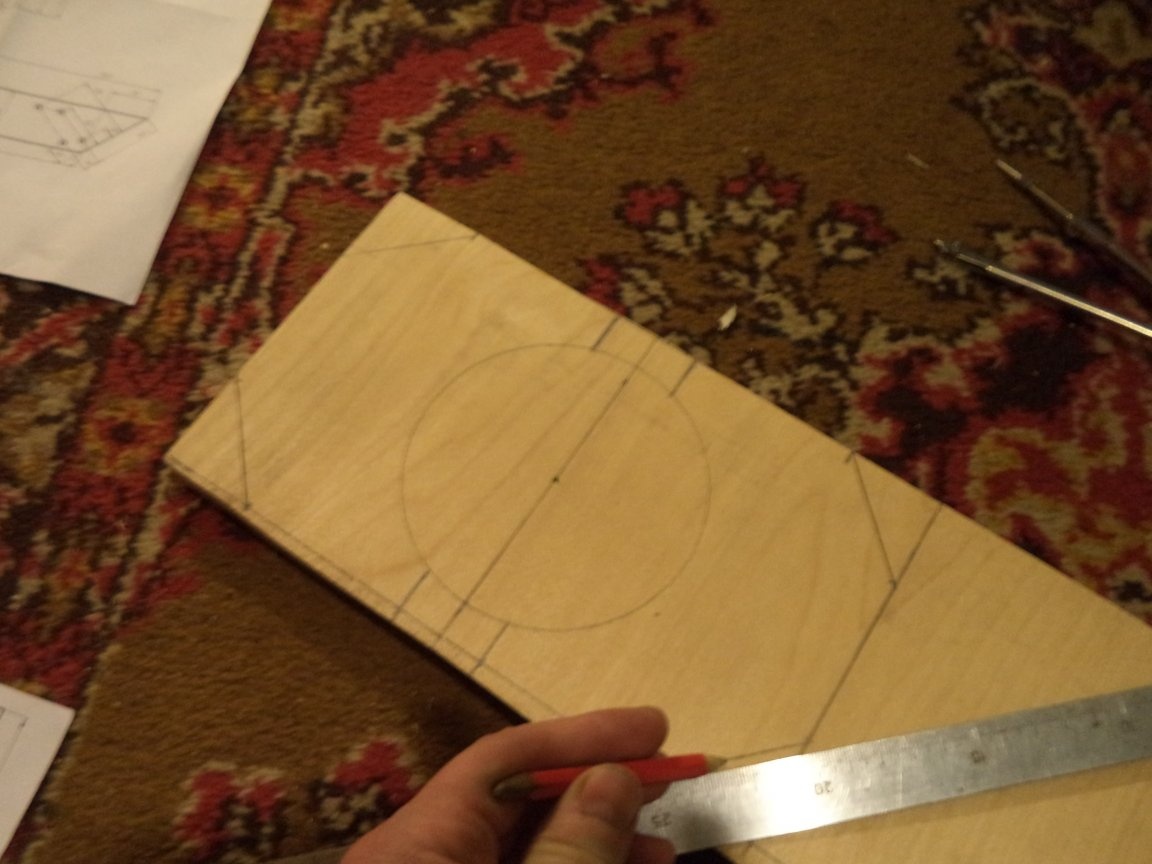
2. Drill holes with a diameter of 8 mm in the center of the fan bed, then install the Ballerina on the drill and cut out the radius under the fan bed to the middle of the plywood, then turn the plywood and cut the radius to the end.
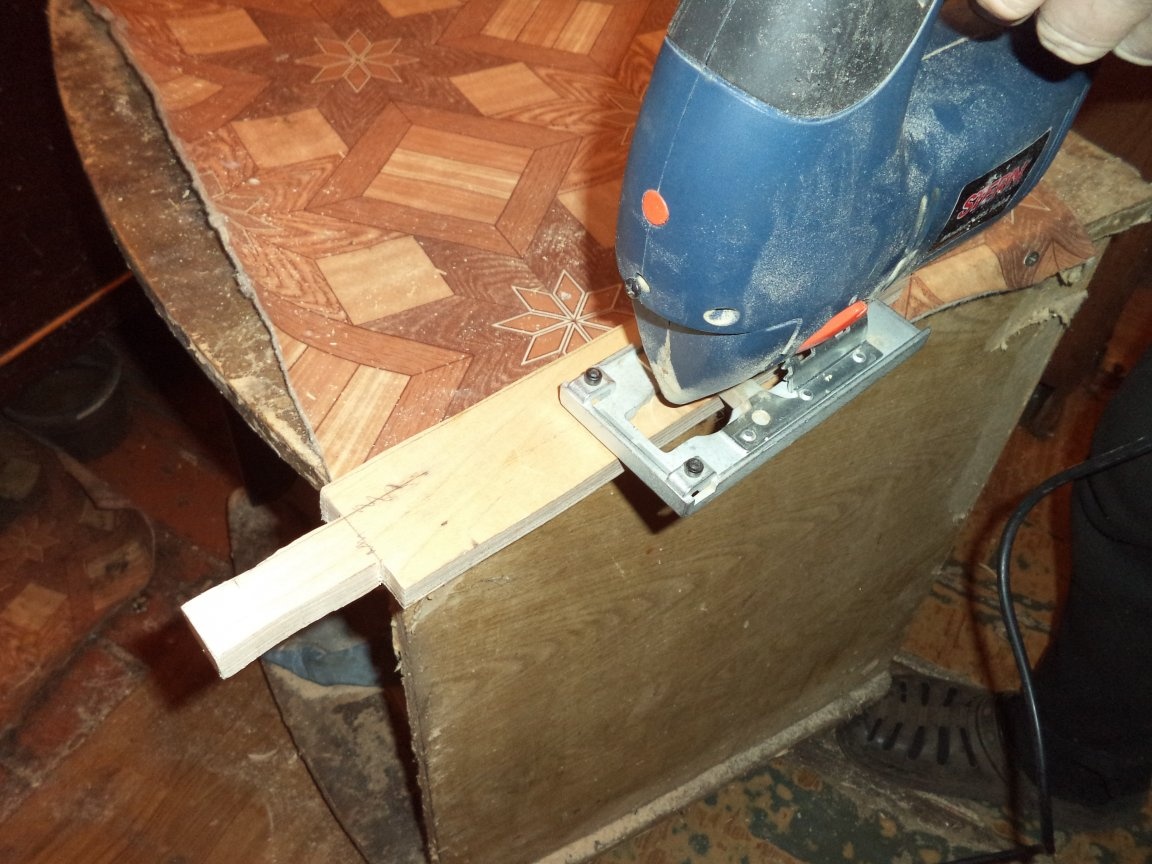
3. With an electric jigsaw, we cut the workpieces of the rack, ribs and two fan beds, try to keep the minimum allowance.
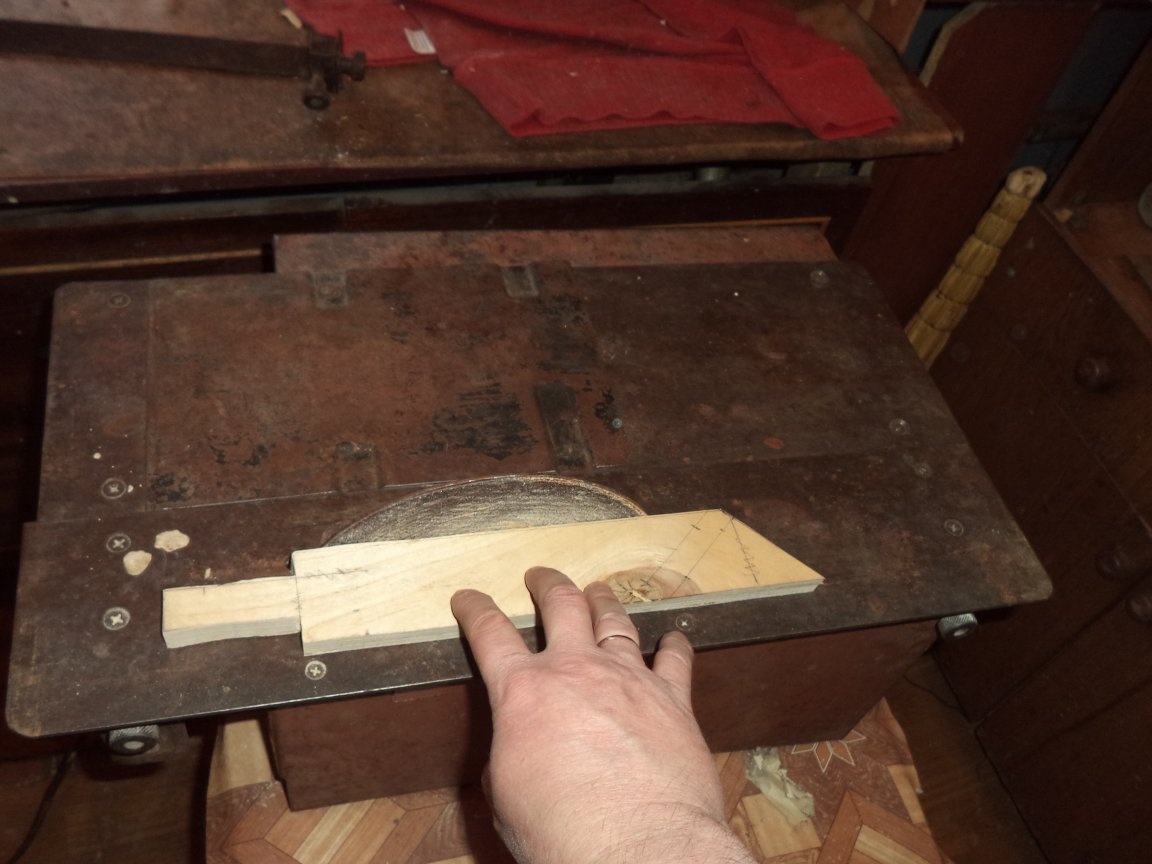
4. On a universal woodworking machine, instead of a circular saw, we install a steel sheet with a sandpaper and process the edges of the body parts according to the marking.
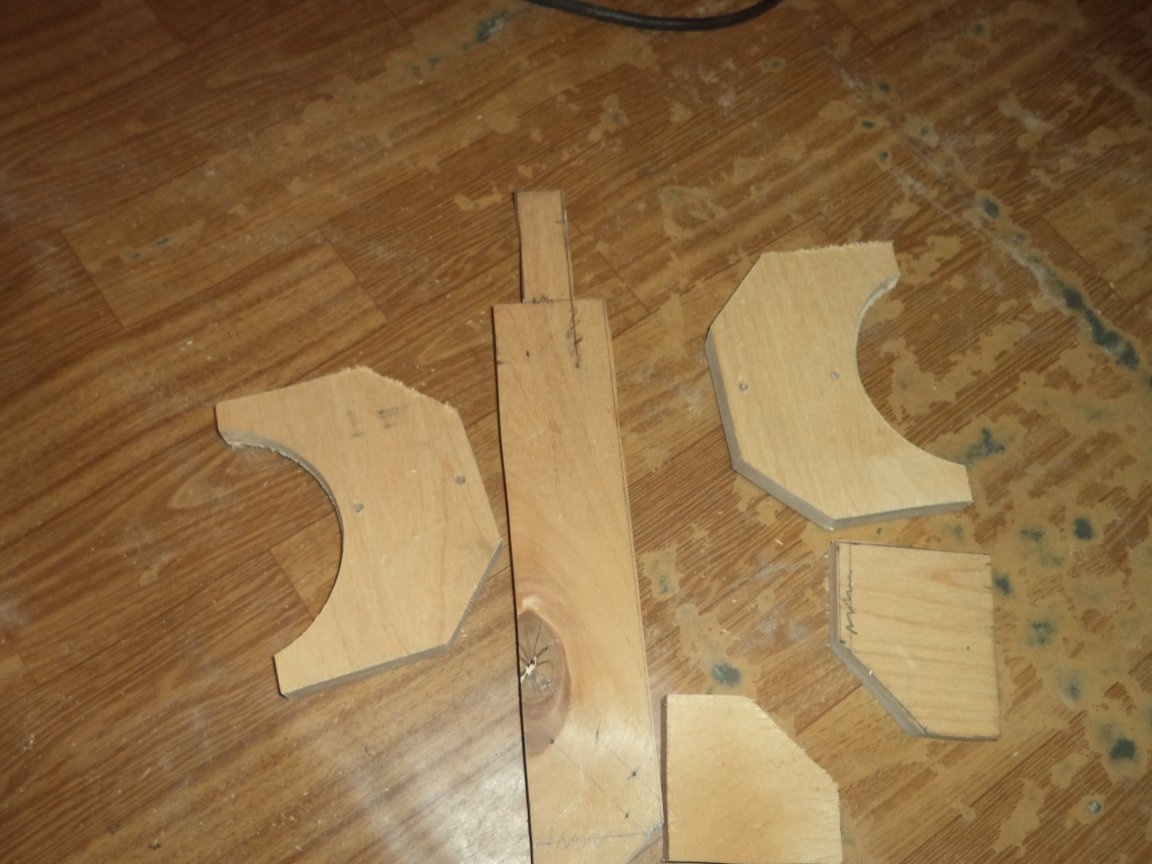
5. By marking, in the blanks, we drill holes for fasteners.
Step Two: Making a fan mount plate
1. Scissors for metal from tin cut a rectangle.
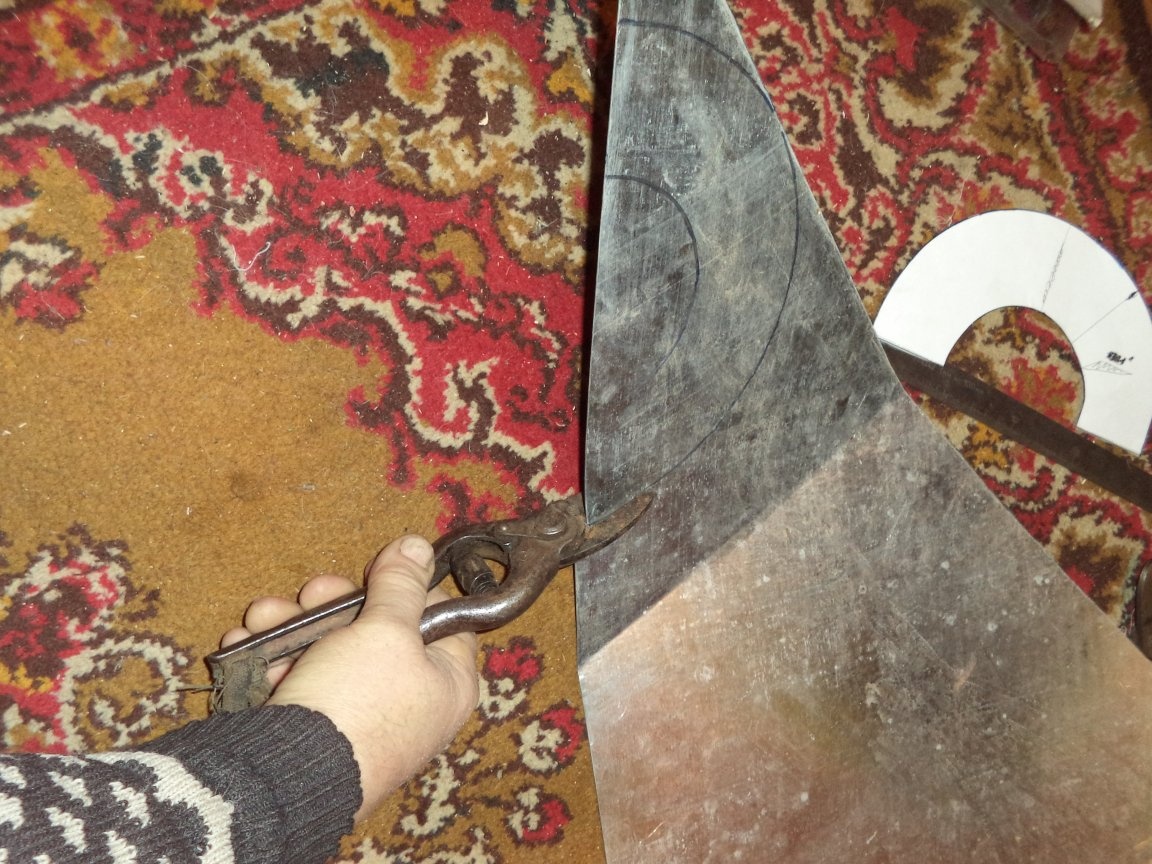
2. We clean the sharp edges with a file.
3. Bend the tin rectangle along the radius of the fan bed.
4. Dupel outline the hole for the fasteners.
5. We drill holes for fasteners.
Step Three: Production of a branch pipe.
1. From the corrugated aluminum pipe, pull the end and cut with scissors 0.5 m of the pipe, this will be a discharge pipe.
Step Four: Production of inlet pipe and filter.
1. The large remainder of the corrugated aluminum pipe is stretched and on one of its ends we pull a kitchen disposable rag napkin and fasten it with steel wire.
Step Five: Assembling the rack with fan tray
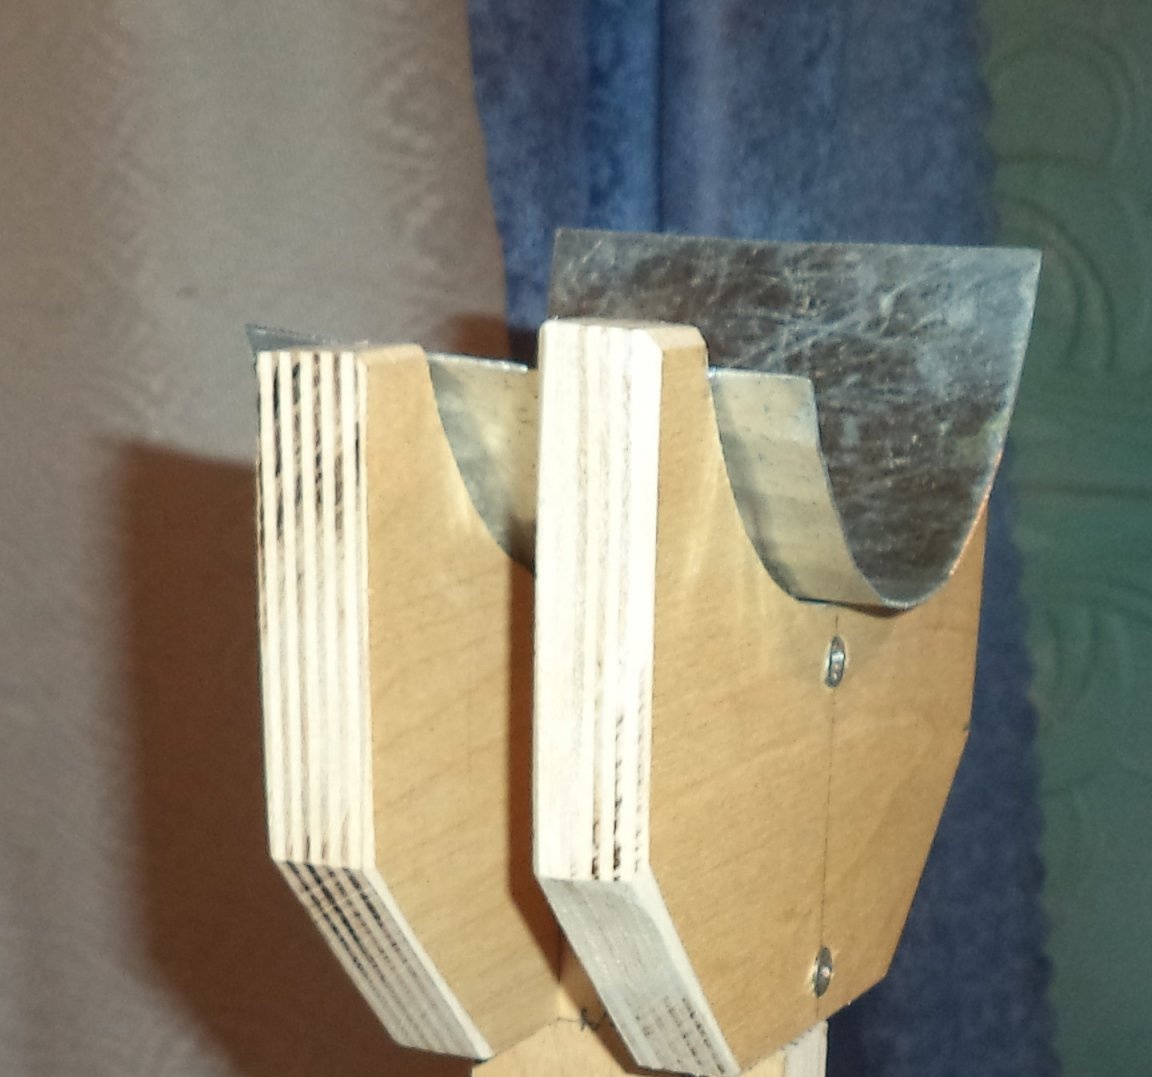
1. Fasten the rib and two fan beds to the rack with screws.
2. We fix the bent tin plate with screws to the radius of the fan bed.
Step Six: Final assembly of the cooling system for a panning machine
1. We place a mark on the cover of the pan coating boiler to ensure the correct orientation of the cover during marking.
2. Remove the cover from the pan coating boiler body.
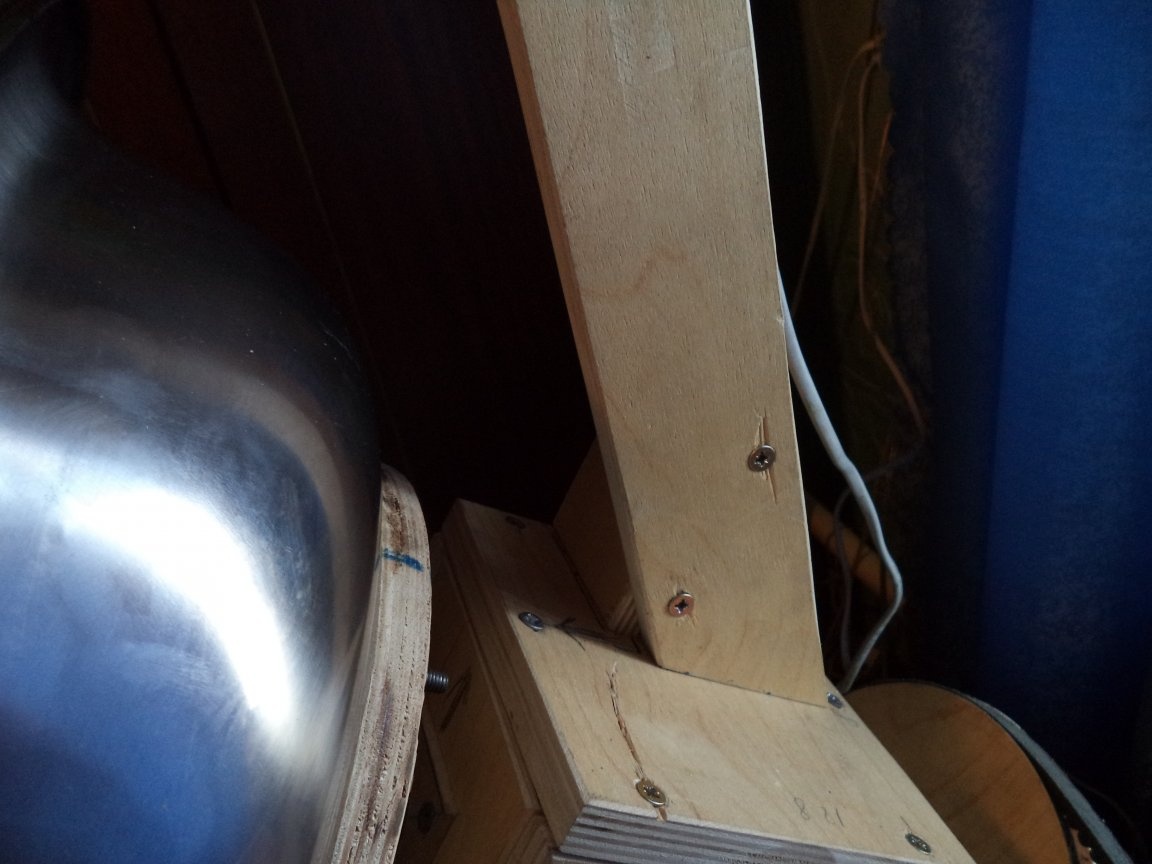
3. On the cover from the case of the pelleting boiler we attach the rack and draw a pencil around the outline of the rack and mark the attachment points.
4. In the cover of the pan-coating boiler body, we drill mounting holes.
5. We fasten the fan stand with screws to the cover of the pan coating boiler.
6. The assembled lid is fastened again to the case of the pan-coating boiler.

7. The free end of the inlet pipe is pulled from the inlet side to the steel fan housing for hoods, then we lay it on the bed and fix it with a worm clamp.
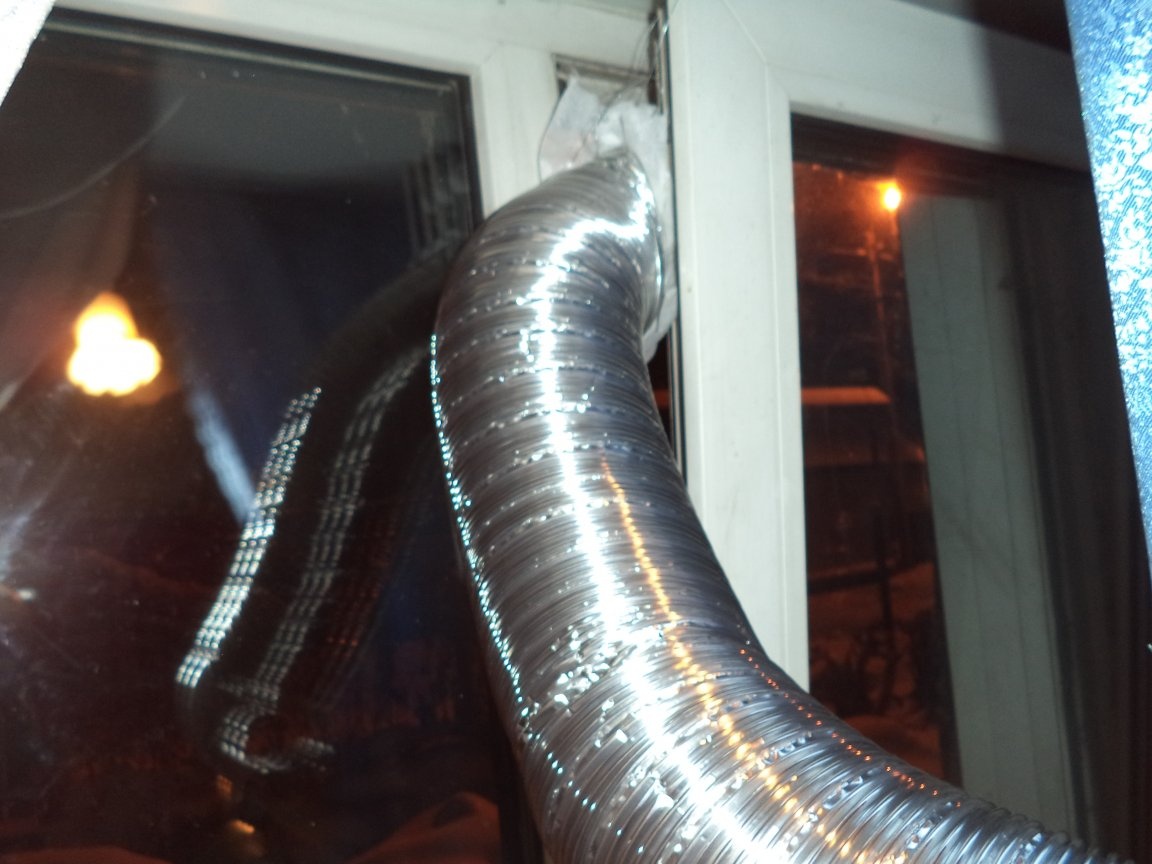
8. The end of the inlet pipe with the filter is set out into the street in an ajar window or window and fasten it with steel wire.
9. One of the ends of the short outlet pipe is pulled from the outlet side onto the steel fan housing for hoods and secured with a worm clamp.
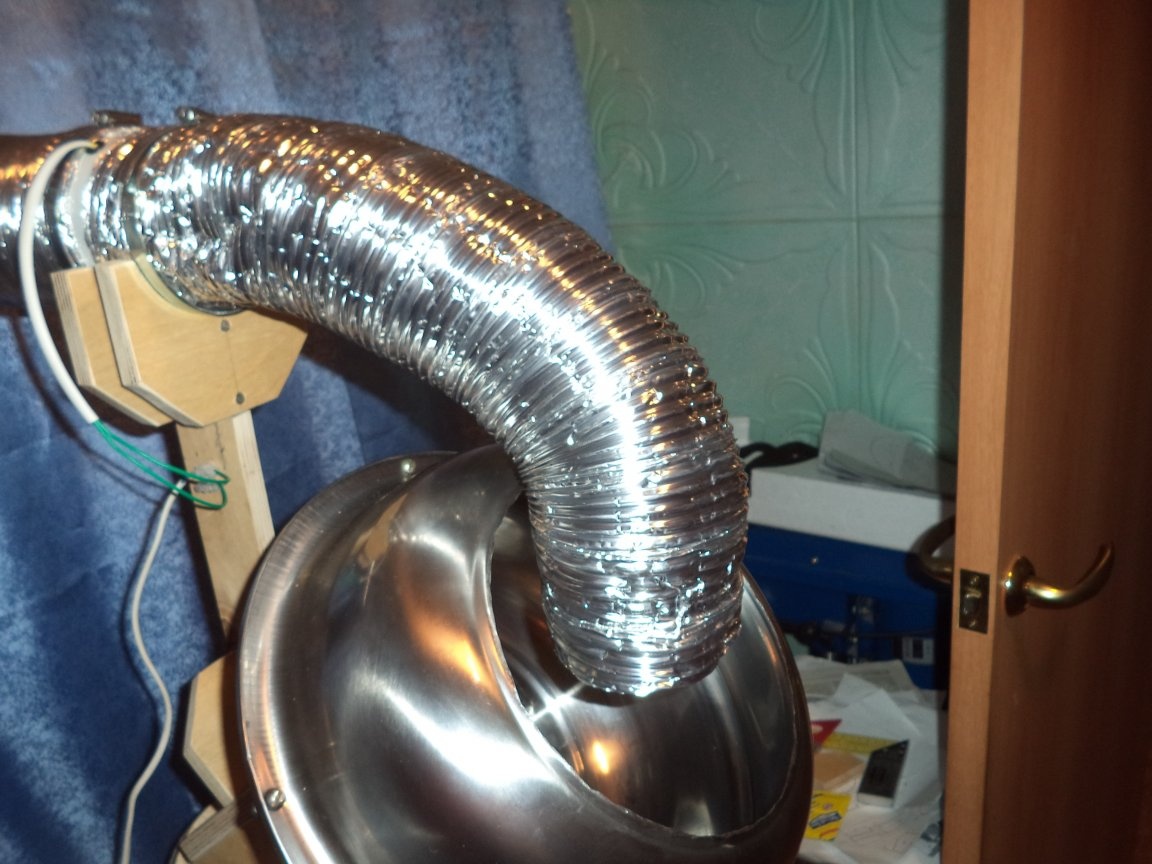
10. We bend the pipe of the outlet pipe and direct it inside the panning boiler.
Seventh step: connect the electrician
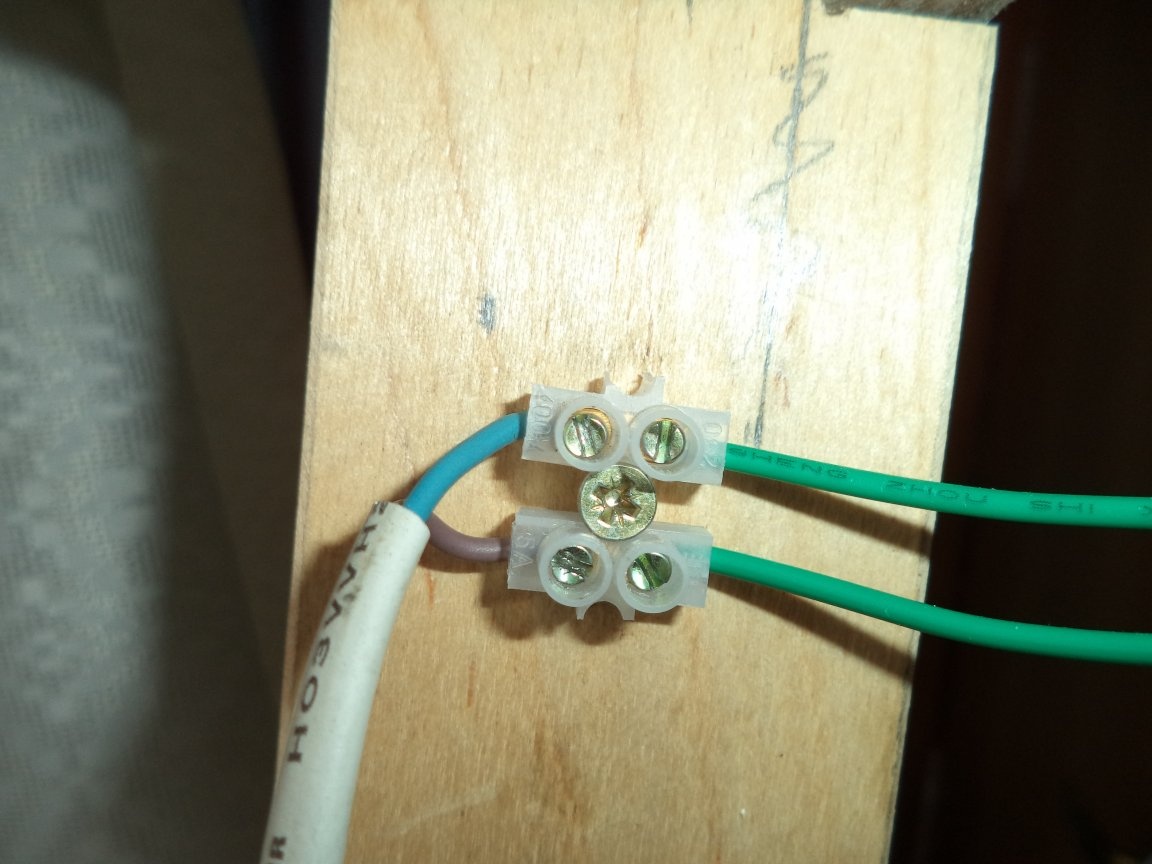
1. We insert the free ends of the fan wires for the hood and the wire with the plug into the terminals of the terminal block and tighten with screws.
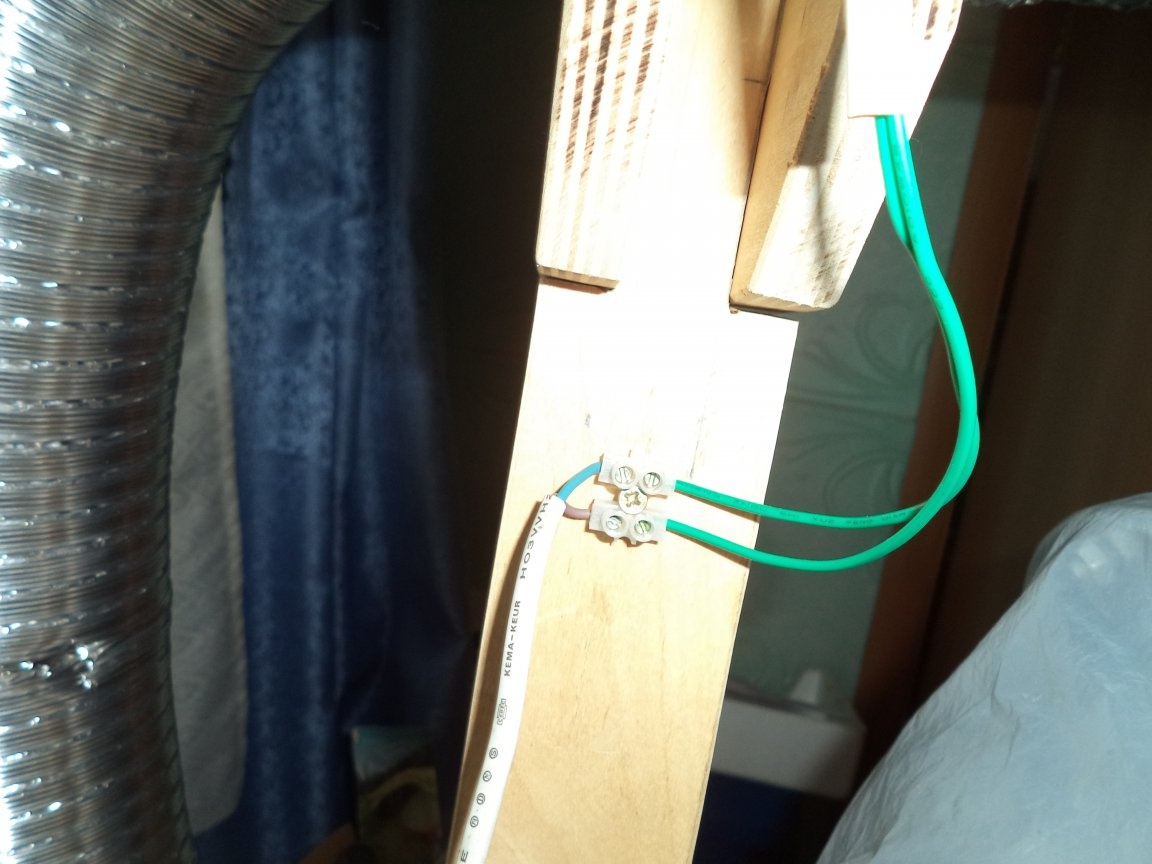
2. Fasten the terminal block with a small screw to the fan stand.
Step Eight: Test
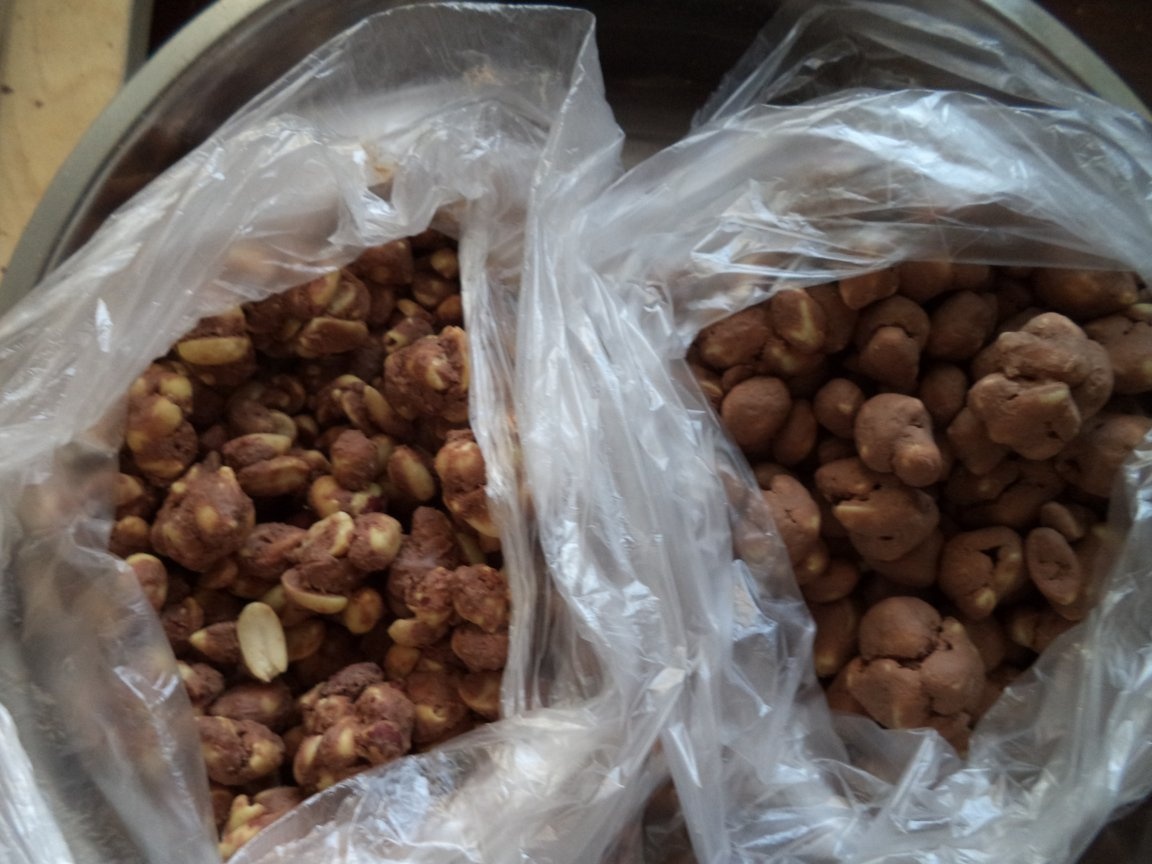
I fall asleep peanuts, pour melted chocolate, the chocolate dries quickly, forming a uniform round chocolate crust around the nuts.
Sweets turned out almost like factory ones.
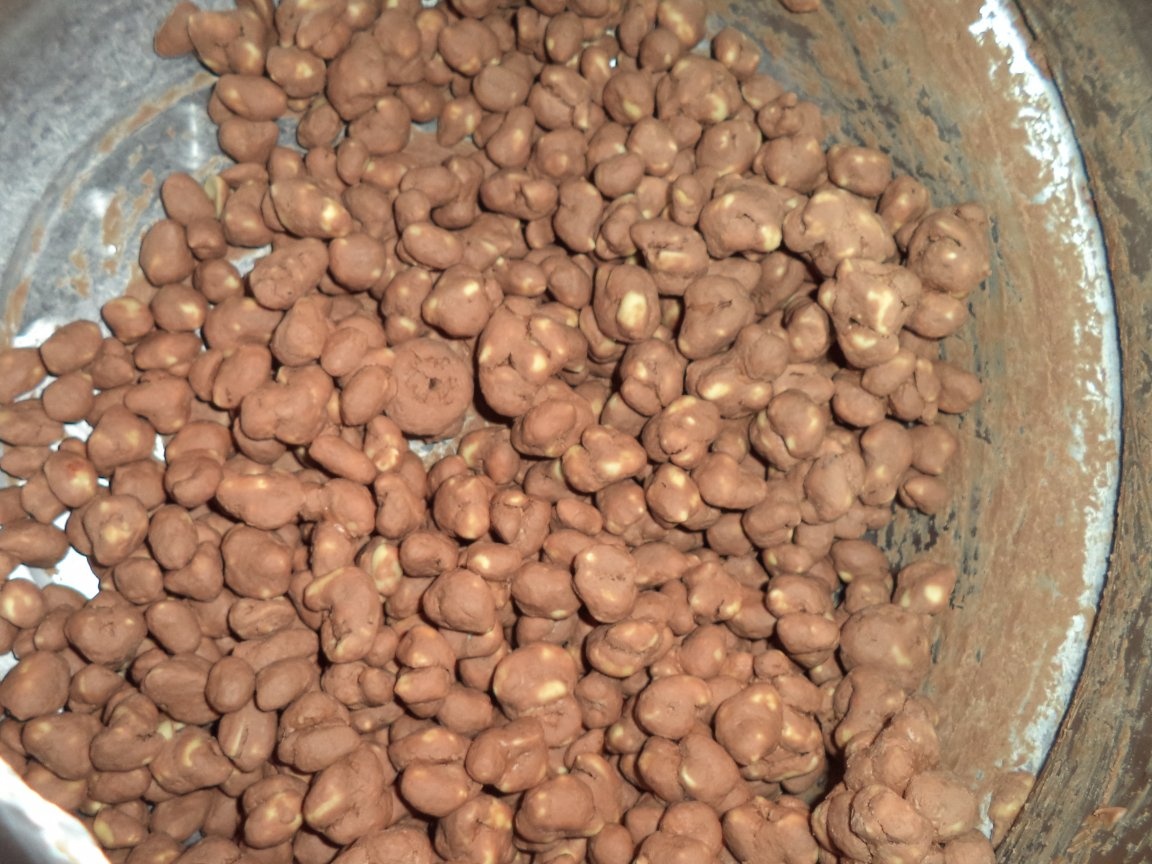
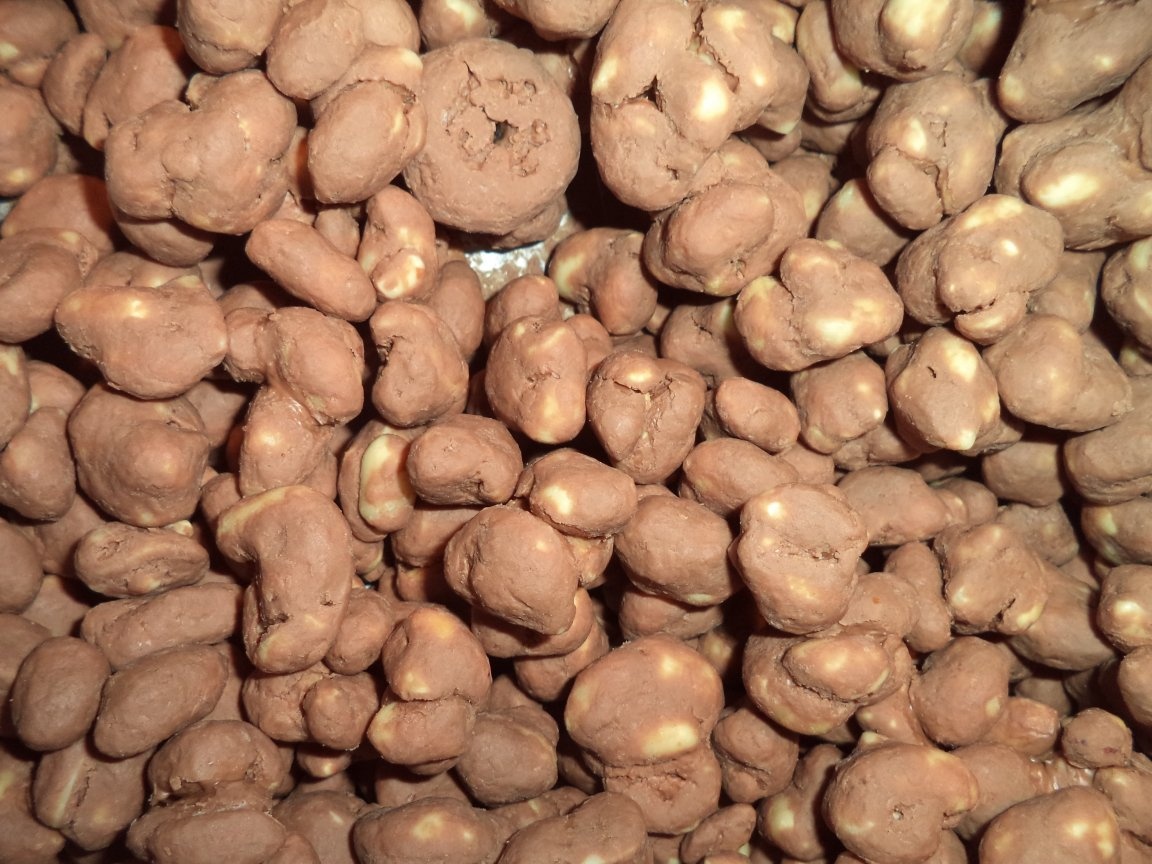
Peanuts on the left without cooling, on the right with cooling, the quality is obvious.