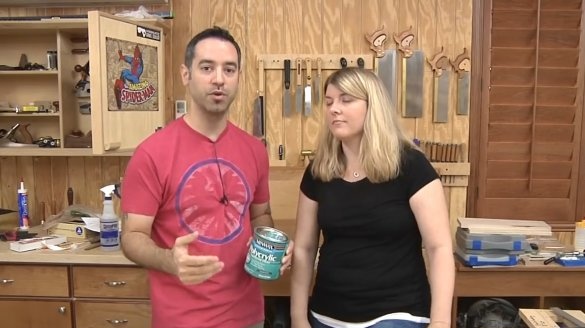
This article is dedicated to working with such a rare form of paint as milk paint. Nicole and her husband Mark (Marc Spagnuolo), author of The Wood Whisperer YouTube channel, will paint a toy chest using milk-based paint.
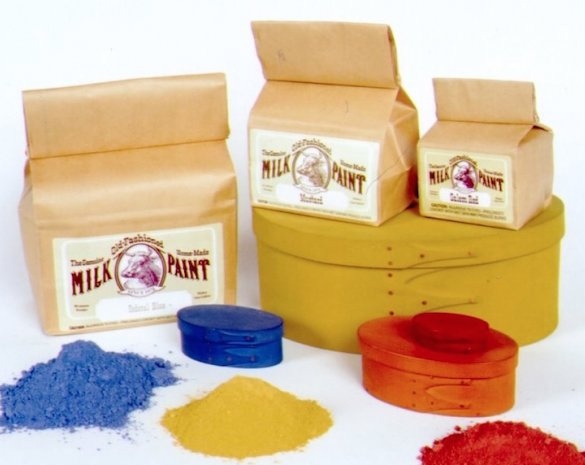
By its properties, real milk paint is indeed a very interesting product. She has her own background. Moreover, even in the annals of history there are references to it, therefore, our ancestors actively used it! It is based on milk proteins, lime and various pigments that give the mixture all kinds of shades.
In fact, this is a rather solid finish, and yet the couple decide to add water-based acrylic paint to the mixture for greater reliability, since the painted thing will be in the children's room of a one-year-old baby.
Milk paint itself is not very waterproof, and a little water-based polyurethane paint is just what you need!
Materials
- Milk paint
- Acrylic primer
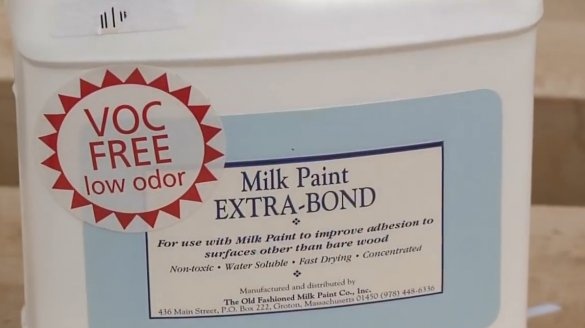
- Extra bond for milk paint.
Instruments, used by the author.
- brushes
- Sandpaper
- Vacuum cleaner with furniture brush
- Container for mixing components.
Manufacturing process.
Milk paint comes in all sorts of tones, and they can be mixed as you like.
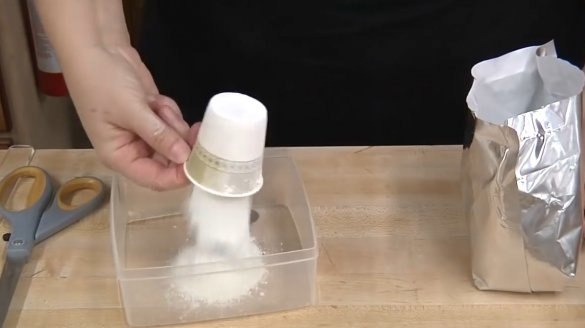
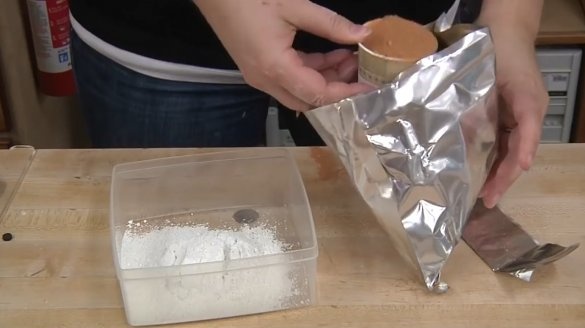
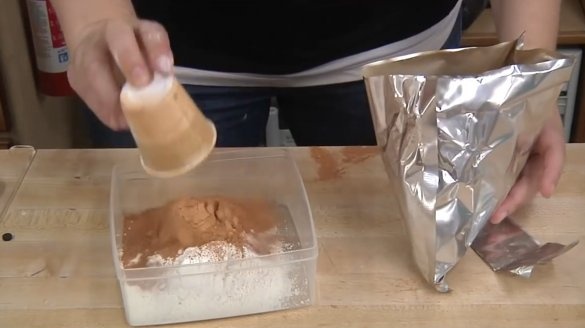
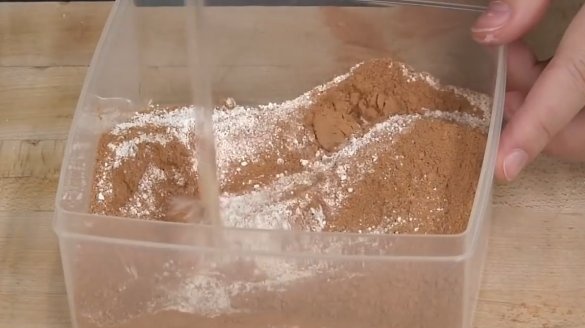
Nicole takes in a ratio of 1: 1 two colors - white and pumpkin.
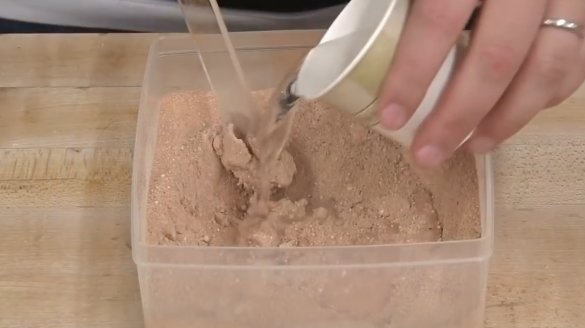
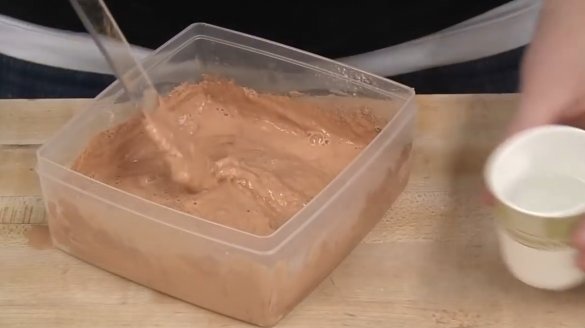
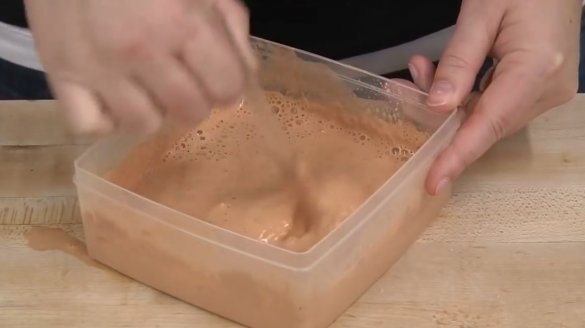
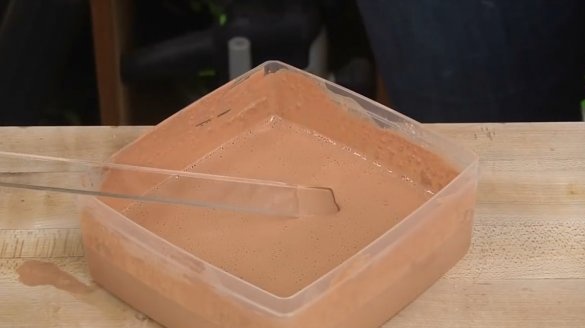
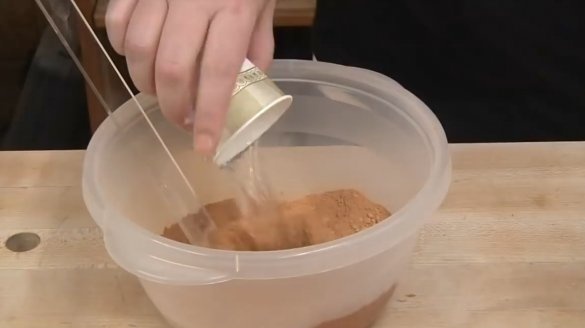
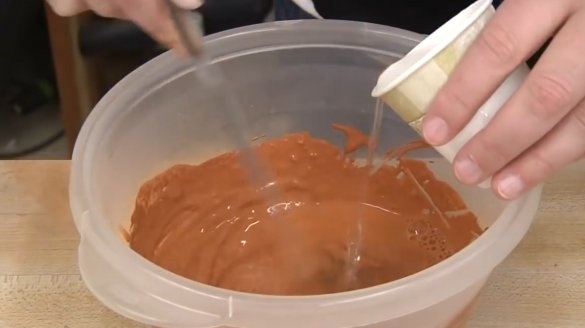
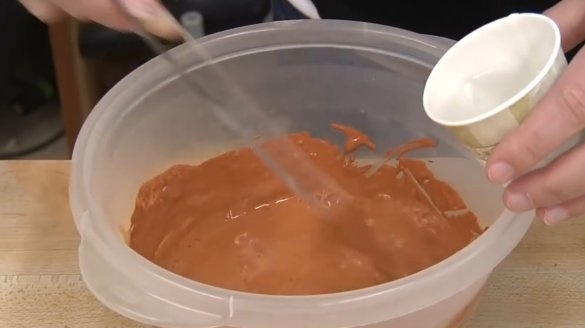
The colors are thoroughly mixed to dry and diluted with an equal amount of water. Warm driving gives the best effect. Add about 3/4 of the water and knead a dense homogeneous mass. Then add the remaining water to get the optimal consistency for staining. It is most convenient to knead in a flat container. The great thing about milk paint is that it can be diluted as much as you need. Depending on what you want to receive, it may be the effect of a color spot or an opaque, dense layer of paint.
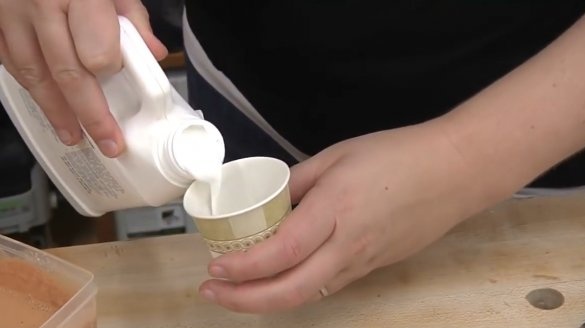
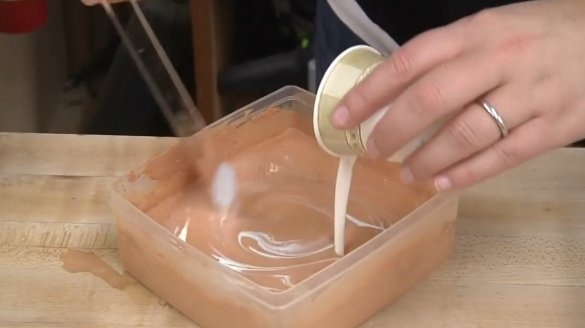
Among other things, Mark adds to the solution a product called Extra Bond for milk paint, which should provide better adhesion of the first layer of paint to the birch plywood of the chest. One scoop is enough. Now we wait a few minutes. After the paint has been thoroughly mixed, it needs to stand for about ten minutes.
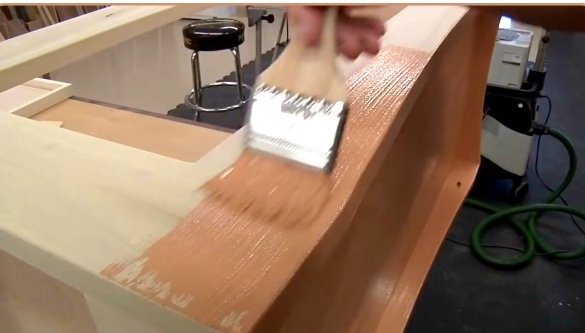
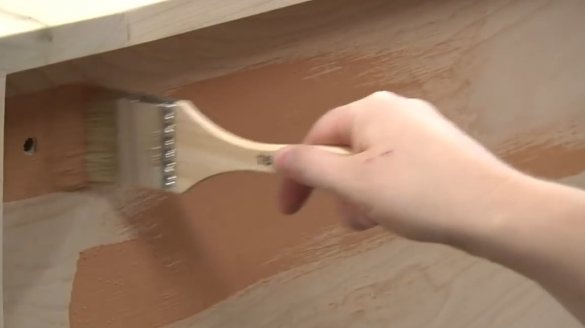
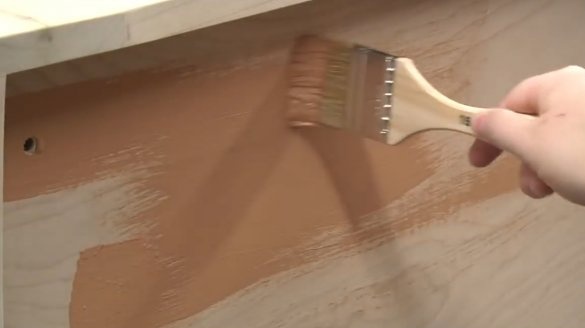
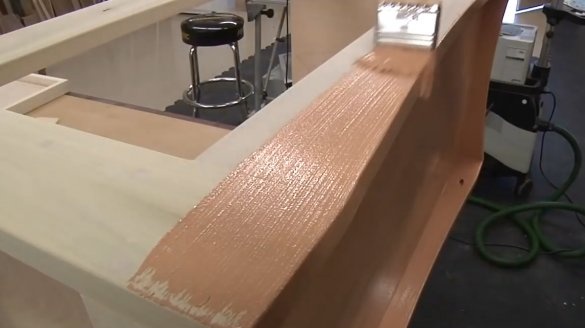
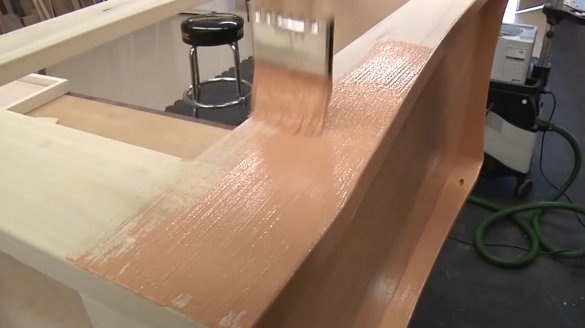
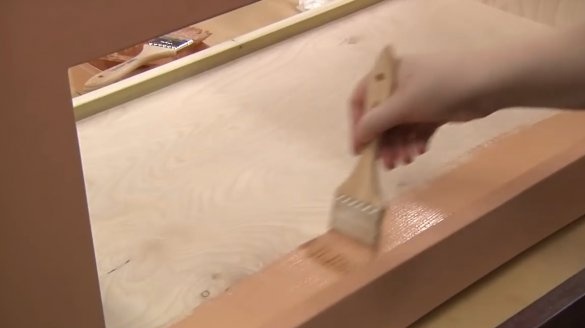
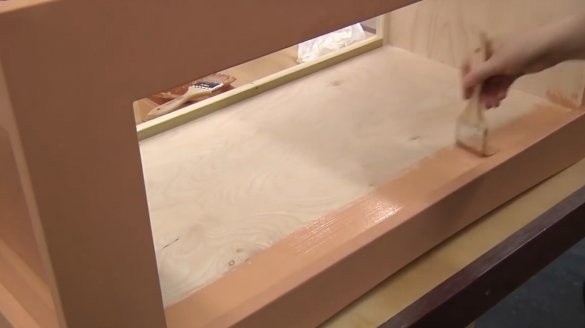
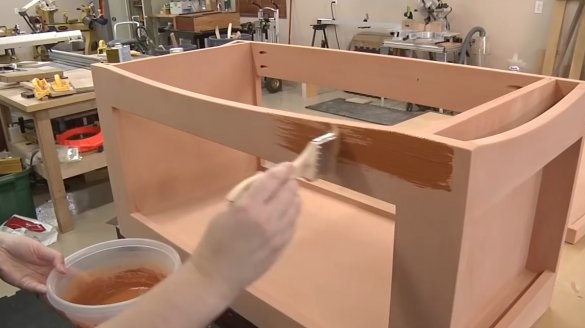
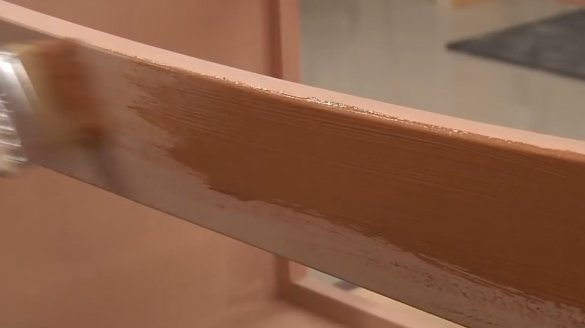
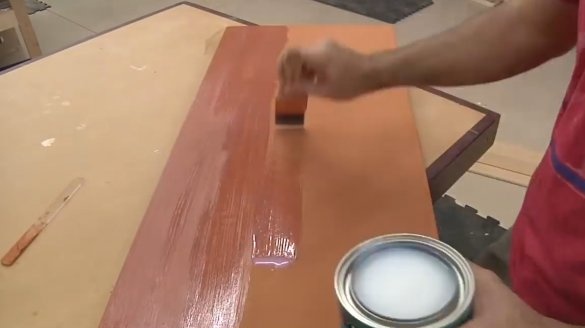
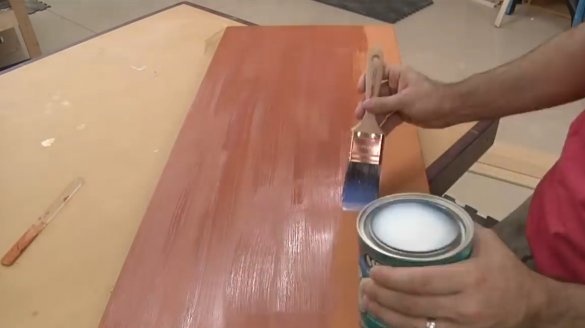
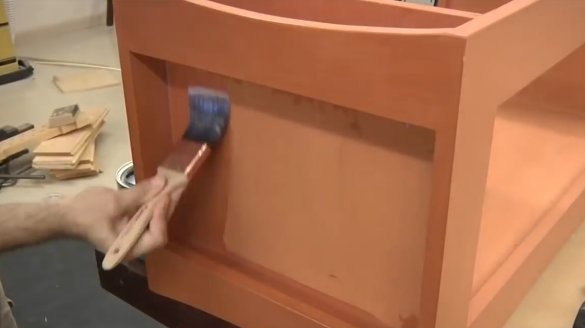
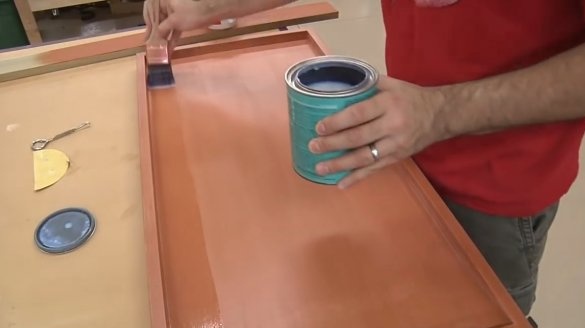
At first, the paint falls a little rough. This effect is created by cheap brushes. But there is no need to cover up the gaps too carefully.If you have never before worked with milk paint, then it is better to start painting from the bottom of the subject. So you first understand this paint and get used to it.
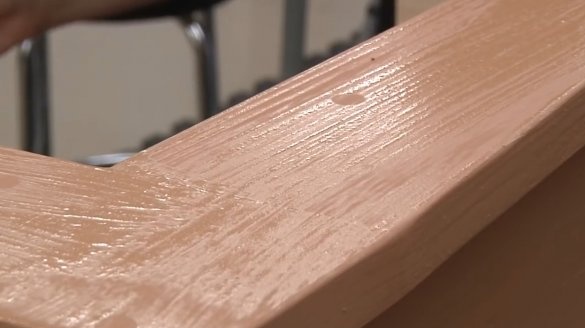
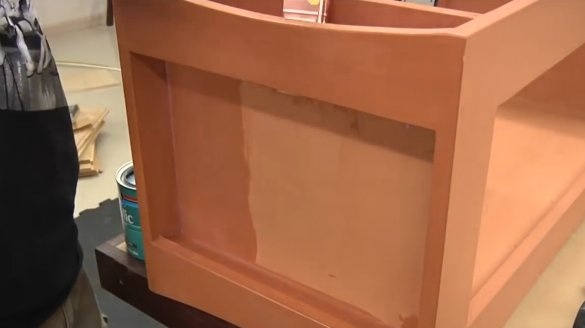
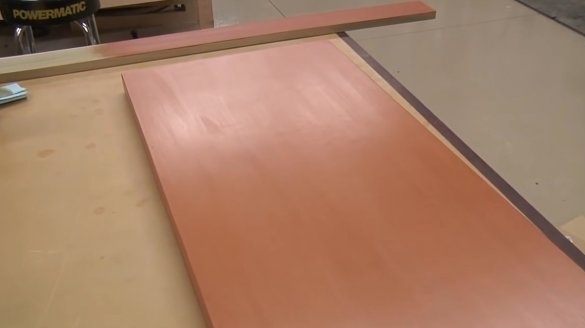
After drying, the paint becomes more dull in tone and acquires a chalky texture.
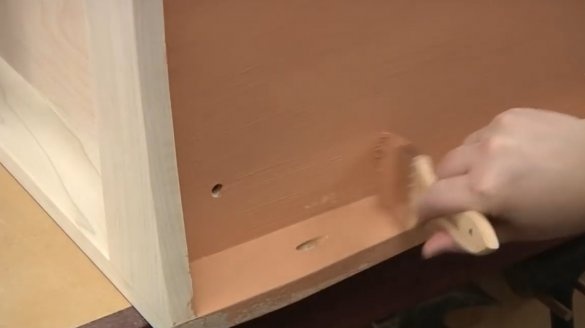
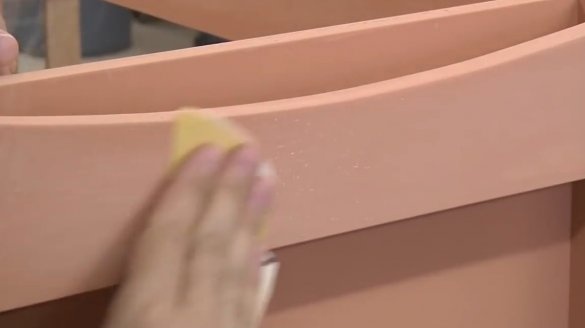
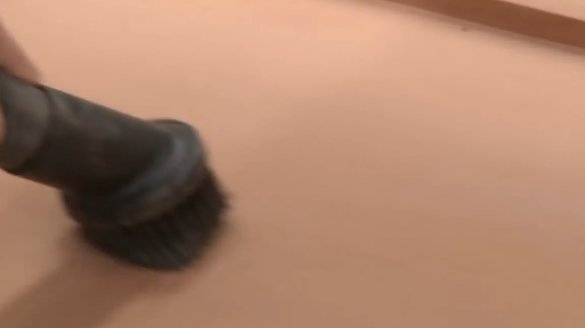
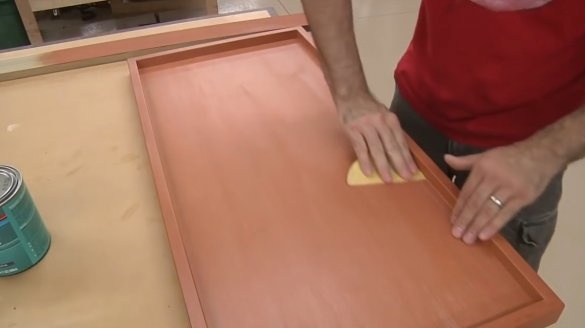
Nicole and Mark paint the product on all sides - inside and out. After several hours of drying, the first coat of paint can be cleaned with sandpaper. Mark removes the resulting dust with a vacuum cleaner with a soft brush-like nozzle.
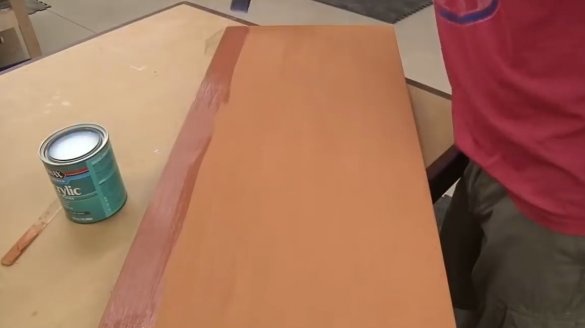
The author again kneads the paint in the dish, but this time there are two differences in the technology for its preparation: there is no Extra Bond component and white paint. The second layer is superimposed significantly easier than the first.
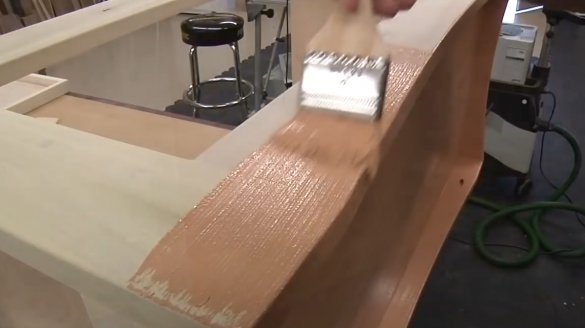
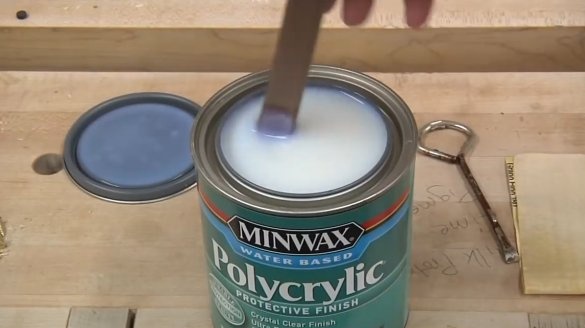
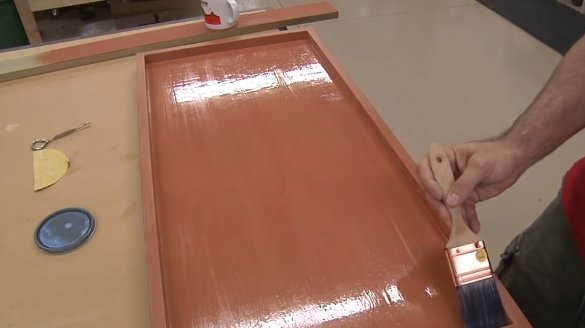
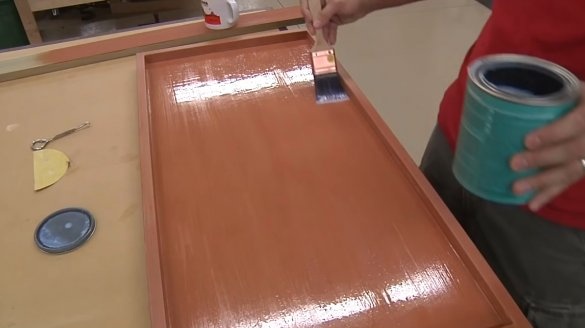
On the morning after drying, Nicole and Mark open the product with a small amount of water-based Poly Ready acrylic primer so that the surface does not look very glossy, but has a satin texture.
The whole project was carried out with a high-quality brush with synthetic fibers.
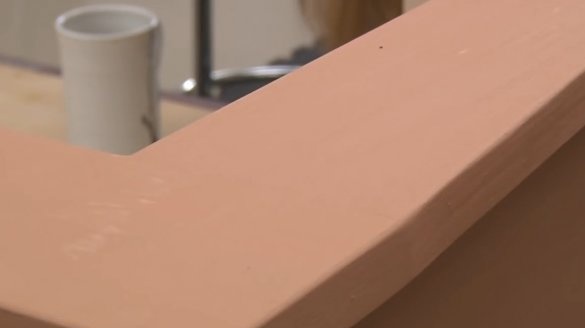
It is important to remember that the first coat of paint resembles a smeared childhood surprise. No worries. When it dries, clean it with the 320th sandpaper and cover it with subsequent layers according to the scheme indicated above. Already the second layer looks more uniform. But since we are dealing with milk paint, do not expect perfection! This is one of the most primitive and natural types of paint that people have ever used.
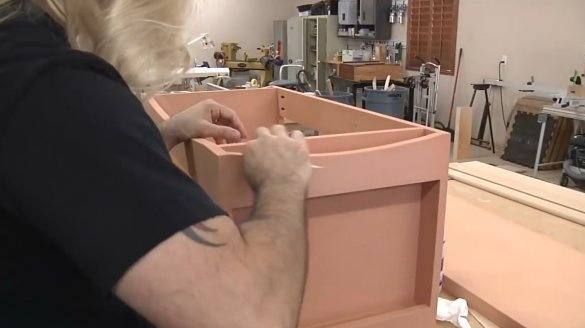
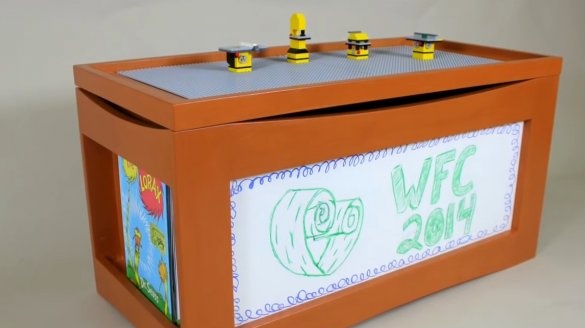
Here's what a fully completed chest looks like.

