

Good day. I want to tell you how you can please yourself and your children with the manufacture of a rocket boat from ceiling tiles, in this fascinating case you will need:
1 ceiling tile 2-3 pcs.
2 adhesive for ceiling tiles Titanium or Master
3 mounting knife
4 metal ruler 50 cm
5 radio control Flysky FS-i6 bought
6 bought a battery
7 propeller bought
8 bought a servo machine
9 regulator for collector motors bought
10 knitting needle reinforced with 3mm one pc.
11 aluminum tubes 10 mm and 5 mm
12 PVC plastic 4 mm
13 toothpicks
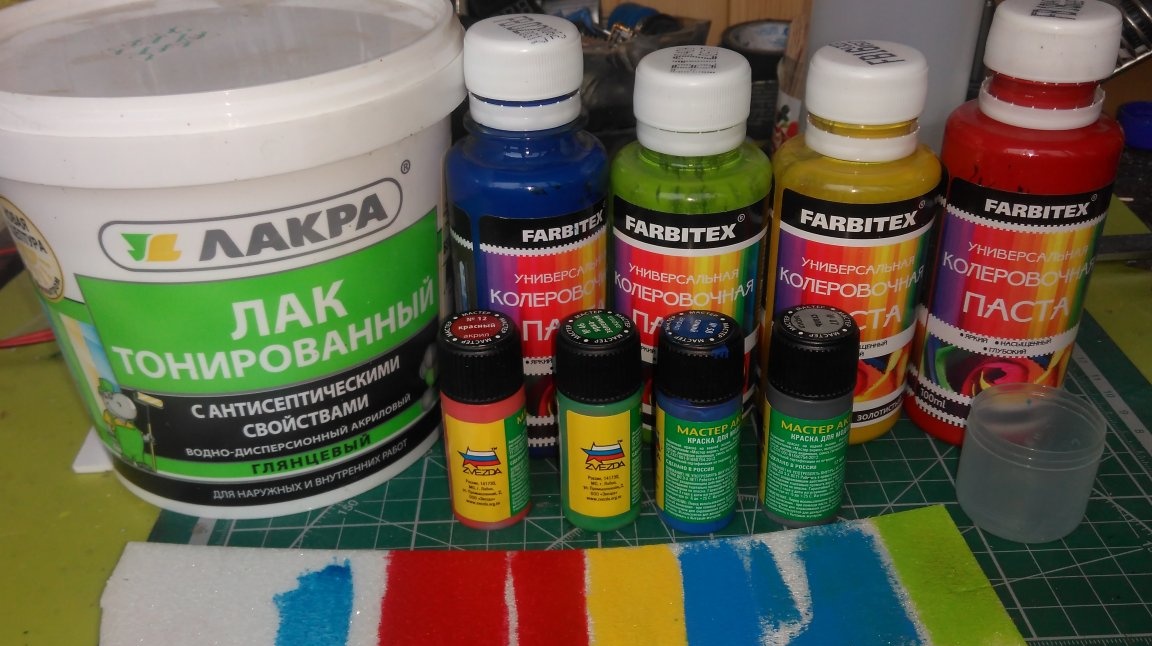
14 acrylic varnish and tint for painting the model
15 motor from a screwdriver 550y
16 cartridge clip for the shaft bought
17 Glue Cosmofen CA 12. Cosmo-500.200
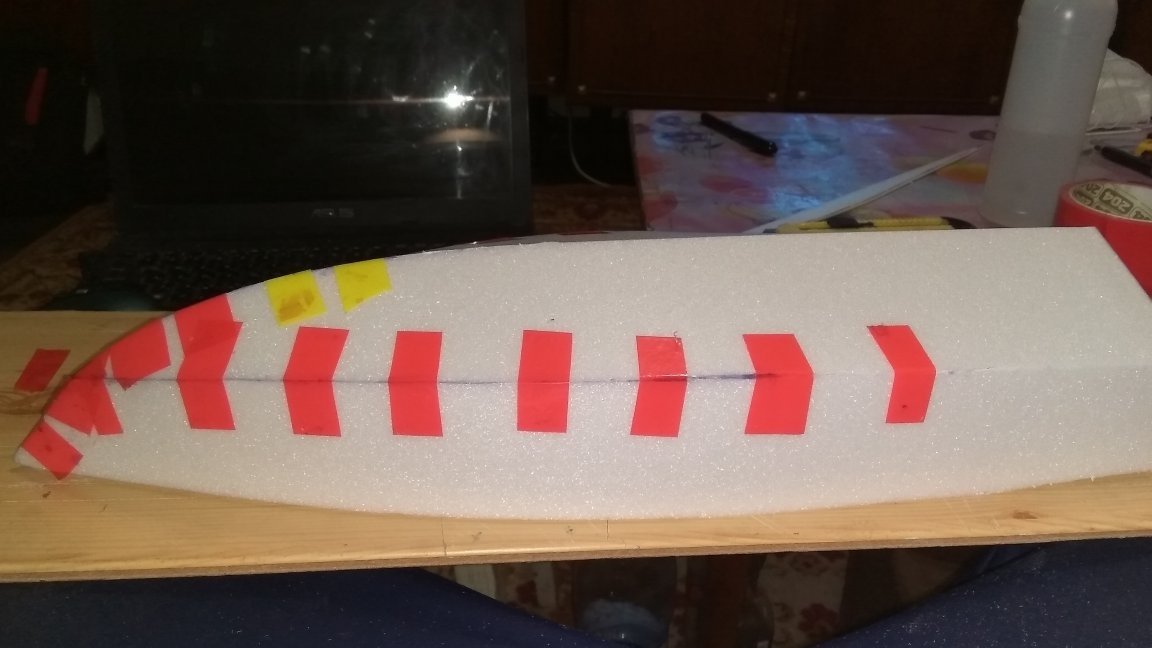
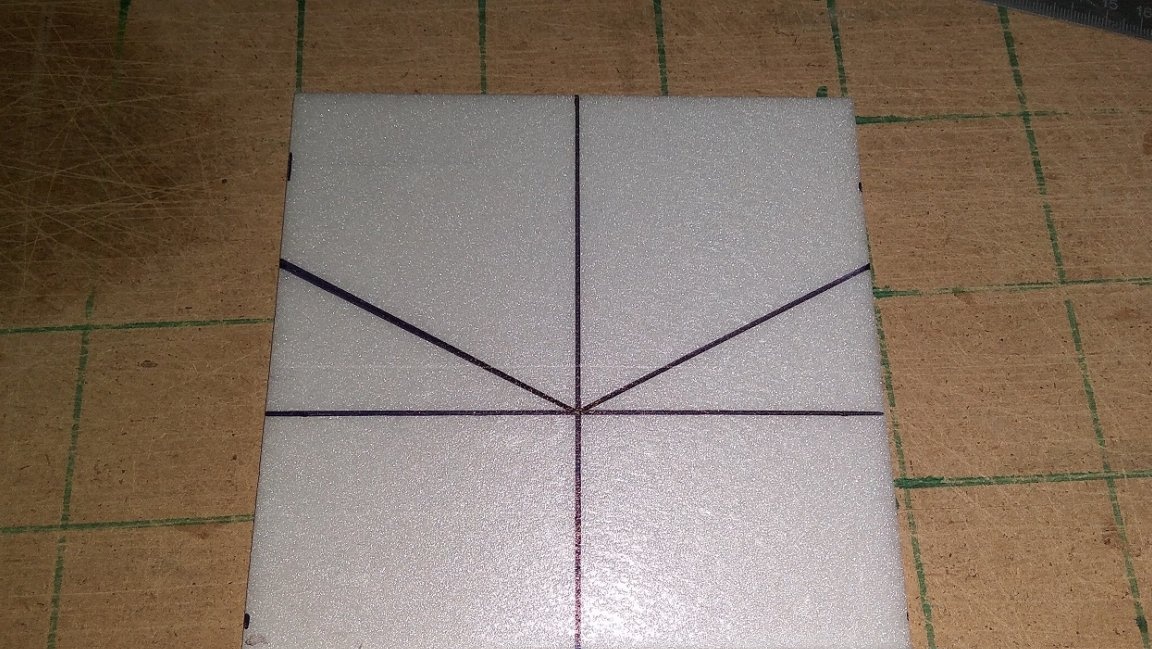
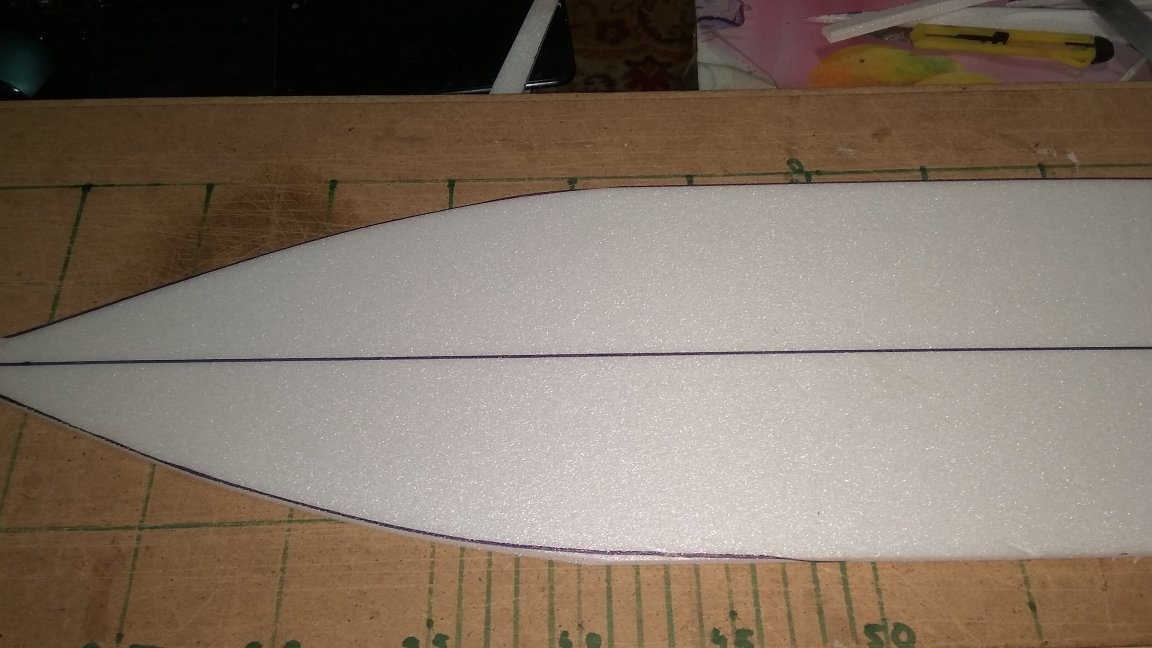
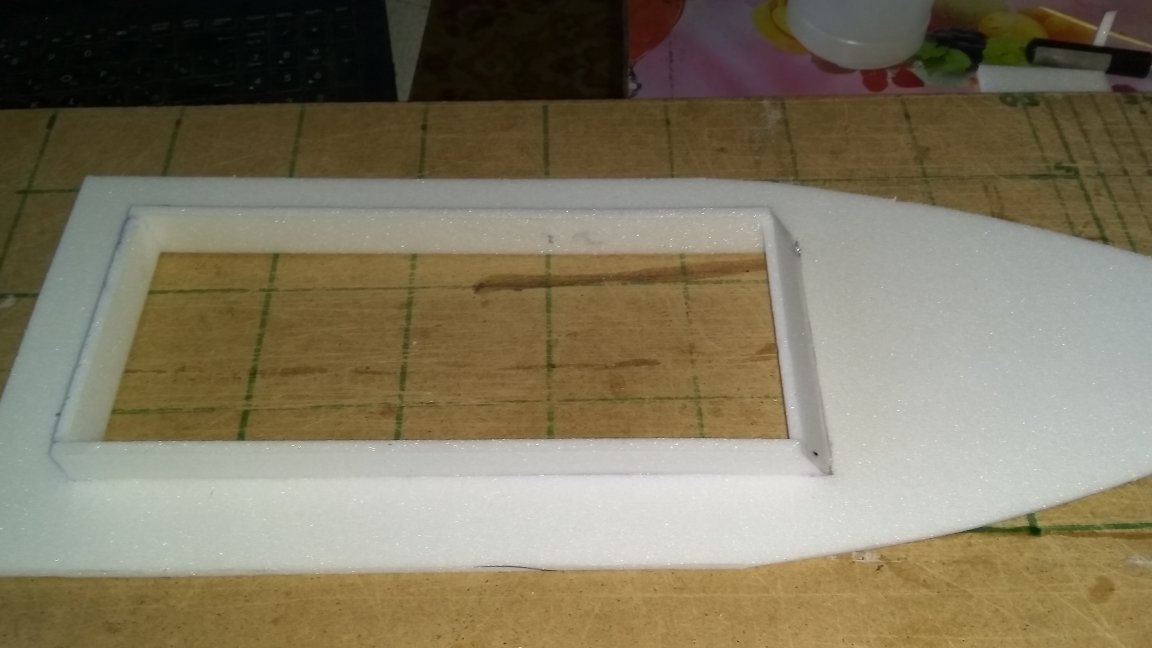
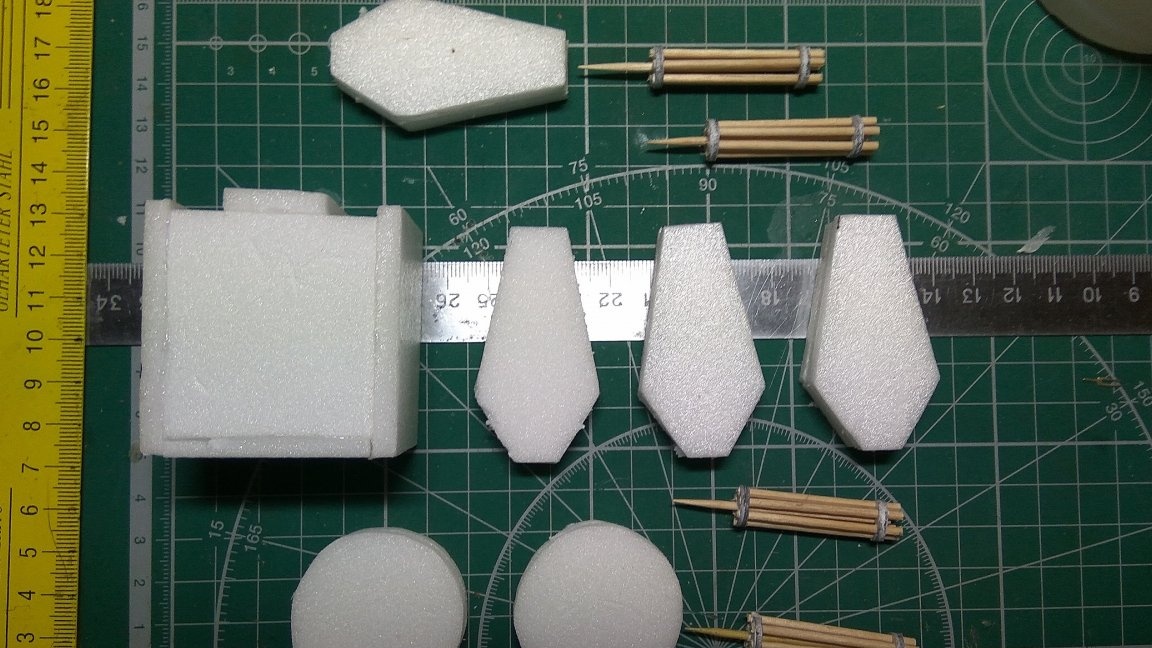
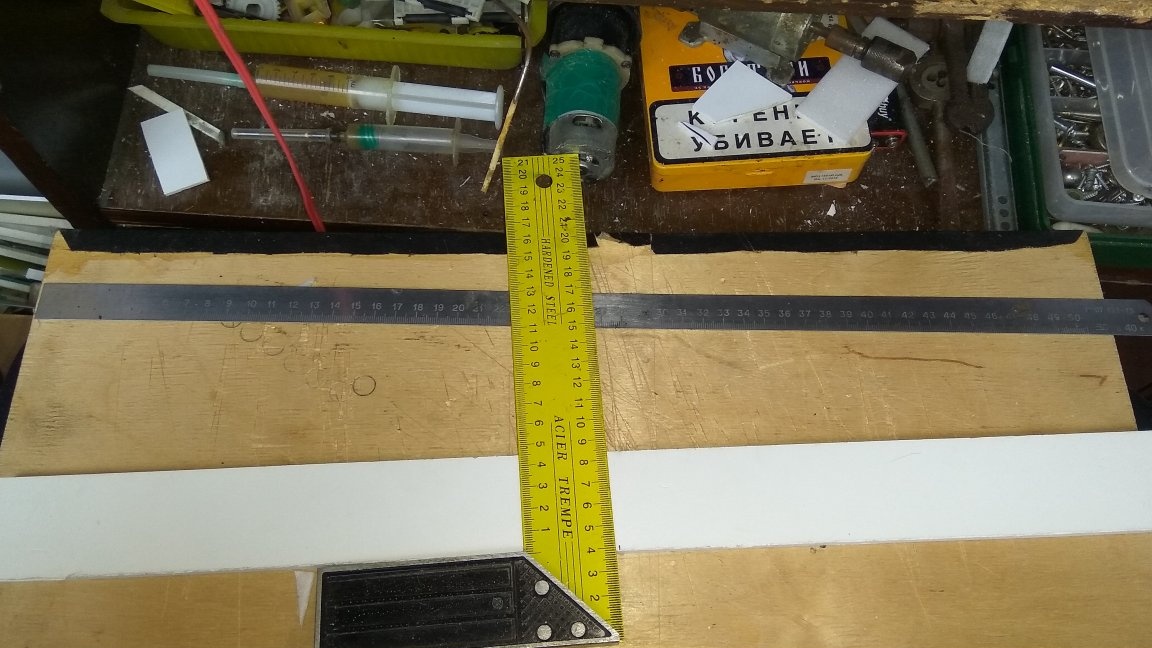
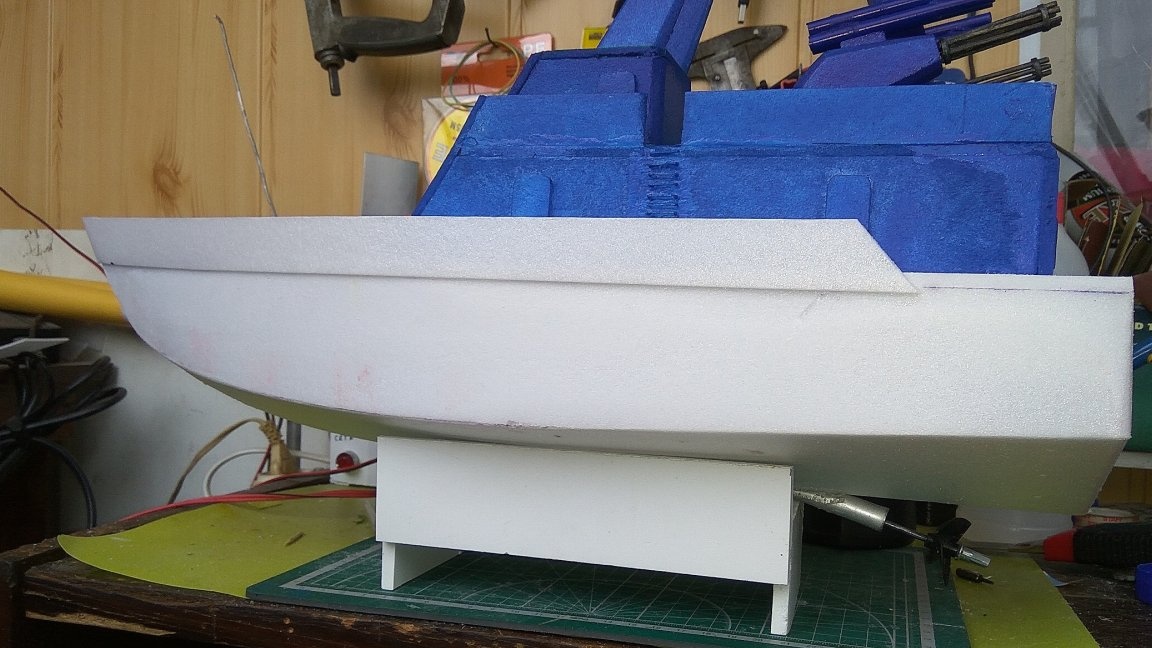
For the basis of the hull, I took patterns from a speed boat, increased the sides to 5 cm, transferred it to the ceiling tile:
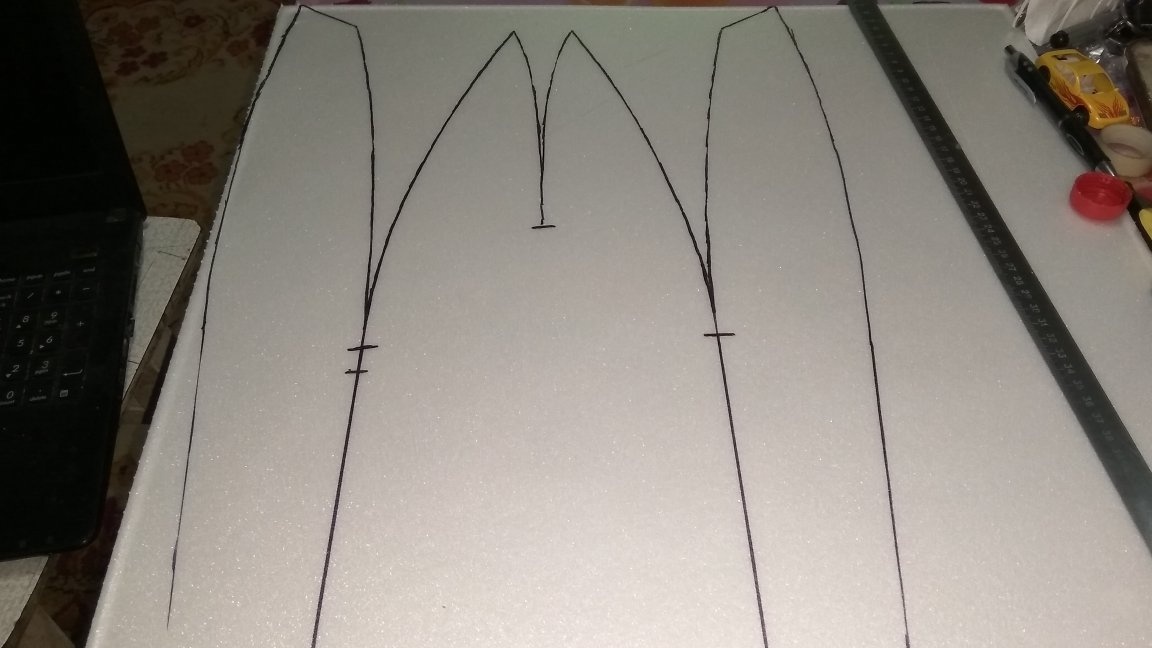
We cut the workpiece with an assembly knife, in the places of bending we make a V-shaped cutout for easy bending, but we do not cut it through.
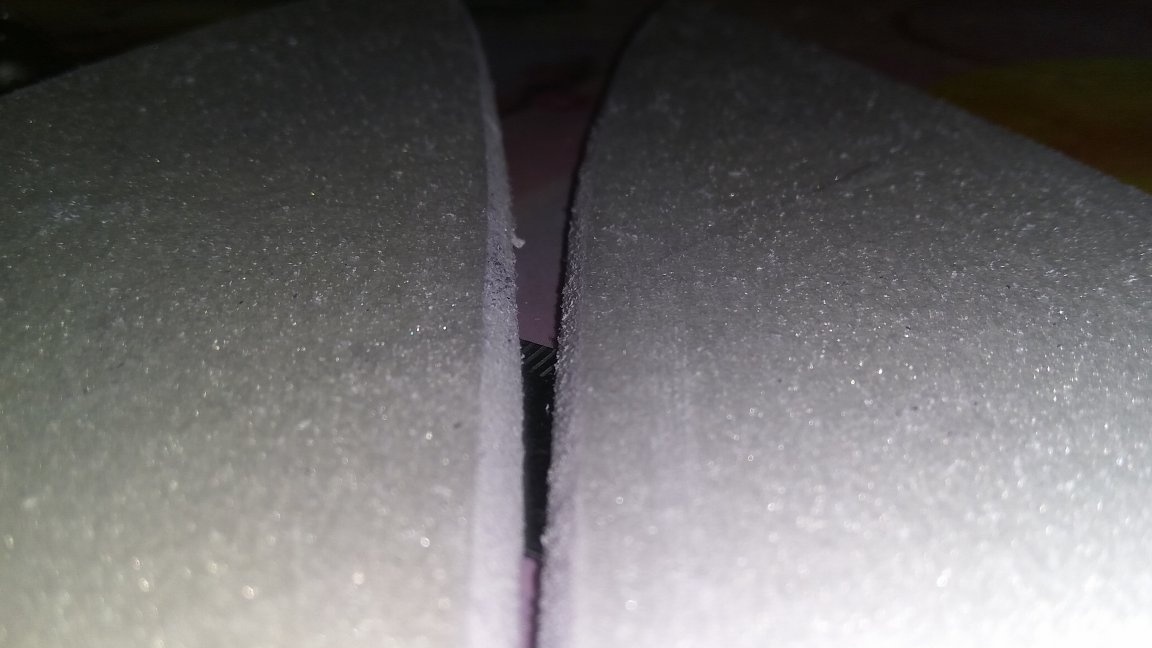
Places where the parts will be glued together at an angle must be covered up with emery covered with a block for convenience, so that the contact area is maximum as in the photo:
To fix glued parts, you can use French pins or chopped colored tape. And so we apply Titanium glue to the ceiling tile and fix it with colored tape:
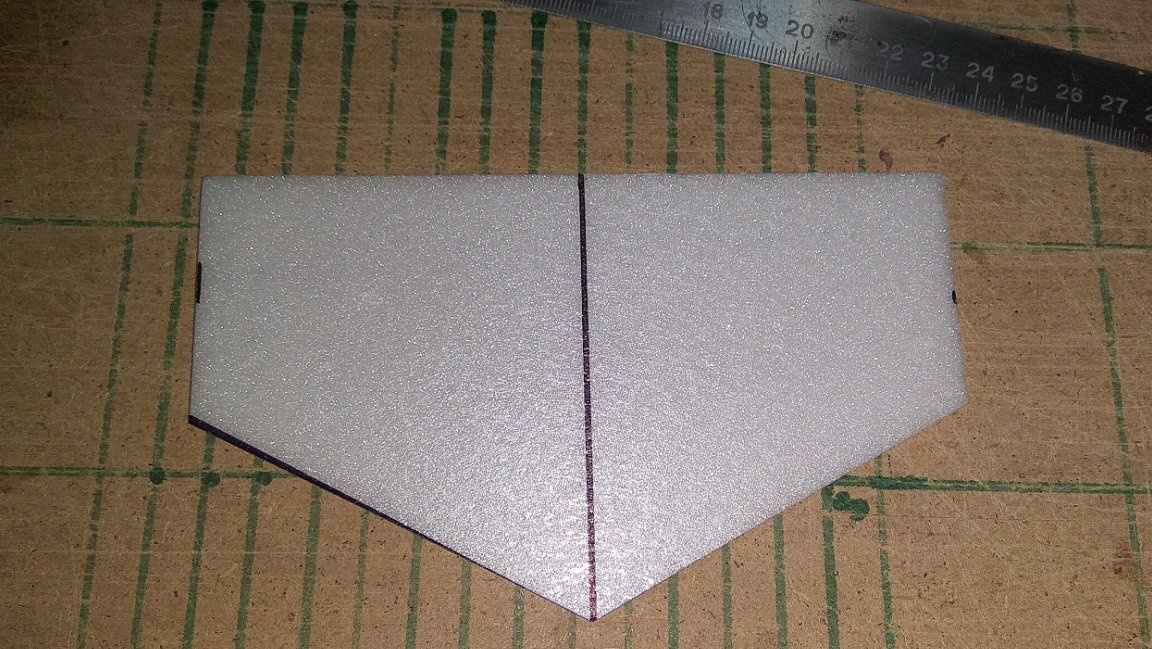
While the hull is drying, we draw a transom for our boat and cut out:
We apply glue and glue the transom into the hull of the boat and fix it with colored tape:
After it has dried, we pour the same Titan all the seams of the boat from the inside of the hull for sealing.
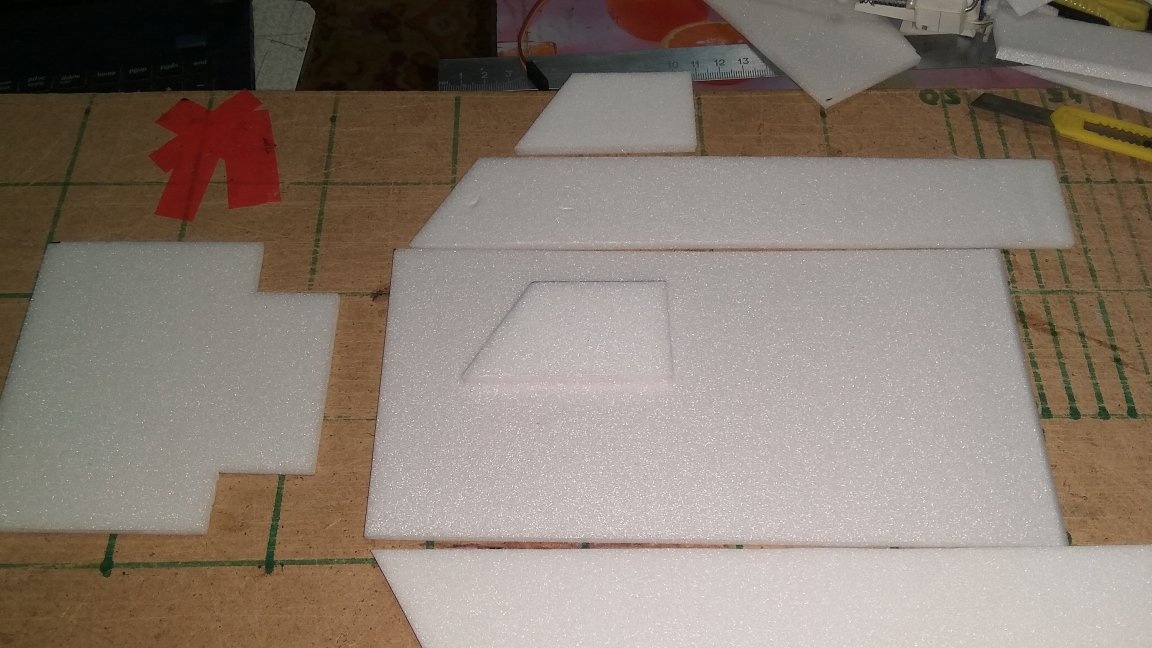
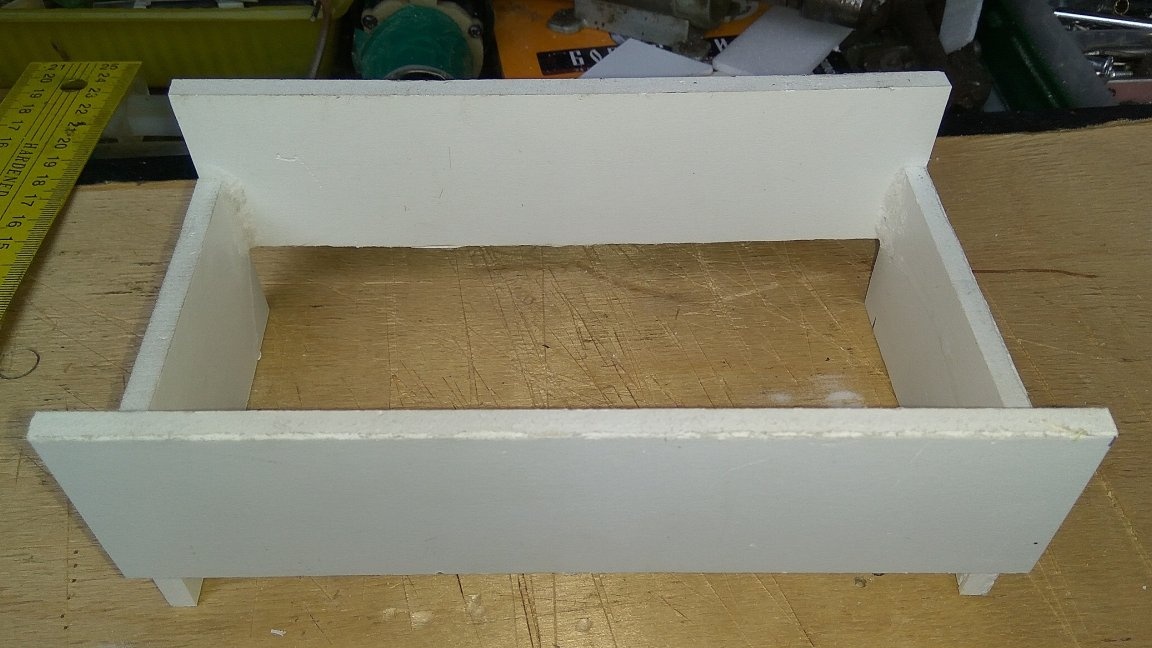
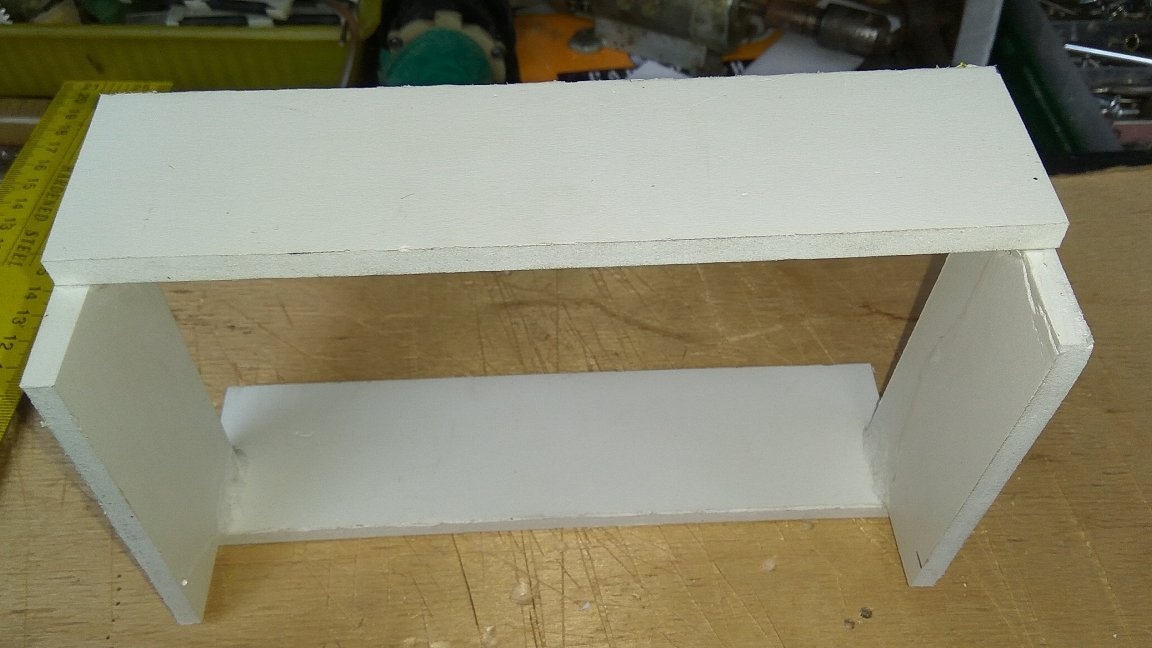
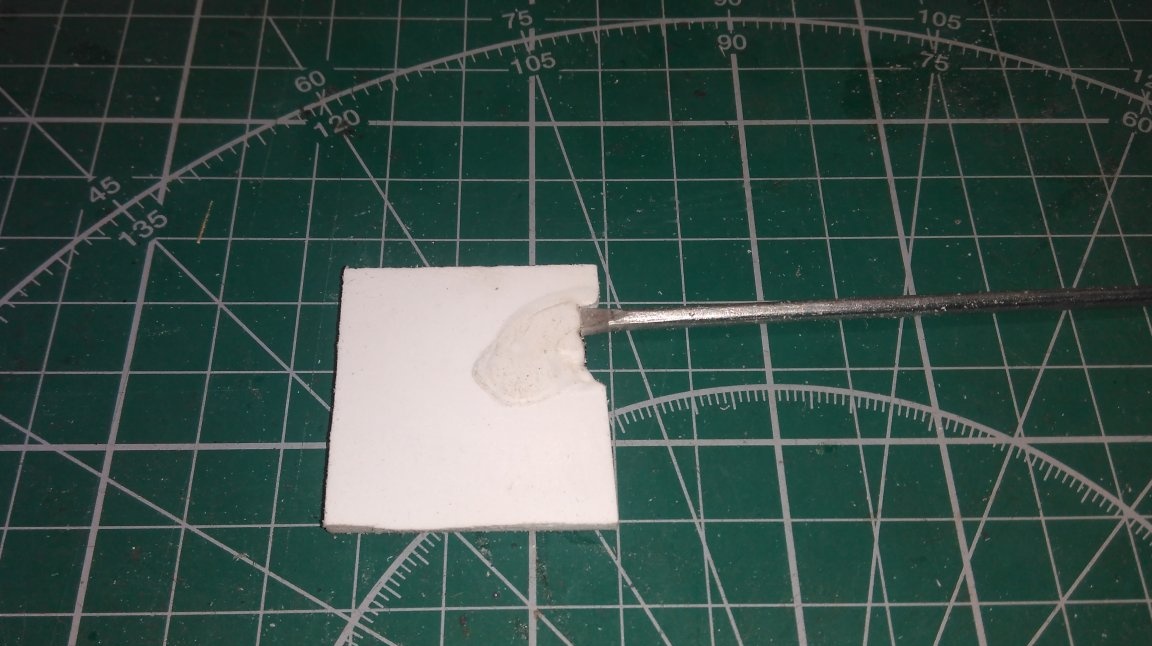
On the ceiling tile, draw a guide line, attach the hull and outline, cut out the deck:

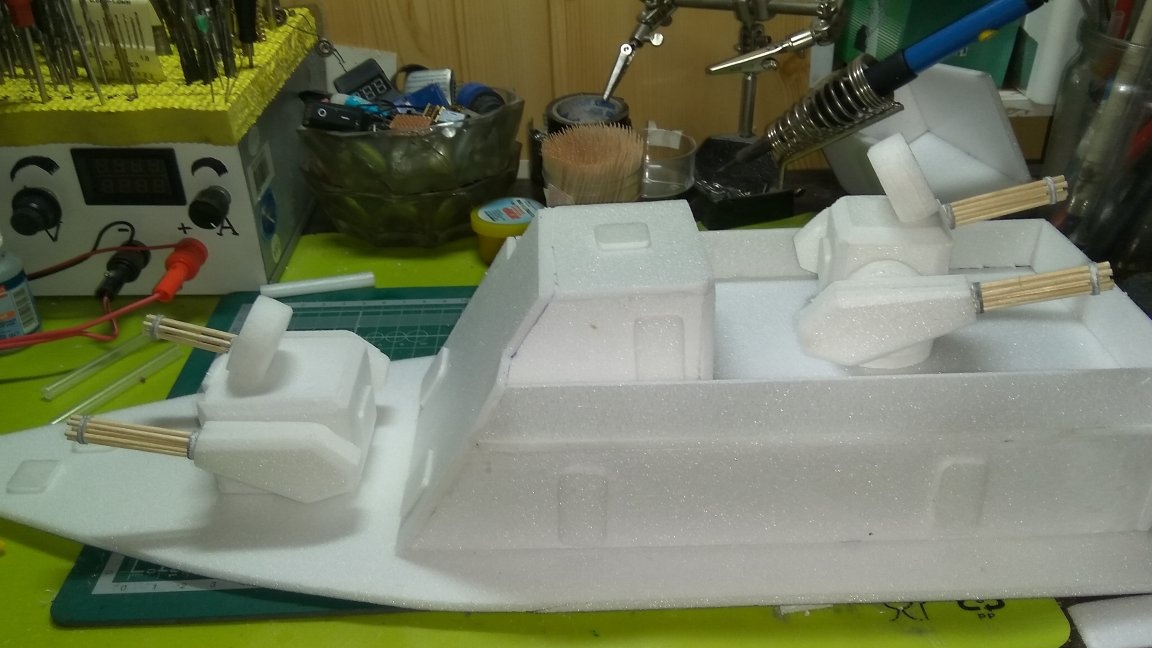
From strips of ceiling tiles we make, if I am not mistaken, COMINGS for cabin:
Also from the ceiling tiles we cut out parts of the wheelhouse and glue:
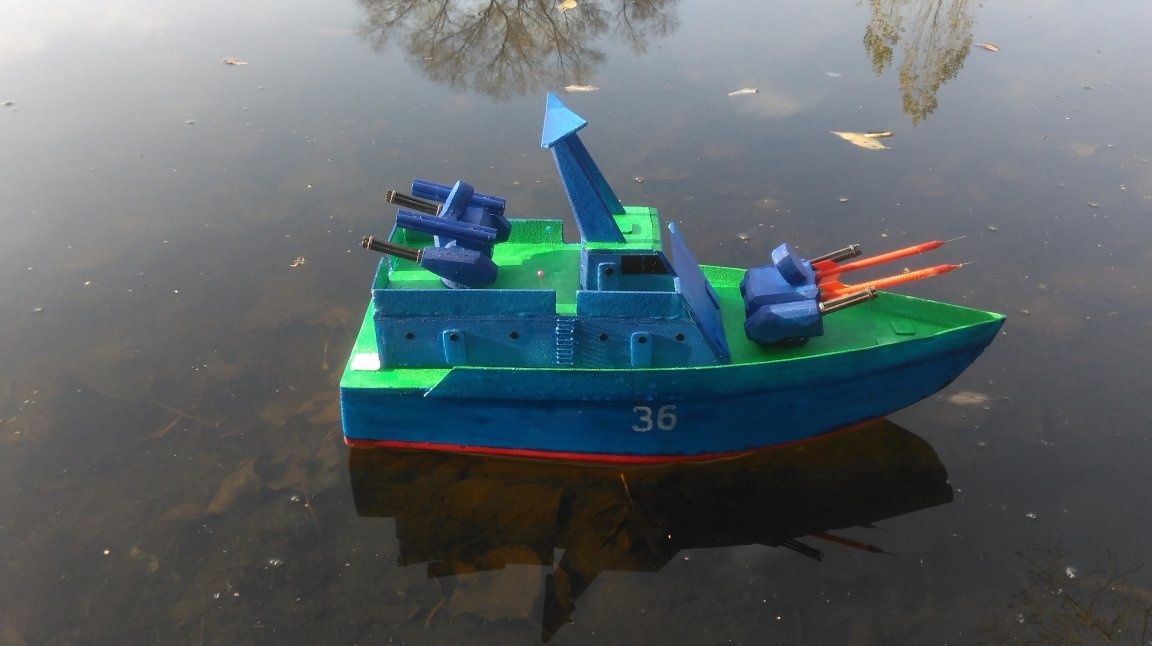
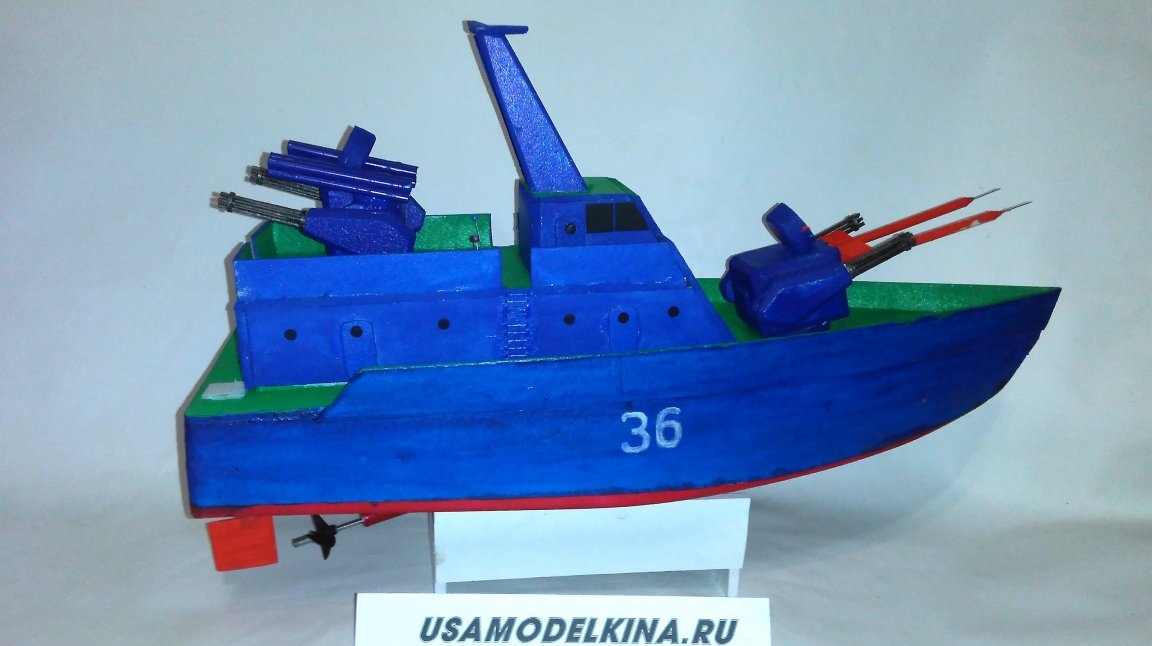
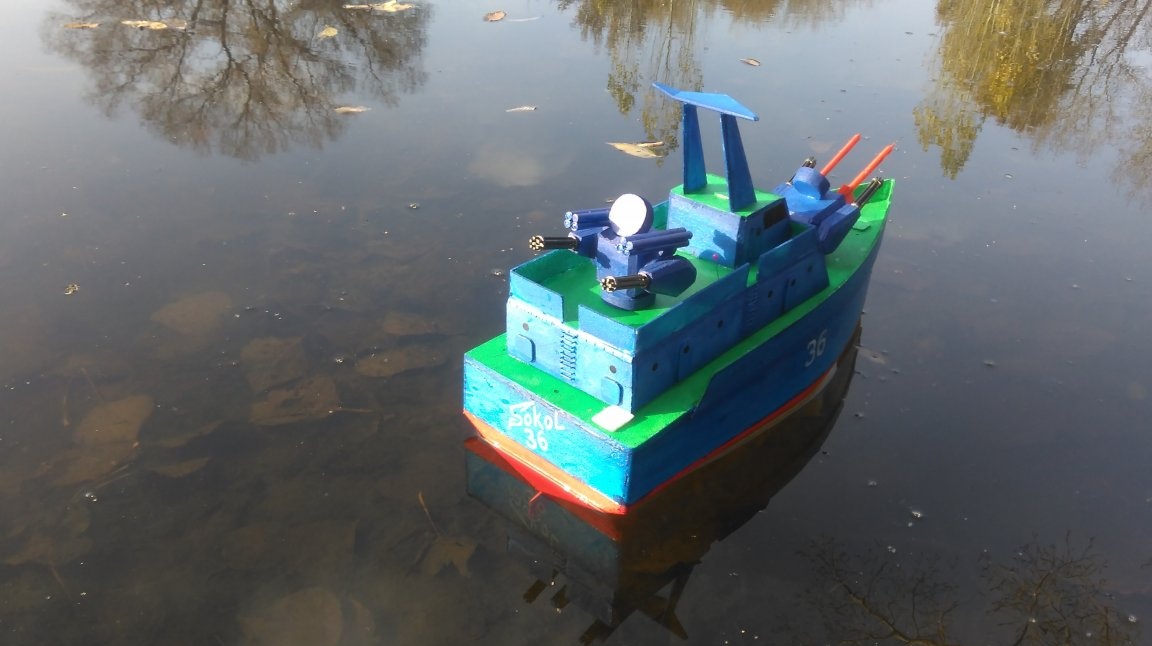
Since I was worth a missile boat, the weapons should be appropriate. If you remember in Soviet times there was a Katyusha toy:
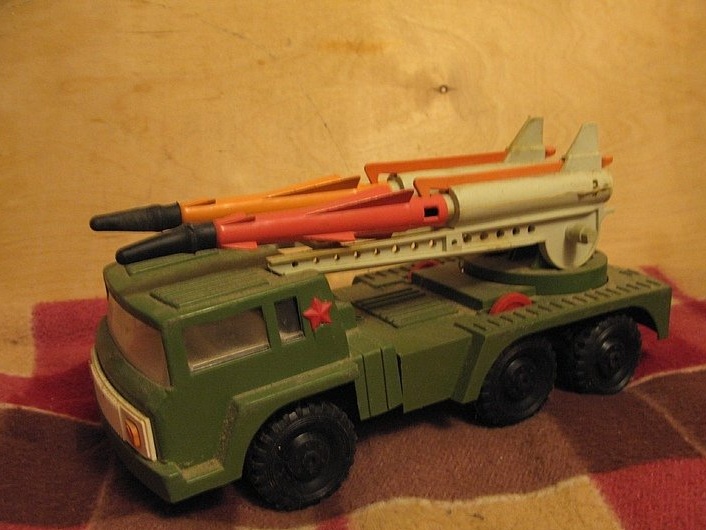
And she shot rockets with rubber tips, so the idea came to me to make a rocket launcher on the same principle
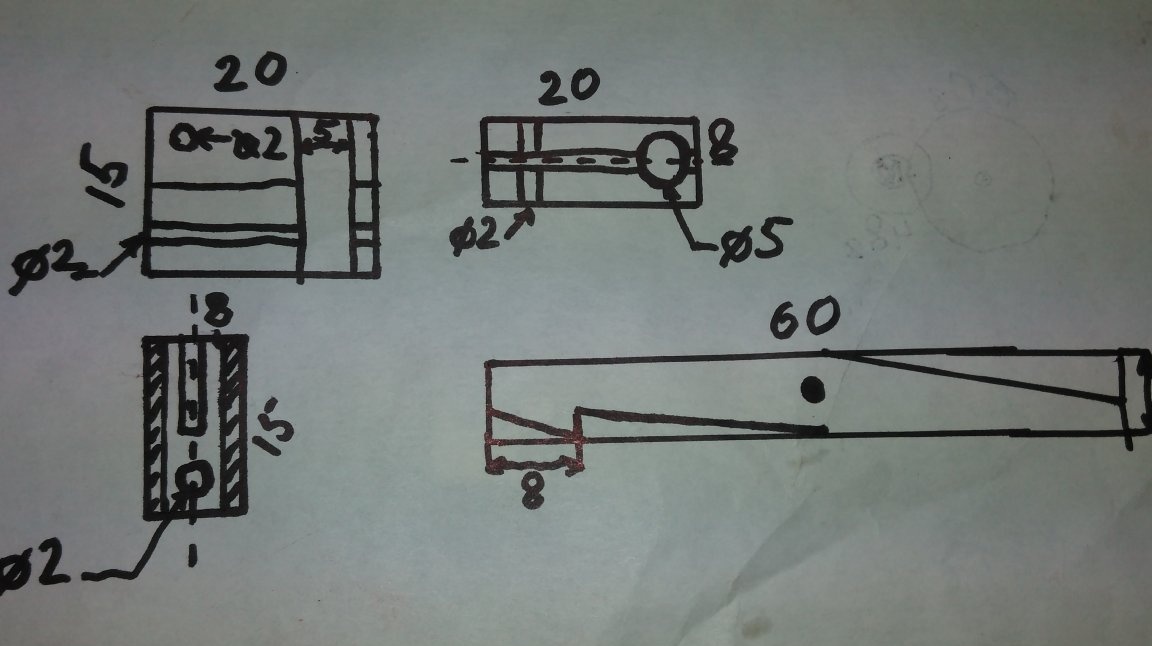
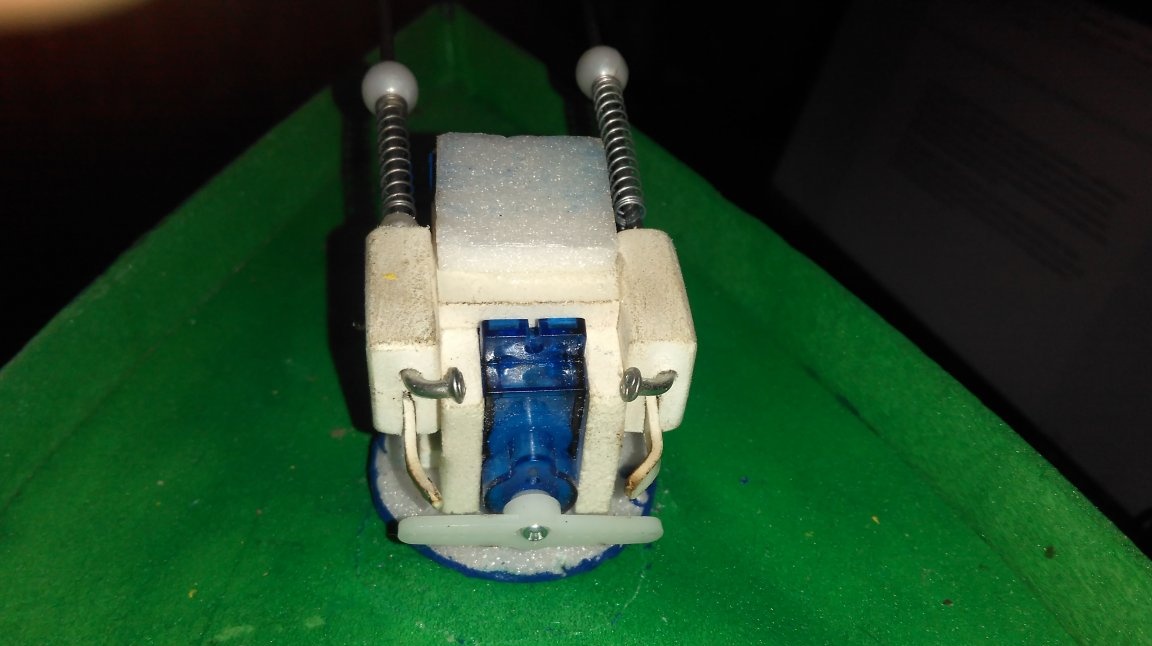
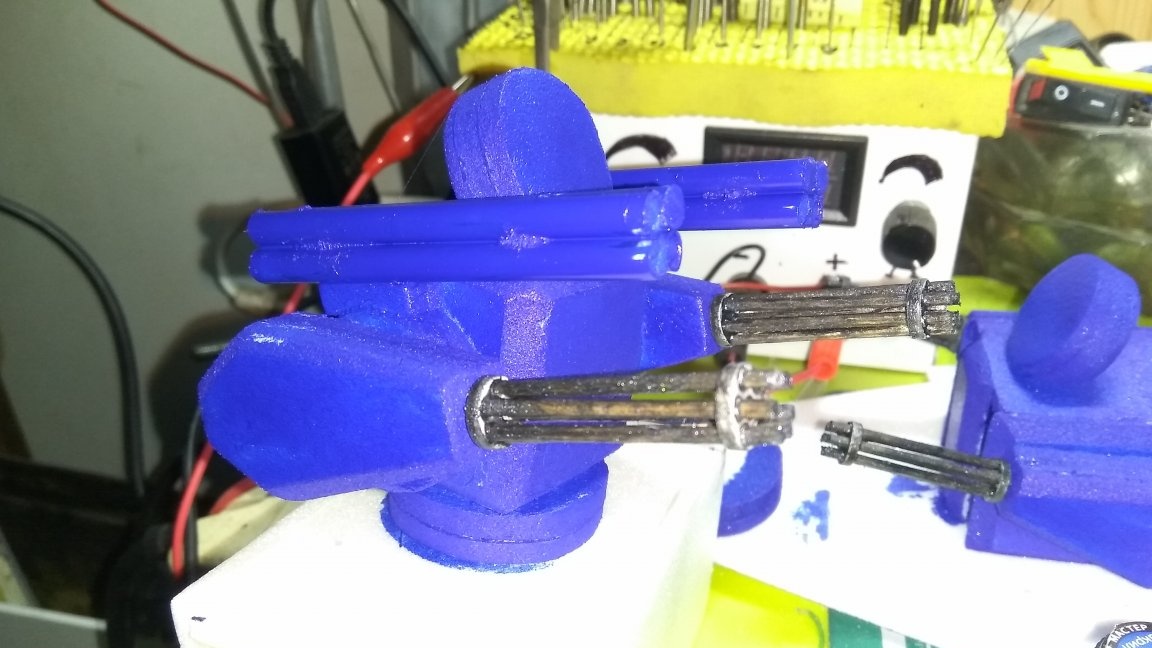
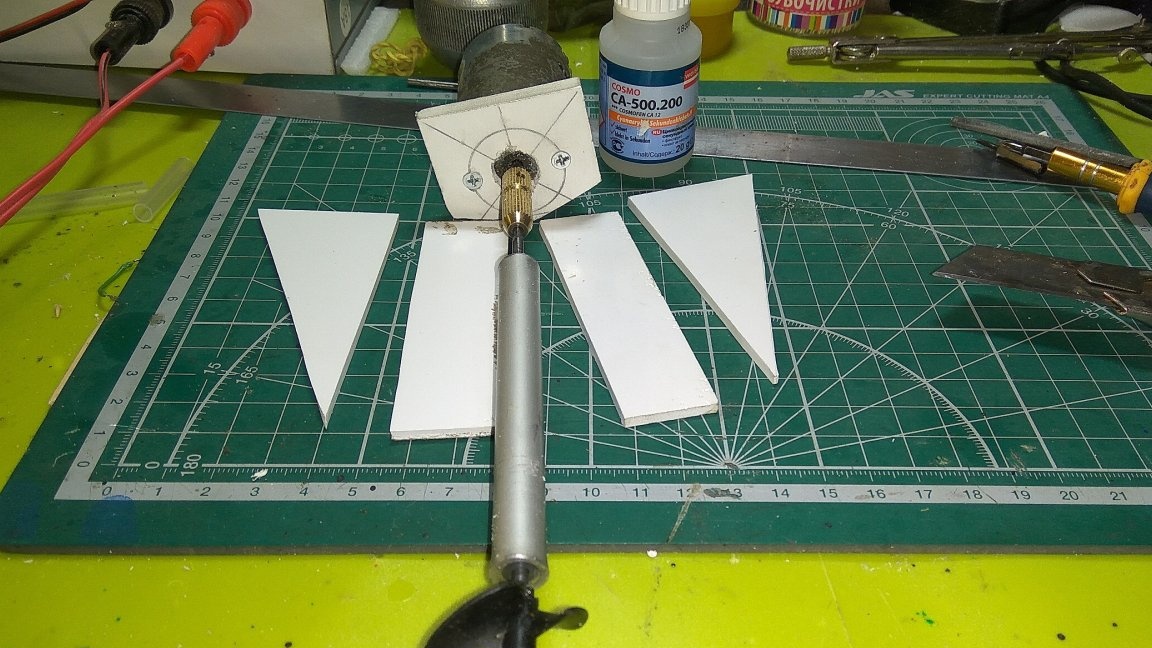
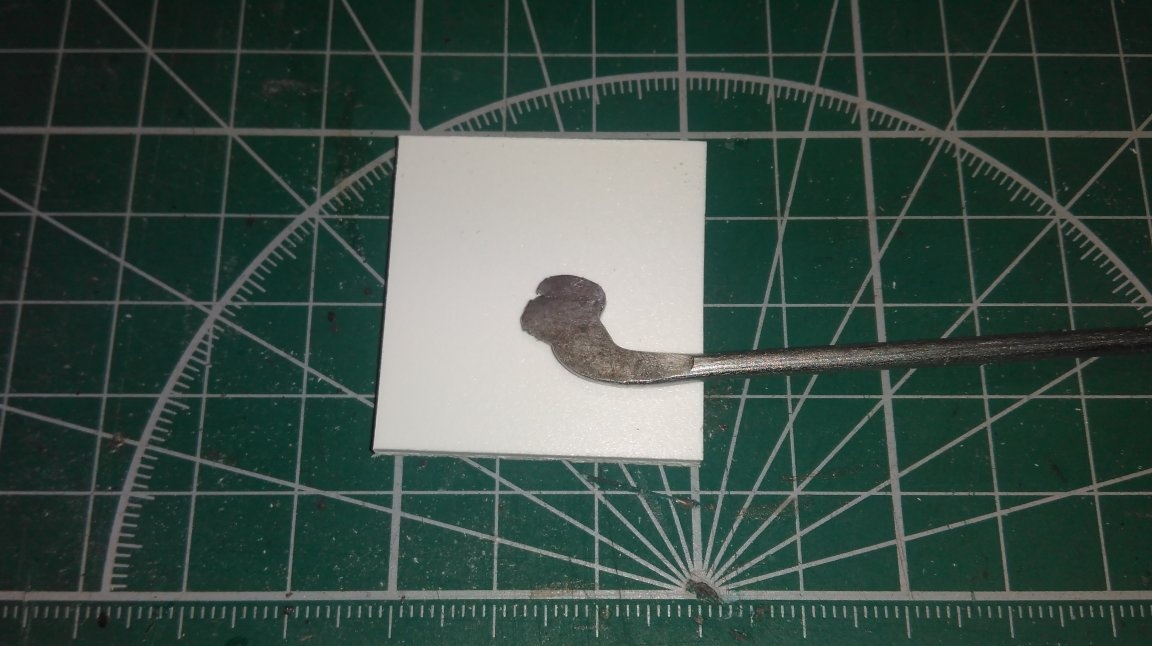
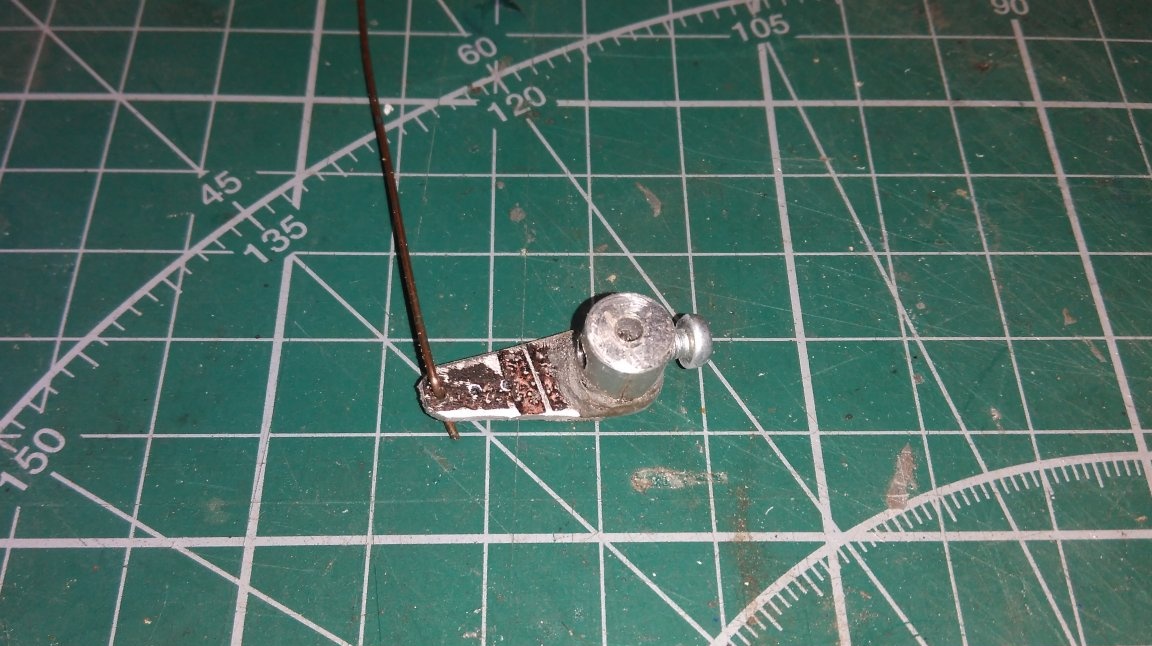
We take 8 mm PVC plastic with a size of 20-15 mm, drill a 5 mm hole for the spring from the fountain pen and a 2 mm full-length hole for the spoke of the bicycle and another 2 mm hole for the trigger, we cut it with a hacksaw blade for the trigger as in the sketch 2 pieces

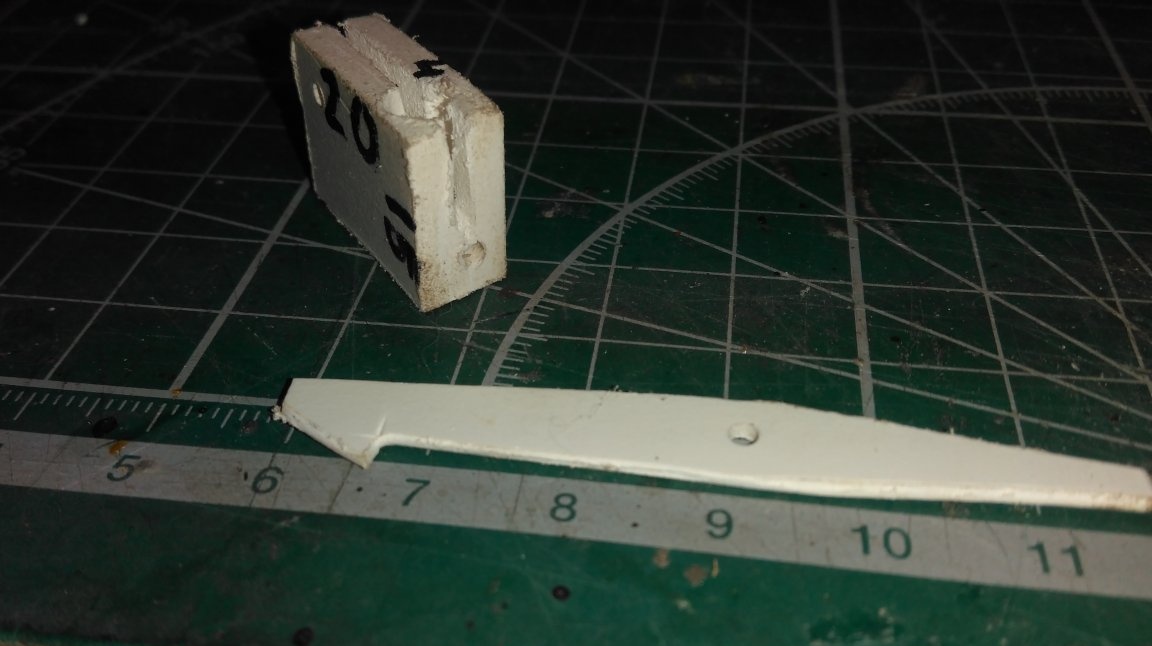
Then we take a knitting needle and cut off two identical pieces, insert them into the blanks, we also need two beads of a larger diameter than the tubes from which we will make the rockets themselves. We drill beads up to 2 mm so that they easily glide over the spoke
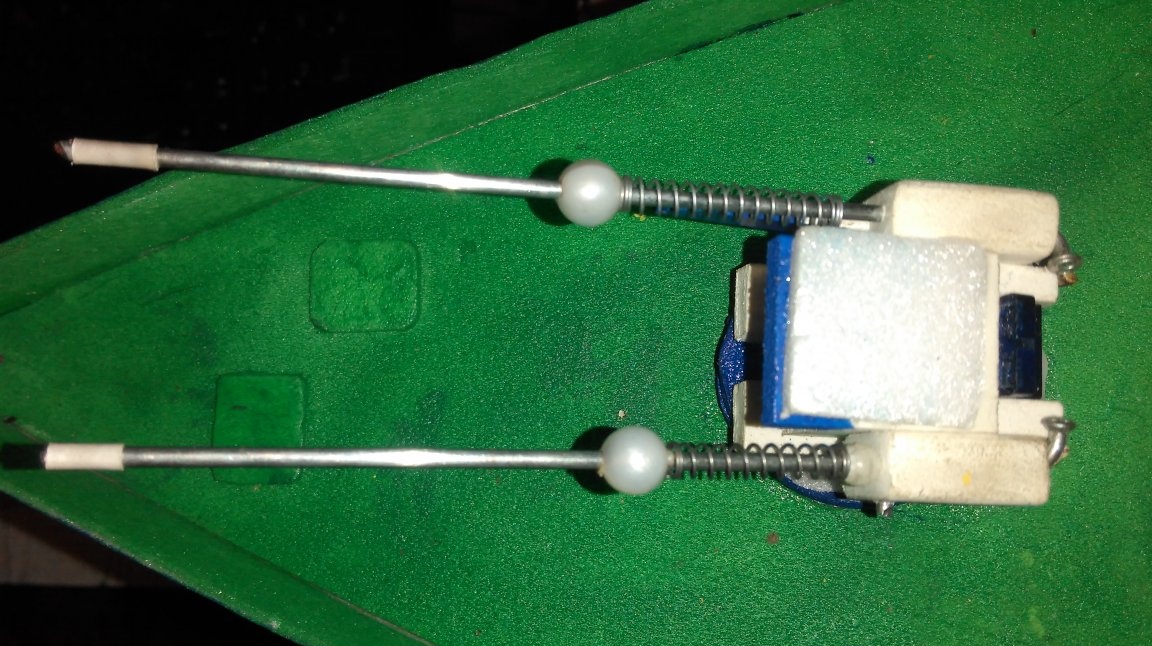
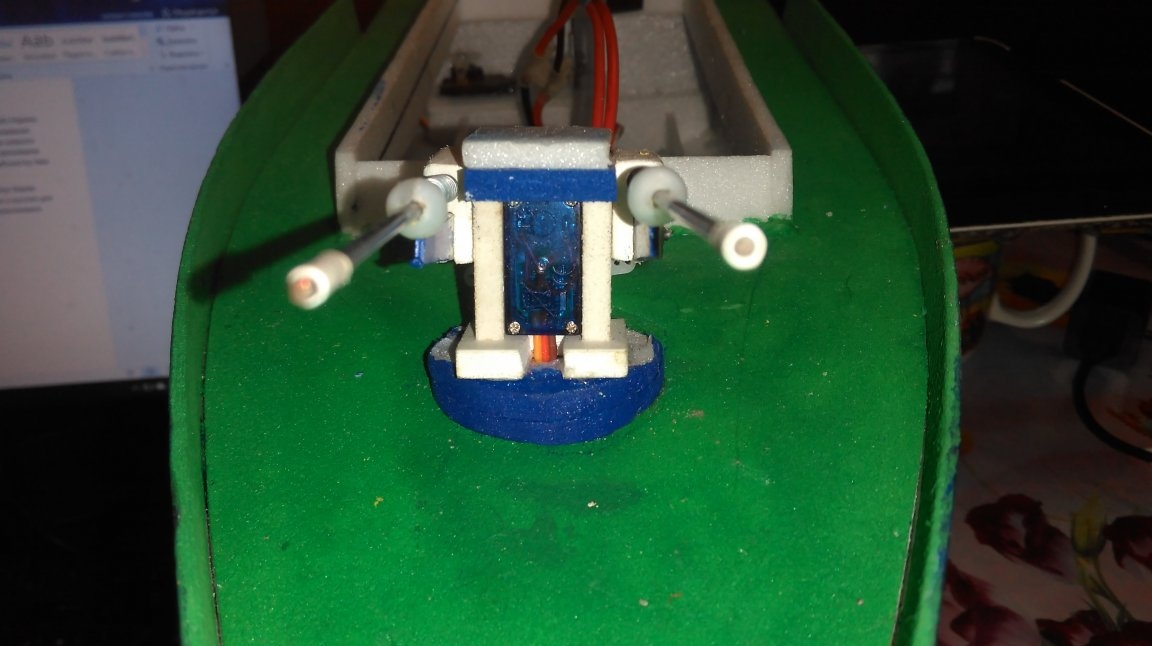
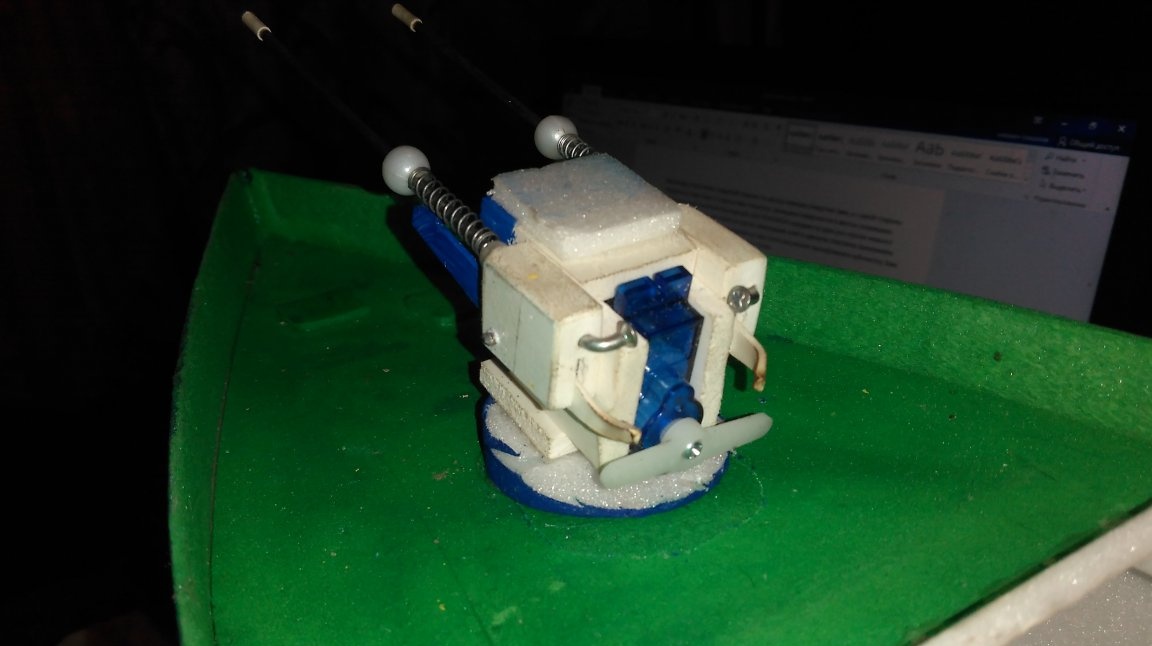
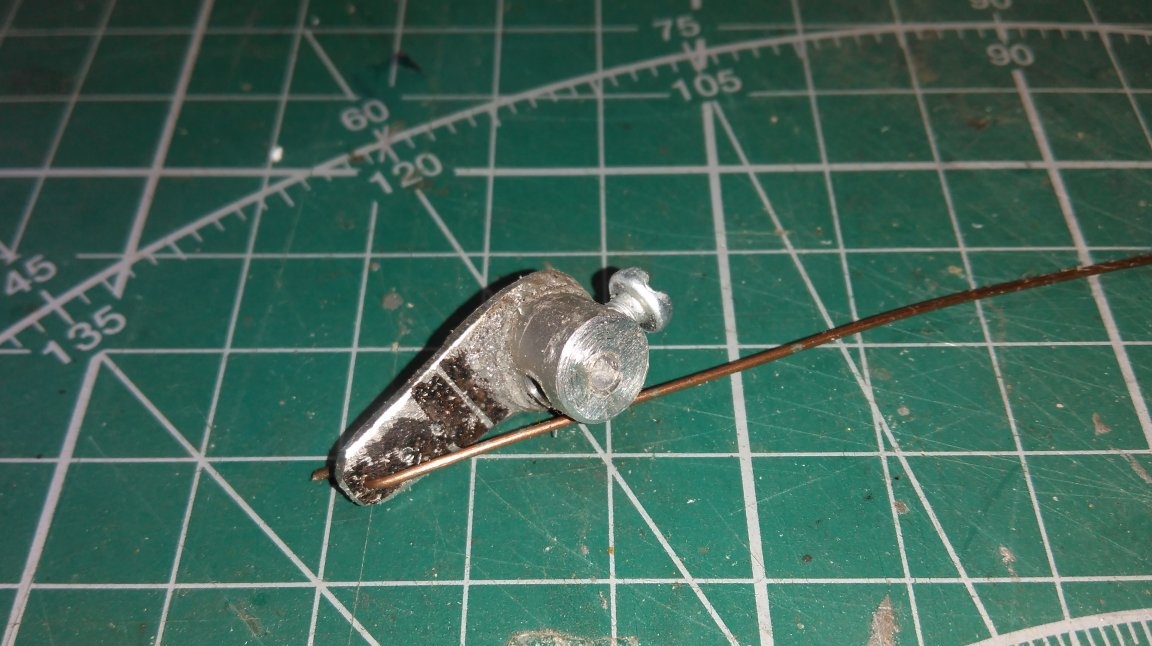
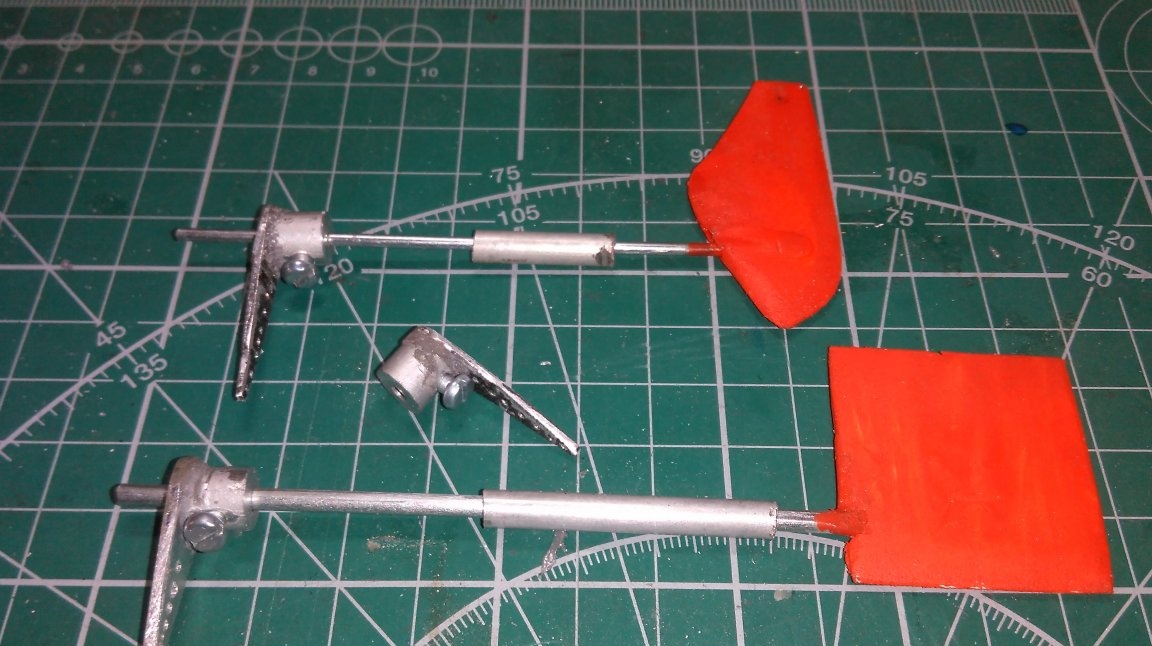
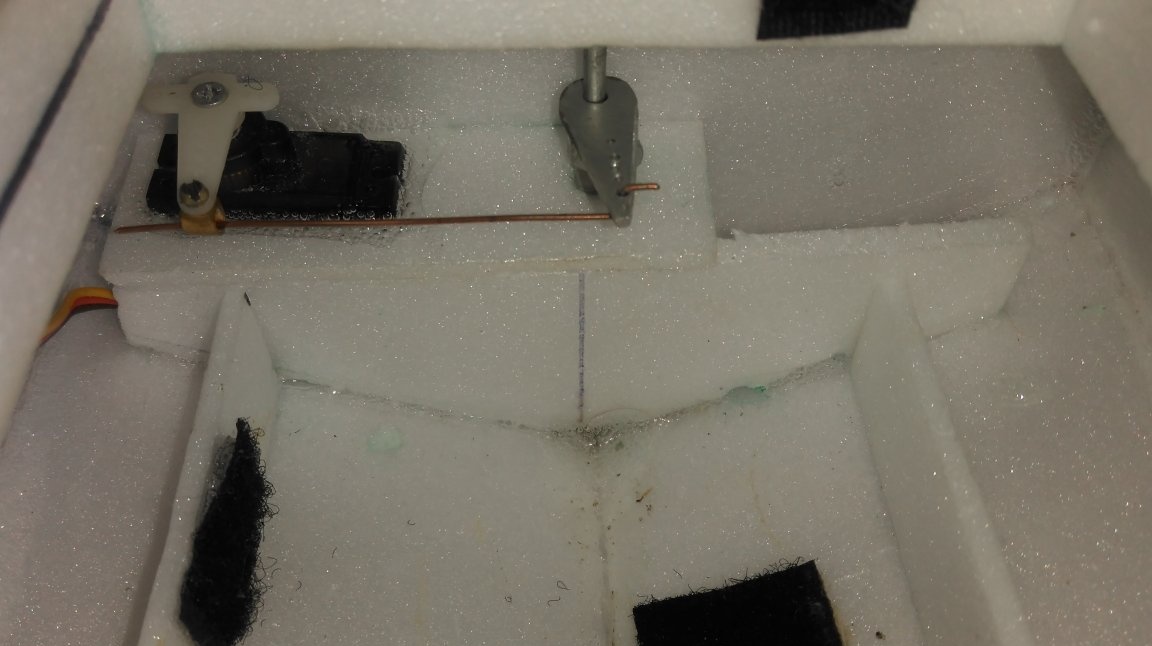
Then we put springs from fountain pens and beads on the knitting needles, we fix all this with a heat-shrink tube and heat it with a lighter so that the beads and springs do not fly away with the rockets. The length of the trigger depends on the length of the compressed spring and the diameter of the bead, see the sketch, insert the half of the spring into the 5mm hole and put the trigger, fix the 2mm axis. When the launchers are ready, we make the frame for the servo drive and check for operability.
[center]
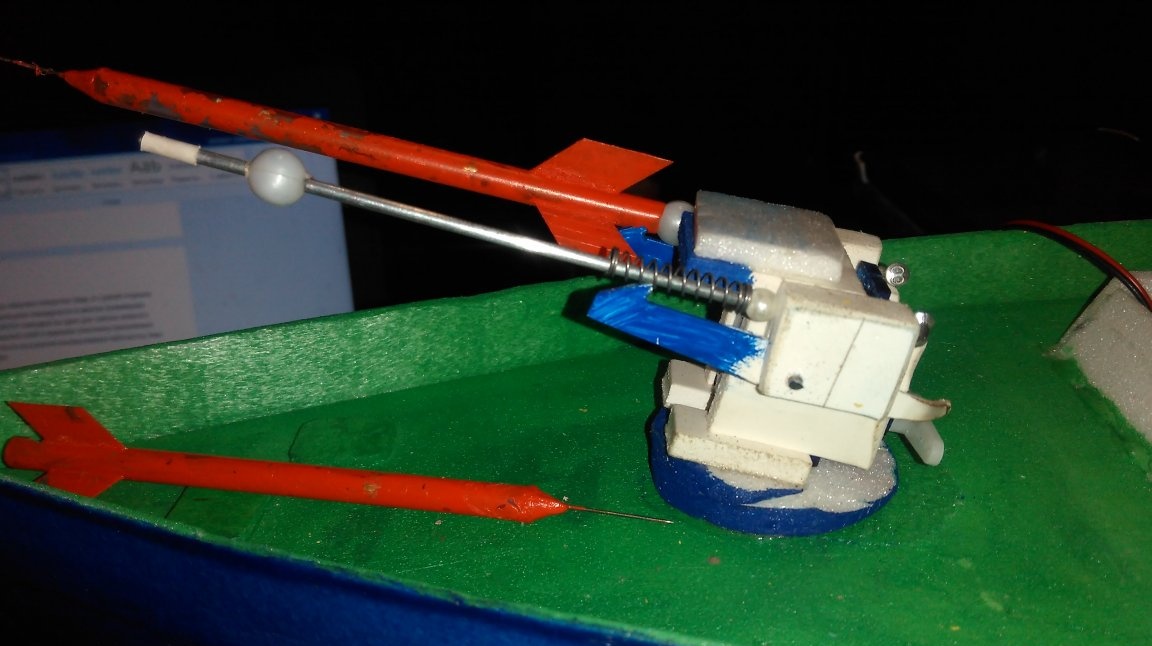
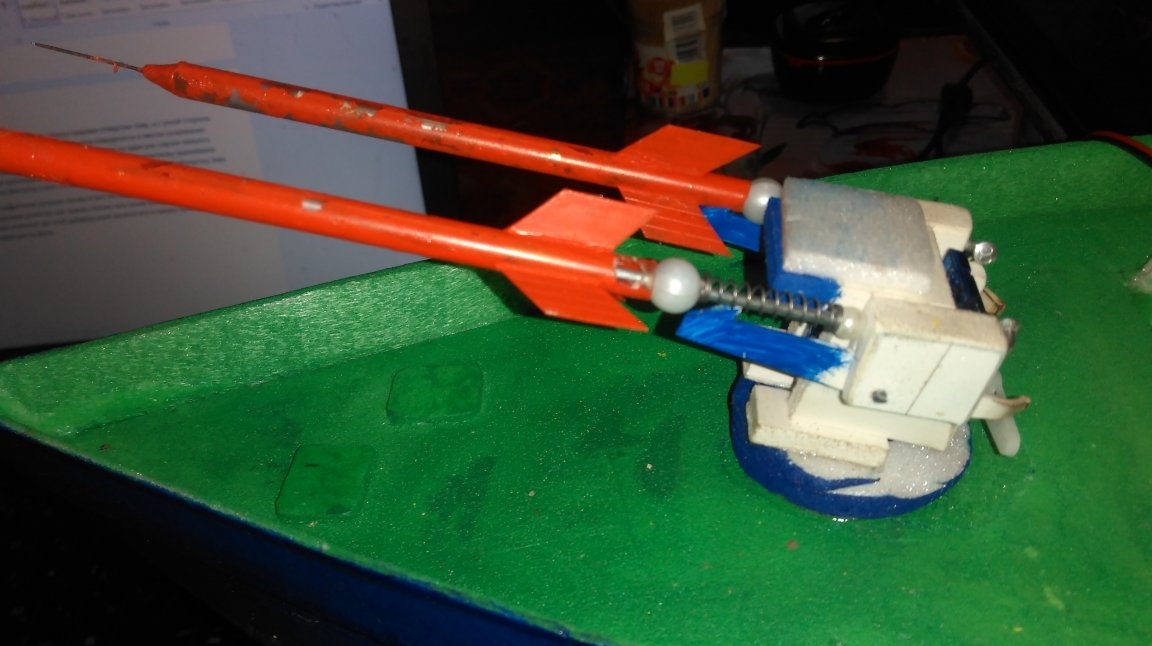
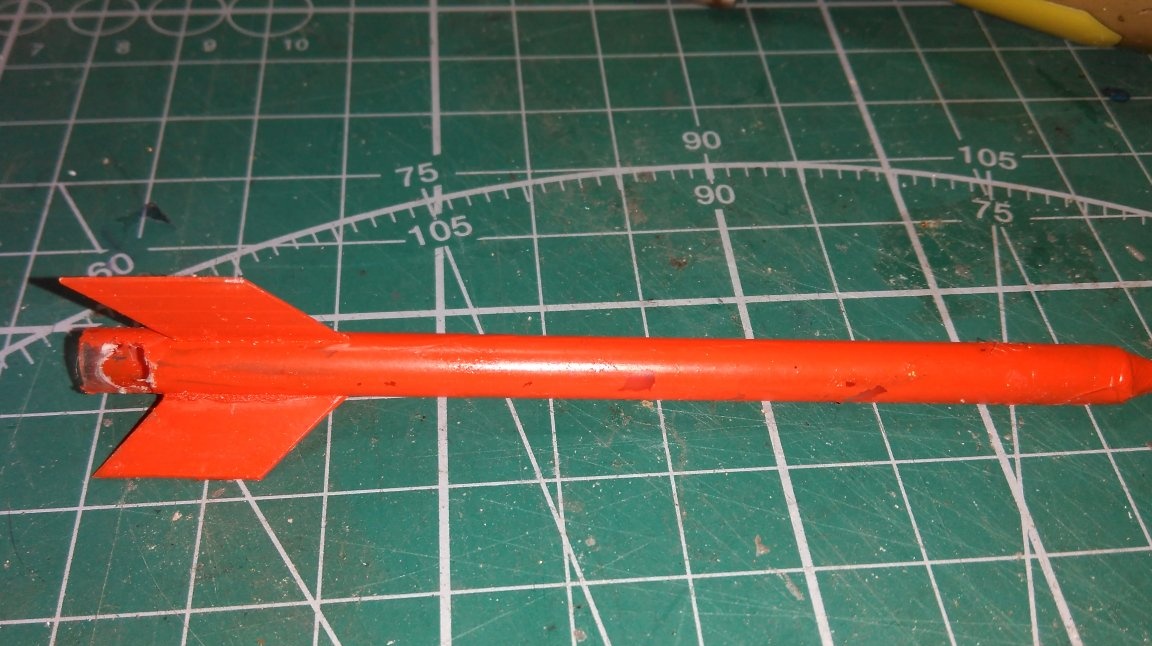
I made rockets from sticks for balloons and plastic 0.5 mm, cut diamonds and glued Cosmofen CA 12 with Clay. Cosmo-500.200 three pieces per rocket, the tips were sealed with a thermo gun, you can solder French pins to make them look like darts.
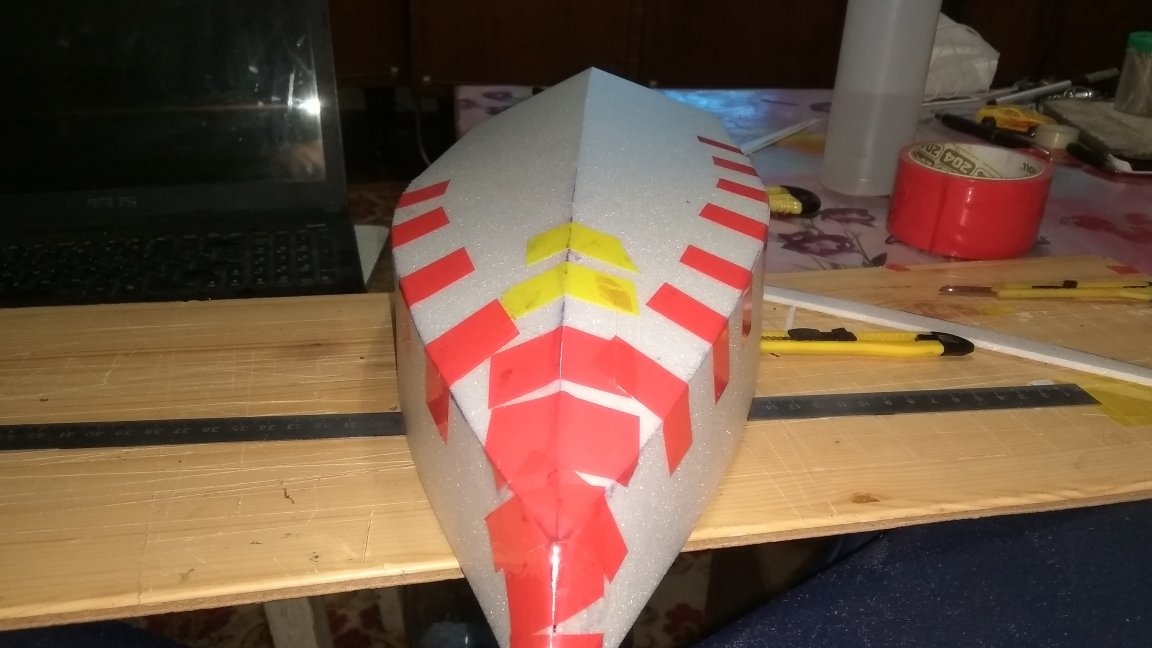
I decided to disguise the installation as the Zenit-Rocket-Cannon Complex PANSIIR-M
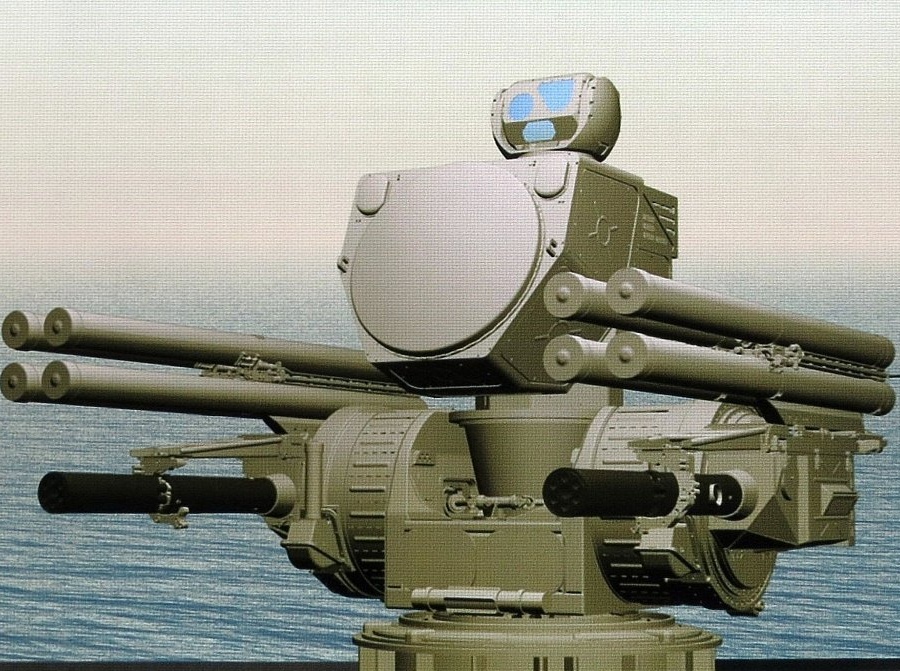
I cut the blanks from the ceiling tiles, glued them in three layers, eased corners, eased the gun trunks from seven toothpicks, each gun.
The rear air defense missile system made just decorative, if desired, you can add a rocket launcher, this is an amateur.
The model stand was made of 6 mm PVC plastic, cut into strips with an assembly knife, cut up to 10 mm easily and glued with Cosmofen CA 12 adhesive. Cosmo-500.200 It turned out like this:

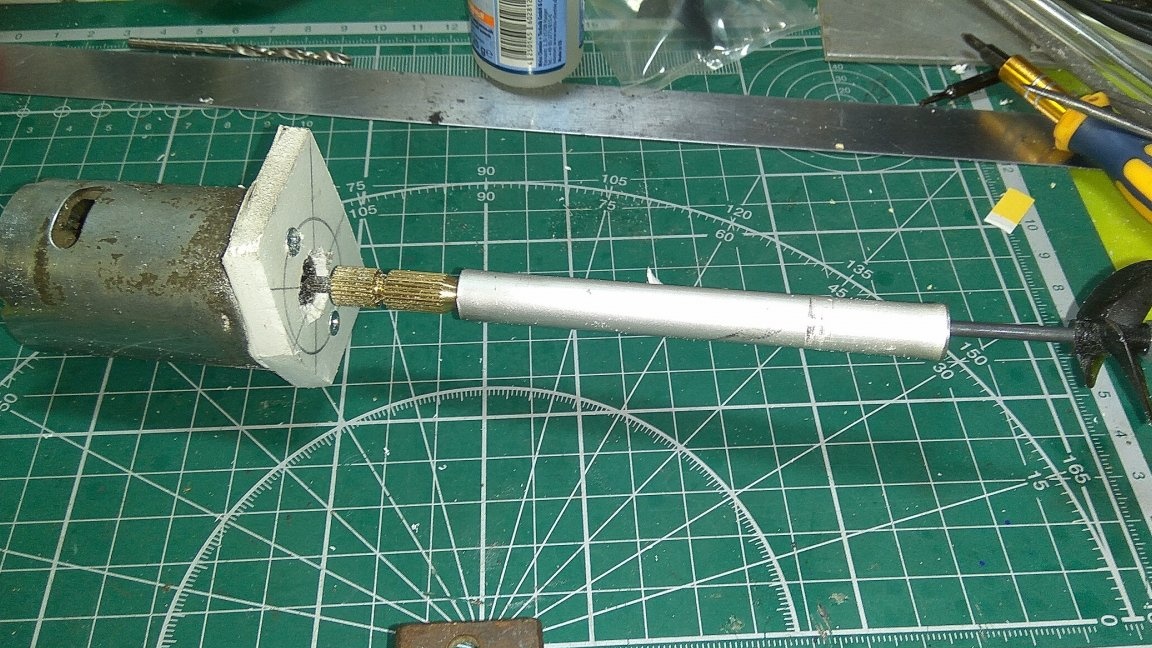
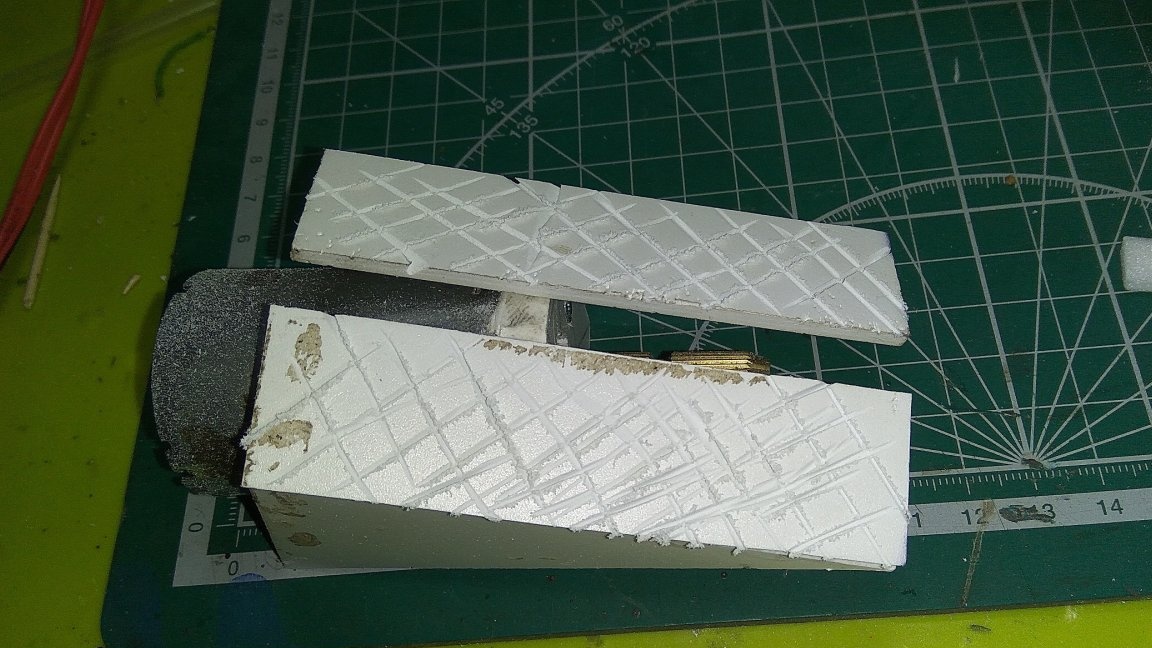
I made Deadwood from a 10mm aluminum tube with a length of 100mm, sliding bearings also from an 8mm aluminum pond, cut off two pieces of 5mm, drilled a 3mm hole for the shaft, and carefully pressed into the tube on both sides.
There is on my channel about different options for making deadwood from improvised means.
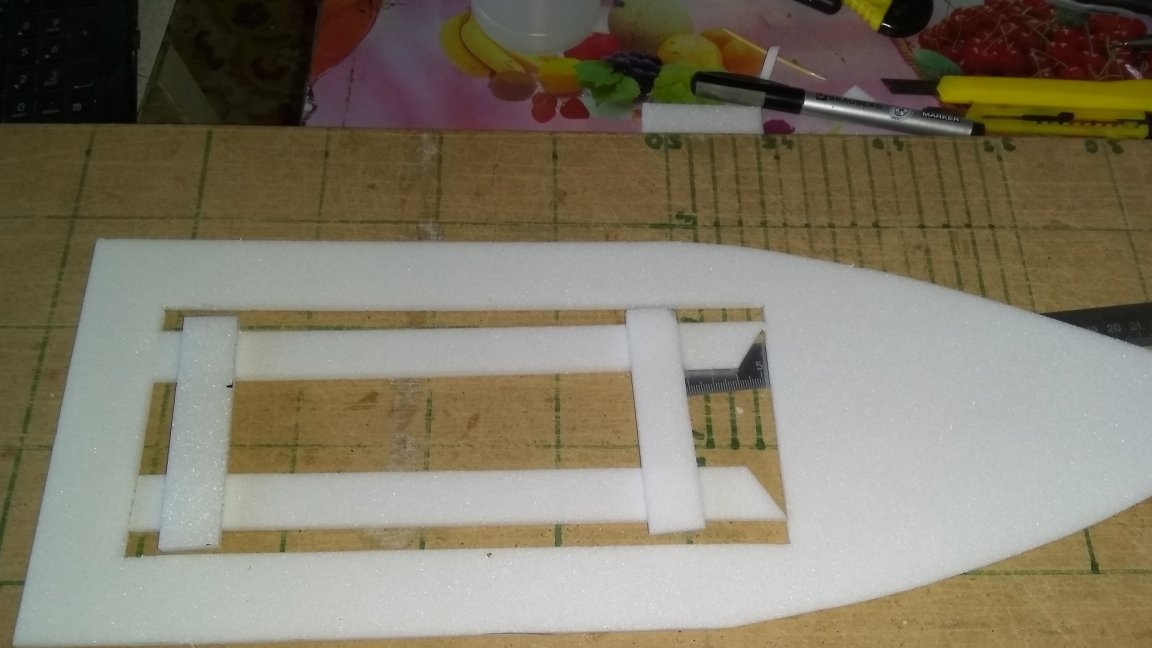
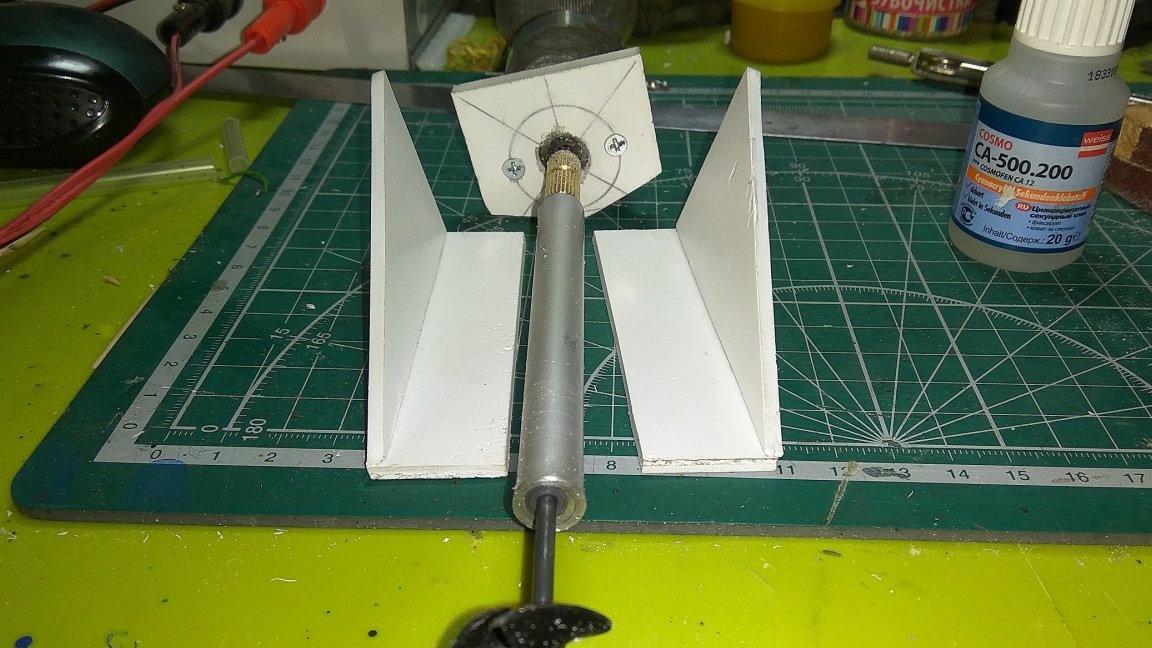
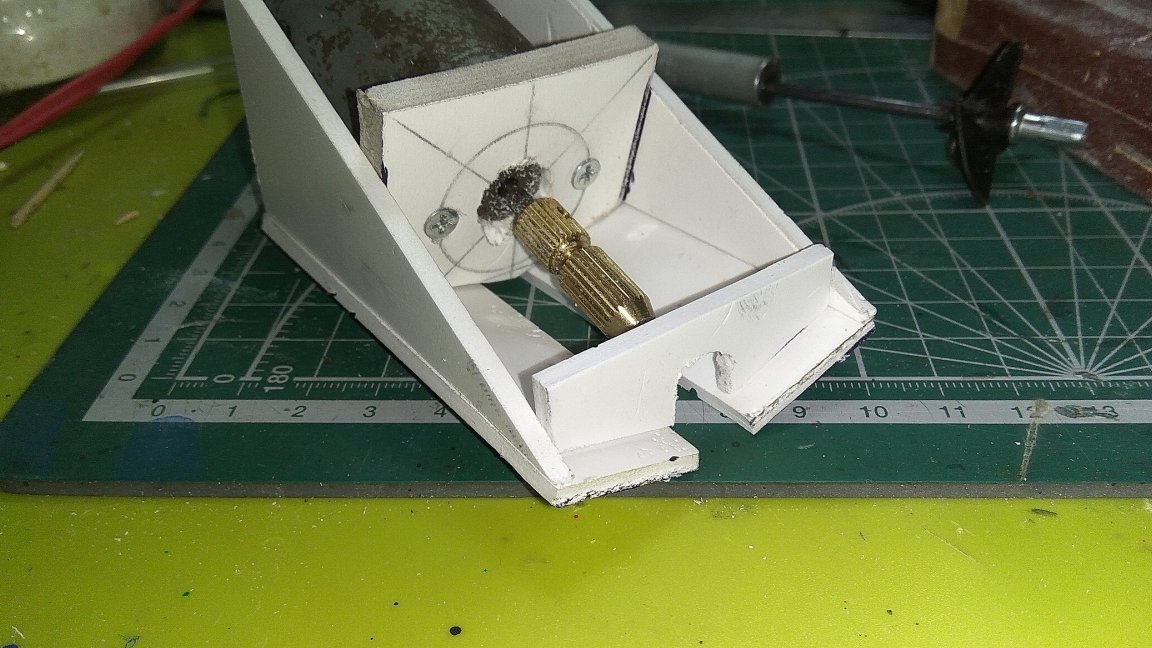
We also make a motorcycle frame, cut out a panel from 4 mm PVC plastic, drilled a 10 mm hole for the motor bearing and two 3 mm holes for the motor mounting screws. I cut two rectangular and two triangular plates.
Now it is necessary to refine all this with a block with a skin and fill up the corners in the right places for a larger area of contact.
And Glue Cosmofen CA 12. Cosmo-500.200. After the motor frame has dried on the bottom surface, we make notches for glue Titanium
With an assembly knife in the boat hull we make a hole for sternwood.
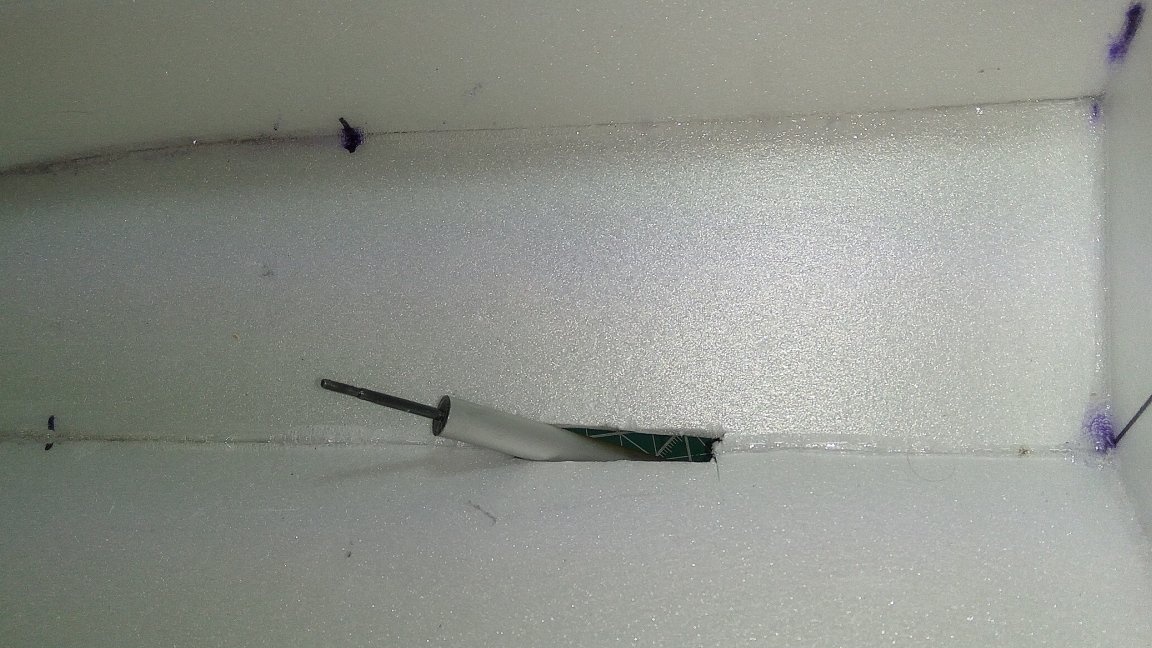
We clamp the propeller shaft in the collet of the motor and everything in the assembly of the motor frame with the engine and deadwood on the propeller shaft is glued to the hull of the boat with glue Titanium
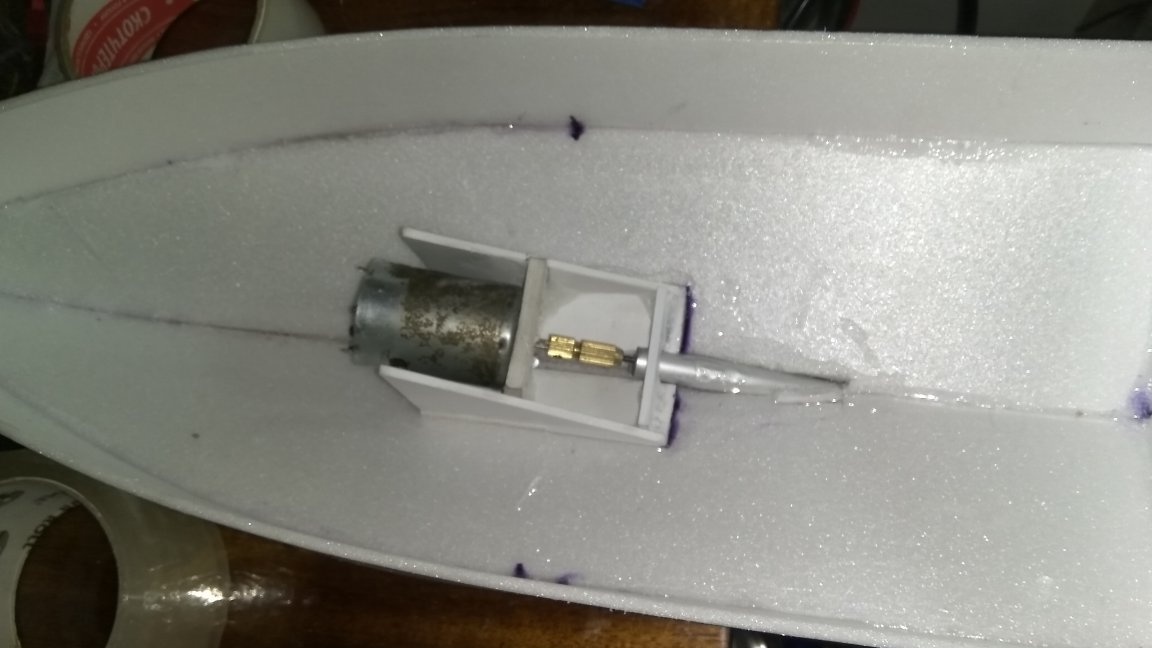
Align and spill tight on deadwood, put on a stand model and wait until completely dry.
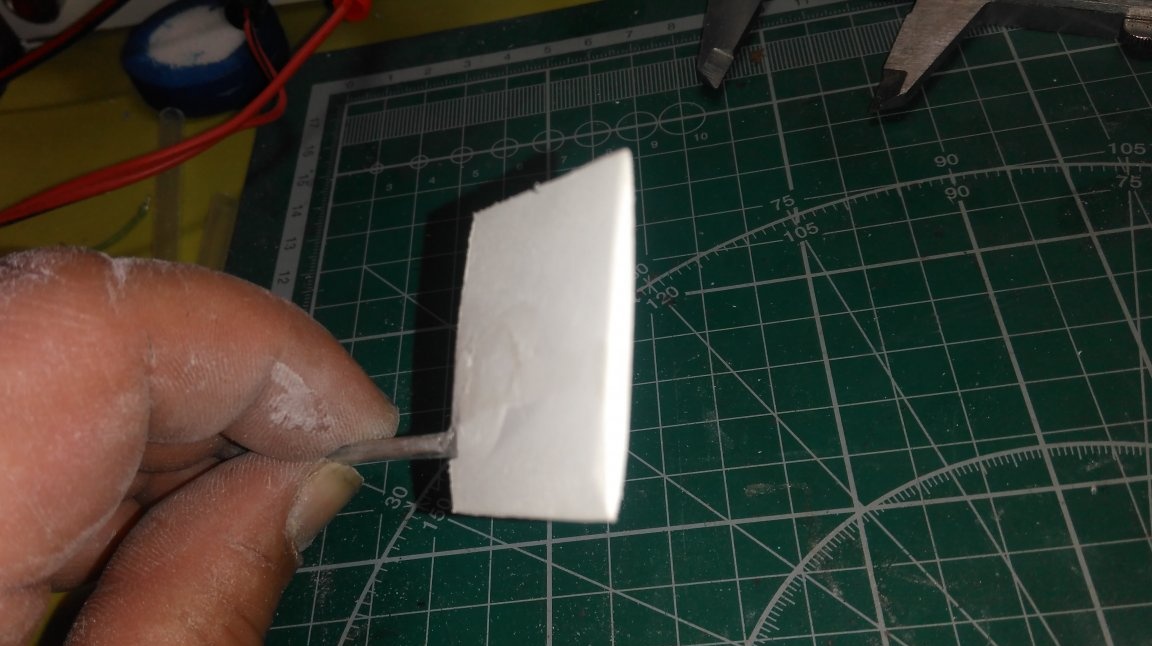
I made the railings out of the ceiling tile, which was half-cut on Peno, cutting up to 2 mm thick.
While drying, we will begin to make the steering wheel, take PVC plastic of the right size 4mm and a 3mm spoke. We flatten the needle in a bent place on the anvil with a hammer:
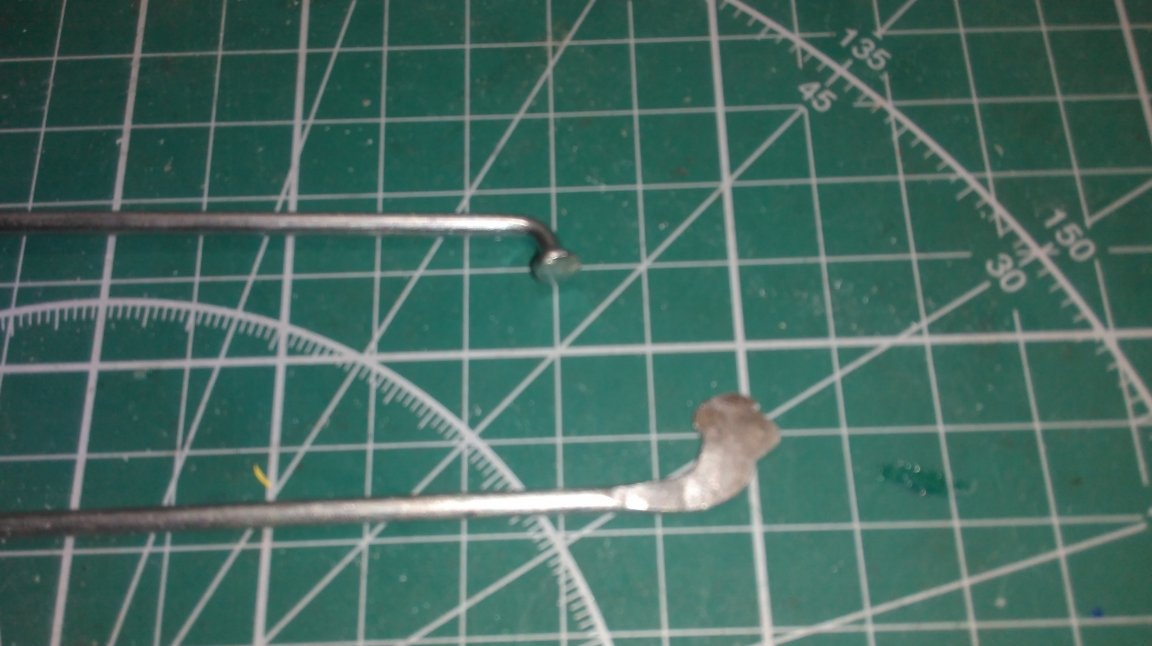
We heat the flattened end on gas and fuse it into the rudder feather:
We remove the braids by Glue Cosmofen CA 12. Cosmo-500.200 with baking SODA
And streamline the steering pen
We paint in the desired color:
Deadwood for the steering wheel is made from an aluminum tube 5mm length should be above the waterline. We make a rotary fist from an 8mm aluminum bar and plate. We cut a 5-6mm bar, we cut it on both sides, we drill a hole along 3mm and across 2.5mm for a m3 thread, for a latch in the plate from the wide side in the center we drill a 3mm hole, and on the narrow side, make a hole 0.7 mm 5- 6 holes in the direction of the 3mm hole.
We clean the surfaces at the places of gluing. We take the two-component epoxy adhesive POXIPOL, we direct it just a little at a time, put a blank from the bar on the toothpick, smear the glue and put on the plate, press the excess extruded glue to the seam, after drying we drill a toothpick with a 3mm drill, tighten the nut and fix the screw.
So the steering wheel with deadwood and steering knuckle are ready and all this must be inserted into the body.We take the ceiling tile and cut out the frame as a transom just above the waterline and a piece for the servo, glue the frame so that the steering deadwood touches it and glue the panel with the servo on top as in the photo:
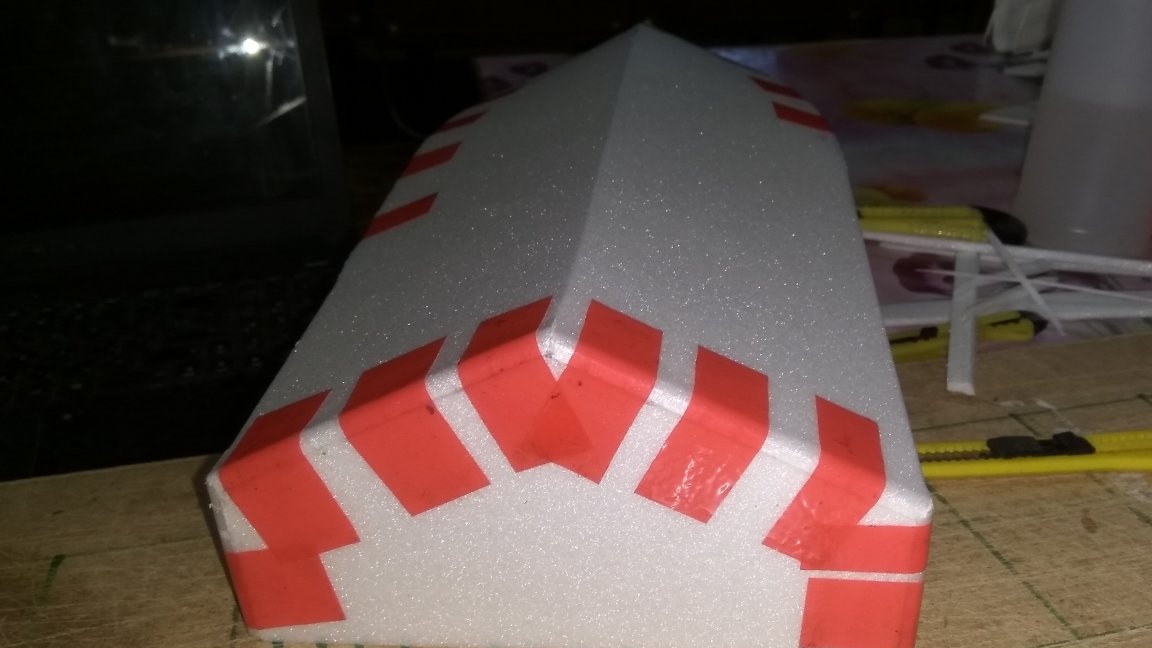
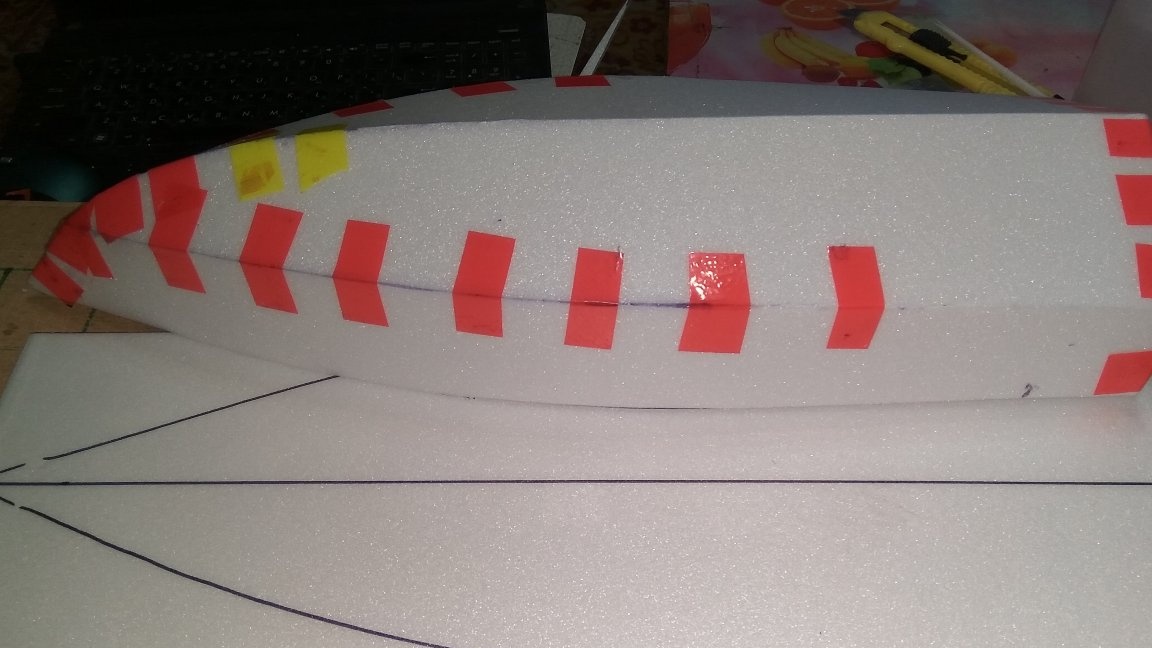
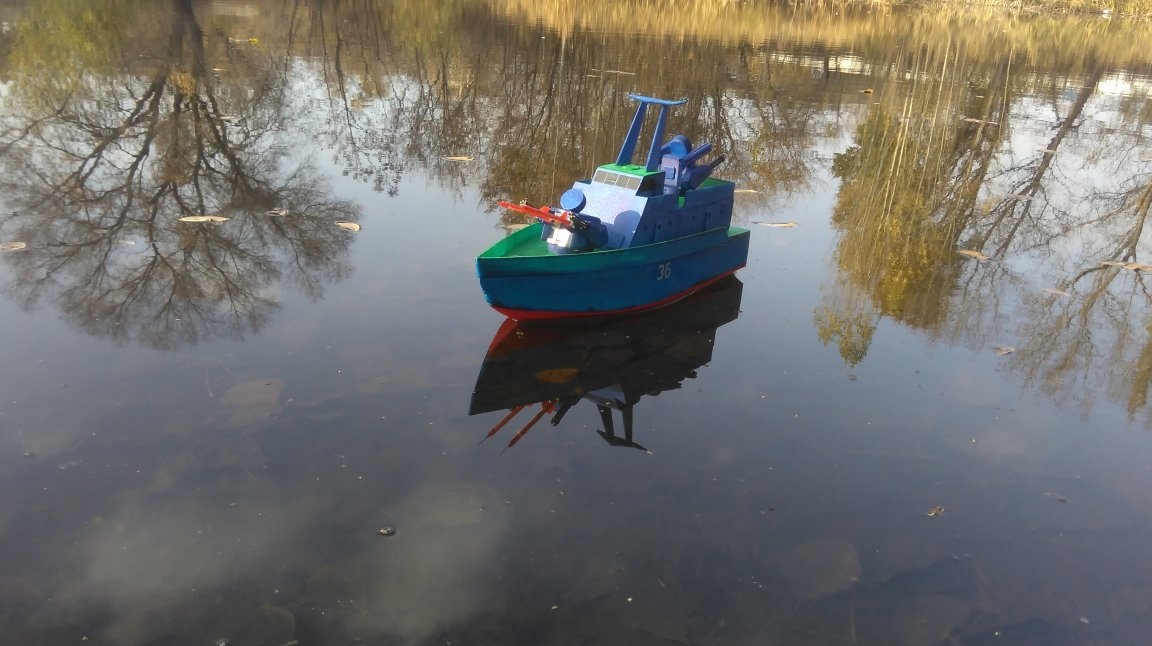
Everything is ready, we paint the model with acrylic varnish with tinting like this:
We charge the battery and go to the pond to get a lot of fun.
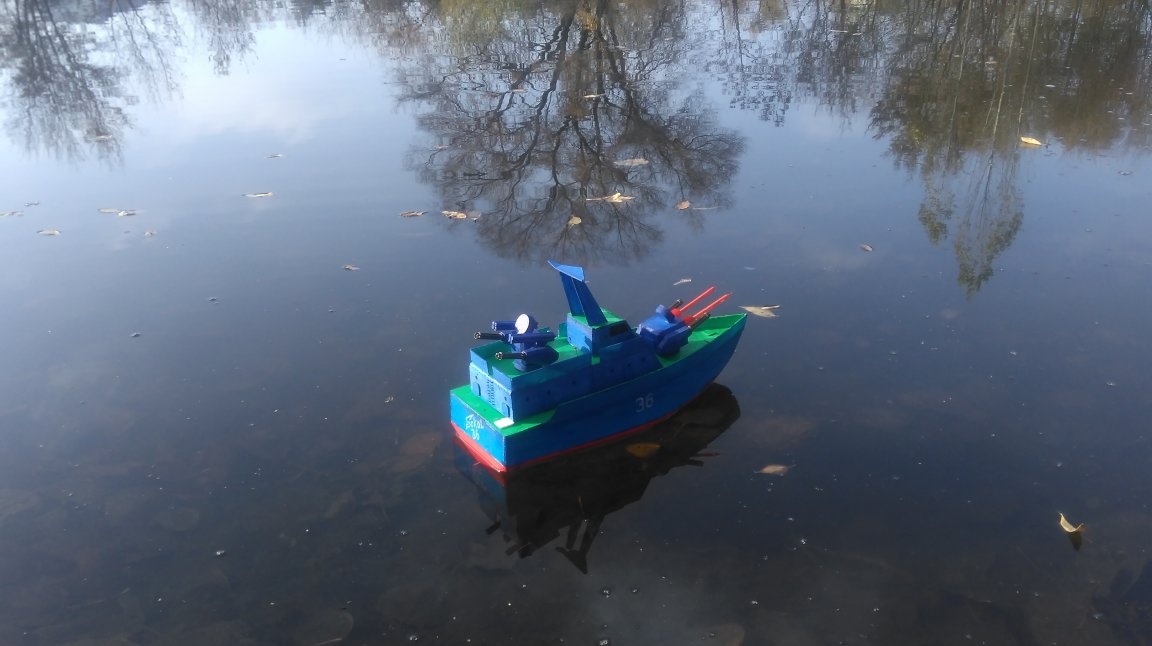
There are pokatushek and manufacturing process
-490mm long
Shirena-160mm
Weight -501g
Motor 550
60A regulator
Battery-1800mAh 3s 11.1v
Radio control Flysky FS-i6