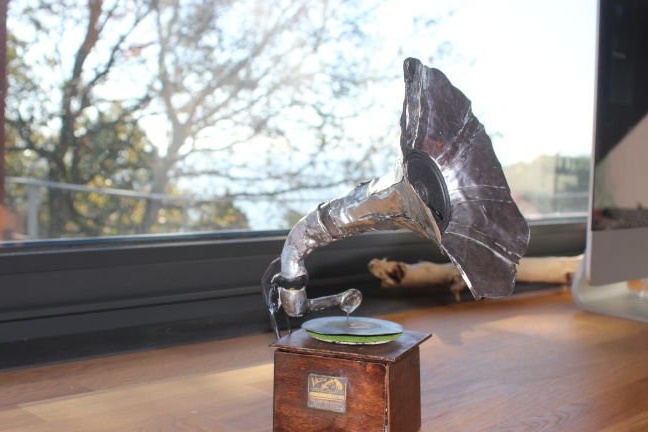
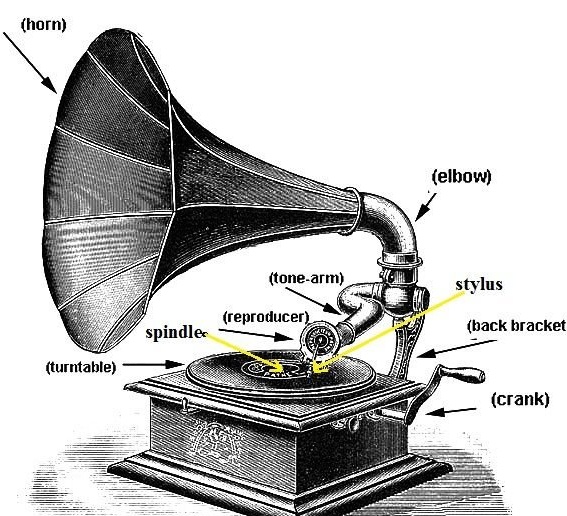
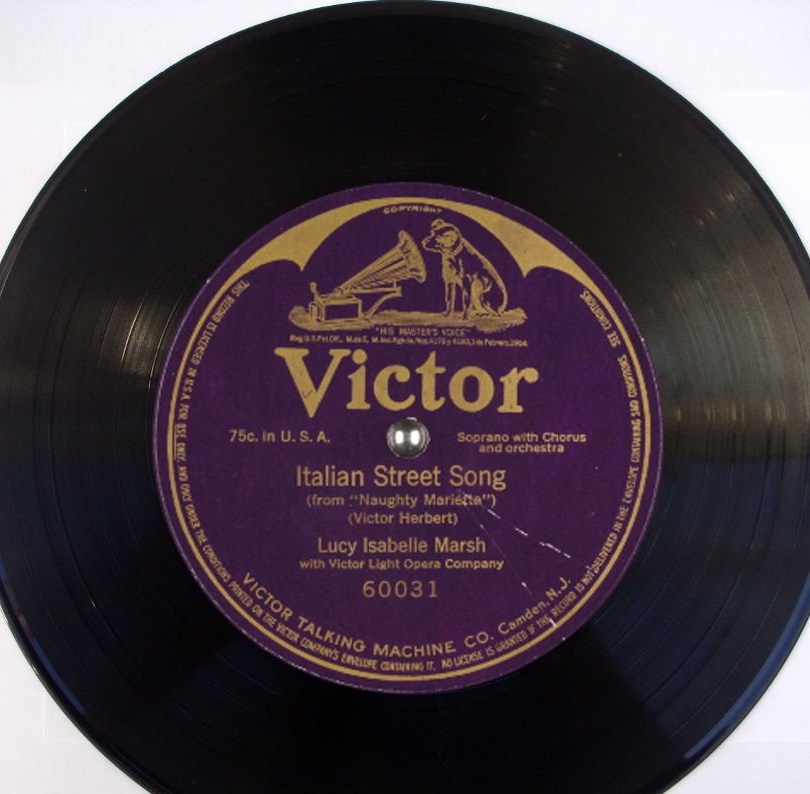
Master called his device RaspiPhono from (Raspberry and gramophone). Externally, this device looks like a gramophone, all electronics operated by Raspberry. The decipher was made for a doll set of the 20s of the last century.
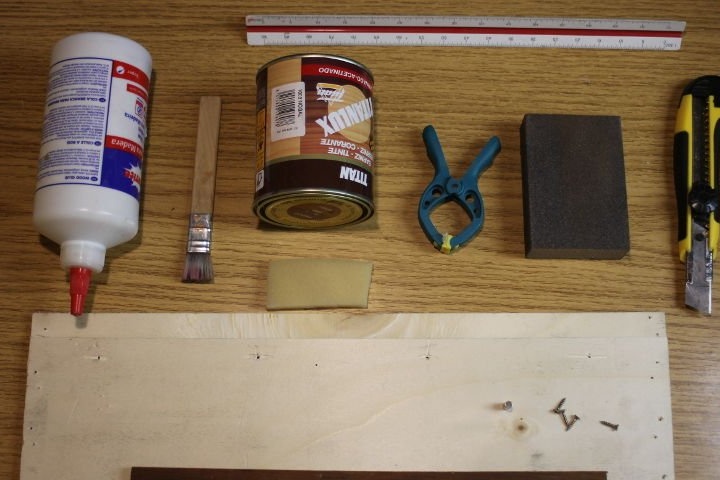
Tools and materials:
-Wooden box;
-Bar;
- Stain "Oak";
- Joiner's glue;
-Neodymium magnets;
-Fasteners;
-Glue gun;
-Rule;
-Knife;
-Sandpaper;
-Clips;
-Foil;
- Empty plastic packaging from under the jam;
- Paint tape;
-Super glue;
-Wire
-Chupa Chups;
-Cardboard;
-Green cloth;
-Nut;
-Acrylic paint;
-Raspberry Pi Zero;
Battery 3.7 V;
-Heat-shrink tubing;
-Speaker;
- Jumpers;
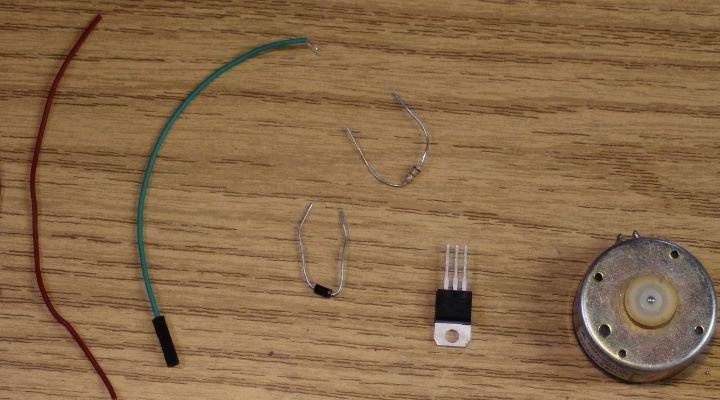
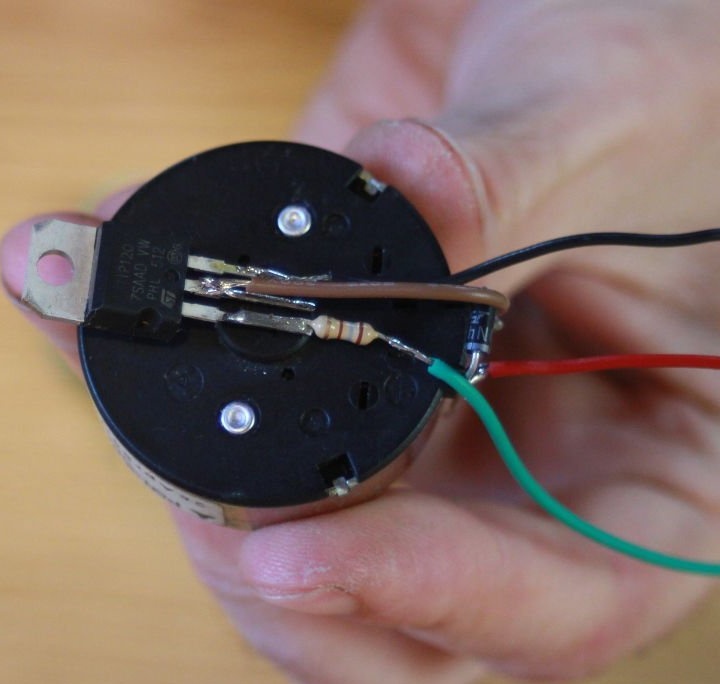
-Resistor 1kOhm;
Transistor TIP120;
Diode 1N4001;
Step One: The Case
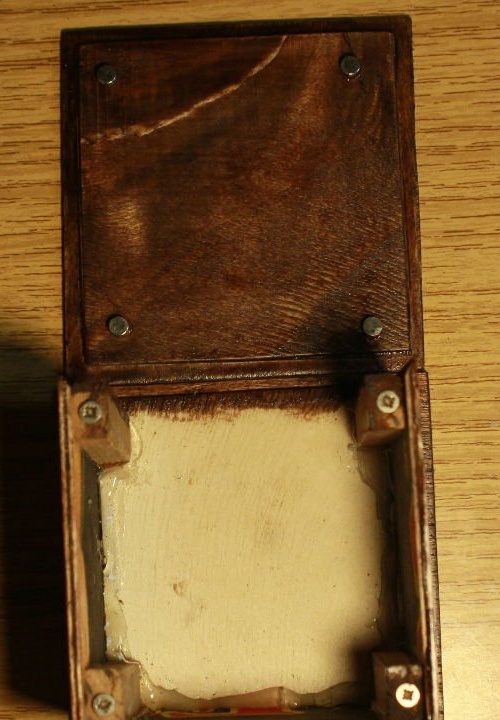
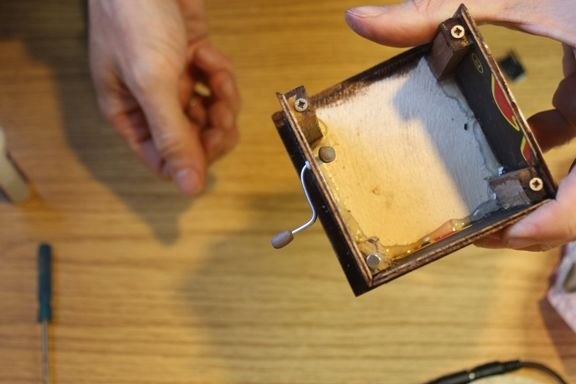
First, the master makes the decipher case. The walls of the body are made of planks of fruit crates and reinforced inside with bars and hot-melt adhesive. The top cover is fastened with screws screwed into the corner blocks and neodymium magnets glued to the cover.
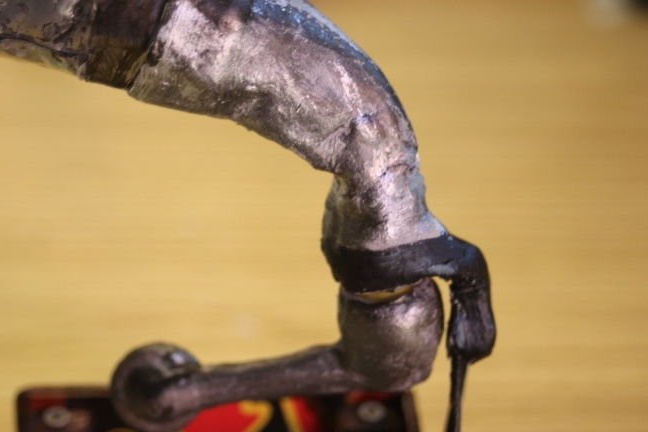
Step Two: Pipe
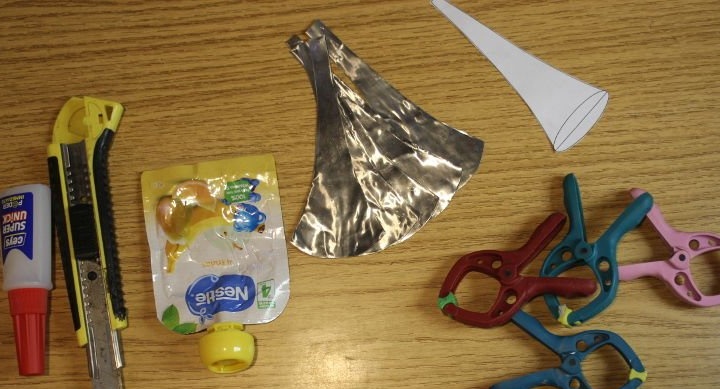
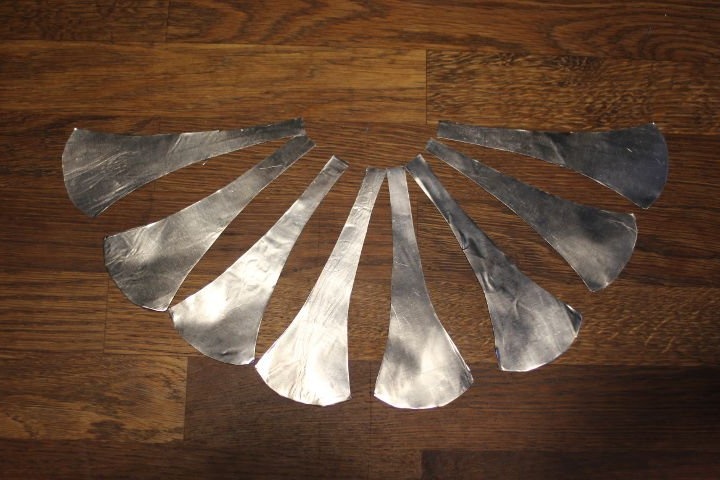
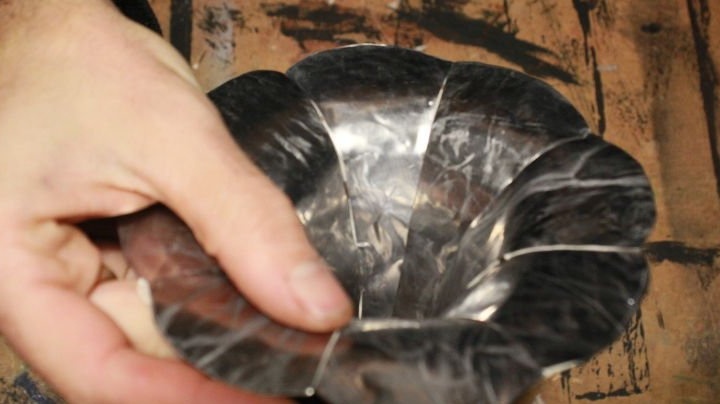
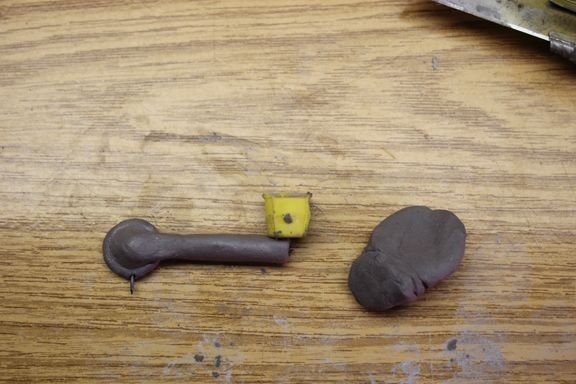
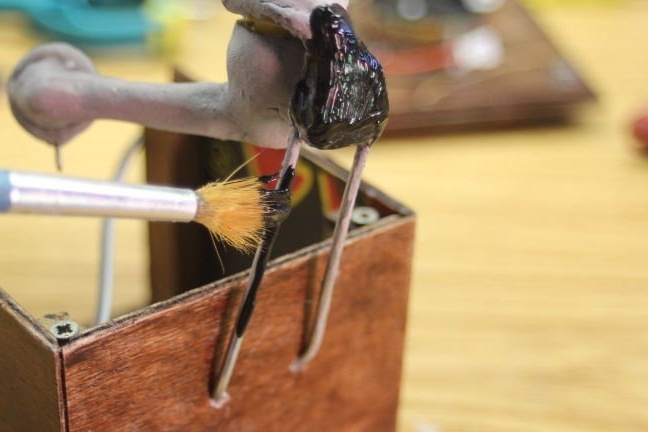
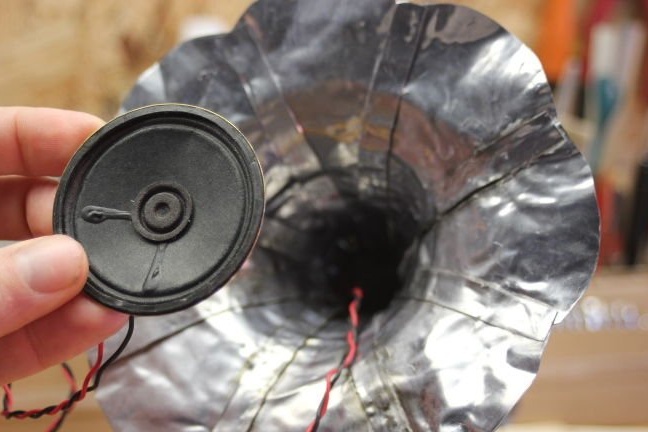
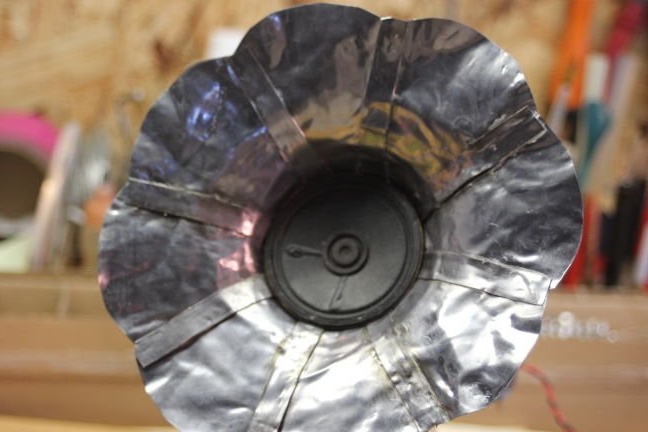
Now the master begins to manufacture the pipe. First, a template is made of paper. According to the pattern of foil cuts the petals of the bell. Collects a bell fixing with masking tape, and then glue.
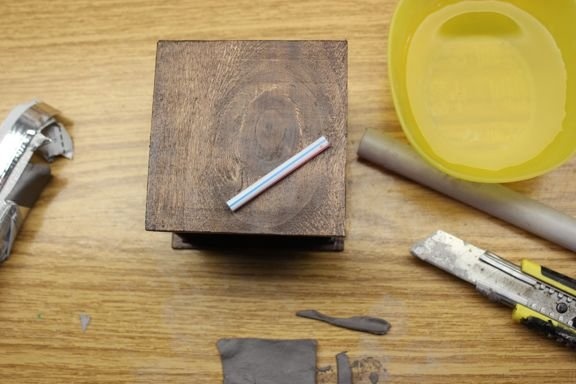
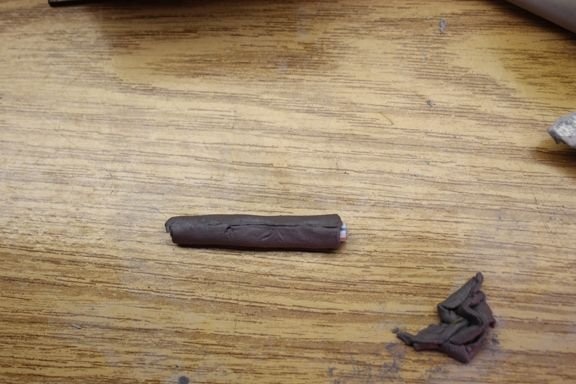
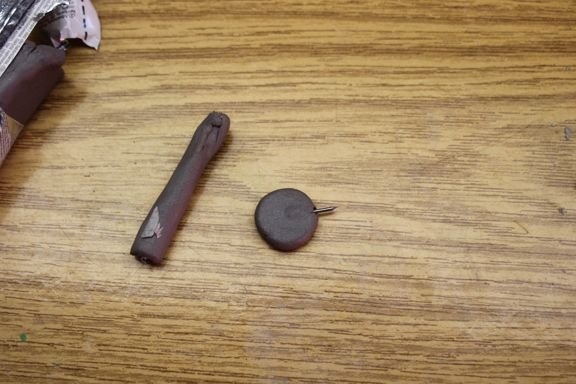
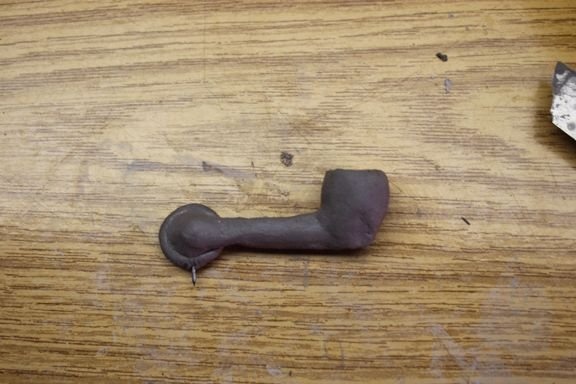
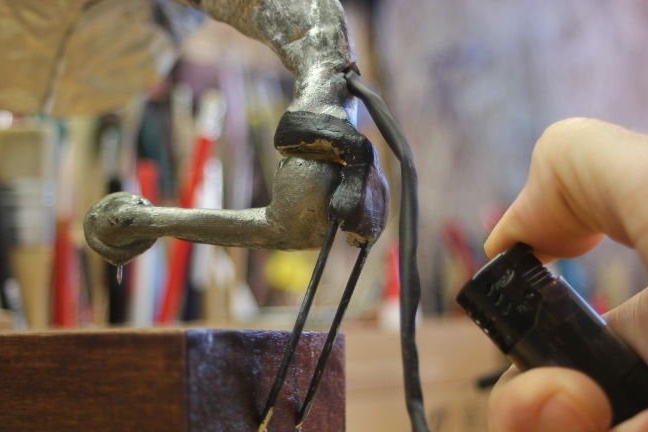
The master makes support for the pipe from the packaging lid. Cuts it off the packaging. Screws a wire on it. The two ends of the wire are fixed to the body of the gramophone. Connects cork and pipe using a molding kit. He molds the head out of the same clay. The role of the needle will play a nail.
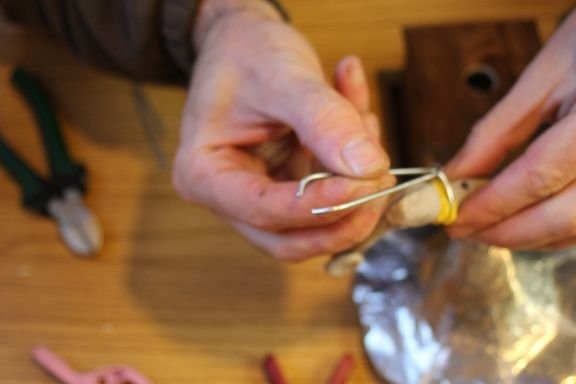
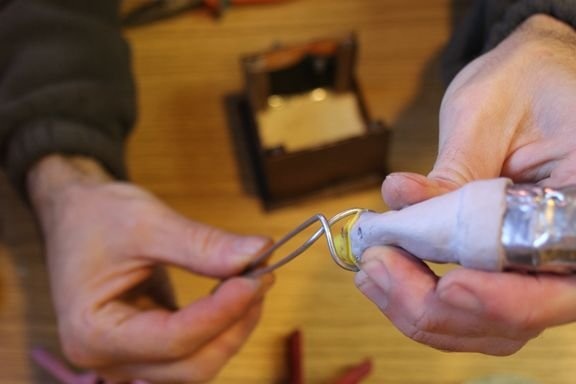
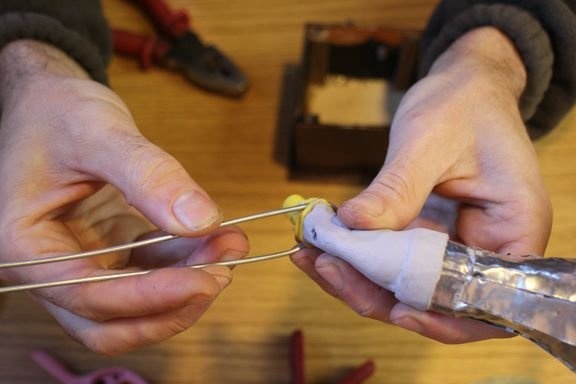

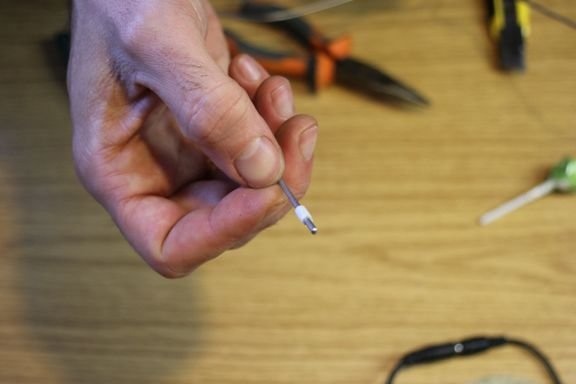
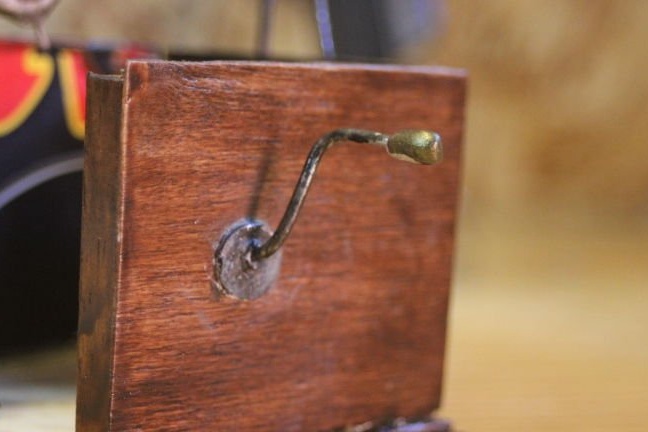
Step Three: Pen
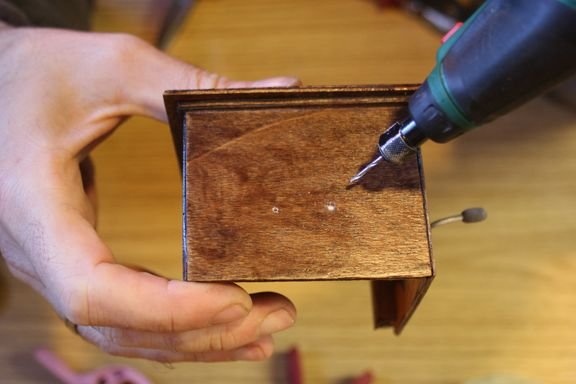
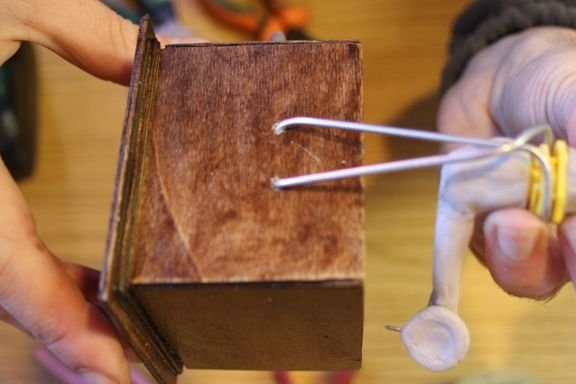
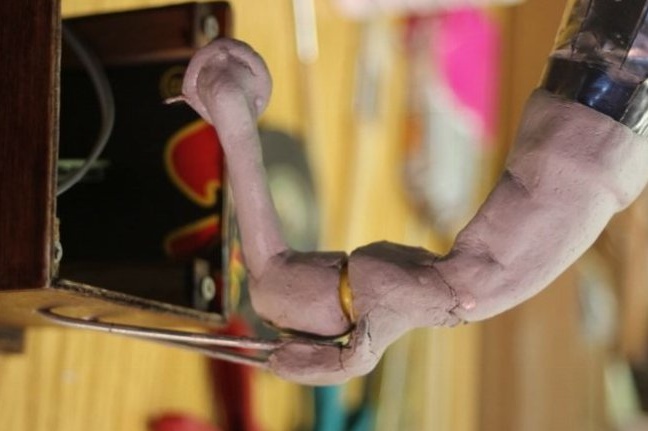
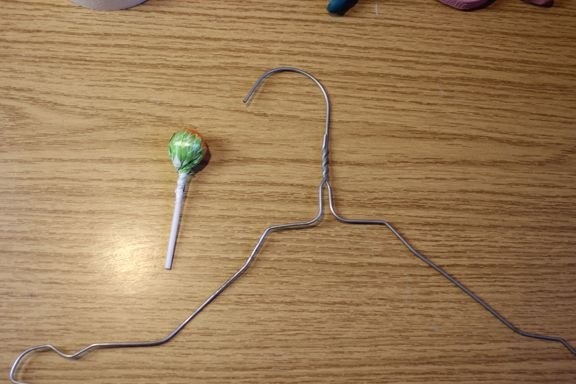
The handle is made of wire. The wire needs to be bent, as in the photo. Cut a piece from the lollipop tube. Drill a hole in the housing. Insert the tube into the hole, and the handle into the tube.
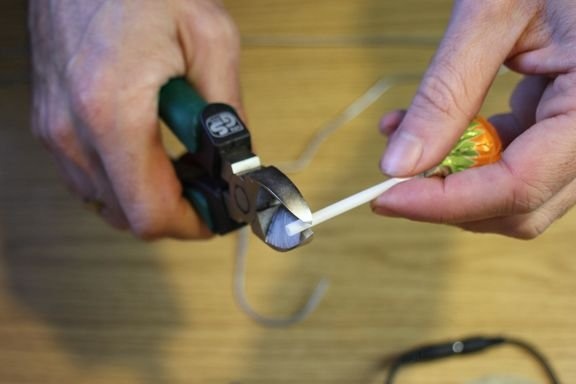
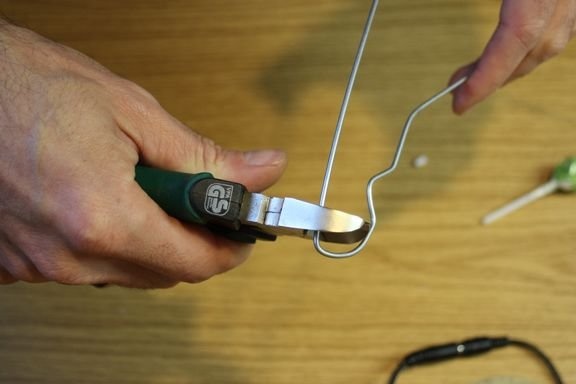
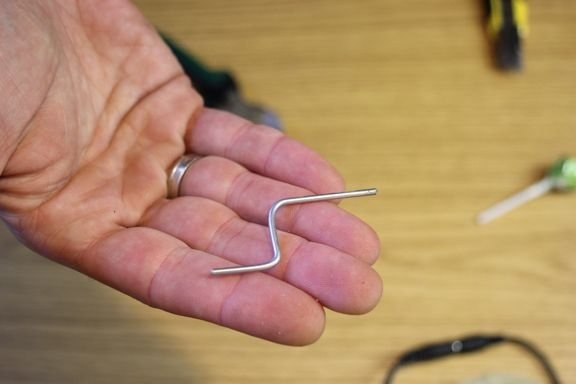
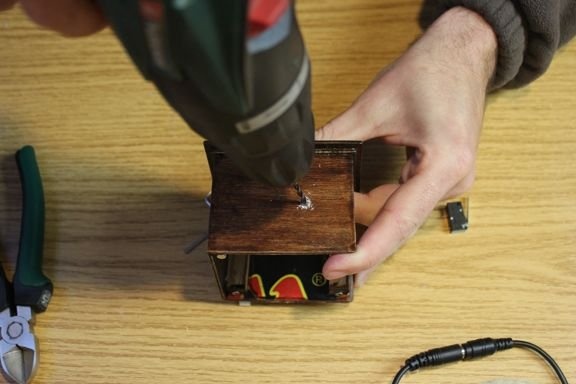
The ball is molded of clay and fastens it at the ends of the handle and near the hole in the body.

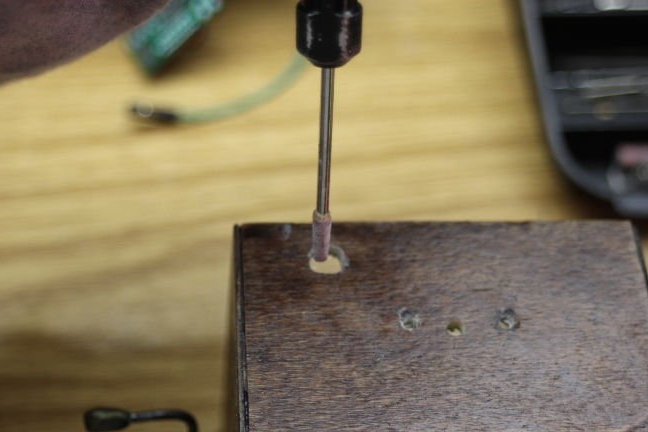
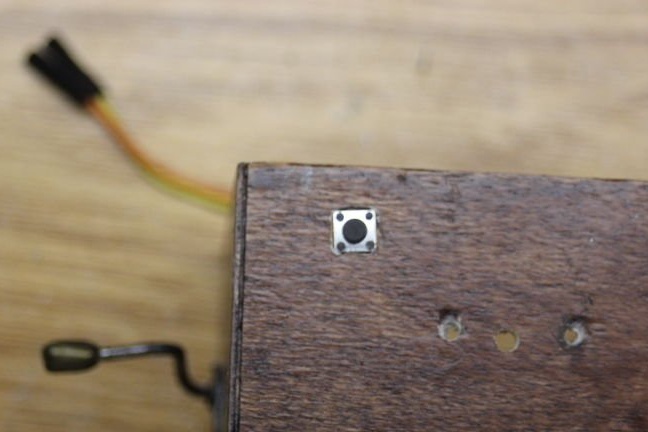
Step Four: Switches
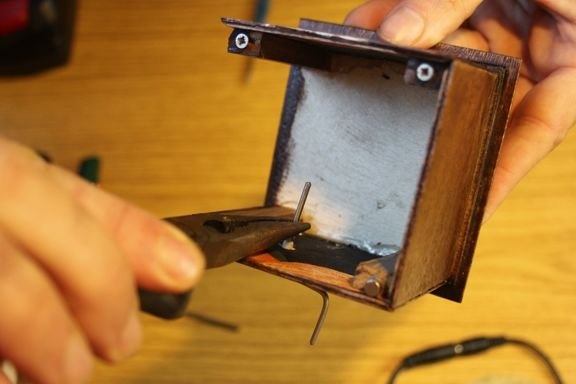
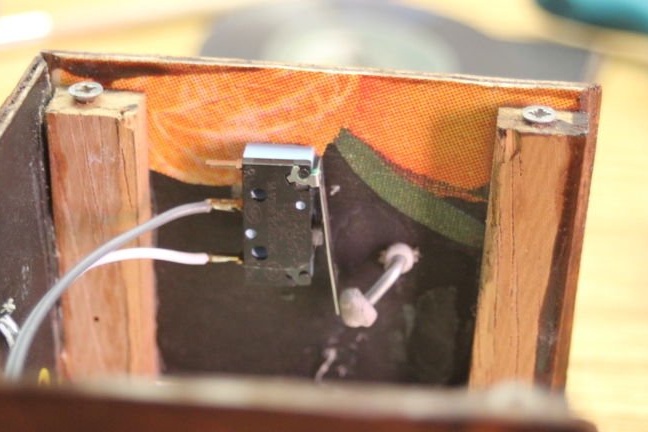
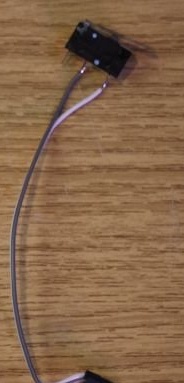
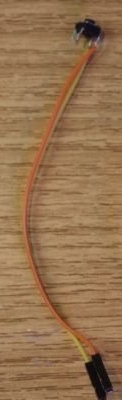
Now you need to install two switches. One switch is installed inside the housing in place of the handle. When the handle rotates, its edge presses on the plate and, accordingly, the microswitch button and, thus, from the second scroll (with a delay), the engine starts.The second button is installed in the wall of the housing and is responsible for the selection of the track. The instructions on how to connect the buttons can be viewed on this the link, in the Readme folder.

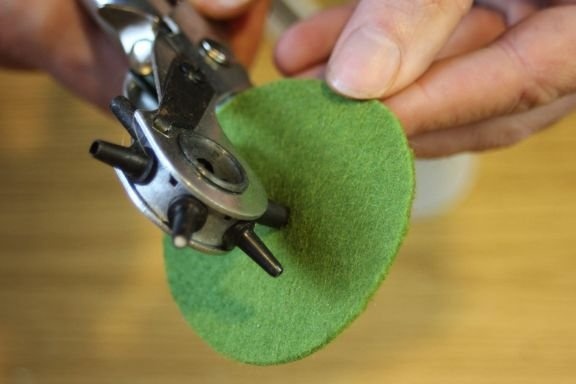
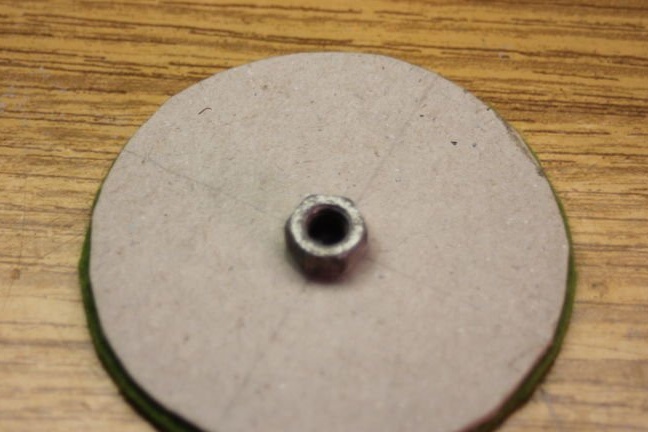
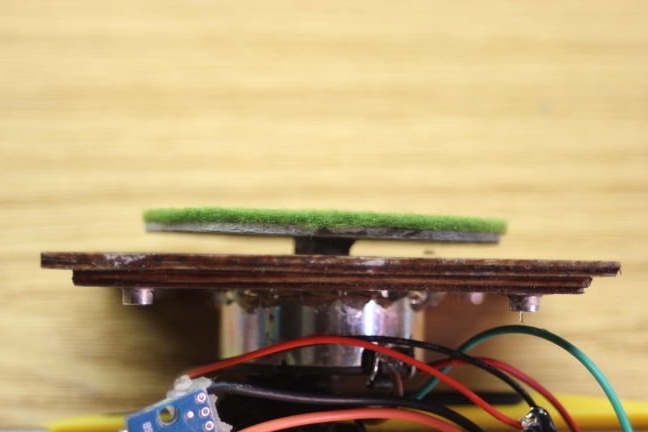
Step Five: Drive
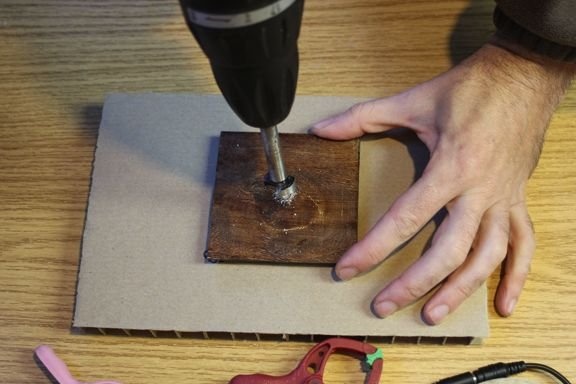
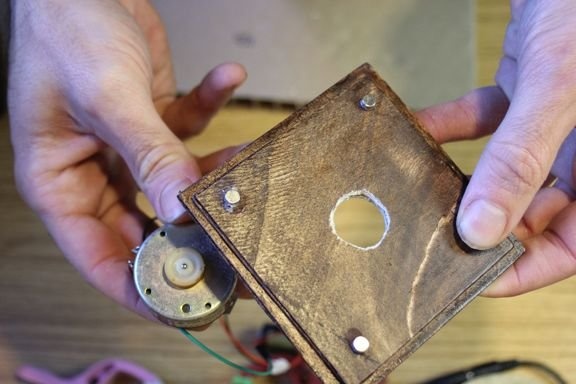
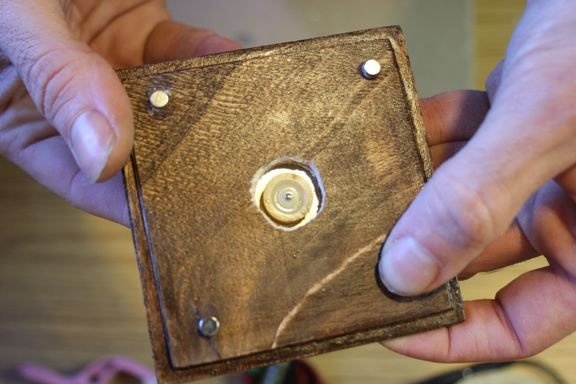
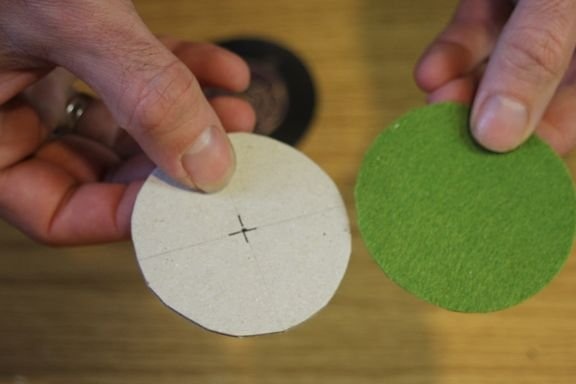
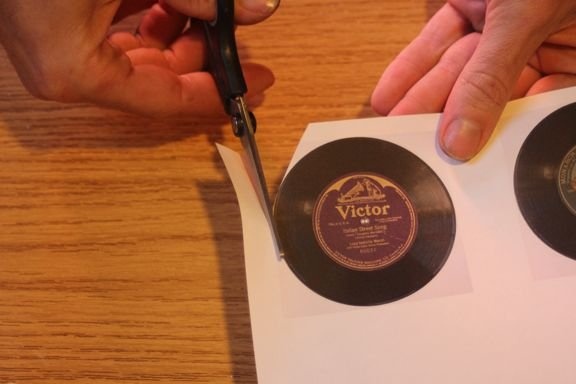
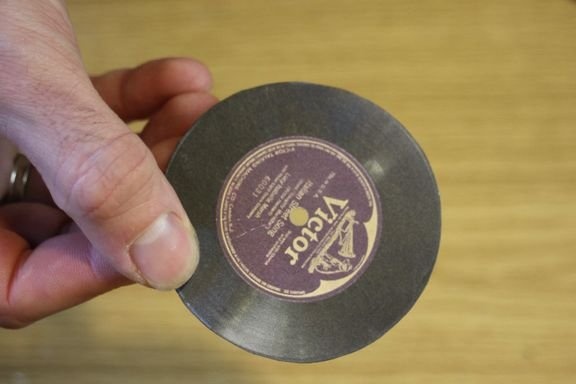
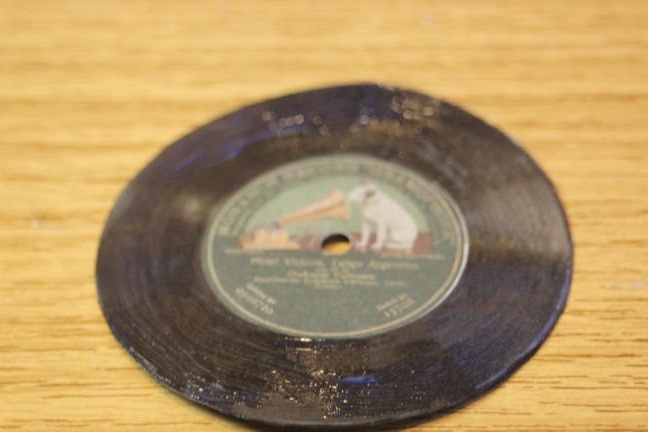
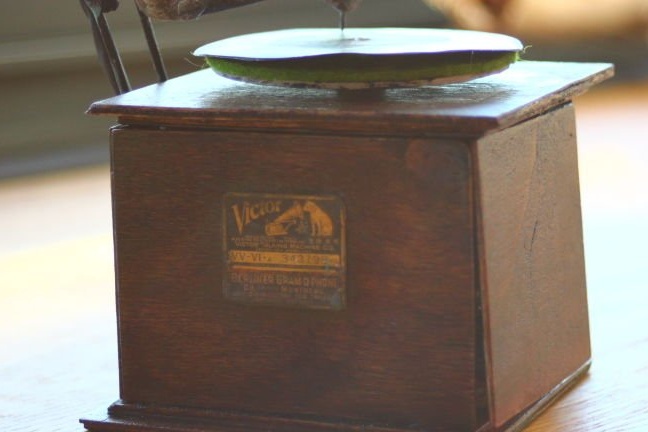
In the center of the top cover, the master drills a hole for the motor shaft. Secures engine to cover. Further from the fabric and cardboard cuts the discs. Glues them. Sticks a nut on the cardboard. The inner diameter of the nut corresponds to the diameter of the sleeve on the motor shaft. Mounts the disc on the motor shaft. The master printed the record on thick paper and coated it with glue on top.
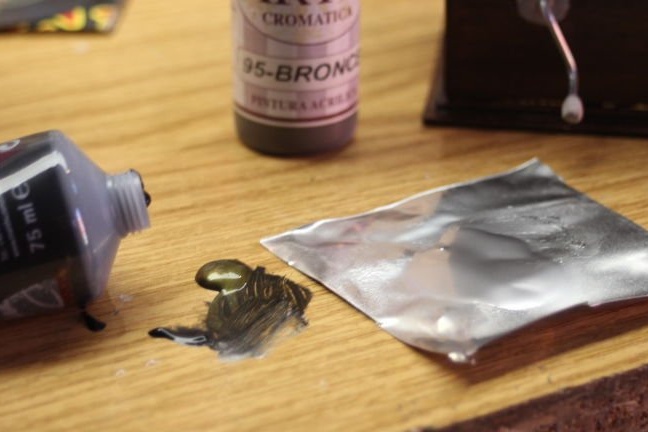
Step Six: Painting
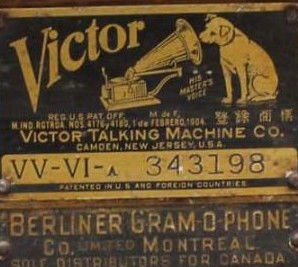
Stains some details of the decrypt, fastens the plate.
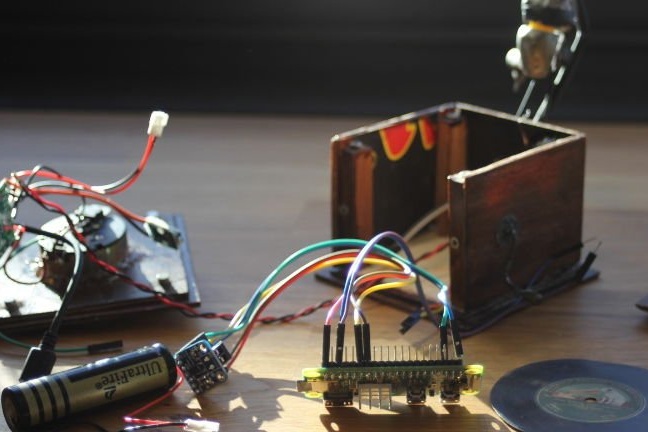
Step Seven: Raspberry
As mentioned above, the brain of the device is the Raspberry Pi Zero. The wizard chose the Raspberry Pi Zero due to its small size and Wi-Fi connectivity.
The code can be, installation instructions, as well as music can be downloaded here.
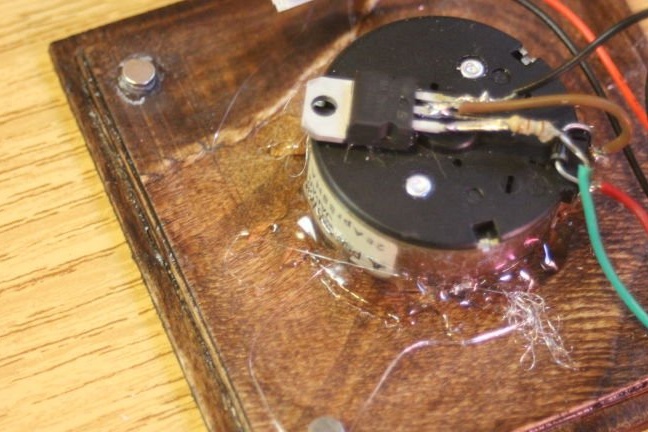
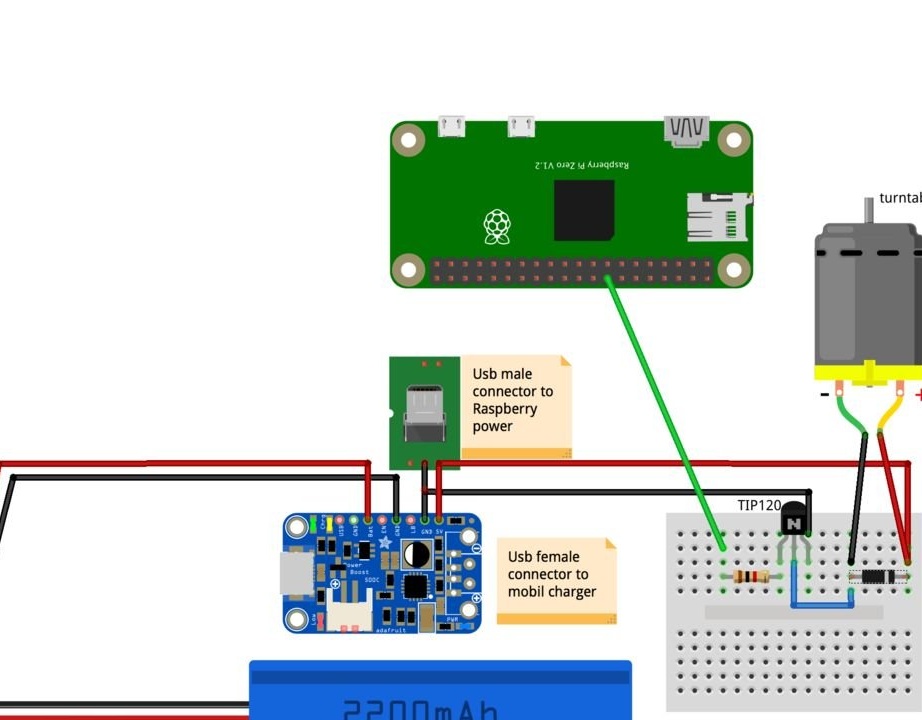
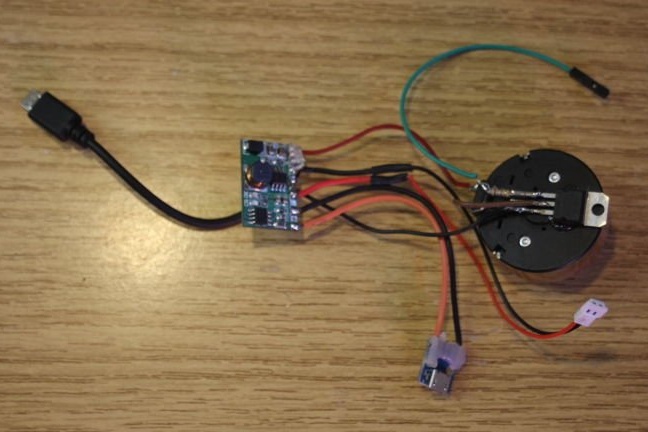
Step Eight: Electronics
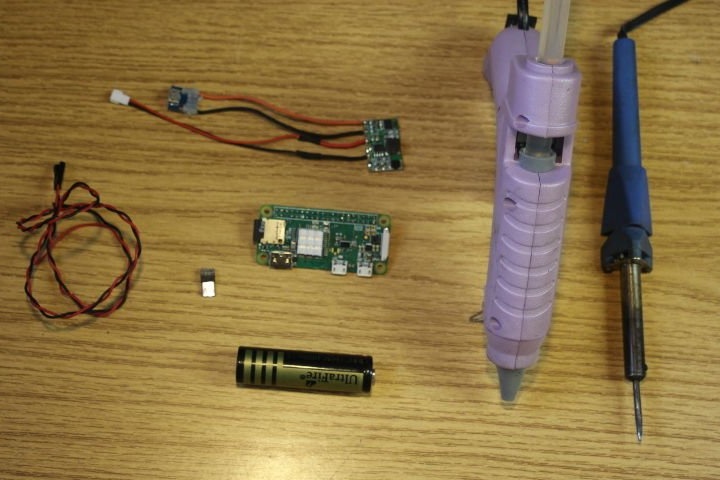
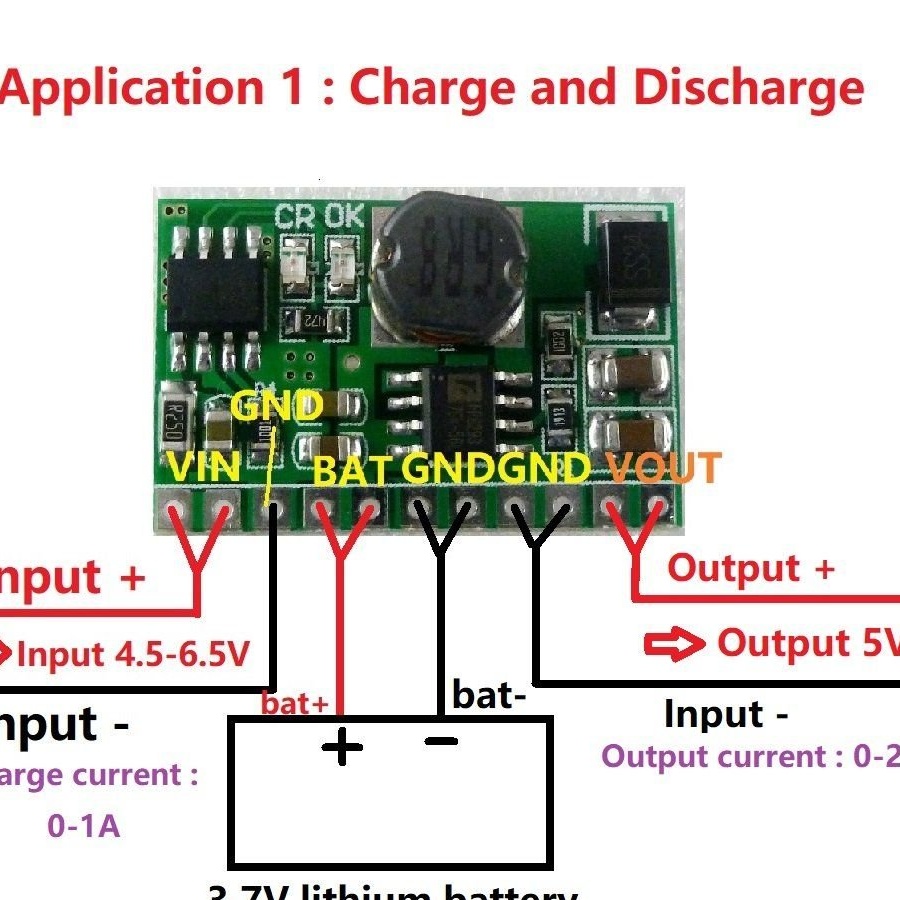
As can be seen from the diagram, the power supply consists of a 3.7 V battery and a controller, which serves to charge the battery and increase the voltage from the battery from 3.7 V to the required five. When charging the battery, the red LED is lit, when 100% of the charge is reached, the green LED lights up.
Sound is transmitted to the amplifier board and is reproduced through the speaker 0.5W 8Ohm. The master himself installed the speaker inside the pipe bell, and pulled the wires into the casing.

Everything is connected as follows:
Amp Vin to Raspbery Pi 5V
Amp GND to Raspbery Pi GND
DIN Amplifier to Raspbery Pi # 21
Amp BCLK to Raspbery Pi # 18
Amp LRCLK to Raspbery Pi # 19
You can familiarize yourself with the setting for this.
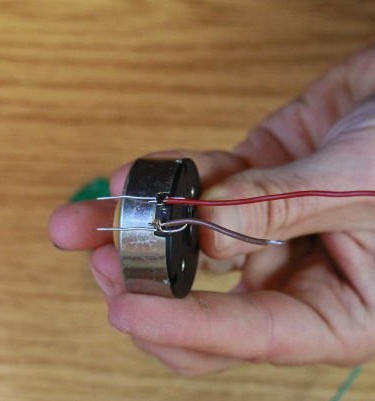
To rotate the disk with the plate, the master used the old engine from the printer. The engine is connected according to the scheme.
It remains to install everything in the case and the decrypt is ready.