Greetings the inhabitants of our site.
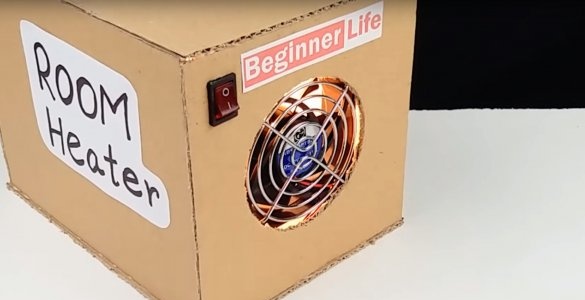
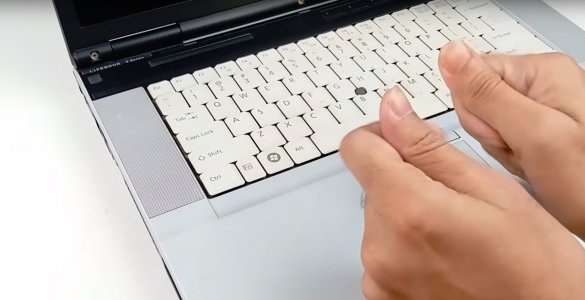
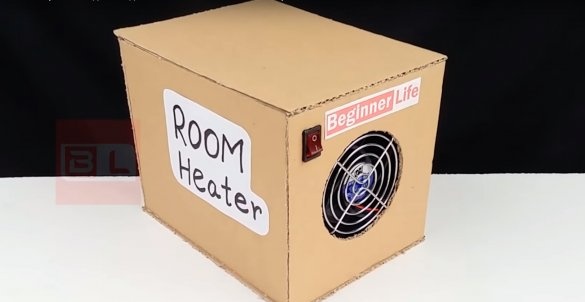
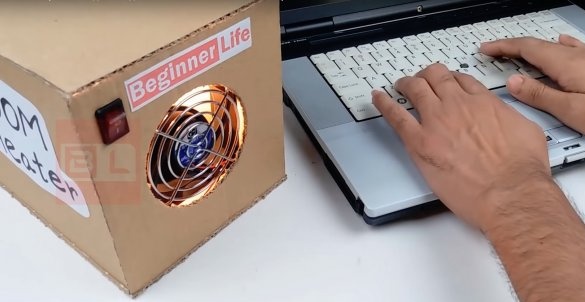
The author of today's homemade product often works behind a laptop, and in the cold season his hands freeze. Without thinking twice, the author solved this problem by quickly building a small heater literally from what came to hand. And as a heating element, the author used an ordinary incandescent lamp. Let's see together how the assembly process went and what happened in the end.
Tools and materials.
-Cardboard
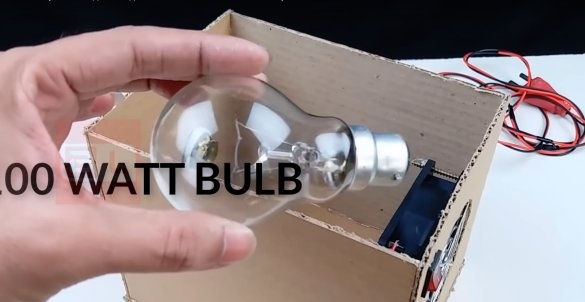
-100W incandescent light bulb
-Cartridge
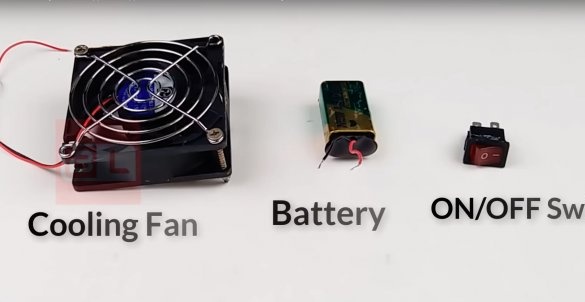
-Cooler
-Glue gun
-Cable with plug
-crown battery
-Cutting
-Stationery knife
Manufacturing process.
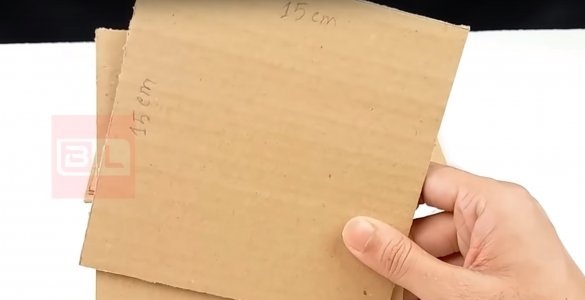
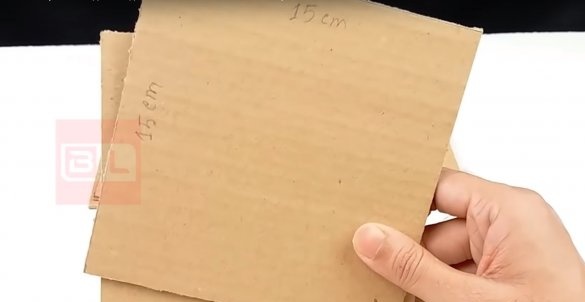
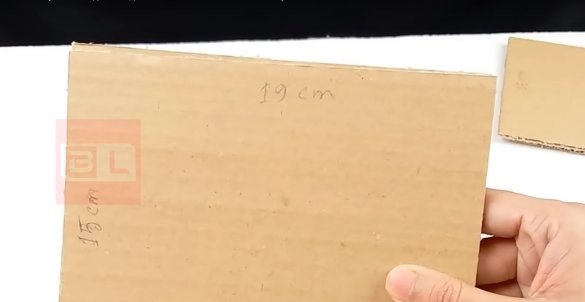
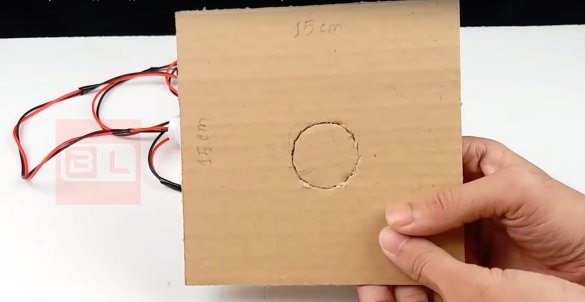
The author used cardboard as a case, well, yes, of course, not the best option. But let me remind you, everything was done from improvised materials. And if you like such a heater, the case can be redone using more durable and fireproof materials. Let's continue. So the author cut out two 15x15cm rectangles from cardboard. two rectangles 15x19cm. and two more rectangles 15x20cm.
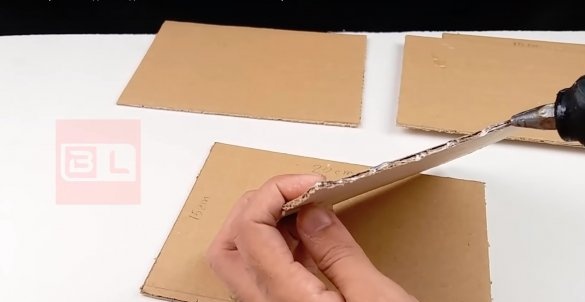
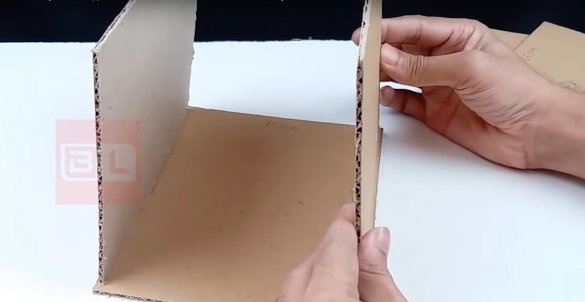
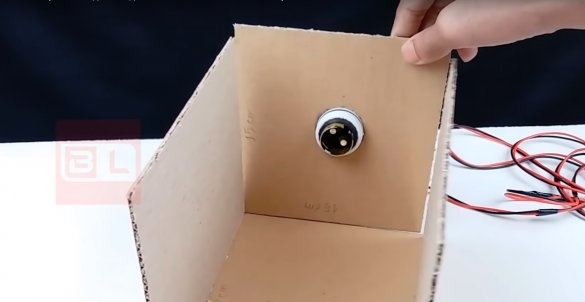
A 15x20cm rectangle will serve as the basis of the heater, using a thermo gun, the author glues to the base, two 15x19cm rectangles that will serve as walls.
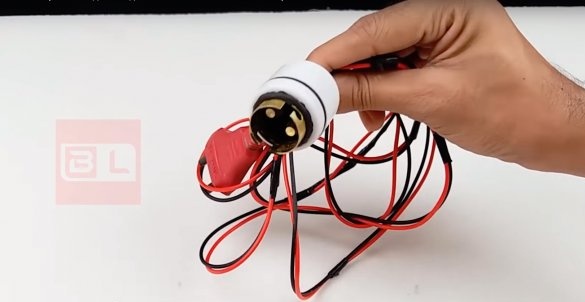
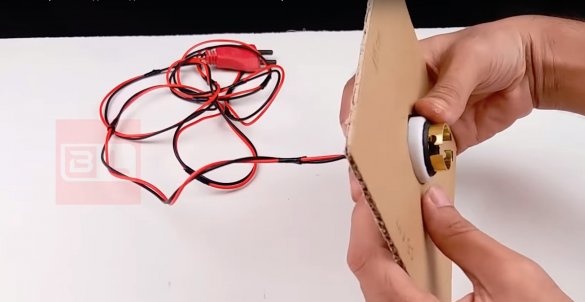
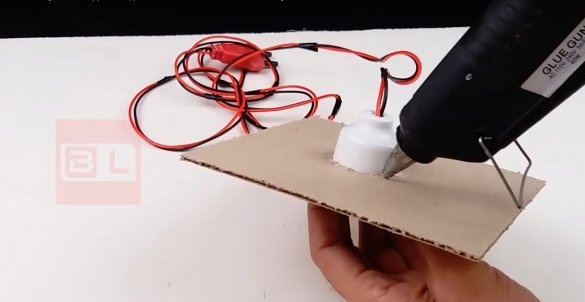
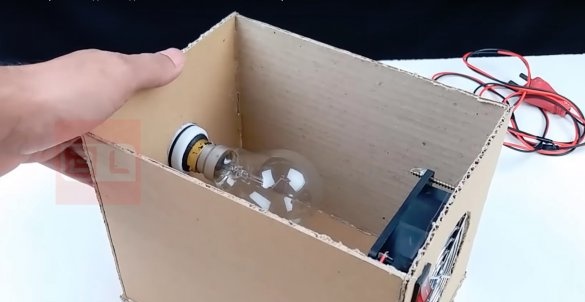
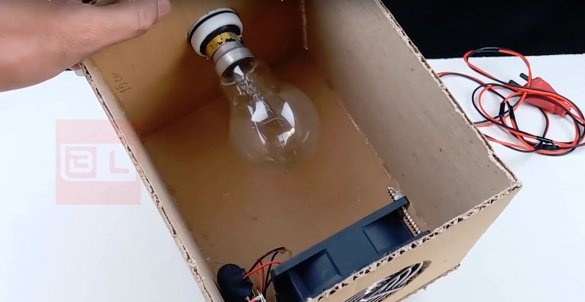
In one 15x15cm rectangle, the author cuts a hole and fastens a cartridge under it under a light bulb. Connects a cable with a plug to the cartridge. Glues to the body, this will be the back of the heater.
To carry out air circulation, the author will use a fan from the computer, he is also a cooler.
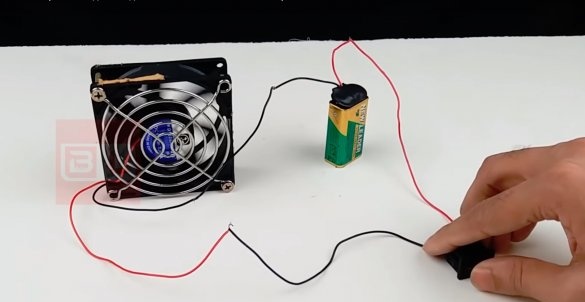
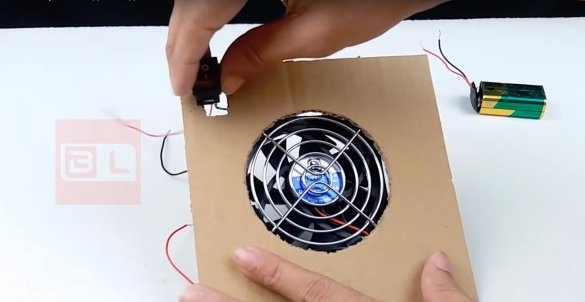
Since the power required for the cooler to work is 12 volts, the author uses a crown battery, apparently temporarily. How much is enough for the fan to work is not clear))) It is better to use a power supply, of course. The author also found a switch in the bins and connected all three of these elements into a circuit.
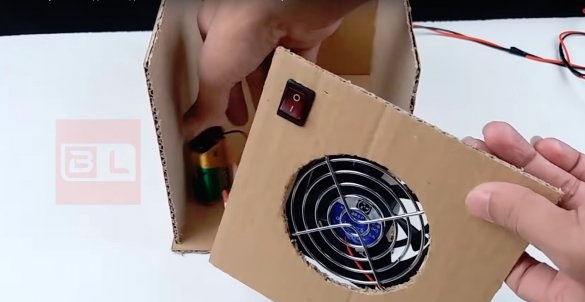
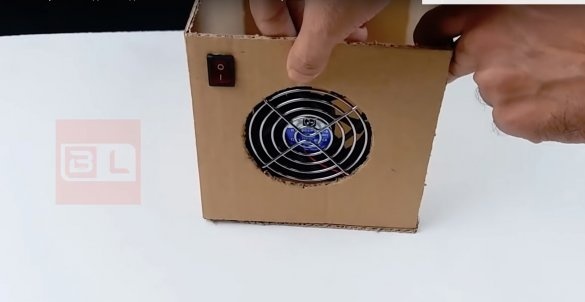
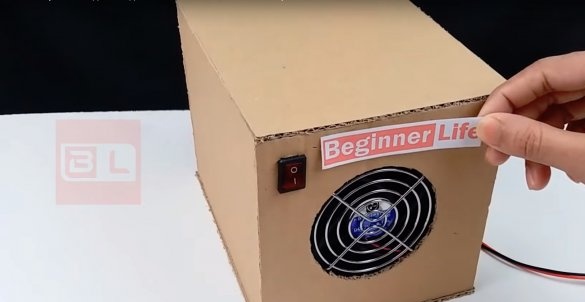
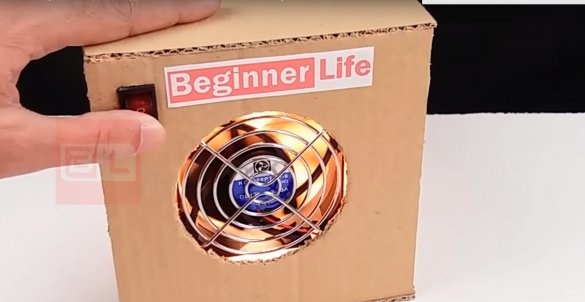
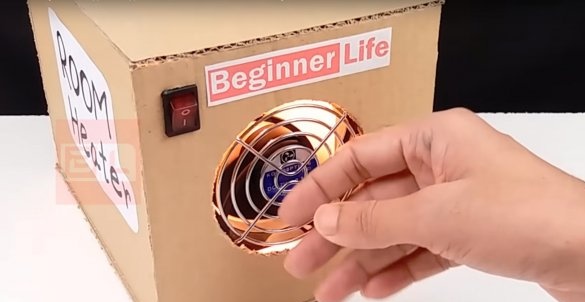
Mounts these elements on the remaining second 15x15cm rectangle, having previously cut a hole for the cooler and for the switch. Now you can stick this rectangle, it will be the front of the heater.
Well, now is the time to install a heating element in the form of a 100-watt incandescent bulb.
If desired, the number of lamps can be increased, thereby increasing the power of the heater.
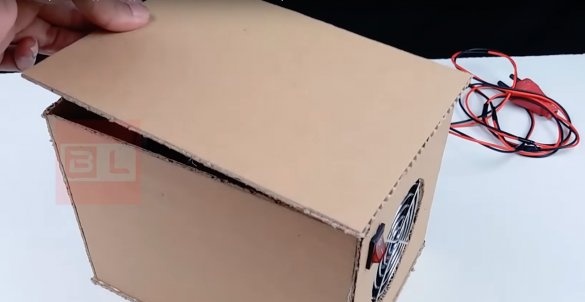
We cover the heater with the remaining rectangle.
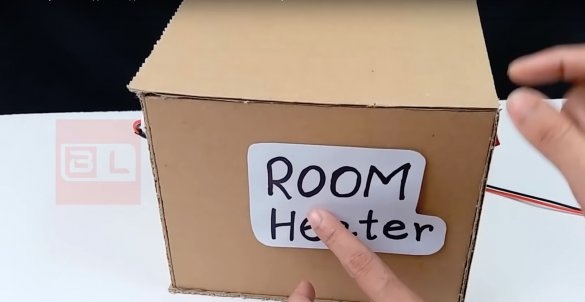
Without a logo, this device can hardly even work)), so be sure to glue it, just do not forget about the name.
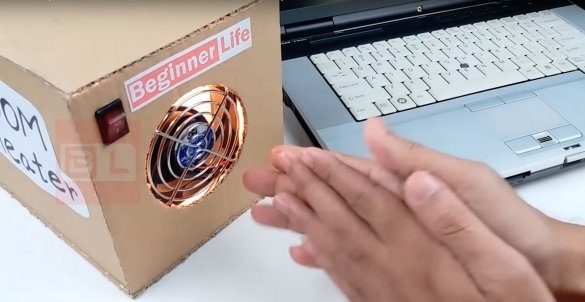
Well, what can I check ?? We plug the plug into the outlet, the light comes on and heats up, and now you can turn on the fan. Here I say again that it would be better to use a power supply for the fan, which could be connected to the lamp power and hang it on one switch.
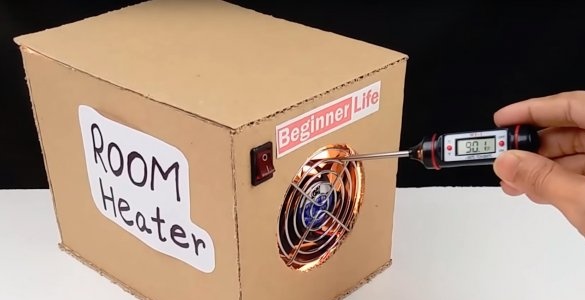
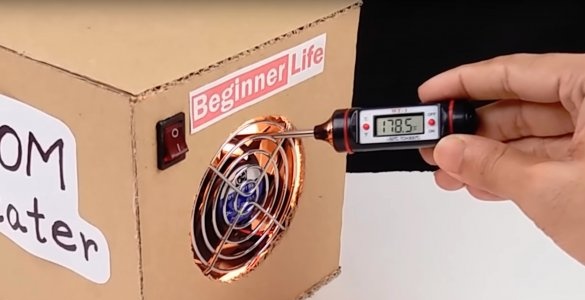
The device works and the author even boasts that the temperature is rising (the thermometer shows the temperature in Fahrenheit).
The author is satisfied and can now warm his hands as much as he wants.
And now a check for attentiveness, it seemed to me alone that the author forgot to make holes for supplying air to the heater ?? But no, it didn’t seem. I think if you make a few small holes on the back wall, the device would work better))

