
Today we, together with the author of the YouTube channel AlexGyver, will try to make a very interesting thing - a typewriter with a camera that is controlled via the Internet.
The idea is simple, we want the machine to connect to a home router and can be controlled from a smartphone from anywhere in the world where there is Internet access. Moreover, it was not just controlled, but also broadcast video from the onboard camera in real time, and maybe also sound.

We will certainly procure with the components on Aliexpress. A list of required components can be found at.
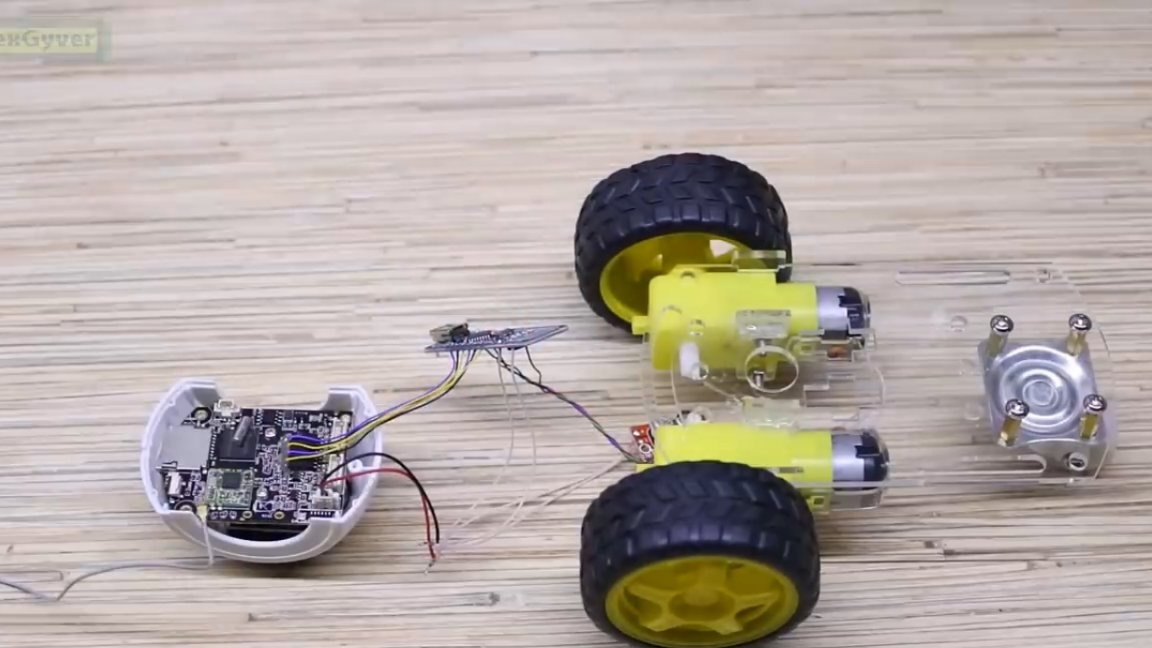
The machine itself will be a ready-made kit platform for the robot.

This is a piece of plexiglass, 2 motors and wheels. In a good way, such a project is being done on the Raspberry Pi, to which you also need to buy a camera and drivers for controlling motors.
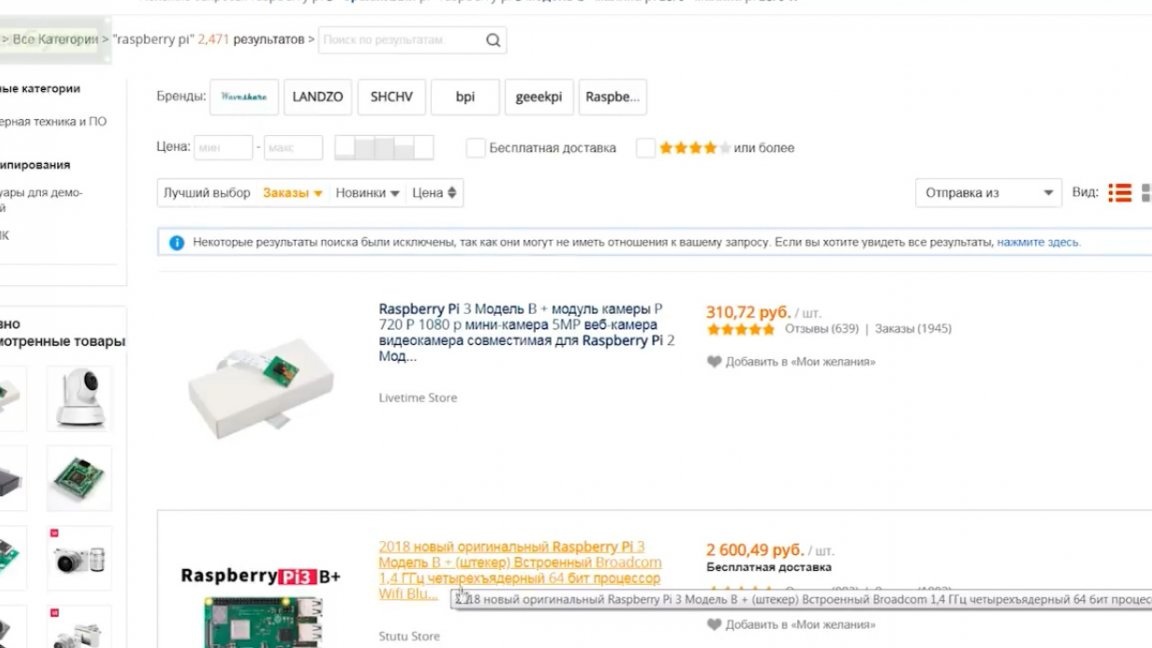
Well, of course, you have to spend a lot of time setting up and writing scripts for Raspberry itself and the same amount of time to develop a “web muzzle” with which everything will be managed.
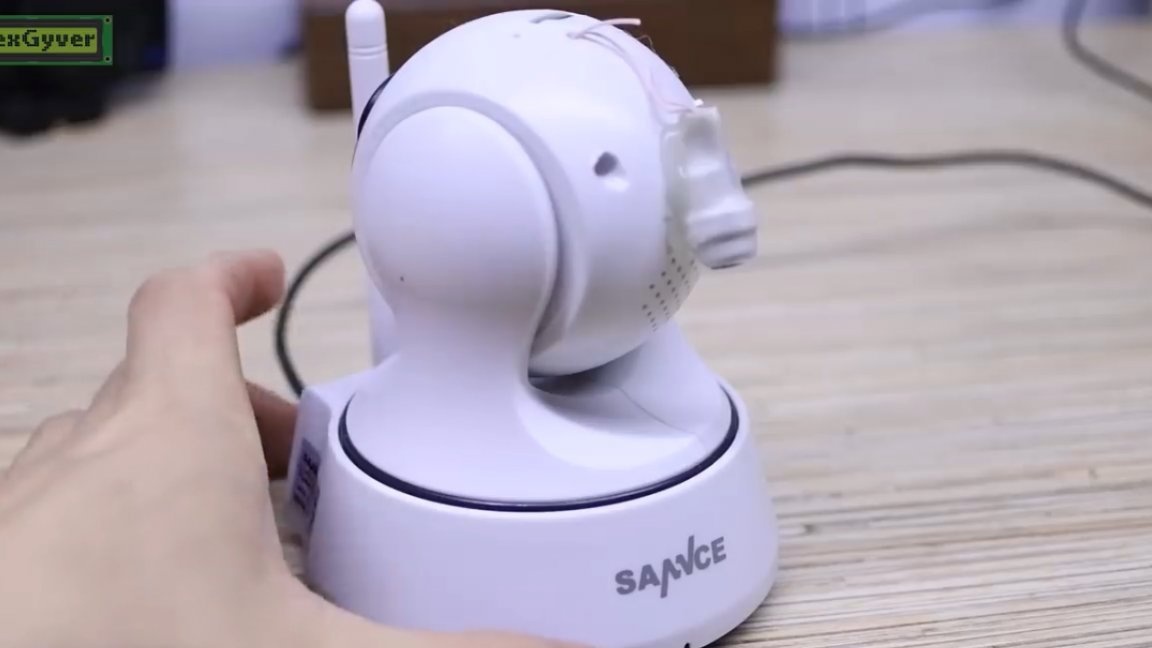
Not so long ago, the author did a rather interesting project using just such an IP camera.

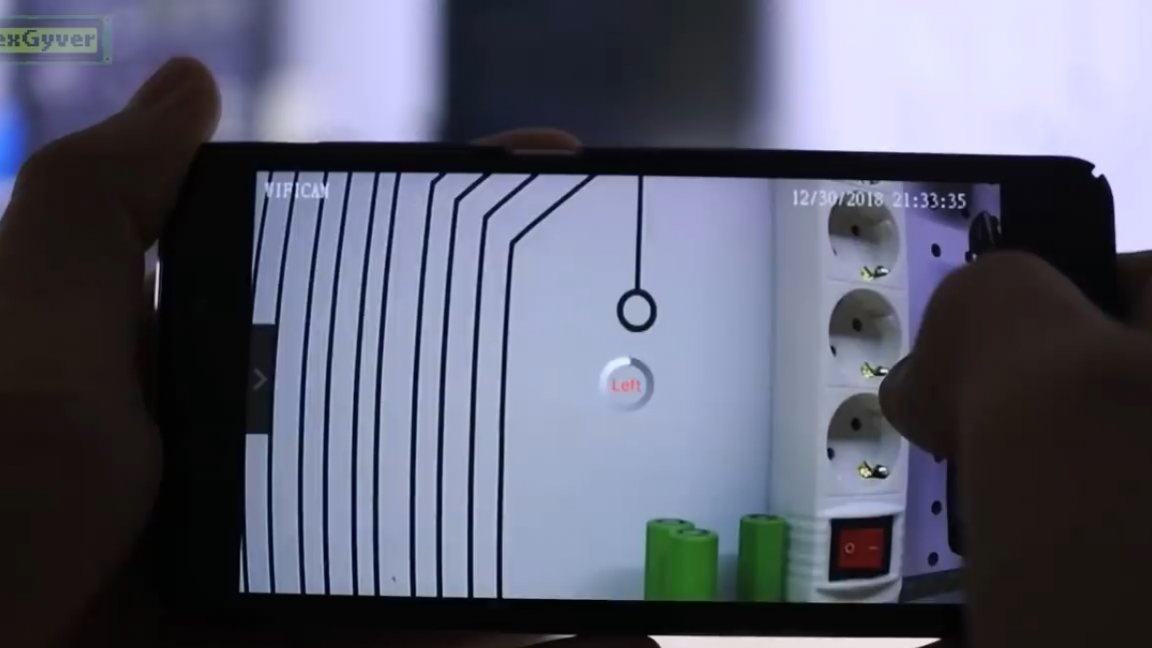
The camera itself is very cool, rotates in 2 axes, has a very large viewing area (almost a full scope), allows you to record video on a memory card with a resolution of 720p, has a full night vision mode with infrared light, and it also has a “radio” mode “nanny”, that is, in addition to real-time observation, you can talk and listen from anywhere in the world, respectively. Well, actually this camera will completely replace the Raspberry Pi and its camera, and it costs much cheaper. Also, this camera already has a ready-made application for managing the whole bunch of its functions, and you don’t have to develop anything new, it remains only to make it so that when controlling from a smartphone, we can control not the rotation of the camera, but the movement of the wheeled platform.
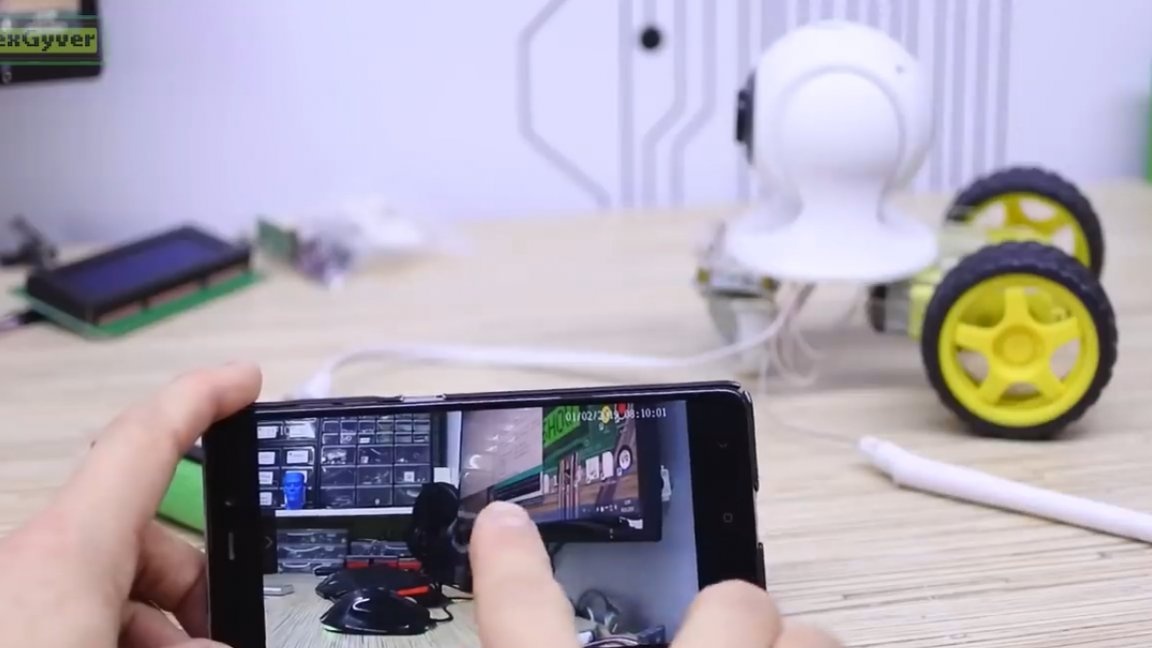
Using the native camera application, we will be able to move step by step, we drove a little, turned, drove on. Not very impressive, but it's a fee for simplicity and affordability.
The head of the camera is rotated by 2 incredibly slow stepper motors without limit switches. Therefore, immediately after switching on, the camera blindly determines its position in a very interesting way: it rotates all the way in one direction and continues to try to spin for some more time so that the camera head accurately turns as far as possible to the edge. That is, the signal goes to the motor, it tries to spin, but the design does not allow it to turn on.Then the head moves to the opposite edge, then rises in the center and does the same with the vertical axis, that is, it turns down and continues to try to turn.

That is, in such a very clumsy way, the camera determines the zeros of the head position. And now we can control it from a smartphone, but there is also a curious moment. In the right extreme position, which we called zero, the signal to the motor continues to flow. That is, the motor is trying to spin despite the fact that it simply has nowhere to go. But in the left position, the signal no longer arrives, that is, the motor controller knows how much the motor has turned and does not allow it to spin further. And this shortcoming of the Chinese will help us further. Let's finally disassemble the camera.
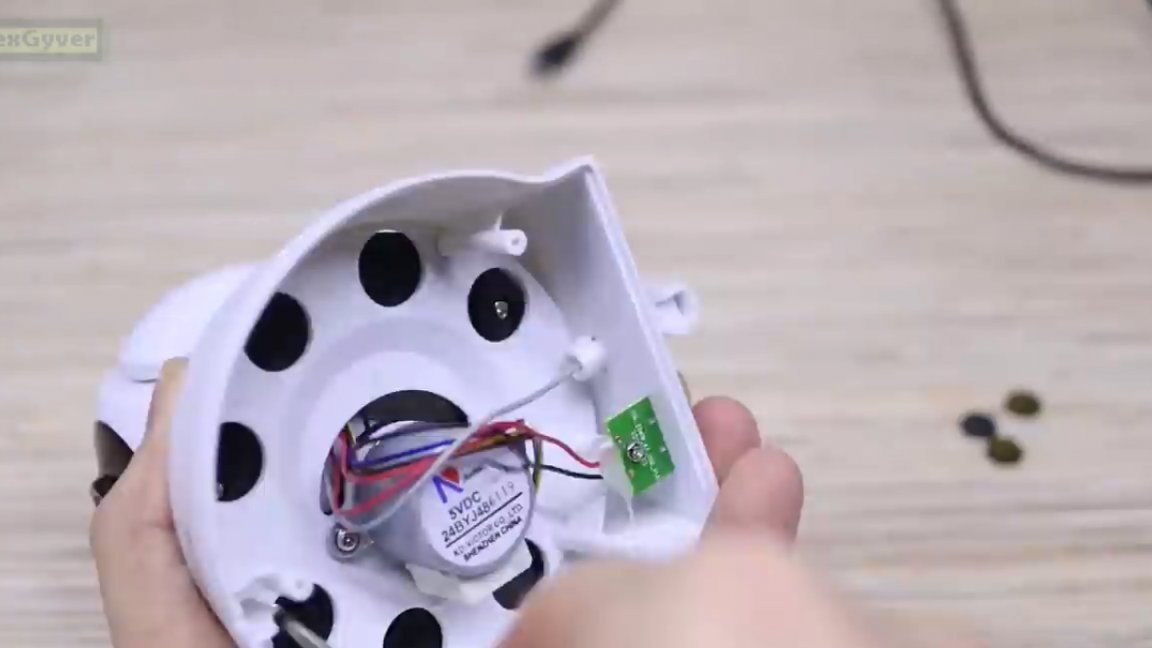
Turn off everything to get your head out with the board.
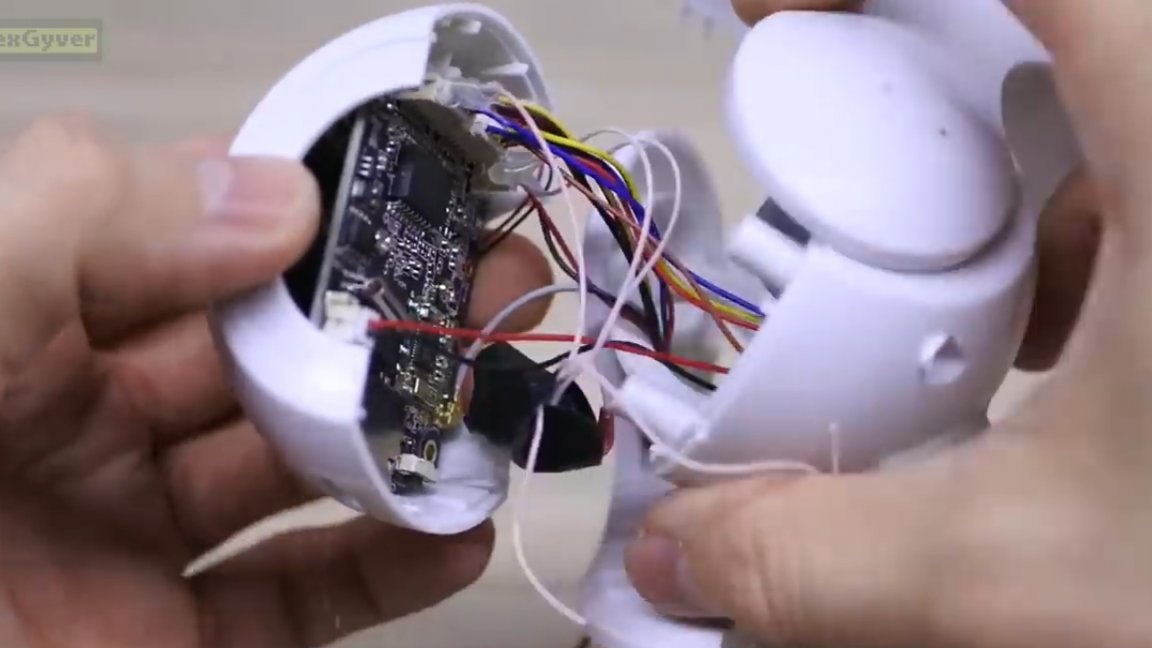
No, these motors cannot be used for movement, as they are very slow. So, collector motors with wheels will be responsible for the speed.
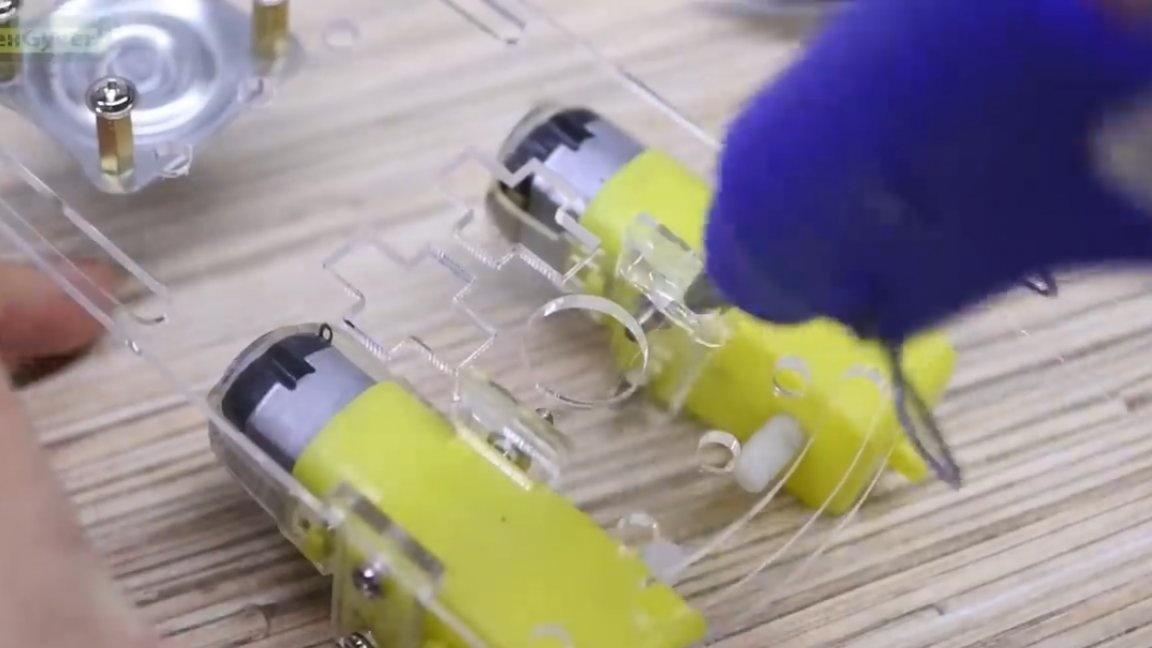
Now let's assemble the Chinese wheeled platform.
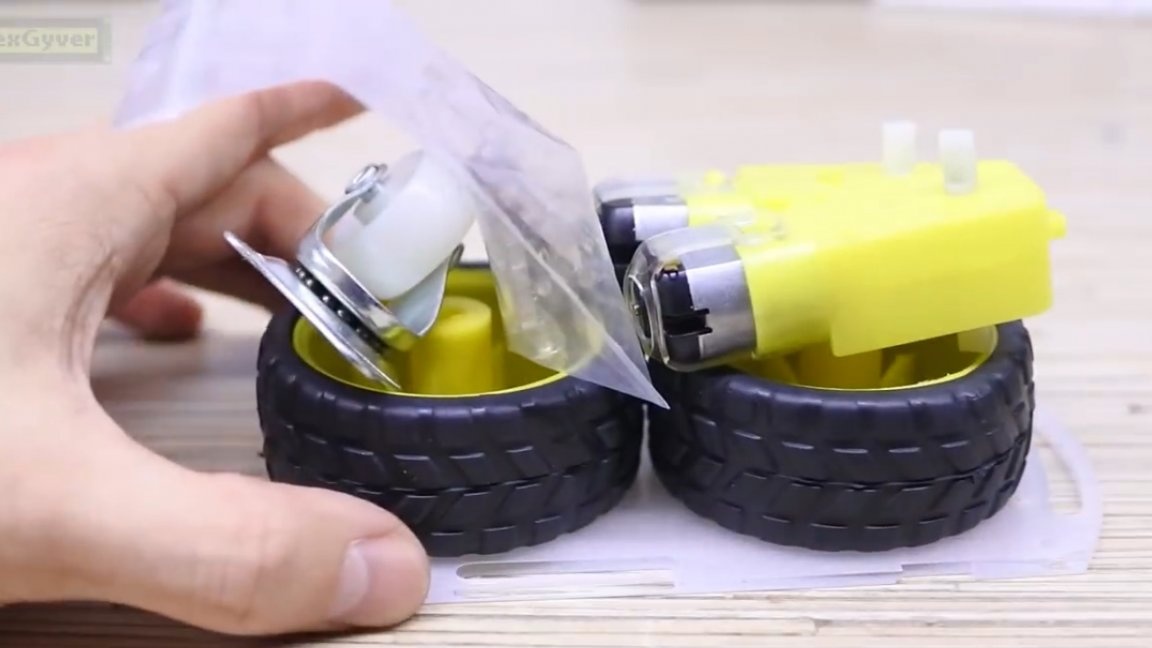
We mount the motors together with the mounts. And here it is advisable to add a little hot glue, otherwise the motors will stagger. We put the wheels on the axle and the car is ready.
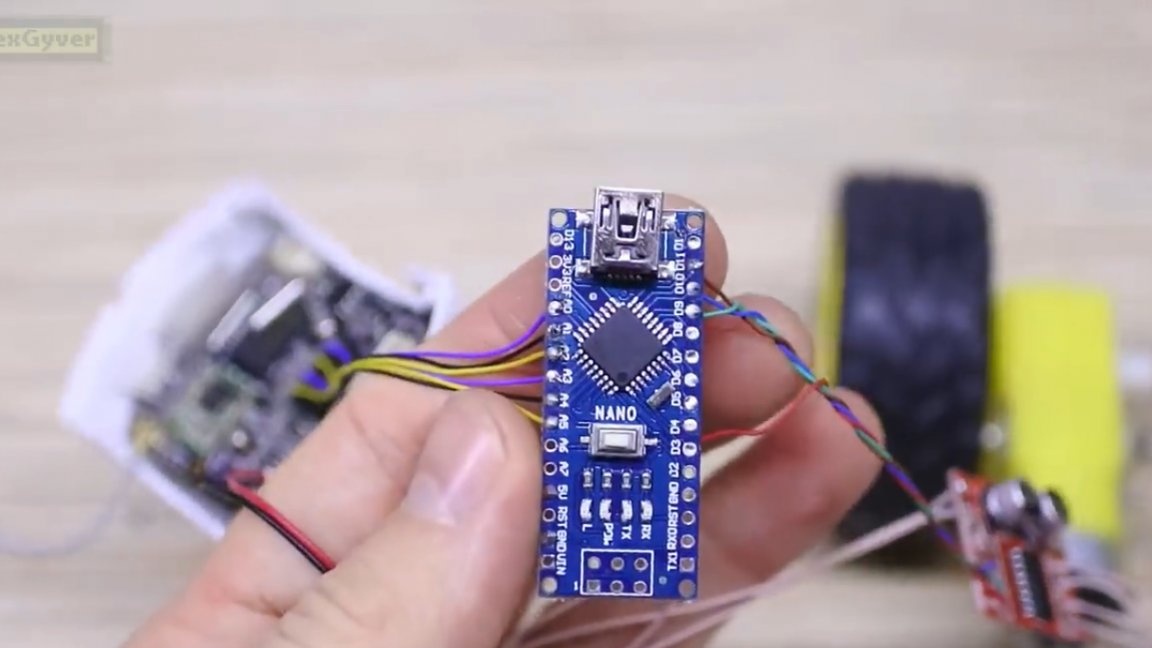
Now we need to figure out how to transmit the control signals of the stepper motors to the collector ones. The author did not find a more convenient and flexible way than using the platform arduino.
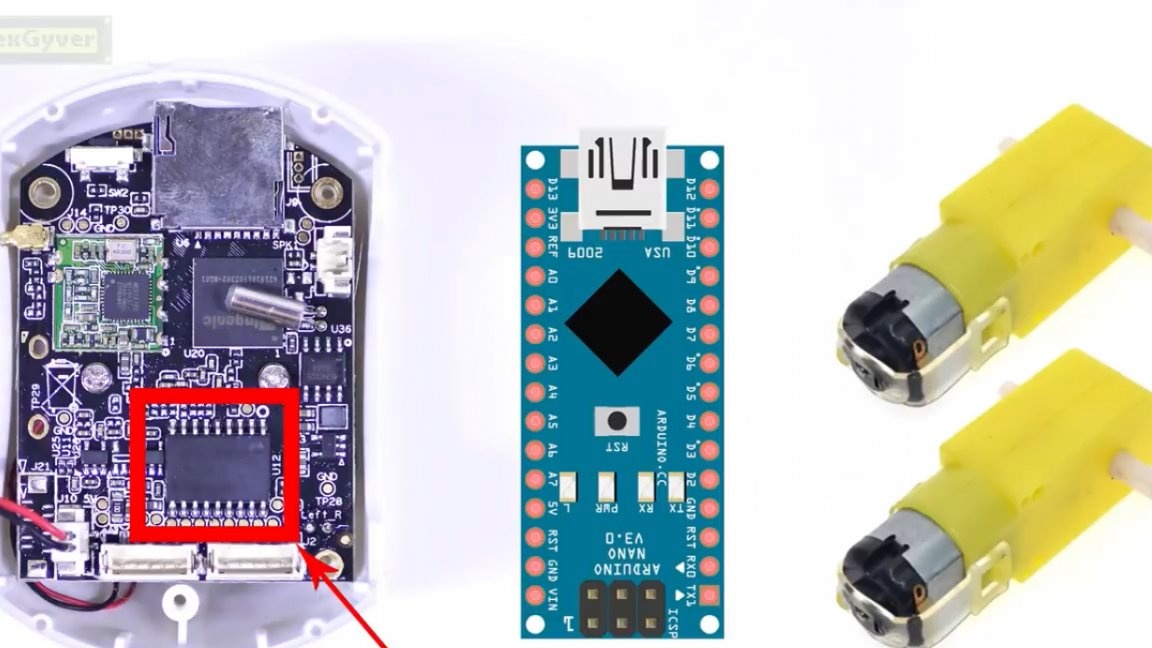
It will allow you to control speeds and time delays, which is very convenient. Arduino nano will add to the project budget the cost of one shawarma in Moscow, or shawarma, if you are from St. Petersburg.
A typical shagovik signal looks like this:
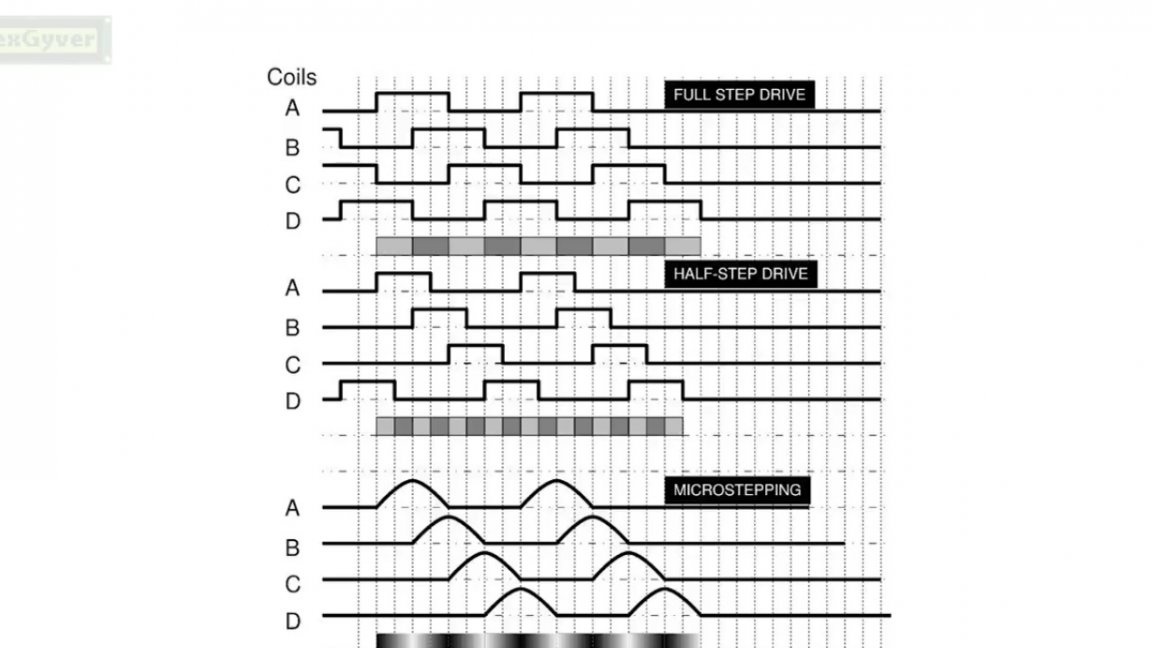
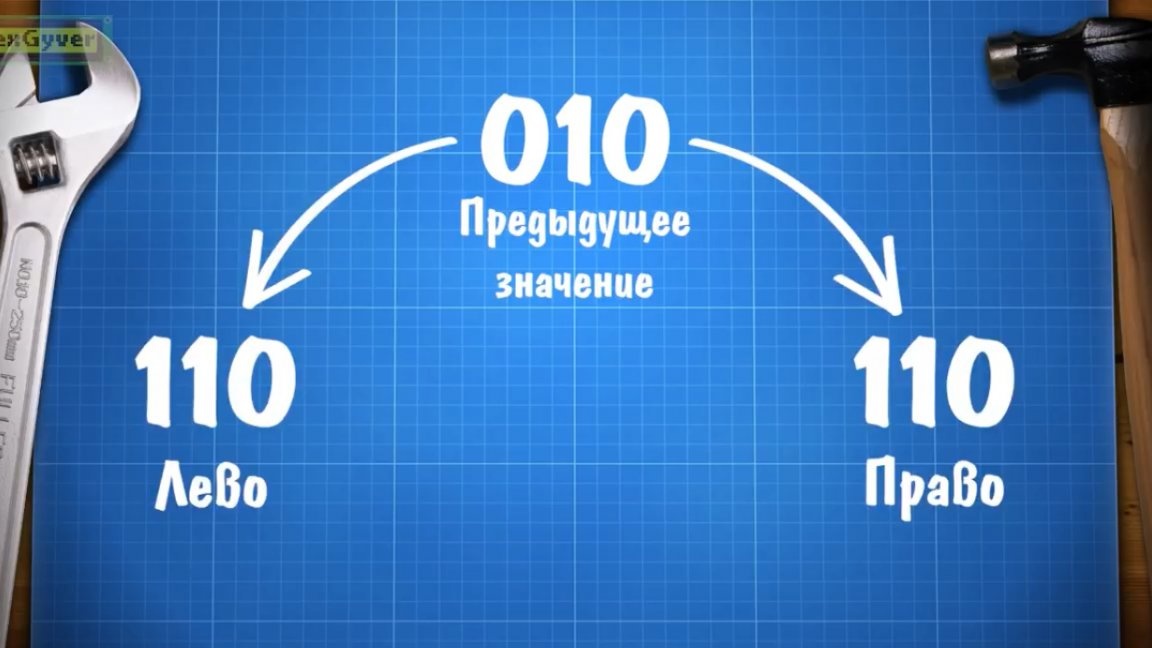
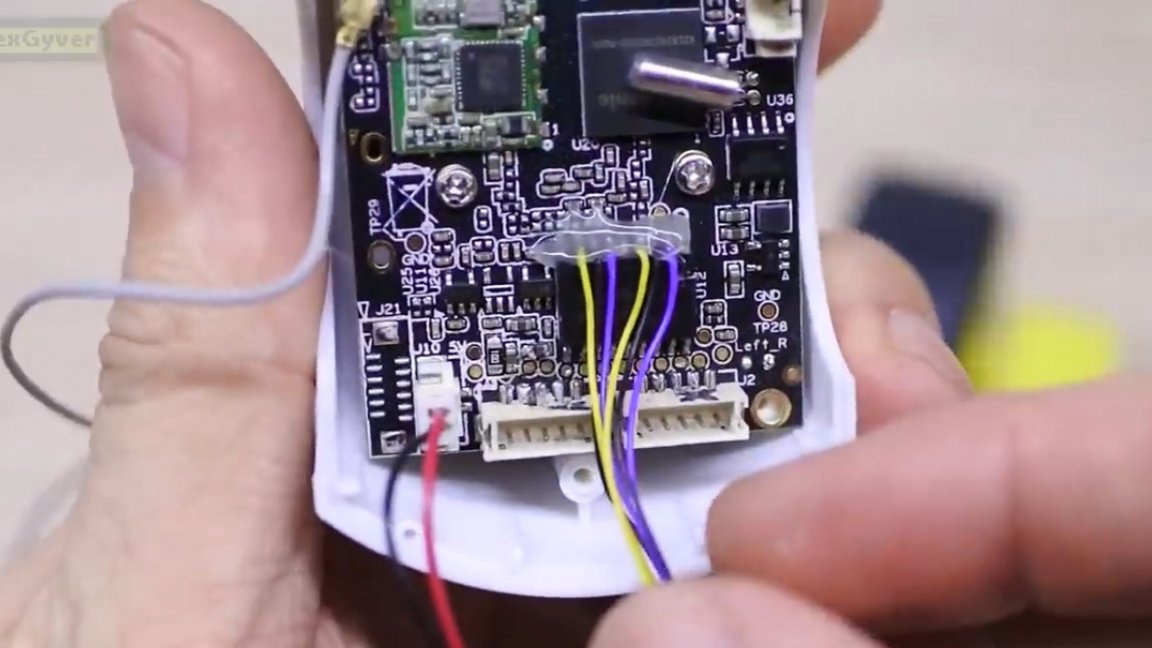
The author connected all 5 wires to arduino and decided to digitally view the status of contacts. And what do you think, the pattern of switching contacts was perfectly traceable and it could be easily recognized to determine the direction of rotation of the motor.
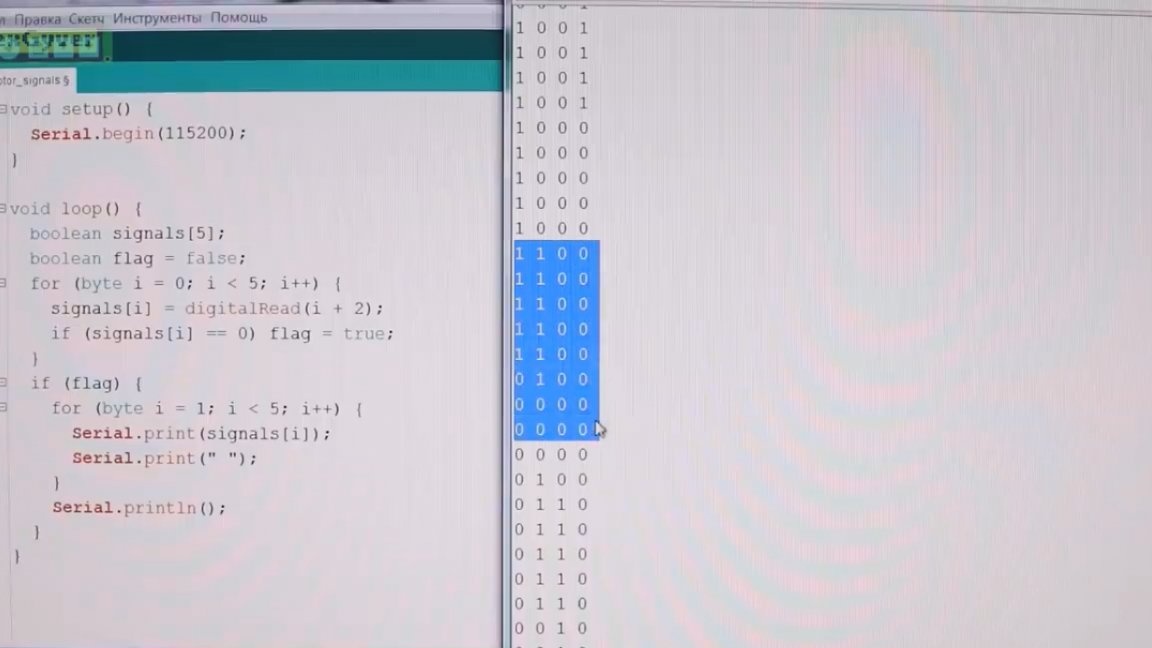
Leave 3 wires from each motor, this will be more than enough. We will consider such a state of contacts, because when changing it in any direction it will be clear in which direction the camera wants to rotate the motor.
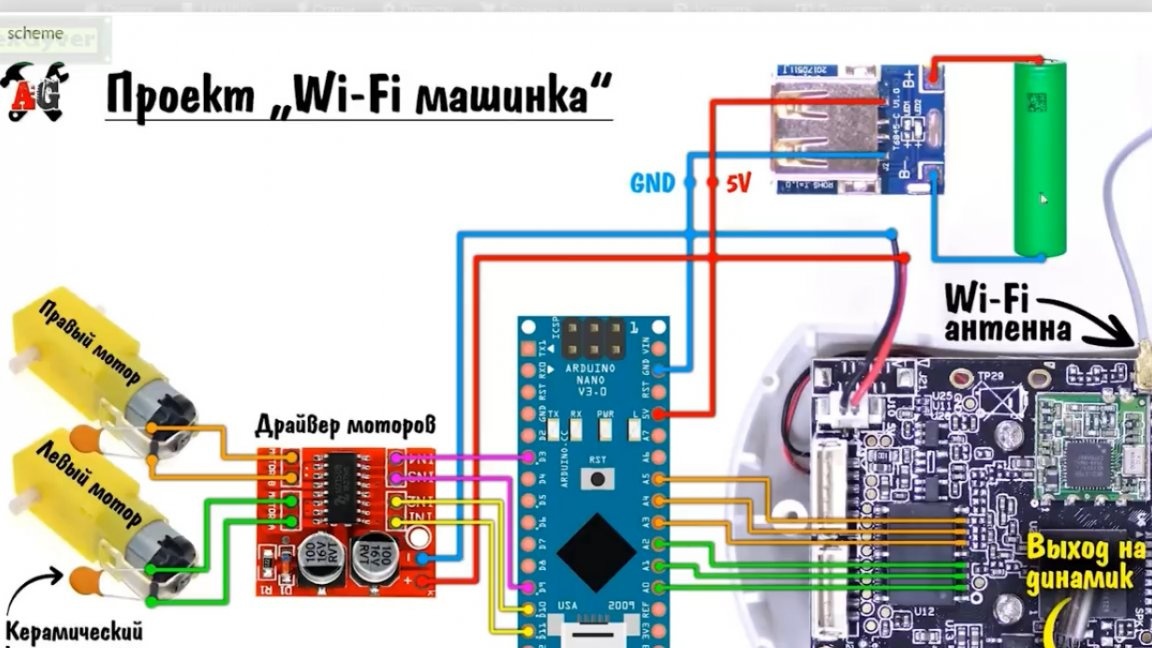
The most difficult thing is behind, it remains to connect the motors with drivers to a single circuit and the machine is ready. Actually, for those who want to repeat the project, here is the connection diagram for the components:
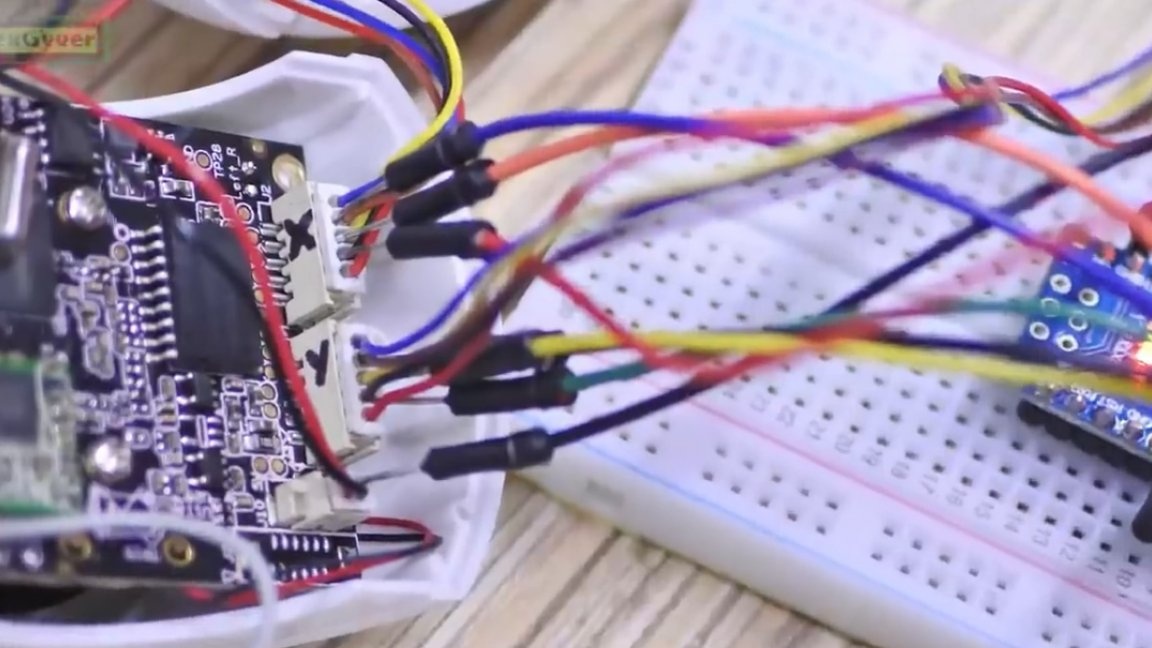
We solder the circuit. We solder carefully so that there are no “snot” anywhere. The most important thing is to prevent them from soldering wires to the shagovik driver. For reliability, we also fill everything with hot glue.
Capacitors on motors are optional, but without them it can be buggy, the author did not check, but the probability is very high.

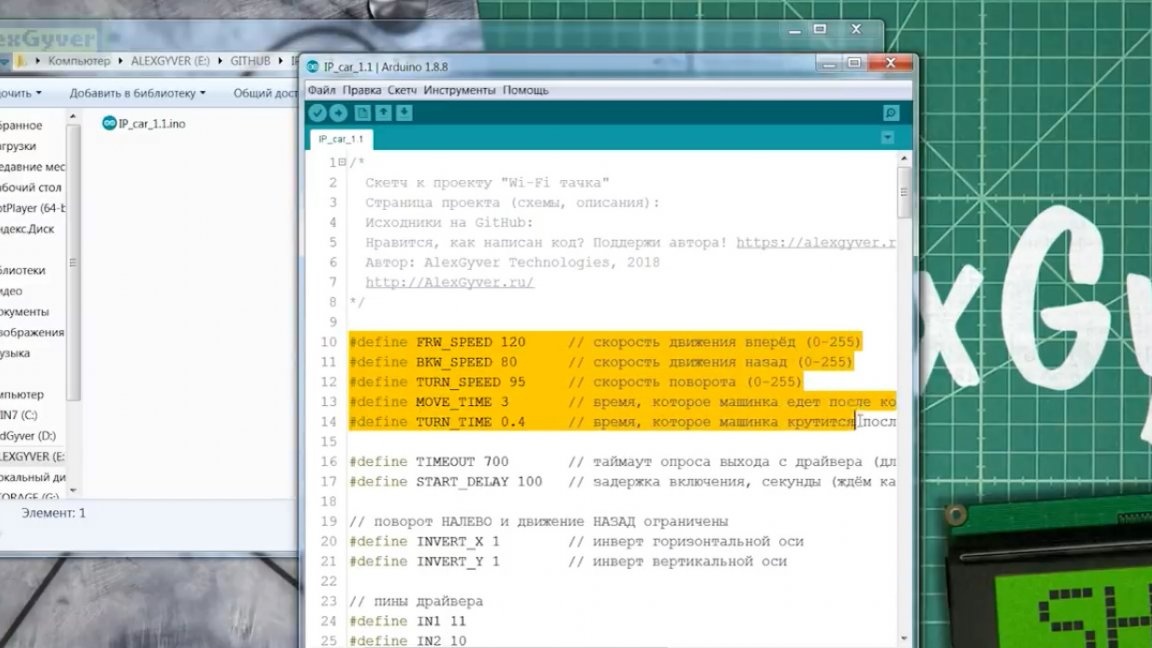
Further, according to the instructions, we load the firmware into arduino, which will receive signals from the drivers and rotate our motors.
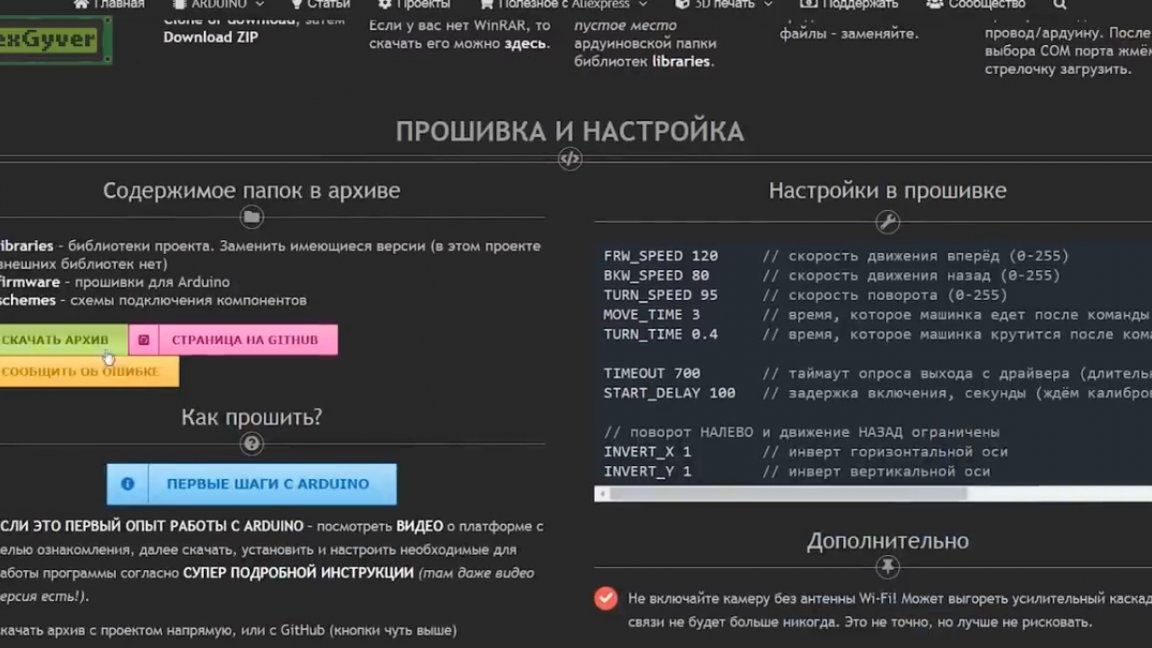
Before downloading the firmware, you can configure some parameters, such as: speed in different modes and timeouts.
We assemble a sandwich from the boards, laying each layer with double-sided tape. You can also pour hot glue.
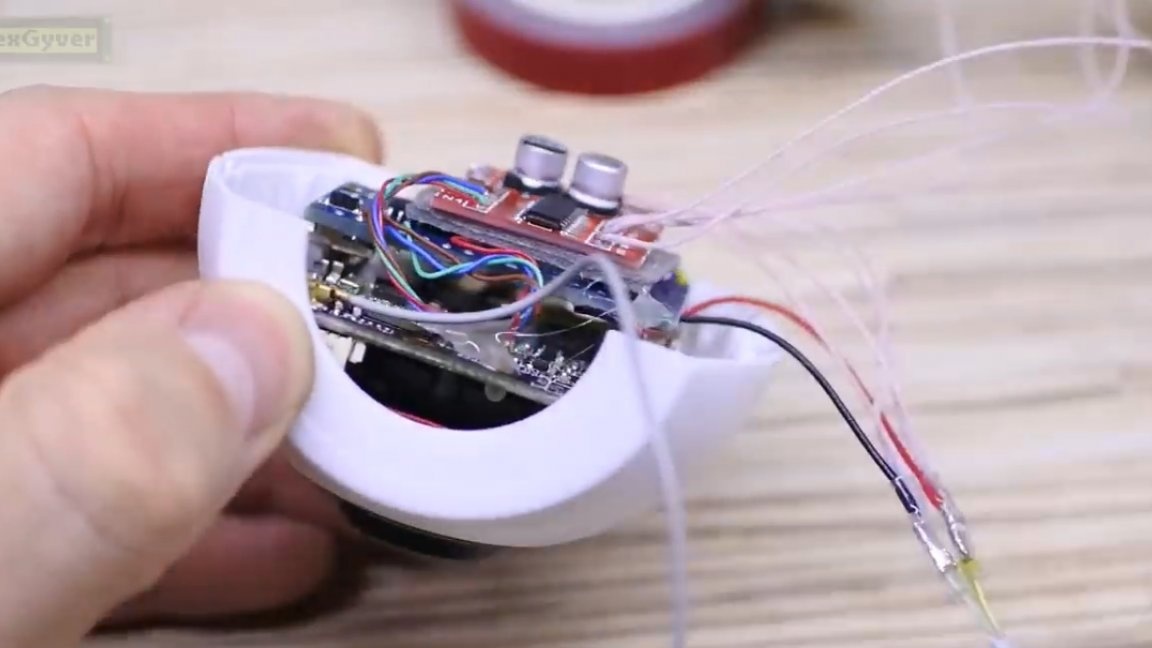
We display all the wires and power as in the diagram and assemble the camera. We pass the wires through the camera rack.
For the first test, the author connected powerbank. We are connected.
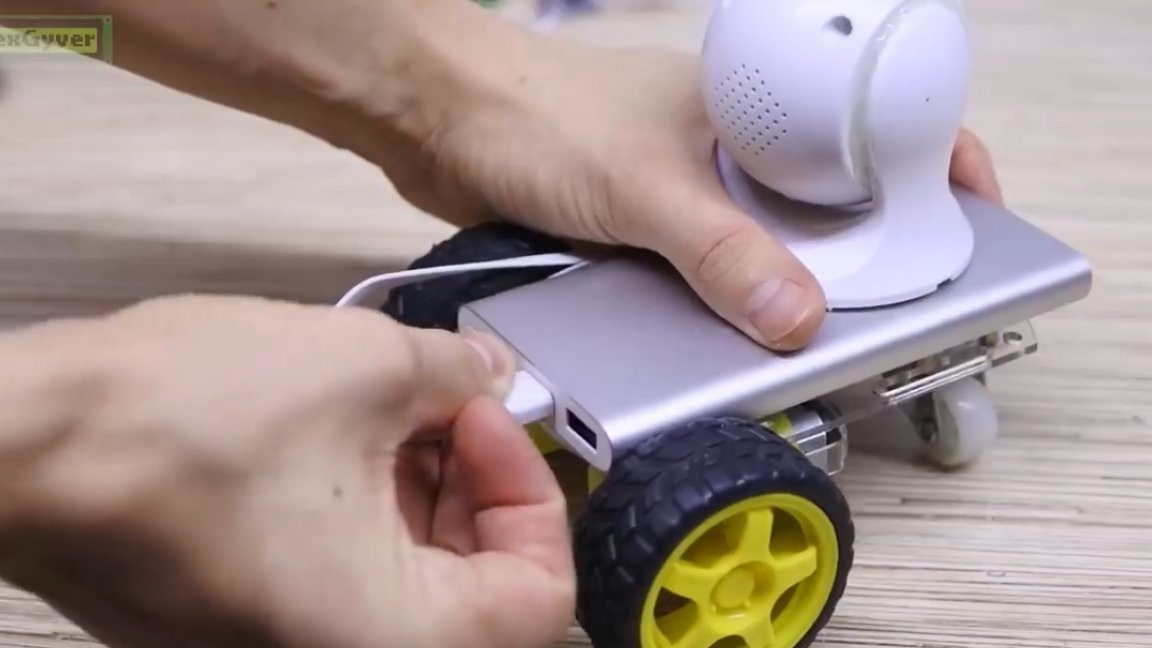
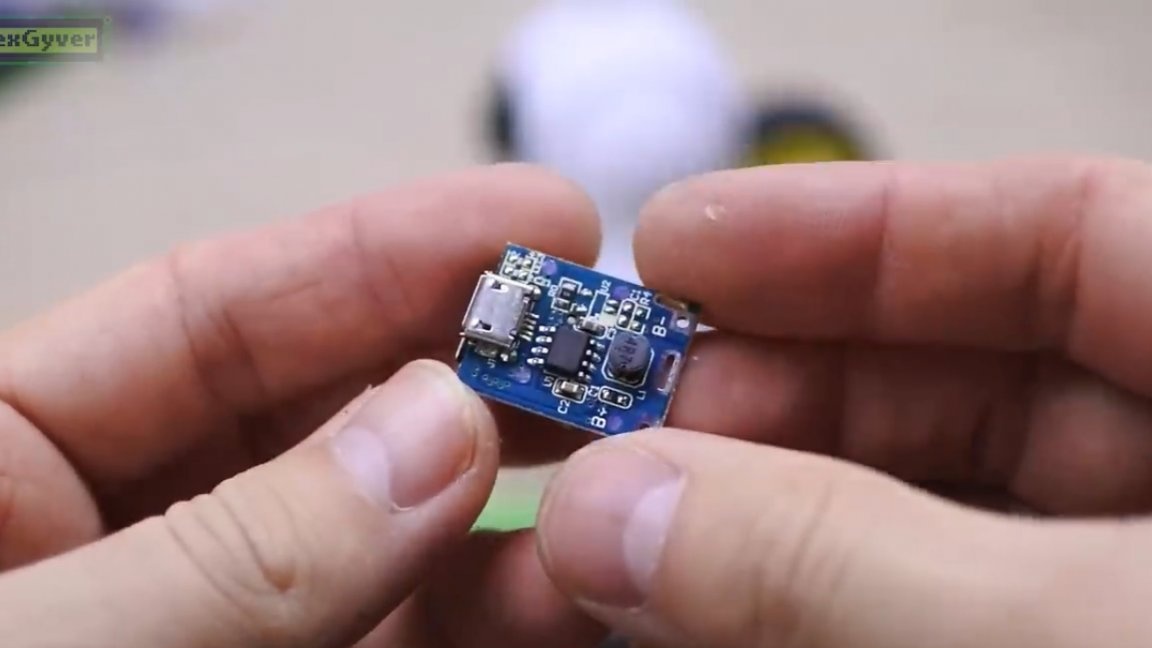
Well then, everything works fine. Actually, everything works the way it should work, maybe even a little better. The only thing is that powerbank is still a bit heavy, besides, the author planned to make a base for recharging the machine, so we will use 1 lithium battery and here is a module that protects the battery from overdischarge, can charge it from usb and increases the voltage to 5V, allowing to remove the maximum current in the region of 500mA, this is quite enough for us.
The author unsoldered the usb connector from the module, and just in case, hung a capacitor on the output of the 5V line to filter interference from the converter.
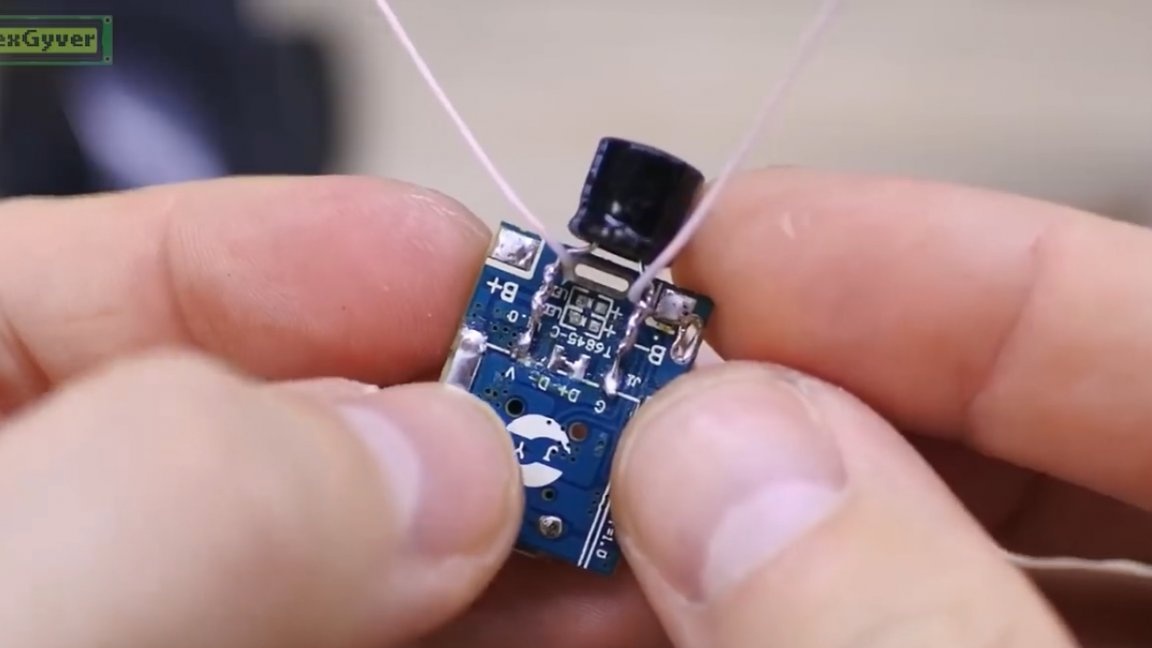
And actually from it the wires of the 5-volt power line of all other components will go.
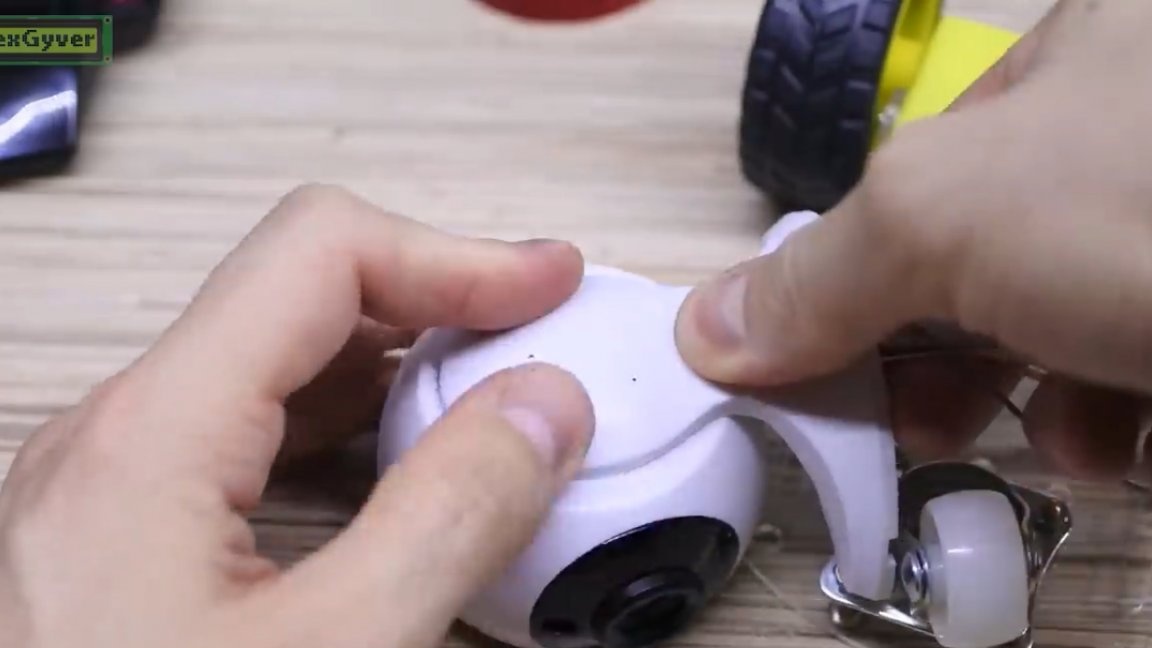
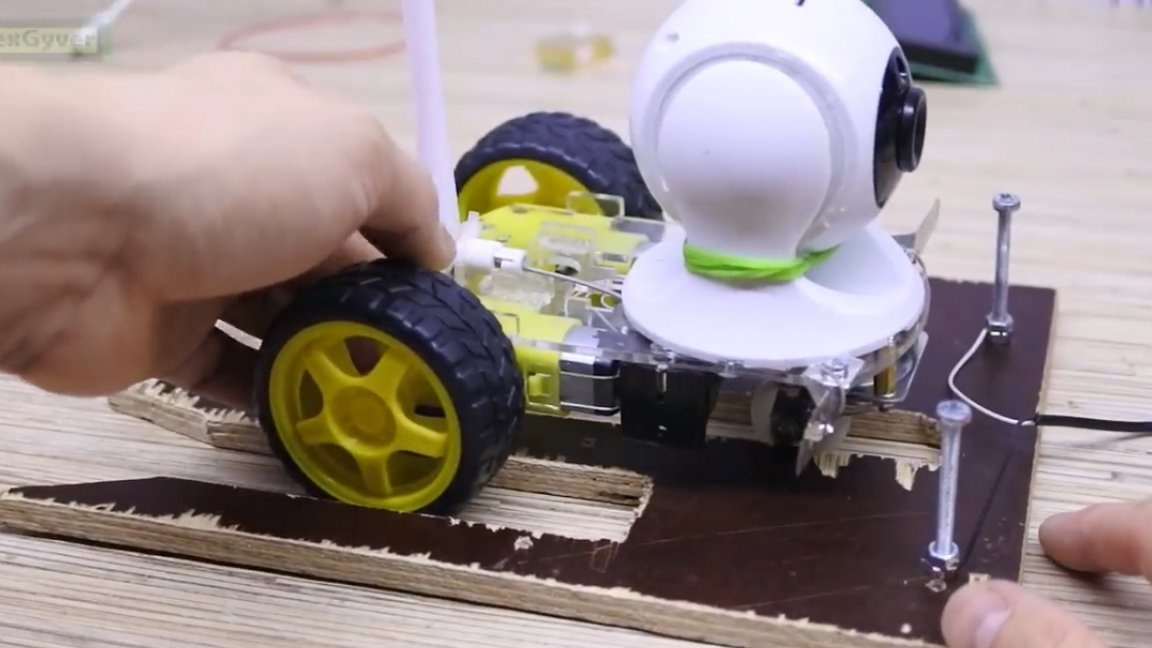
The camera’s native mounting holes fit perfectly under the slots on the platform body, so we are fastened.
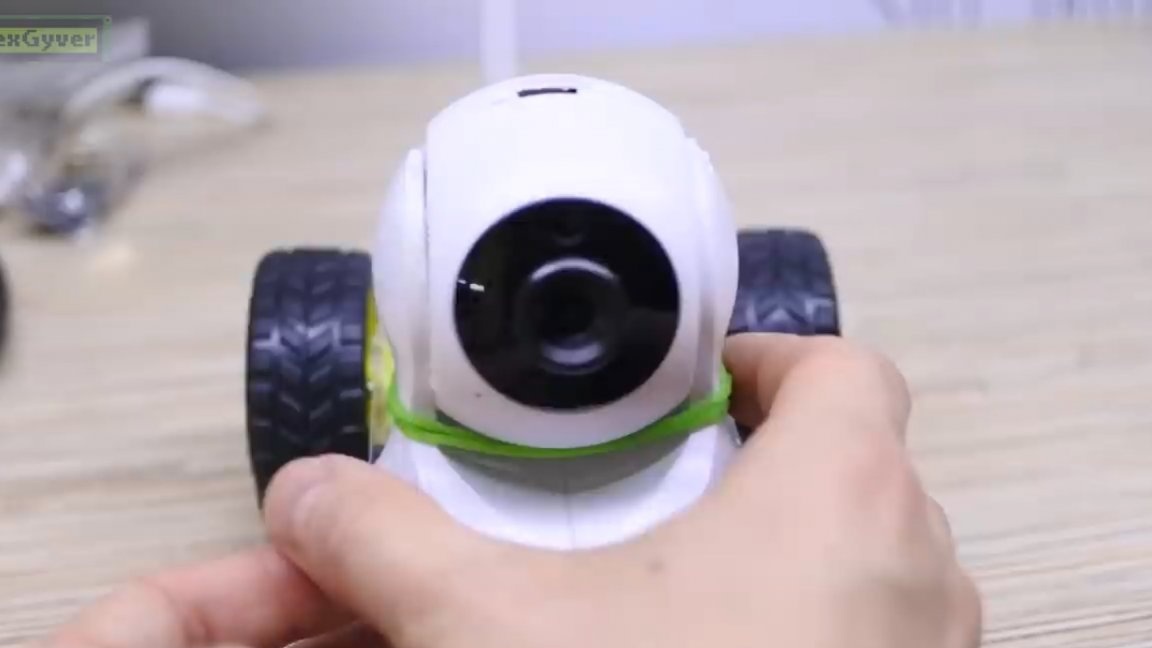
It remains to fix the battery compartment, we also fix the antennas and the camera. The author fixed it with a rubber band. This is “collective farm”, but very reliable and allows you to adjust the angle of the camera over the horizon.
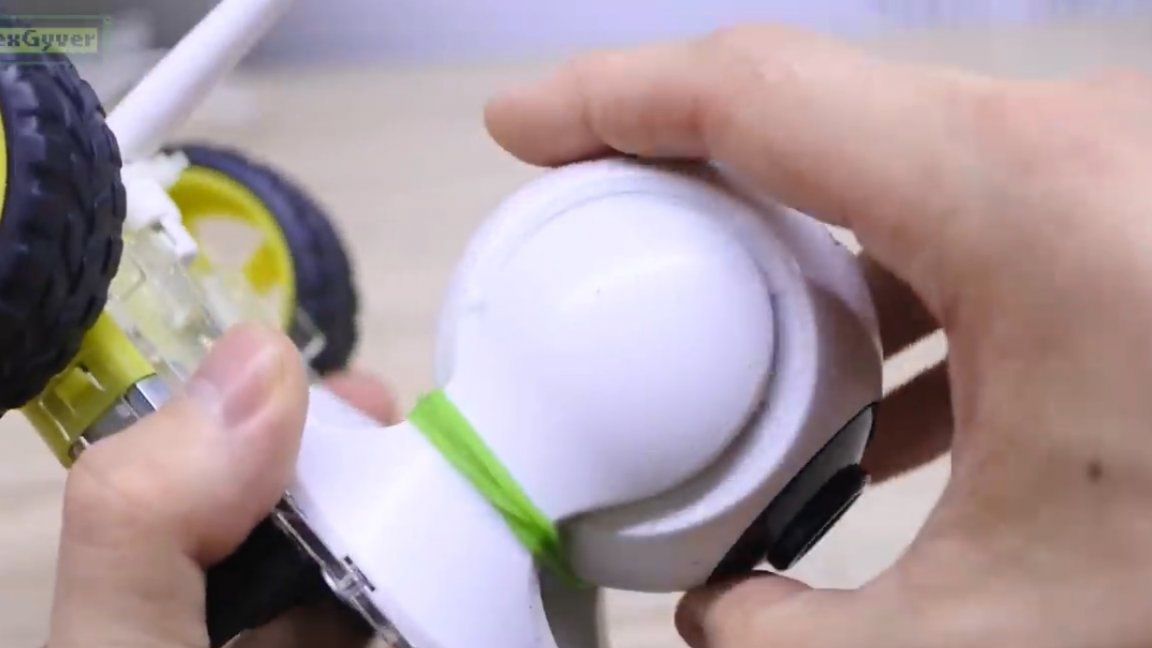
Everything, our IP-machine is ready. The battery lasts at best for 6 hours. This is if you alternate movement and just observation through the camera.So the idea is this: the machine should have a base, on which it is charging.
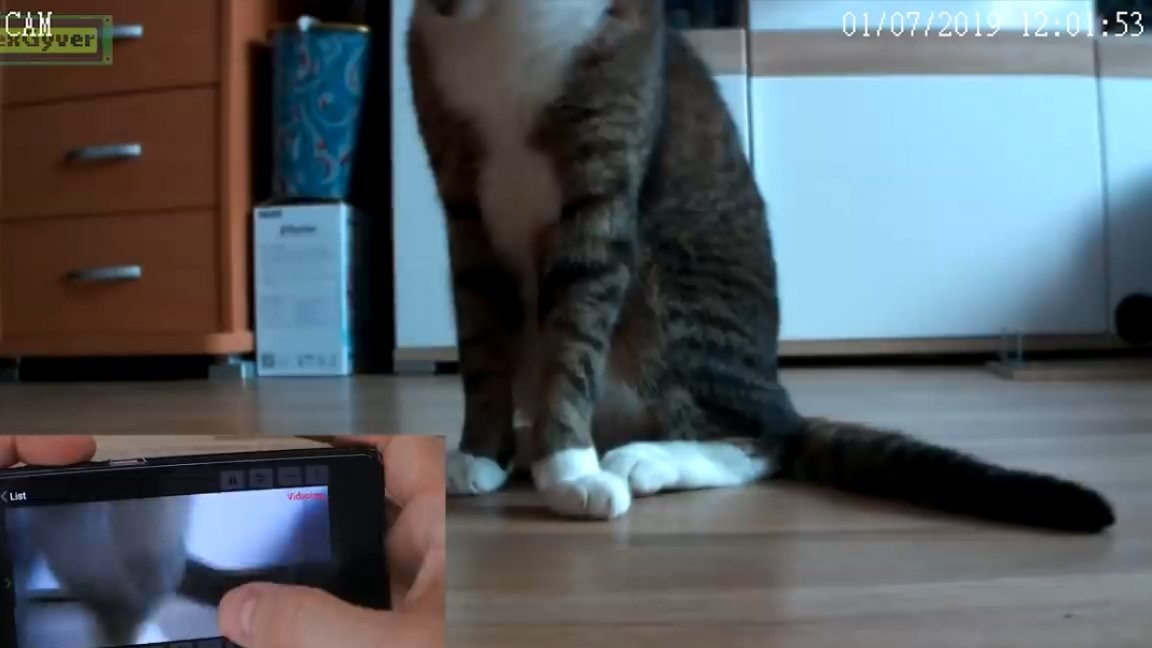
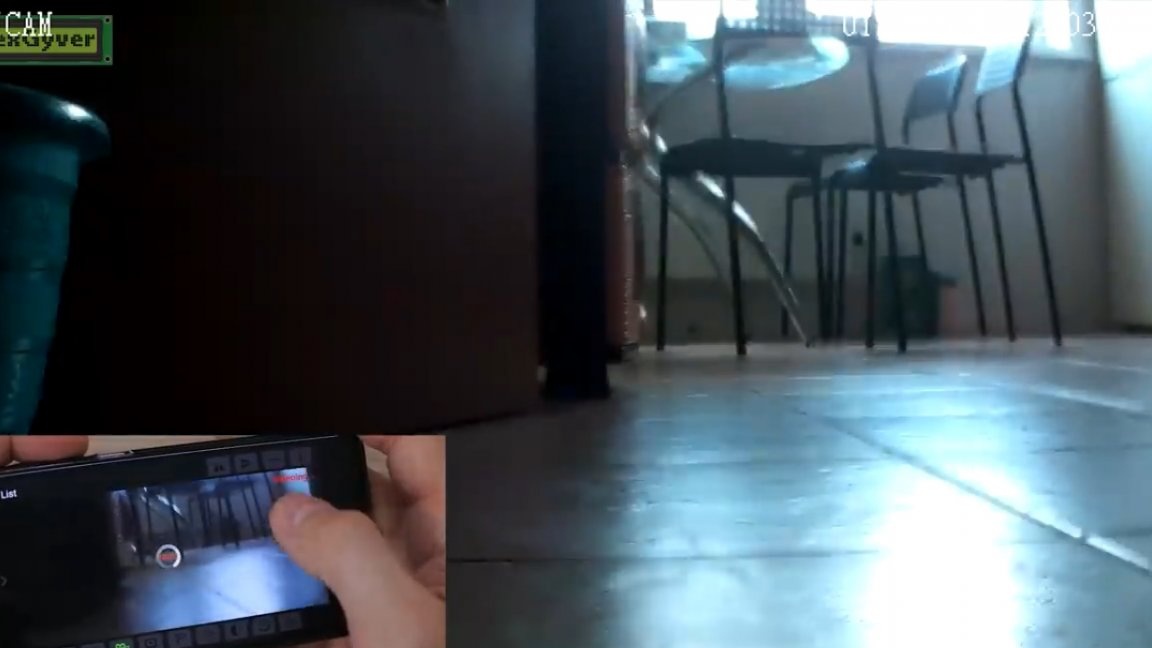
On this machine you can slowly ride around the apartment, watch, for example, pets and even play with them, being anywhere on the planet where there is Internet access. The main feature of this scheme is its availability and low cost.
Thank you for attention. See you soon!
Video: