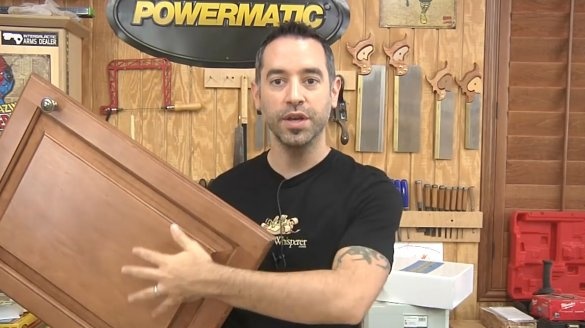
In this article, Mark, author of The Wood Whisperer, a YouTube channel, offers you a selection of valuable woodworking tips. The author himself will call it this: "Woodworking contrary to common sense."
Materials
- Boards, bars.
Instruments, used by the author.
- Thicknesser, circular saw
- Screwdriver
- Miter saw
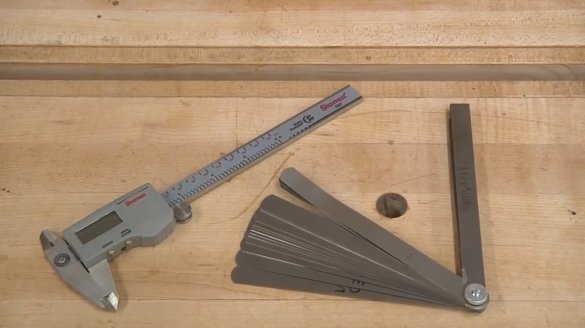
- Square, ruler, vernier caliper.
Manufacturing process.
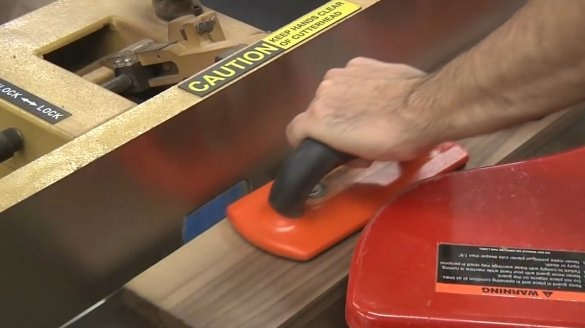
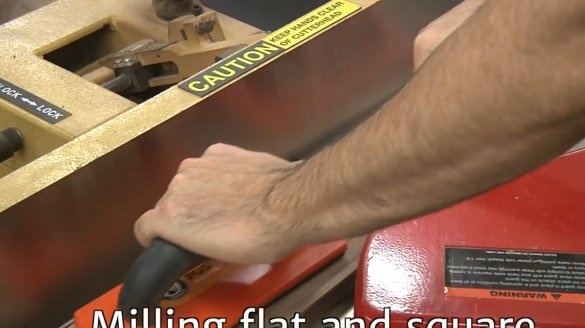
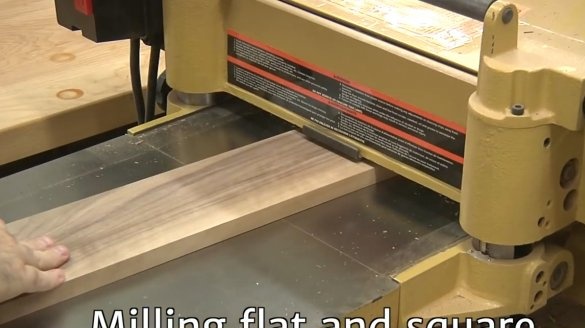
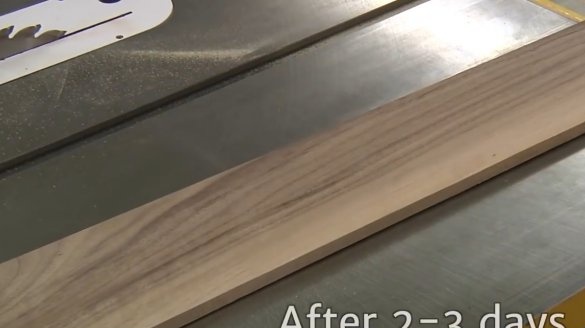
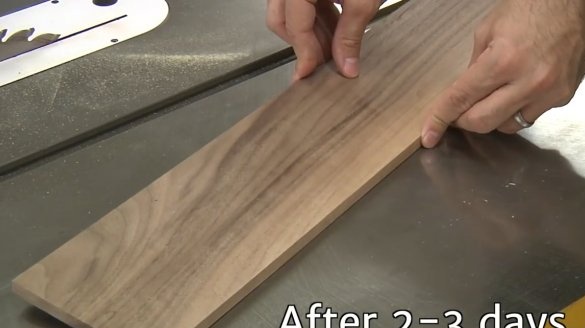
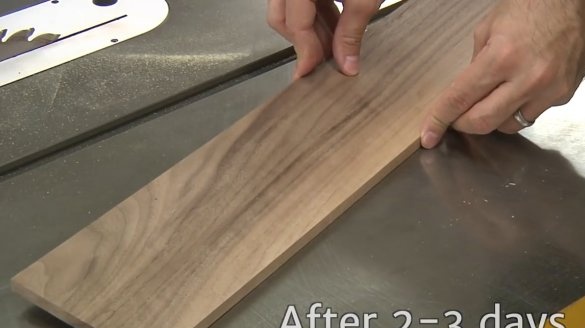
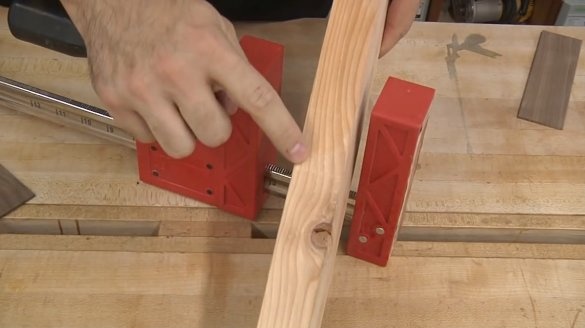
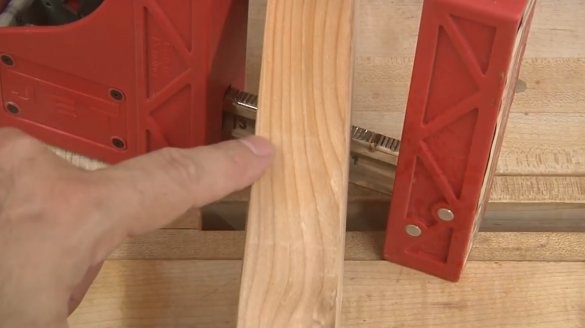
So, tip number 1: Do not process wood material long before the start of the project. Even if you saw your boards perfectly evenly and at right angles, over time they tend to bend. And then, if you wait a few days before you start cutting out joints and joints, then, most likely, in attempts to carefully connect the elements with each other, you will have to sweat pretty. Also your furniture it may turn out to be shaky after that.
Tip # 2: Try to cut carpentry within 24 hours, cutting the beams and boards at once the right size. And if you are not ready to come close to the project, it is better to leave the material in its original, untouched state. Work with him when you have time and inspiration.
Tip # 3: Do not do calculations in the mind at a time when your hands are riveted to complex mechanical work.
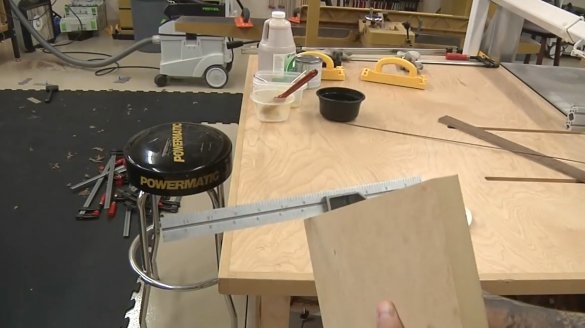
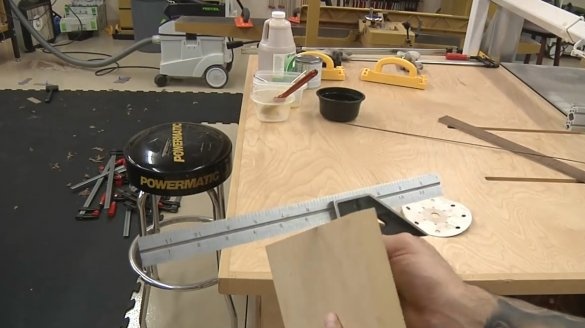
Tip # 4: A caliper and a folding ruler can be really very convenient for all kinds of measurements.
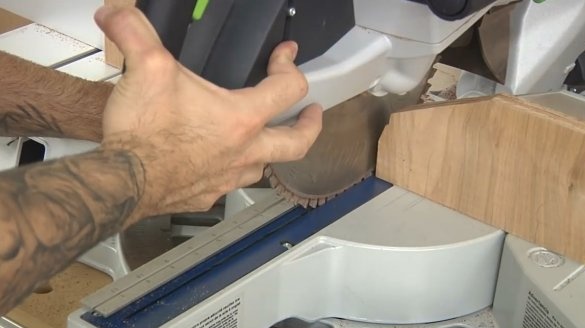
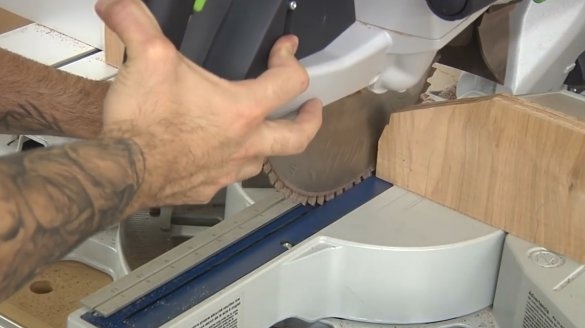
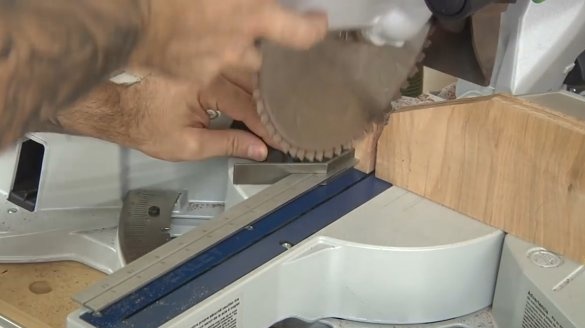
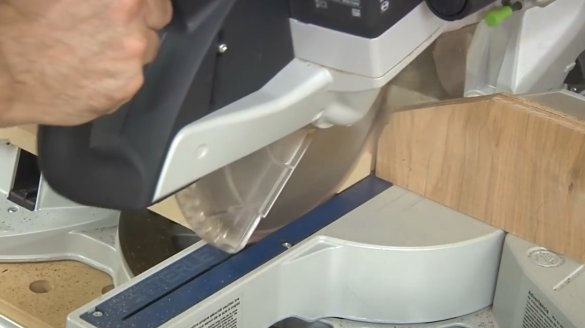
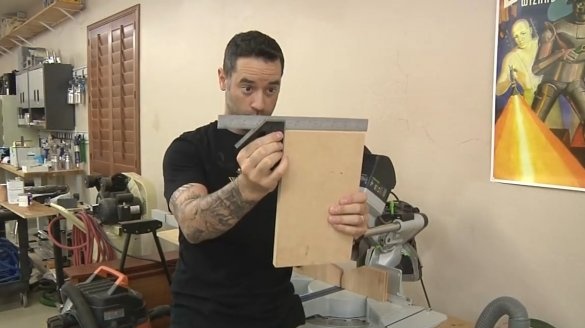
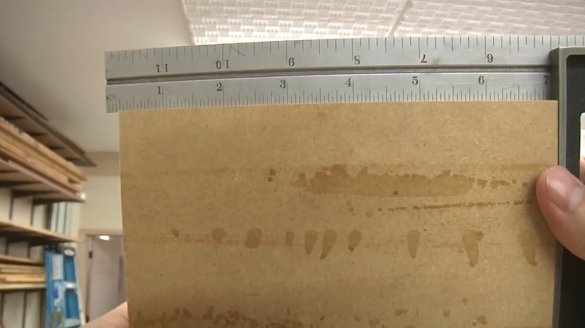
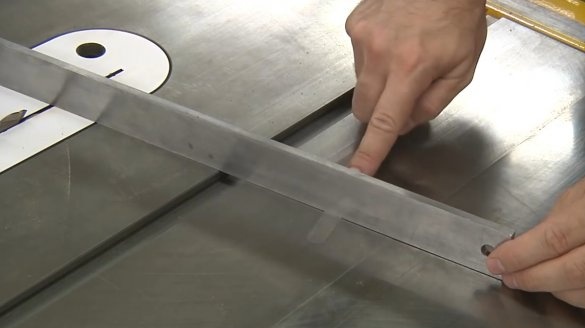
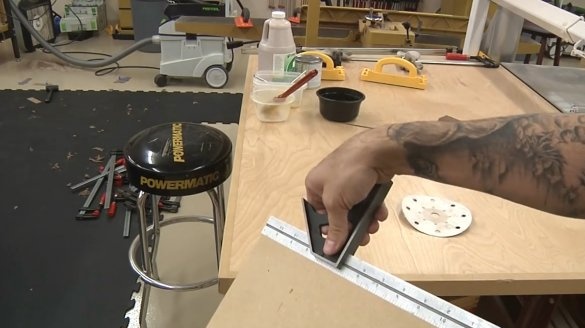
But we will be realistic! When calibrating a circular saw, for example, you can go crazy as soon as possible before you calculate everything down to a thousandth. Isn’t it easier to just make a cut and check it with a corner / ruler.
And, of course, give yourself time to calmly expose your equipment, configure it for yourself. The moment of truth will come when you immerse yourself in work.
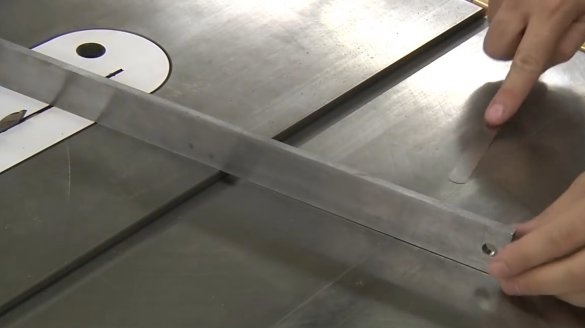
Another important point. The author knows that the surface of the countertop of his circular table is far from perfectly flat. This fact may cause him to replace the top of the table. But only if he really believes that it is essential for him. If the quality of work does not depend on this, then you do not need to bathe.
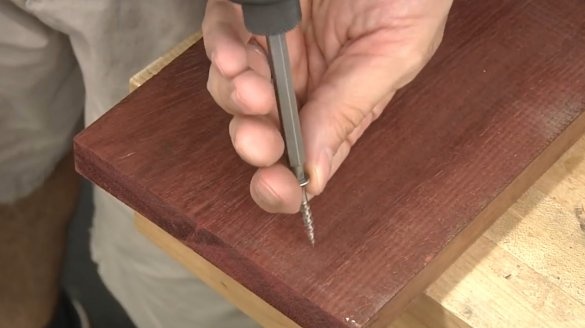
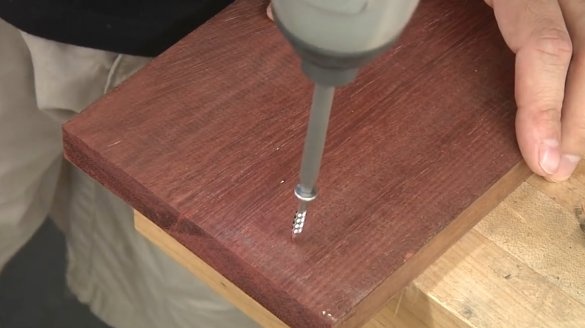
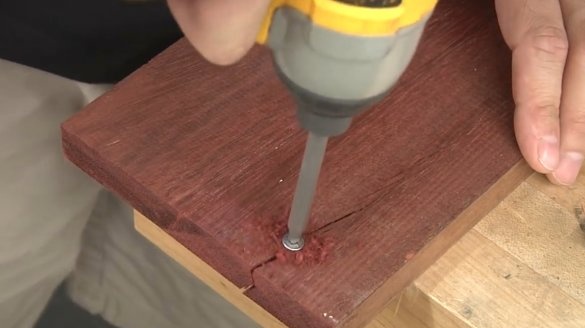
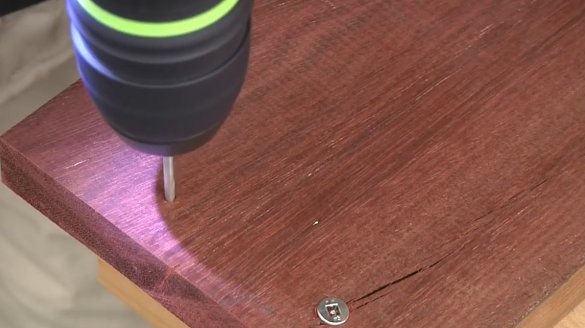
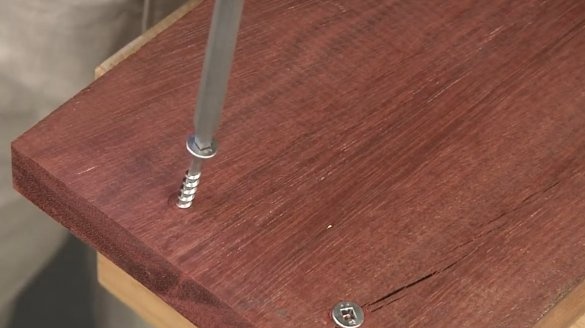
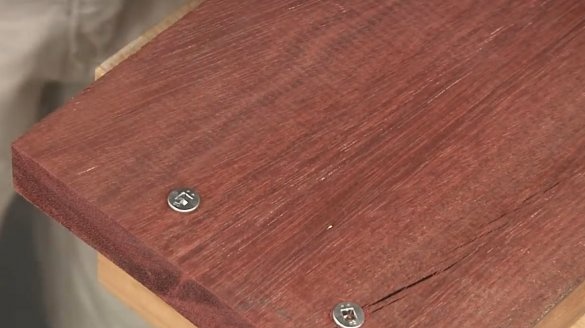
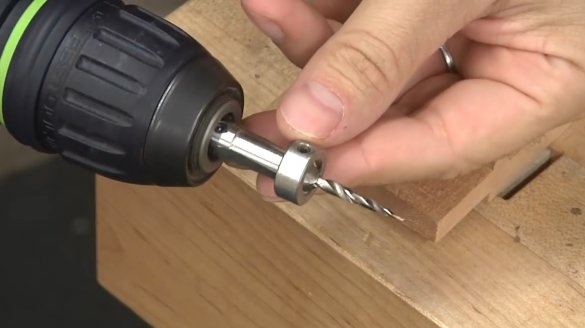
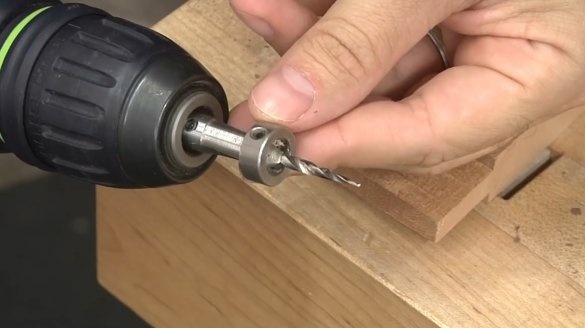
Tip number 5: Mark always makes the primary holes for screws. Neglecting such a procedure, we doom ourselves to some risk that the tree will crack, crack. And the denser the tree, the higher the likelihood that this will happen.
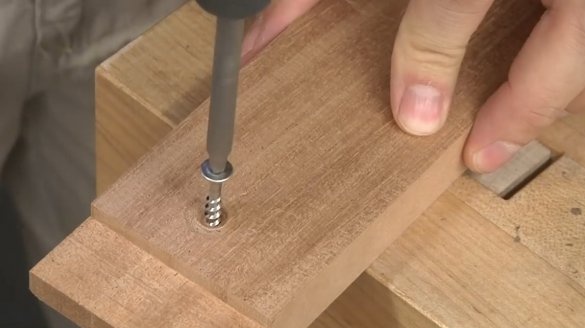
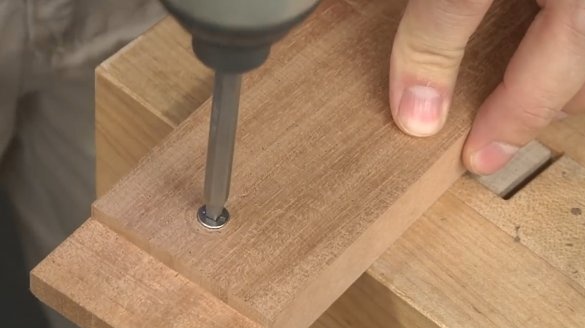
This is really a necessary technique - drilling holes in advance - so a bolt or screw has some space through which it easily goes deep into the material.
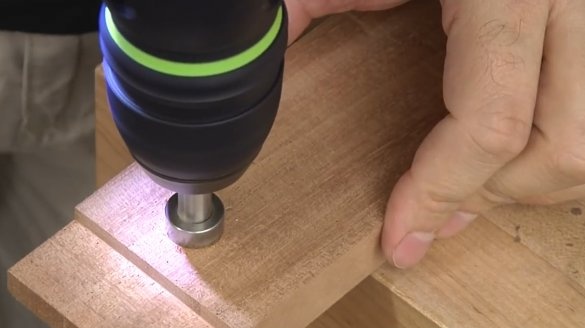
In many cases, when the holes for the caps of screws or bolts are countersunk, the pilot holes are made by themselves, and the screw head lies flush.
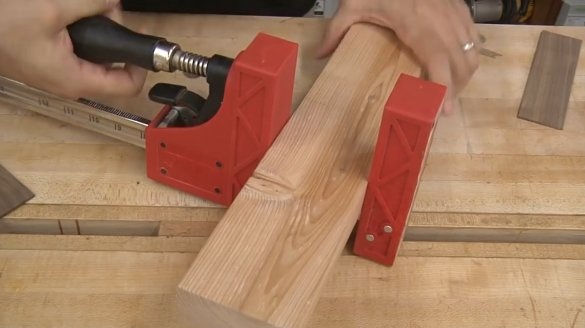
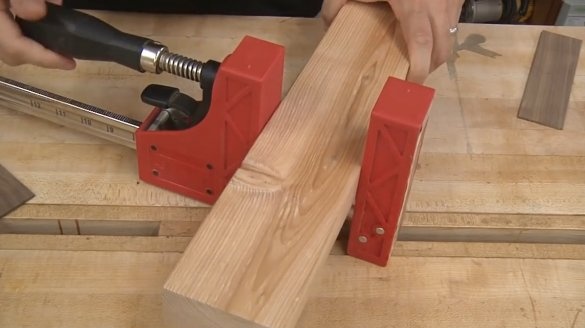
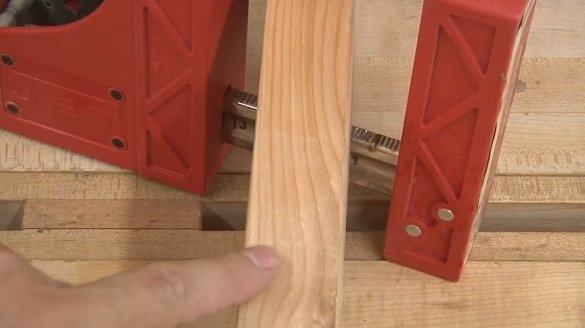
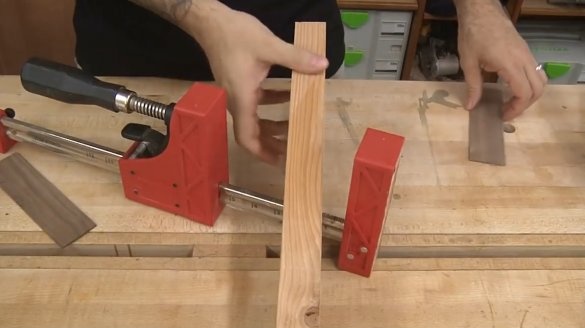
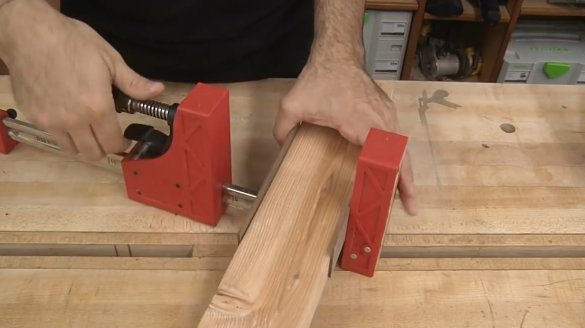
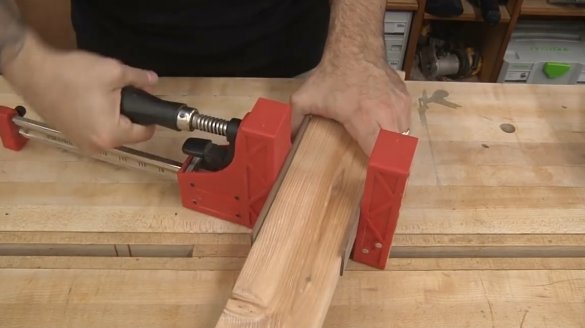
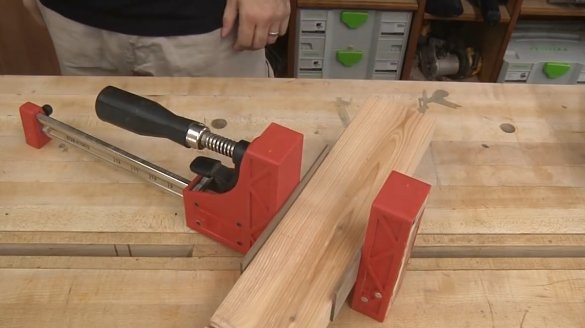
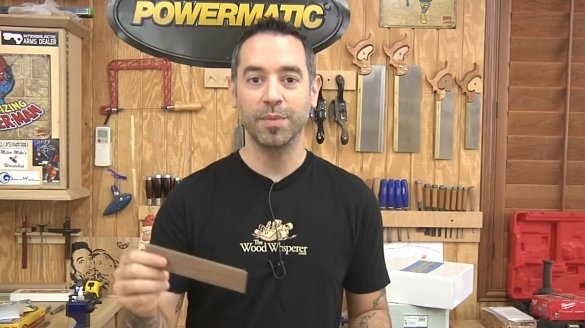
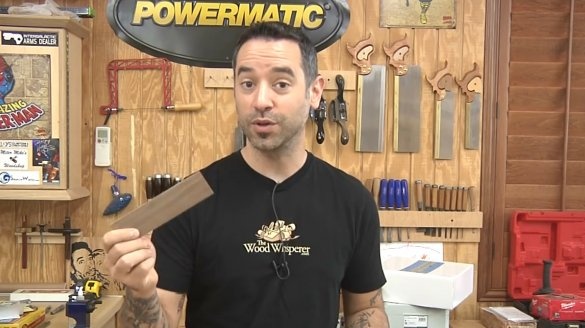
Tip # 6: Use gaskets whenever using clamps. Most clips are made of metal or plastic, and this material is much harder than wood. As a result, the tree is crushed under pressure. In most cases, we do not notice this until the working stage is suitable at which the product is opened with a finish layer.
So, for safety reasons, use gaskets. Such can be a banal plank or plywood, which will stand between the tongue of the clamp and the product itself. They not only protect the wood, but also help to distribute the clamping pressure.
In this regard, the author cites the recommendation of his colleague, carpenter Michael Olsen, who says: "Never use a variety of wood harder than the tree to which you press the product." If the gasket is made of something denser, and the tree itself is pine or poplar (rather soft species), then the gasket in this case will also leave dents on the wood. It is better that the gasket is slightly softer than the wood material being processed.
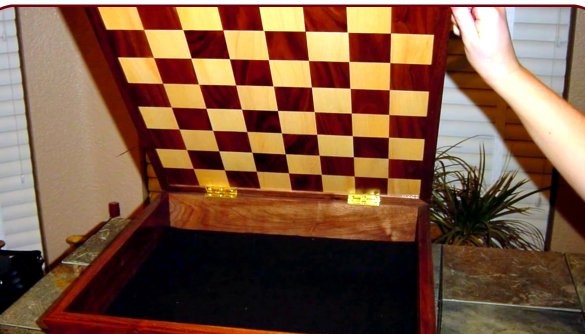
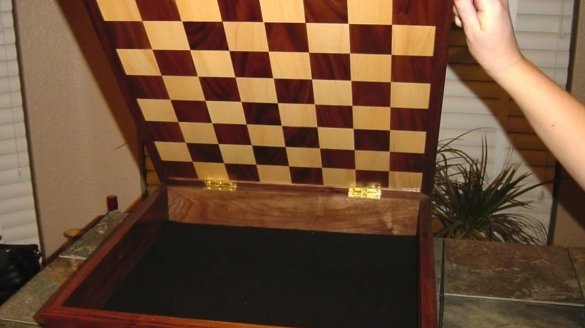
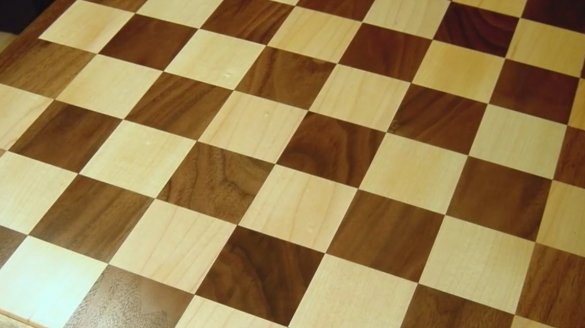
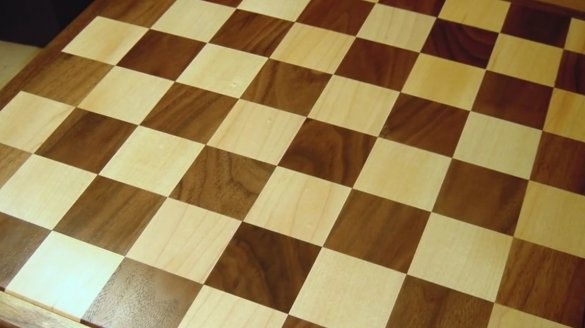
Tip number 7: Do not fit a large, wooden panel into the frame, do not border it! At first it looks beautiful, but after, as a rule, it ends in disaster: the tree narrows and expands along the width of the fibers; sooner or later it will pop out / break through the frame, frame, as happened with this chessboard.
As for this product (and this is also hardwood and the border around it), it was made taking into account the movement of the tree in the middle of the panel. There, the tree has the opportunity to "swim" due to the fact that the fibers are cut there a little deeper. Thus, the panel can expand and contract in width.
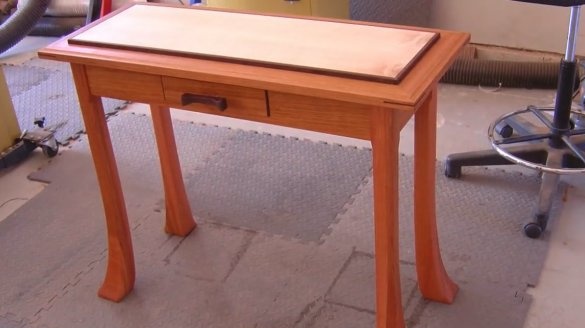
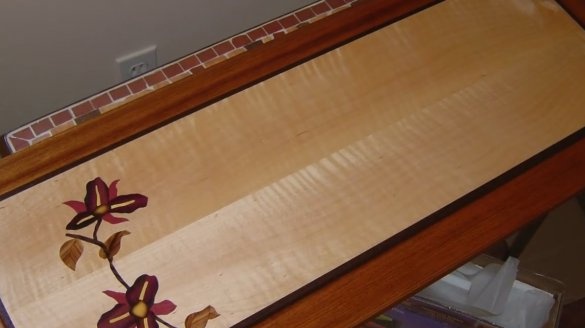
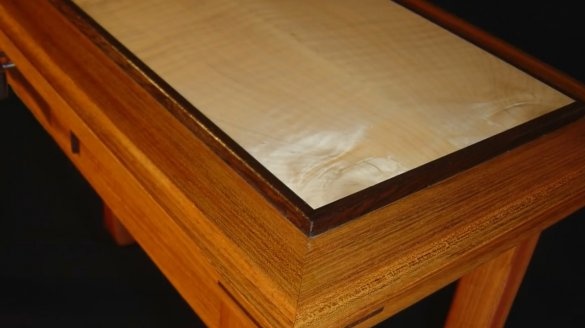
If you want to surround the panel with a border, let this panel be made of a stable substrate, for example, plywood. This photo perfectly illustrates what was said.
This is a table for the hall. It features a wide bezel and a slightly raised central panel made of shop plywood. Take a look, what a beauty! Over time, an unusual finish on the table becomes boring, but at first it pleases the eye with incredible pleasure.
Happy creative work, and interesting ideas!

