Greetings to all lovers of crafting something from nothing.
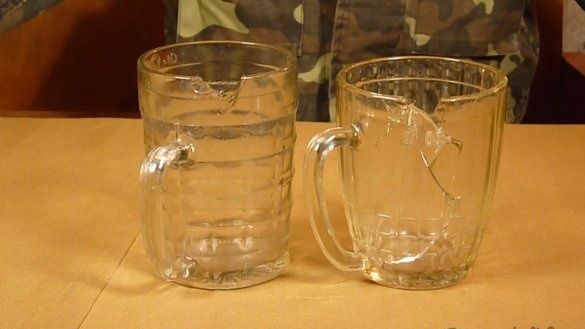
Our workshop suffered an irreparable loss. They could not stand the load and their favorite mugs broke.
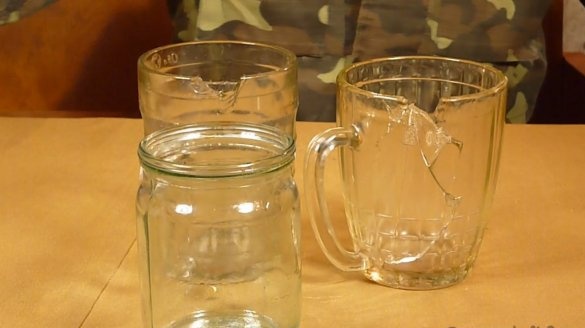
Since it is practically impossible to find such mugs now, we will do as we did before in the pubs. Not enough mugs, pour into cans.
Well, since drinking just from cans is not convenient, we turn them into mugs.
Tools needed.
1. Angle grinder.
2. Electric drill.
3. Industrial hair dryer.
4. Sharpening machine.
5. Hacksaw for metal.
6. Vise.
7. The hammer
8. Tap m8.
9. Drills.
10. Files.
Materials and consumables needed.
1. Two cans of 0.5l.
2. Aluminum decorative strip.
3. Hairpin m8.
4. cap nuts,
5. Details from broken gauges.
6. Sheet aluminum.
7. Plastic bottles.
8. Sleeves since the Second World War.
9. Old fasteners for curtains.
10. Sandpaper.
11. Pasta GOI.
12. Aluminum rivets.
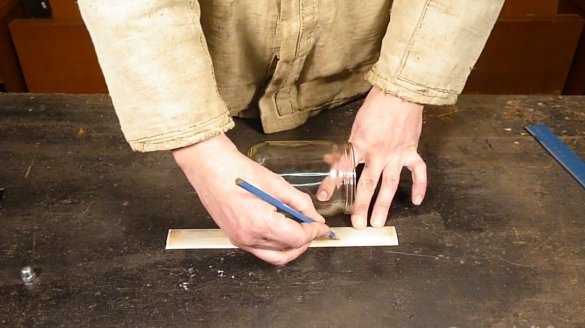
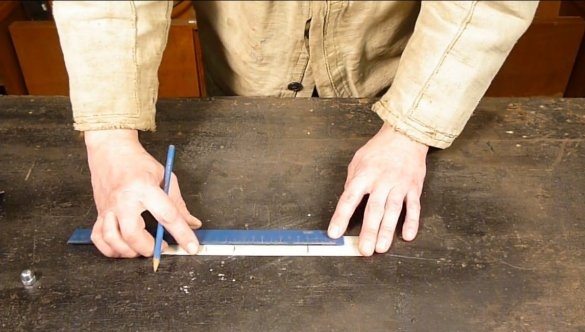
To begin with, we will make pens for future mugs from an outdated decorative aluminum strip.
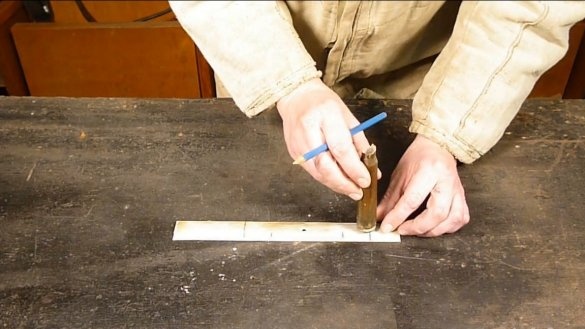
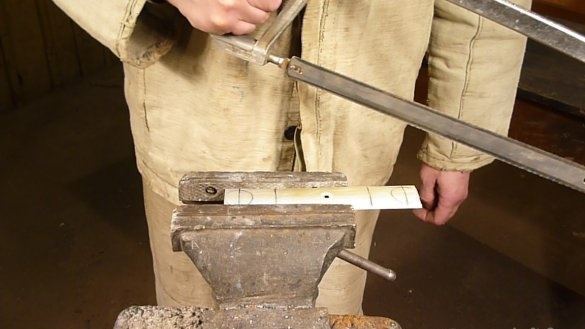
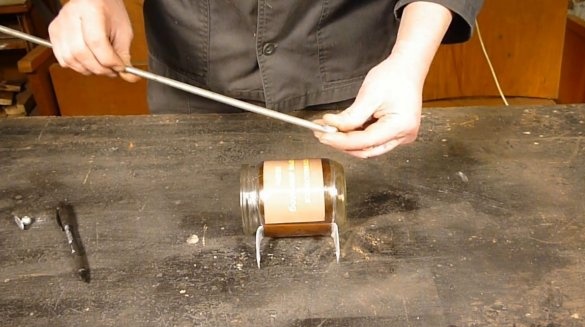
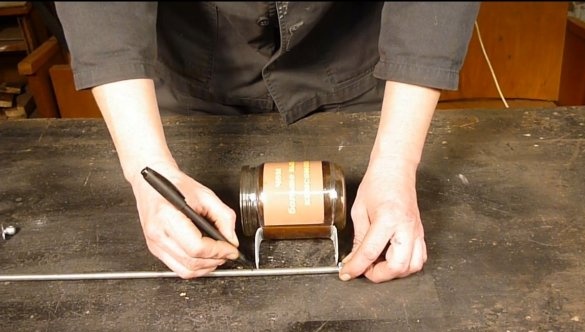
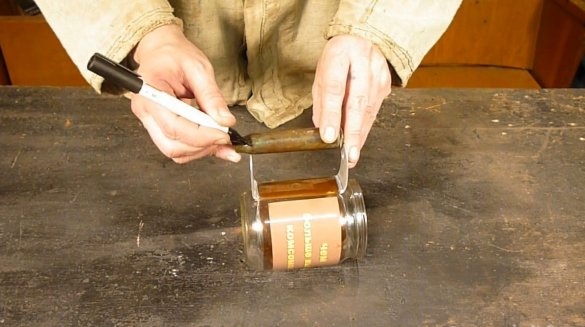
We measure a strip of 14 cm. 8 cm in the center and 3 cm. To the center of future holes on each side on the bends.
We also mark the handle fillets on the bottom of the sleeve.
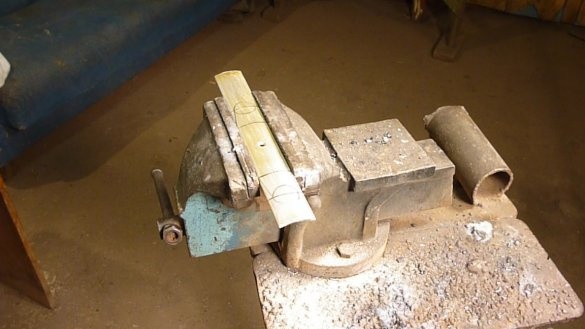
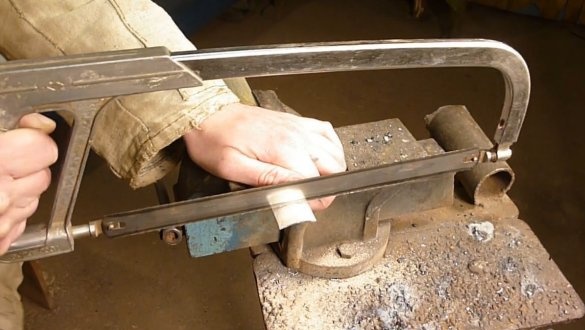
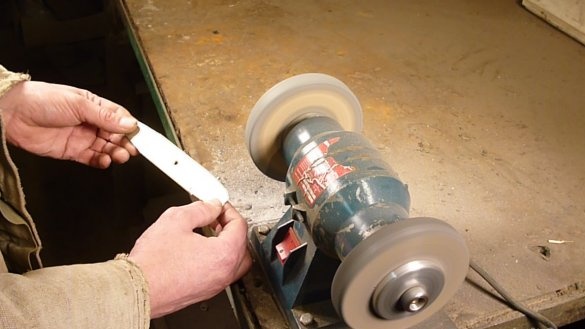
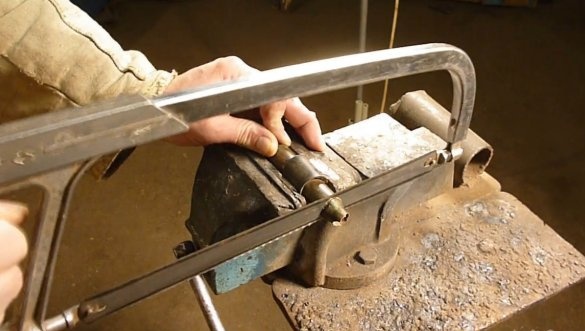
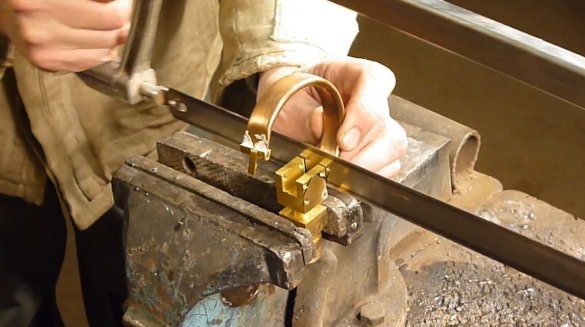
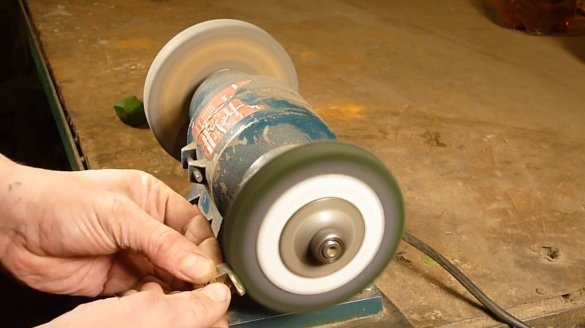
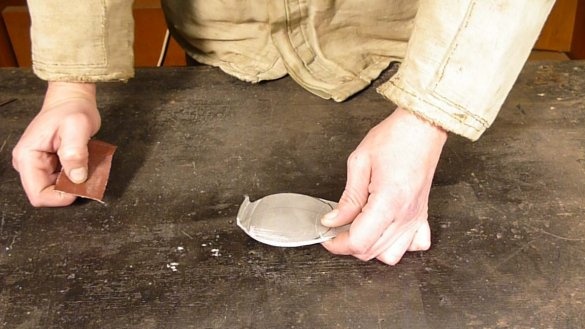
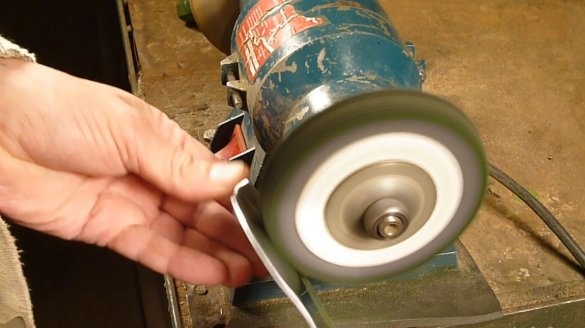
We cut it with a hacksaw for metal, process it on a grinding machine, and clean it with sandpaper.
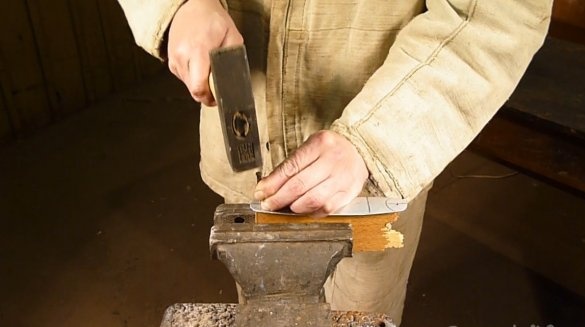
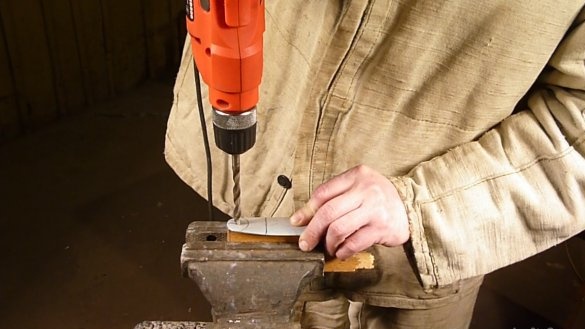
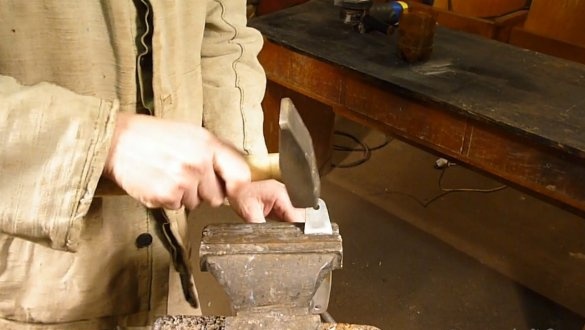
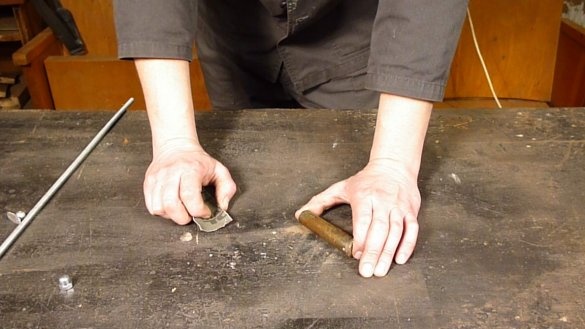
Next, drill holes for the stud and bend one side of the handle.
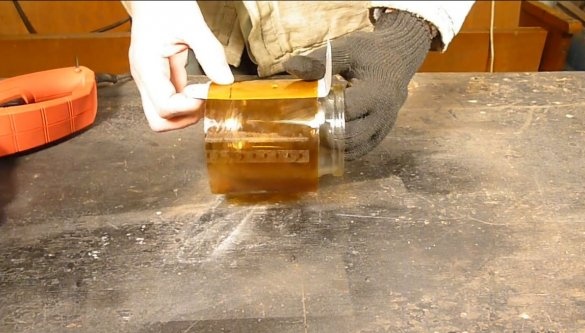
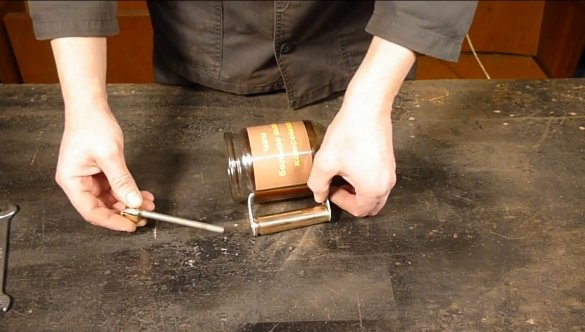
Now we attach the handle blank to the jar.
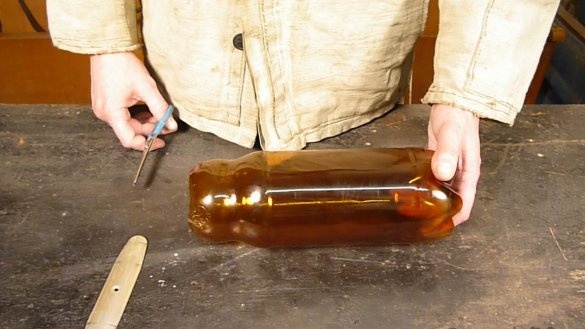
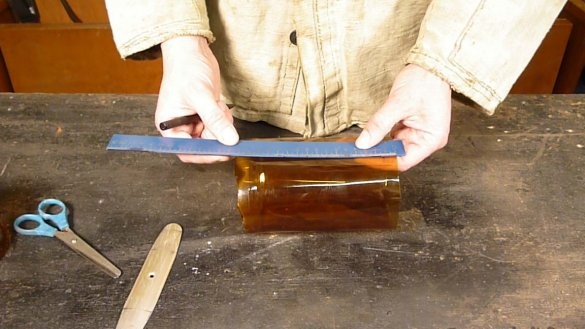
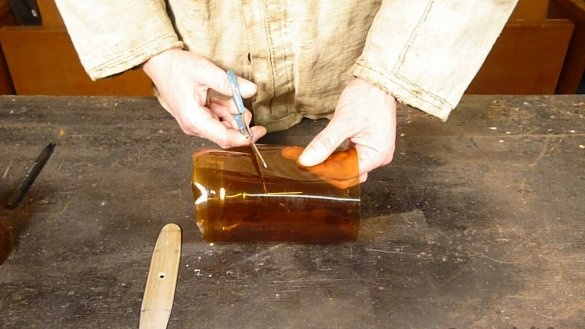
From the middle of the plastic bottle, cut a piece of about 10 cm.
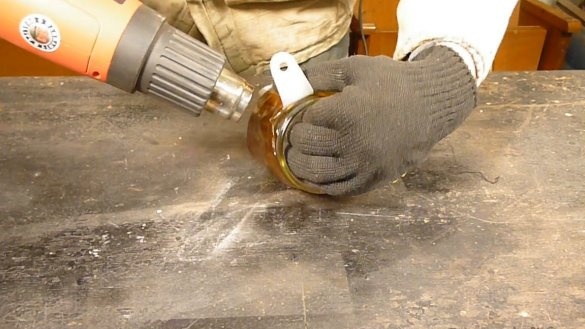
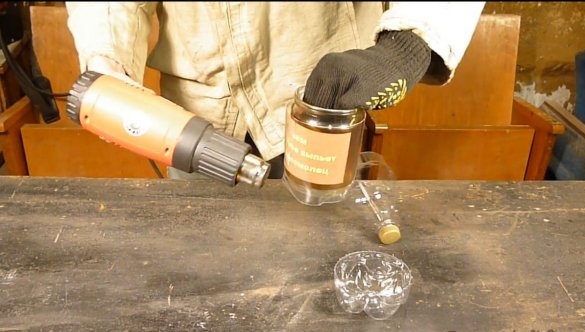
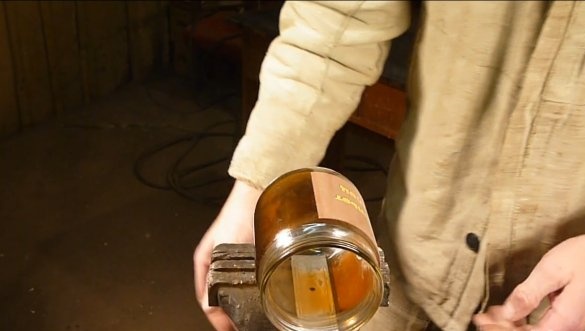
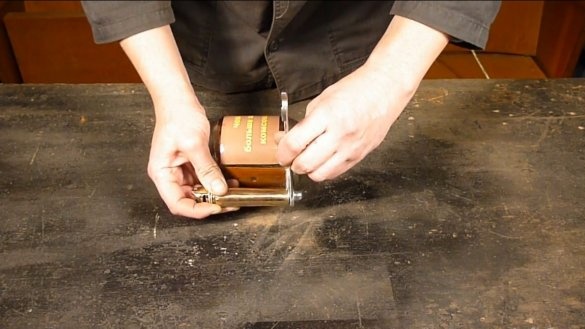
We put the blank of the handle to the jar, put on top the plastic cylinder obtained from the bottle and heat the industrial hairdryer. Plastic tightly compresses the can and securely fixes the handle.
If there is a desire to decorate the mug, then you can stick some kind of picture or inscription and repeat the procedure, only using transparent plastic.
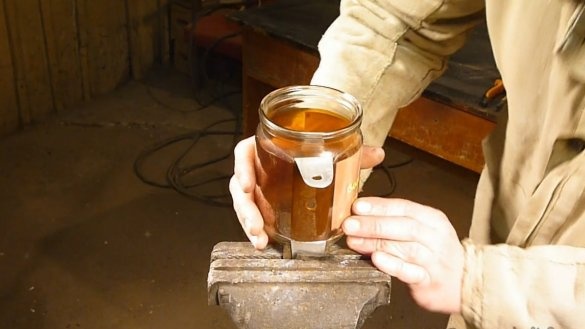
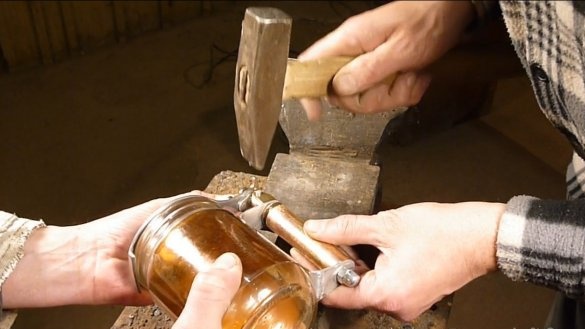
Carefully, so as not to damage the jar, bend the second side of the handle.
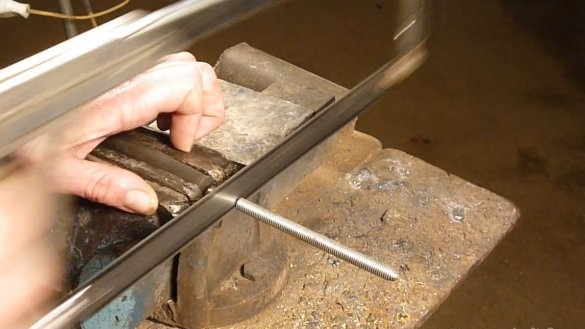
We screw the cap nut onto the hairpin, measure the size with a margin of one more thread and cut it off.
We mark and cut the sleeve. You can use any tube in place of the sleeve, it all depends on the flight of imagination.
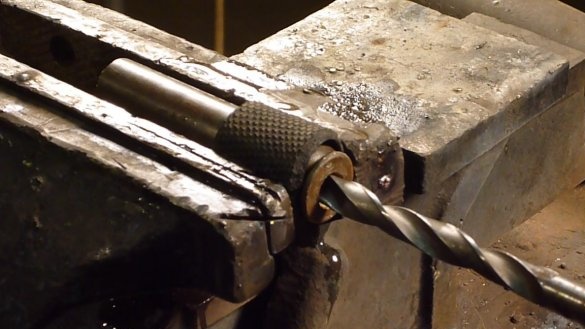
In the bottom of the sleeve we drill a hole for the stud.
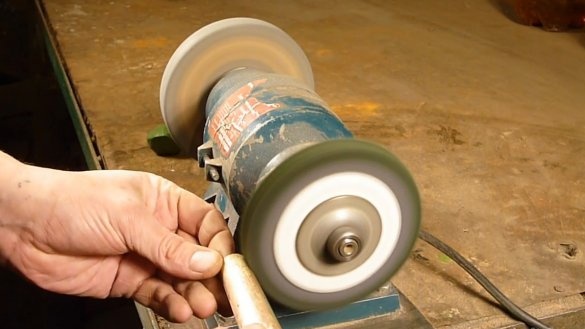
We clean the sleeve with sandpaper and polish it on a felt circle with GOI paste.
Now we make a part for the rotary mechanism of the cover. For this, parts from broken gauges came very well.
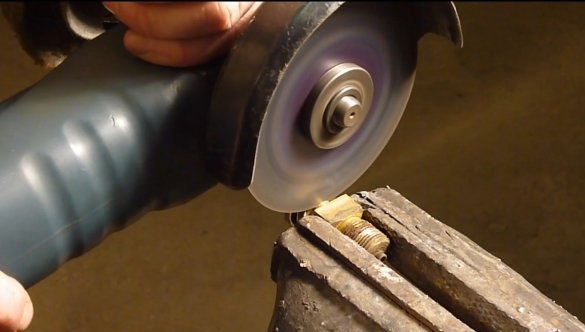
Cut off.
We drill rivet holes.
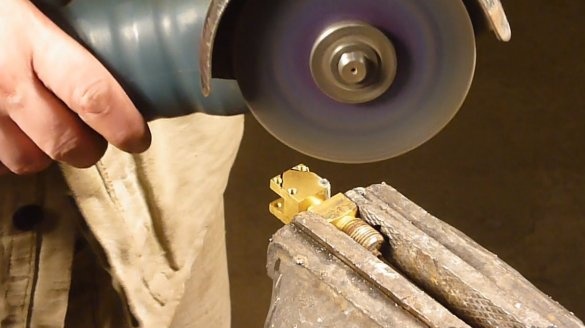
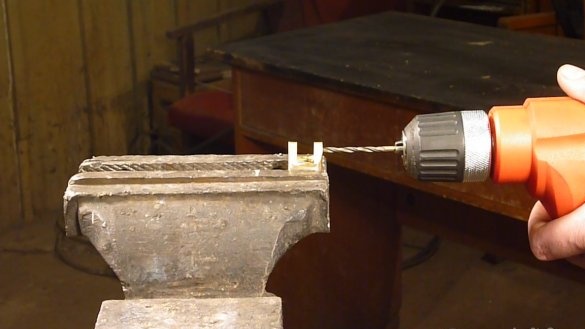
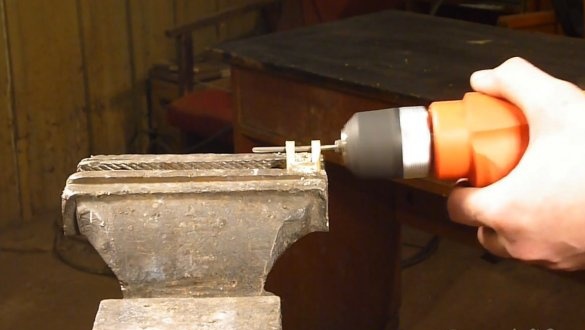
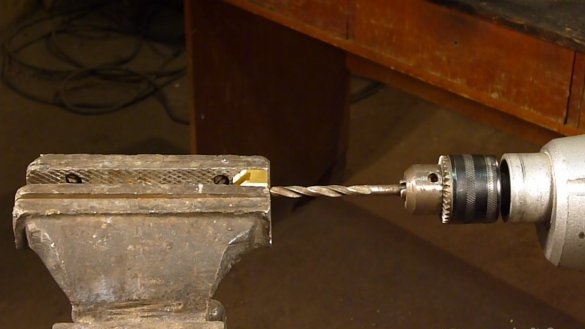
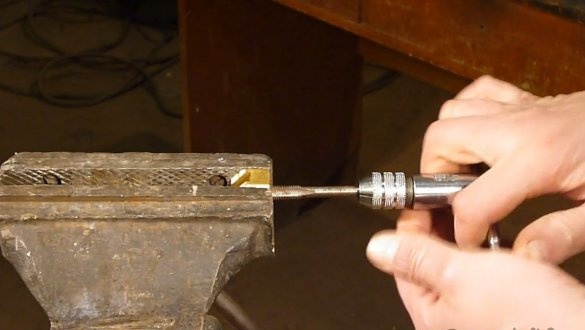
We drill a hole for the stud and cut the thread.
We process with needle files, sanding and polishing.
Now we collect the handle of the mug together.
It remains to make a cover.
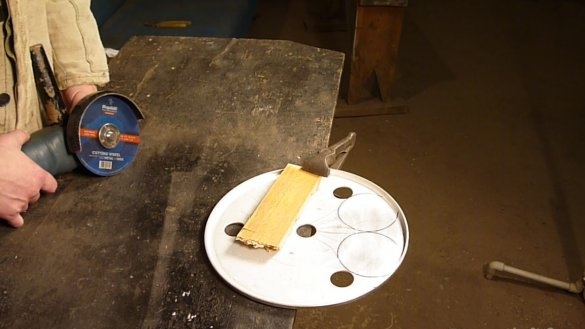
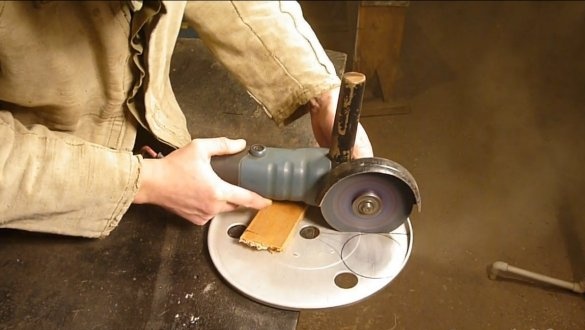
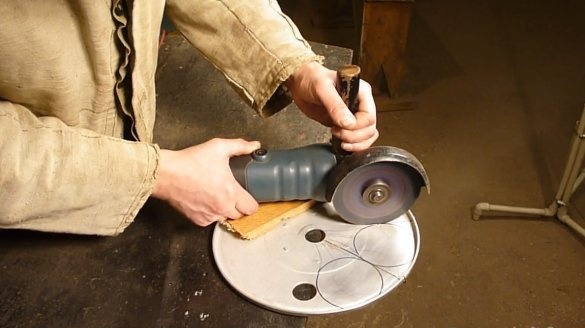
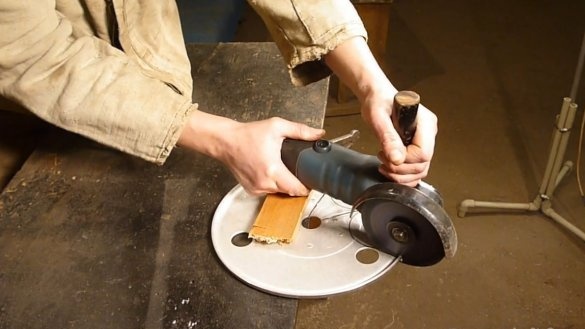
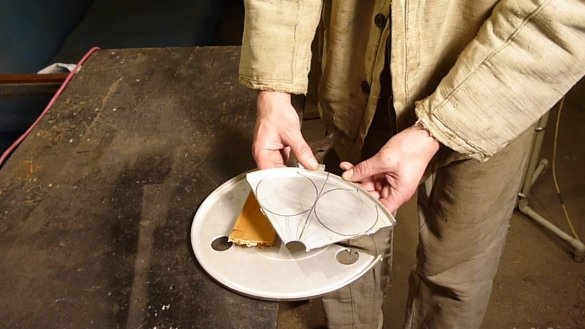
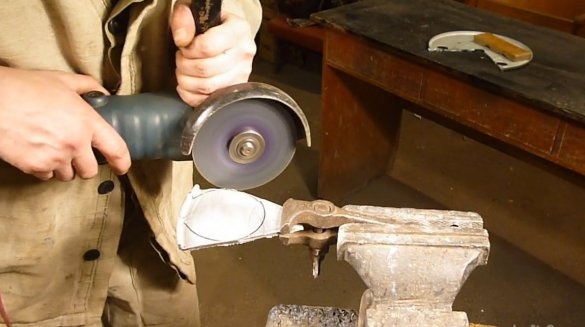
To do this, you need sheet aluminum. In our workshop, a disk for records from an old player was littered, let's put it into business. We outline the contours of future covers and cut out with a grinder.
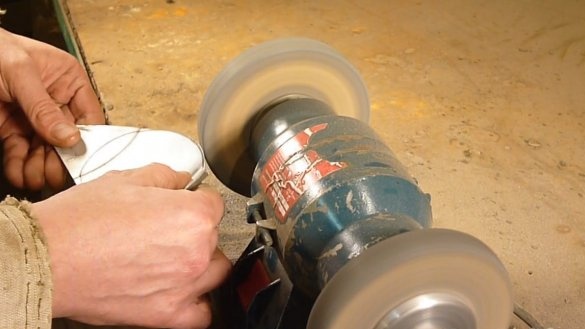
We form on the grinding machine.
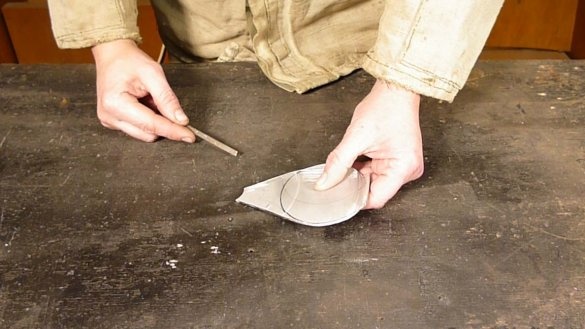
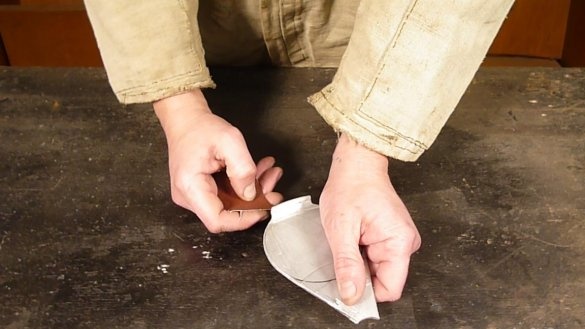
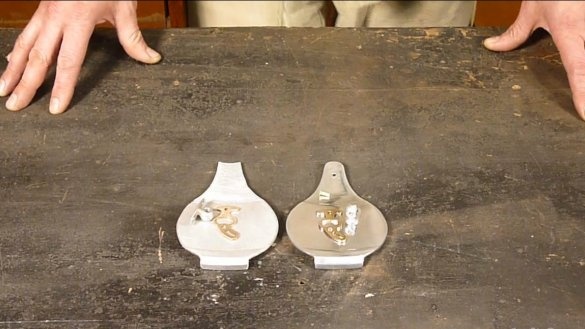
We process it with a file, clean it with sandpaper and, of course, polish it.
For the lever we use a polished part from the same broken pressure gauge, and for the second part of the rotary mechanism - fasteners for curtains. The fact that this is a fixture for curtains is just an assumption, in general, without a clue what kind of detail this is, it just lay in the bank with all the little things, but it went perfectly.
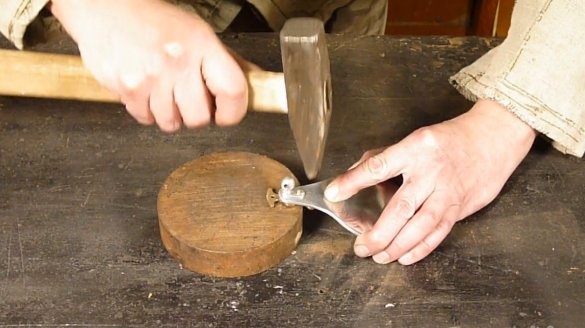
We connect all the details to the rivet.
Also on the rivet we connect the lid with a mug.
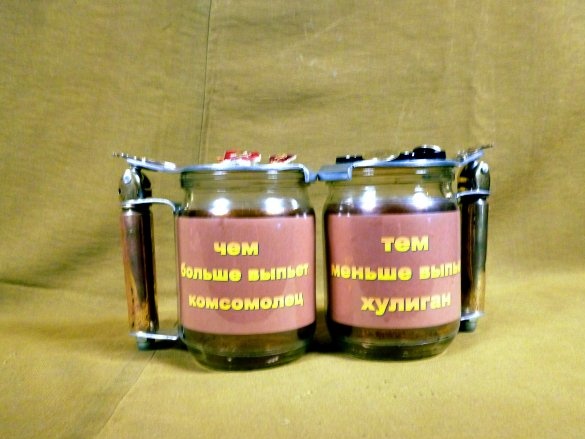
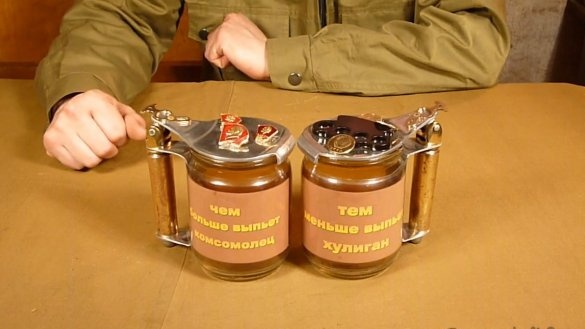
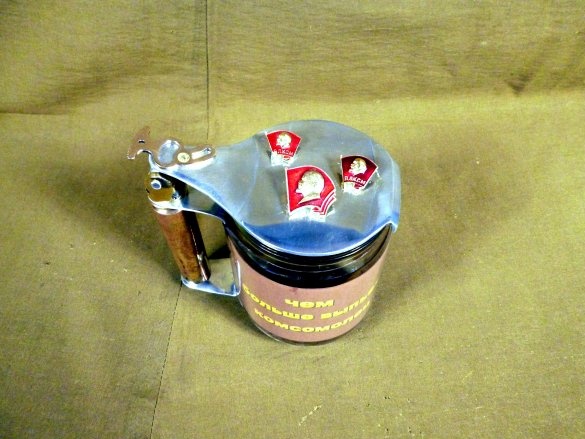
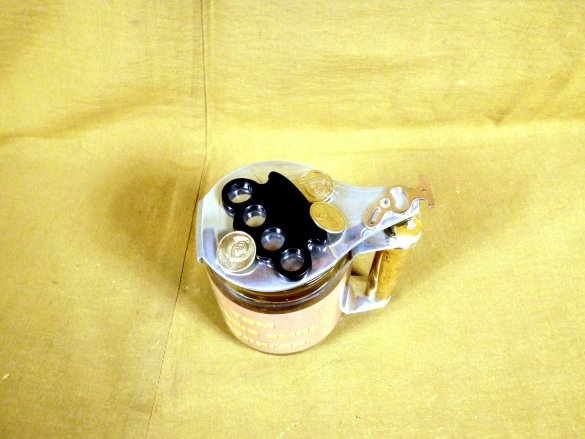
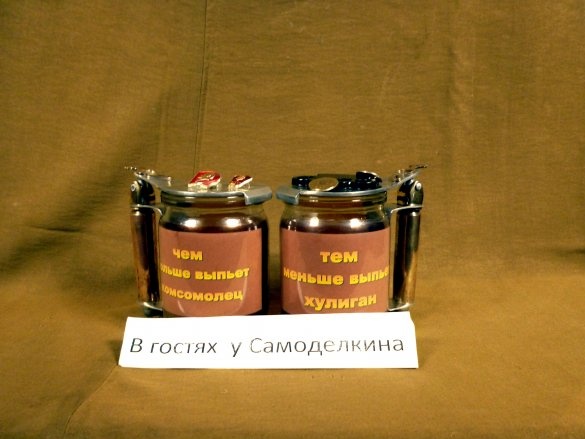
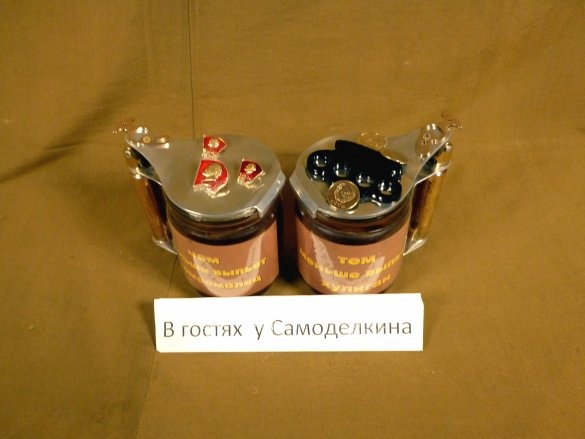
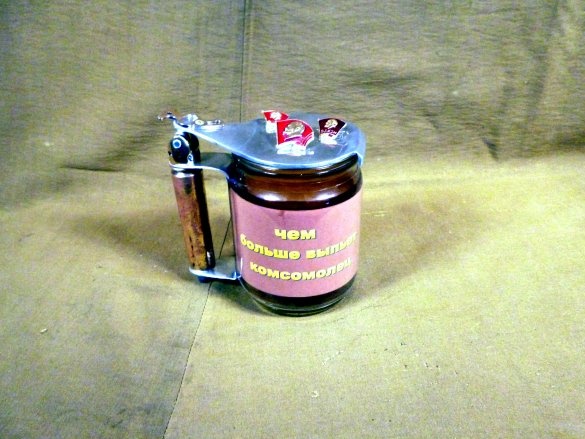
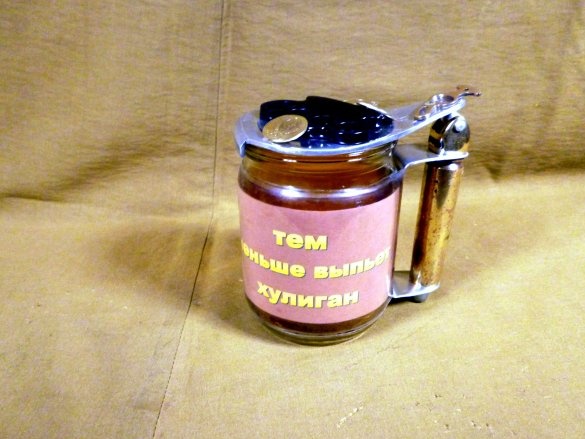
These are the cool circles we've got.
Since there is a certain theme in the circles, the decor was glued to the covers.
All good and good luck in work.
You can watch a video on making mugs here.


