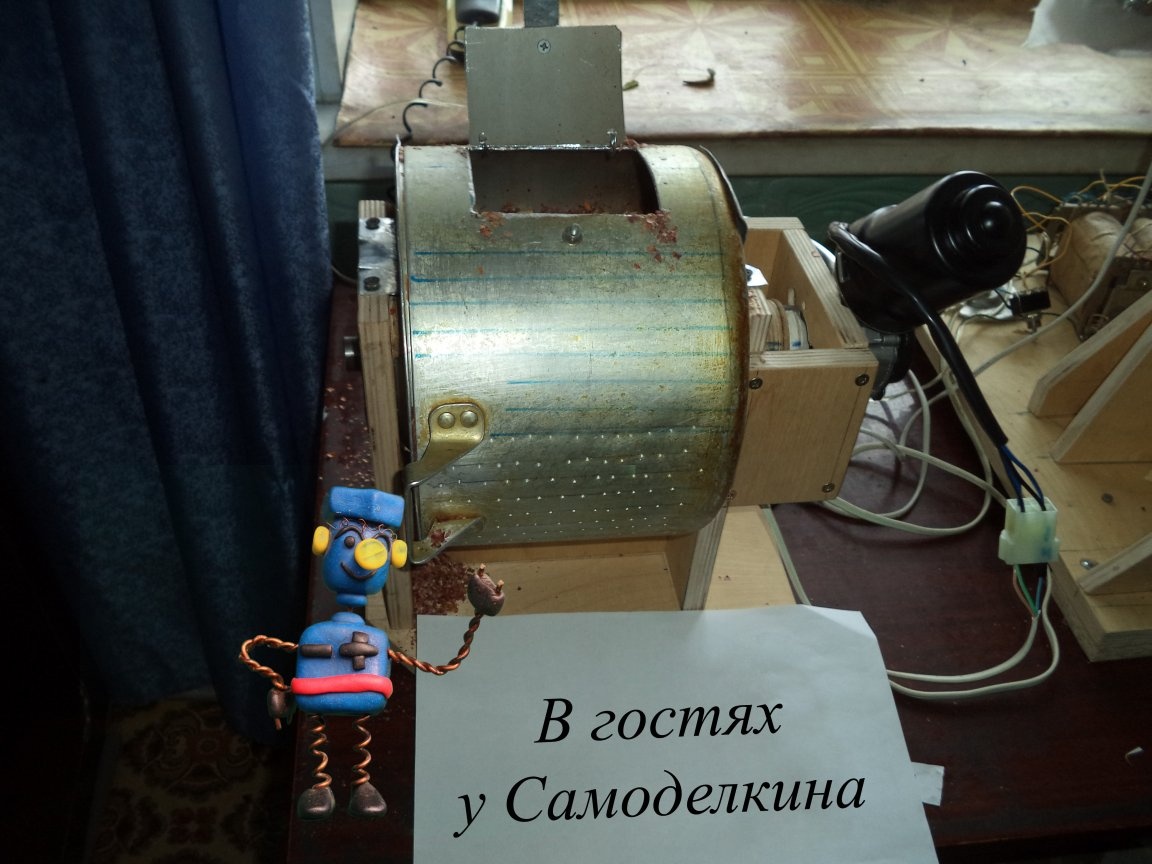
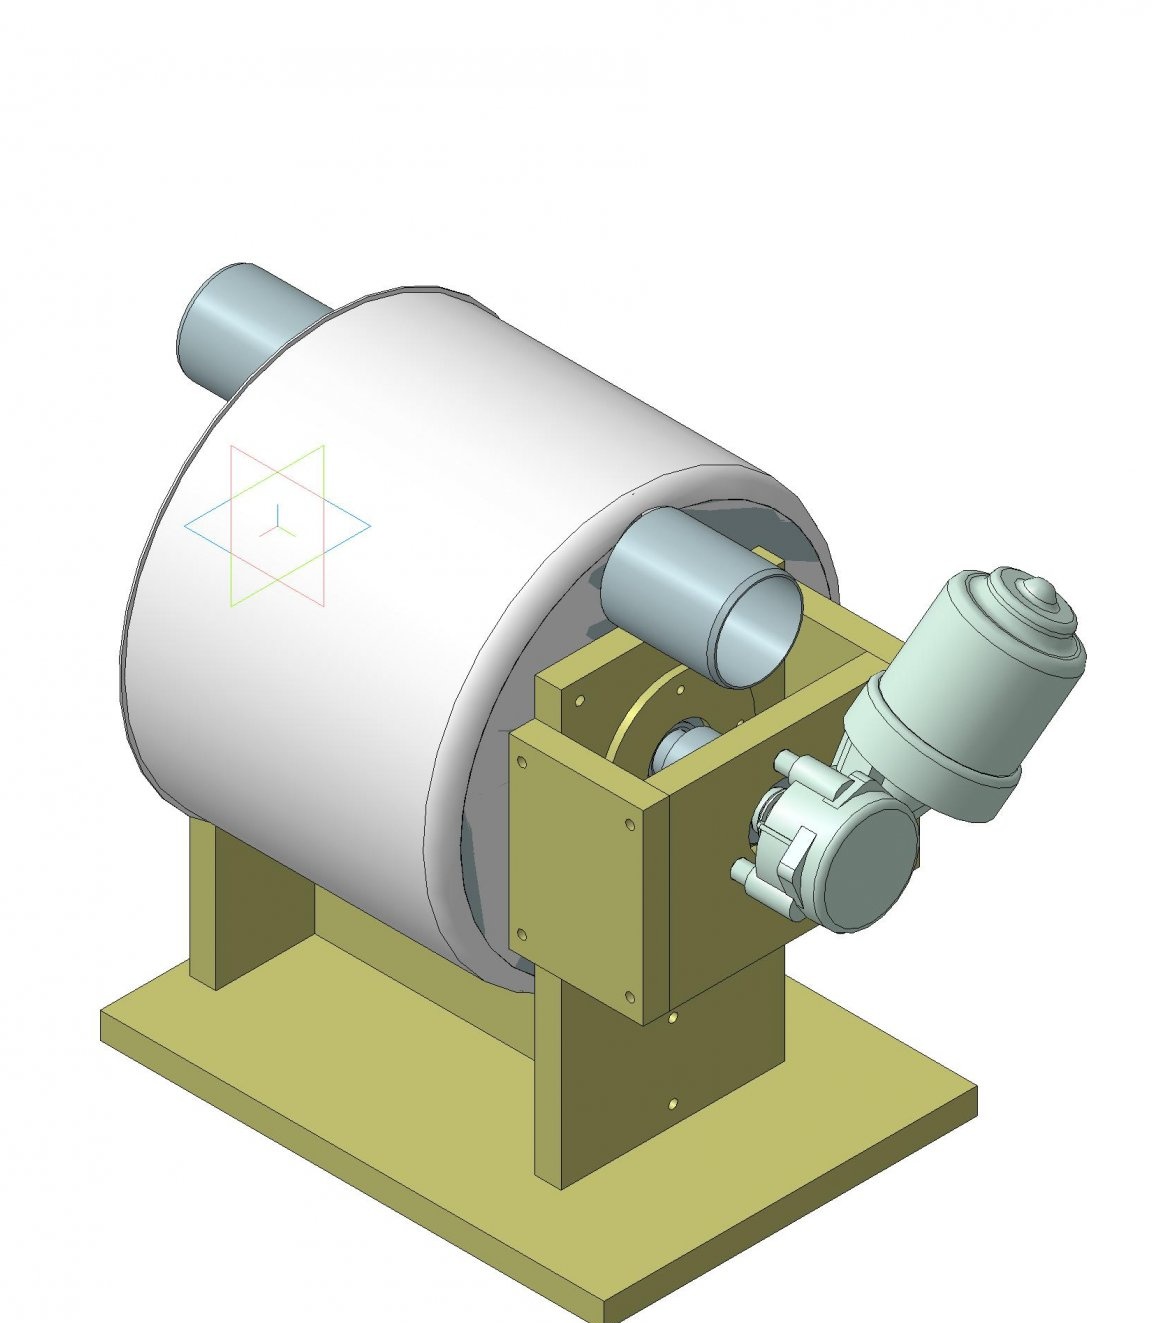
Good afternoon, in my instructions I will tell you how to make a small peanut husk. Drum loading peanuts about 1 kg.
The device is powered by a 12 volt power supply or a car battery.
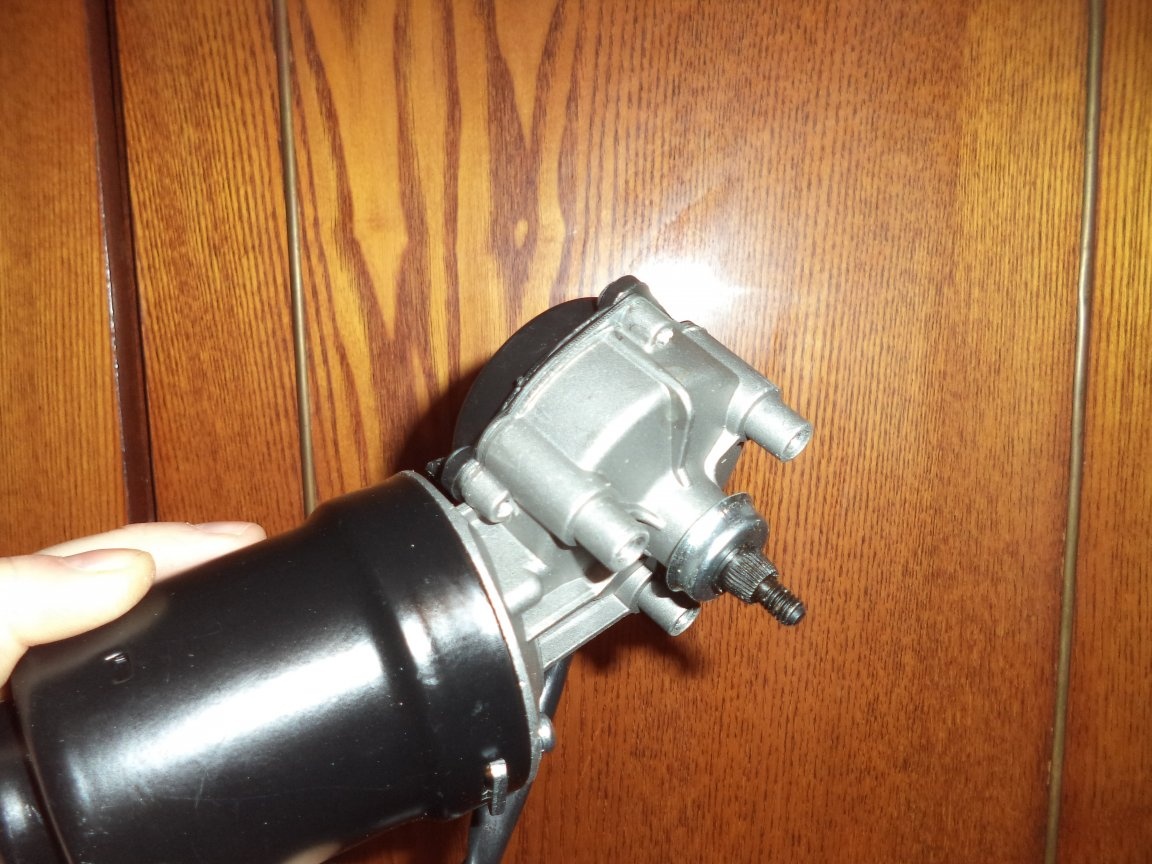
The machine runs on a wiper motor with a worm gear (from a VAZ 2101 car), rotation speed 60 rpm.
All other machine parts were made. do it yourself from improvised means.
Materials and tools that I used:
Material List:
1. Wiper motor from a VAZ 2101 car;
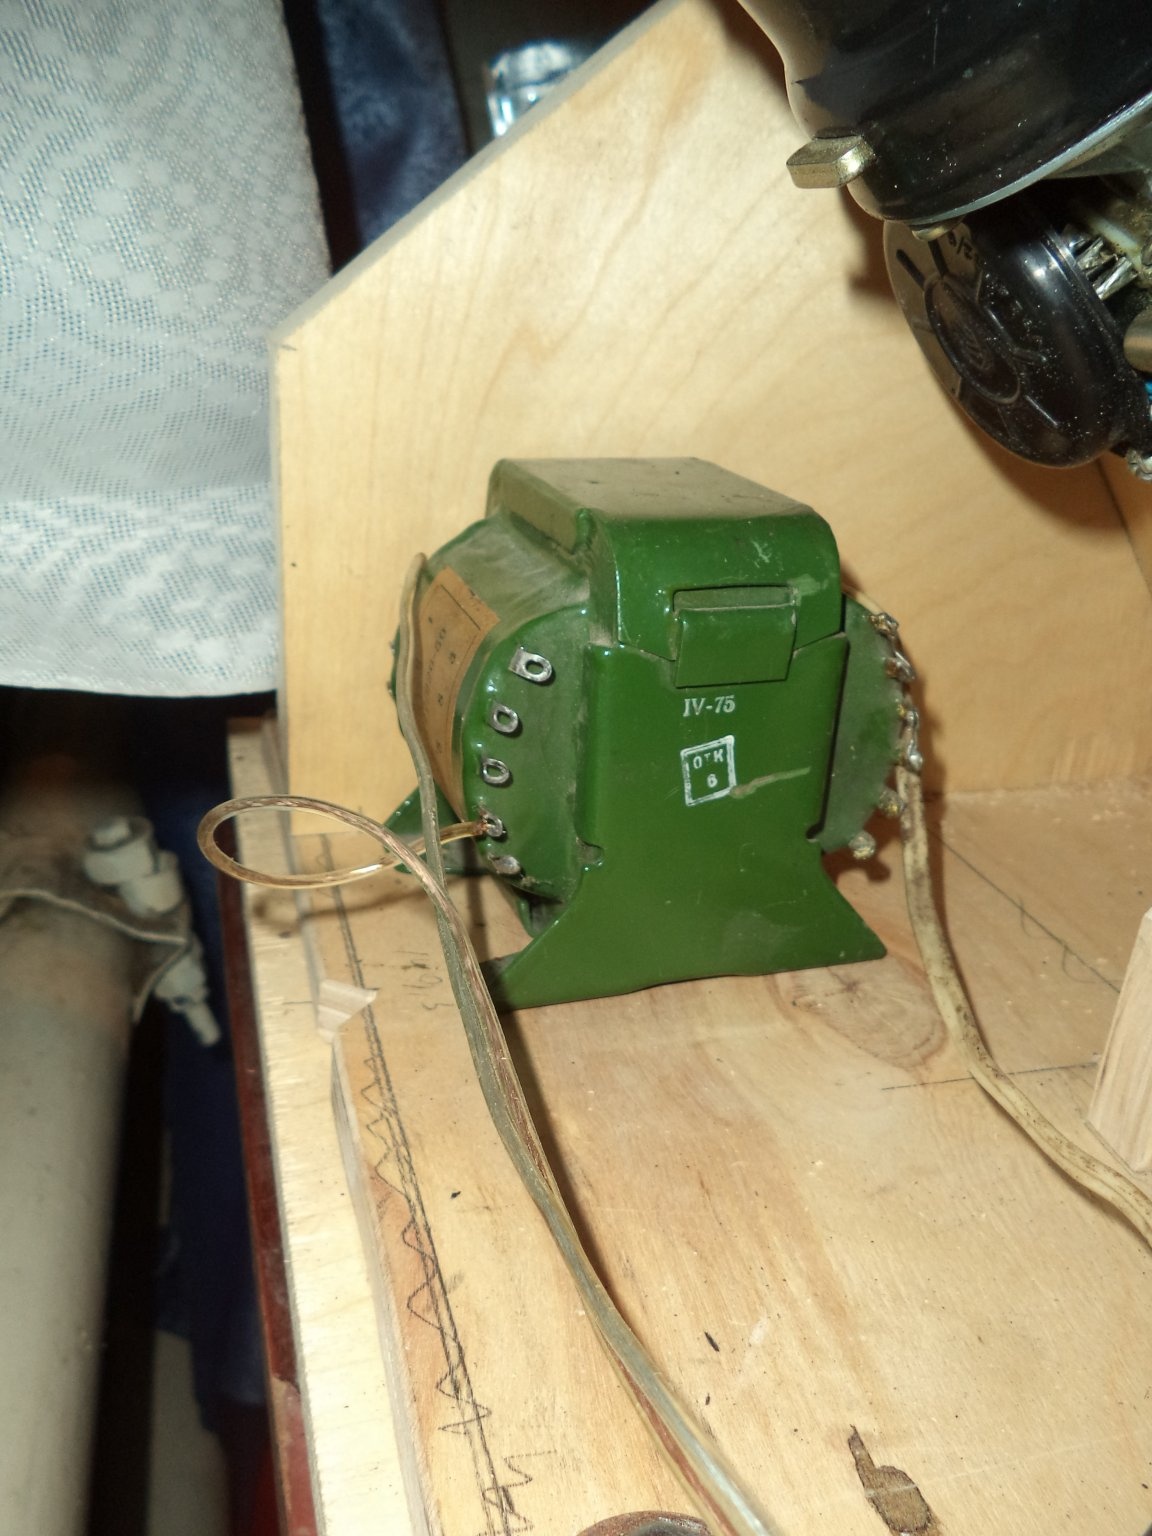
2. Transformer for 12V;
3. Diode bridge;
4. Wires;
5. The switch;
6. Bolts, screws, nuts, washers clean and retaining, screws, screws;
7. Plywood with a thickness of 14 mm;
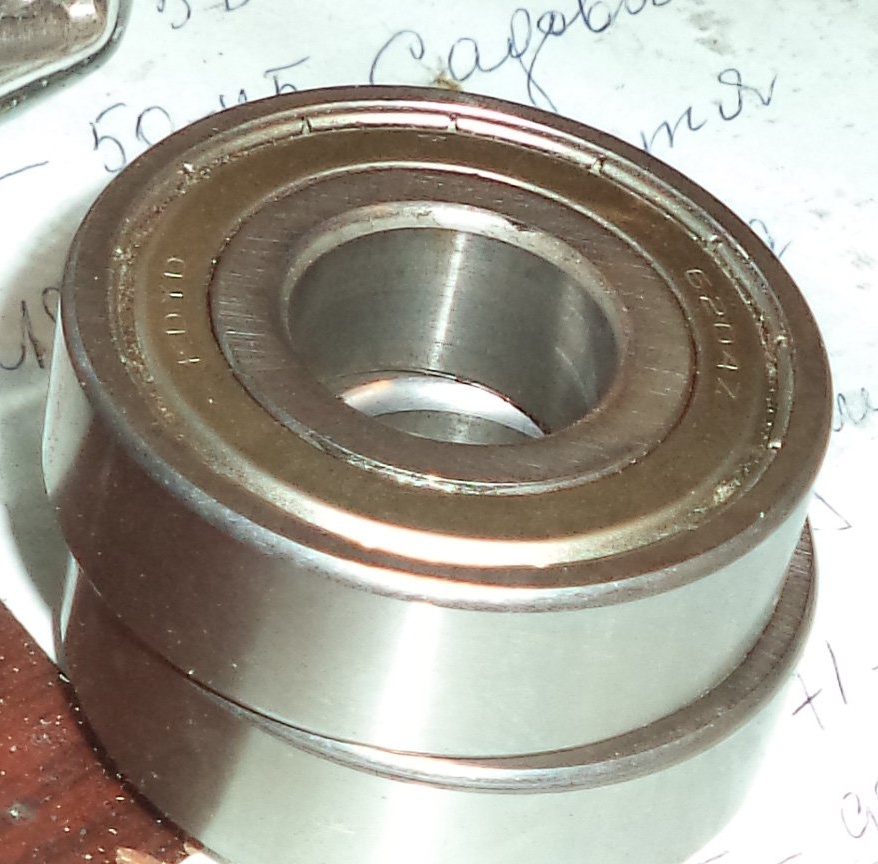
8. Two bearings;
9. Steel bar with a diameter of 20 mm;
10. Steel strip;
11. Thin sheet 0.3 mm thick;
12. Fiberboard with a thickness of 4mm;
13. Steel pipe, inner diameter 20 mm;
14. Steel tube outer diameter 8 mm;
15. Plastic 6 mm thick;
16. Aluminum pan;
Tool List:
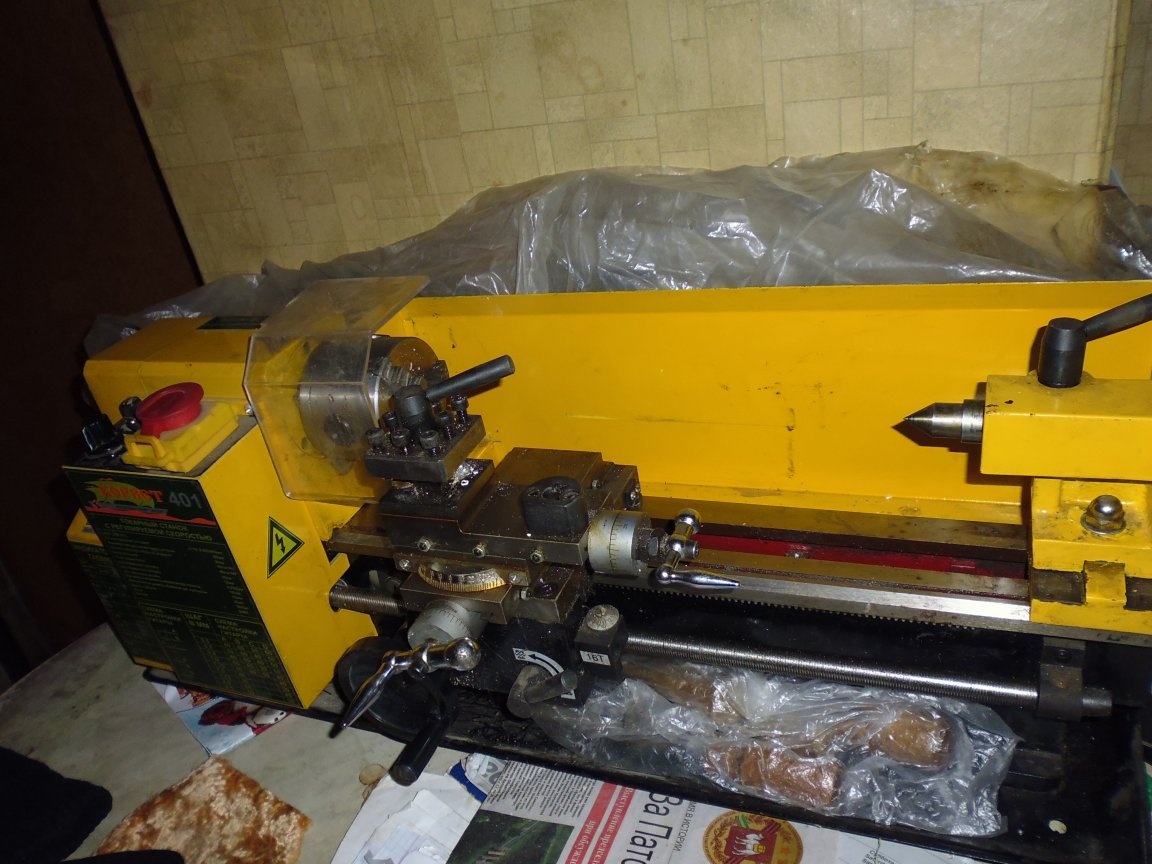
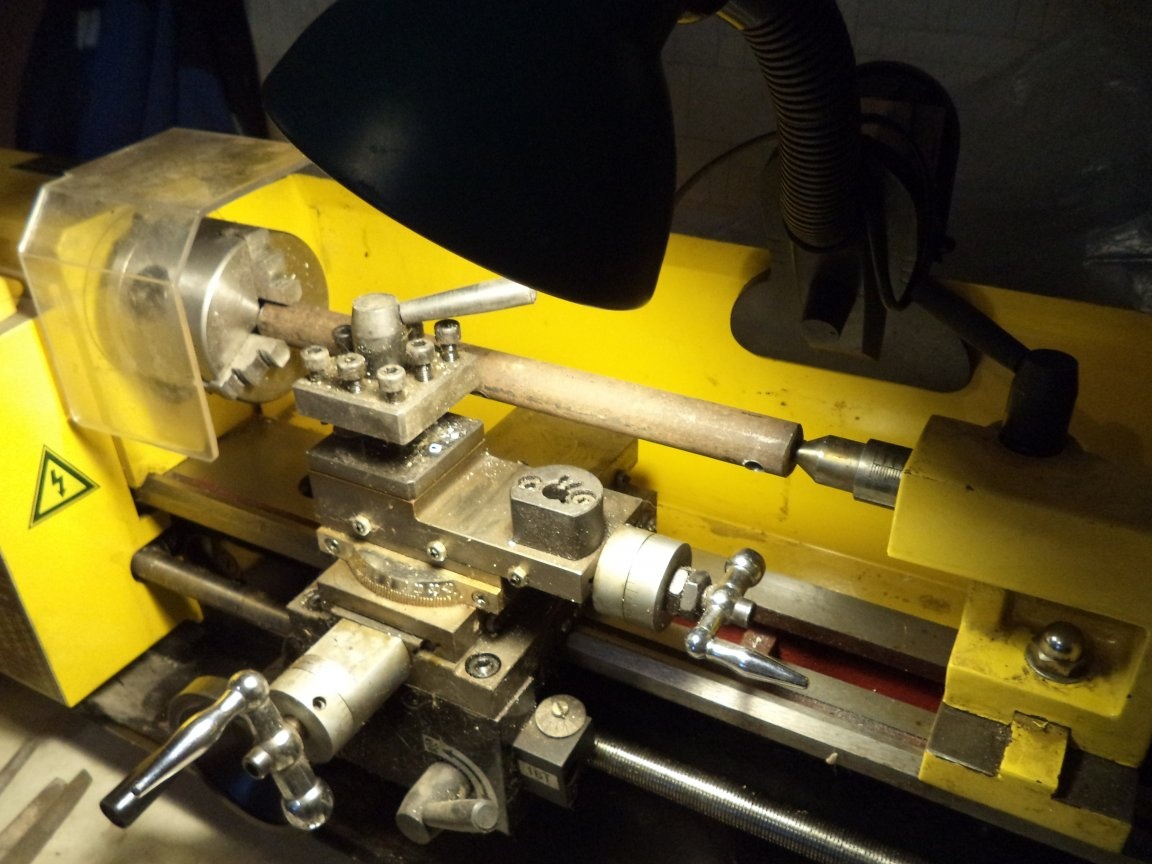
1. Small-sized lathe;
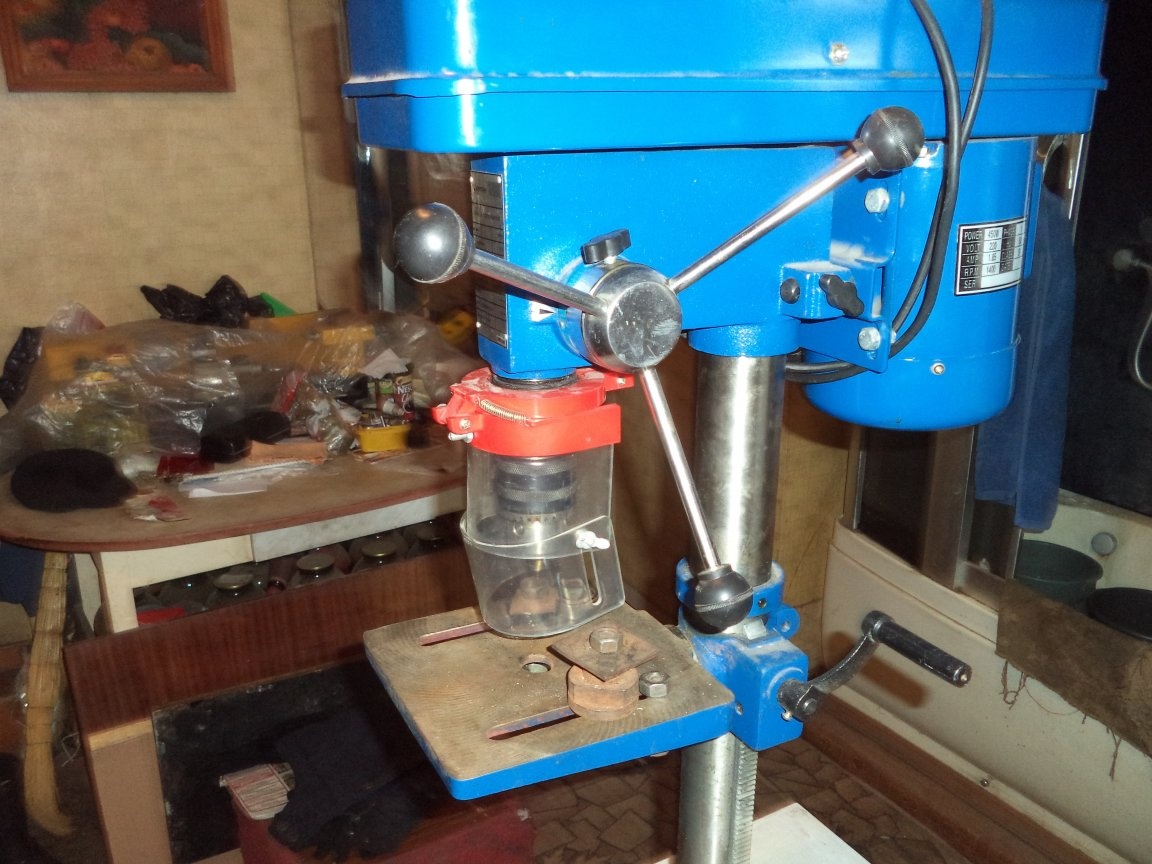
2. Drilling machine;
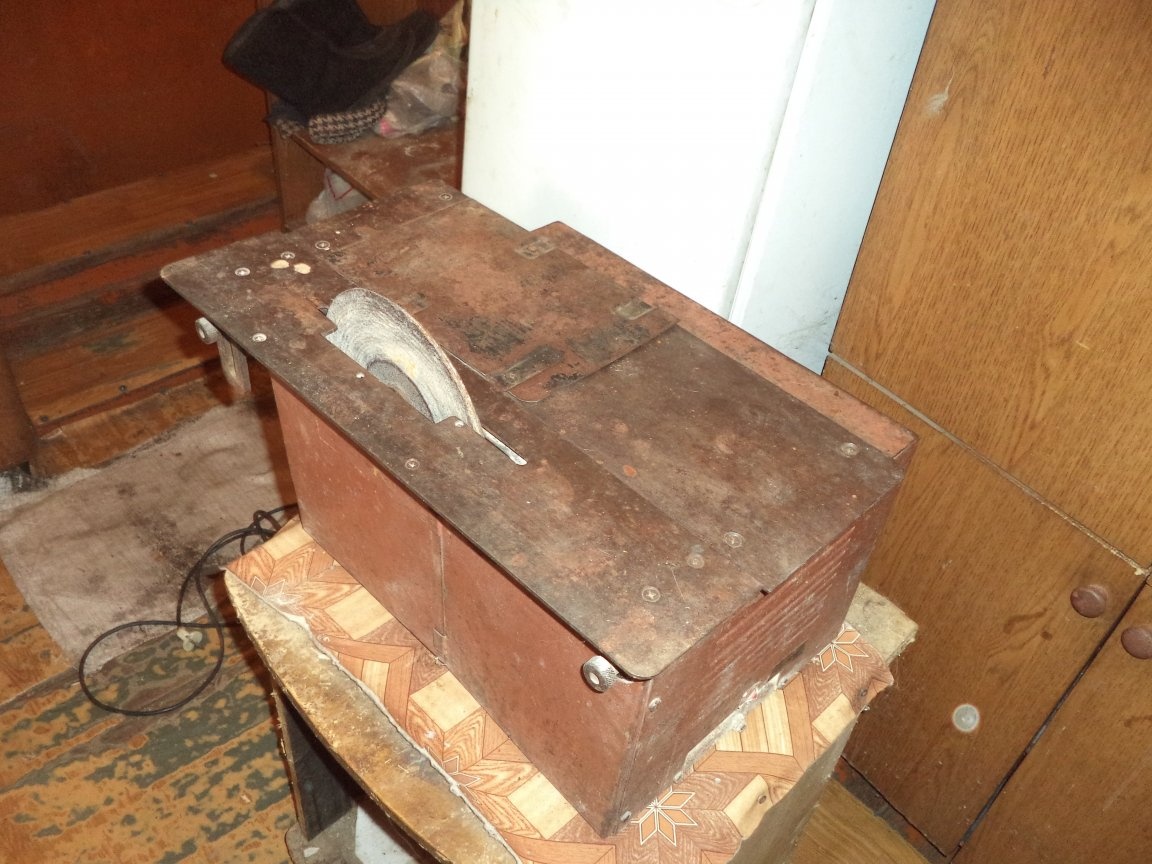
3. Universal woodworking machine;
4. A metal disk with a glued skin;
5. Electric jigsaw;
6. Hacksaw;
7. Drill;
8. Welding transformer;
9. The Bulgarian;
10. Grinder for metal;
11. Ballerina;
12. Feather drills;

13. Drills for metal;
14. Taps;
15. Dupel;
16. Caliper;
17. Compass;
18. Turning tools for metal and wood;
19. Scissors for metal;
20. Files round and flat;
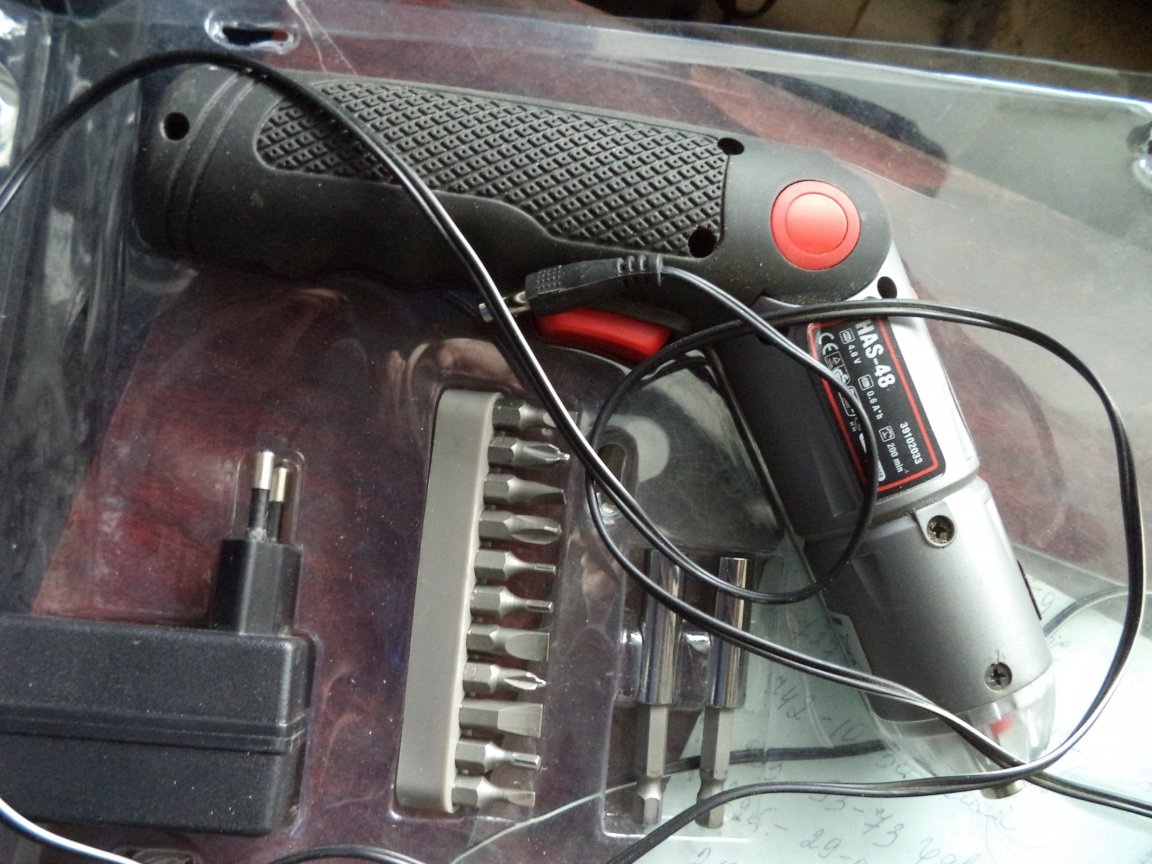
21. Cordless screwdriver;
22. Cross and flat-head screwdrivers, wrenches;
23. Clamp;
24. The line;
25. Soldering iron;
26. The hammer;
27. Superglue (cyanocarylate);
28. Construction hair dryer;
The process of manufacturing a small peel:
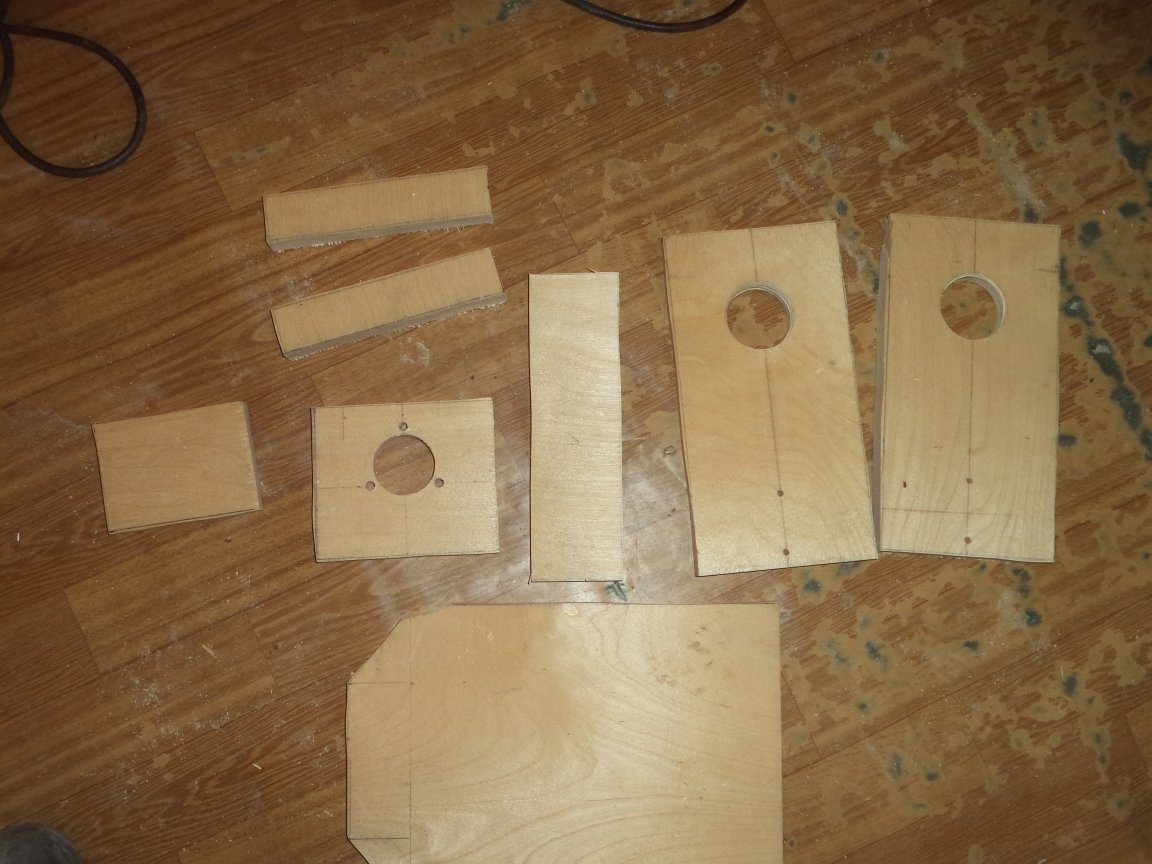
Step One: Making blanks for body parts, impeller and driven disk
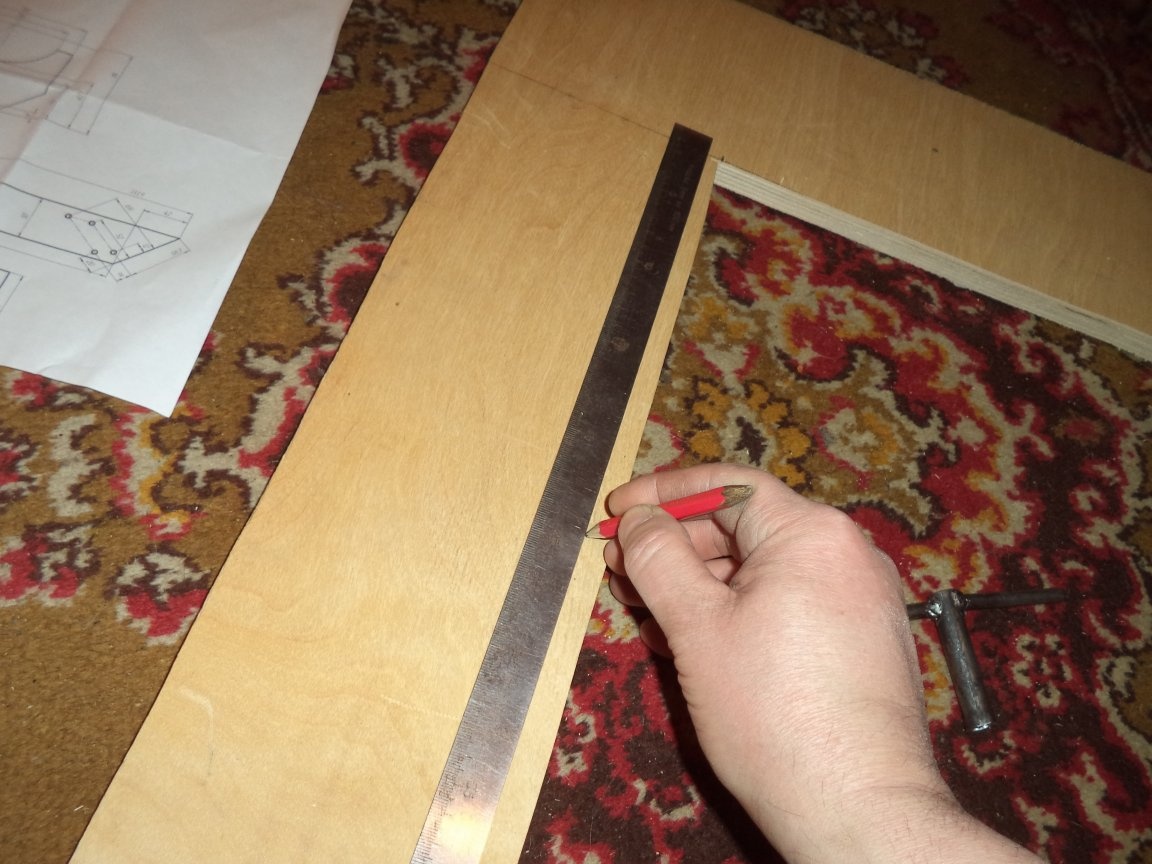
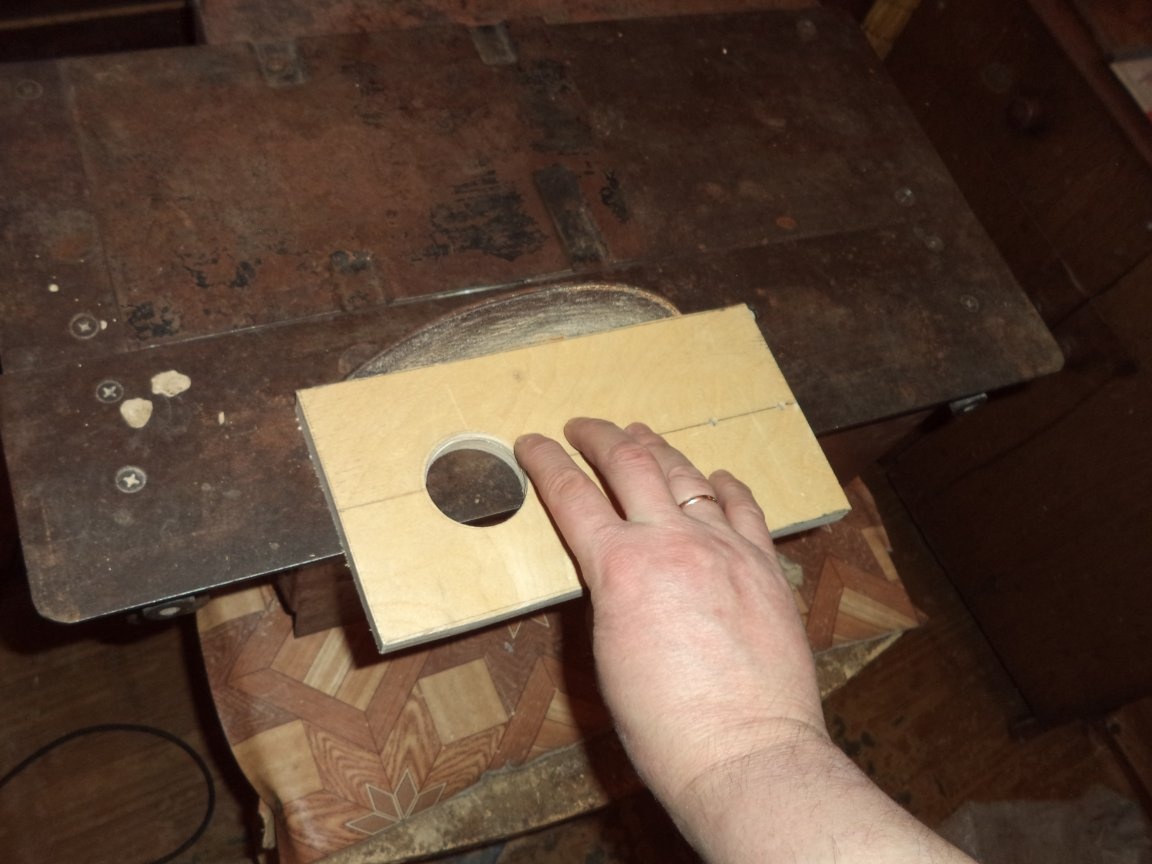
1. On plywood, we mark the blanks of the body parts and the impeller, arrange them with a minimum size between the parts so that when cutting, there is a minimum allowance for the final processing.
Also on plywood with compasses we mark out the circular part of the driven disk, an allowance of at least 10-15 mm from the rest of the details, to ensure a guaranteed clearance between the workpieces during processing.
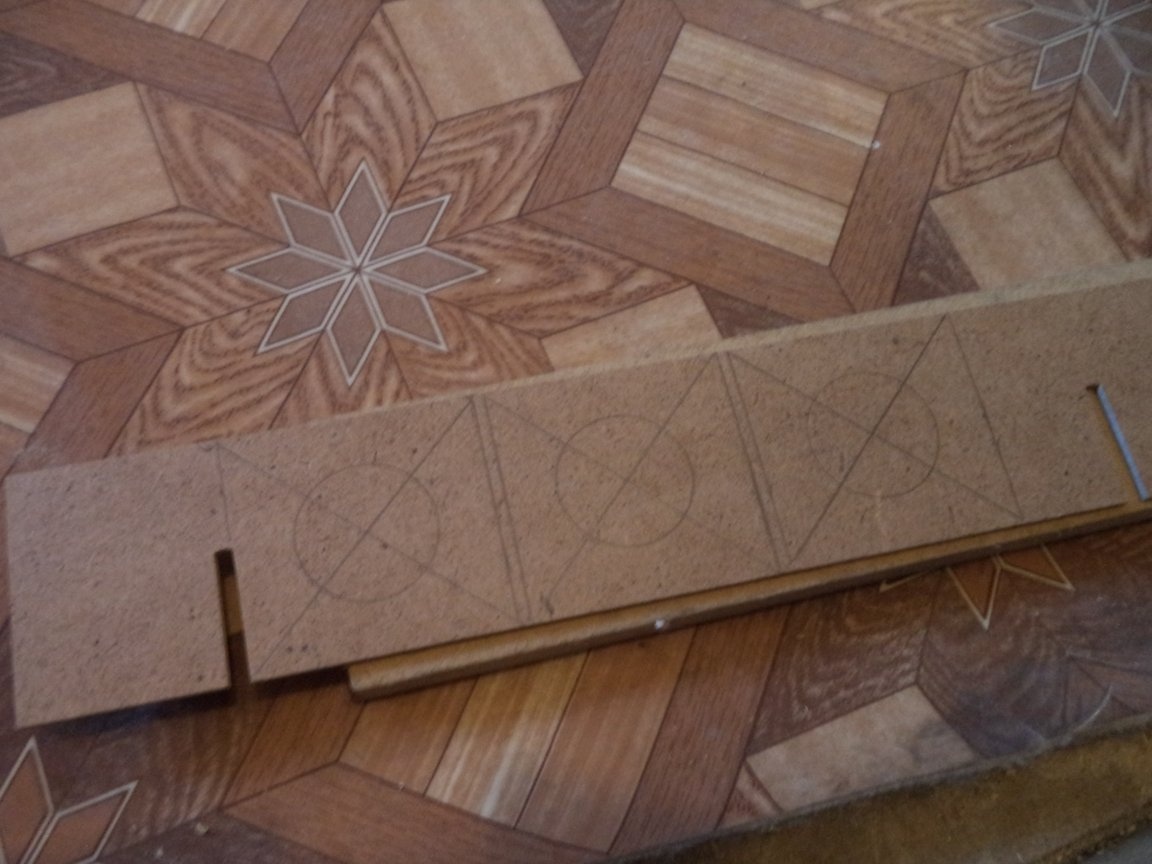
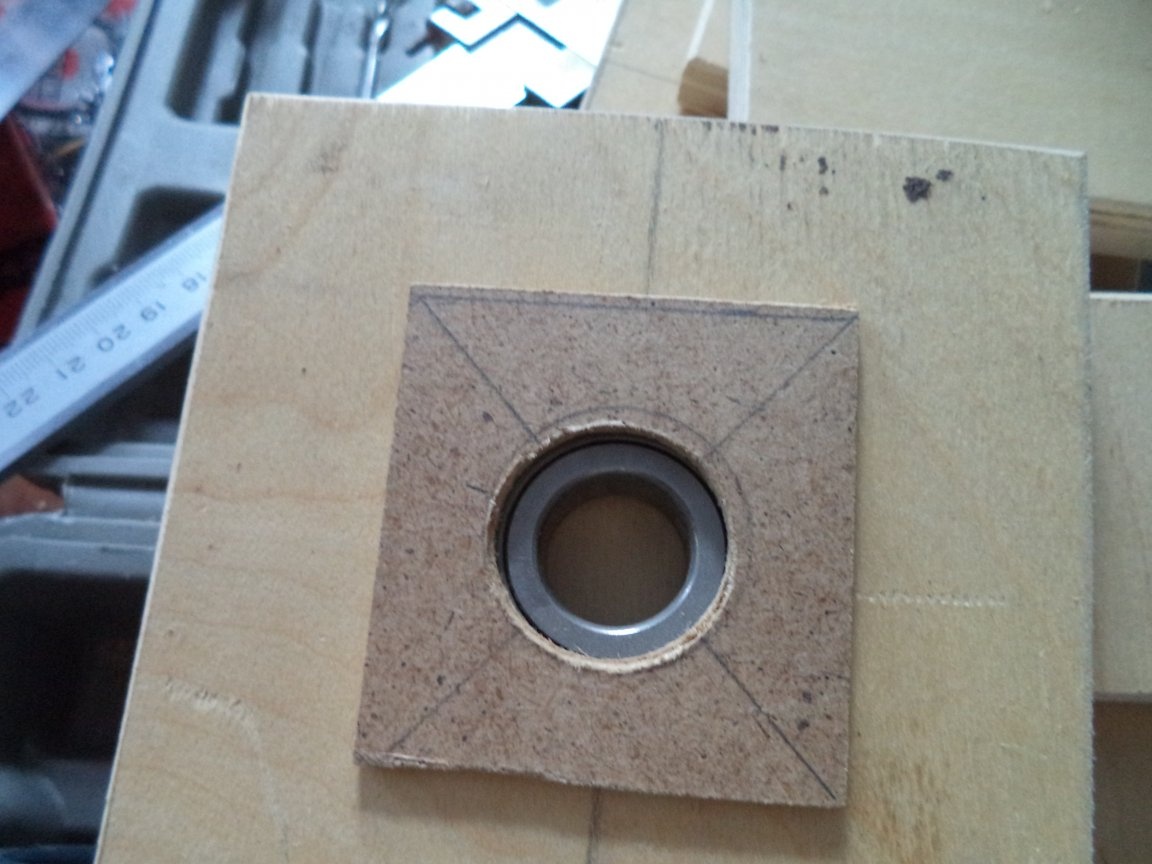
On the fiberboard, we mark the blanks of the bearing mount plates and the thrust disc.
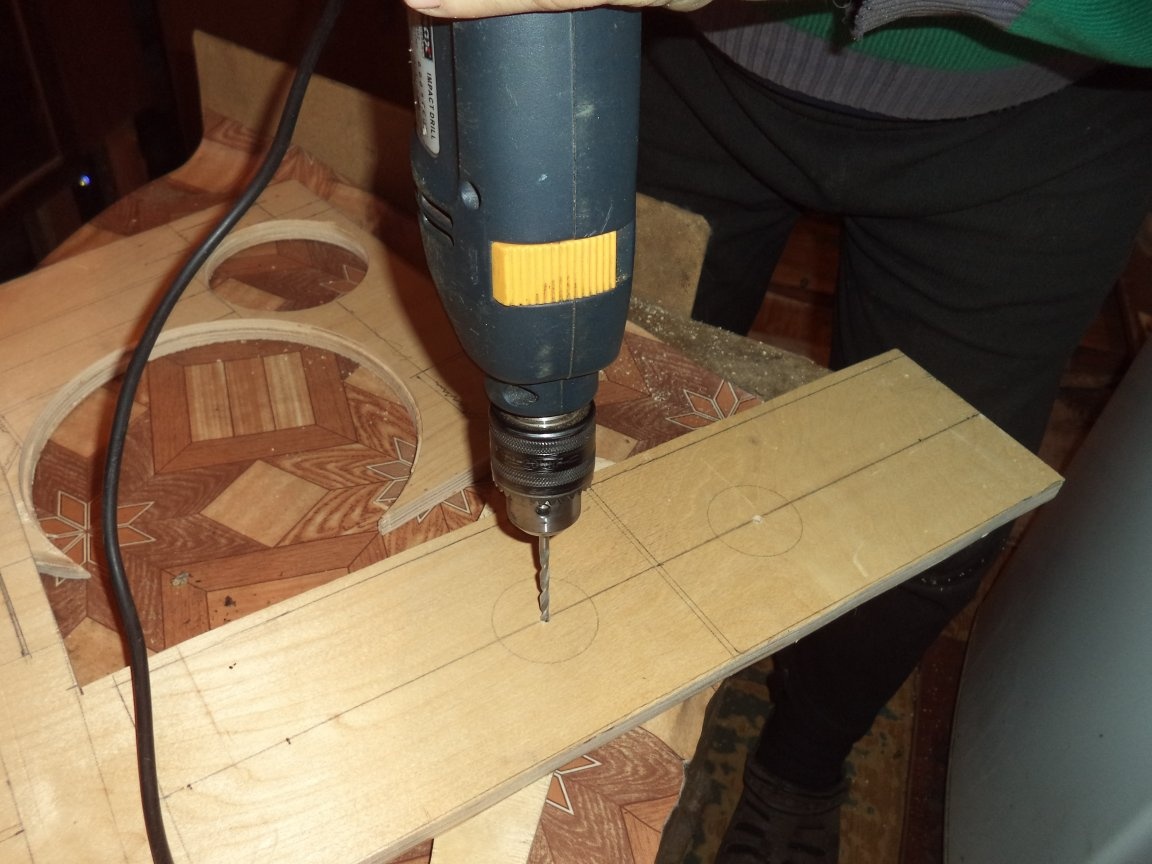
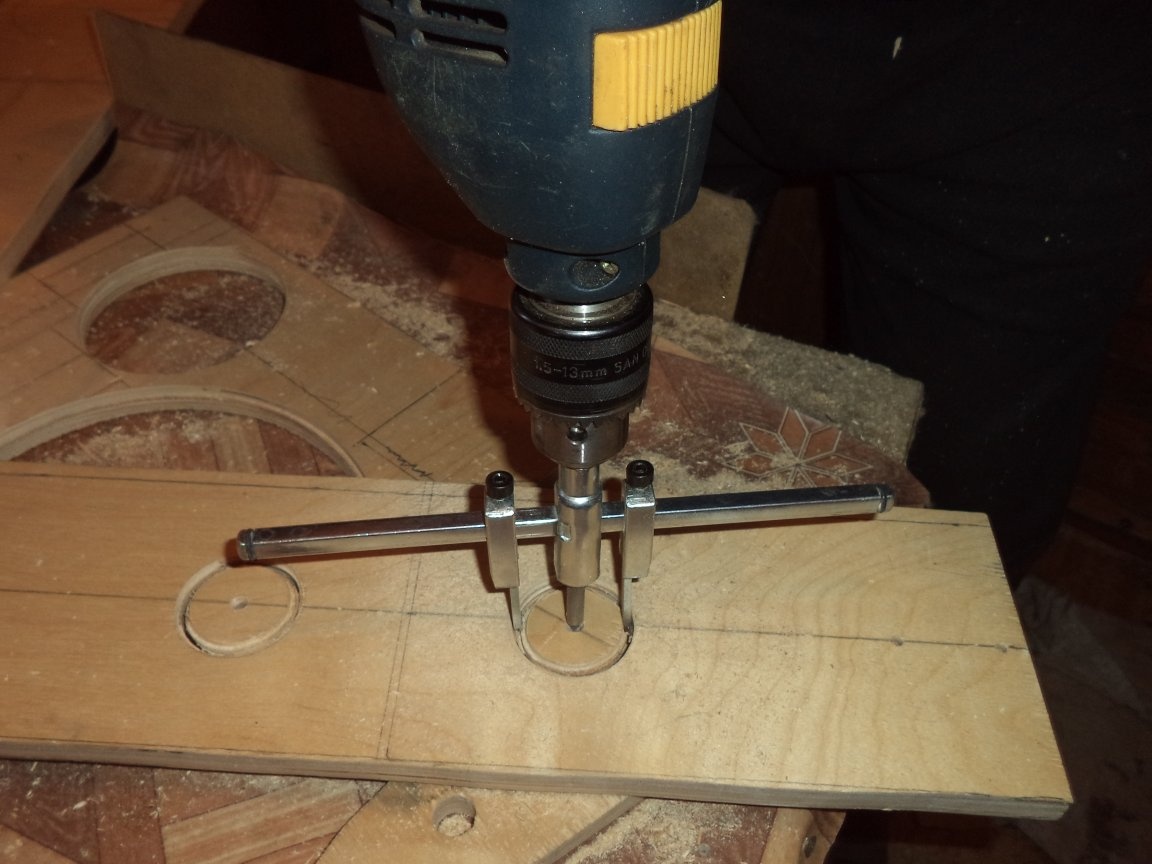
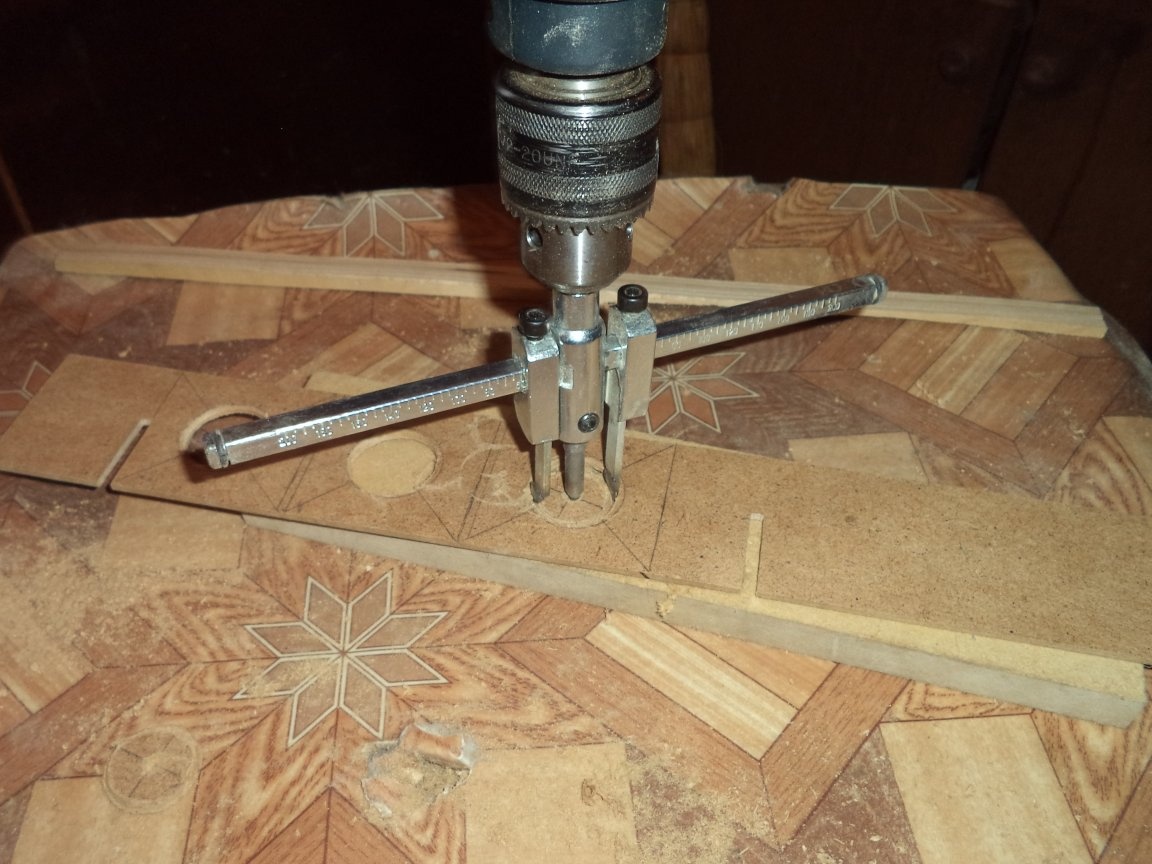
2. We drill holes with a diameter of 8 mm in round billets, then install the Ballerina on the drill and cut out, to the middle of the plywood, the round part of the driven disc, as well as the holes for the bearings, then turn the plywood and cut all the round parts to the end, cut out the thrust disc and holes in bearing mounting plates.
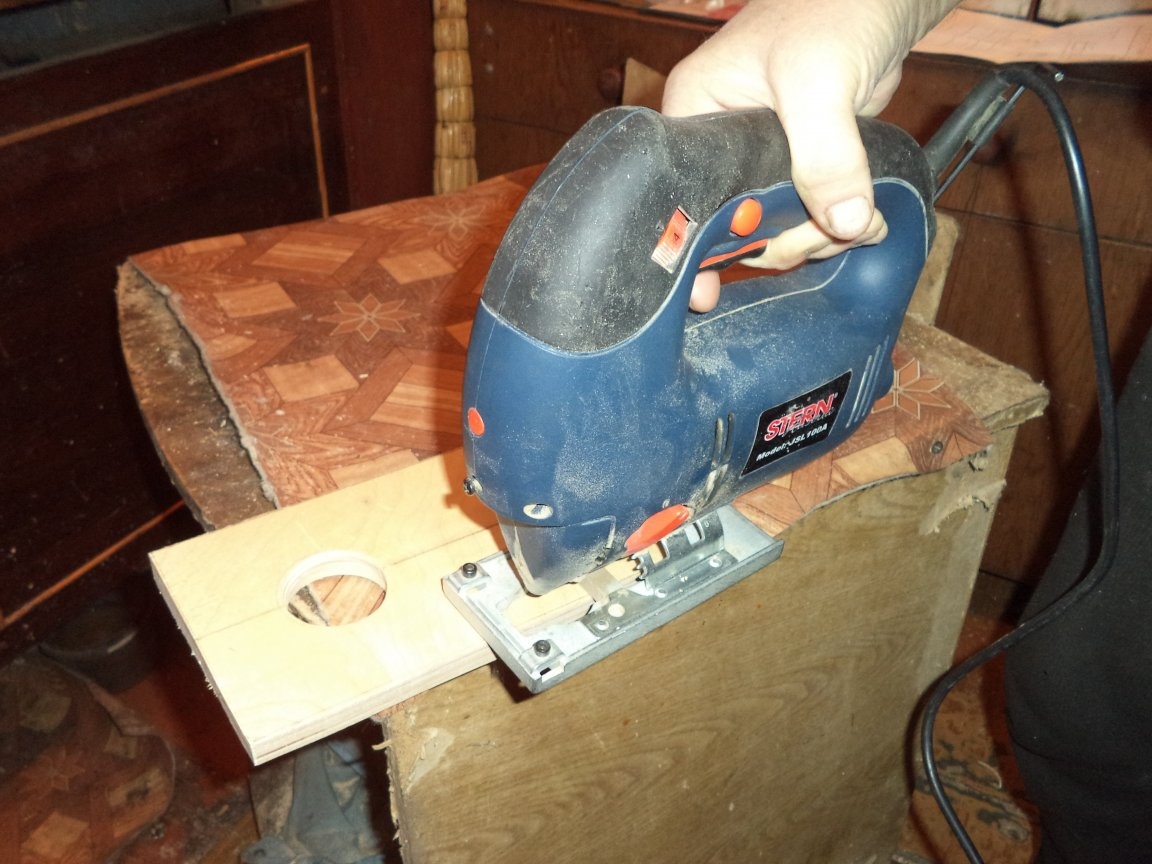
3. Using an electric jigsaw, cut out the rest of the blank of the body parts, try to keep the minimum allowance.
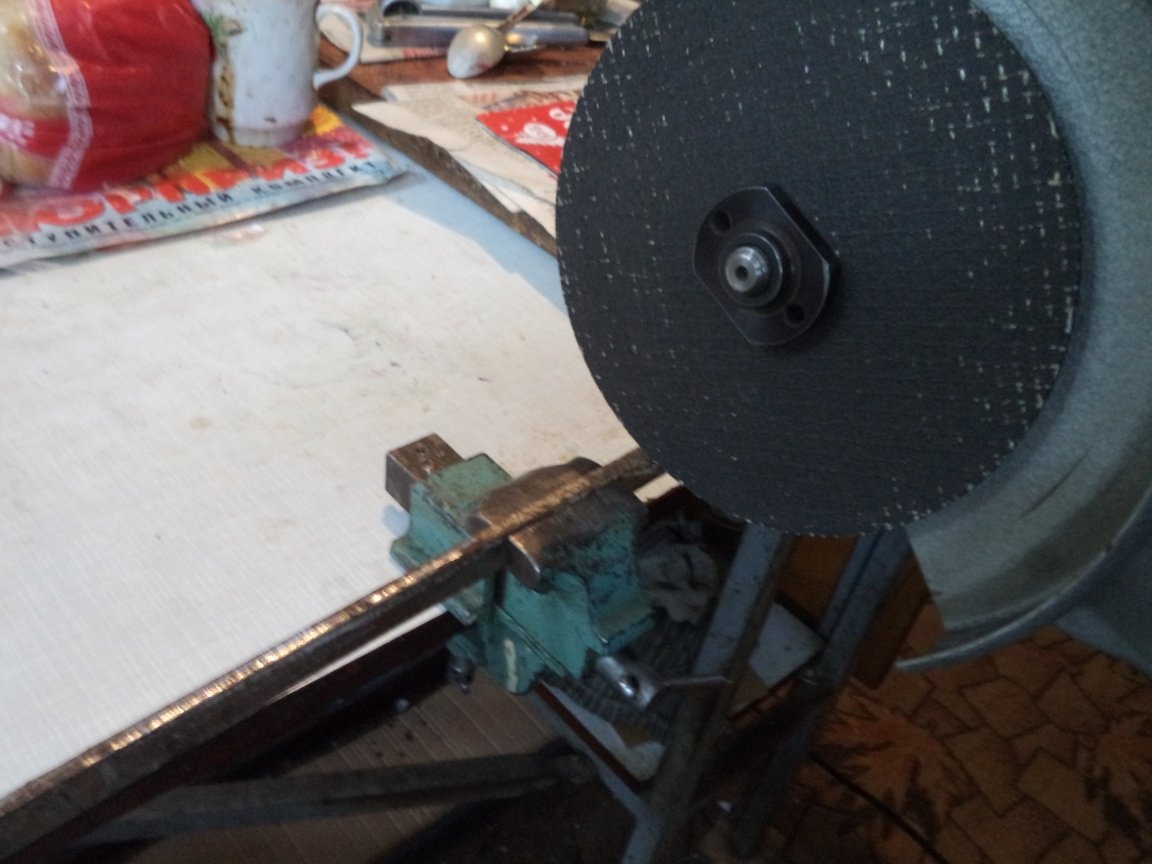
4. On a universal woodworking machine, instead of a circular saw, we install a steel sheet with a sandpaper and process the edges of the body parts according to the marking.
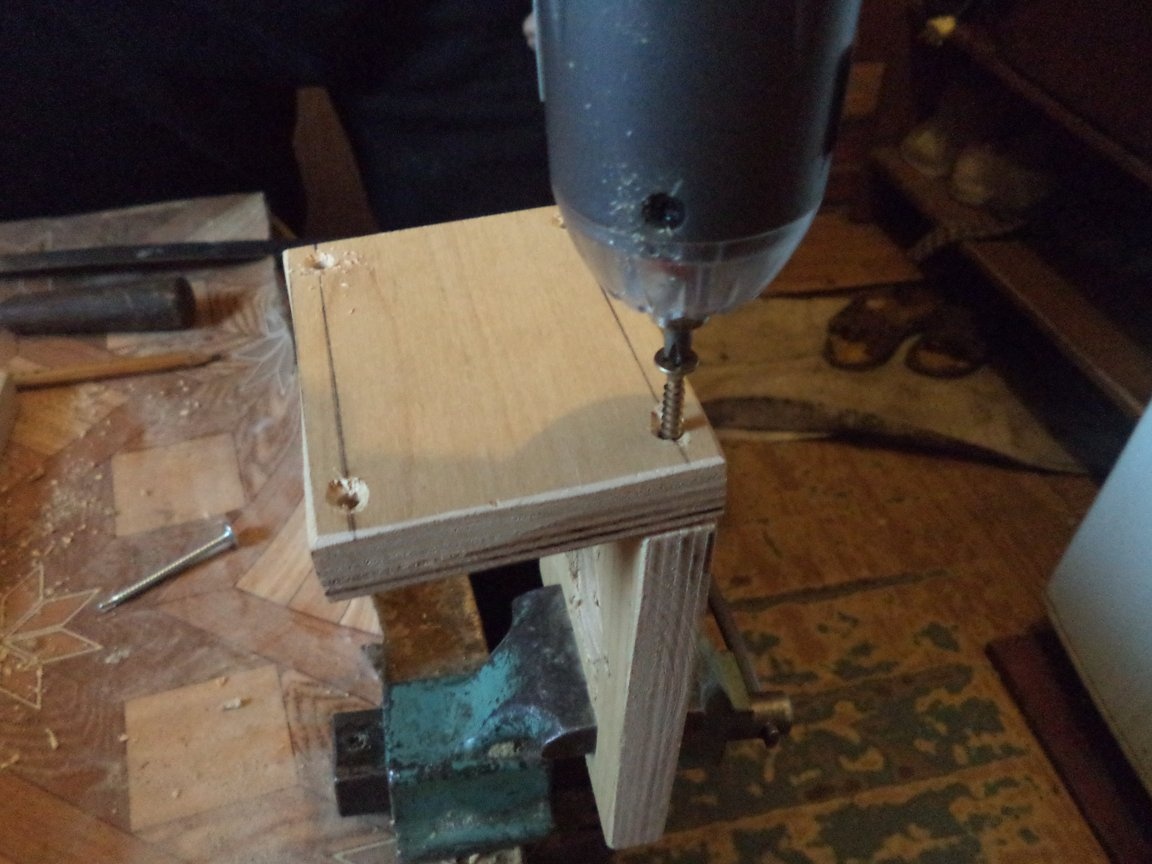
5. According to the marking, in the blanks of the body parts, we drill holes for fasteners.
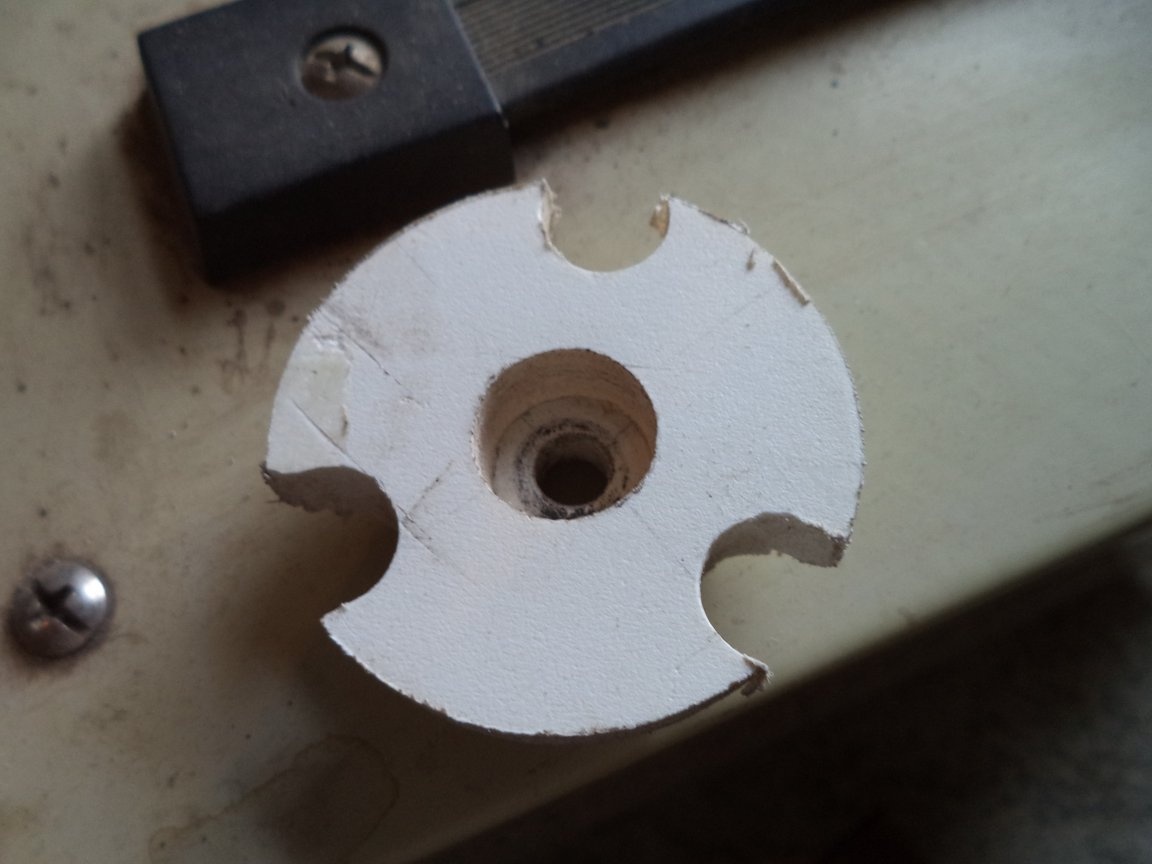
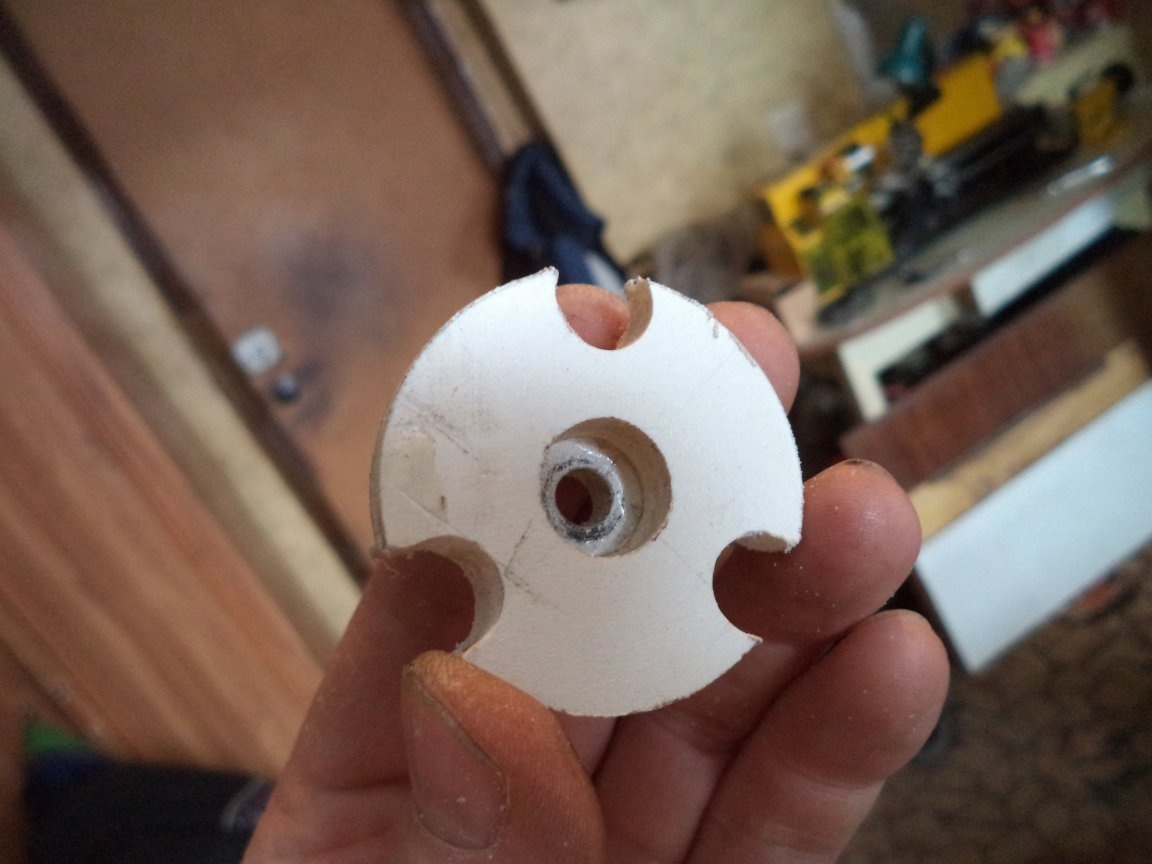
Step Two: Making a Slave Disk
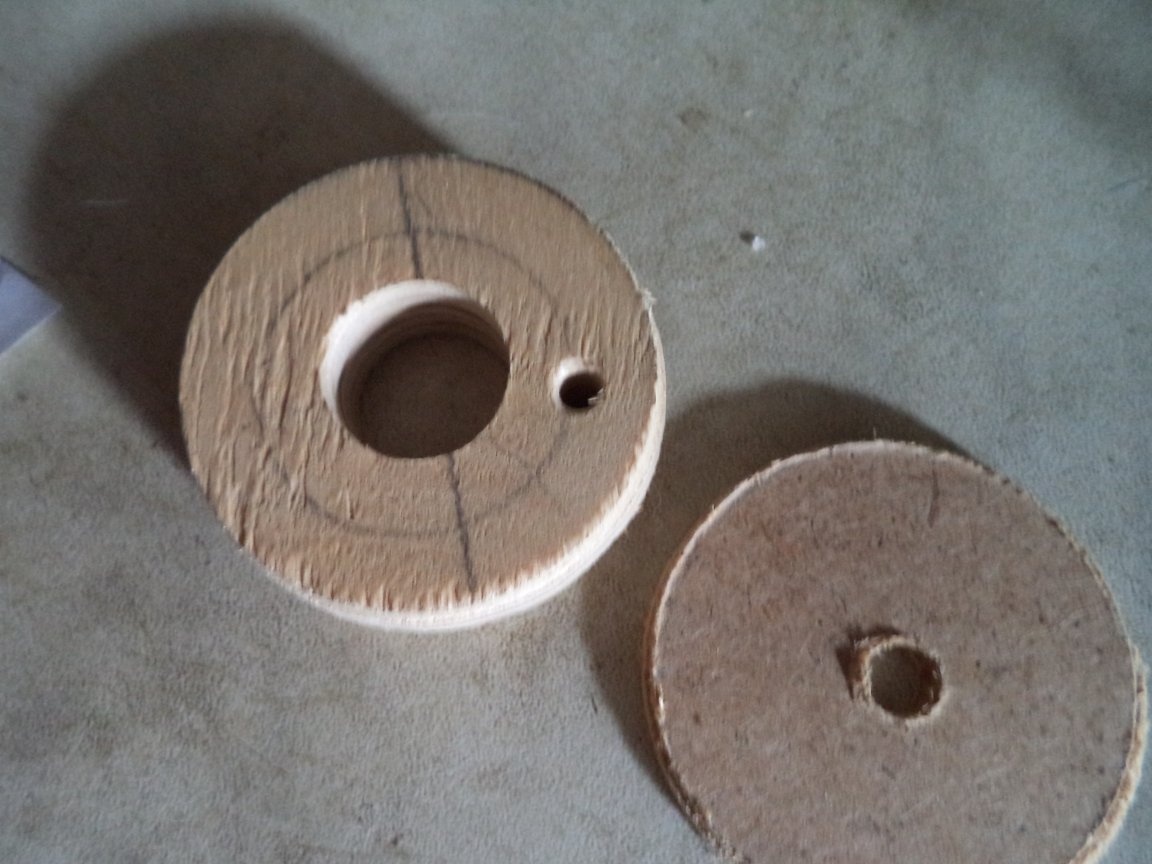
1. Drill in the center of a hole in the driven disk - diameter 20 mm.
2. In the driven disk with the edge, drill a hole with a diameter of 8 mm.

3. With a hacksaw, cut a groove under the key to the hole and clean it with a file.
Step Three: Making the axis of the husk impeller
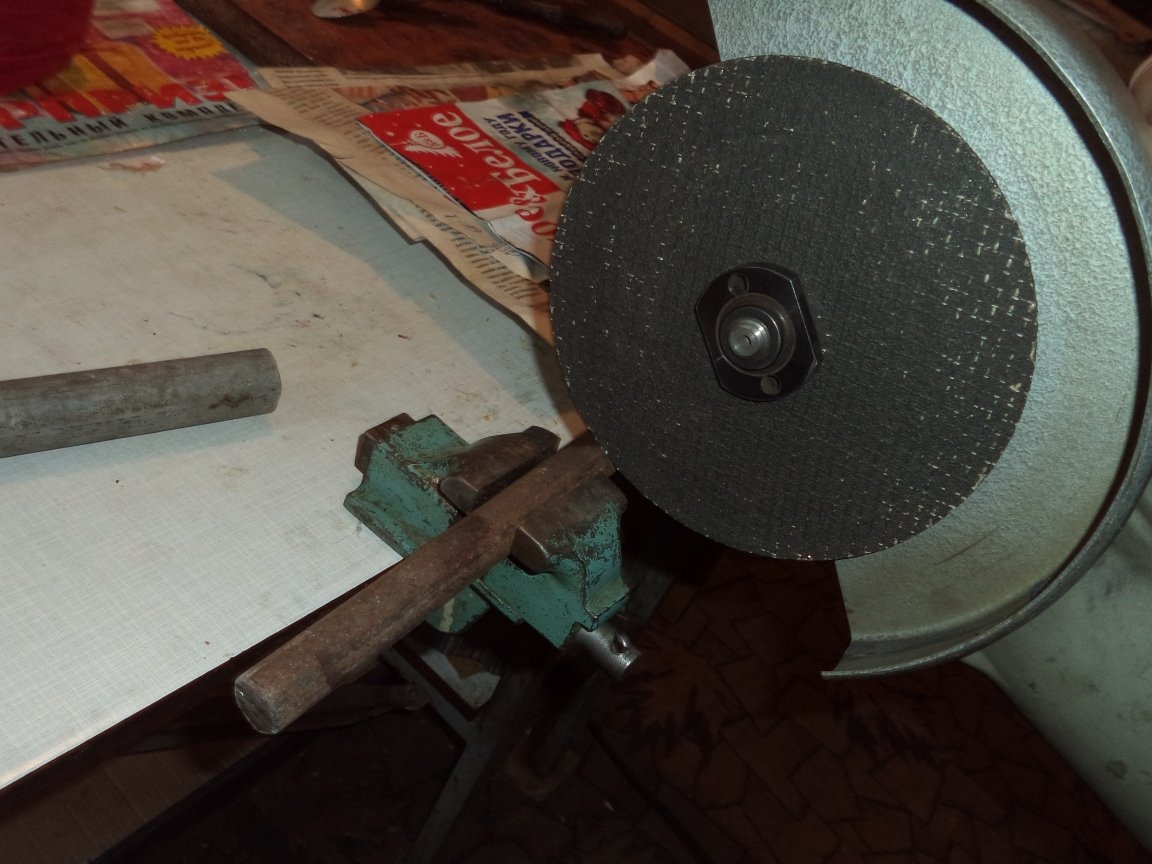
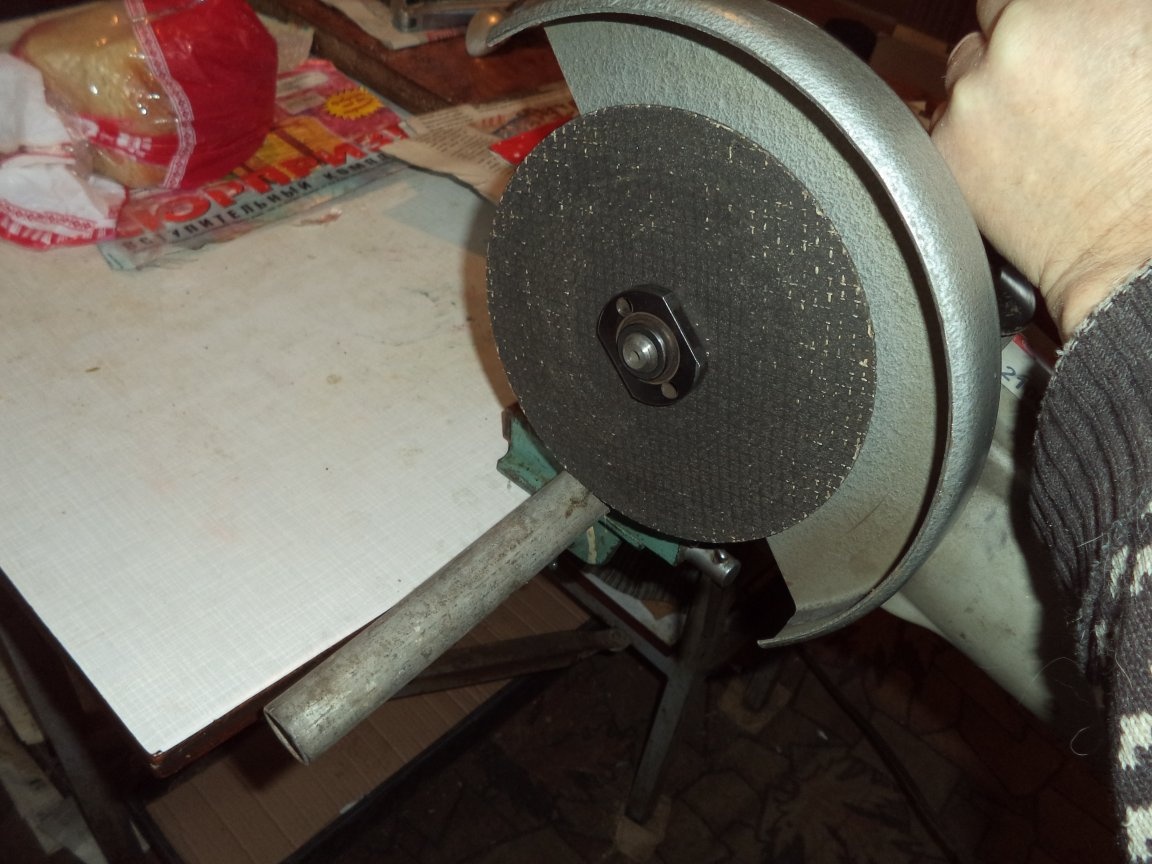
1. From a bar with a diameter of 20 mm, we cut the axis blank with a grinder.
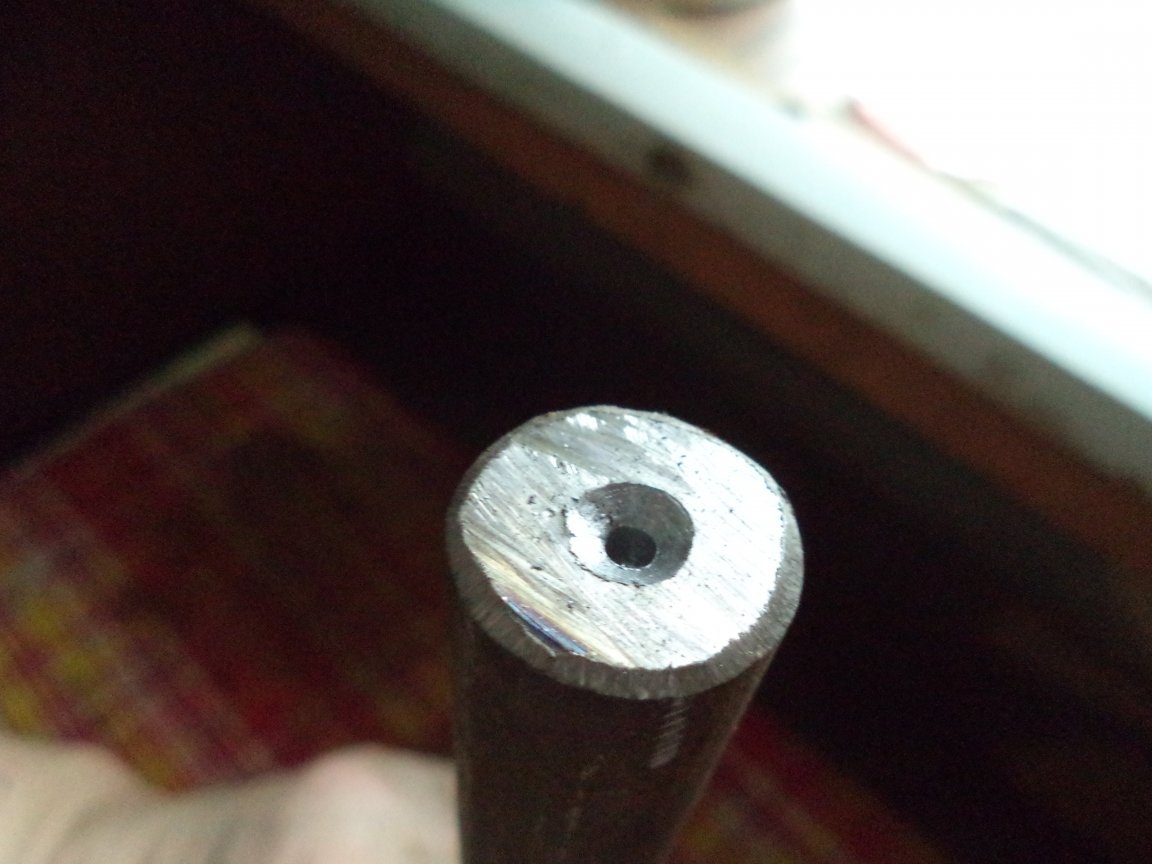
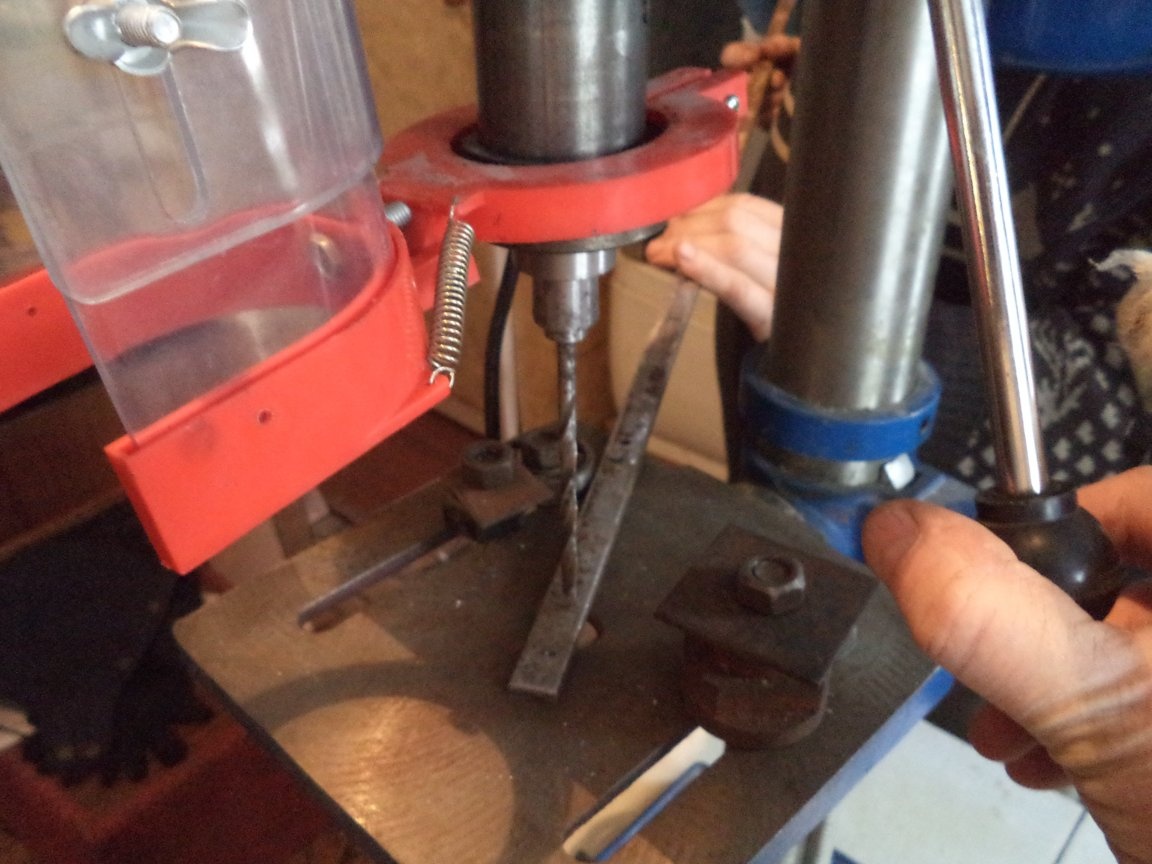
2. From the ends of the axis, on a drilling machine, drill holes with a large chamfer, for fixing in the tailstock of the lathe.
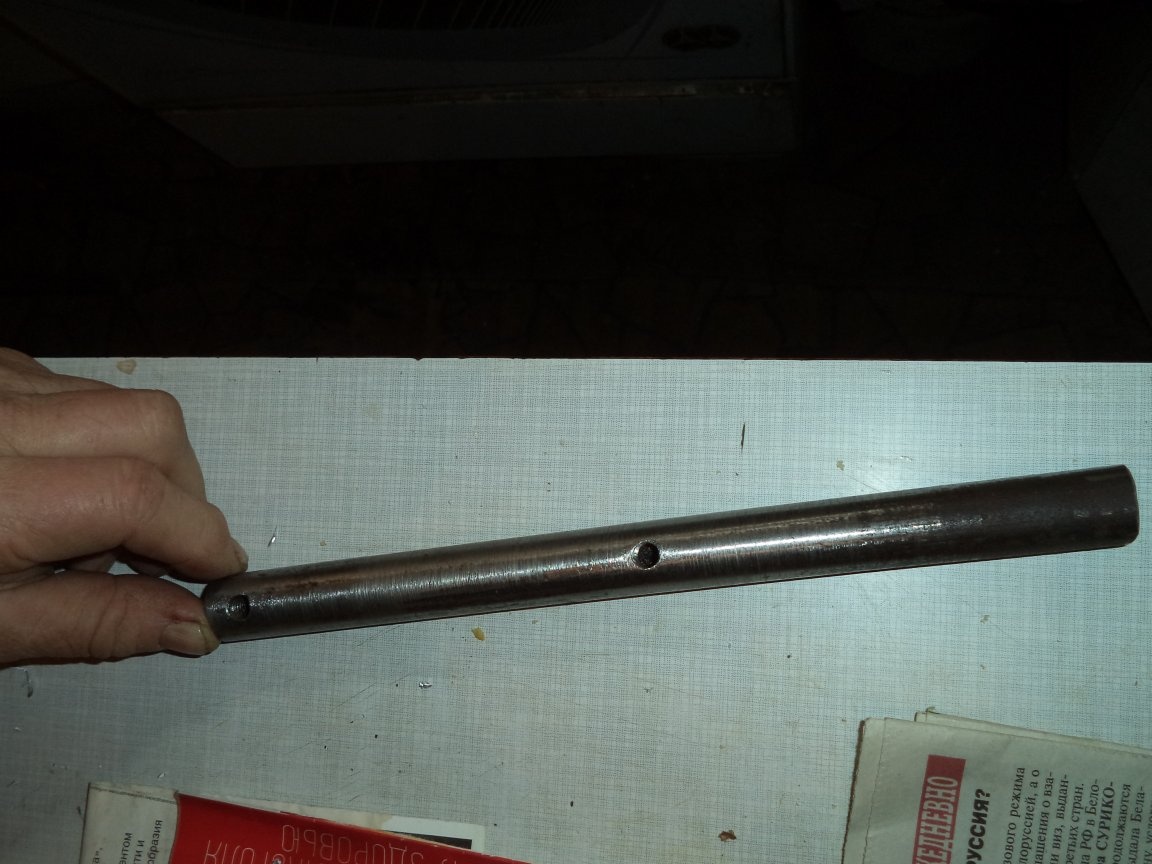
3. On the drilling machine in the axis, we carry out two threaded holes M8 for mounting the impeller and the installation of a threaded key.
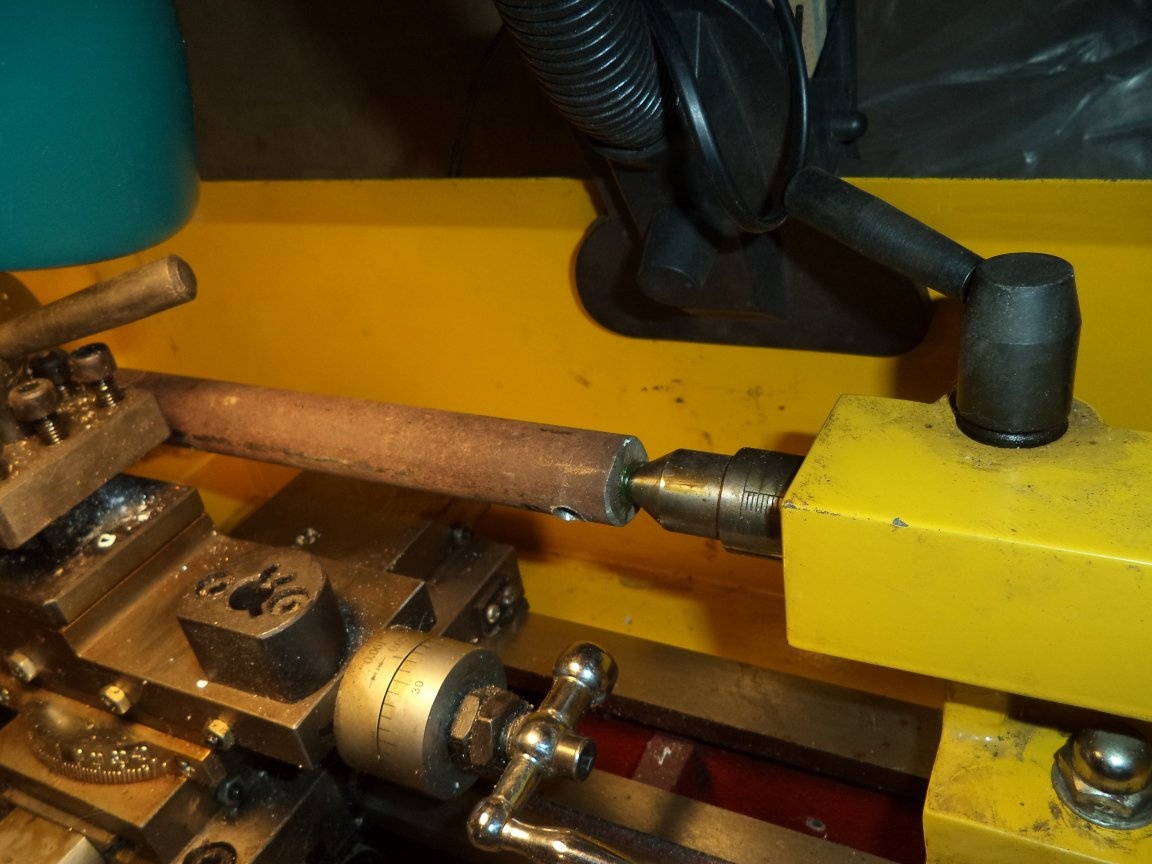
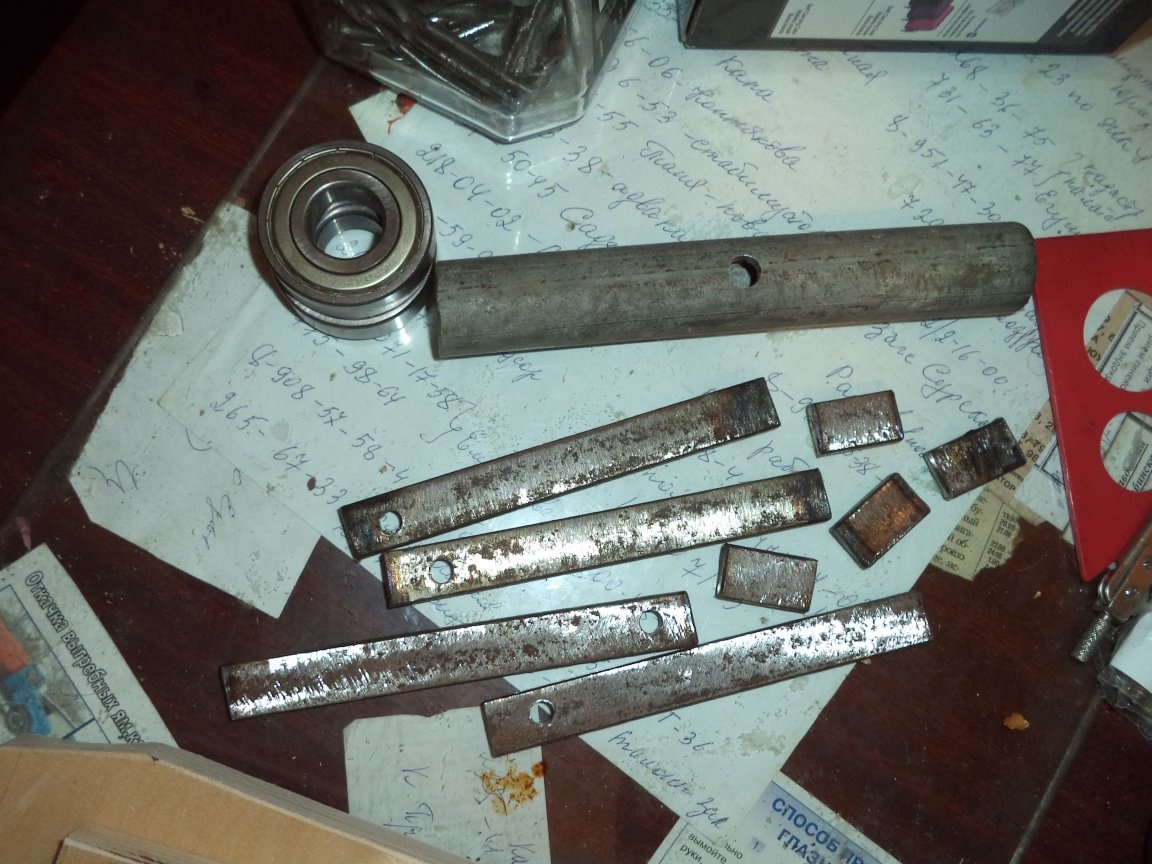
4. Install the axis on the lathe and process it to the size of the bearing.
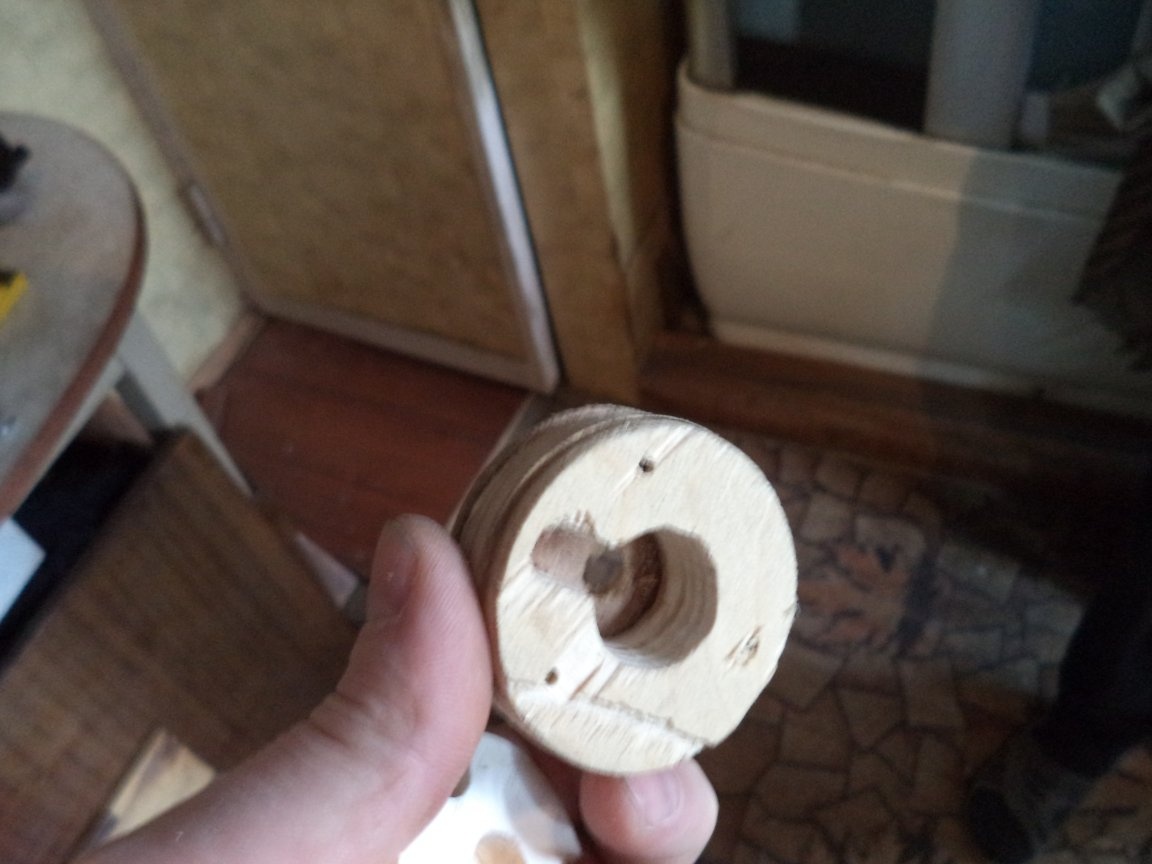
Step Four: Making the Drive Clutch
1. Two round plastic blanks are cut.
2. Drilled holes in the workpieces, in a larger diameter of 13 mm in less than 6 mm.
3. We place the smaller workpiece in the center of the large one and glue it together with superglue.
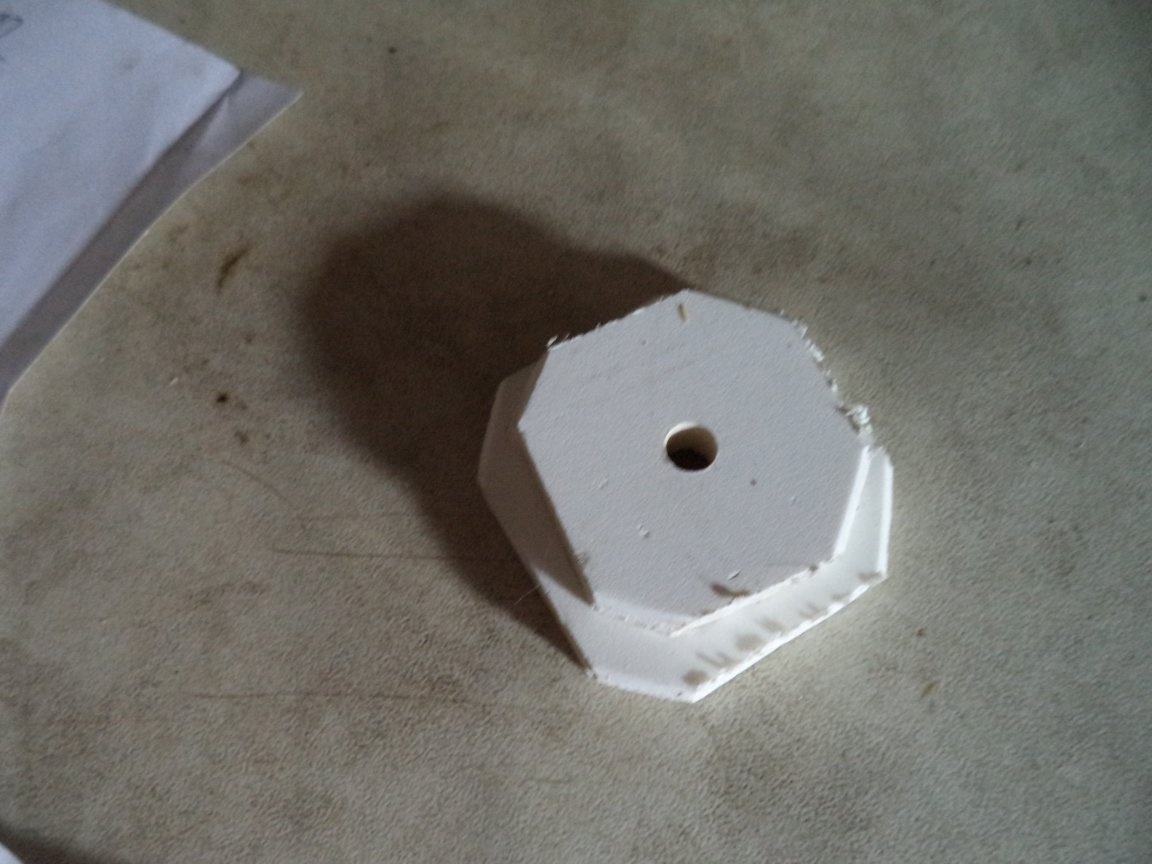
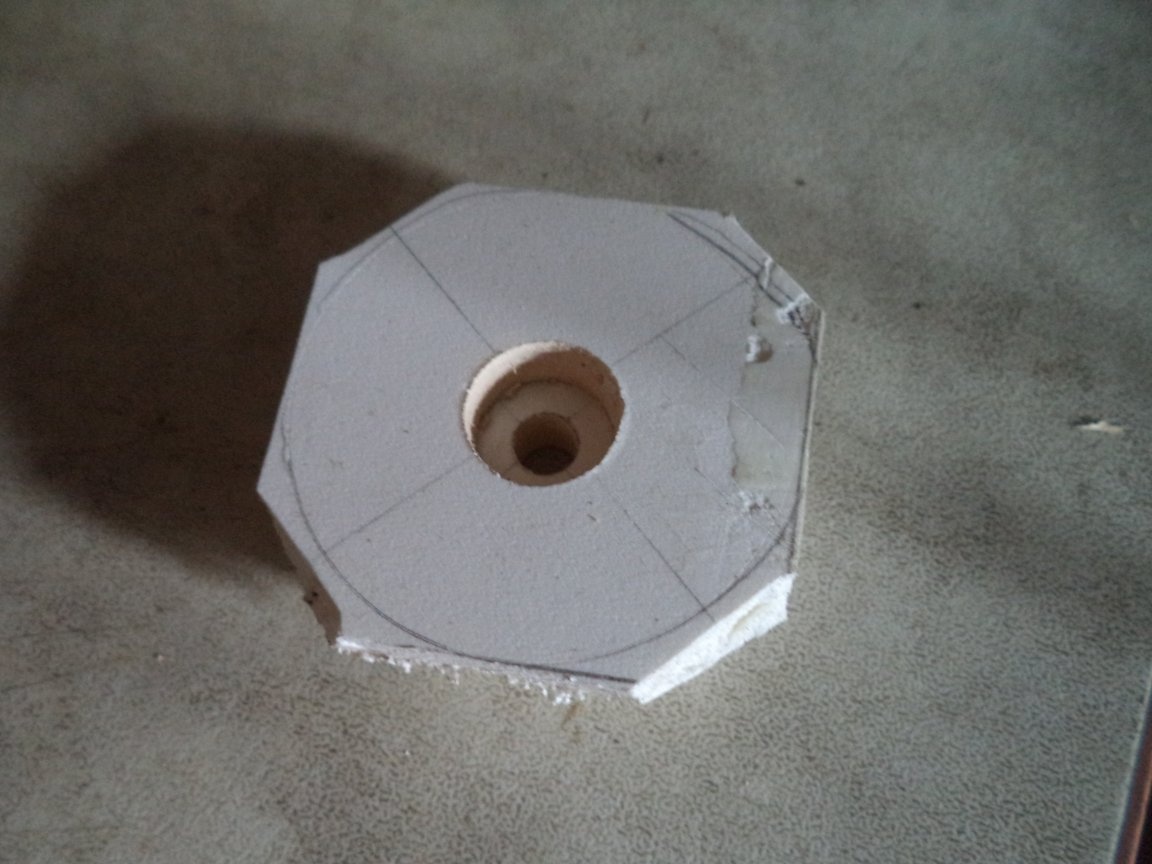
4. Install the bolt with clean washers and fasten the nut.
5. Install the glued workpiece on the lathe, clamp it with a bolt and work on the outer edge, then remove the large bevel of 45 degrees.
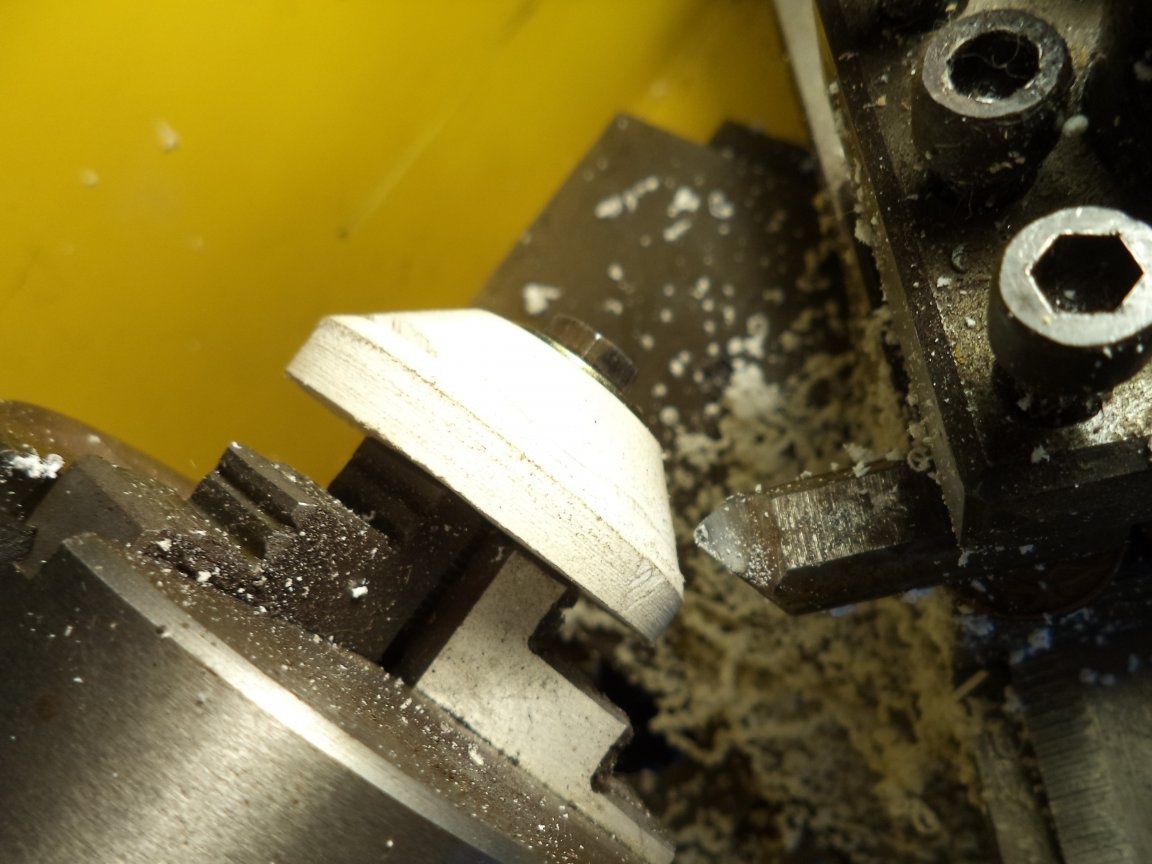
6. By marking with a round file, cut oval grooves.
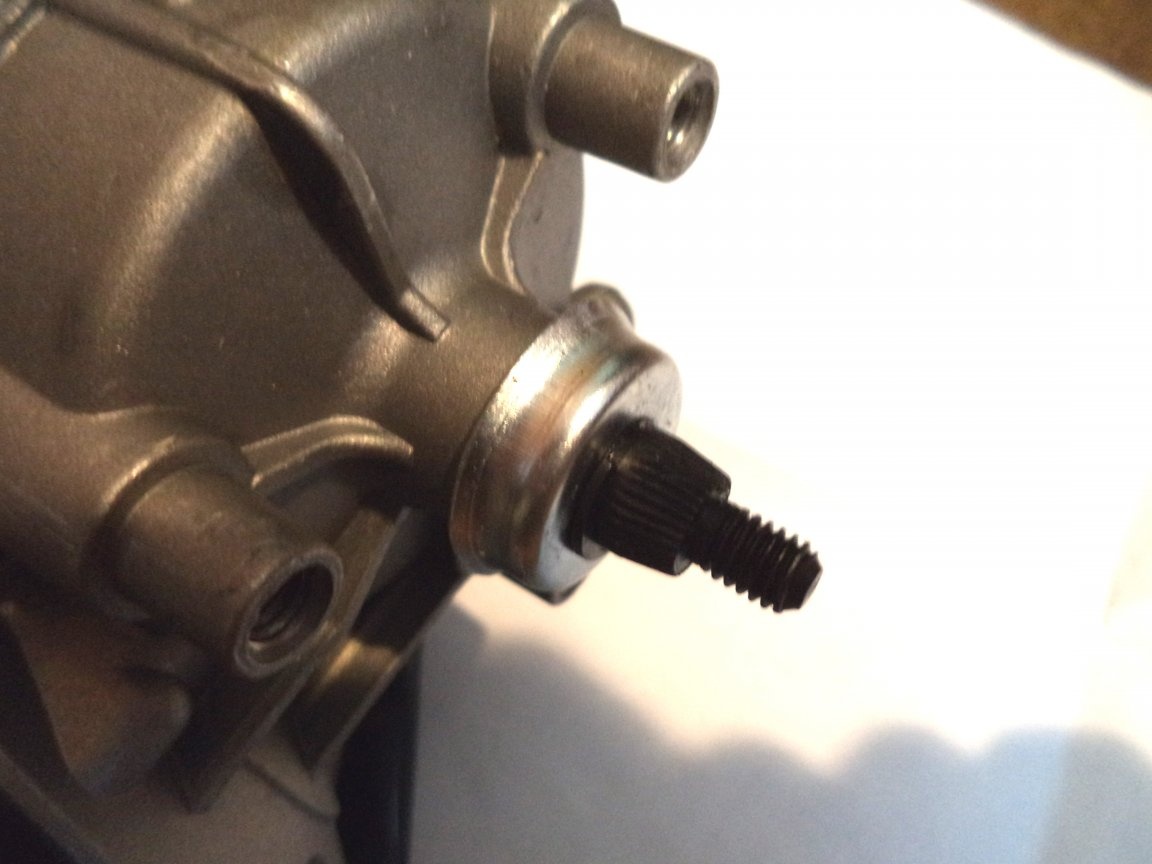
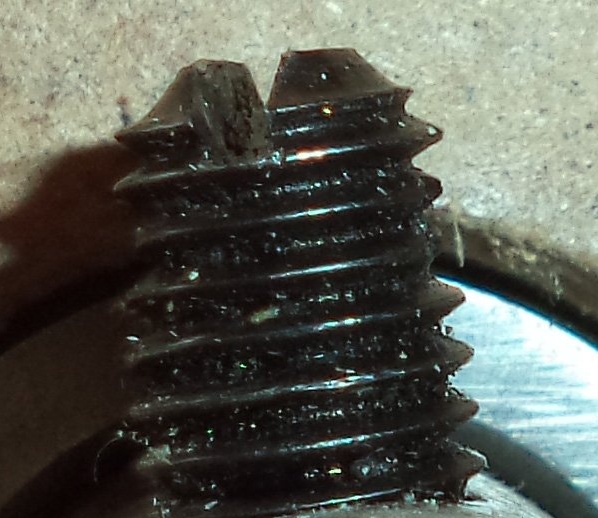
7. We make a small chamfer on the outside of the 6 mm hole, heat the 6 mm hole with a construction hairdryer and quickly, while still hot, tighten the M6 screw to the wiper shaft output. A cone and notches from the wiper shaft formed on the drive clutch.
Step Five: Impeller Manufacturing
1. We clean the steel strip from rust with a metal grinder.
2. With a grinder we cut four large blanks of the impeller from a steel strip, at the ends we drill holes with a diameter of 6 mm.
3. Using a grinder, we cut four stiffener ribs from a steel strip.
4. The impeller mounting sleeve is made of a tube with an inner diameter of 20 mm, the tube is cut off with a grinder in size and a hole is drilled in the center with a diameter of 8 mm.
5. To two steel blanks of the impeller, we screw the blank from the chipboard with bolts and nuts, we weld stiffeners to the ends.
6. By marking, we install two workpieces of the impeller on the mounting sleeve, we weld the workpieces to the sleeve, and then finally scald.
Step Six: Making the threaded keys and drive fingers
1. We make the threaded key from the M8 bolt, cut the bolt to size and make a groove for the screwdriver in the upper part.
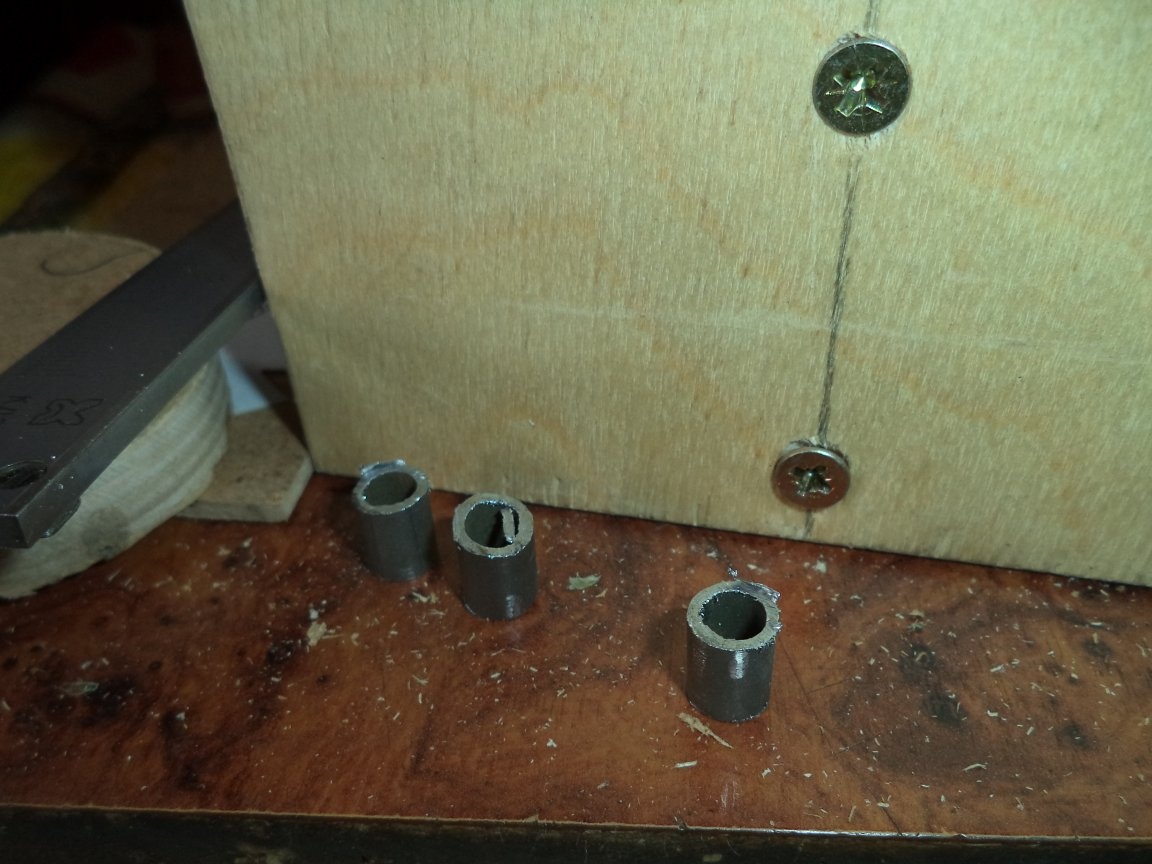
2. We make three fingers of the drive from the tube with an external diameter of 8 mm, size mode, we clean the edges with a file.
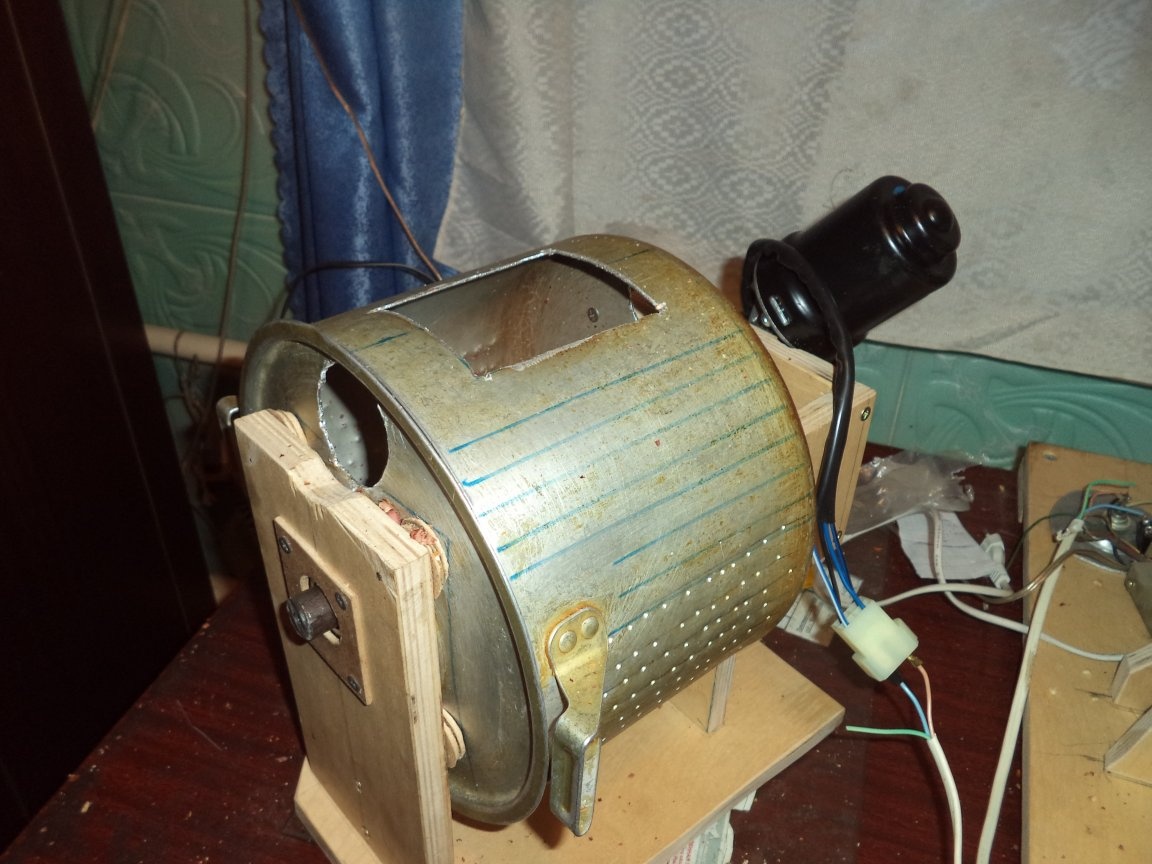
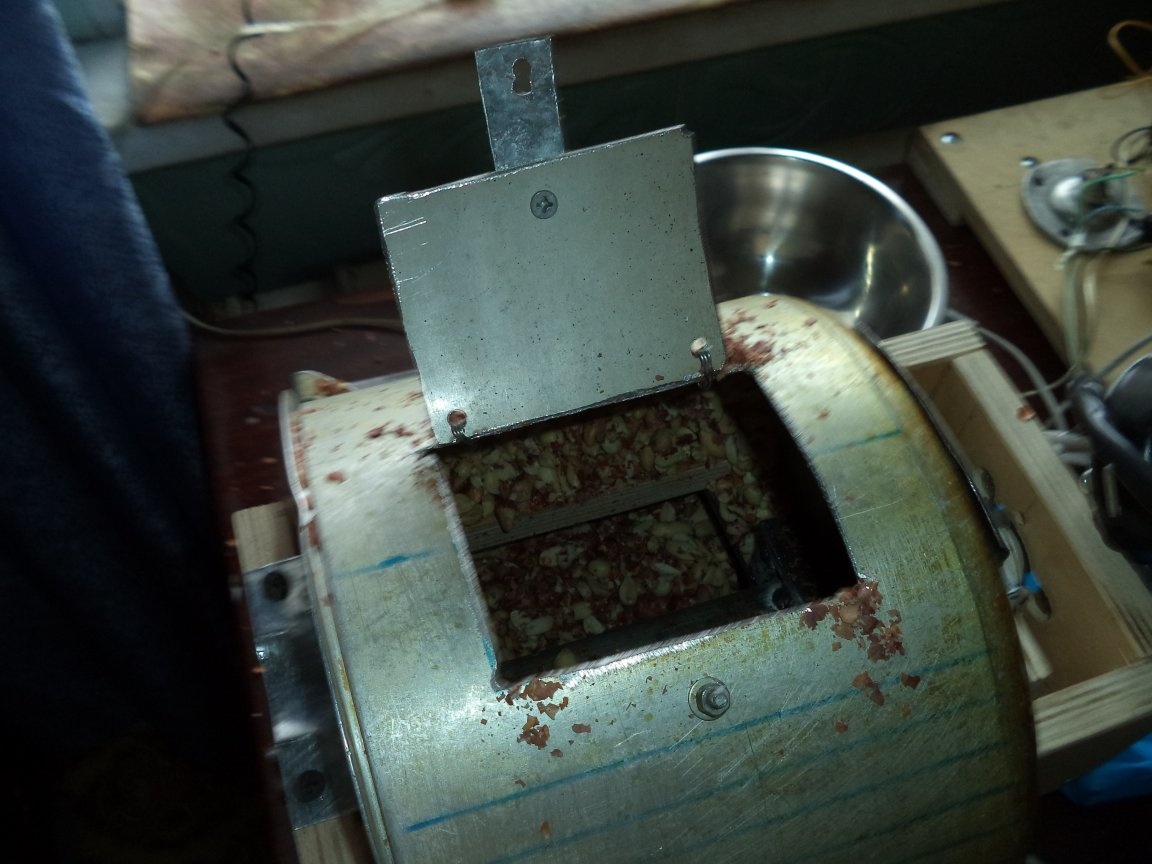
Seventh step: Making a peeling drum
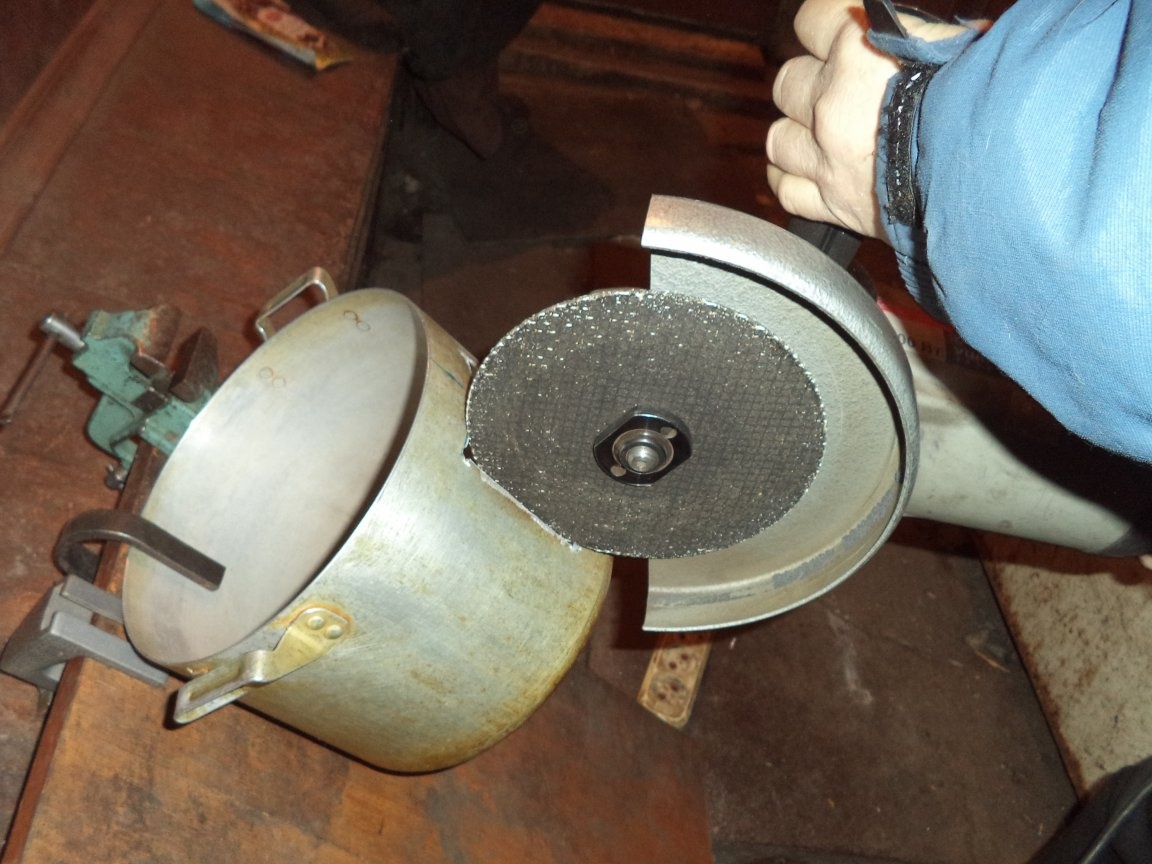
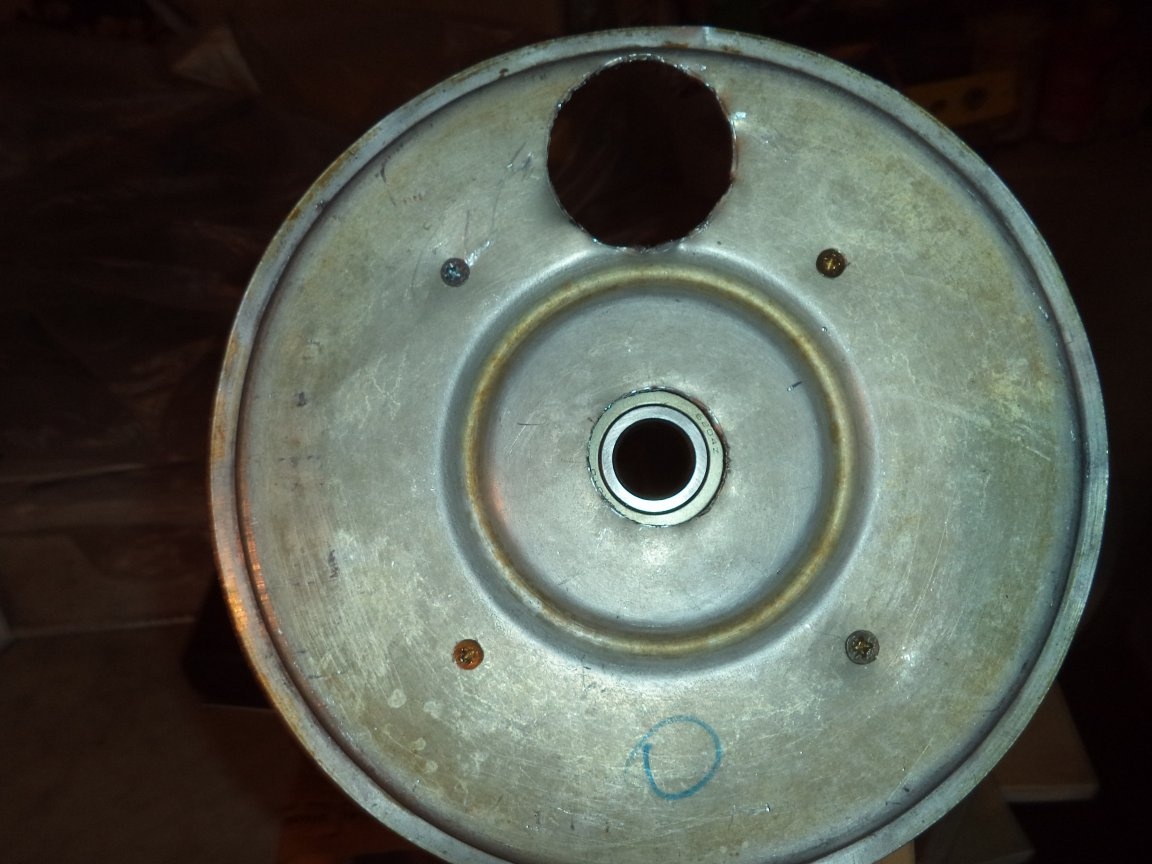
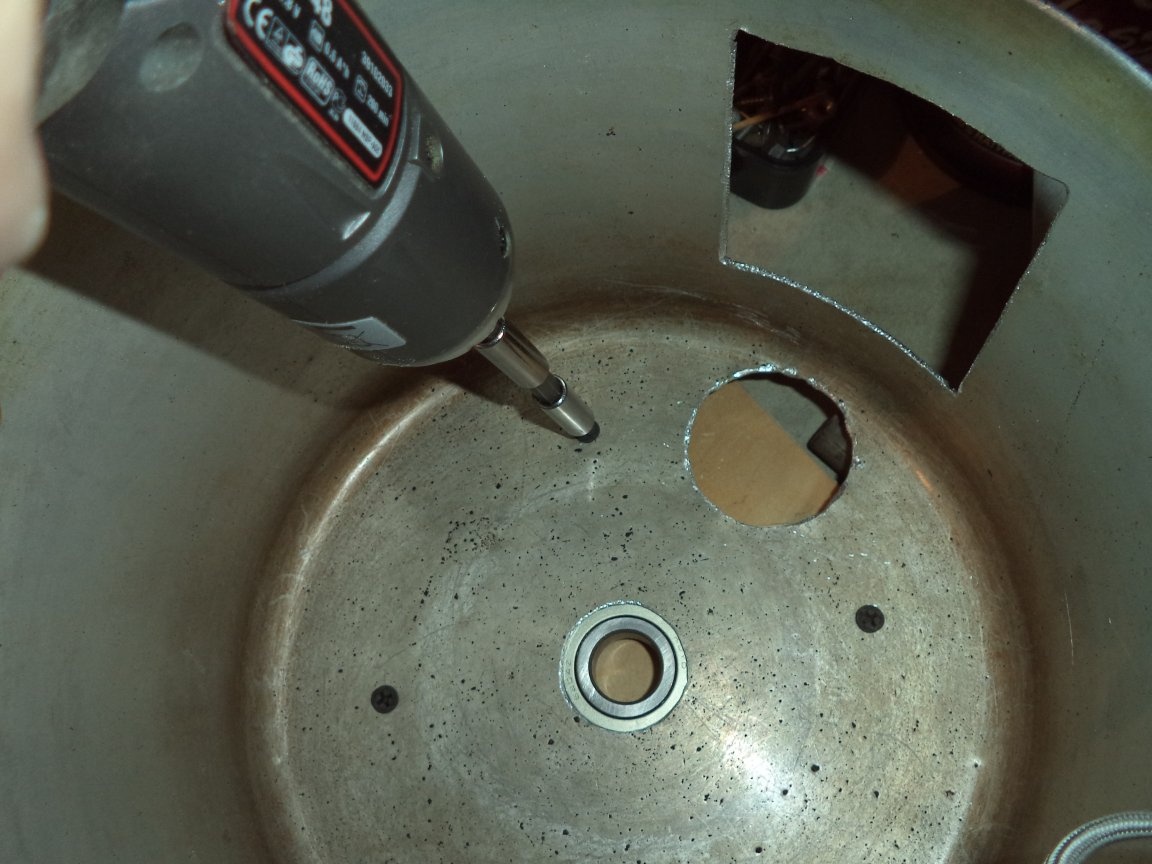
1. In an aluminum pan and in the lid in the center, drill a hole with a diameter of 20 mm under the axis of the impeller.
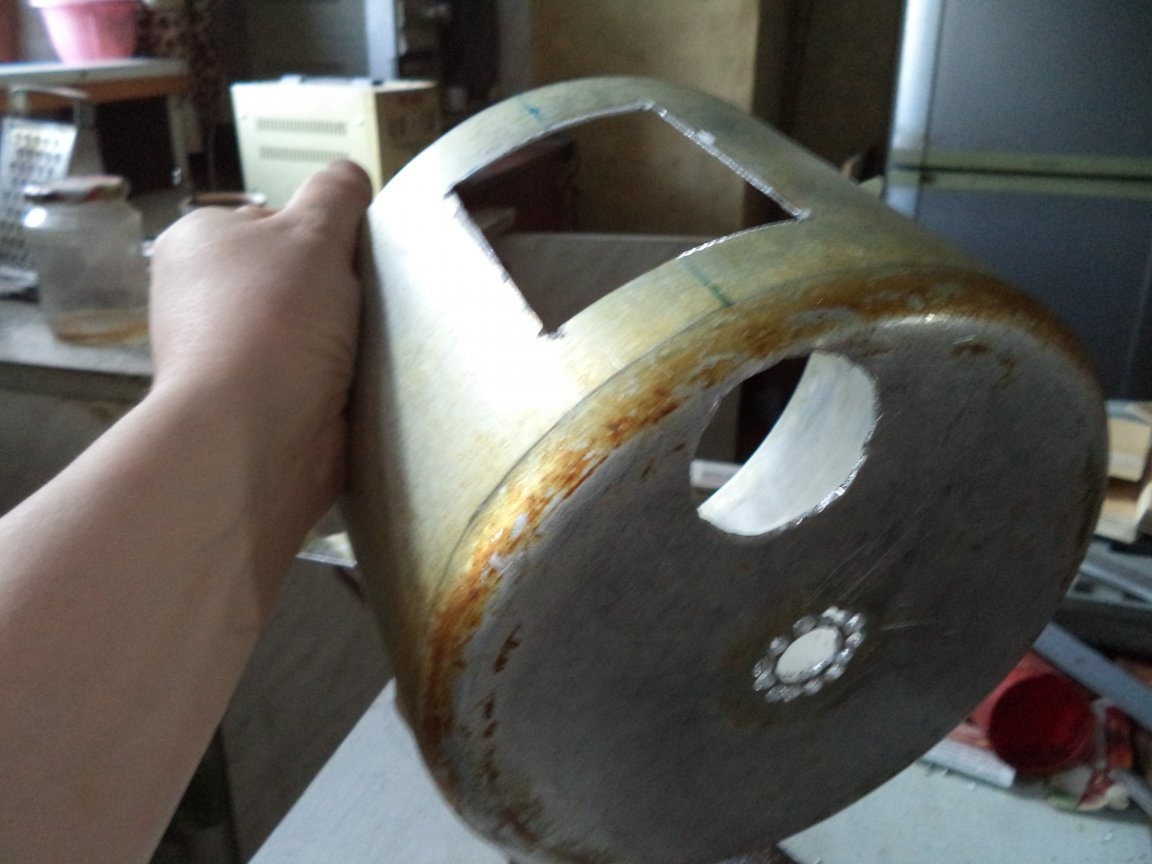
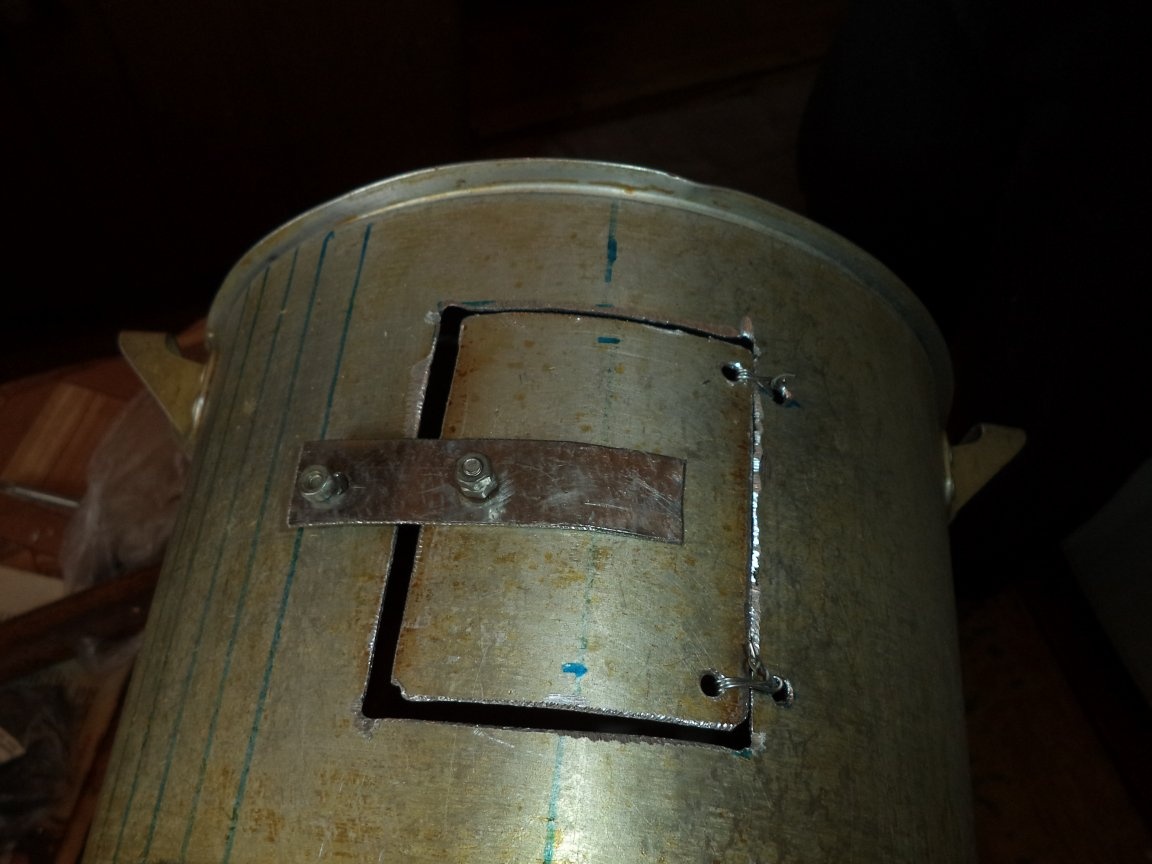
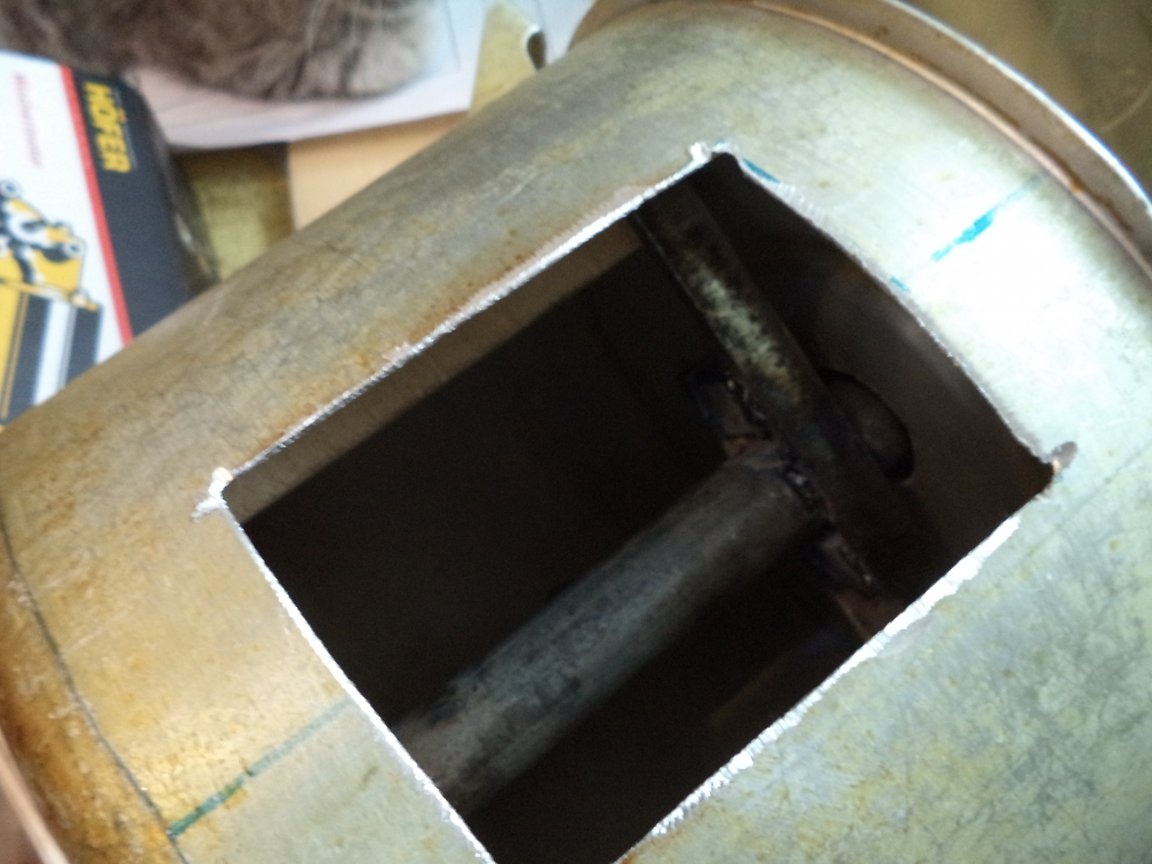
2. In an aluminum pan with a side grinder, cut a square hole to load peanuts.
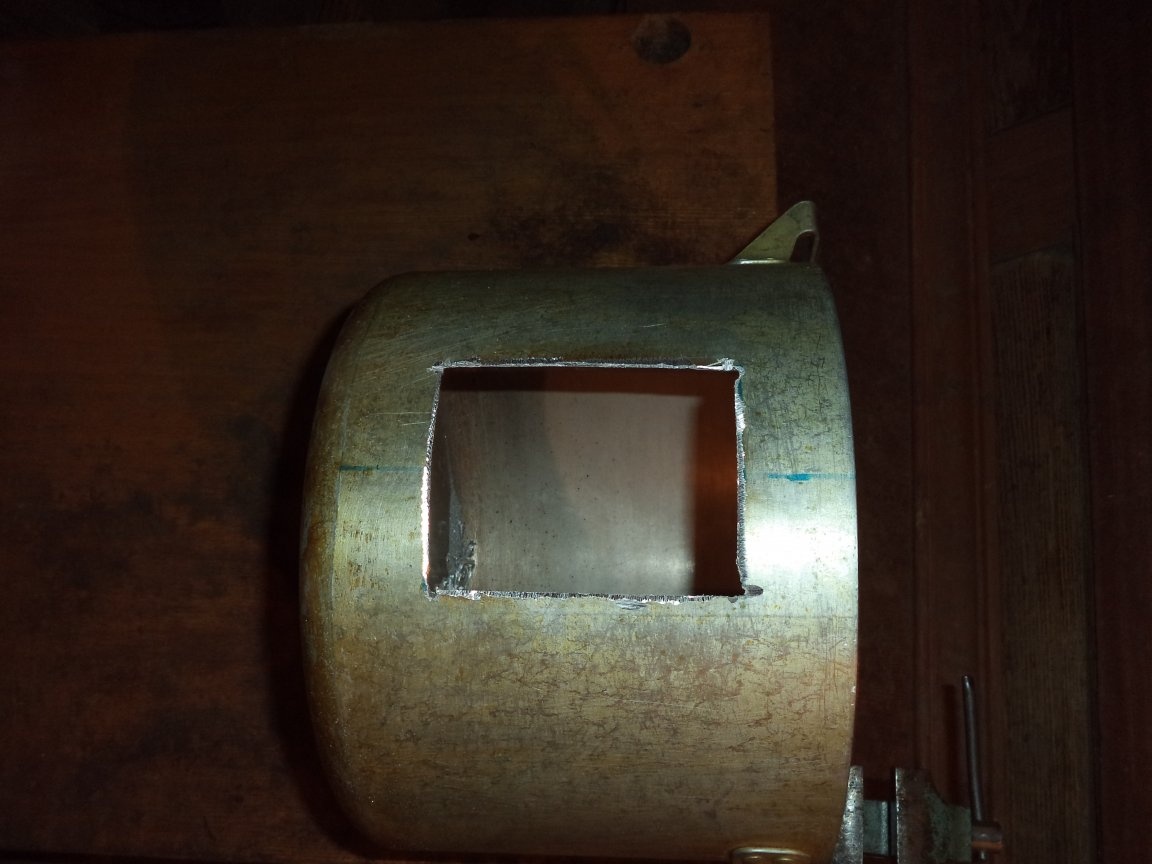
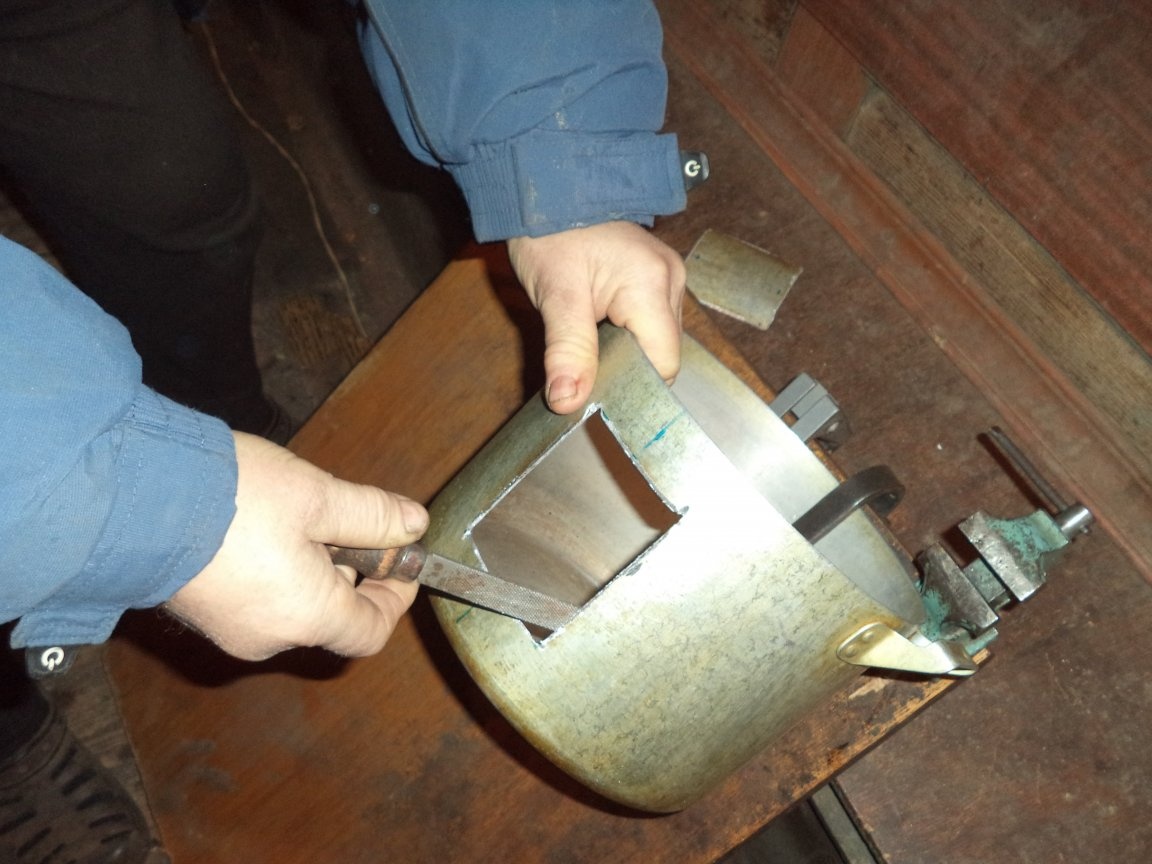
3. We clean the sharp edges with a file.
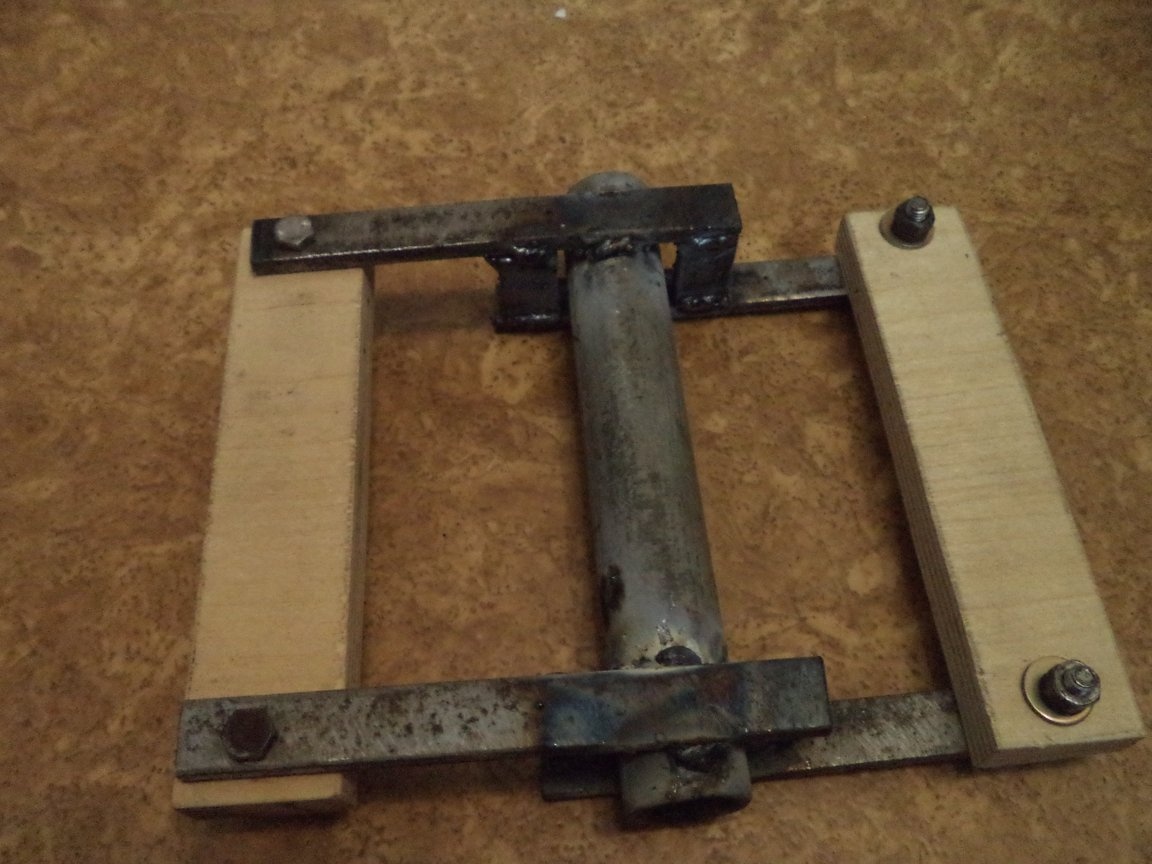
4. Install two bearings in the front and rear walls.
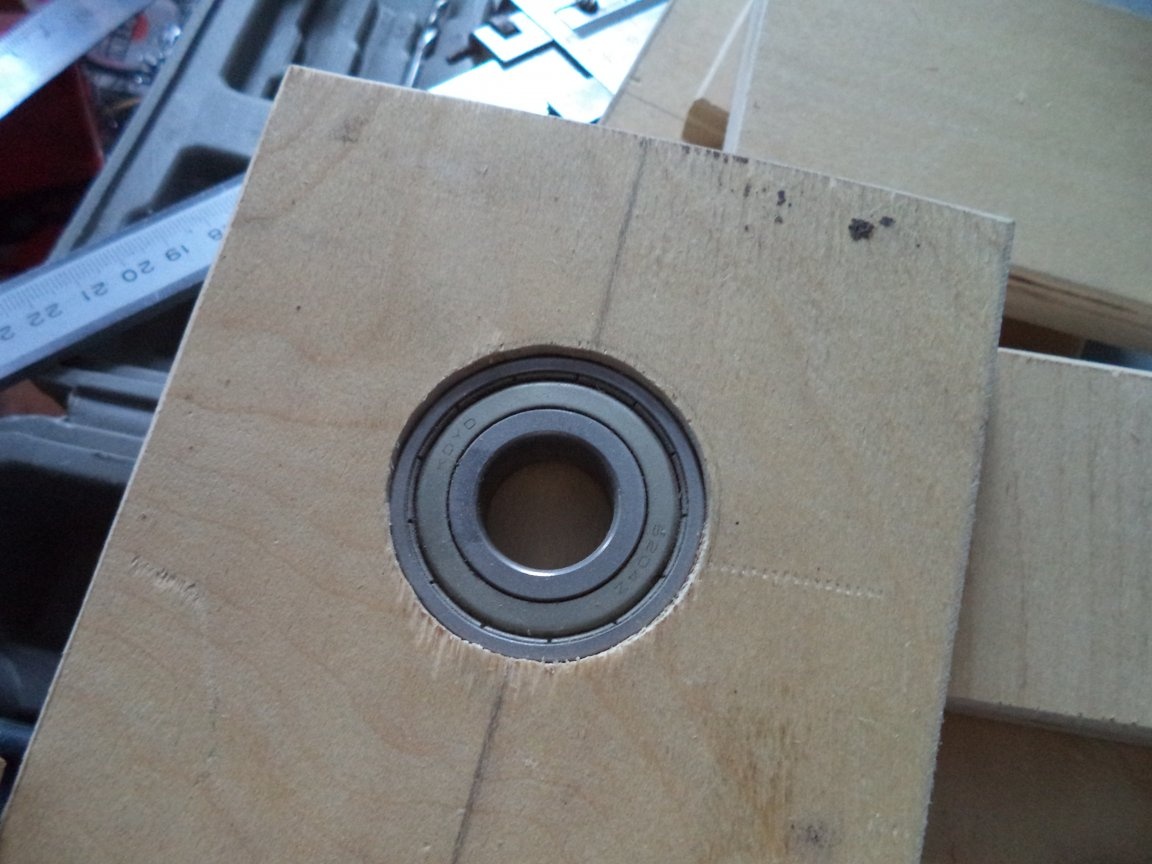
5. Fasten the bearings with MDF strips with small screws.
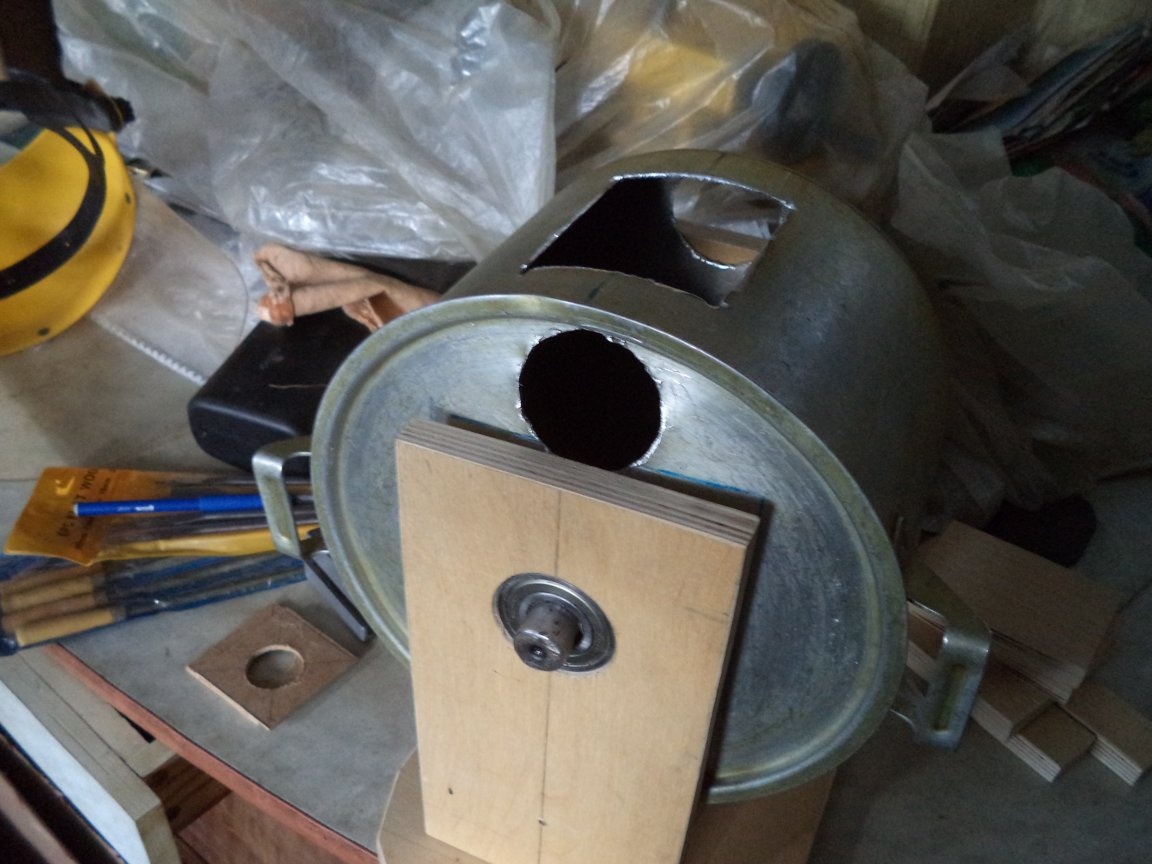
6. Through the front wall we insert the axis of the impeller, fasten the pan lid.
7. Through the back wall we push the axis of the impeller, fasten the pan.
8. We fasten the back and front wall to the stiffener, check the smooth rotation of the axis.
9. Remove the pan and the lid from the front and back walls of the shell shell and modify the central hole up to 35 mm.
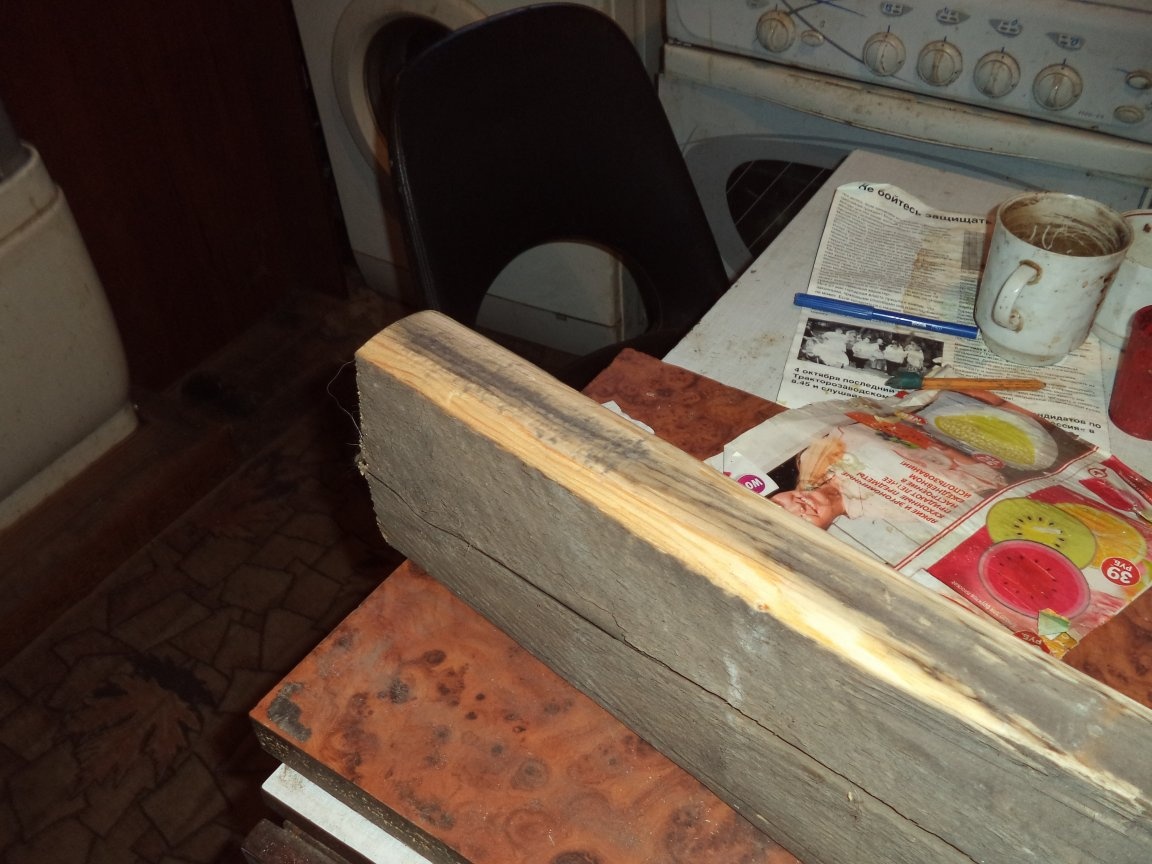
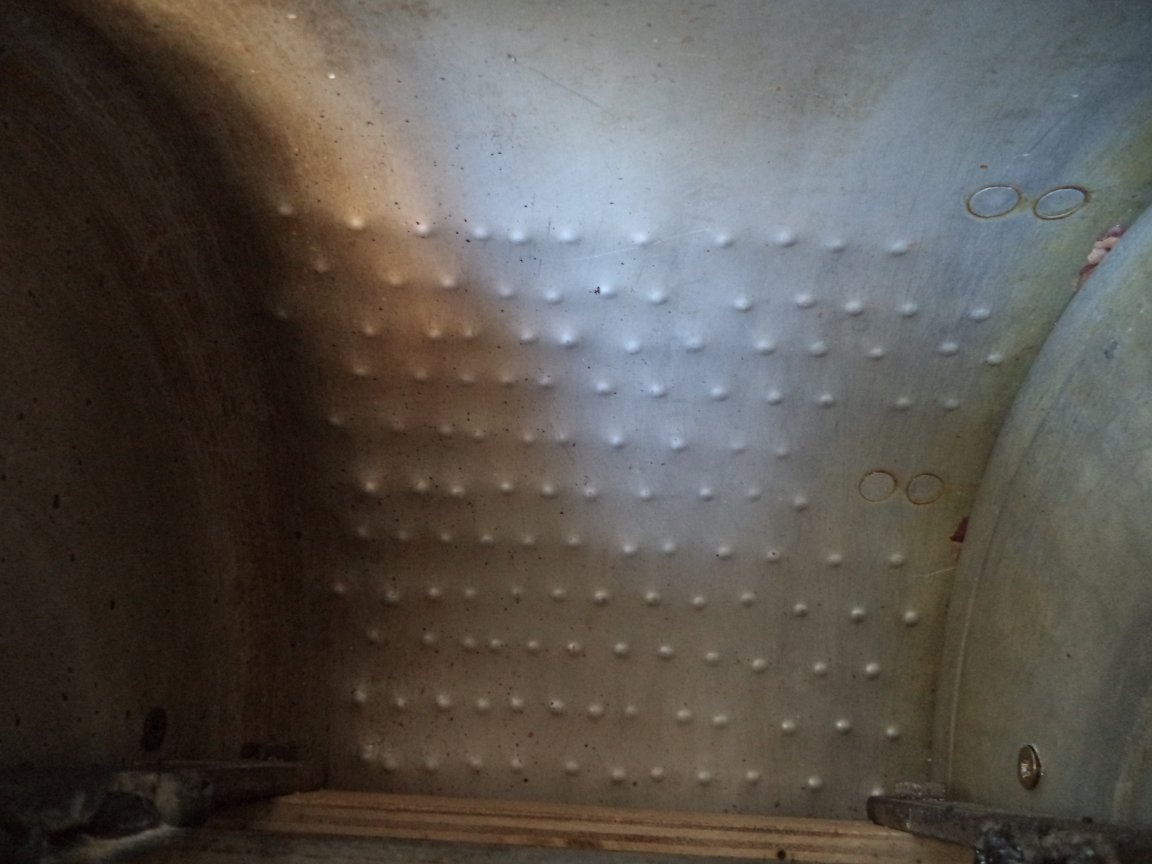
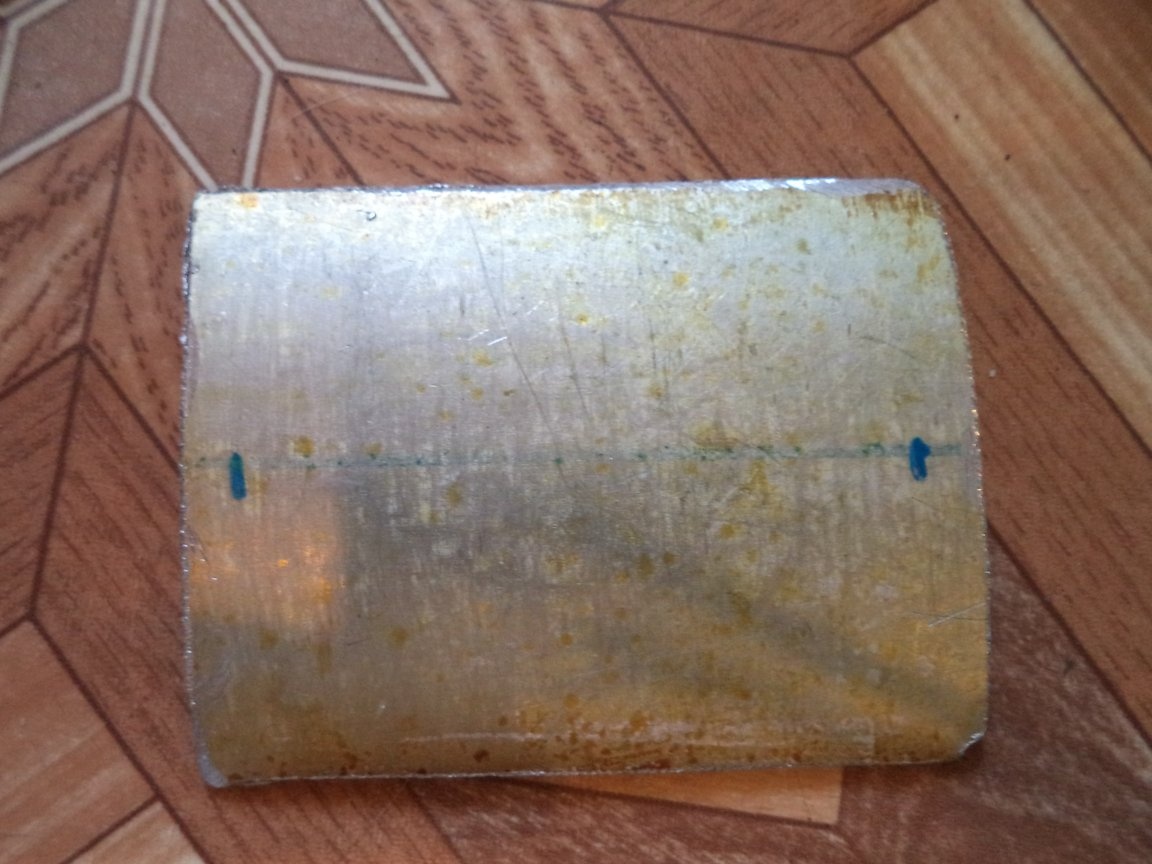
10. On the pan we mark out the longitudinal lines, put it on the prepared bar with a round profile and a punch, we put small protrusions on the side surface.

Step Eight: Assembling the husk body
1. In the center of the axis we install the impeller, fasten it to the axis with an M8 bolt.
2. Screw the rear wall to the pan with screws, the front wall to the lid.
3. Insert the axis with the fixed impeller into the front and rear wall and fasten the screws to the stiffener.
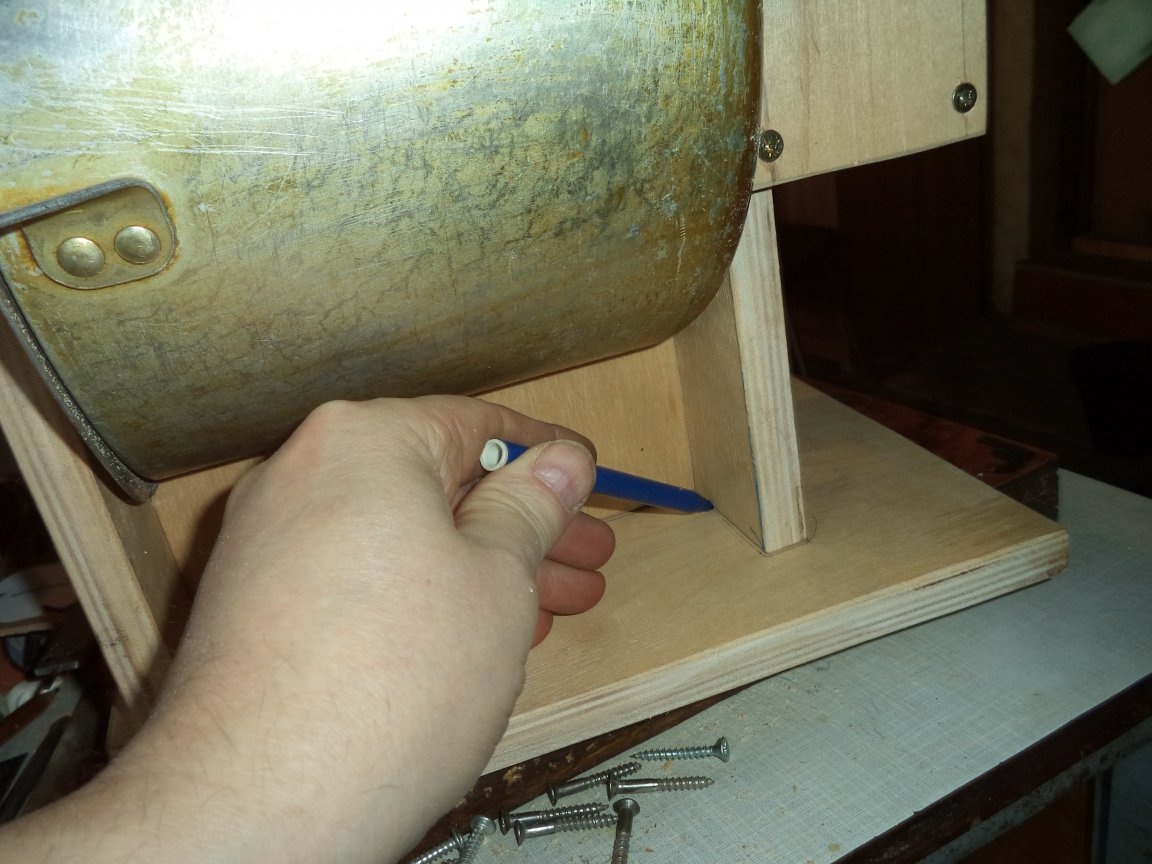
4. We install the shell shells on the stand, draw a pencil around the attachment points and drill holes for the screws.
5. From below we fasten the husk body to the stand with screws.
6. With a wire we fasten the lid to the side surface of the pan, fix it with bolts.
7. Check the smooth rotation of the axis.
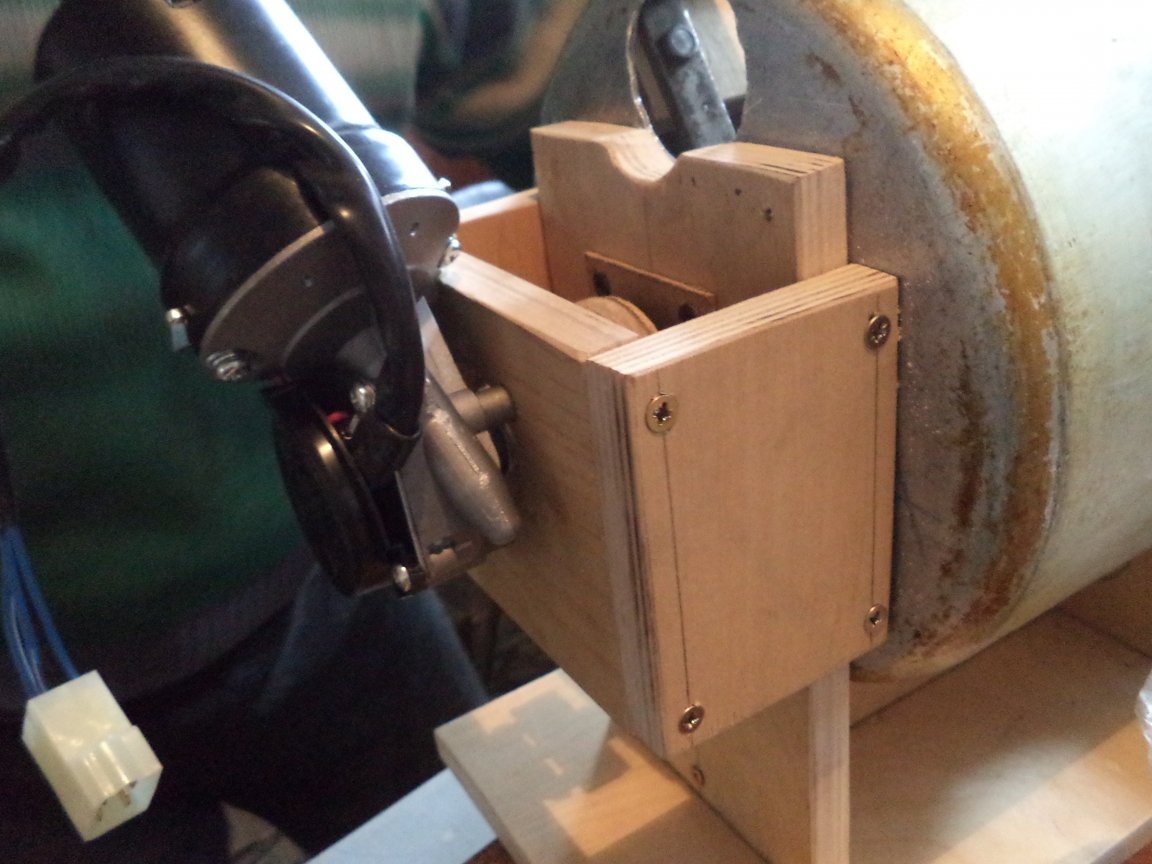
Step Nine: Final Hull Assembly
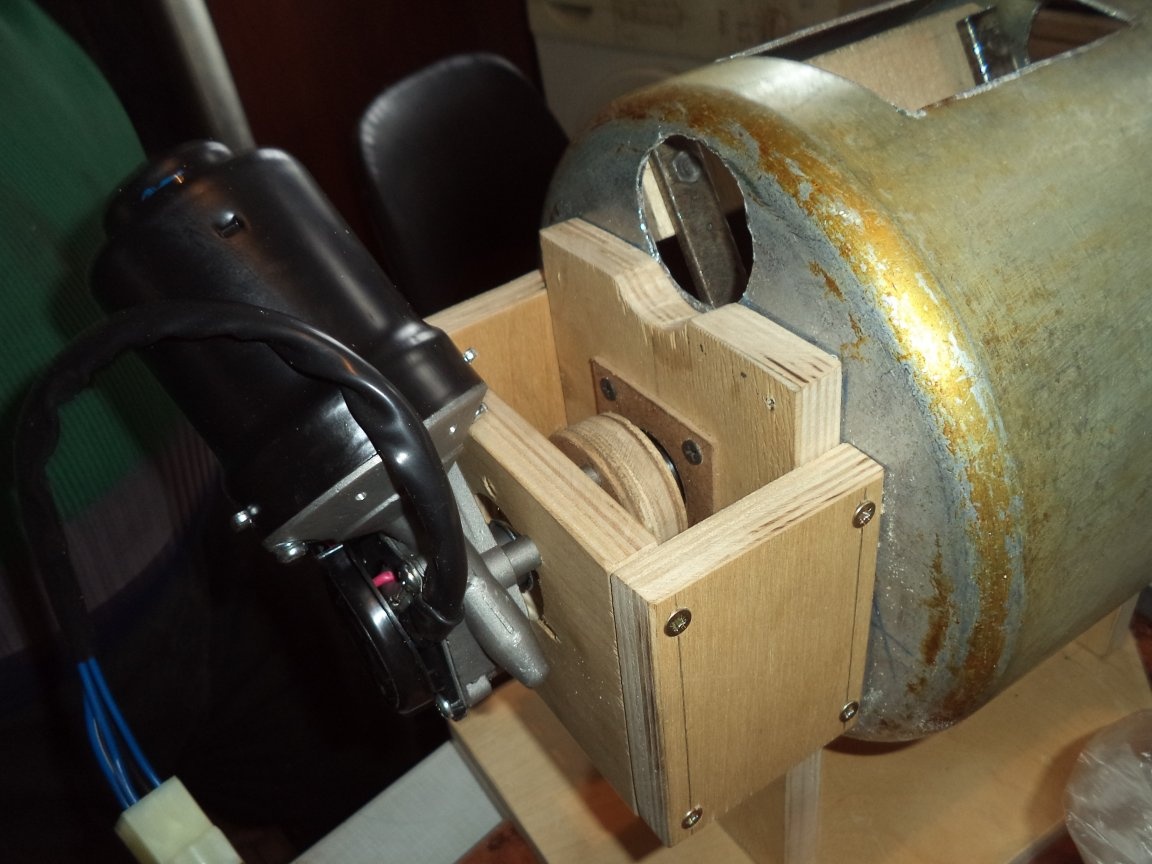
1. We install a wiper motor on the wall of the drive.
2. Install the drive clutch on the motor shaft, fasten with a nut.
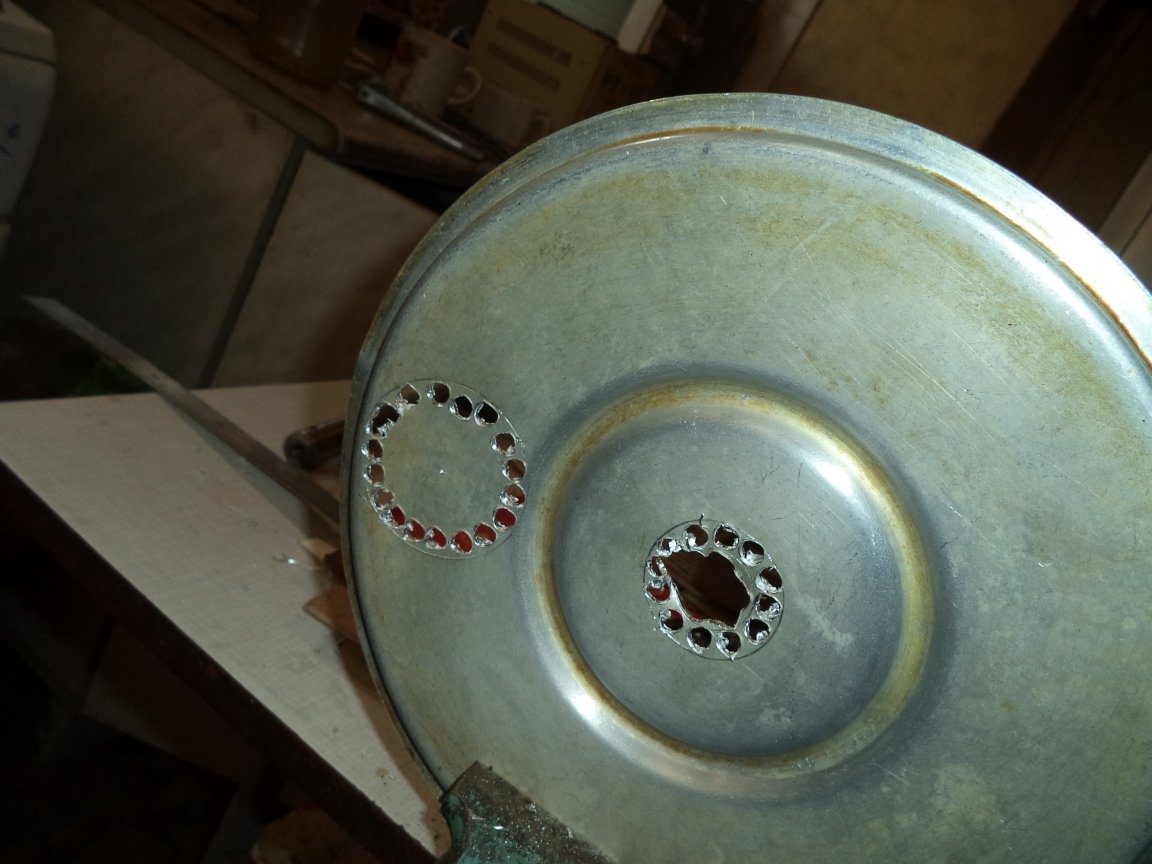
3. We attach a thrust disk to the drive disk for PVA, then, using the marking with screws, we fix the drive fingers made of the tube.

4. We fasten the side walls with screws to the drive wall.
5. On the axis of the husk we twist the threaded key, install the driven disk with the fingers.

6. Screw the side walls of the drive to the back wall of the husk with screws, aligning the coupling and the fingers of the drive.
Step ten: connect the electrician
1. Solder a wire with a socket to the input transformer, solder a diode bridge to the 12 V output.
2. From the diode bridge through the wire switch through the connector, connect to the engine.
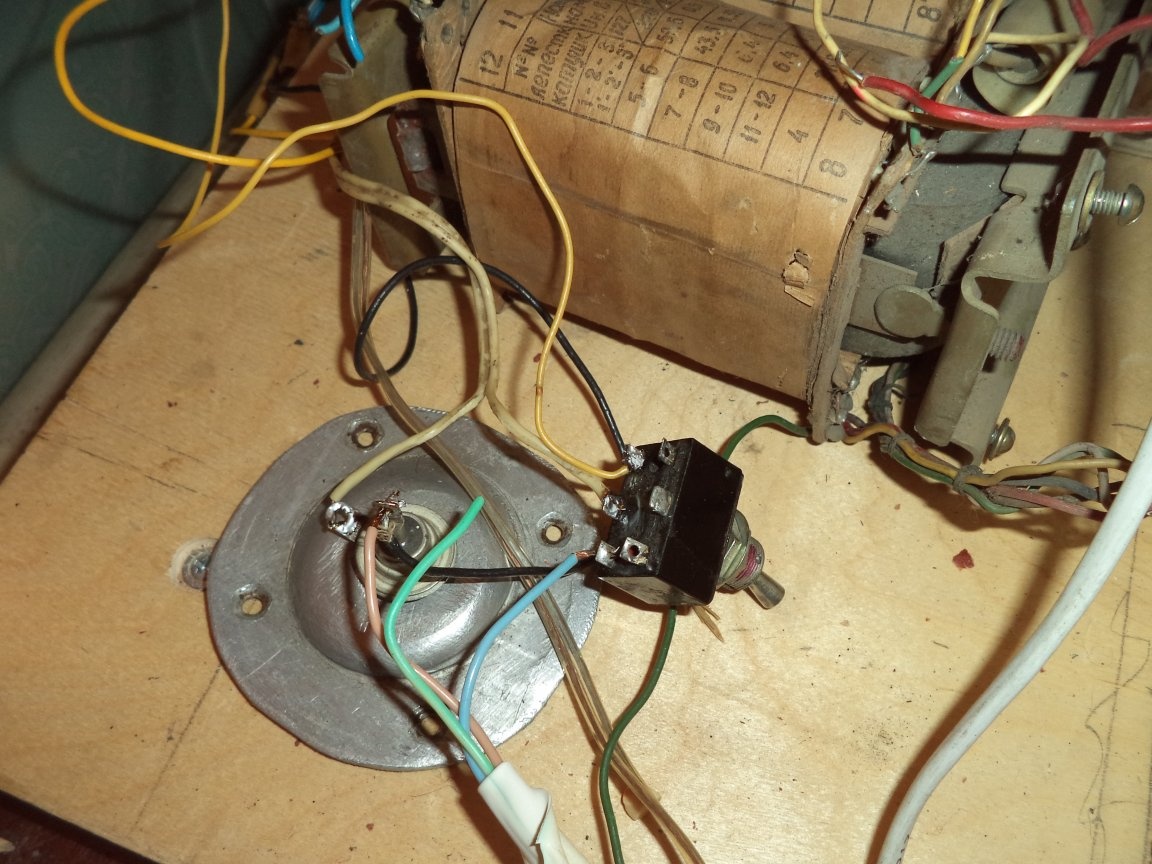
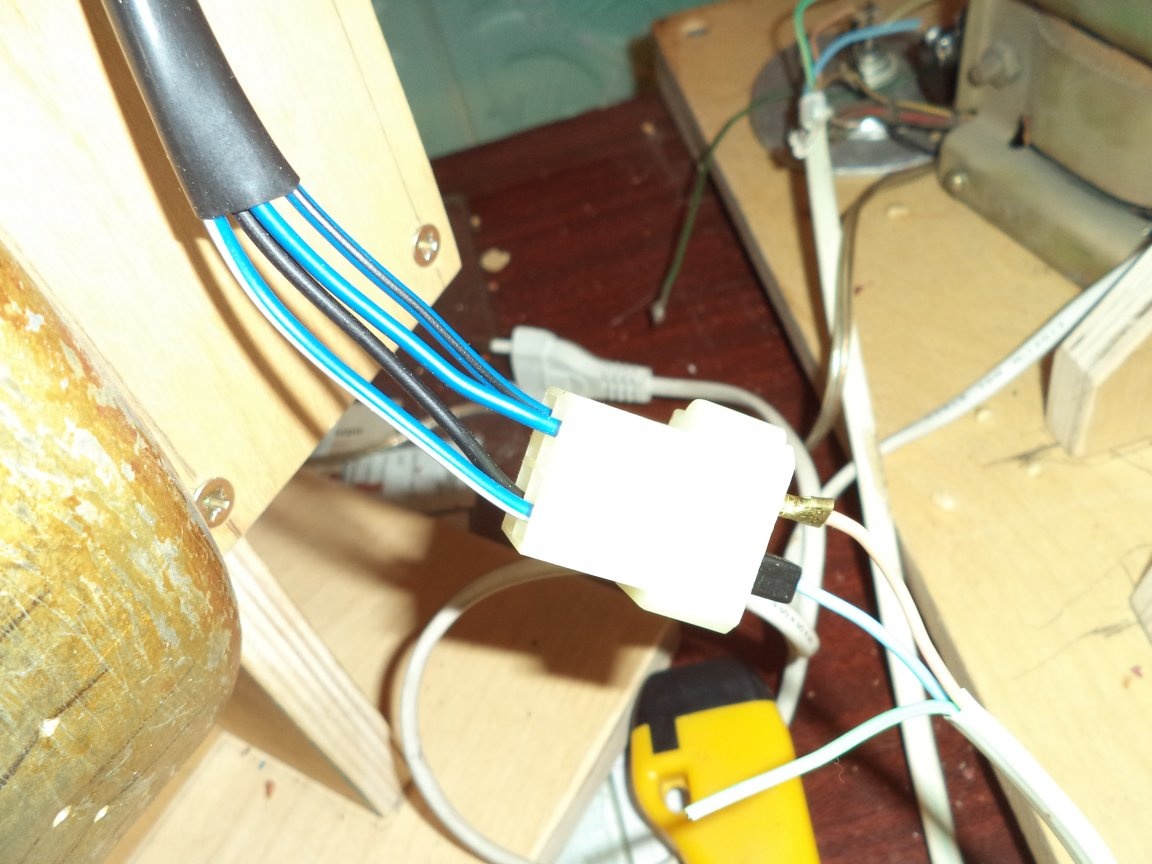
3. Unfortunately, I had a transformer with 24 V output, so I connected one diode instead of the diode bridge and feed the motor through the inductor.
Step Eleven: Challenges
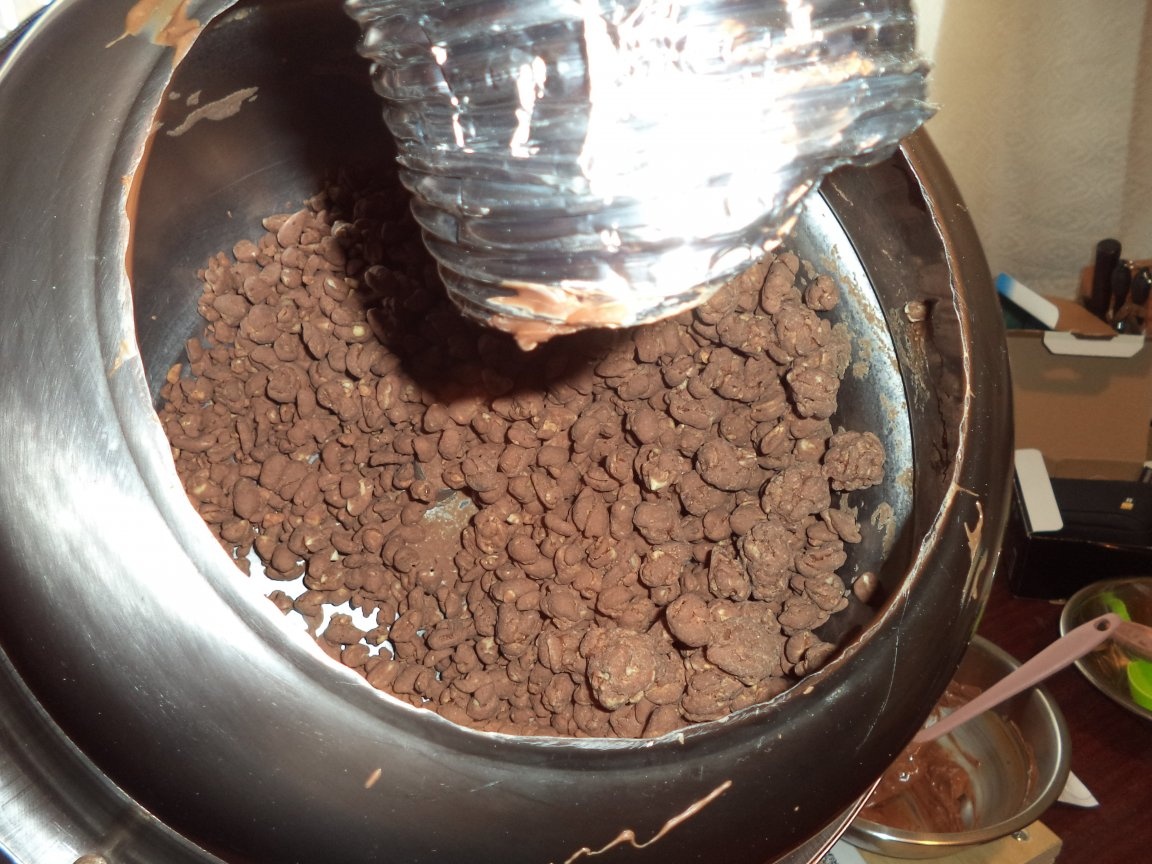
I fall asleep peanuts, about 1 kg, turn on the husk for 1 minute for a maximum of 1.5 minutes, the impeller moves the peanuts along the wall with protrusions on the side of the pan, tearing the husk off.
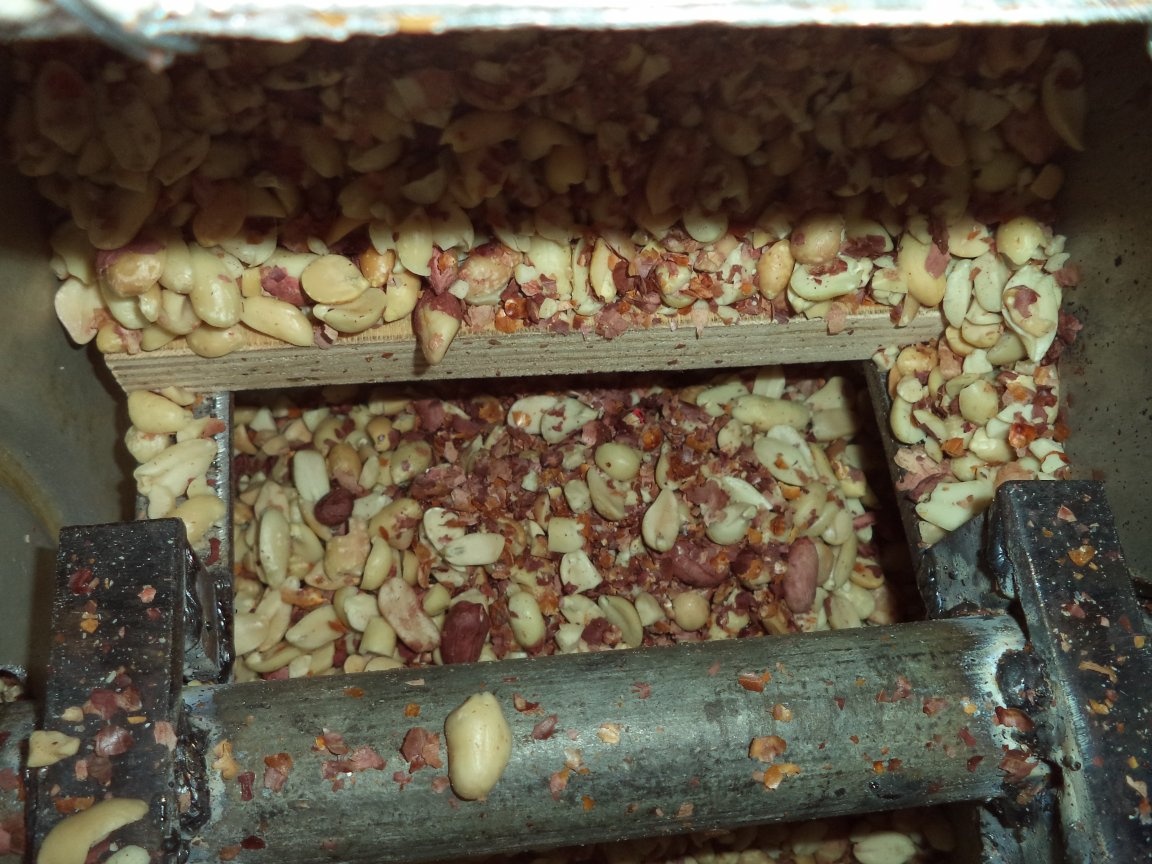
Peanut peeling was 95 percent, after purging and removing the husks, they can be loaded into a coating pan for coating with chocolate.