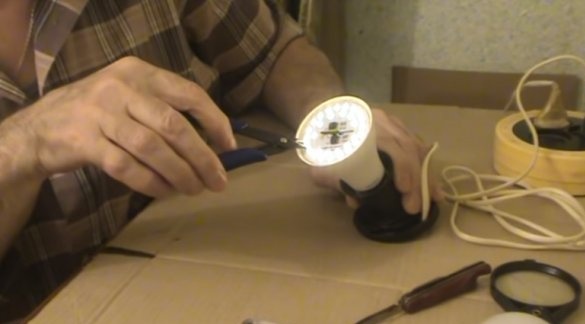
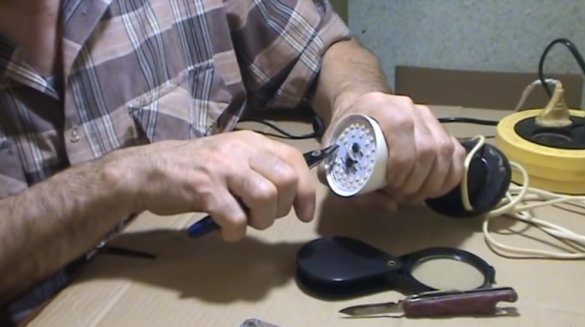
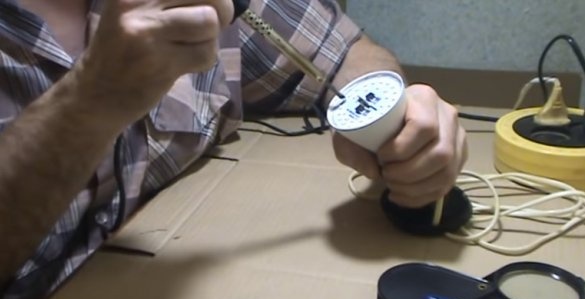
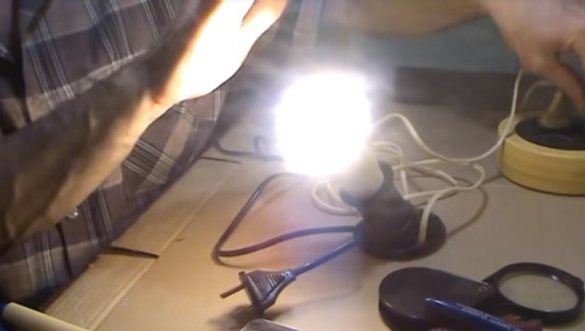
To repair the LED lamp you will need a sharp knife, any nippers, a soldering iron and a little solder. Repair it as follows:
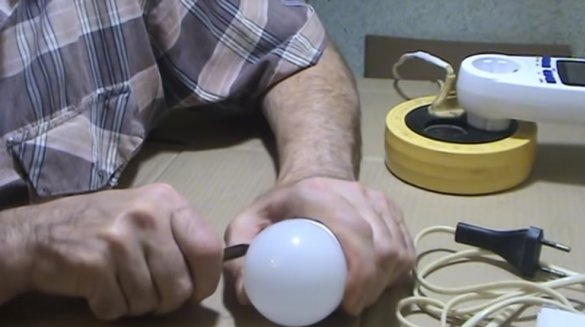
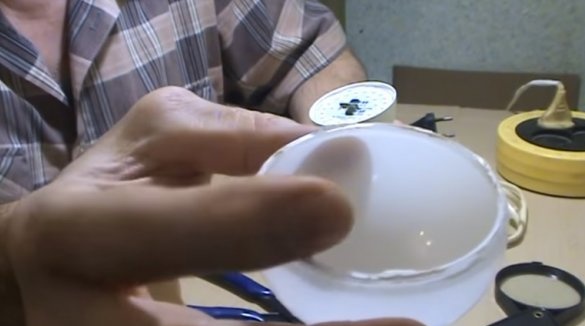
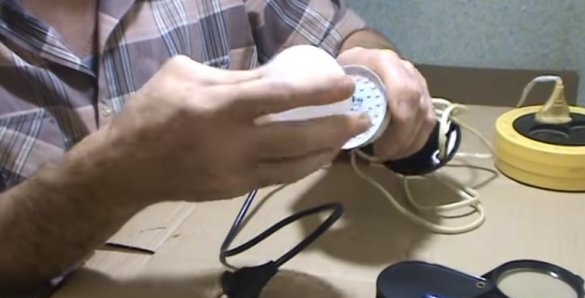
1. Remove the diffuser cap from the lamp. For this, a layer of sealant is pre-cut with the knife edge, with which manufacturers fasten the perimeter of the base of the cap to the lamp housing. Otherwise, it will be impossible to remove it.
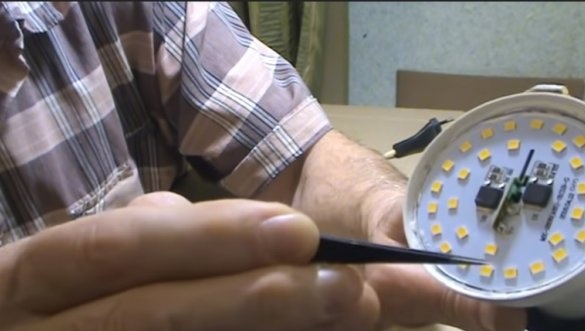
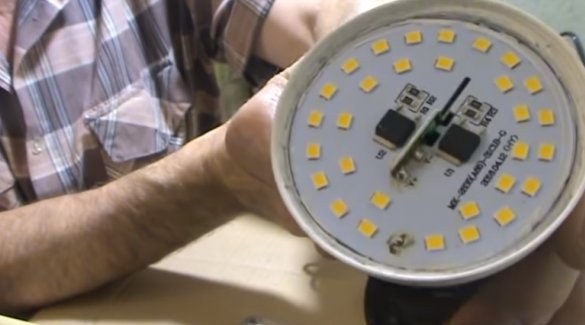
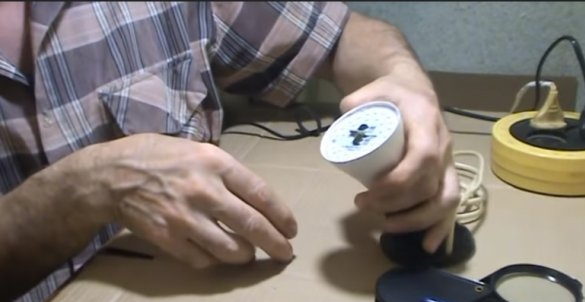
2. Inspection to find out which of the LEDs located on the aluminum board of the lamp has blown. Since they are connected in series, the loss of operability of one negatively affects the operation of the entire lamp. Usually a non-working LED has small dark dots on the surface.
If this is found, then the lack of its performance is checked additionally. To do this, the LED lamp is connected to the network and simply closes its electrical circuit at the contacts of the suspicious LED, for example, with wire cutters. If after this the lamp lights up, then the suspicions turned out to be true and the element is indeed inoperative.
3. Having found a faulty LED, it is, without further ado, removed from the surface of the board with wire cutters, since it is troublesome and difficult to solder the elements from the surface of the aluminum board with a soldering iron.
4. After that, turn on the soldering iron and close the path of the LED network of the lamp in the place of the remote LED with a drop of solder.
5. Turn on the LED lamp in the network, and if it lights up, then we can consider it repaired.
6. Put a light-diffusing cap on the lamp housing.
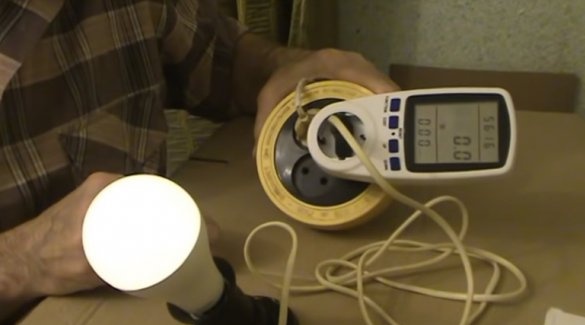
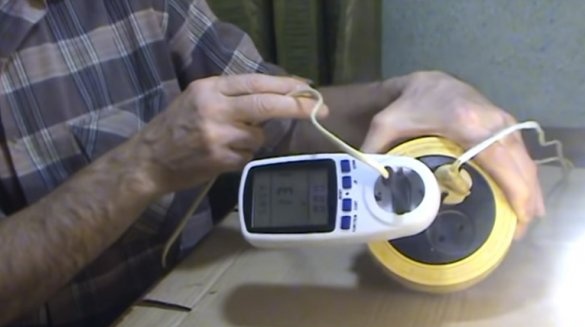
The power consumption of the repaired LED lamp is 13W.
Here's a simple way to reanimate a blown LED lamp. Of course, an LED lamp, in the design of which one LED is lacking, is unlikely to have the same high performance characteristics as a new product, but, in any case, it can last a long time.
Explanatory detailed video on how to quickly repair an LED lamp:

