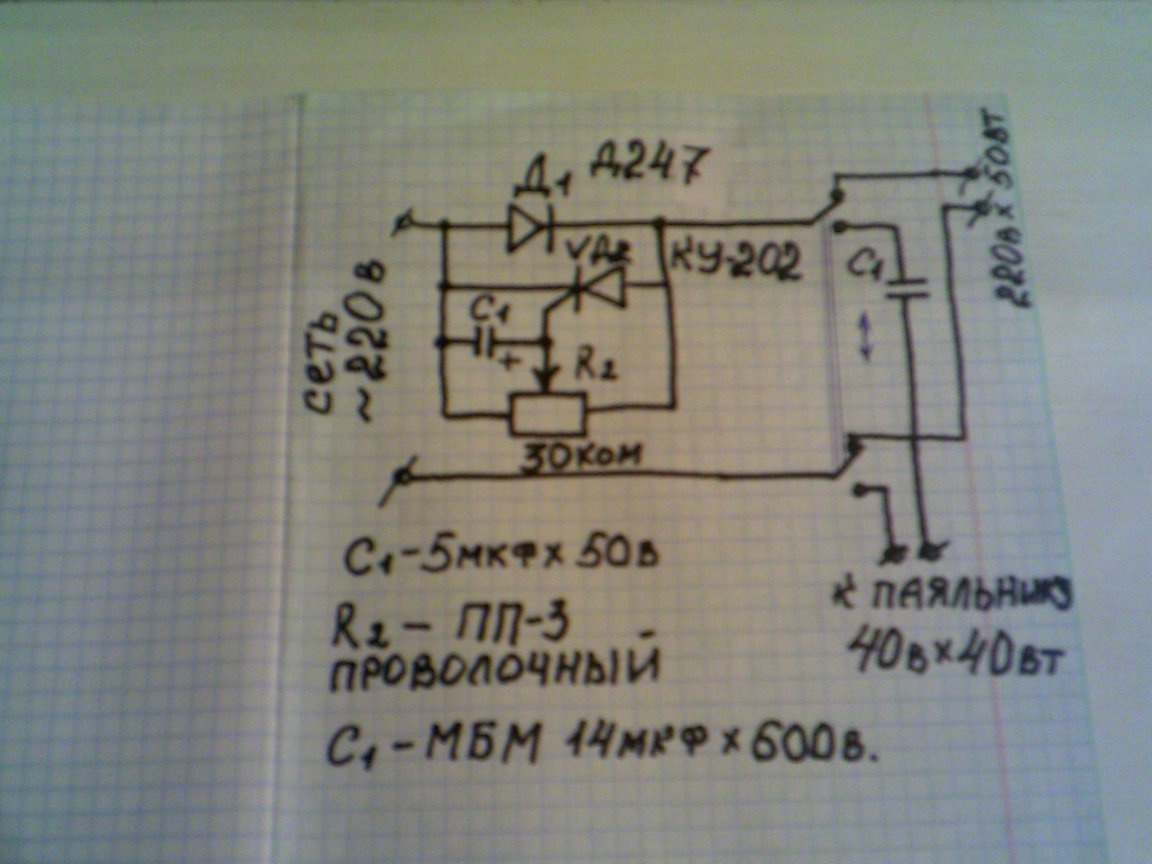
When the soldering iron is used for a long time, its tip overheats, which is not very desirable when soldering radio components. To eliminate this drawback, I assembled a temperature regulator for the tip of the soldering iron. It allows you to adjust the power of a 50-watt soldering iron to 220v within 25-48vt. And also I made it possible to connect a 40V to 40W soldering iron to the same regulator with the ability to adjust the tip temperature. Here is a diagram of the controller itself.
To assemble the circuit, we need the following parts and tools:
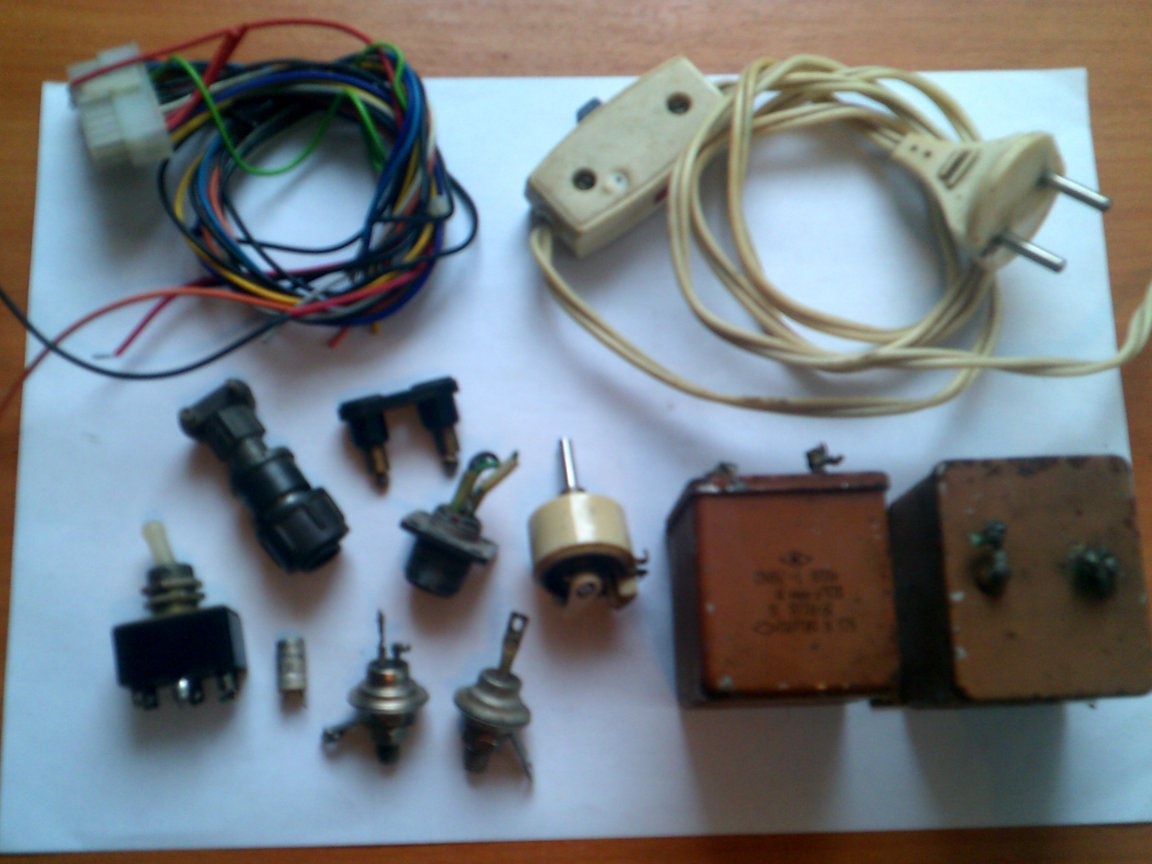
1 - diode D246, A, B, or D247-1pc, thyristor KU-202M, N-1pc, electrolytic capacitor 5uF at 50v, resistor type PP-3 wire at 22-30kom, connector for connecting a soldering iron 220v 50w, 6- ty contact toggle switch, paper capacitors MBM 14mkf on 600v, installation wires, a network wire with a plug and a switch, military connector "father" and "mother" assembly. 2 - a soldering iron, solder, pliers, tweezers, wire cutters, an electric drill, drills, a screwdriver, aluminum angles 15 to 15 mm and a length of 15 cm - 2 pcs, screws and nuts M-3, small radiators for the diode and thyristor, the case, suitable sizes. We check the radio components as shown in the photo with a multimeter.
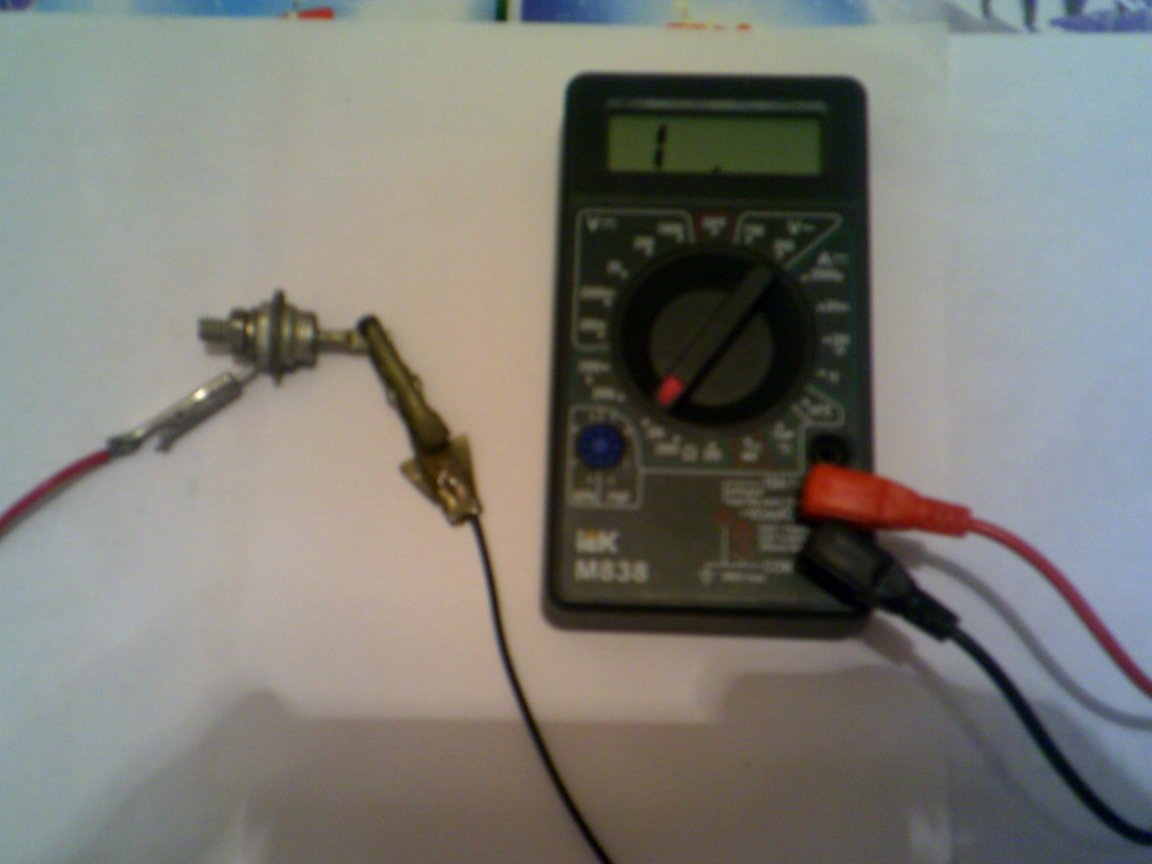
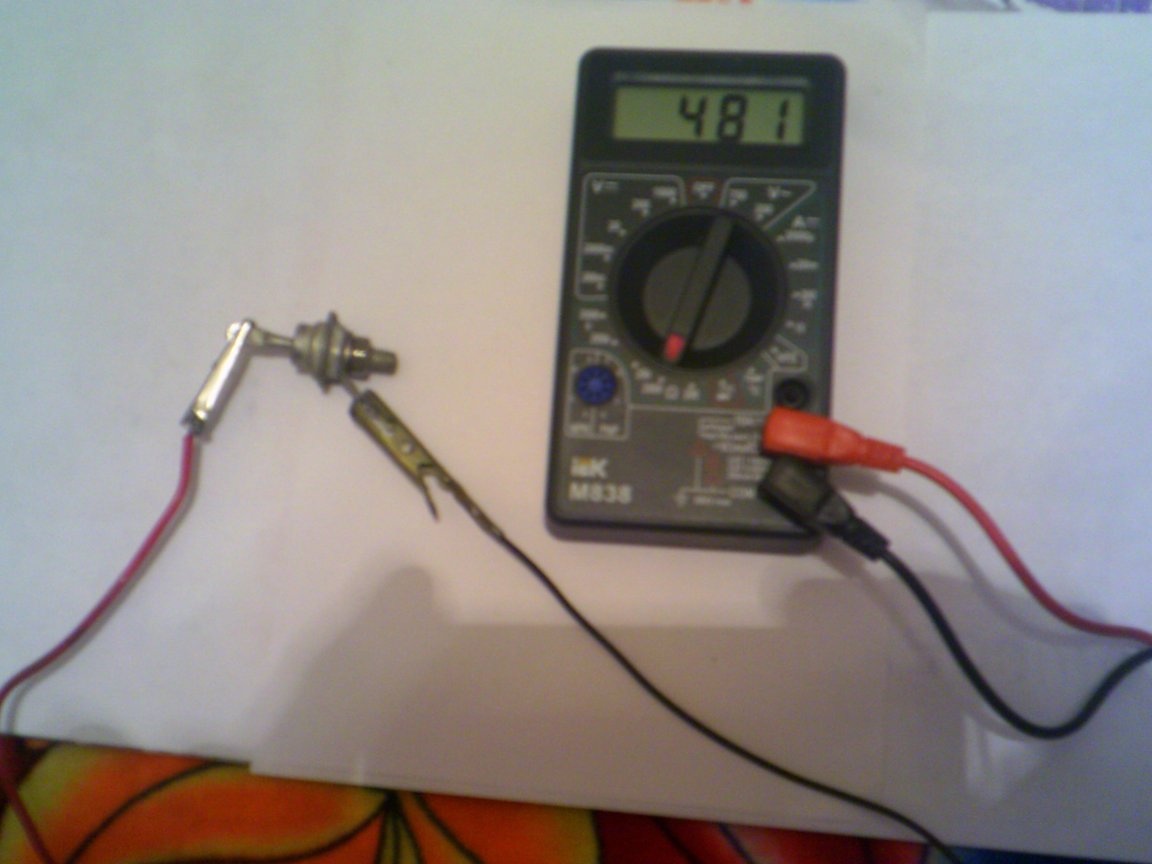
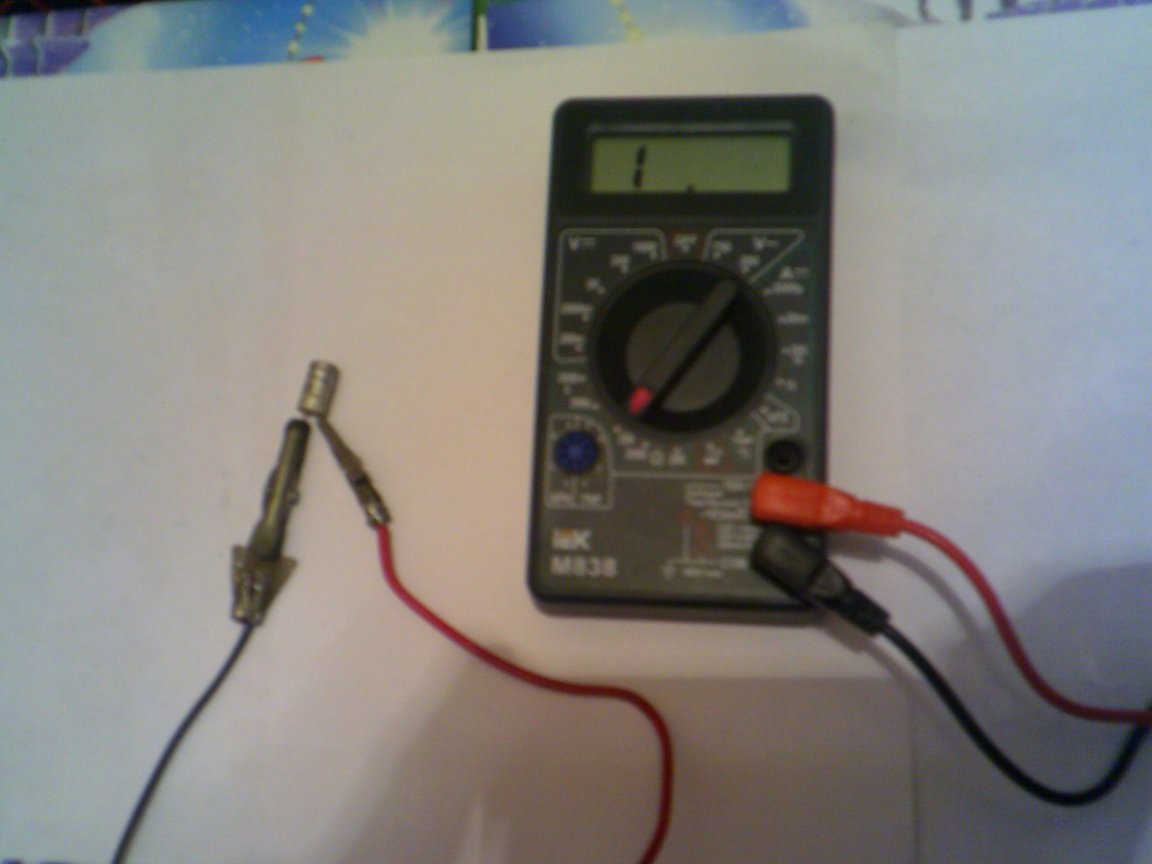
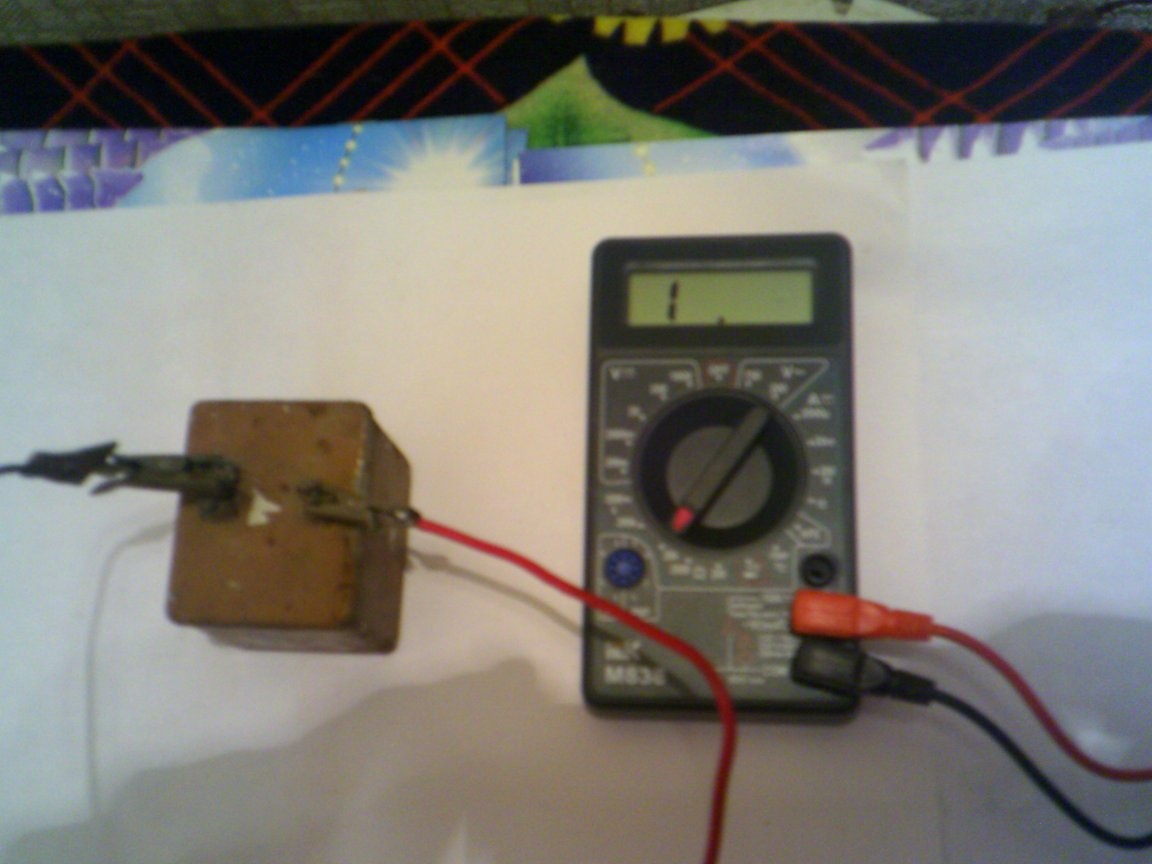
I checked the thyristor with a homemade device. If you do not have it, then a thyristor can be installed a new one. I already wrote more about checking radio components in previous homemade.
We assemble as follows:
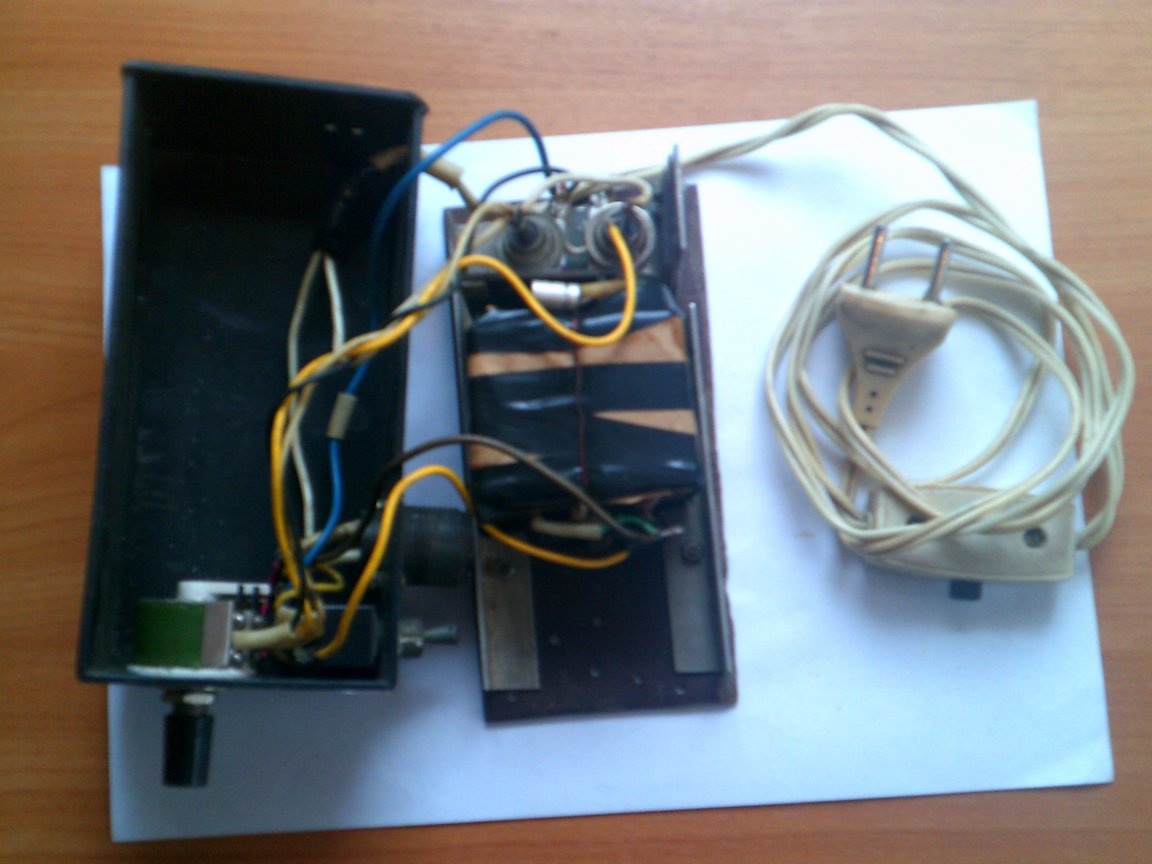
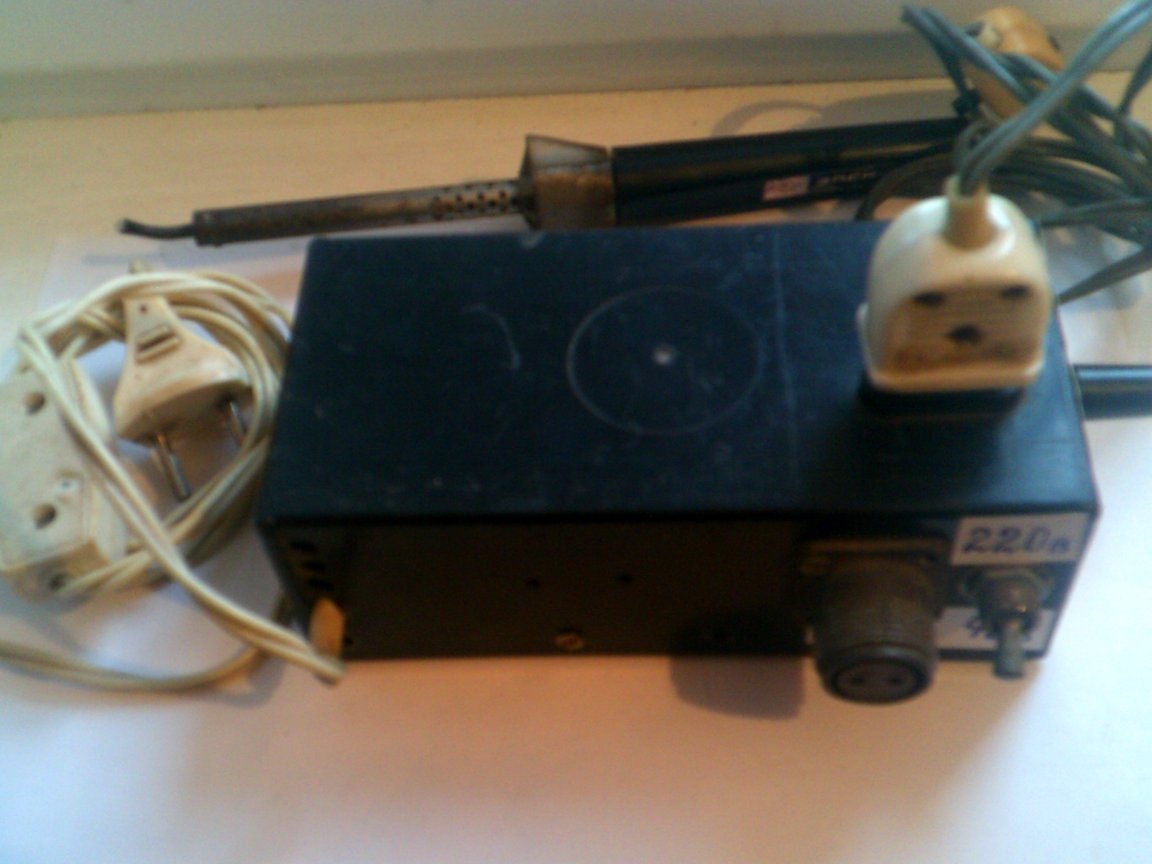
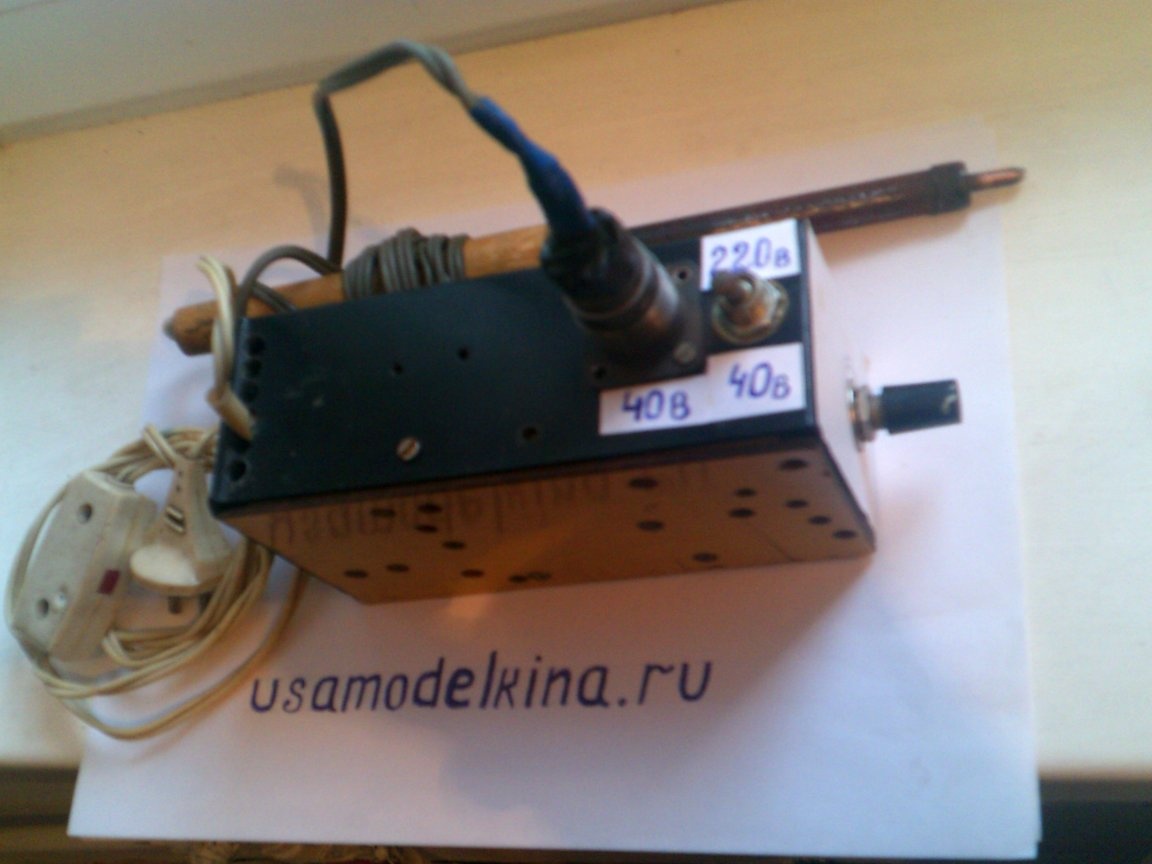
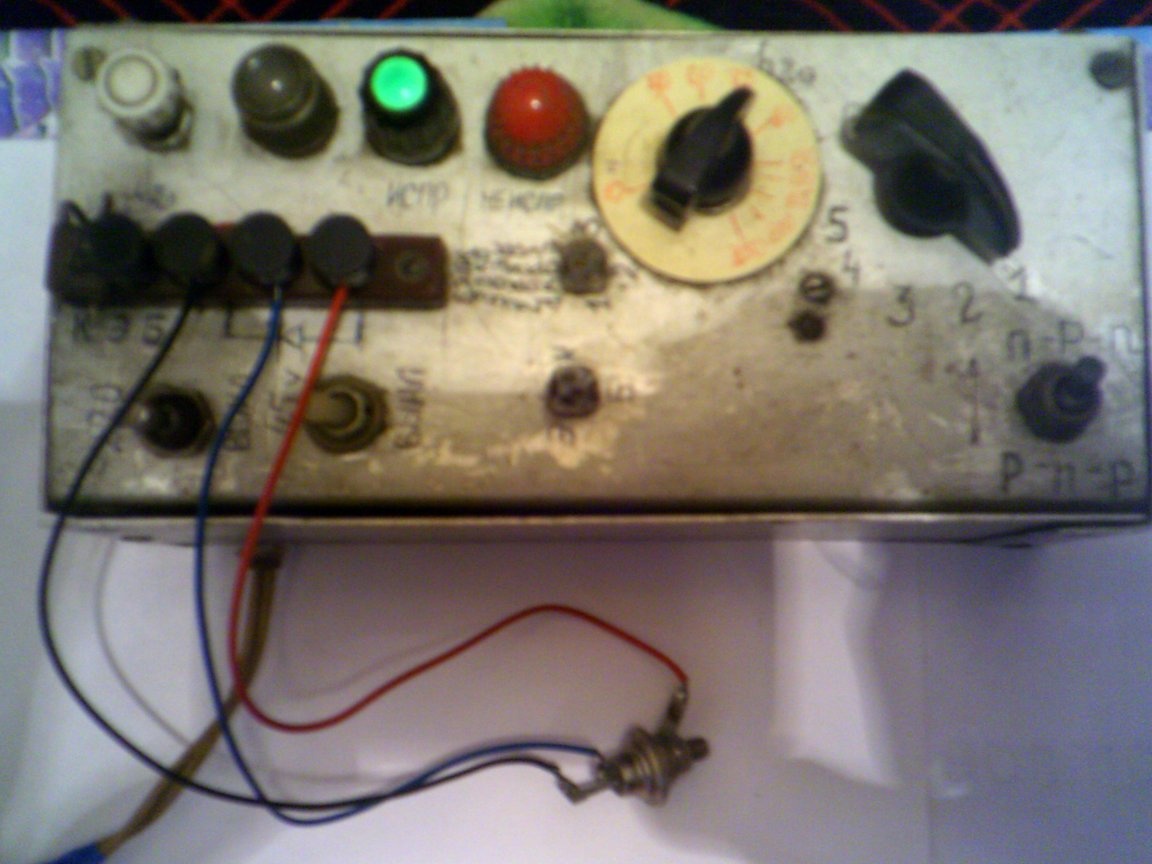
In a case measuring 5.5 by 8 by 16 cm, I drilled holes for the soldering iron network connector and secured it with the M-3 screw and nut, then on the left side I installed a toggle switch and a female connector for a 40-volt soldering iron. On the front side, I installed a variable resistor. The bottom case cover was made of 2 mm thick PCB
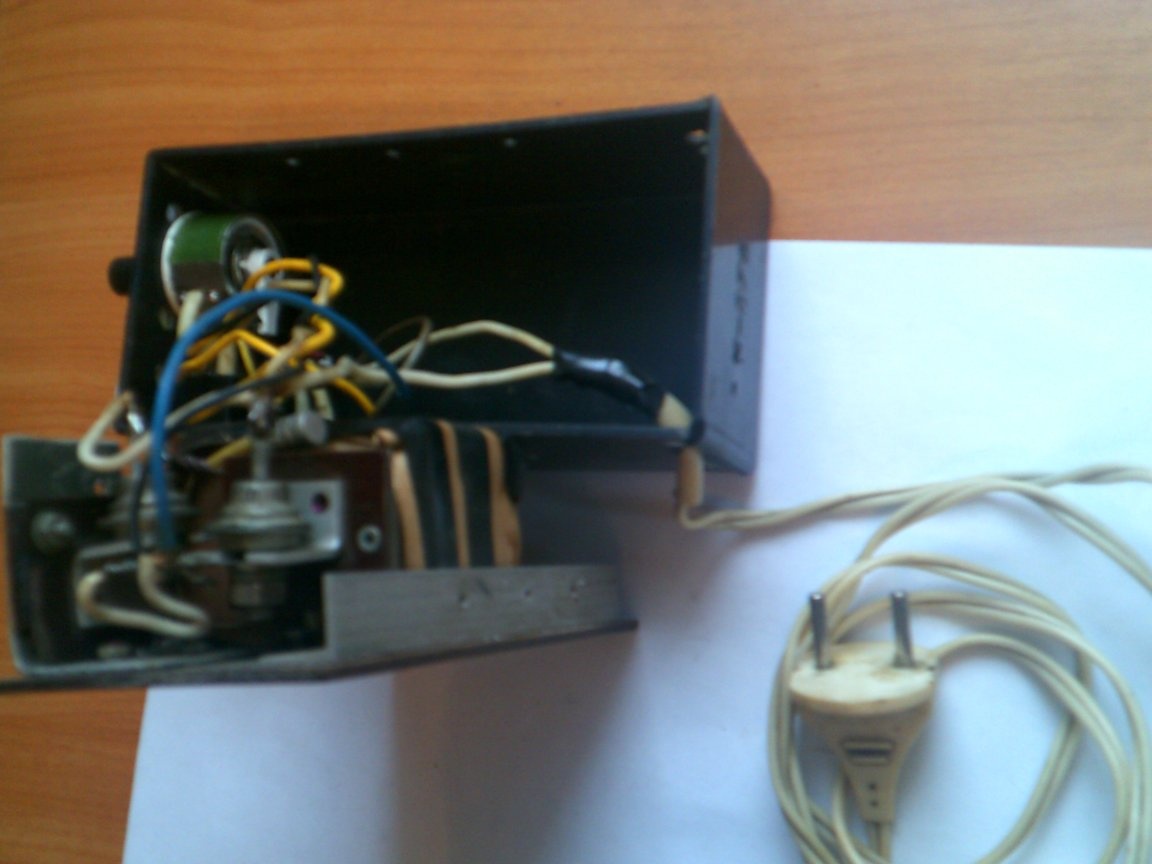
It secured aluminum corners on the edges. Between the corners, he mounted a diode on the radiators, and a thyristor next to it, immediately installed Paper capacitors, having previously insulated each other and with the outside with thick paper and an electrical tape on top. The required capacity of 14 microfarads can be assembled from several pieces by soldering them in parallel. I have them -2pcs - 10 microfarads and 4 microfarads. After installing all the parts in the homemade body, we solder the circuit, and the bottom cover and the body itself are positioned so that in the disassembled state of the body it is possible to freely solder the parts. On the side on the aluminum corners we make holes and cut the M3 thread. They are needed to connect the bottom cover to the housing using M3 screws. We assemble the case, make the appropriate inscriptions near the toggle switch and connectors, all this is in the photo.
We check the operation of the regulator by connecting a soldering iron to the top connector for 220V 50W, we smoothly change the power of the soldering iron with a resistor. The toggle switch is included in the upper position according to the scheme. In the same way, we also check the soldering iron at 40V 40W by switching the toggle switch to the lower position.
Instead of the mains plug on this soldering iron, I installed the “male” military connector so that I would not accidentally plug the soldering iron into the 220v network, as I had at work more than once.
This homemade product has been serving me faithfully for 3 years.