

To store, it is impossible to throw out.
Every little thing should have its own name; and its place - something like that which will be presented at the end of the description of the manufacturing process.
Tools and materials that I used:
Instruments:
1) a pencil;
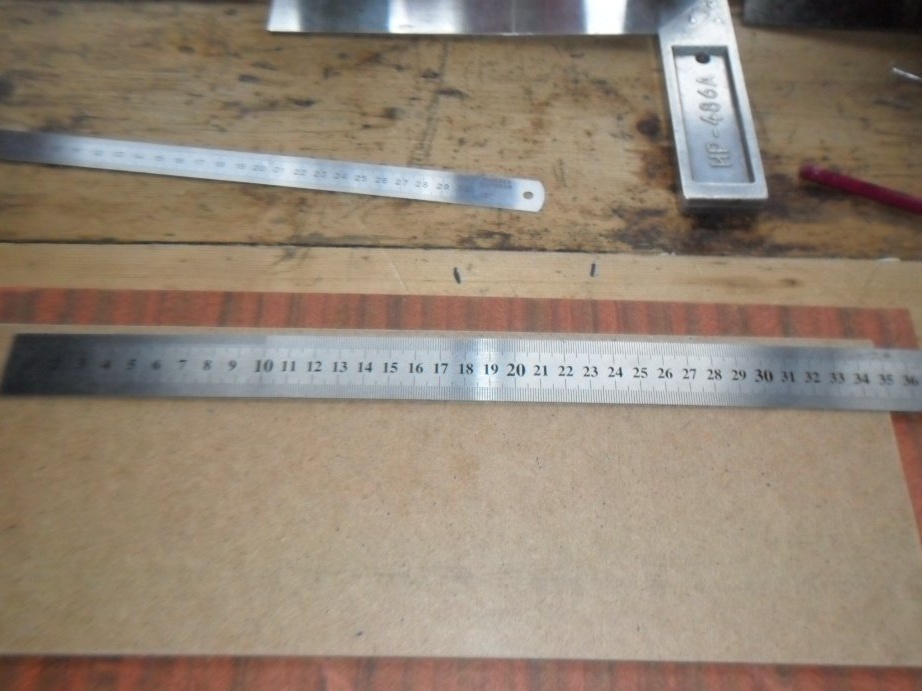
2) two rulers;
3) a hacksaw;
4) grinding machine;
5) sandpaper;
6) planer-planer;
7) a planer;
8) miter box;
9) a hammer;
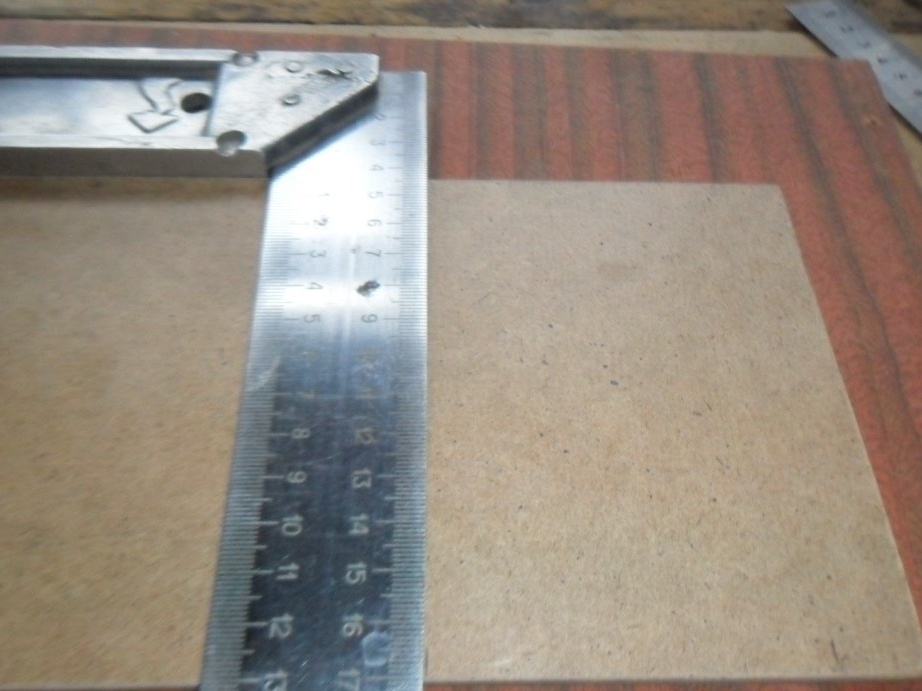
10) two squares;
11) a saw blade;
12) a drill on a tree with a diameter of 3 mm;
13) drill;
14) quick clamps (2 pcs.);
15) putty knife;
16) a nail with a sawed tip as a punch.
Materials:
1) two beams 5 cm high and 15 cm wide;
2) fiberboard;
3) nails 25 mm long;
4) carpentry glue;
5) putty (pine color);
6) biotex (mountain ash color).
Manufacturing process:
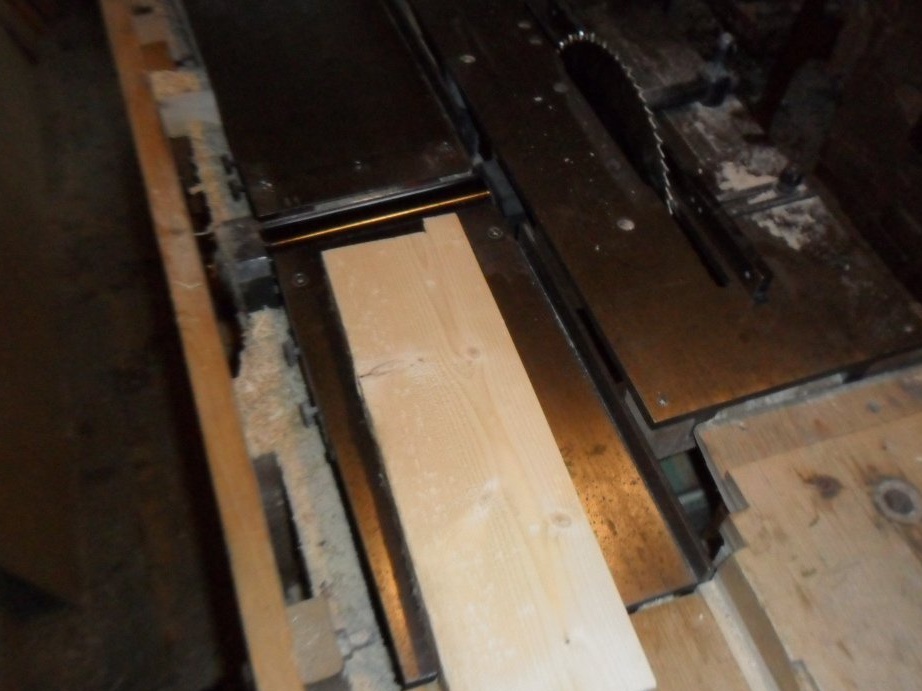
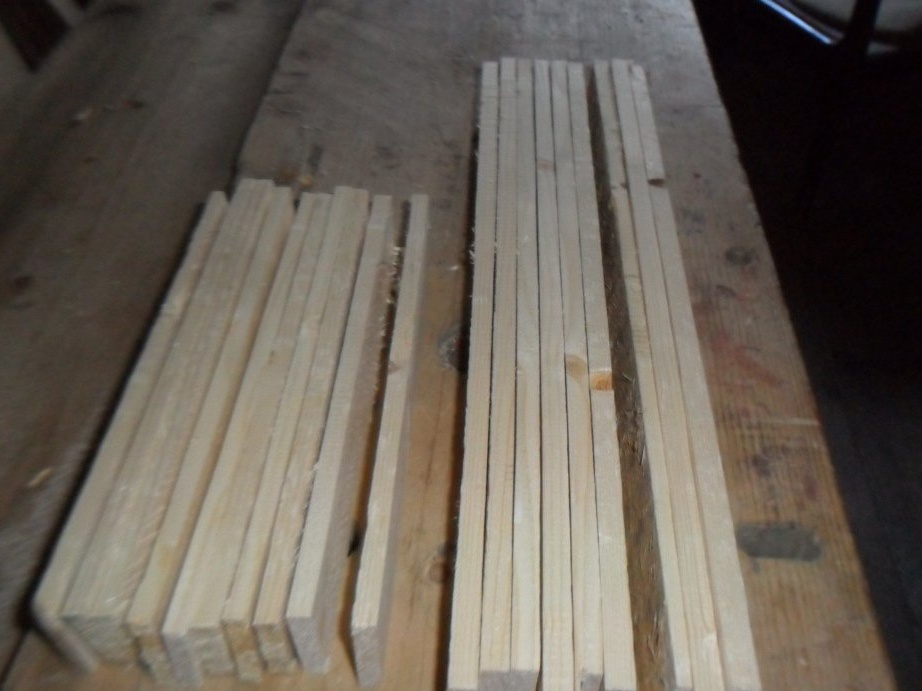
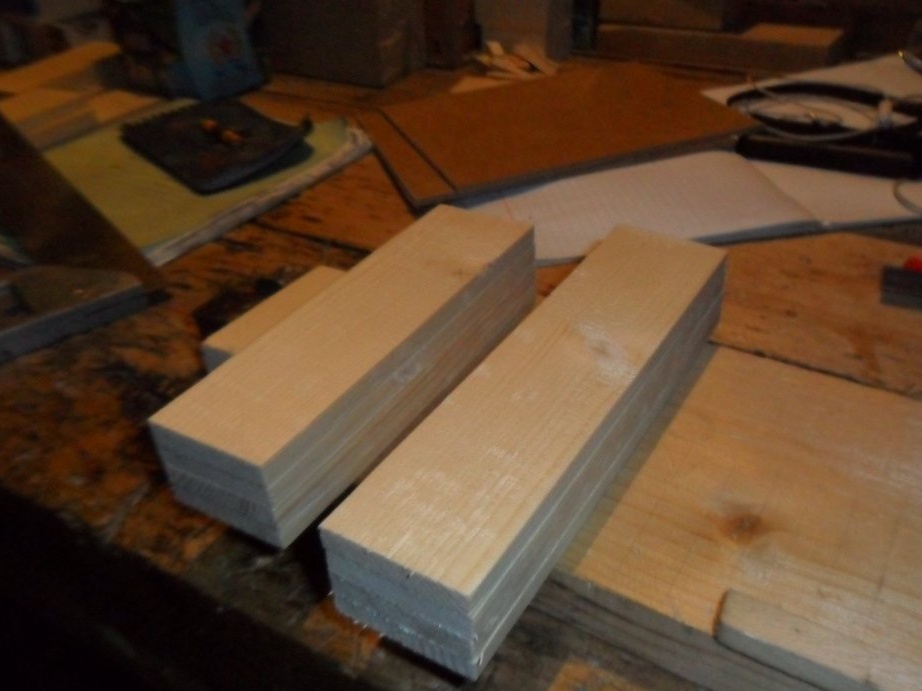
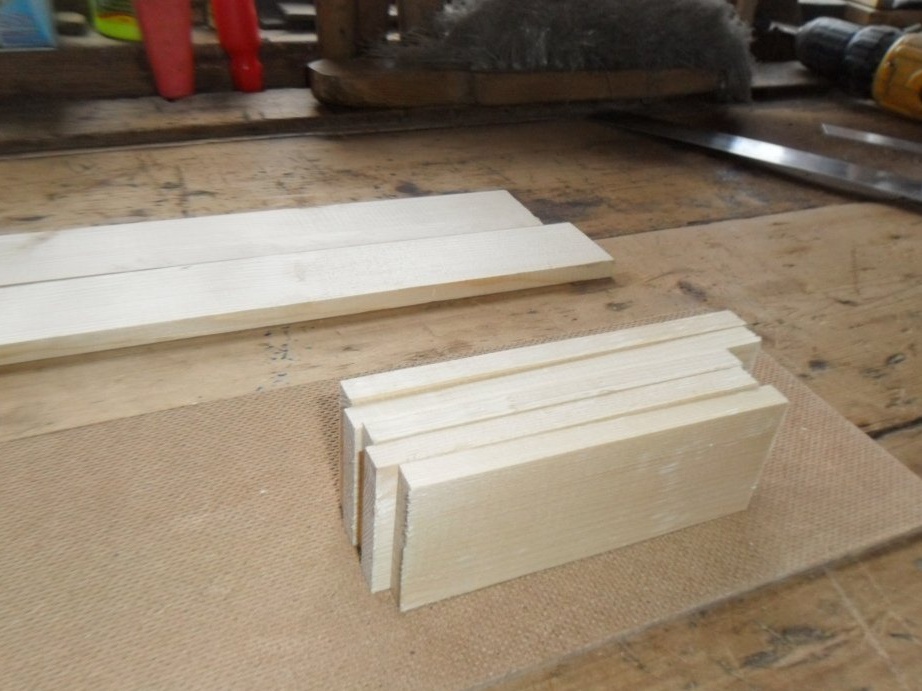
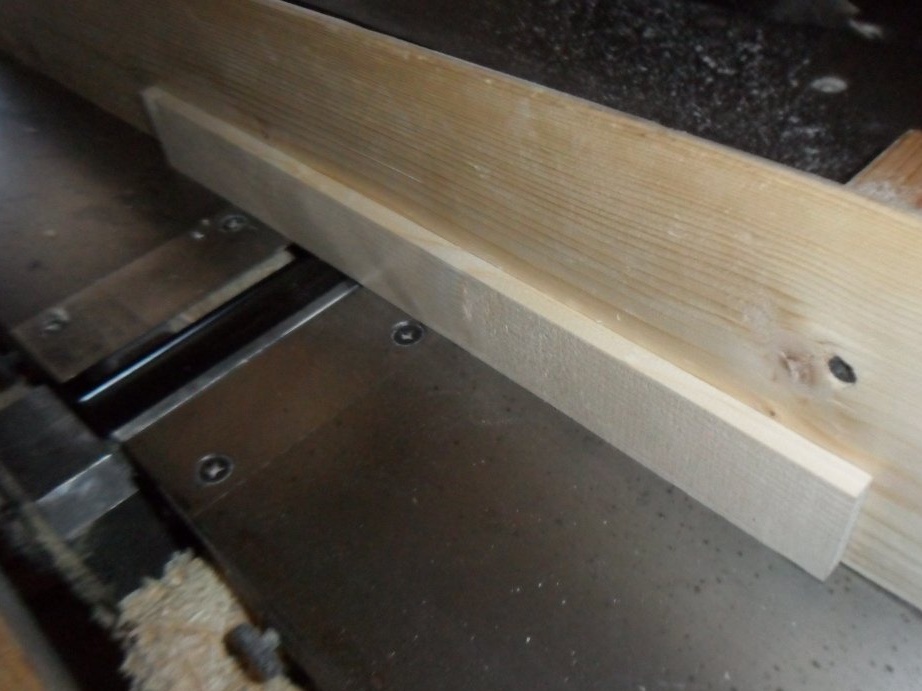
Step 1. Sawing up the beam.
Two blanks of timber 30 cm and 40 cm long are jointed on all sides and sawn on a machine. The thickness of the workpieces turned out to be approximately 8 mm.
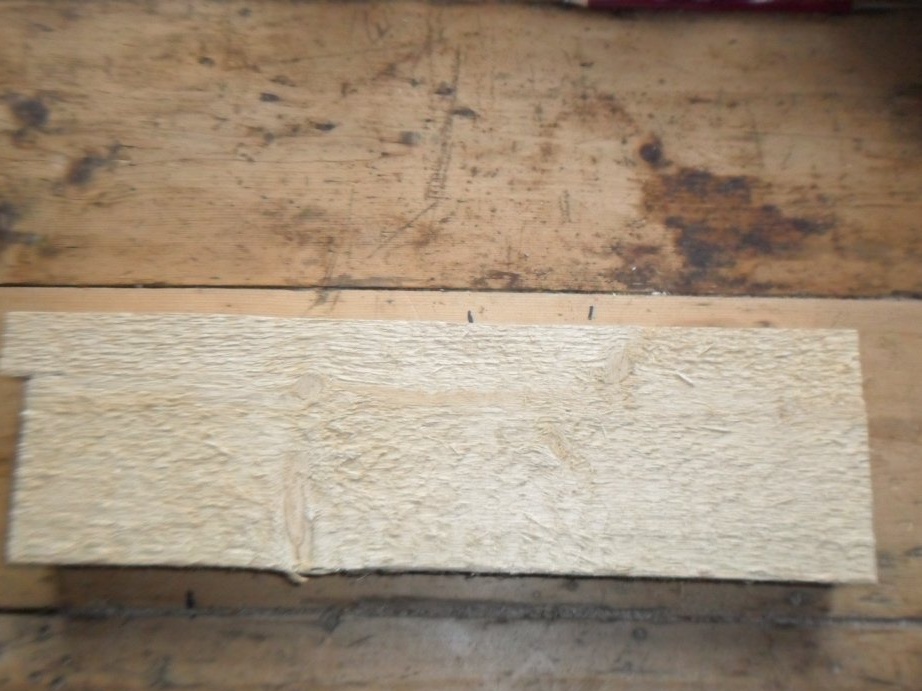

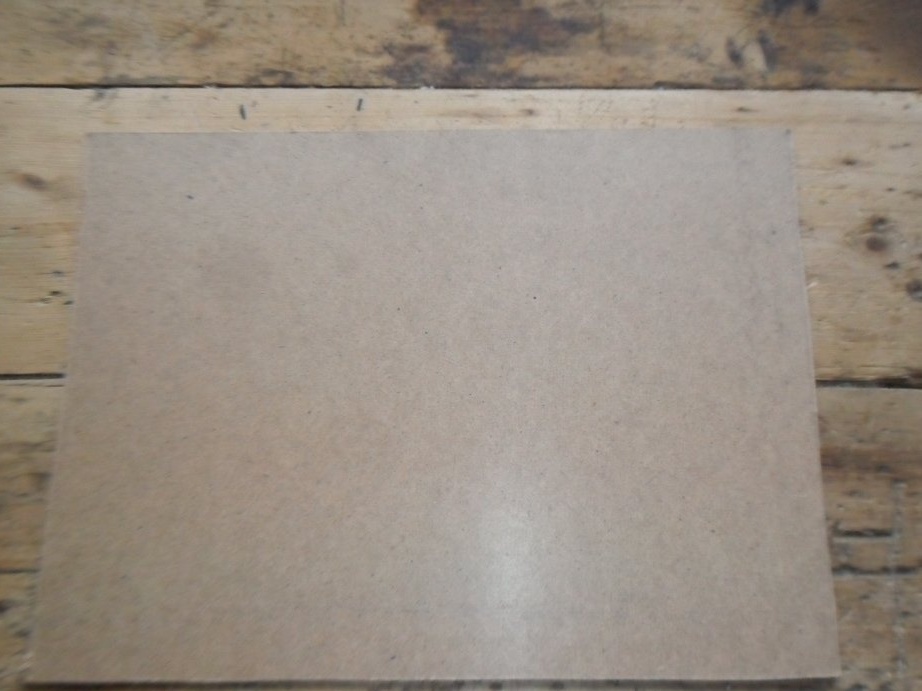
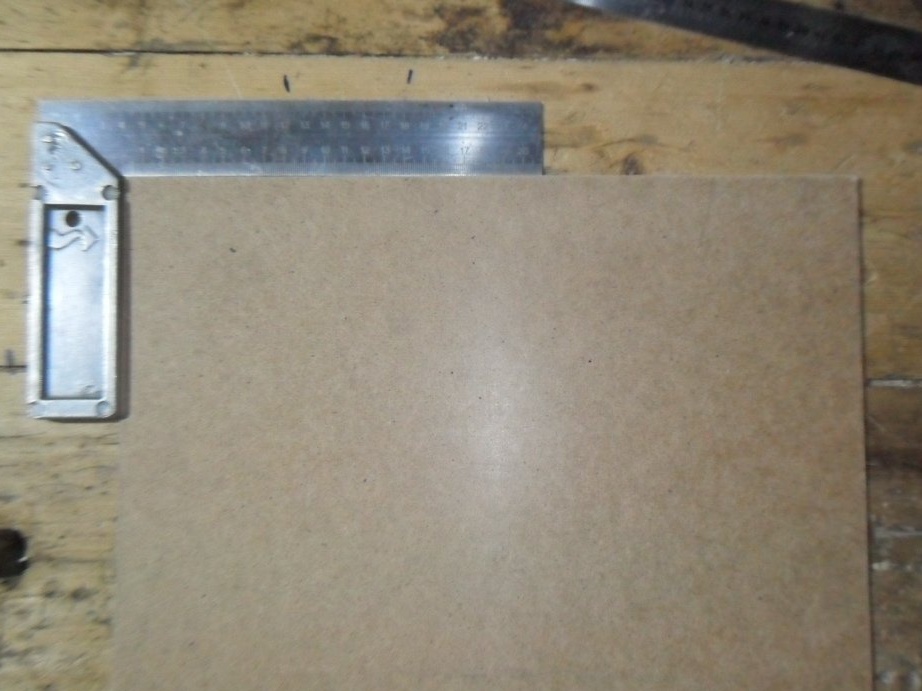
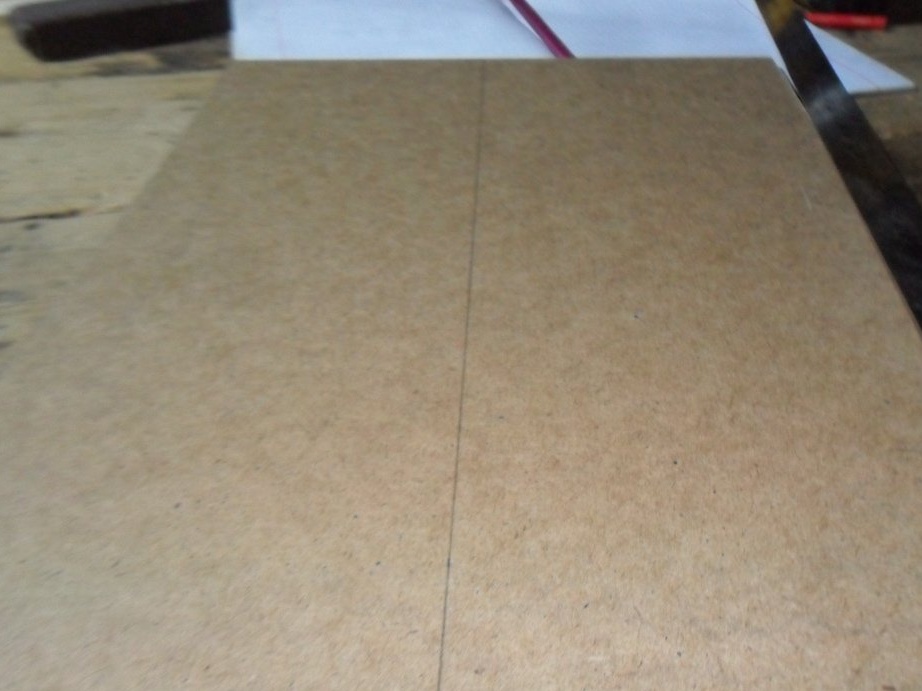
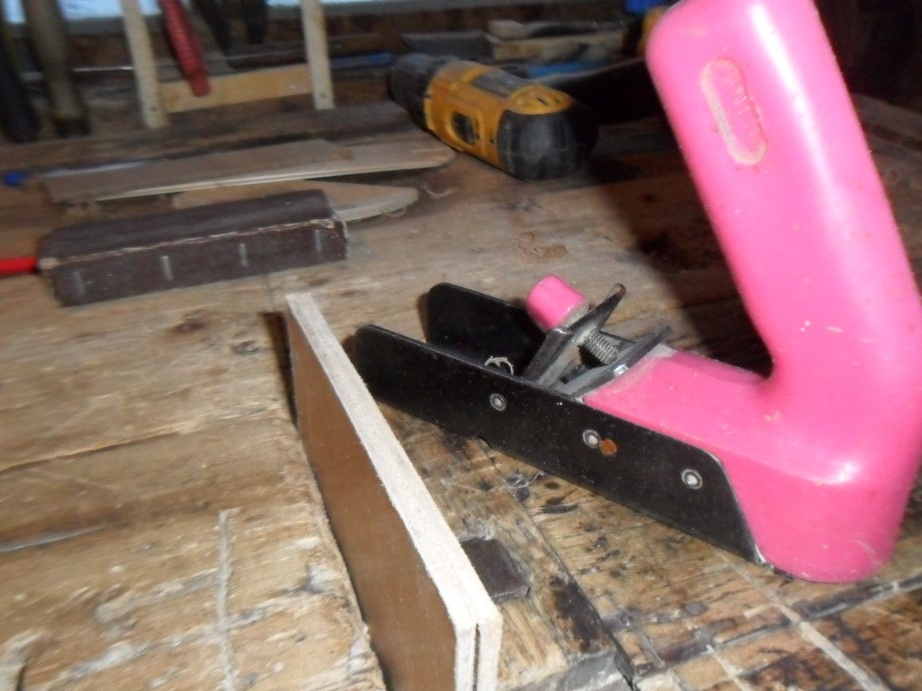
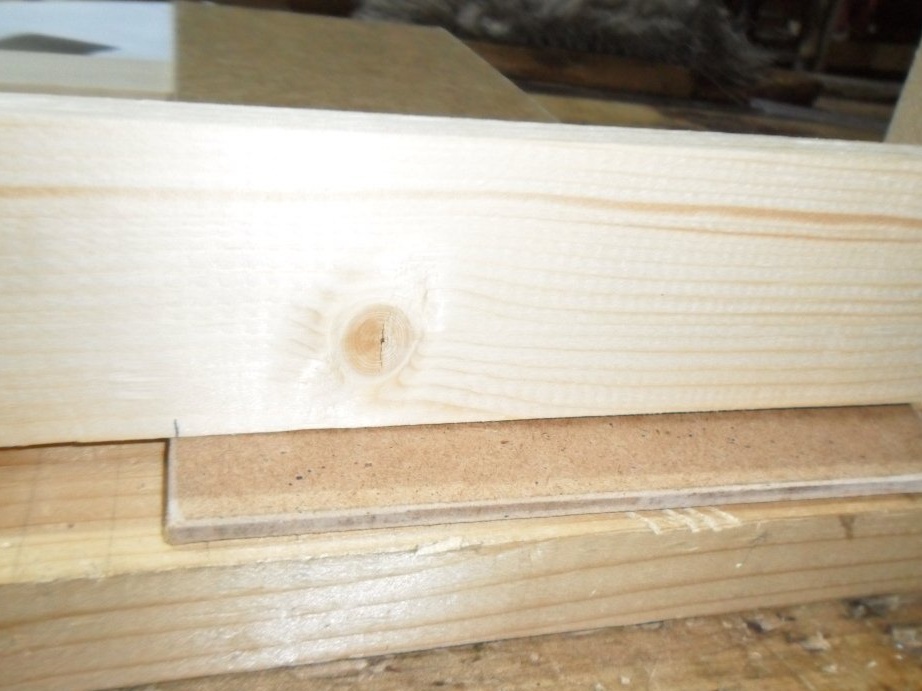
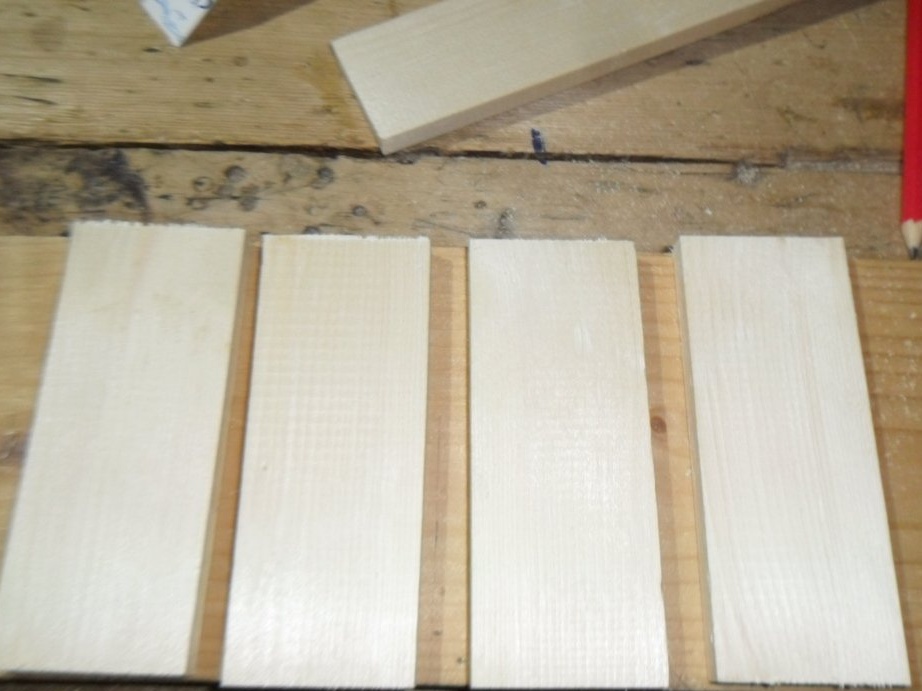
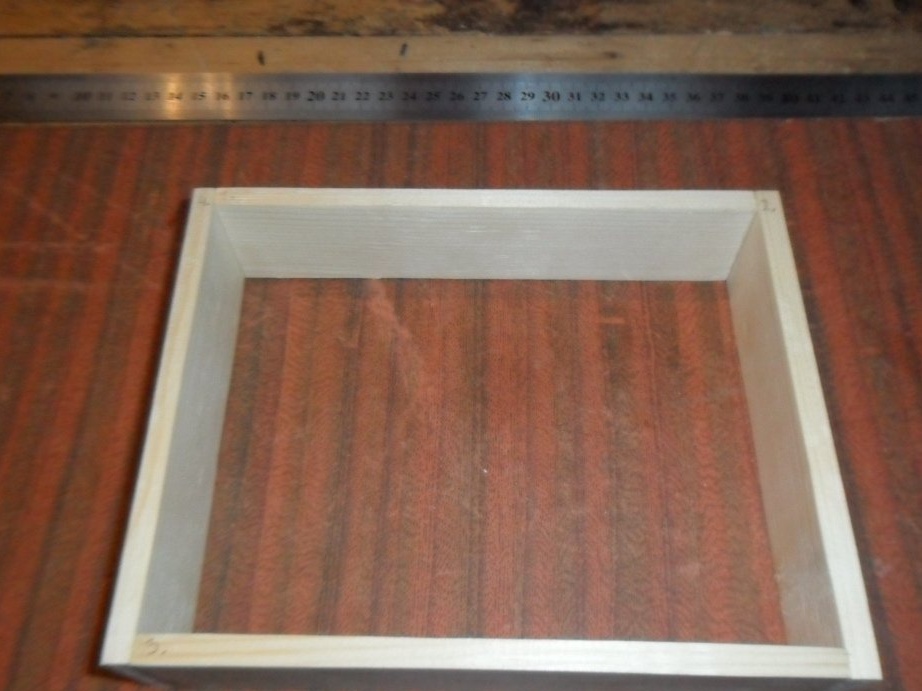
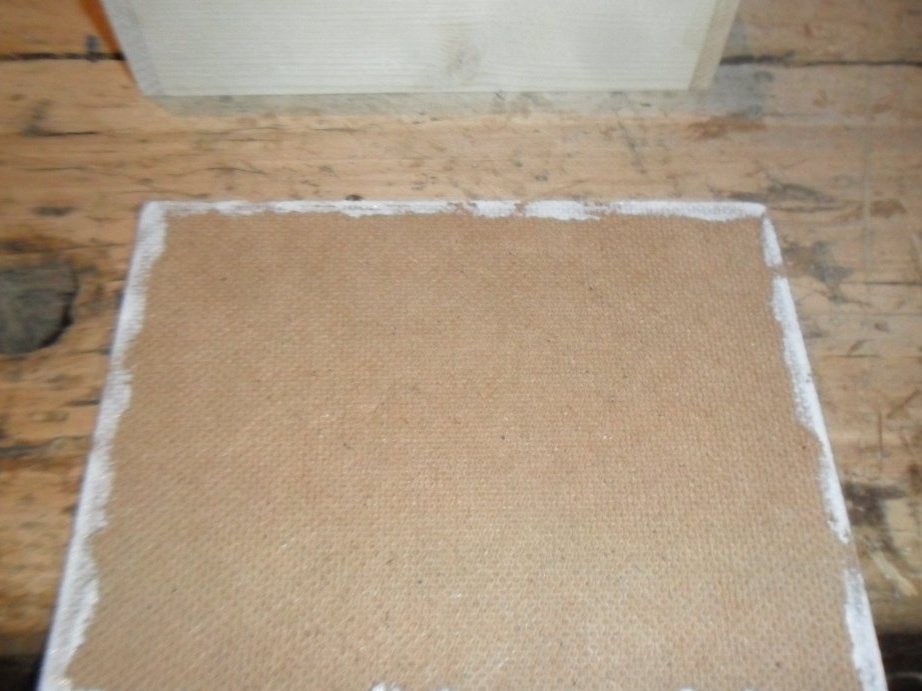
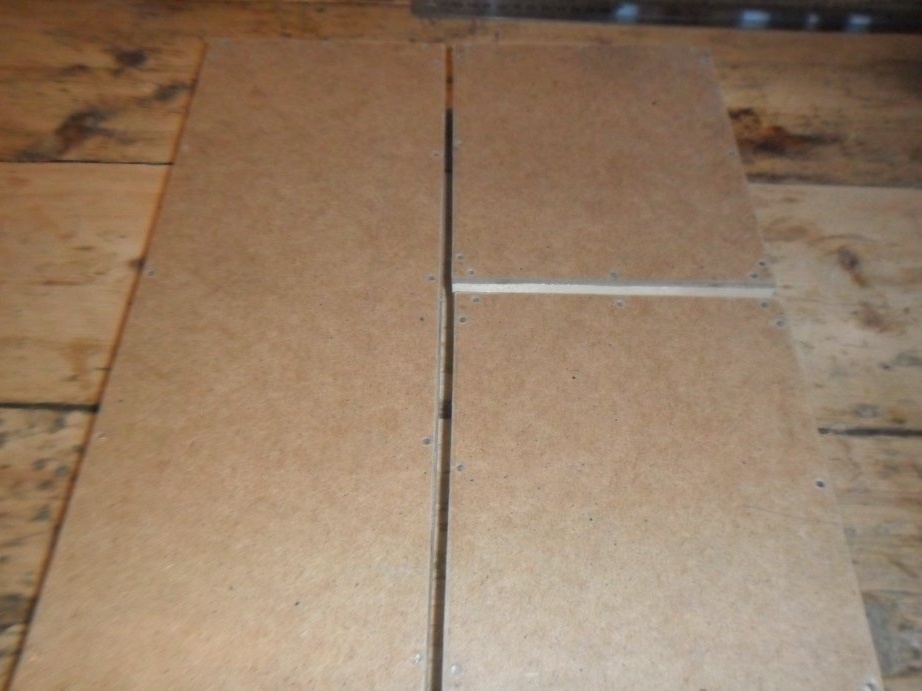
Step 2. Cutting fiberboard.
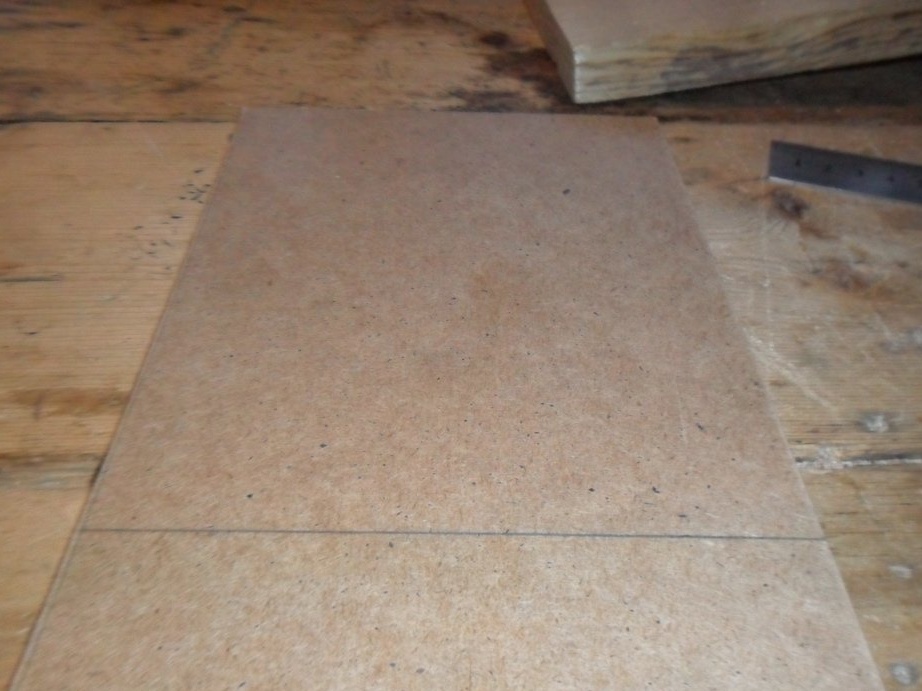
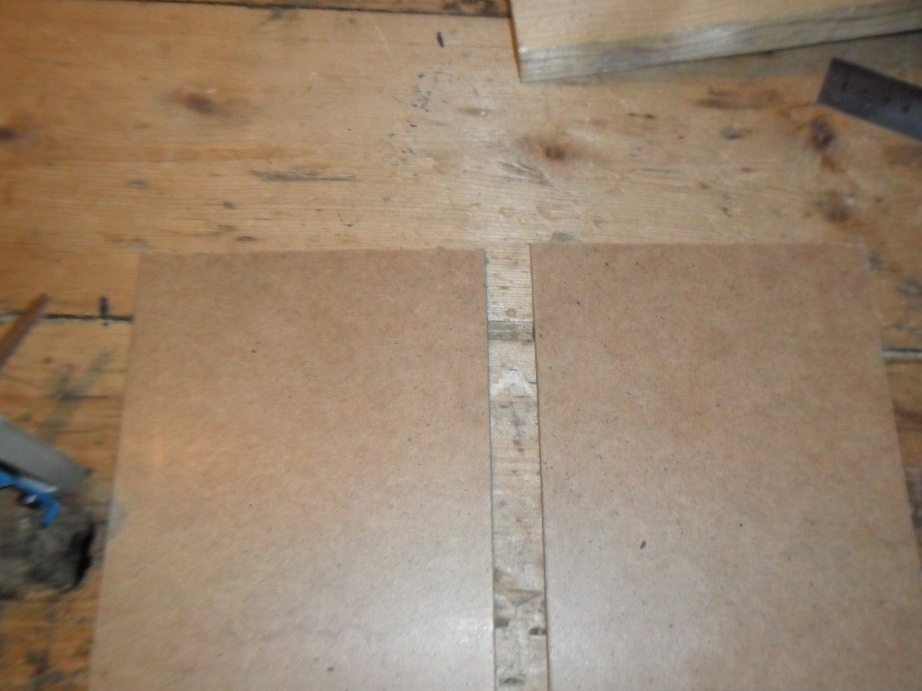
From a large sheet of fiberboard with a jigsaw, we saw off a part whose area will be at least the sum of the areas of the bottoms of the boxes. In this case, S = 37 x 28 = 1036 sq. see. Then we bring the sheet to a rectangular shape with a planer. We skin. Mark the boundaries of the three parts. We draw a jigsaw along the drawn lines. Rough edges are also treated with a planer and sandpaper.

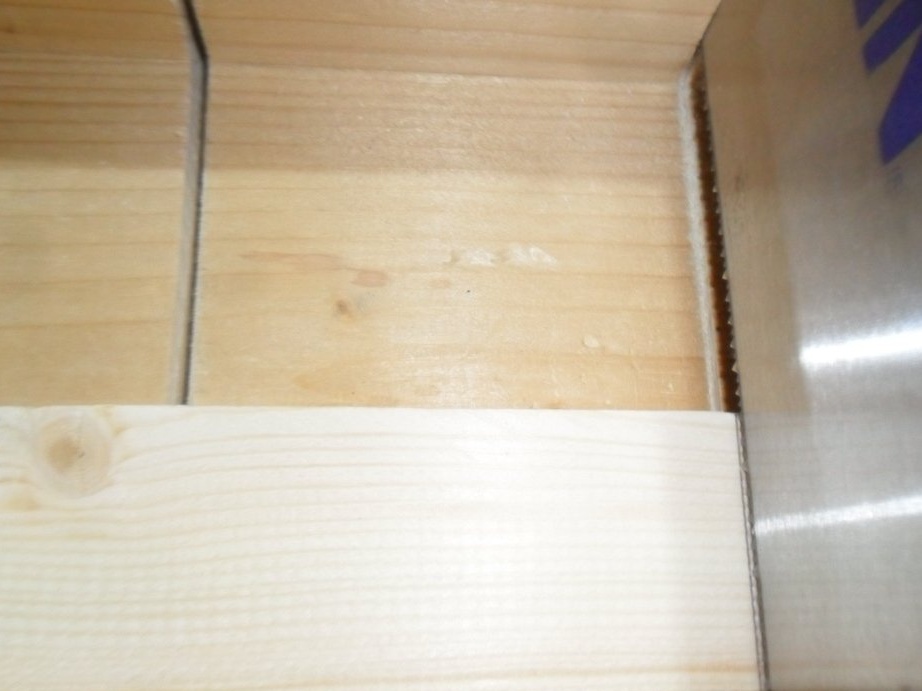
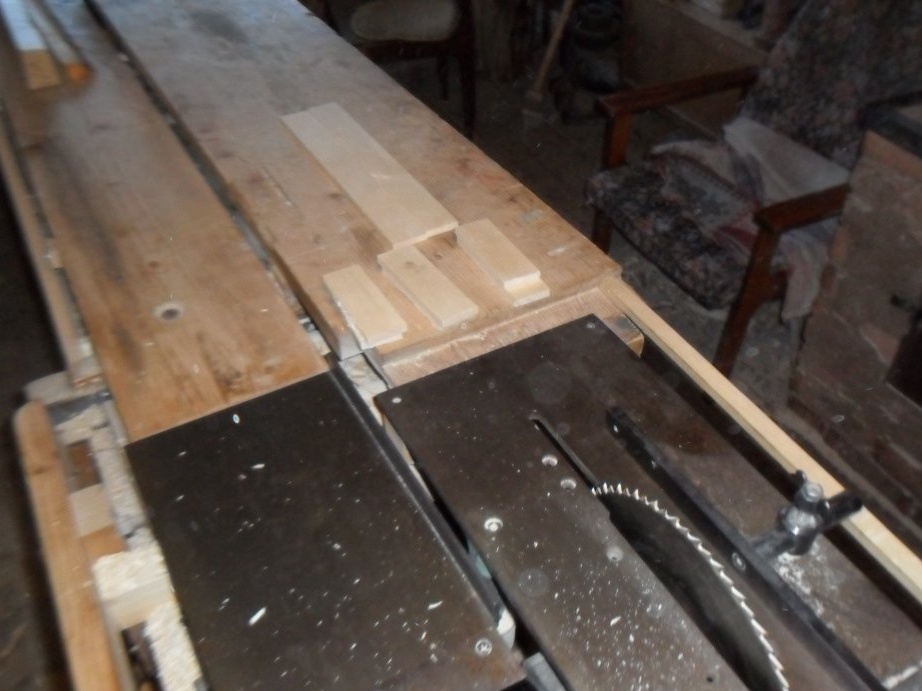
Step 3. Sawing off the ends of the workpieces.
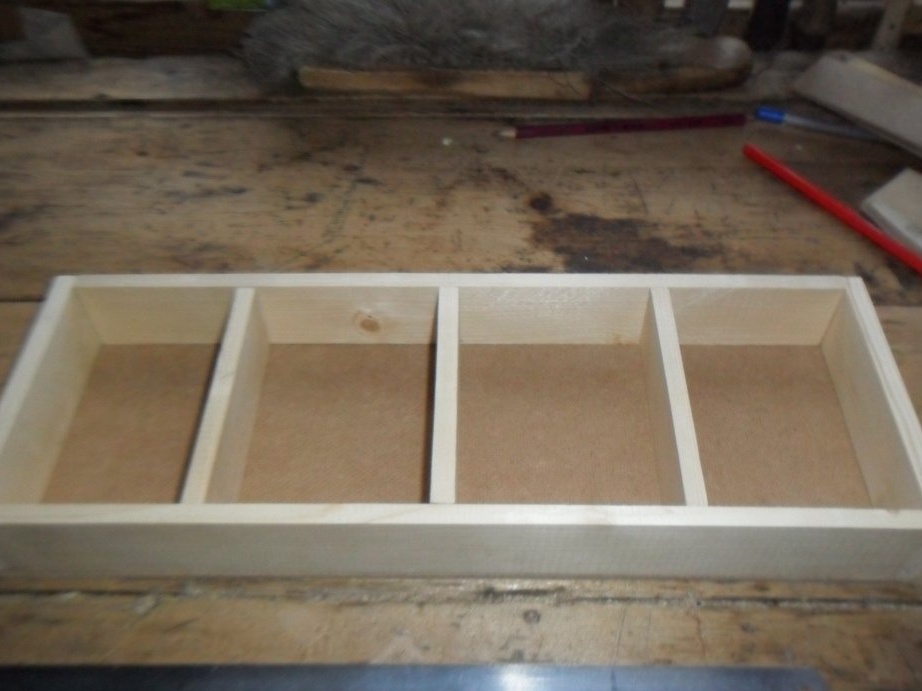
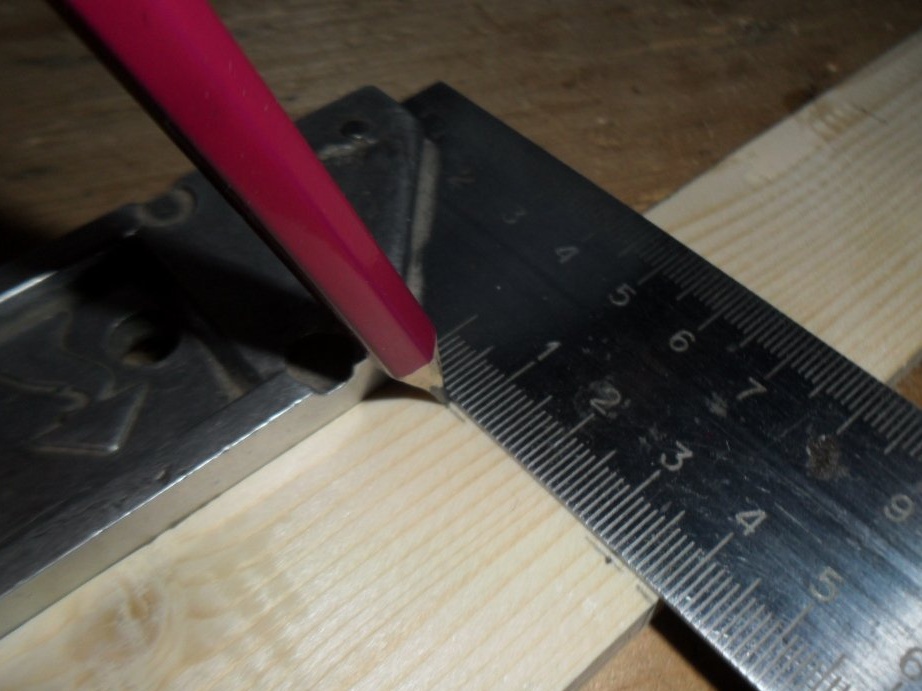
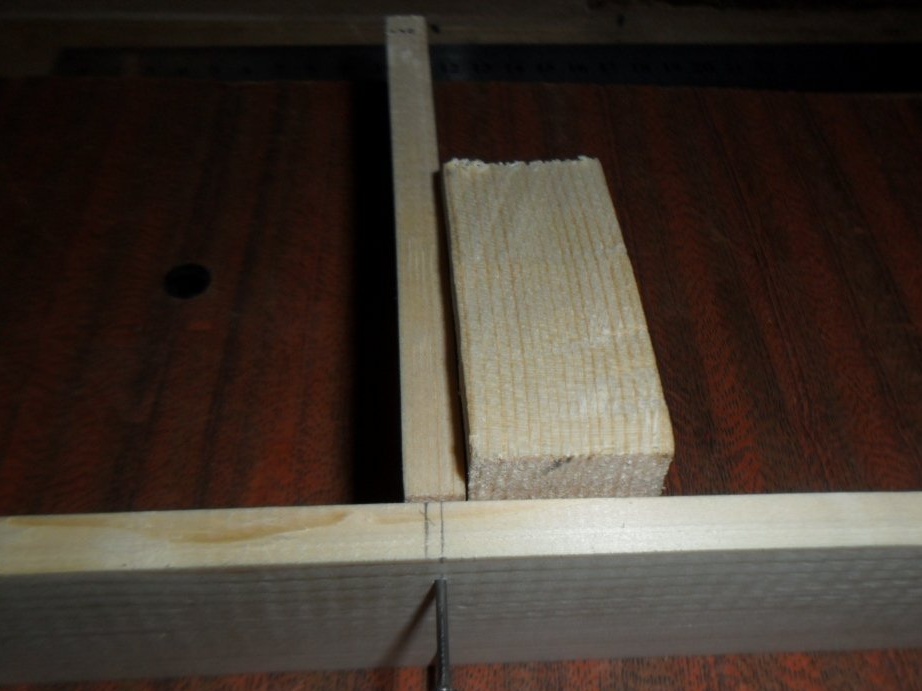
First we will produce a long drawer with four compartments. In the miter box, we saw off the front and back walls of the future box. Next, we put them close to each other and place them flush with the edge of the fiberboard sheet. Measure the remaining free part with a ruler and transfer the size to the long rails. We saw off their ends. You also need to saw off the workpieces for the inner partitions of the box. Since there are a lot of them (3 pcs.), It is recommended to fix some emphasis in the miter box, which will contribute to a more accurate and faster sawing.
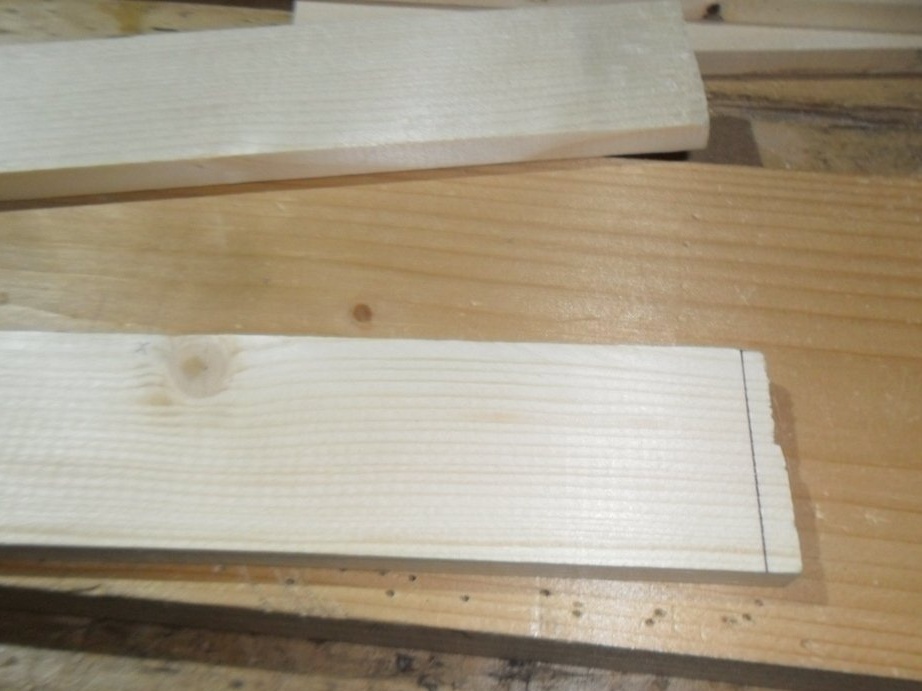

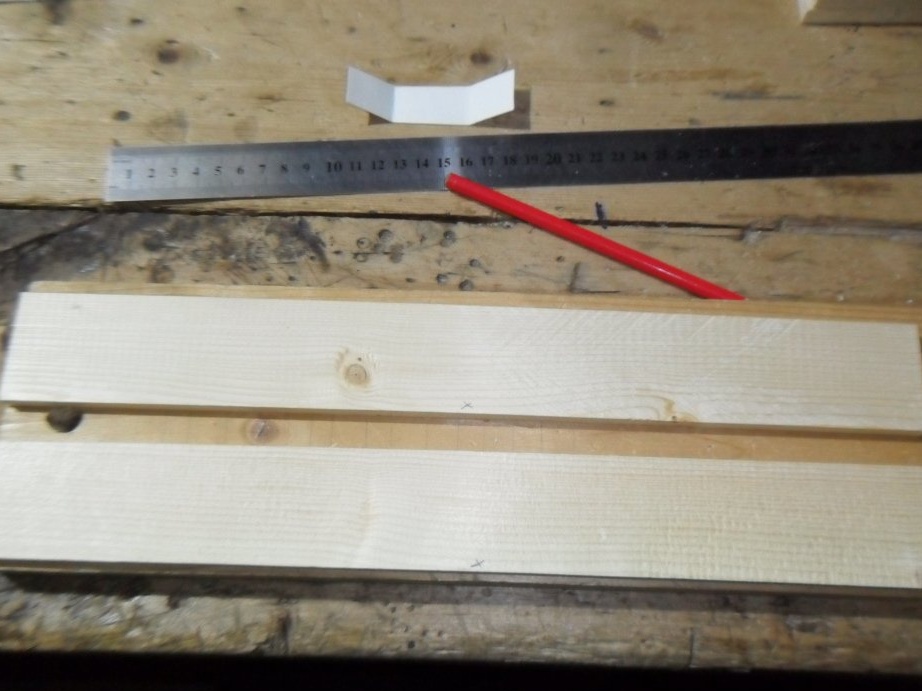
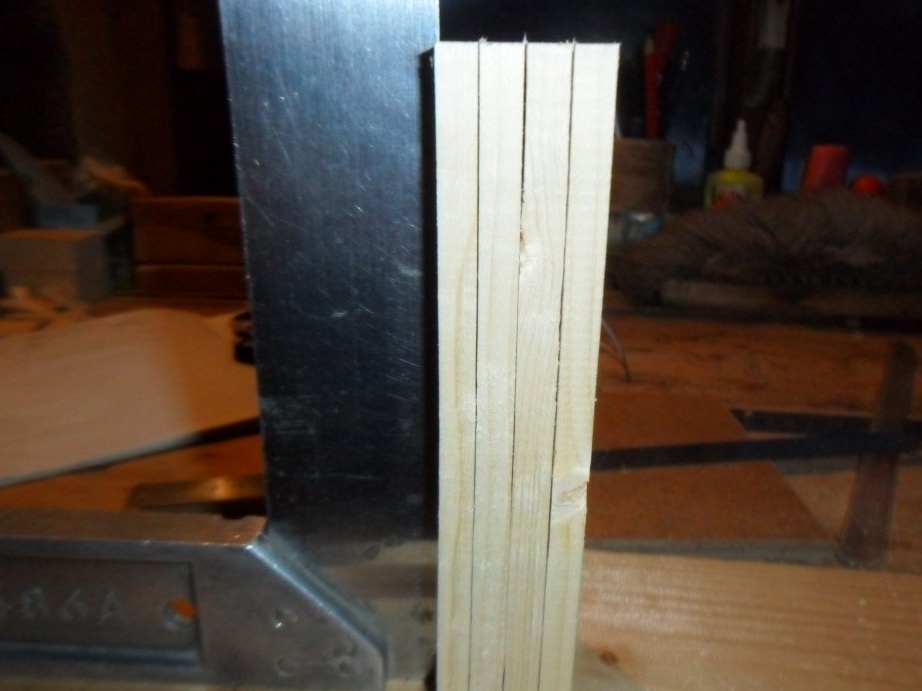
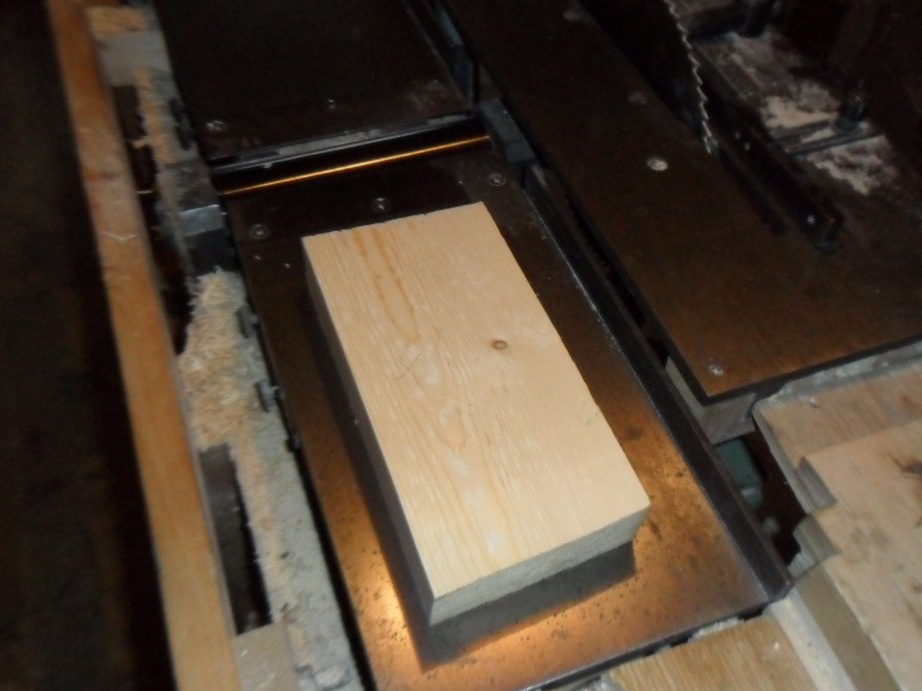
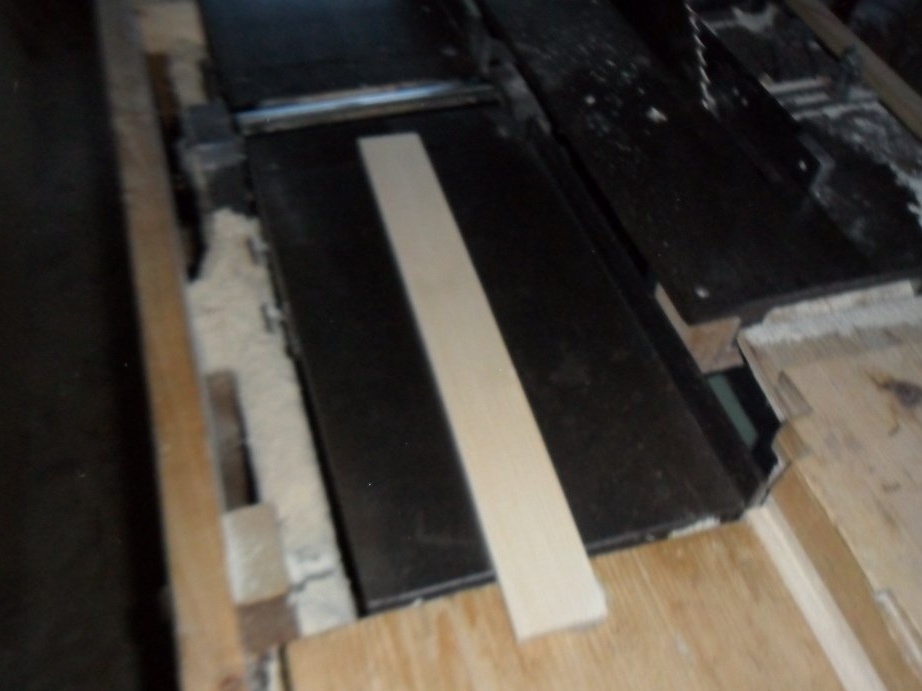
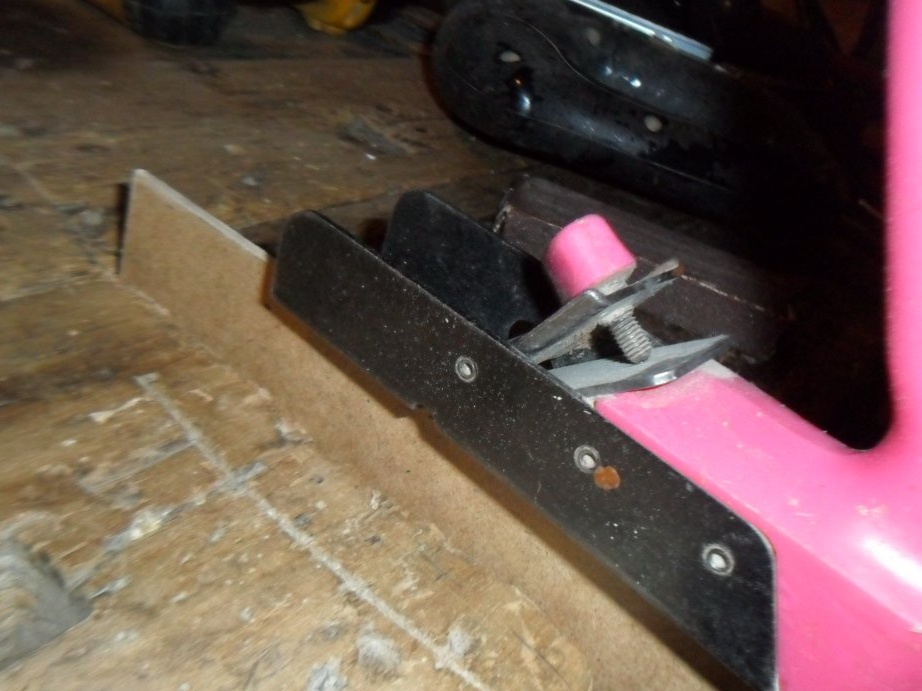
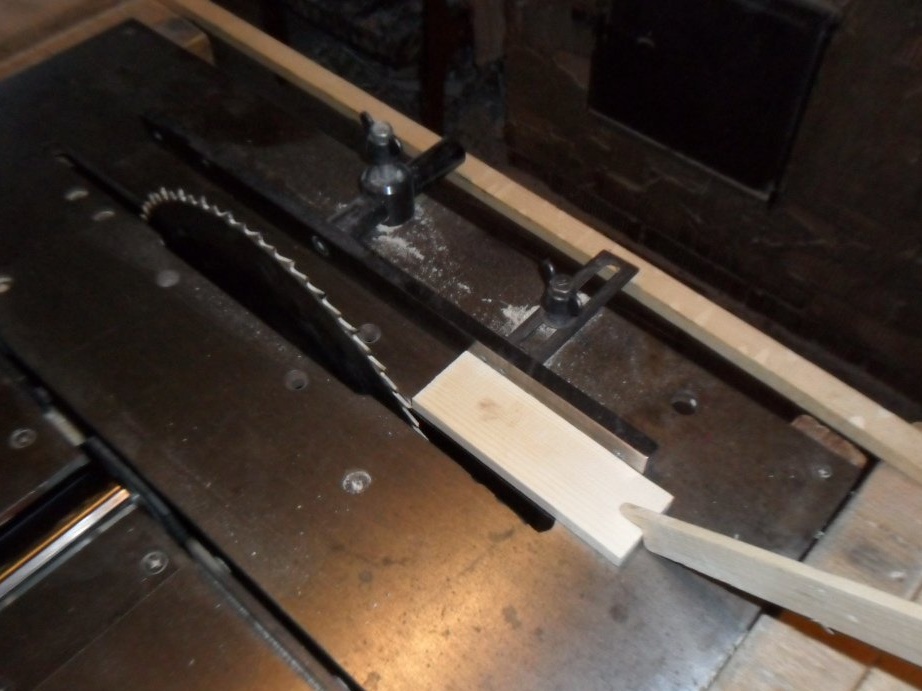
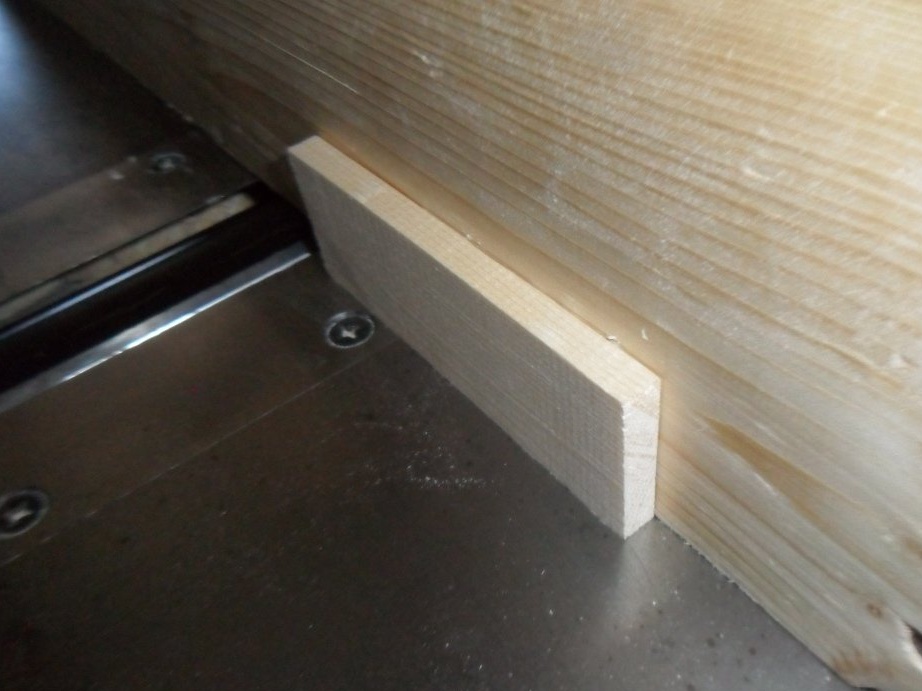
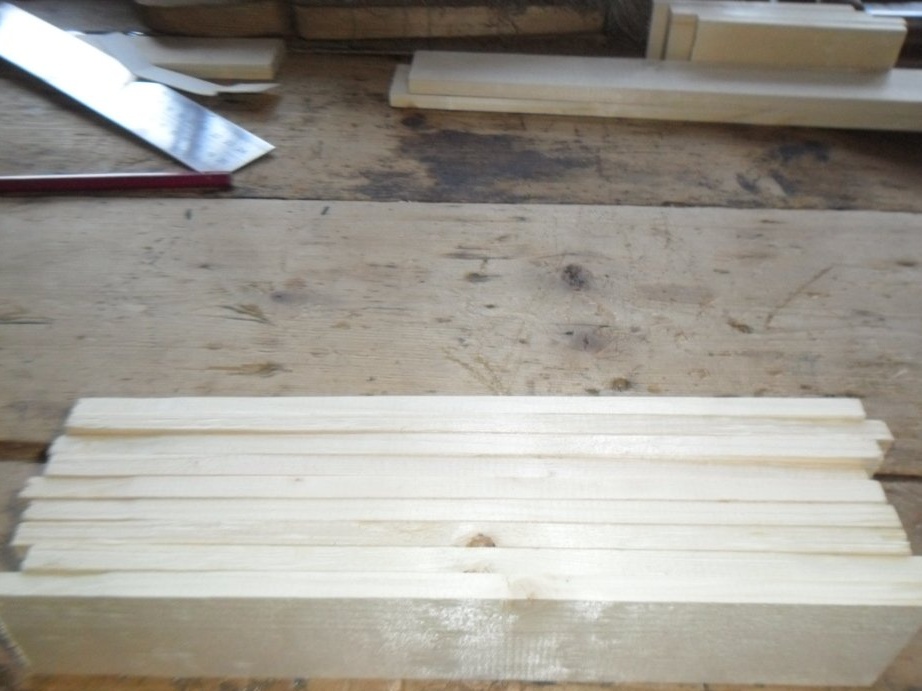
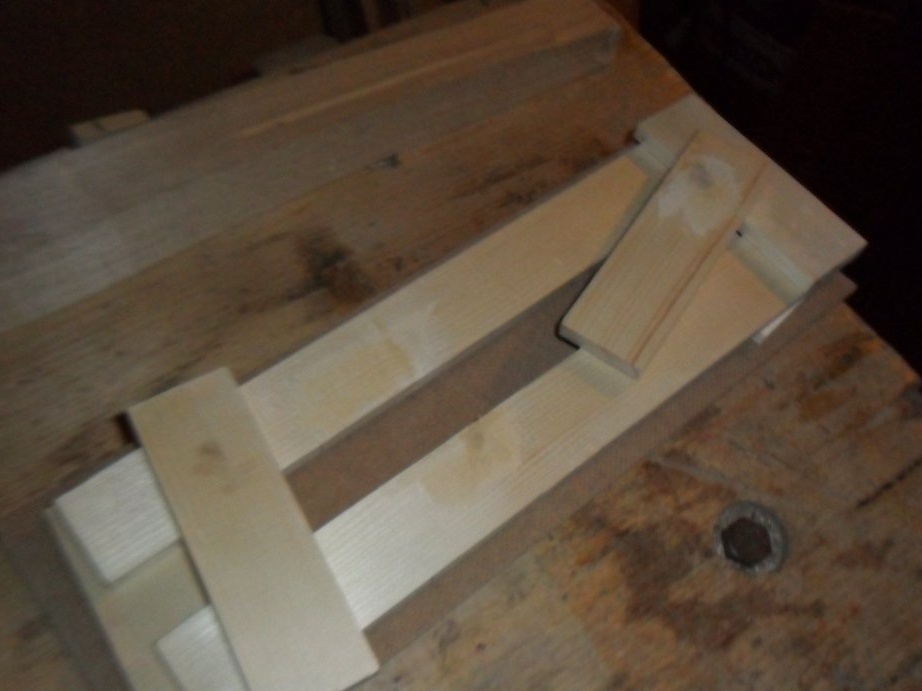
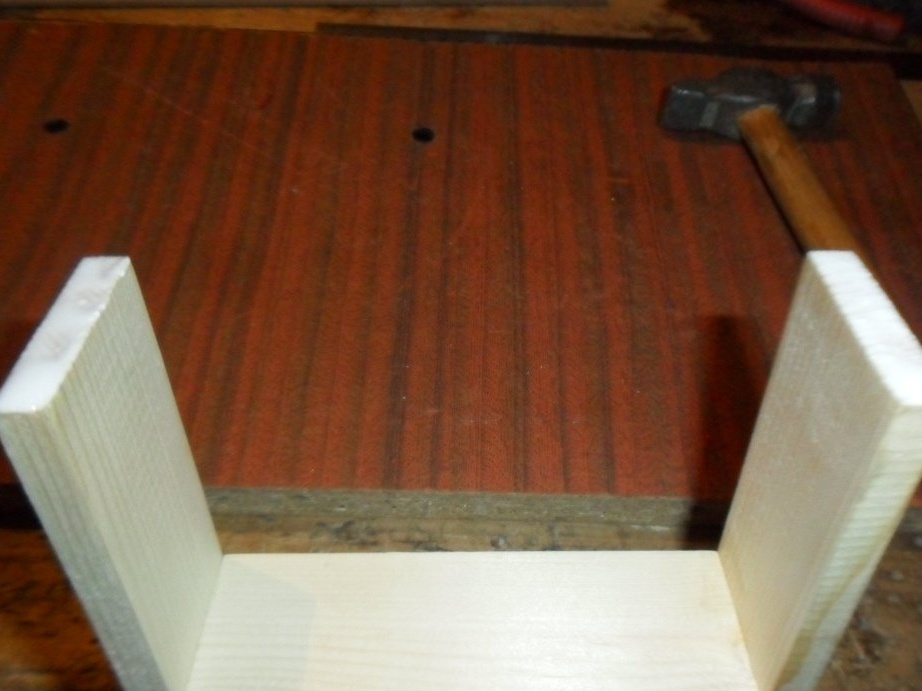
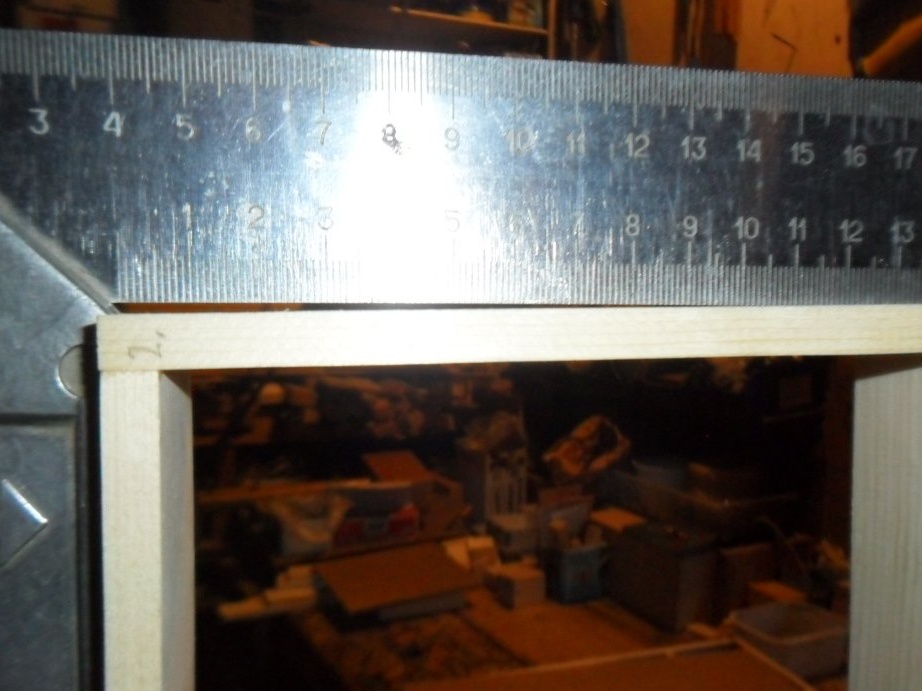
Step 4. Bringing the blanks to the same width.
The walls and partitions for a long drawer should be brought to the same width so that it has an aesthetic appearance, and if necessary, you could tightly cover the drawer with a lid or other plane. To do this, we pass the wooden slats through the saw blade and knives of the jointing shaft of the machine.
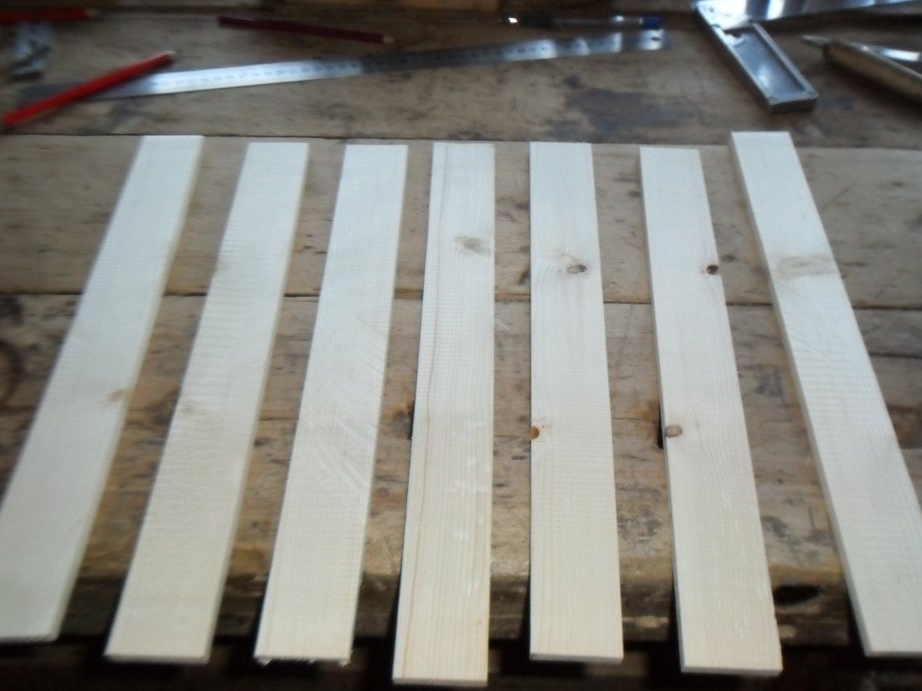
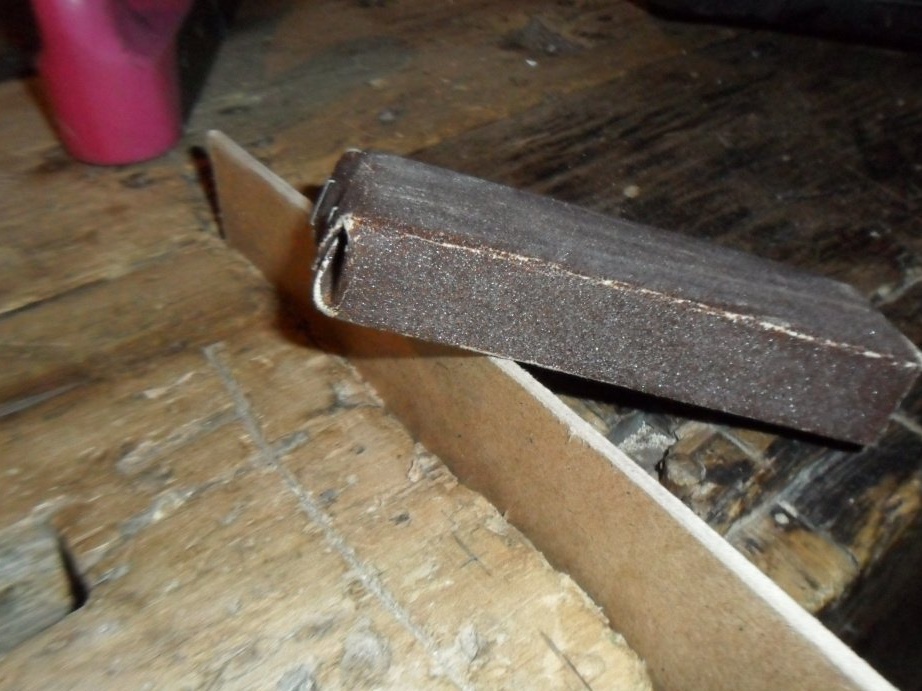
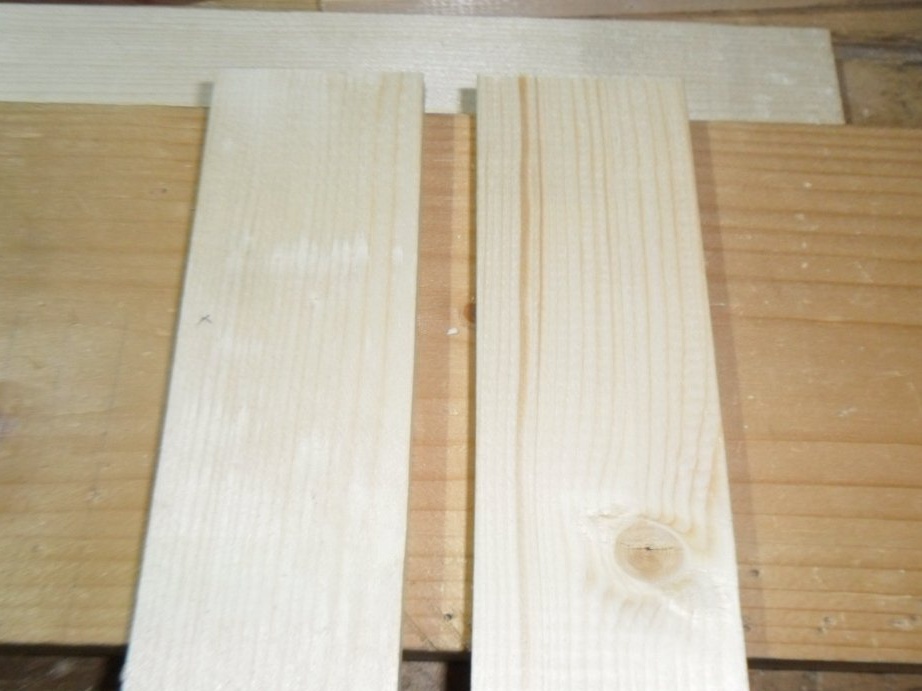
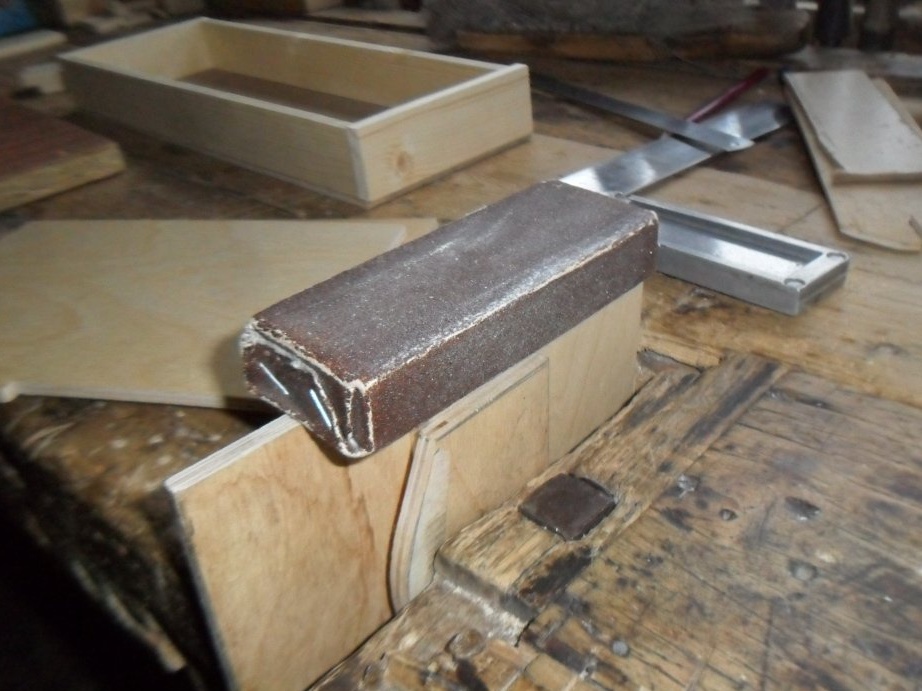
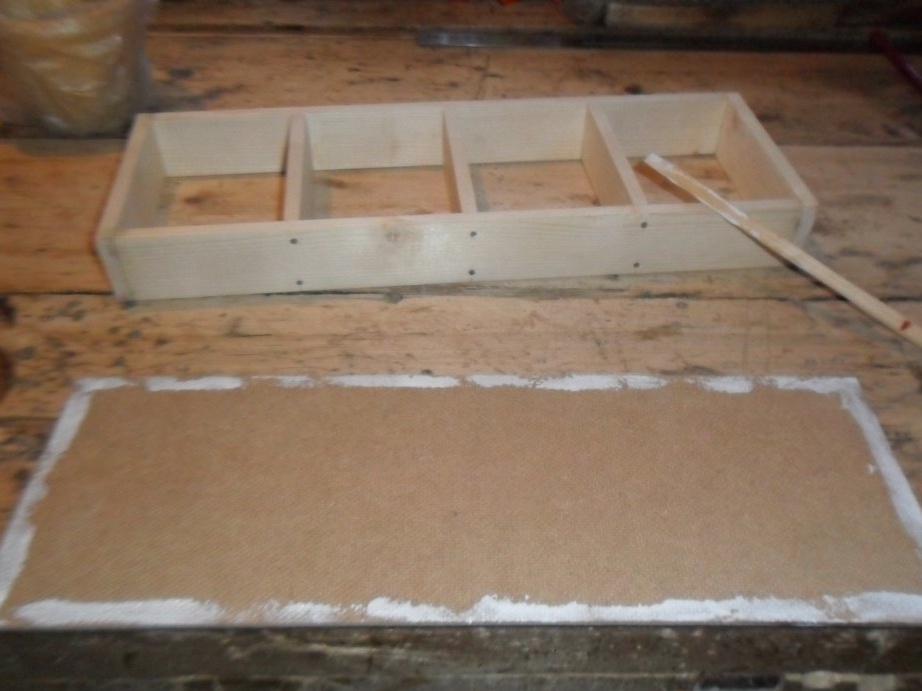
Step 5. Pre-assembly and layout of boxes.
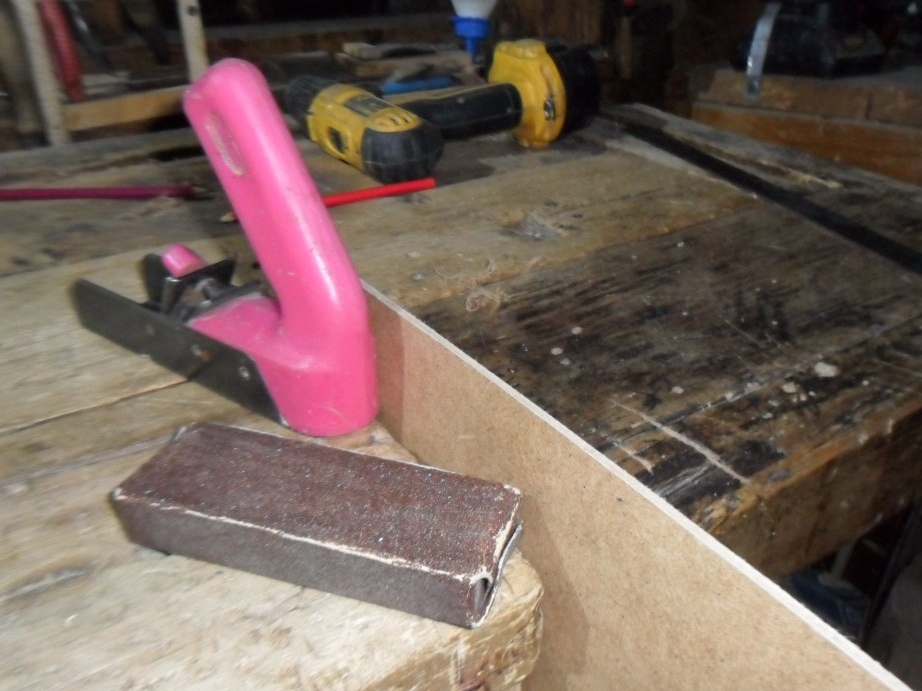
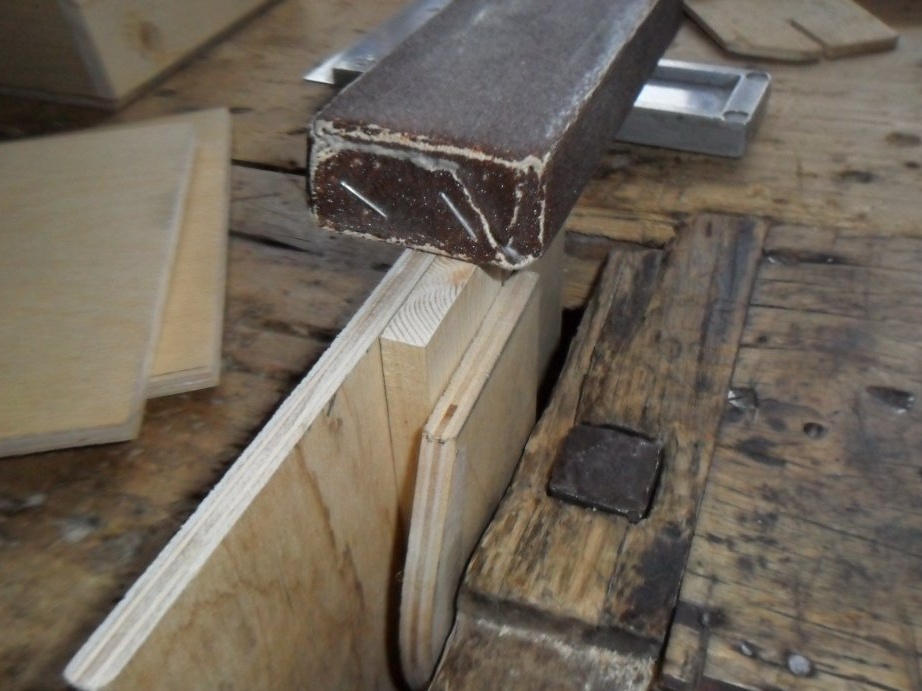
All parts are ready and accurate, with the exception of one partition. Its length should be reduced by about 1 mm.We do this with a bar tightly covered with sandpaper, holding a partition and a small piece of plywood so that their ends lie in the same plane.
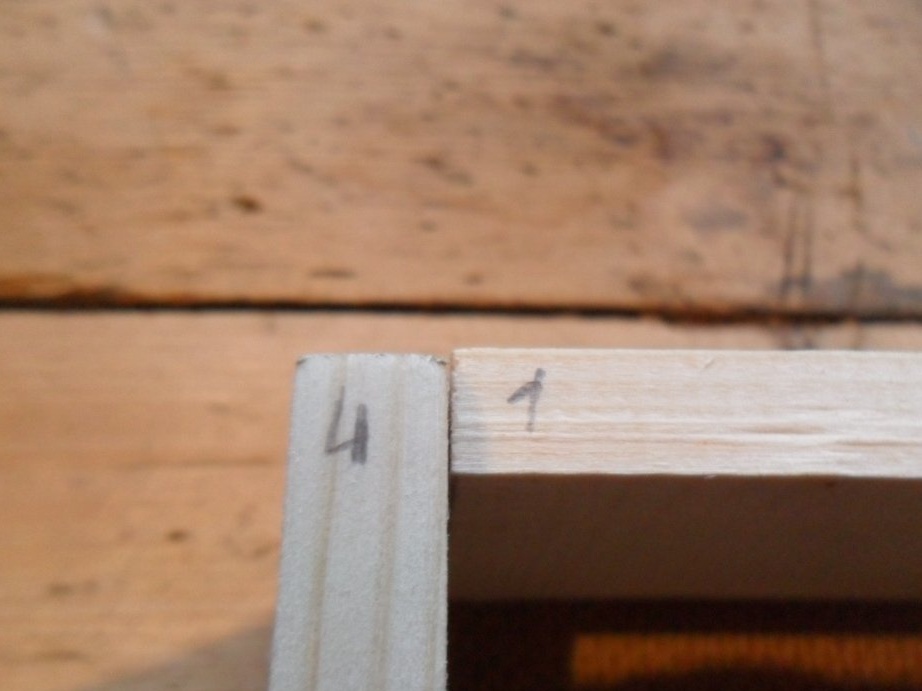
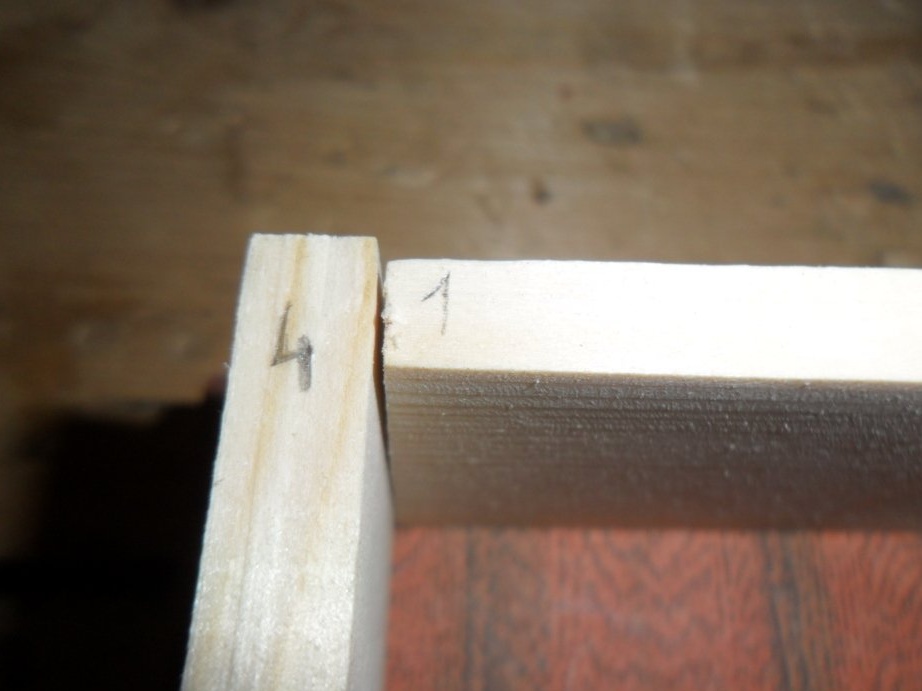
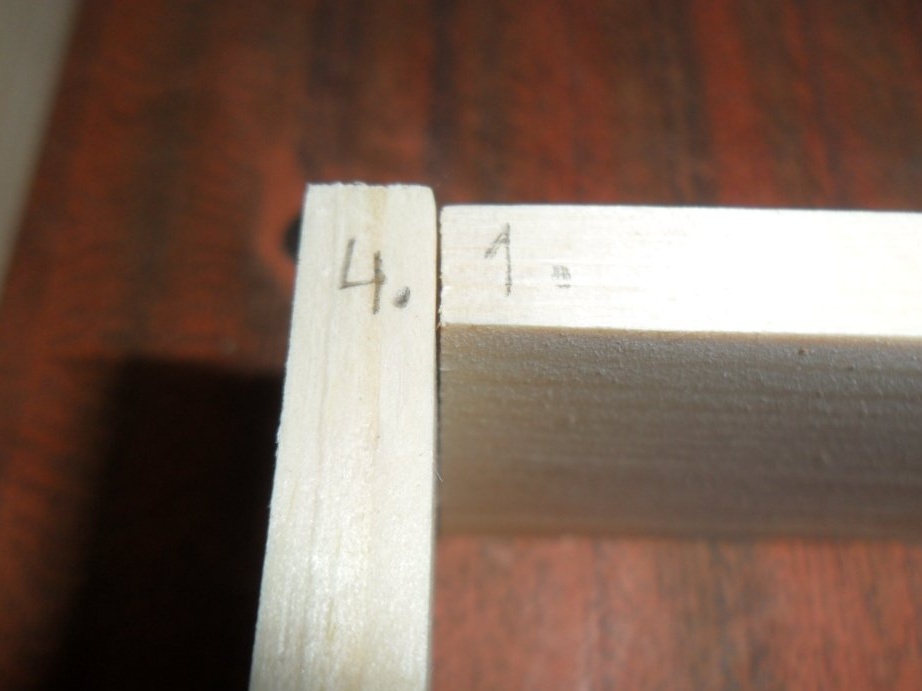
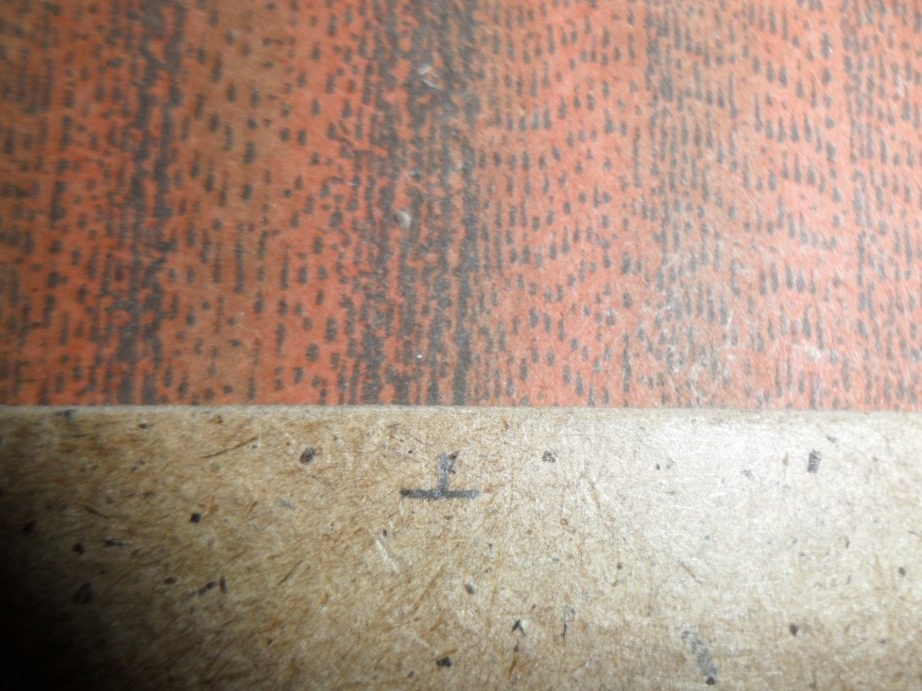
We finally check with the help of a square and make sure that all pairwise parts of the boxes, as well as the partitions are equal in length in each pair. Next: we find the most optimal arrangement of parts relative to each other in each box and mark with a pencil so as not to get confused during their final assembly.


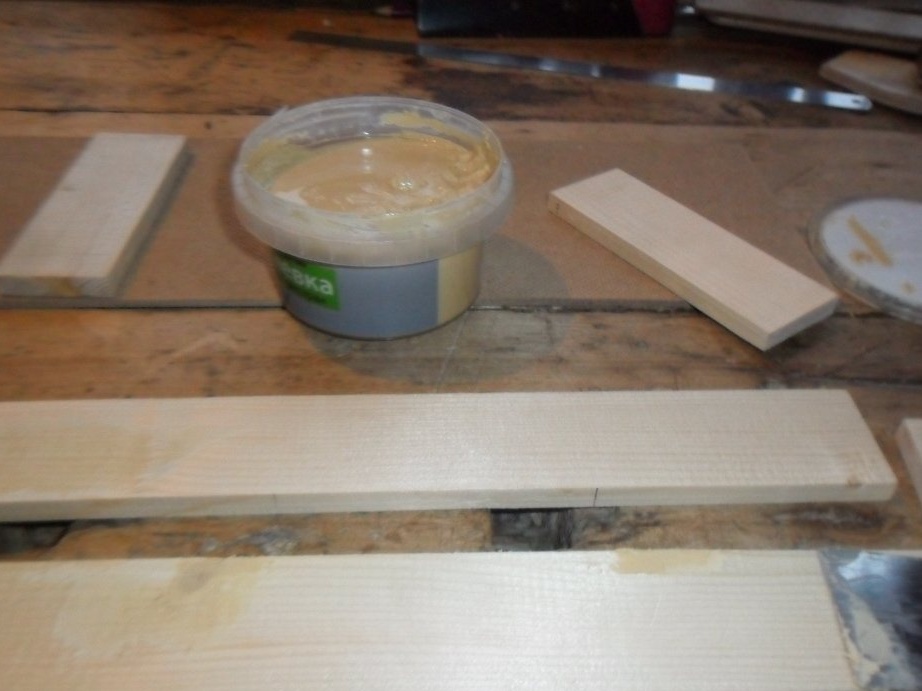
Step 6. Puttying parts.
On the walls and partitions there are bumps, small chips. And they should be covered with putty. Having smeared, we leave details to dry for 1-2 hours.
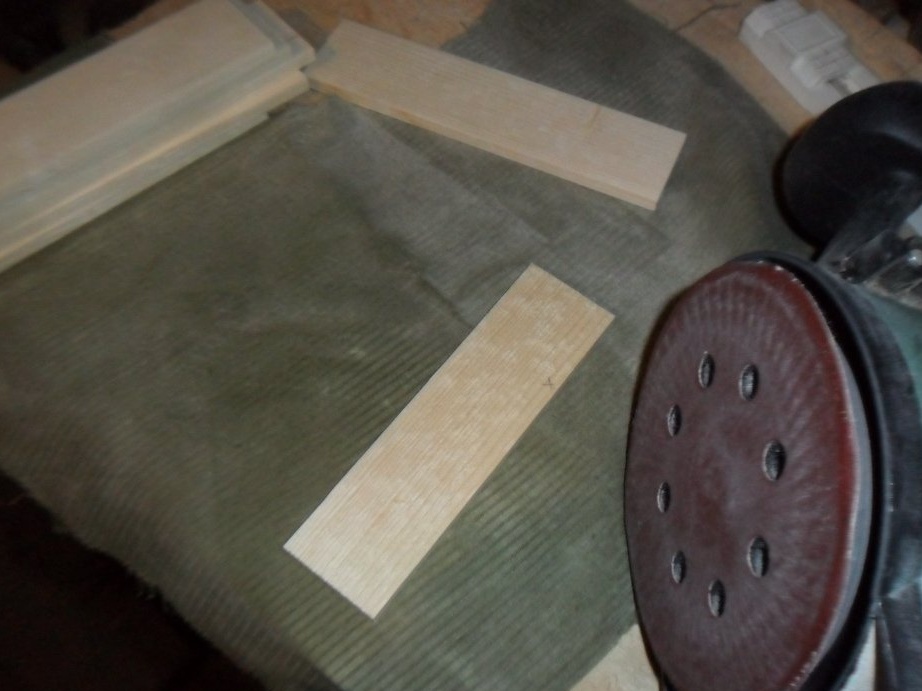
Step 7. Grinding parts.
We polish the entire surface roughness of the workpieces, including the dried putty, with an eccentric machine. Greater attention should be paid to the inside of the parts, as the outside will be sanded again.
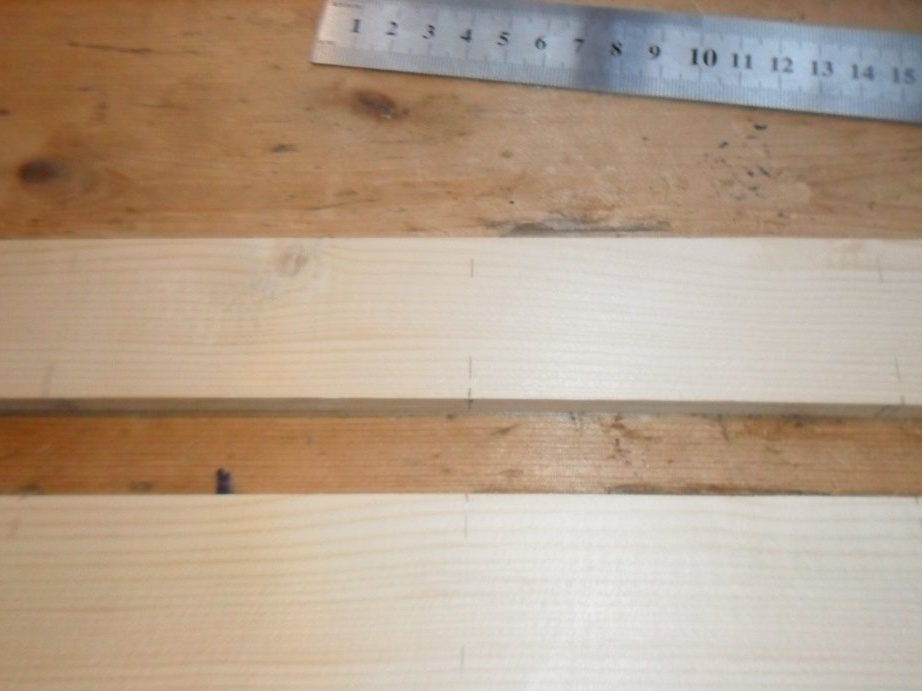
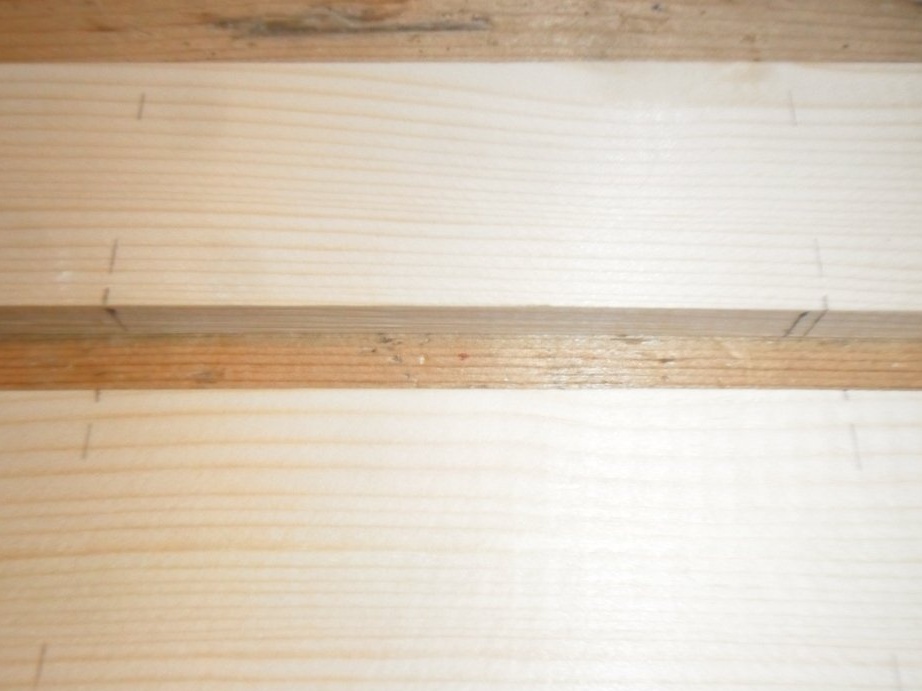
Step 8. Marking the walls of the boxes.
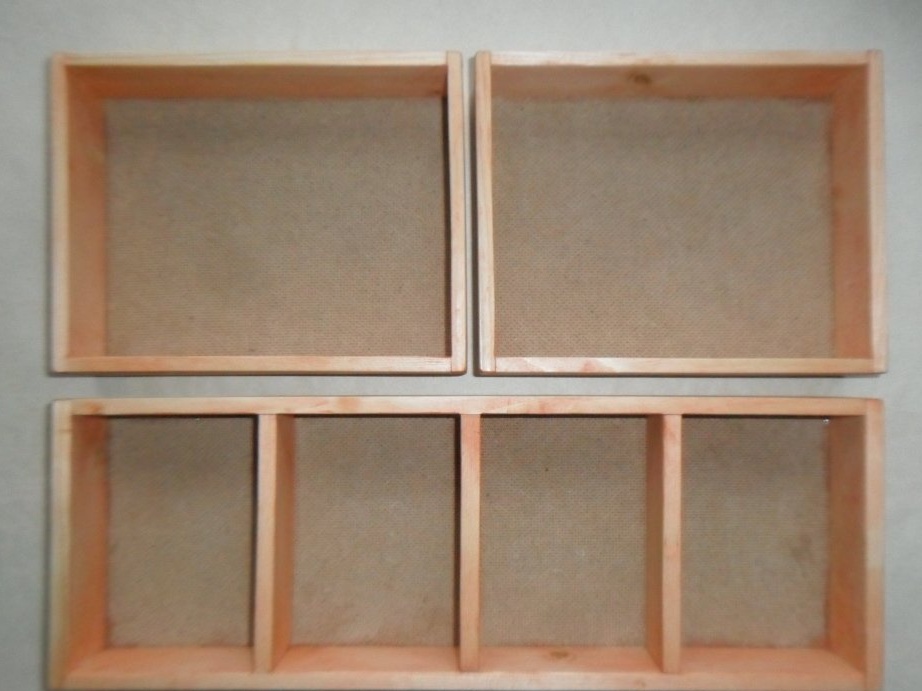
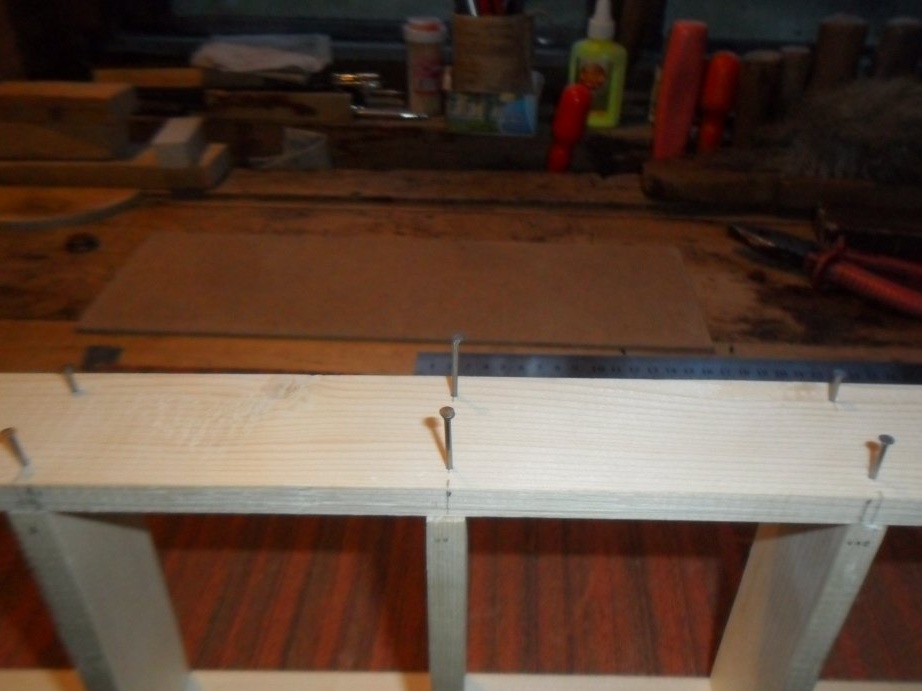
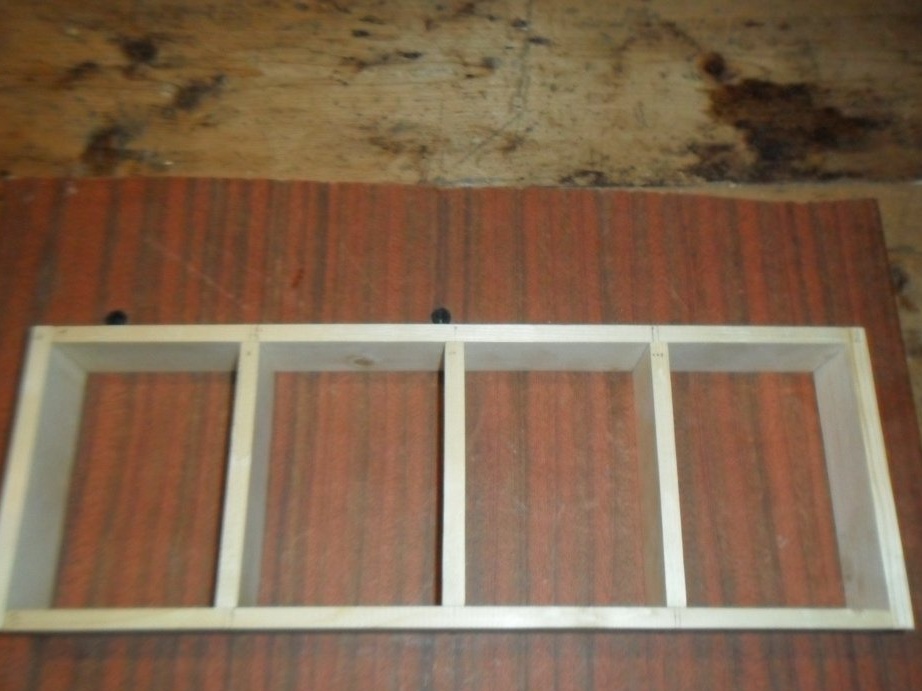
The time has come to firmly connect all the components of the boxes. Let's start with a long four-section. We mark on long rails the places opposite which the partitions will be located: the central one is exactly in the middle of the wall, and the two extreme ones are in the middle of the distance between the end of the rail and the right and left sides of the central partition. The result is four identical compartments. Draw the marked lines perpendicular to the outer sides of the wall and mark with points the places where the nails will be driven.
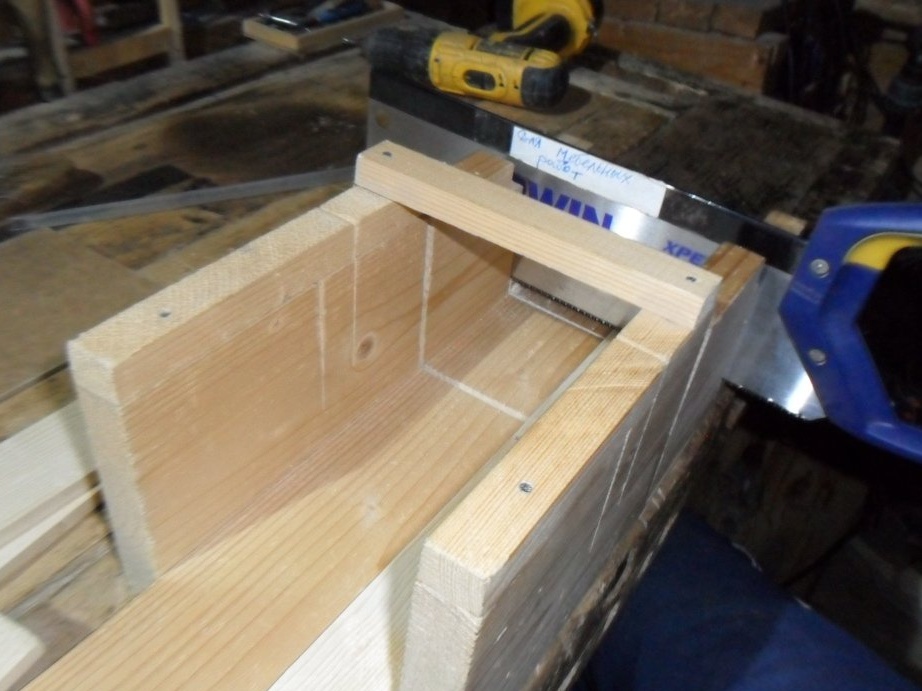
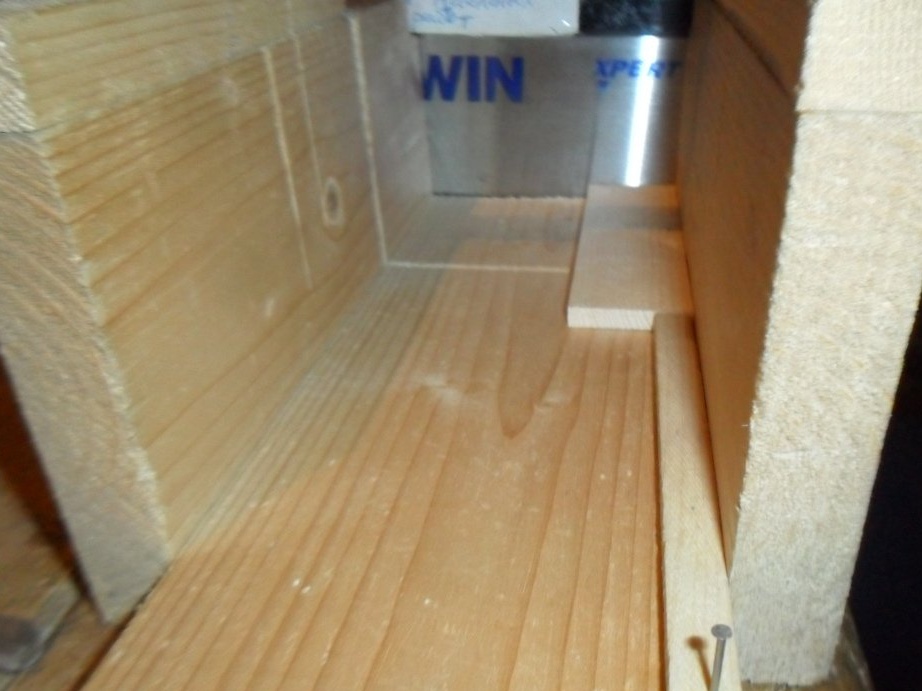
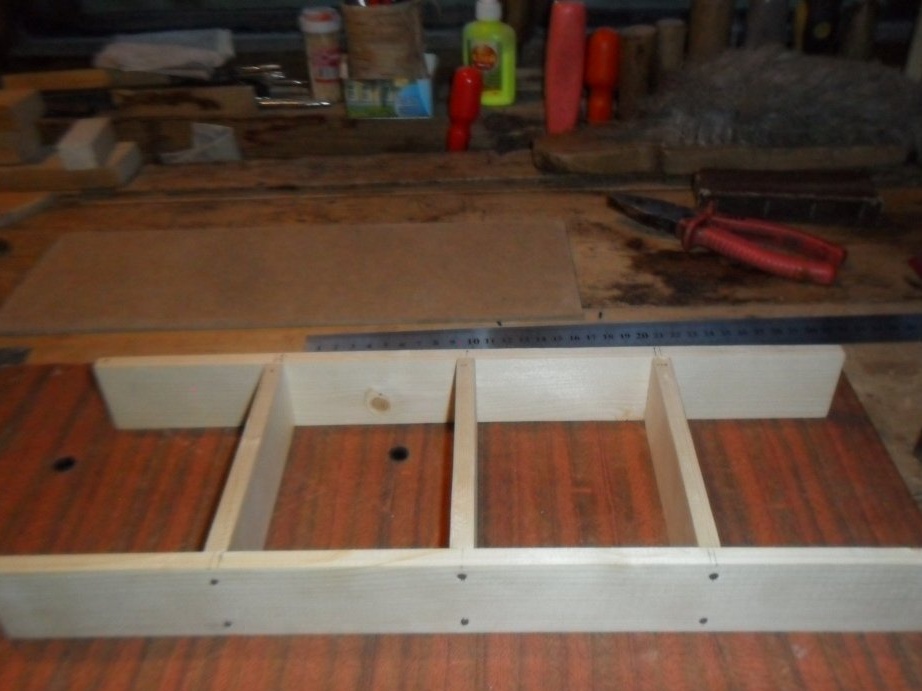
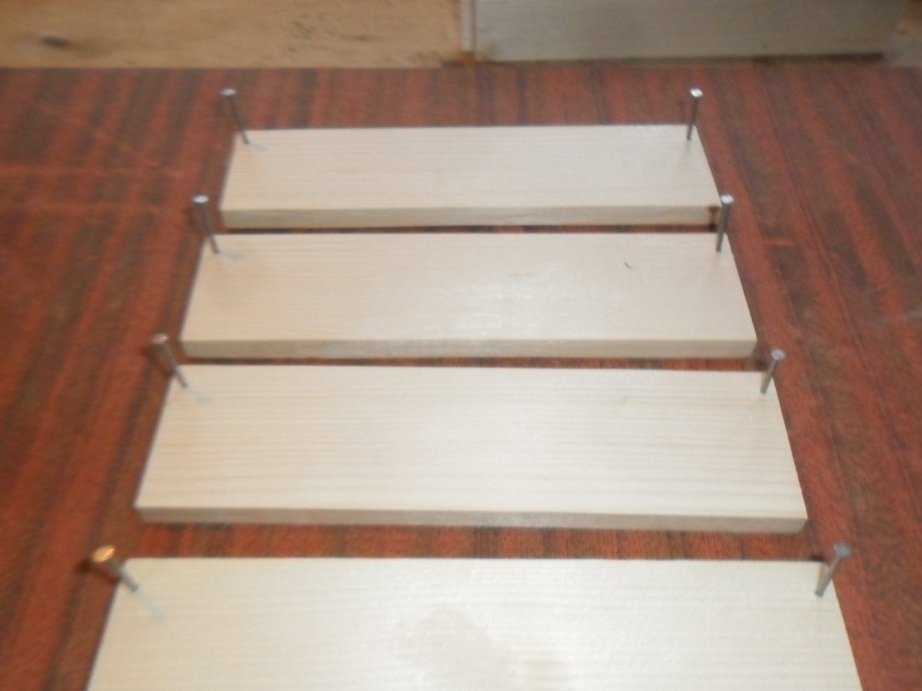
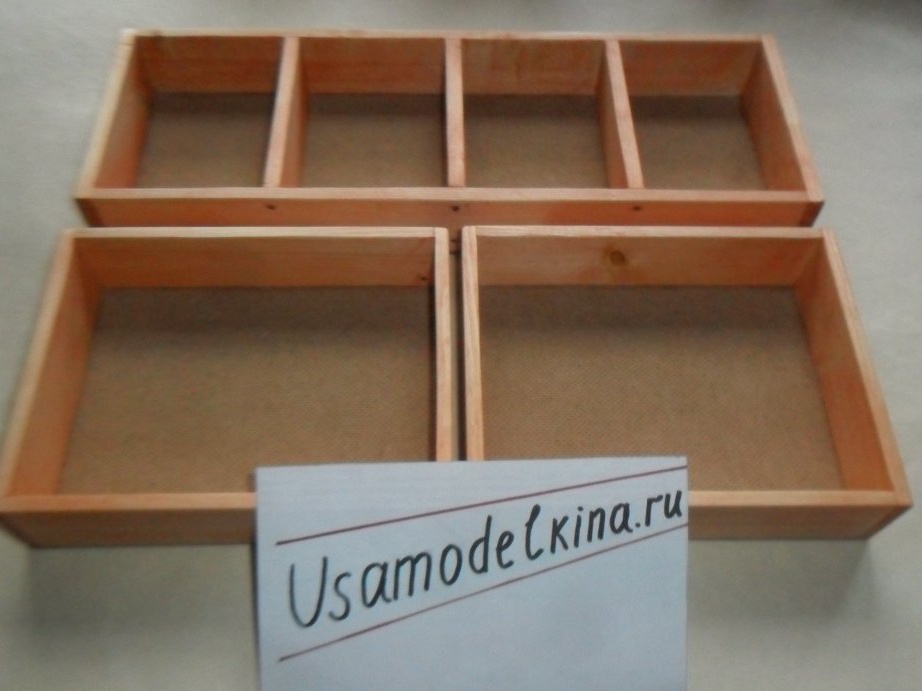
Step 9. Knocking up boxes.
A long box will be collected first. And start with the partitions.
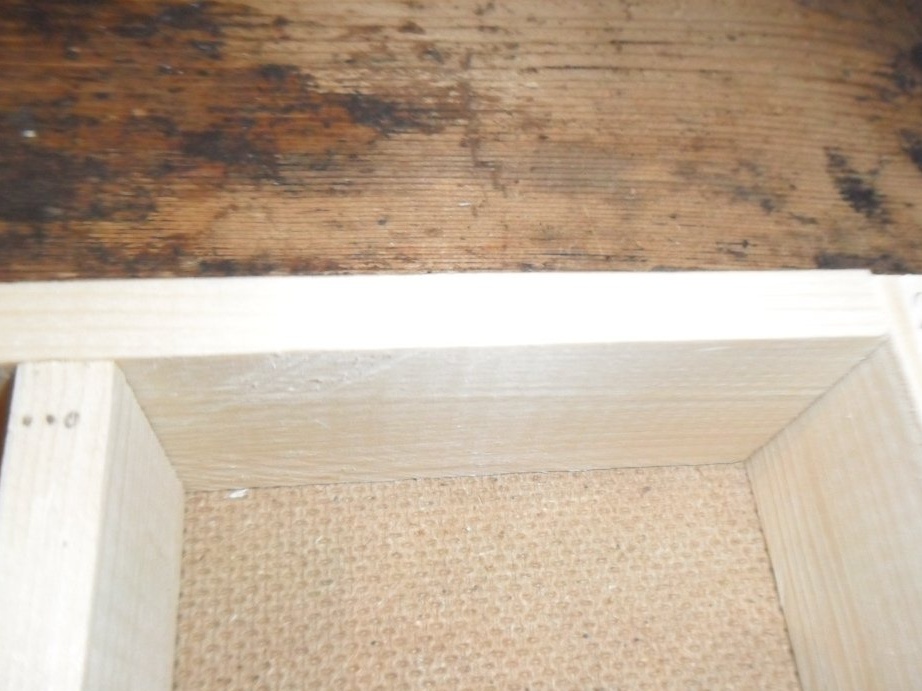
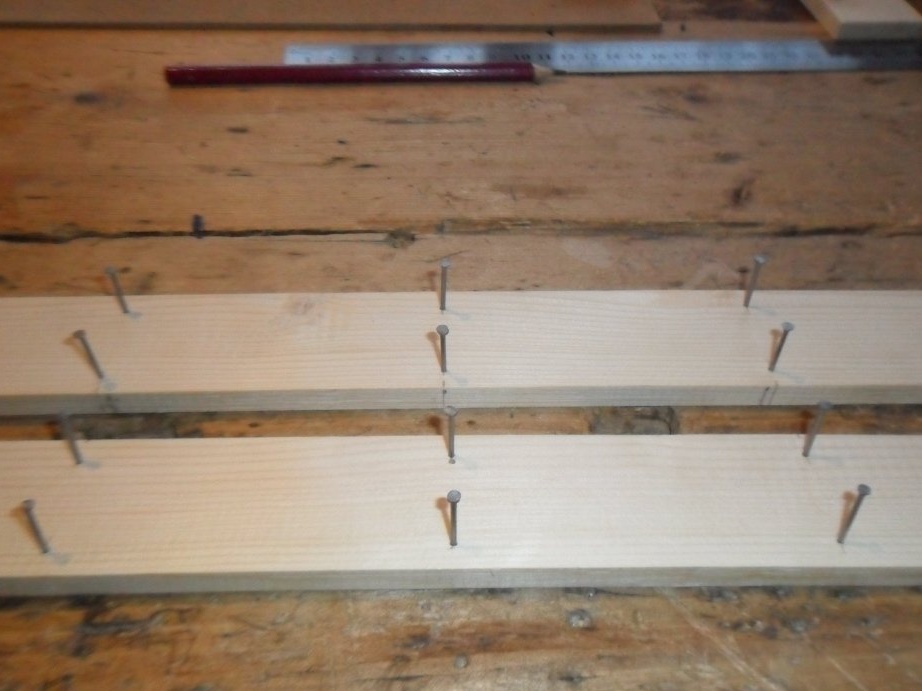
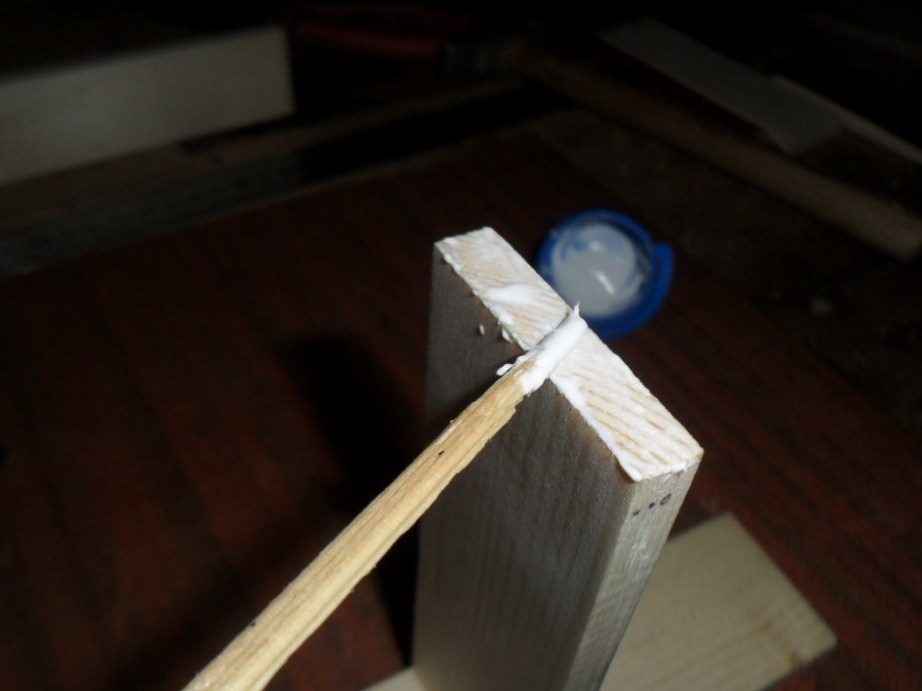
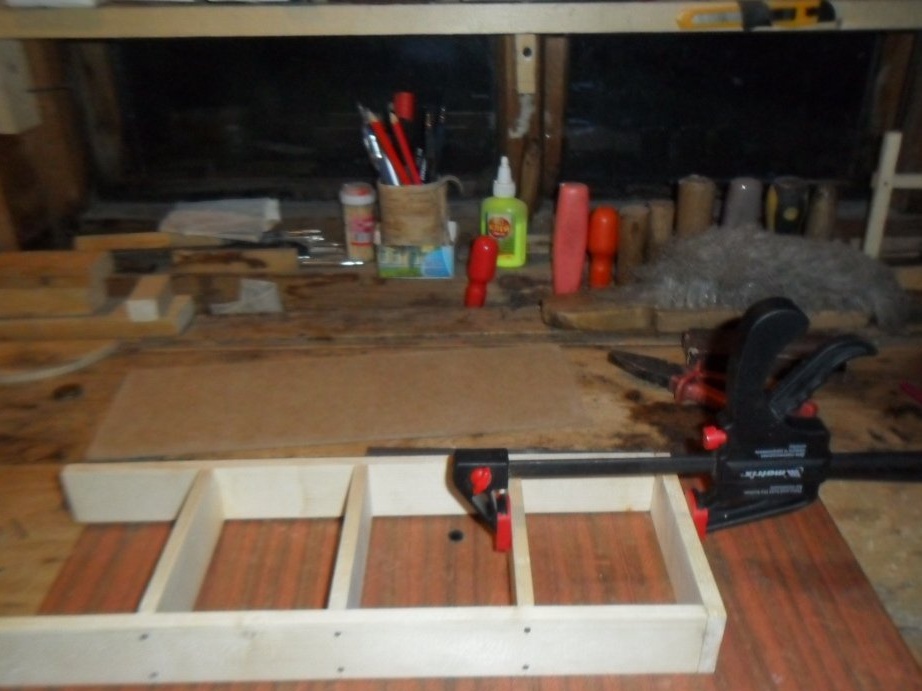
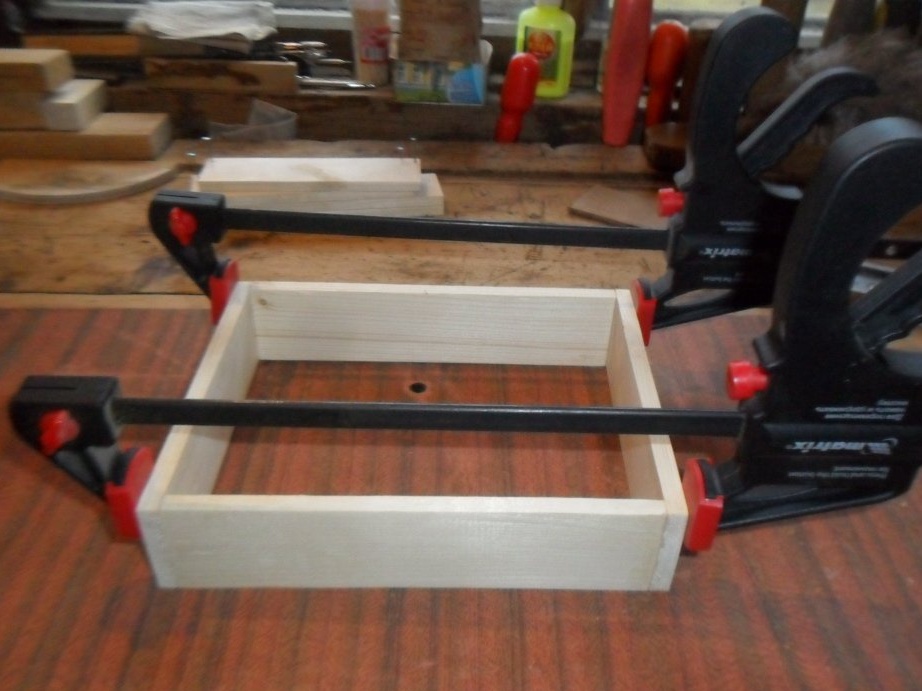
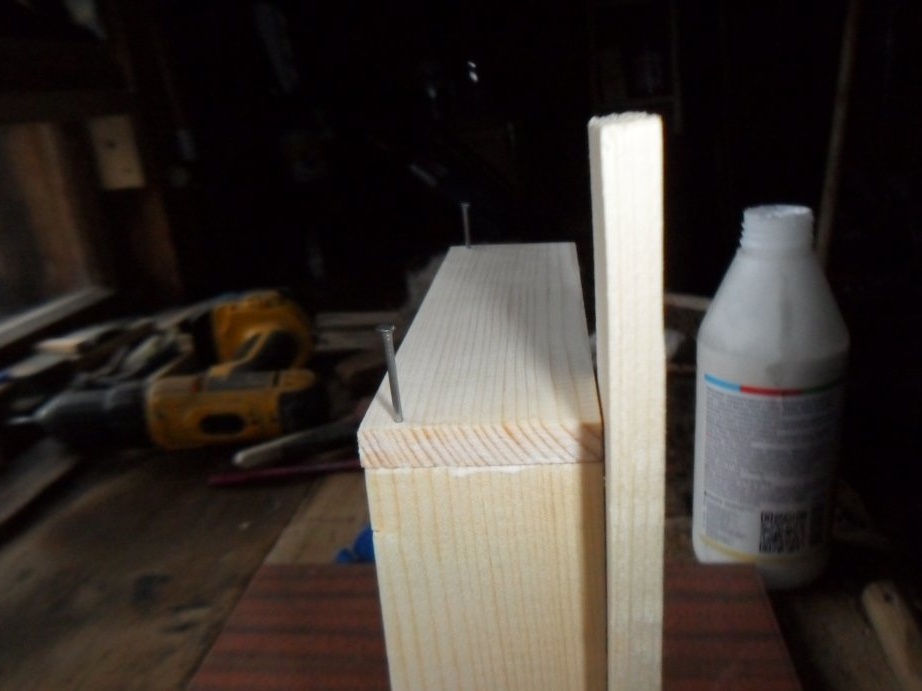
We hammer in nails 25 mm long in the marked places of both rails so that they (nails) do not go beyond the opposite side. Next, we take partitions and grease their ends with carpentry glue. After that, we precisely place them in the right places on the long wall and drive in the nails. Then we turn the structure over and do the same operation, but with a different prepared wall. It remains to attach the front and back walls of the box: each will have one nail at the top right and left; the ends of the previously bonded design are also lubricated with glue. The lower parts of the short wall and one of the partitions for a tight connection are tightened with a clamp.
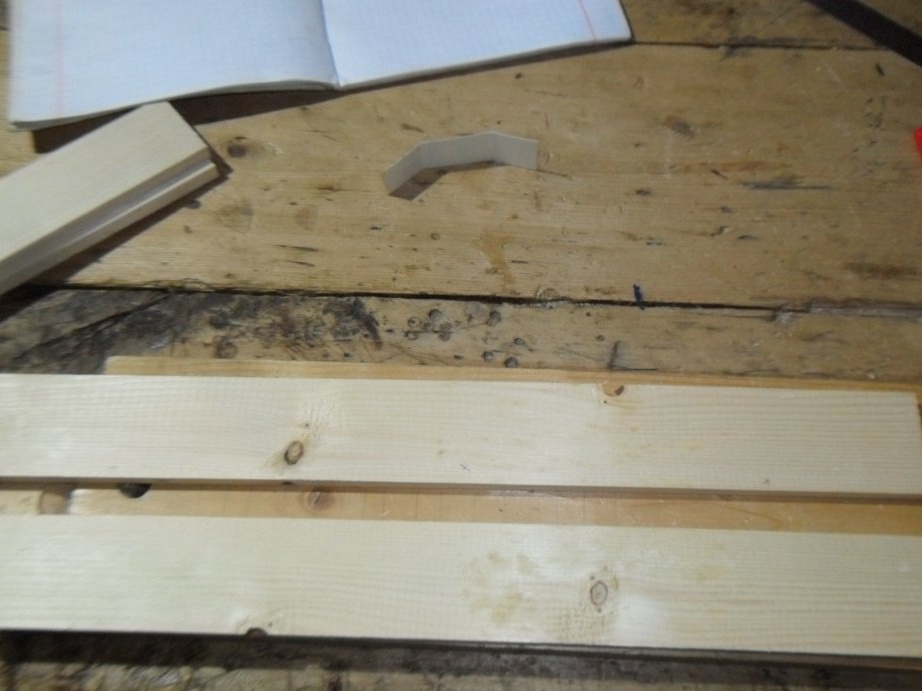
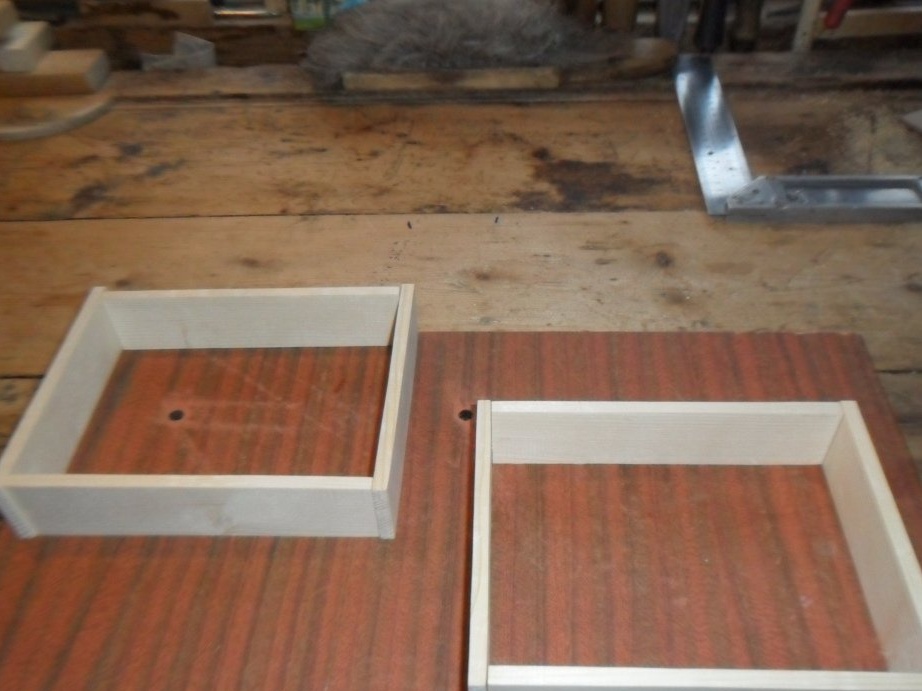
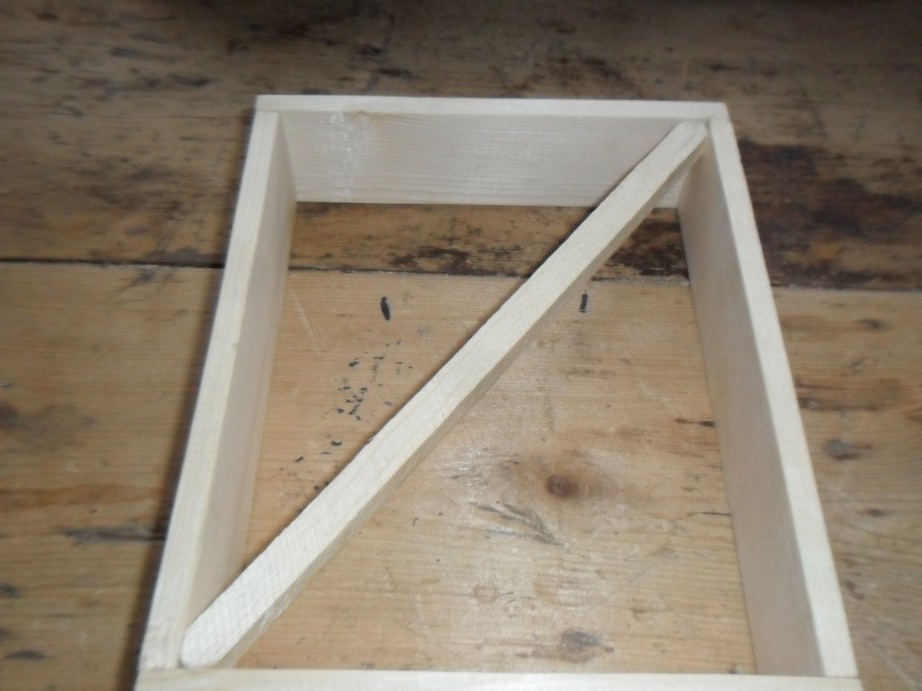
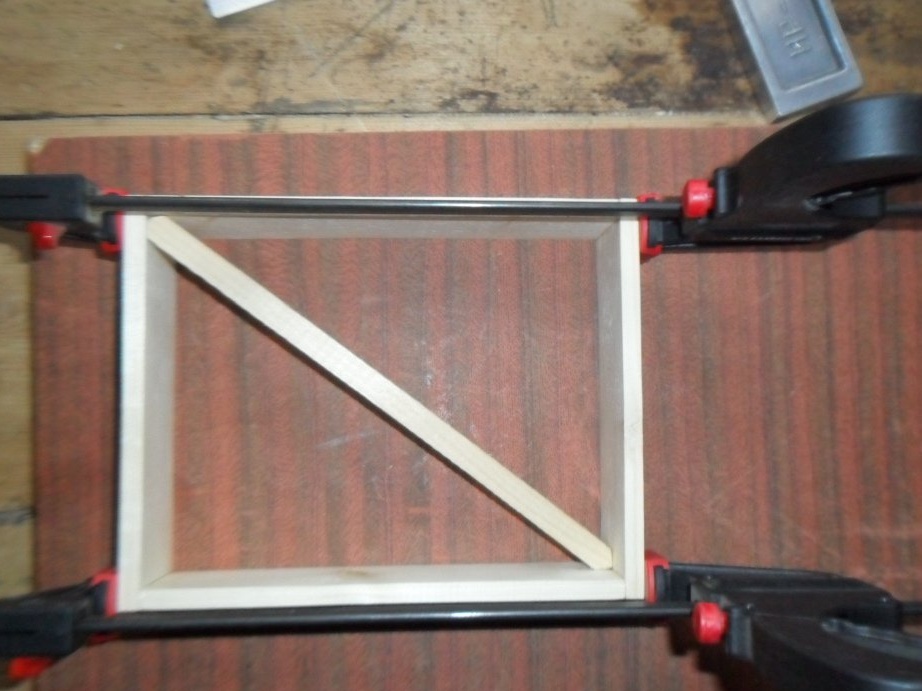
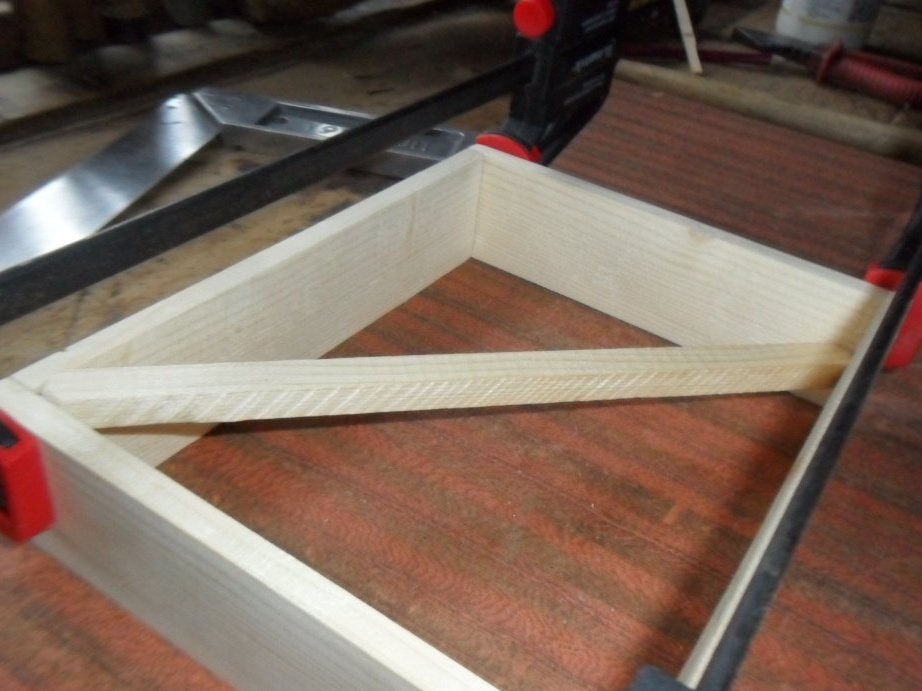
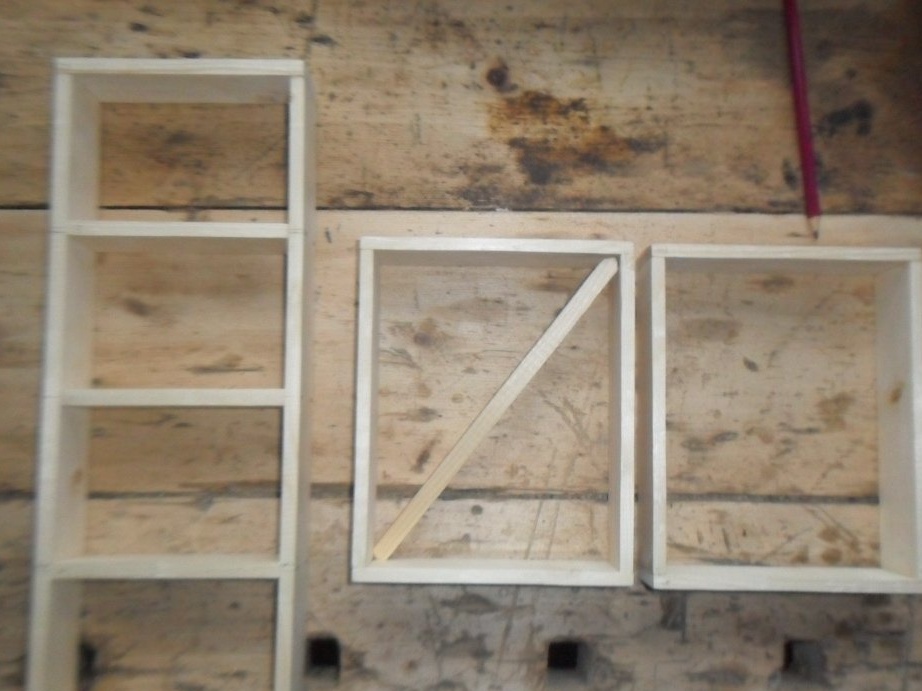
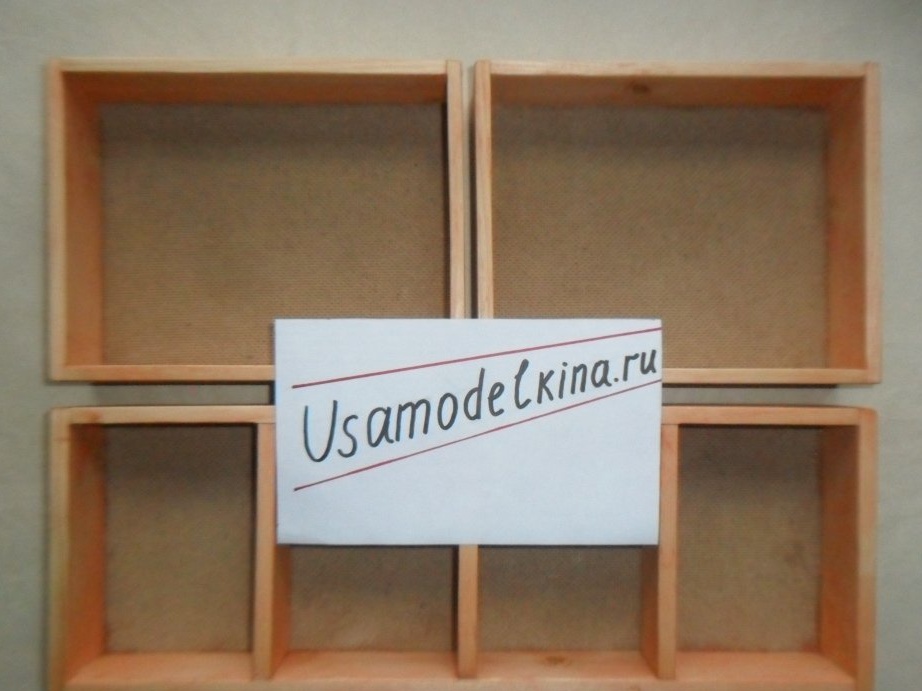
Using the same principle, we knock together the remaining two simple drawers. But there is one snag: the sidewalls of the drawers lead to one side or another, and as a result, the box may be not rectangular, but parallelogram. To prevent this situation, you should firmly fix the boxes when setting glue, achieving right angles. To do this, insert a rail with rounded ends in the direction of the smaller diagonal so that it stretches the box a little to a rectangular shape.

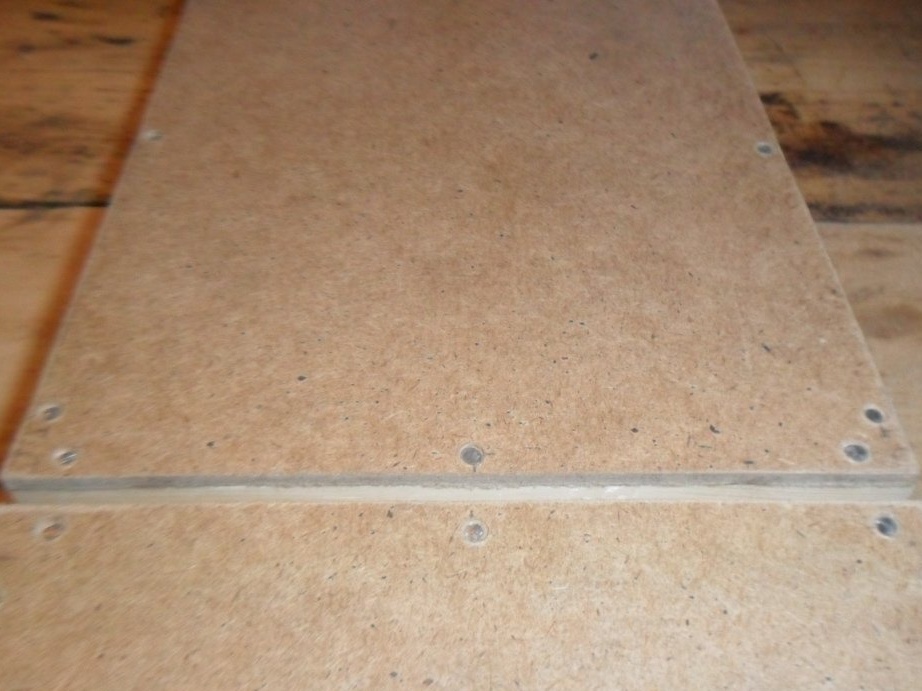
Step 10. Layout of fiberboard sheets.
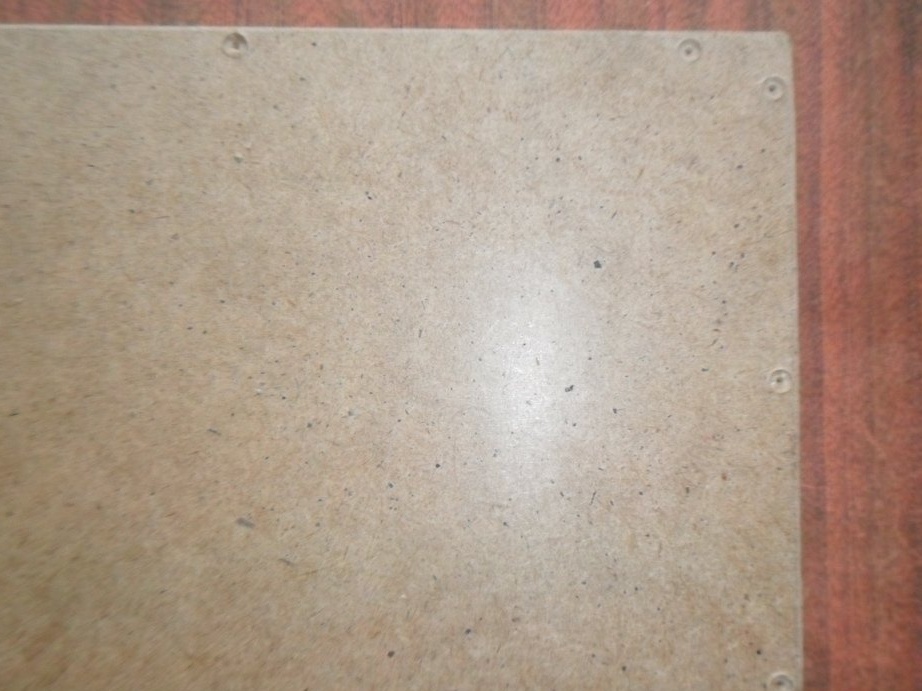
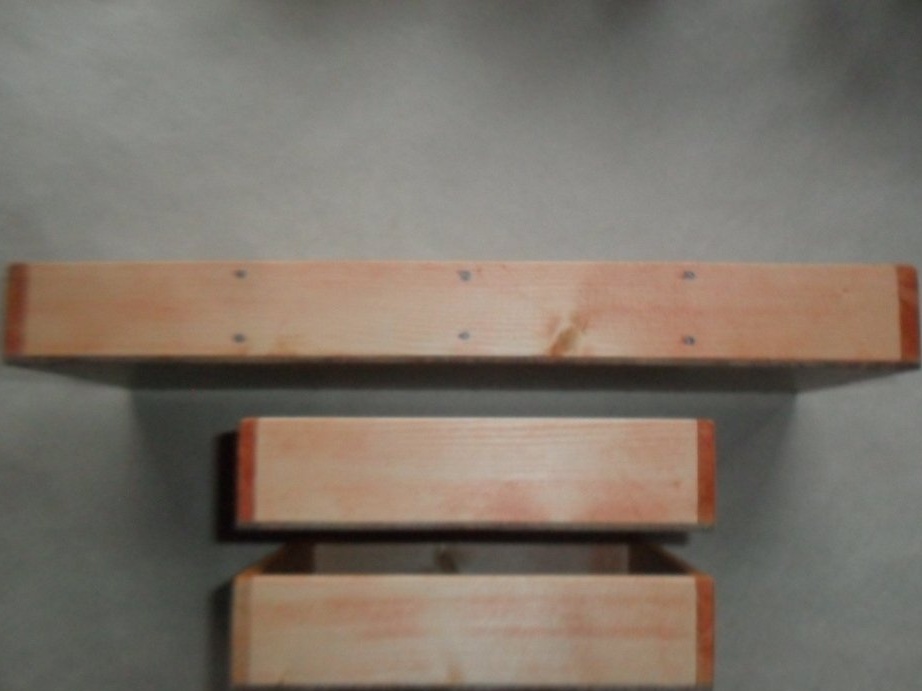
Now you need to mark the bottoms of the boxes: indicate where the nails will be driven. Marks must be placed at certain distances from each other. It turned out five marks on the long sides of a four-section drawer and three on all other sides, including the sides of the bottoms of small boxes.
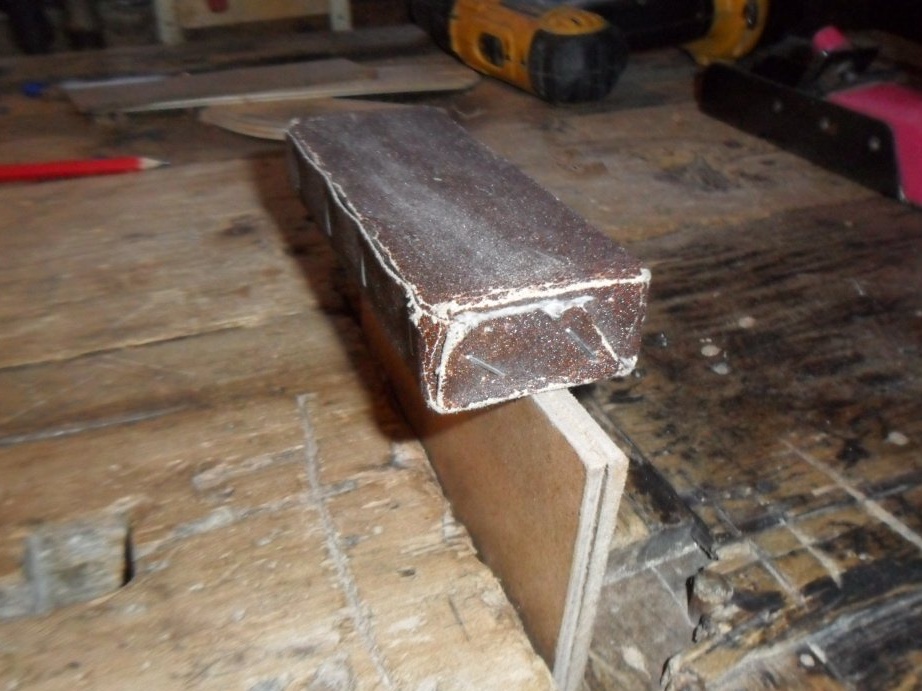
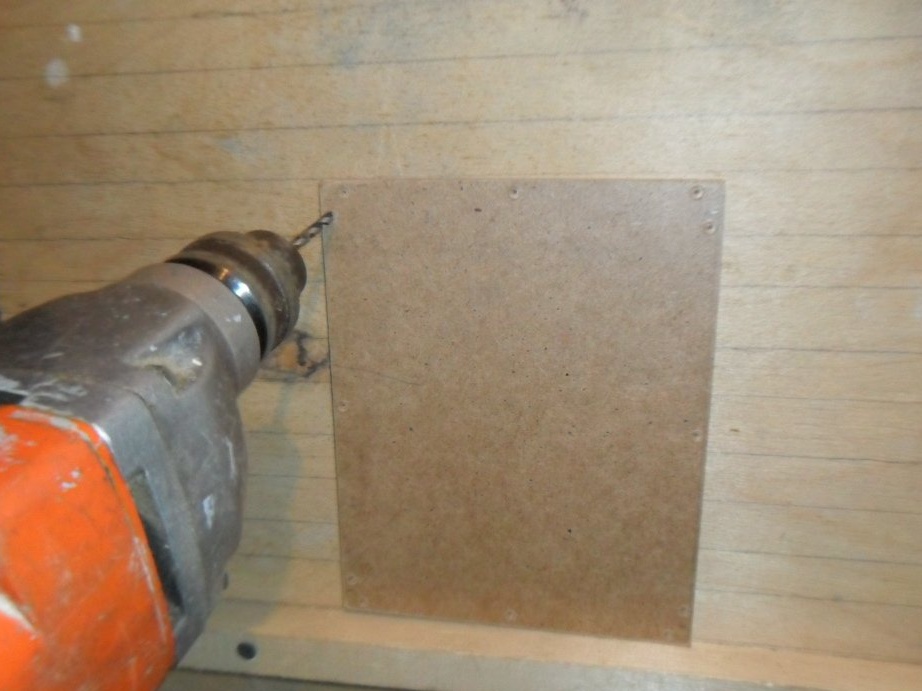
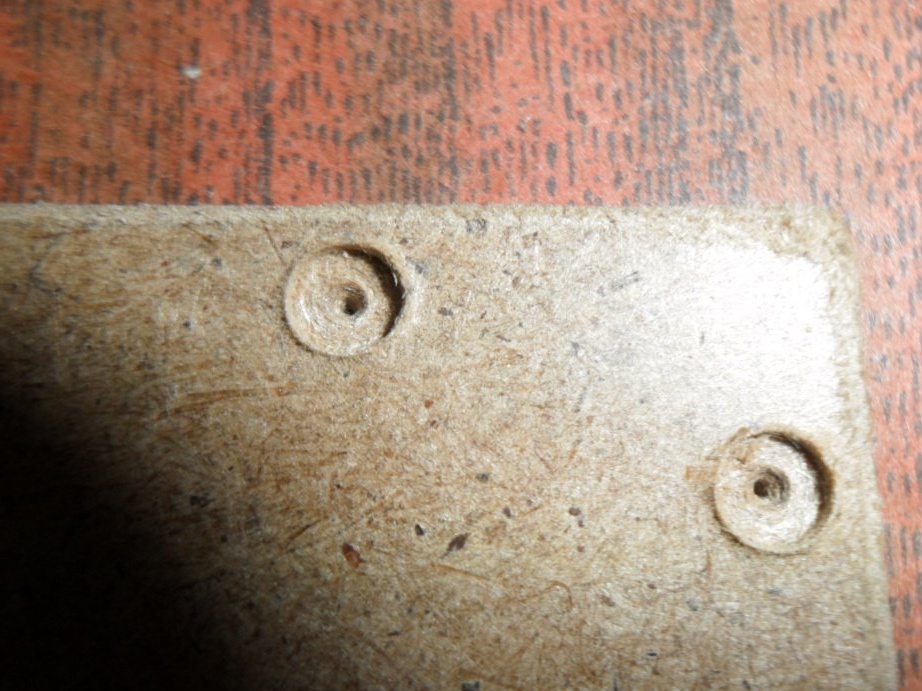
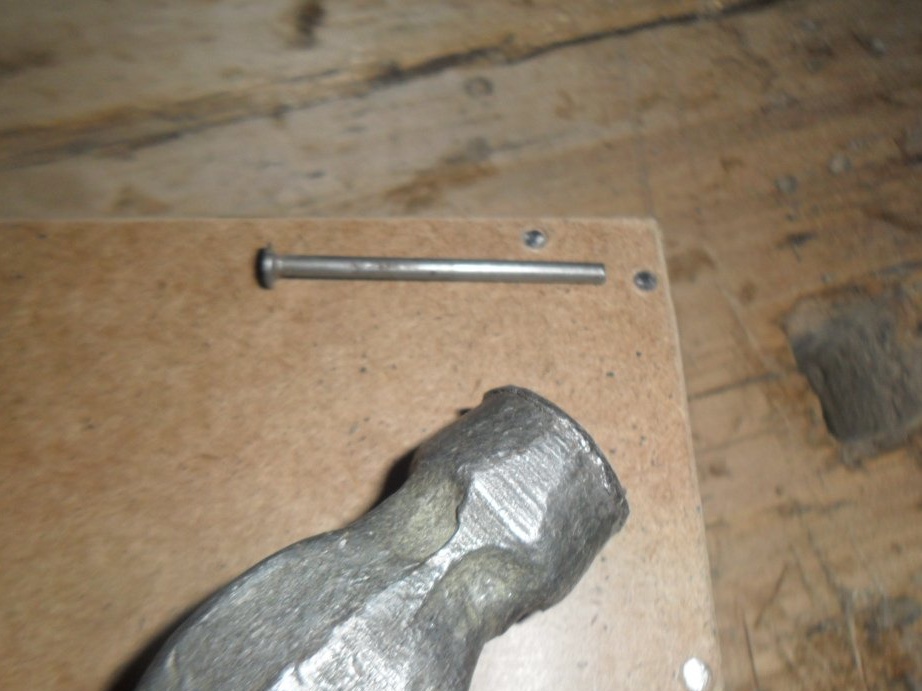
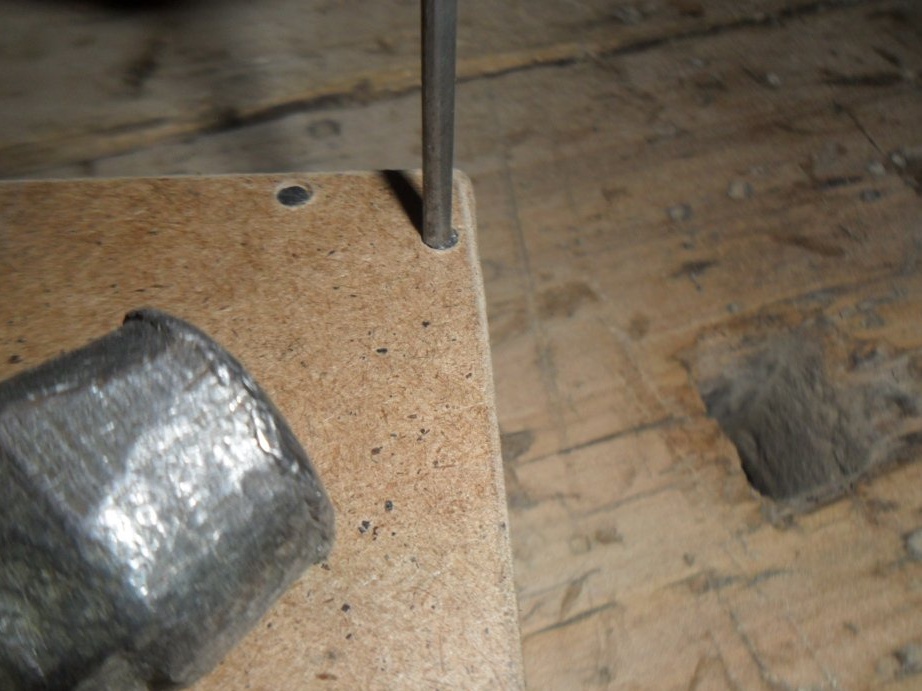
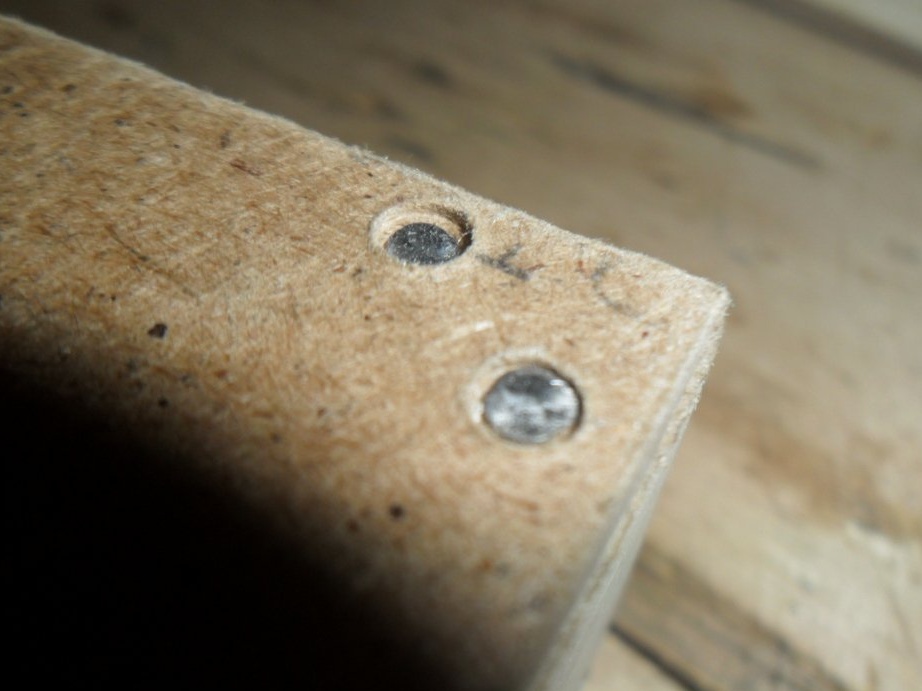
Step 11. Drilling the bottoms under the heads of the nails.
Nails driven in the usual way scratch the surface on which the boxes are moved. To avoid such consequences, it is recommended to hammer the nails a little deeper. To do this, gently drill with a drill (d = 3mm) a recess of 1-1.5 mm. To drill comfortably in a standing position, we use a sheet of plywood.
Step 12. The final assembly of the boxes.
With wood glue, lubricate the edges of the inner surface of the bottoms and, laying them on a wooden bonded base, hammer in the nails. Then with another nail (without a tip) we finish them so that they "sit" denser.
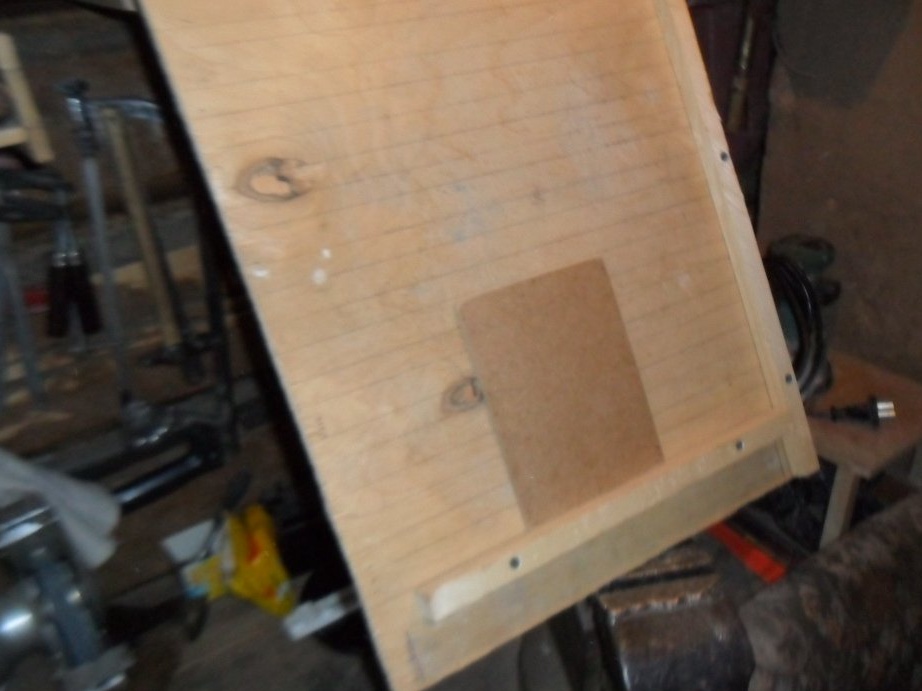
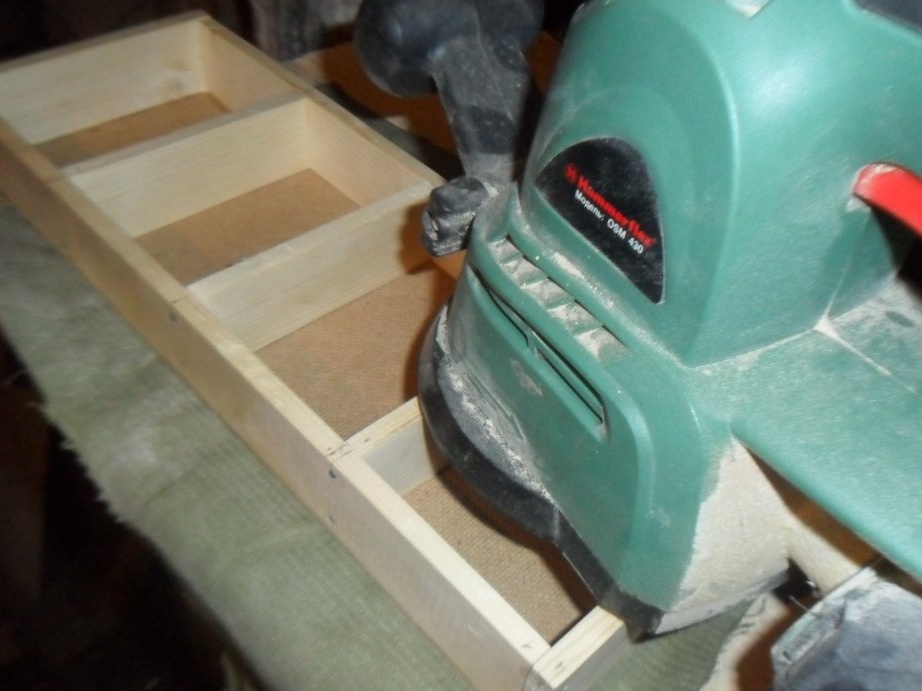
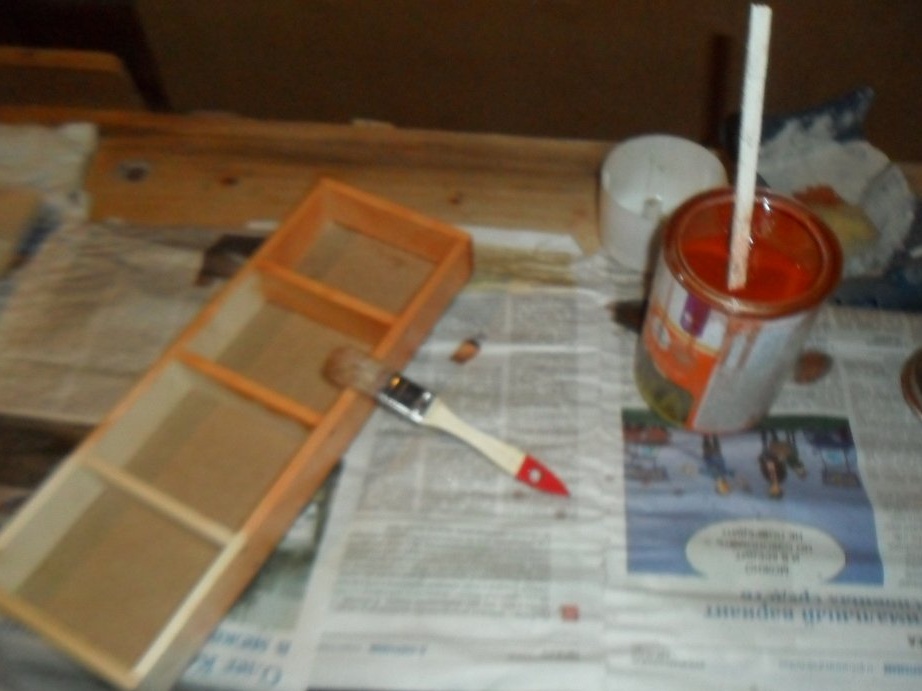
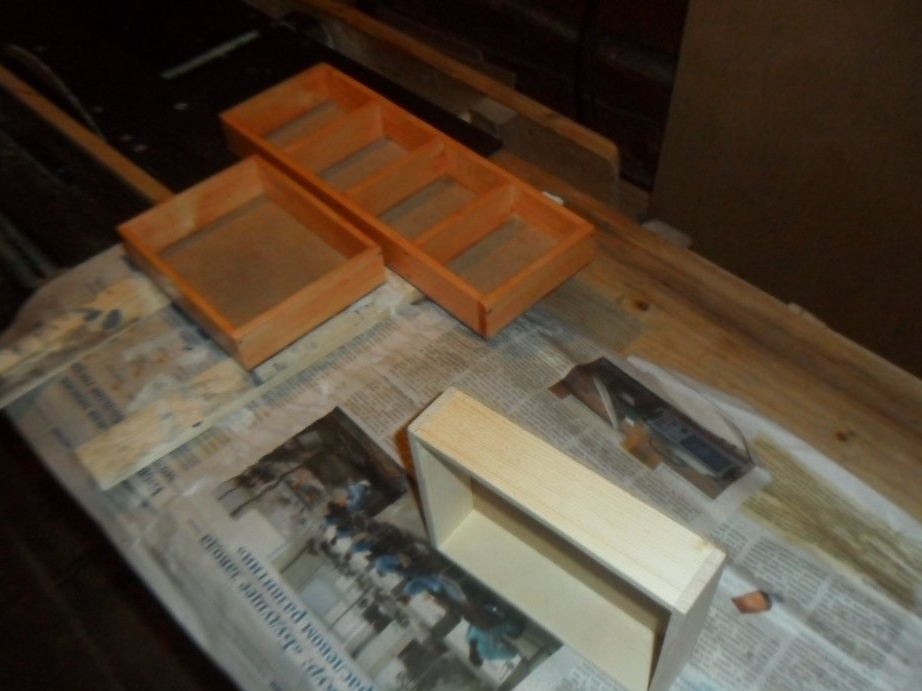
Step 13. Sanding and painting.
For the last time, we process the boxes with a grinding machine (outer sides) and sandpaper (wall ribs) and cover them with biotex. After drying, you can use finished products.
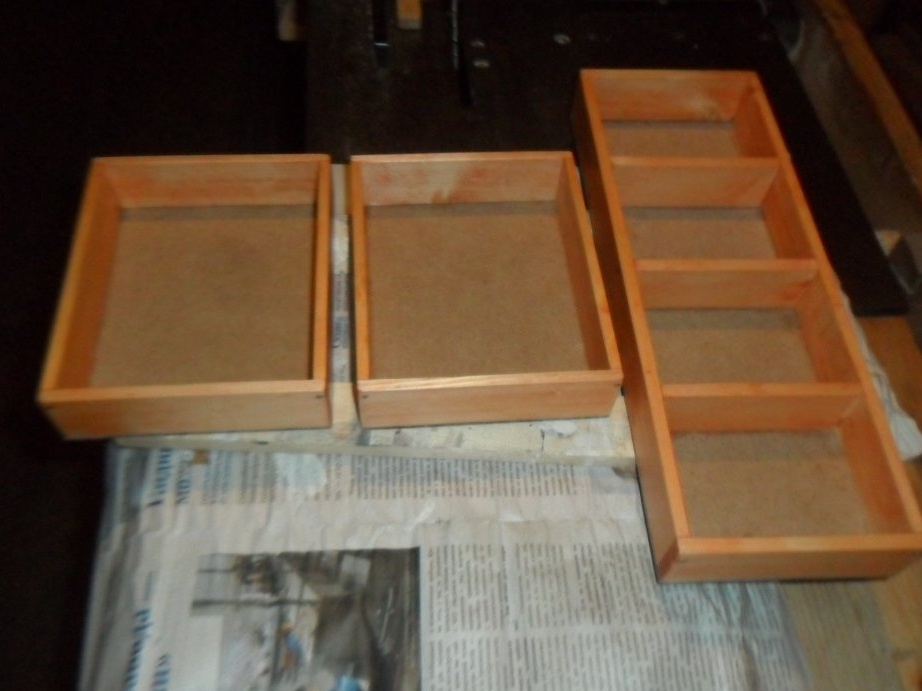
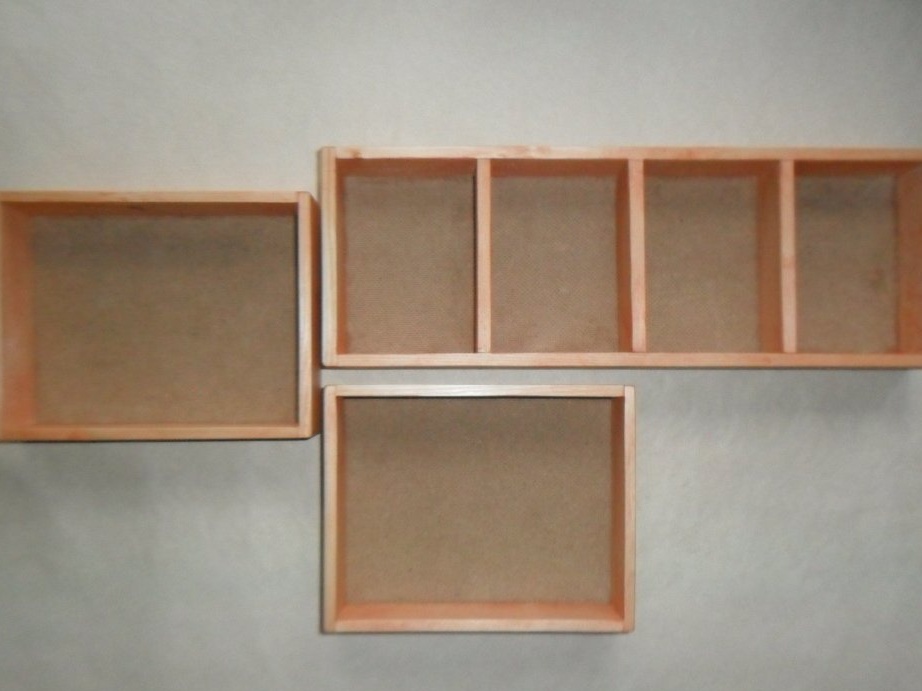
Conclusions.
Such boxes can be put in any noticeable place in the house.