
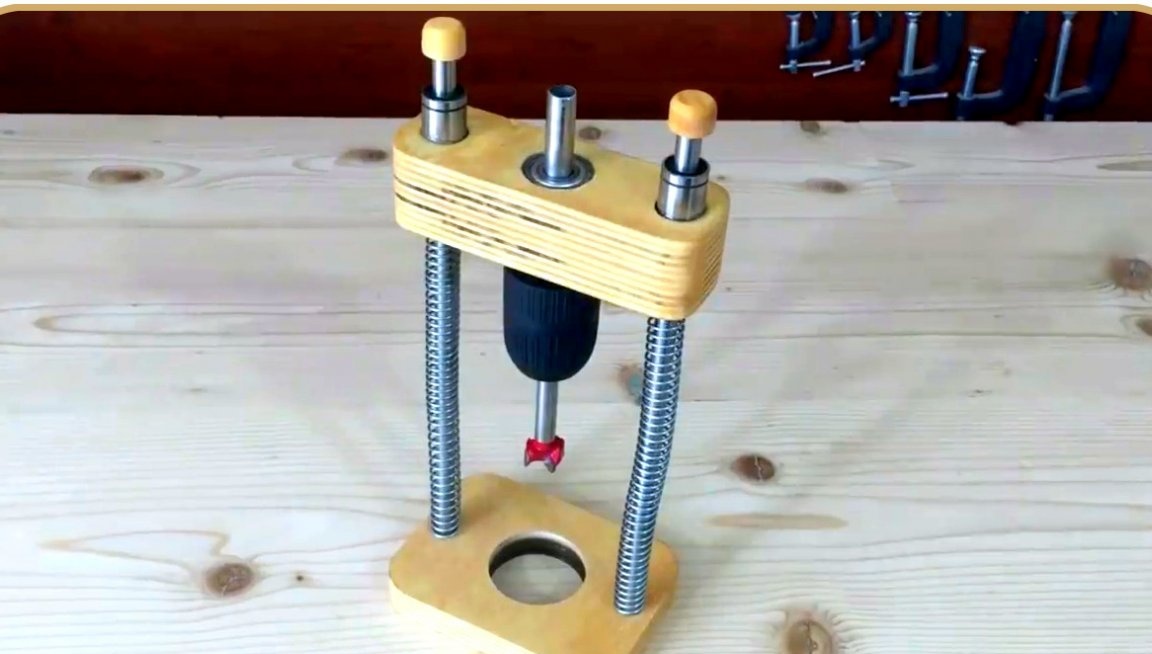
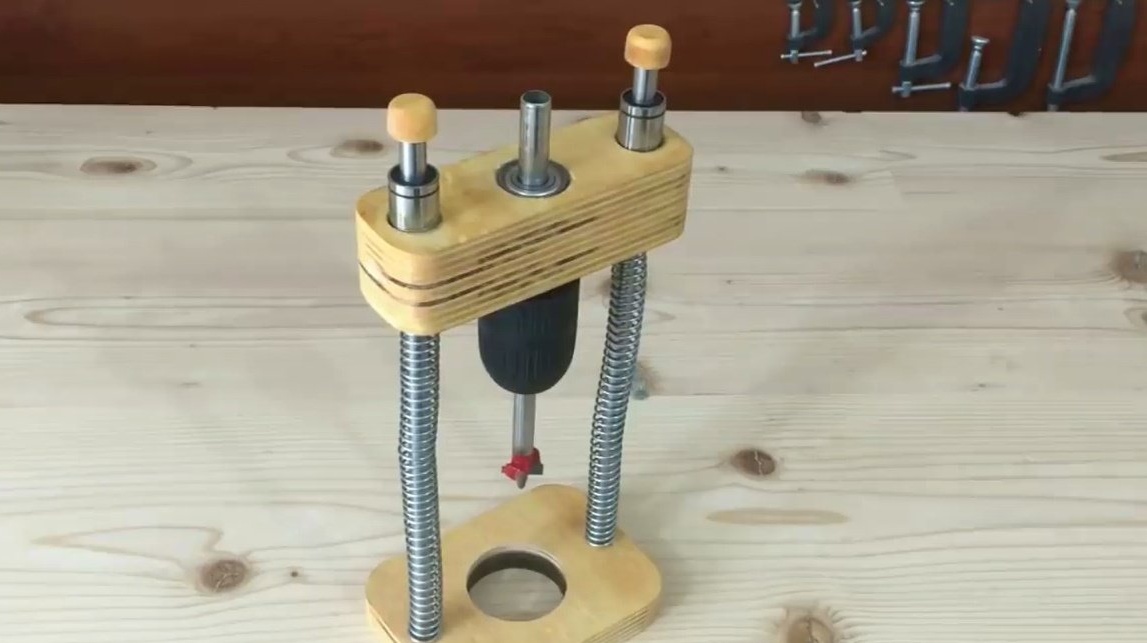
In this article, the author of the YouTube channel "Gökmen ALTUNTAŞ" will tell you how to make a spring-loaded support for a screwdriver. It will allow you to drill holes at an ideal right angle in the workpieces.
By the way, this homemade product does not require complex machines for its manufacture.

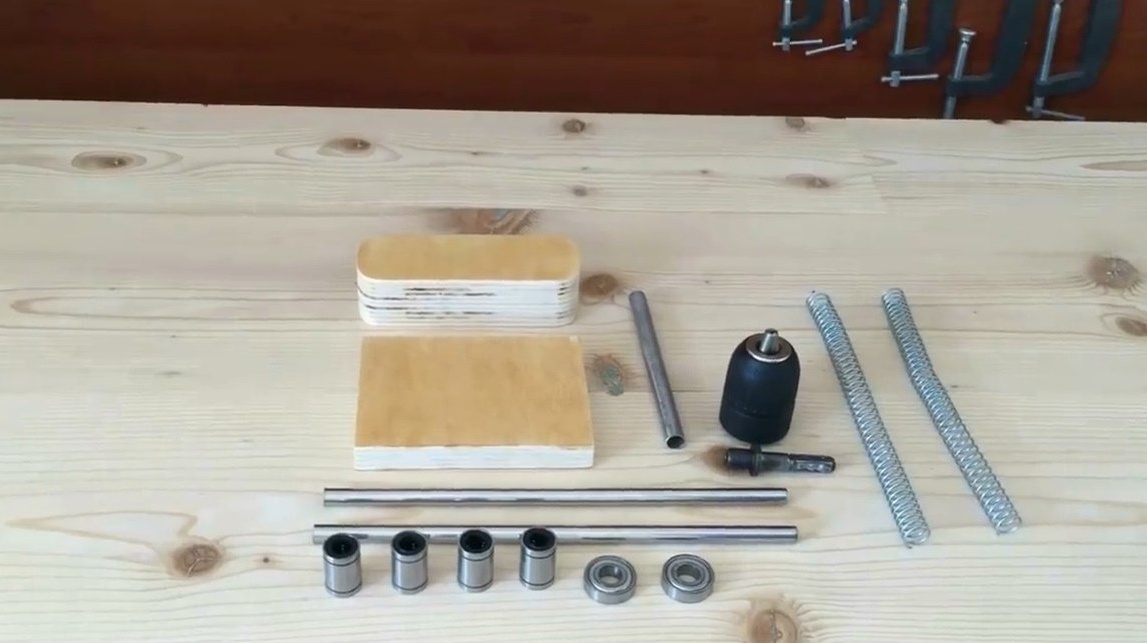
Materials
- 18 mm thick plywood
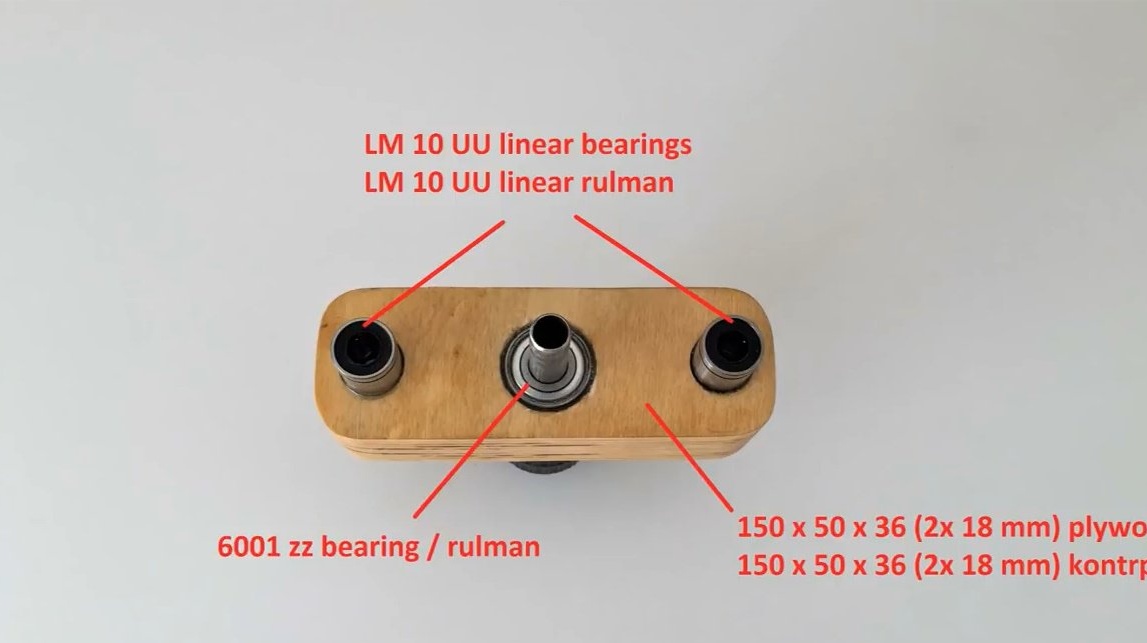
- Linear bearings lm 10 UU
- Bearing 6001 zz
- wood blocks
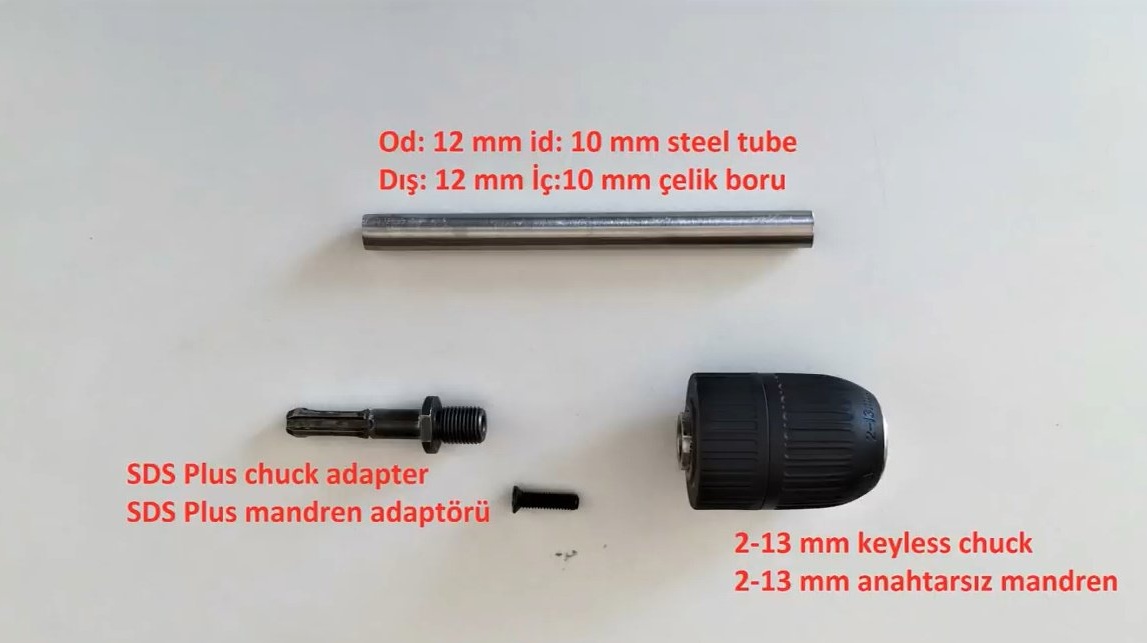
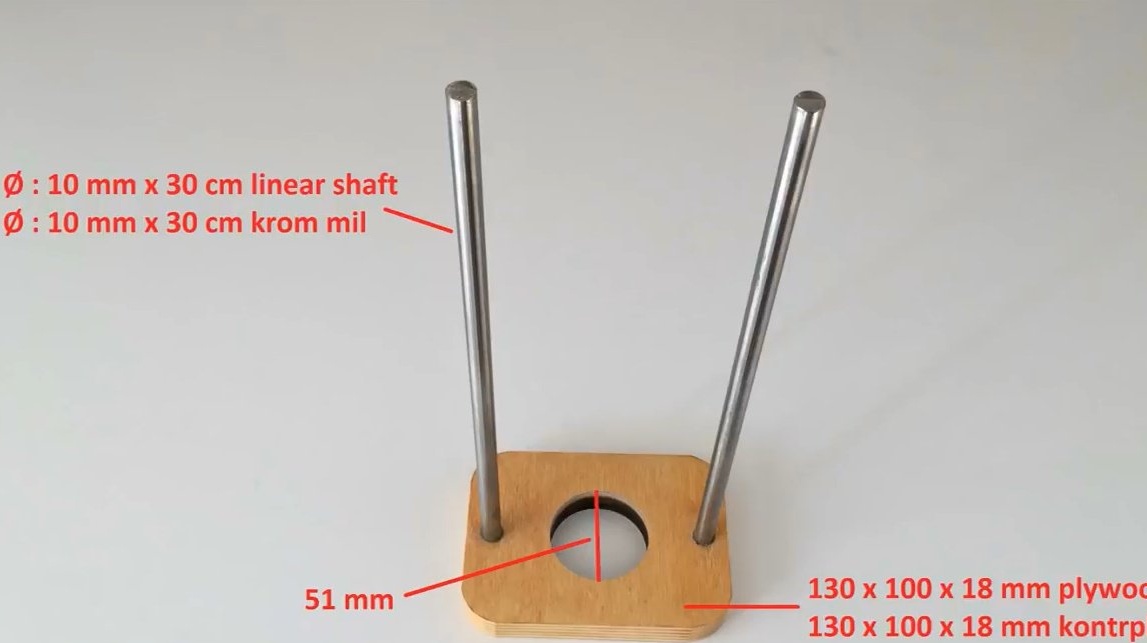
- Steel tube with a wall thickness of 1 and an external diameter of 12 mm
- Keyless chuck 2-13 mm
- SDS plus chuck adapter
- Springs
- Two-component epoxy resin
- PVA glue.
Instruments, used by the author.
- Screwdriver
- Orbital sander
- Miter saw
- Clamps, clerical knife
- Drill on wood 11 mm in diameter
- Joiner's hammer
- Crowns for wood 19 mm 29 mm
- Ruler, square, Phillips screwdriver.
Manufacturing process.
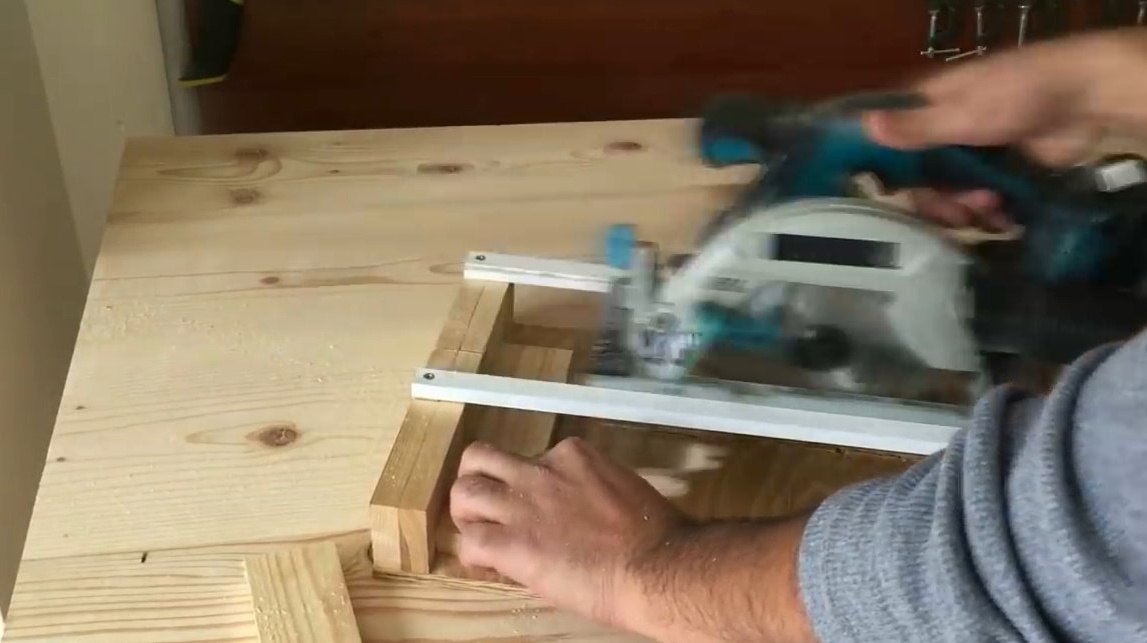
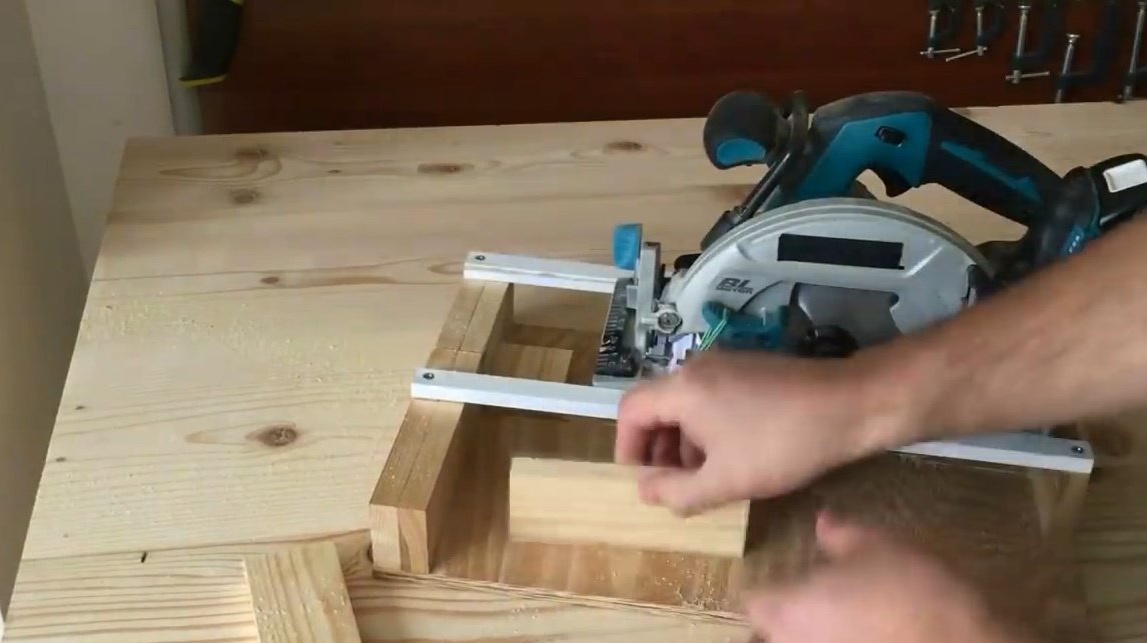
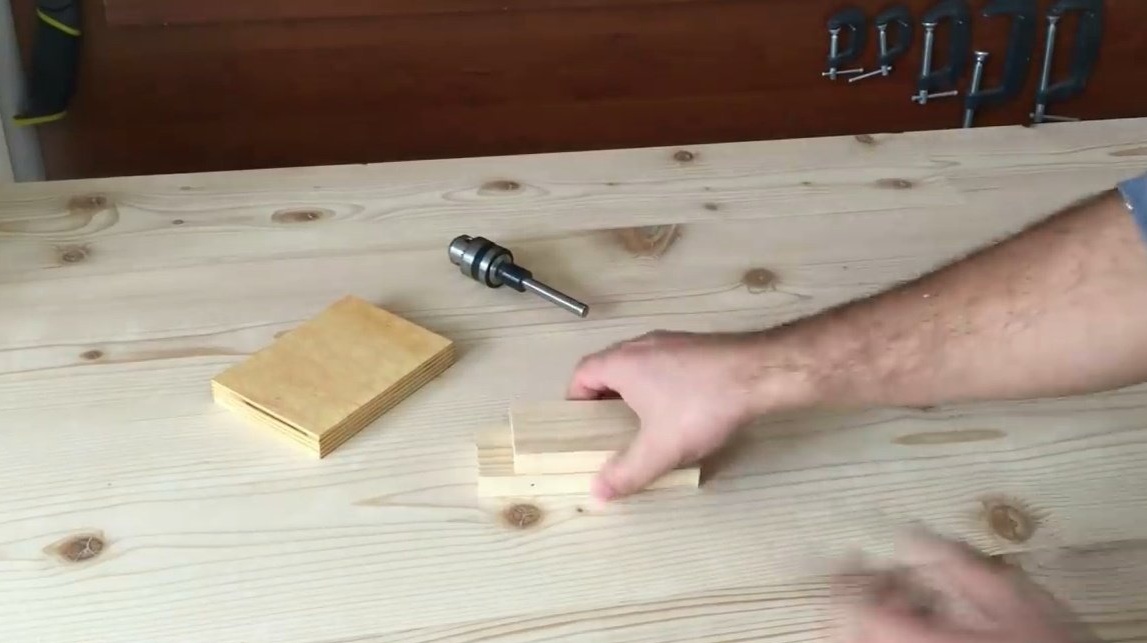
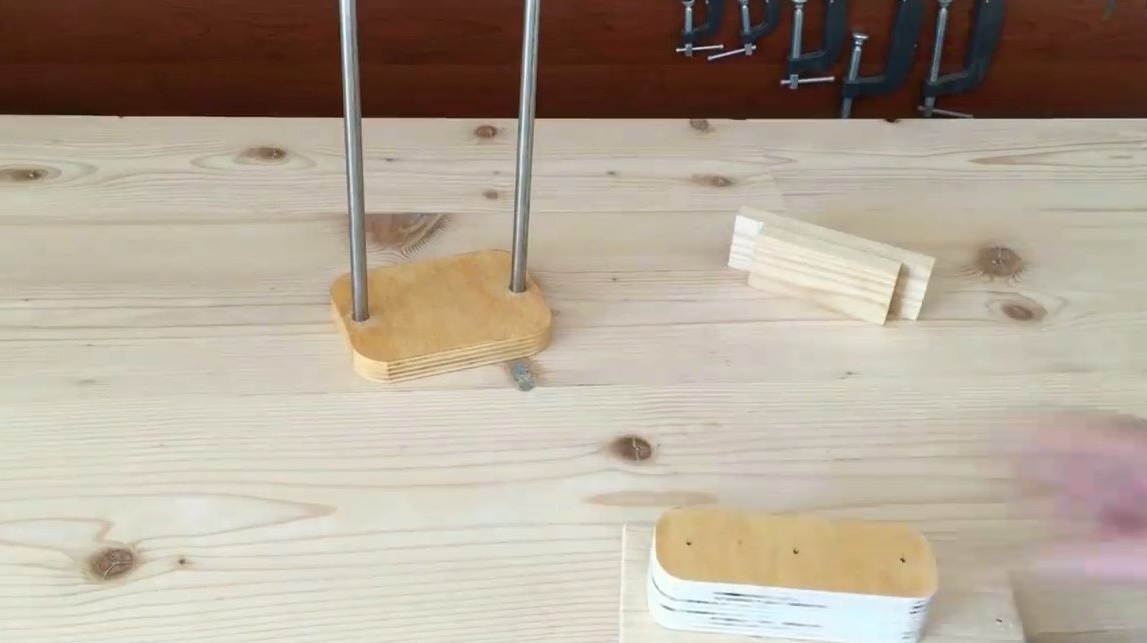
So, the first thing I propose to go to the very end of the article - all sizes of future details are indicated there. And the author is already starting to cut blanks for a special guide.
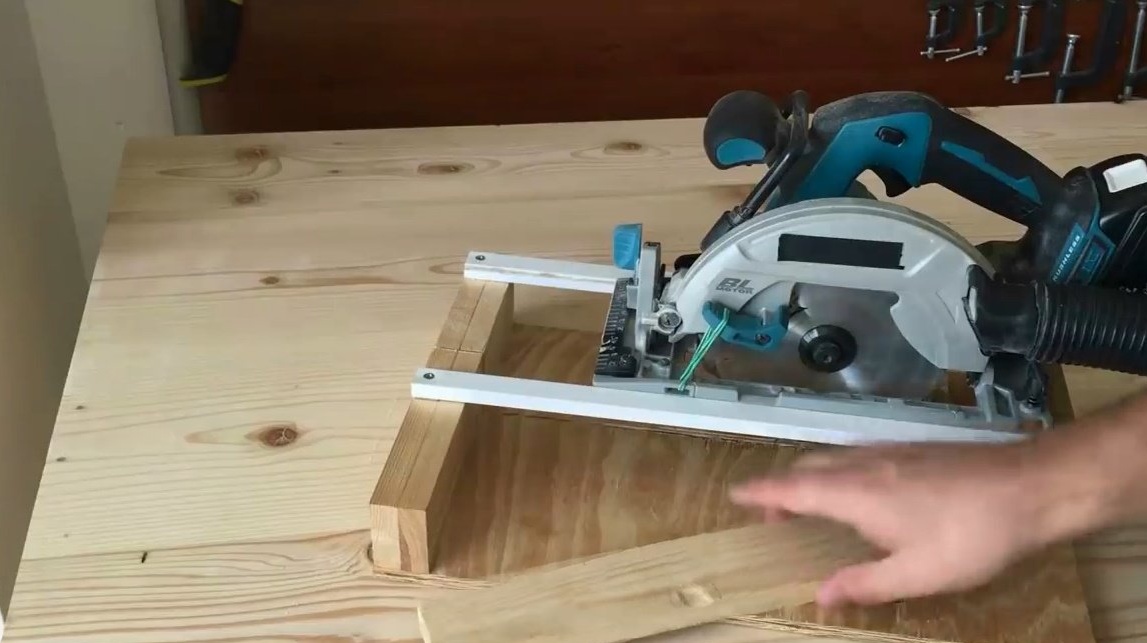
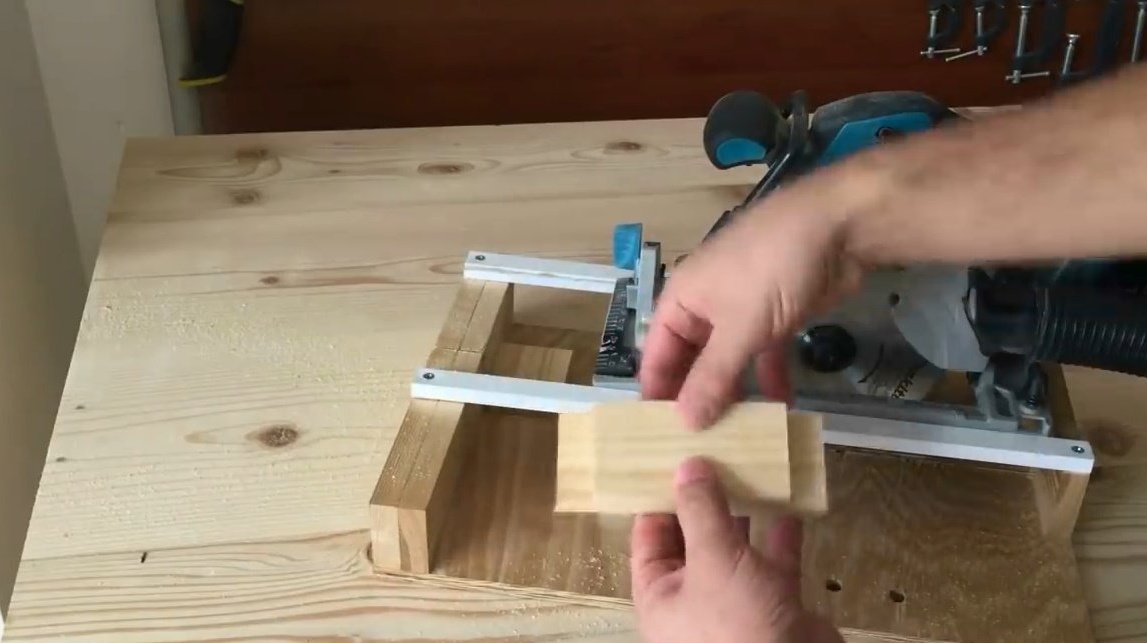

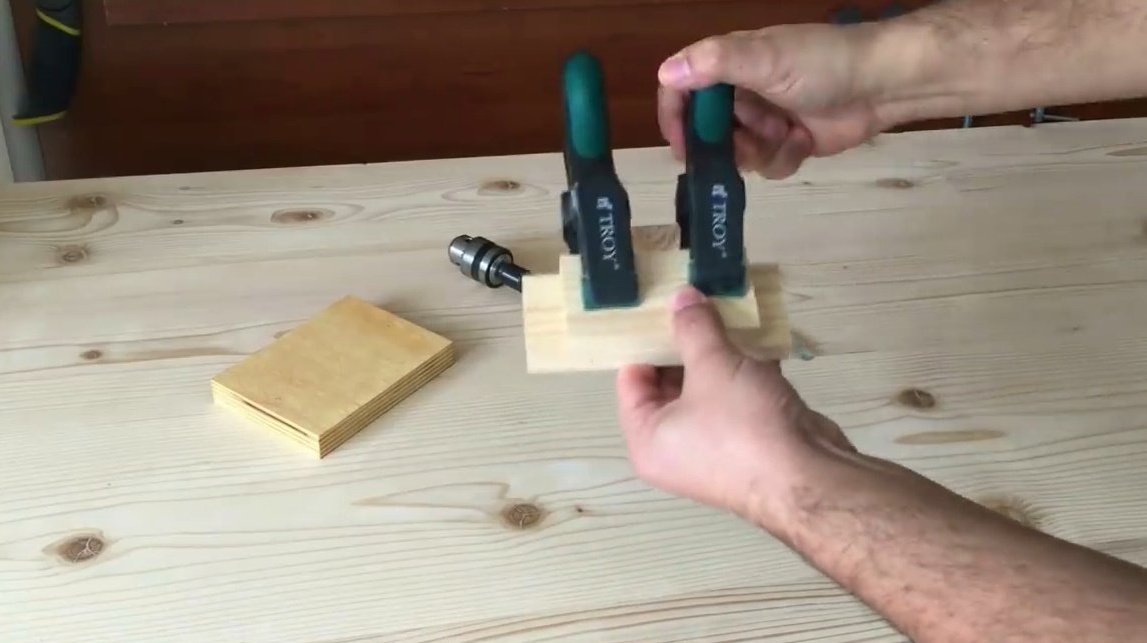
Glues two cut boards, and clamps with clamps.
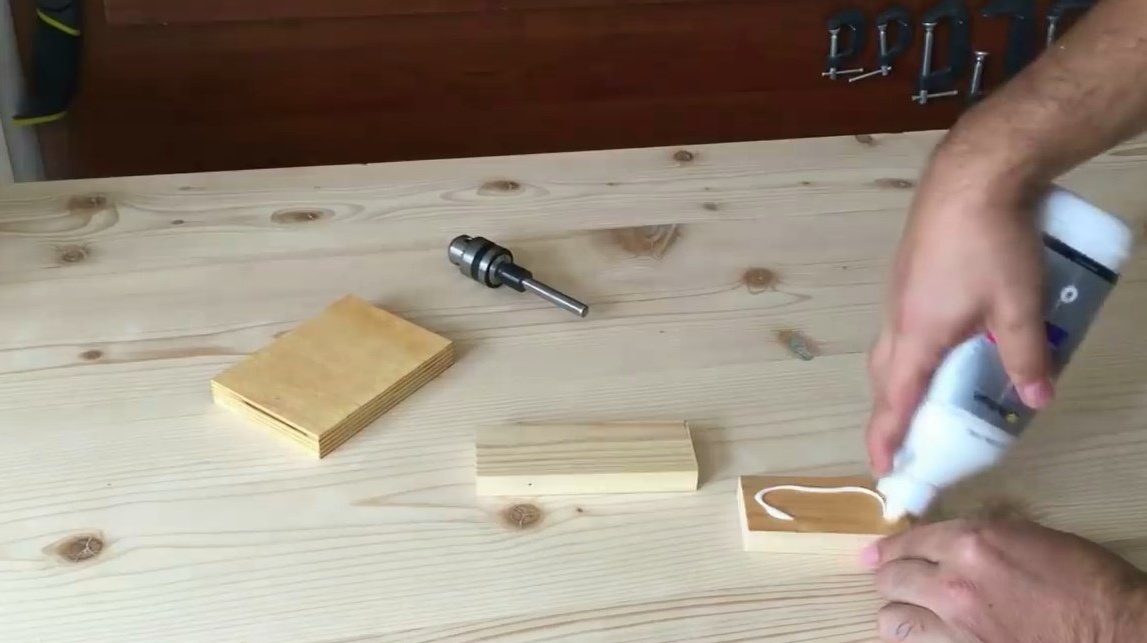
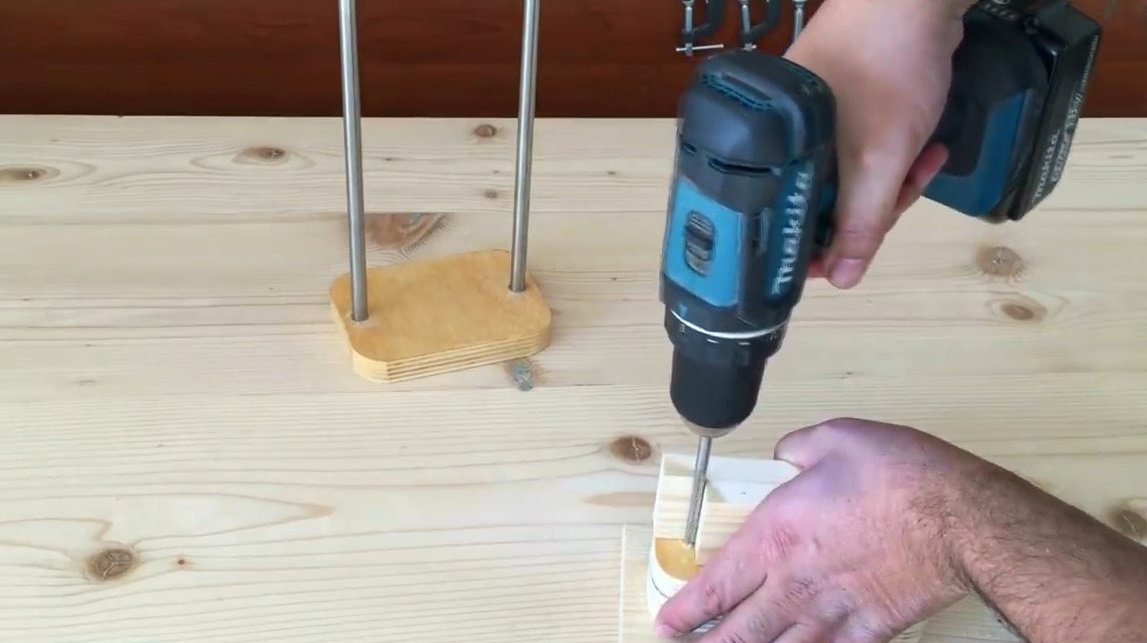
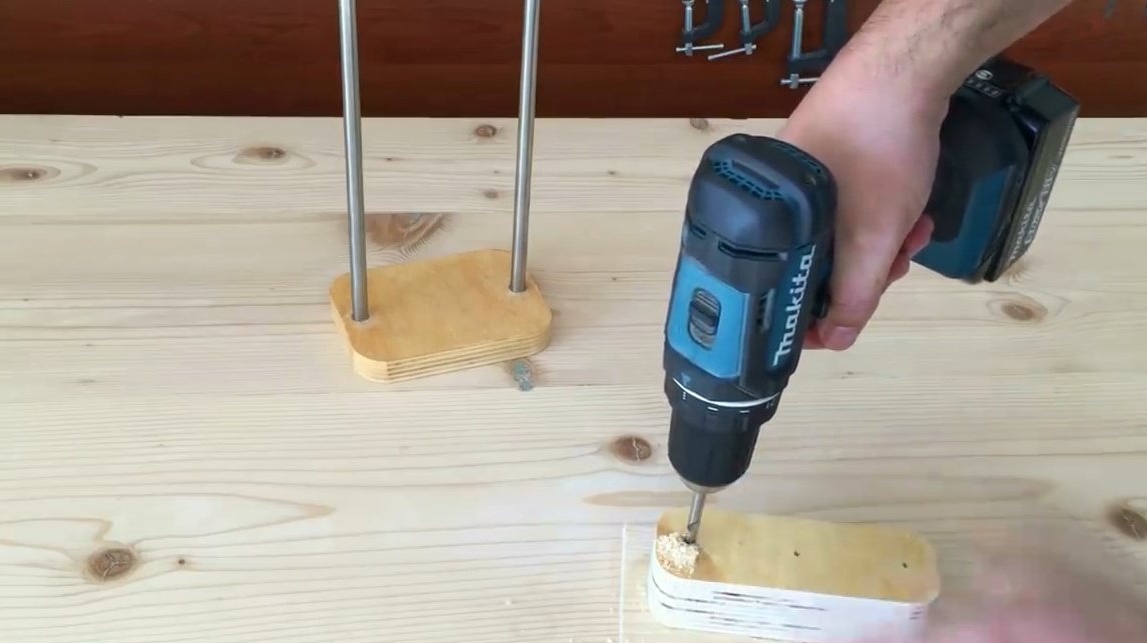
Using a drill with a diameter of 11 mm, drills two blind holes in the base. He made it from plywood 18 mm thick.
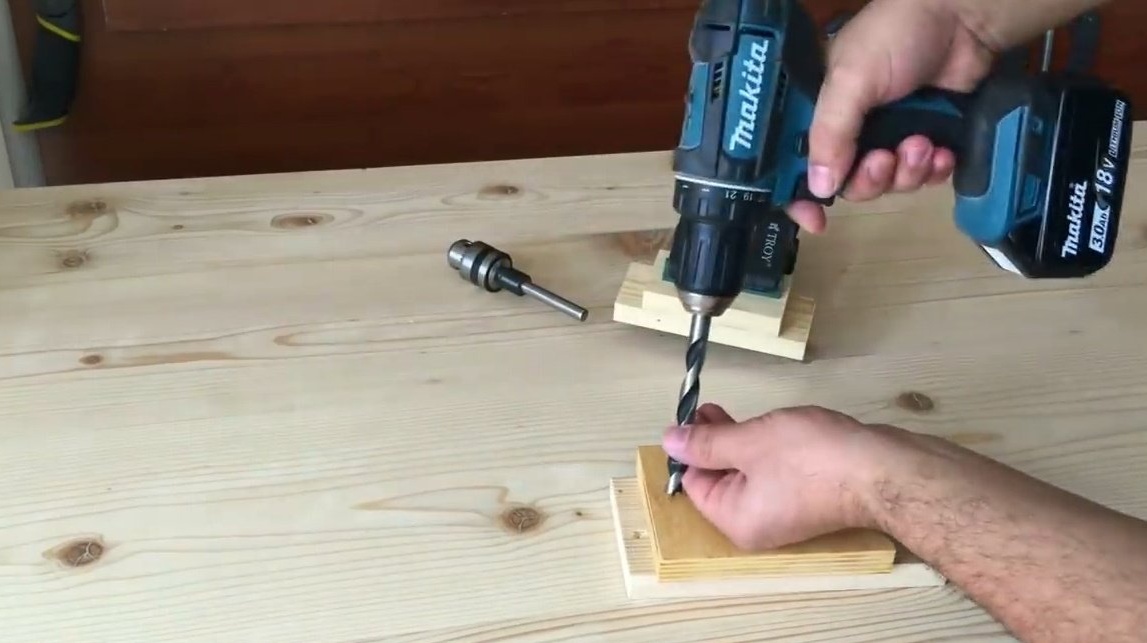
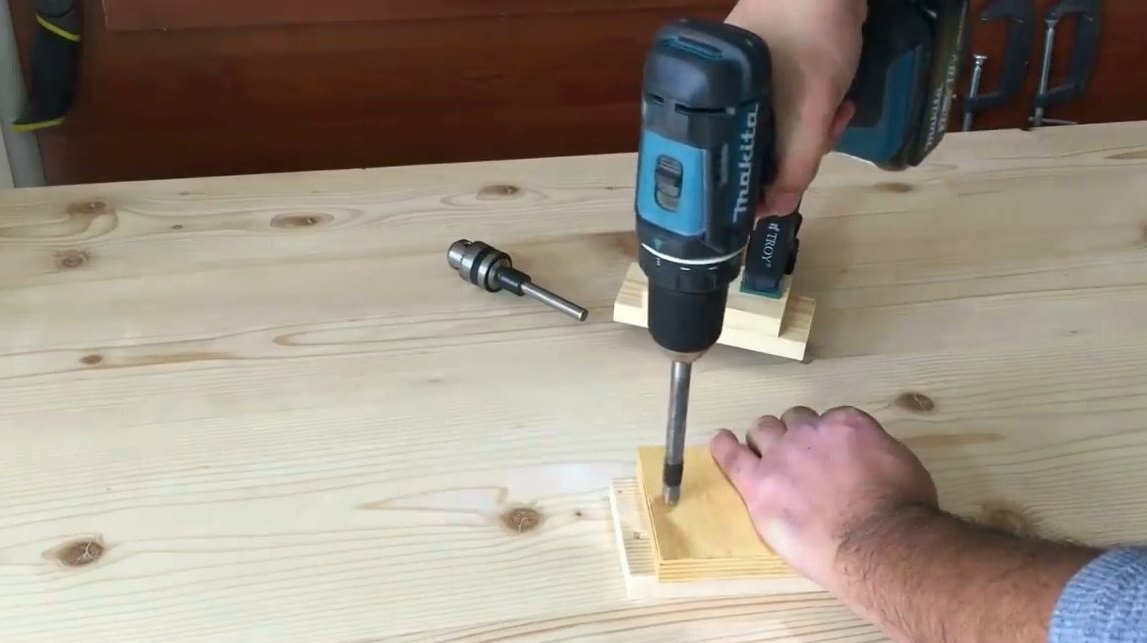
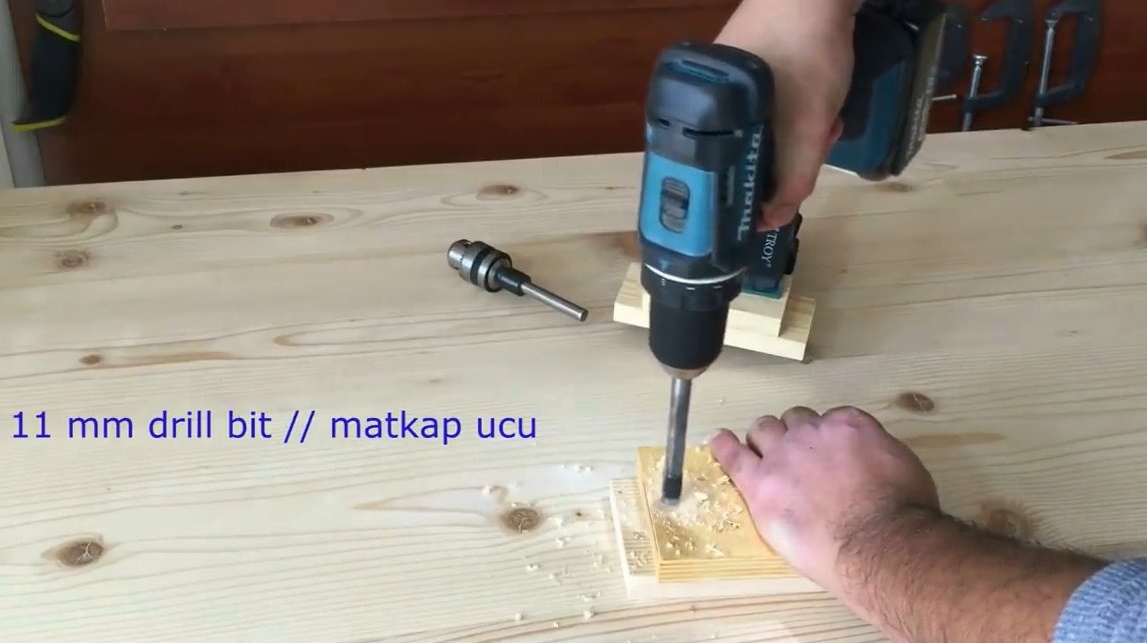
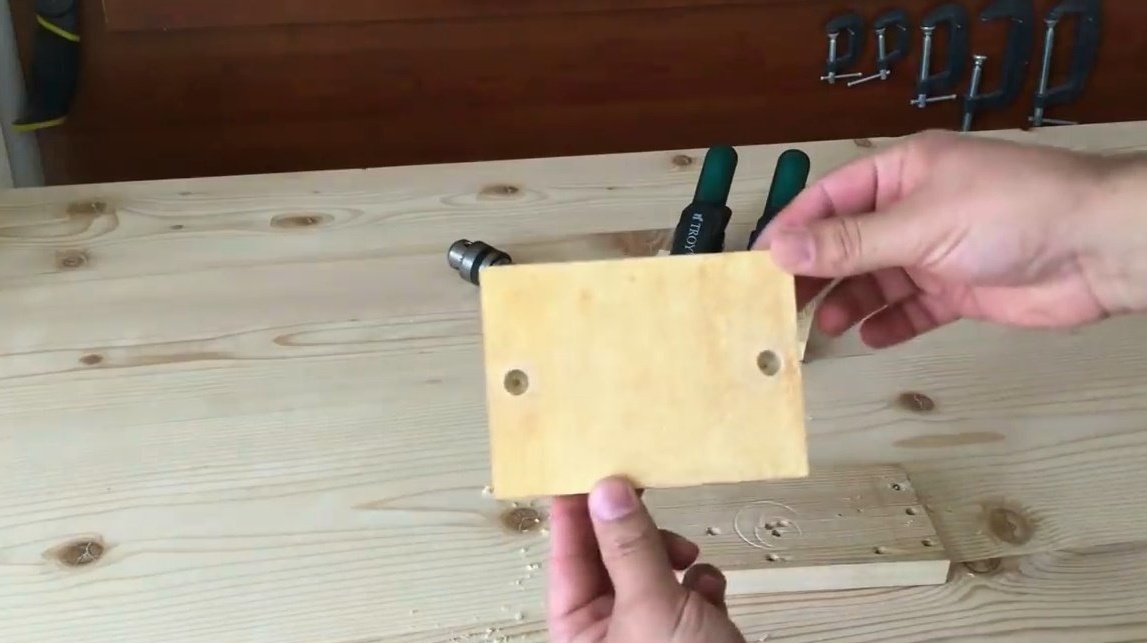
Here is the base, once again - the holes are not through.
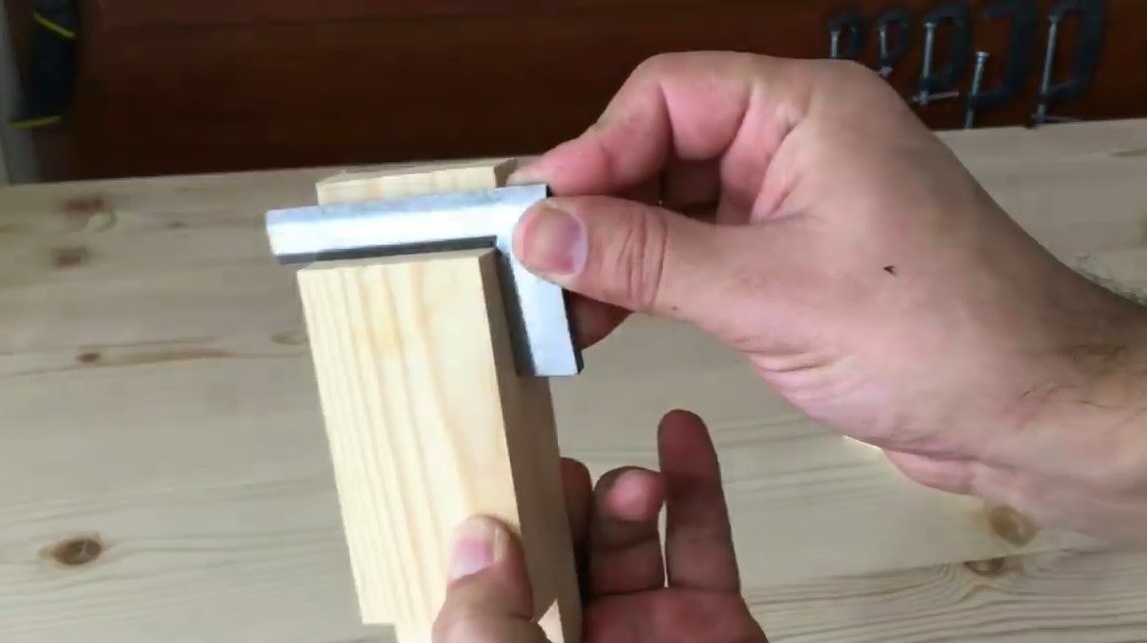
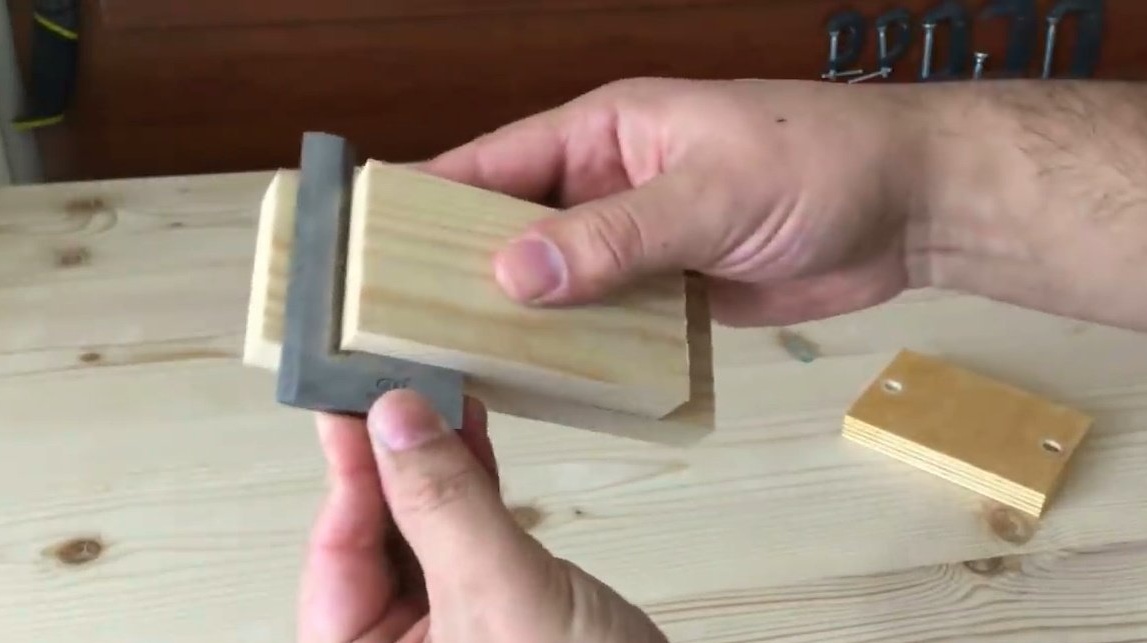
Now, using a miniature square, it checks the angles of the resulting fixtures.
Mixes components of epoxy resin, and fills it in openings.
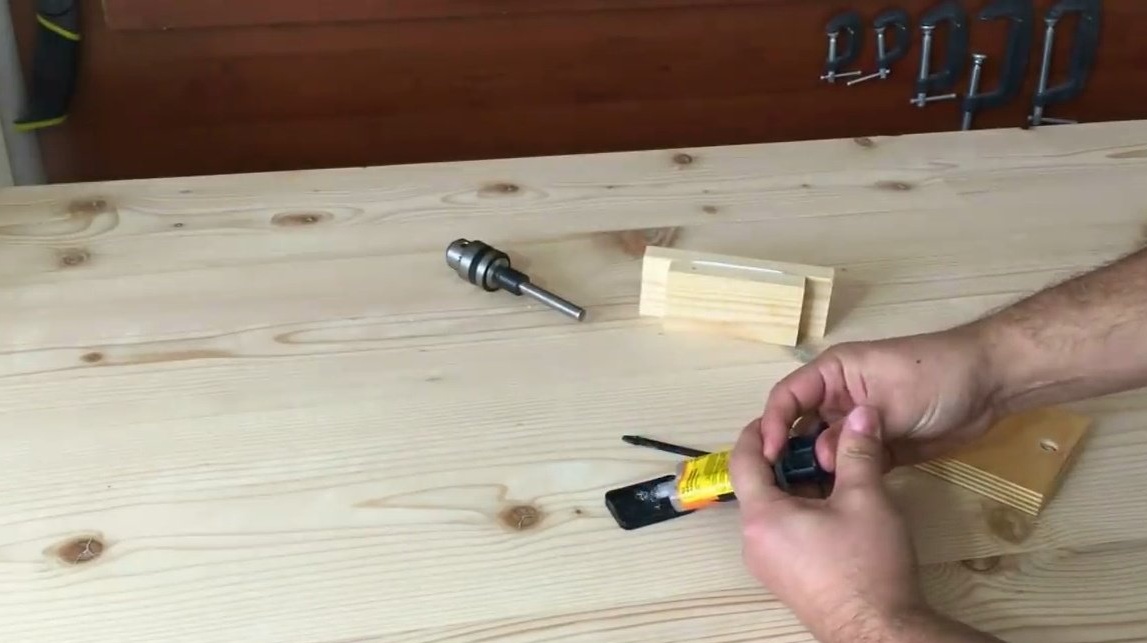
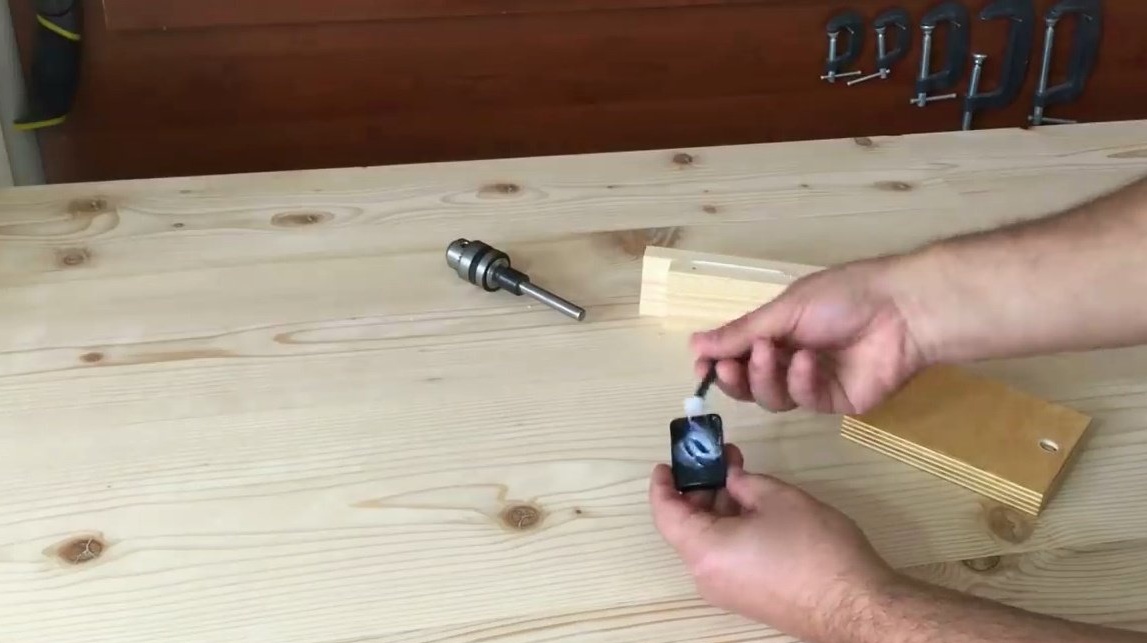


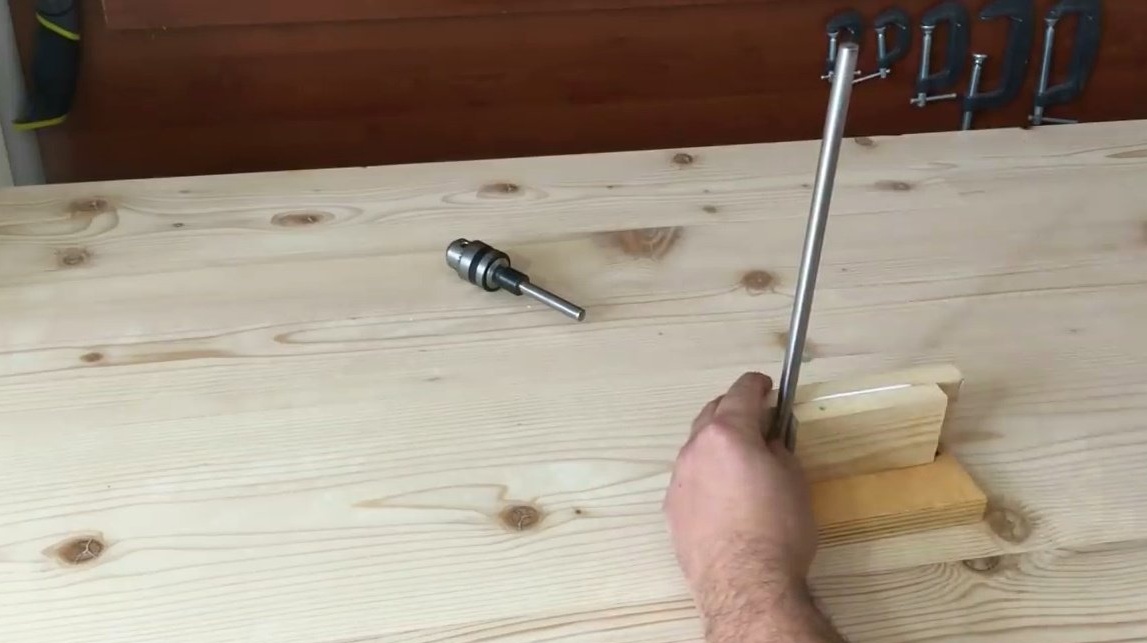
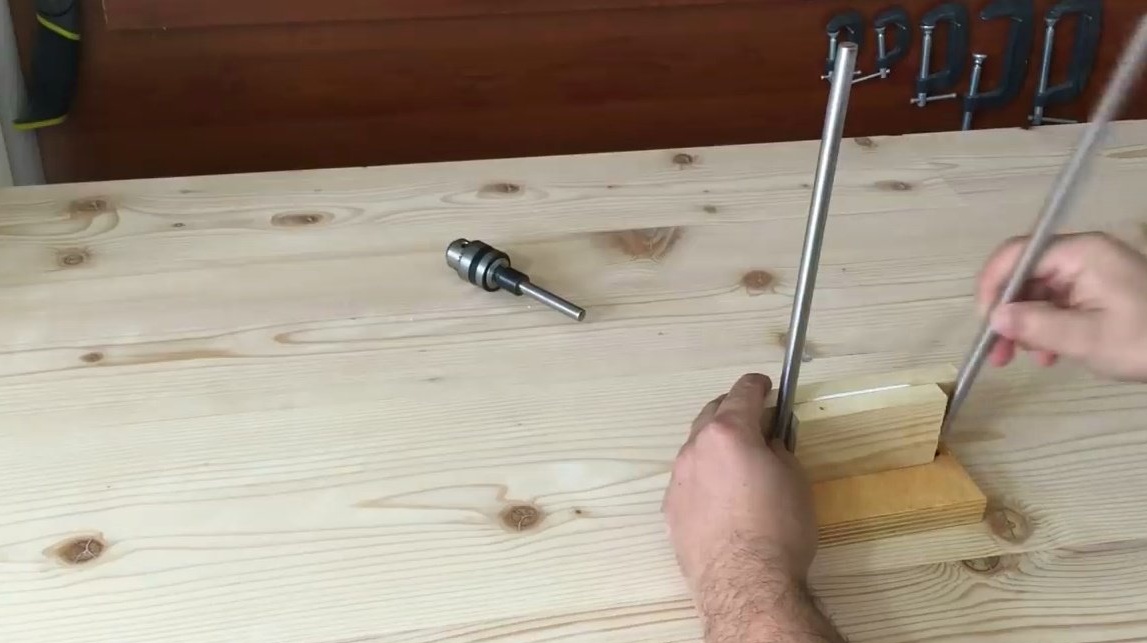
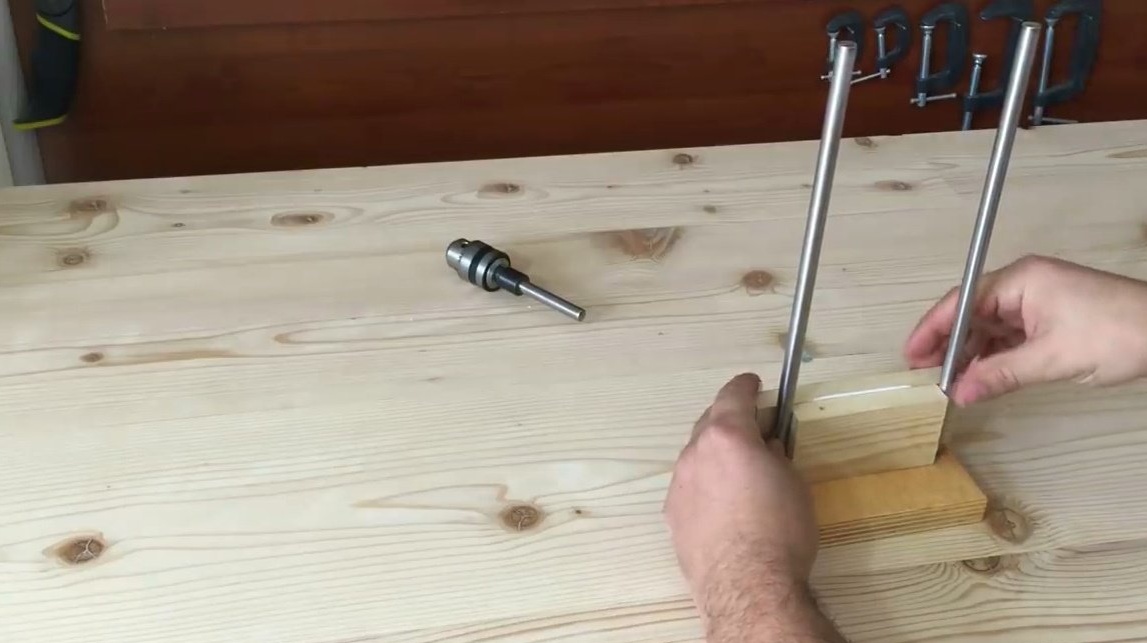
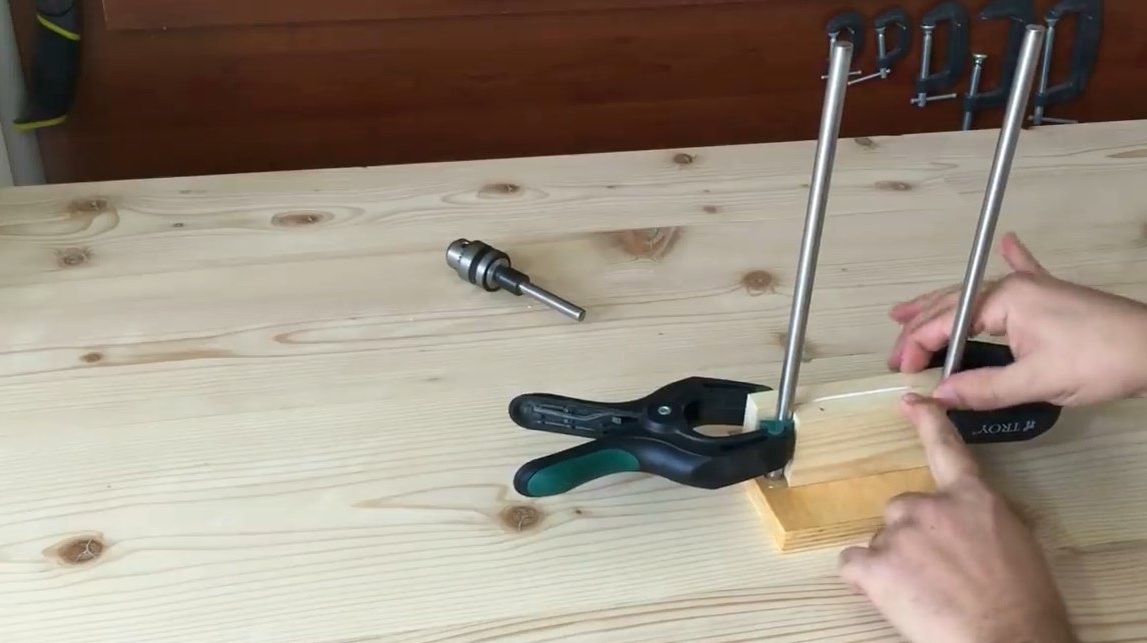
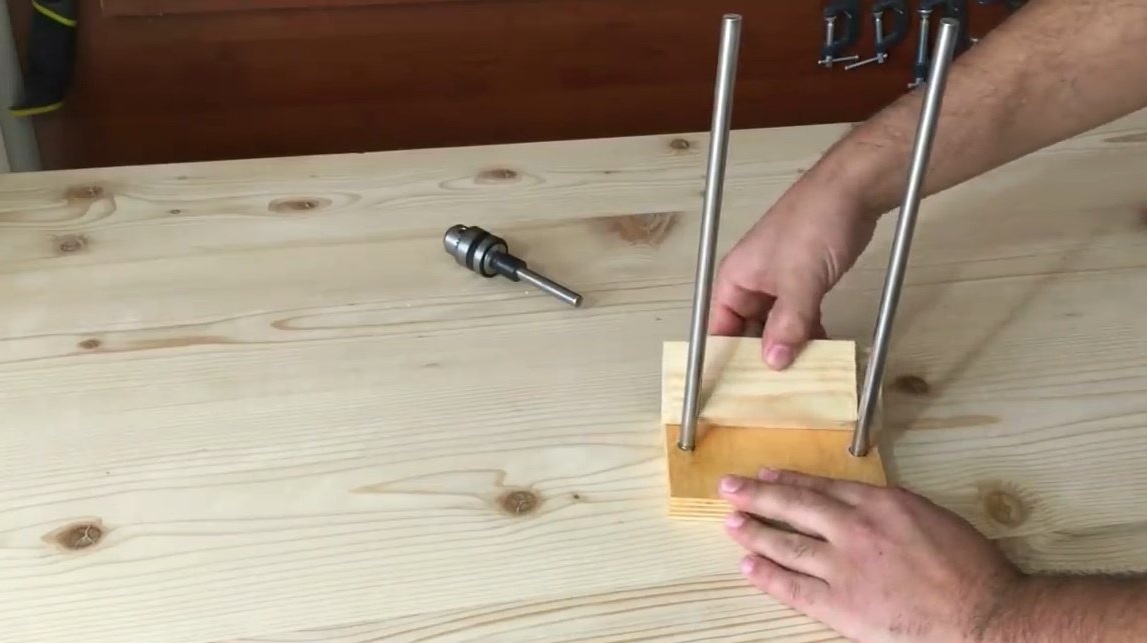
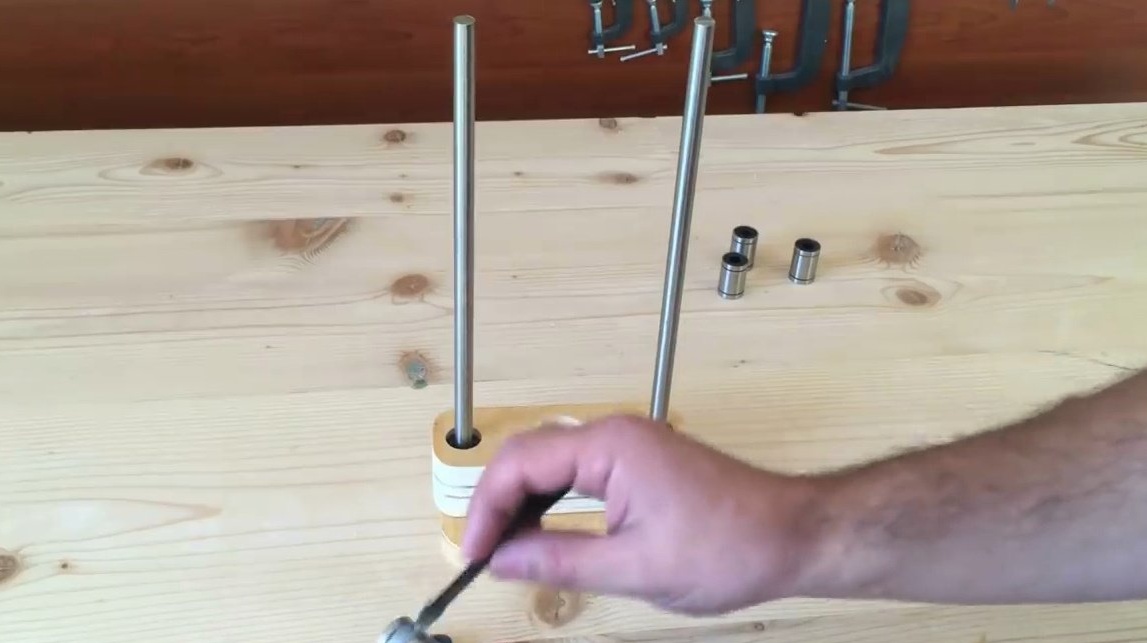
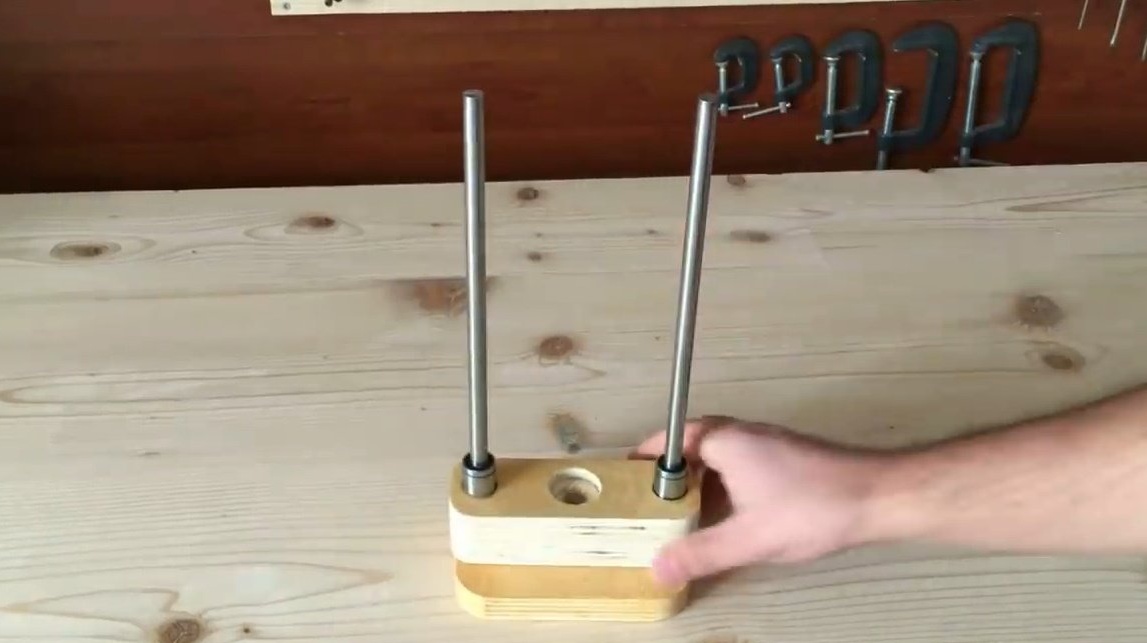
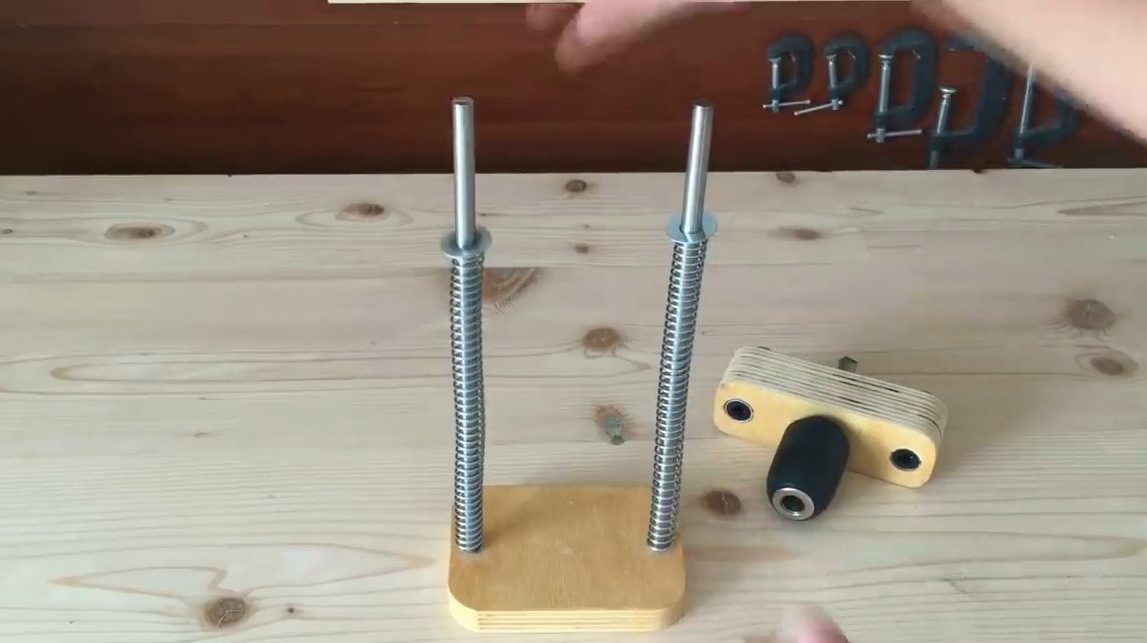
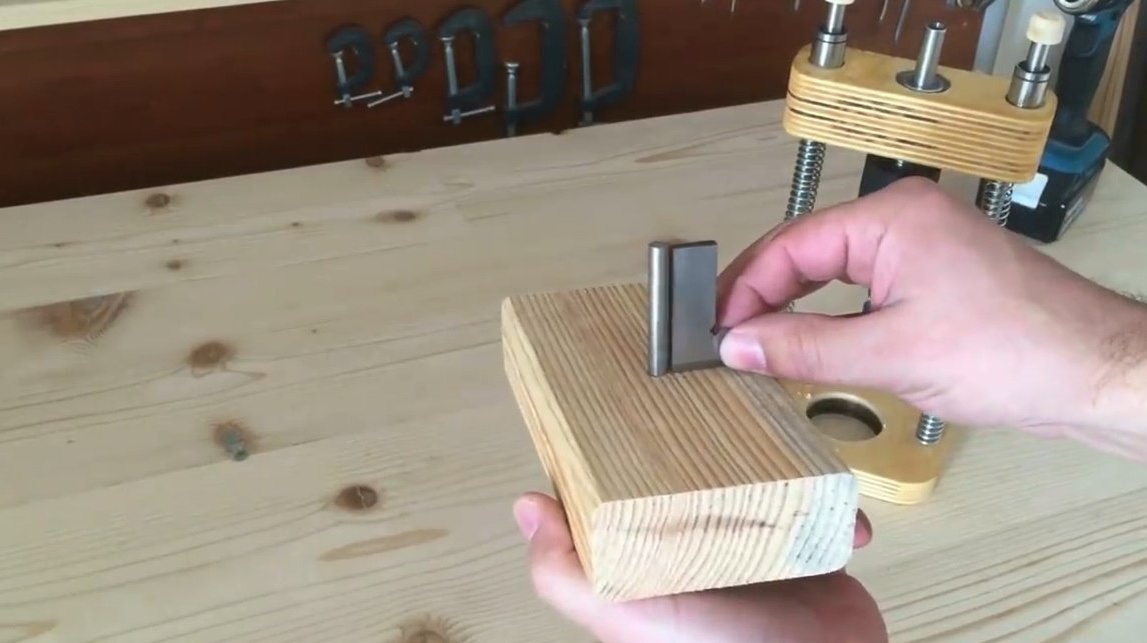
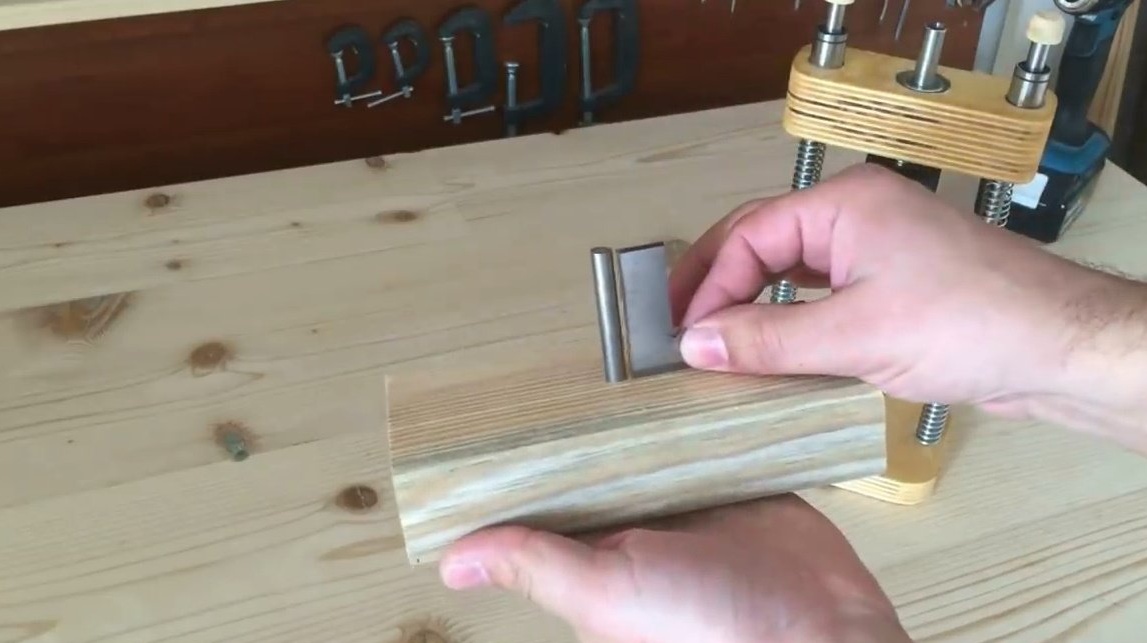
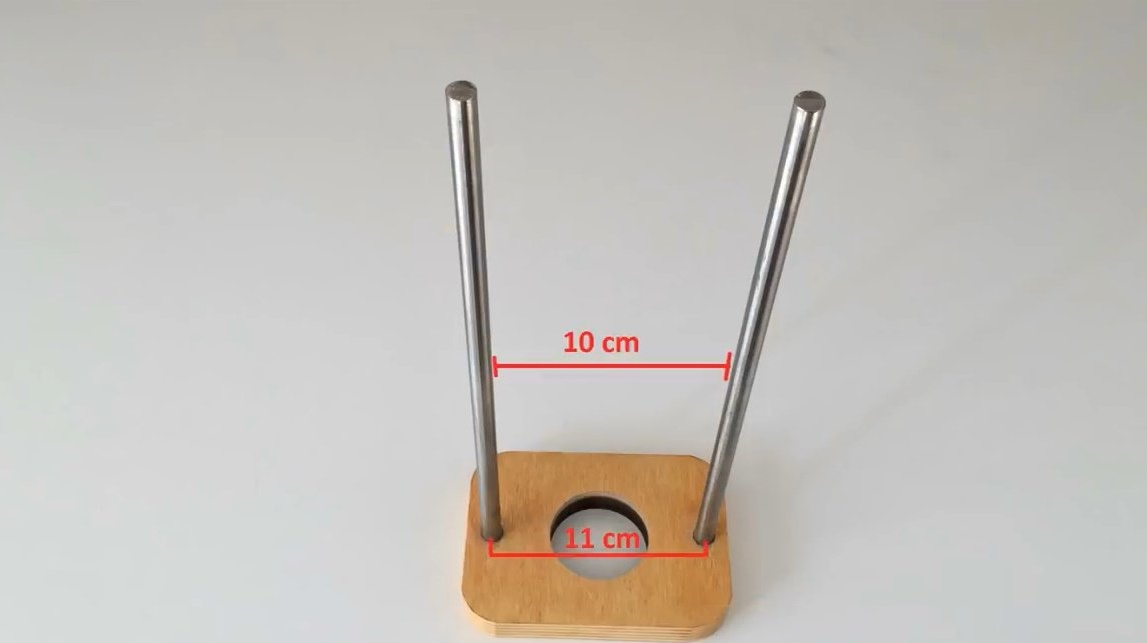
Now, using a newly manufactured fixture, inserts steel bars. It is very important to set them at right angles to the base. Fixes them with clamps.
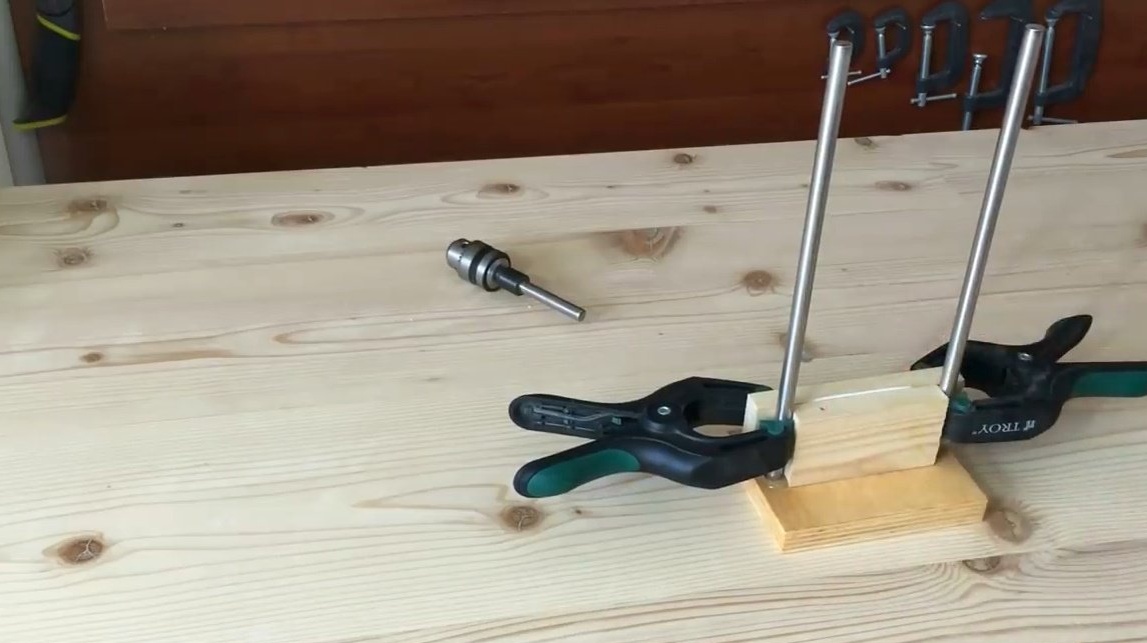
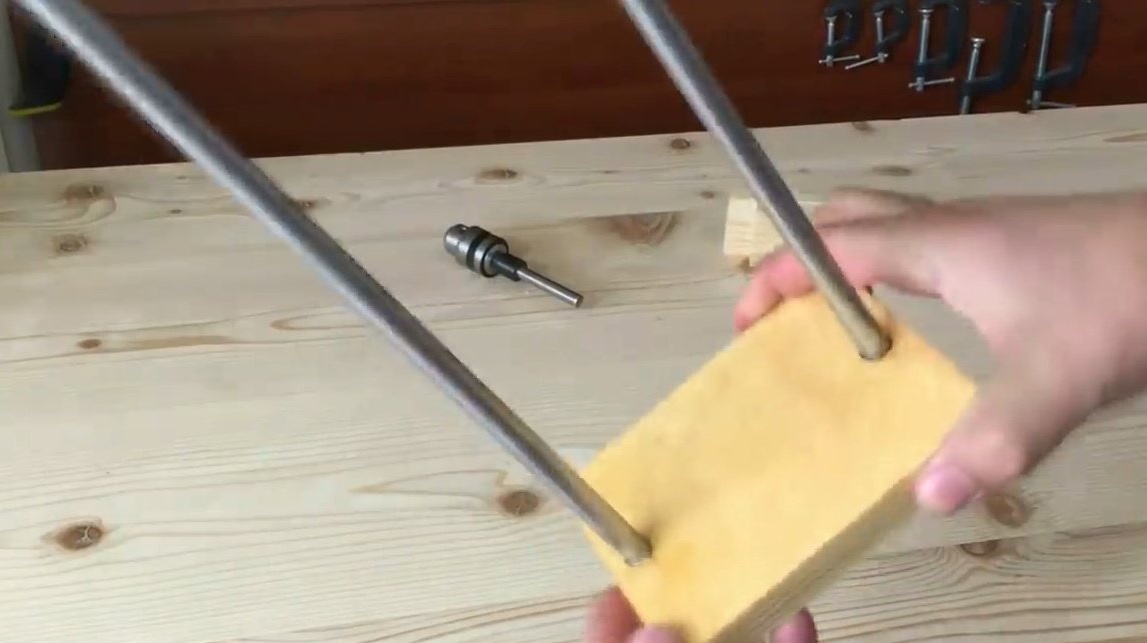
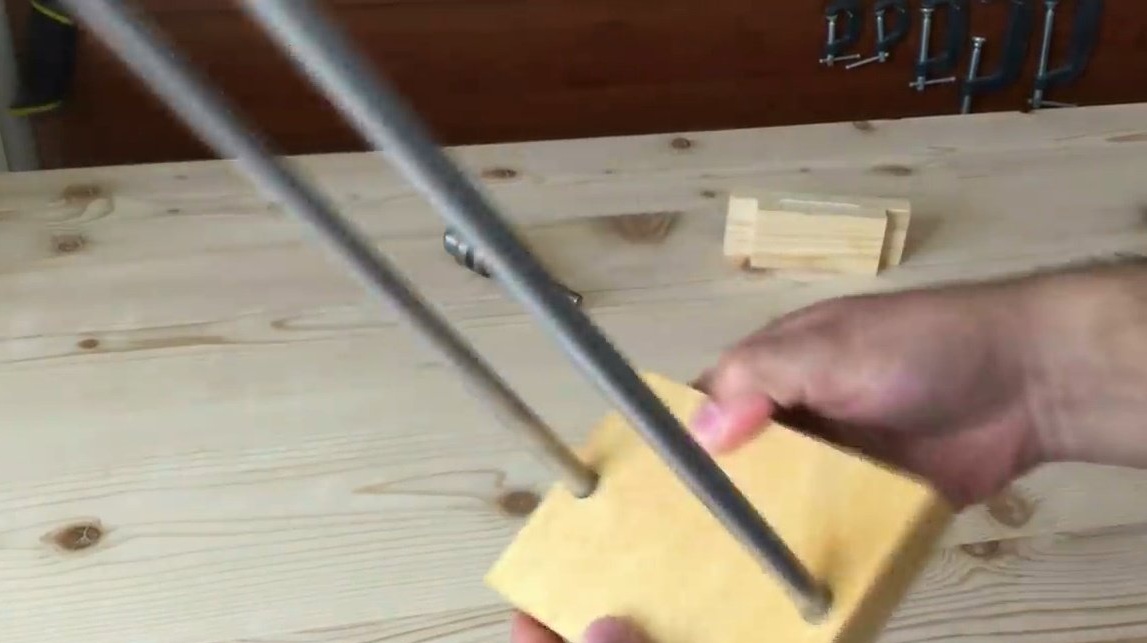
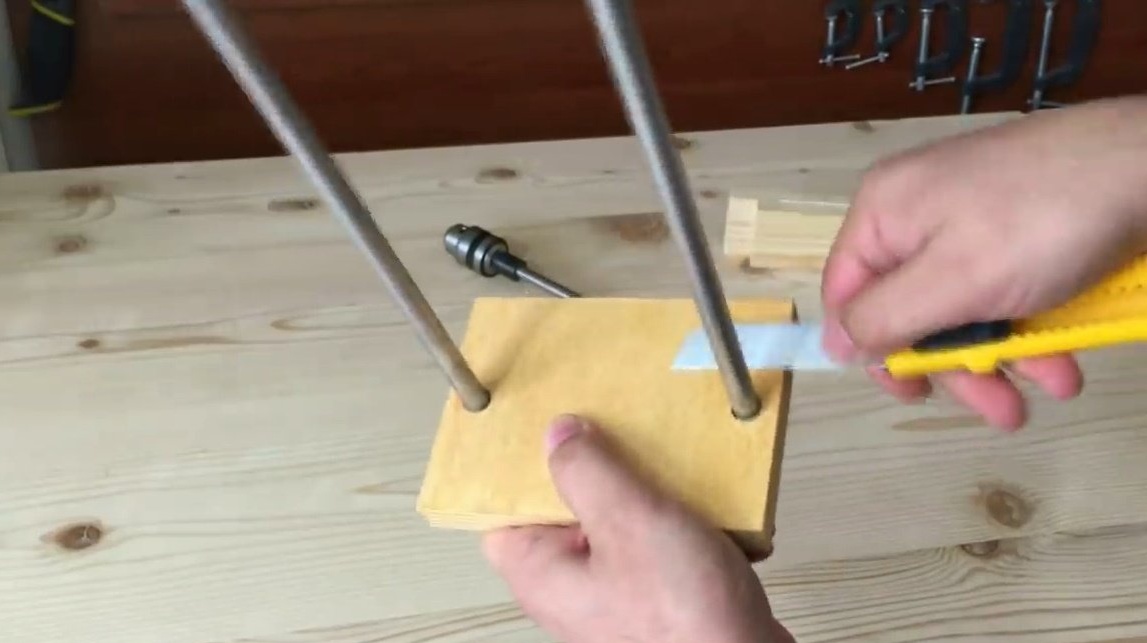
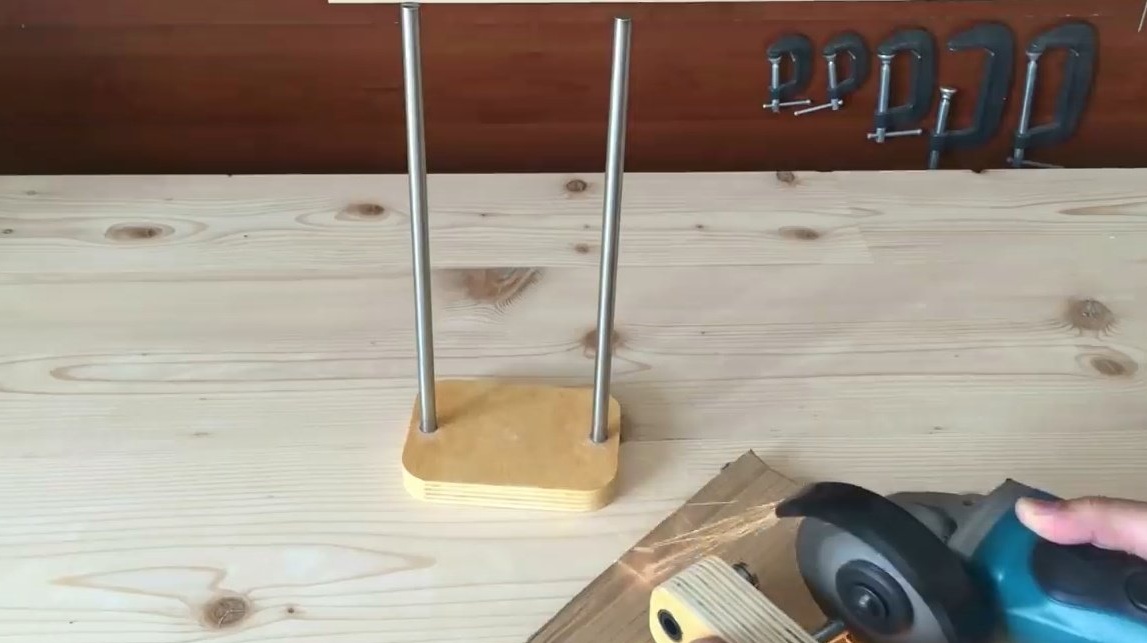
The epoxy resin polymerized, now you can remove the device, and remove excess glue with a conventional stationery knife.
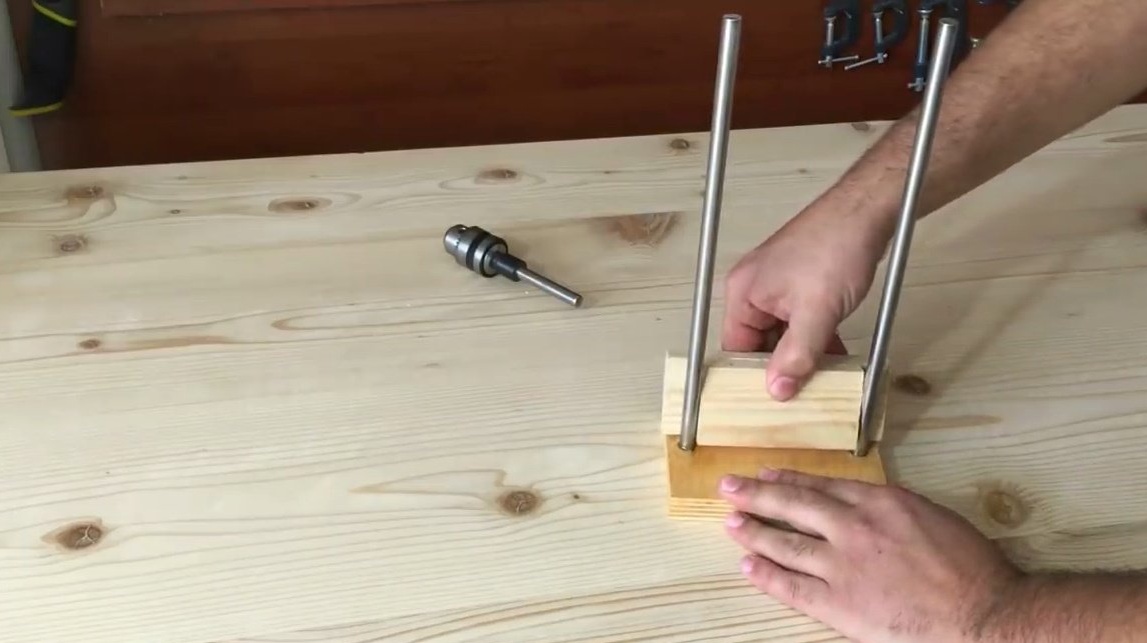
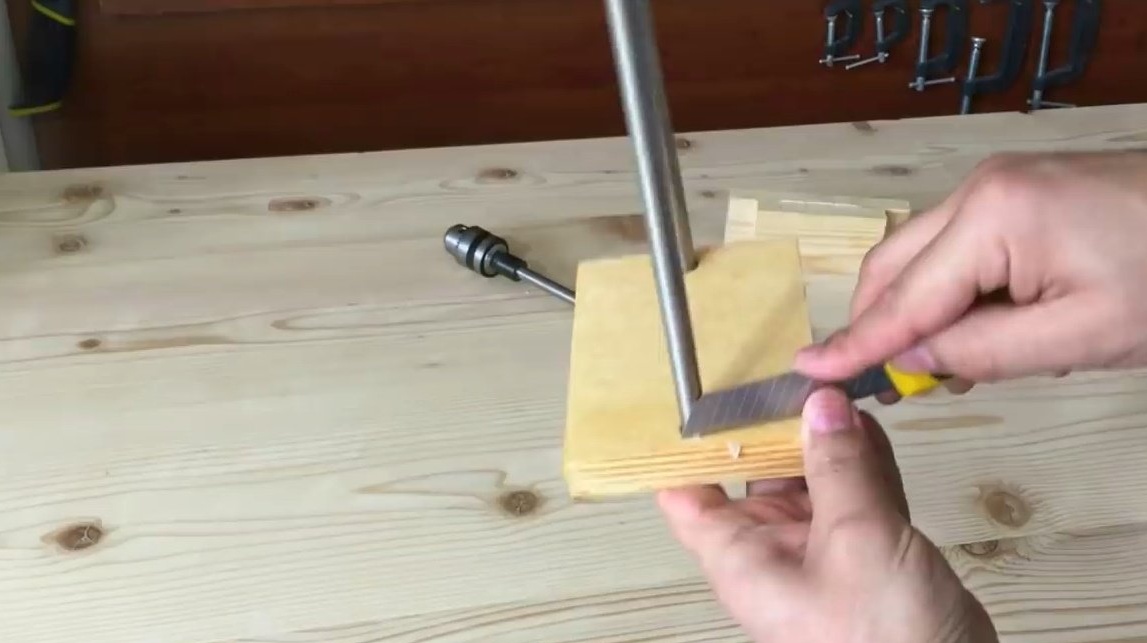
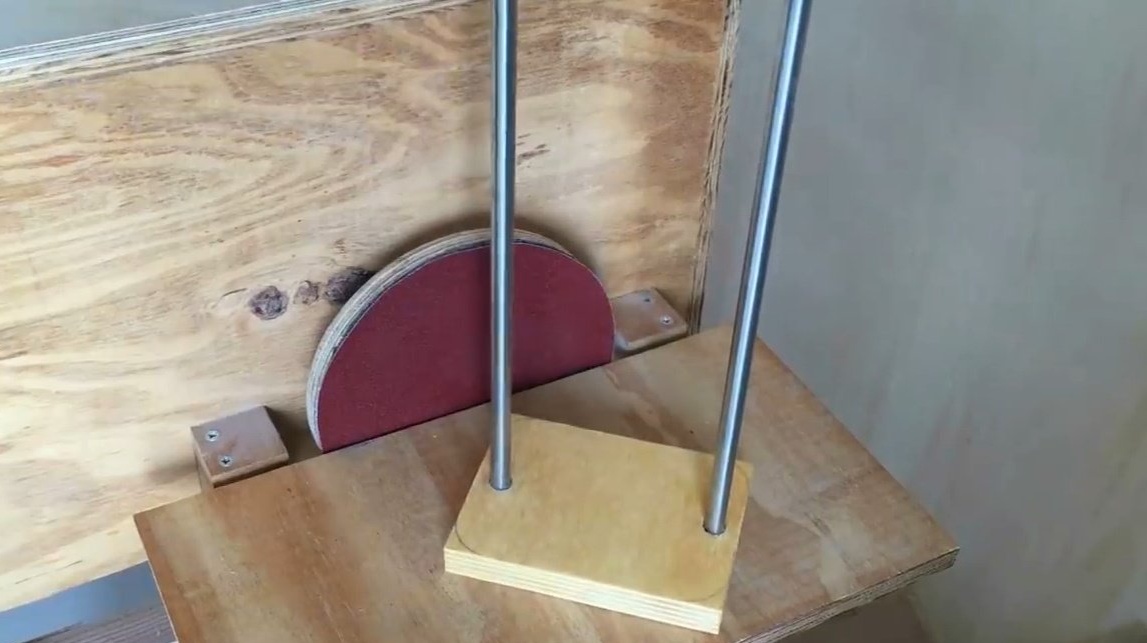
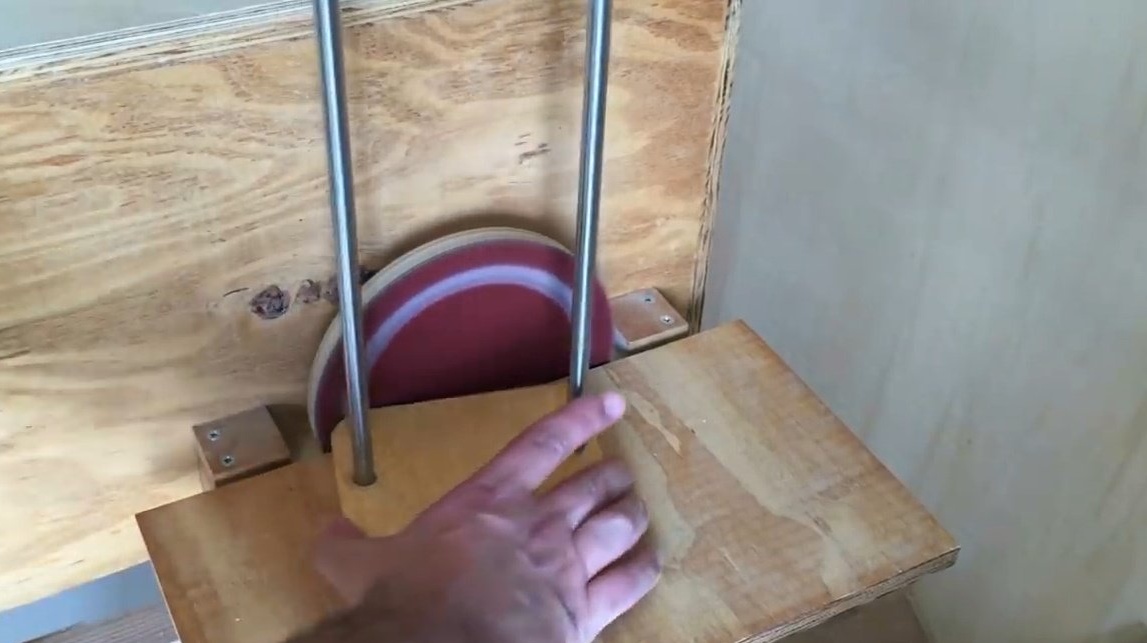
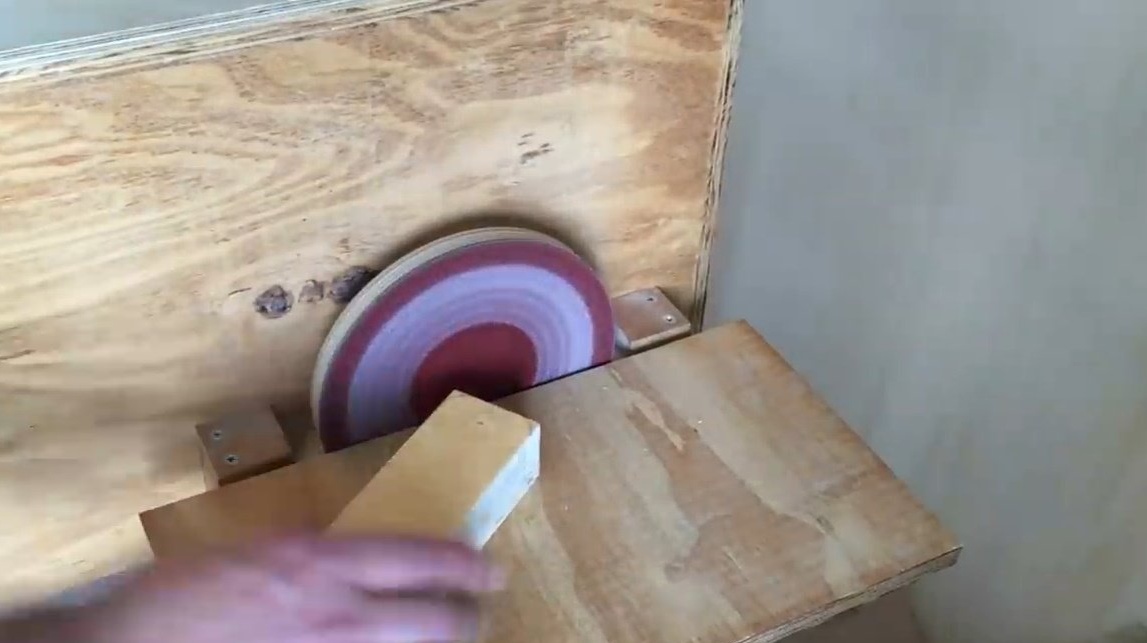
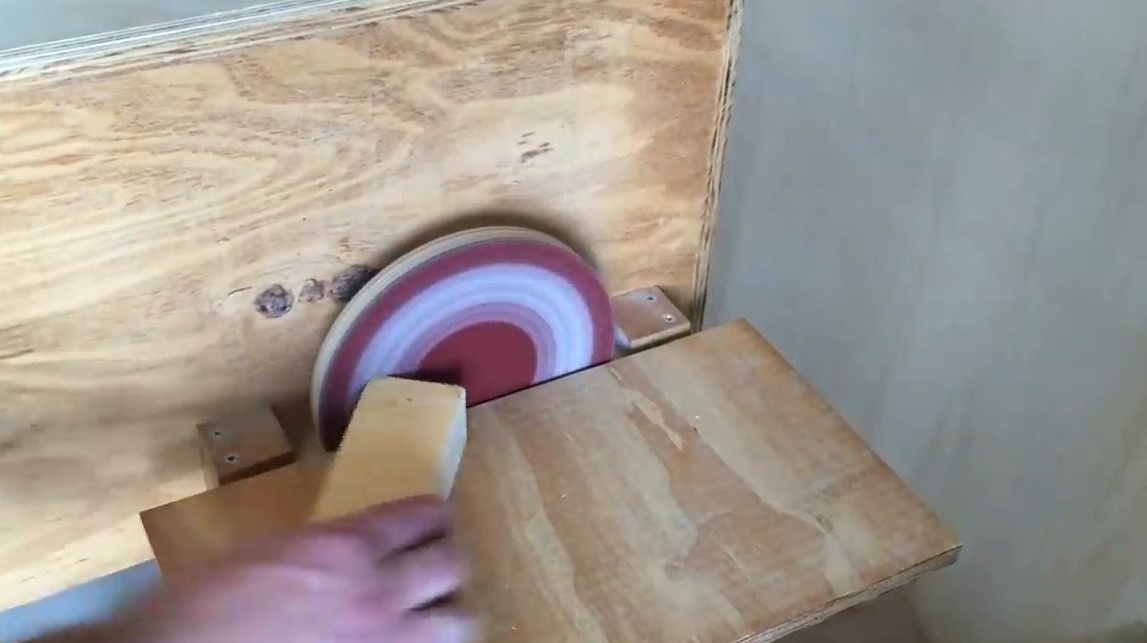
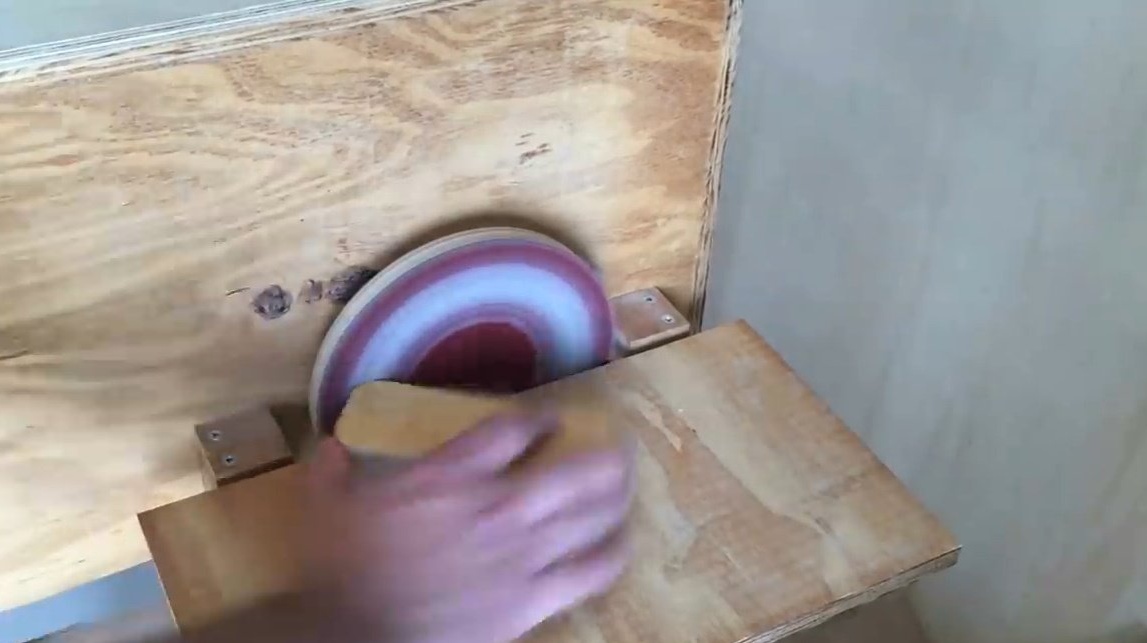
The master rounds off the base corners using an orbital sander.
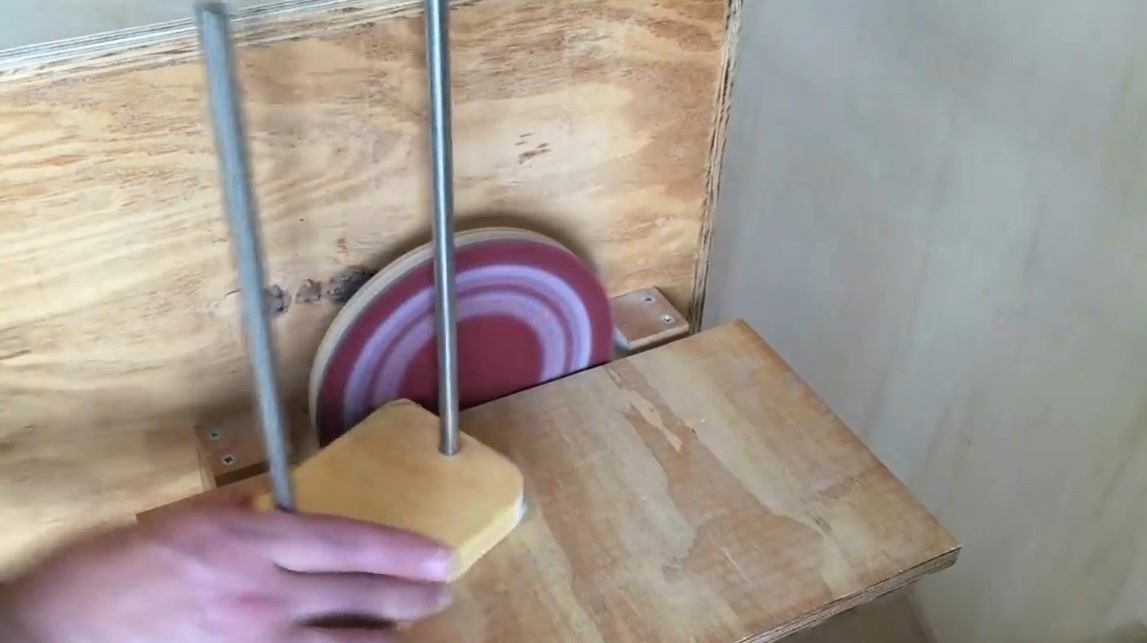
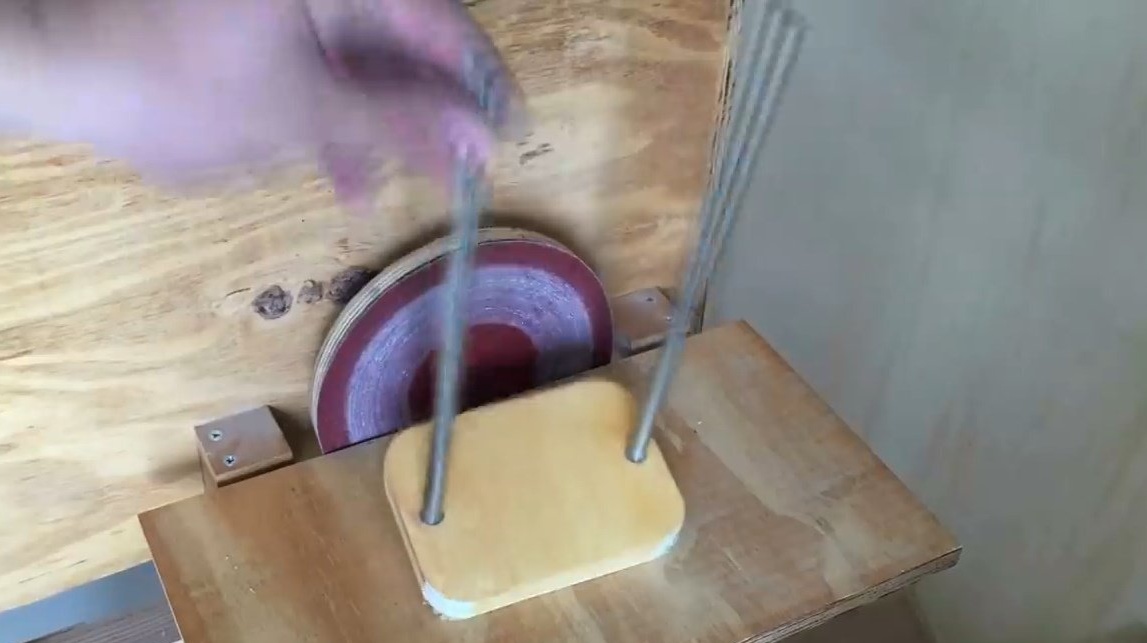
The gluing of the moving part is not shown, it consists of two layers of plywood with a total thickness of 36 mm. It also processes its corners.
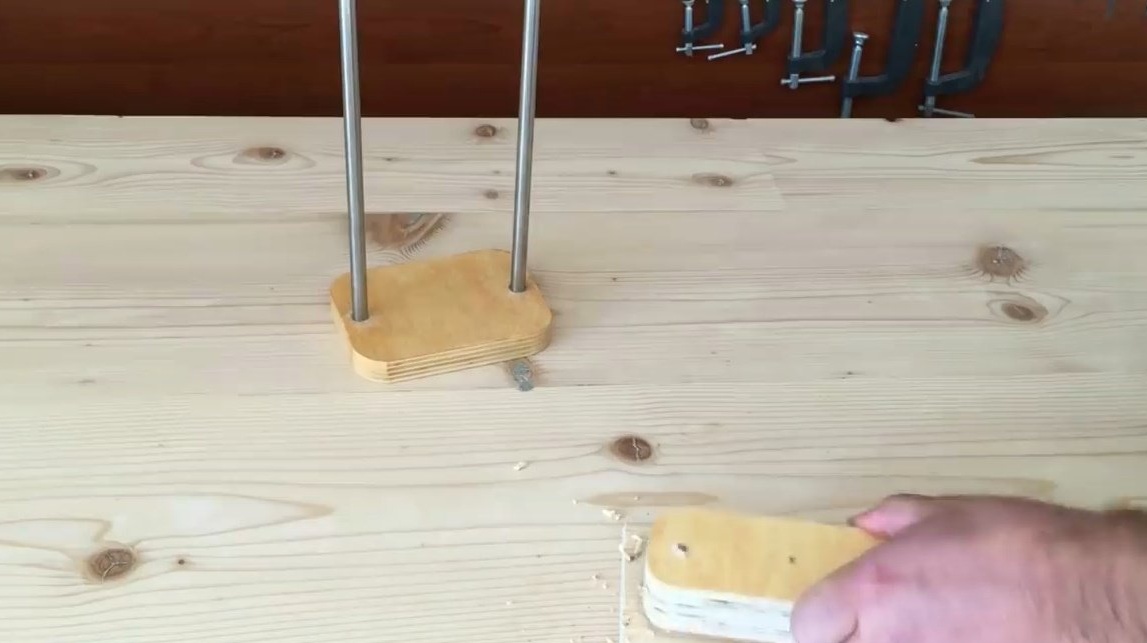
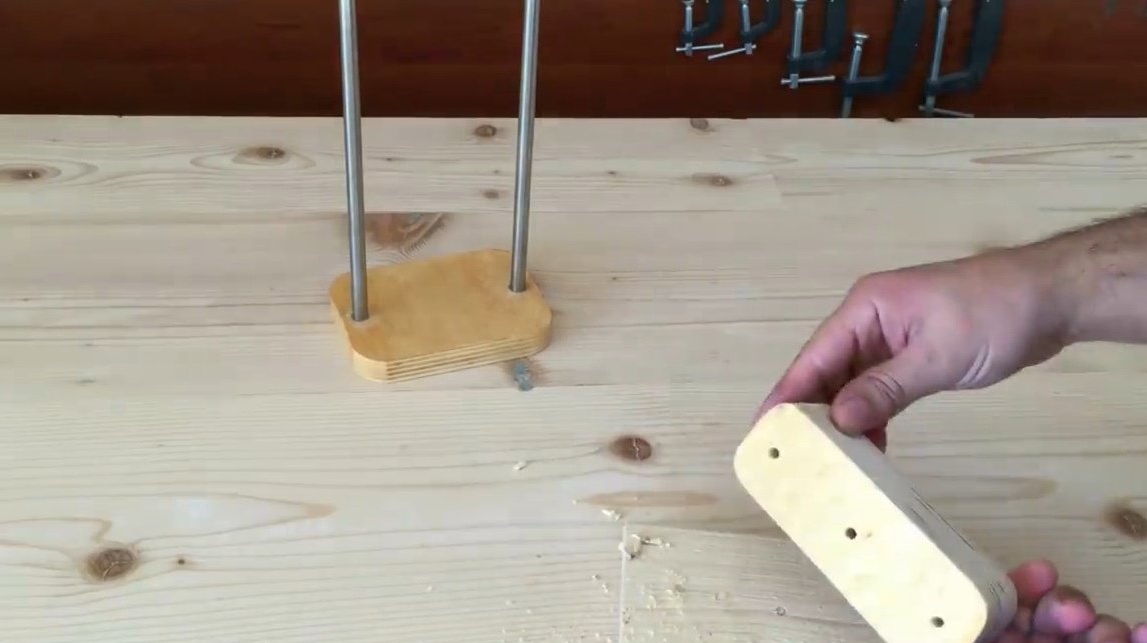
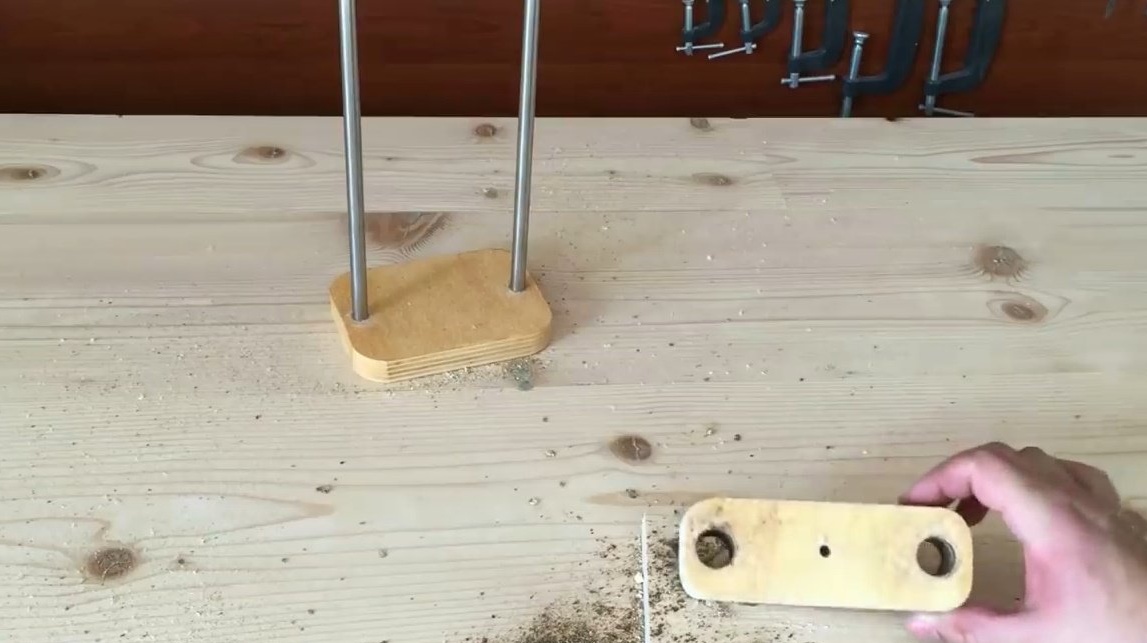
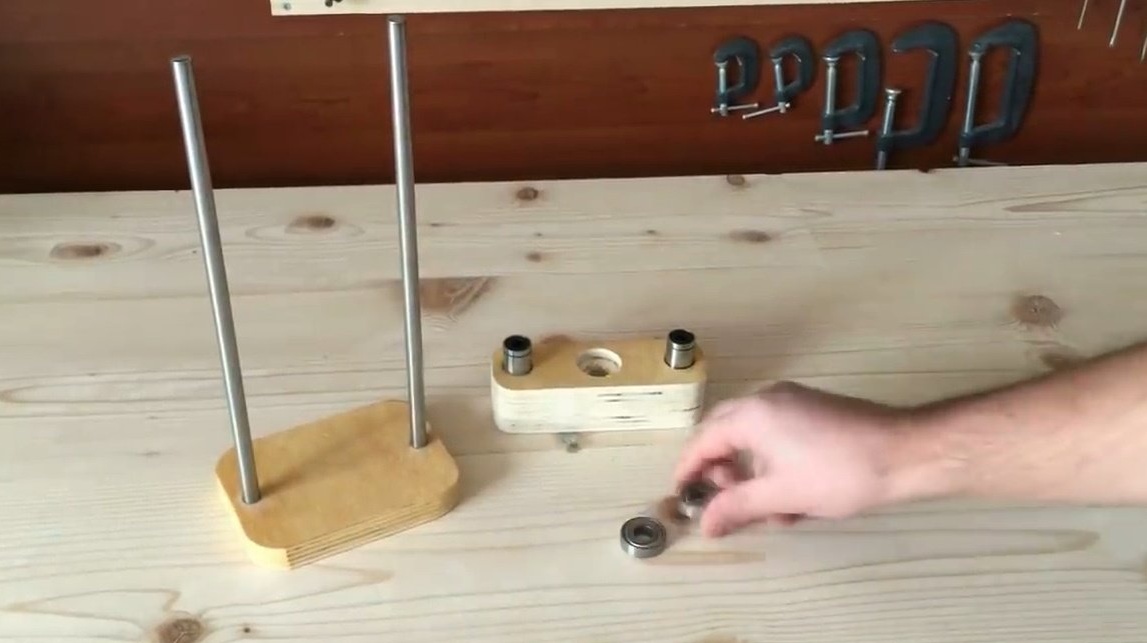
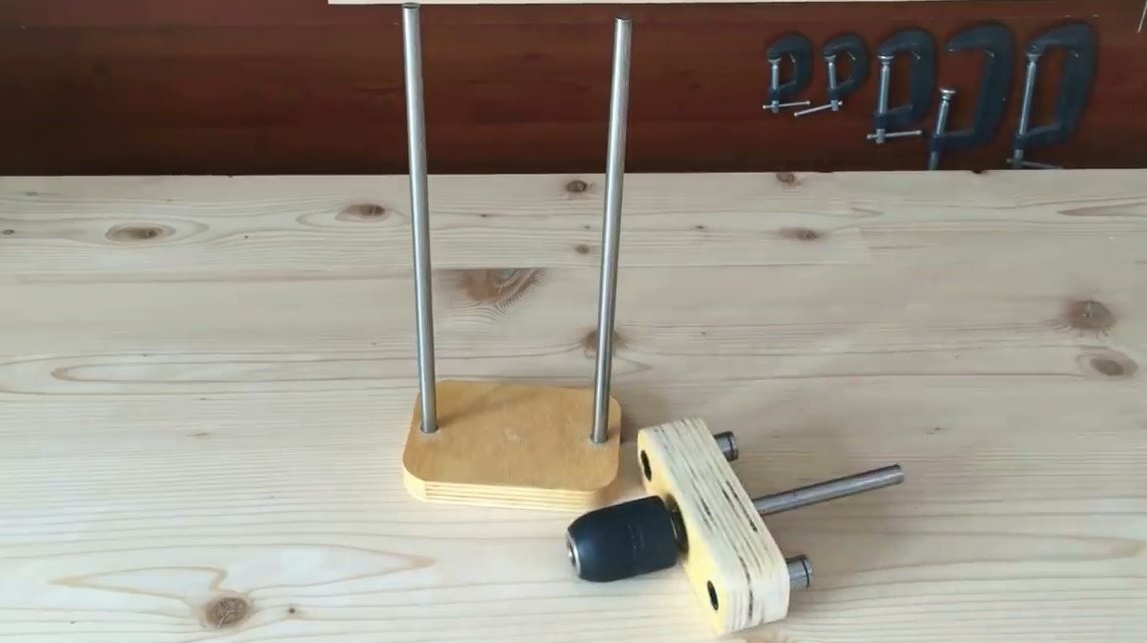
These are two important details obtained.
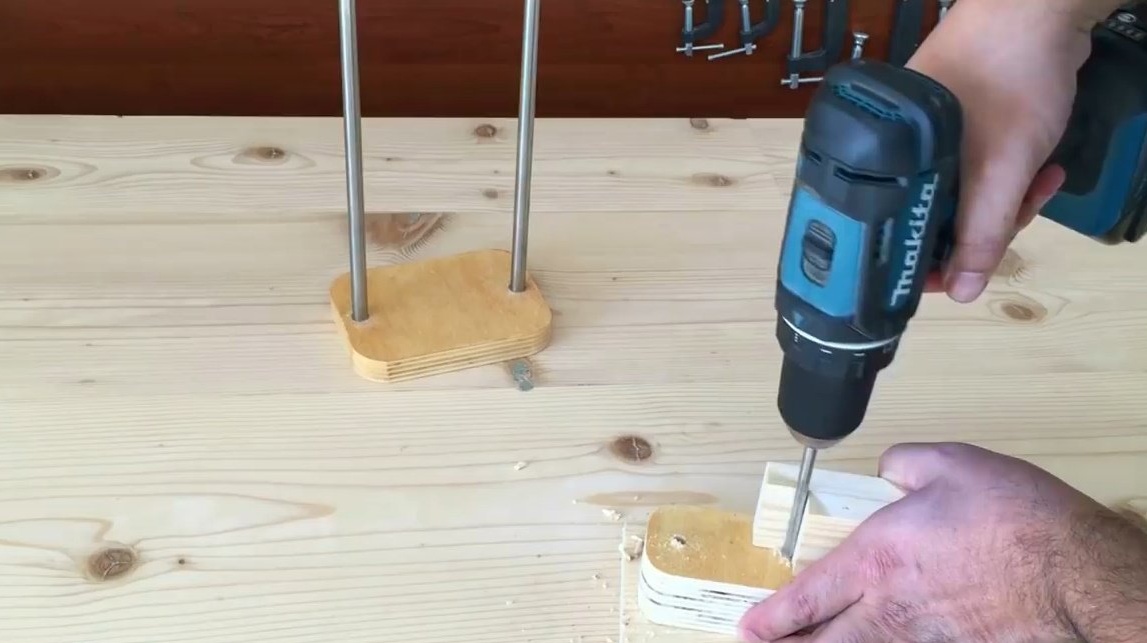
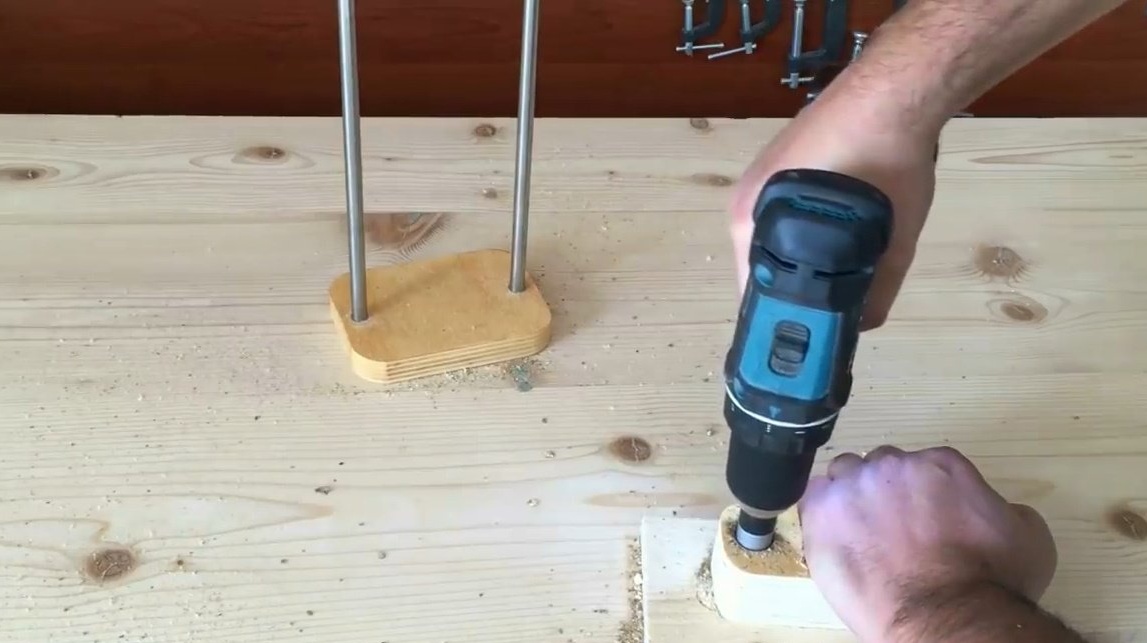
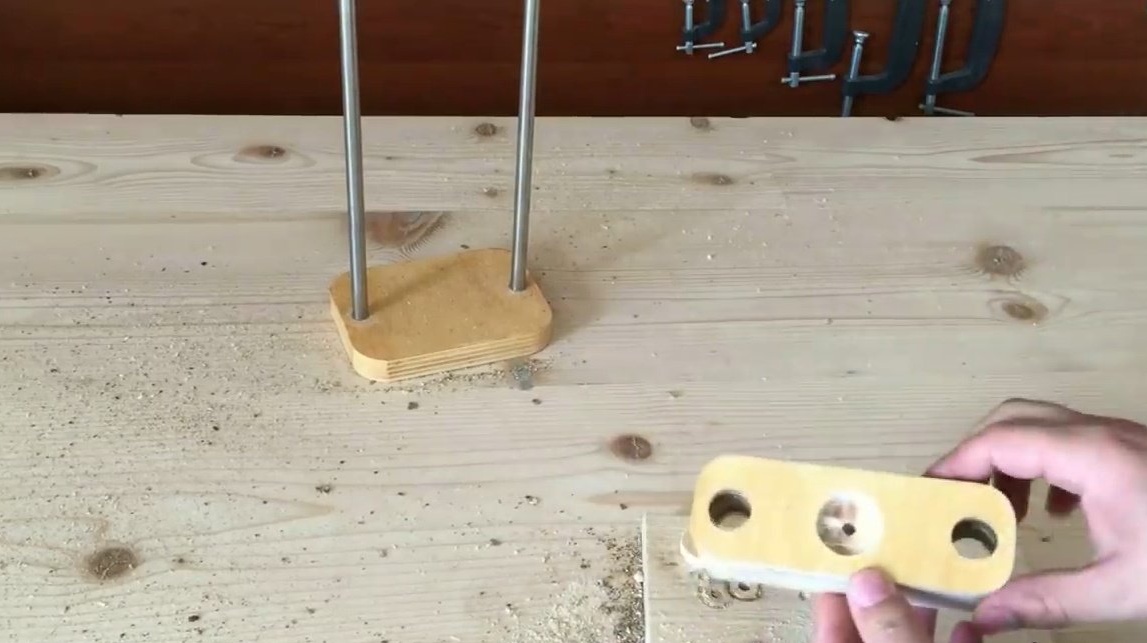
Using the same device, drills the guide holes in the moving part at right angles.
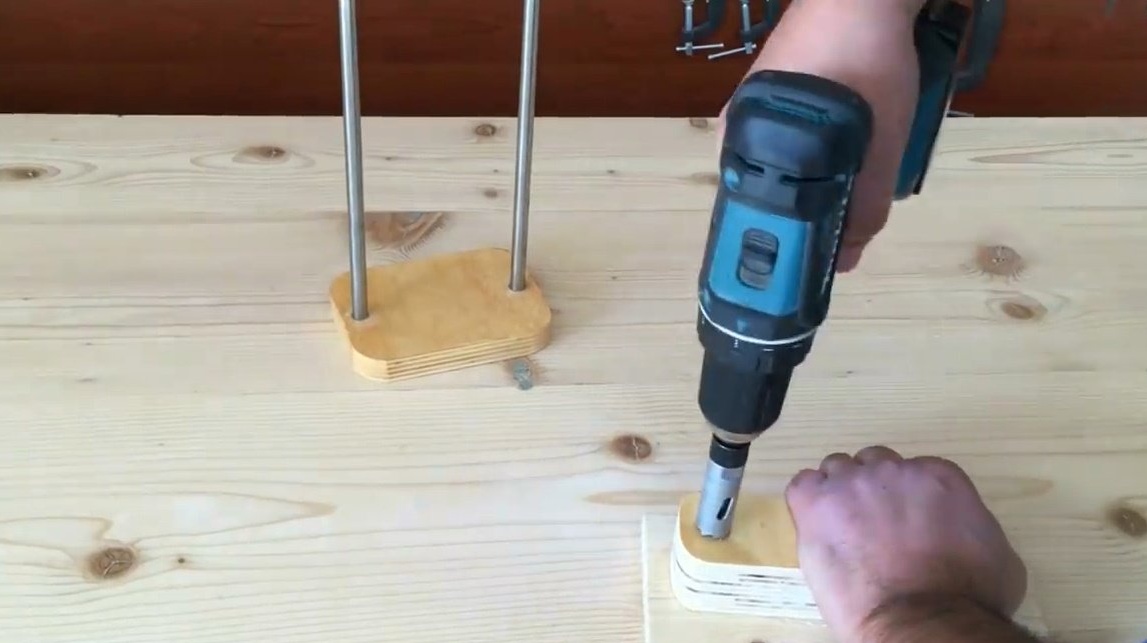
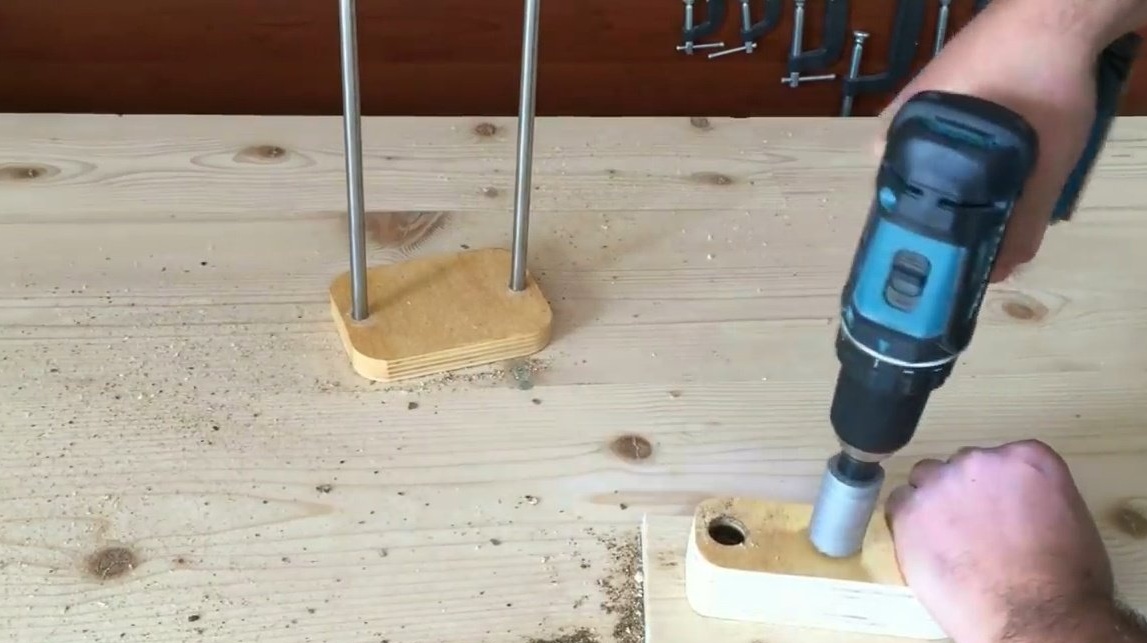
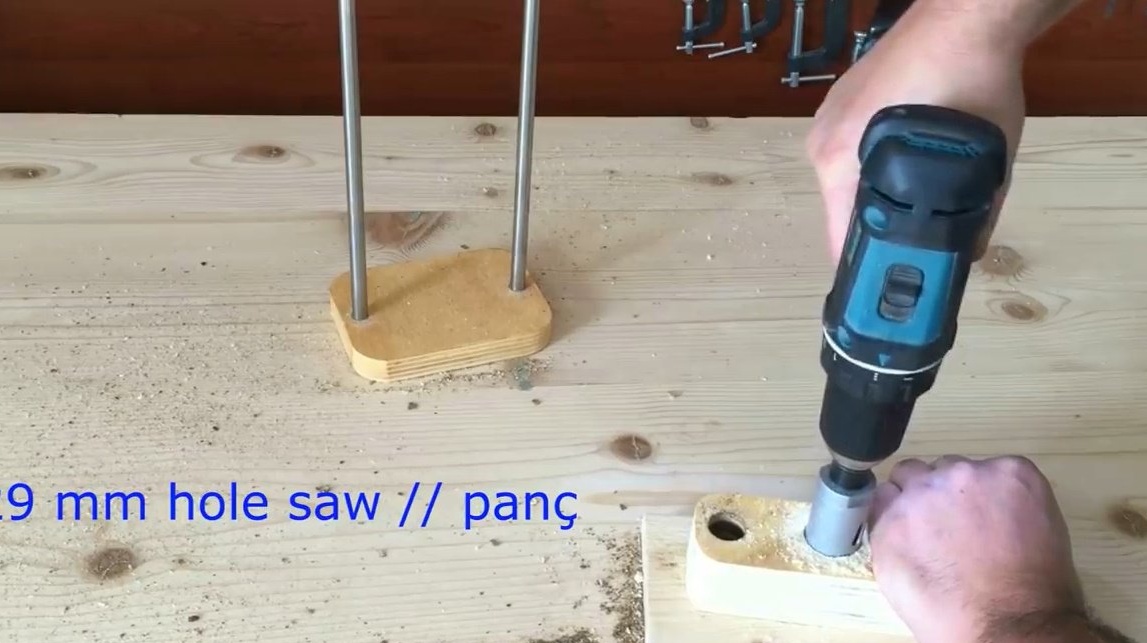
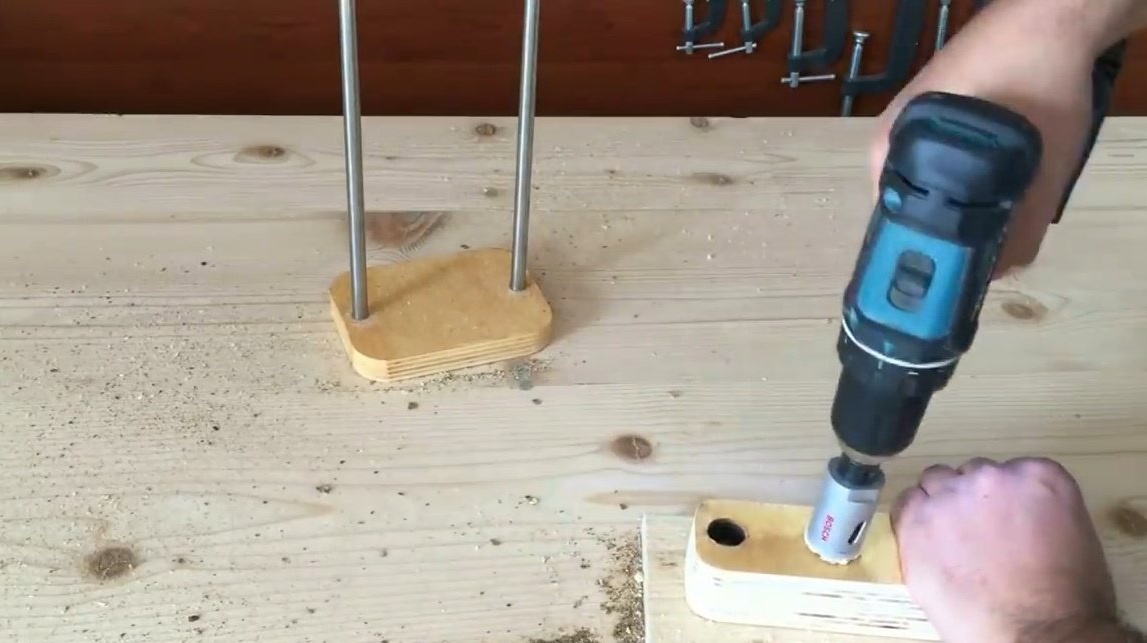
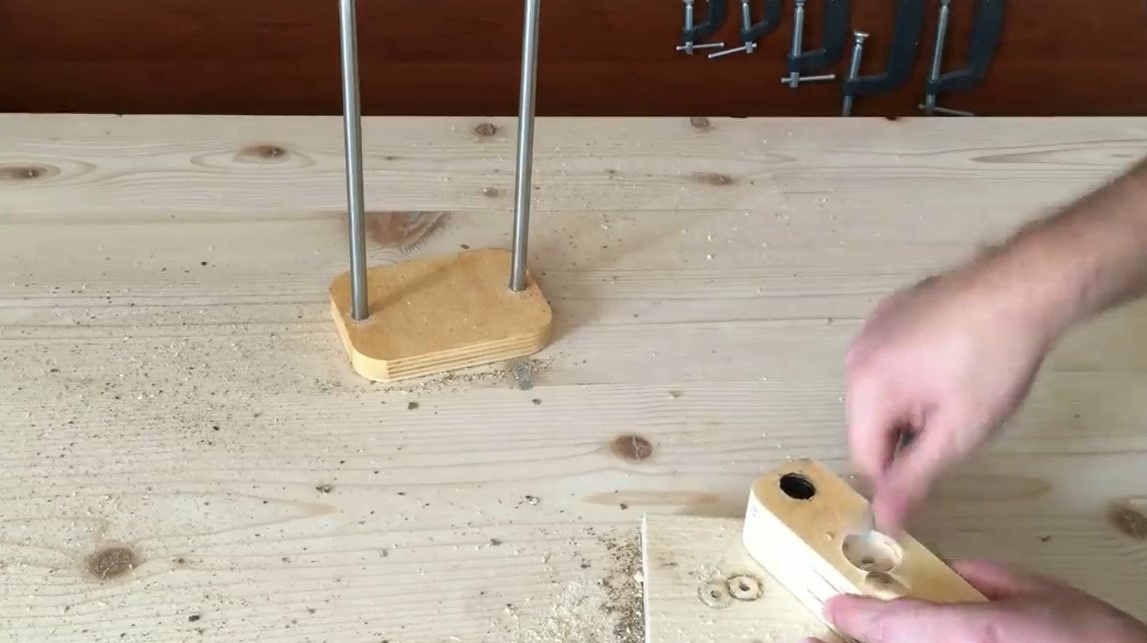
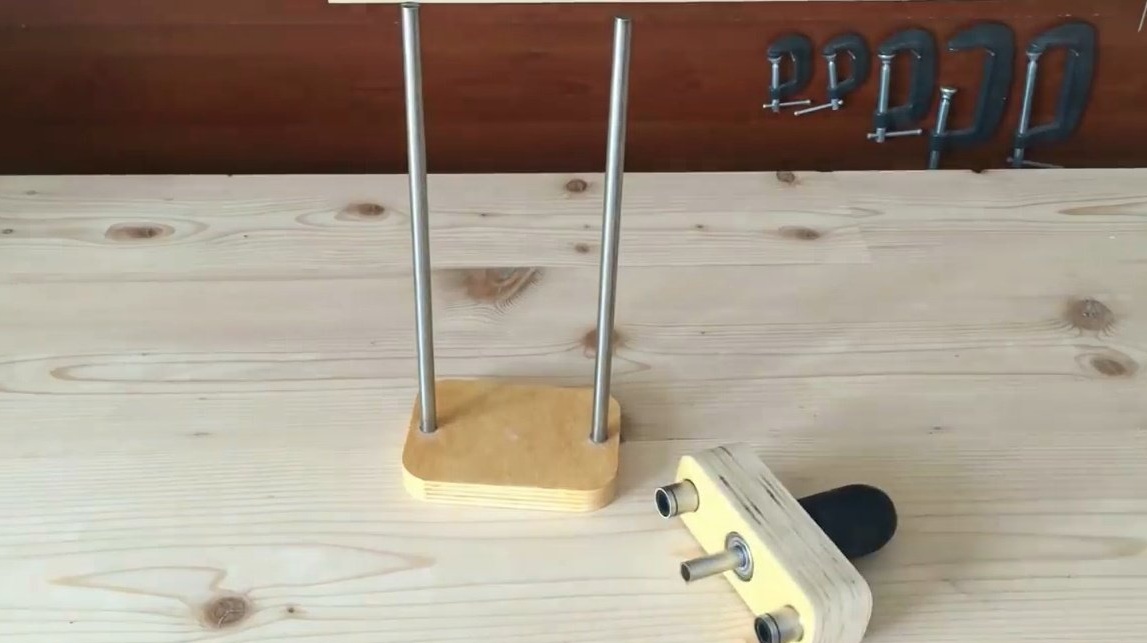
Now, using a 19-mm crown on wood, he drills two side holes for sliding bushings.
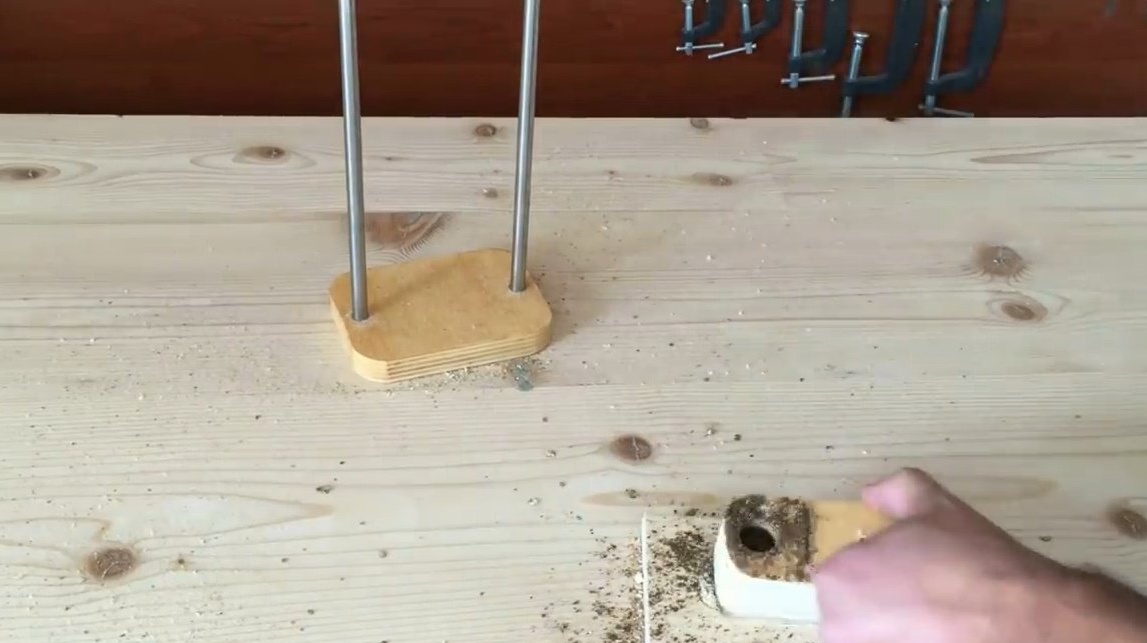
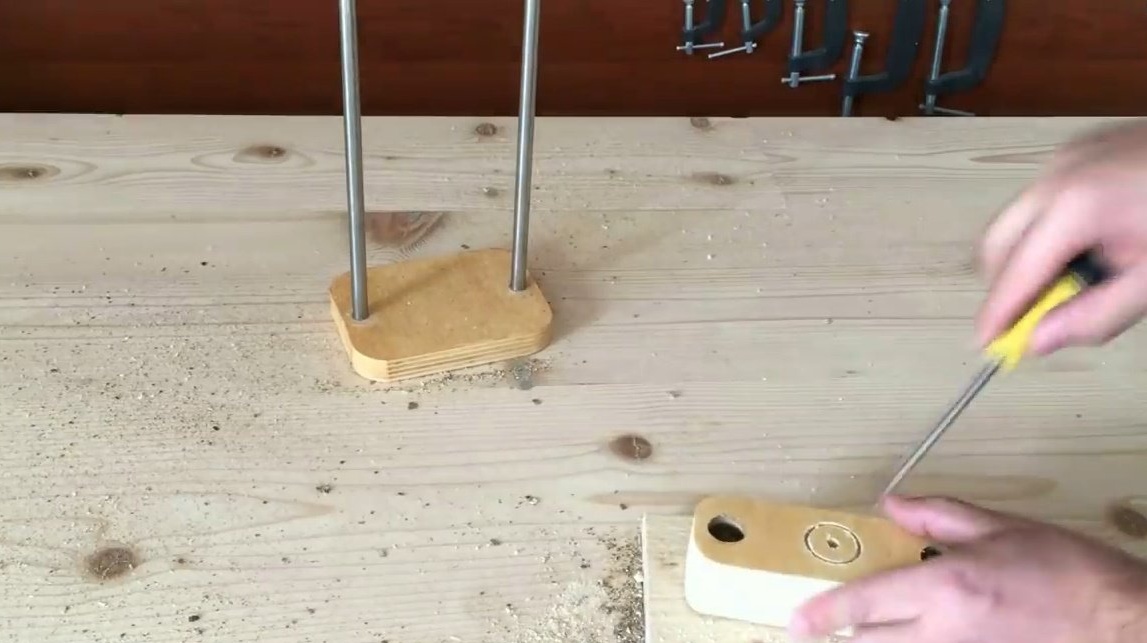
Blind holes in the center are drilled on both sides by a 29 mm crown, they are designed for bearings.
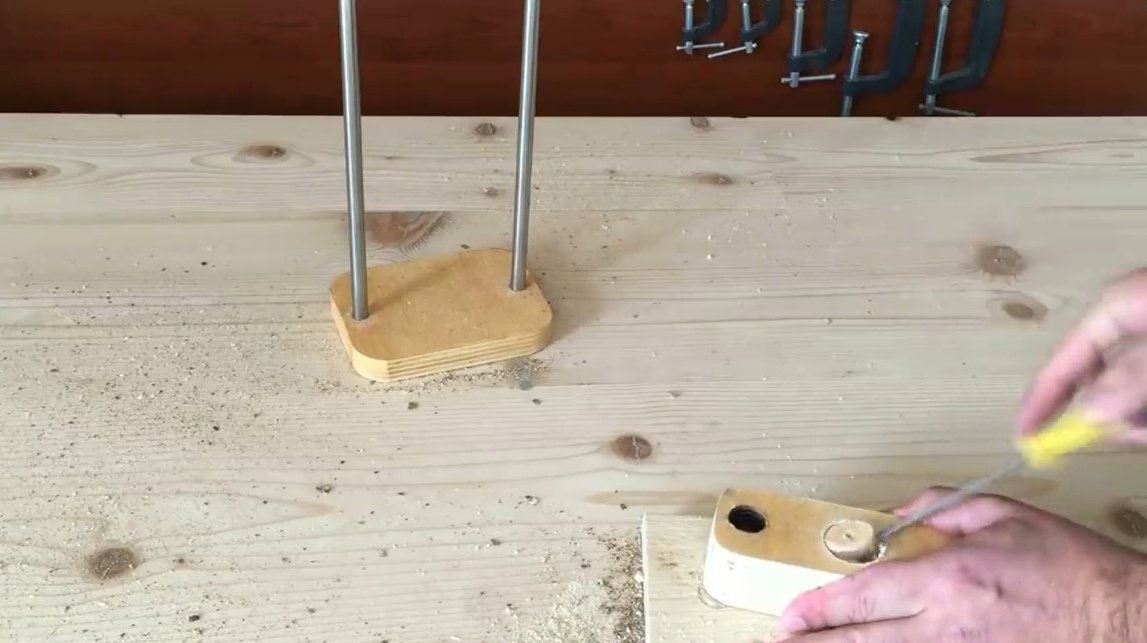
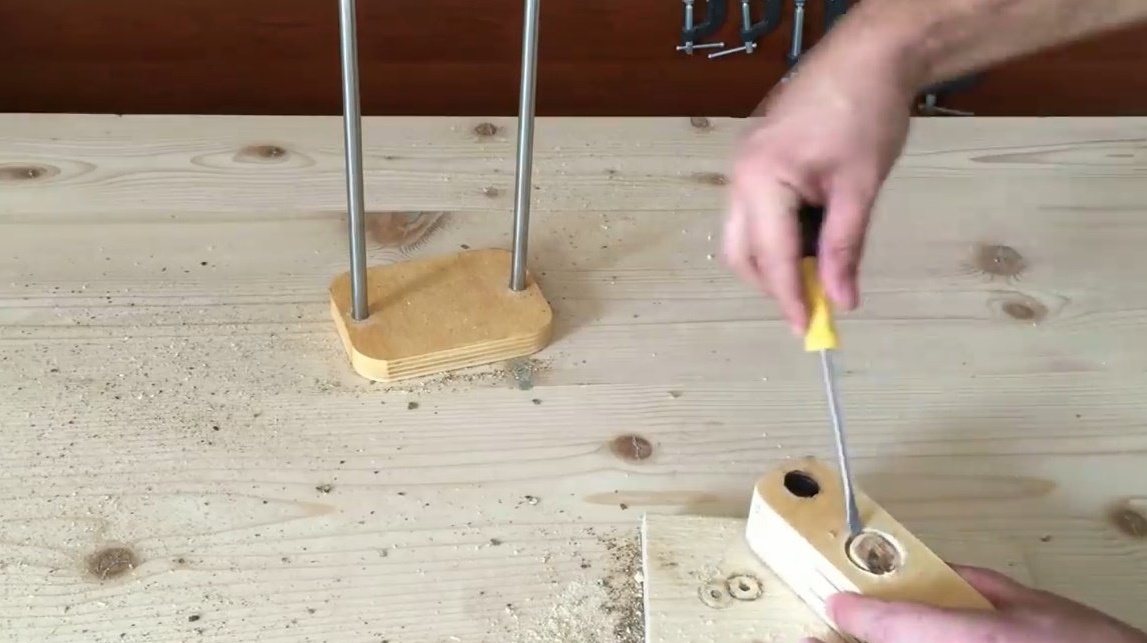
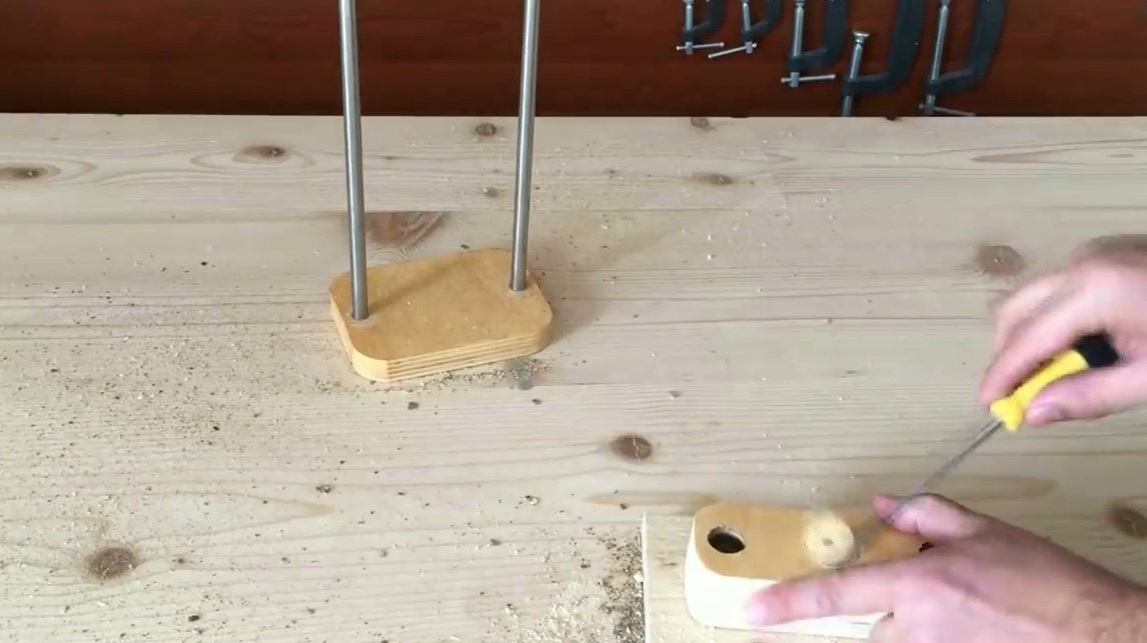
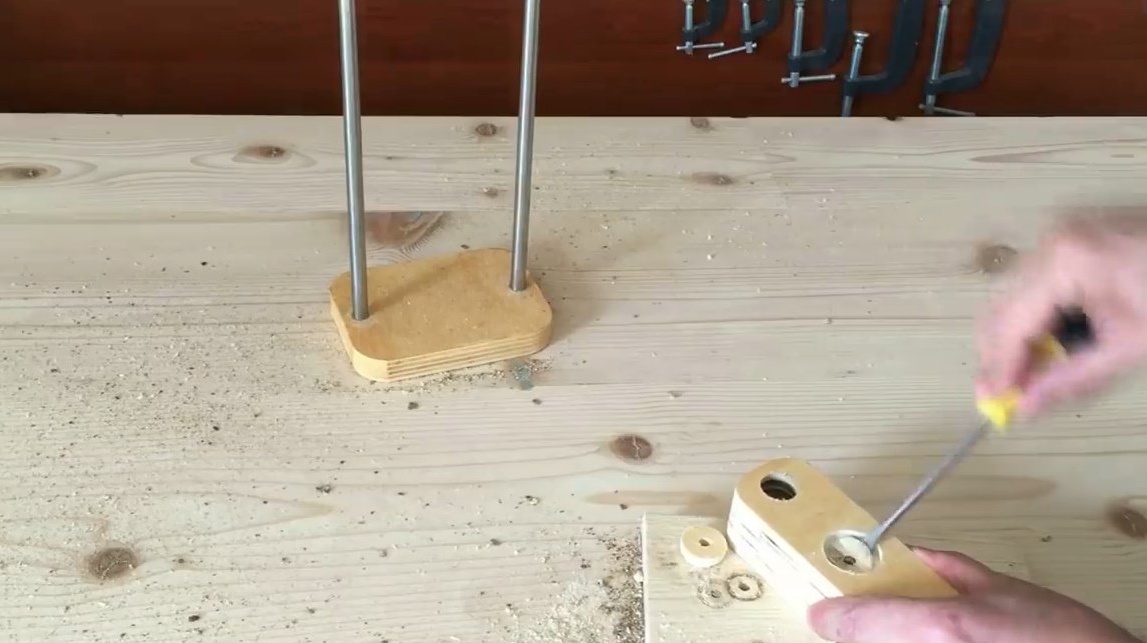
Excess material will have to be picked out with a screwdriver, trying not to break the layer between them.
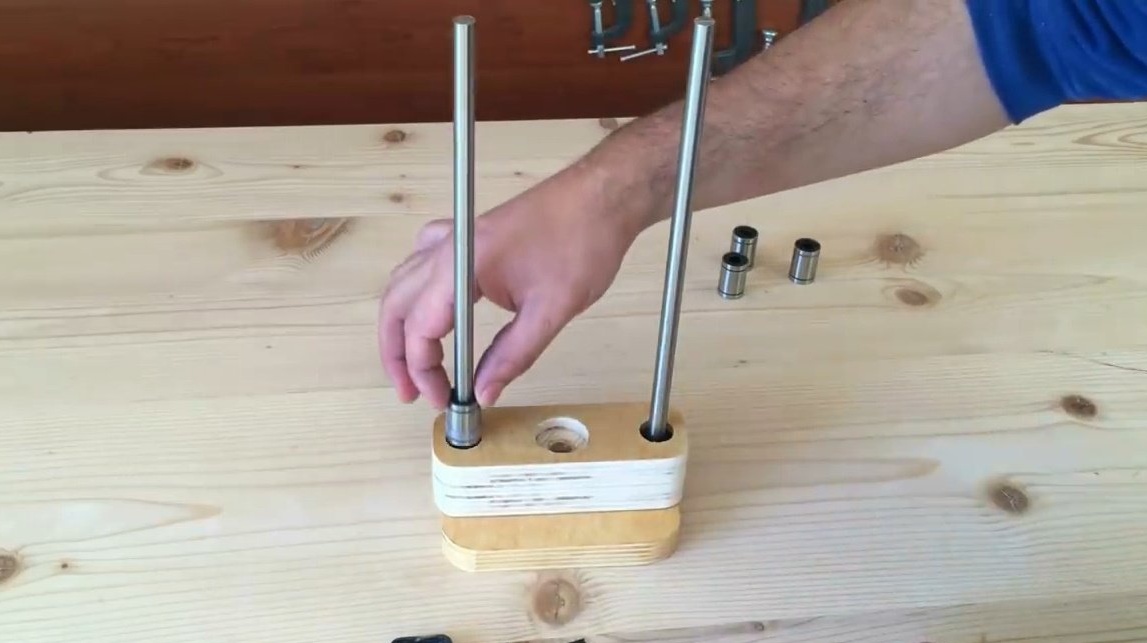
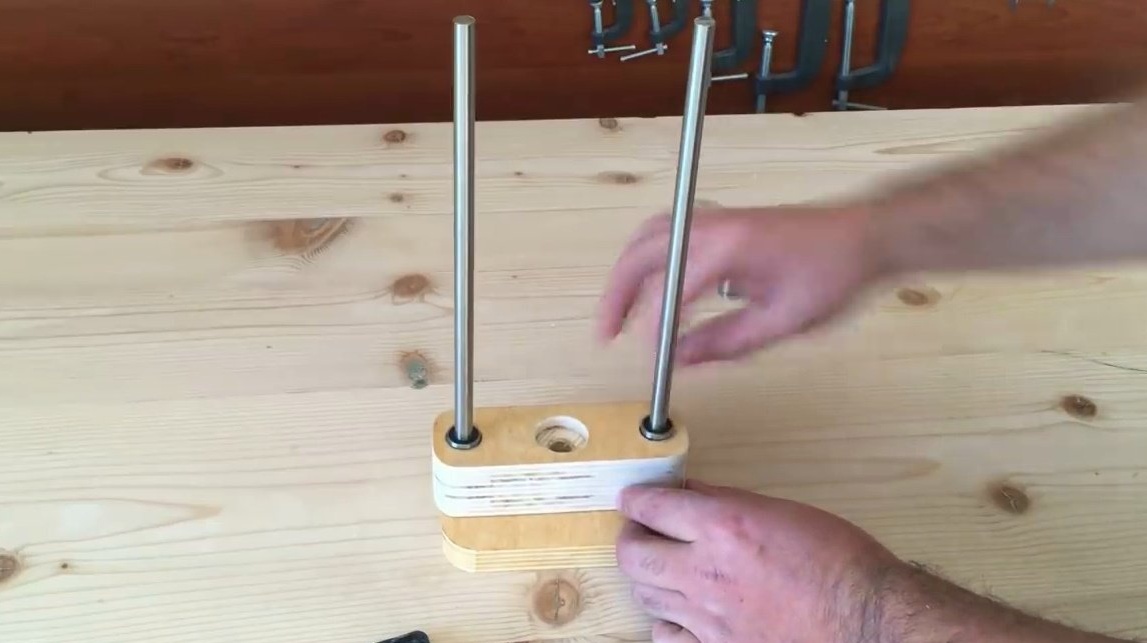
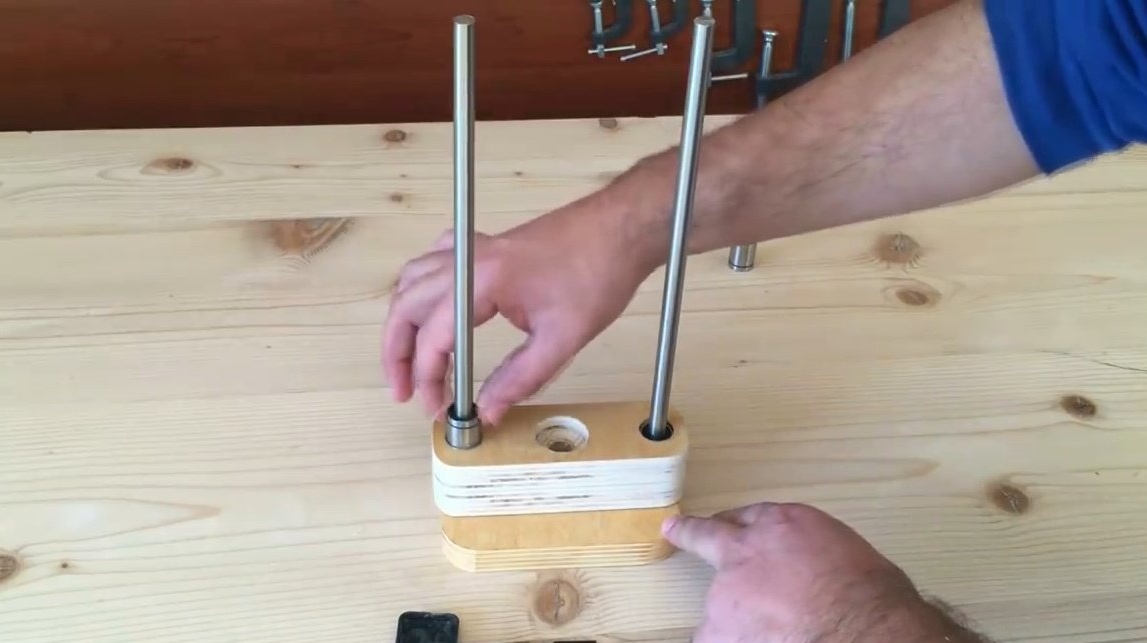
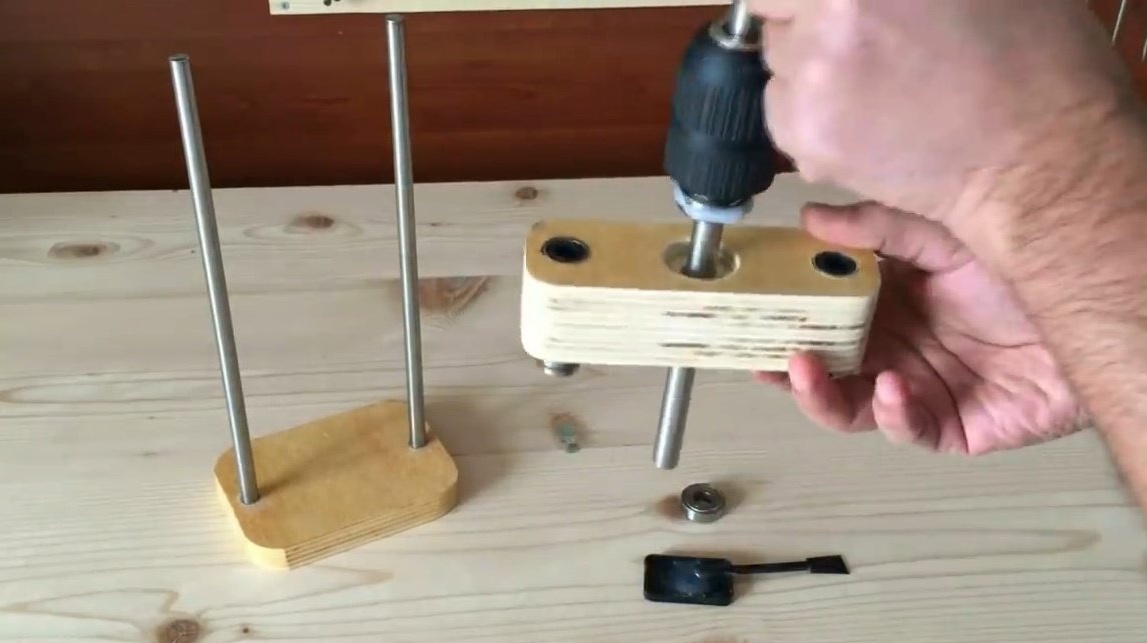
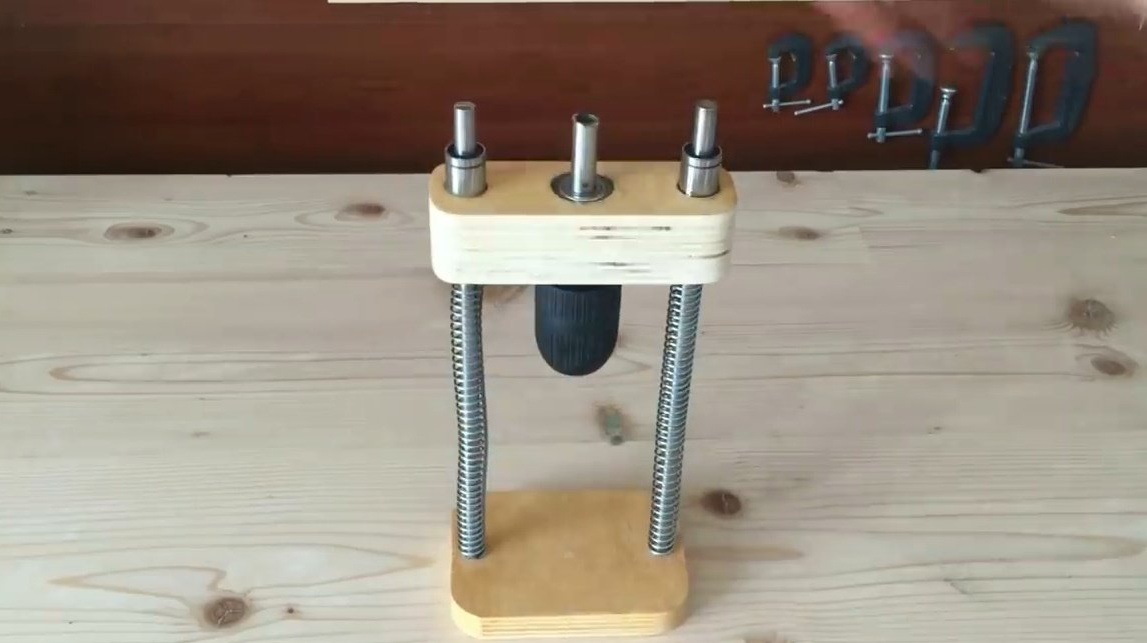
It mixes epoxy resin, installs the movable part on the guide racks.

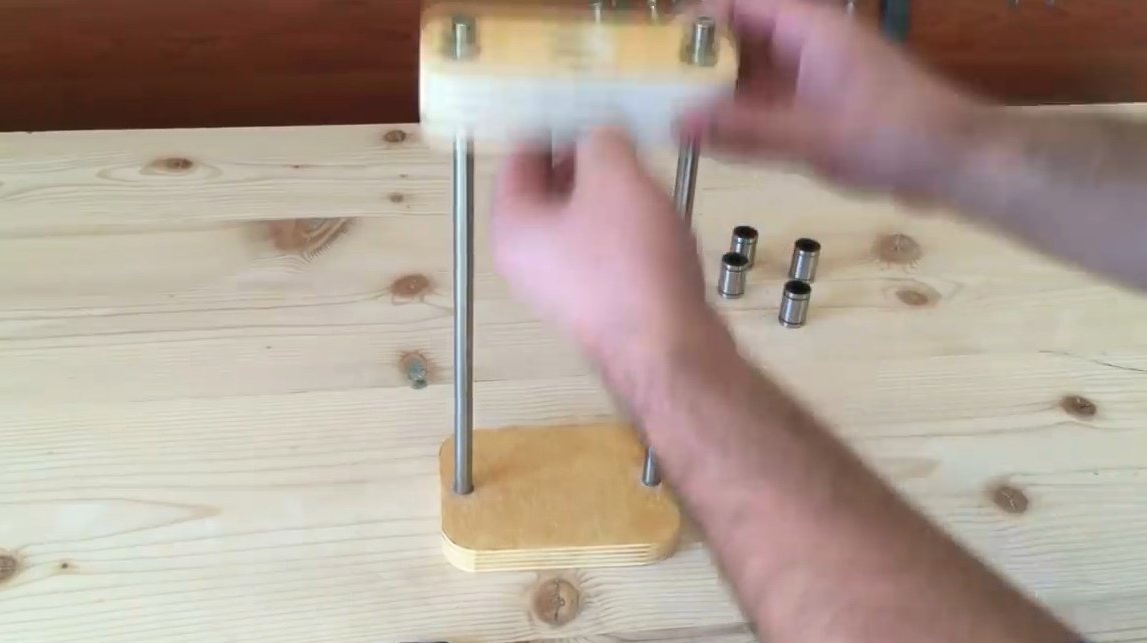
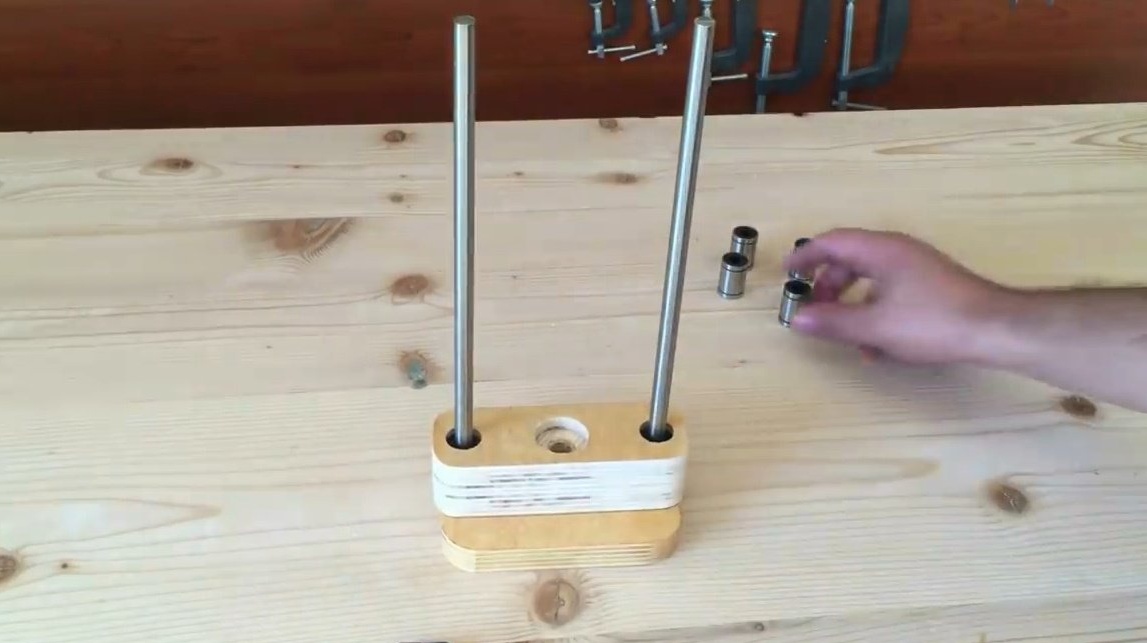
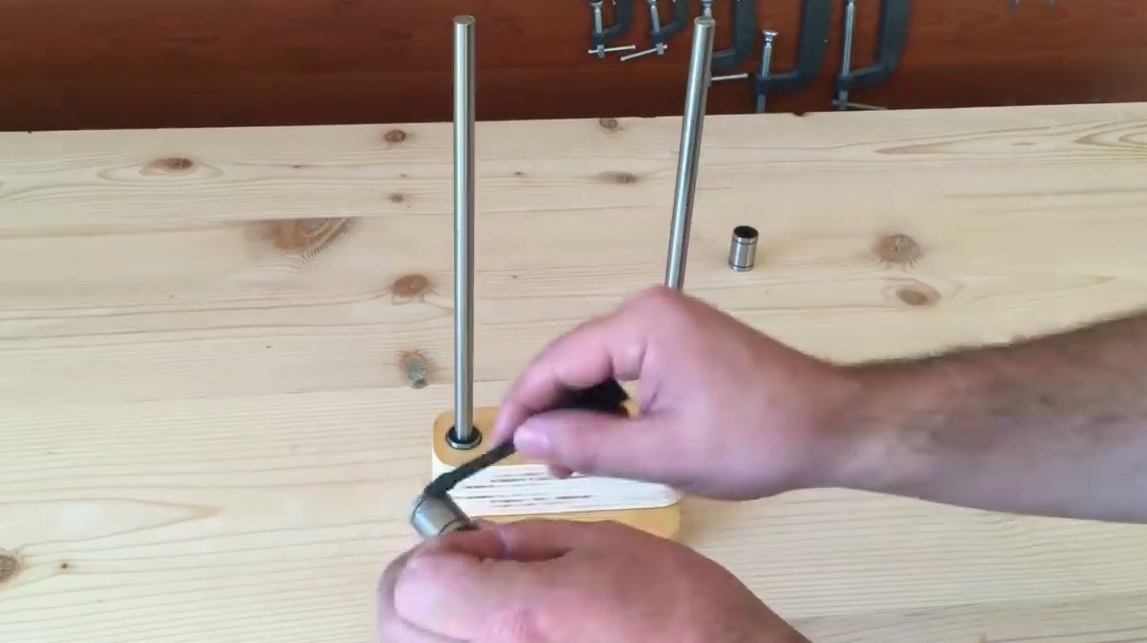
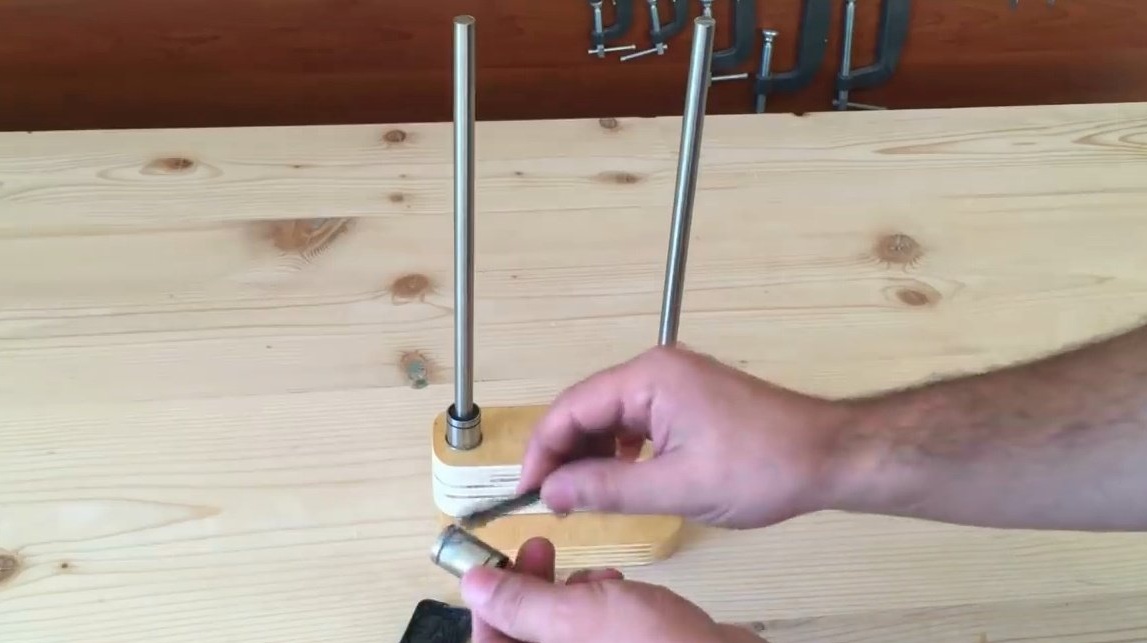
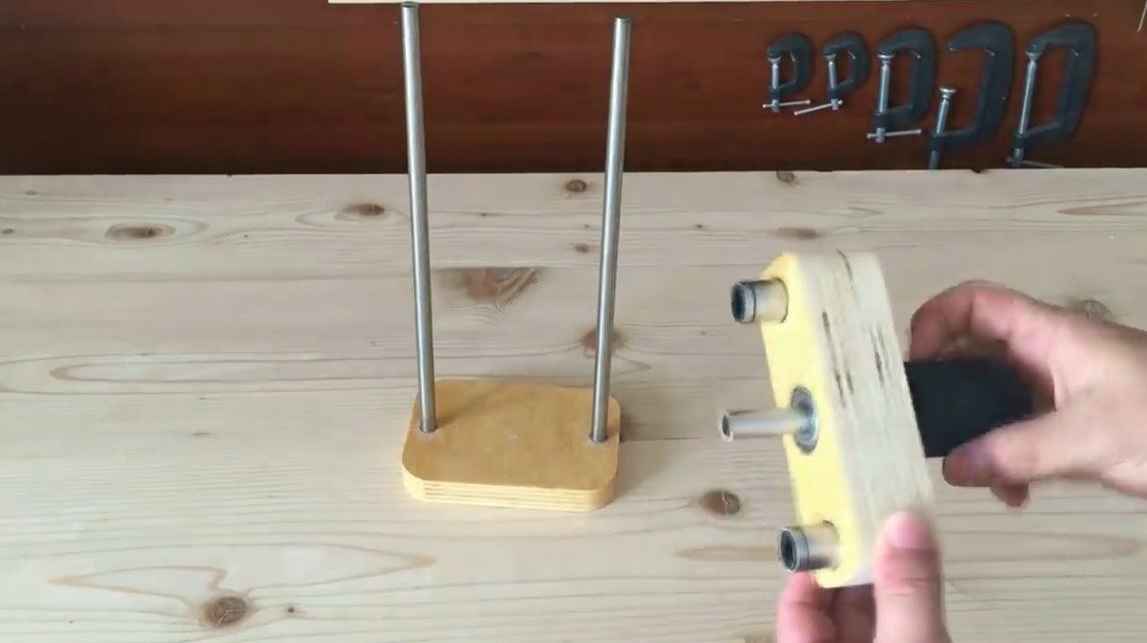
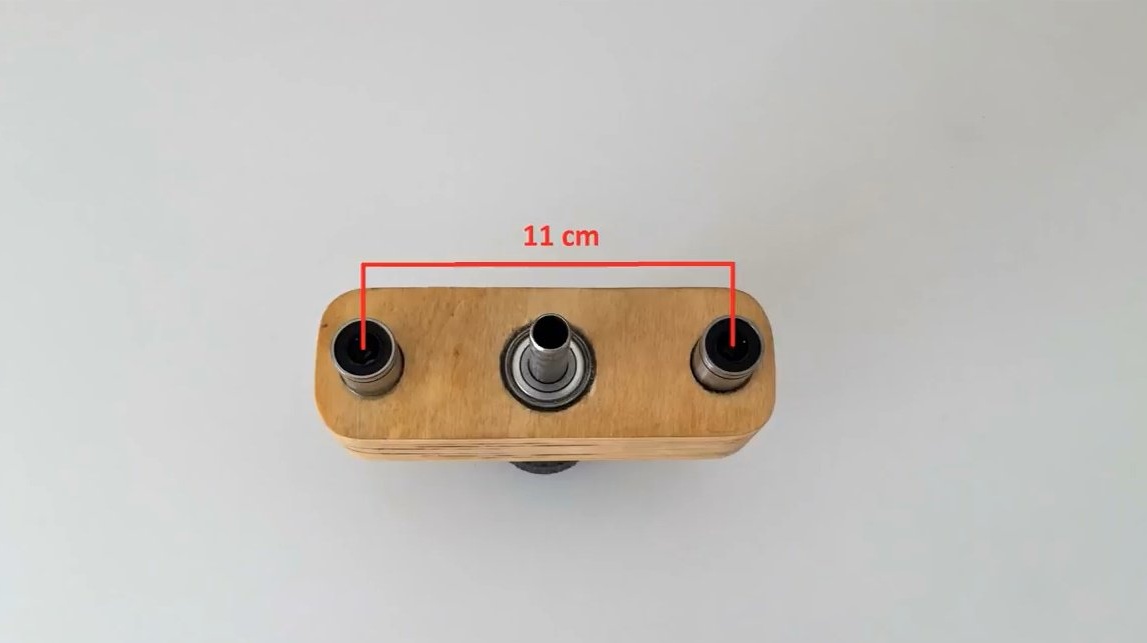
Lubricates the sliding bushings around the perimeter, inserts the first pair into place.
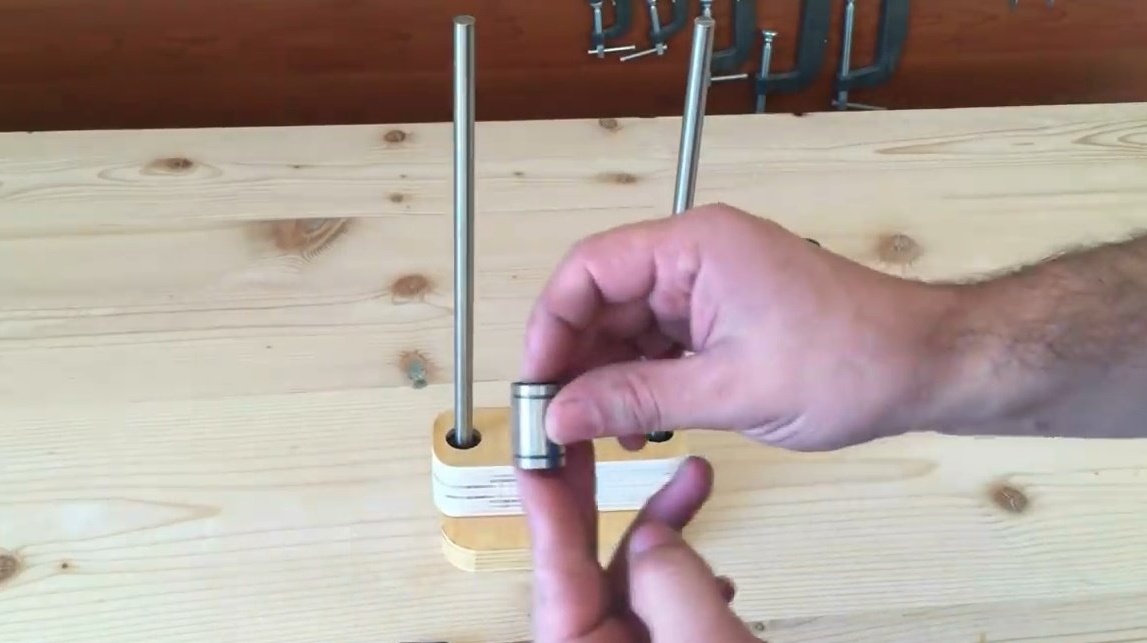
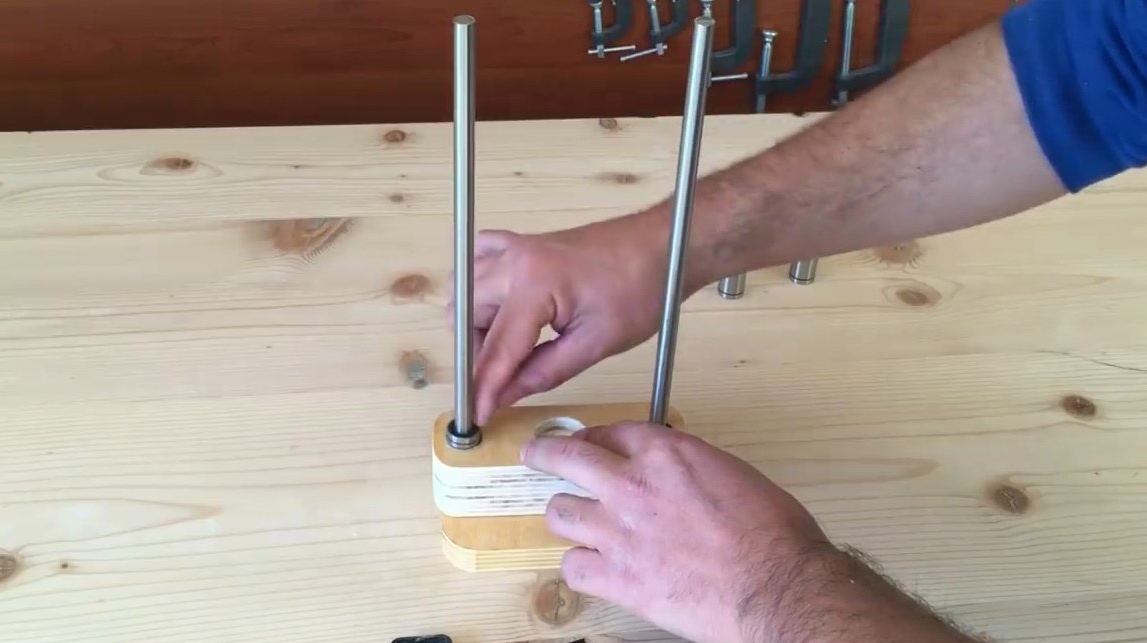
Carefully, so that the glue does not get on the inner parts of the bushings, installs a second pair.
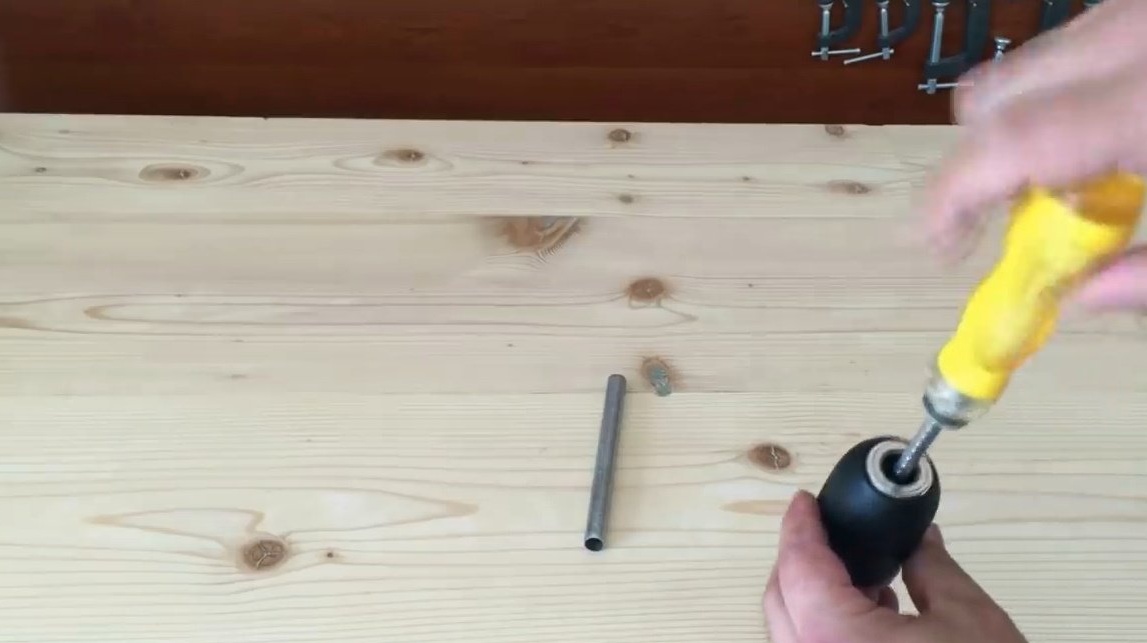
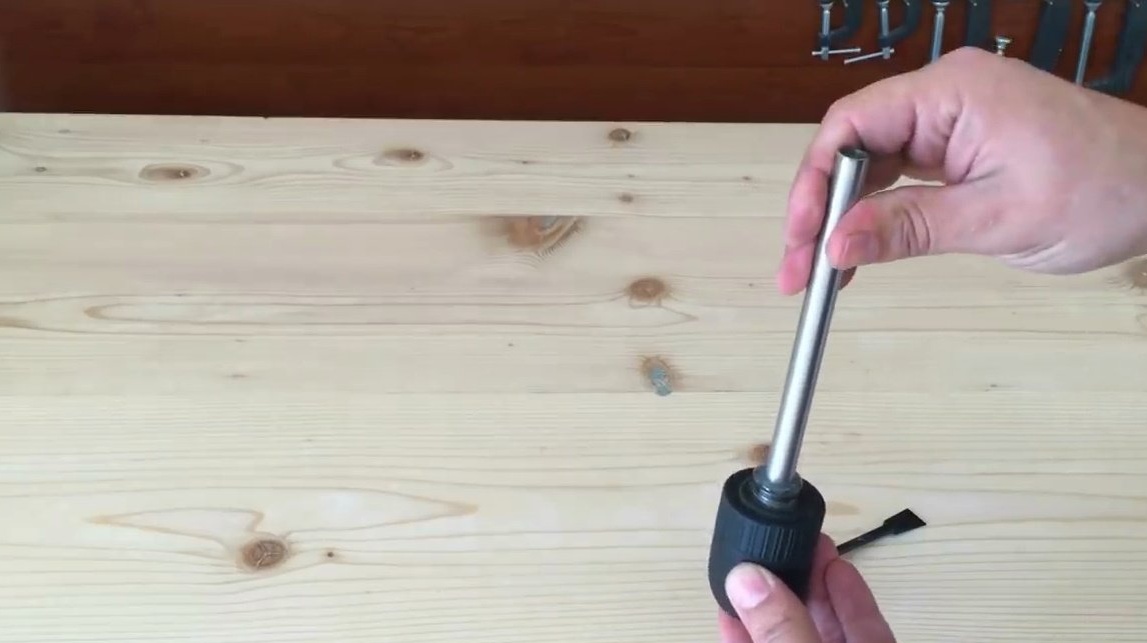
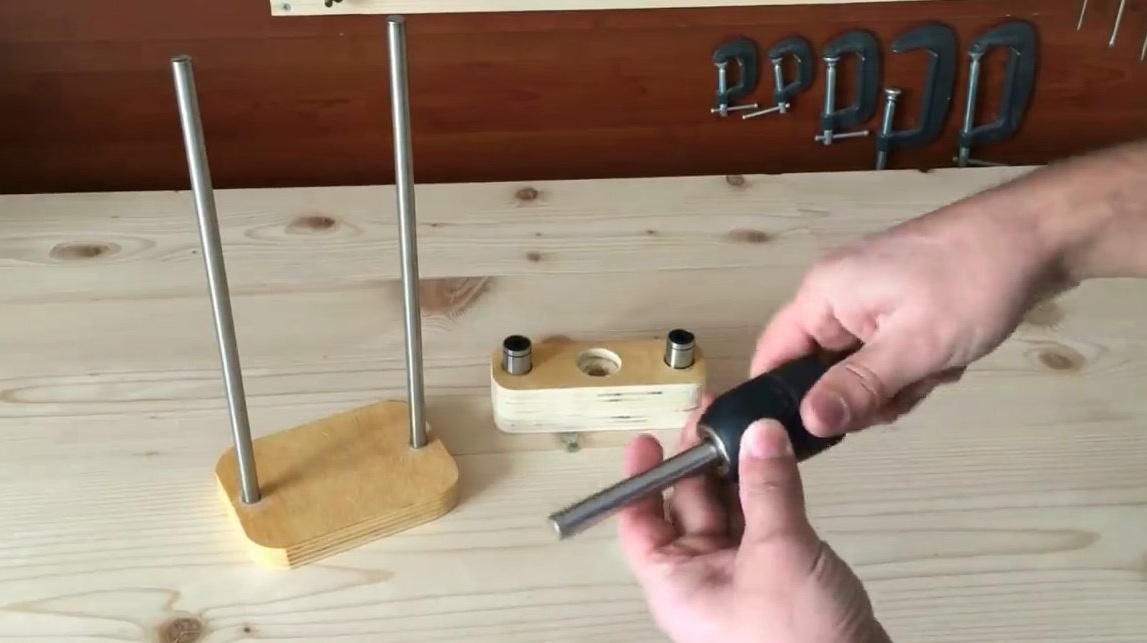
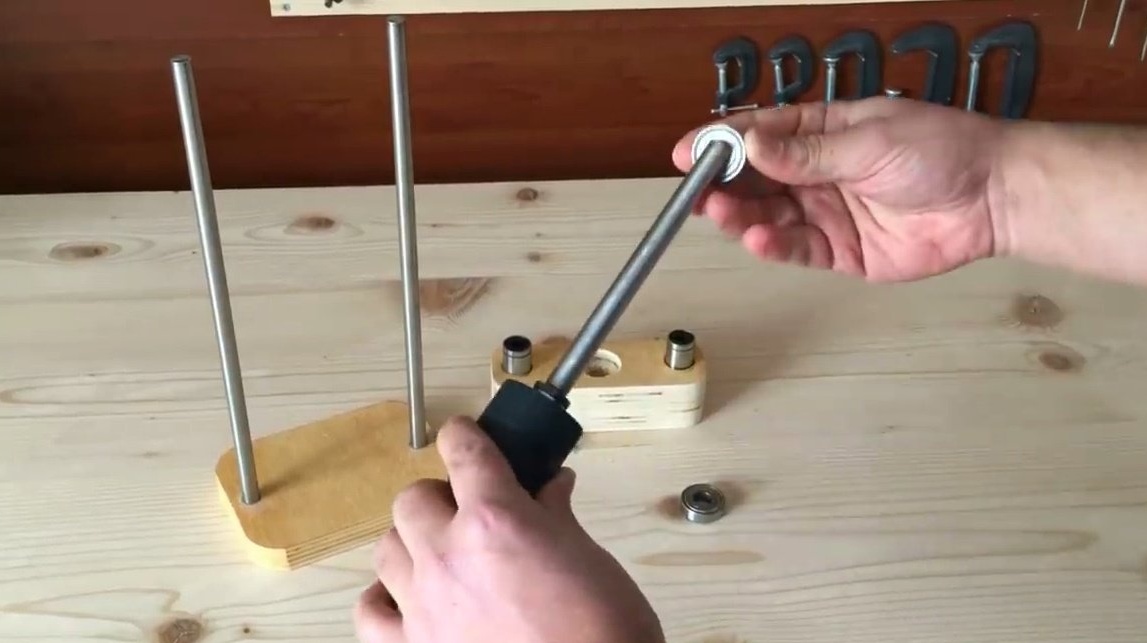
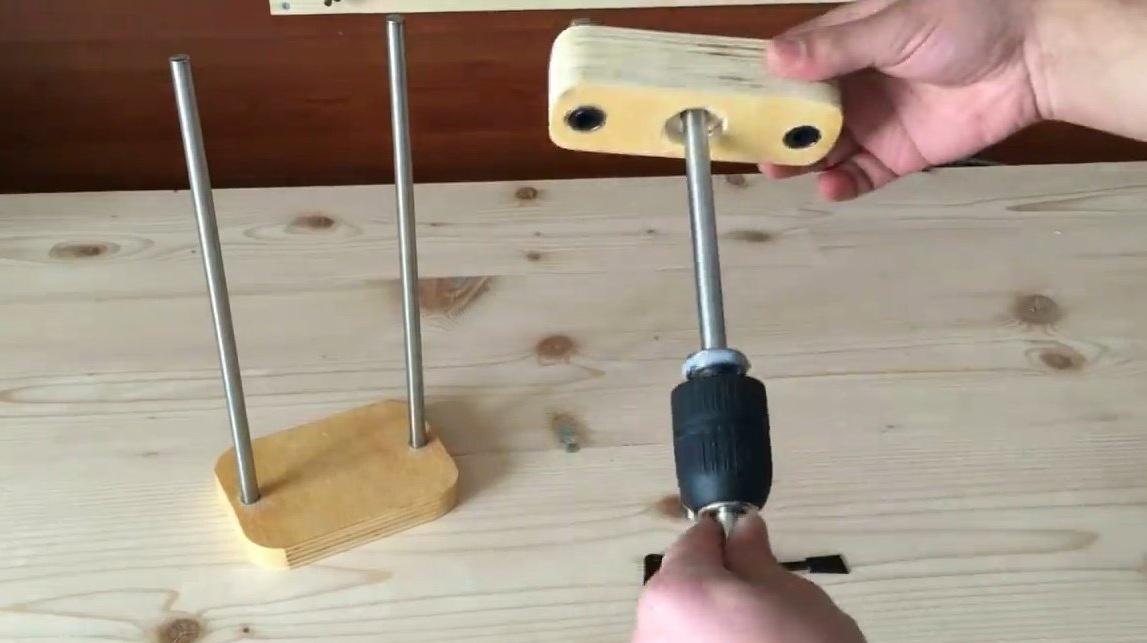
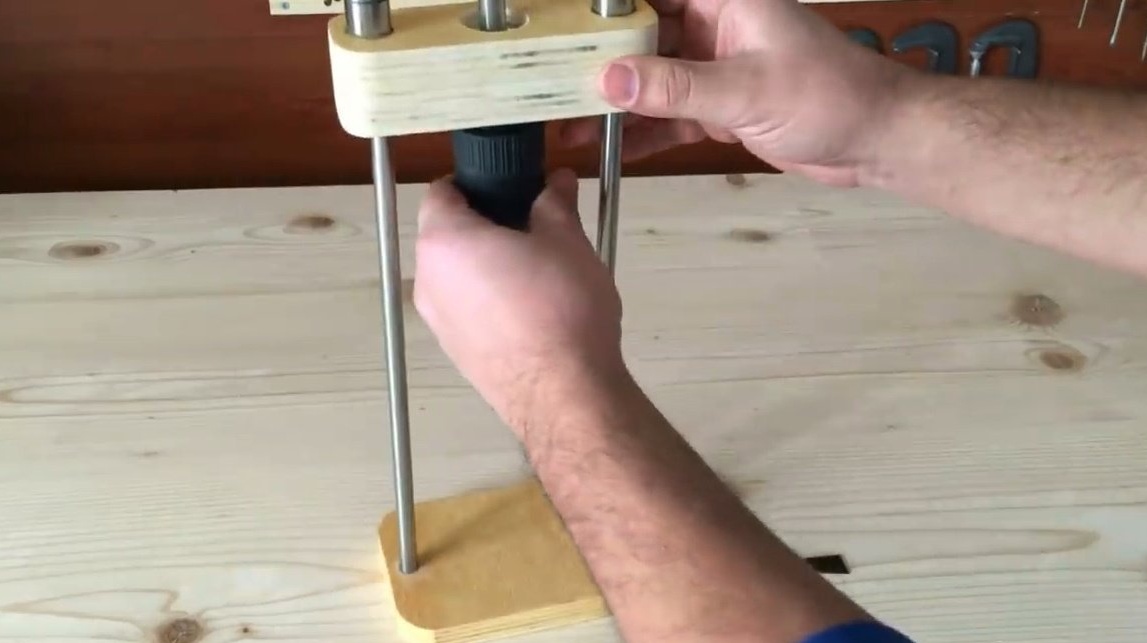
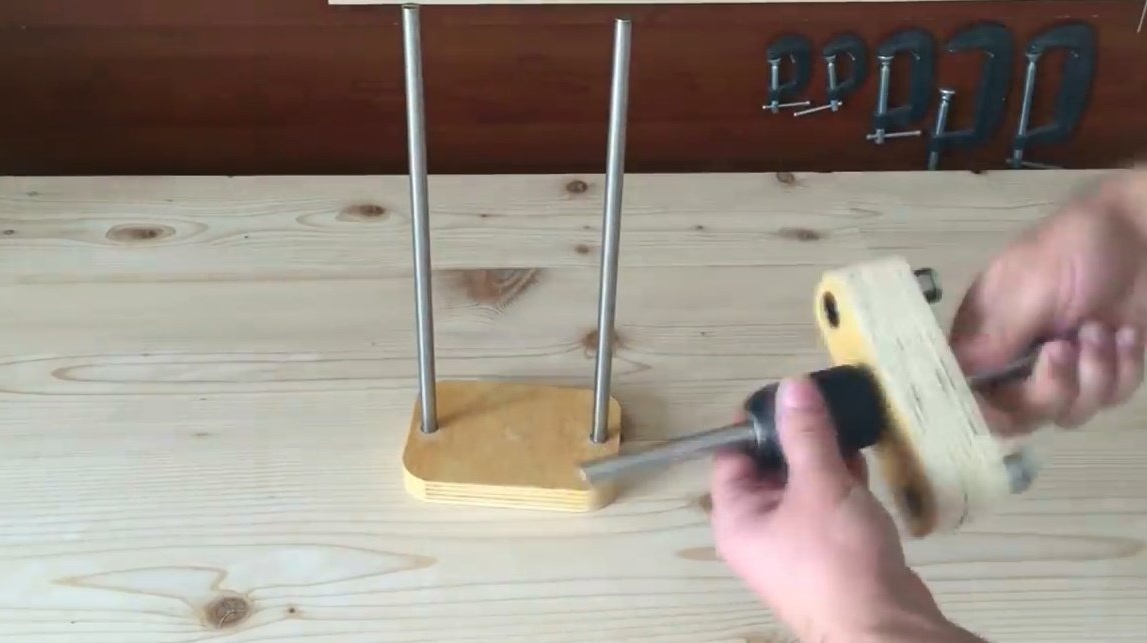
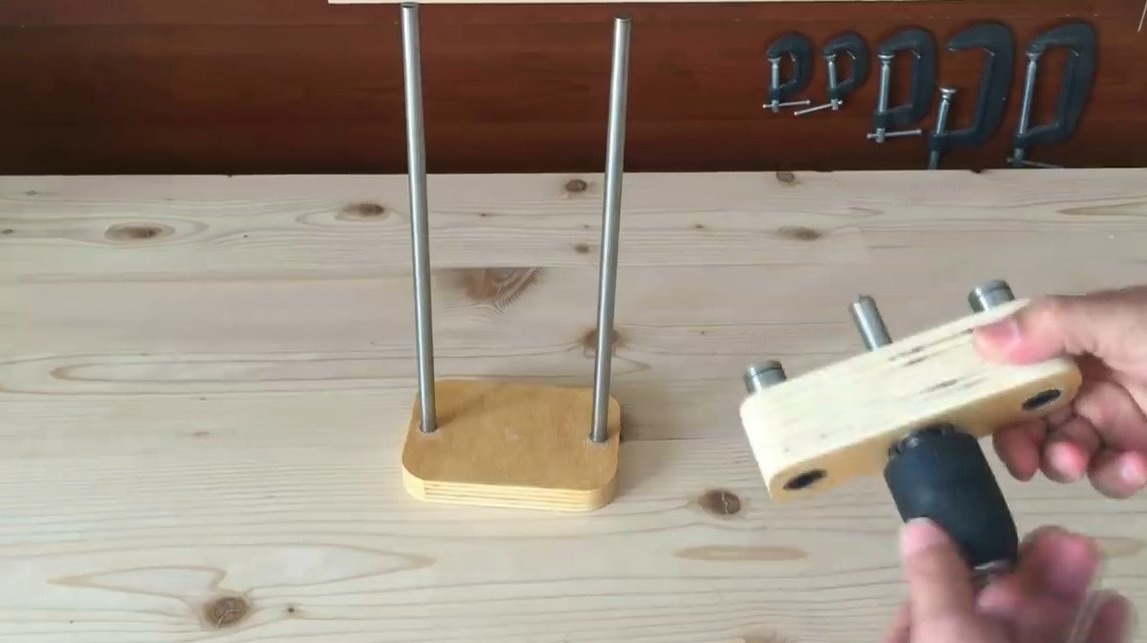
The steel tube perfectly matches the inside diameter of the SDS adapter for the cartridge.
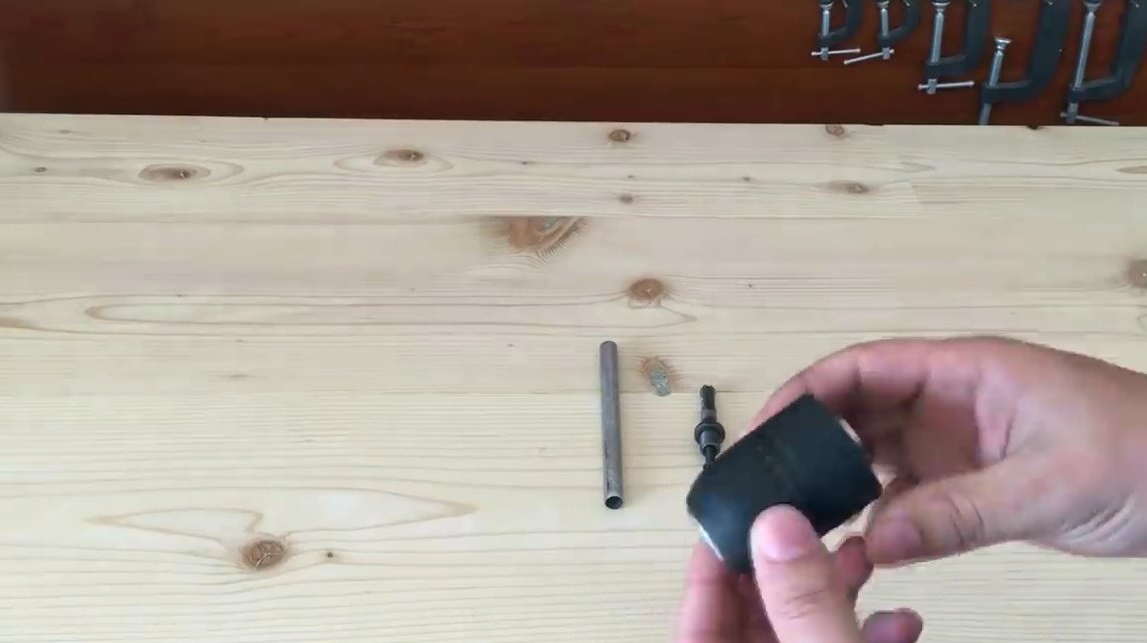
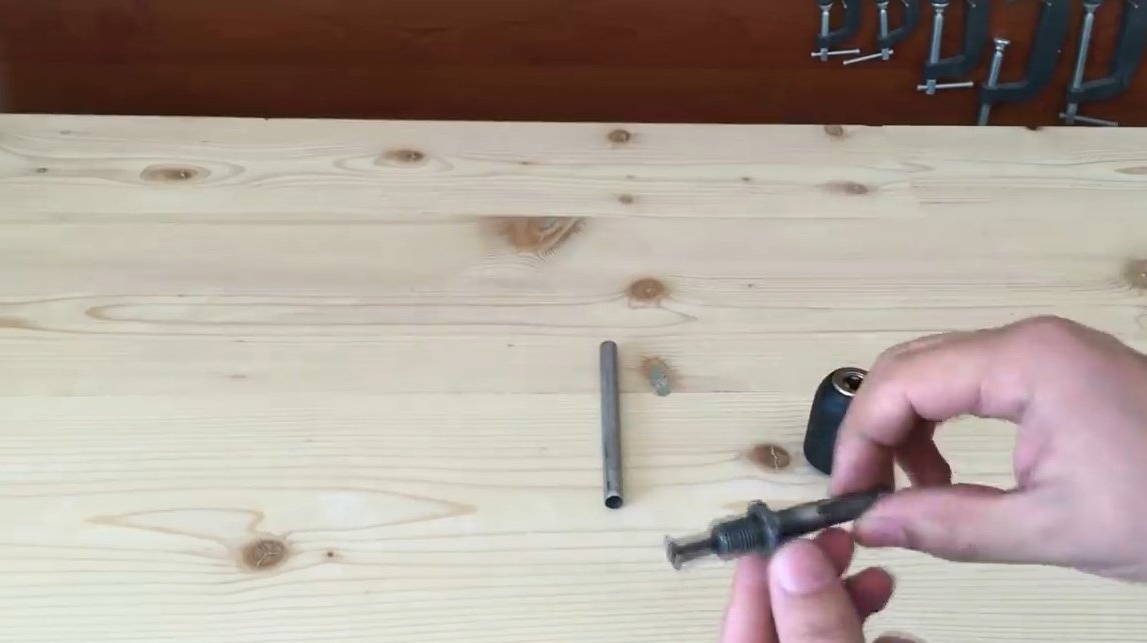

Squeezes the lips of the cartridge, screws the adapter and fixes it with a bolt. Attentively - the thread is reverse.

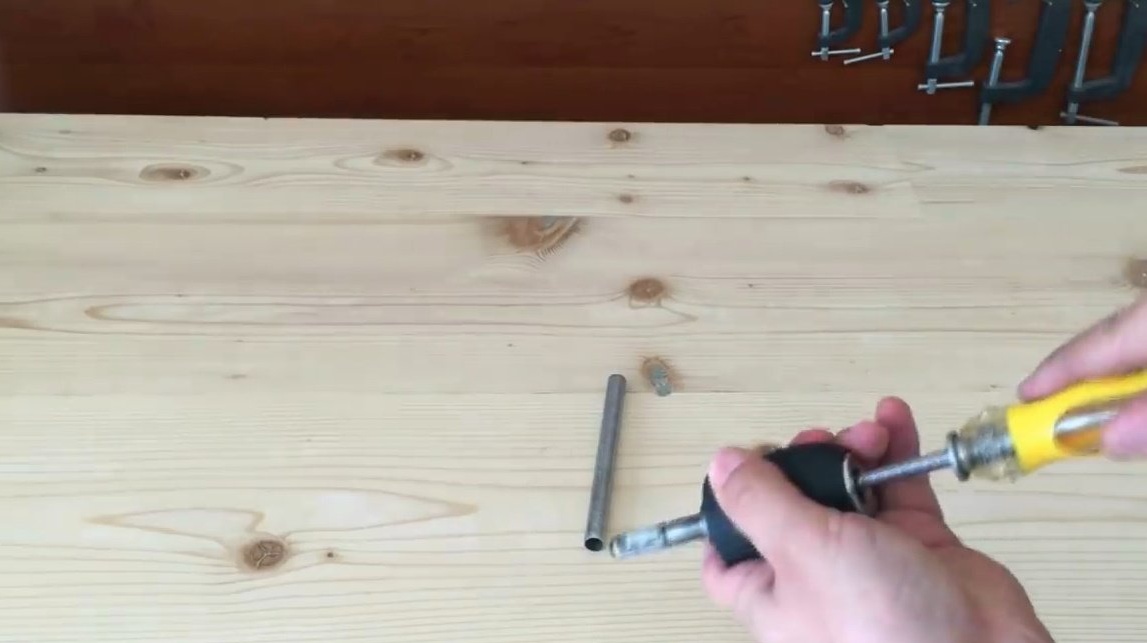
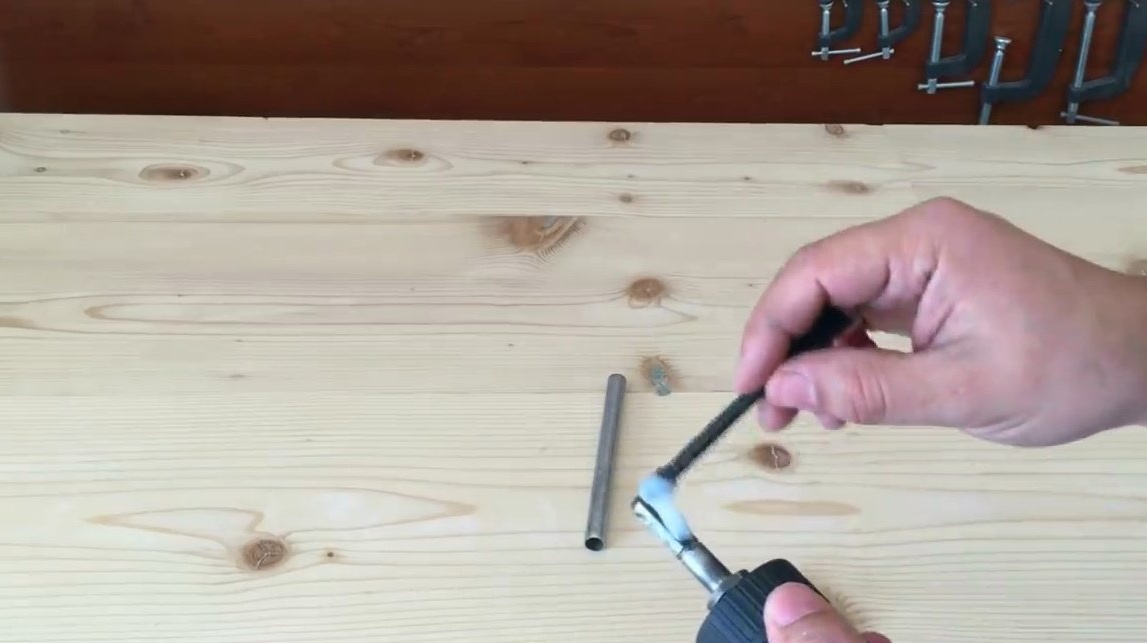
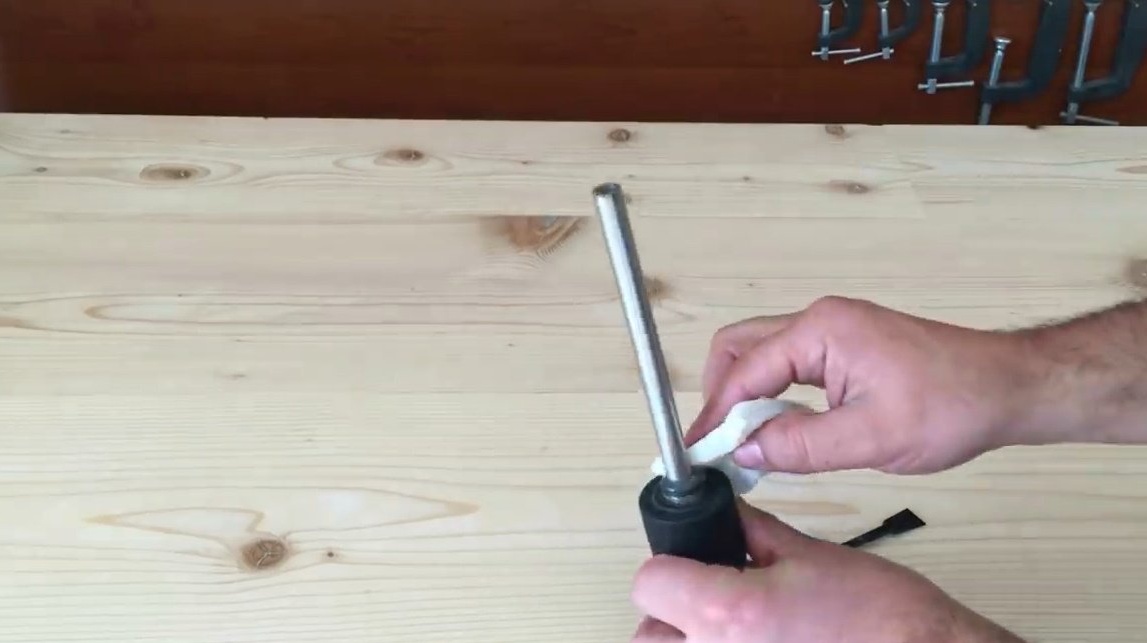
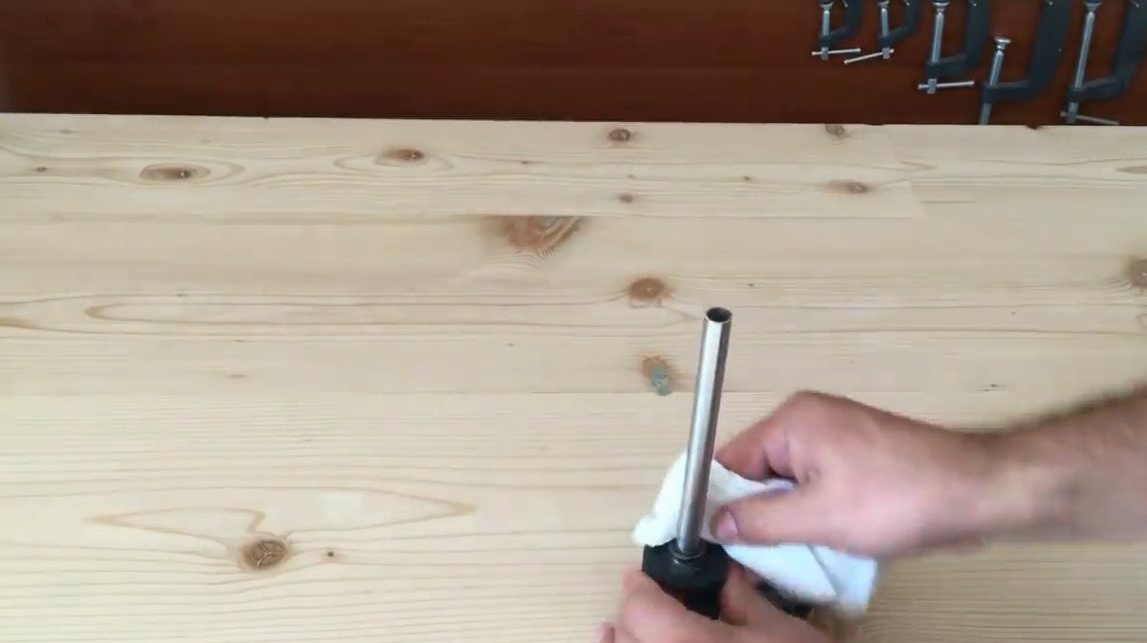
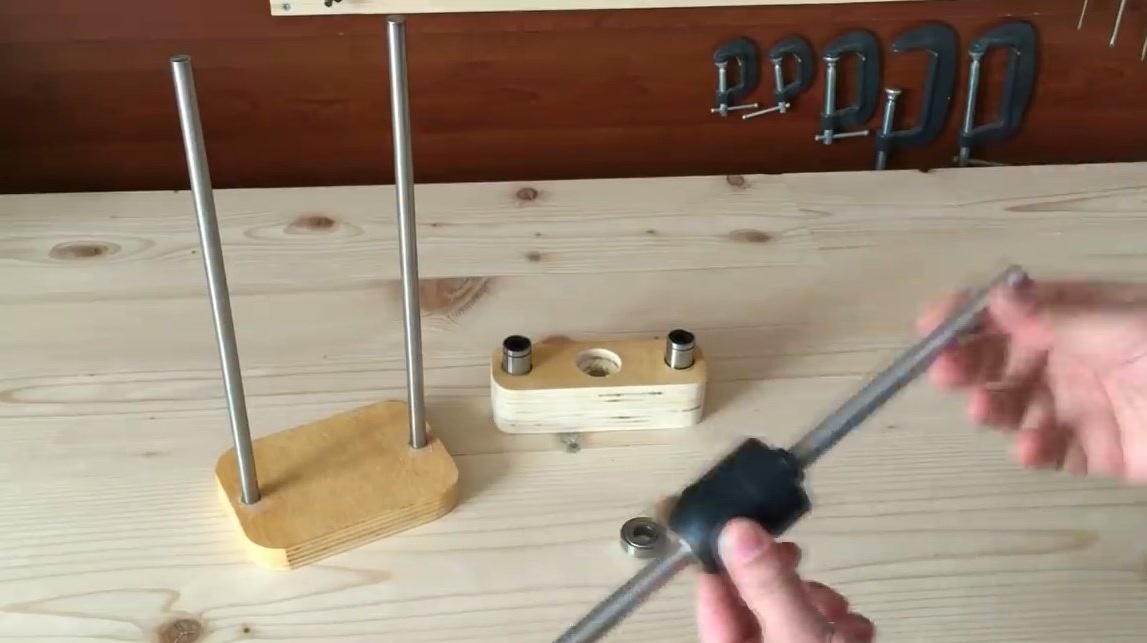
Lubricating the adapter shank with epoxy, puts a steel tube on it. Excess glue removes with rags.

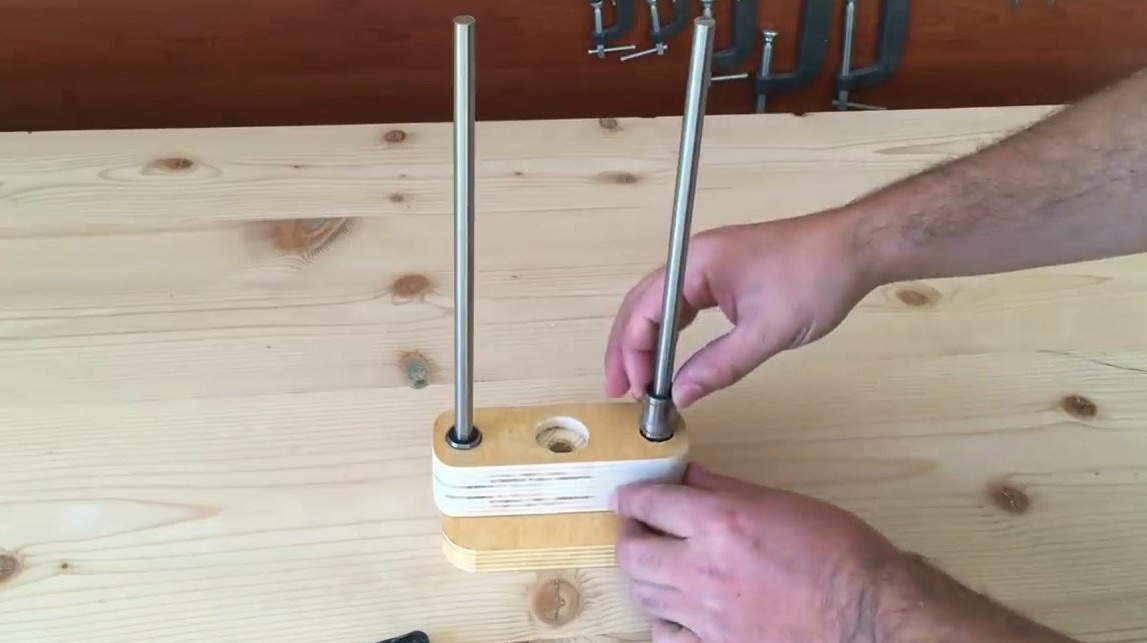
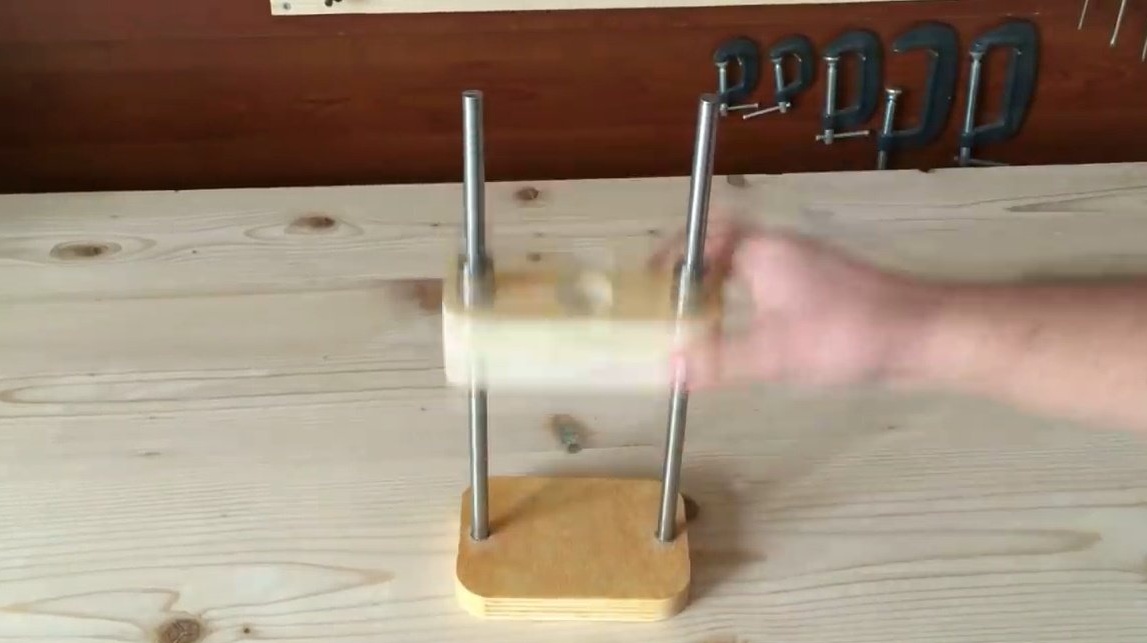
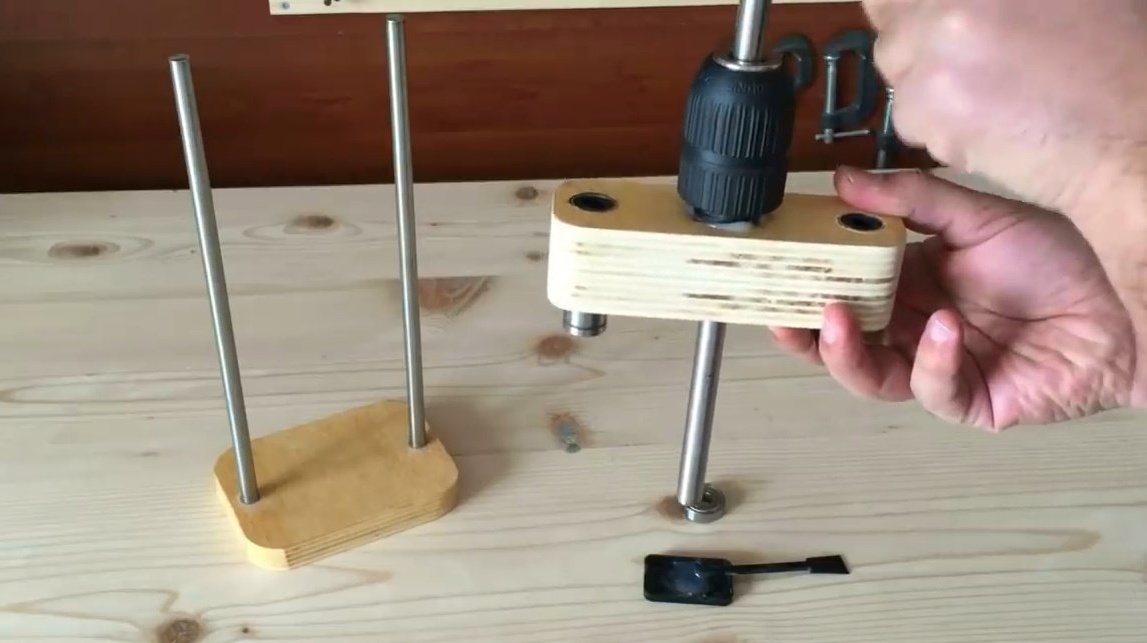
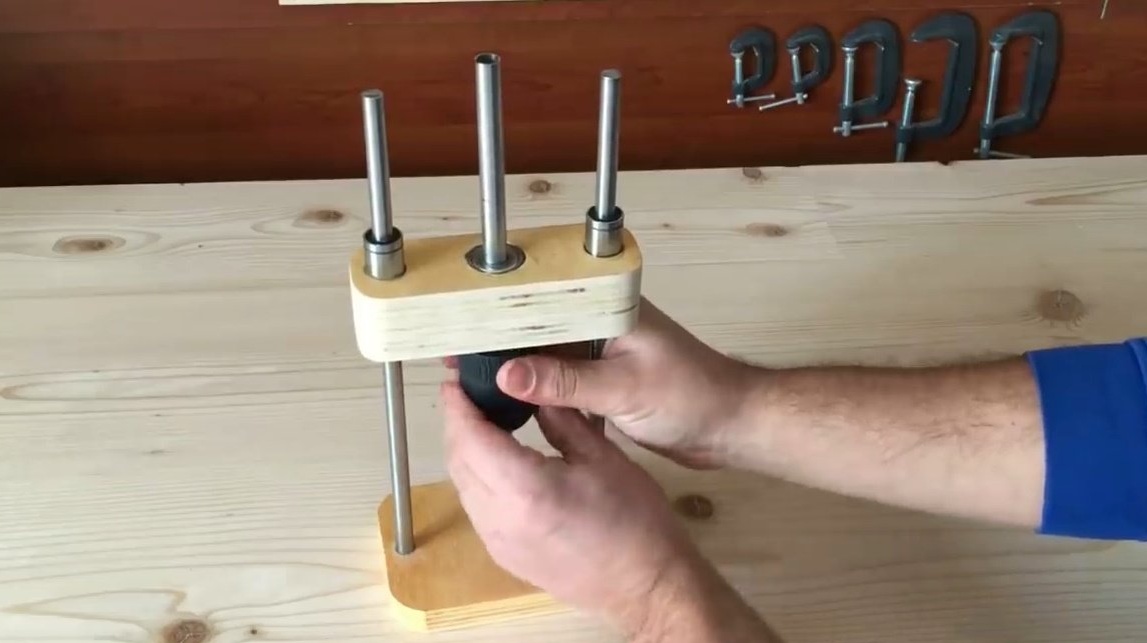
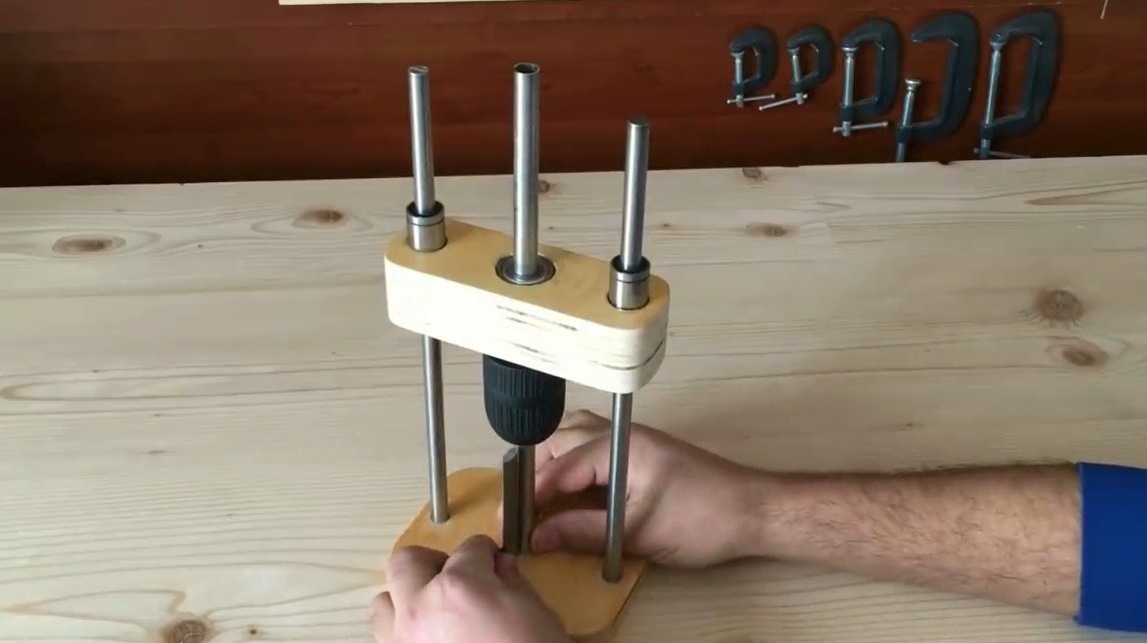
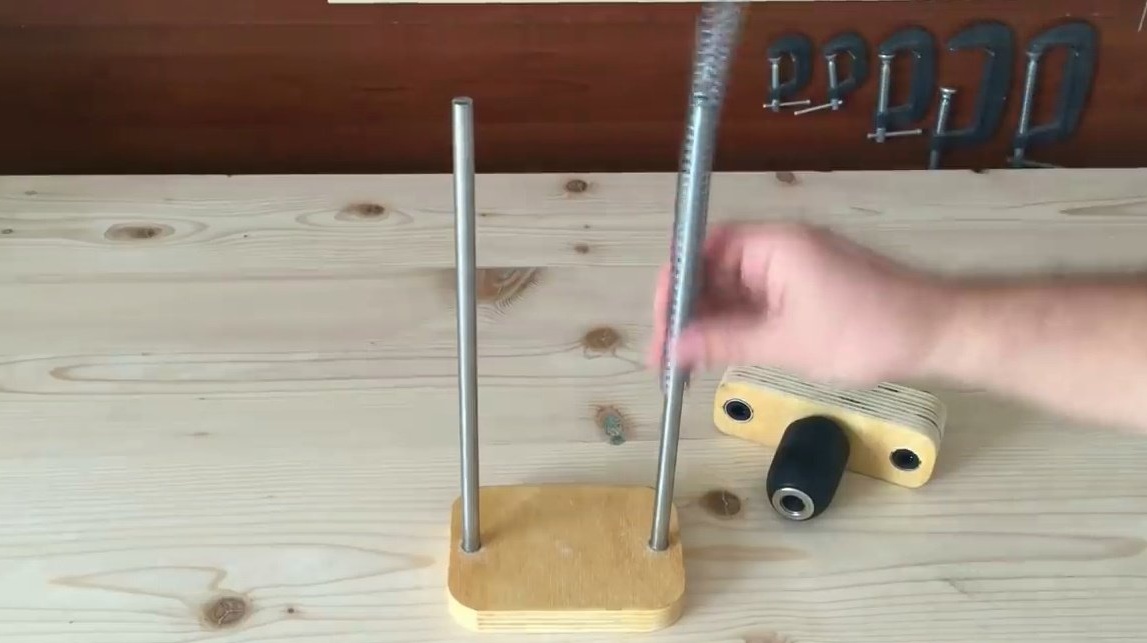
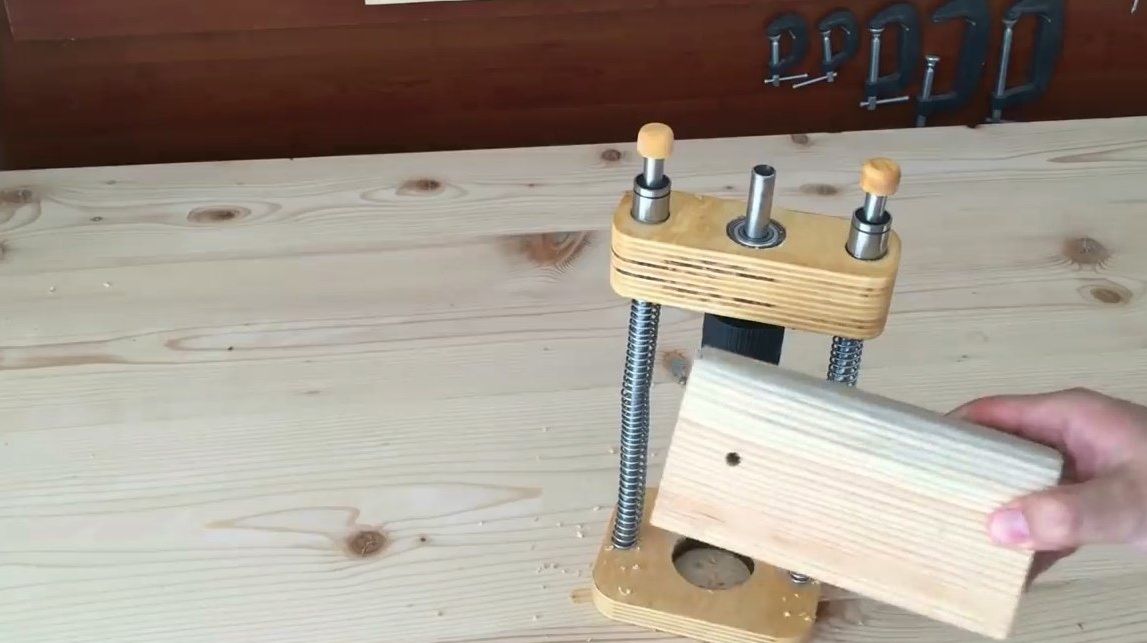
The moving part glides along the guides perfectly, alignment is observed.
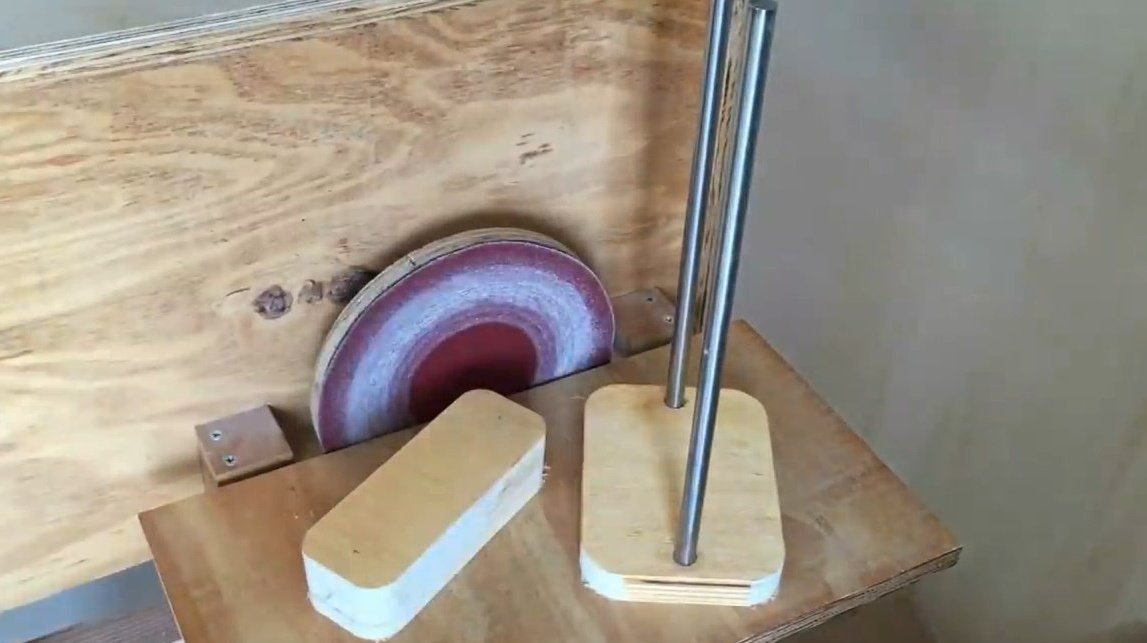
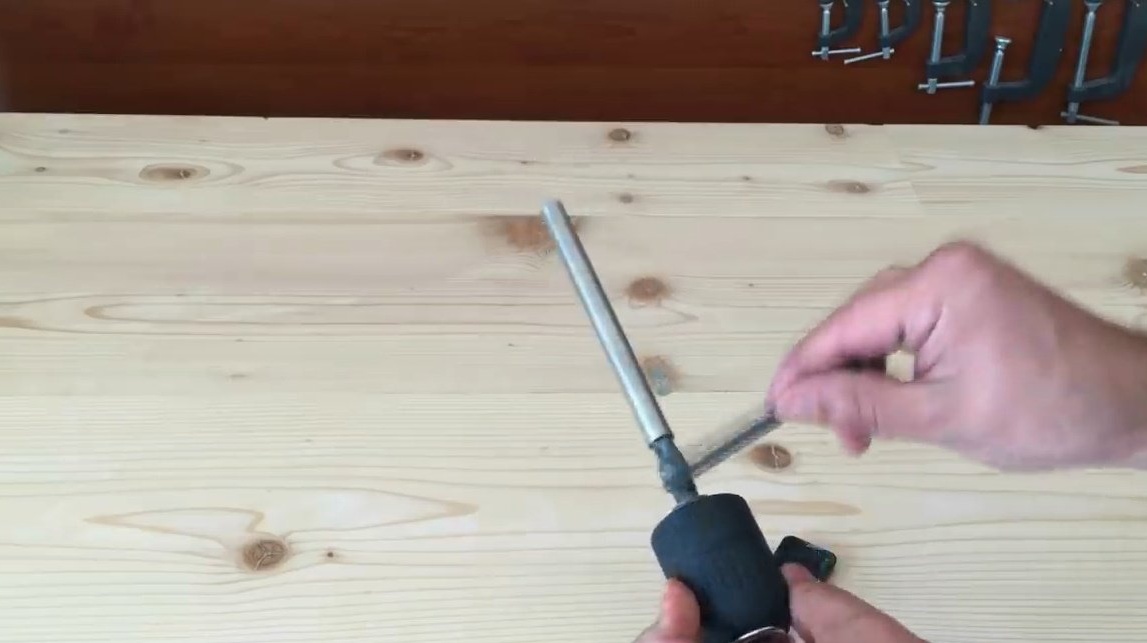
In the cartridge, the master clamped a piece of pipe, and put on the tail end of the bearing.
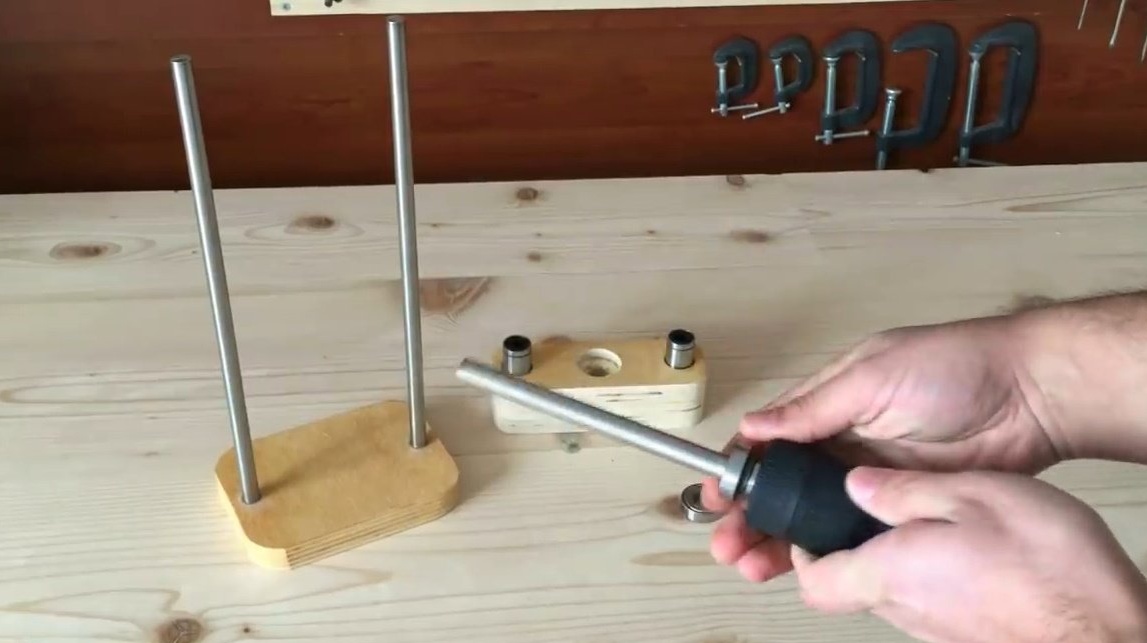
The outer part is lubricated with epoxy resin, glued into the lower groove of the movable part.
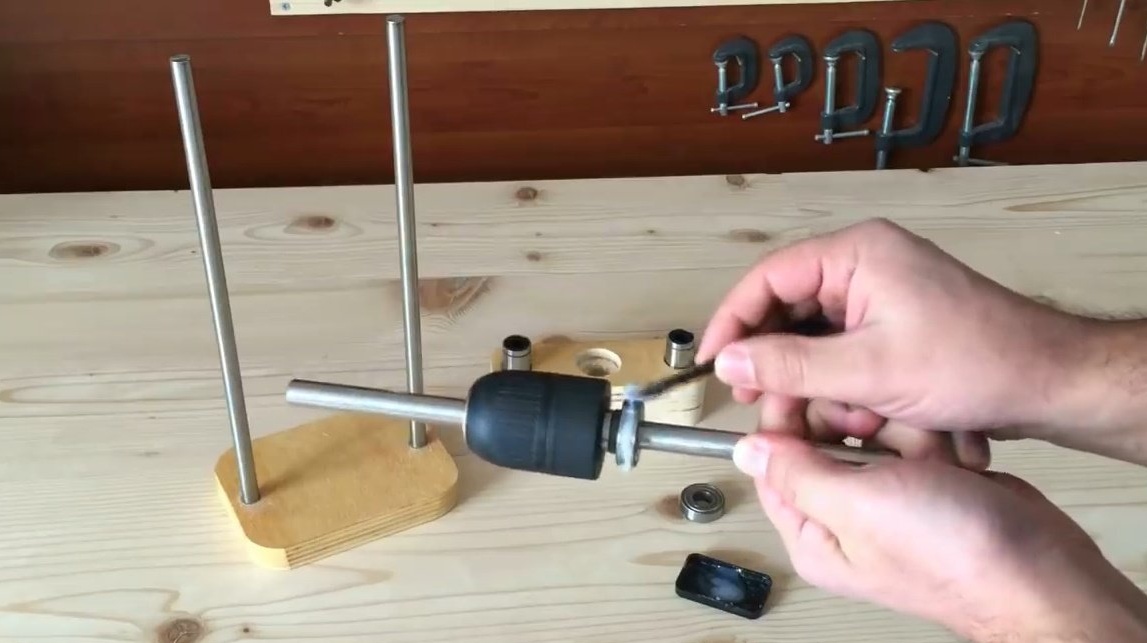
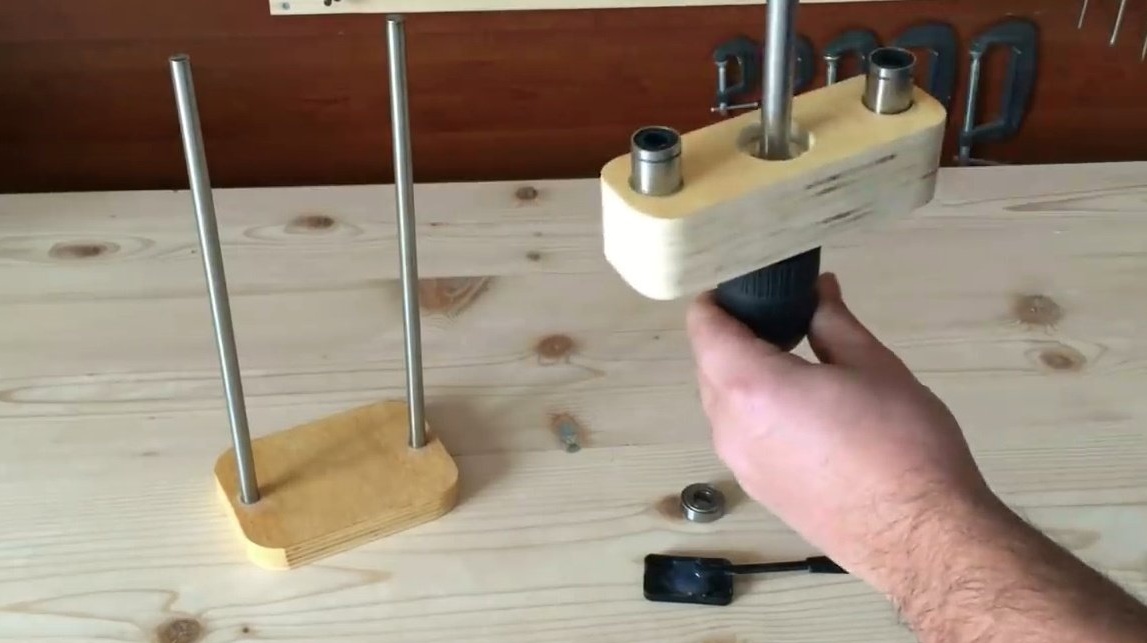

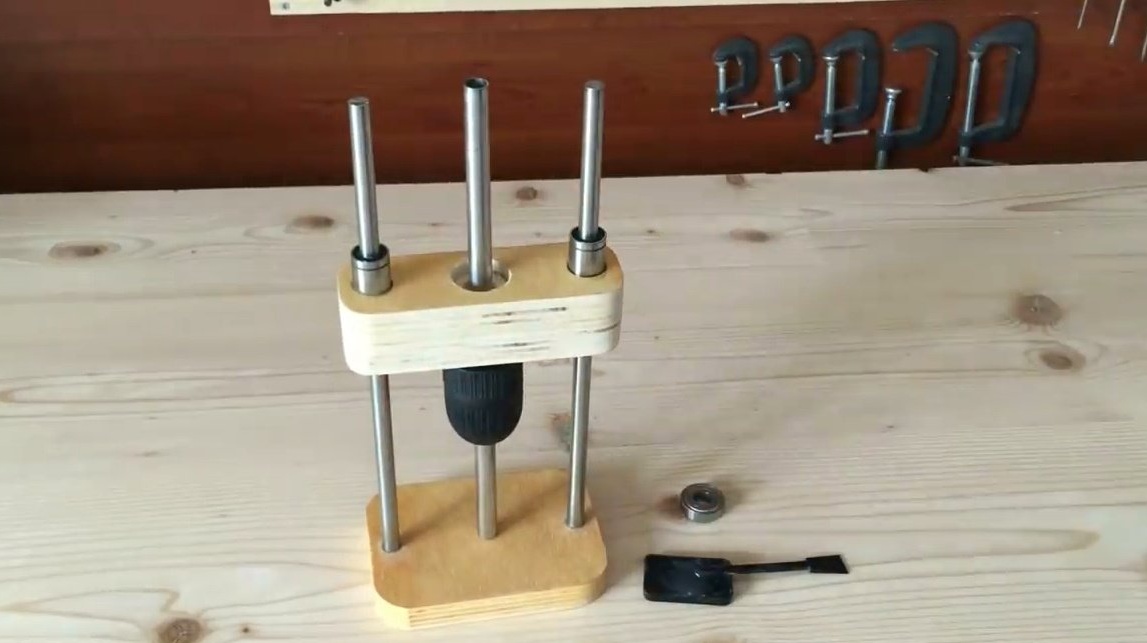
It does the same with the upper bearing, pressing it into the groove.
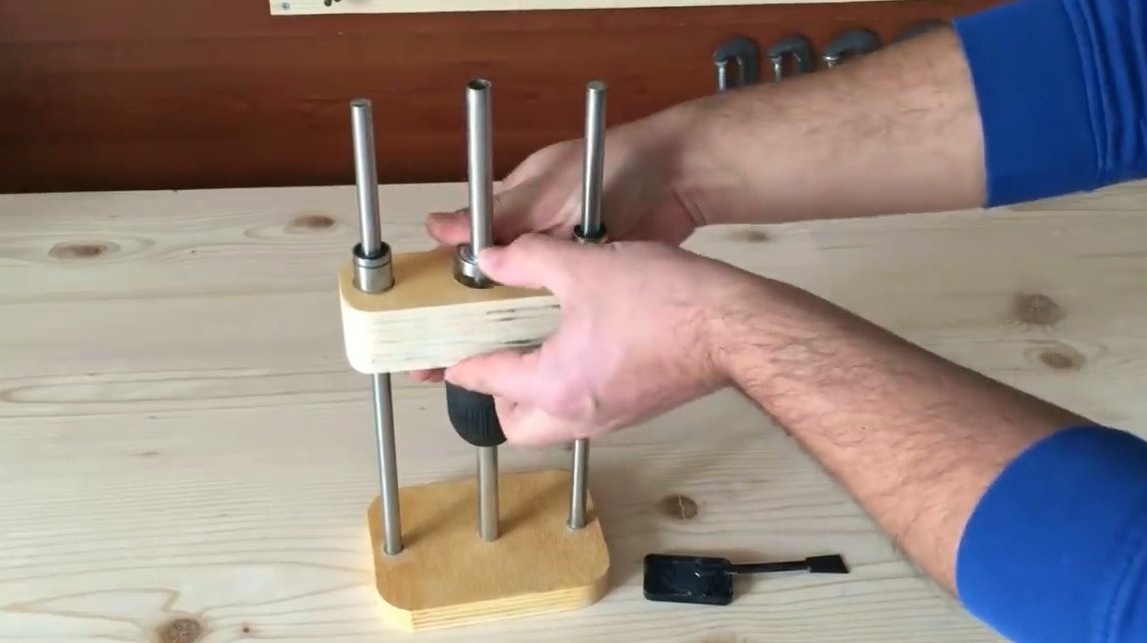
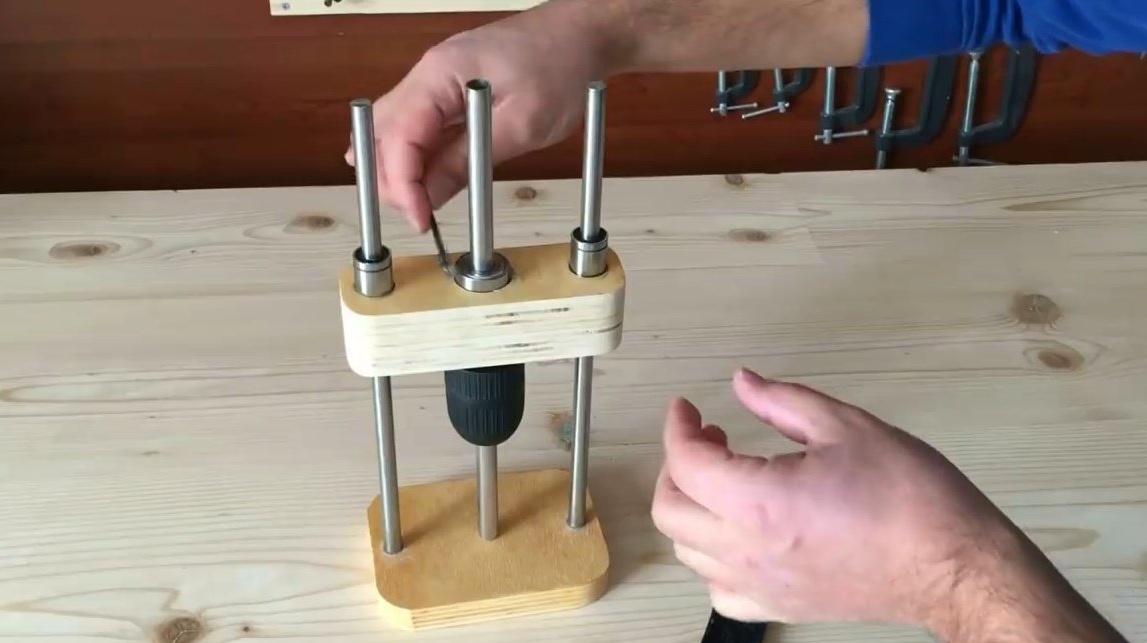
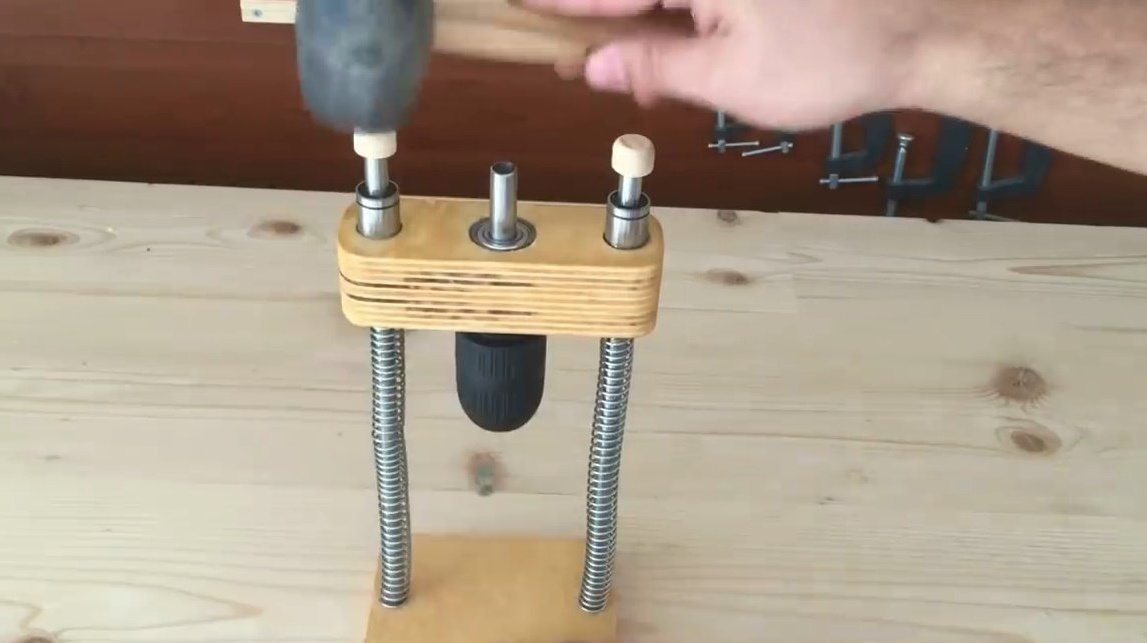
An important point is to check the right angle to the base. The tube turned out to be a little short, I had to squeeze the cartridge, and push it a little. Then, using a square, the master checked the angle from all sides.
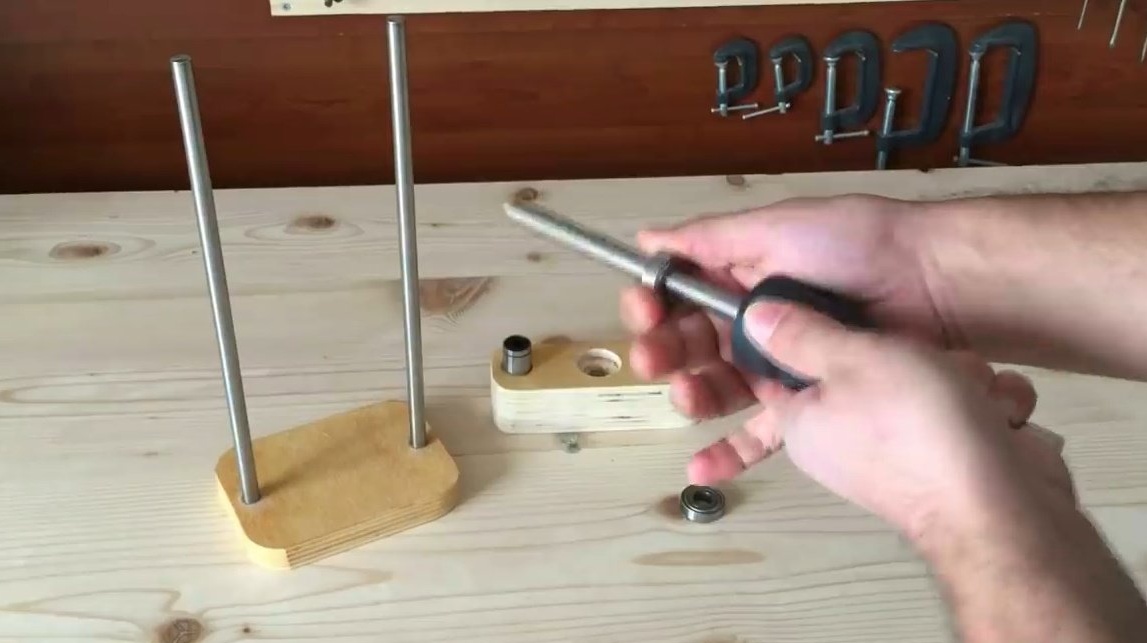
That's all, the tuning tube is no longer needed.

And the long main one can be cut to the depth of the screwdriver chuck in length.
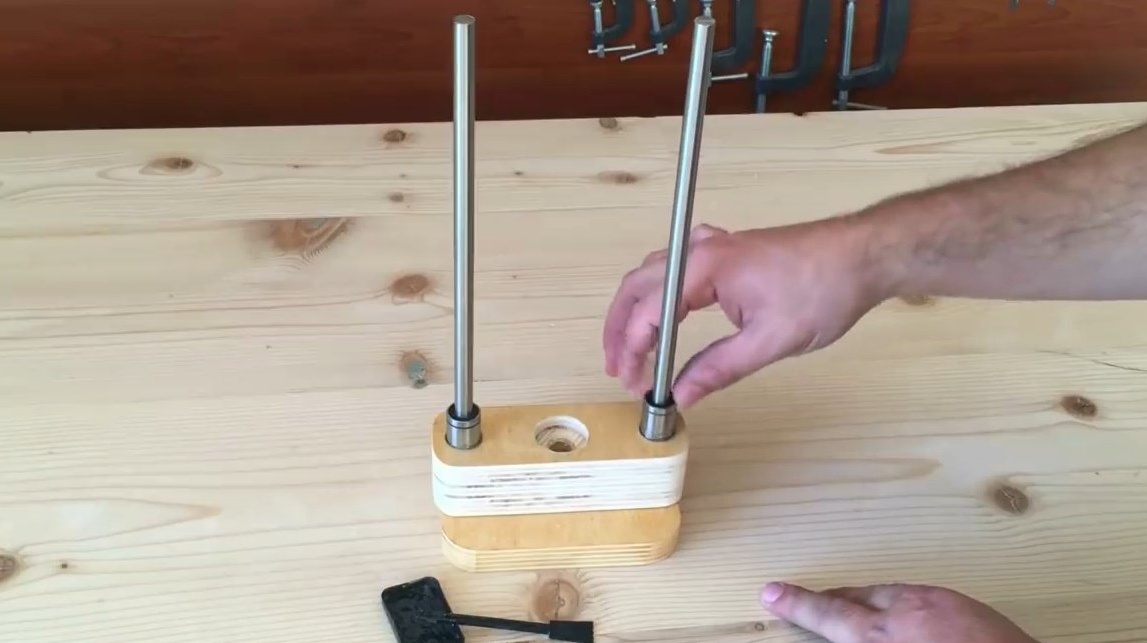
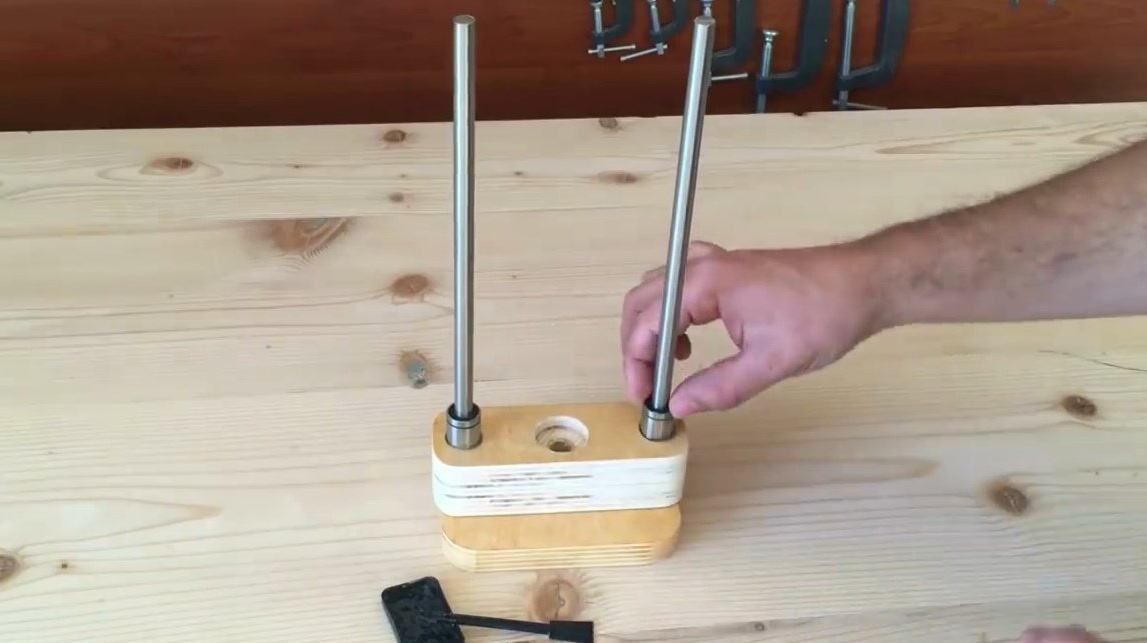
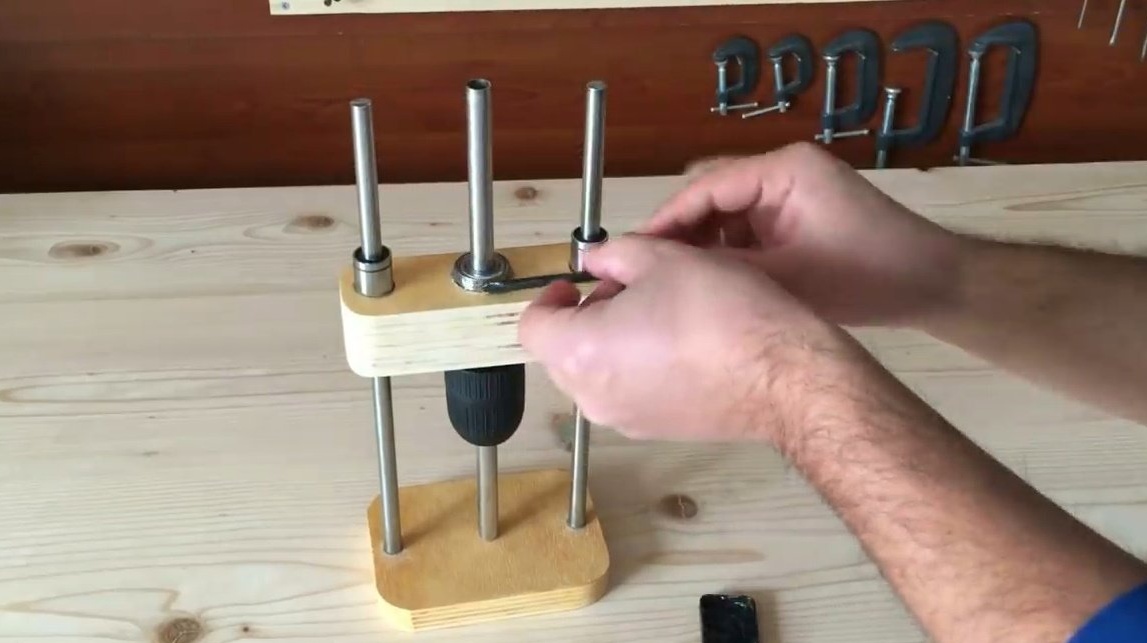
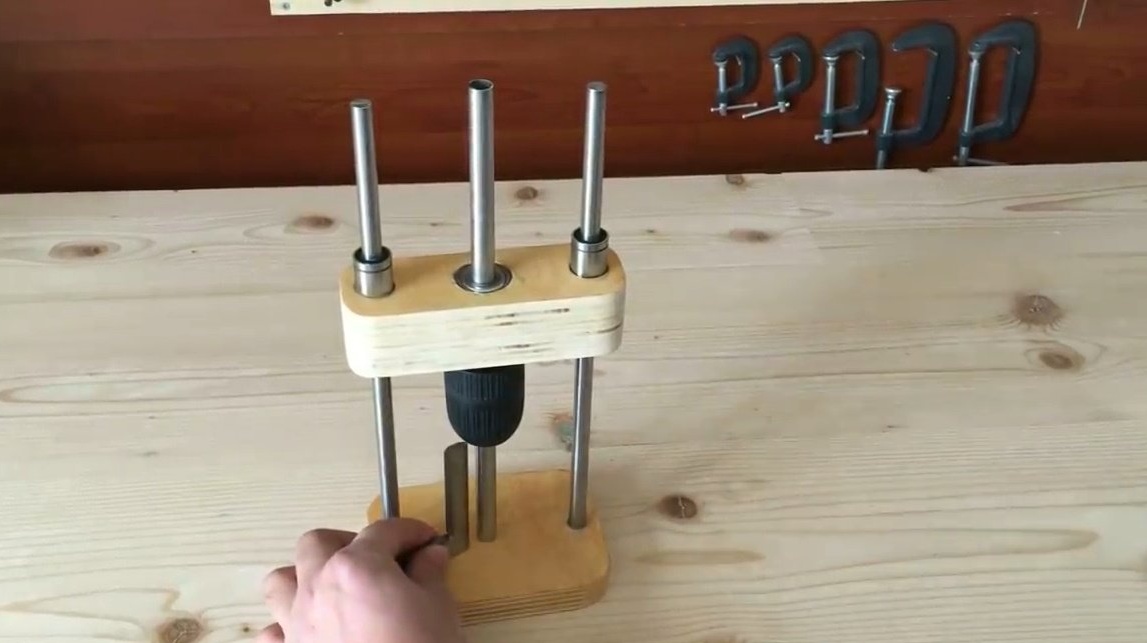
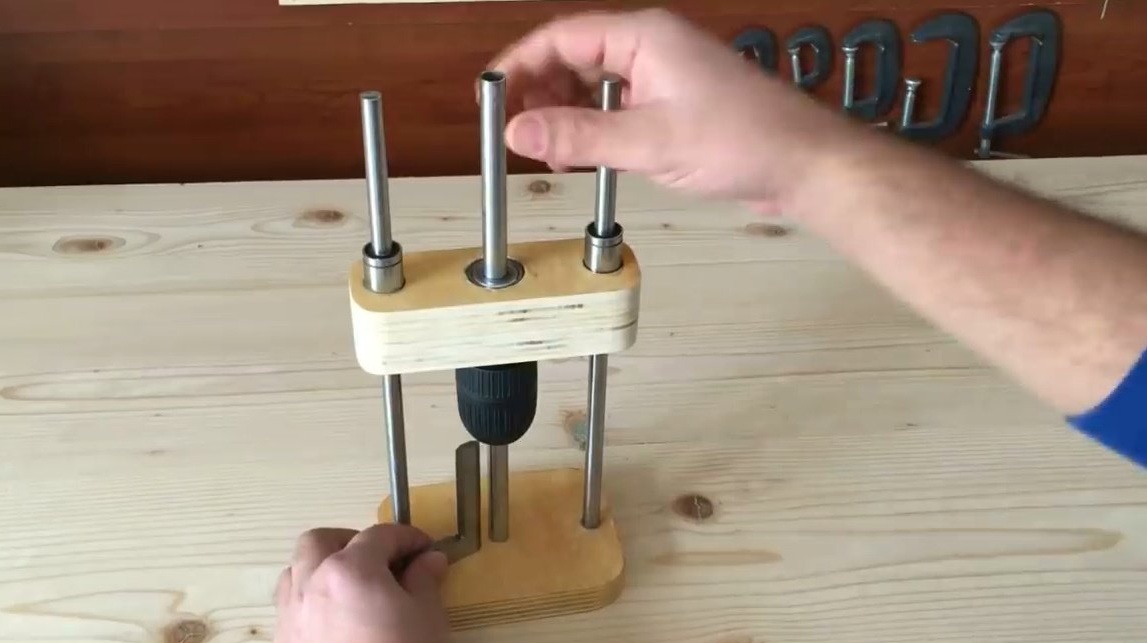
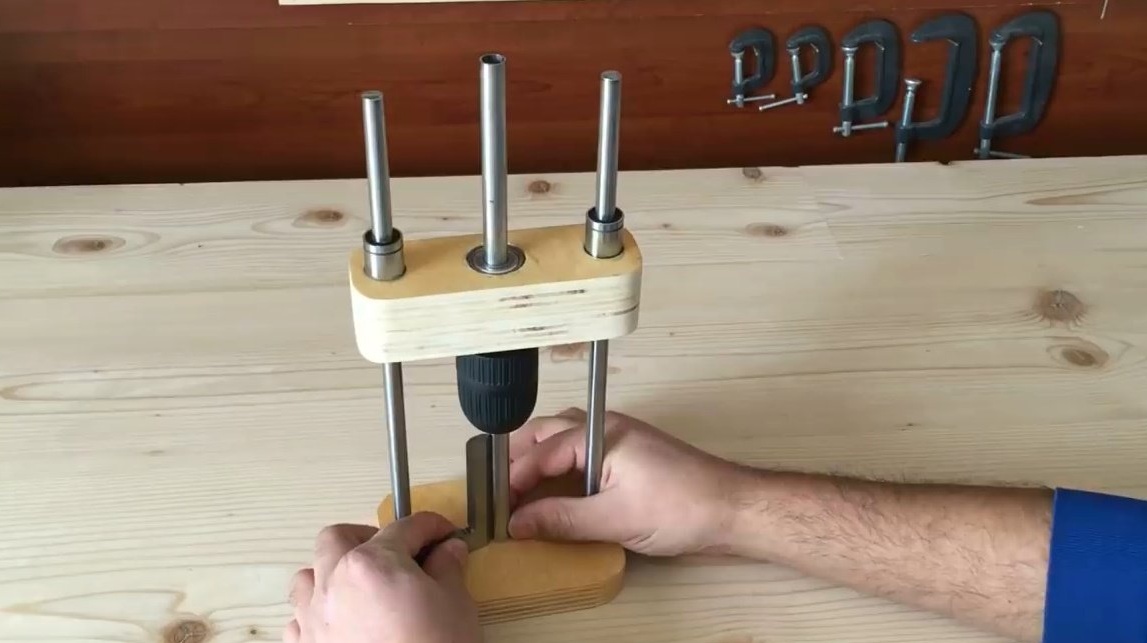
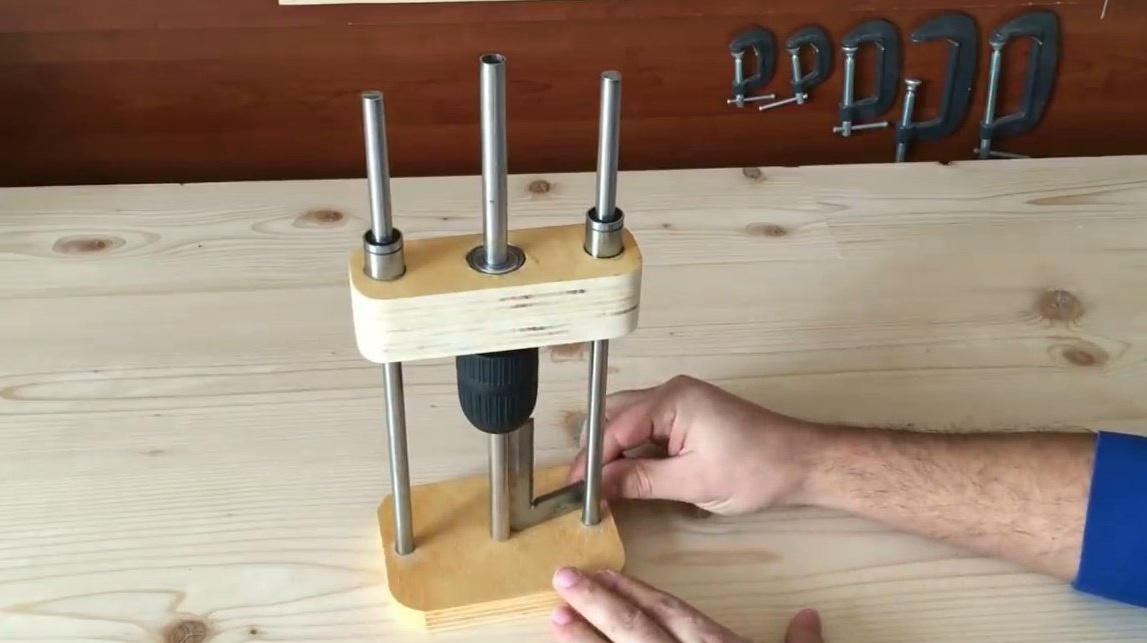
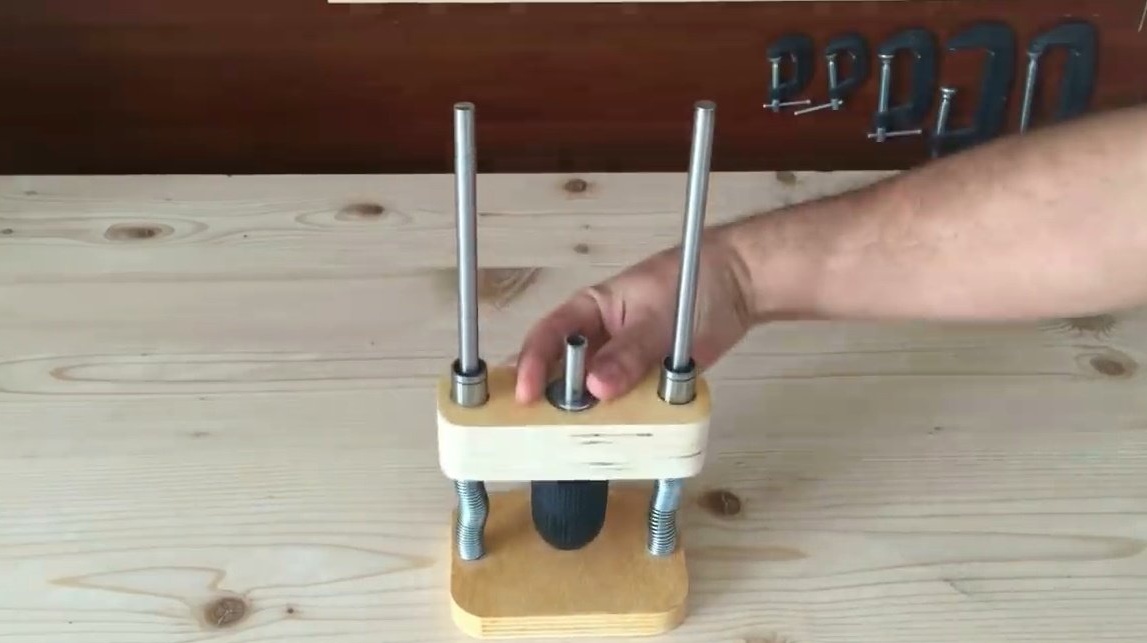
Now you can install the springs on the rails, and the washers on top of them.
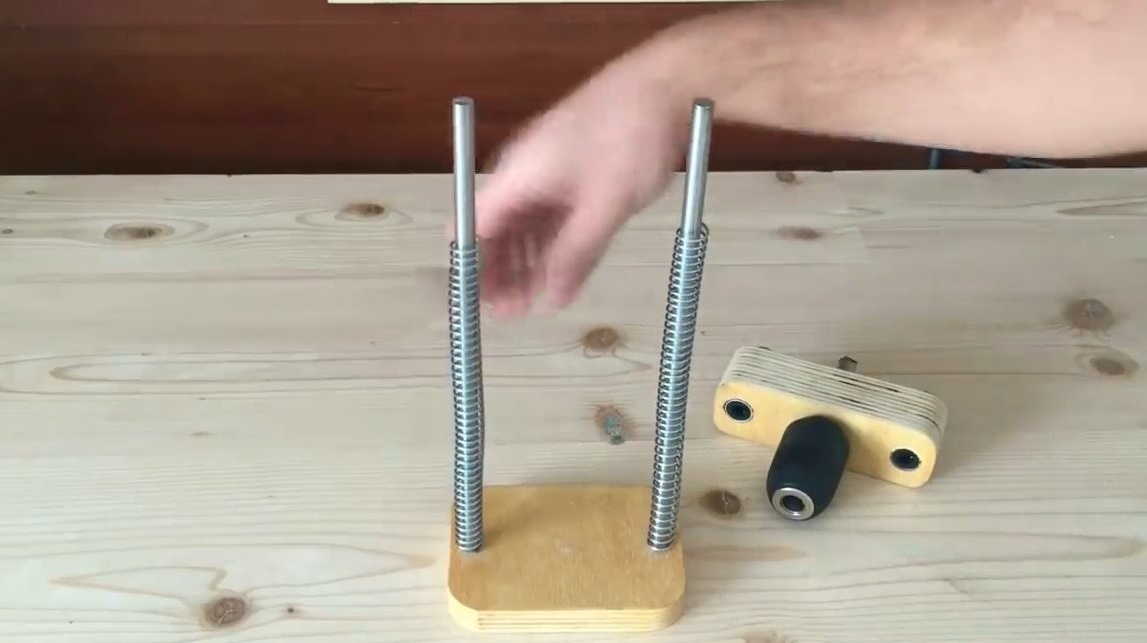
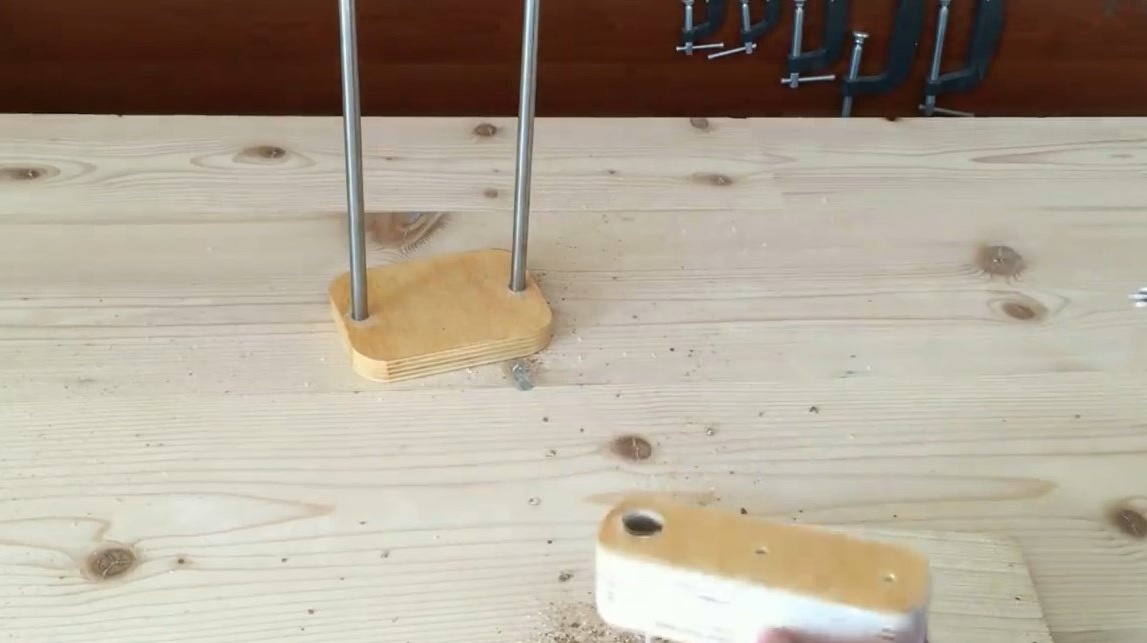
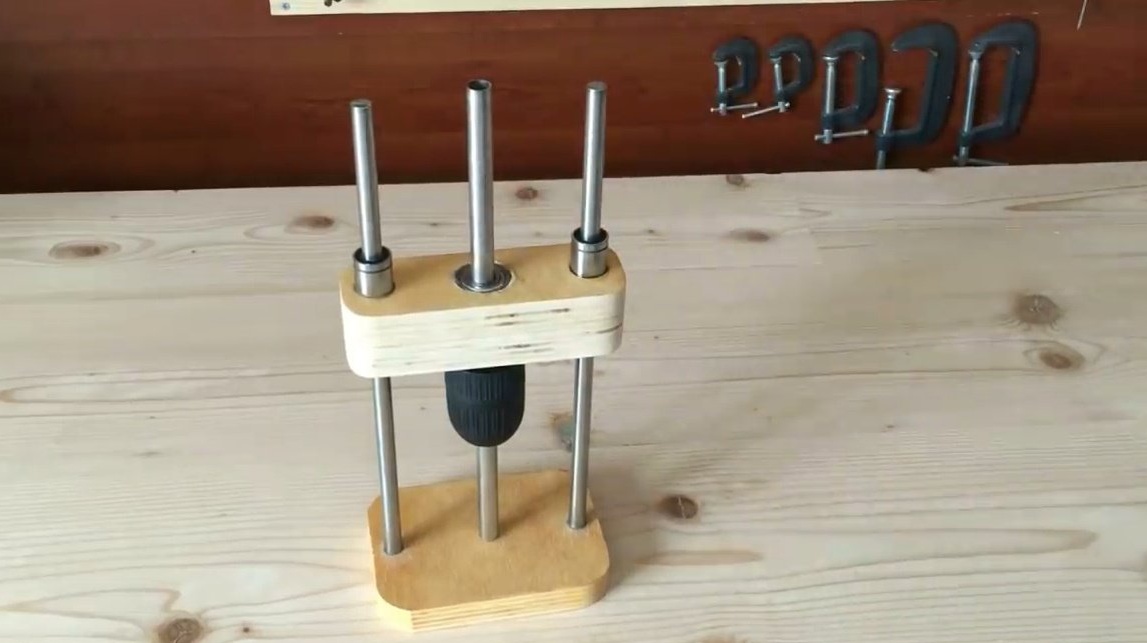
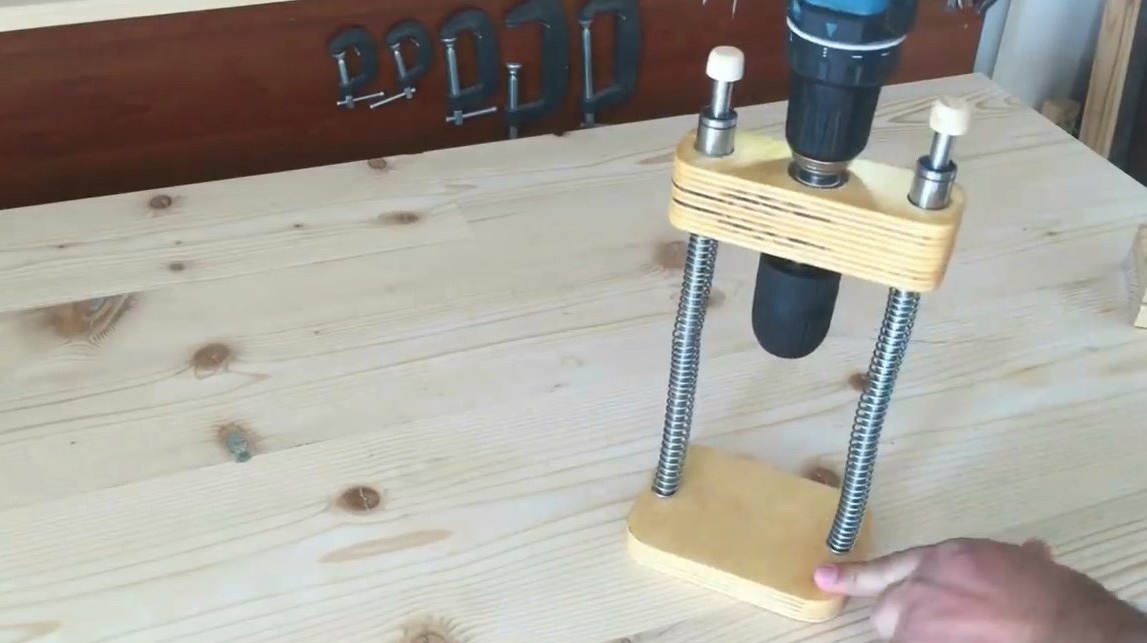
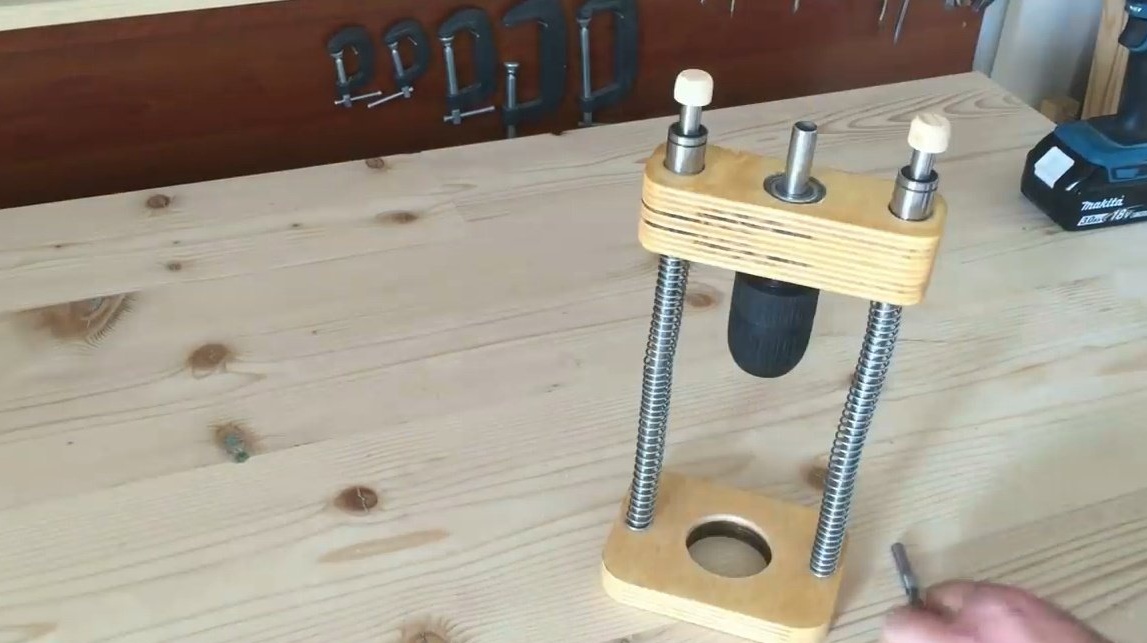
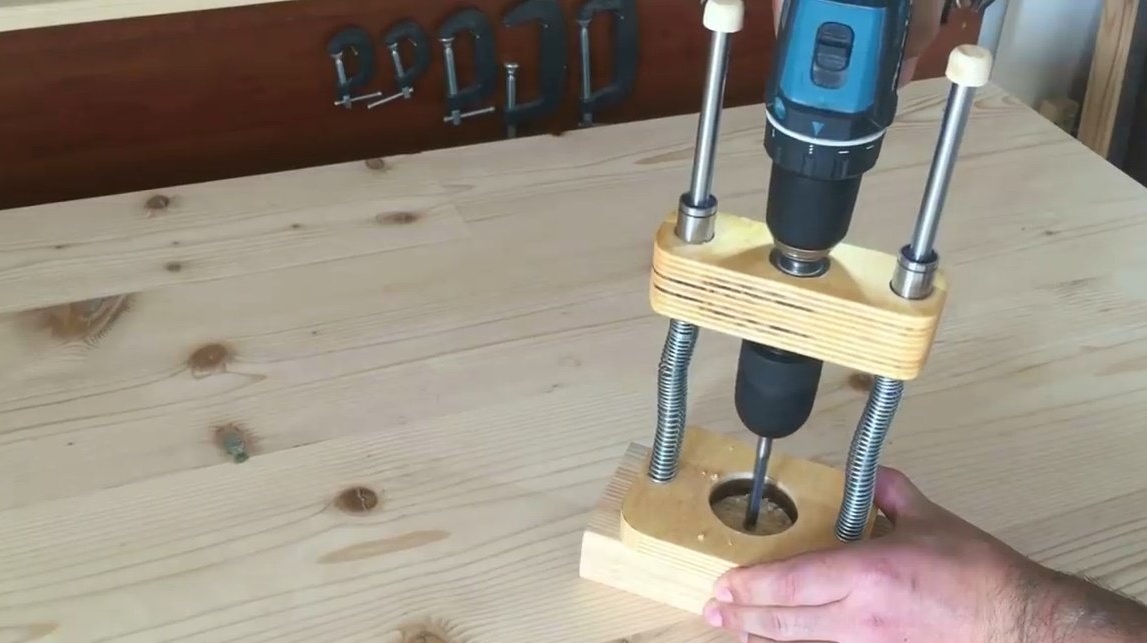
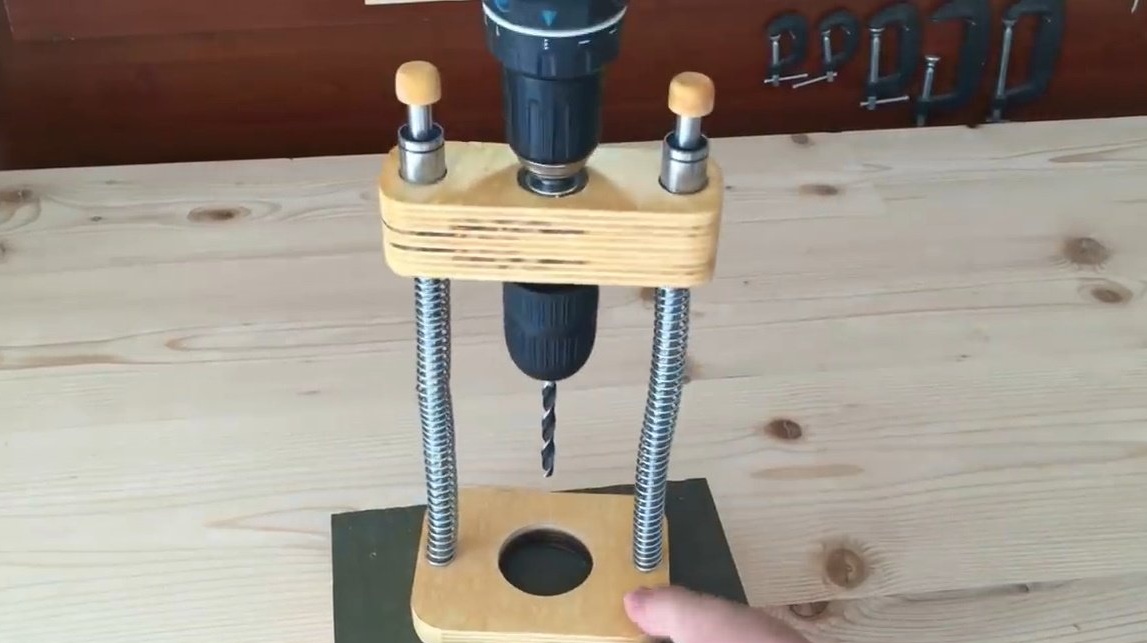
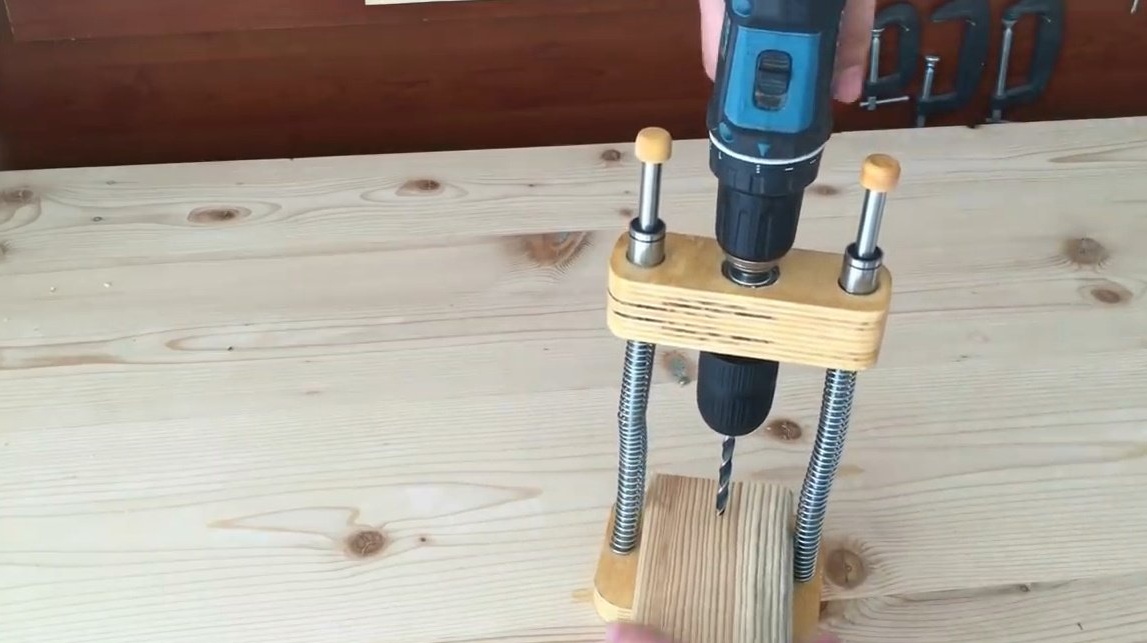
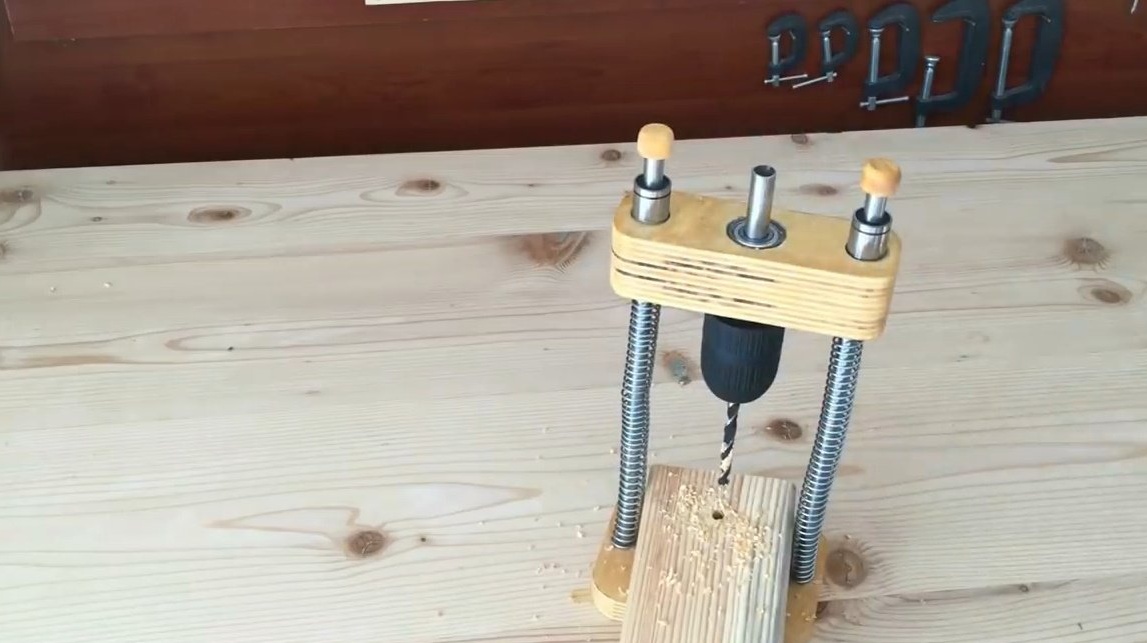
The main part of the mechanism is ready, the cartridge reaches the base.
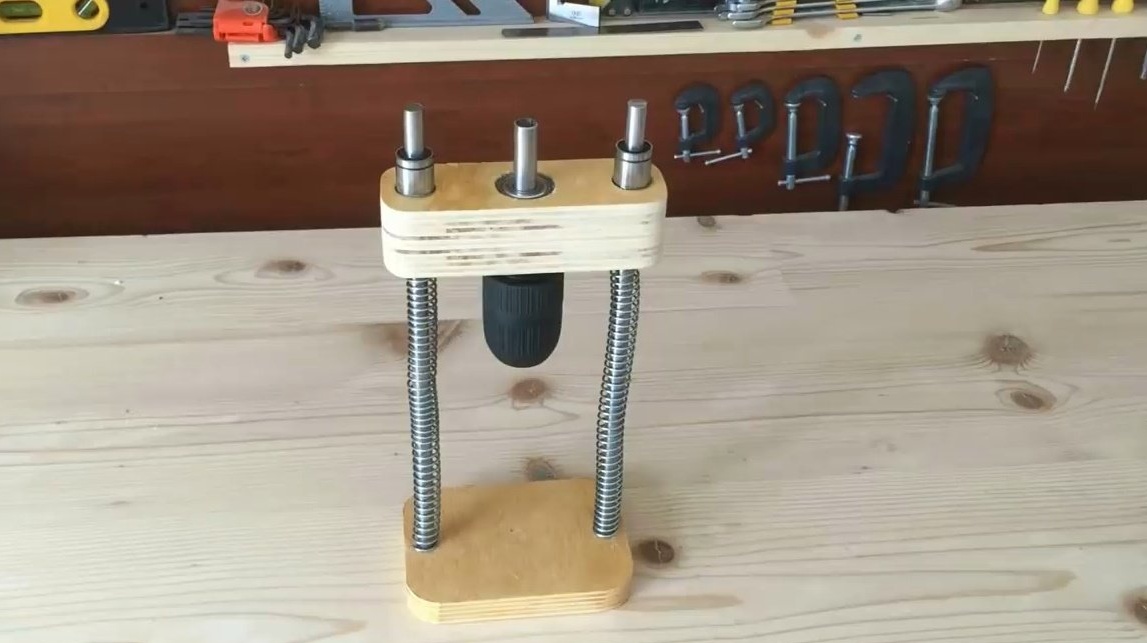
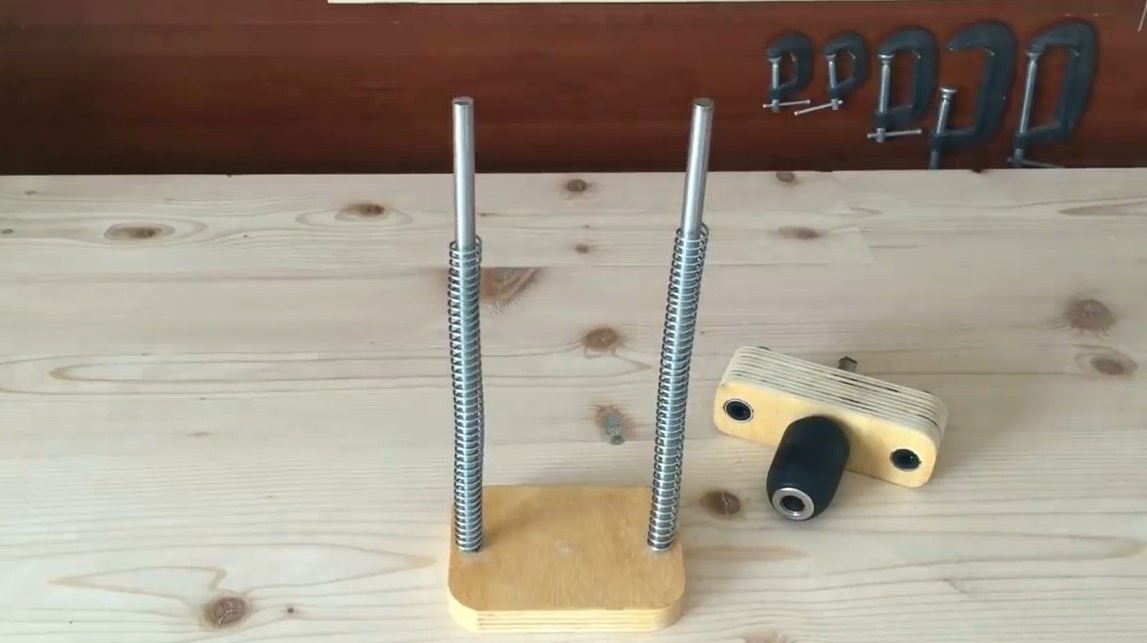
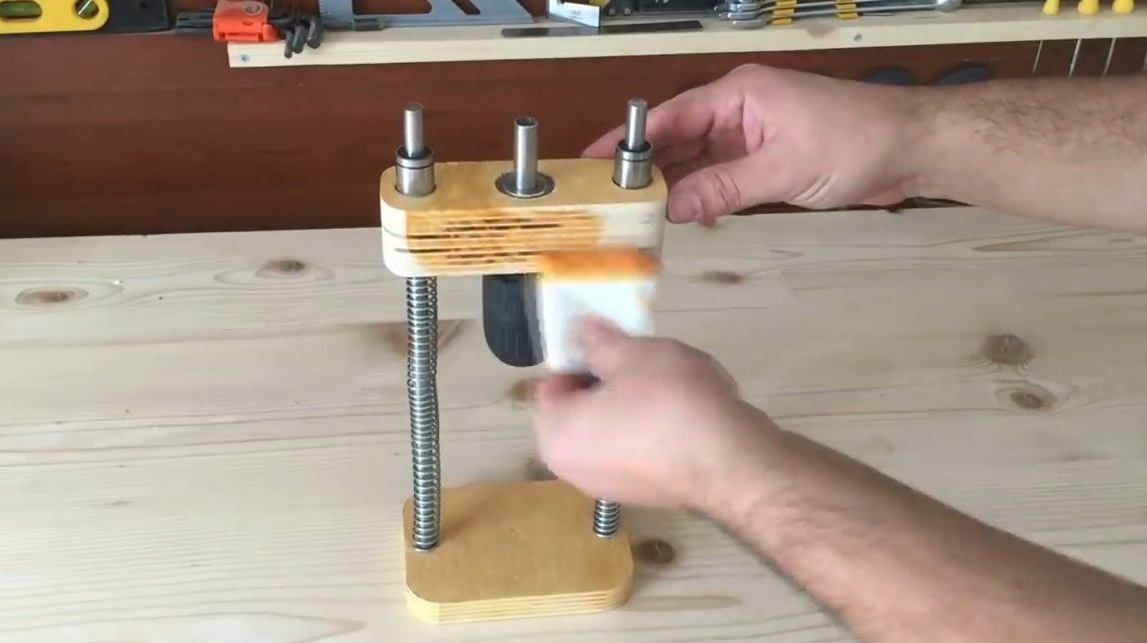
Mandatory treatment - oil and wax impregnation of all wooden structural elements.
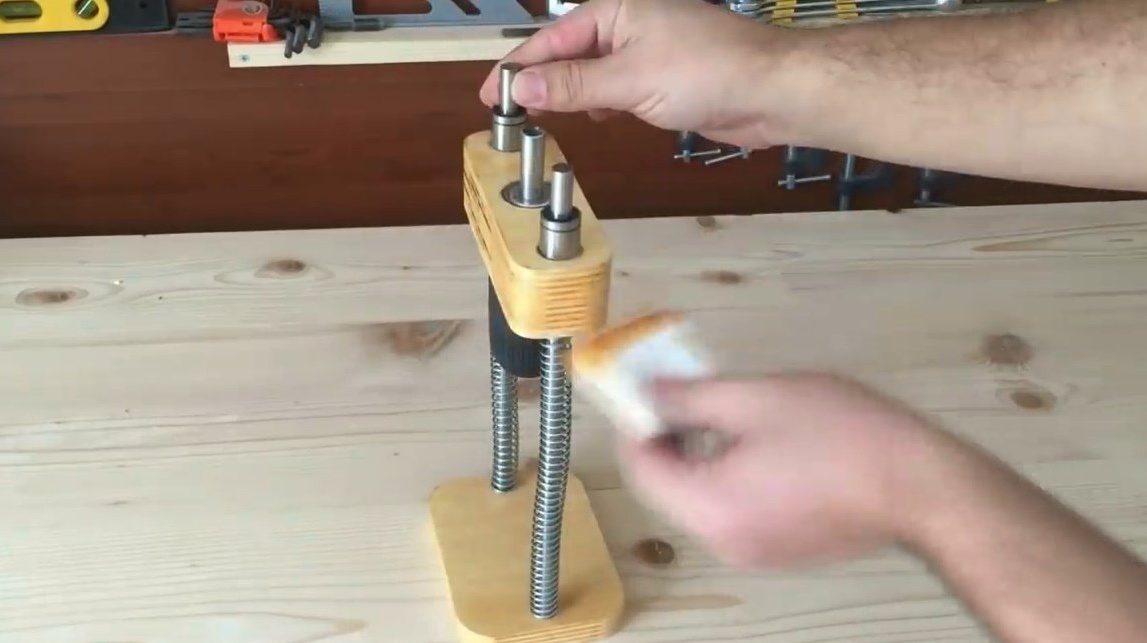
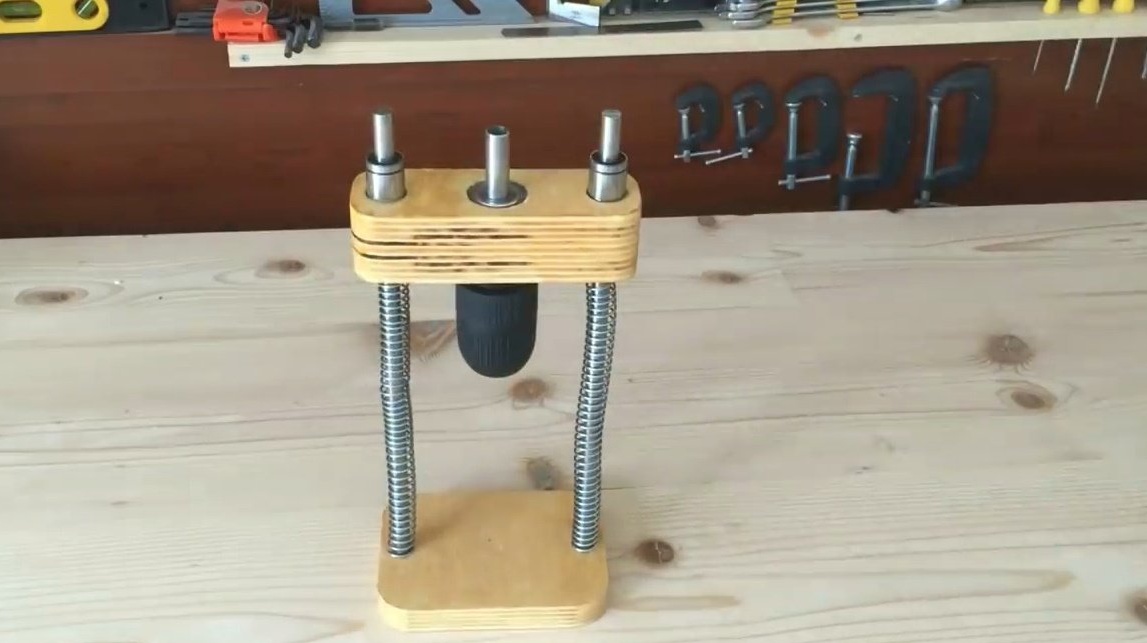
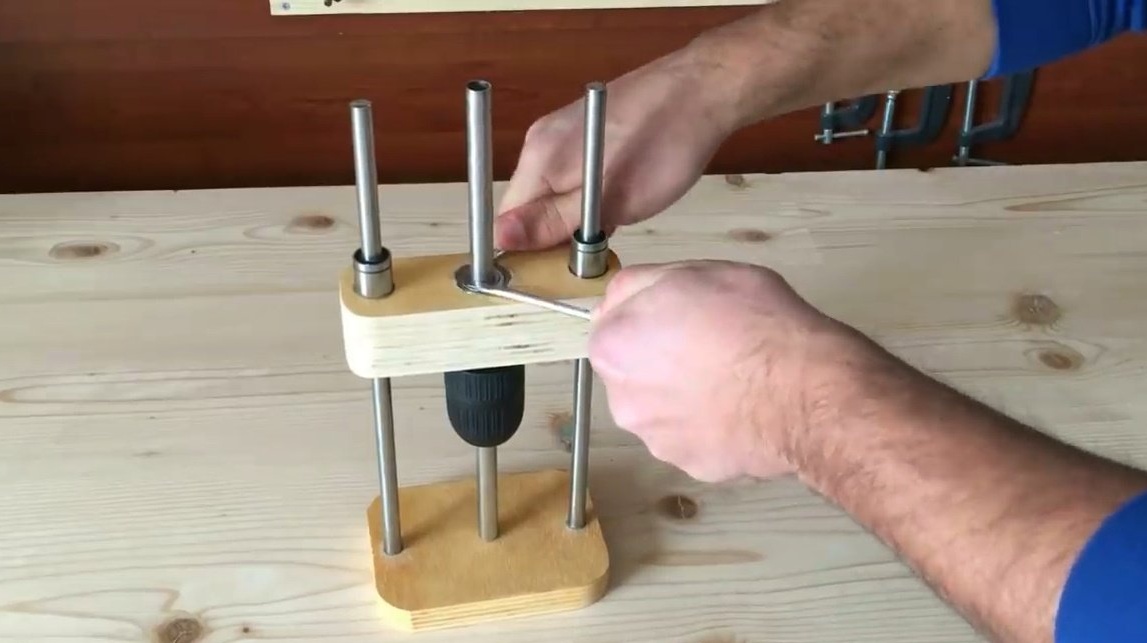
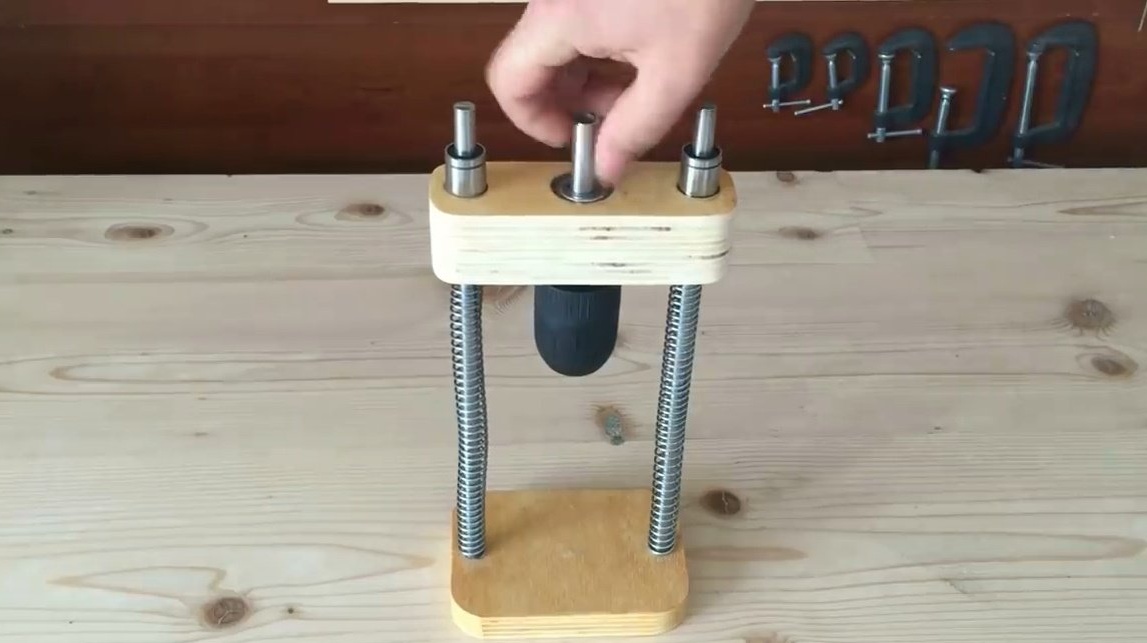
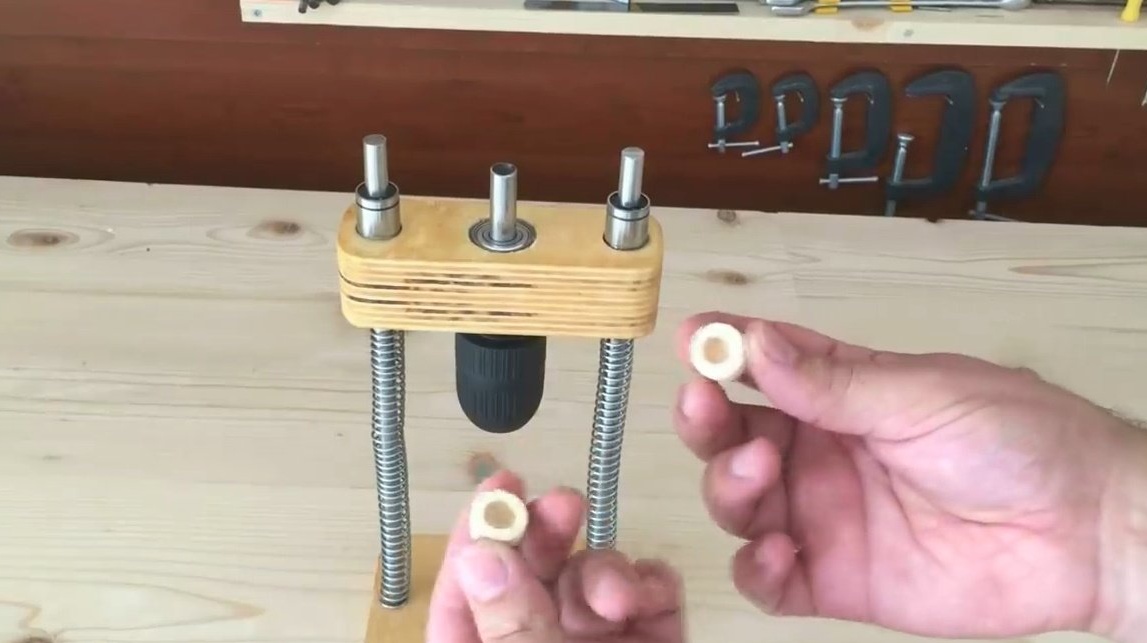
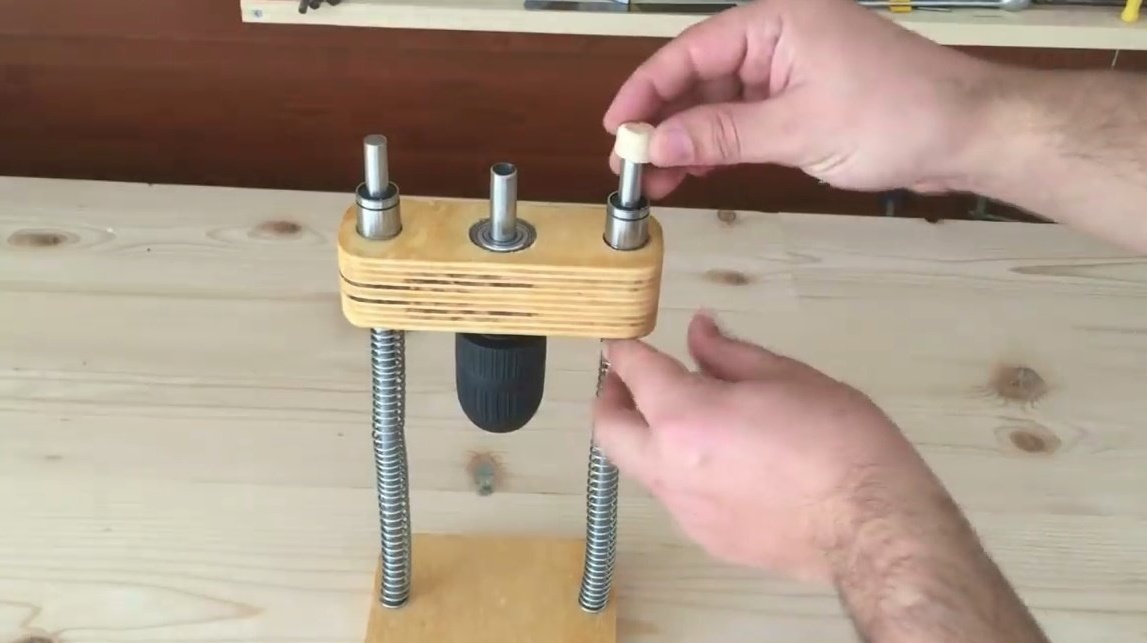
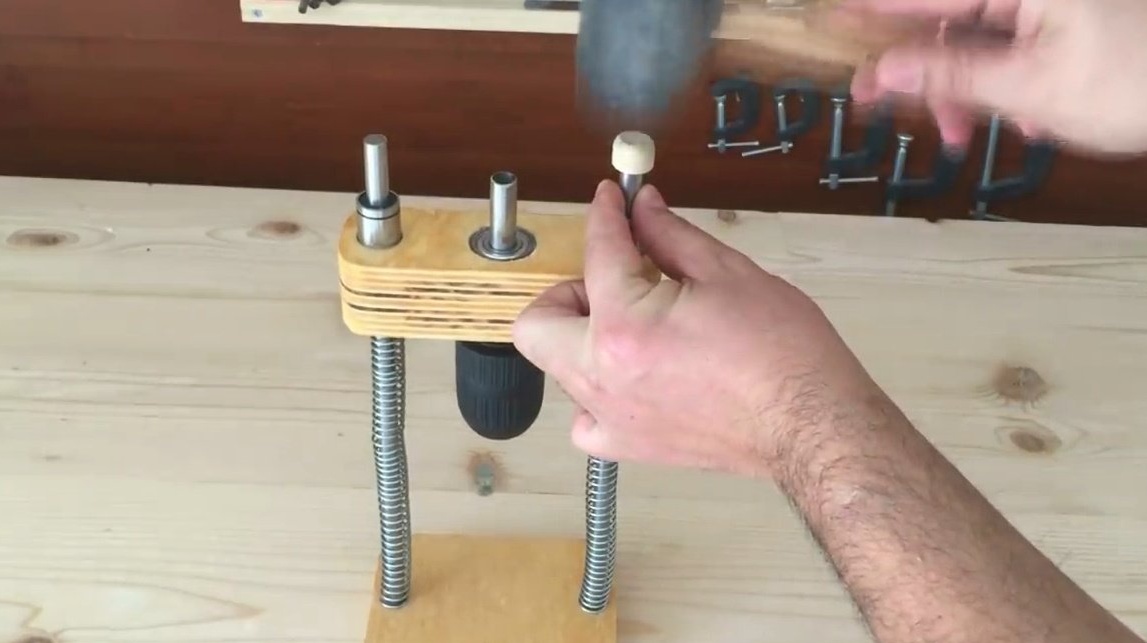
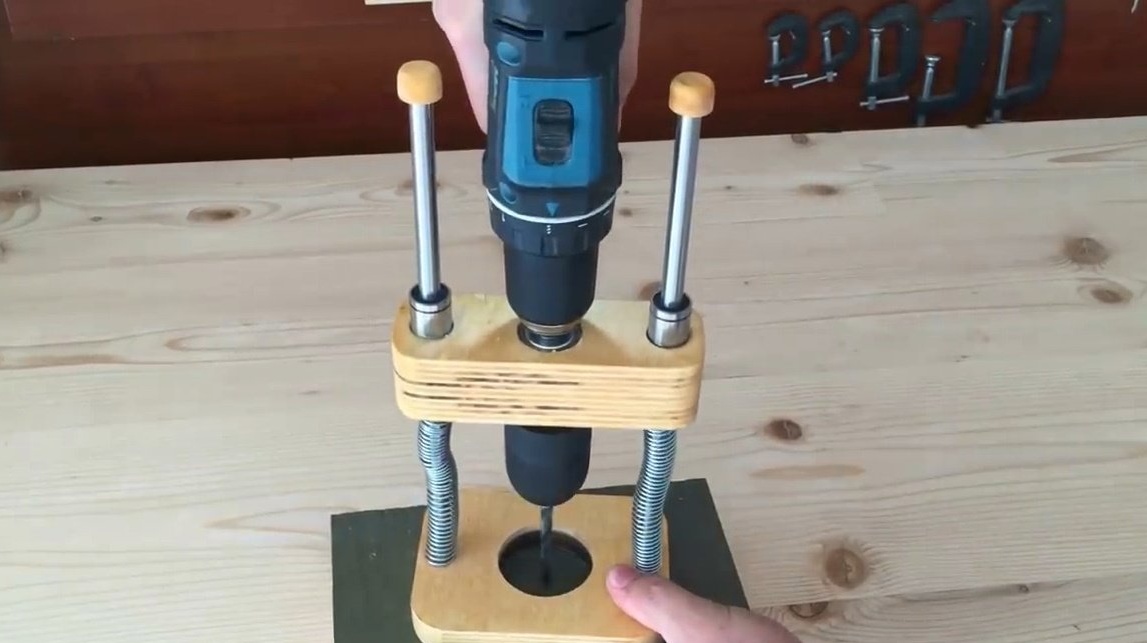
There was one final touch - install plastic plugs on top of the rails.
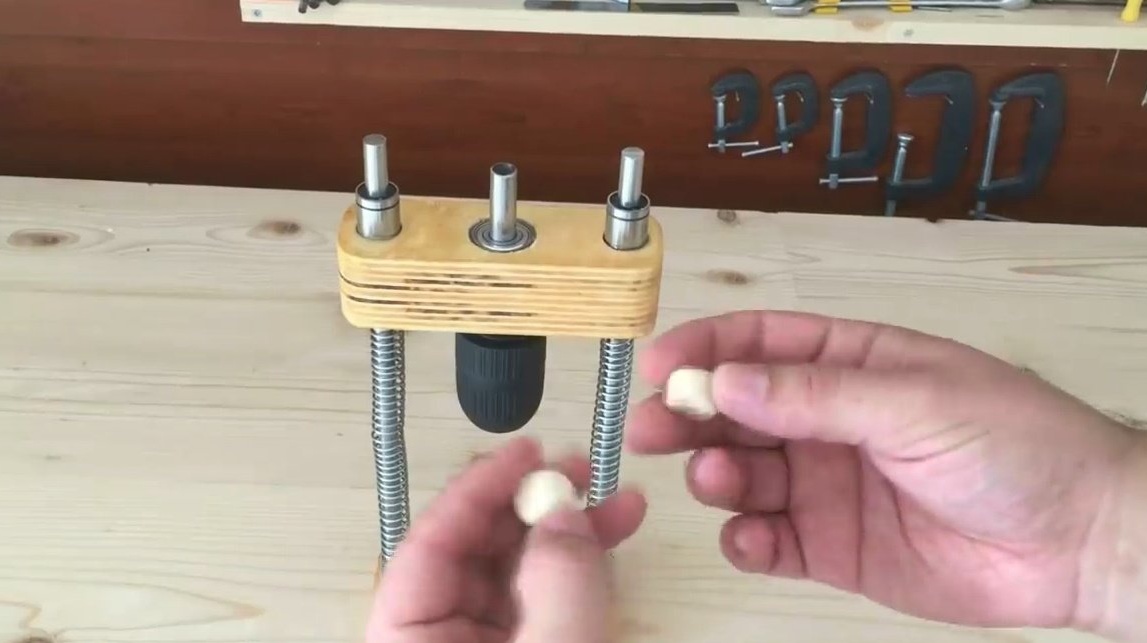
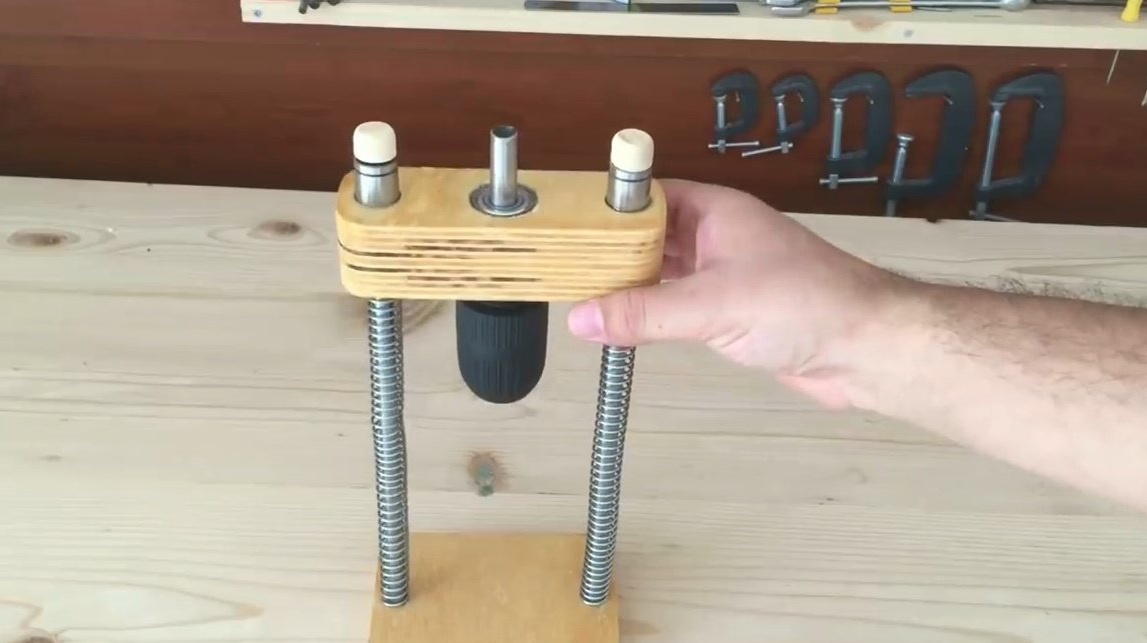
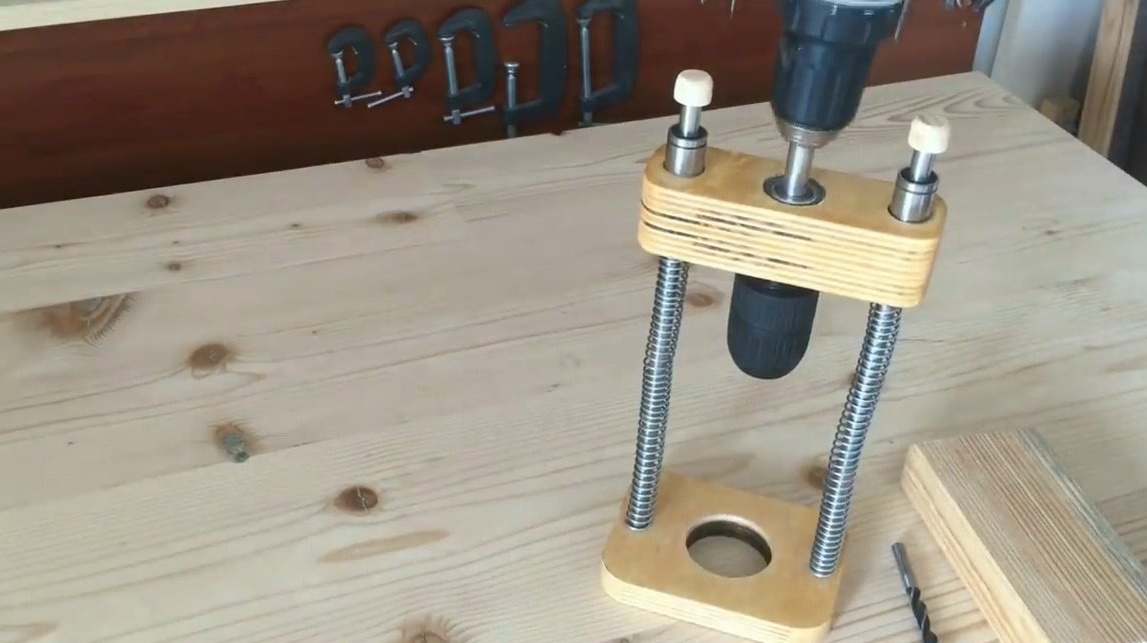
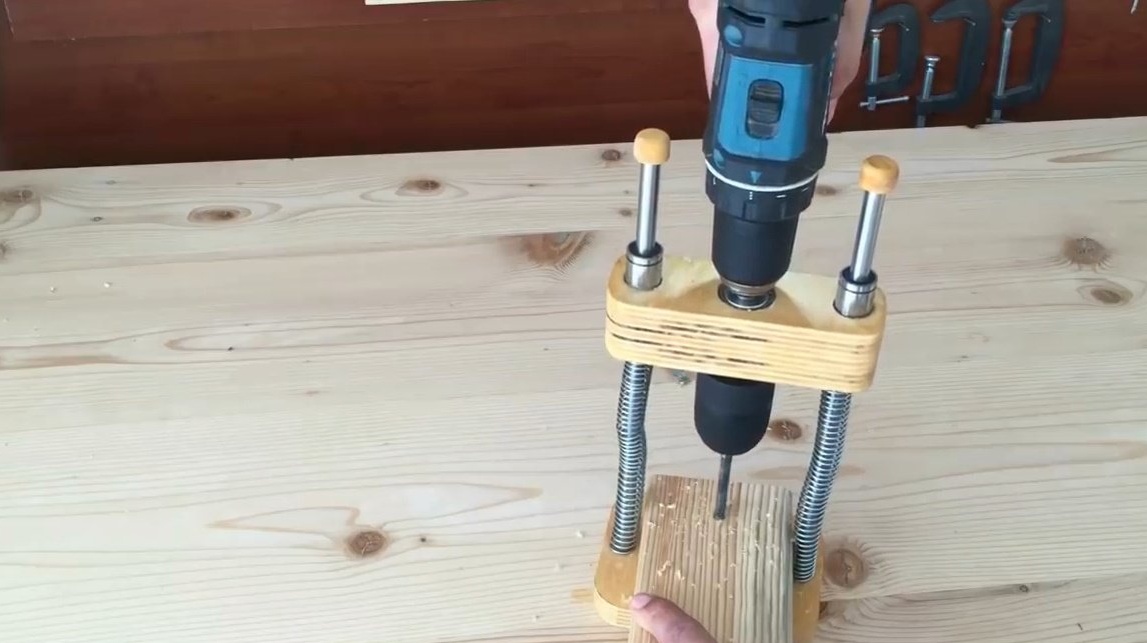
A screwdriver chuck clamps onto the top of the nozzle.
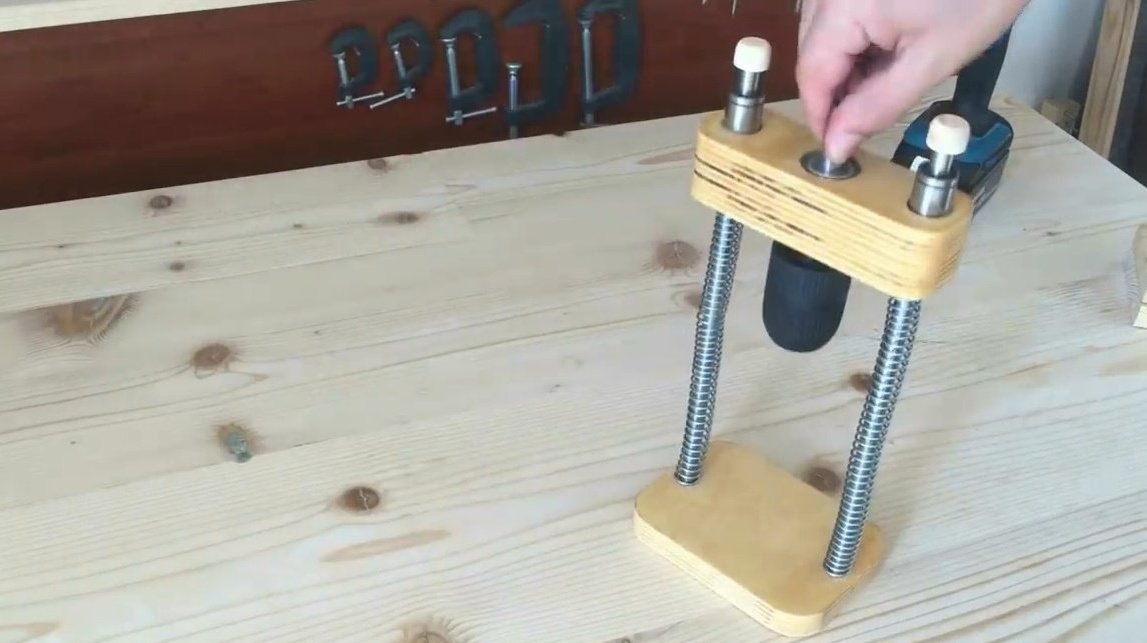
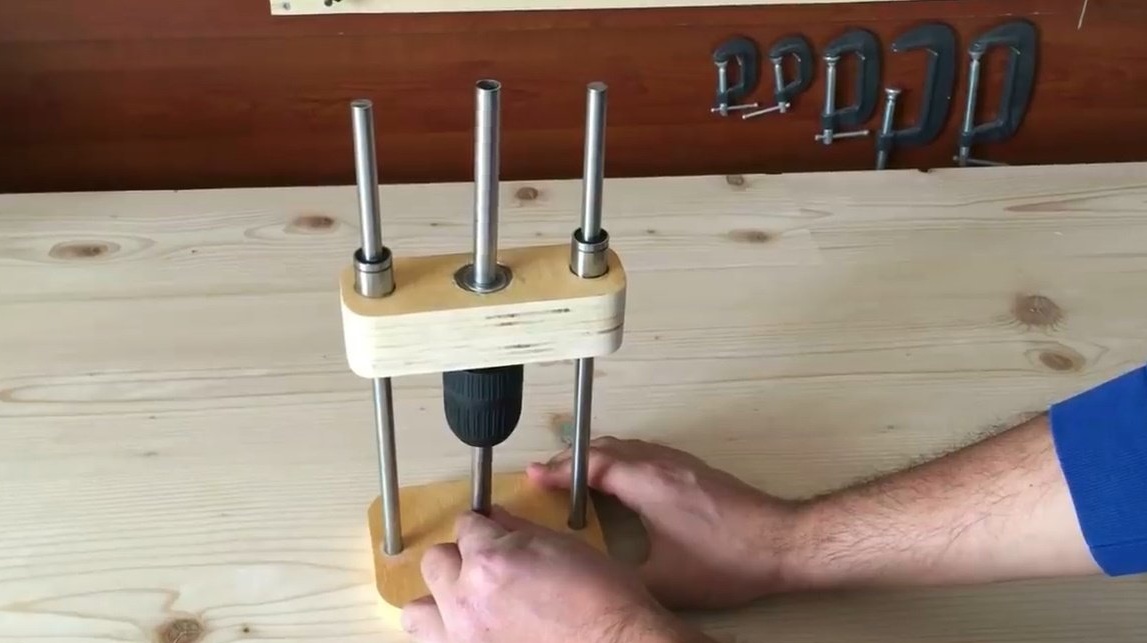
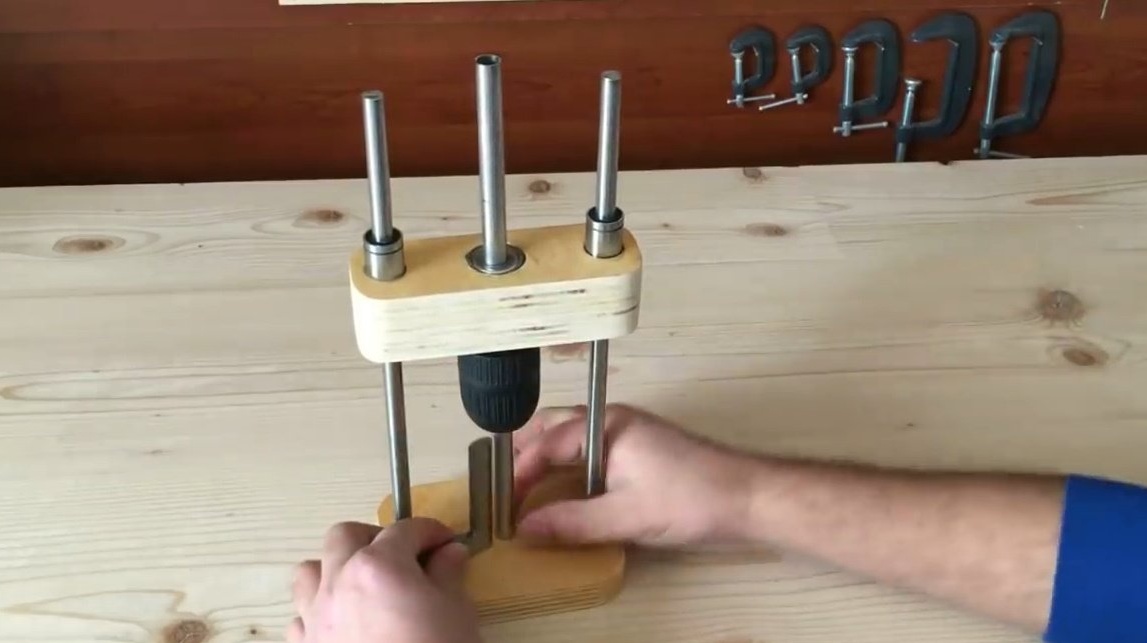
Installs a crown in the lower cartridge.
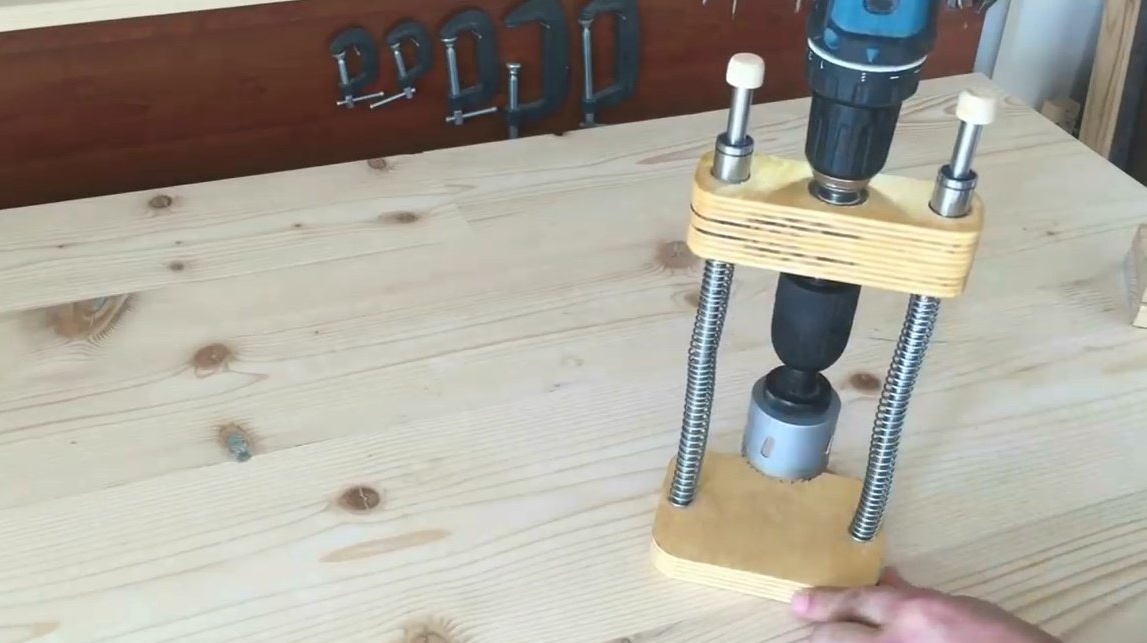

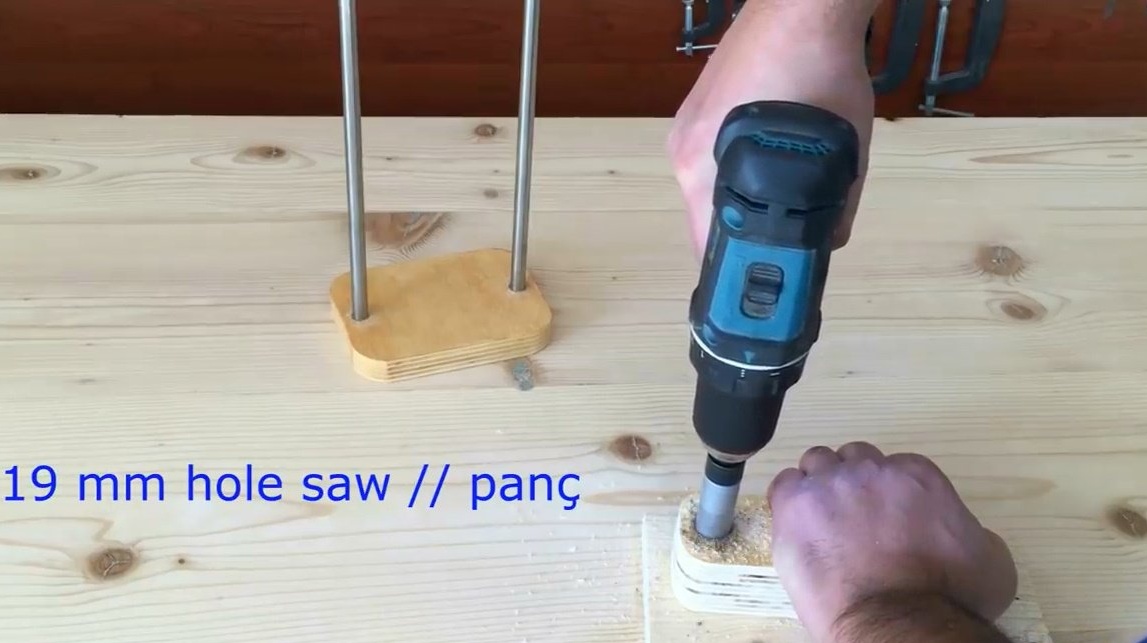
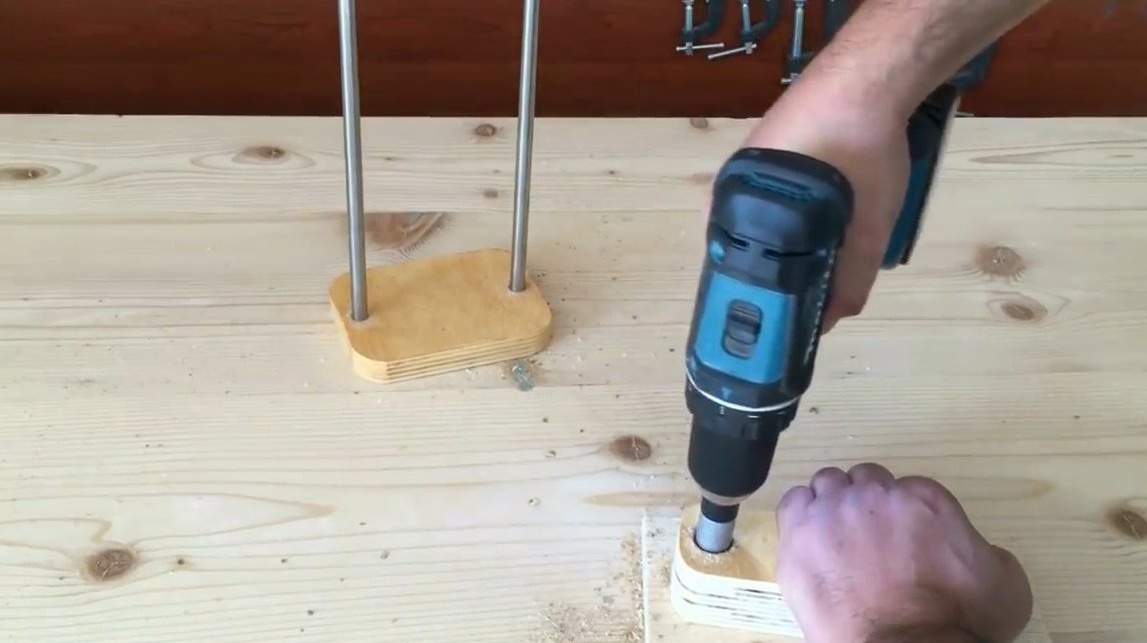
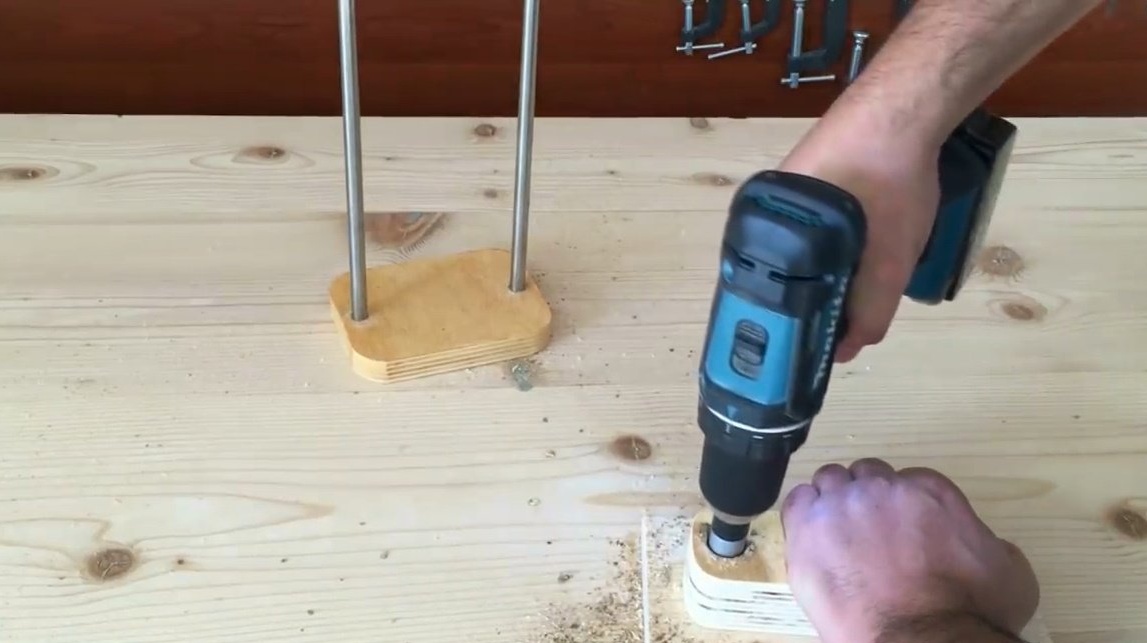
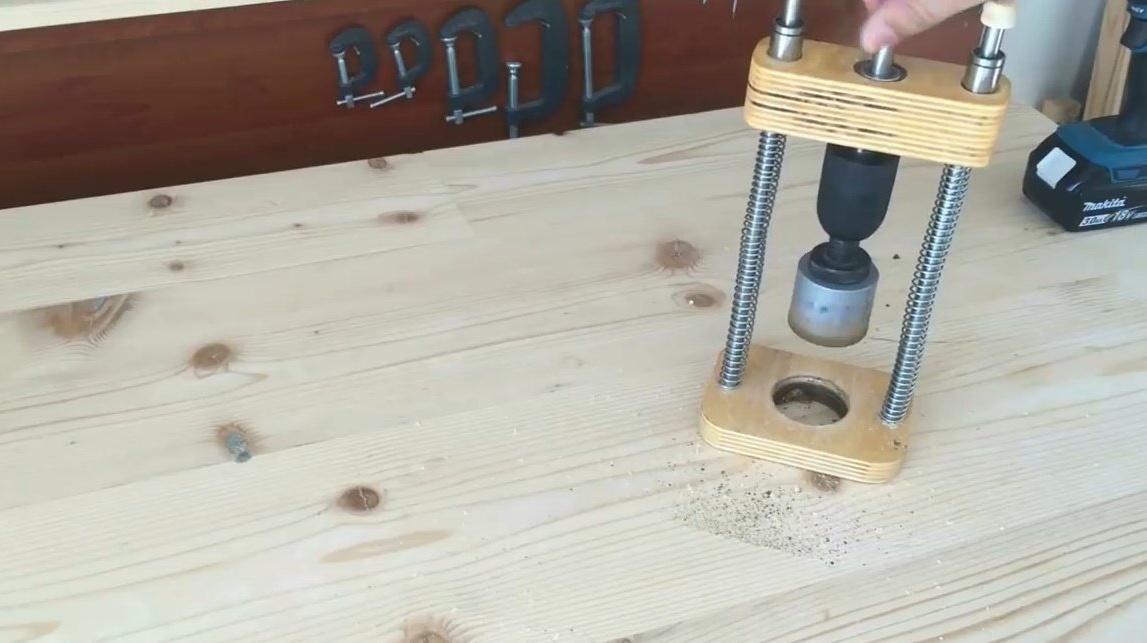
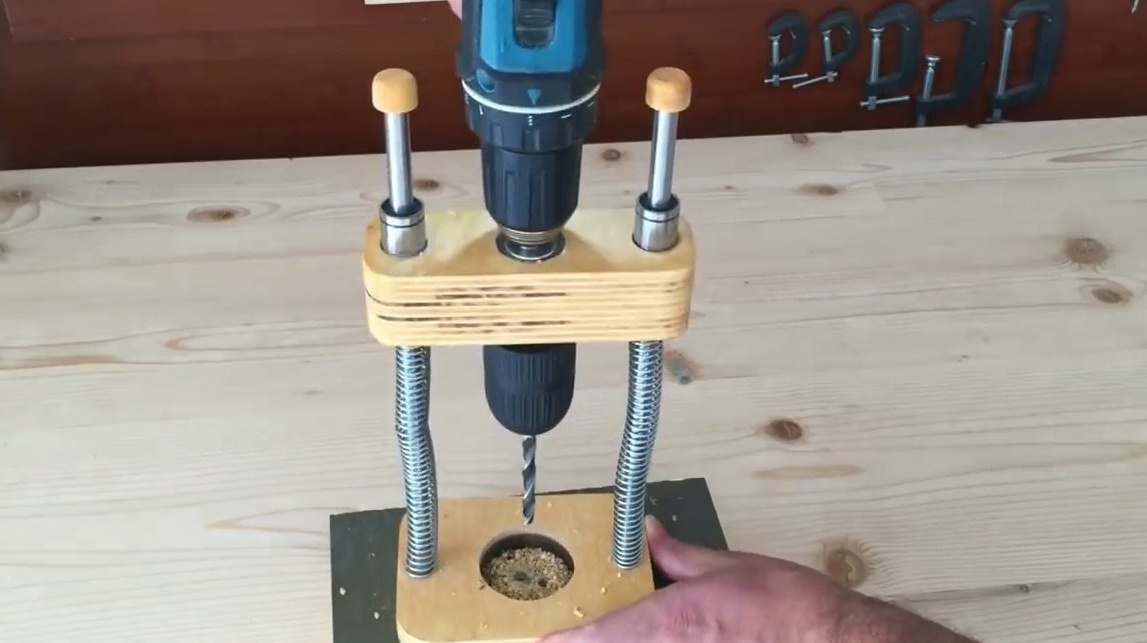
Using the stitch as a lining, you can now drill a hole in the base.
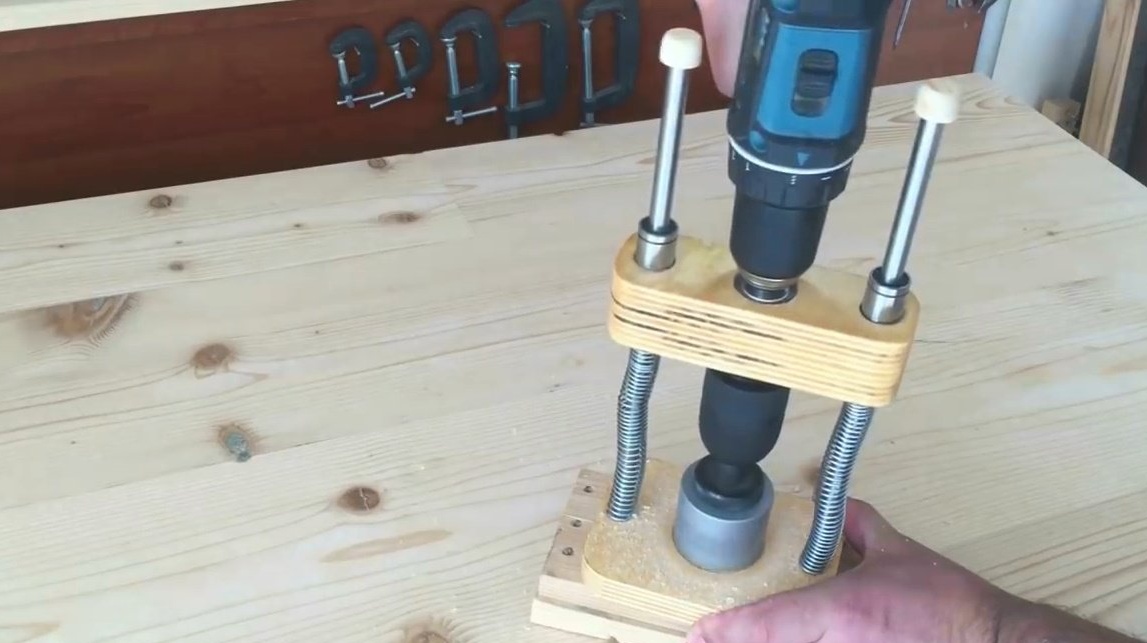
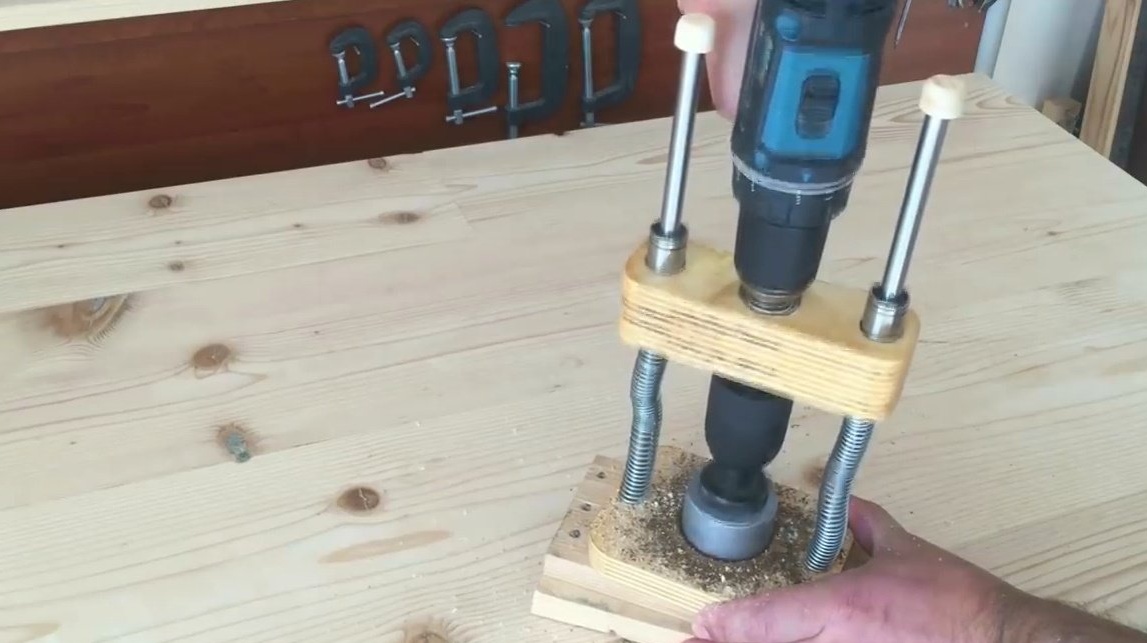
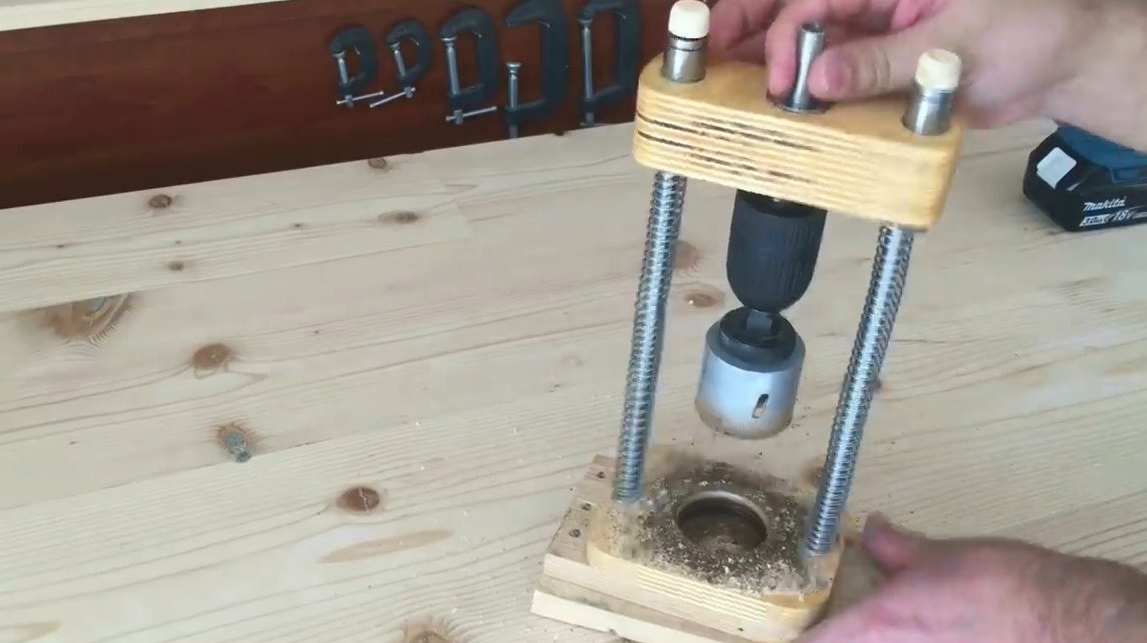
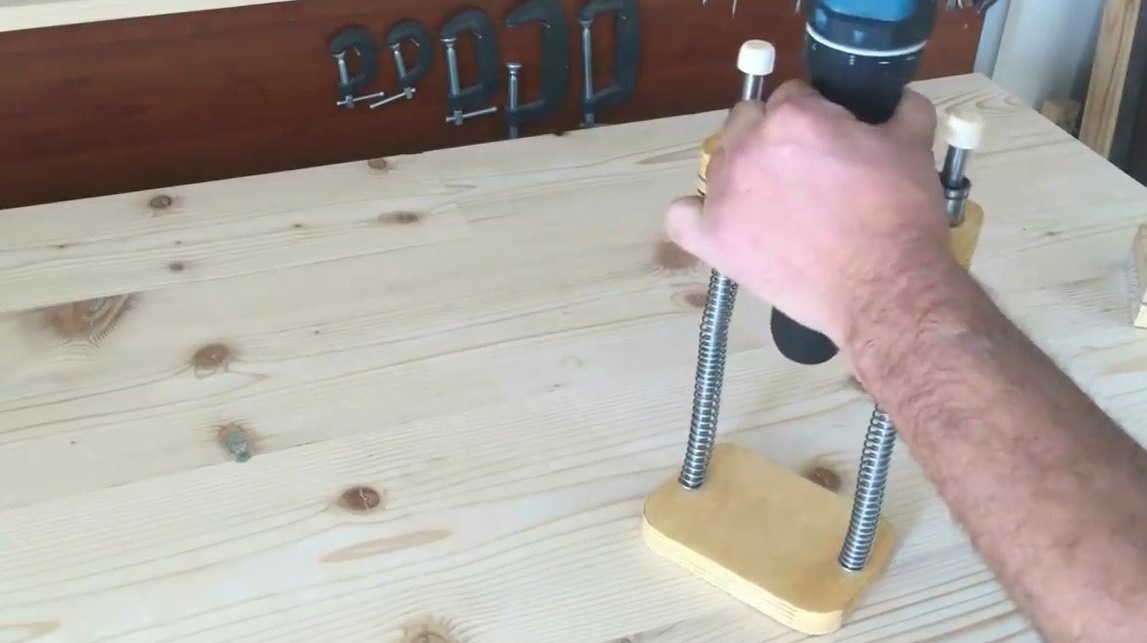
Everything, the nozzle is ready to work!
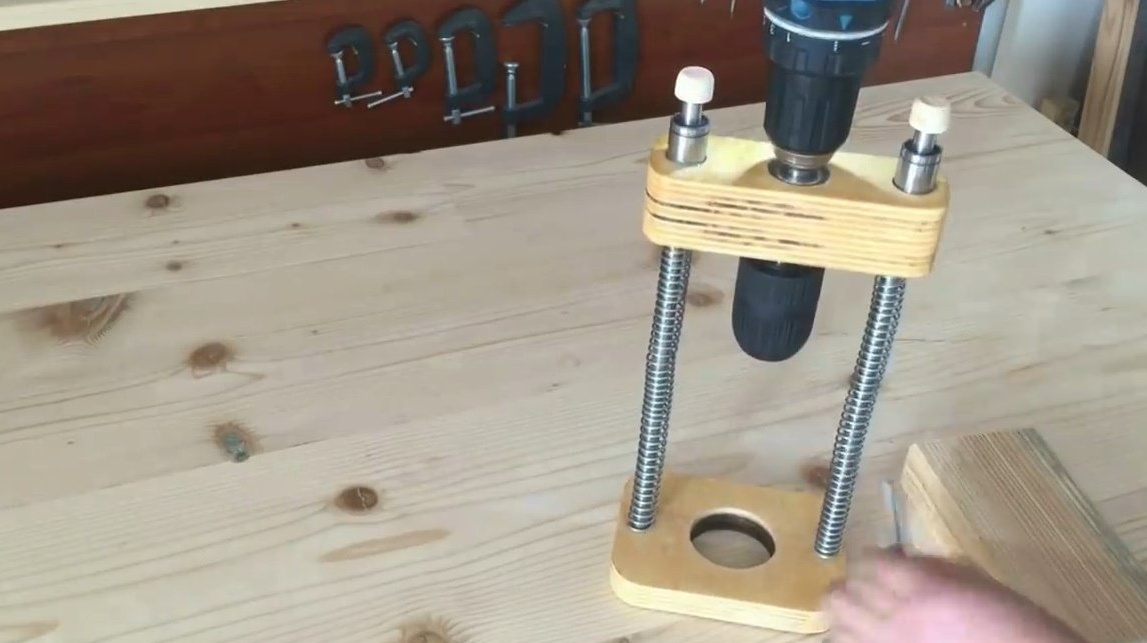
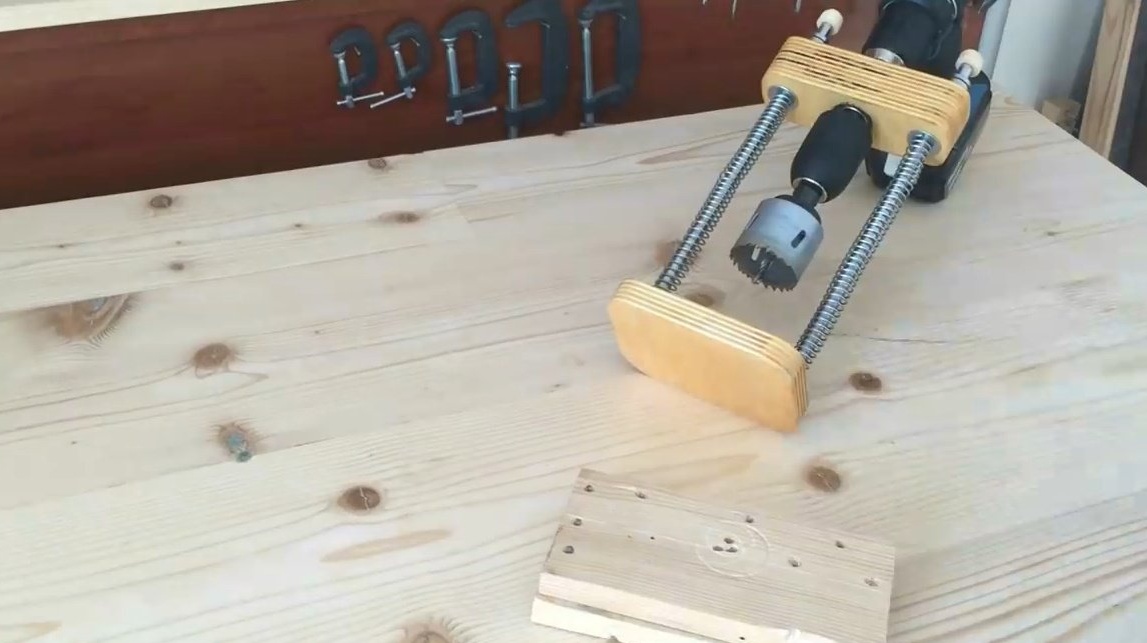
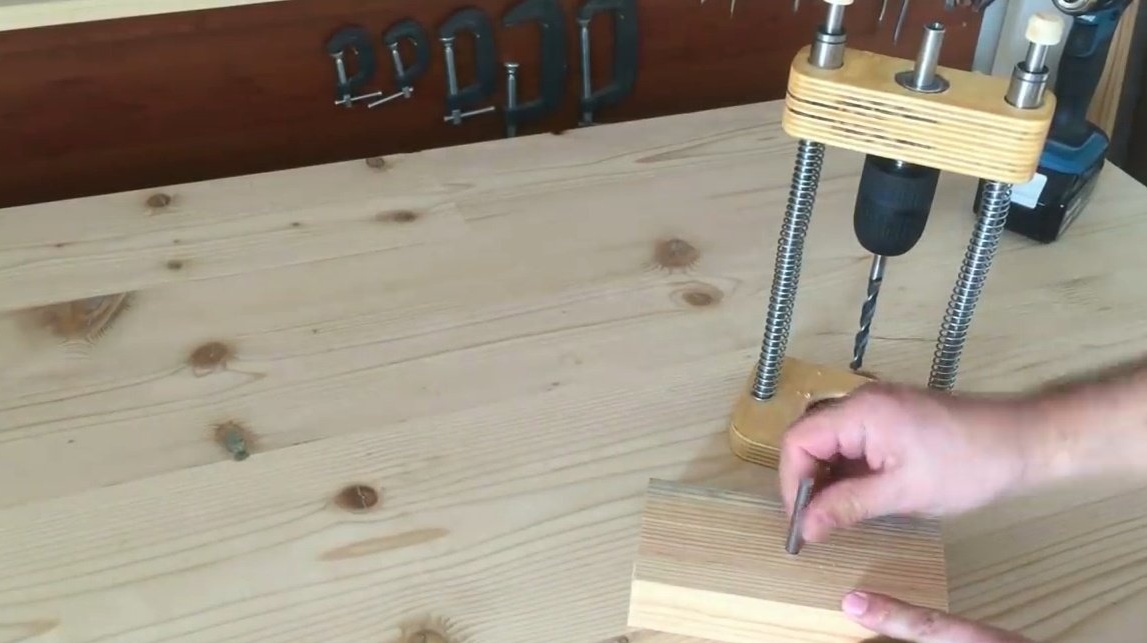
Sets the drill, and makes a test hole in the board.
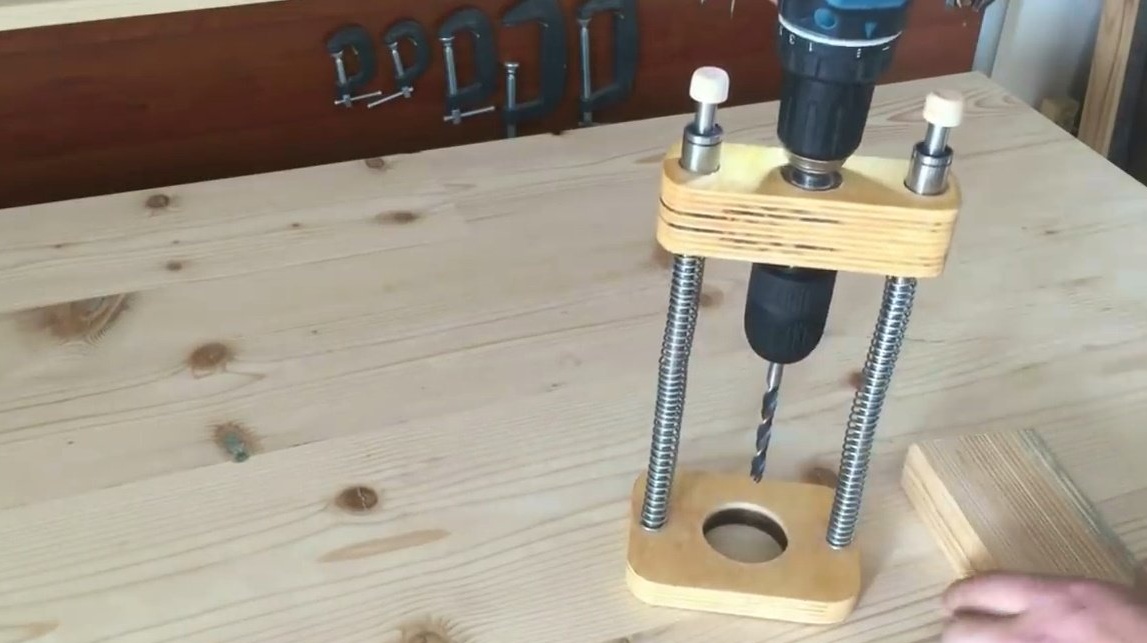
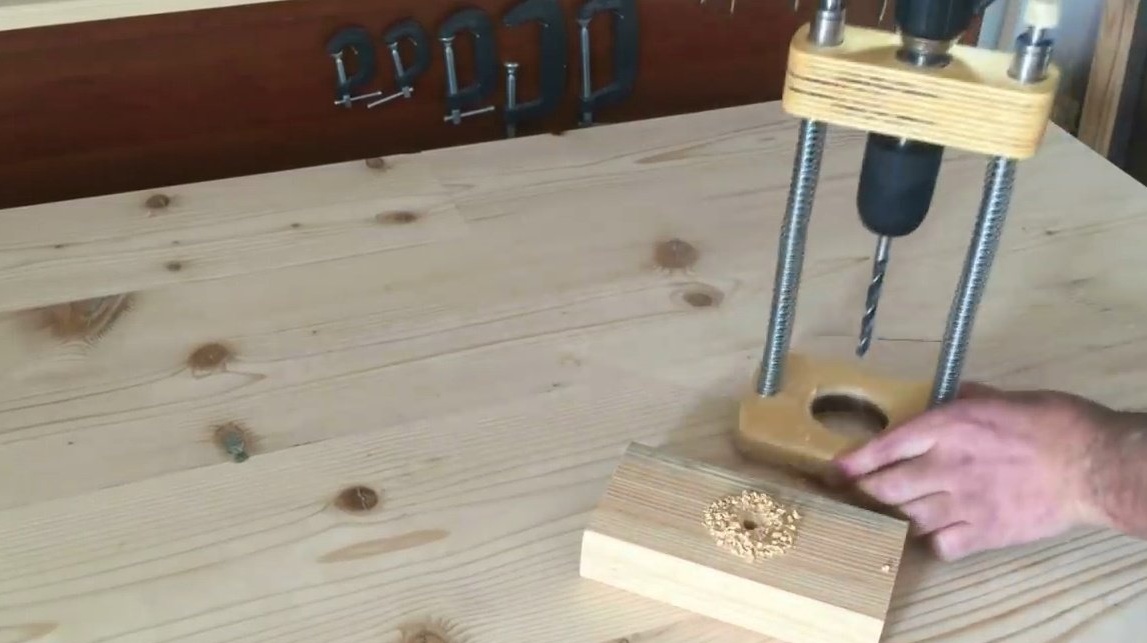
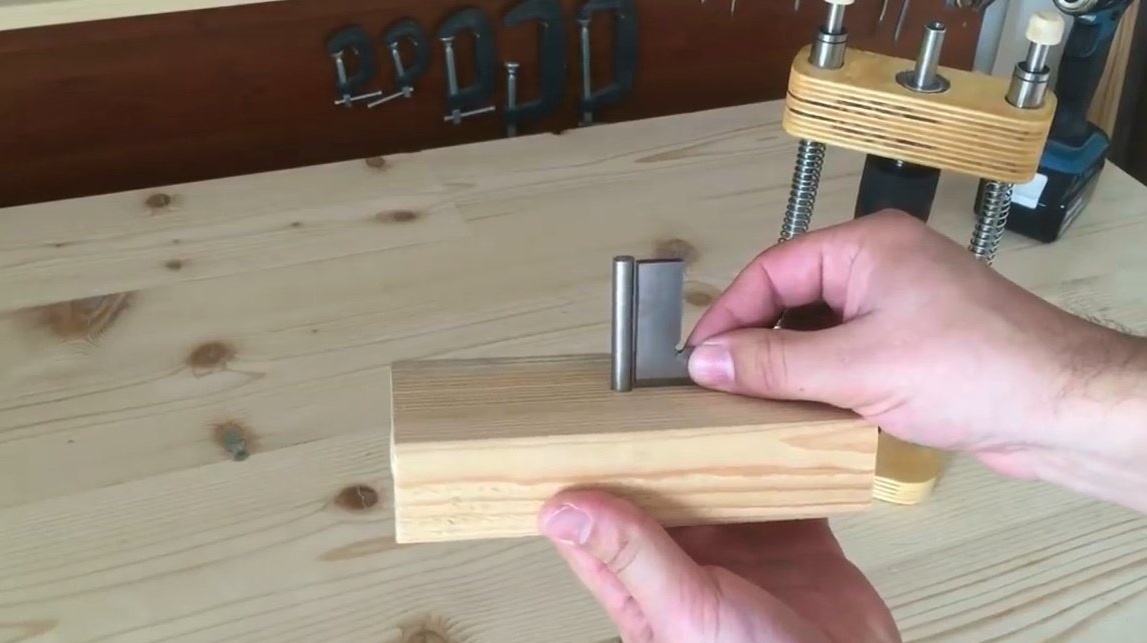
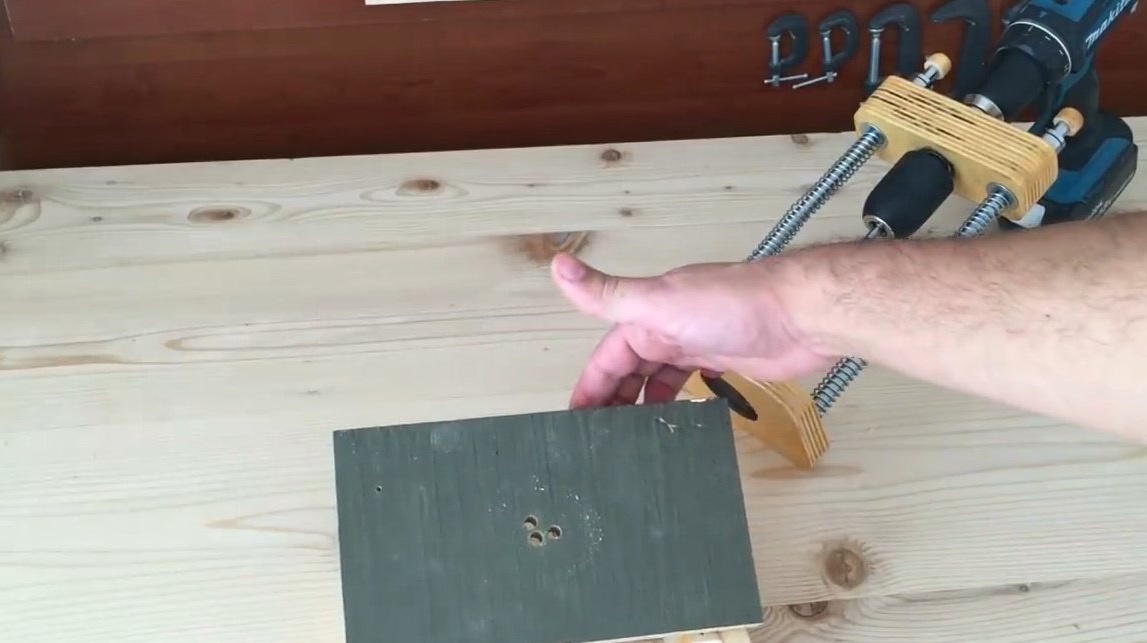
Having inserted a bar of the appropriate diameter, it checks the geometry - everything is perfect.
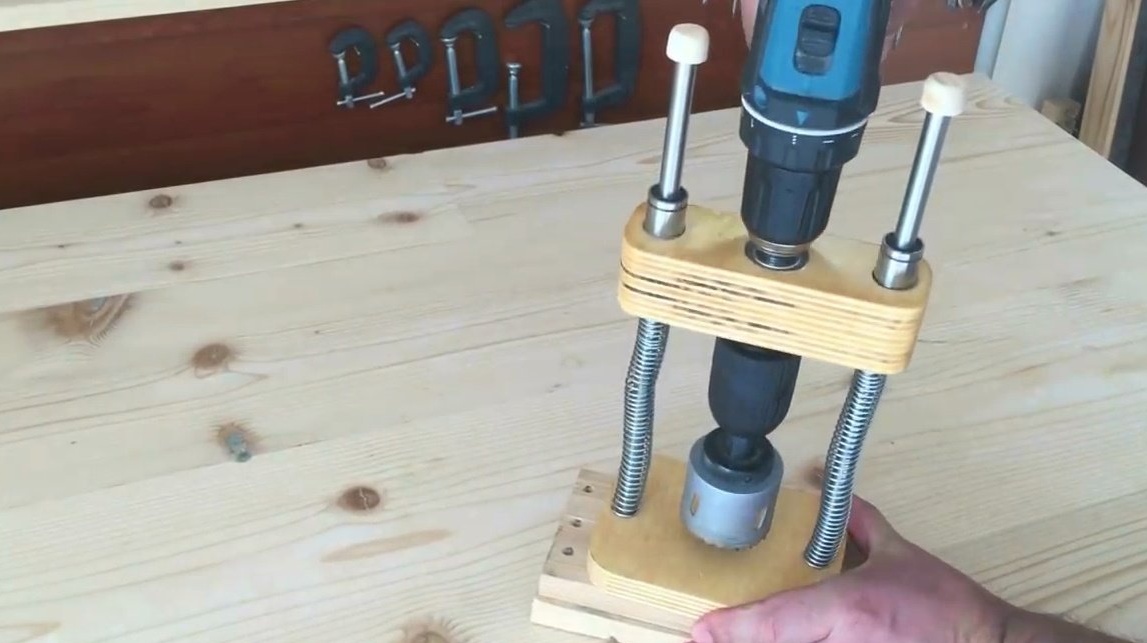
You can drill several holes, just use the linings, so as not to spoil the table.
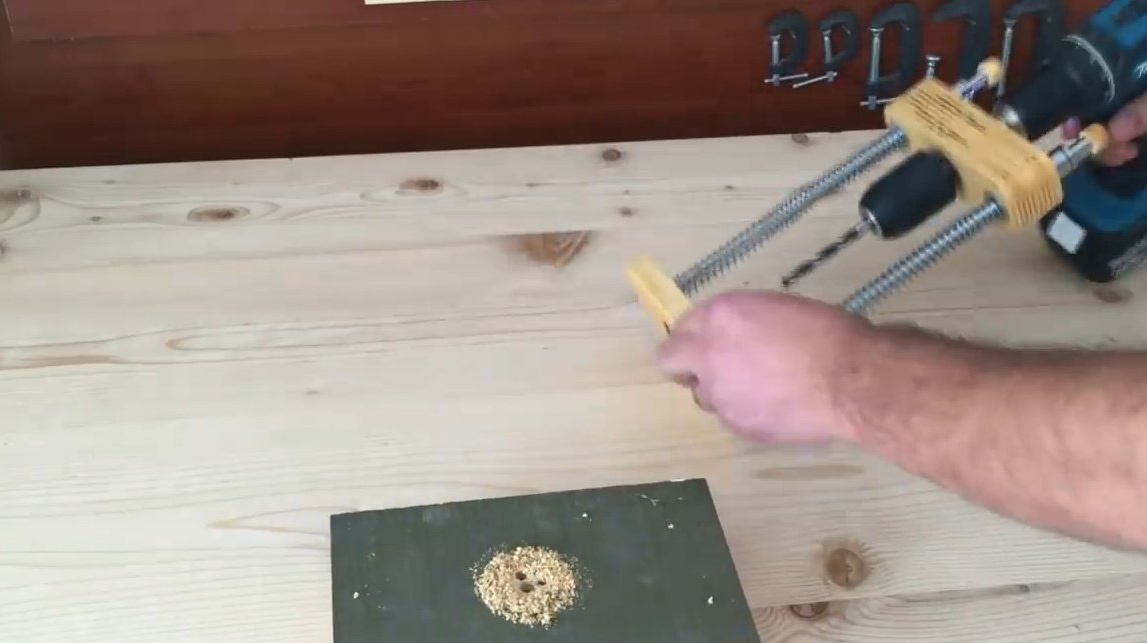
Well, or so to drill, on top of the base.
The most important thing left is the drawings for those who wish to repeat.
Thanks to the author for a very interesting idea!
Good luck to everyone, good mood, and obedient tools!