
Today, together with the author of the TeraFox YouTube channel, we will make the most useful machine in the workshop, taking into account the minimum costs.
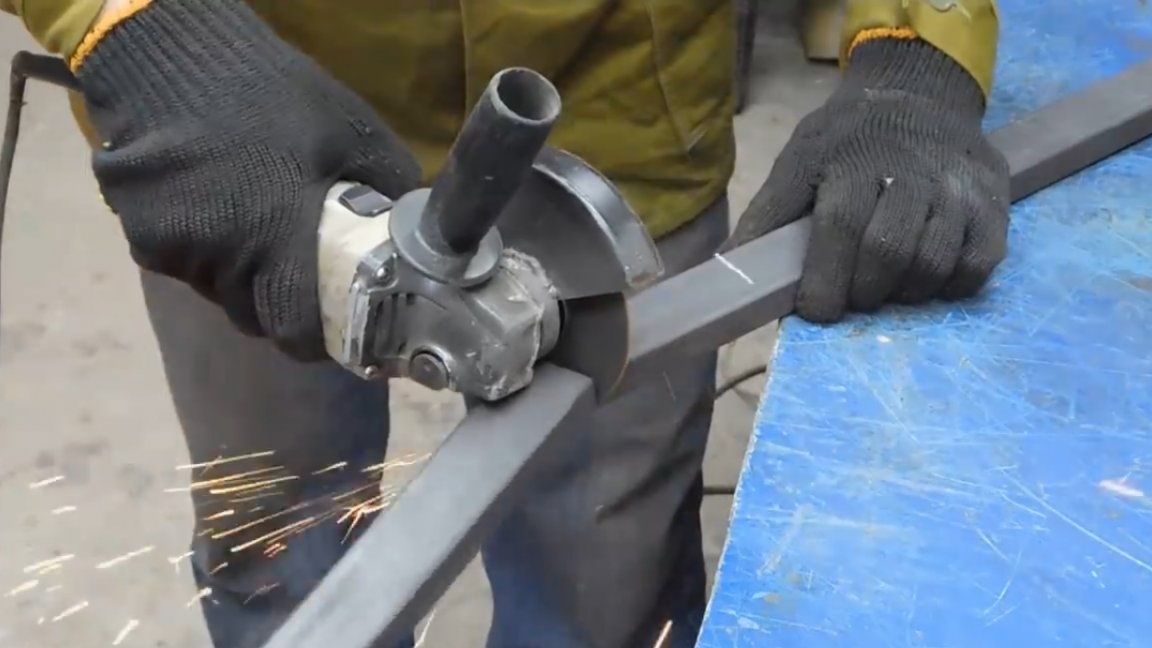
Profile pipe 20 to 40 will serve as the foundation of our project. Marking and cutting the pipe, put the workpieces in a pile and while we remove to the side.
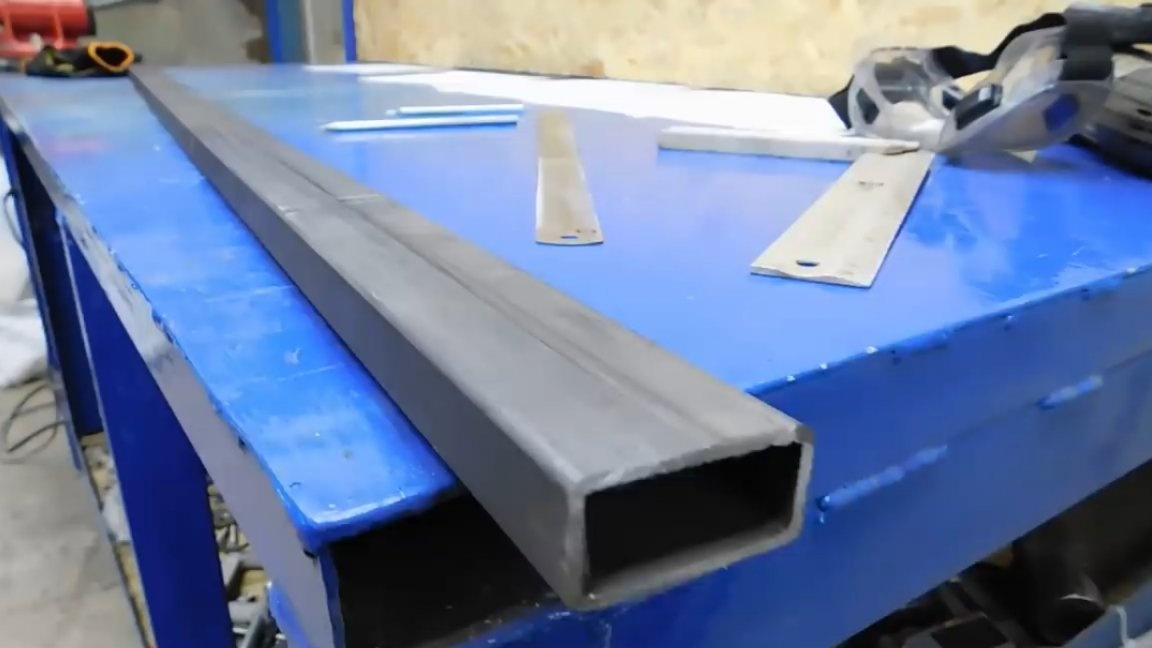
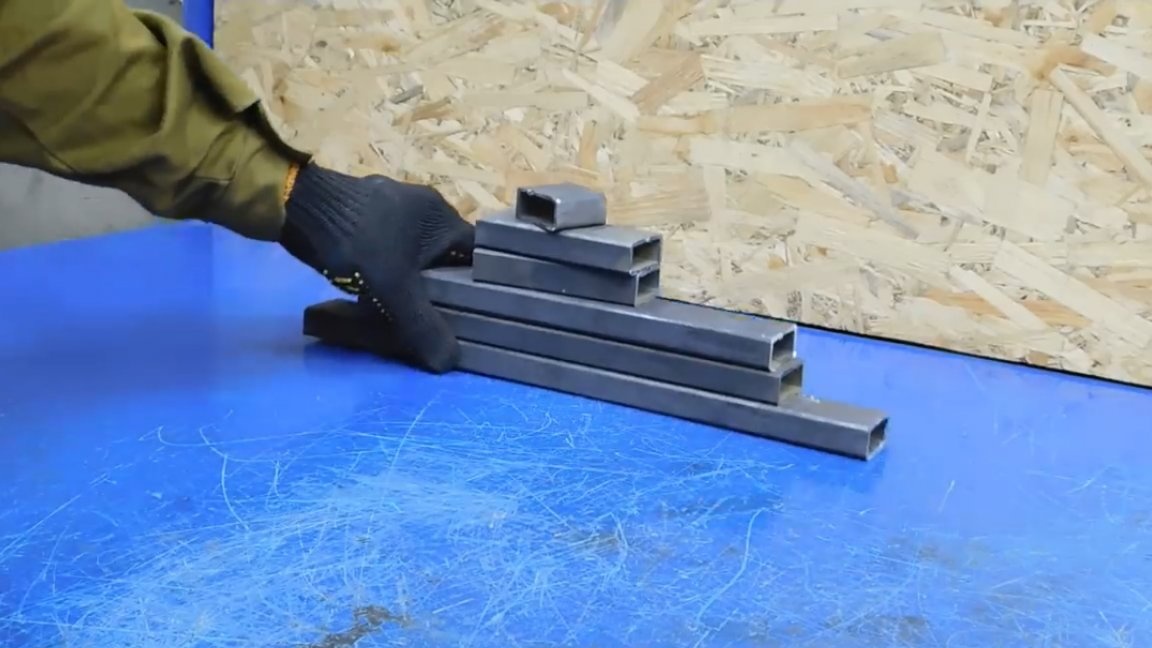
And a few more pieces of professional pipe, which so far will wait their turn.
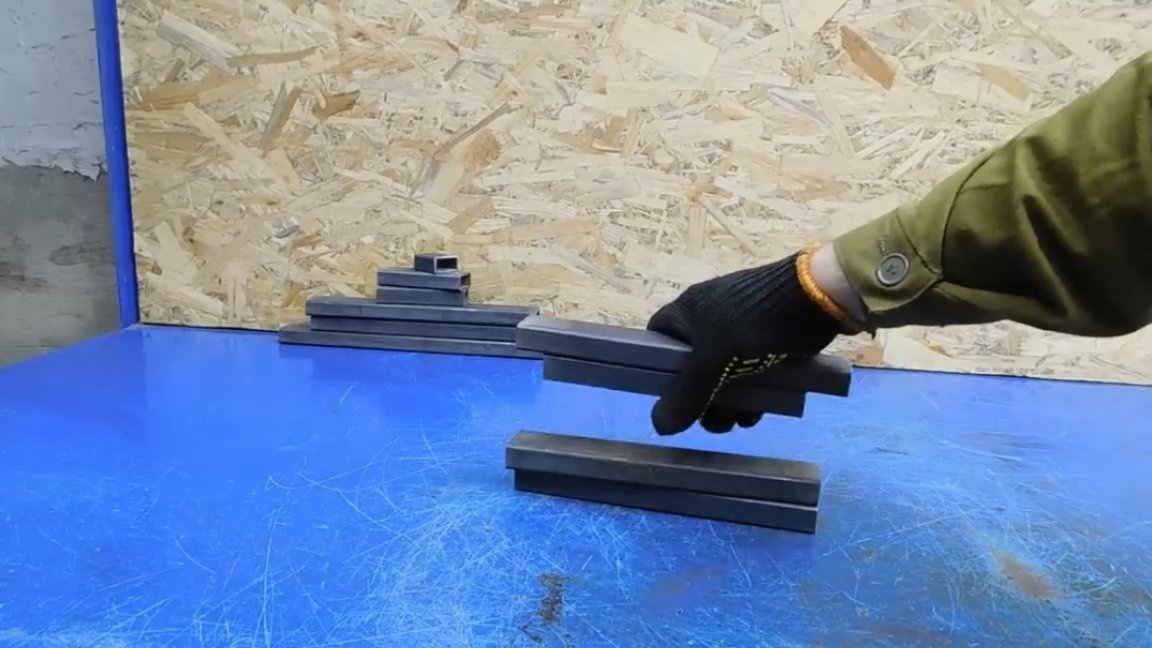
The parts that were cut first are laid out exactly as we have to weld them. The only thing is, until we touch a small segment with a hole, because in the process it will become clear where to place it best.
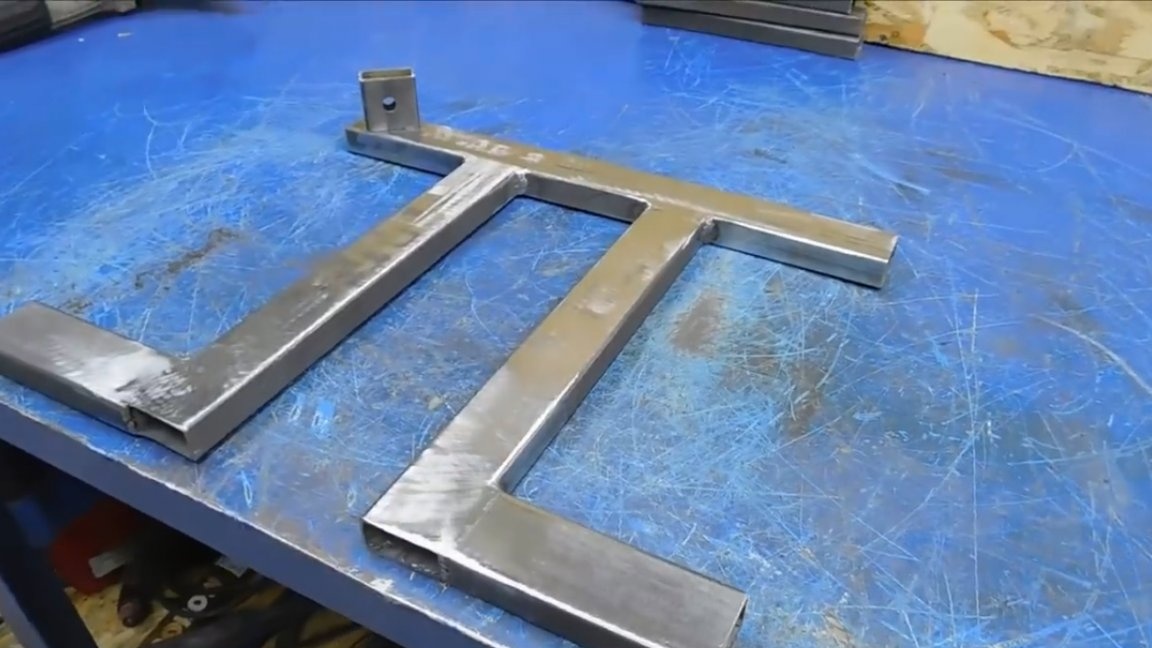
Well, then we have the second batch of segments, which also need to be welded.
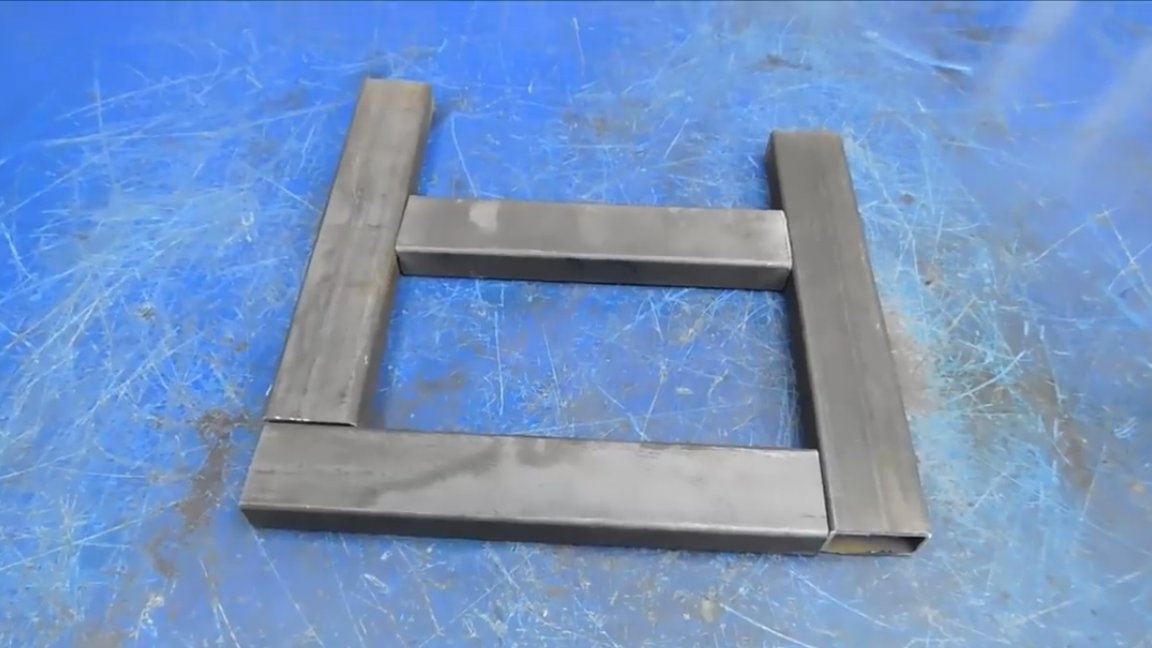
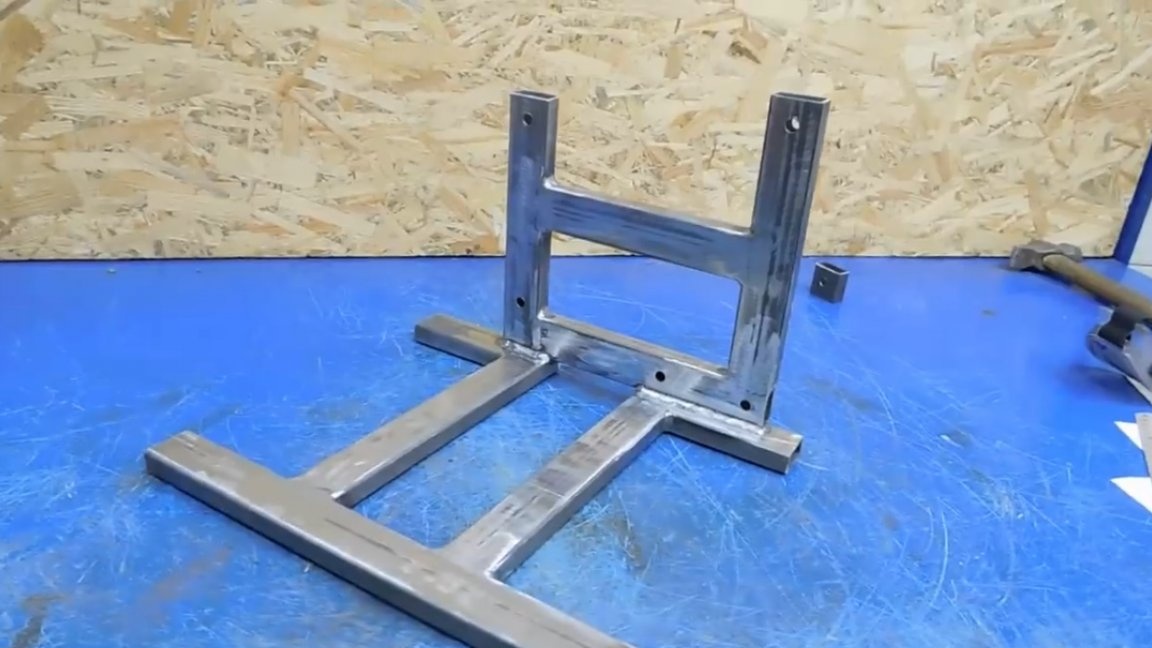
And now, 2 parts of the future design are ready.
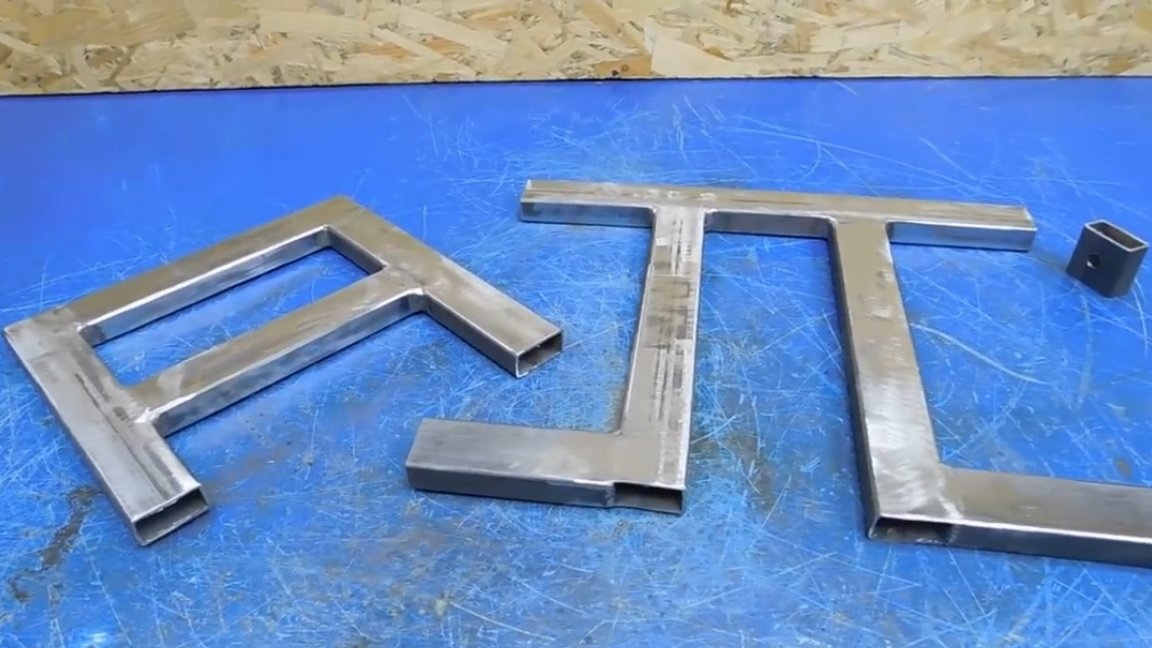
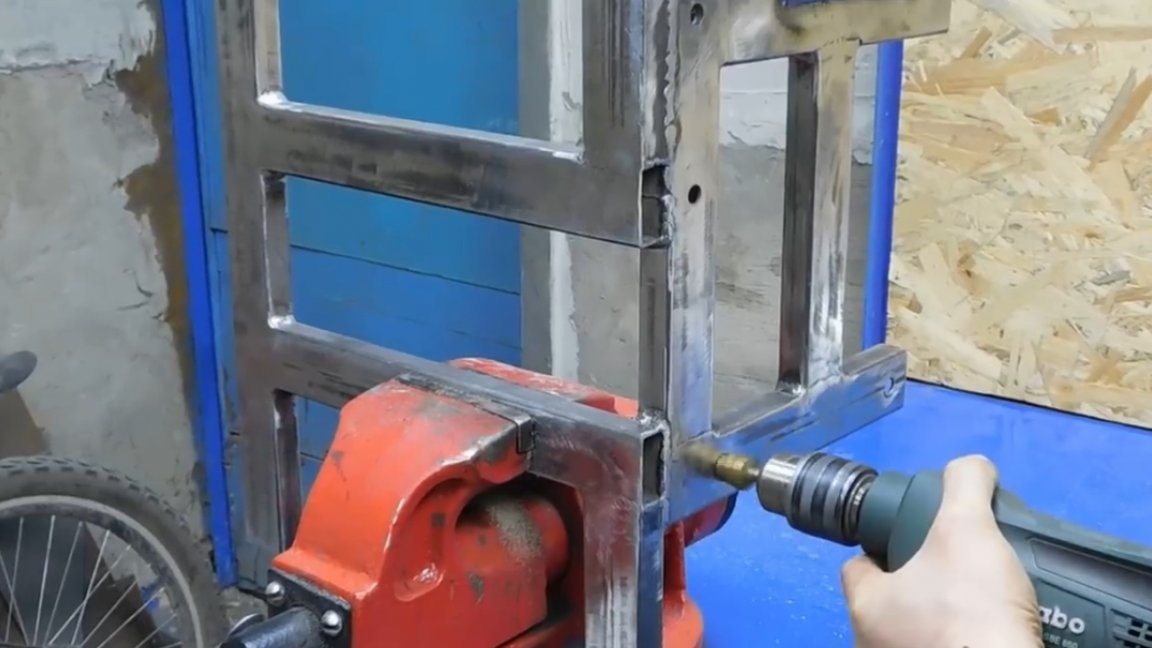
Next, you need to make several holes for future fixtures.
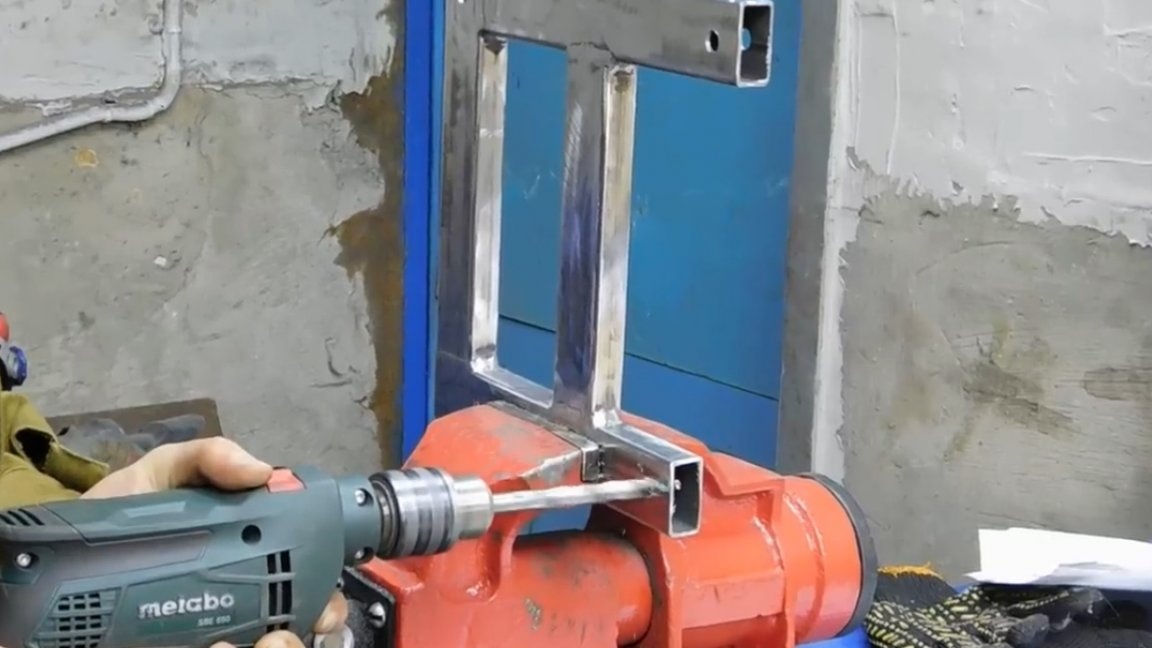
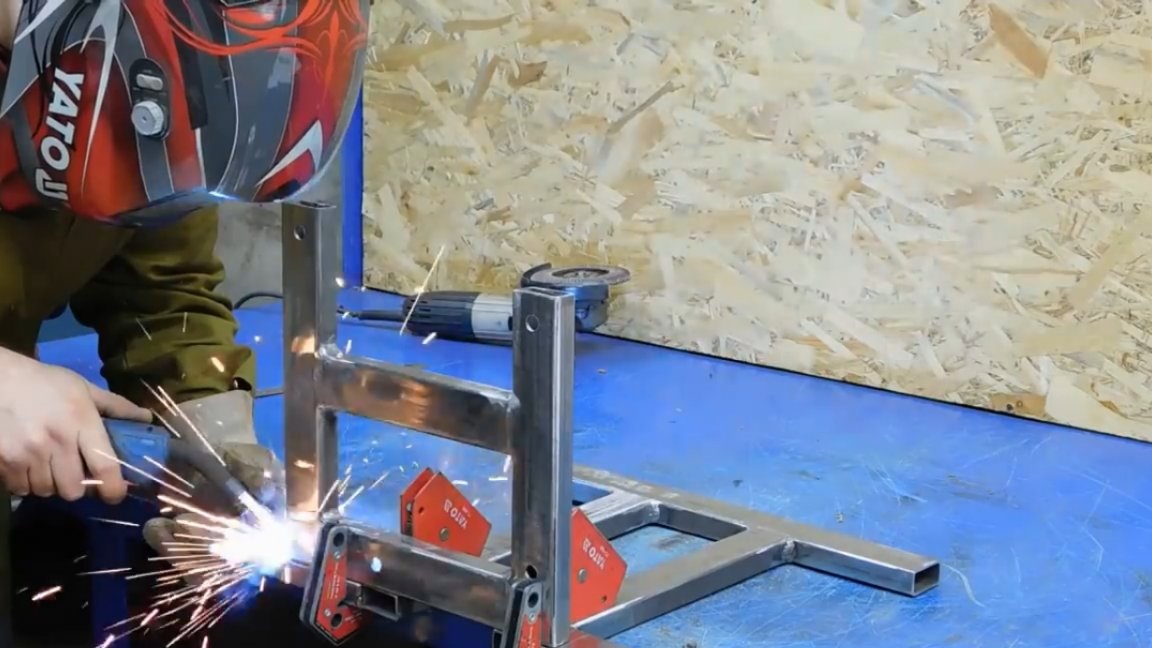
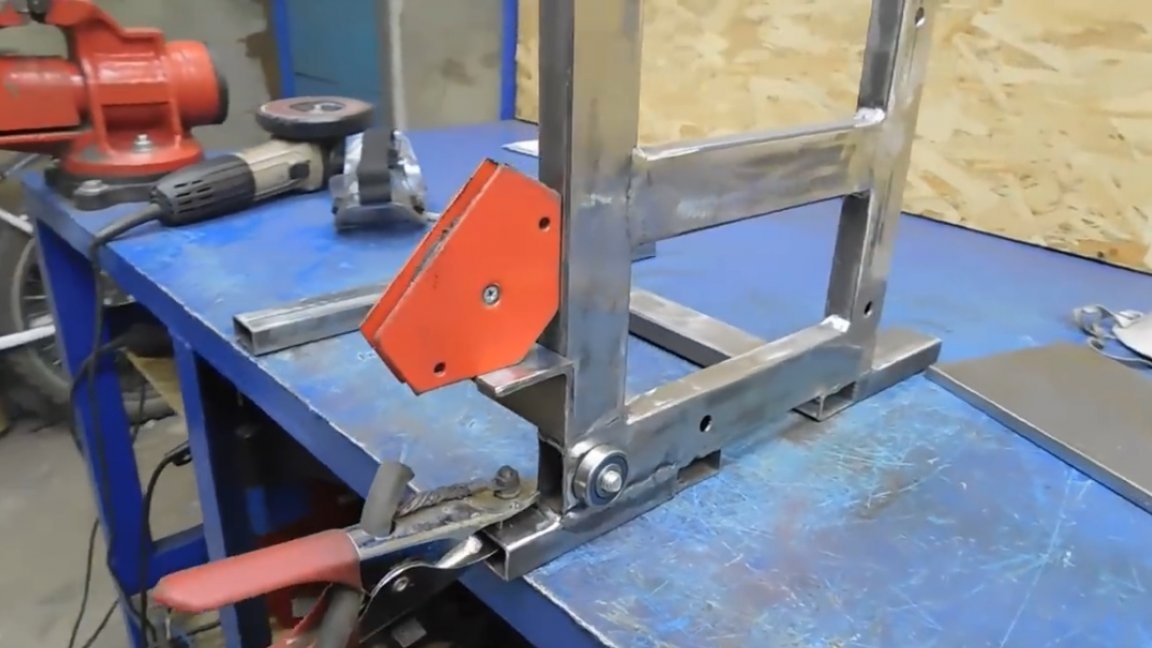
Now you need to weld these 2 elements as accurately as possible at an angle, all the available magnets are used.
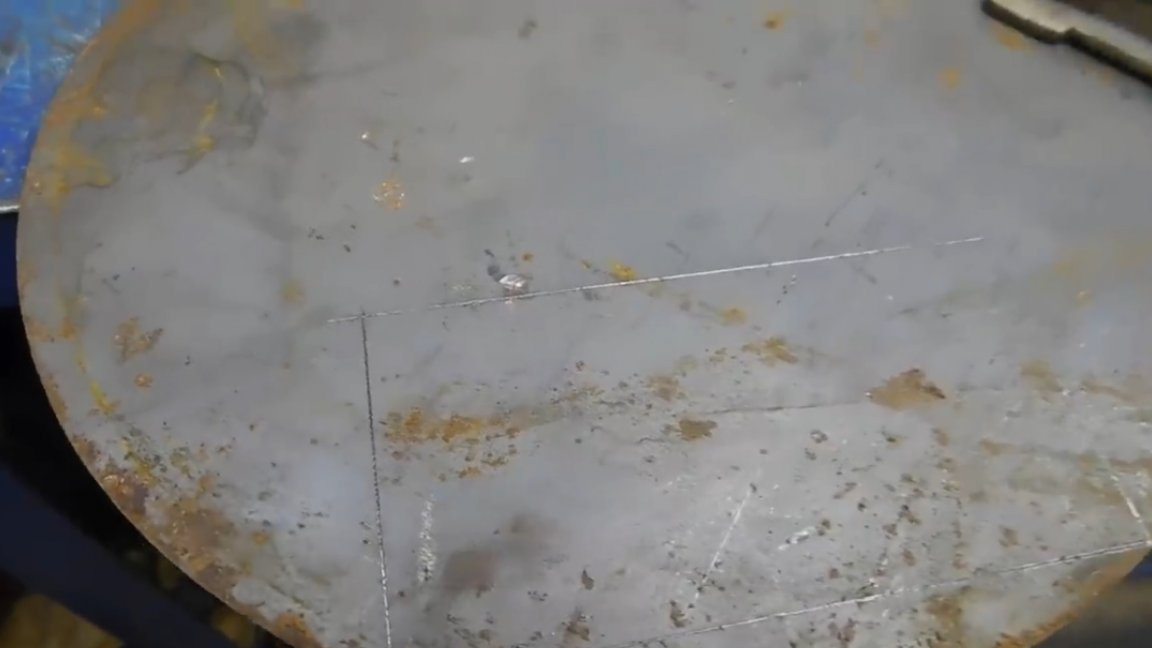
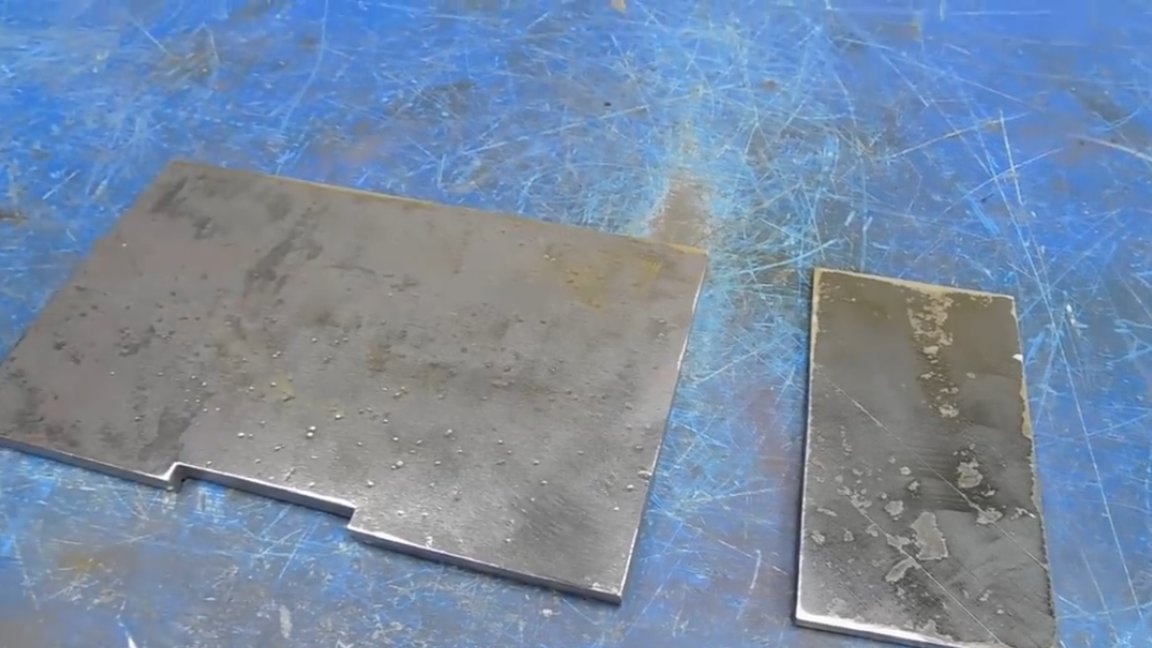
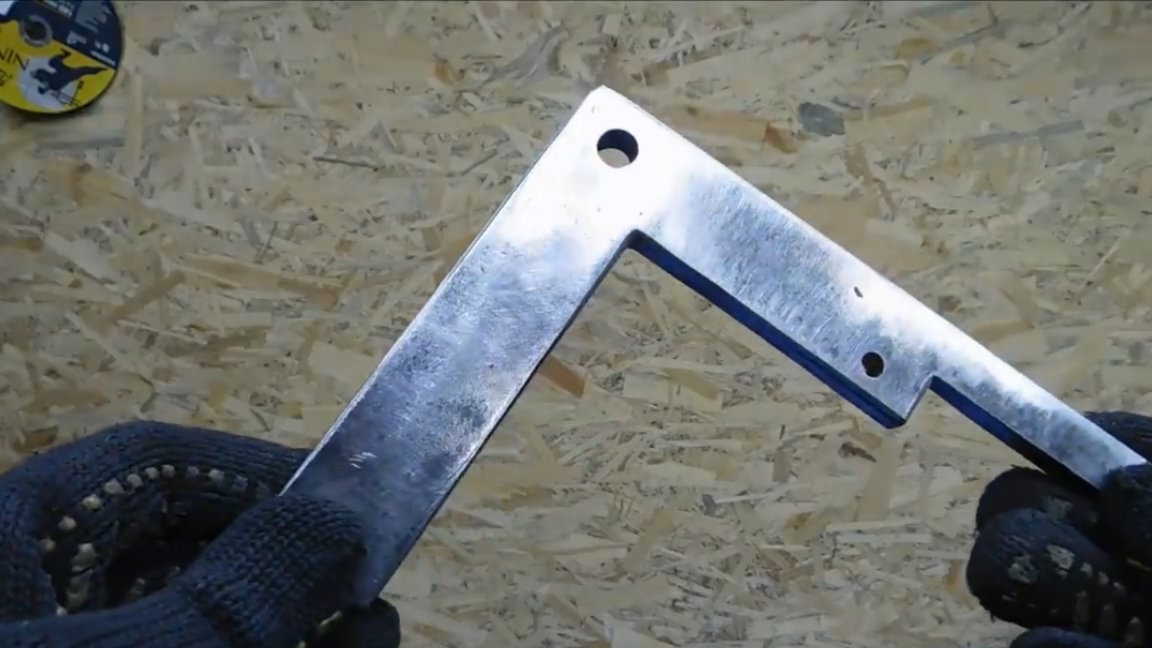
Next, we need the 10th plate. We mark with a scriber for metal, the accuracy when cutting is higher in comparison with a marker.
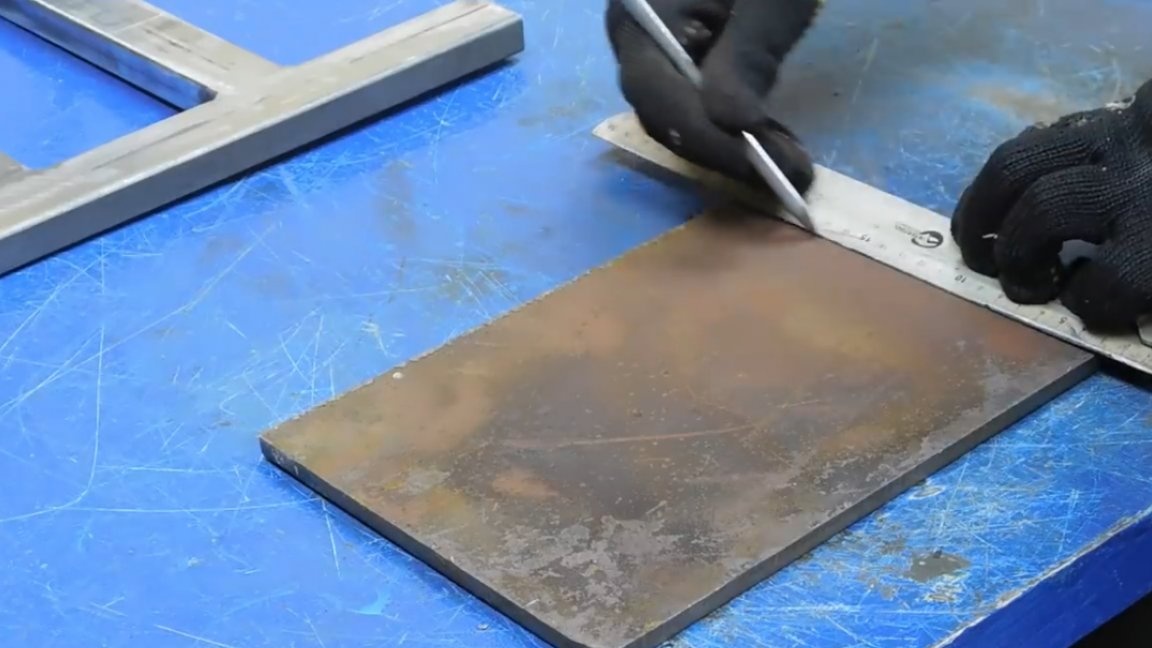
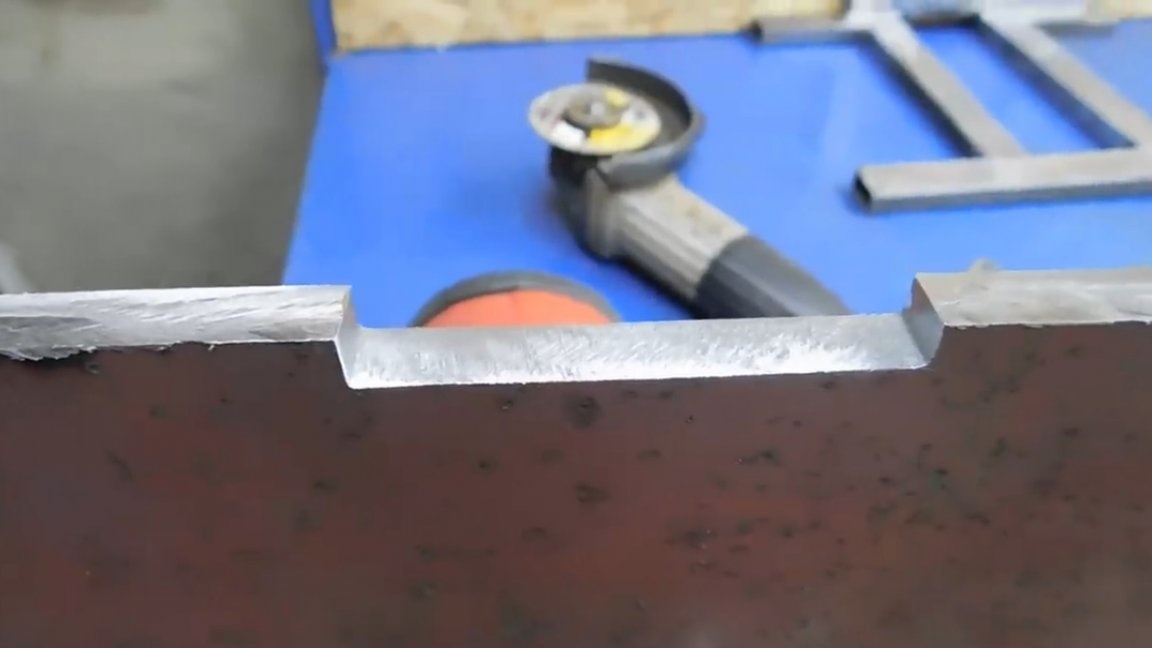
We make grooves with the 125th grinder, it is easier for her to lead along the marking line. Well, the 180th gets more hard work - to make the main cut.
Then marking under the cutout in the plate and its neat embodiment.
Not 100% of course, so you have to work with a file.
Next is the next detail.
The thickness of the metal here is already less - 6mm. Cut another 1 rectangle smaller.
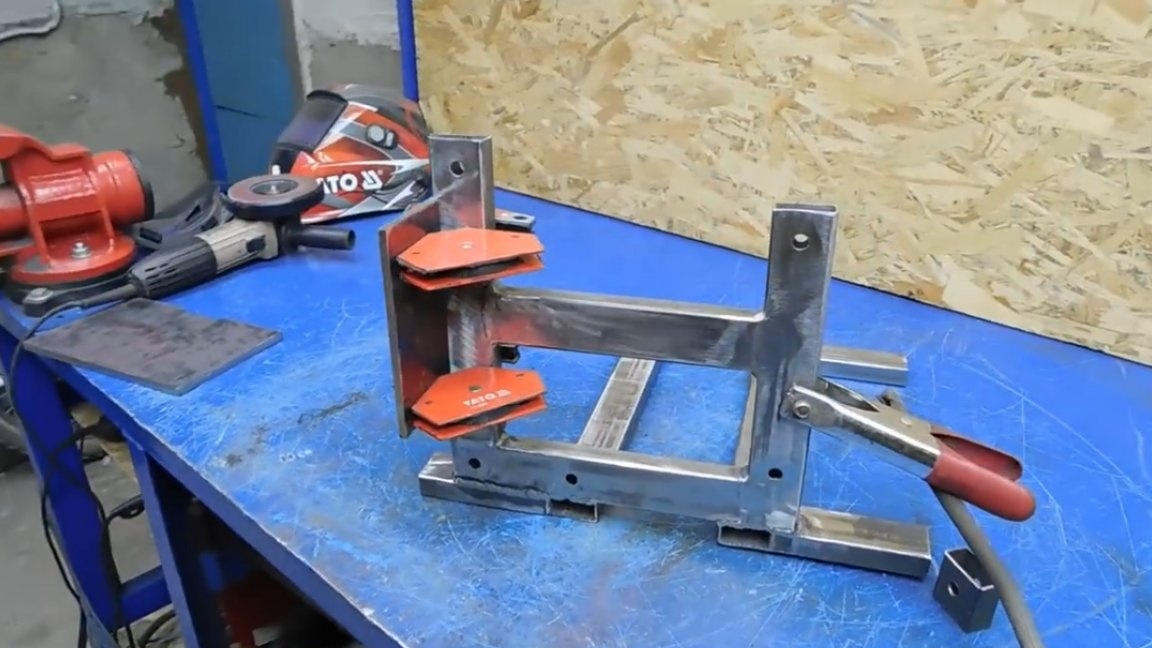
We will make support under the countertop from 2 segments of the corner, because the fit of 2 planes to the walls of the profile pipe guarantees a clear angle.
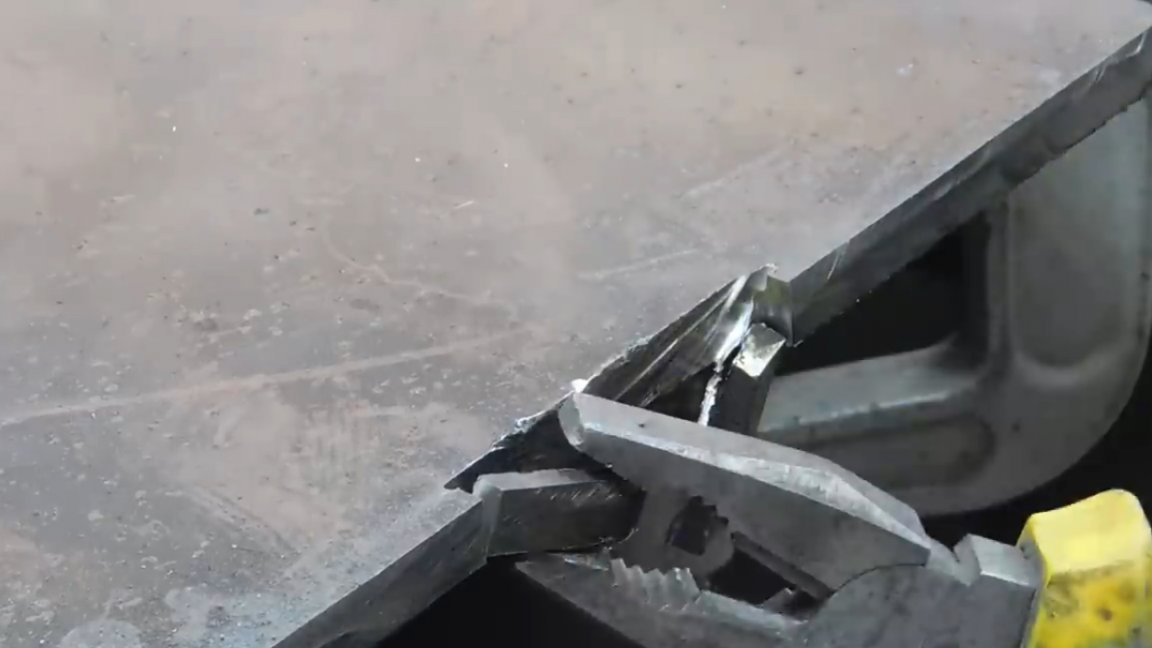
The thrust plate is located in the same plane with the pipe, fixed with magnets on both sides, so that for sure, and tacked by welding.
Now we make 2 holes in the countertop, cut the thread.
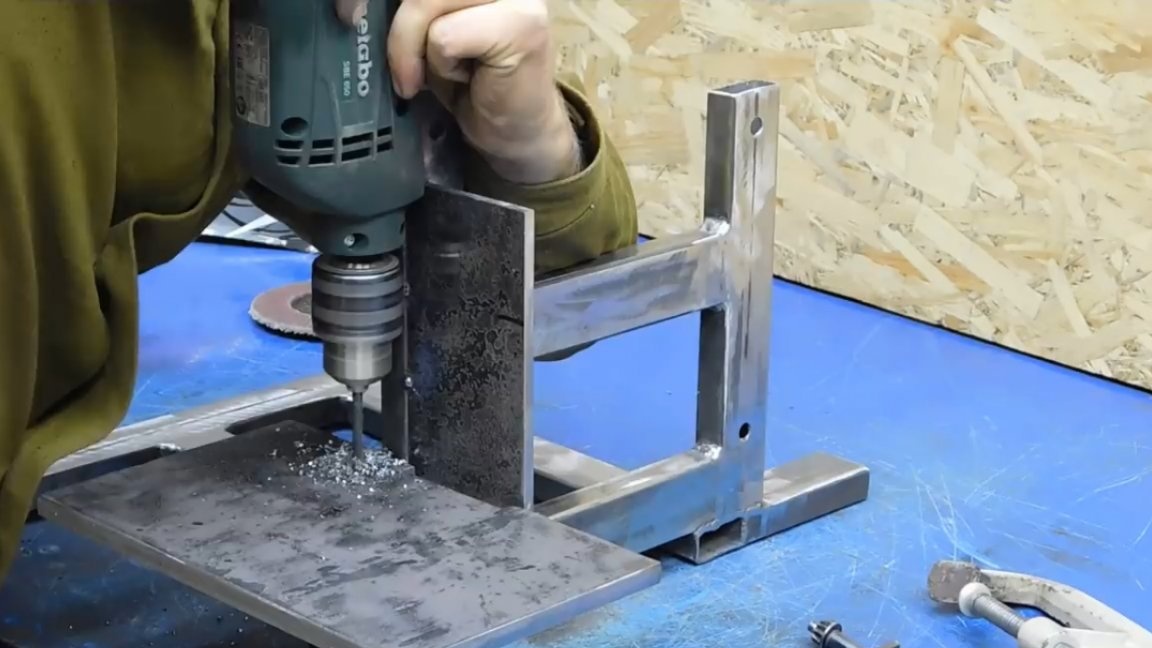
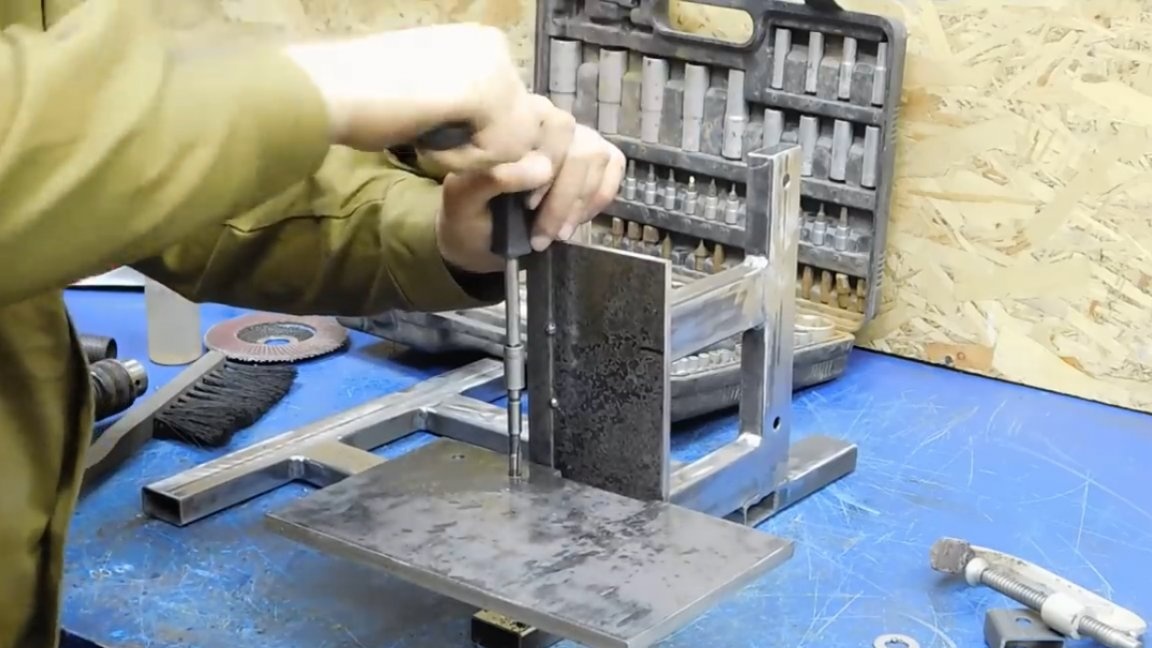
It was not an option to get a die holder; I had to use a set of tools and quite successfully. The countertop all this time also rested on the tacks, which made it possible to precisely drill and thread. The bolts are in place, in the future they will of course be cut.


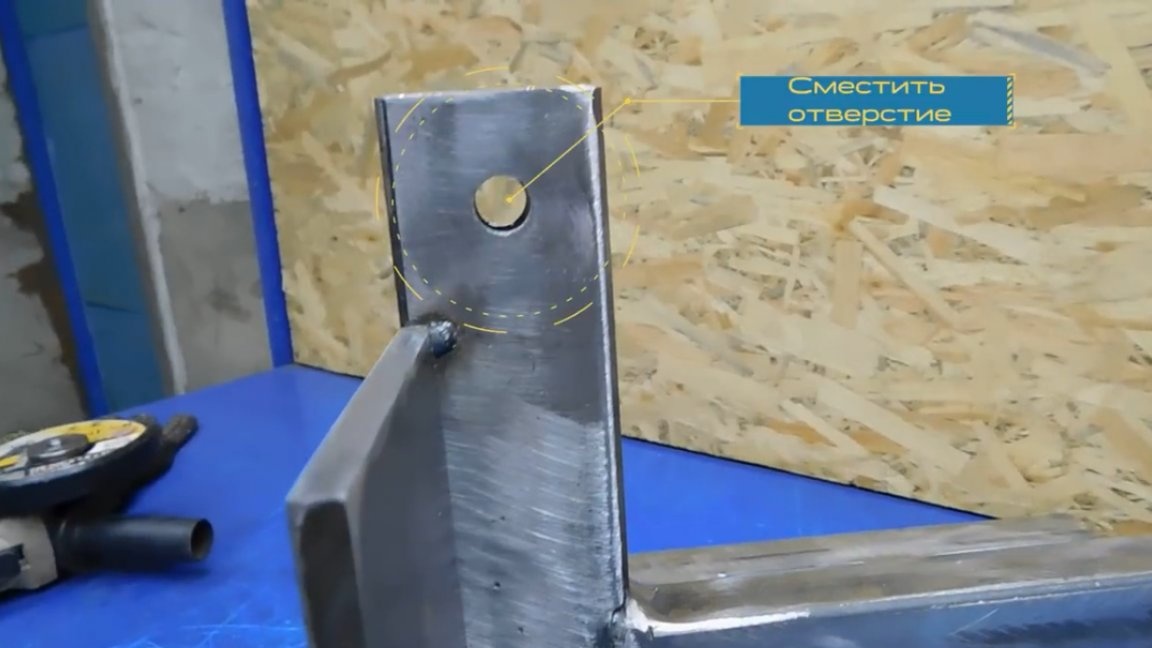
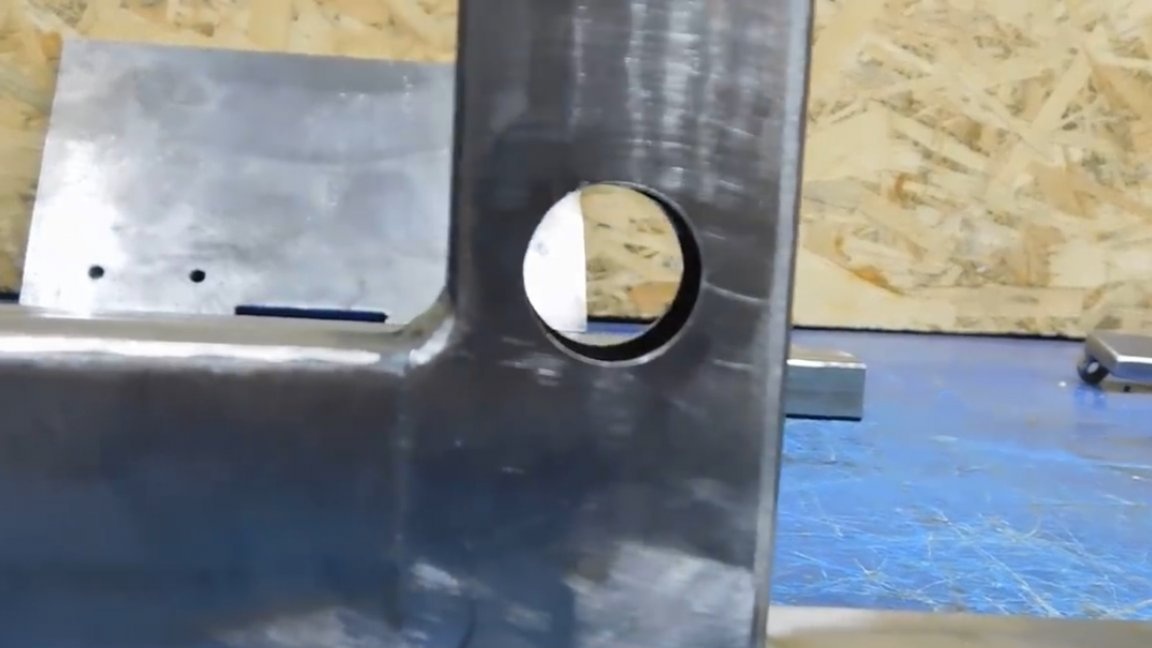
And here is the first mistake: the holes are located in the center, and the bearings that the author had were available and should have stood in this place, of a smaller diameter than they should be, so the holes need to be shifted.
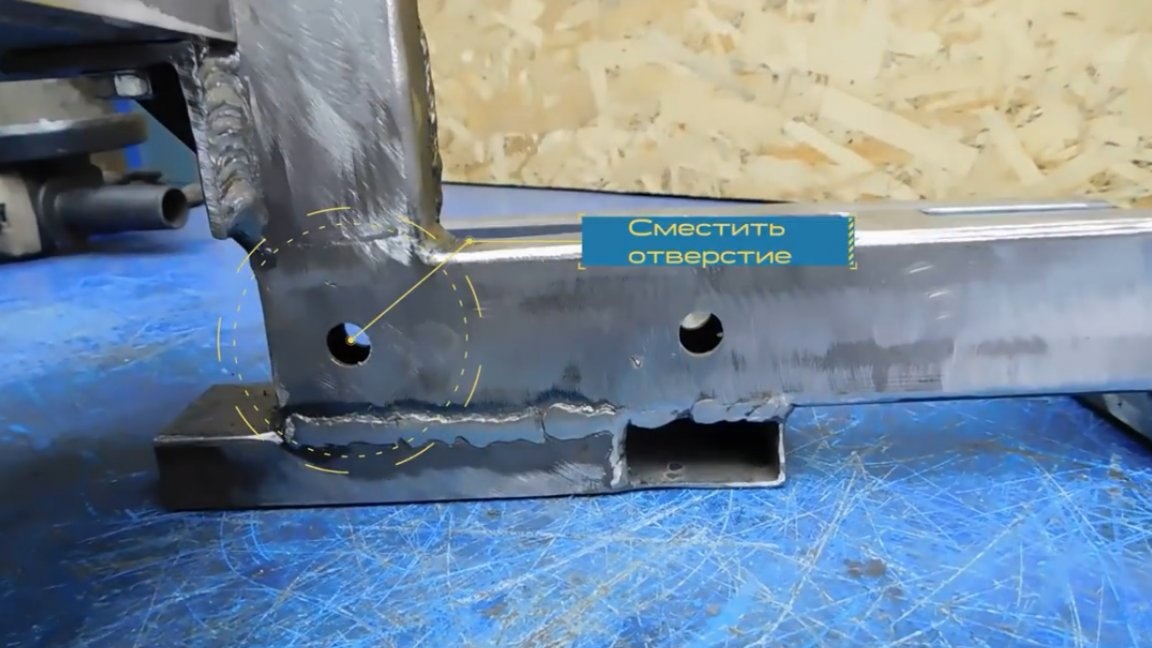
We place 4 small metal substrates on the inside and weld holes according to the principle of electro-riveting.
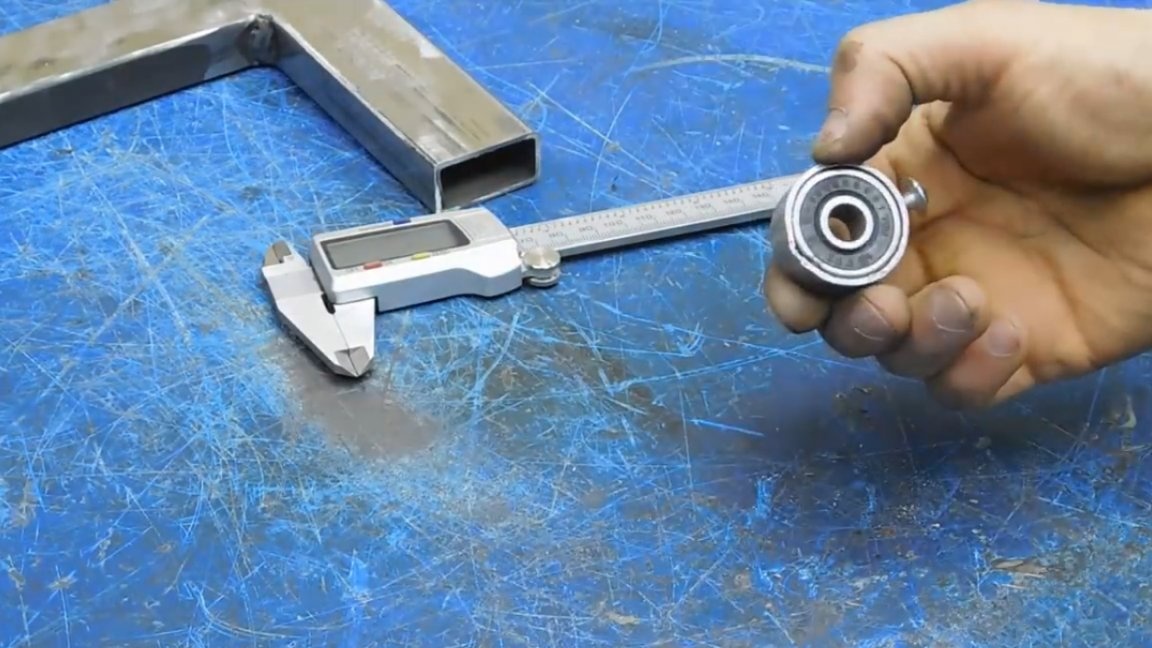
All the work on the alteration did not take so much time, so the error, we assume, is insignificant. Next, you need to dial the bearings on the stud and pass through the holes.
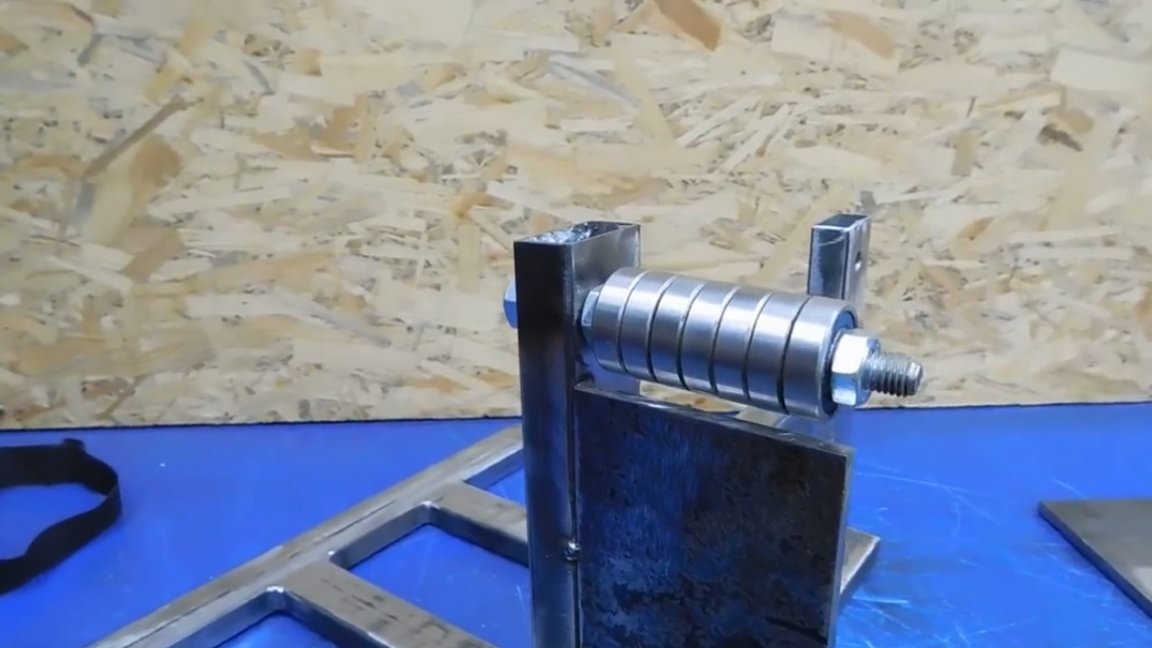
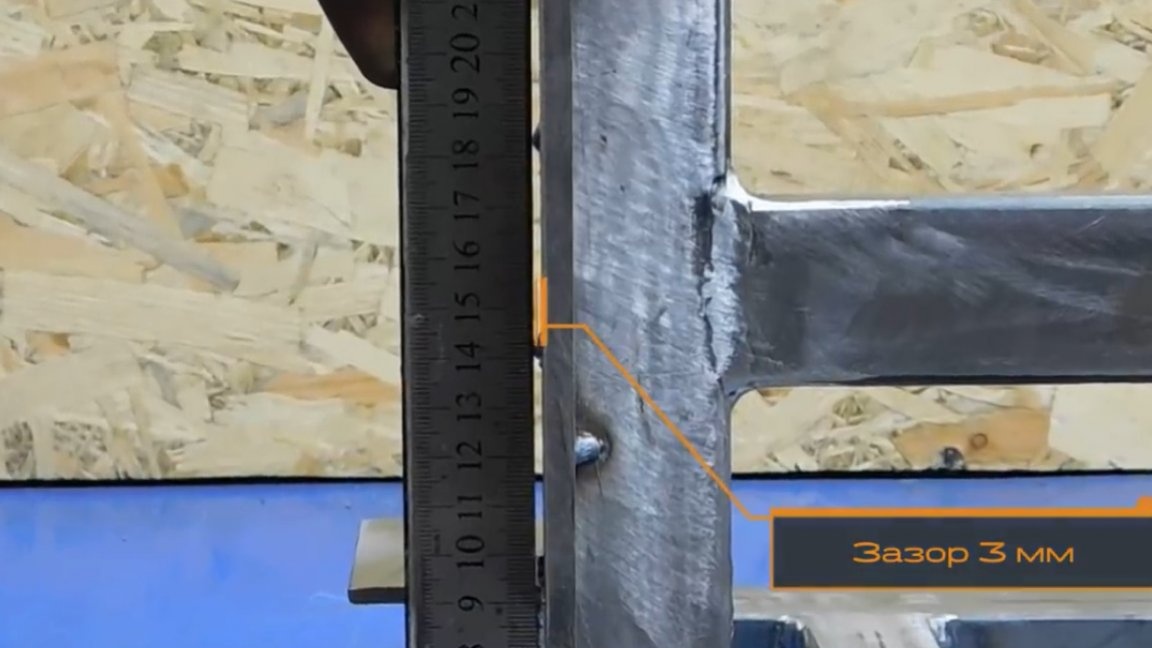
The author used inexpensive bearings, so let their number not scare anyone. The clearance between the thrust plate and the bearing line is about 3 millimeters.
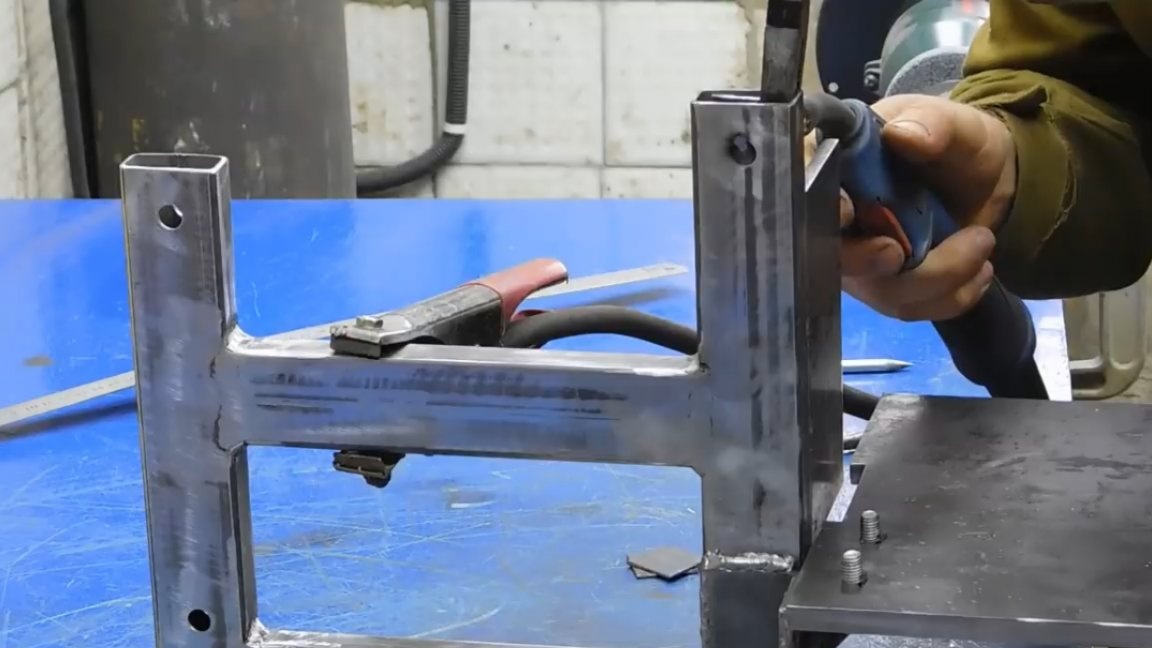
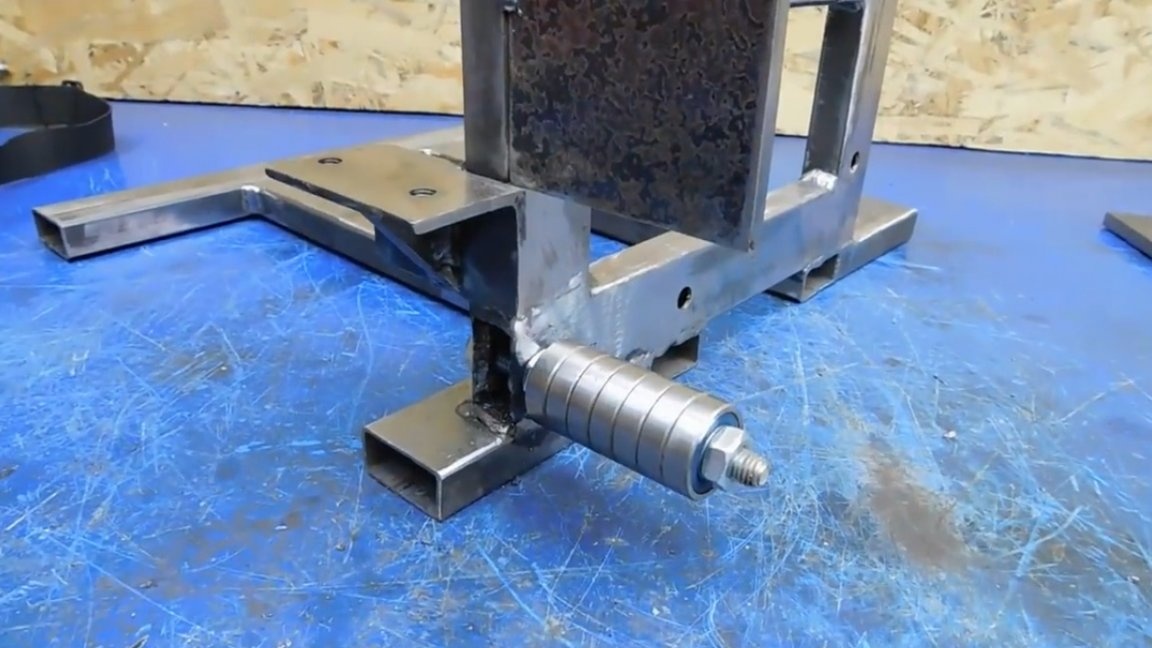
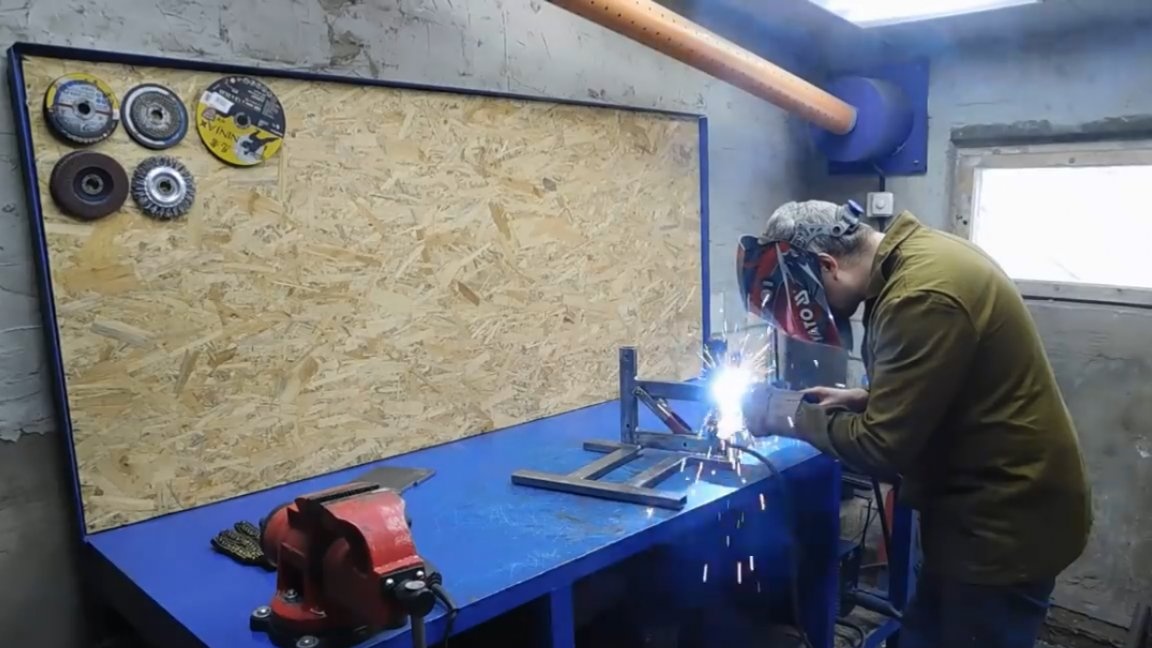
After we were convinced of accuracy of adjustment of all interfaced elements, it was time to weld a plate thoroughly in a rack.
Now we will make another part, or rather a lever.
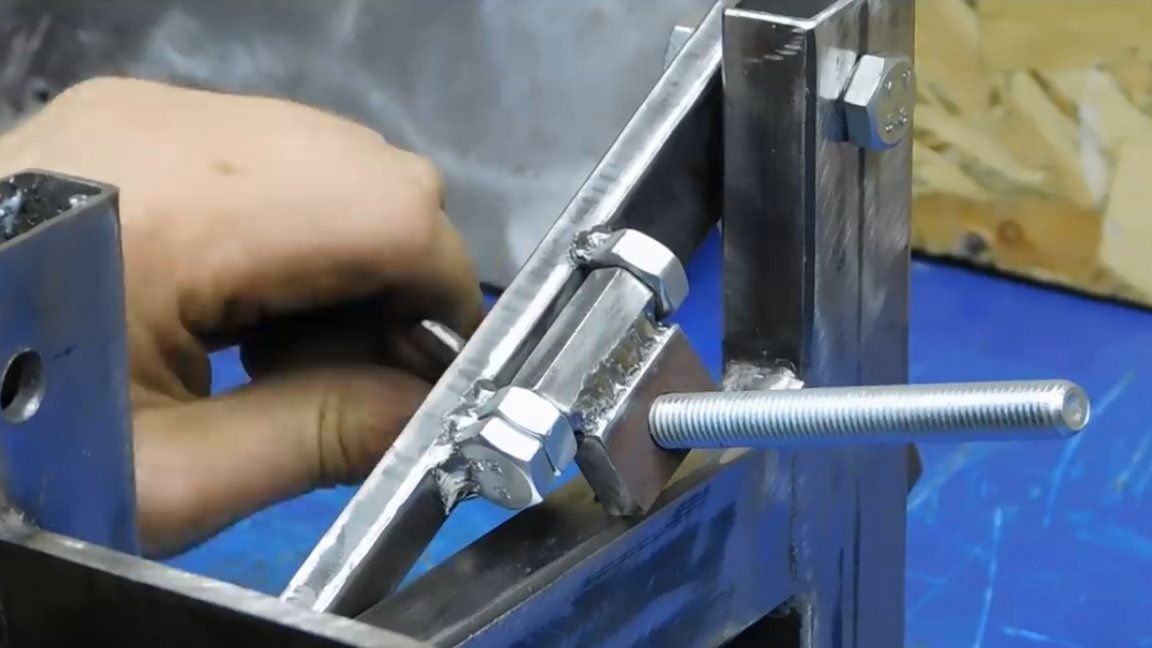
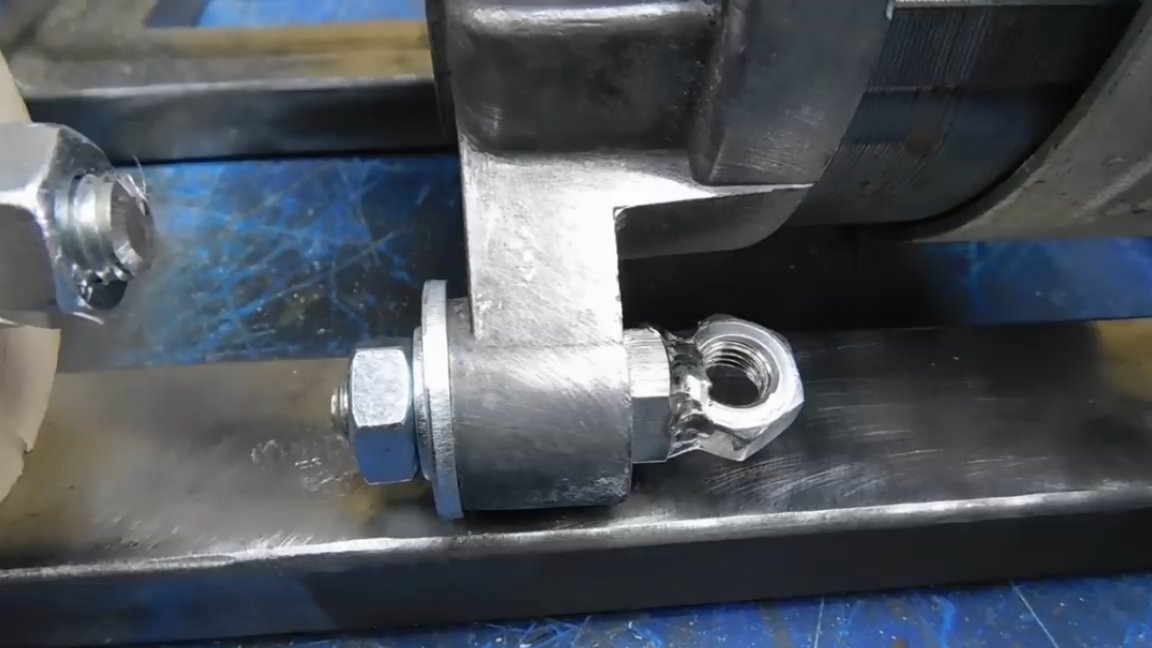
Bolts, nuts and a small part with a hole are components of the tensioning mechanism. We put it together and weld them together.

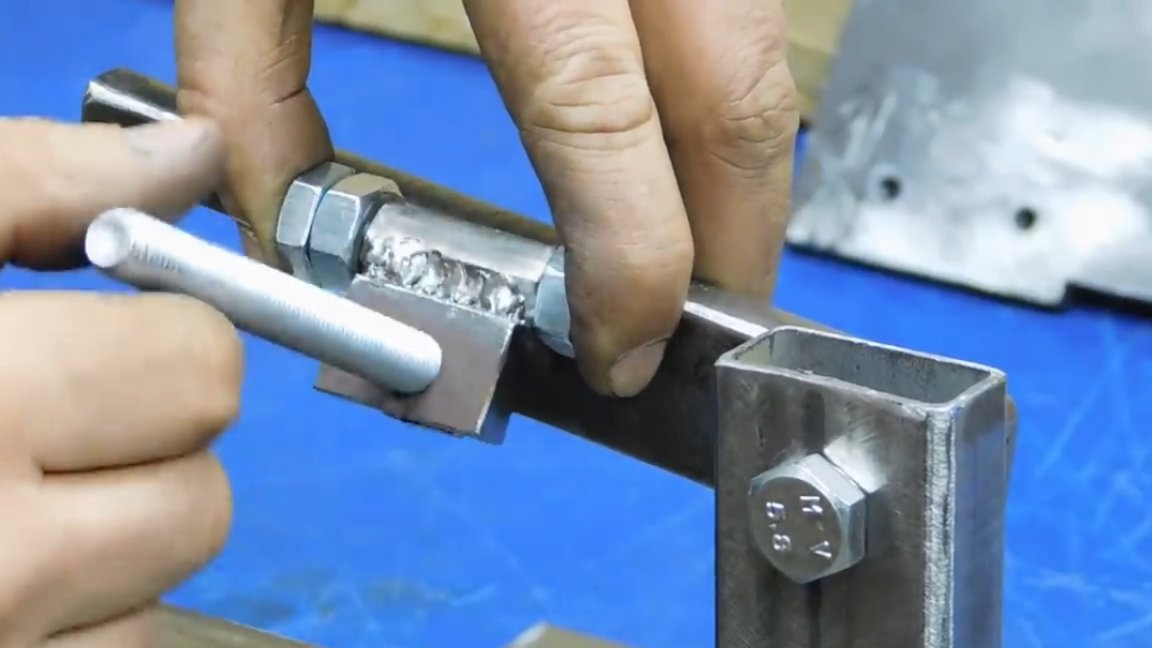
In the lever there is a threaded hole for a bolt with a spring.
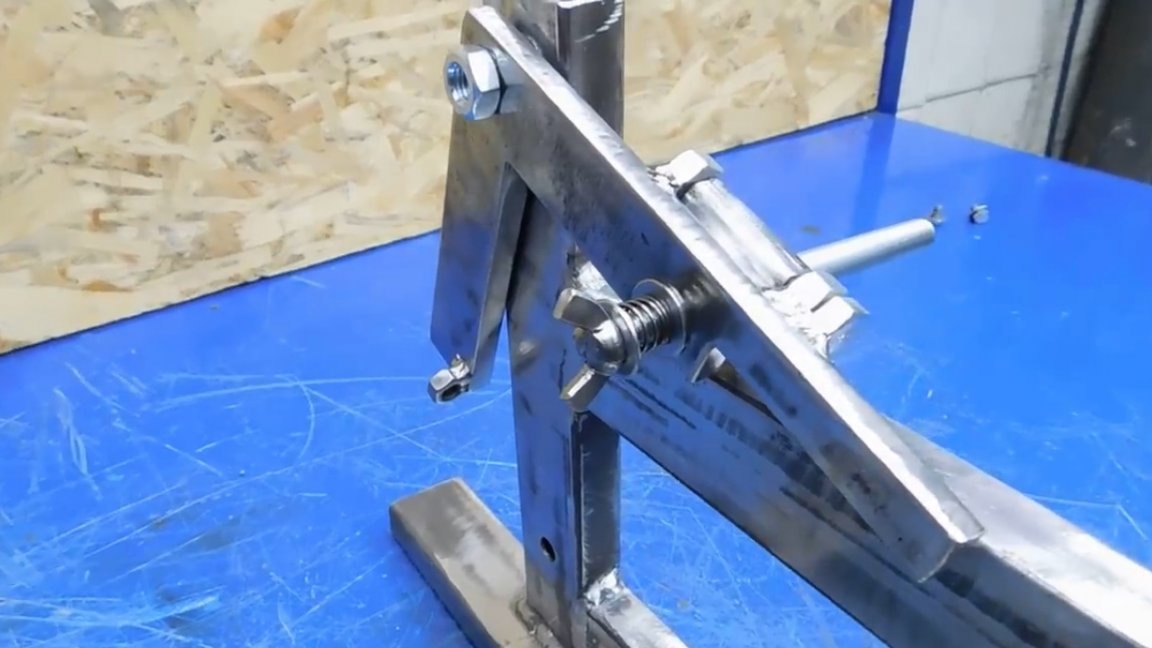
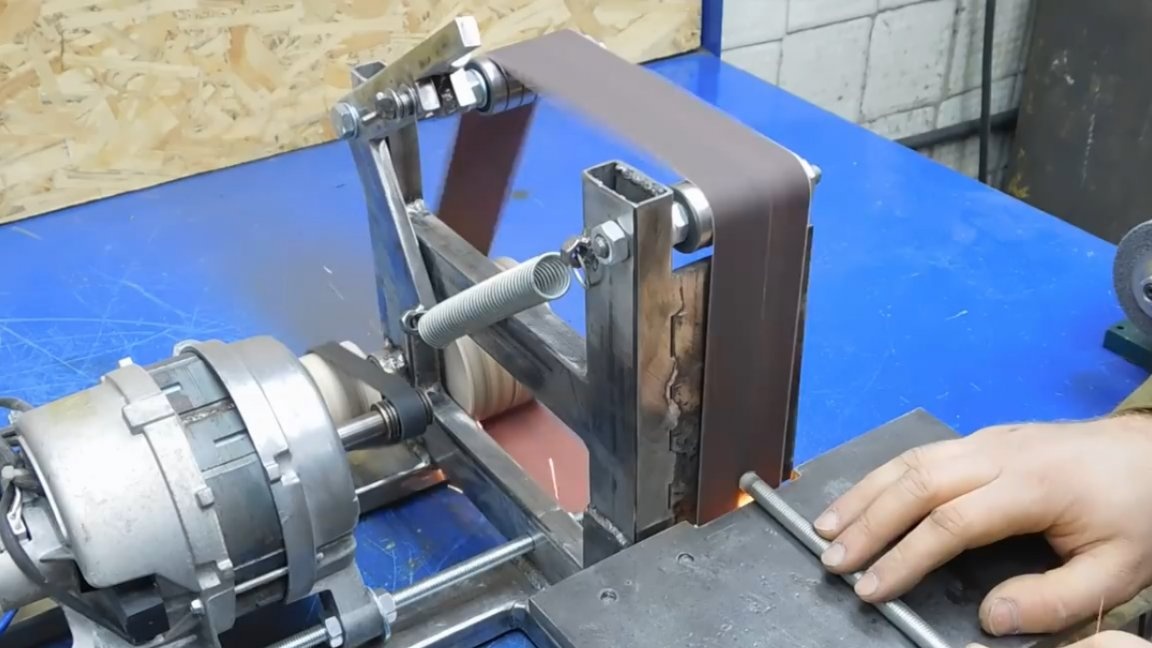
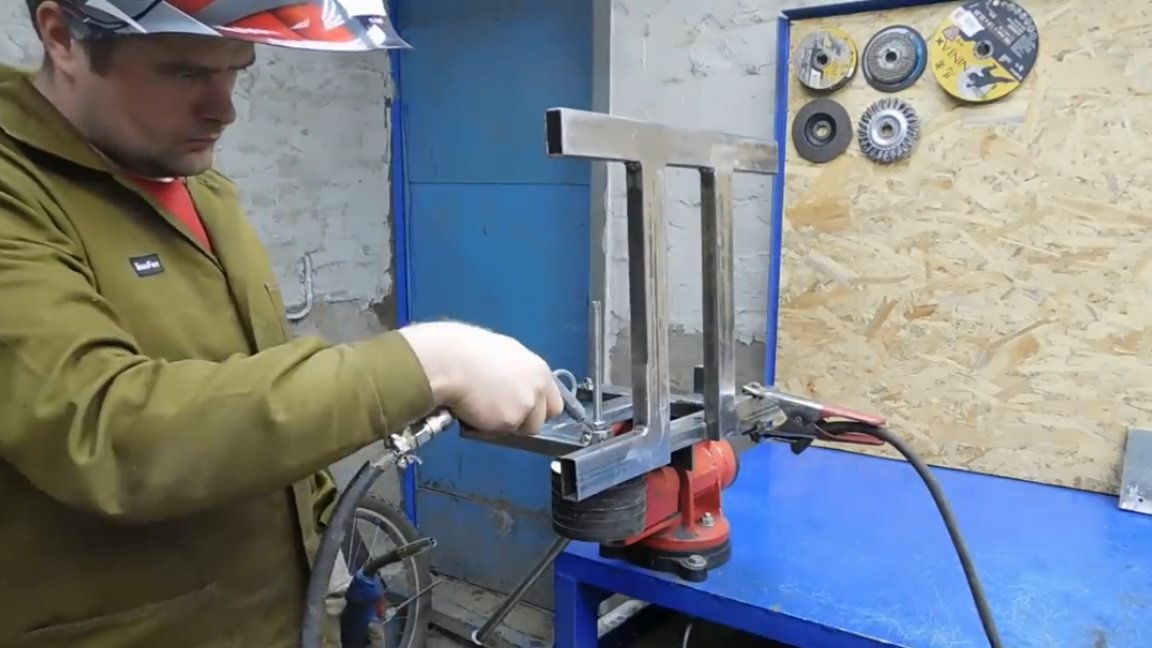
The principle is simple: by rotating the bolt, the axis changes the angle of inclination, thus, the motor tape of the washing machine will be adjusted.
This engine from a washing machine is no longer Soviet times, but more modern - a collector type. The declared power of 480W, 14000 rpm.

The author first decided to use the services of laser cutting, and for the pulley ordered blanks from 10th plywood. The quality is excellent, financially quite inexpensive.
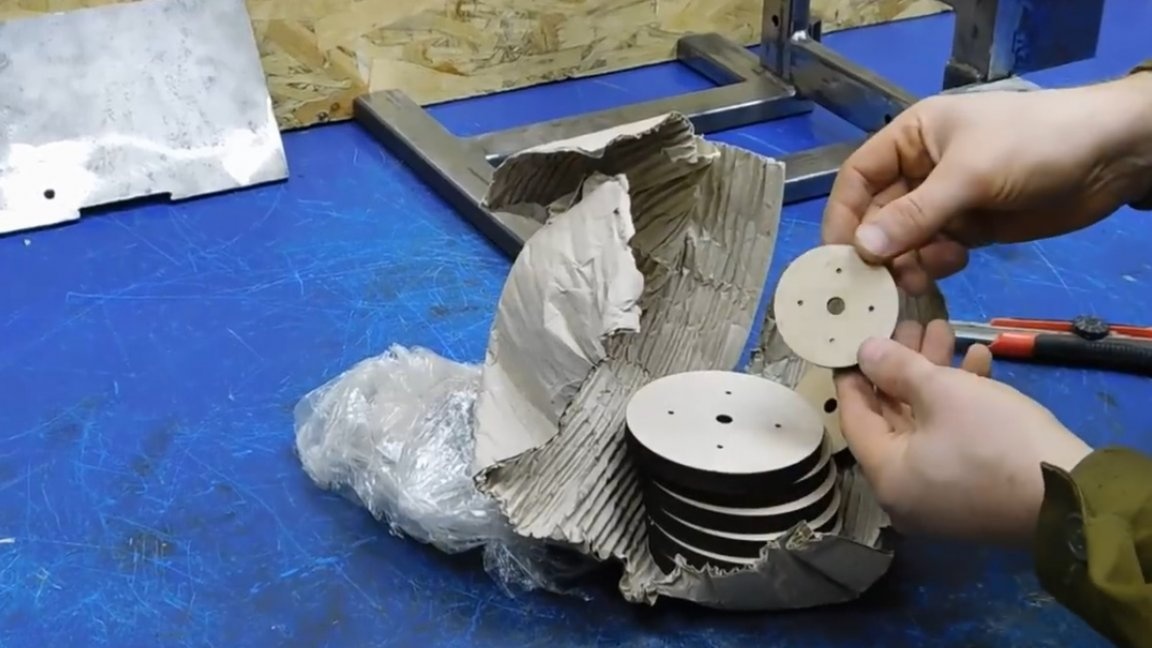
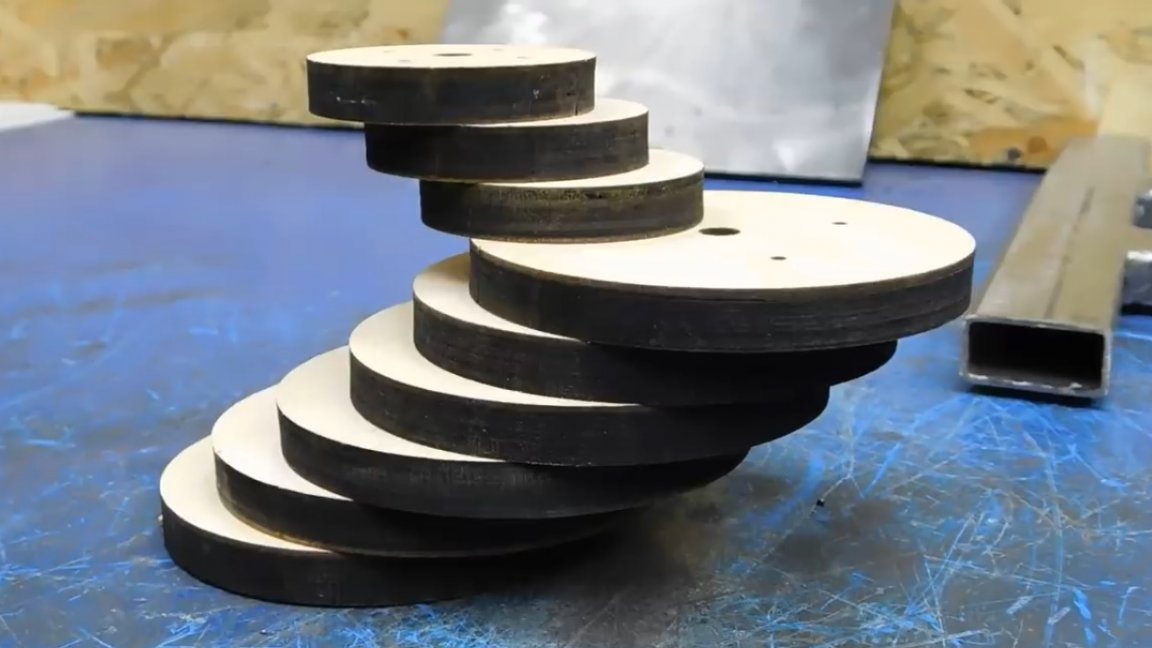
As you understand, the author chose the simplest way, no access to the turner, let's see what happens. The reviews on plywood pulleys are mostly positive. It remains only to glue the workpieces together and tighten with screws.
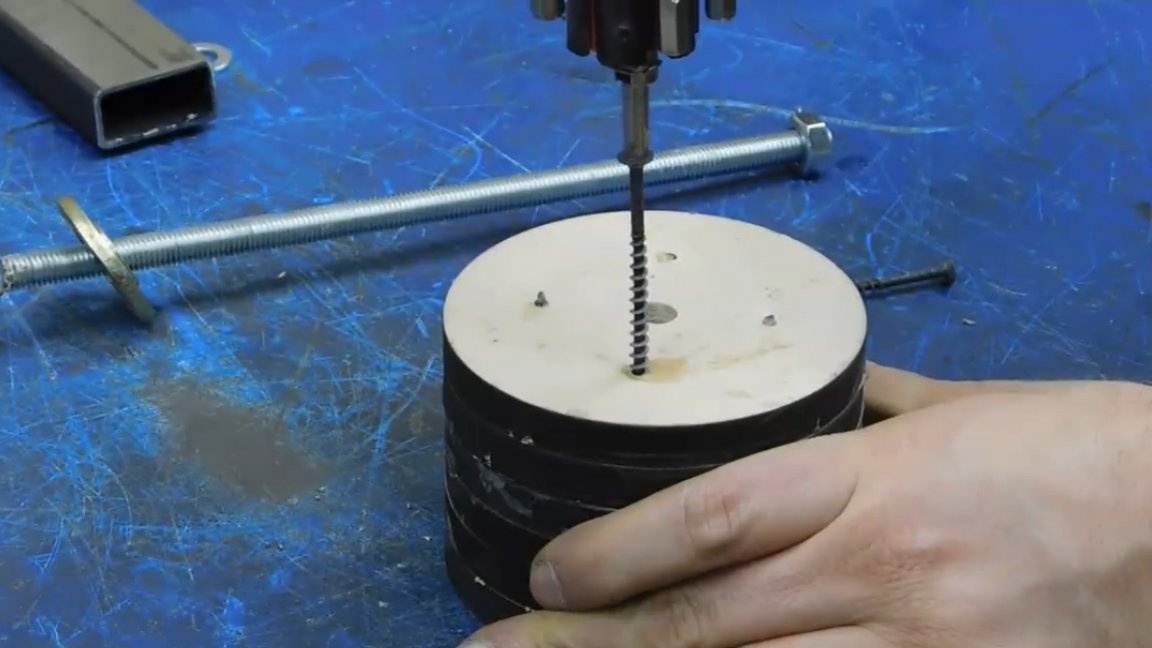
Now we drill a hole with a diameter of 20 mm.
It is also necessary to make a ring that will serve as a bearing race. To fix, we drill a hole and cut the screw thread.
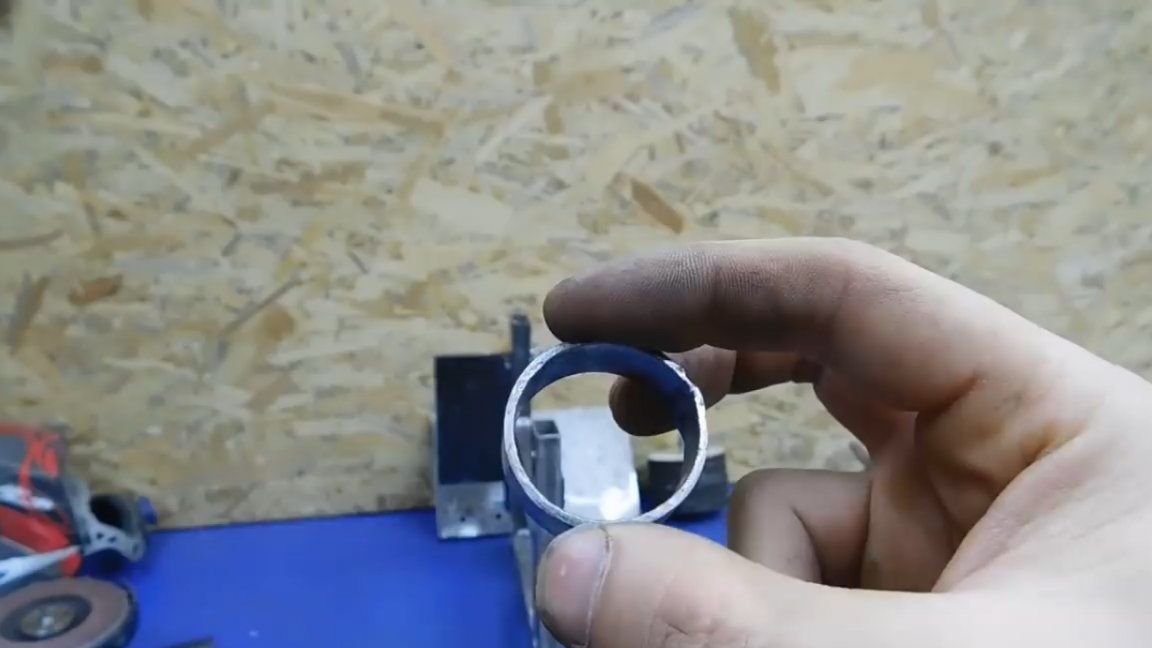
The bearing sat down pretty tightly - that's what you need.
Before welding, we adjust the entire assembly almost assembled under the hole in order to make sure that it rotates freely. Do not forget to perform cooling with compressed air, in order to avoid overheating of the bearing.
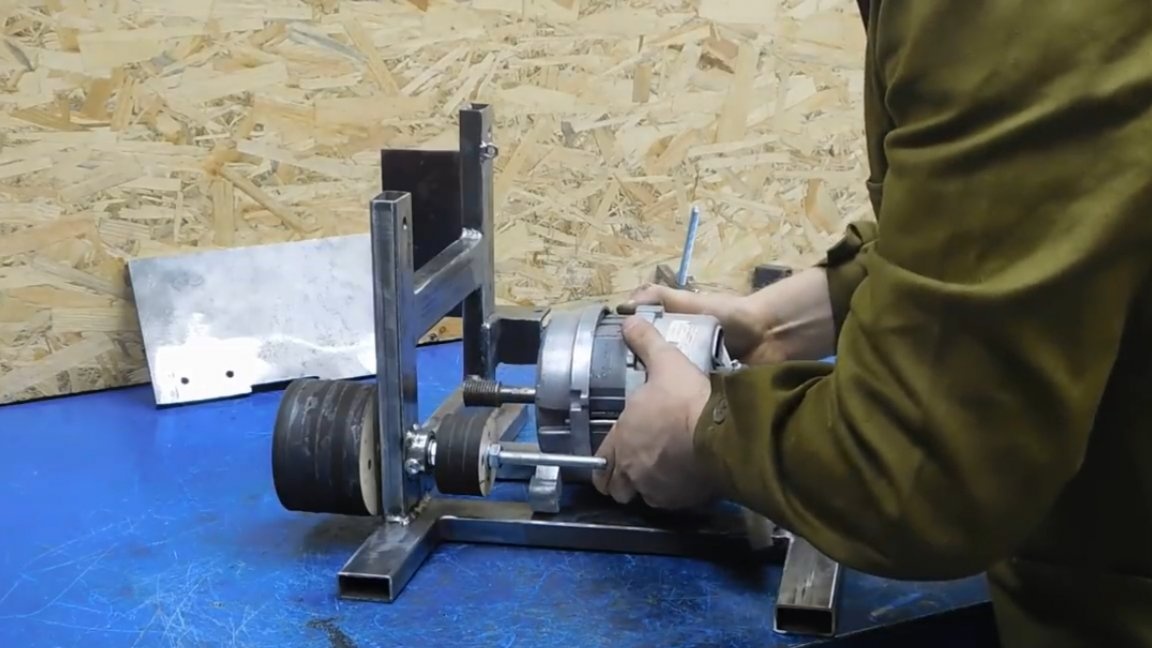
After that you can put on a small pulley and tighten it with a nut. With this knot finished, it's time to figure out how to get the engine off the washer and it's time to weld a small rack with a hole for the stud.
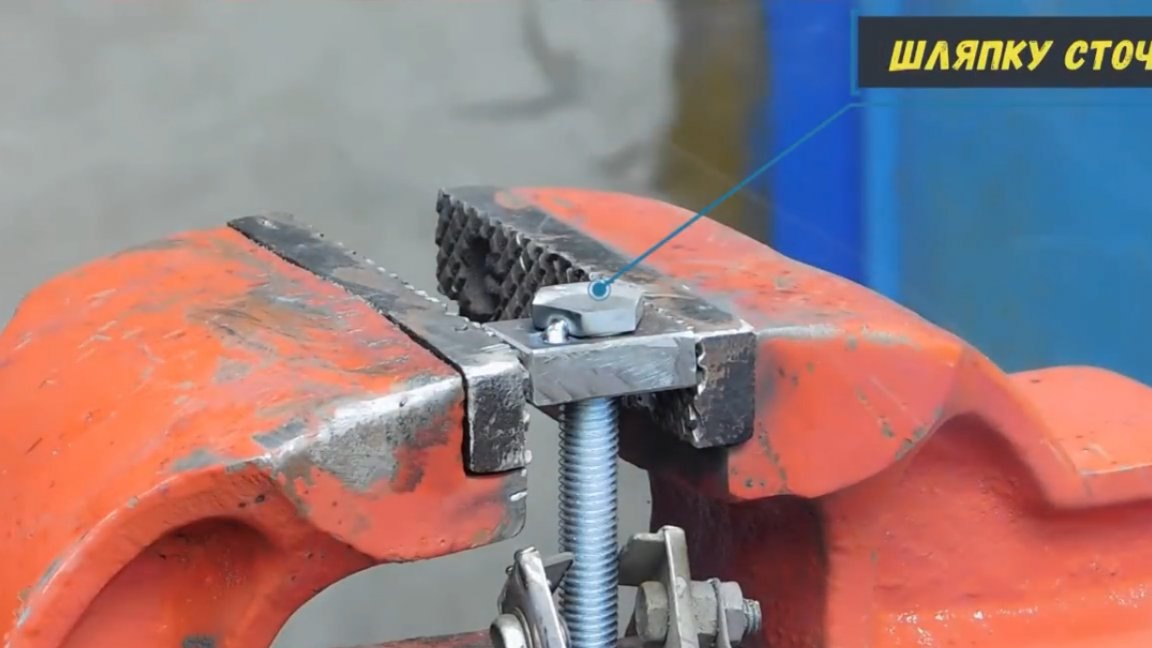
From an ordinary bolt and nut welded to the hat, you get such an eye bolt.
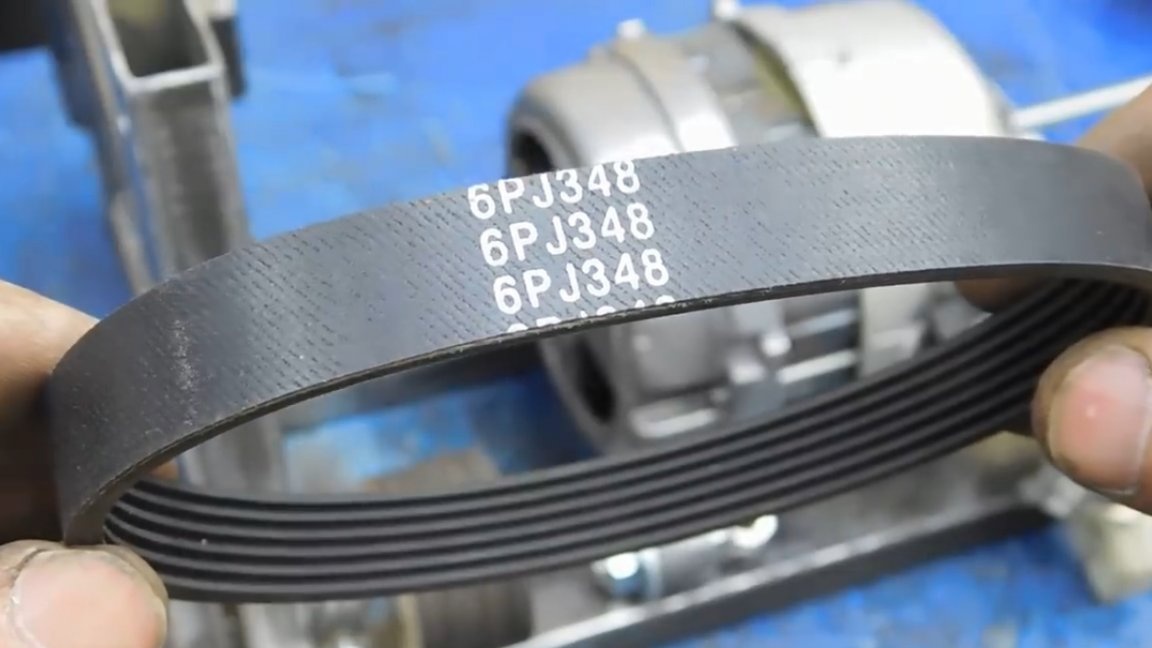
The author picked up a belt from a washing machine in the market. The last 3 digits indicate its working length.
We twist a bolt.
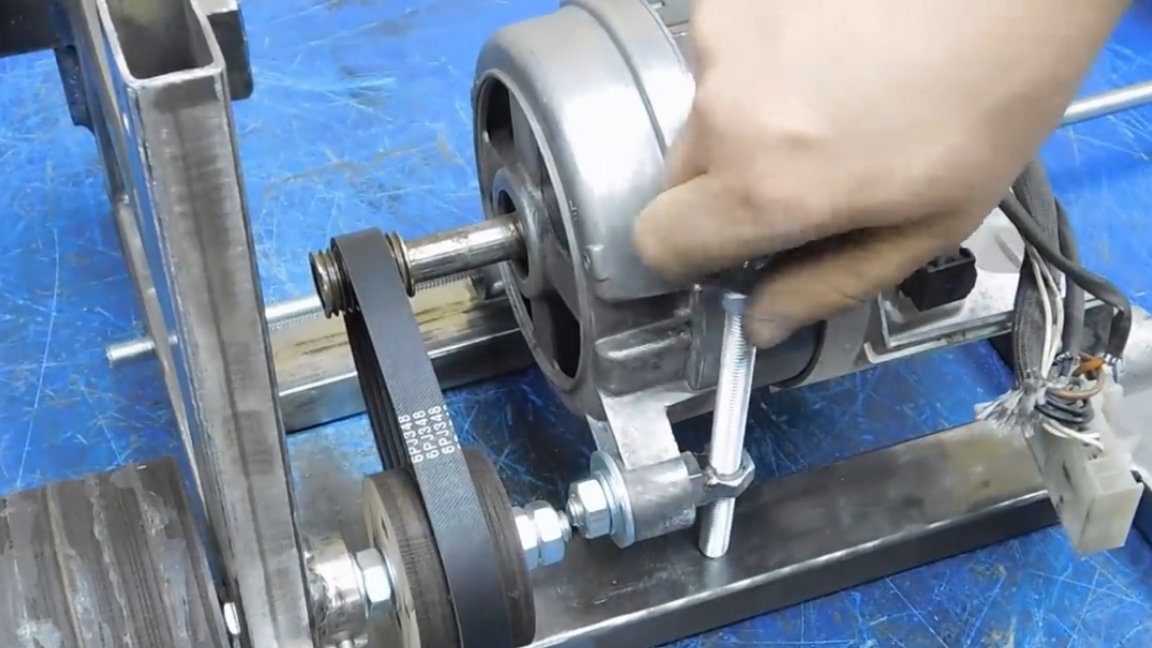
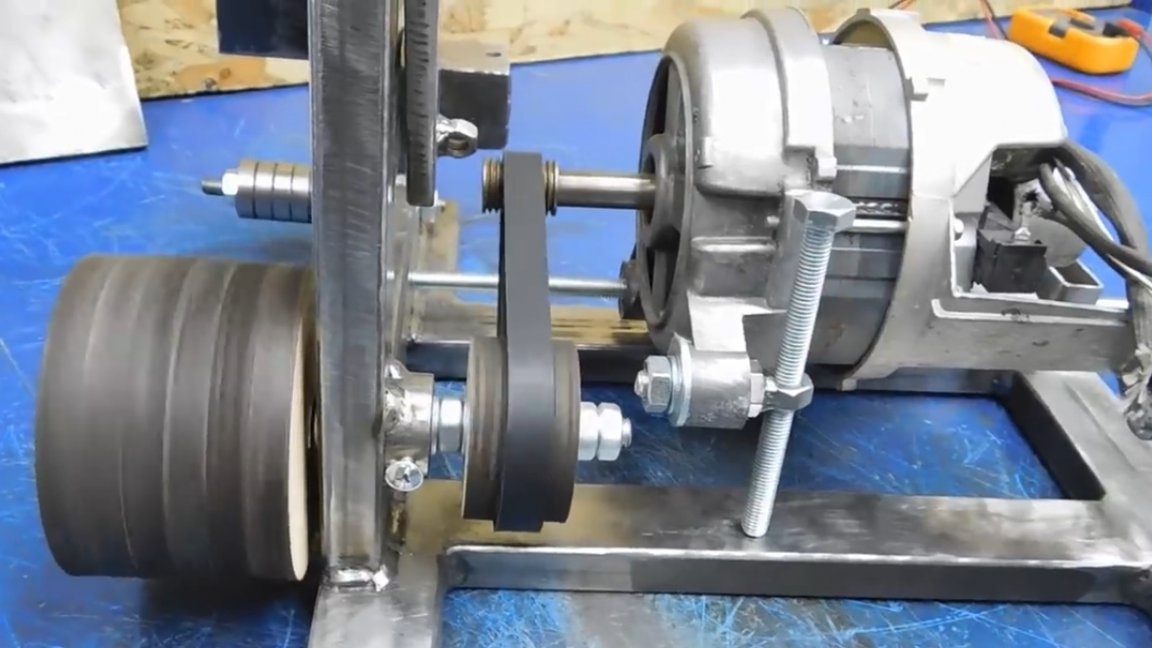
Thus, the belt is tensioned. By the way, the grooves of the engine shaft pulley are standard, you can put any commutator engine under this belt. In total, 7 bearings were used on each of the 3 studs, and 21 of that.
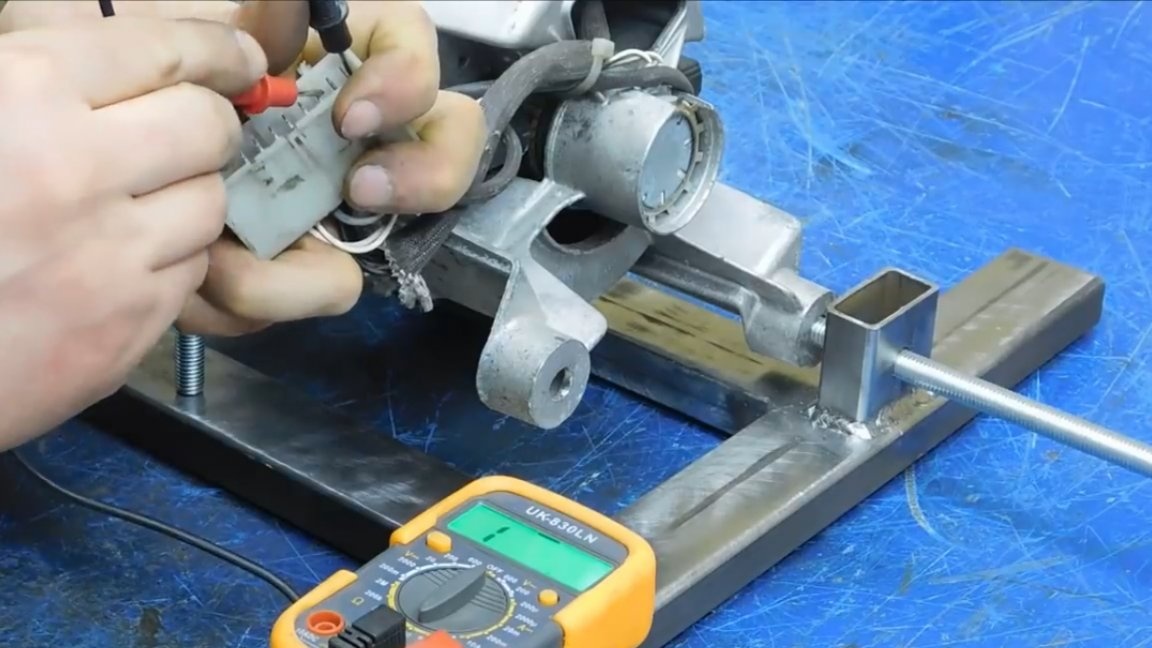
Perhaps not the best option, but the author assembles the machine from what is available. Connecting the collector motor was not difficult. Visually you can see a couple of wires that go to the brushes, we need them. Now you need to find the motor winding. Impedance 200 ohms, seconds and winding found.
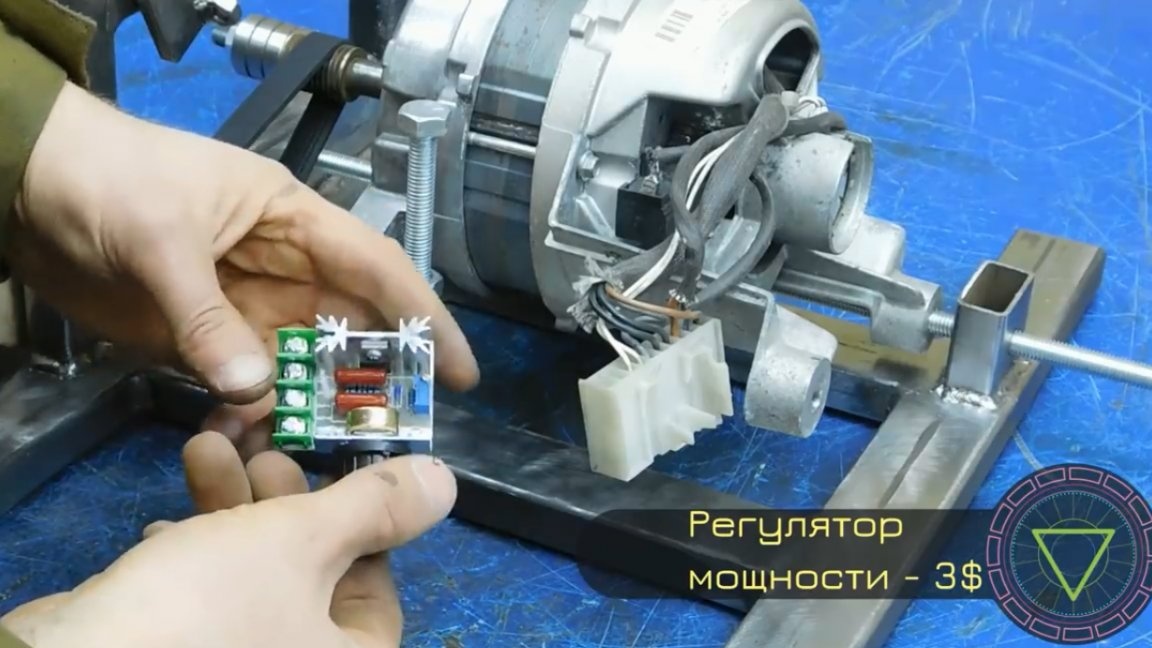
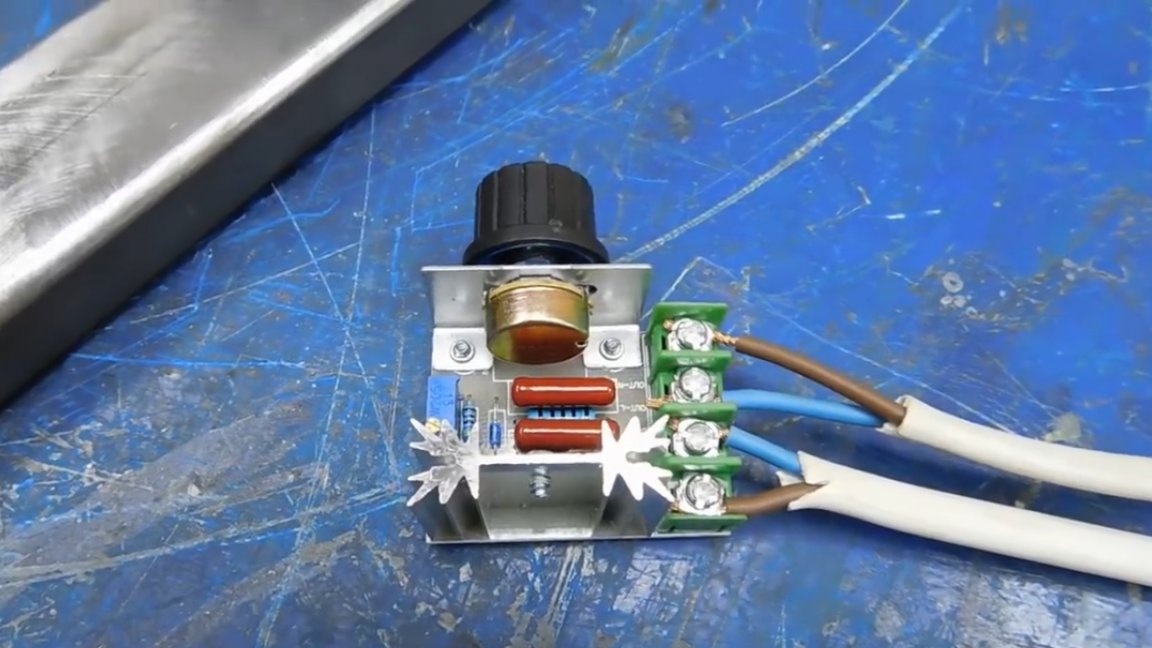
For this project, the author purchased just such a power regulator.
The engine is running.
A plywood pulley requires processing.

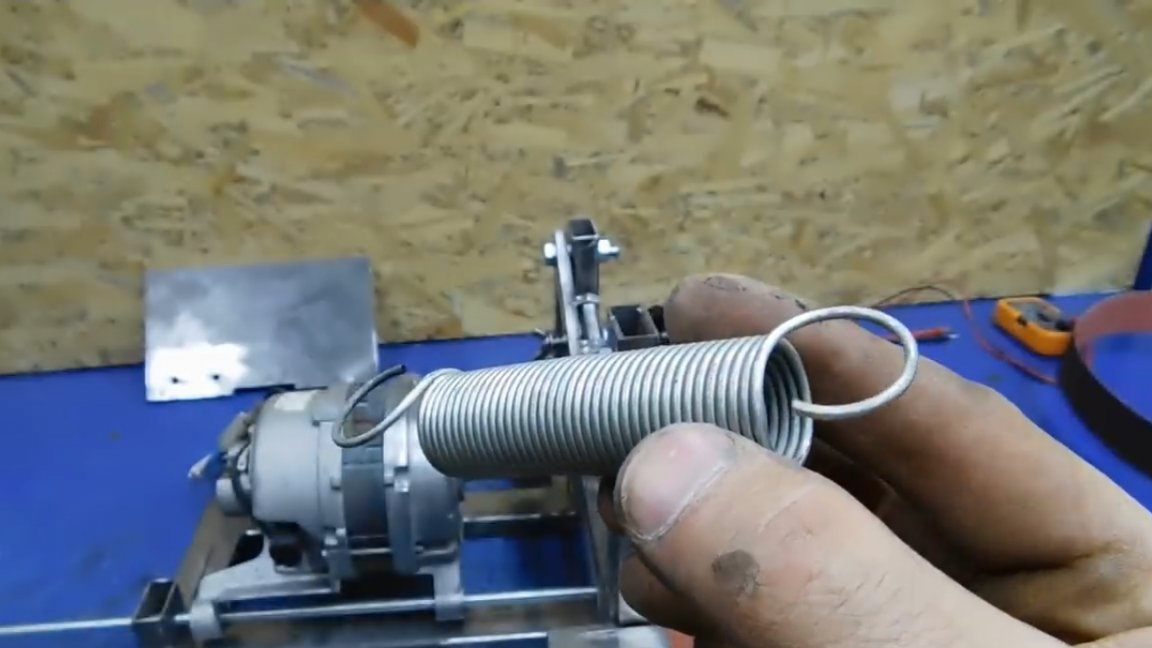
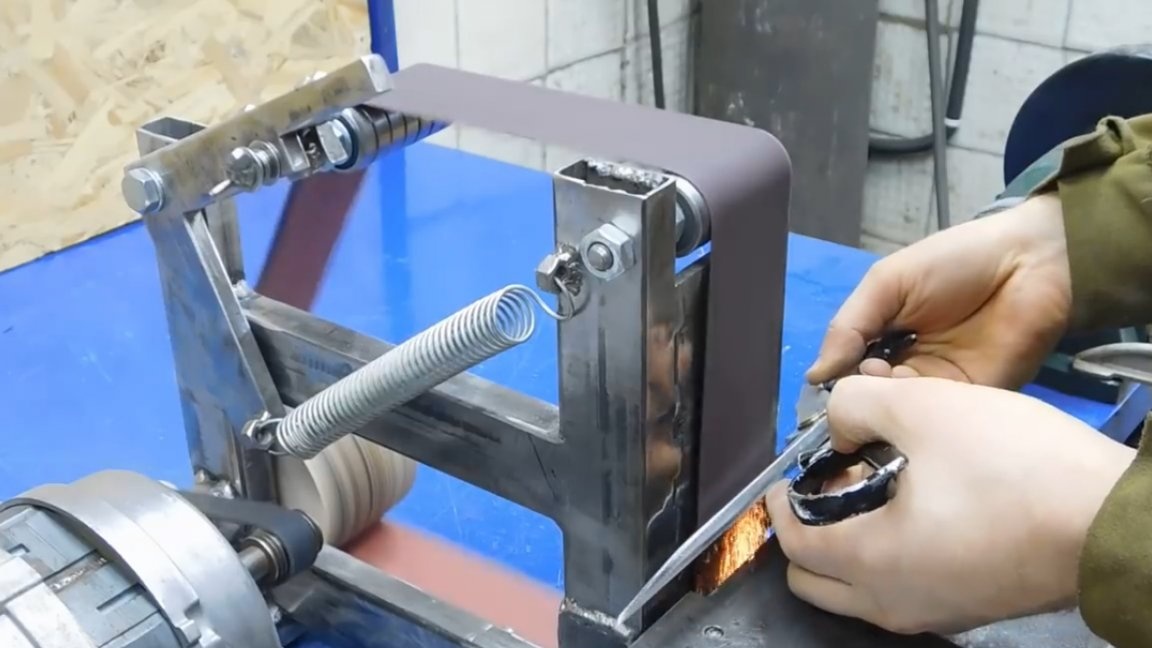
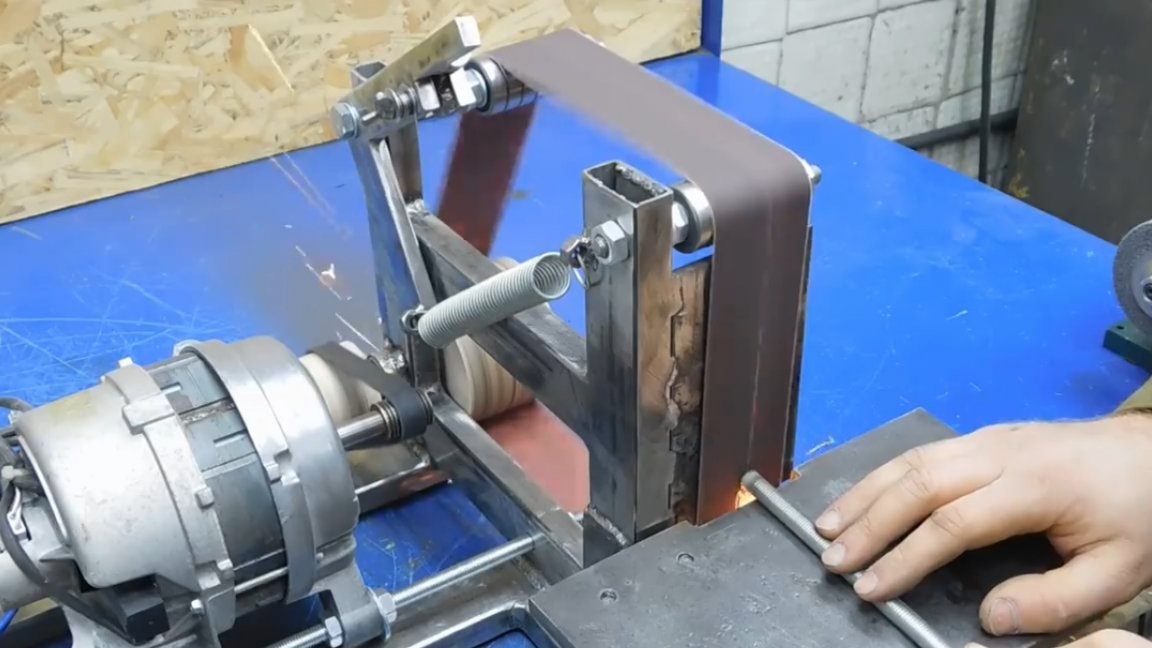
Next, install the spring. This is an ordinary door spring, or rather part of it.
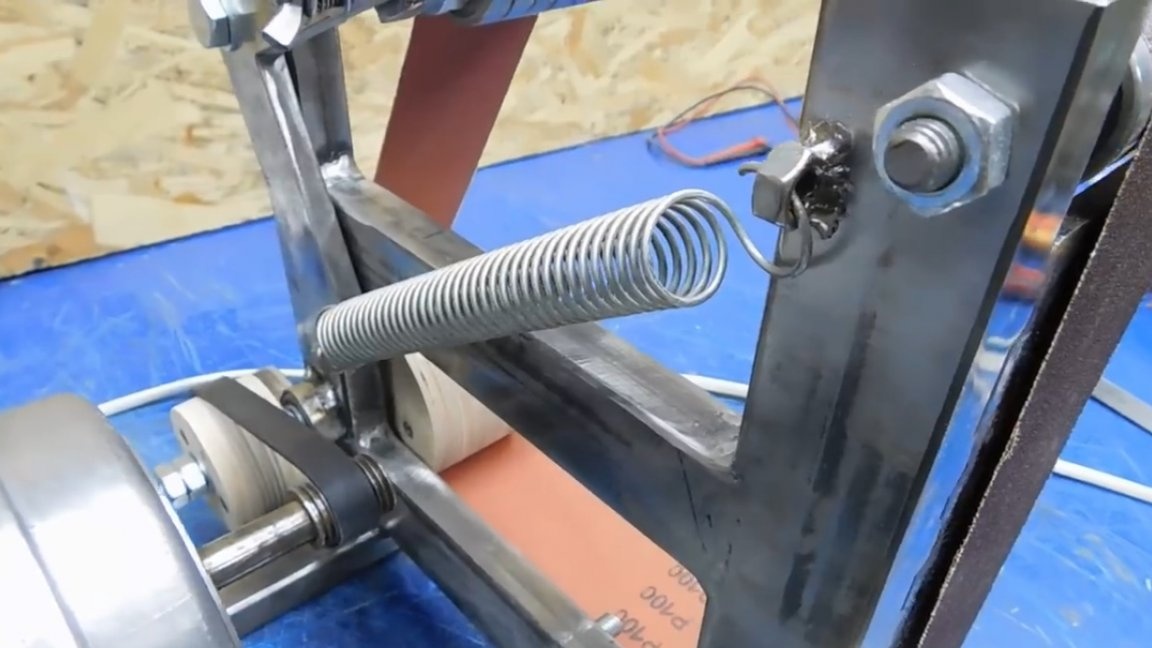
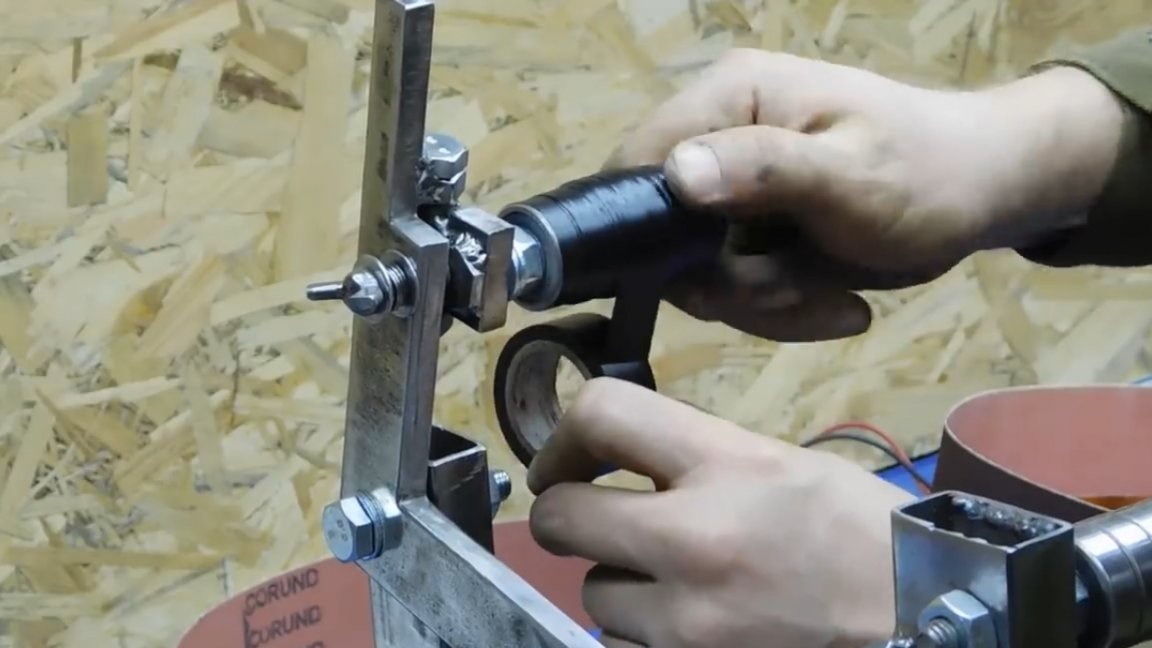
One of the options to give a barrel-shaped shape to a tension roller is an insulating tape and a segment of a bicycle chamber. Yes, the collective farm is rare, but the thirst for cheap experimentation never leaves.
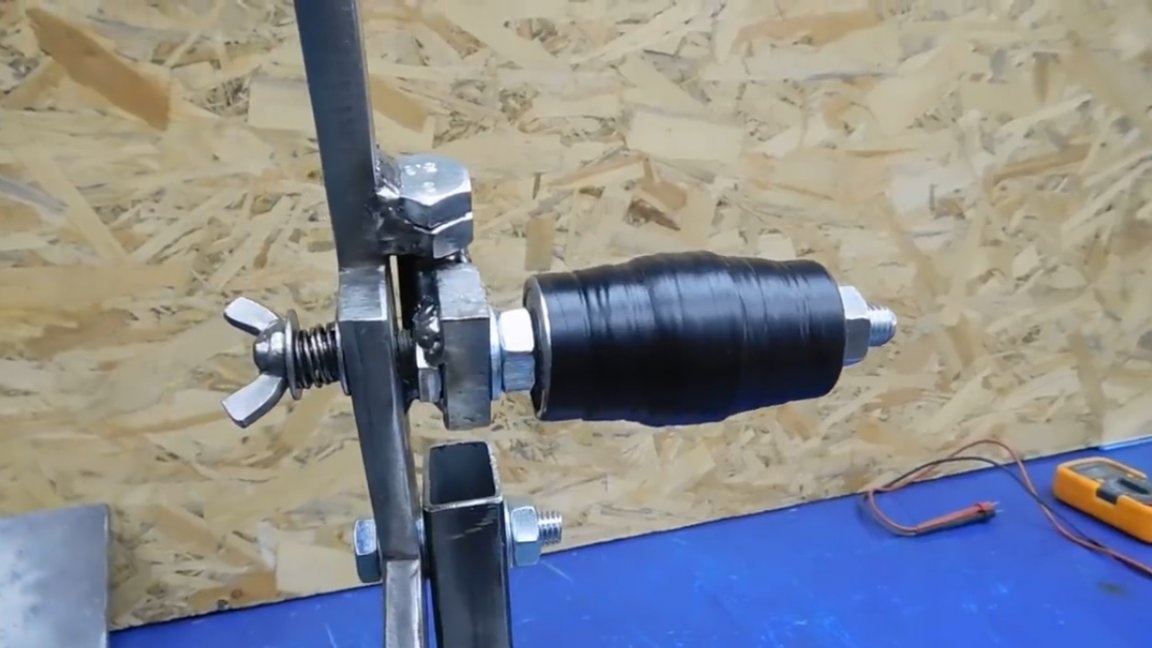
But the experiment was unsuccessful, the tape was never set up. The author has thrown this venture so far, but is likely to still have to return to the barrel-like nature of the video.
With a regulator, the start is smooth, but there is a minus that, by reducing the speed, the engine power also drops. The belt speed is estimated to be about 20 m / s.
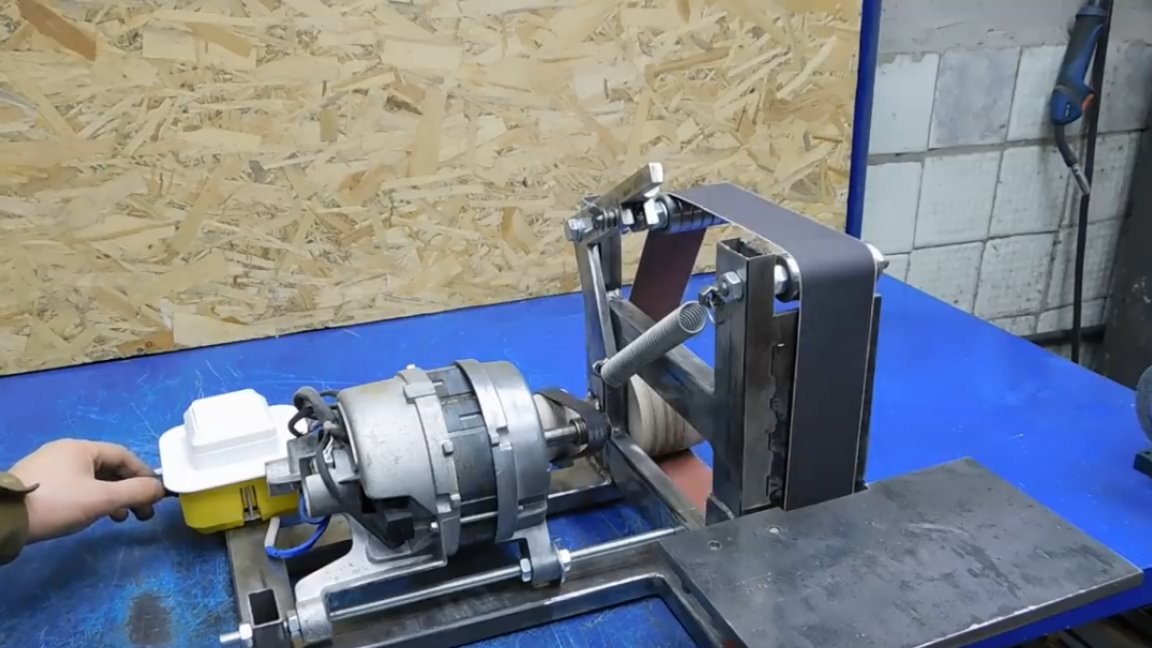
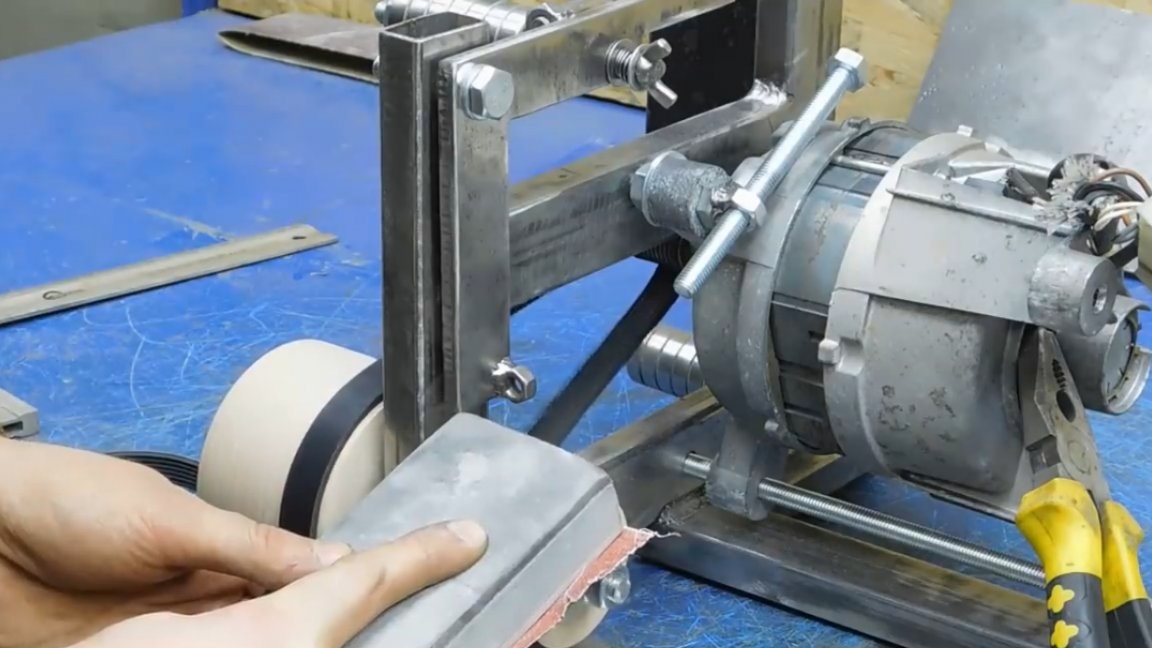
The tape is biased, responds to the inclination of the roller. Will it really work without a barrel-shaped form?
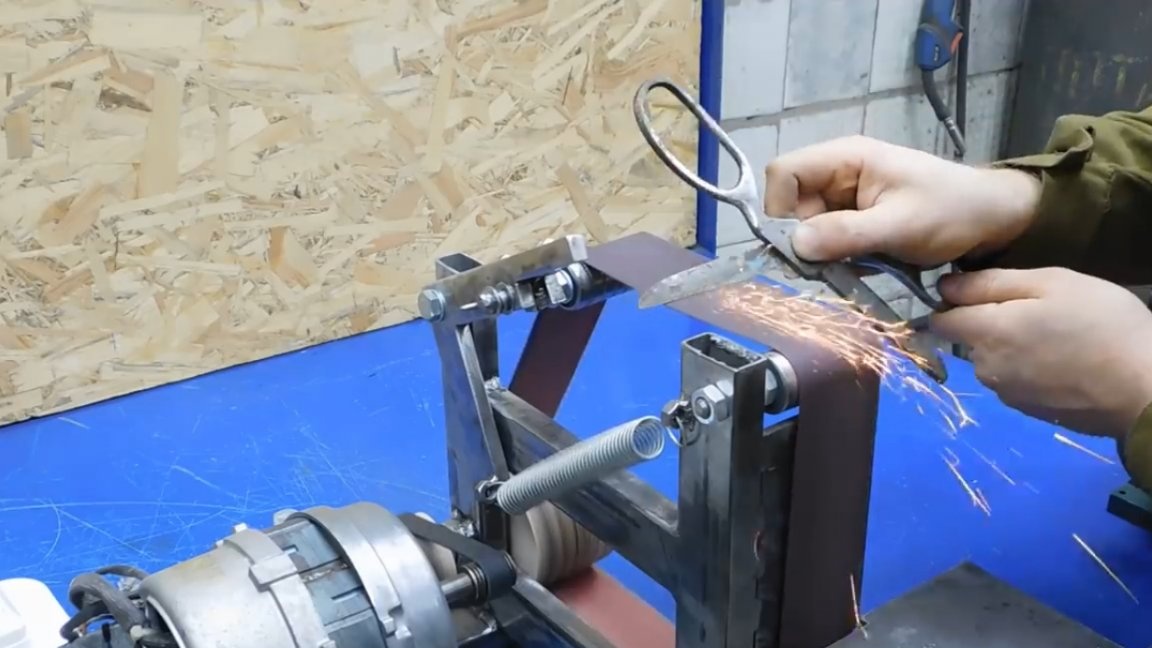
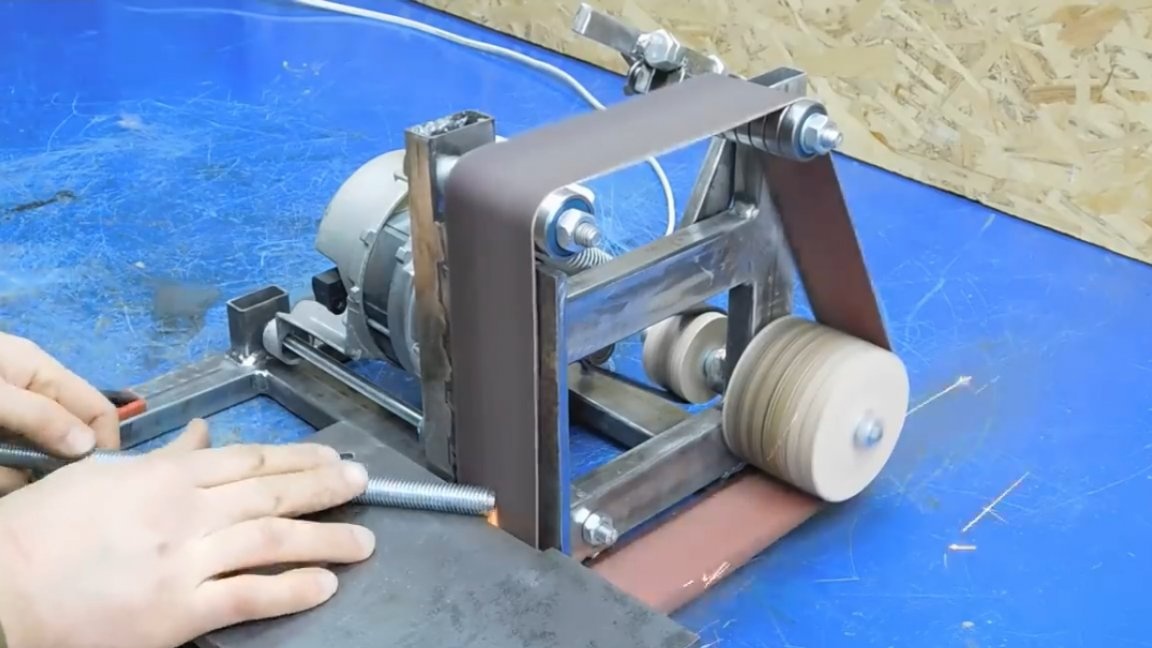
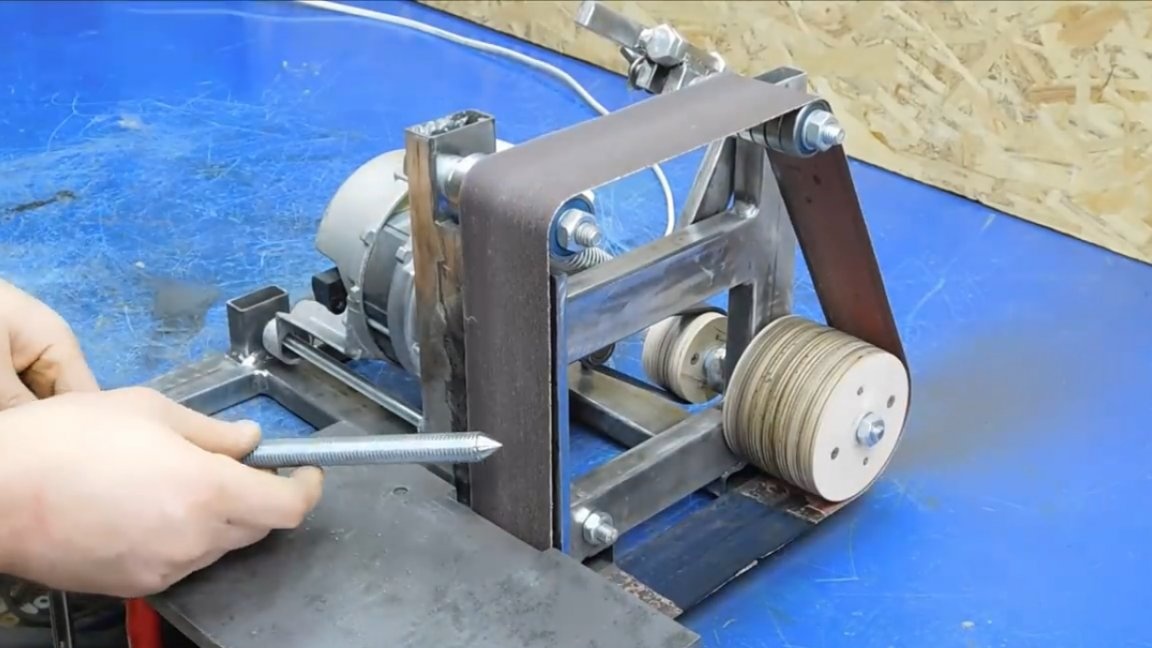
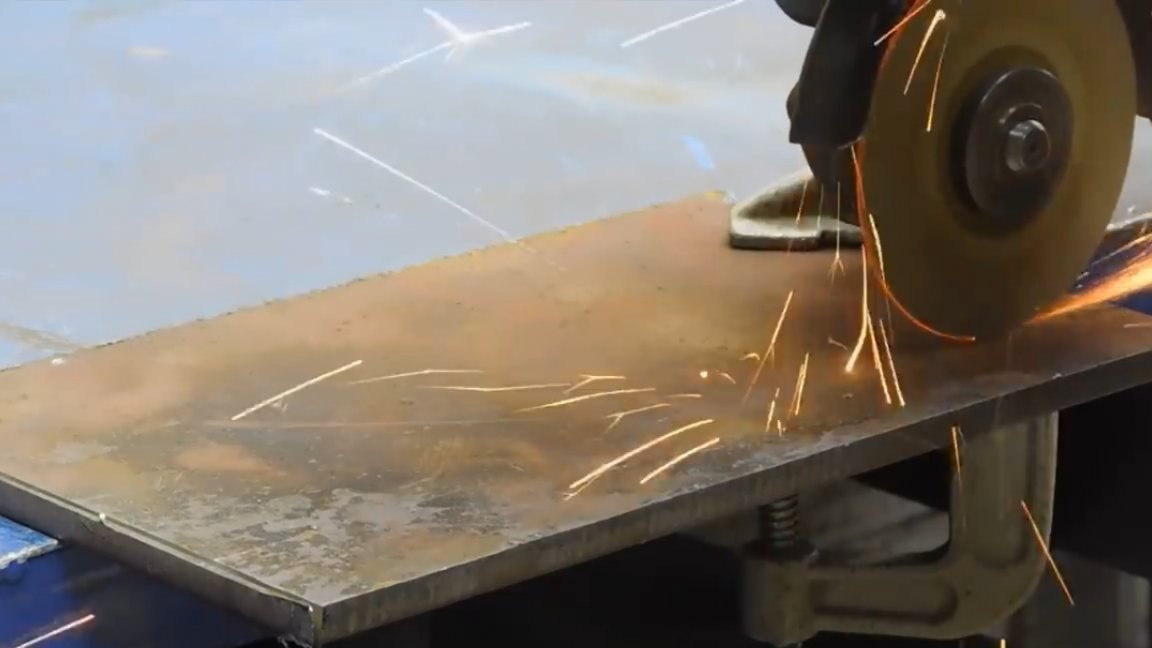
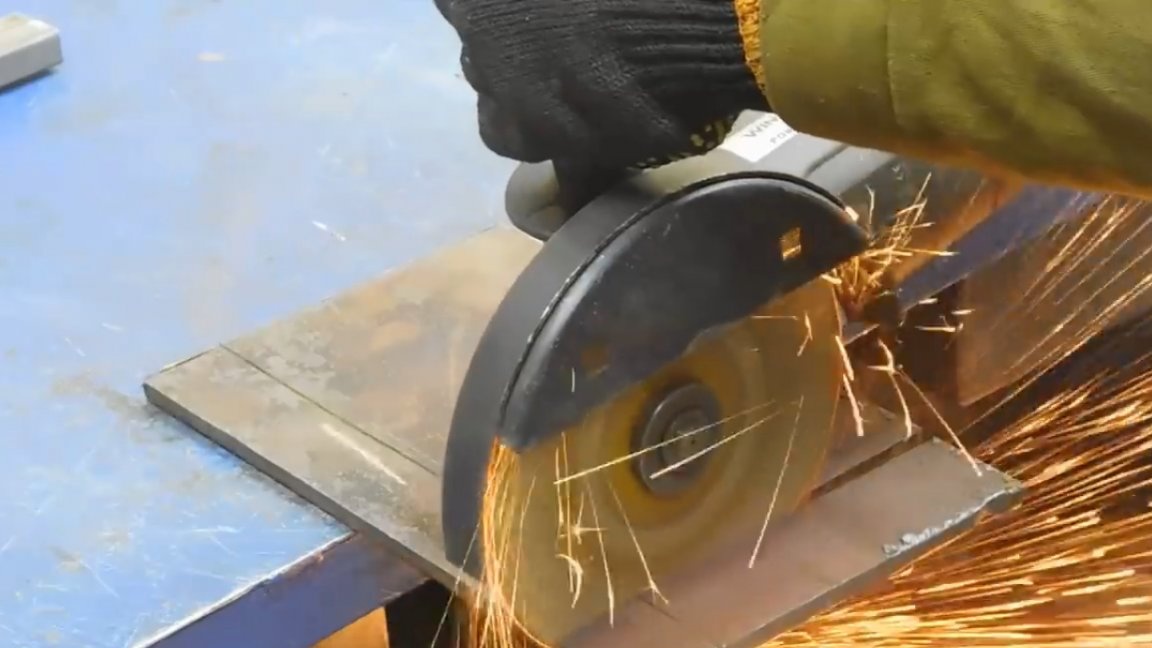
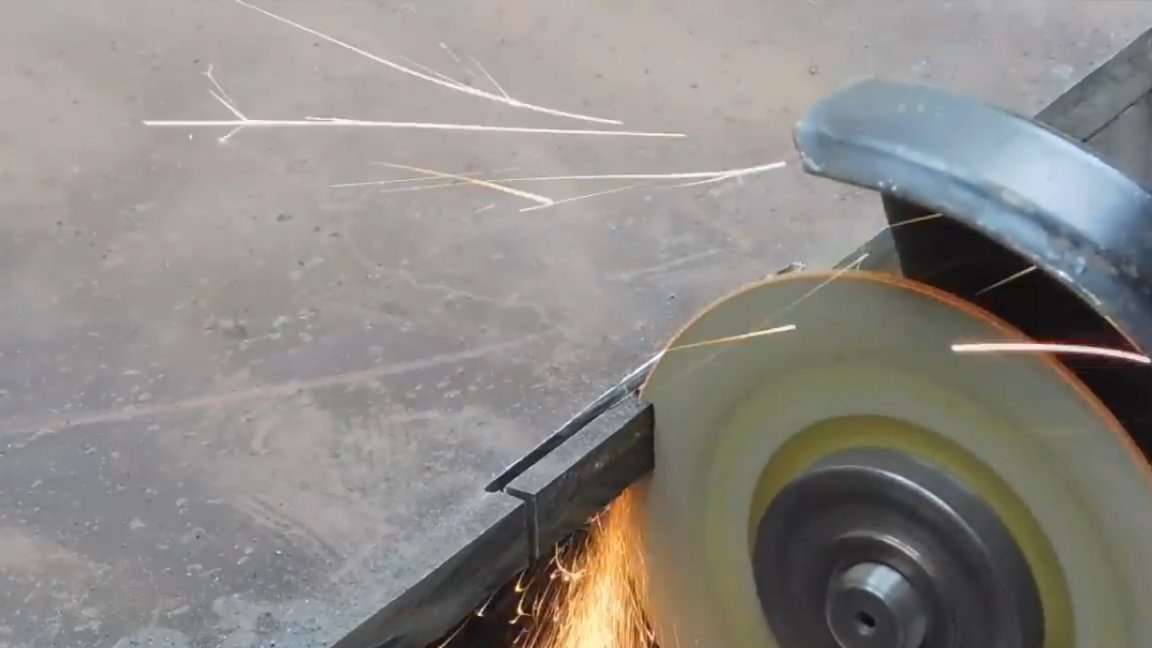
And finally, a stud with a maximum load on the tape.
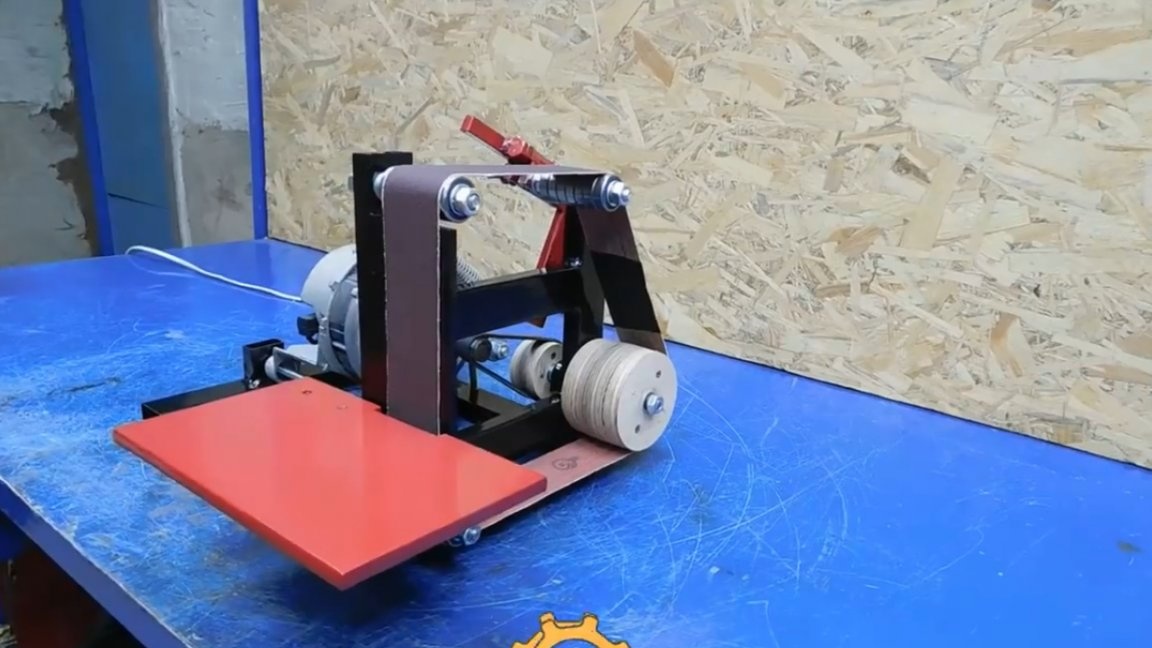
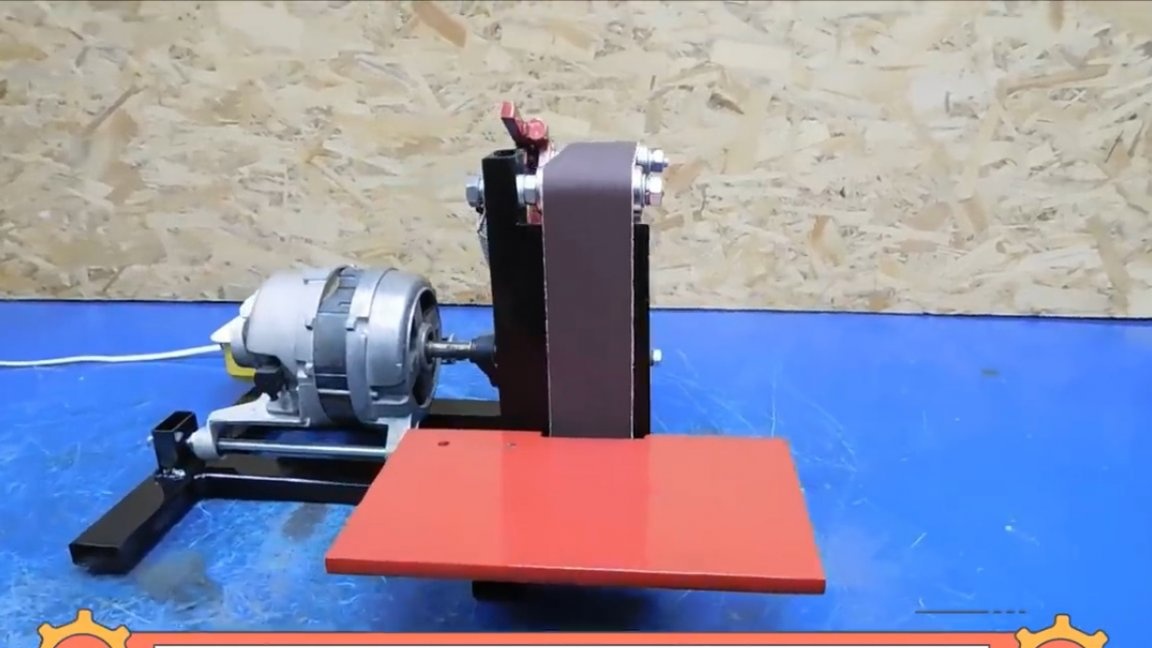
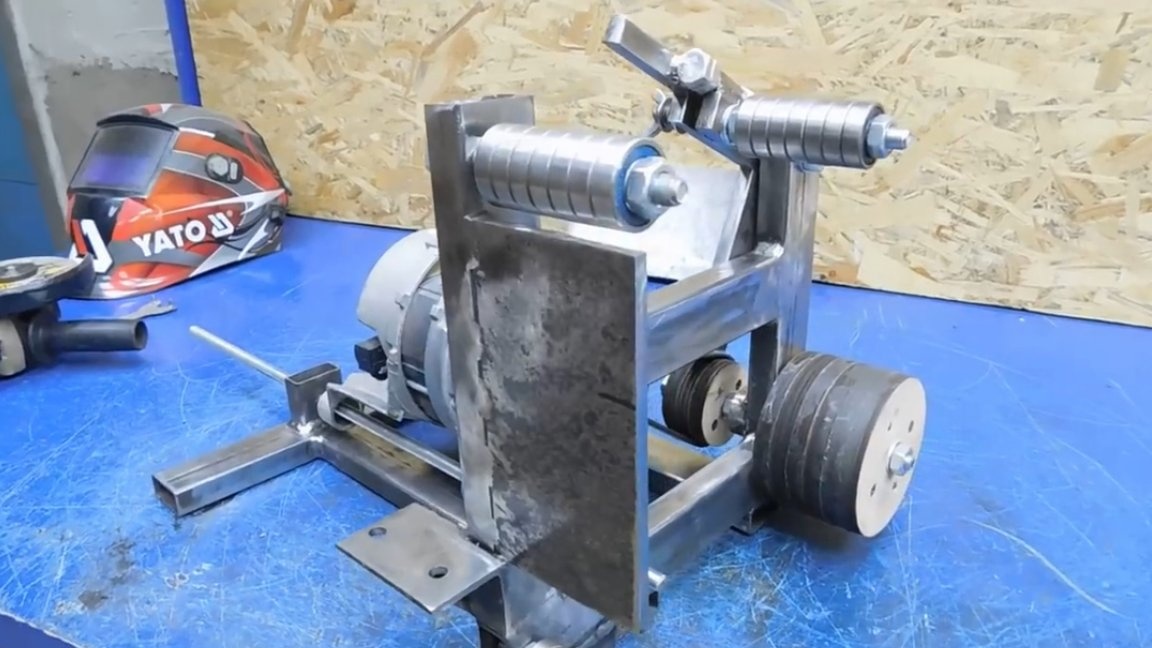
It was not possible to stop the tape.The author transformed the machine by painting. The grinder project is completed. Thank you for attention. See you soon!
Video: