
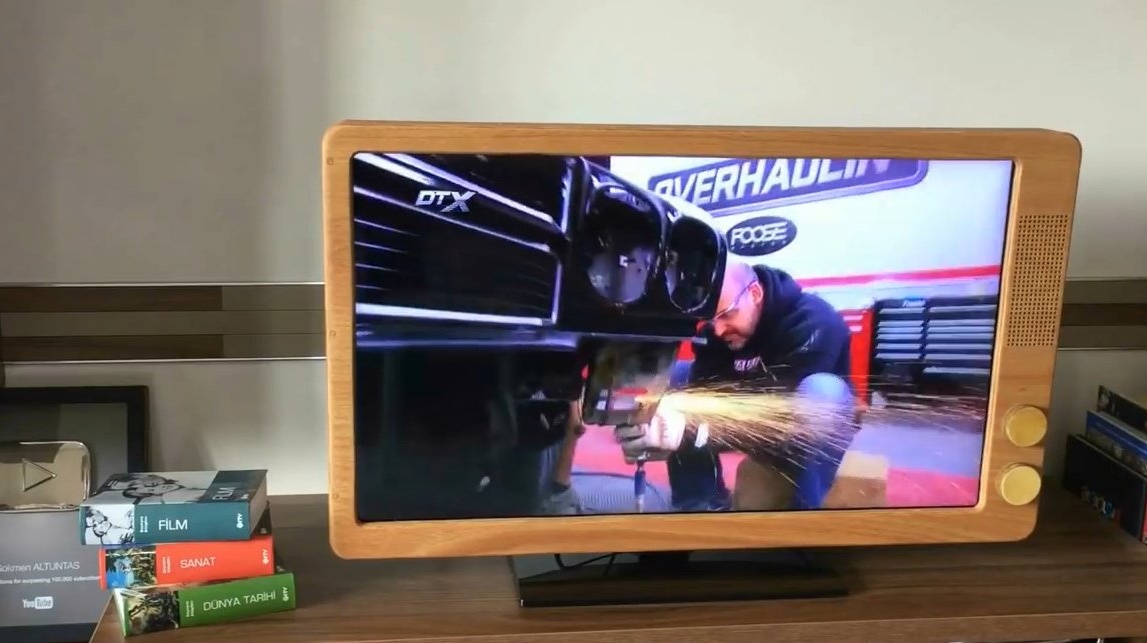
In this article, the author of the YouTube channel "Gökmen ALTUNTAŞ" will tell you how he transformed the look of his LED TV.
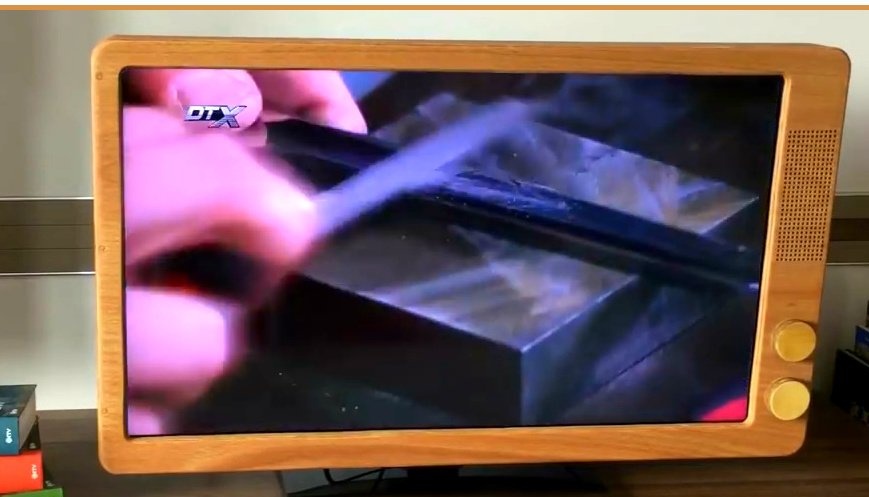
The usual dull, angular shapes are smoothed out, and the TV has a retro look.

Materials
- sheet plywood
- Flat TV
- PVA glue
- Oil for wood impregnation.
Instruments, used by the author.
- Orbital sander
- Belt sander
- A circular saw
- Orbital sander
- Manual frezer
- Electric jigsaw
- clamps
- Screwdriver, drill 10 mm
- Countersink drill
- brush
Manufacturing process.
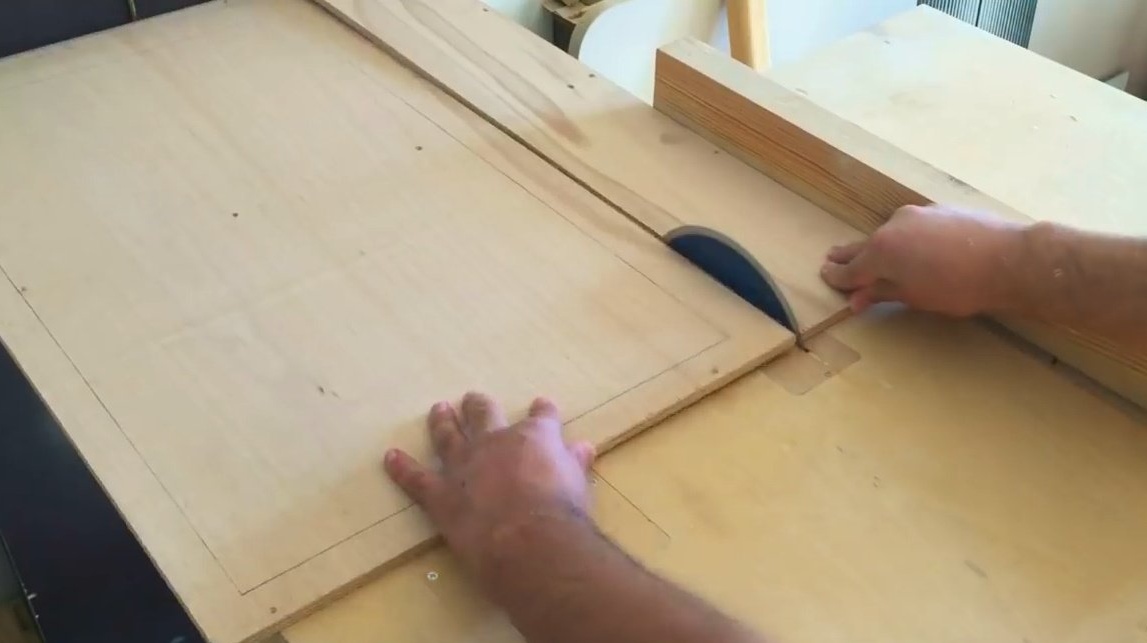
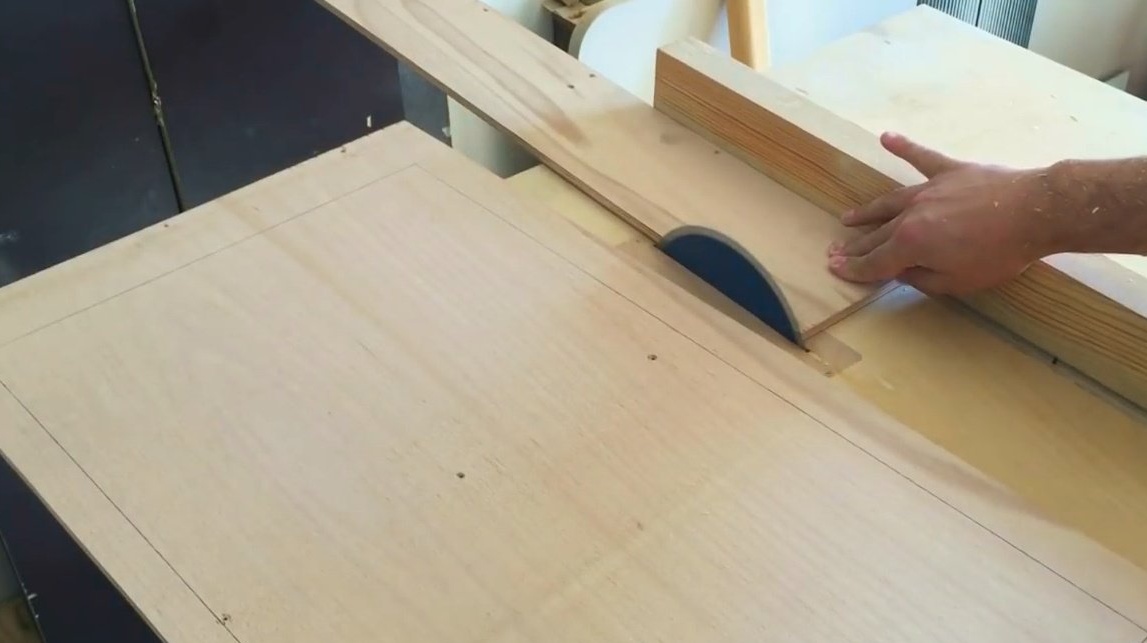
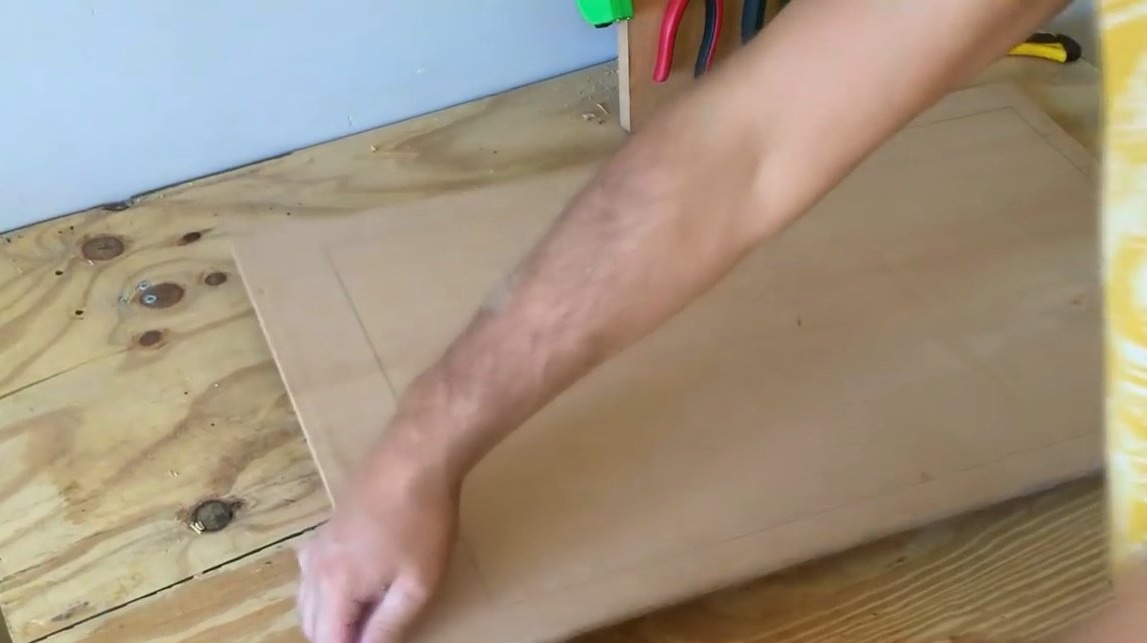
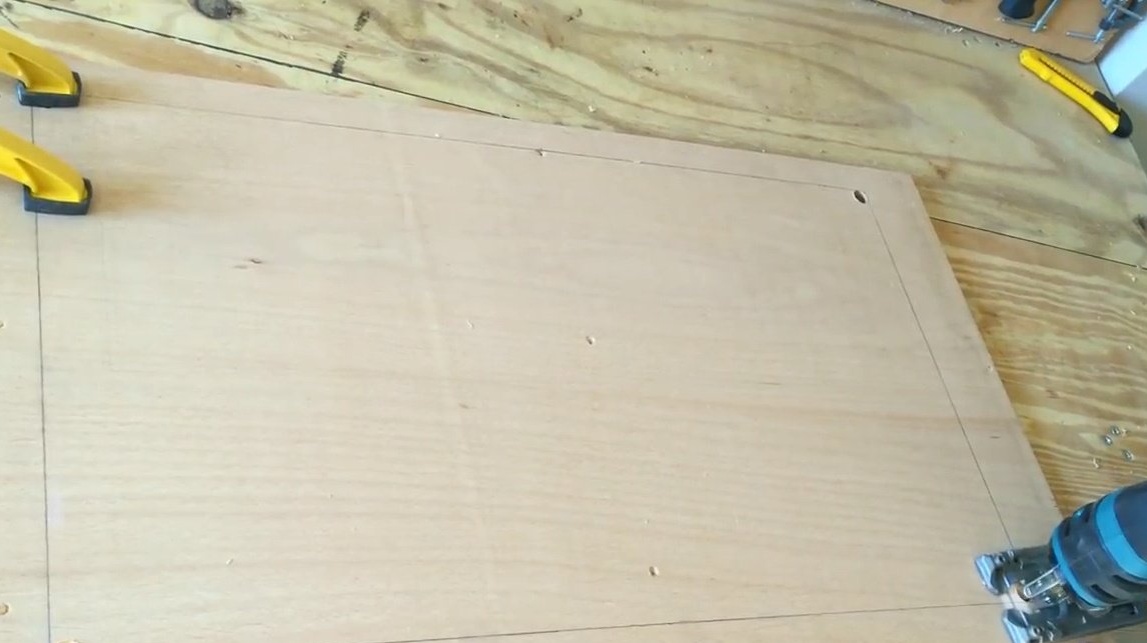
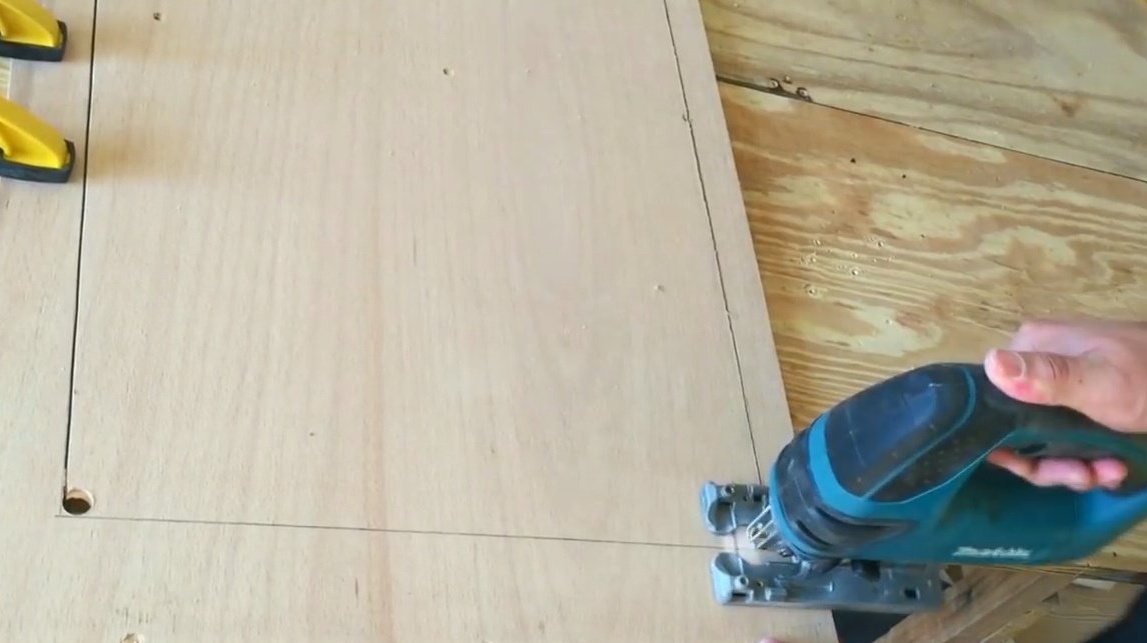
Having marked the perimeter of the TV, cuts a blank for the frame from a large sheet.
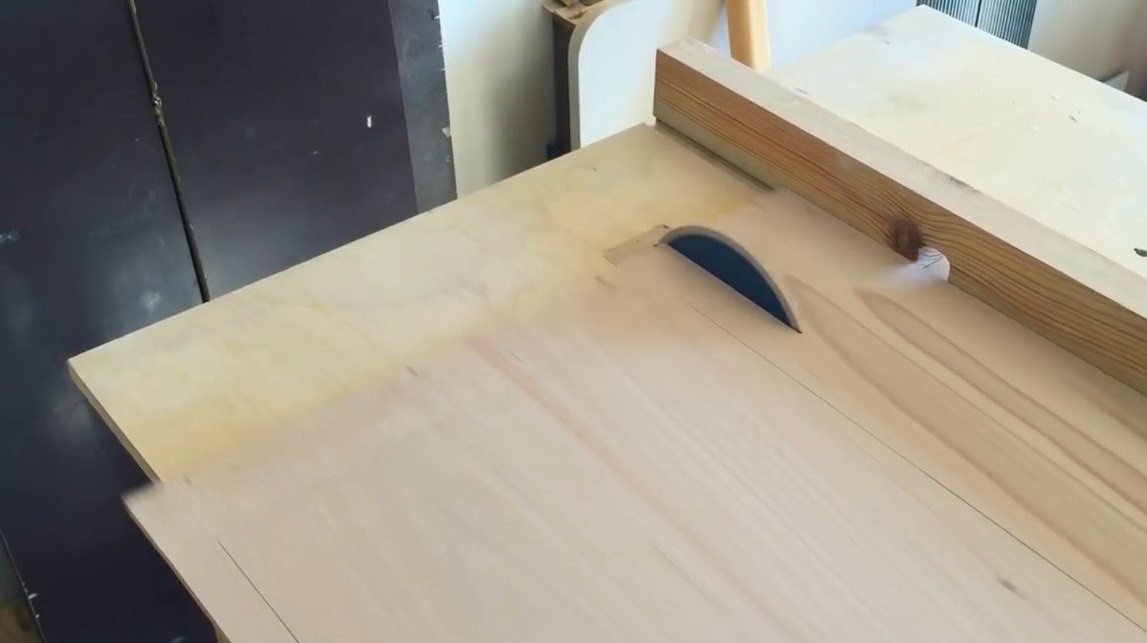
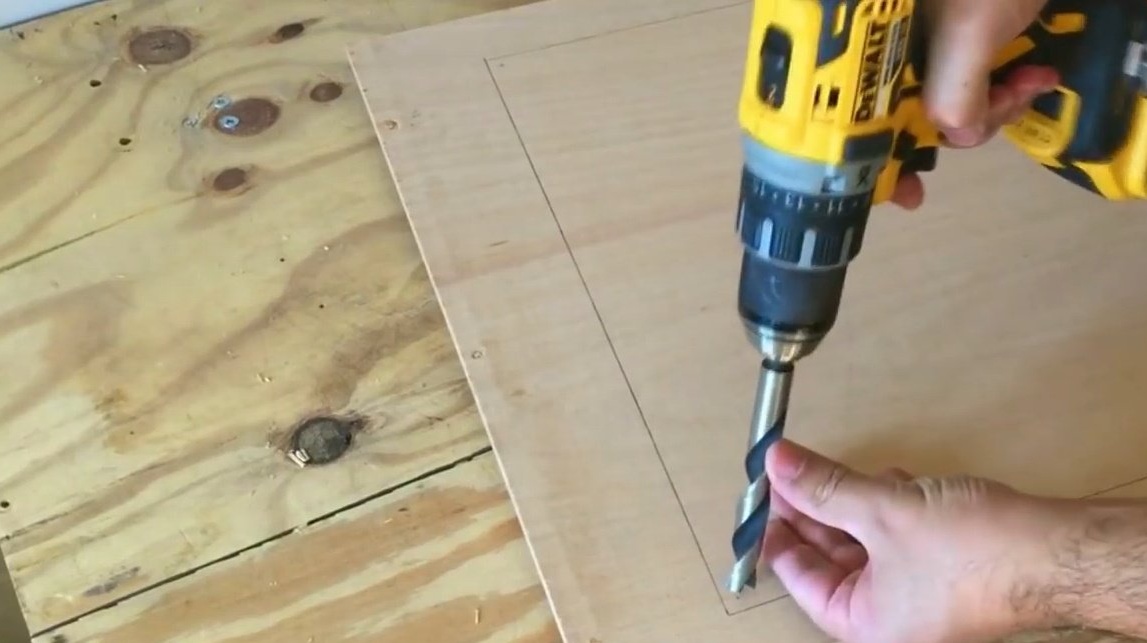
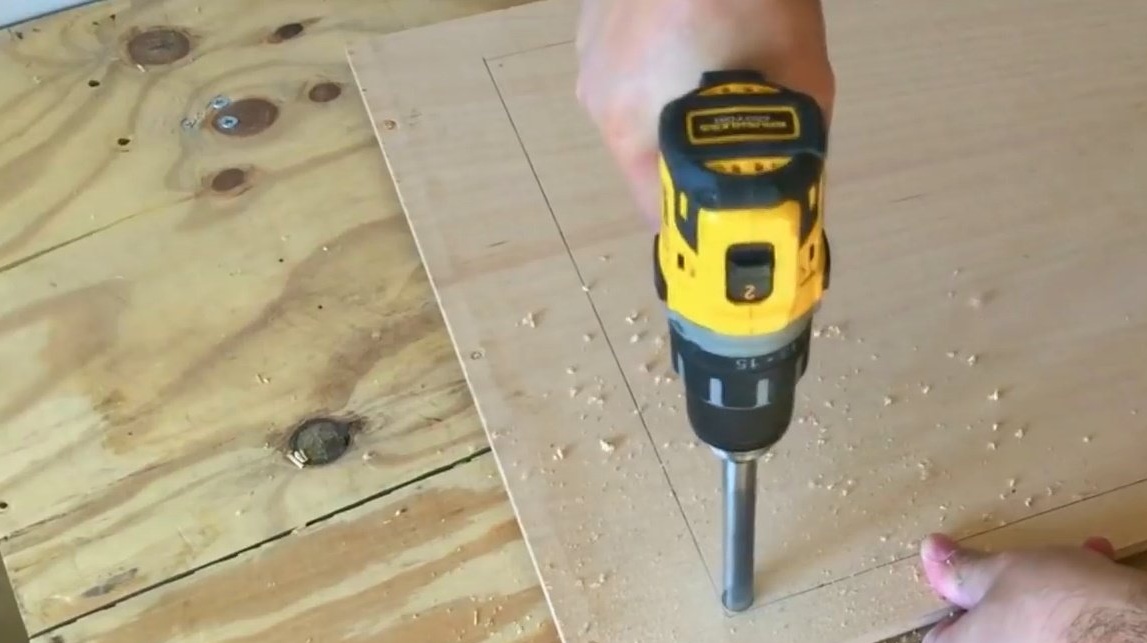
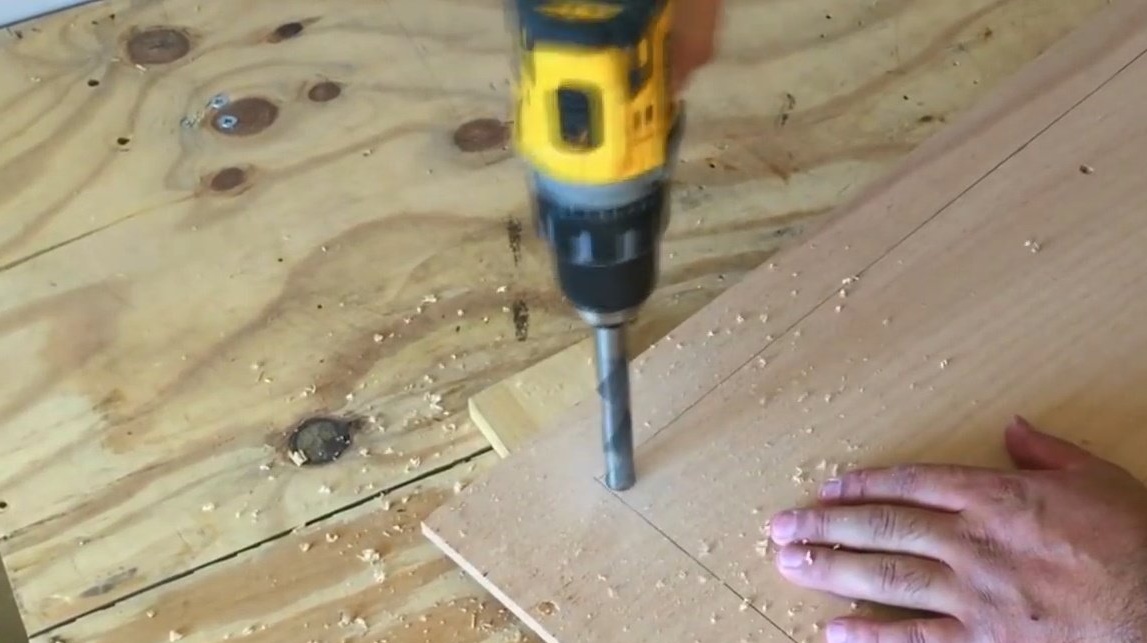
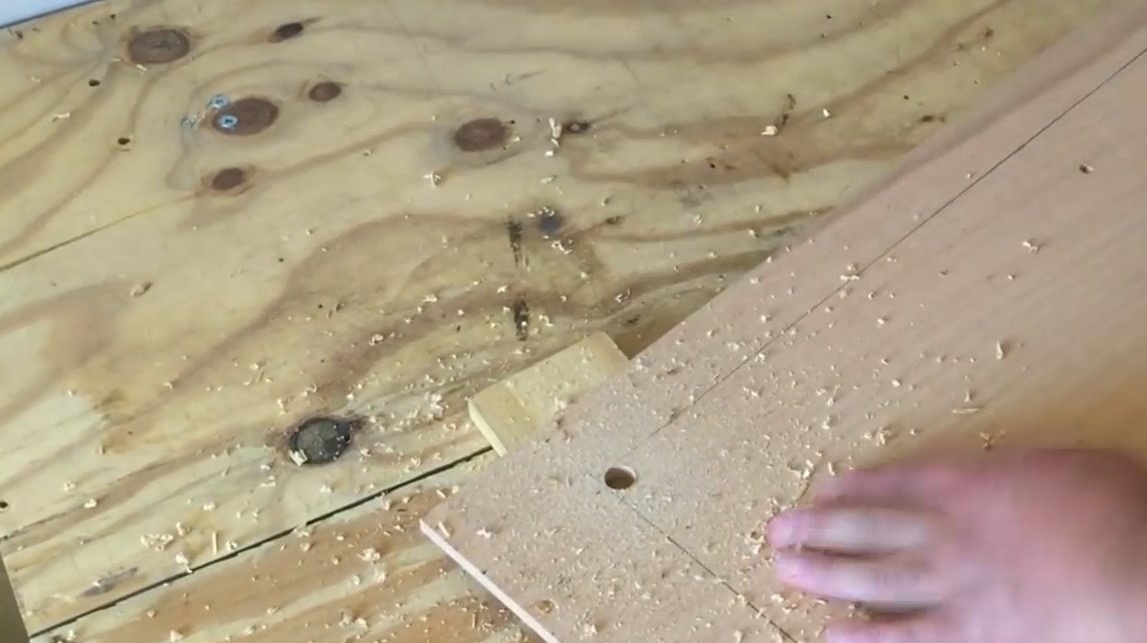
Then, adding unnecessary stitching, he drills holes in the inner corners. They are needed for the next step.
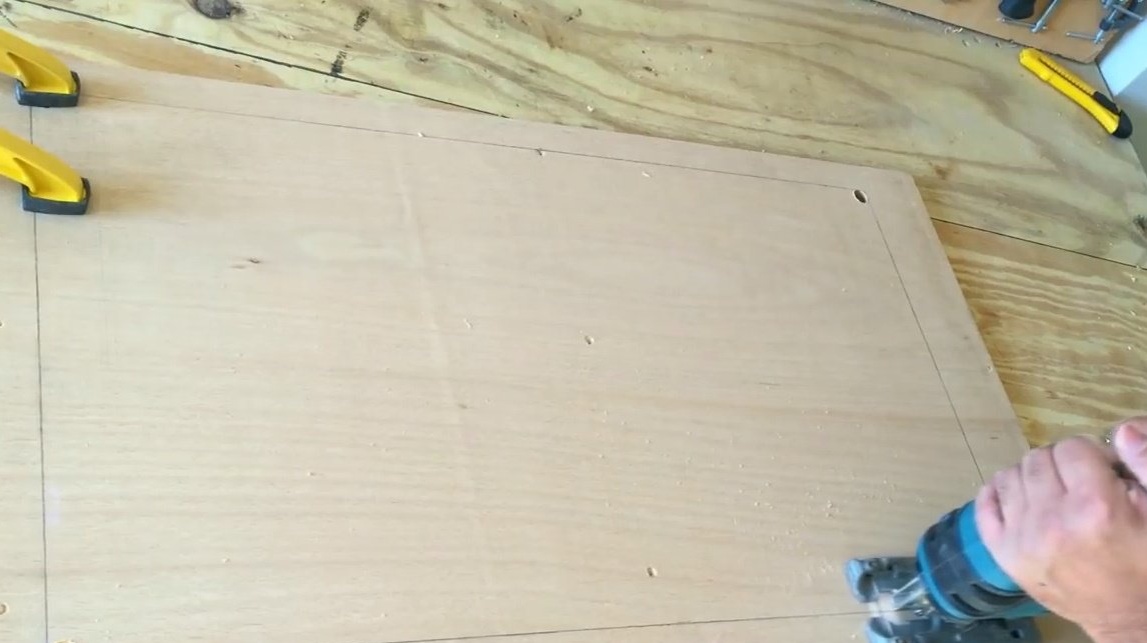
Having pressed the workpiece to the table with clamps, it inserts a jigsaw blade into the hole and cuts out the internal unnecessary part.
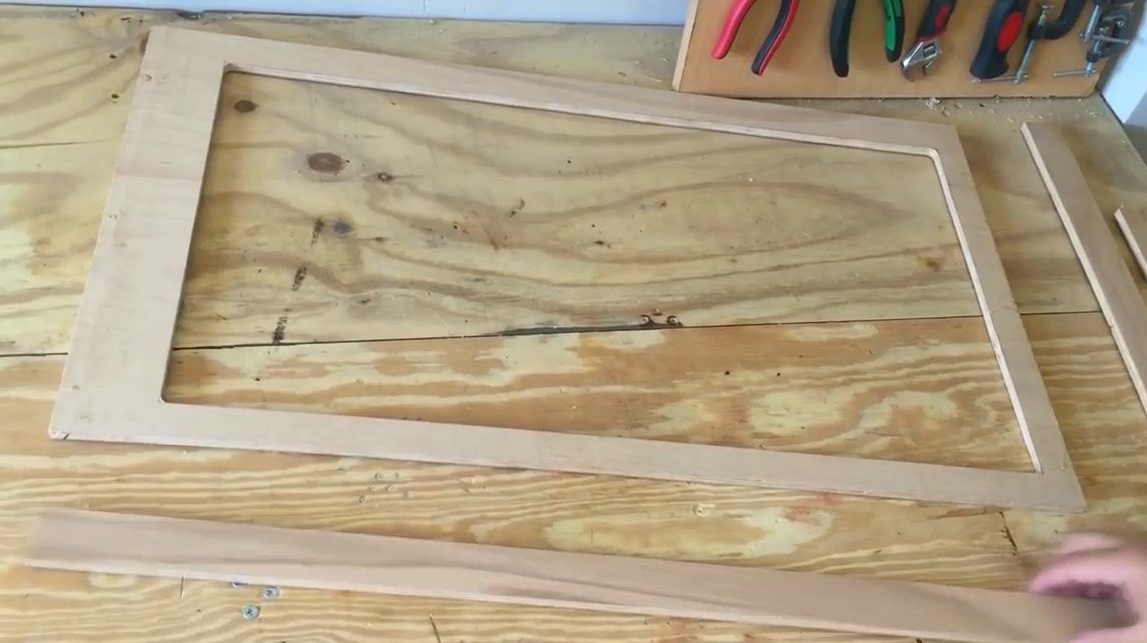
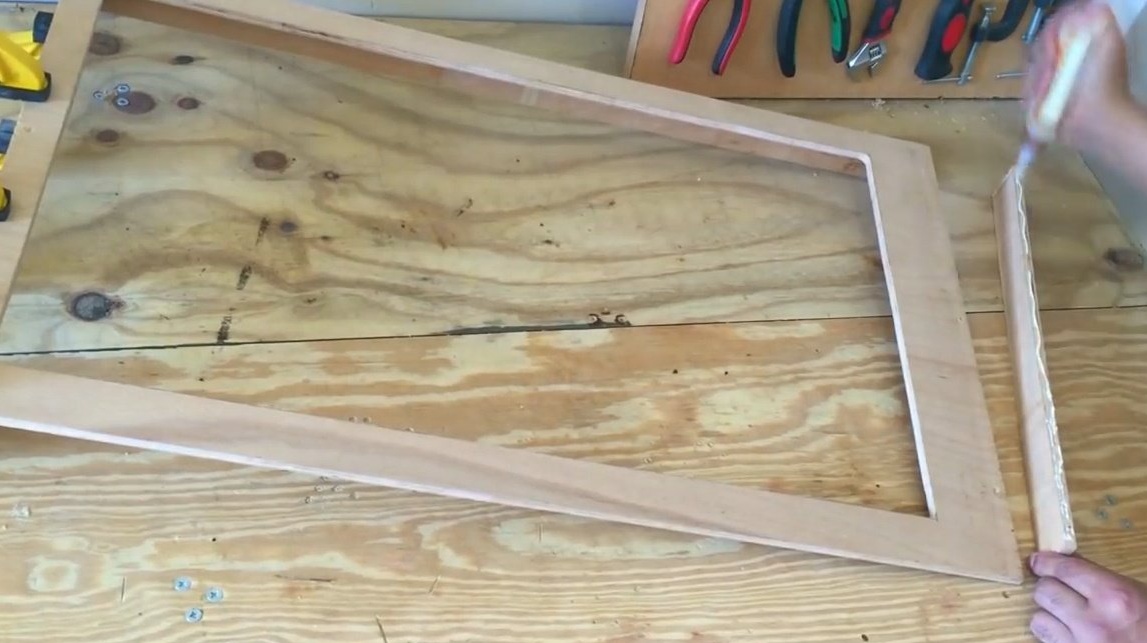
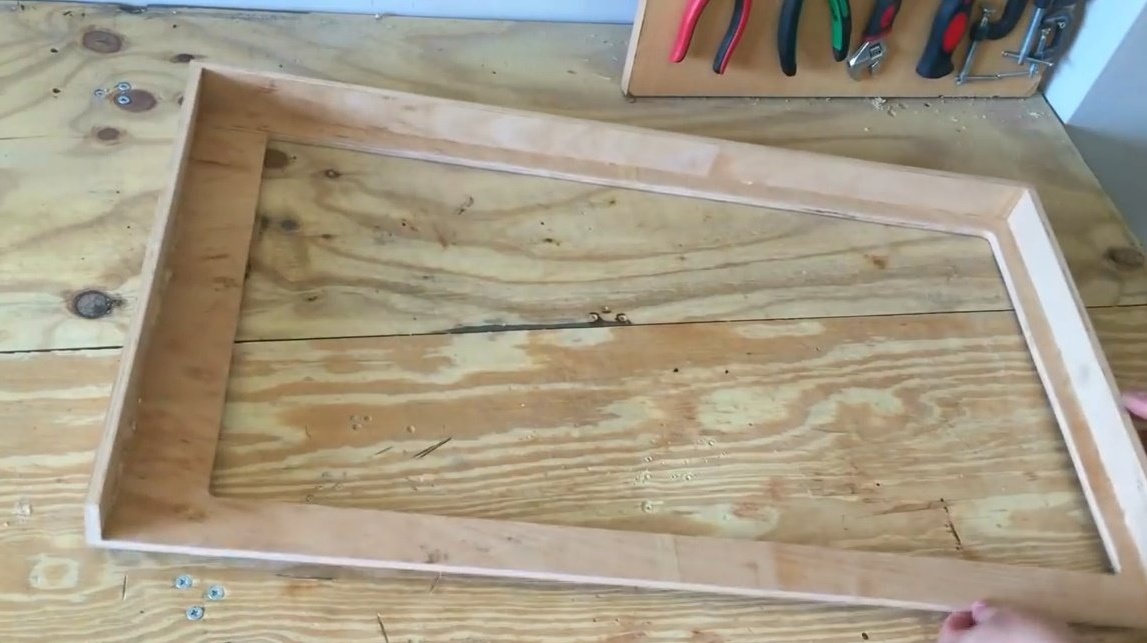
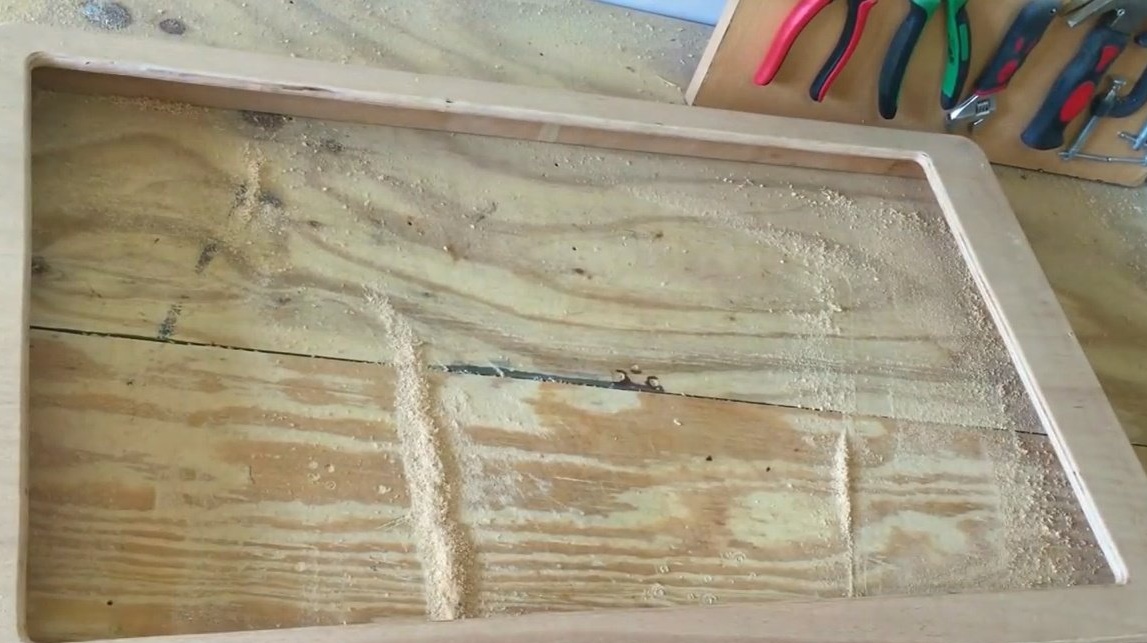
Here is a frame
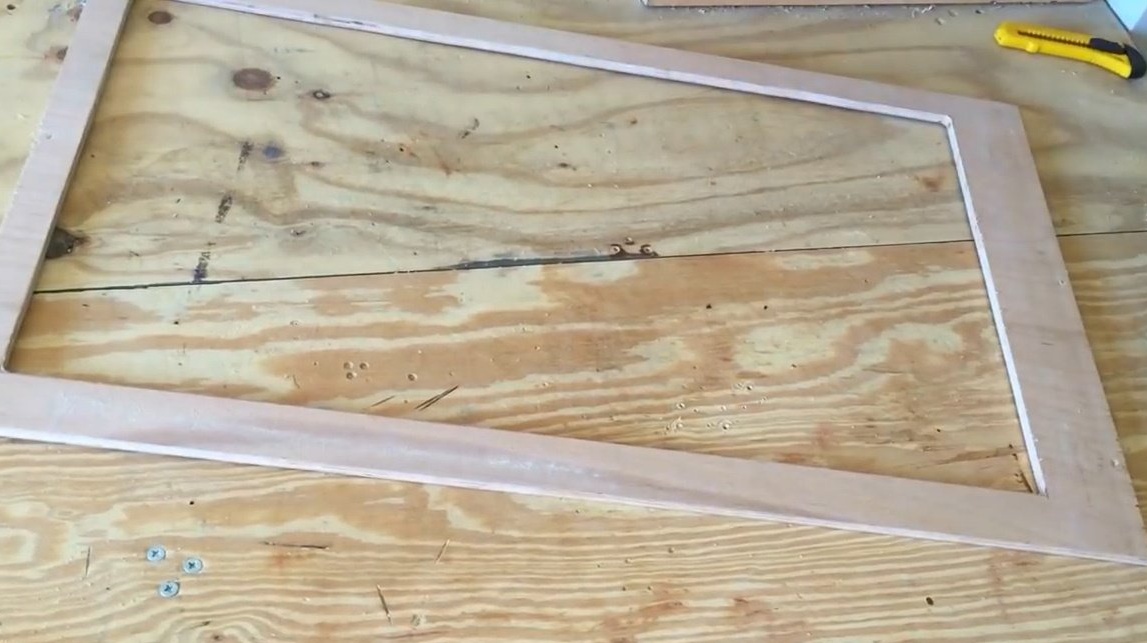
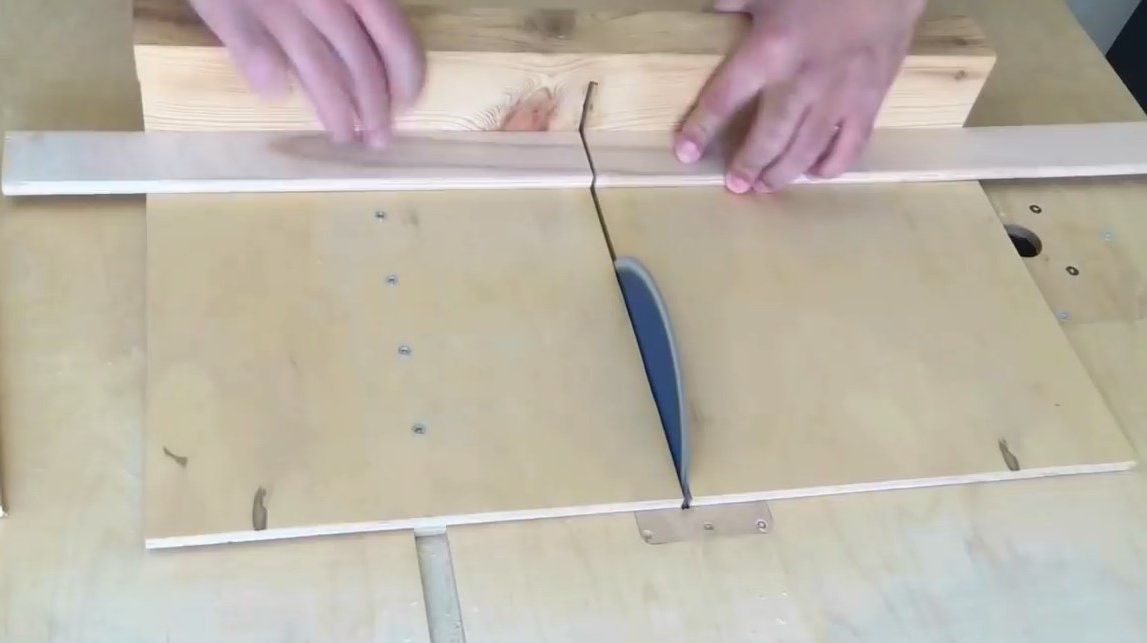
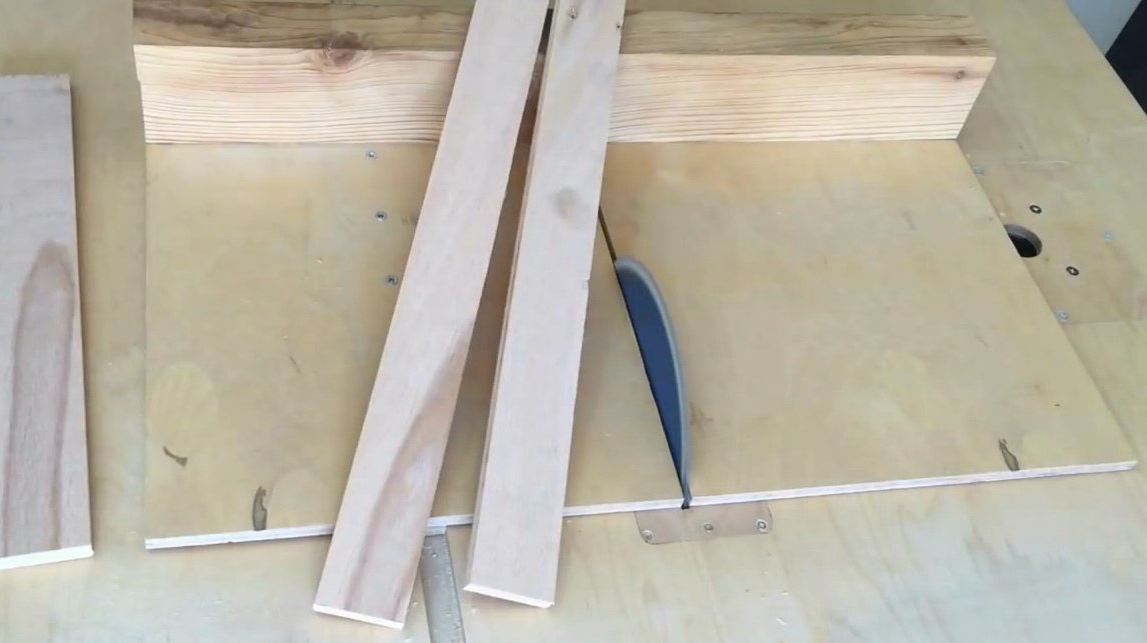
Then cuts out of the plywood three side walls.

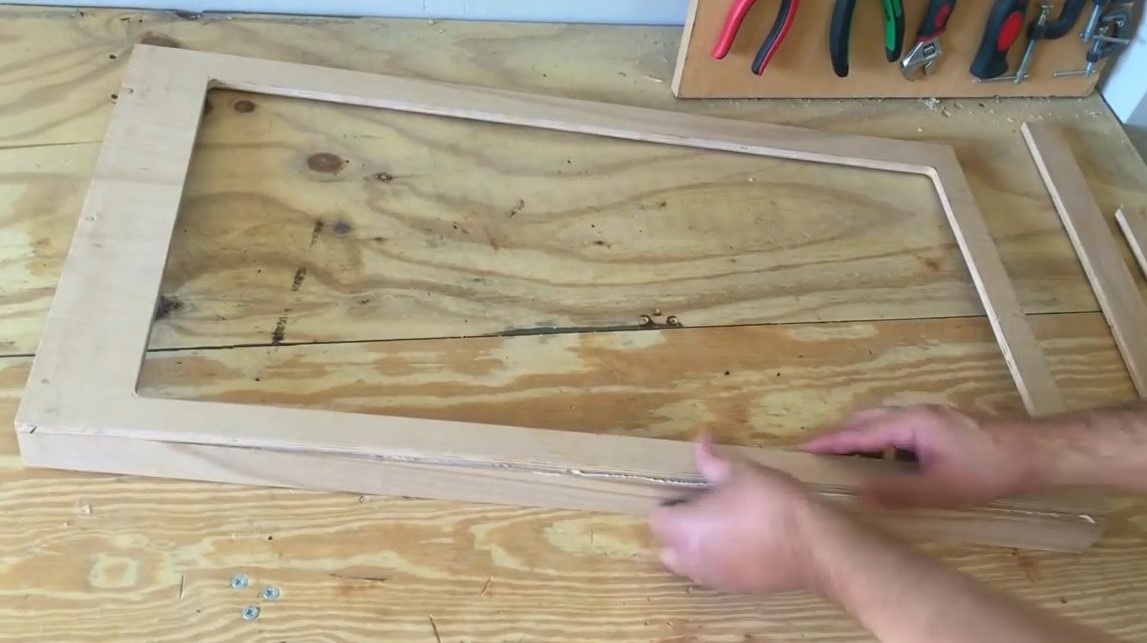
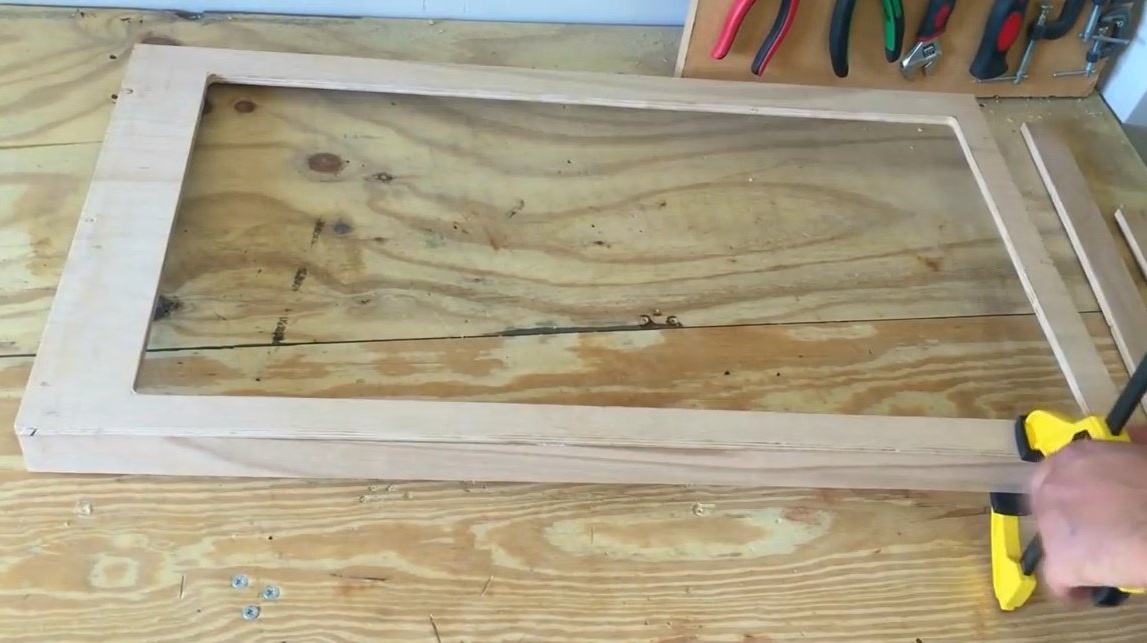
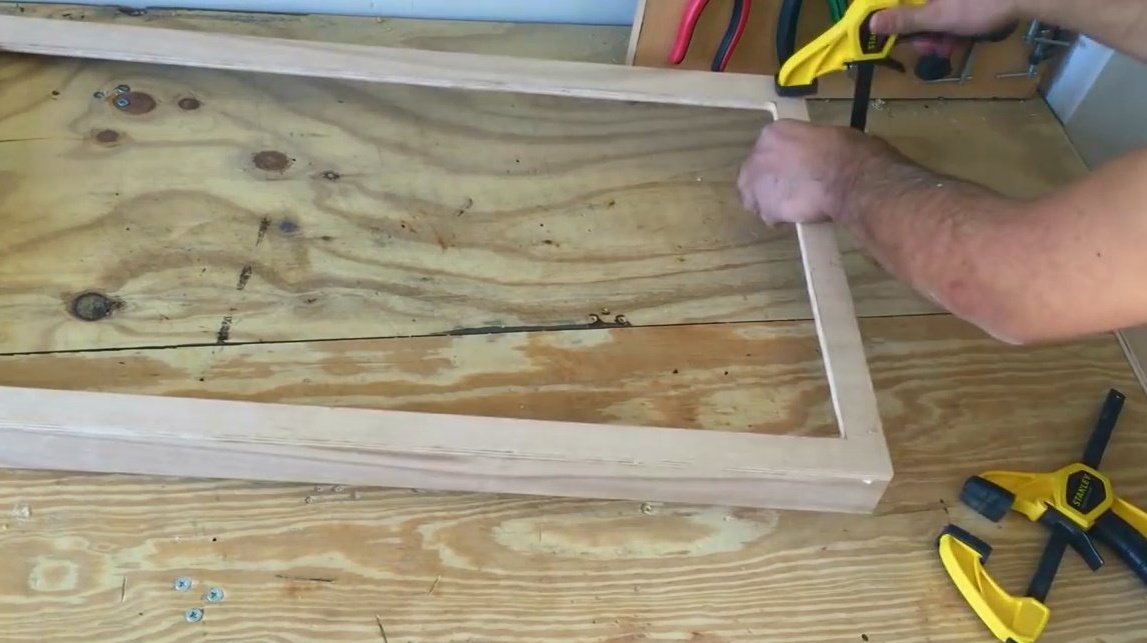
First of all, glues the longest upper wall, presses with clamps.
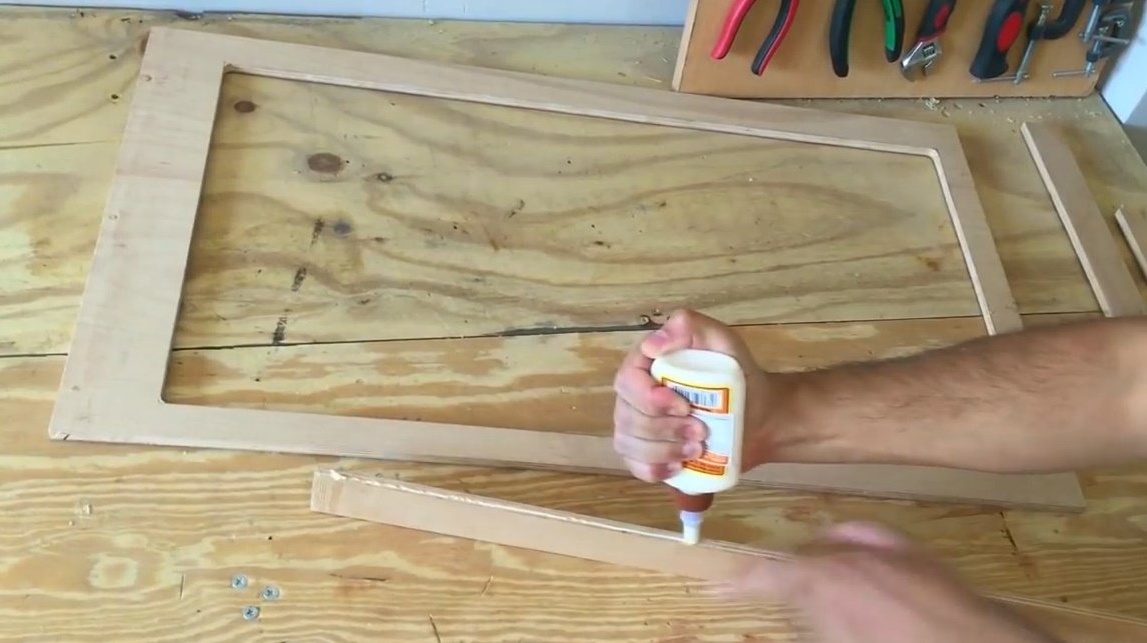
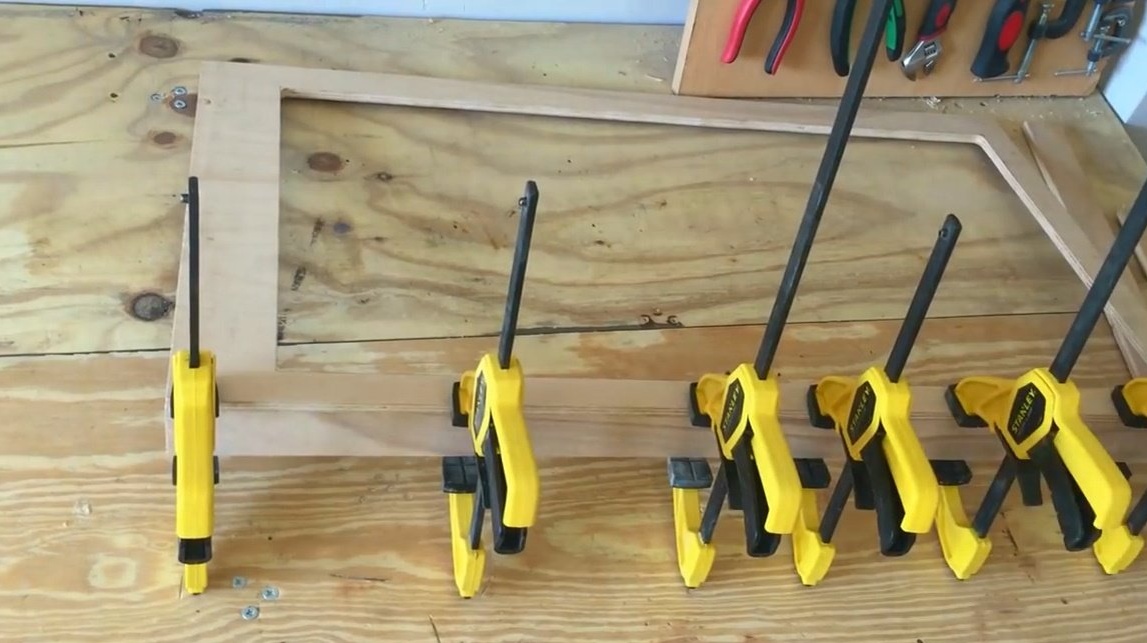
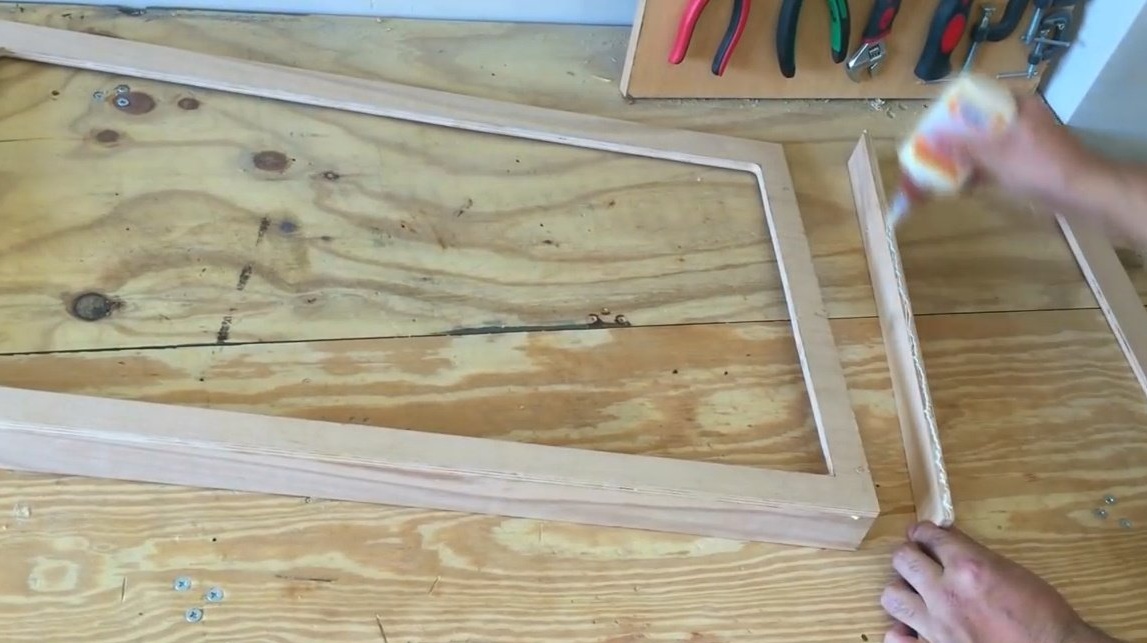
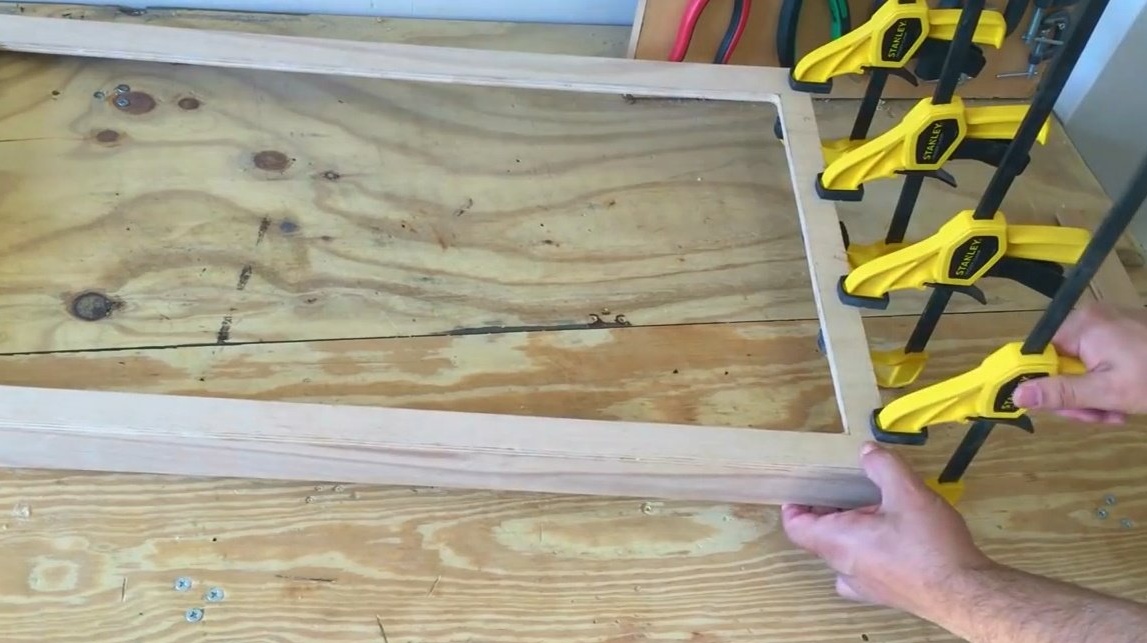
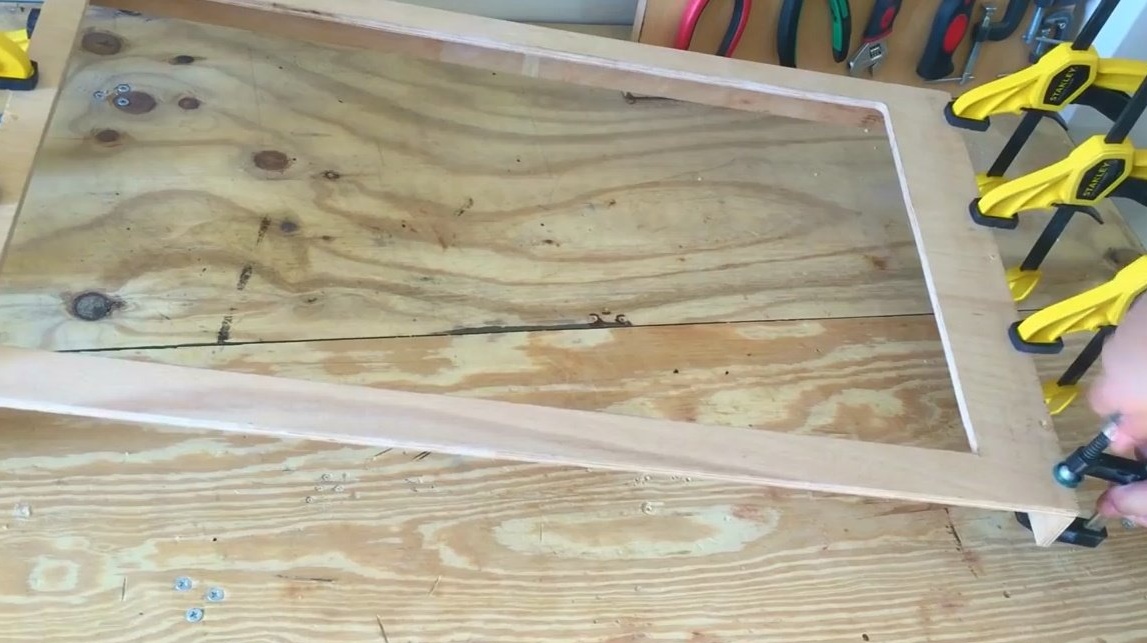
After the glue has dried, removes the clamps and glues both side walls, it also fixes them.
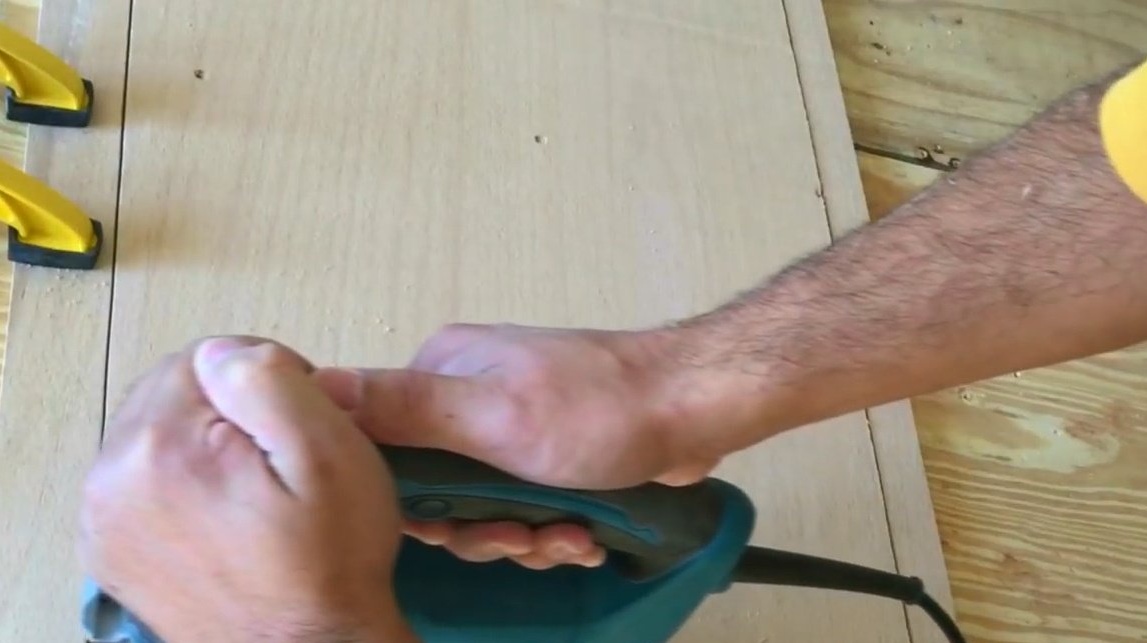
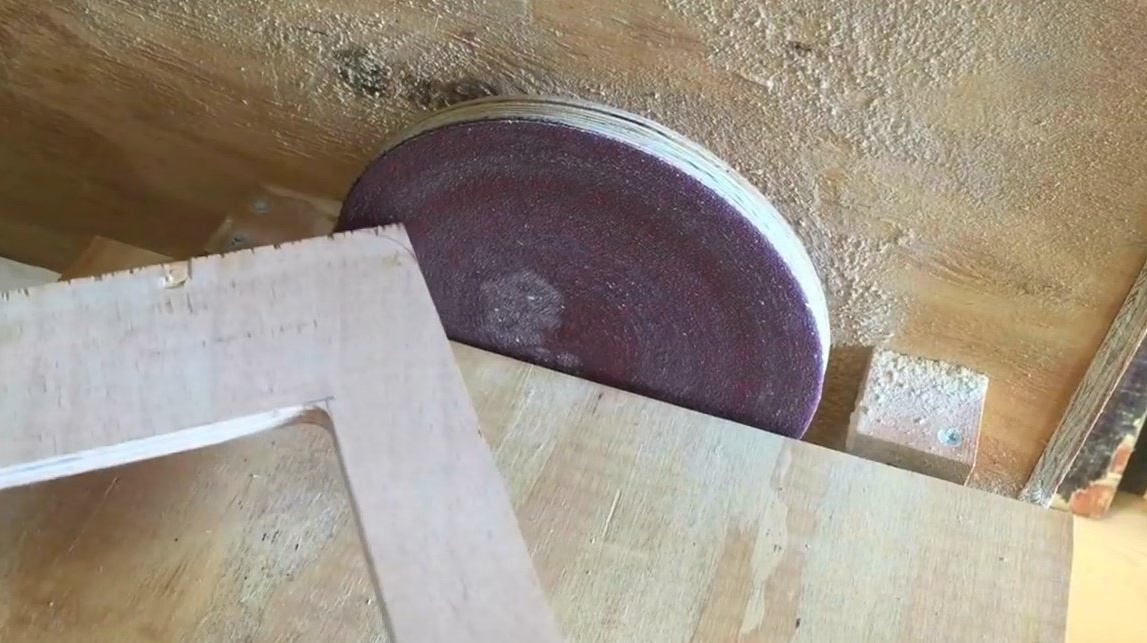
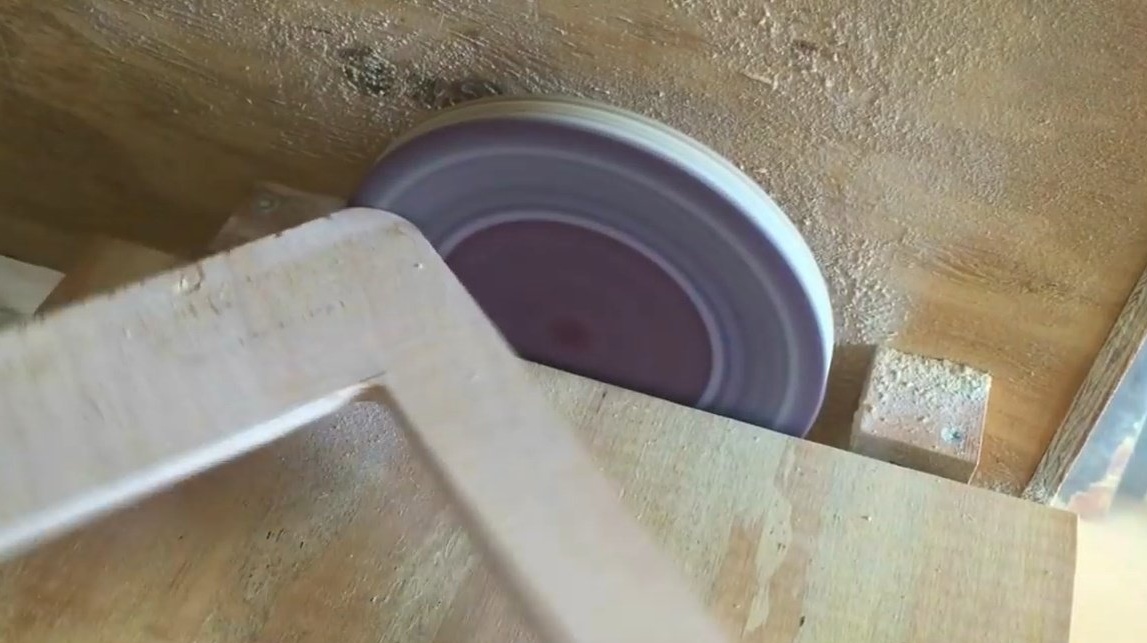
So, the glue has dried, you can start grinding. Rounds corners on an orbital sander.
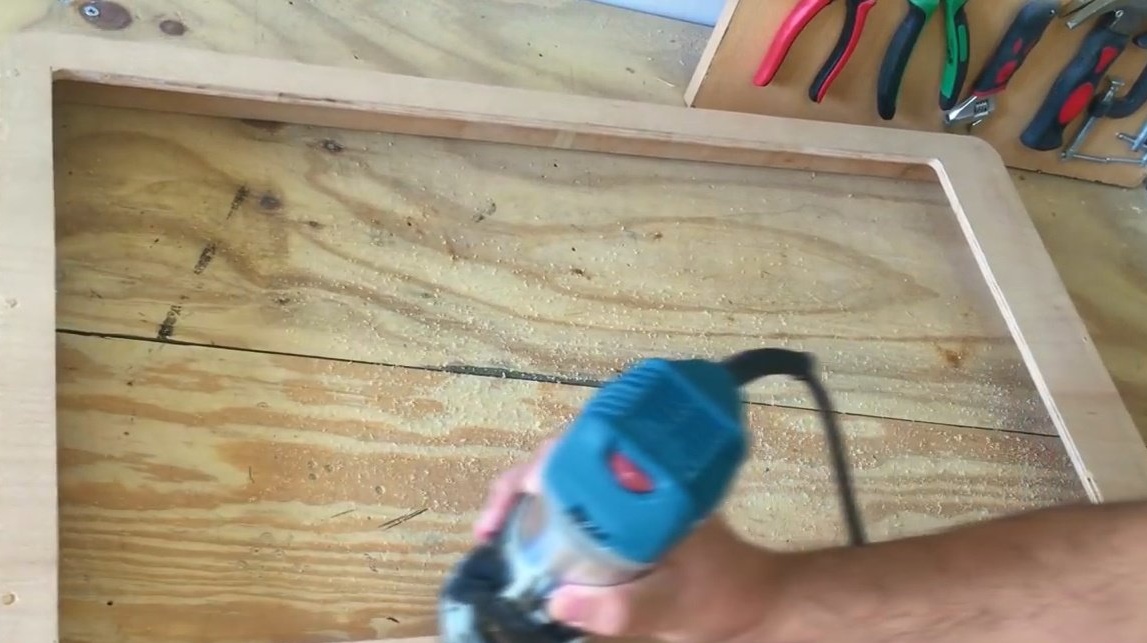
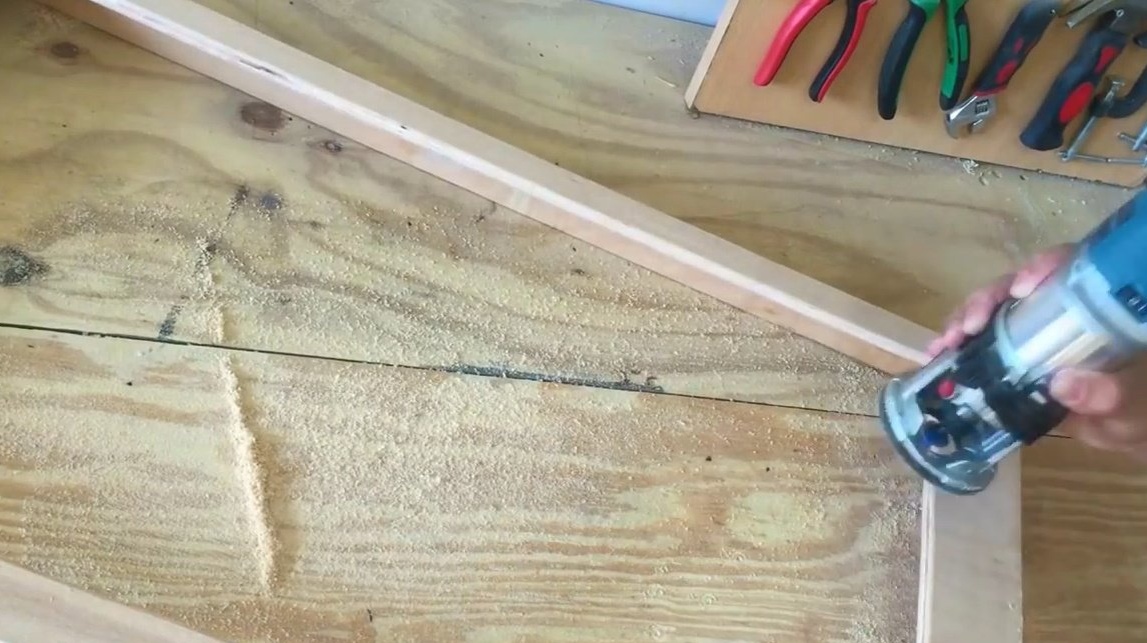
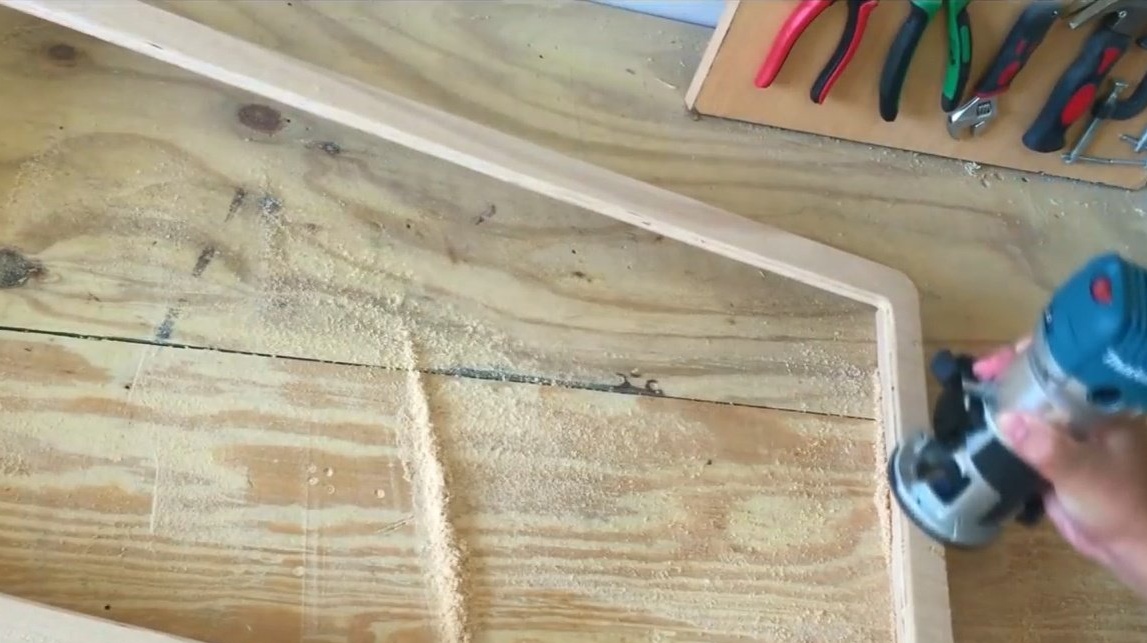
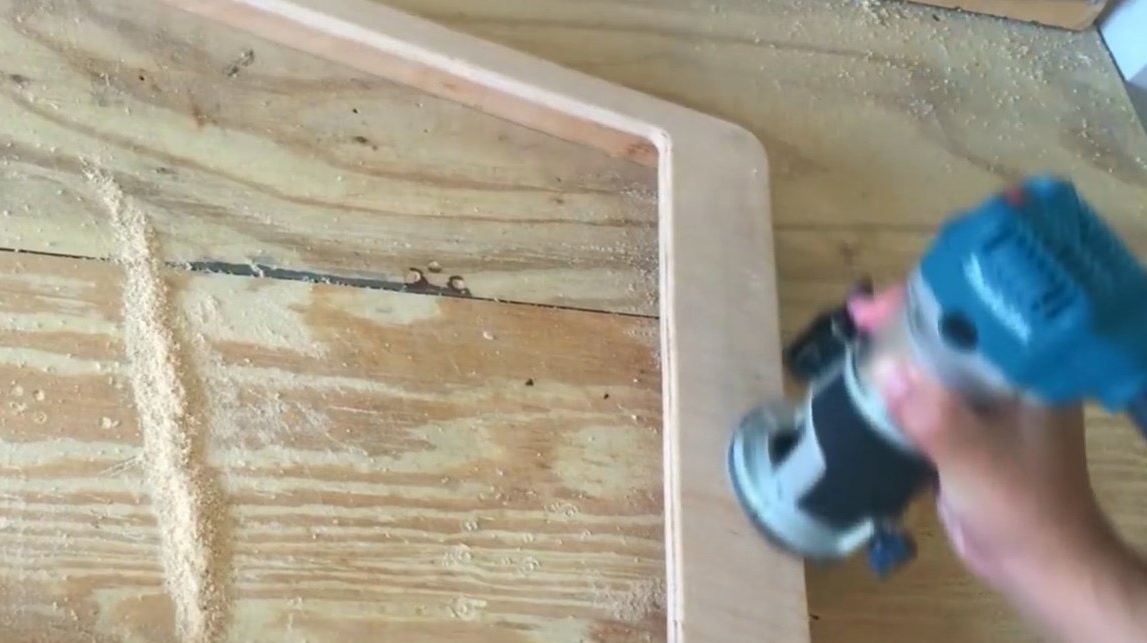
Mills the inner and outer perimeter of the frame using a manual milling cutter.
Now it sticks to the right side of the usual piece of paper in the box, guess for what?
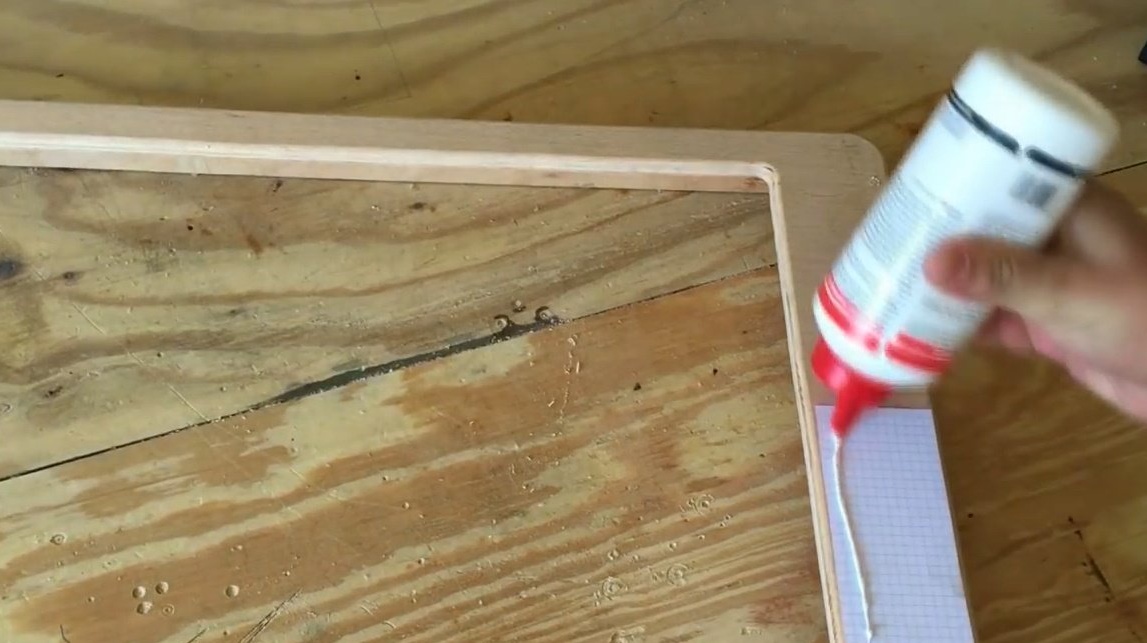
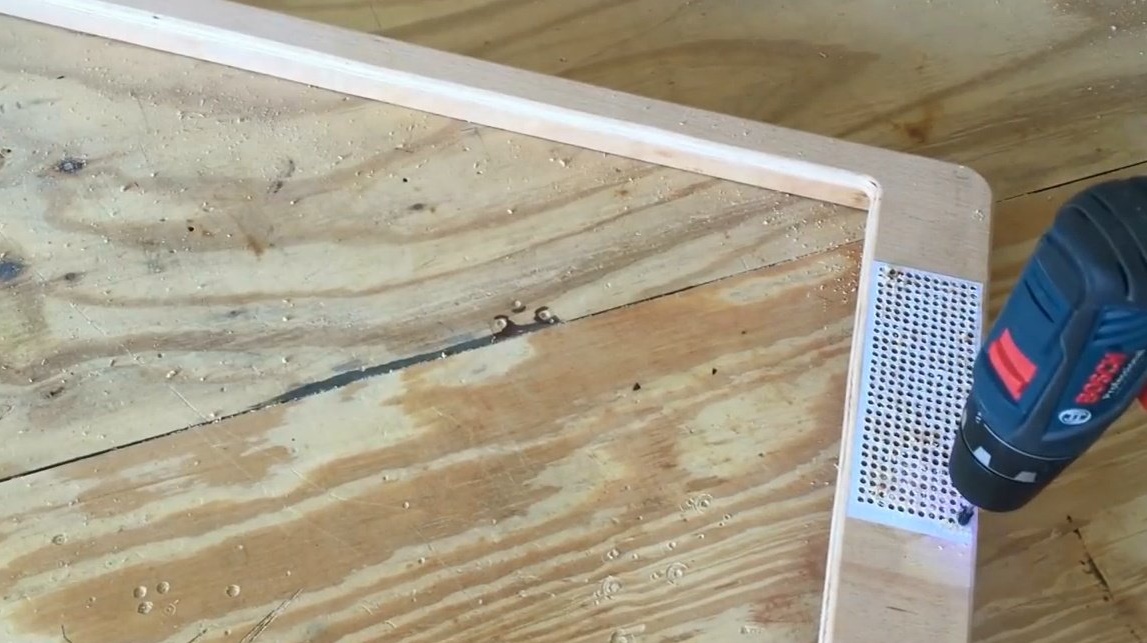
A lot of blind holes make a thin countersink drill, using line intersections as marking. This will be a simulation of the speaker.

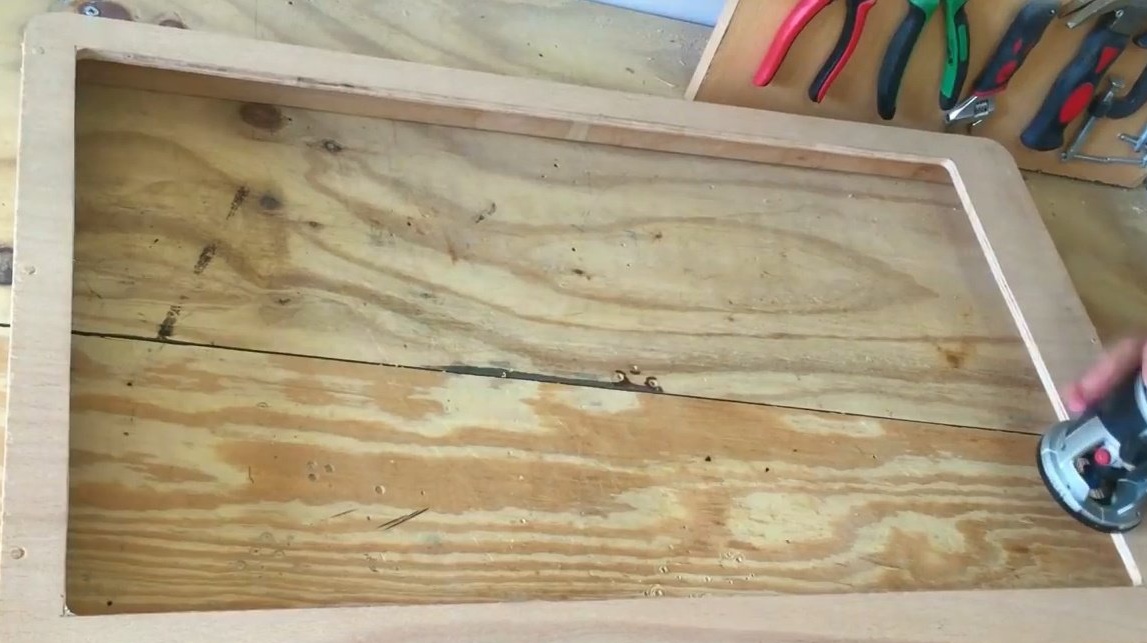
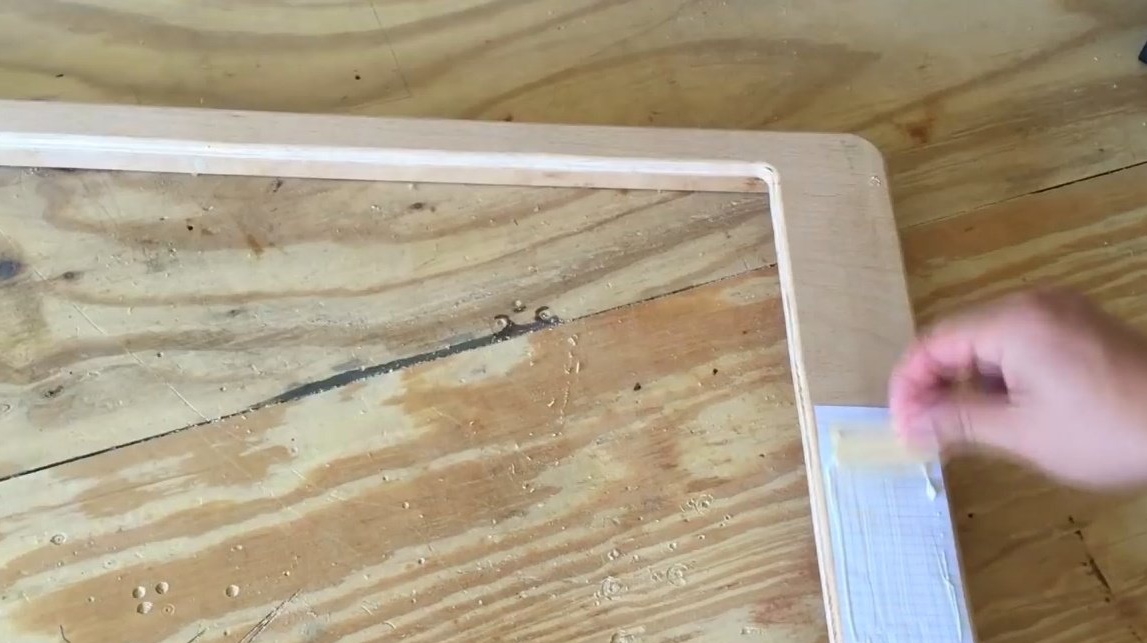
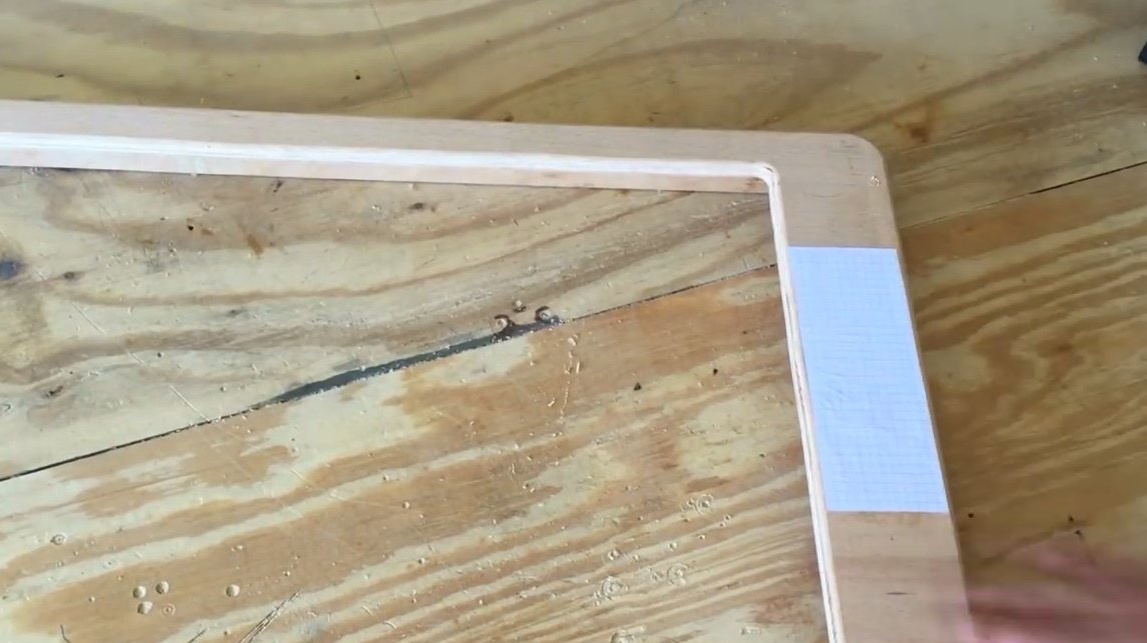
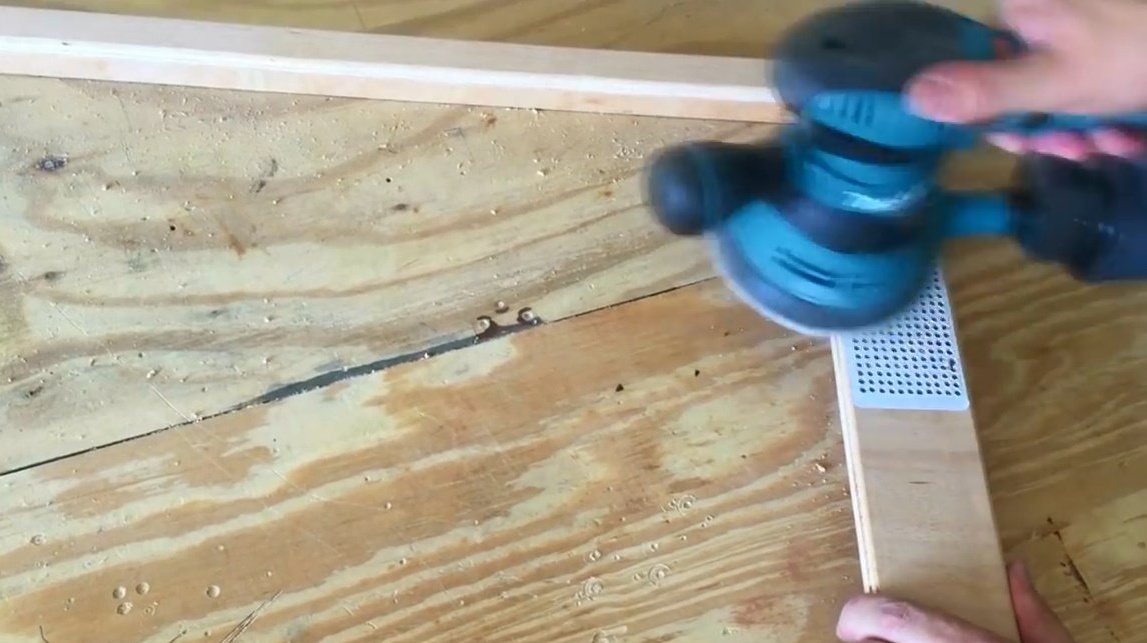
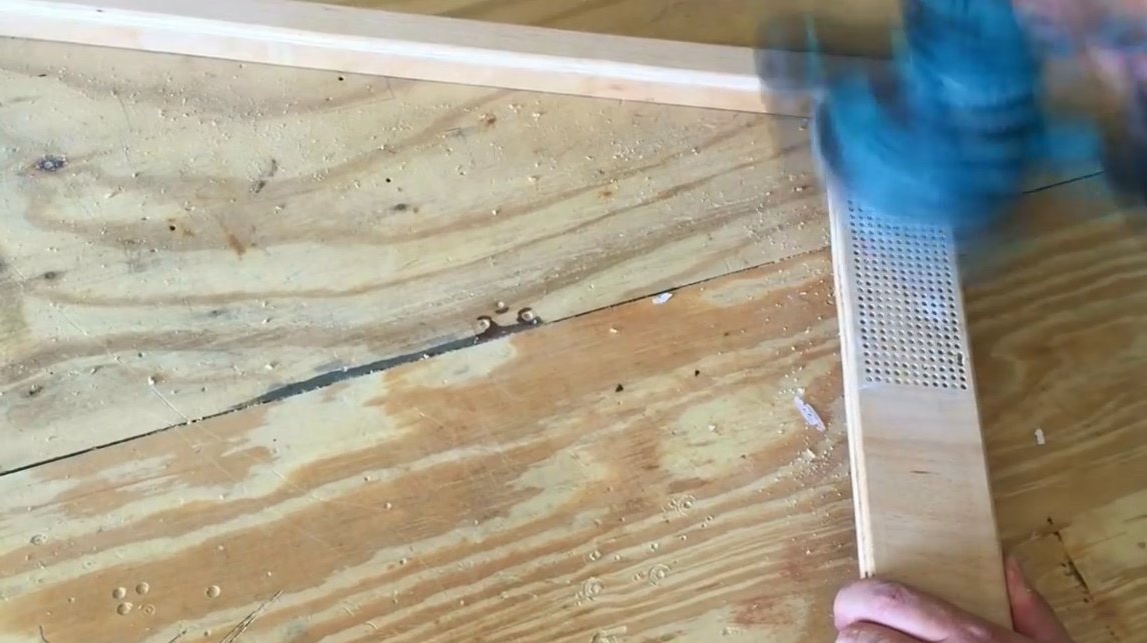
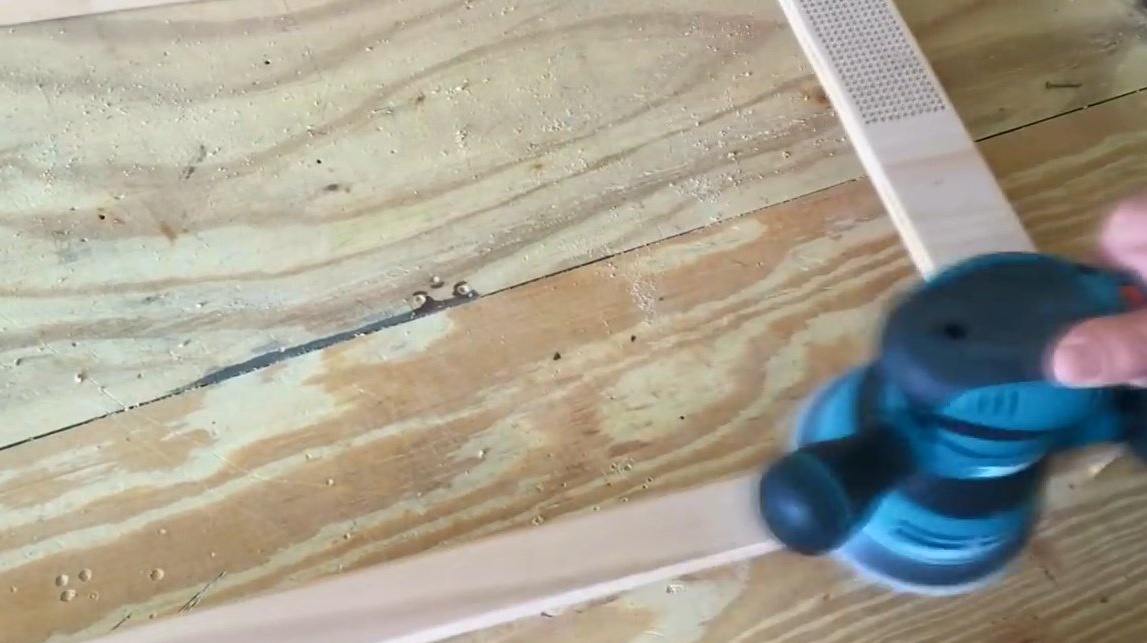
It starts processing with a manual orbital sander - it simply blows a piece of paper at a time. Handles her all the visible sides.
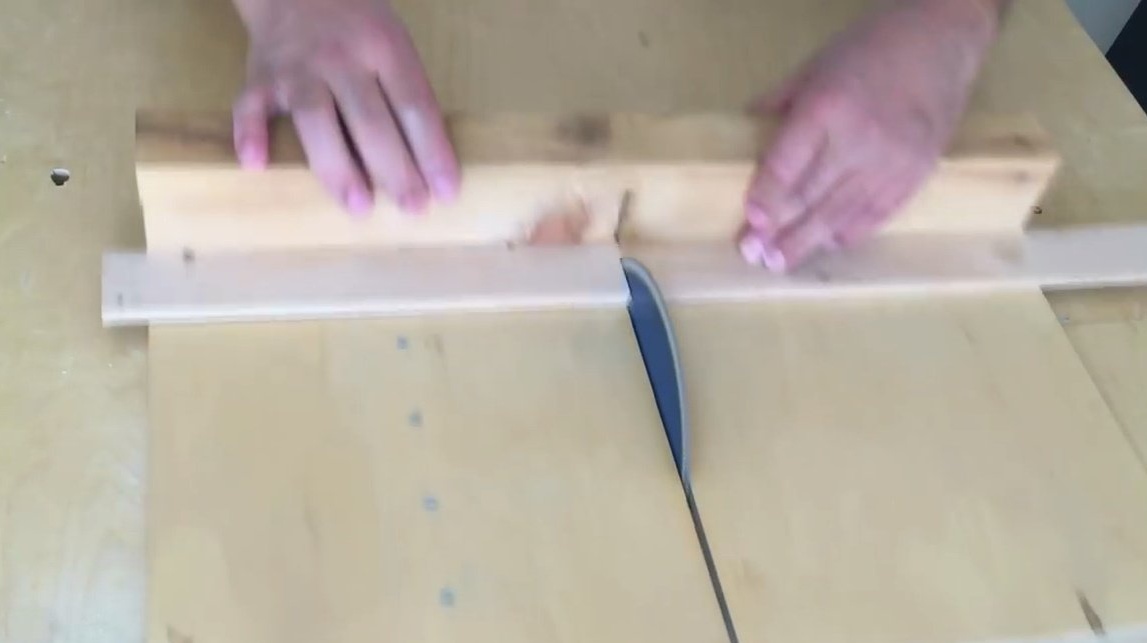
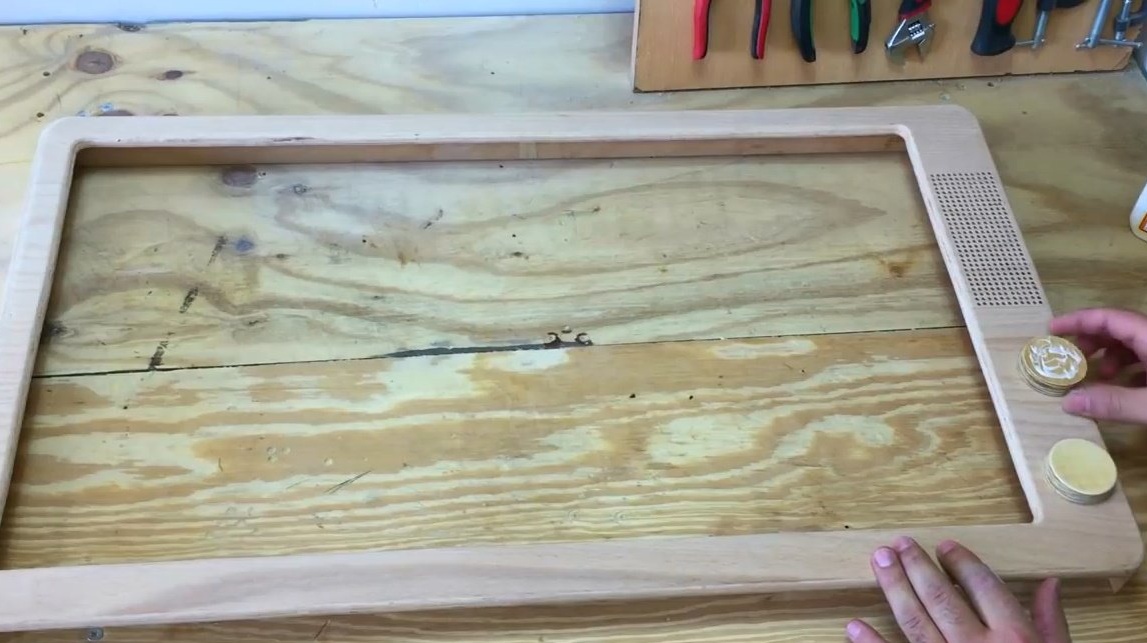
Slices a couple of rounds of plywood, grinds the outer edges of the tape machine.
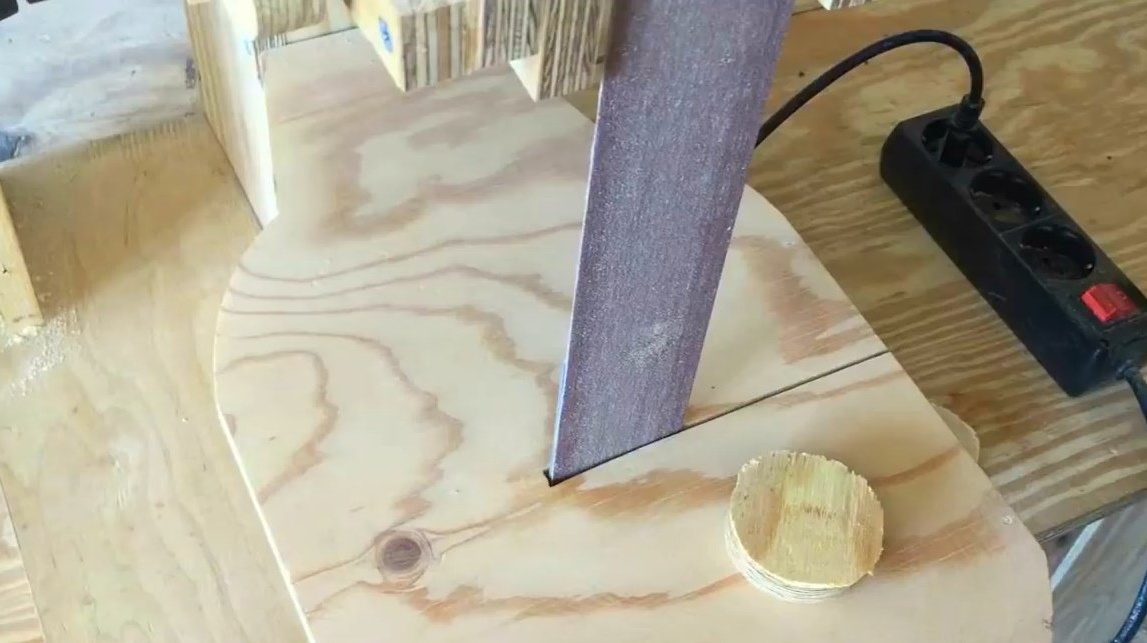
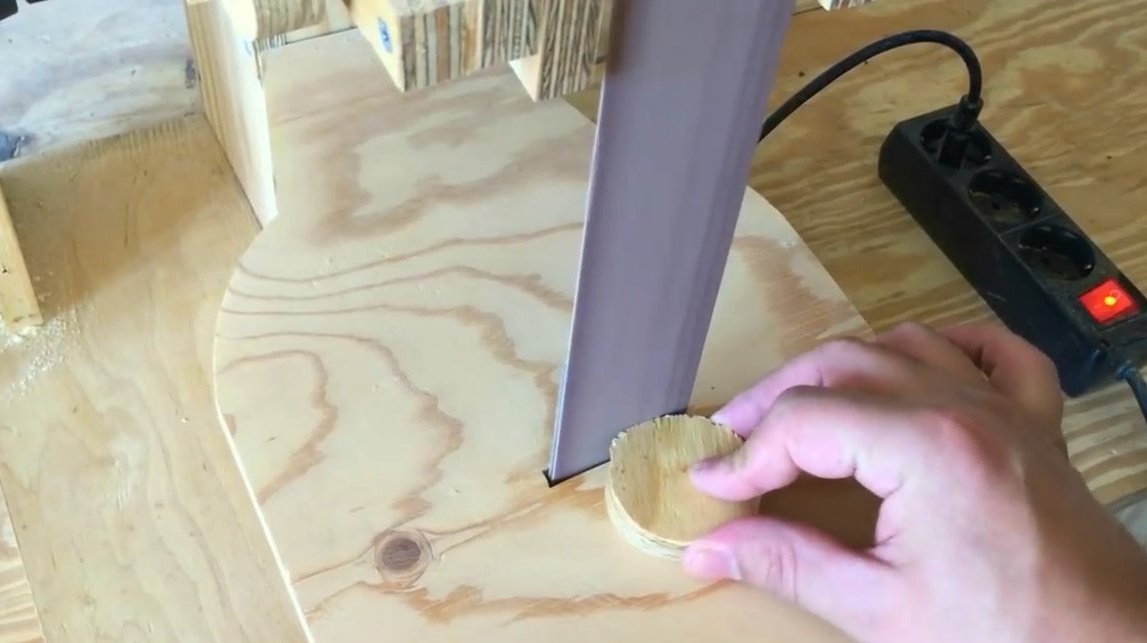
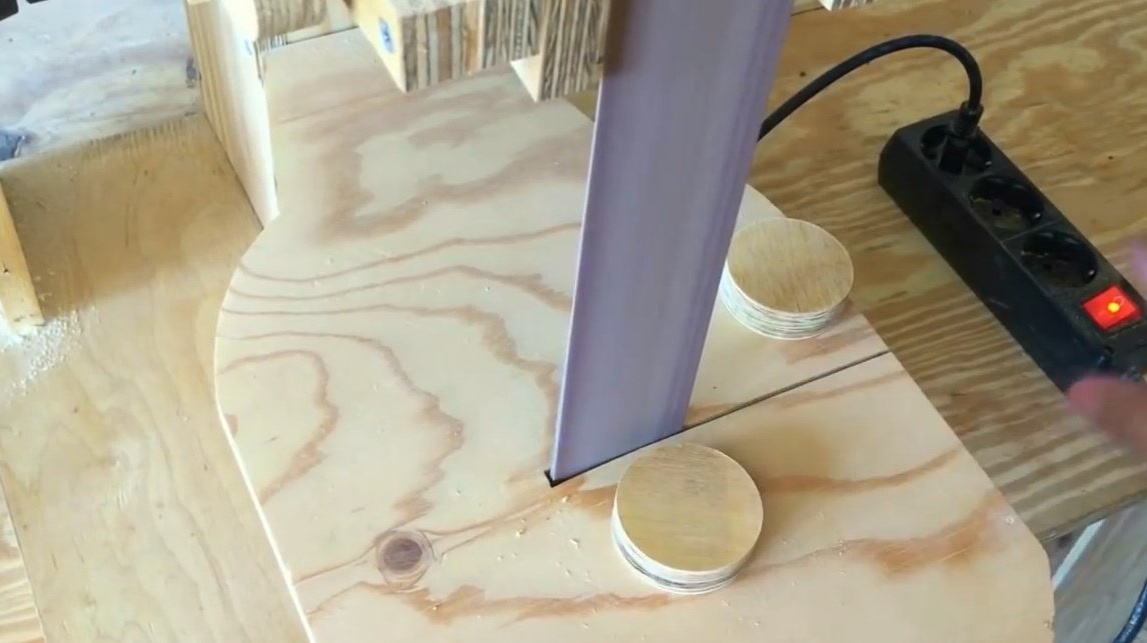
Then glues them to the frame. The result was a kind of imitation control knobs.
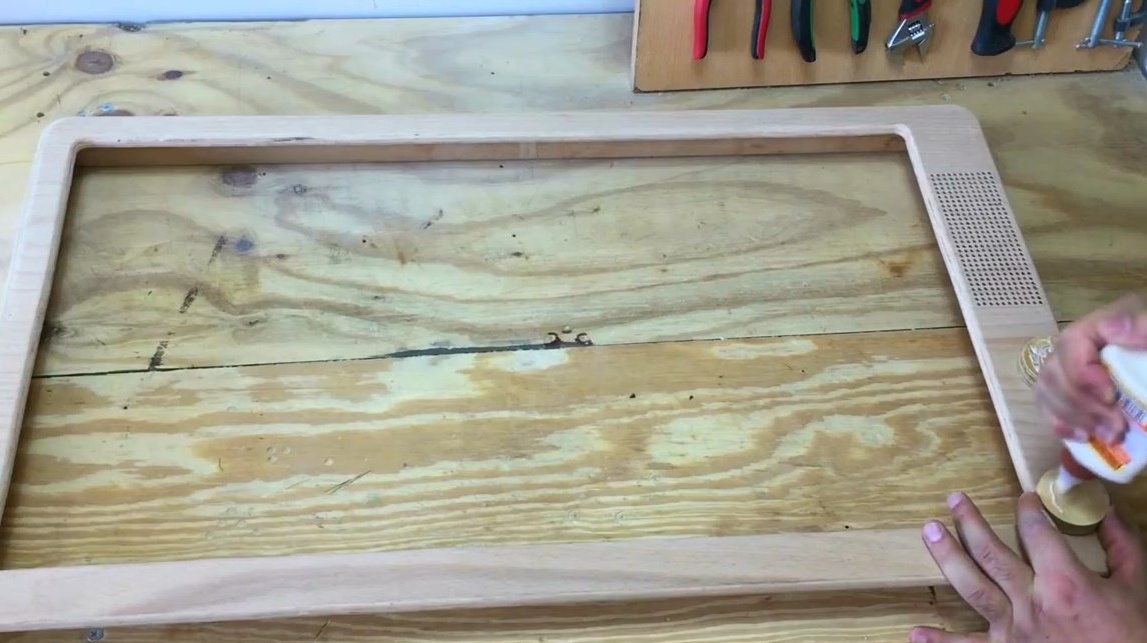
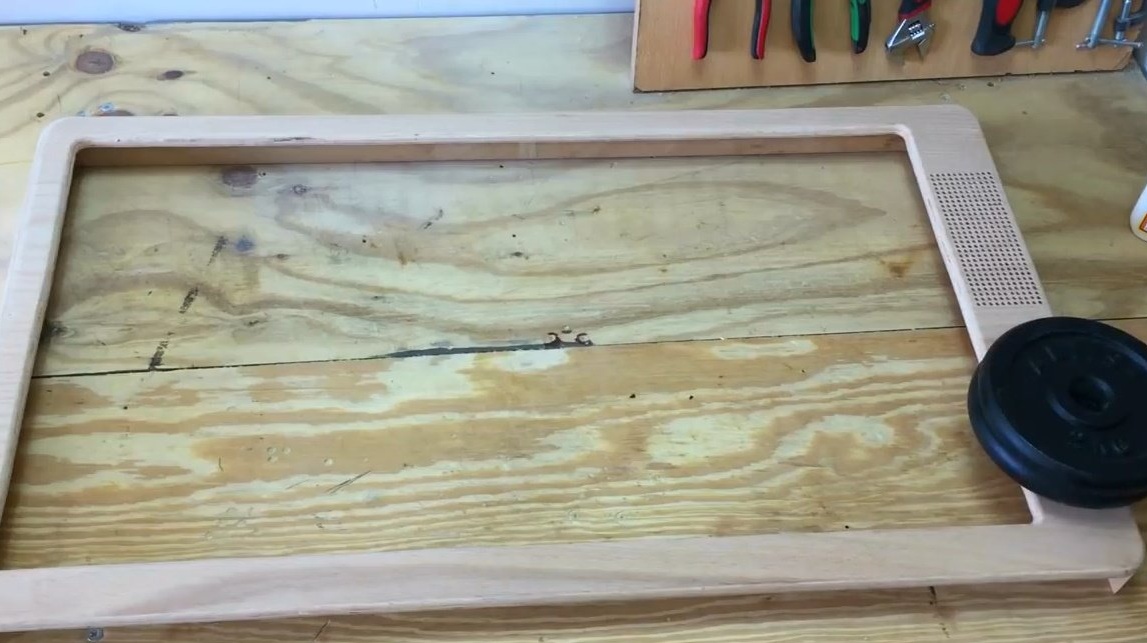
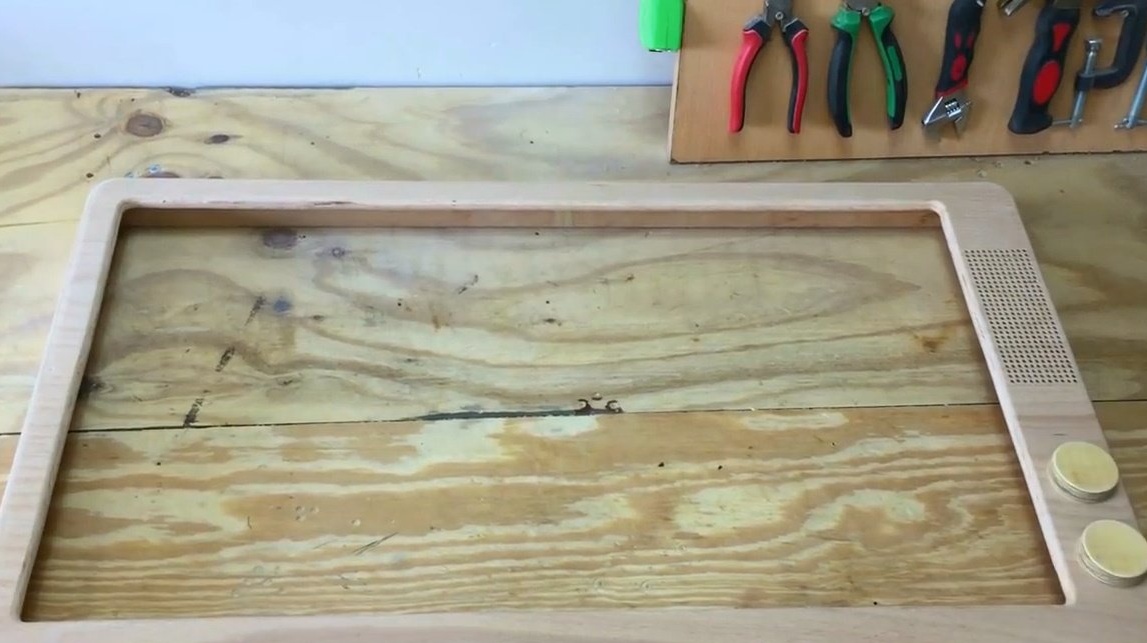
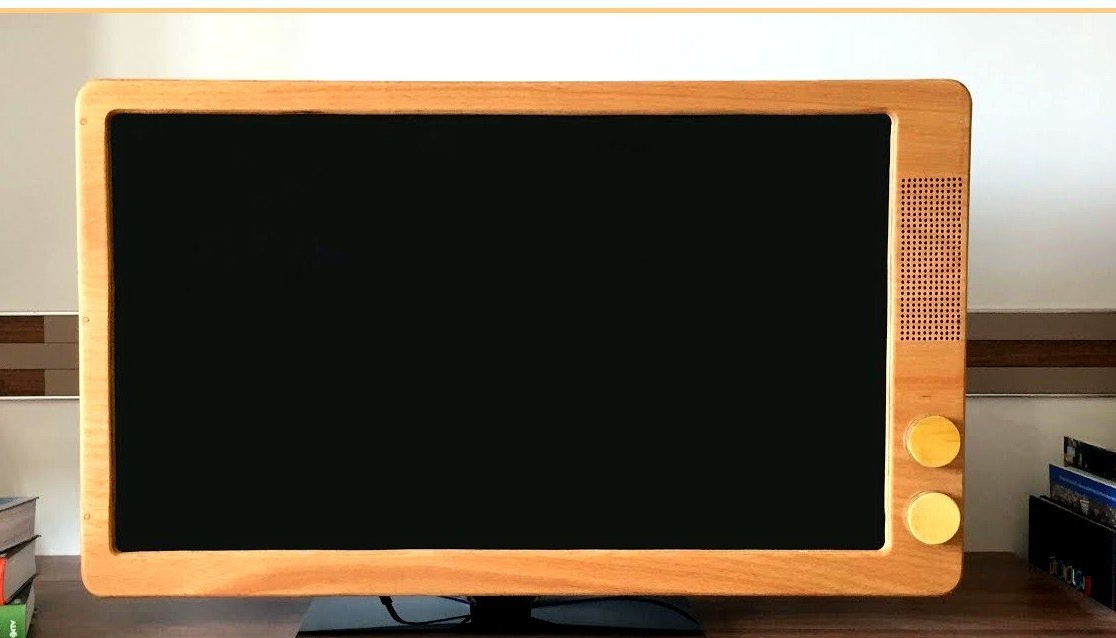
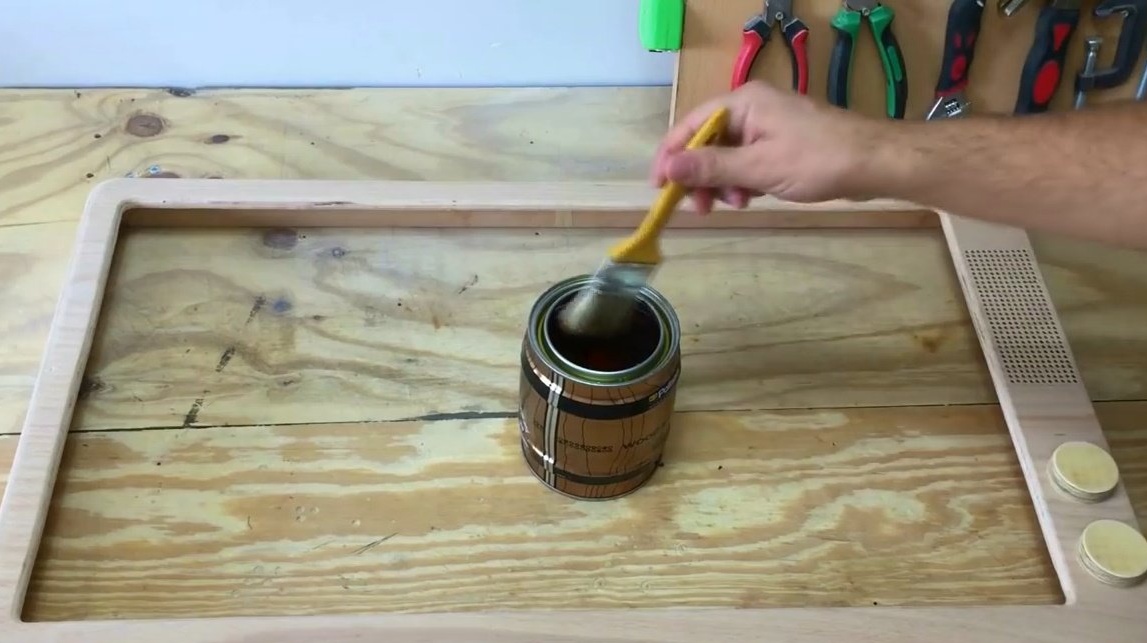
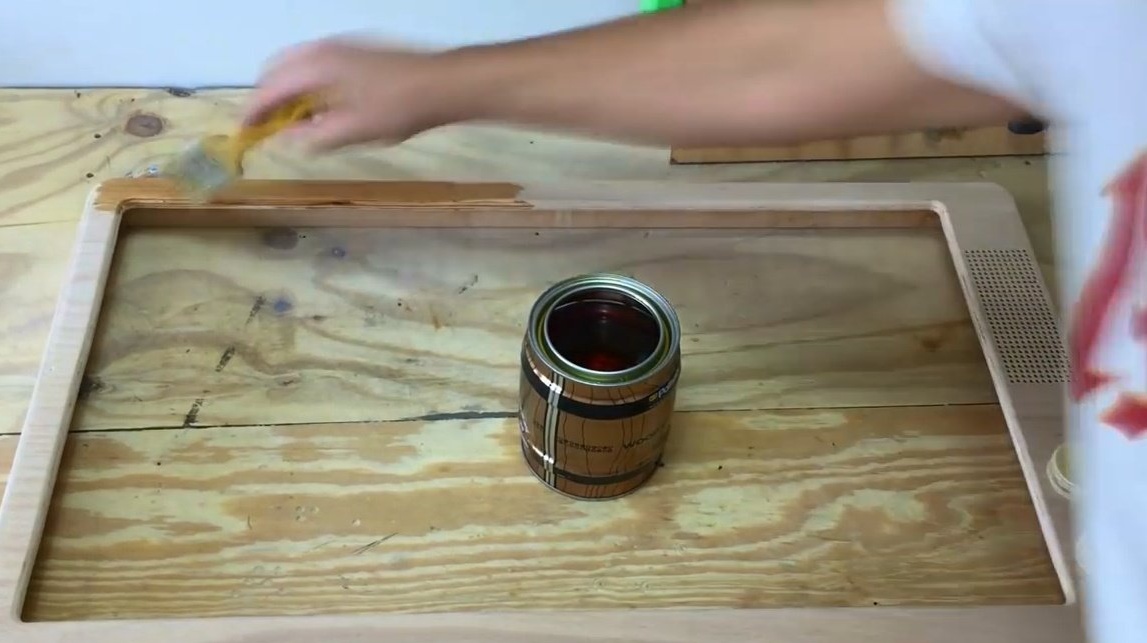
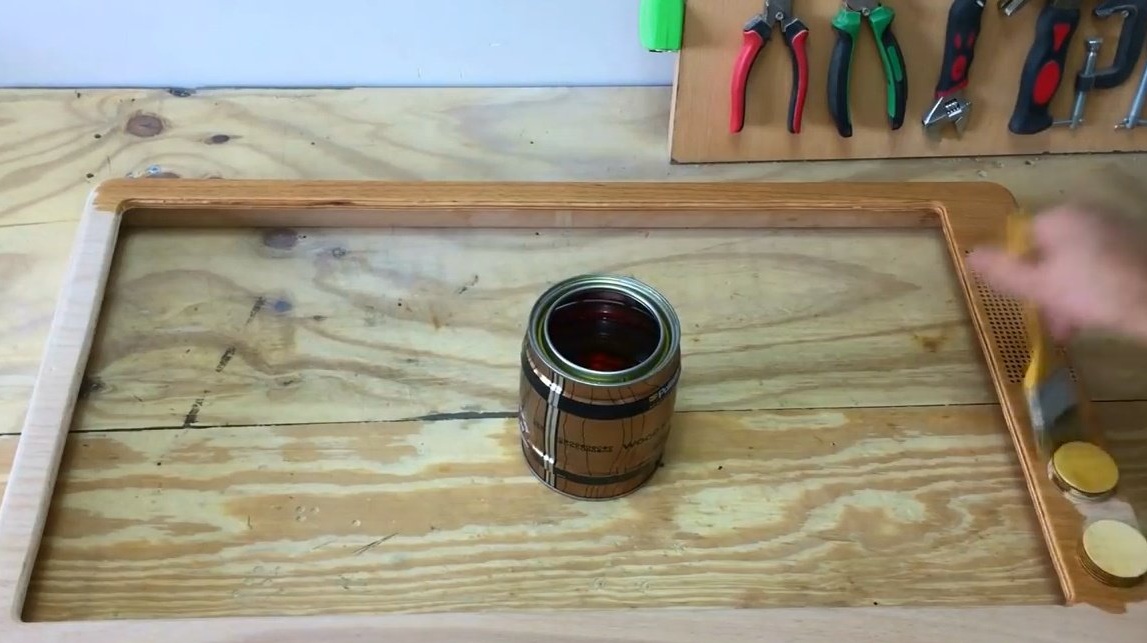
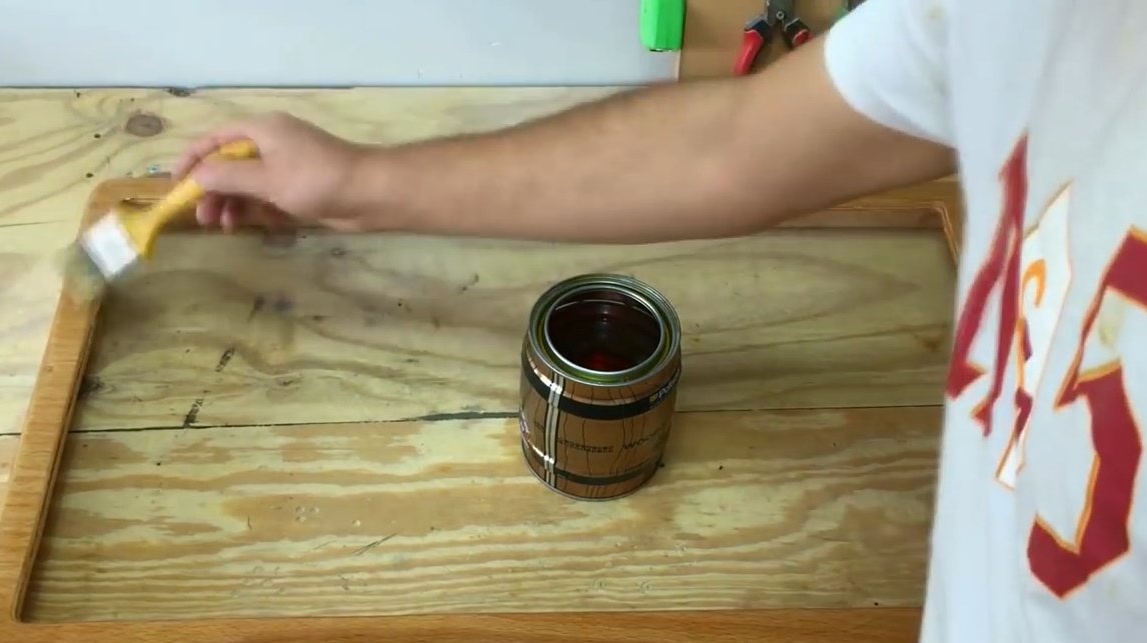
The frame is almost ready, you need to open it with impregnation in order to develop a texture and protect it from moisture.

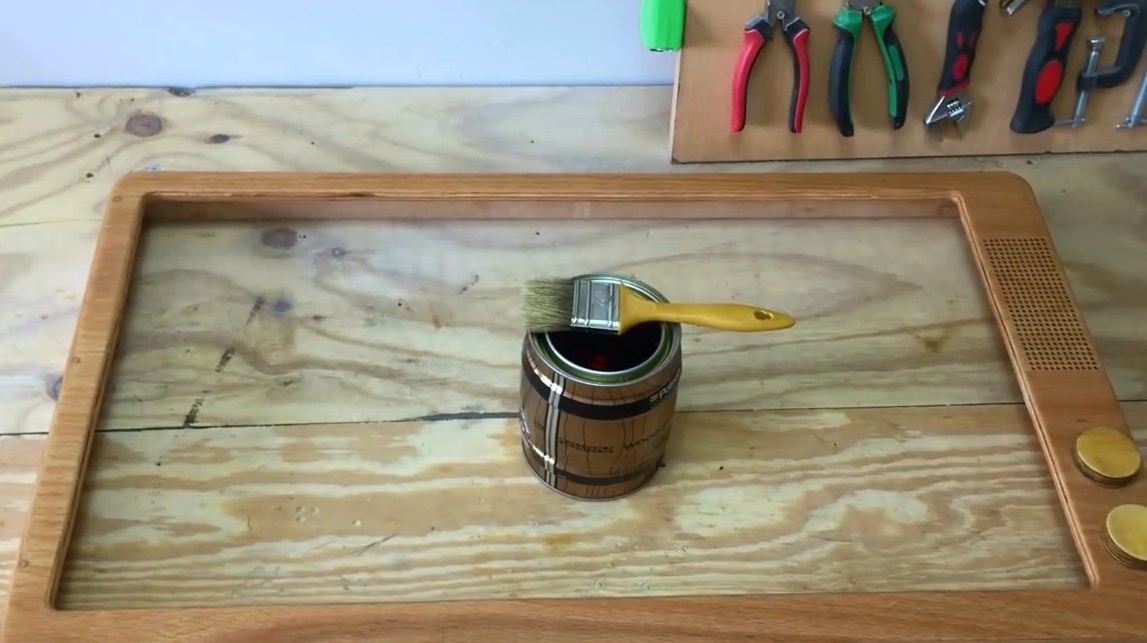
After drying, the frame brightened a bit, it can be installed.

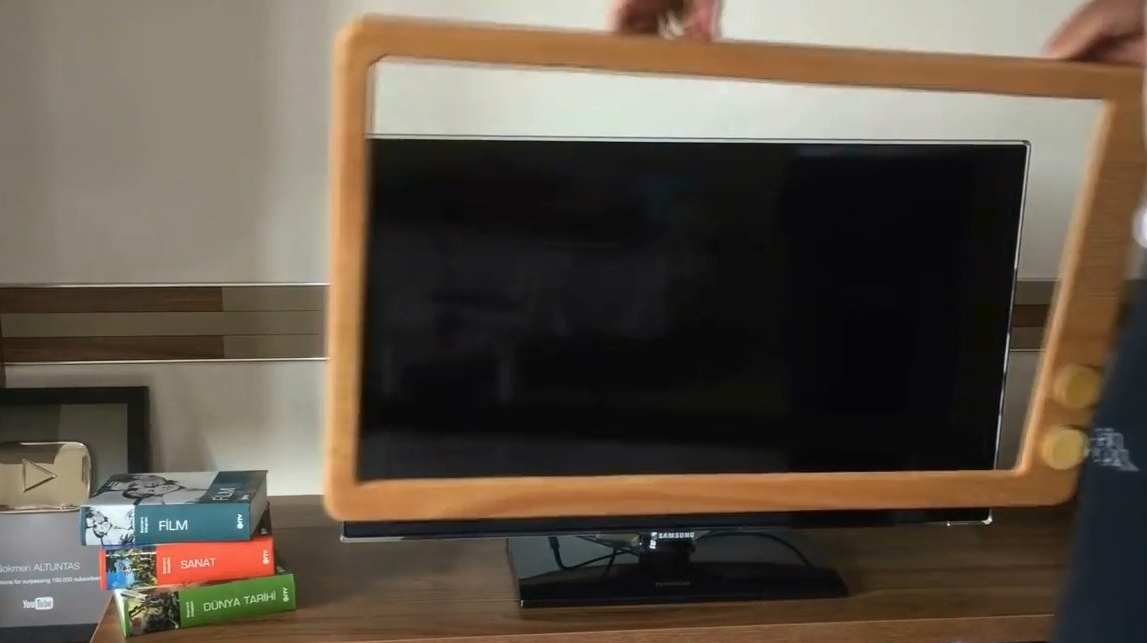

Here's a master’s frame!
Thanks to the author for a simple carpentry design solution!
All good mood, good luck, and interesting ideas!