First of all, the simplicity of the design, the minimum number of parts and materials, bribes you, and it takes very little time to work.
So what is needed to create this model?
Materials
Ceiling tile - ceiling.
A piece of thin plywood - 3 mm.
Colored tape.
Double-sided tape.
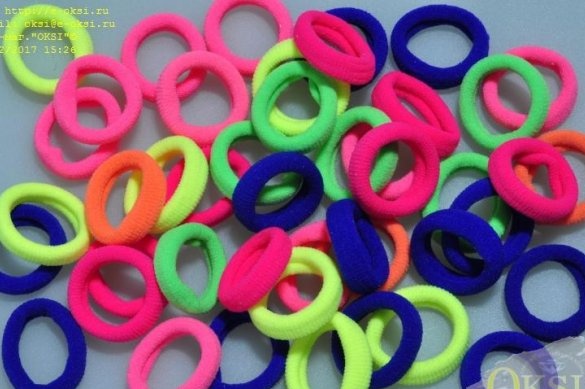
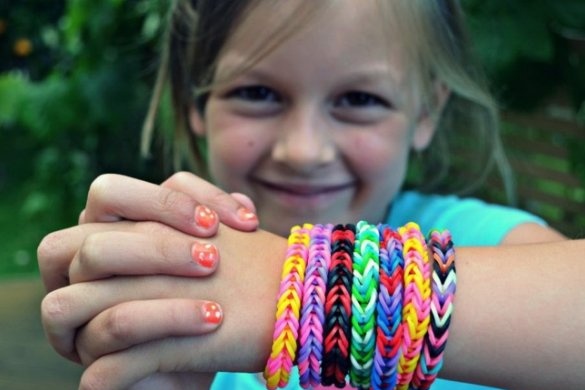
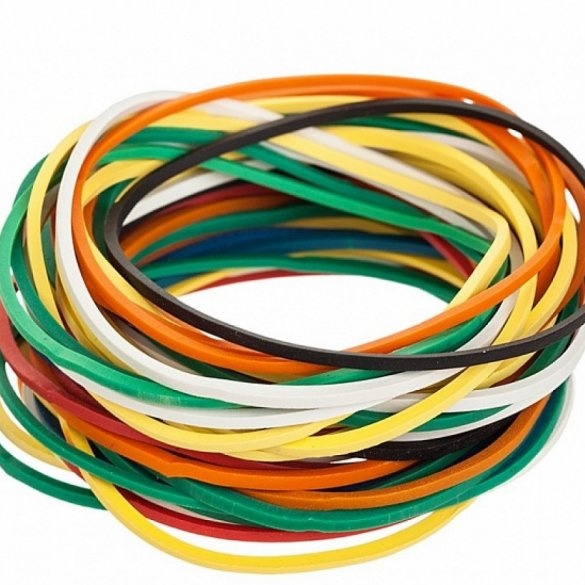
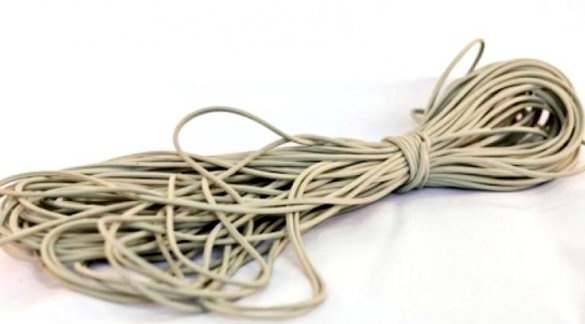
Rubber ring for weaving bracelets, banking gum for money or any suitable gum, you can even thin, fishing.
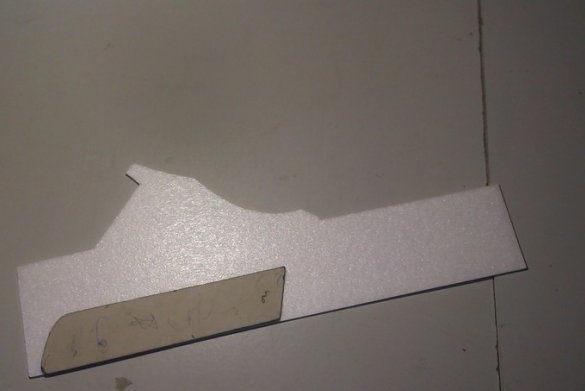
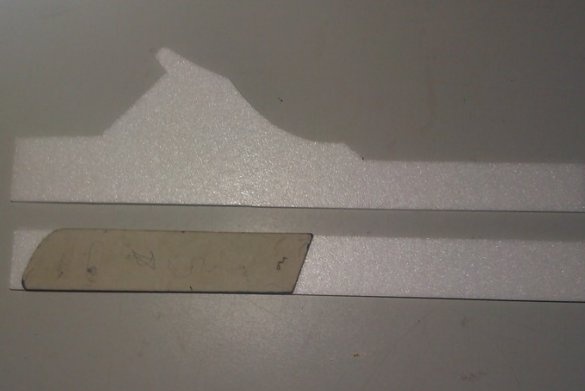
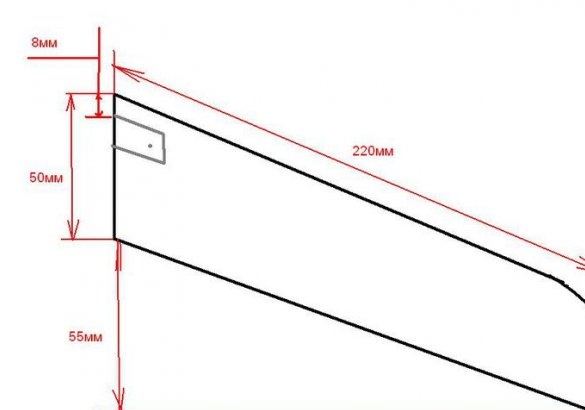
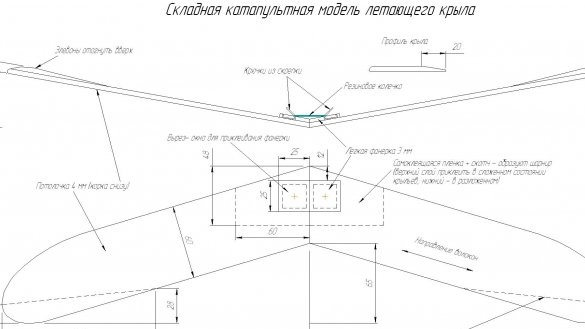
To make blanks for a wing, a template is first marked on cardboard in accordance with the dimensions of the drawing.
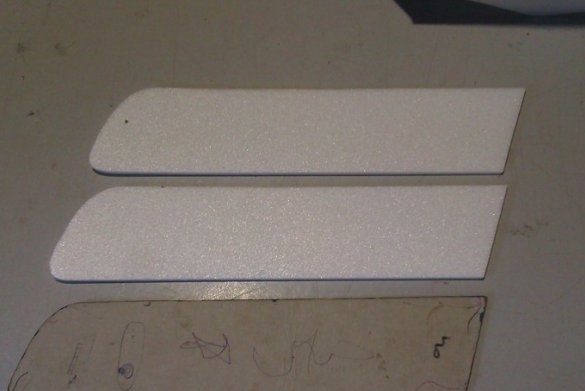
Two halves of the wing are cut according to these patterns.
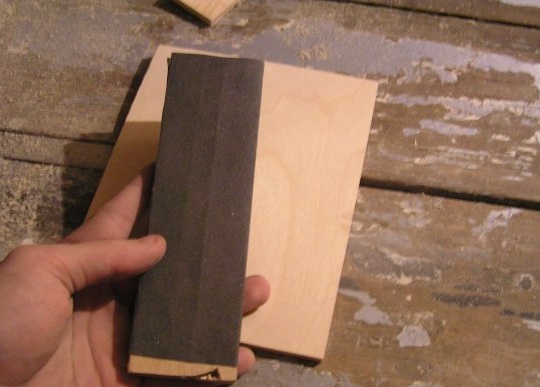
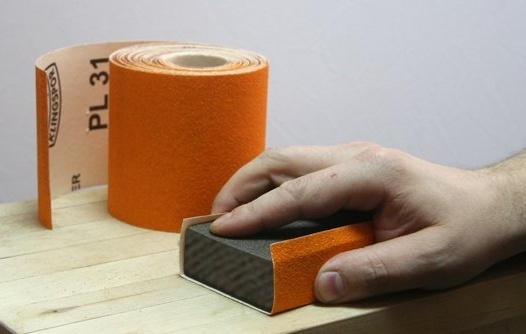
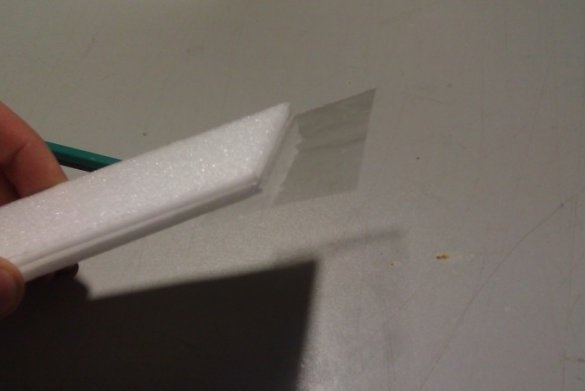
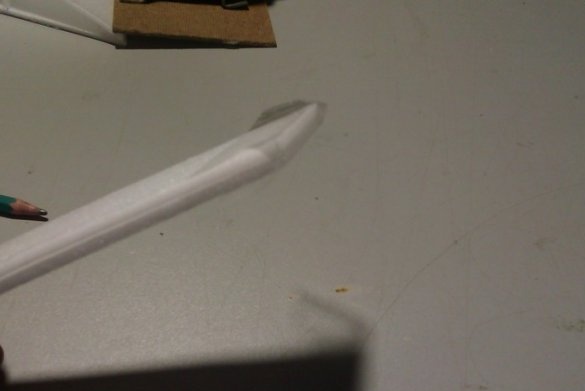
A profile is made on the wing. Stacked with sandpaper glued to a wooden block. Do not use very large sandpaper to avoid scuffing on the ceiling.
Round the edge in front. We make the trailing edge thin.
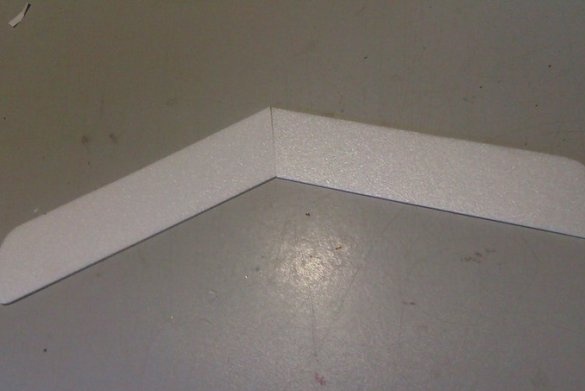
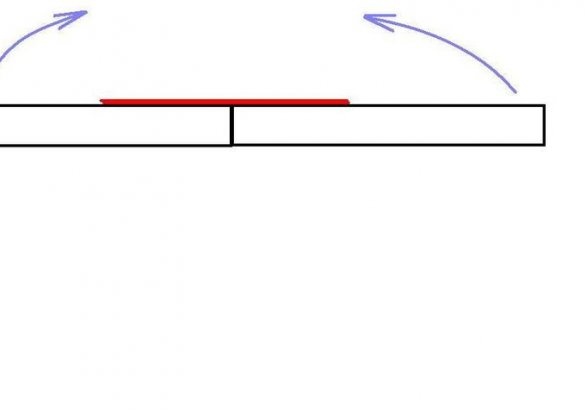
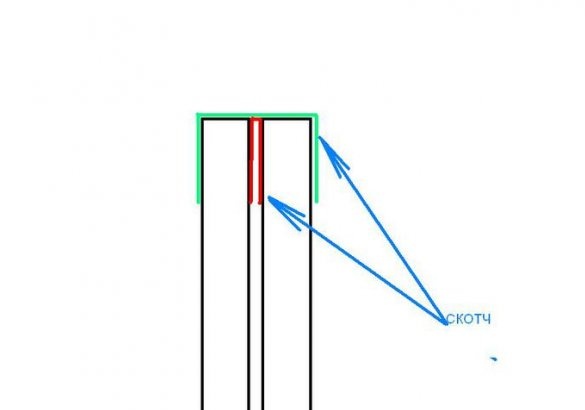
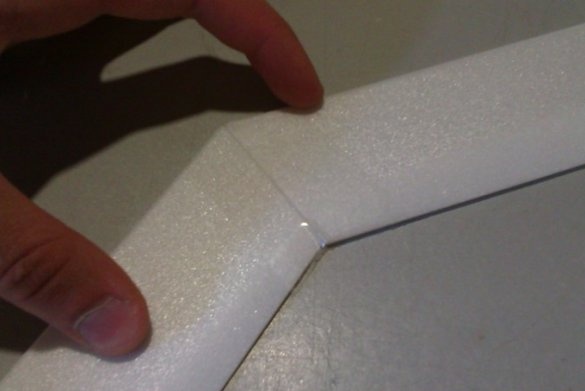
The two halves of the wing are held together by honey with a transparent adhesive tape.
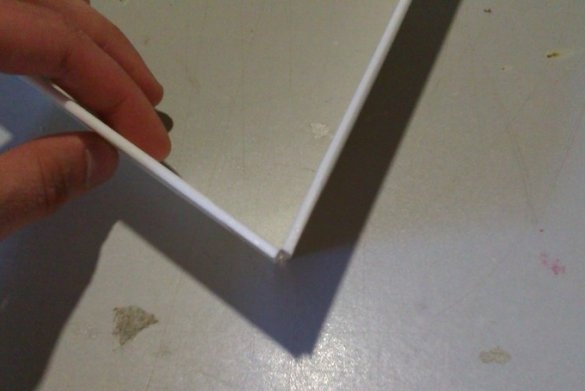
Now we fold the halves with glued tape inside and fasten them with the same tape outside.
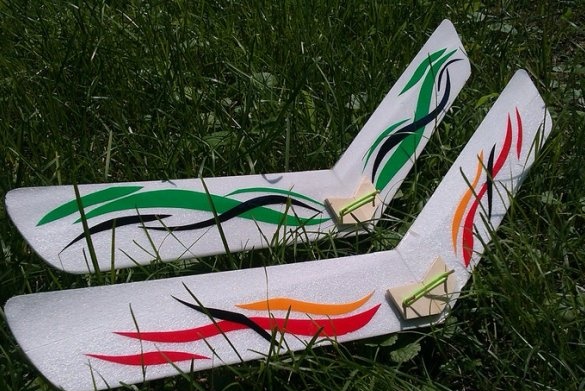
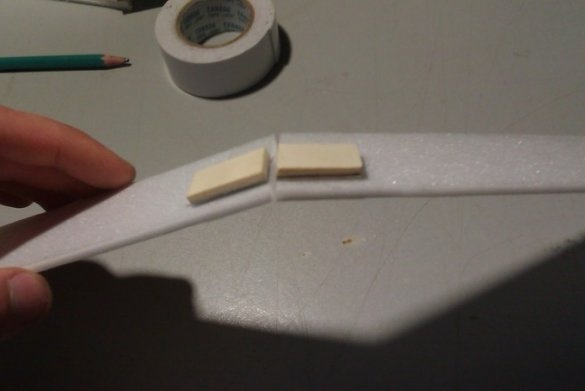
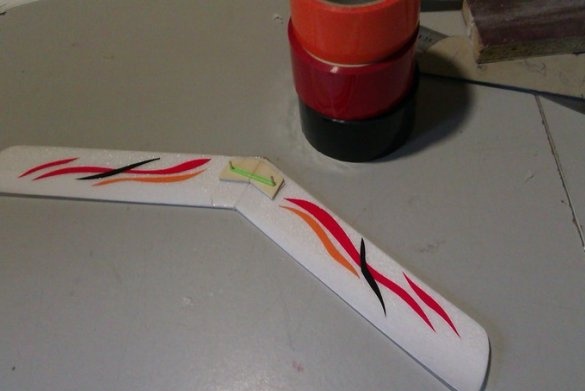
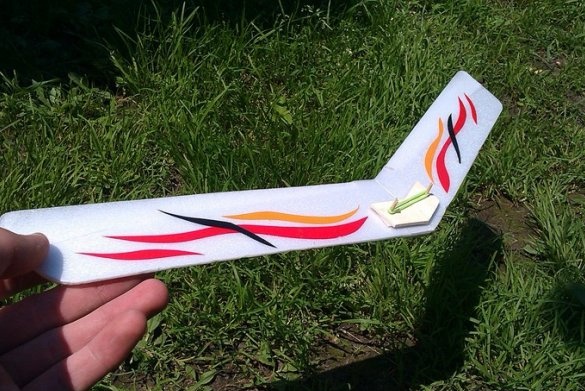
Here is the wing in the open state.
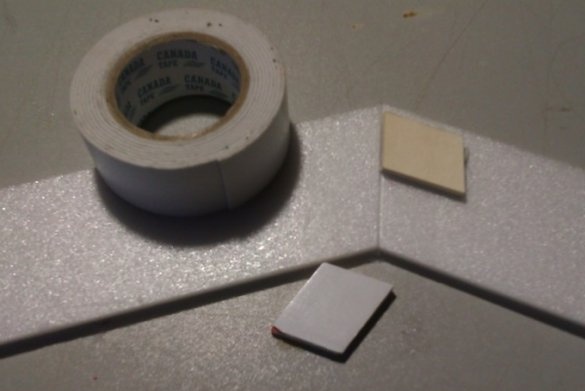
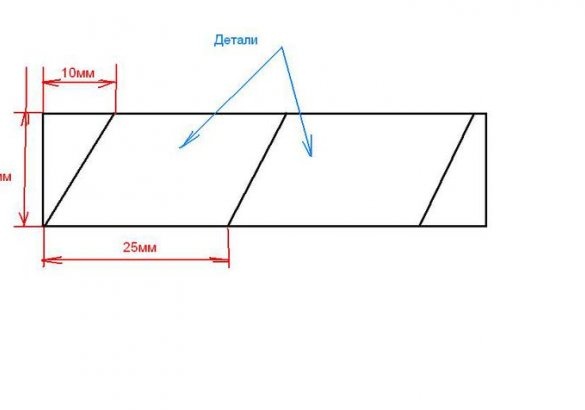
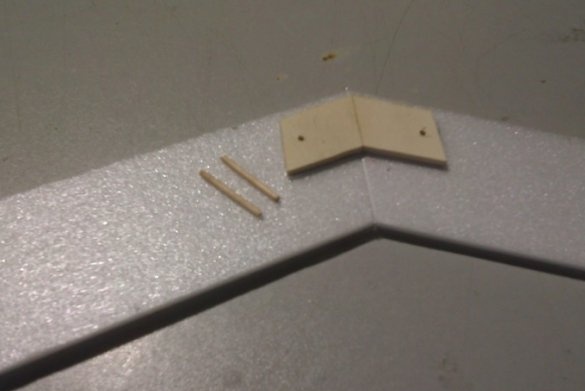
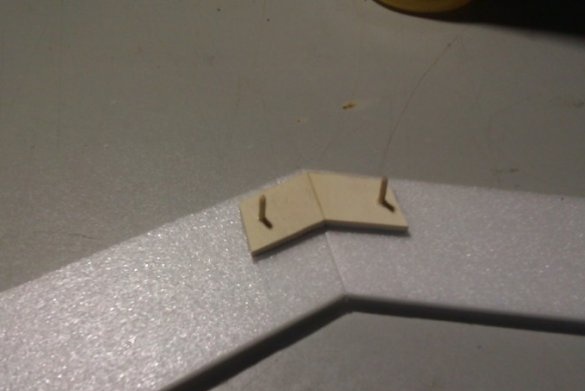
We cut out such pieces from plywood and glue them on double-sided tape.
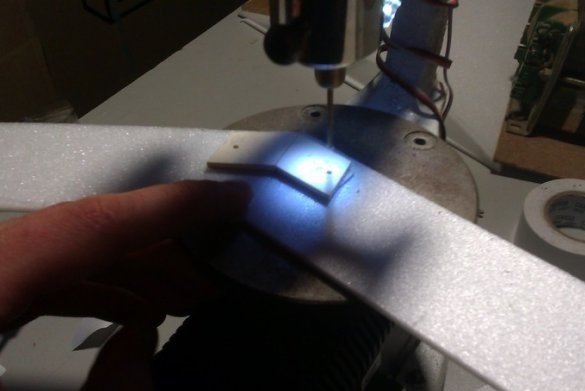
In these blanks we make holes in which we paste pieces of wooden toothpicks - 15 mm.
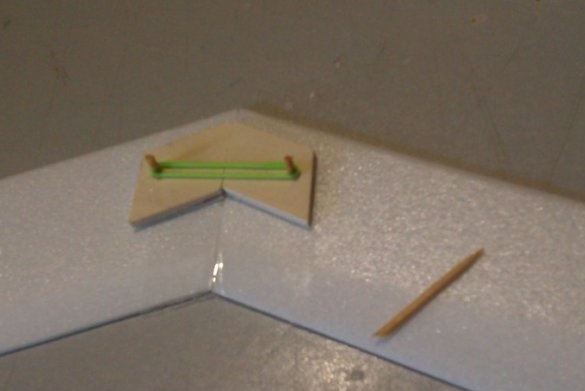
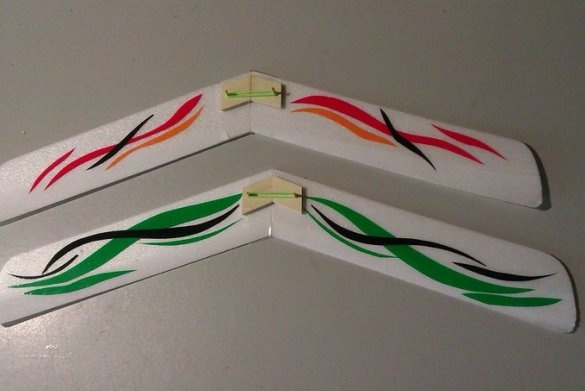
We put a rubber band on the resulting pins. It should be stretched when folding the two halves of the wing and open the wing when releasing the model.
When working on a model’s coloring, make it so that the model is clearly visible against the sky in any weather and at any time of the year.
CT is located at 30 mm. from the leading edge of the wing.
The flight of the model is regulated by bending the trailing edges of the wing halves.
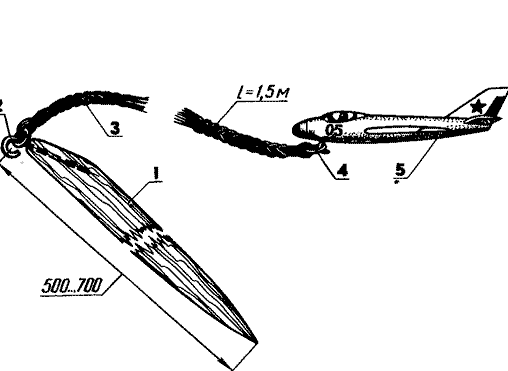
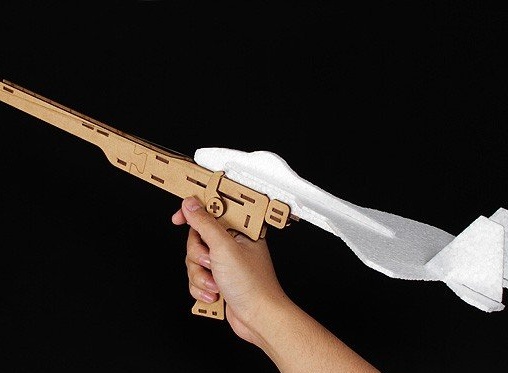
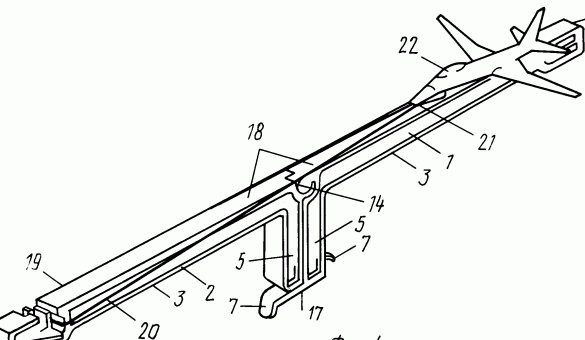
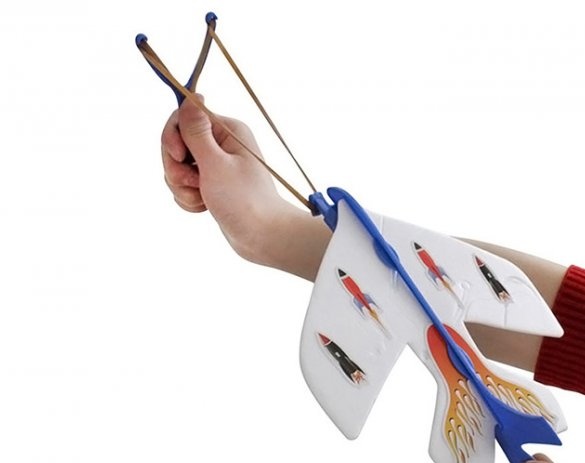
The launch of the model is carried out using a rubber catapult. You can do any catapult.
The model runs almost vertically, with a slight angle to the horizon.
You can build a larger metal, according to these drawings.

