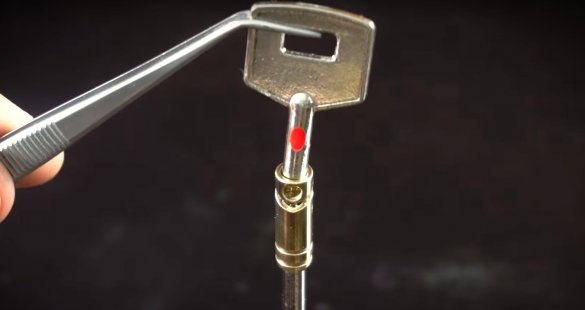
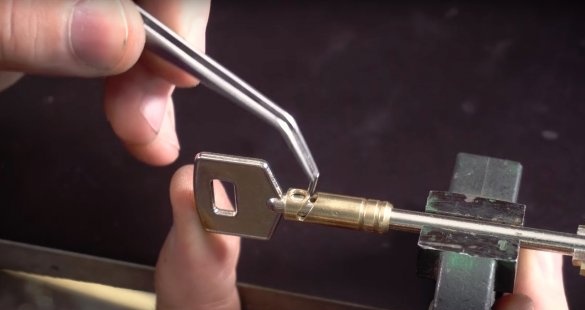
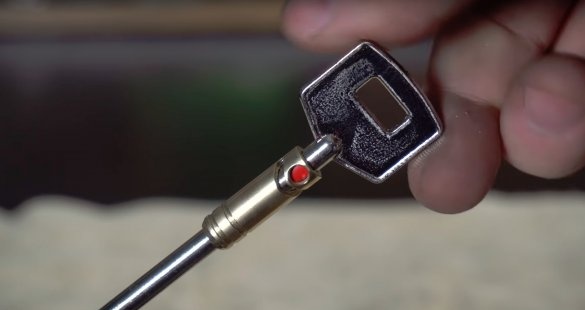
But do not think that such homemade easy to make, for its manufacture the author had to work hard.
Materials and Tools
Manufacturing process
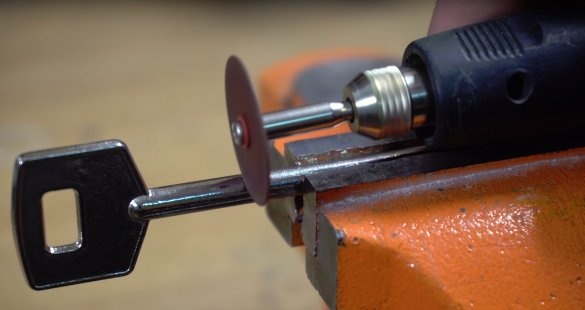
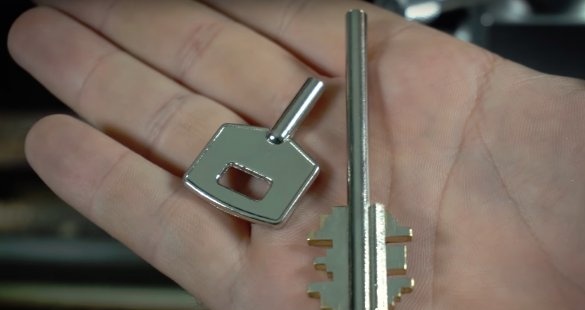
The indicator mechanism will be located at the top of the key, according to this author you need to cut the key. Before you cut the key, you must definitely check the depth of the key in the lock mechanism, so that it doesn’t turn out that the cut is inside the lock.
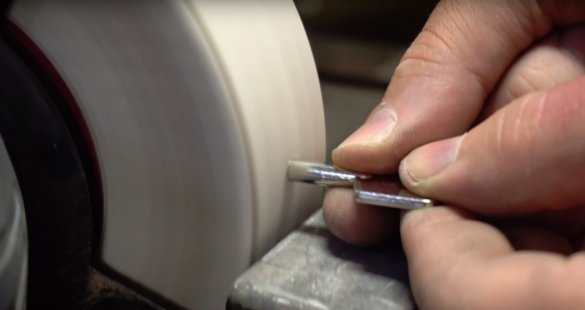
Butts slightly grinds and will now connect in a new way.
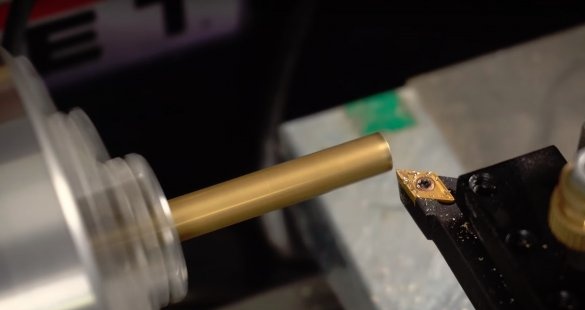
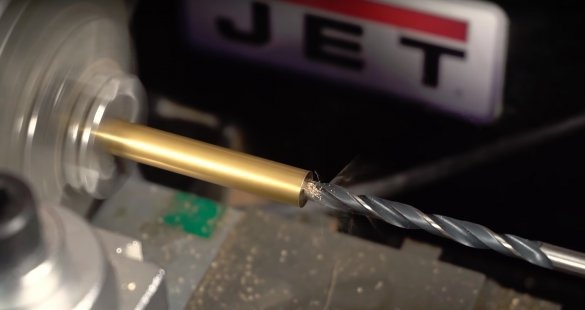
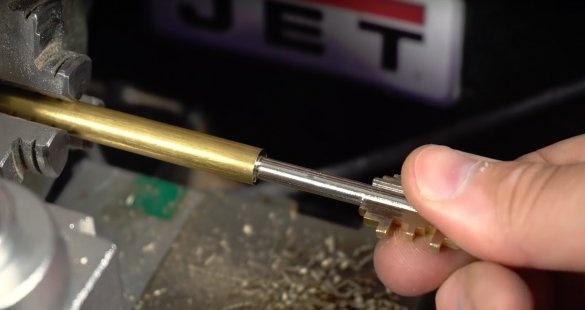
To connect both halves, the author uses a brass bar. First you need to drill a hole in the bar for the diameter of the key, the key should be easily inserted, but there should not be any play.
Here the author uses a lathe for work, I think almost everyone has such a thing on the farm)))
So with the manufacture of such devices, you should not have difficulties :)
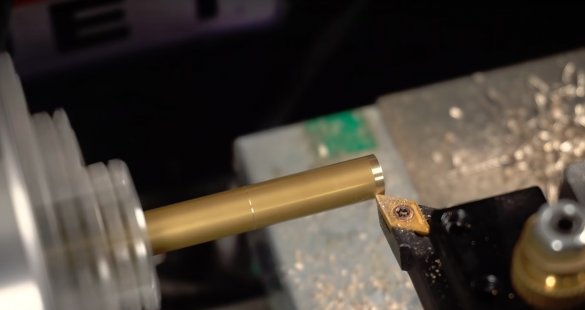
The outer diameter may be arbitrary, but the author does not recommend making it too thin.
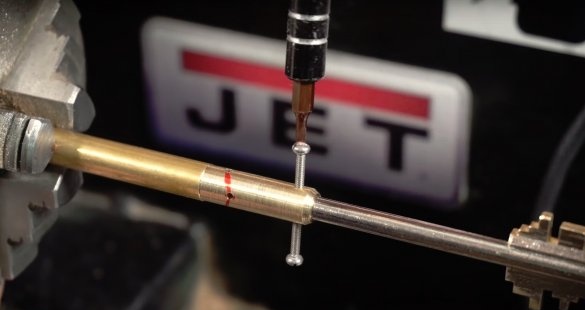
Then, two through holes must be drilled in the bar. The key will be fastened with two screws, therefore, in the holes that are located on the edge of the workpiece, the author cuts the thread.
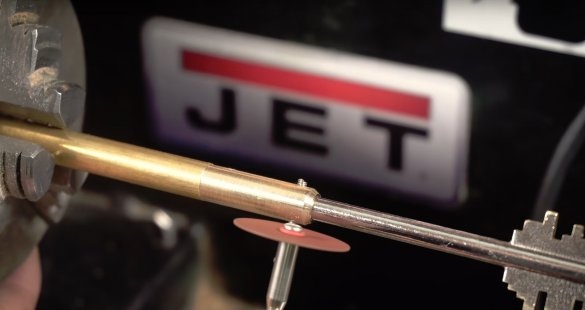
The author fastens the key in the workpiece by clamping with screws, cuts off the excess screws and grinds.
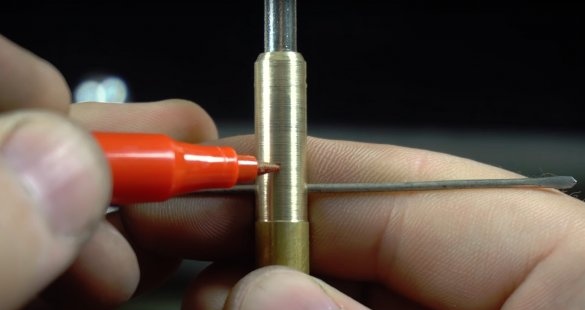
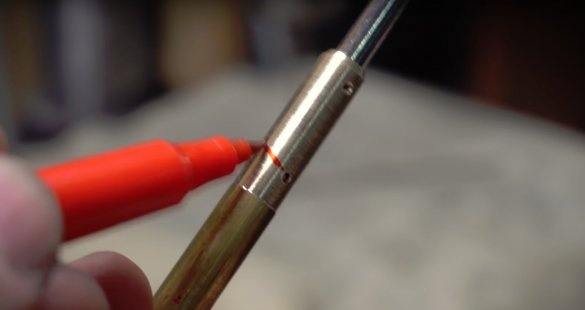
On the other hand, the blanks need to be made an L-shaped groove, the author draws with a marker the contours of the future groove.
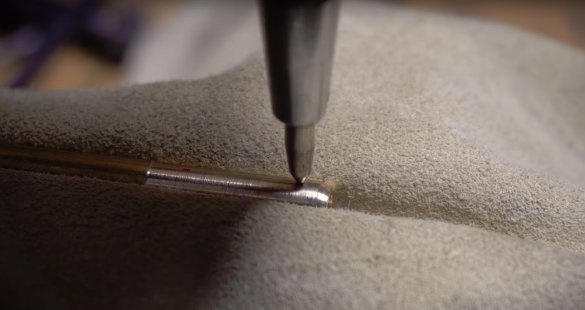
The author makes a groove by simply drilling holes, then connects the holes together using an engraver with a diamond nozzle.
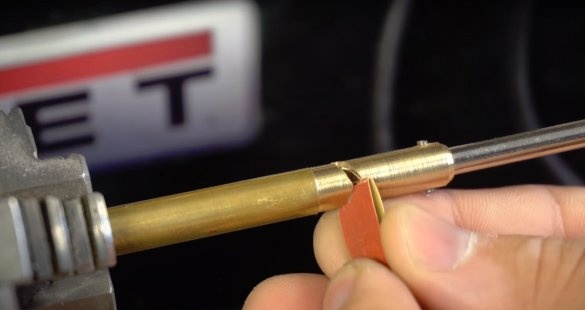
Then the groove must be sanded already by hand, giving it the correct L-shape.
A pin will go in this place, so that the surface of the groove should be smooth.
For the final grinding of the groove, the author uses sandpaper worn on a screwdriver.
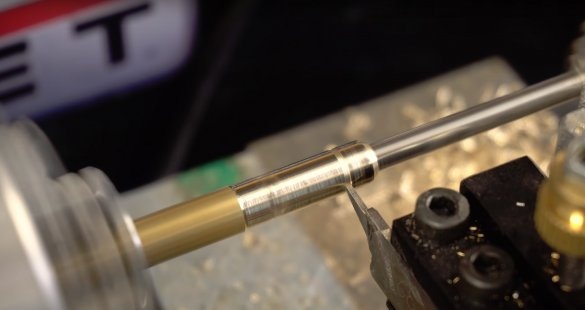
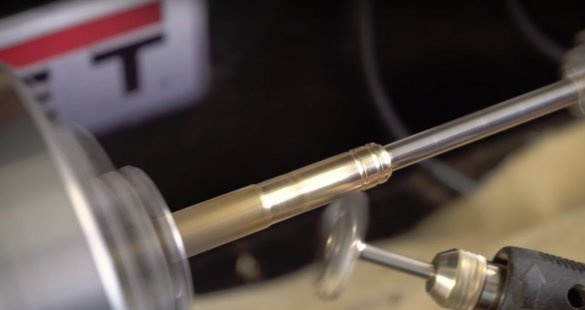
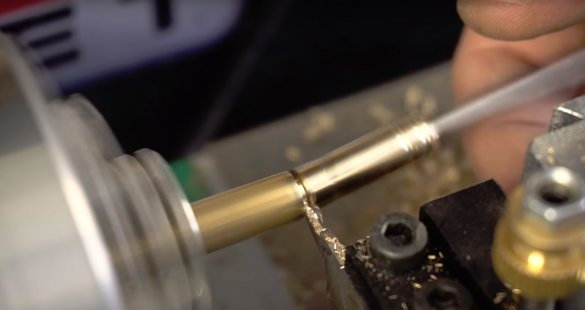
After the groove is ready, the author applies two decorative grooves, finally polishes, polishes the workpiece and cuts it off.
Now you can do the indicator mechanism.
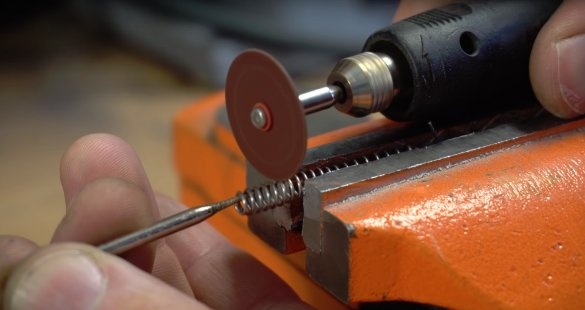
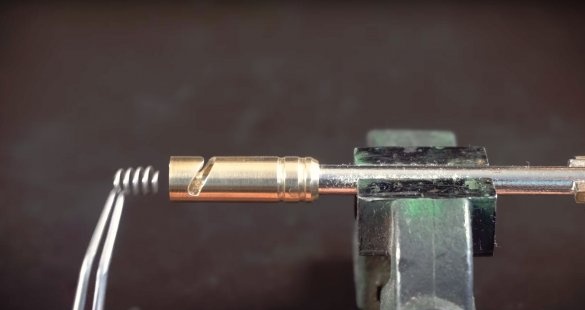
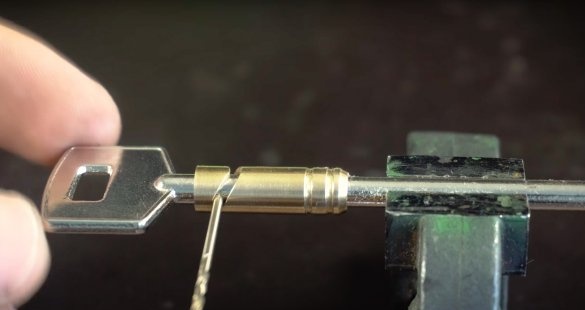
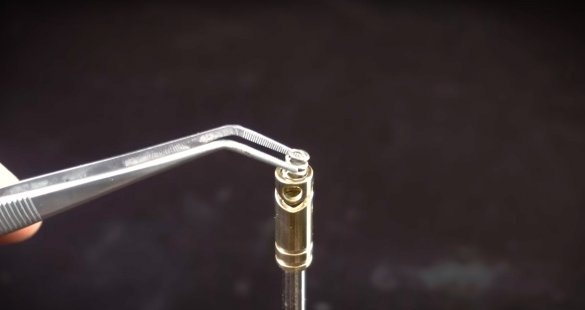
To do this, take a small segment of the spring, insert into the workpiece, also insert the upper part of the key and mark the place for the pin.
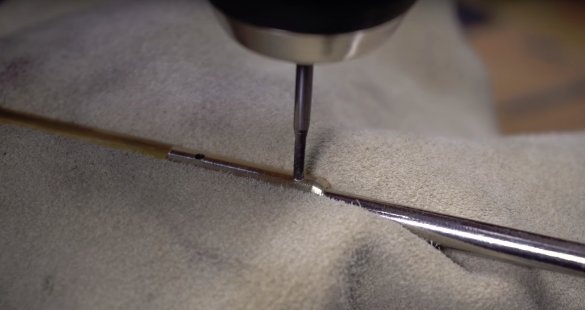
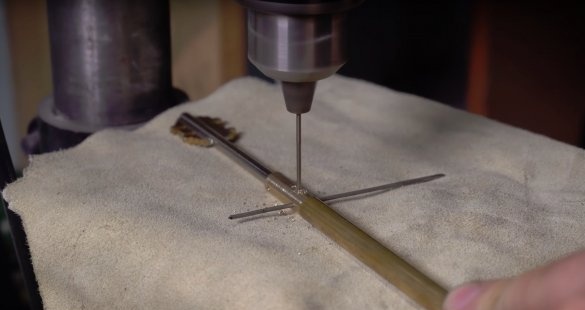
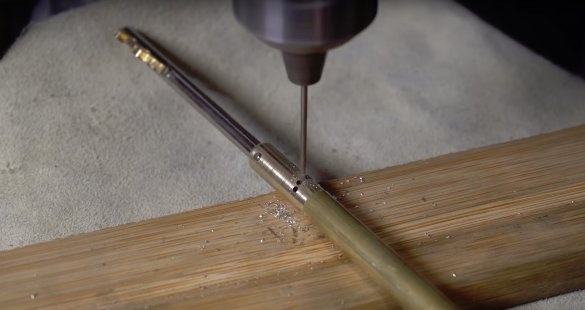
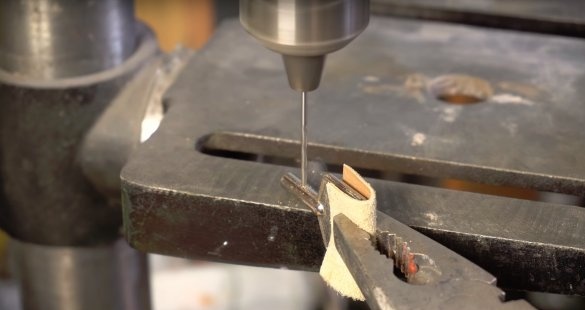
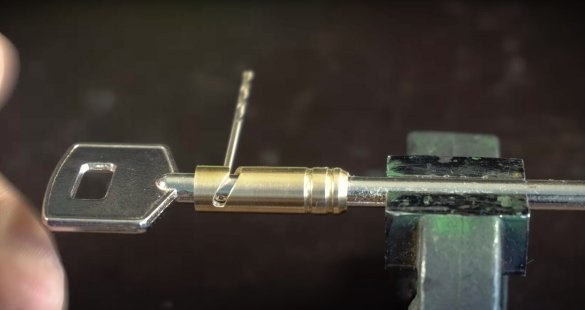
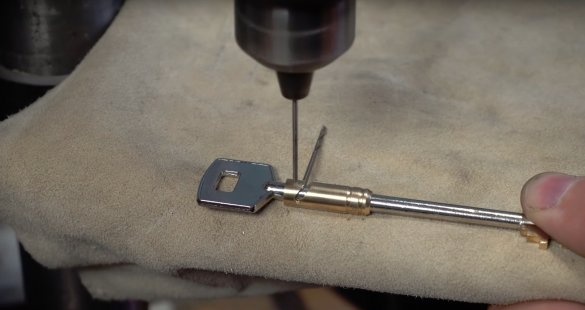
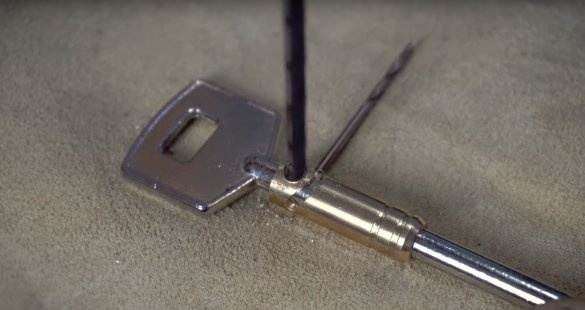
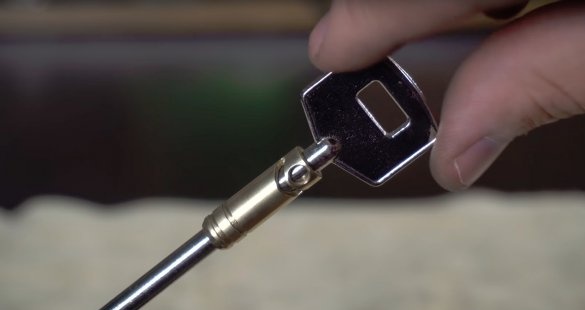
Next, the author drills a hole in the upper part of the key for the pin, inserts a drill instead of the pin and checks the operability of the mechanism. The spring presses the upper part of the key and therefore it seeks to occupy one of the extreme positions.
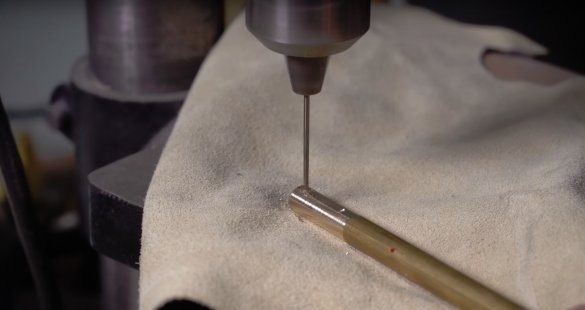
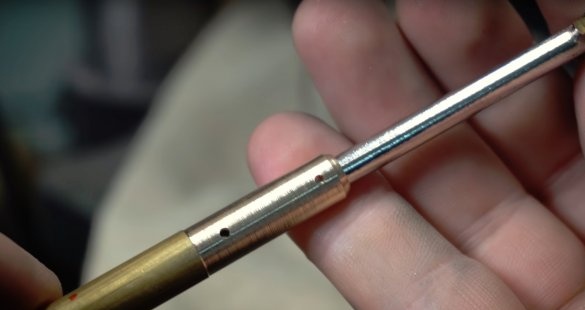
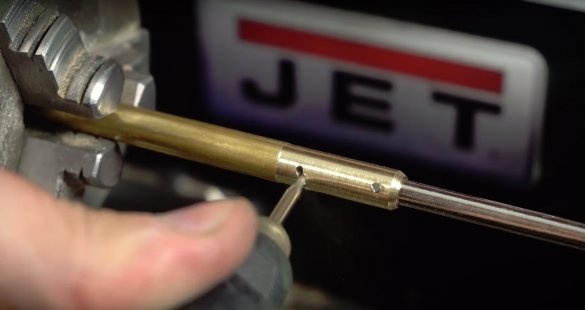
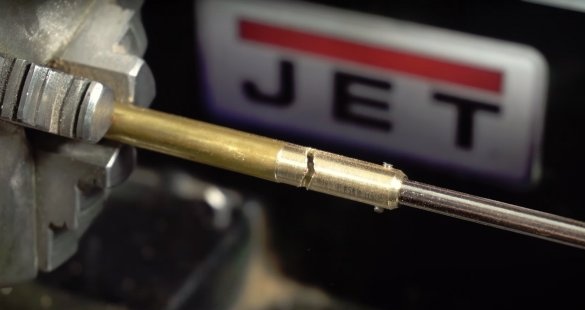
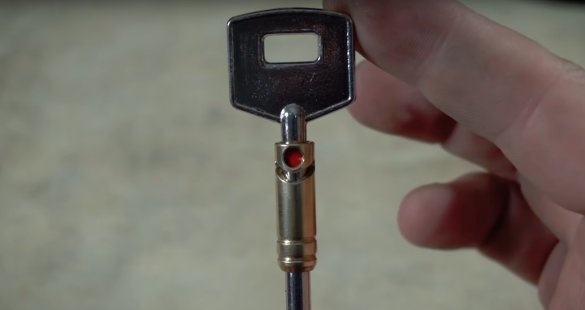
It remains to drill another hole, this will be a signal window. The hole is better to make the maximum possible diameter. In this case, one wall needs to be drilled through through the sleeve, and in the key, just make a recess.
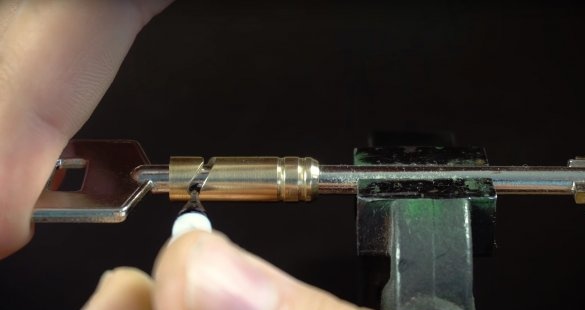
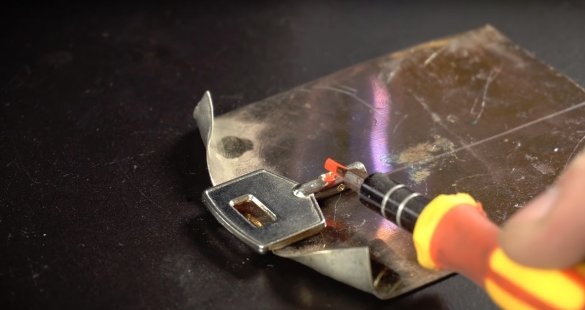
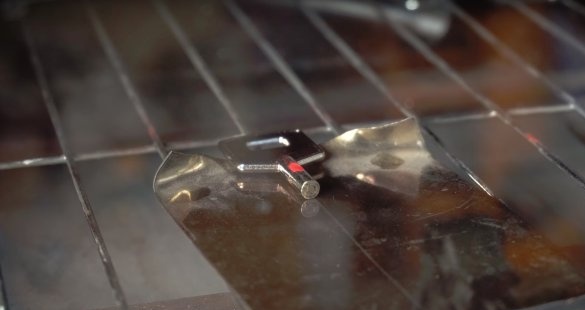
In the resulting depression in the upper part of the key, the author pours powder paint and sends it to dry in the oven for 10 minutes. I think you can use regular nail polish.
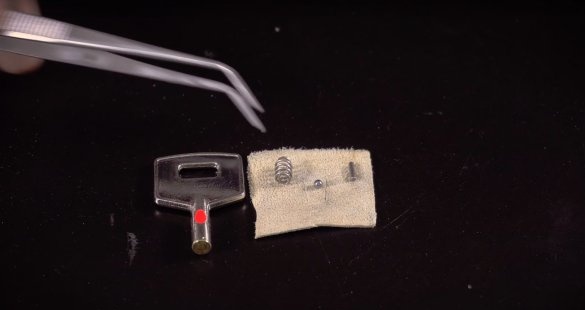
Well now it remains to assemble the mechanism. As a pin, you can use a segment of the drill.
Between the spring and the drill, the author inserts a ball from the bearing to reduce friction.
Presses the top of the key and secures with a pin. The pin sits on a drop of Cosmofen glue.
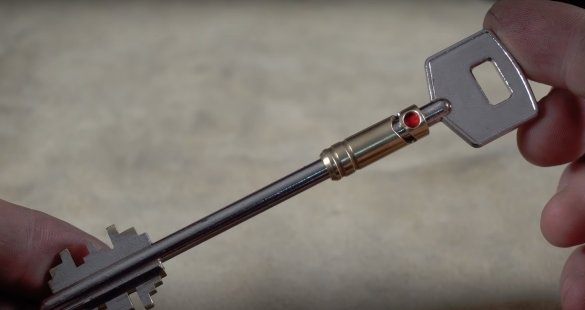
That's all, the key is ready, a fairly simple homemade product is not it? :)
Now, when you turn the key to the right (closing the lock in the case of the author) in the keyhole, a red indicator will appear. When you turn the key to the left (open the lock), the indicator will disappear.

