Today we will create unwritten beauty! We will also create written beauty!
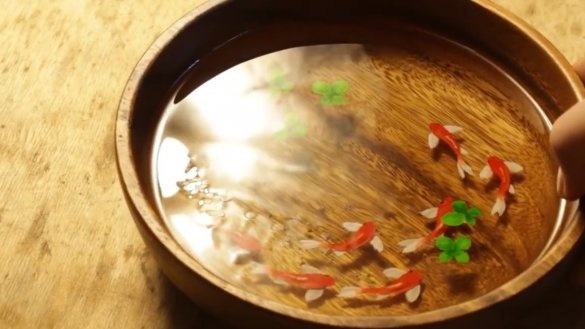
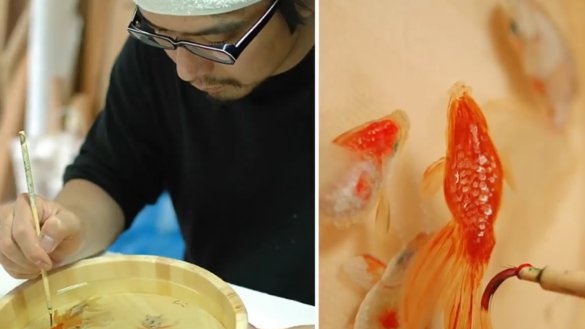
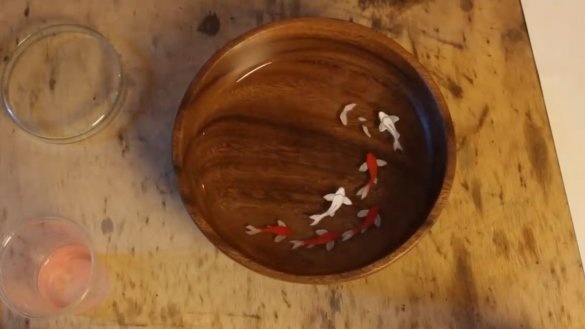
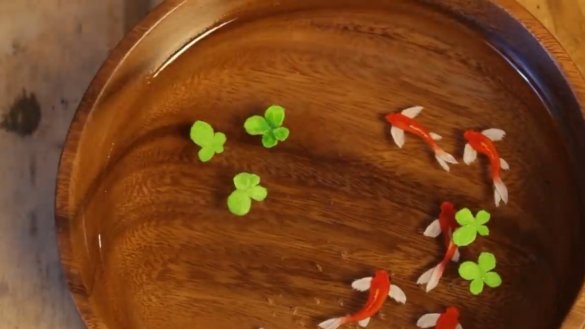
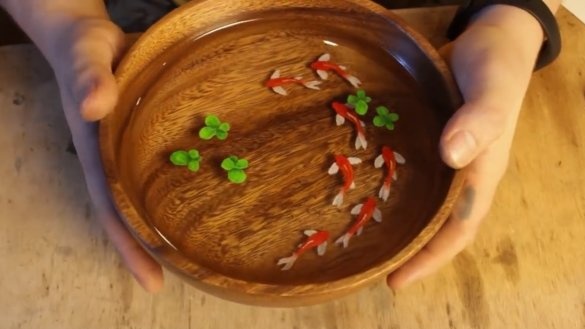
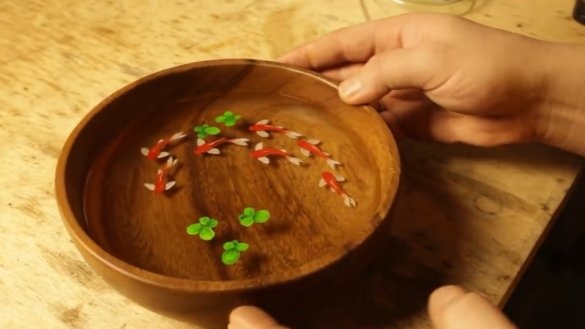
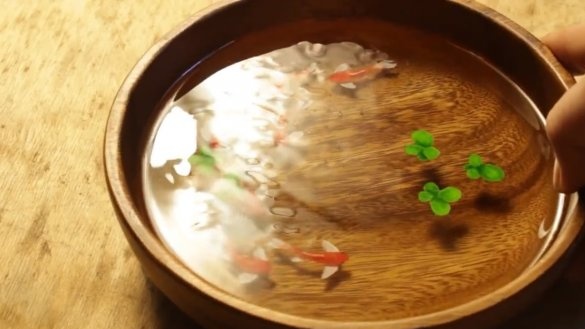
There is such an artist RYUSUKE FUKAHORI (Riusuke Fukahori). He paints three-dimensional goldfish in epoxy.
It looks, of course, very impressive! But how does he do it? Let's try again!
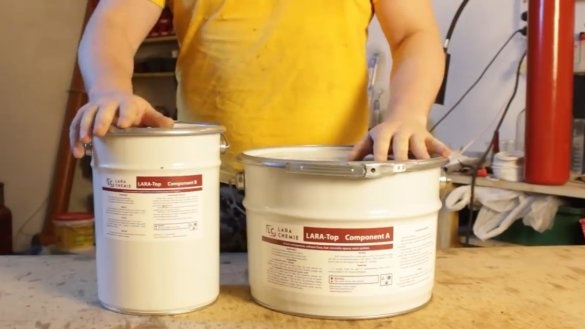
To do this, the author of the YouTube channel "Fiery TV" was stocked with buckets with transparent epoxy.
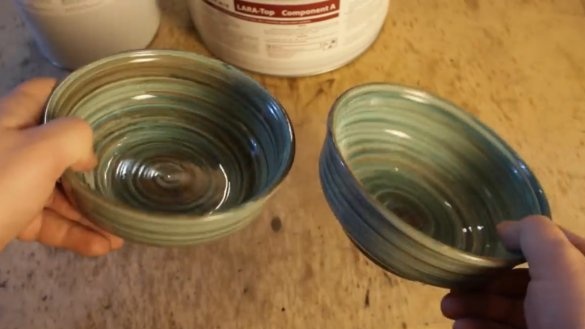
It consists of component A and component B, which must be mixed and an absolutely transparent epoxy is obtained. As containers for filling we will use these plates:
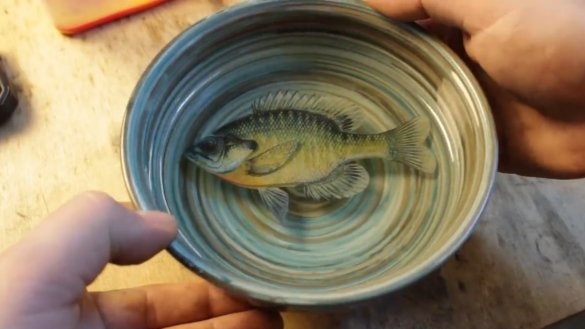
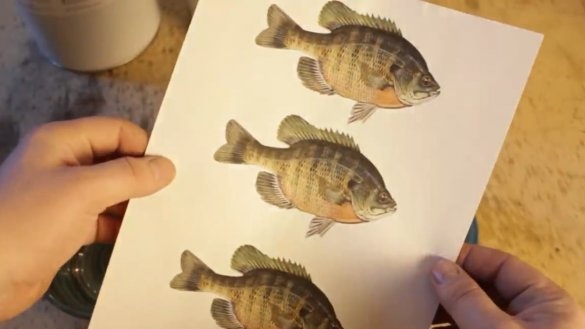
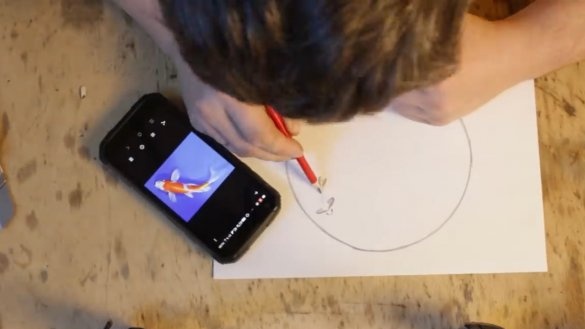
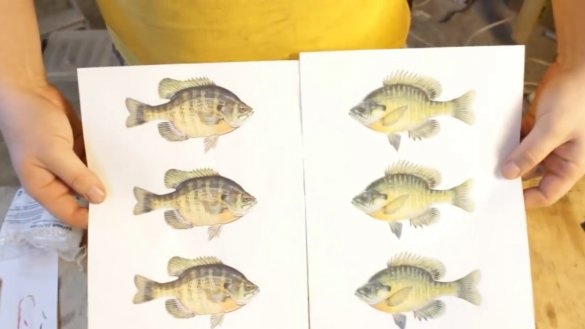
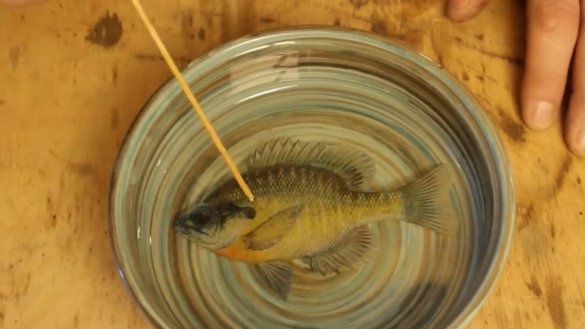
In them we will try to make some kind of three-dimensional image - such a fish:
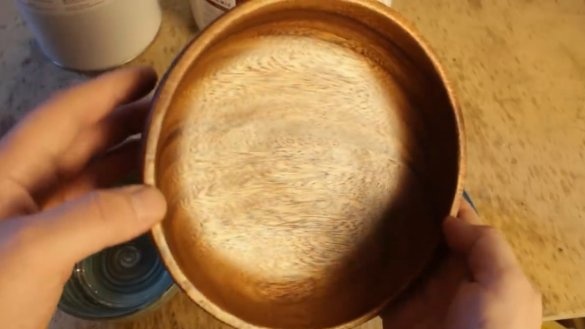
It is printed on a printer and you don’t have to draw it, so if everything works out, then anyone can use this technology, give 3D pictures to the masses! But we still try to draw, and we will do it on an epoxy coated in such a wooden bowl, it should turn out beautifully.
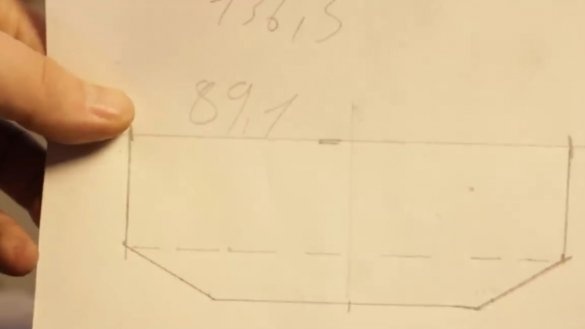
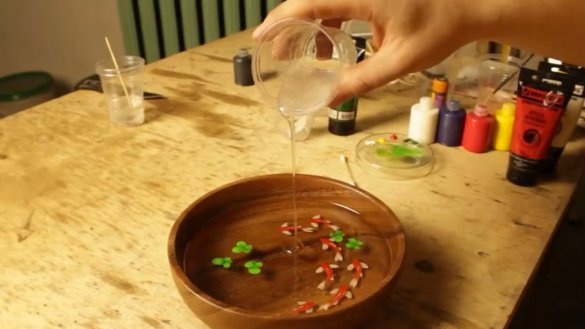
First, fill the starting layer, so to speak. You can fill this resin with a layer of 5 mm, but we will try to fill it with a layer of 1 cm. To do all this exactly, take the dimensions from the plate and transfer them to paper. Such a drawing will be very helpful in the future to accurately measure the required amount of resin for each filling layer, and it is planned to pour a lot of these layers!
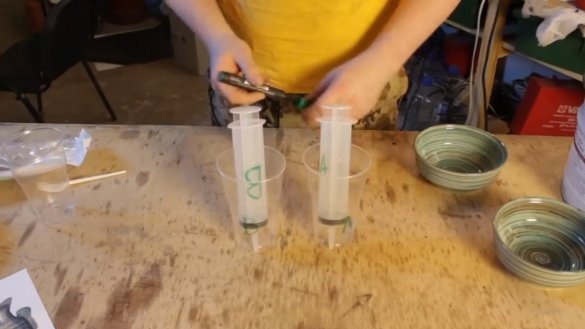
There will be many layers and they will have to be measured many times. In order not to suffer, a pair of huge syringes is useful, they are most convenient to measure the resin for small fillings.
We will immediately sign which component A is measured out and which component B is used so as not to be mixed up, otherwise they will have to be washed constantly, and who needs it?
For 100 grams of component A, you need to add 60 grams of component B. But, in principle, this resin forgives errors if the proportions are not strictly observed. And we just mix 1 to 1 in volume, and everything hardens cool.
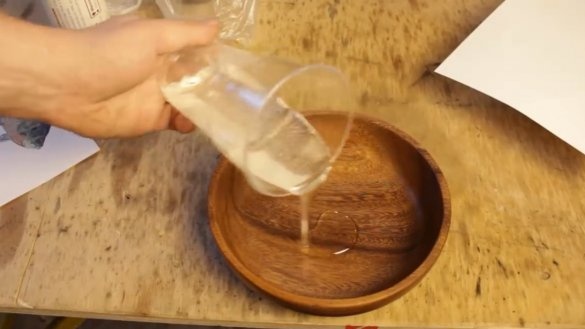
As expected, first mix 2 minutes in one glass, then 2 minutes in the second, and only then pour. The resin has good fluidity and in 5 minutes all bubbles float and burst. But in order not to miss a single bubble, we will use a special spray. It removes surface tension and the surface instantly becomes smooth like glass.
We put a poured epoxy on a table pre-aligned at the level. If you miss this moment, then there will be a jamb and you will have to add another 1 layer to level the level. We do the same with a wooden plate.
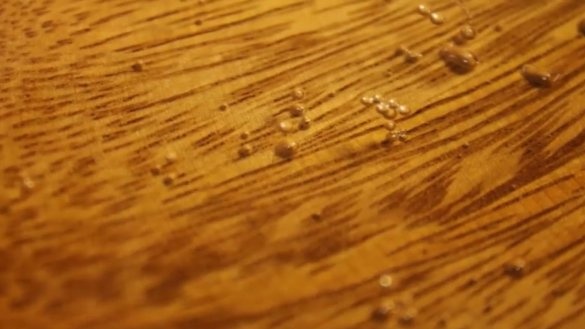
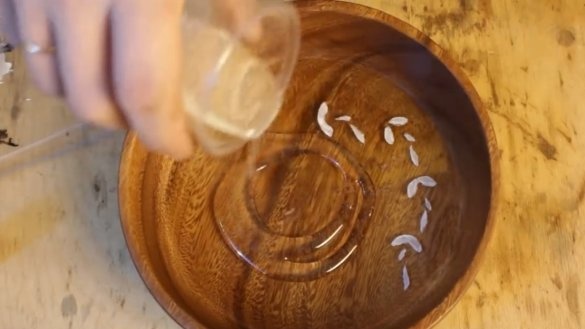
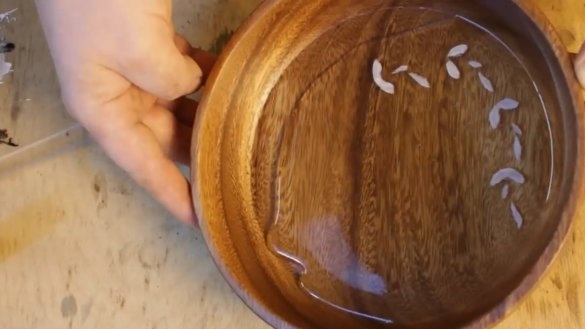
And so, the night passed, the epoxy froze and bubbles appeared at the bottom! The author completely forgot that the tree is porous and can release gases.
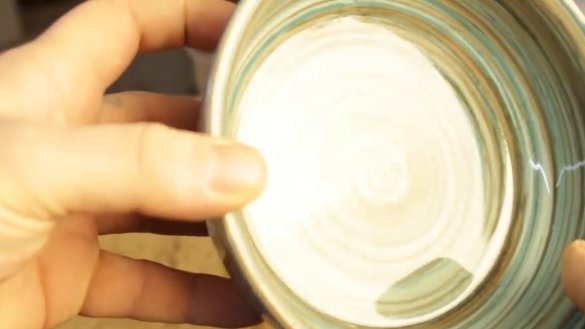
When the epoxy stood a little, warmed up, it penetrated the tree and replaced small air bubbles. Of course, this did not happen in a ceramic container; everything was flooded perfectly. Epoxy is not even visible at all!
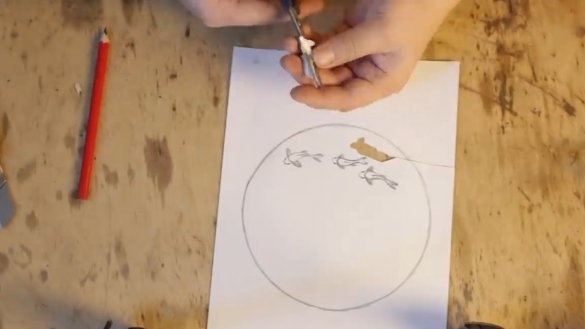
Well, never mind, let the fish swim between the bubbles, because this is normal. Well, we got to drawing. The author will draw fry of goldfish. It may seem that this is something complicated, but in fact it is a very simple drawing, special art skills are not required. He pre-drew a circle that repeats the inner diameter of a wooden plate and draws in this circle to make it easier to navigate the size of the fish.
Having drawn four fish, we cut them out, they will serve as a stencil. Now with the help of masking tape we fix the fish on an epoxy.
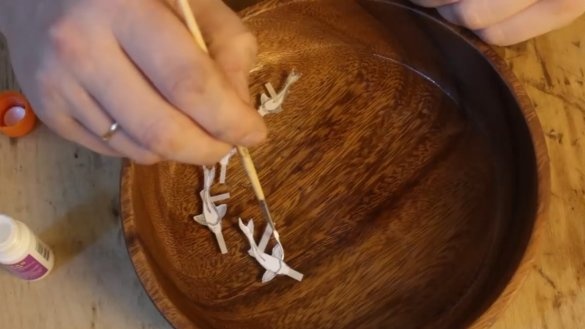
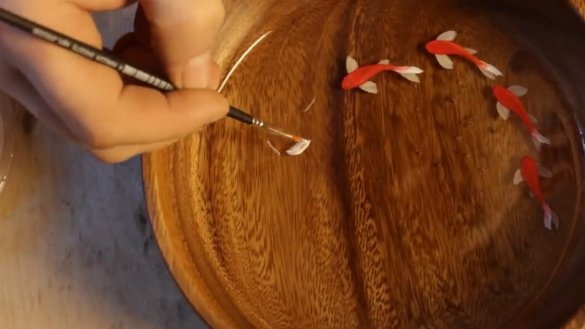
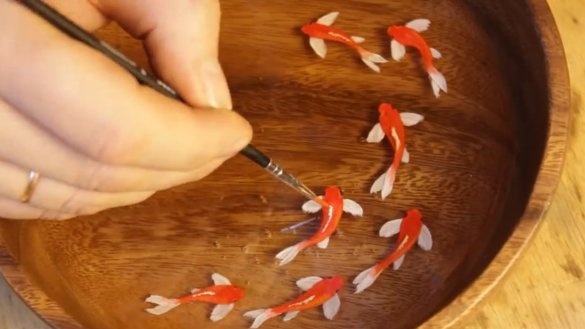
Now you need to draw a contour of the fins with a thin brush and acrylic paint, only fins should be drawn on this layer. The author’s brush and paint were not very good and he suffered for a long time to draw something similar to fins.
If somewhere you have smeared the excess, then it is very easy to erase the paint with a piece of cotton wool, gently squeezed in tweezers or a cotton swab, there are no traces on the epoxy, so you can not be afraid to make a mistake. After adjusting the contours, it turned out here sort of like even fins.
Now you need to fill the resin layer with a thickness of 1.5 mm, and then the drawing that we drew at the beginning will just help. We calculate the required volume from it and fill in a precisely measured amount of resin.
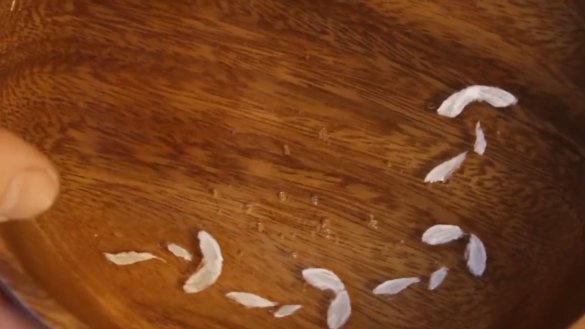
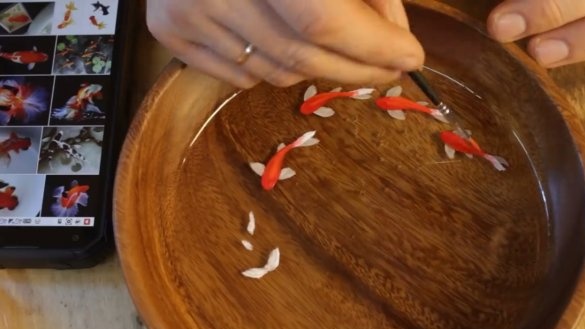
After a day, the epoxy hardened and you can continue to work. After suffering with the last brush, the author bought a new one and at the same time took a little better paint, but also acrylic. Now you need to draw the carcasses of the fry and the upper part of the caudal fin.
While the paint is drying, add another fish, which will swim a little higher than other fish. We draw her again only the fins. Here the most important thing is to use at least 2 colors to get at least some volume, one side is slightly darker, the other is slightly lighter and will be normal.
Now we draw something similar to scales and draw on the eyes.
After the paint has dried, you can fill in a new layer of epoxy, again 1.5 mm thick. On the third layer, add another 2 fish. It will seem that the fish are swimming at different depths, this will strengthen the illusion of three-dimensionality.
The fish that we started to draw first, it remains to draw only the top of the back and dorsal fin. That is, it turns out that the fish are divided into only 3 layers, this is enough for fry.
We do the same with the rest of the fish, we finish them in 3 layers. And after all the fish are drawn, fill the resin layer with 10 mm.
To add a sense of volume, you need to place objects above the fish so that the eye can clearly see the difference in depth. The author decided to draw duckweed, a couple of pieces is enough. Here, it is also important to draw details so that it does not seem flat.
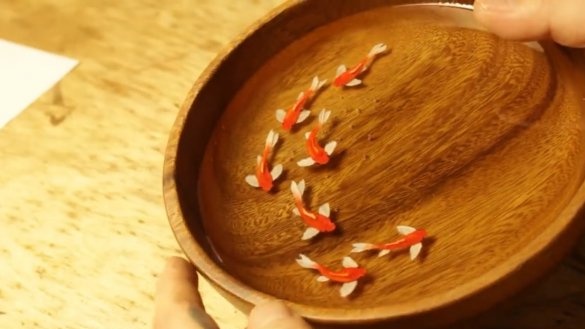
Well, for the first time it turned out very well. An amazing feeling, as if time froze.
Such a simple drawing, but it is very impressive. One could leave it as it is, because duckweed should float on the surface of the water, but it is better to protect it with a layer of resin. Fill the layer a little less than 1 mm thick.
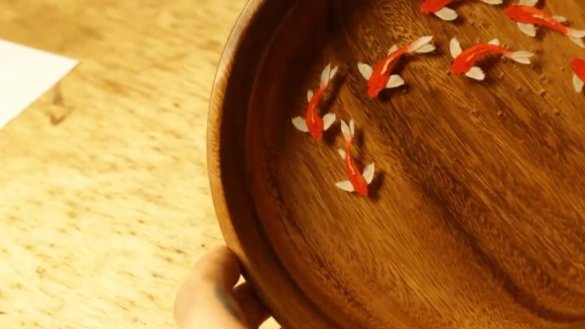
When the resin began to thicken noticeably, the author decided to make an imitation of waves on the water. Running a couple of times through the resin, you can create bumps that smooth out, but still leave a mark in the form of waves. Now the picture has become even more realistic, the school of fry leaves waves on the surface. The feeling of a dead time has now become even stronger.
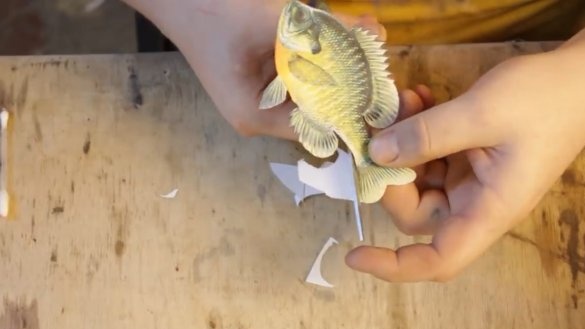
Now go to the big fish. Let's make 2 fish, slightly different from each other.It is important to cut everything clearly along the contour, every little thing.
After that, fill the resin layer with 1.5 mm and heat these crucian carp there. Nothing complicated.
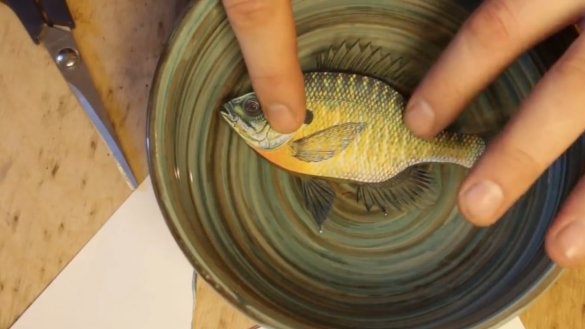
After hardening, we again return to crucian carp. This time you need to cut the fish without fins and retreating a couple of millimeters from the edge, this should give the effect of a slight bulge.
Perhaps it was worth adding at least 1 more intermediate layer, but the author moved on to the final part. The third layer is a head with a branchial plate and a side fin. It would be quite possible to divide this same pattern of layers into ten, slowly cutting off more and more excess and applying epoxy with a very thin layer, then a real real fish would turn out.
Layers of resin of 1.5 mm are still too big for such a technique, one can see how one layer casts a shadow on another. In principle, to do something decent is quite possible, but in this example it did not work out very well.
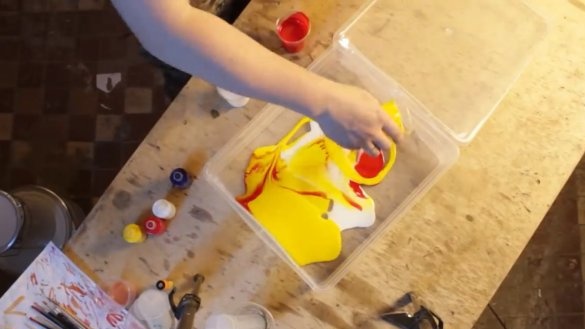
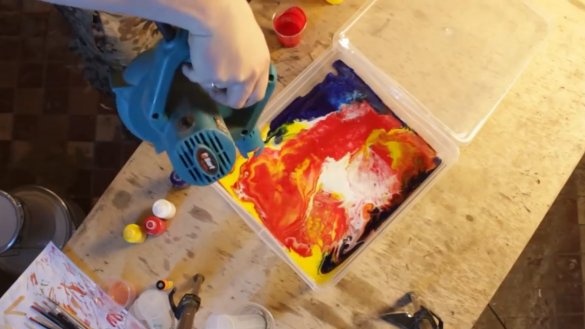
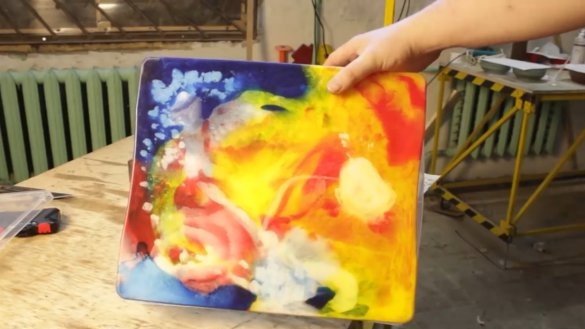
Okay, and now the last way to create something beautiful, and even a brush in your hands do not need to be held. Knead an epoxy with various dyes. Pour them into an even container and take a blower. Streams of air mix paint layers better than any artist, creating just some cosmic patterns.
The main thing is not to forget to level the table, otherwise all the beauty will flow sideways.
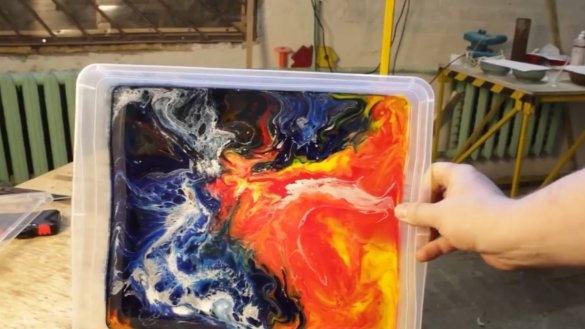
After drying, it turned out this:
It resembles a cosmic nebula. And by the way, by selling such paintings you can earn extra money. Now they are in trend. But if you turn it over, you can see something like a flower in general. In general, beauties.
That's all. Thank you for attention. See you soon!
Video:

