
Good day to all dear friends! I would like to show you a rather interesting idea homemade. In today's article, we will consider a very actual homemade product at the moment, and to be more precise, we will look at how to make a small desktop heater. As you already know, this year the winter turned out to be “real”, and people in many regions of our country were not quite ready for such a cold snap, which caused a sharp demand for table heaters. And today, the price of primitive cheap Chinese heaters is not entirely pleasing to the eye. And so the idea drove into showing and describing the assembly of the simplest heater. In general, the homemade product is very interesting, so let's not pull with a long introduction, let's go!
For this homemade product we need:
- Metal tin can 0.5l (if a heater is needed for more, then take the can should be larger)
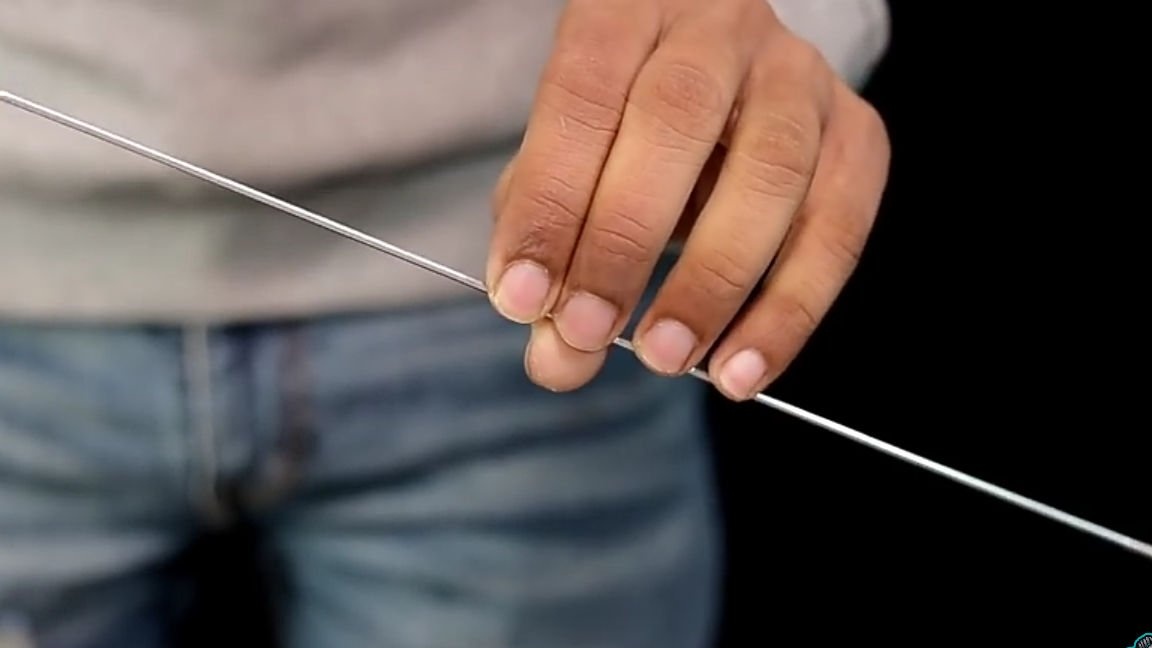
- A couple of bicycle spokes
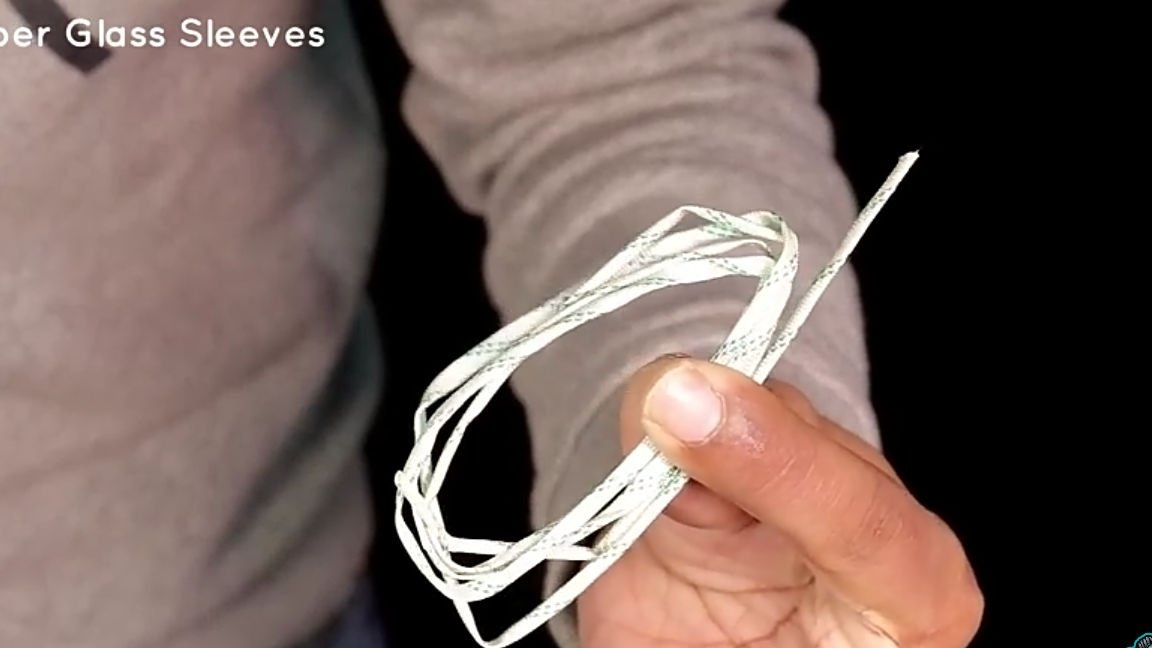
- A little fiberglass insulation for wires
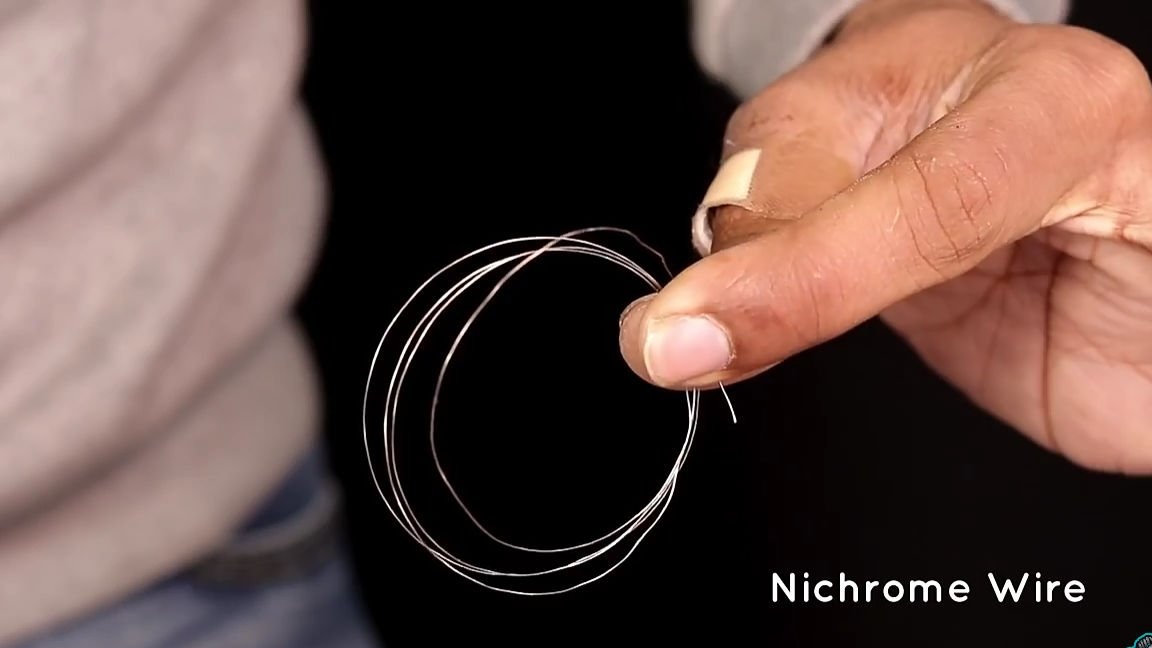
- Nichrome wire
- Power wire
- Medium diameter copper wire
- Computer fan
- Power connector
- Lattice
- Power supply (heater power depends on the power of the power supply).
Of the tools we will also need:
- soldering iron
- solder
- Pliers
- Nippers
- Medium sandpaper
- screwdriver
- Paint (optional)
- Drill and set of ordinary drills
- Step drill
- Marker.
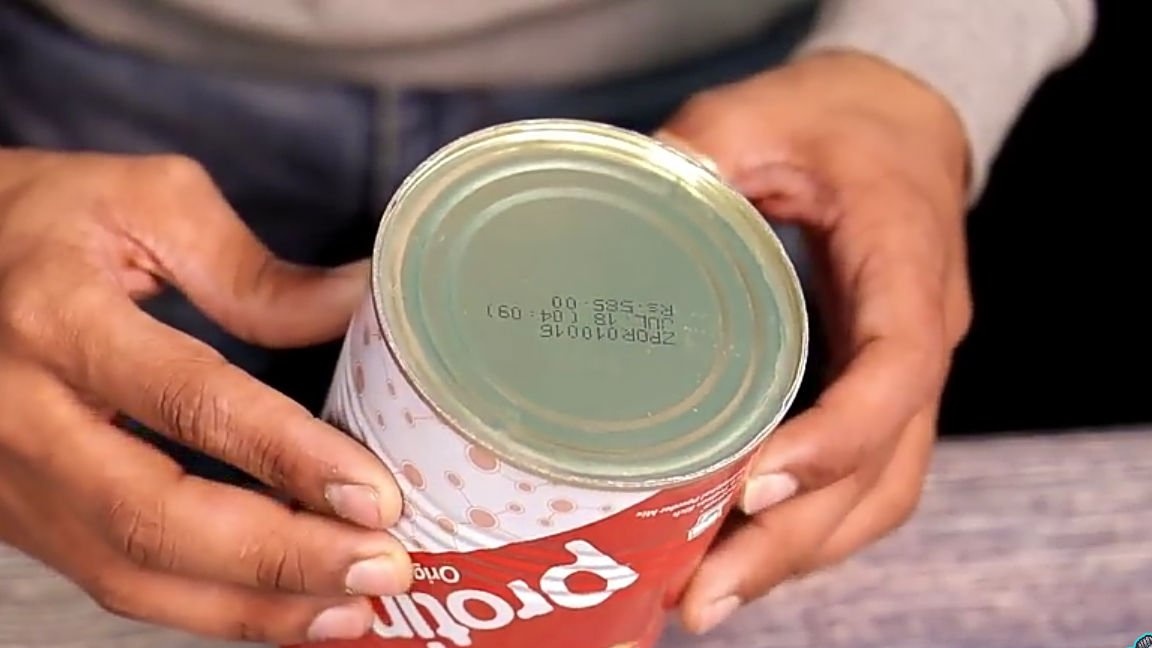
Well, let's start assembling our homemade products. To begin with, we should decide on the choice of case. For our purposes, namely, to create a compact desktop heater, the so-called “tin can” is the best option. The size of the homemade product depends on the size of the selected can. The author considered that a 0.5 liter can is a suitable option.

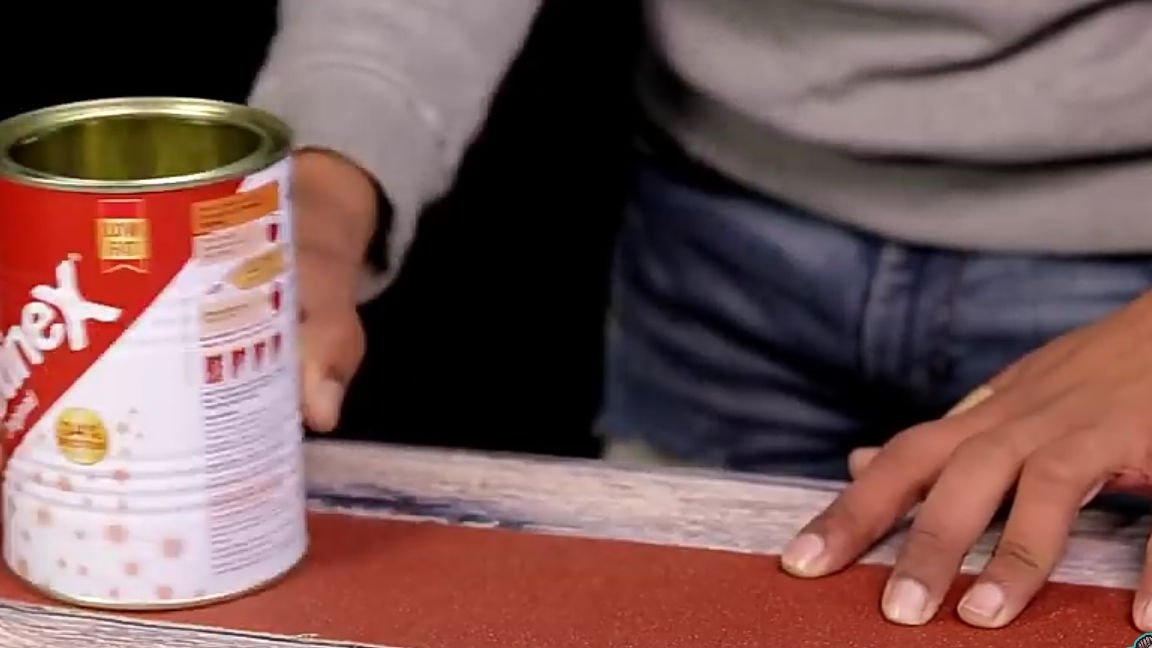
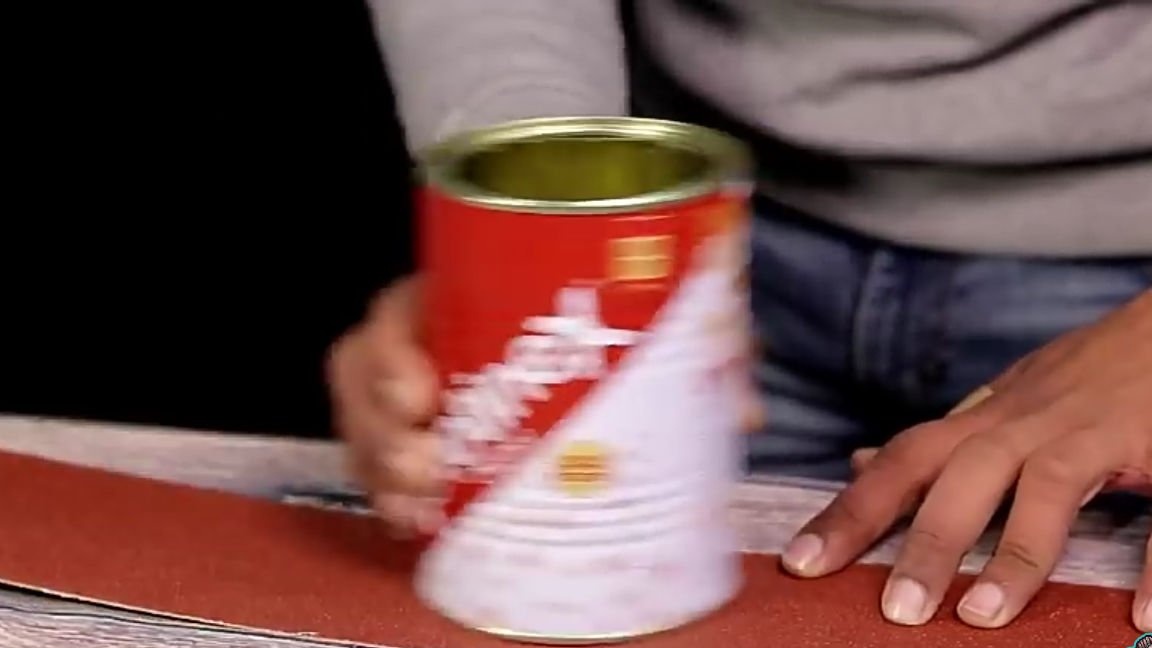
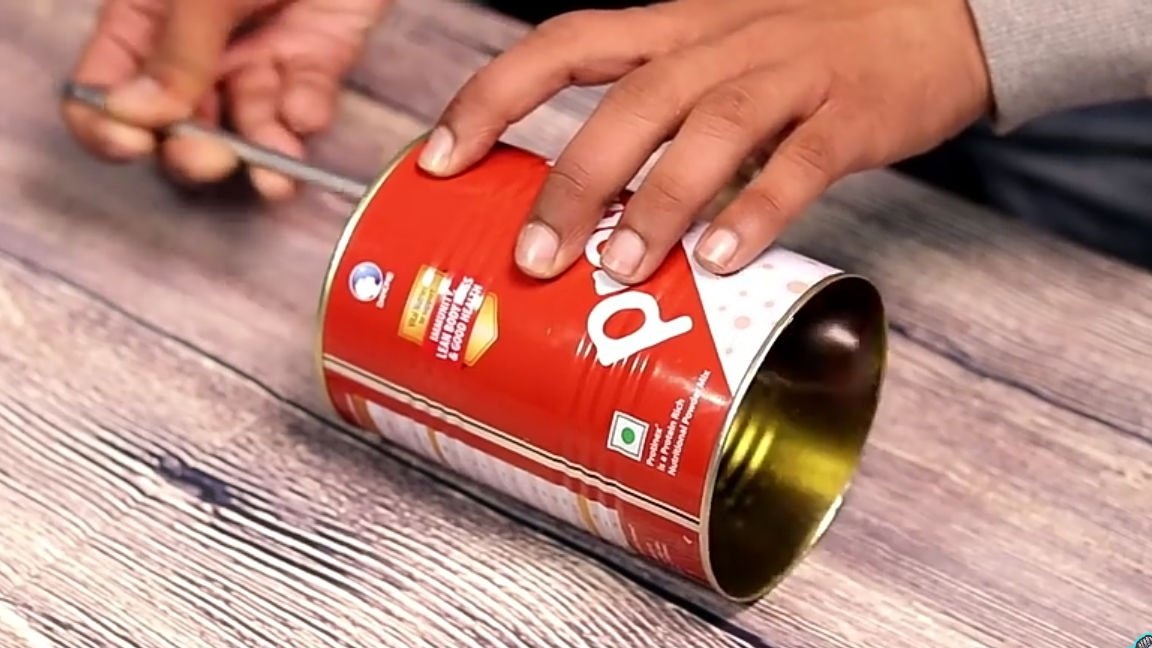
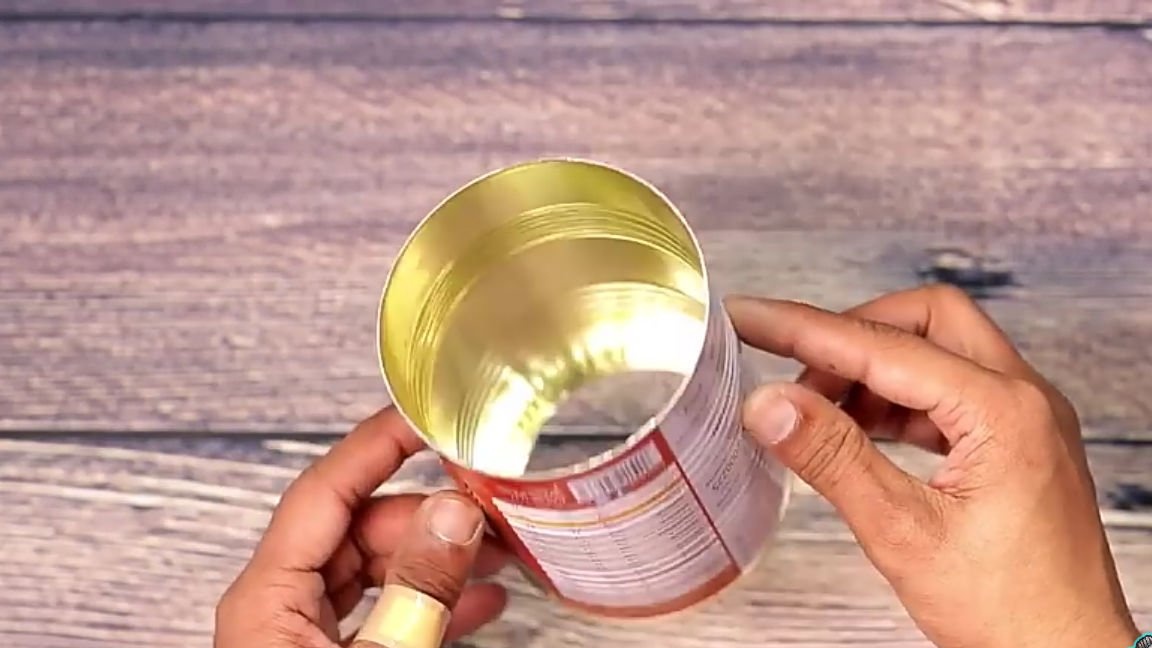
Having decided on the body, we continue the action. Namely, we should make a straight cylinder without a bottom from a can. In order to clean the bottom neatly and without crushing the thin metal of the tin can, use sandpaper of medium grain size. Just put sandpaper on the table and begin to rub the tin can evenly. Having stepped a couple of millimeters of metal, with some object (for example, a screwdriver) from the inside, we knock out the bottom of the can itself.
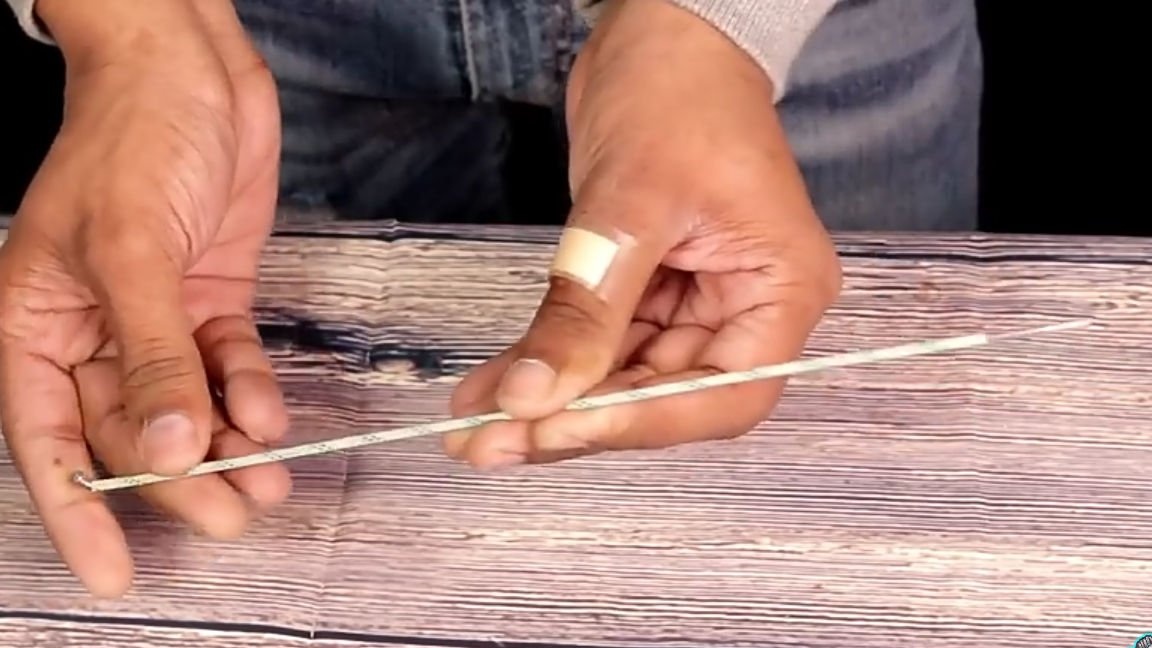
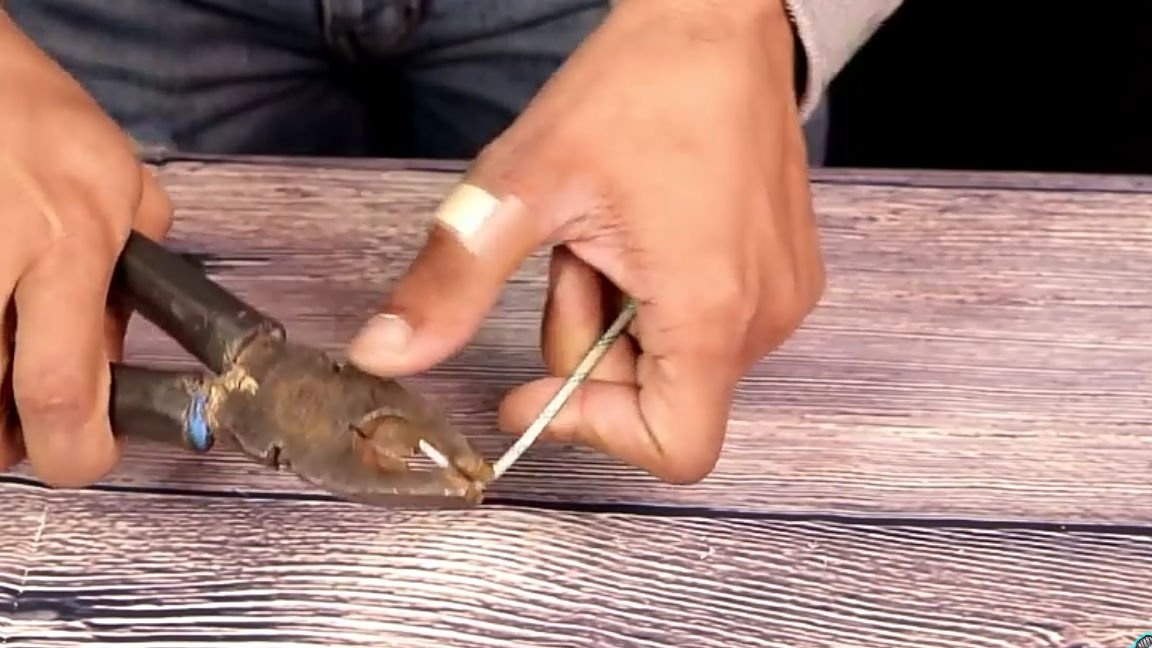
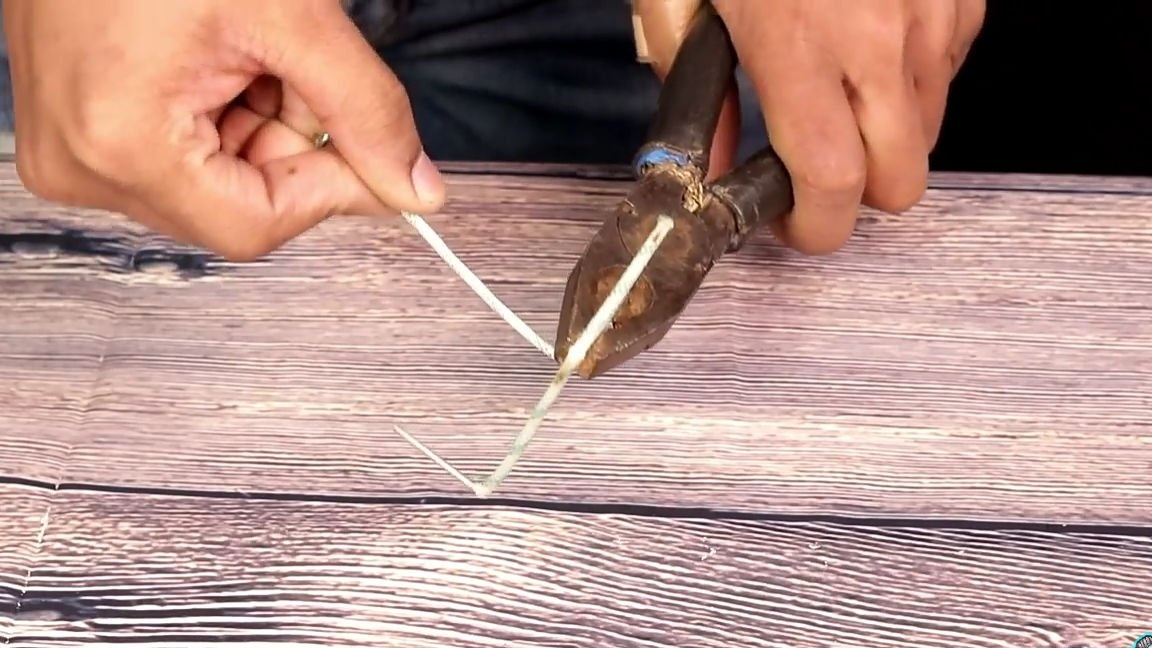
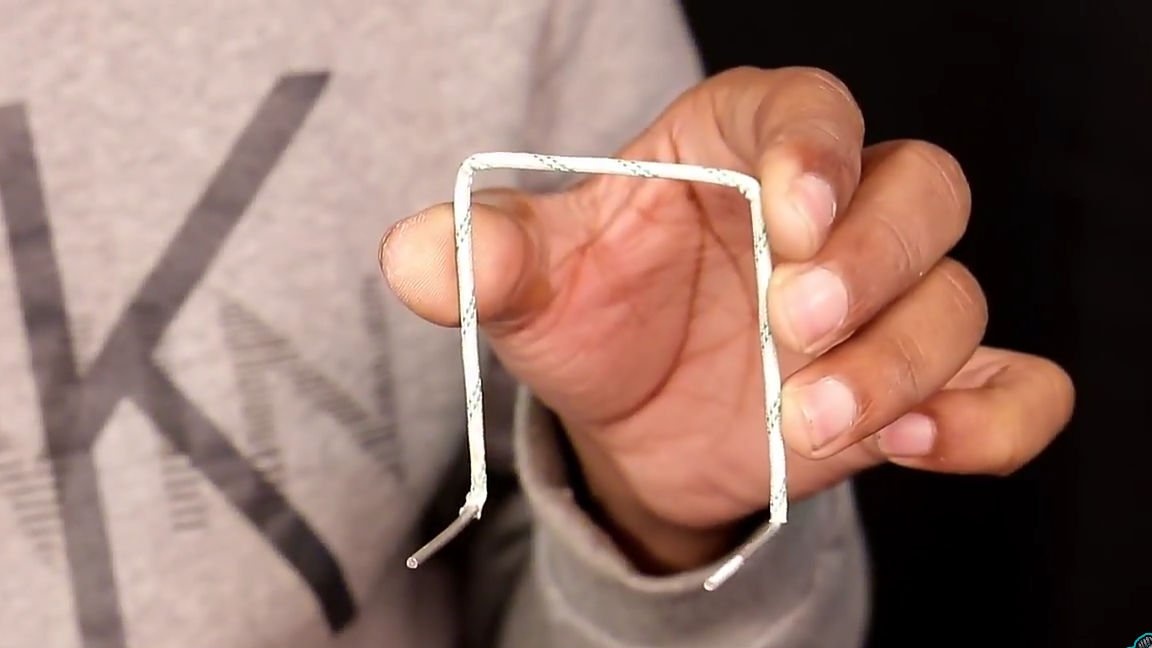
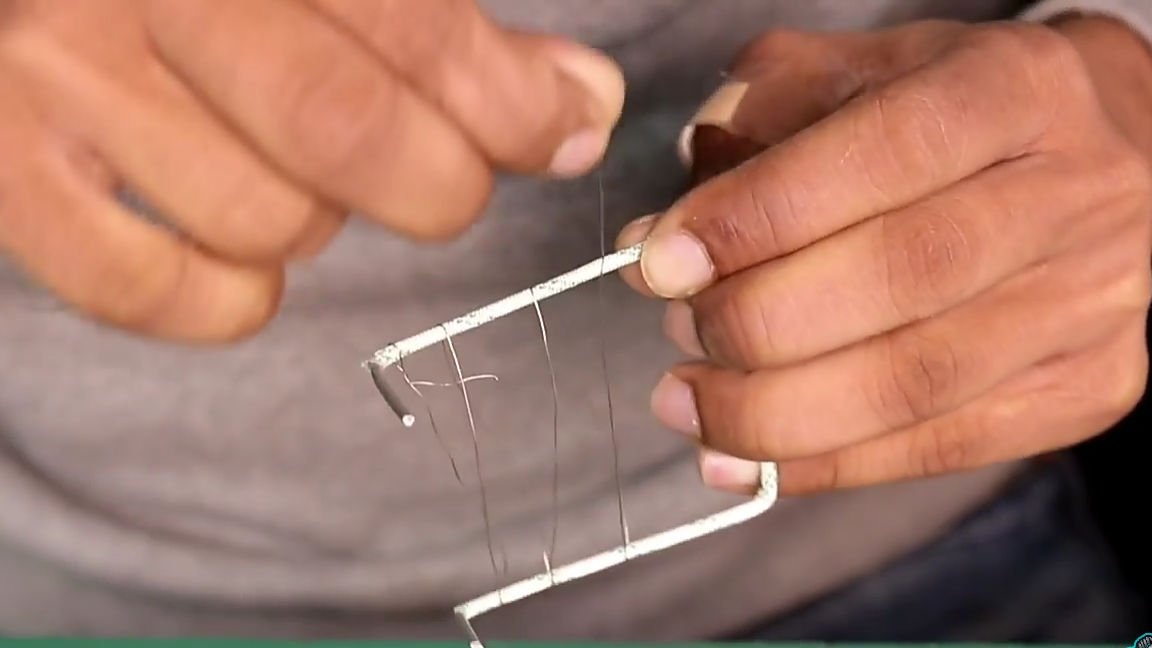
For the next step, we need an old bicycle spoke and fiberglass insulation.We push the bicycle spoke through fiberglass insulation so that in the end we get a blank like the one shown in the photo below. After which we need to take the pliers (pliers). And from our knitting needle we need to make a “P” shaped part, similar to the one shown in the photo below.

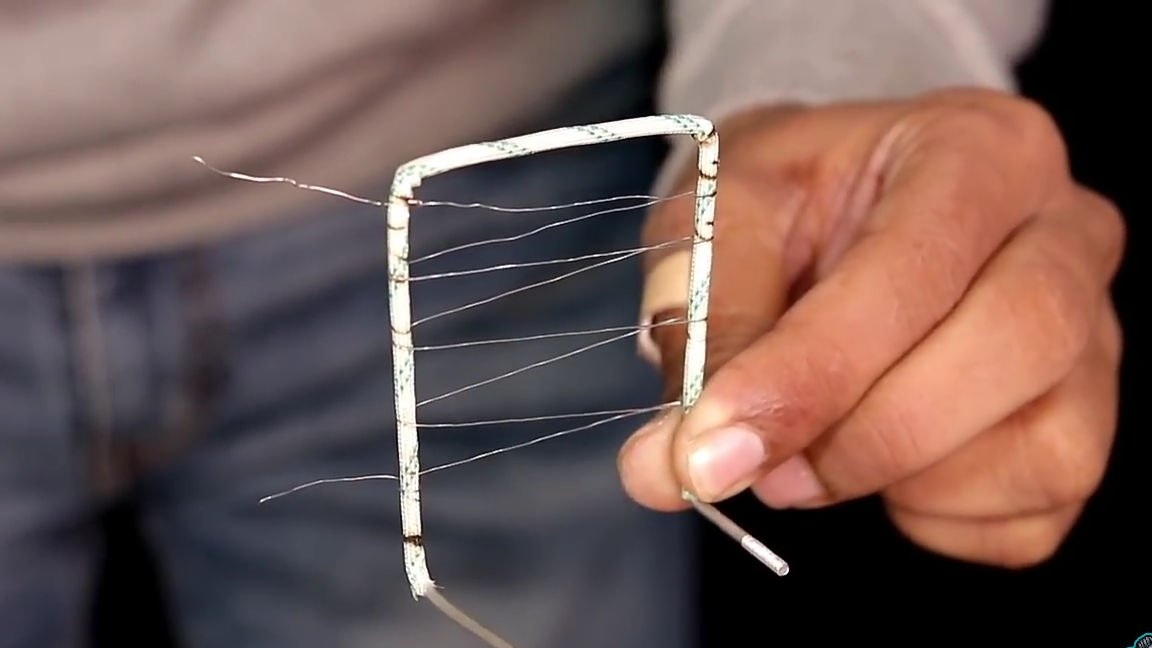
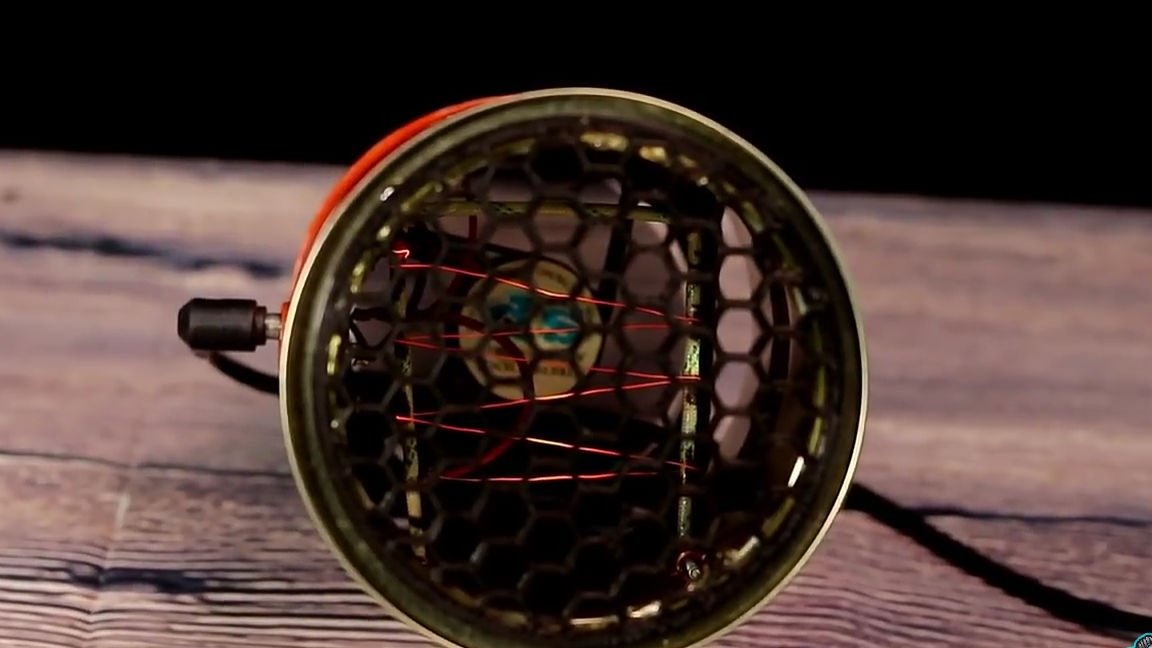
The next step is to take a nichrome wire to create a homemade heating element; the length and width of the wire depends on the power of your power supply. That is, after connecting the homemade product to the network, the wire should glow to a slightly red state. If the wire is too thin or short, then it can overheat and burn out, and if it is too thick or long, it will not heat up enough to heat the room. Having chosen the length and width of the nichrome wire we wind it on the “P” shaped part made earlier (the number of turns depends on the length of the wire).
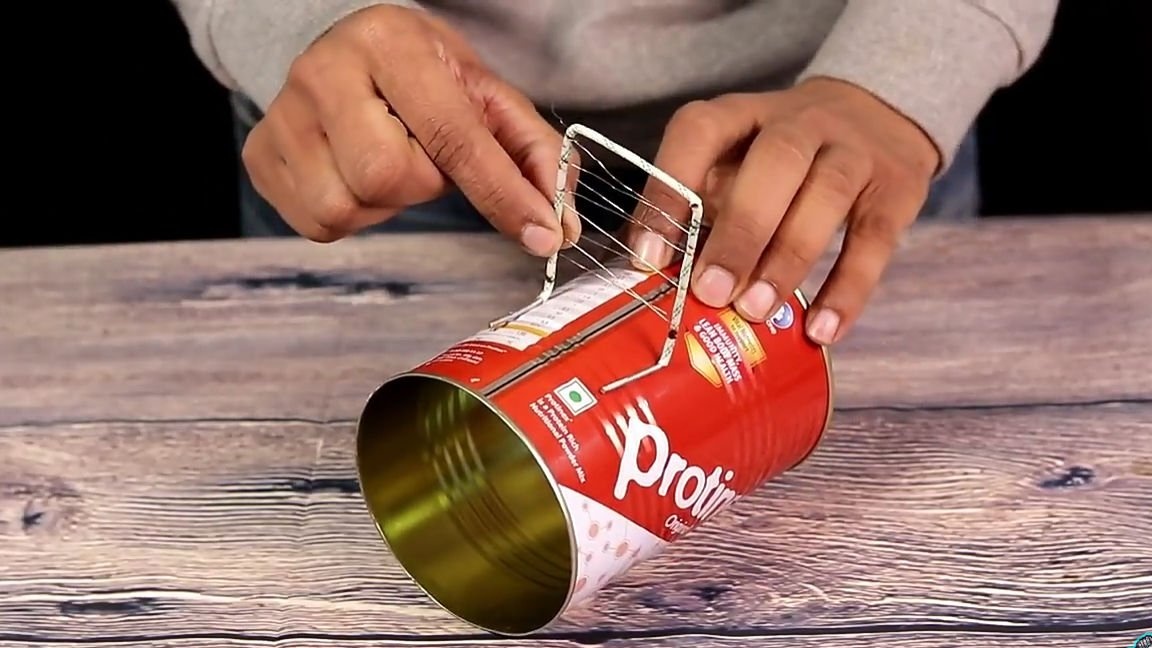
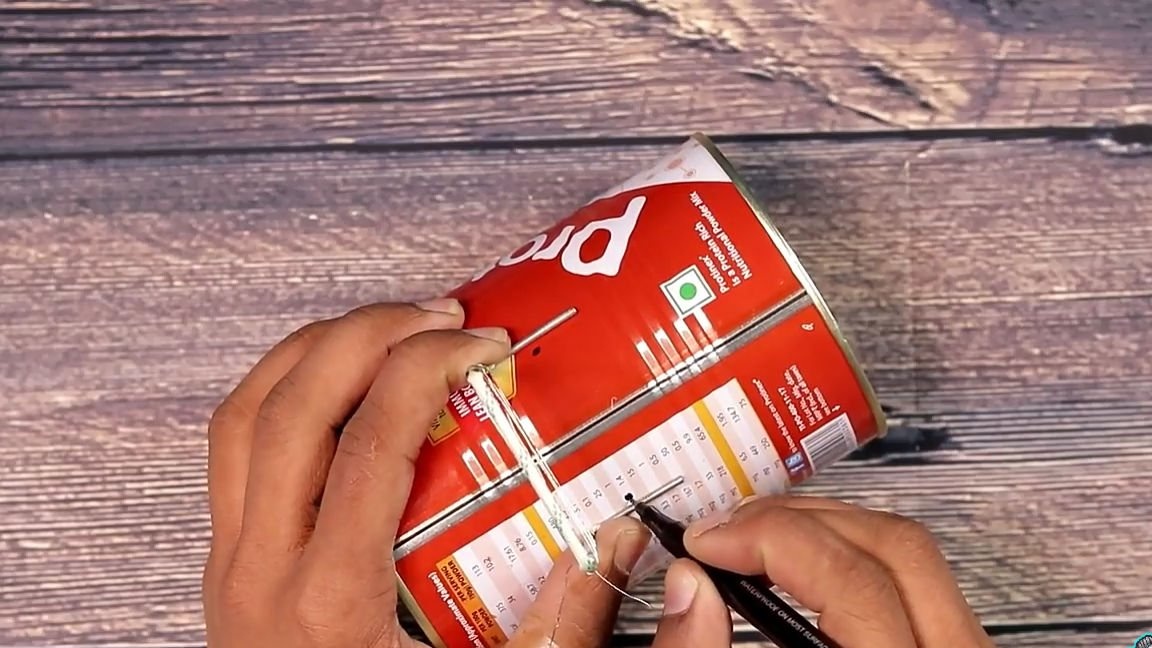
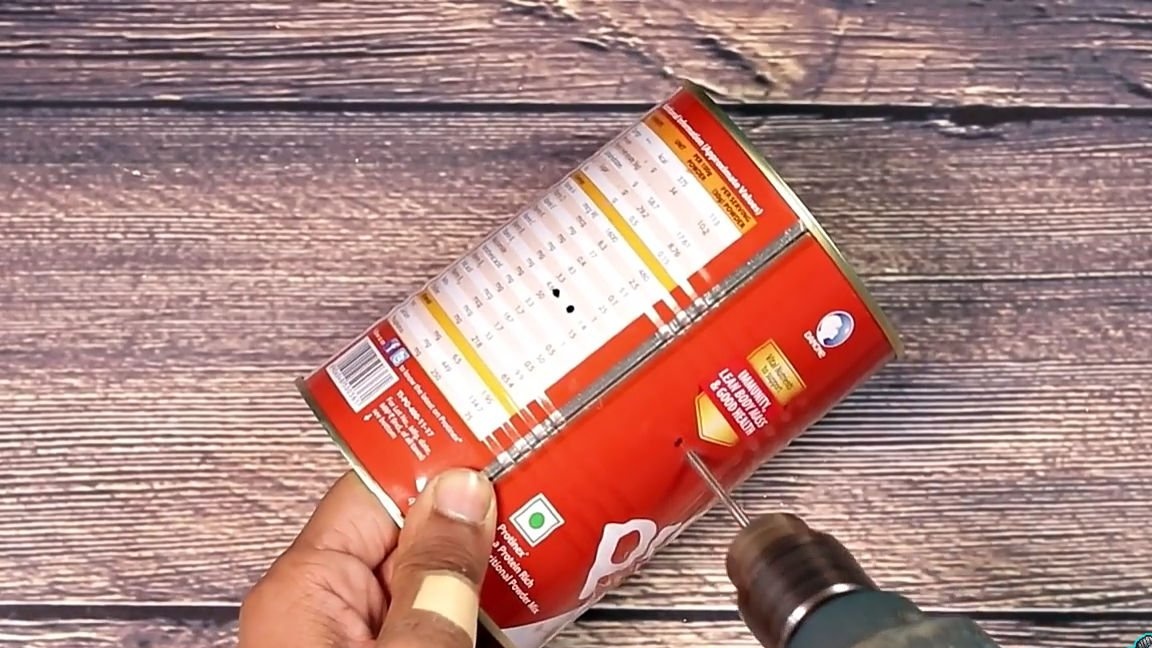
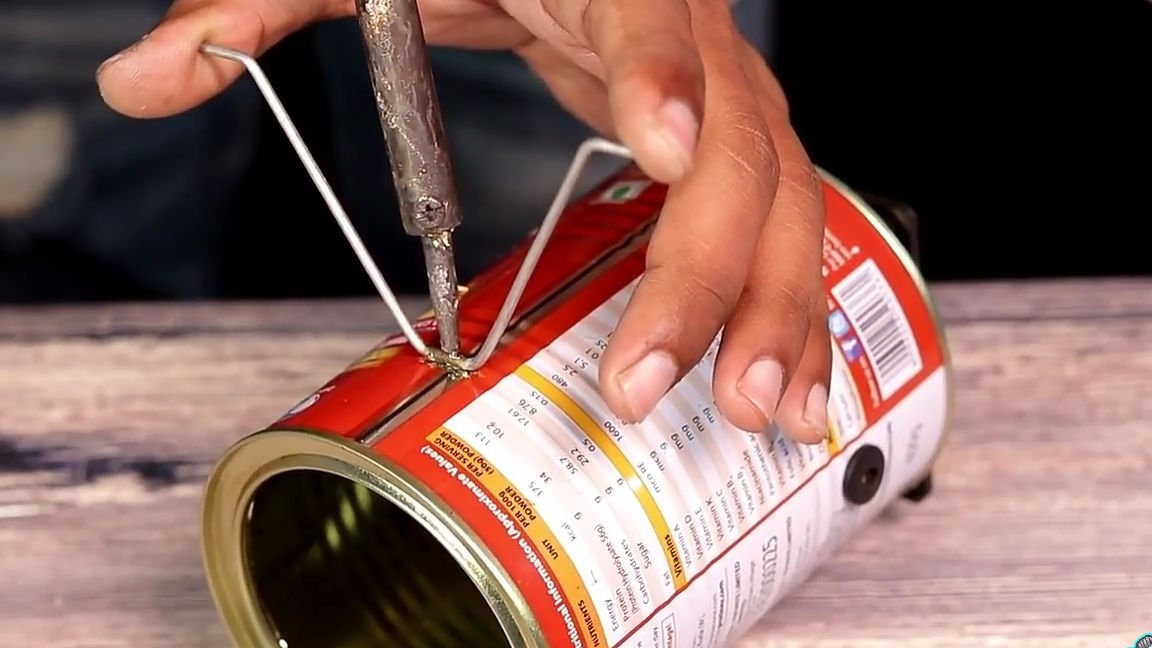
Next, we need to make four through holes in the homemade body to secure the heating element inside the body. To do this, take our heating element and apply it to the outer wall of the can, and in the place where the "legs" of the heating element are located, use the marker to mark the places where we will drill holes. As already mentioned above, the holes will serve to fasten the heating element to the housing, namely they will be fastened with a wire that will be inserted through the holes in the housing. In this case, this type of fastening is the most effective and reliable. Putting the marks in the right places, we carefully make holes with a drill, otherwise you can bend the thin metal of the can.

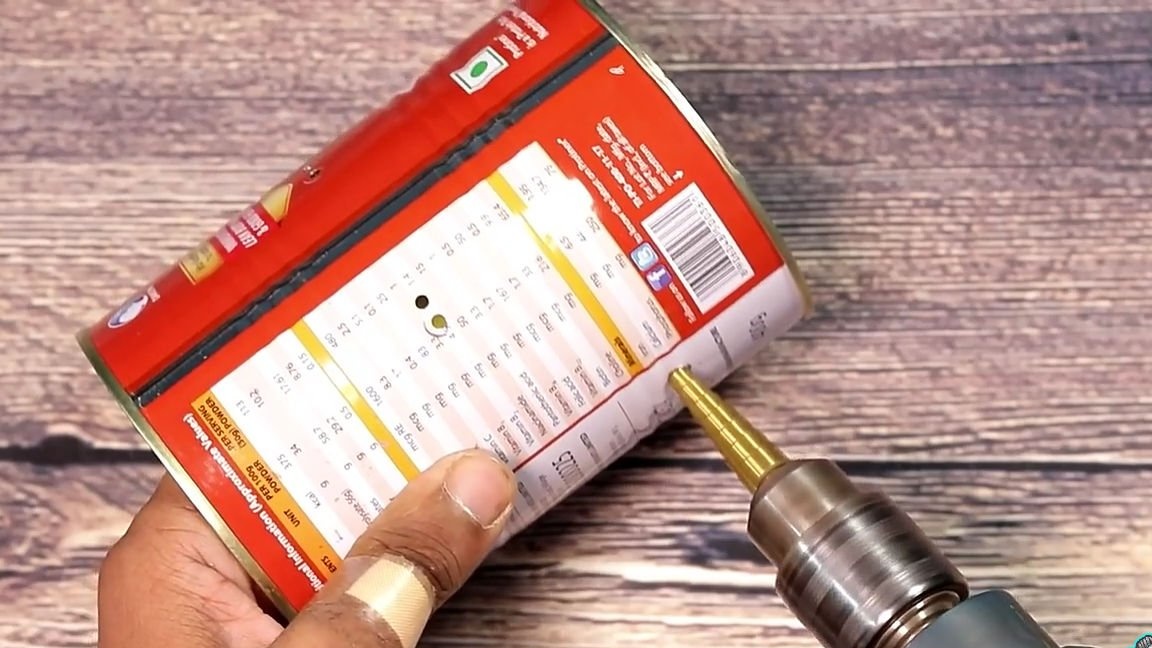
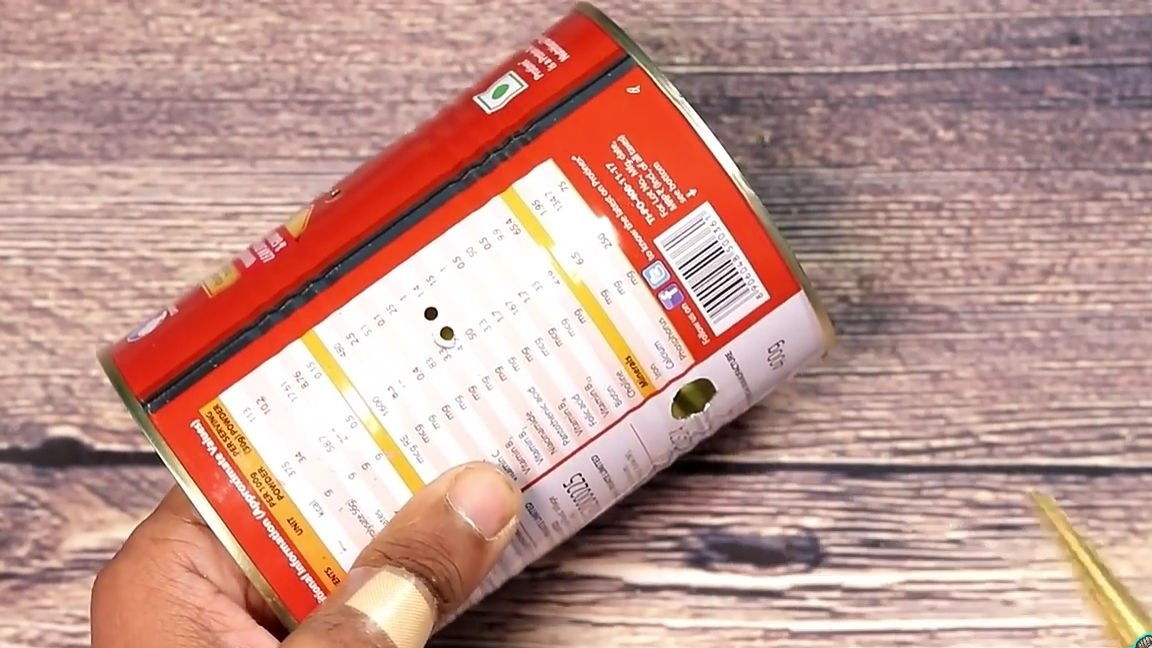
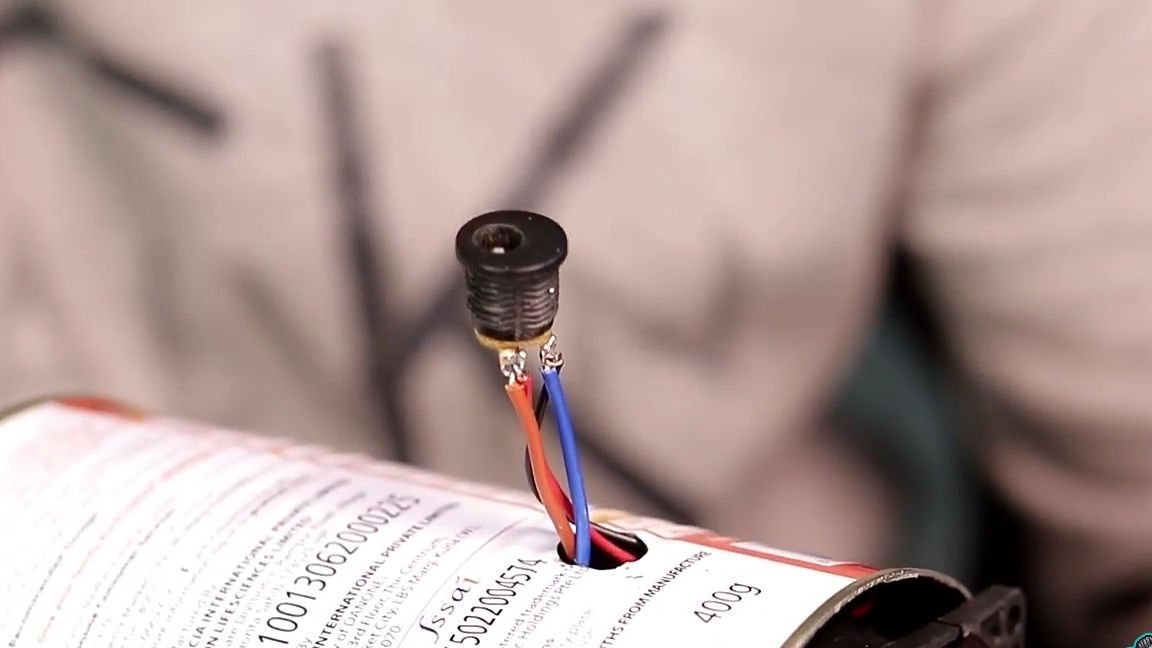
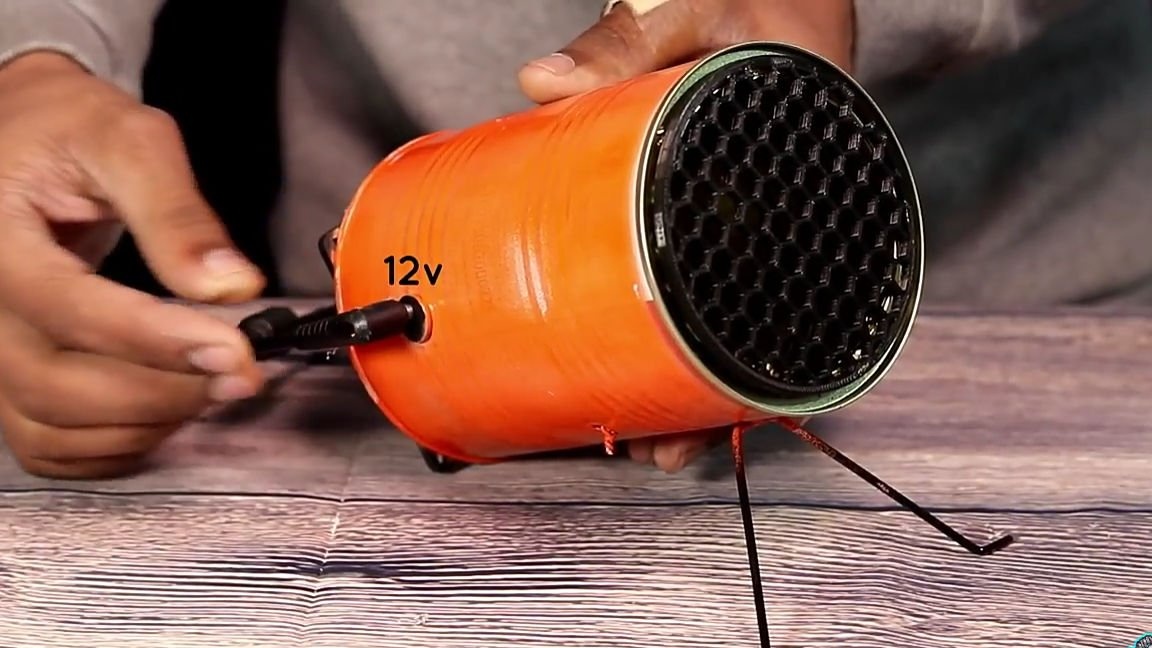
The next step is to make another hole, namely, to install a power connector in it. In order not to bend the body, it is best to use a step drill to make holes with such a large diameter.
After that, two small pieces of the power wire should be connected to the heating element as shown in the photo below. The next step is to install the heating element inside the housing. But before you stick the heating element in, you should prepare two small blanks. Namely, we will make two small “p” shaped parts from medium-sized copper wire (see photo). After that, we simply install the heating element inside and with the help of just-made blanks inserted through the holes made inside, we fix it (see photo).


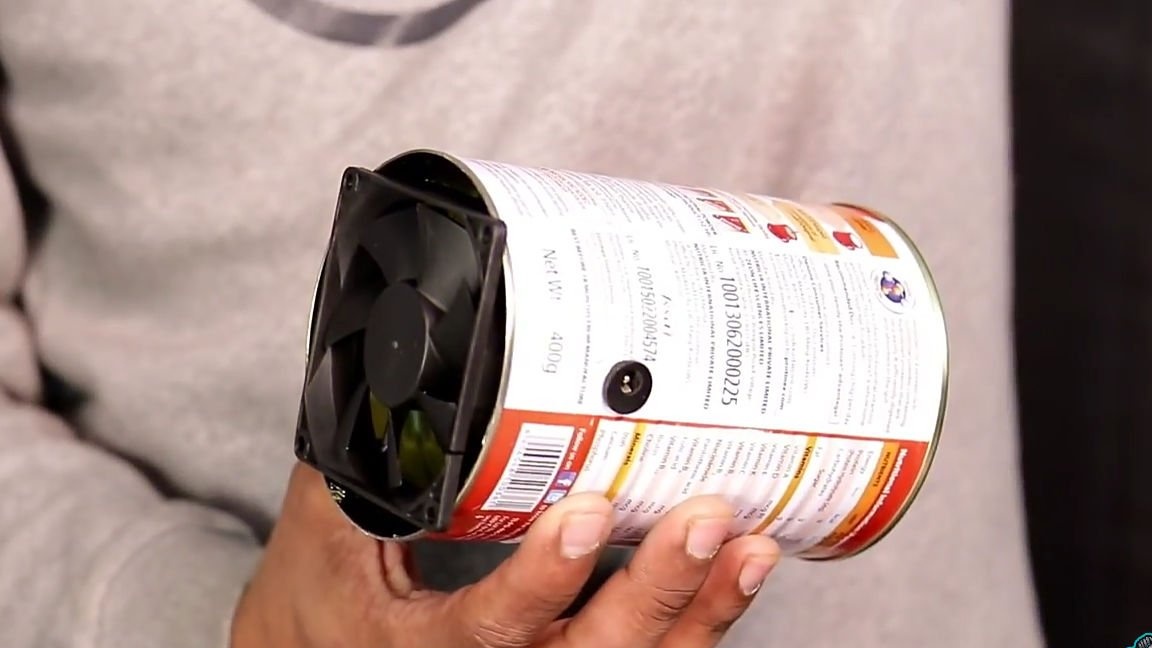
We use nippers to bite off the excess parts of the fasteners (see photo). The next step, the wires coming from the heating element, we will push through the hole for the power connector. Then we need to take a computer fan and install it in the case as shown in the photo below (that is, it should blow air into the can), also inserting the wires into the same hole that they inserted the wires from the heating element.
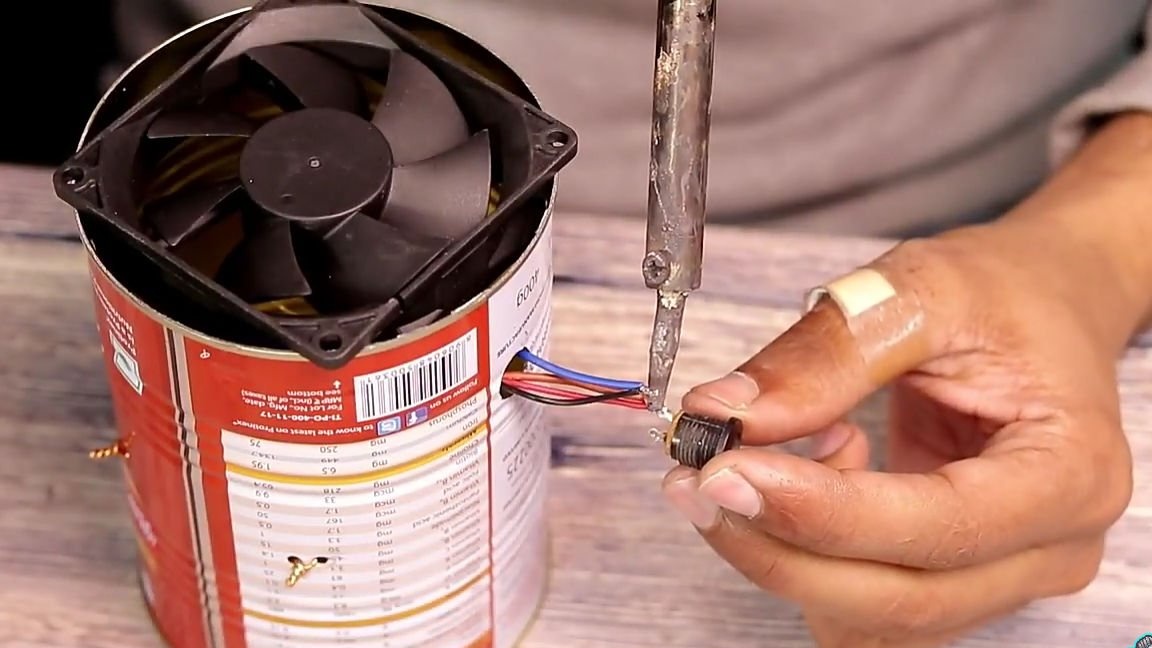
Then we connect the wires from the heating element to the wires from the computer fan so that when the voltage is applied, the fan rotates and the wire heats up. After connecting the above wires, connect them to the power connector according to the polarity “+” to “+”, and “-” to “-”. And then install the power connector in its place. Ideally, our connector should sit very tightly and fall out, but if it turns out that the diameter of the hole made is thicker than the external diameter of the connector, then you can use super glue (but hot melt is not recommended, since homemade glue will heat up and hotmelt will just be on just melt).
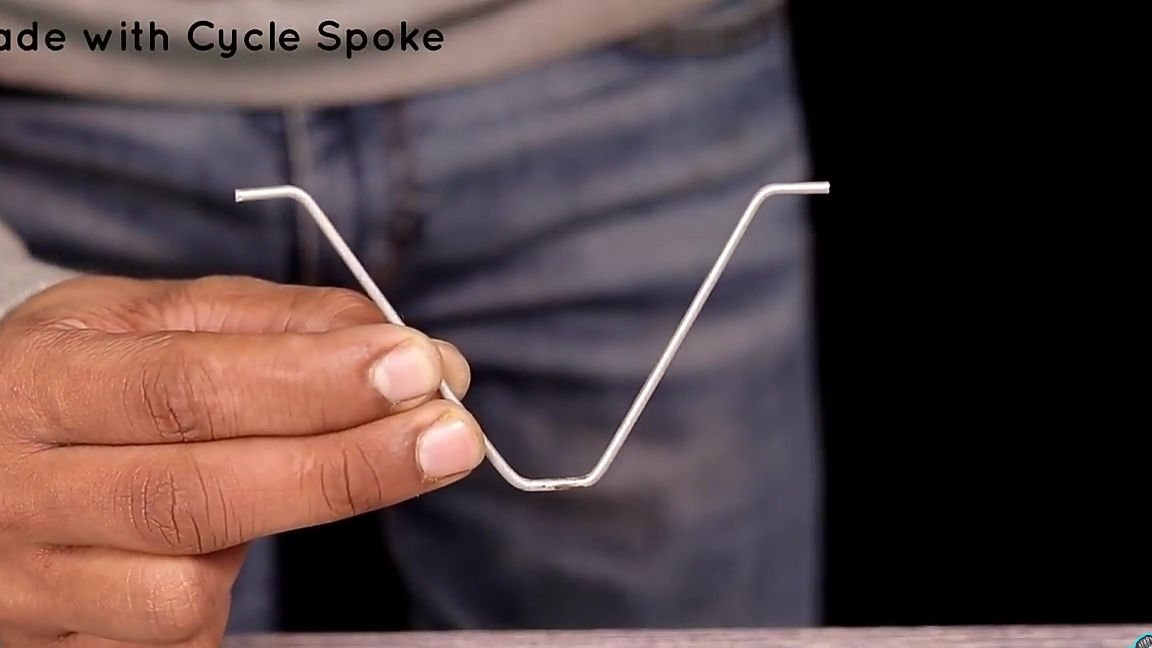
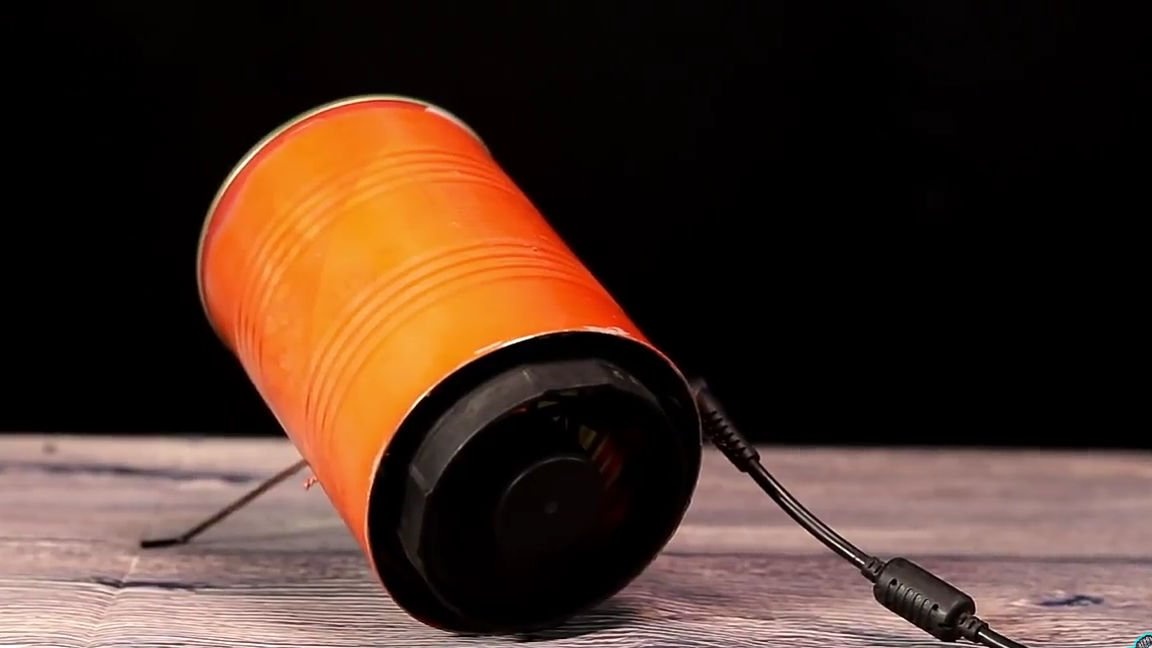
Then again we need an old bicycle spoke in order to make a leg for homemade work.To do this, take a knitting needle and pliers and bend the knitting needle in the same way as it is shown below. After that, the workpiece just made should be fixed to the homemade body. We will fasten the leg to the homemade product using an ordinary soldering iron, simply soldering it so that the heater blows at the angle you need.

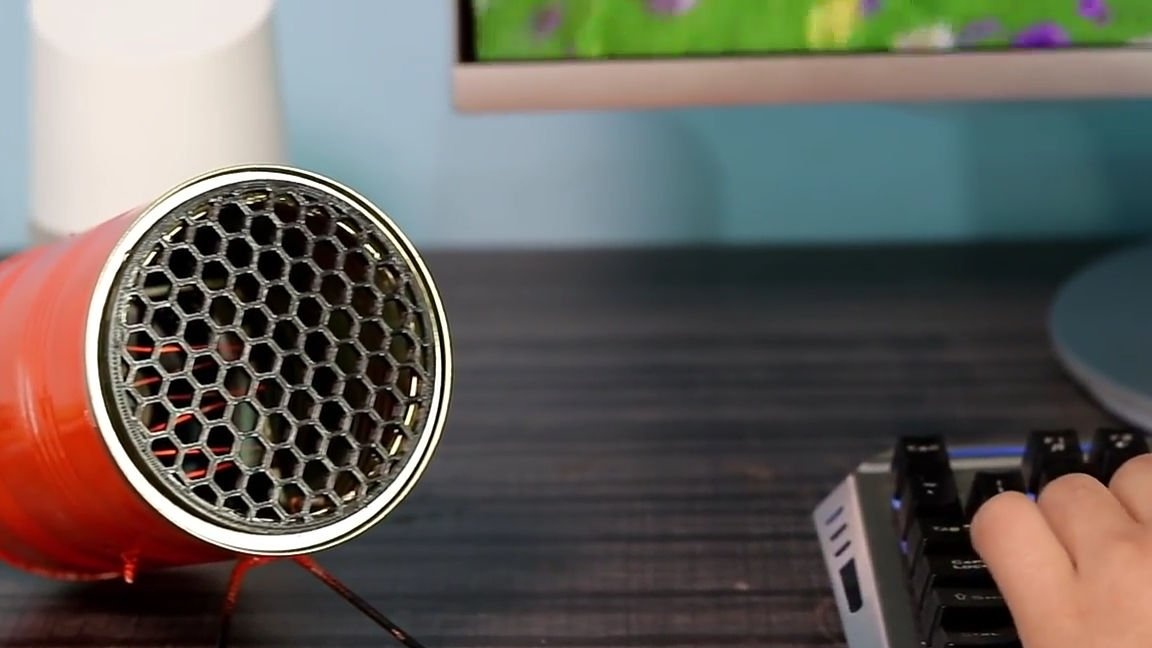
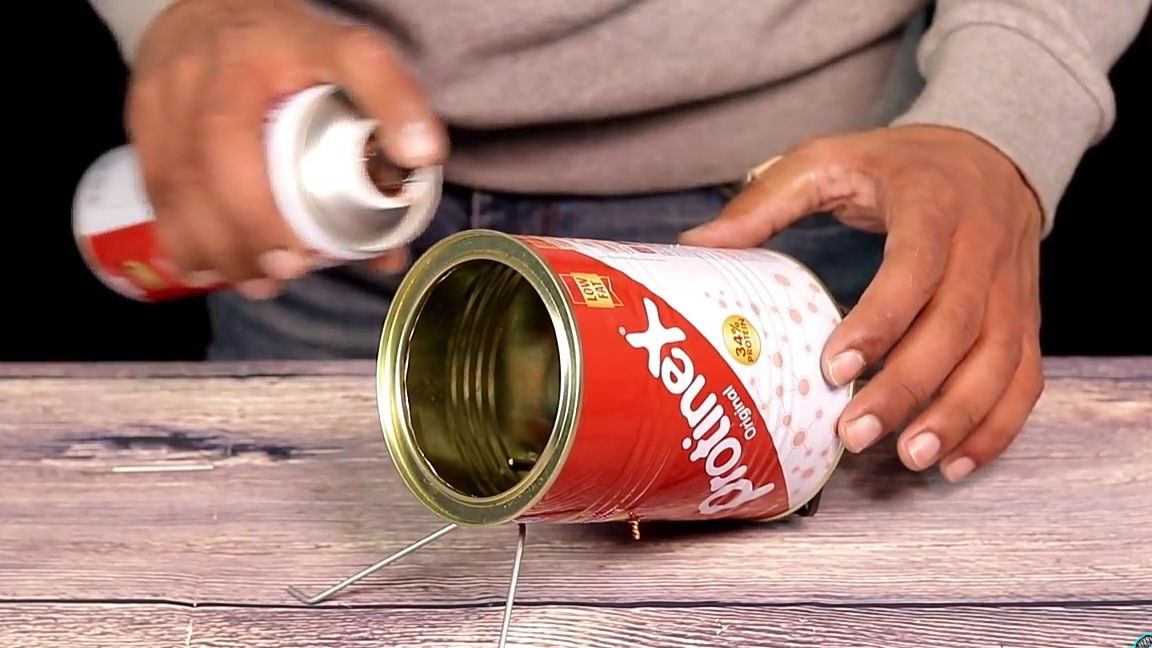
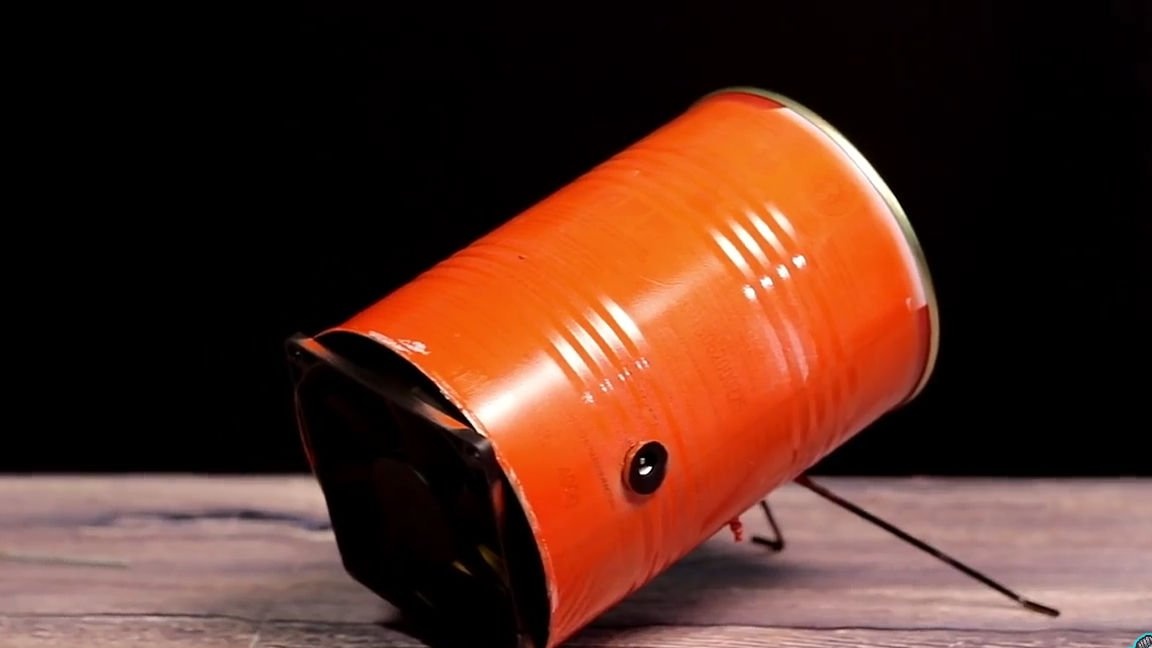
At this almost final stage, you can paint the heater in any color, but you do not have to do this as you understand. Well, in the end it follows from the side where the warm air will come out to attach some kind of grate, for example from a fine sieve. This is necessary so that nothing gets inside and something does not ignite. I also want to add on my own that also at the outlet you can install or make yourself a deflector similar to an automobile (for example, from Renault Logan) to direct the flow of warm air.
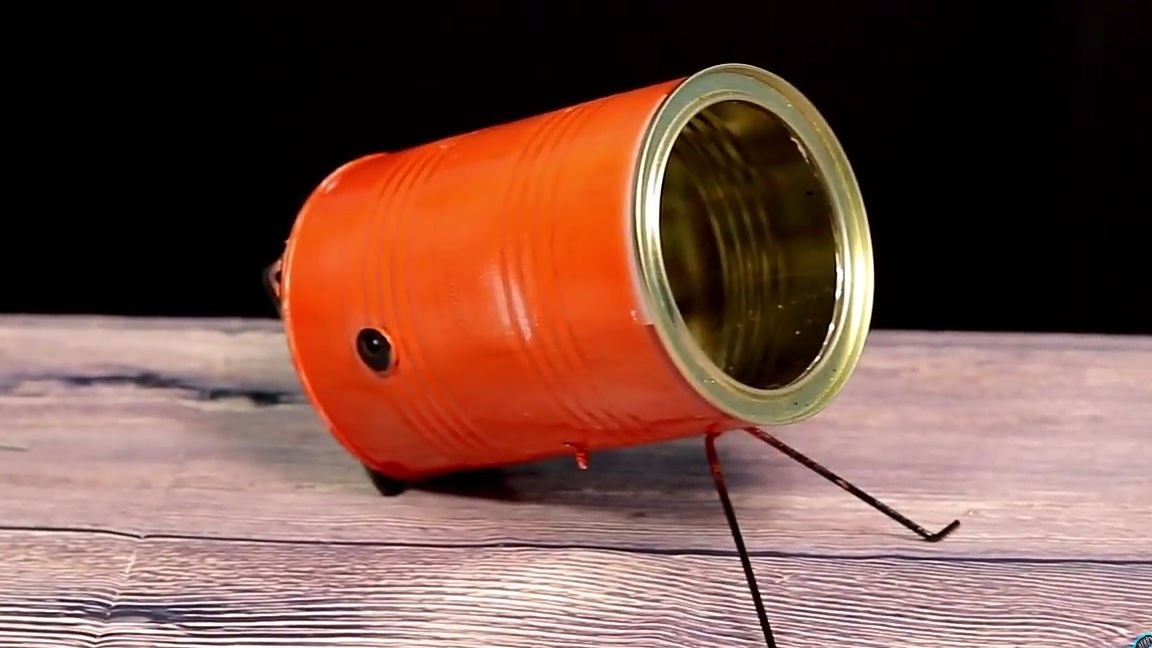
All is ready! As a result, we got a simple, but very effective desktop heater that can heat your work area on cold days.
Here is a video from the author with a detailed assembly and testing of this homemade product:
Well, thank you all for your attention and good luck in future projects, friends!