
Incredible circular saw on a circular saw - this is the name given to its technology by the author of the YouTube channel "izzy swan", in which he tried to describe an unconventional, innovative approach to using this tool. At first glance, it really seems impossible to create such a product on a circular machine. But after reading this article, your opinion will change.
Materials
- Wooden beam
- sheet plywood
- Impregnation for wood
- Wood screws.
Instruments, used by the author.
- Screwdriver
- A circular saw
- Band-saw
- Sandpaper
- clamps
- Planer
- A pencil, a square, a ruler.
Manufacturing process.
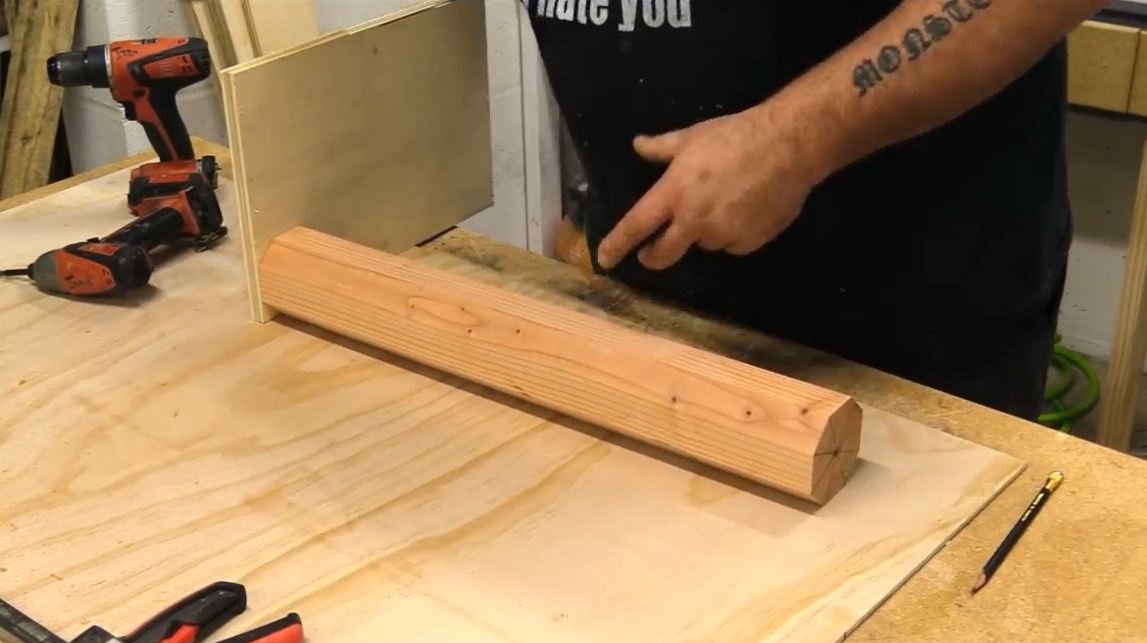
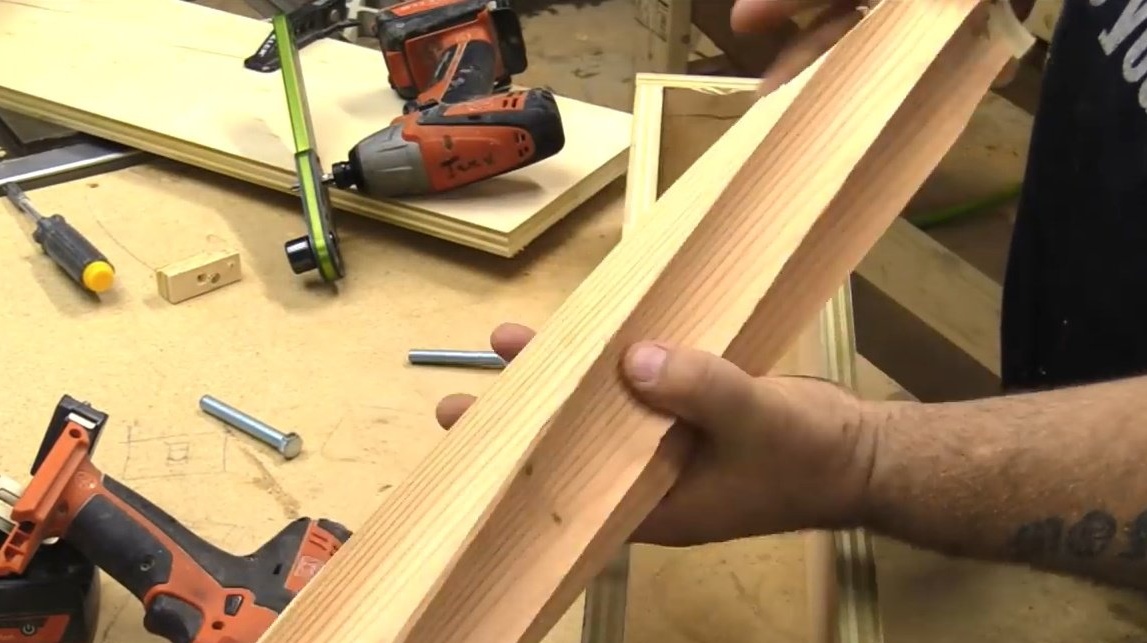
So to the point! The first thing that the author does, he takes a beam of 100X100 mm, and cuts off a segment of about 60 cm from it.
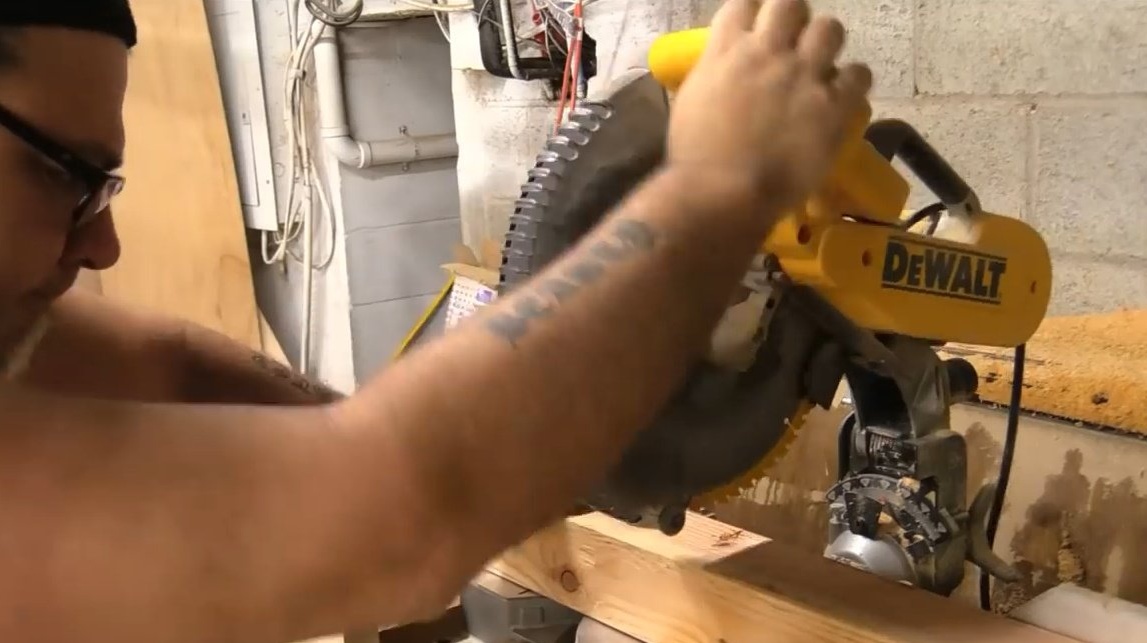
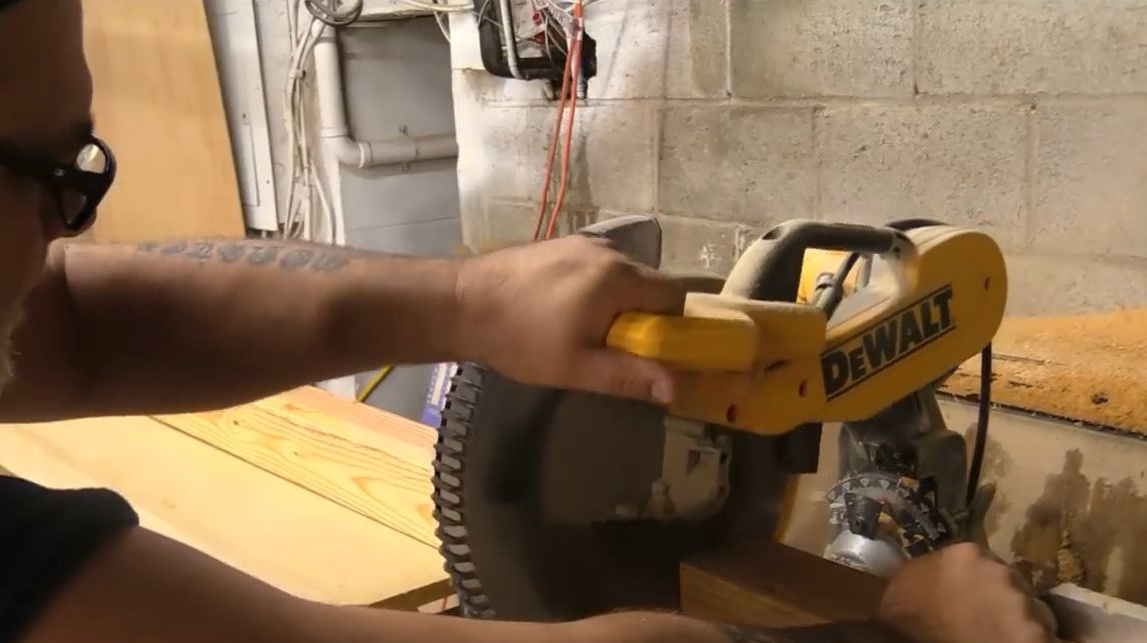
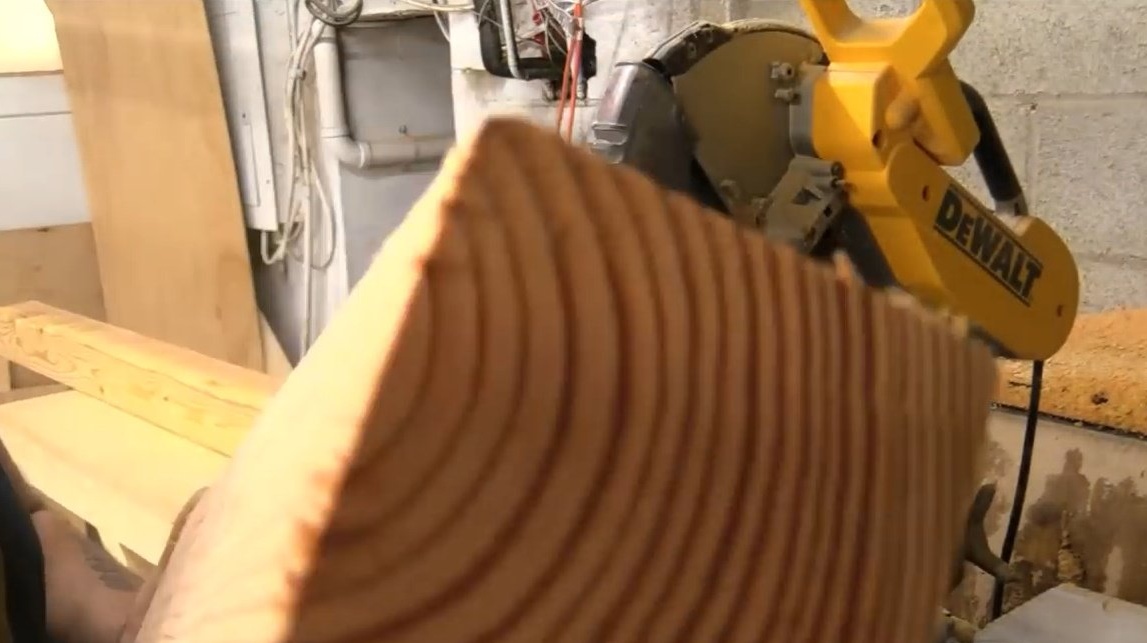
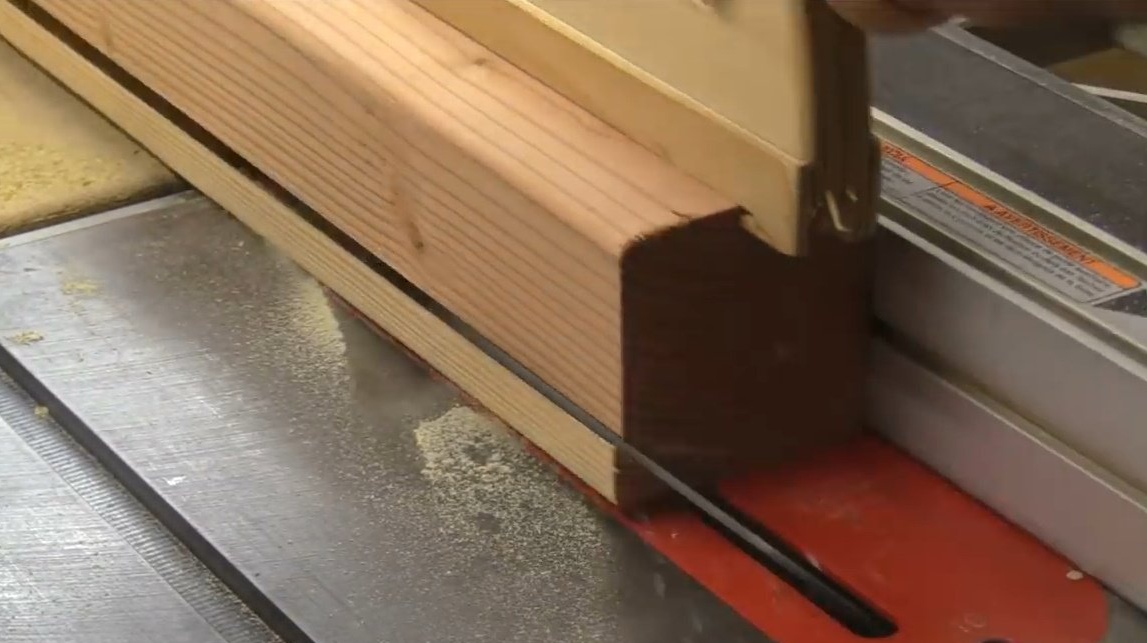
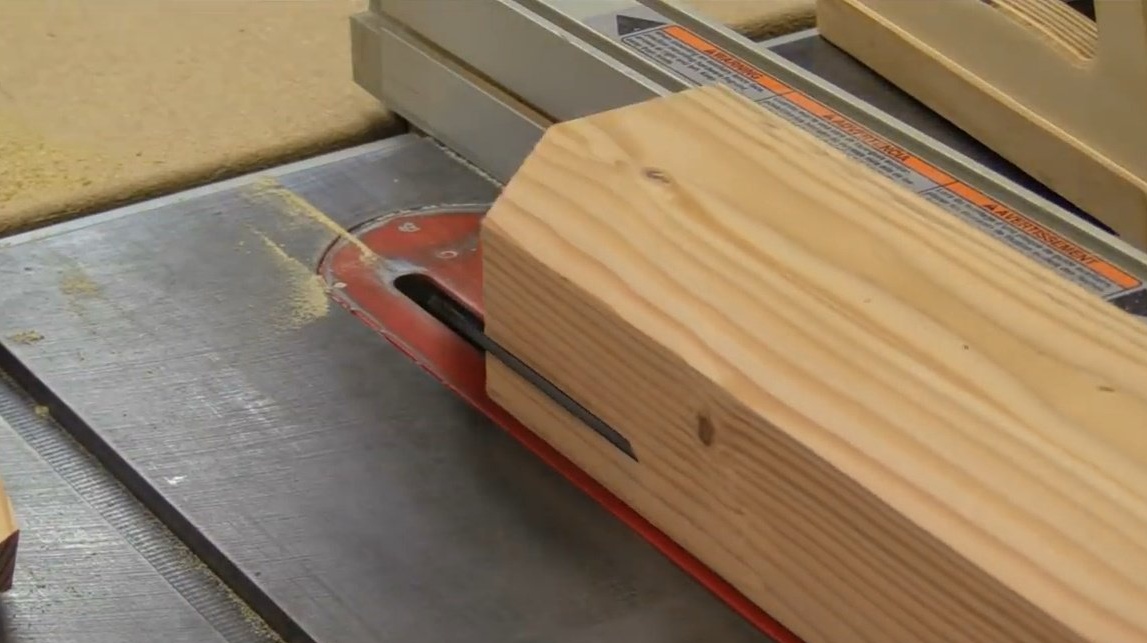
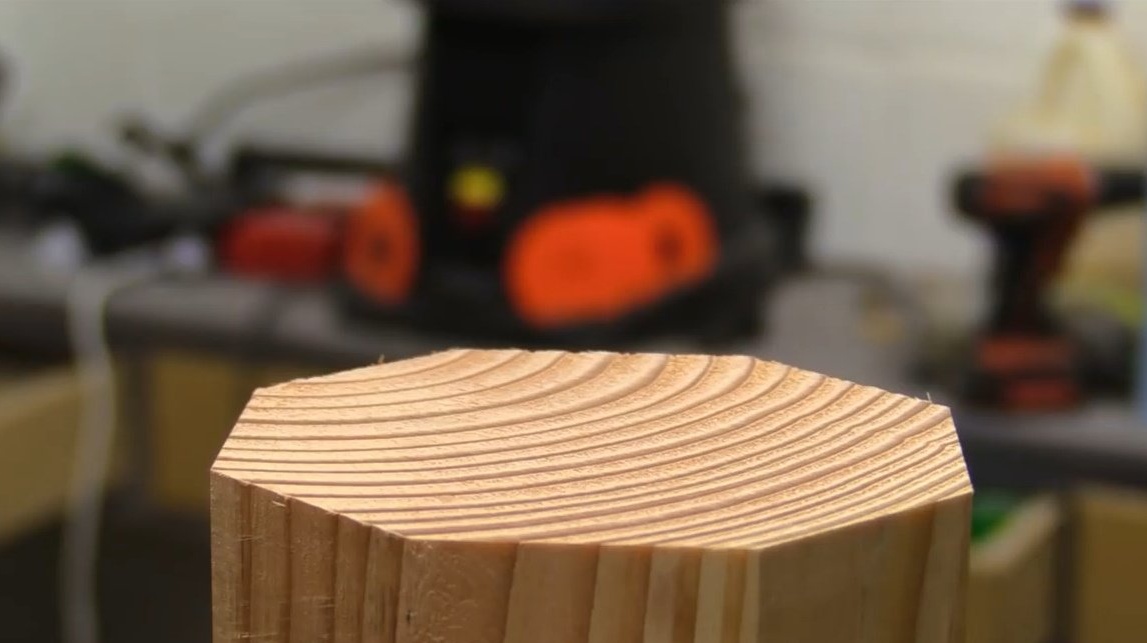
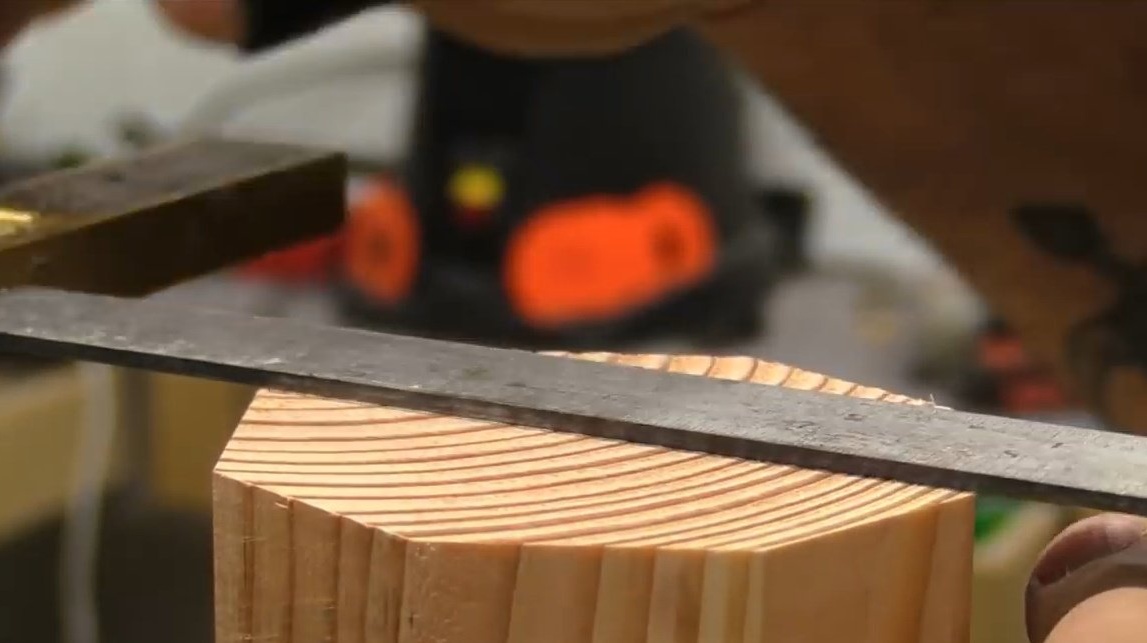
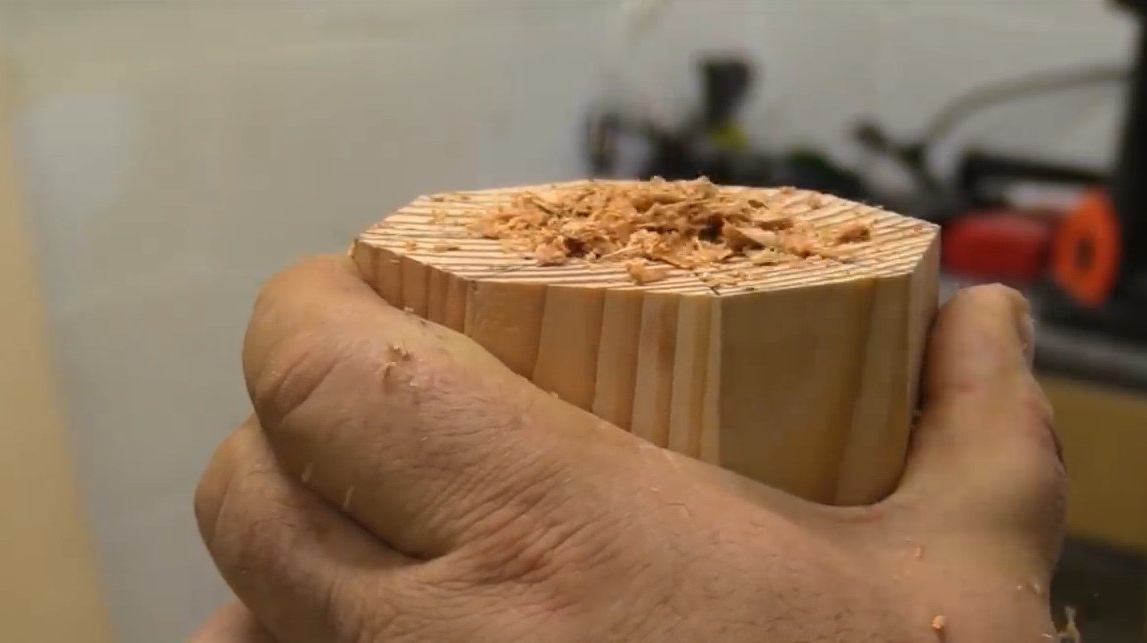
Installs the circular saw blade at an angle of 45 degrees, and then cuts the bar all the corners to give it a more rounded shape.

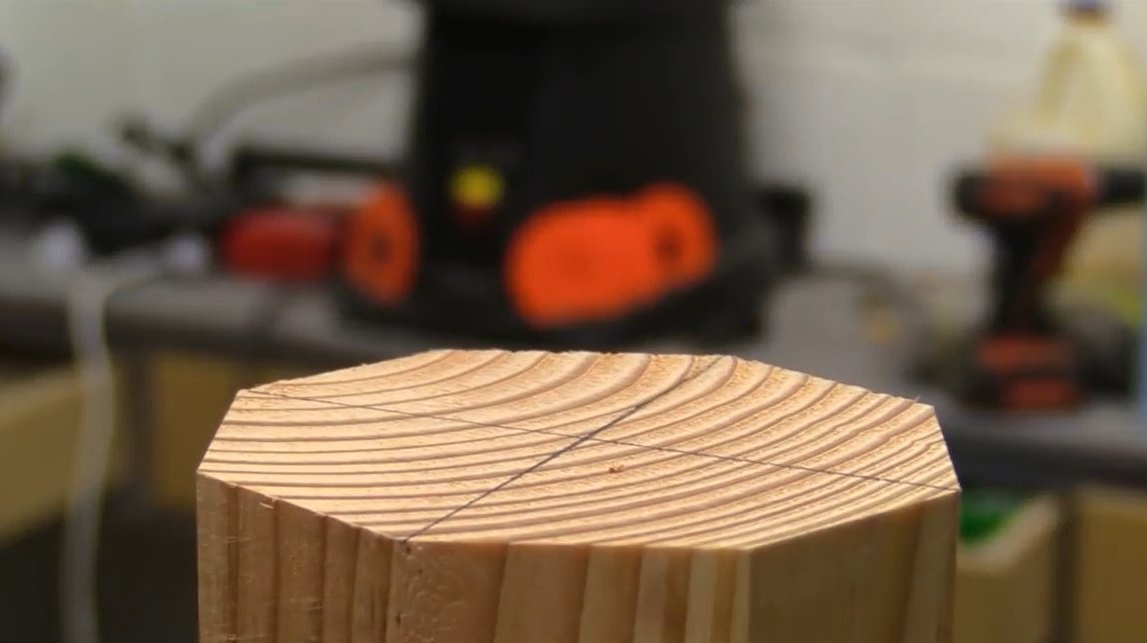
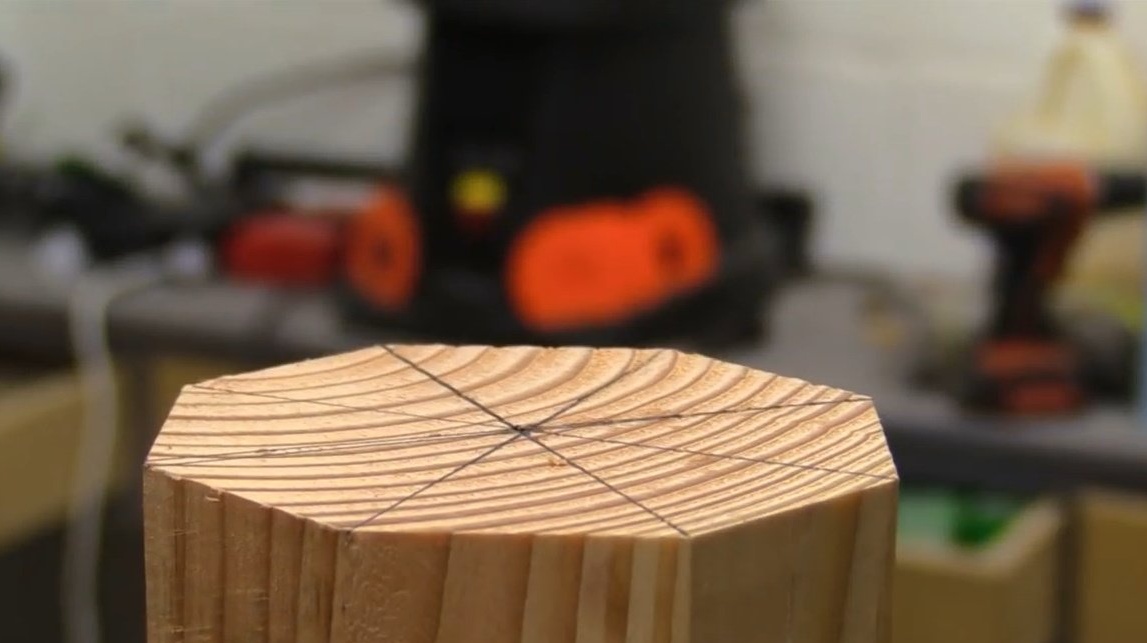
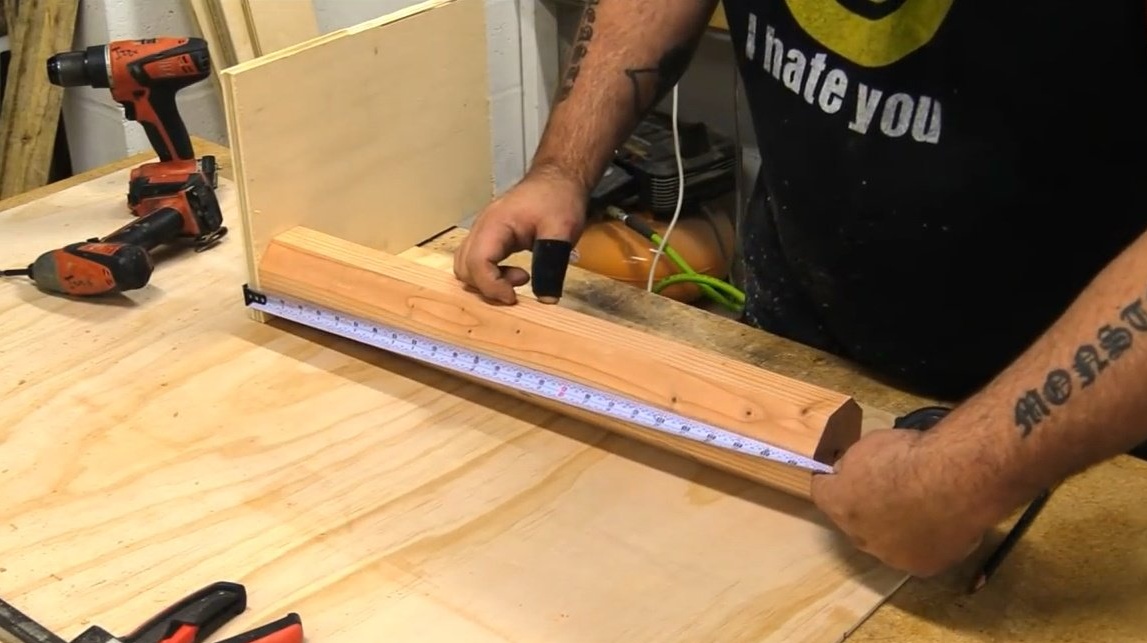
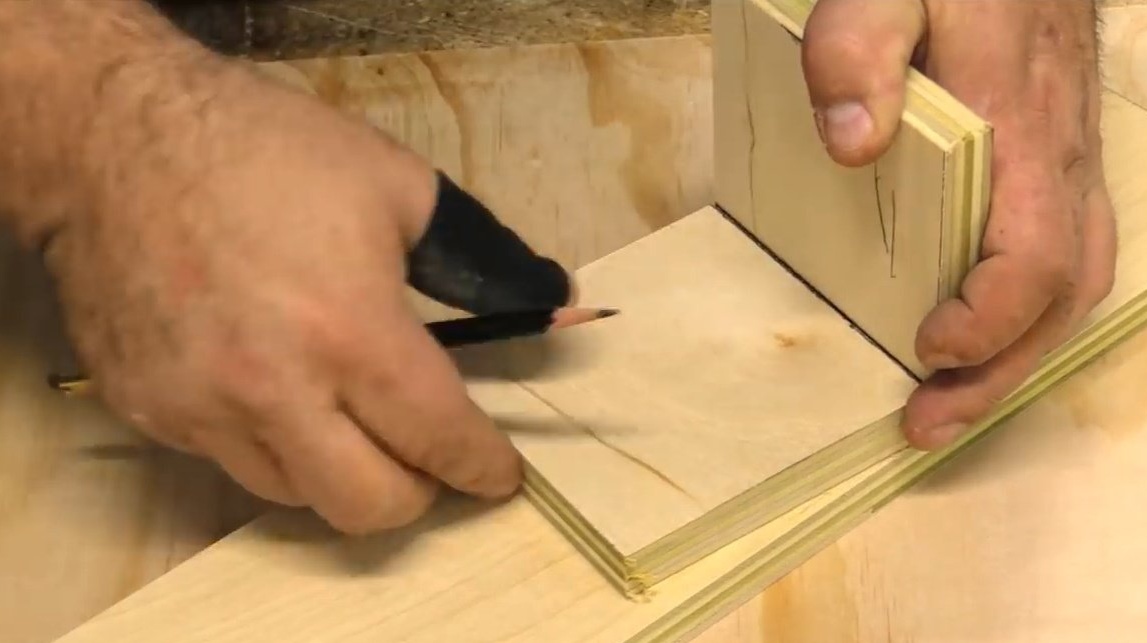
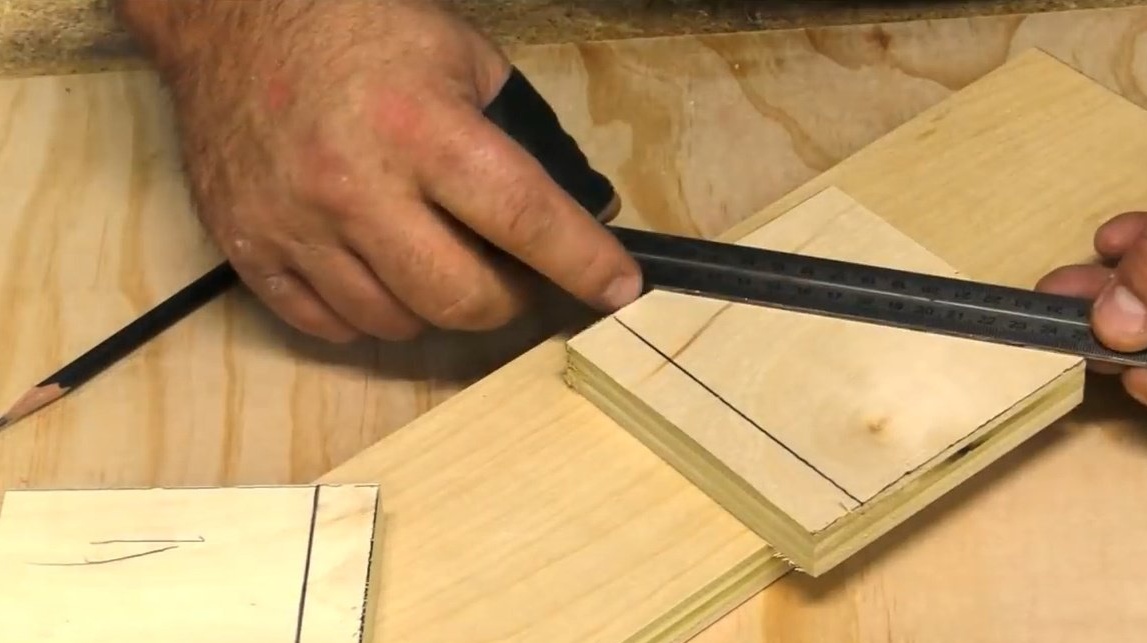
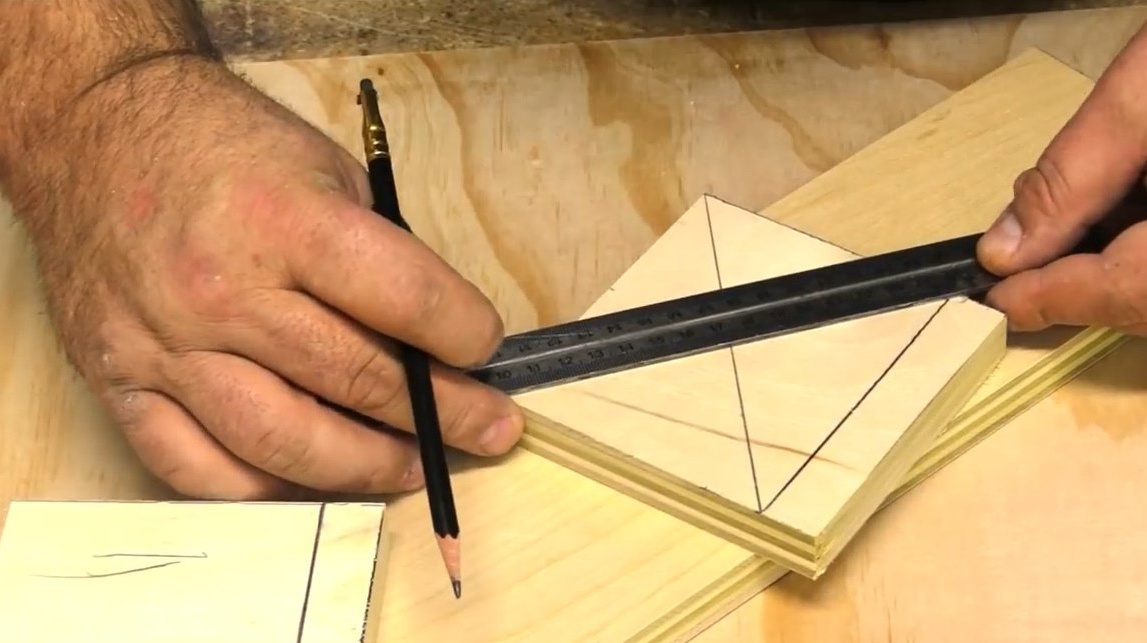
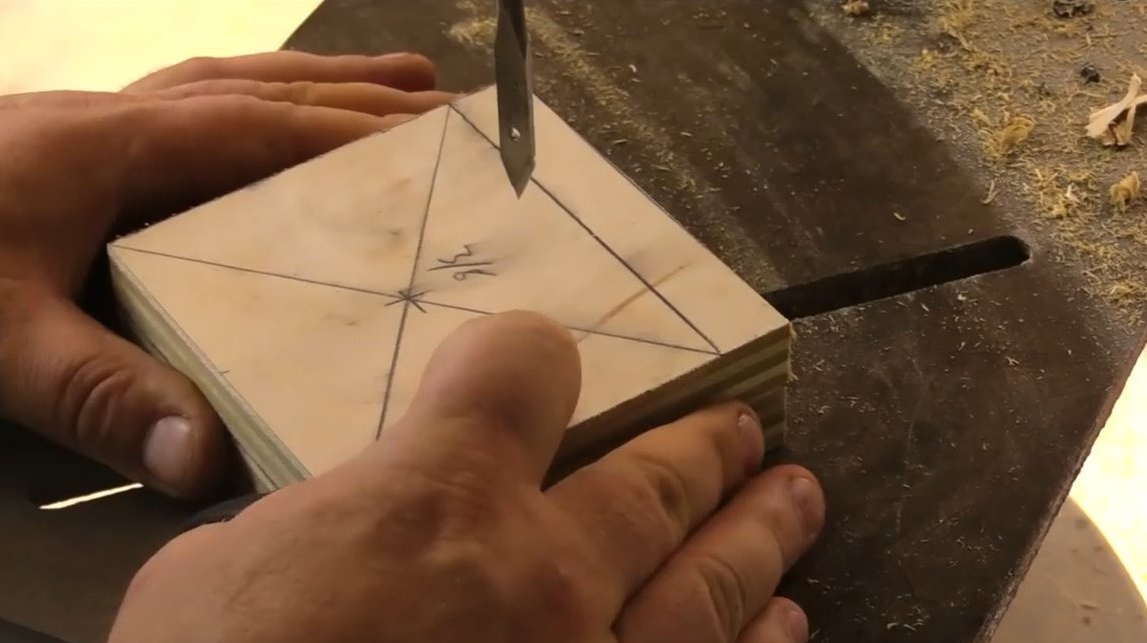
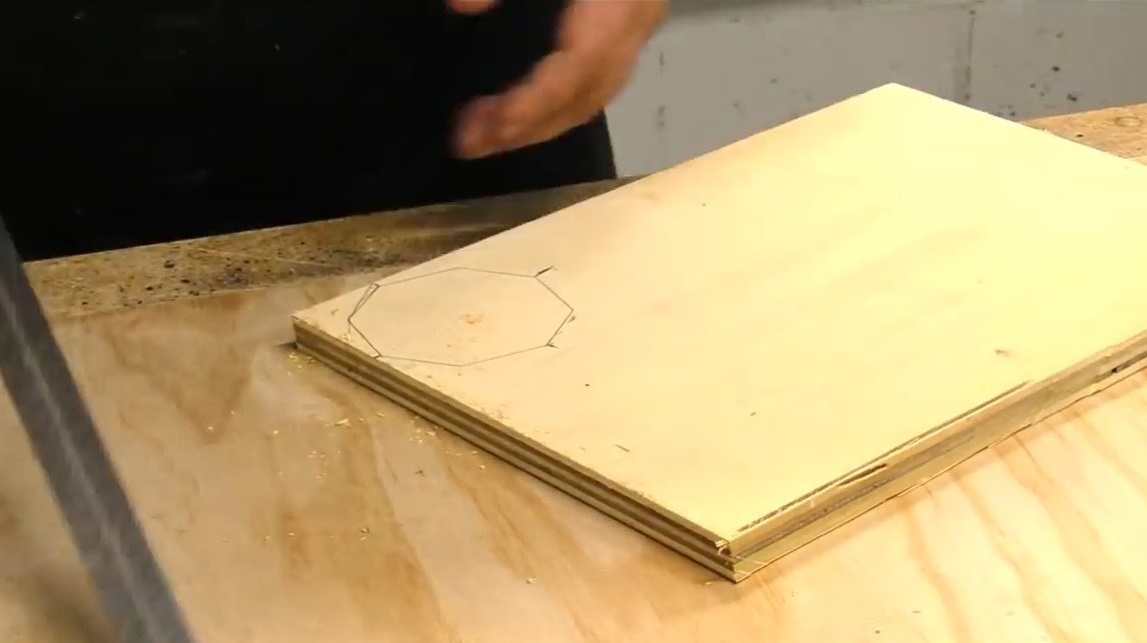
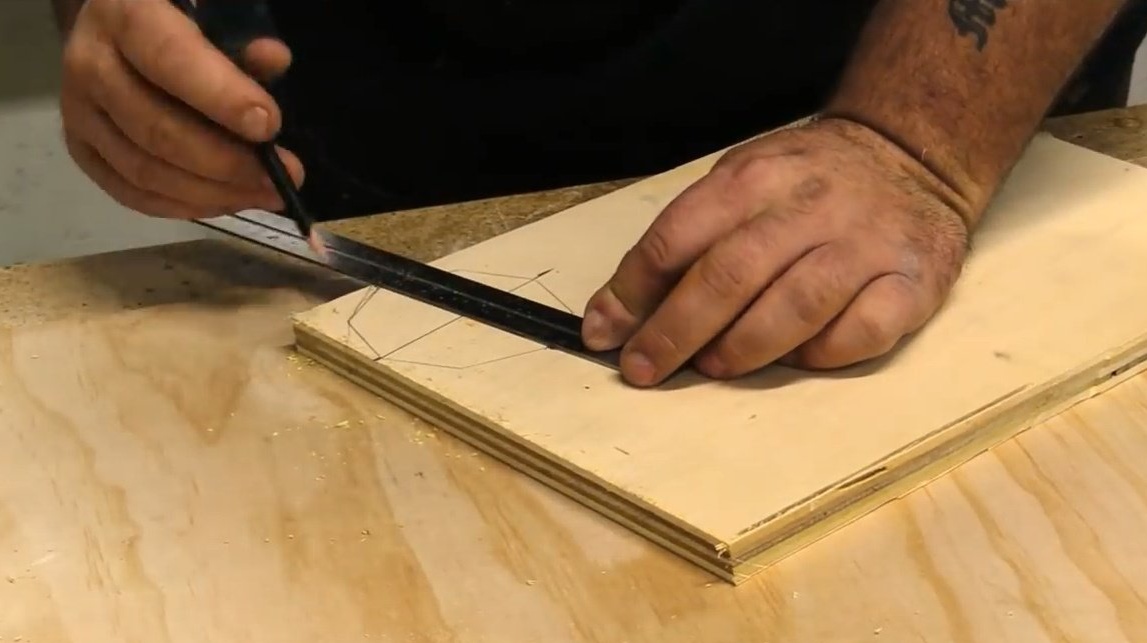
Pre-marks the centers of the ends of the obtained octagonal beam.
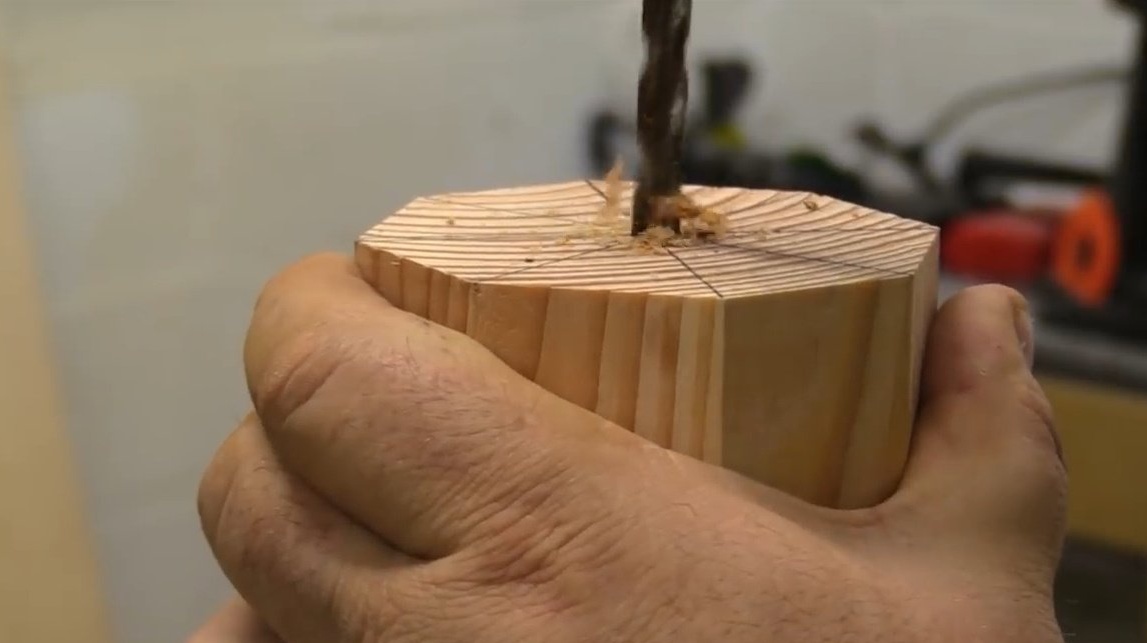
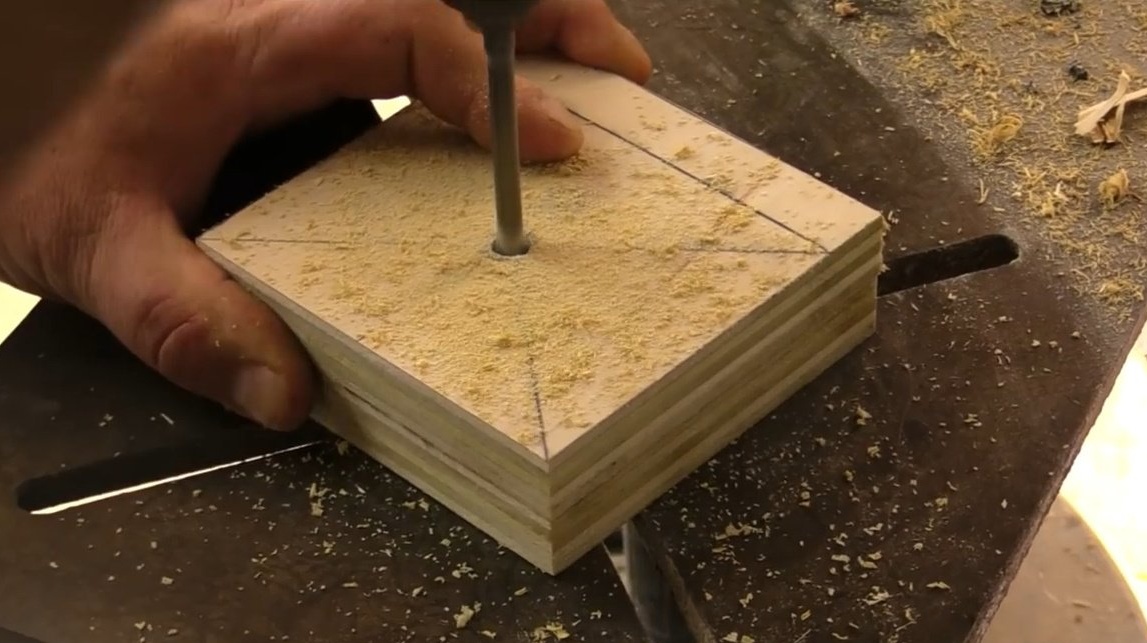
Next, the master drills a couple of holes at its ends, while trying to extremely accurately align the center. The holes should be perfectly centered, because in the case of even a slight displacement of the hole from the center from either side, we will get a completely different, undesirable result at the exit.
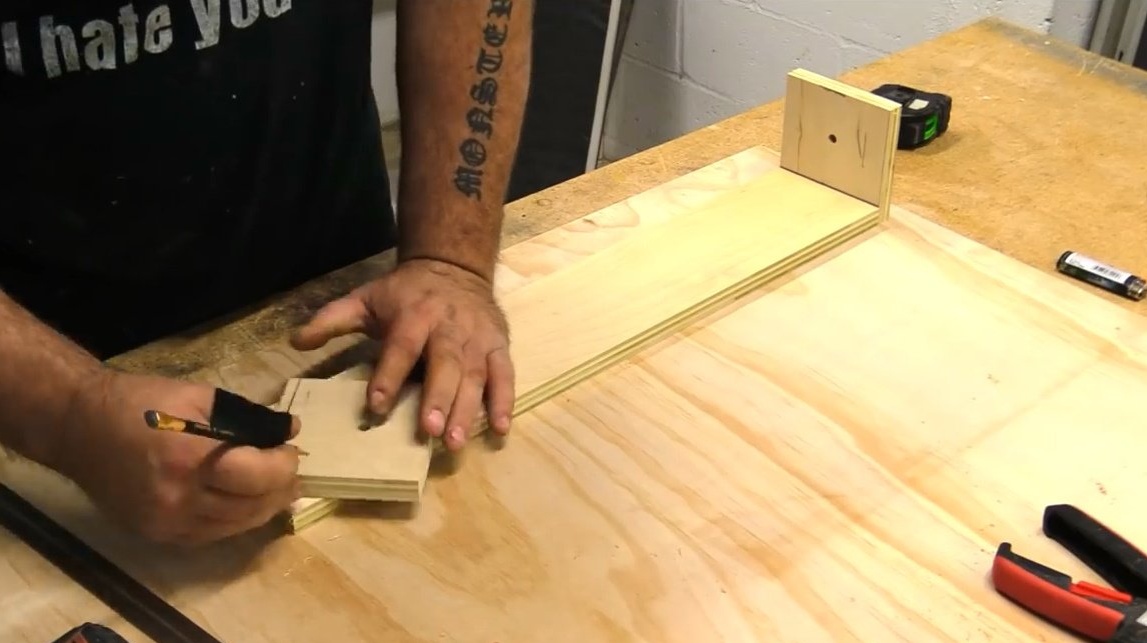
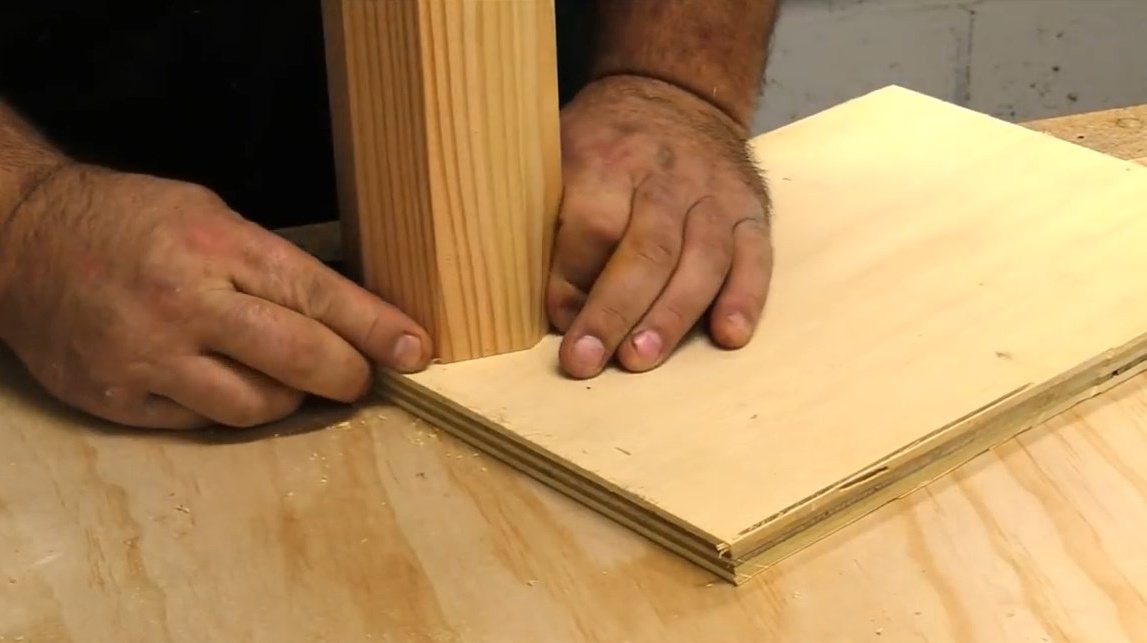
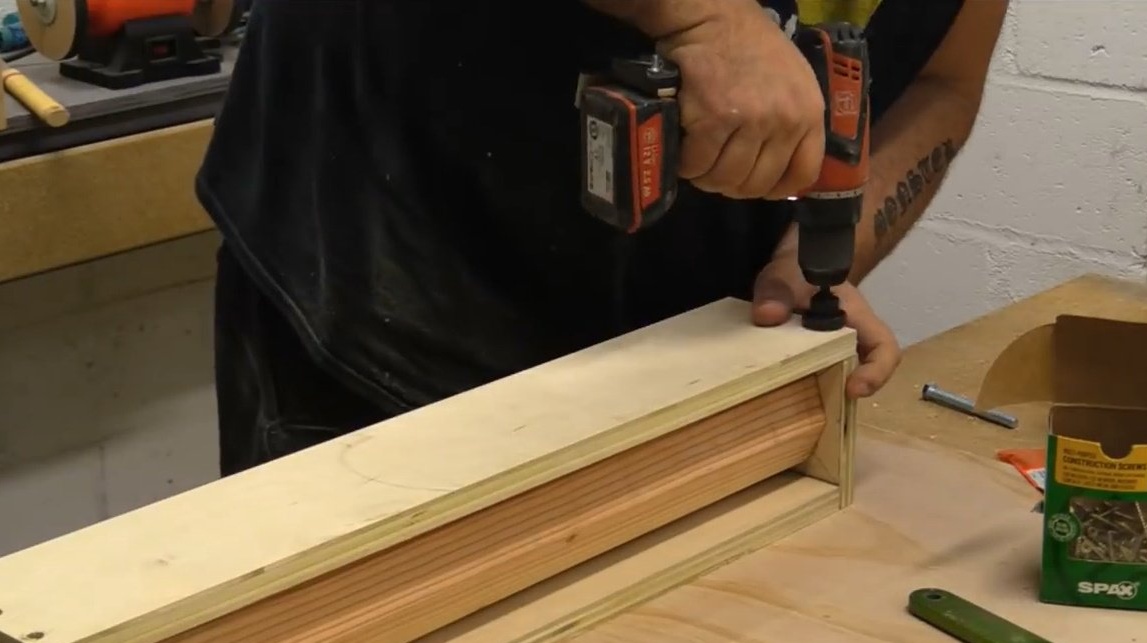
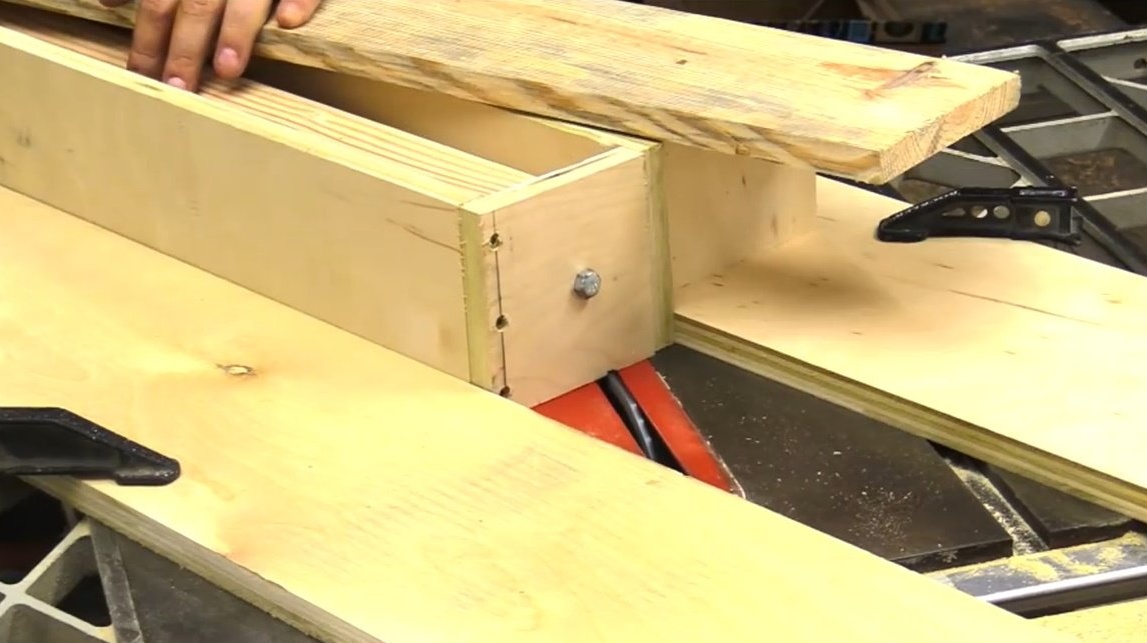
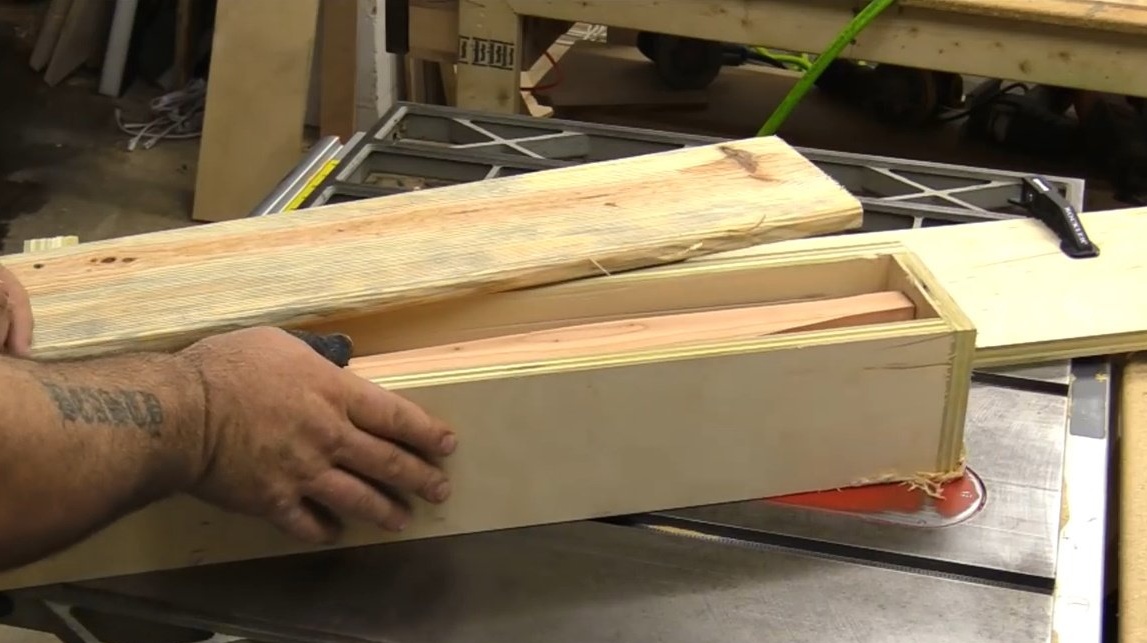
When the holes are drilled, you can proceed with the construction of the housing around this workpiece. For this, sheet plywood is perfect.
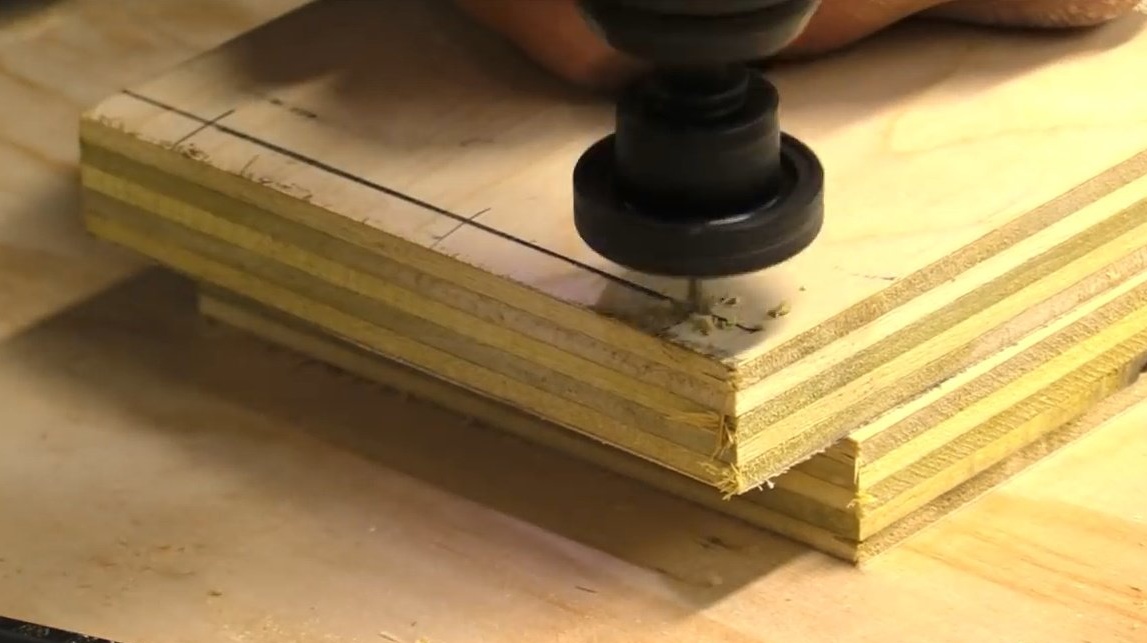
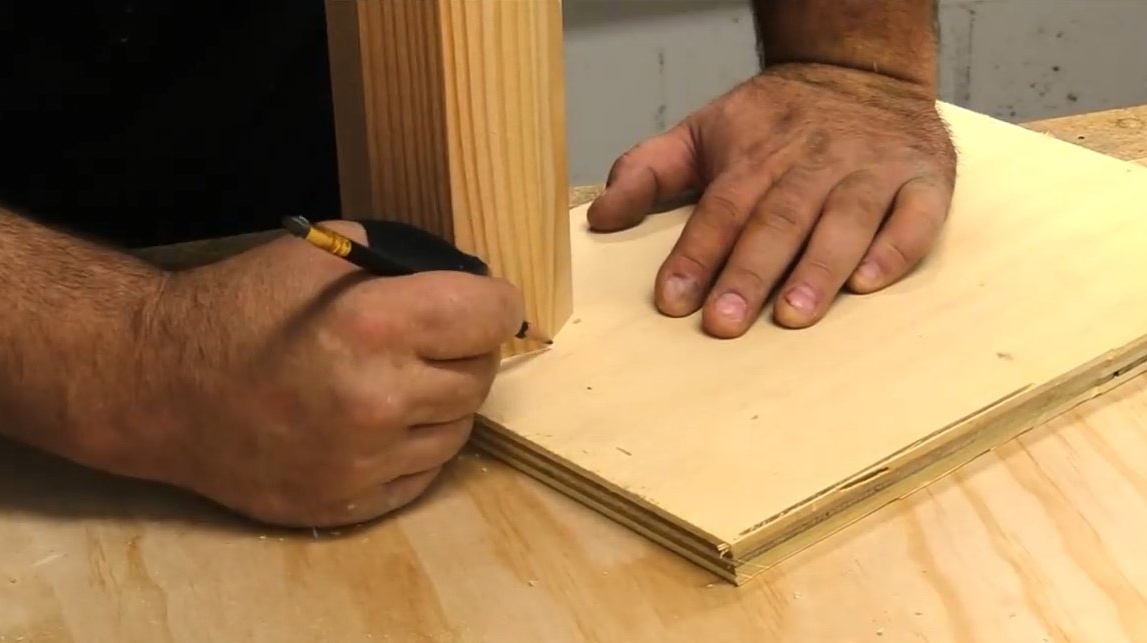
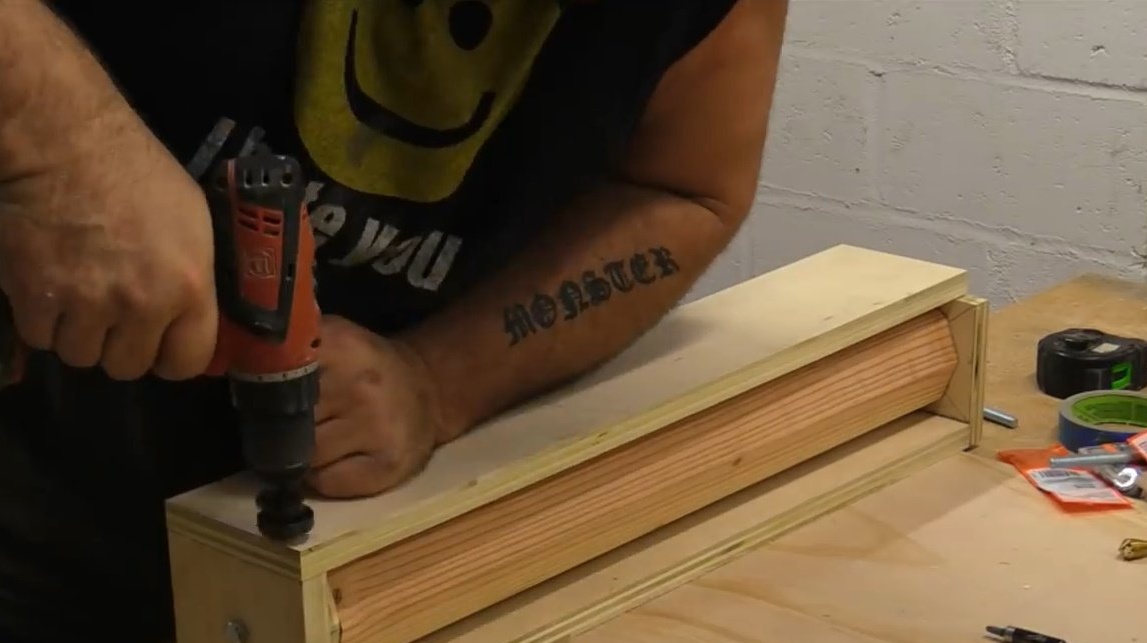
Drills a central hole in the side supports.
Then a drill with a countersink and anther, makes holes for screws.
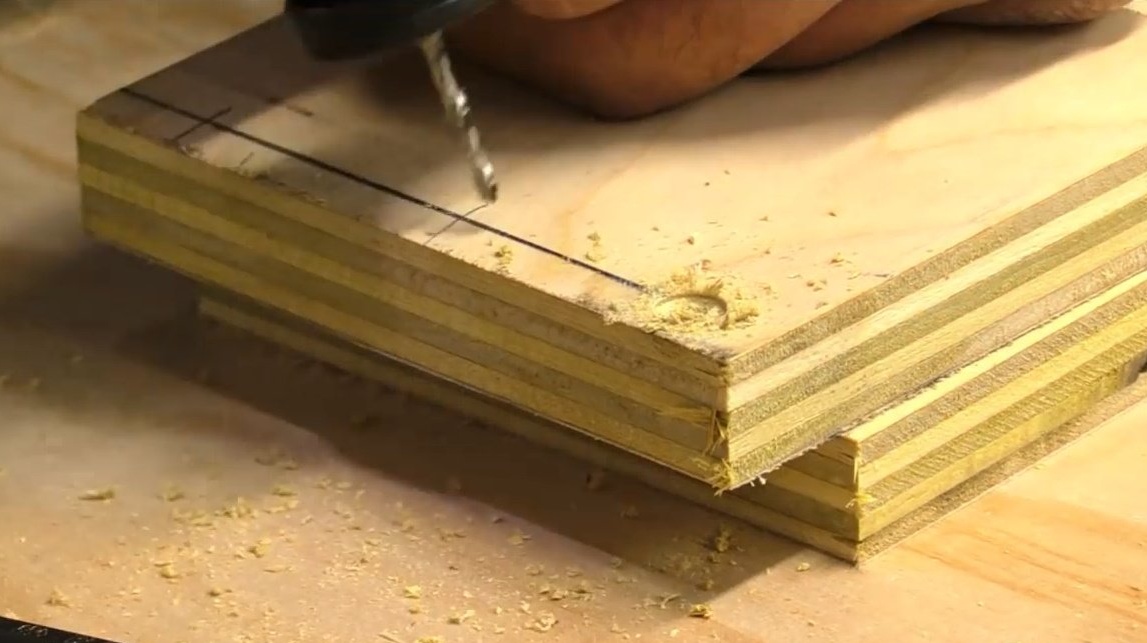
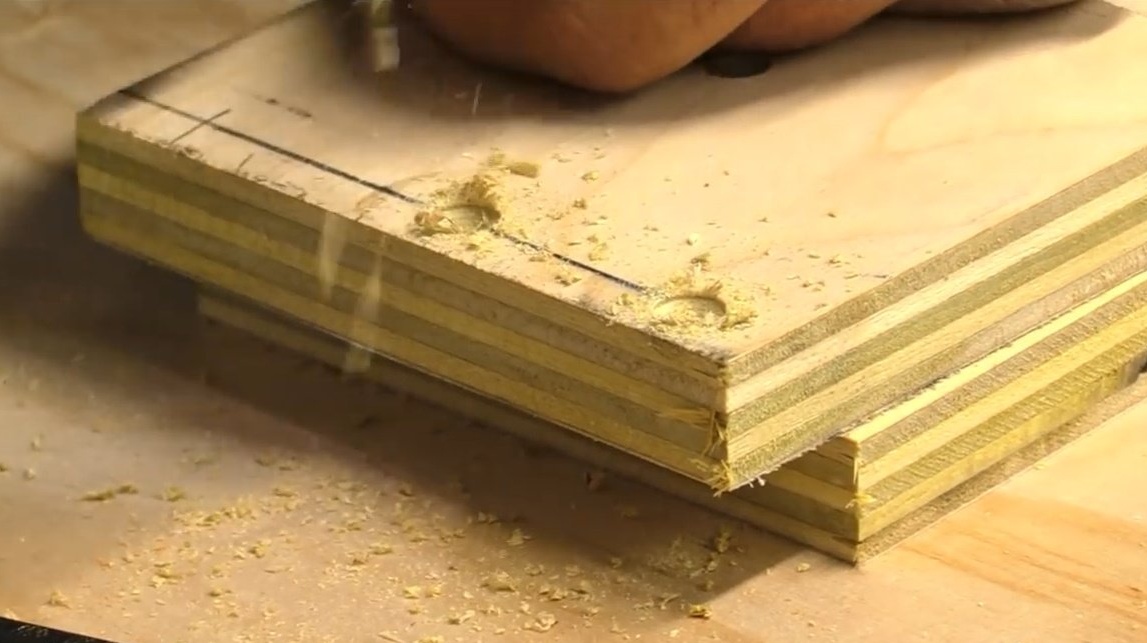
And screws the first support to the body.
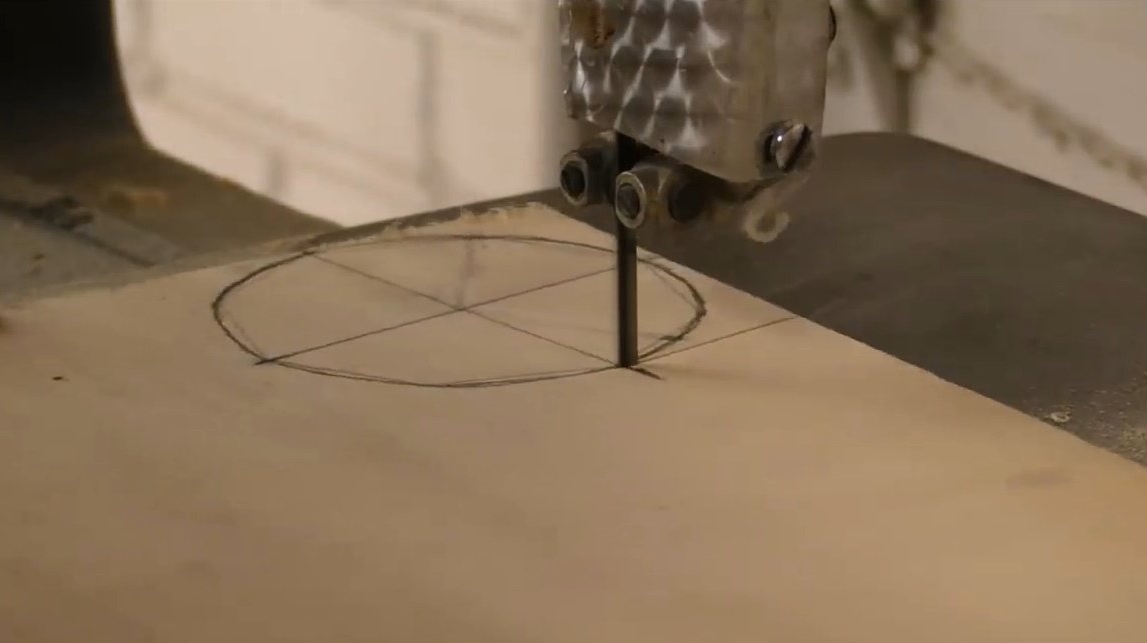
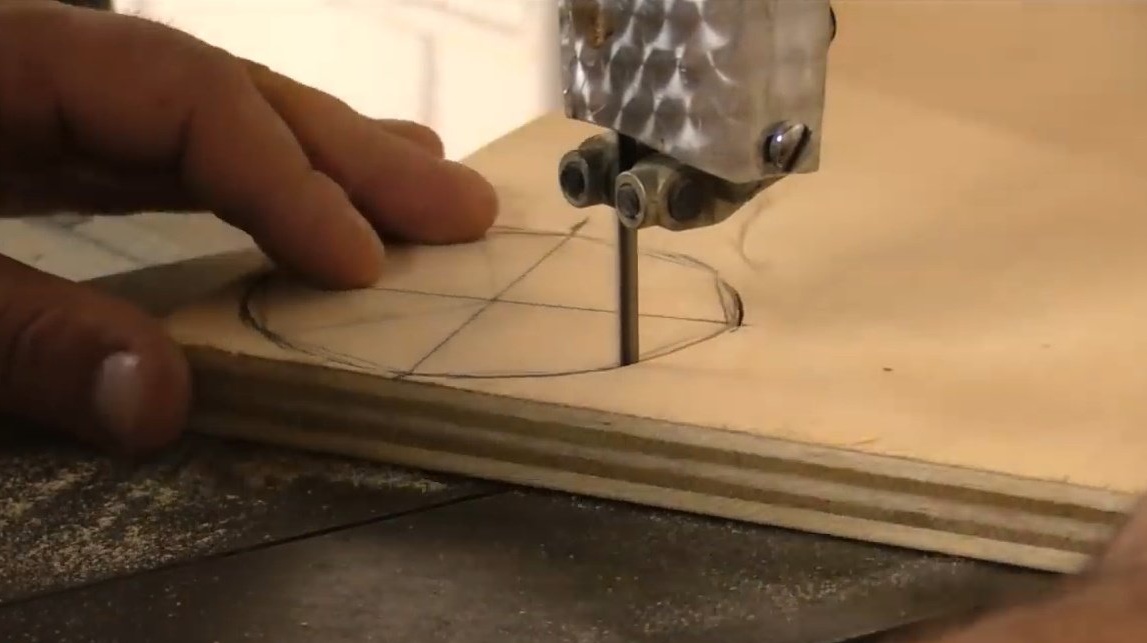
Now the author is trying to test how this thing rotates around its axis. He could just drill holes at the ends of the workpiece, fix them, and check the torque. But he will do otherwise. The craftsman cuts two rounds along the diameter of the shaft using a band saw.
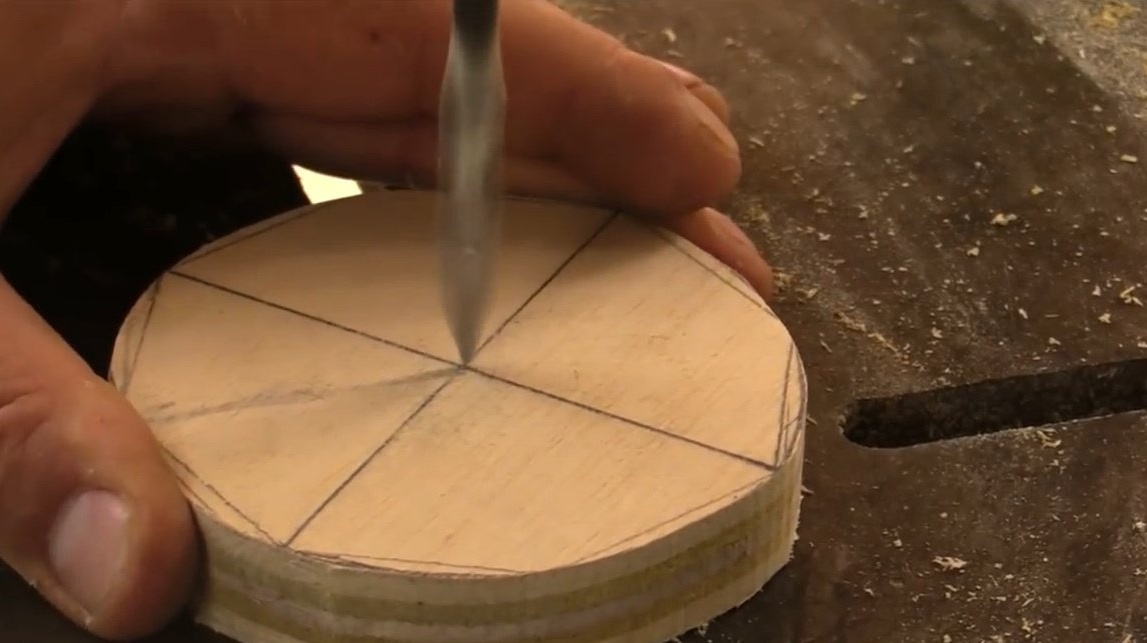
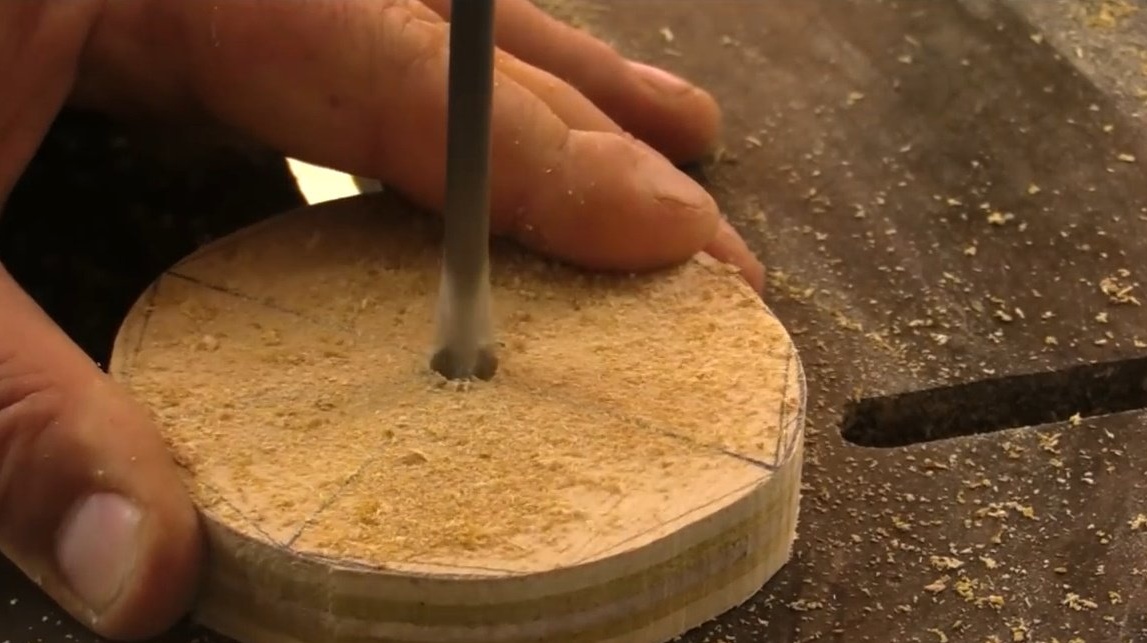
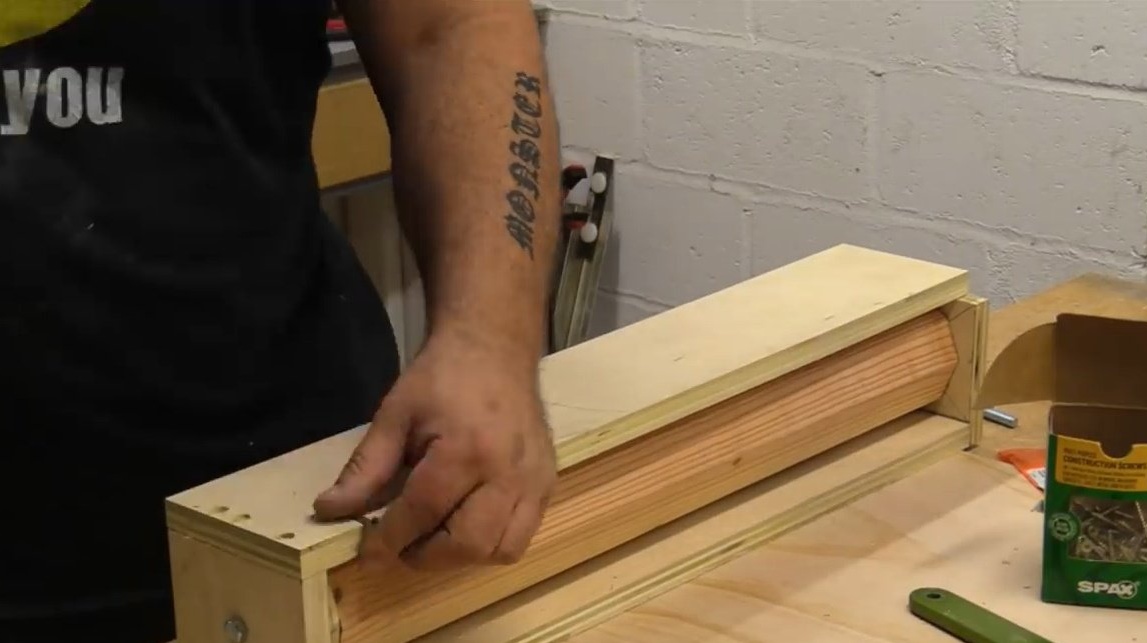
Drills through holes in them and attaches them to the ends of the shaft, somewhat lengthening the structure. He is trying to line all the elements in a single line.
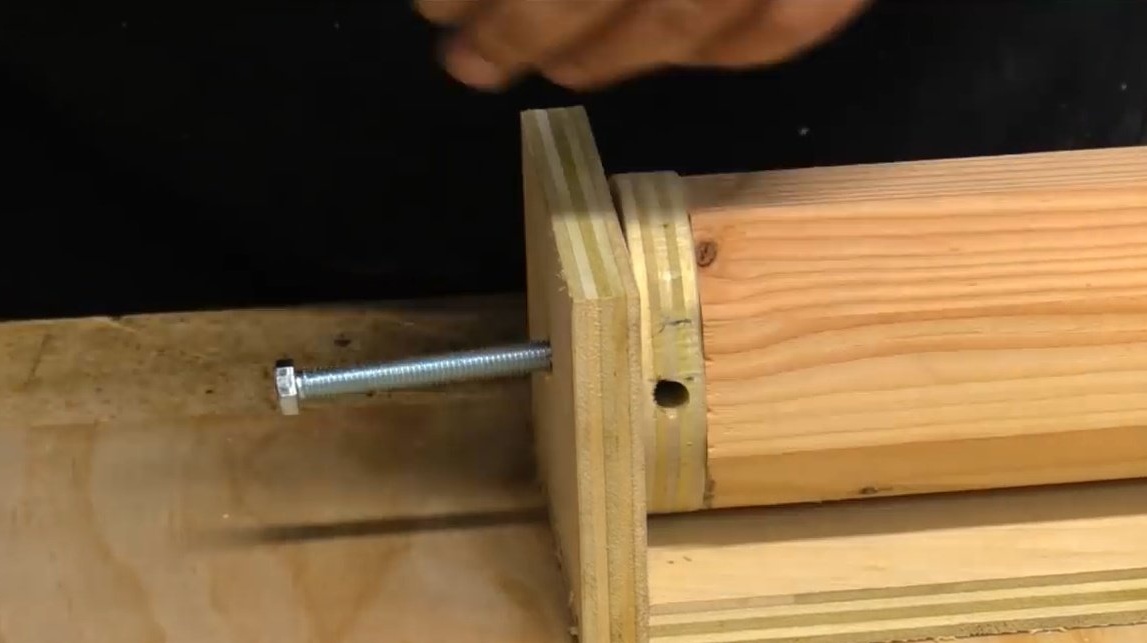
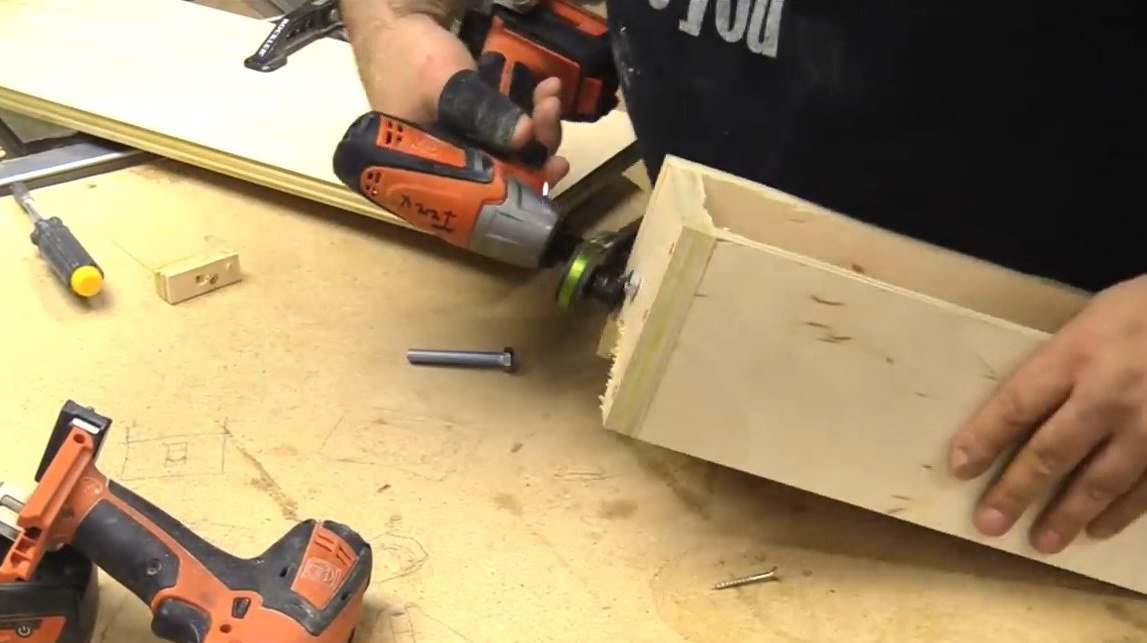
Further, on the outer perimeter of the round timber, he drills 3 holes on each side at an angle of 60 degrees
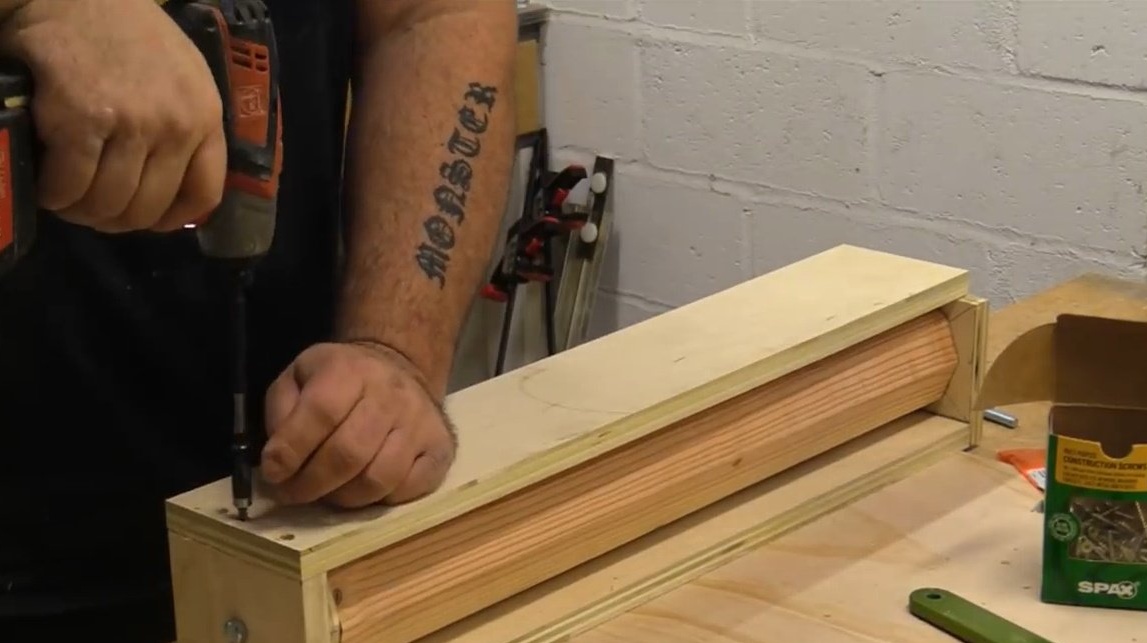
and screw the M10 bolt into them, fastening them to the body with the workpiece. In fact, the bolt bolts the housing to the shaft, bringing it into a stationary position.

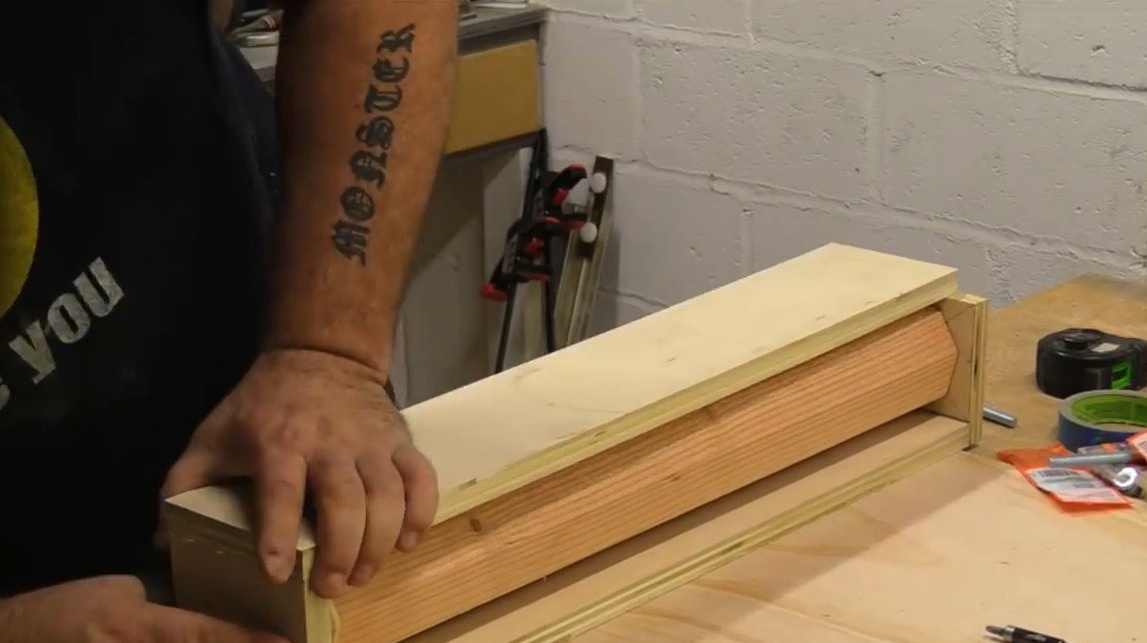
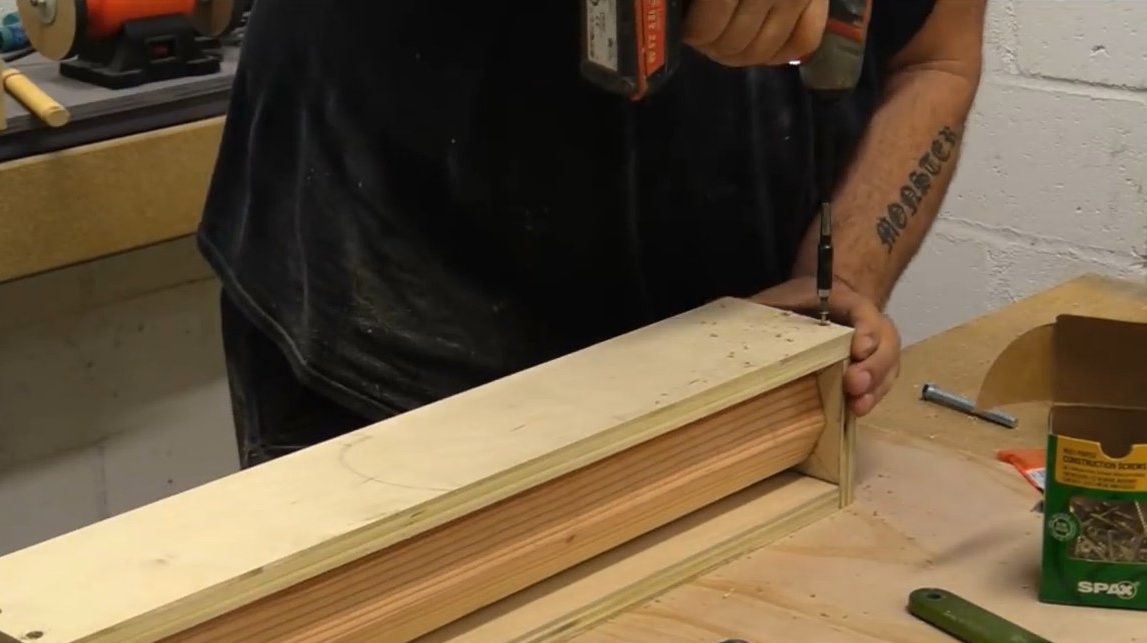
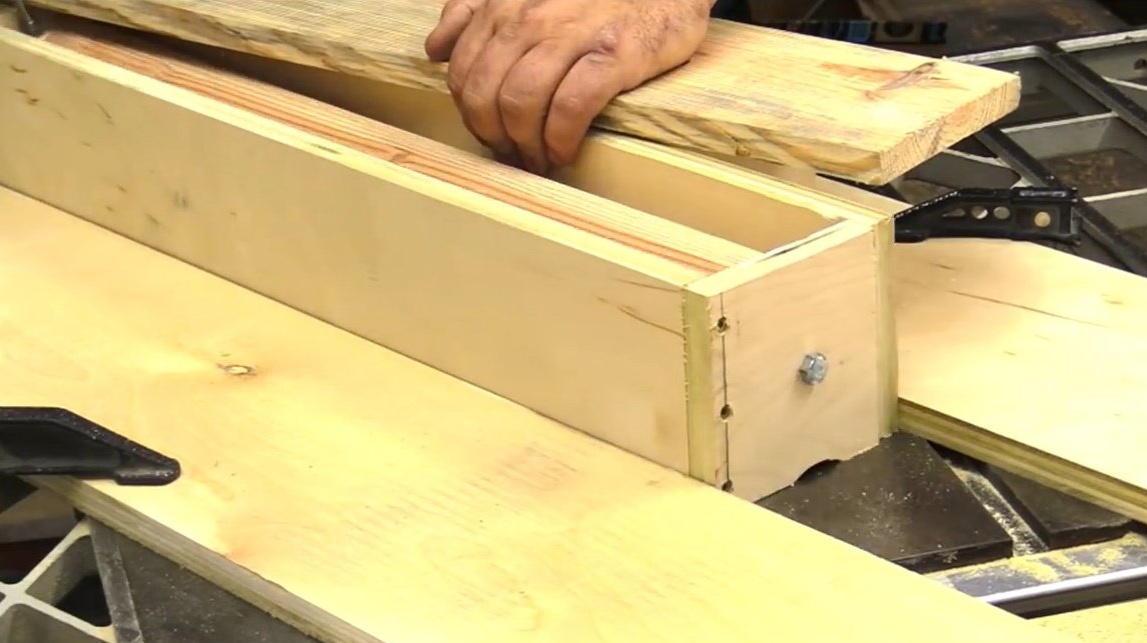
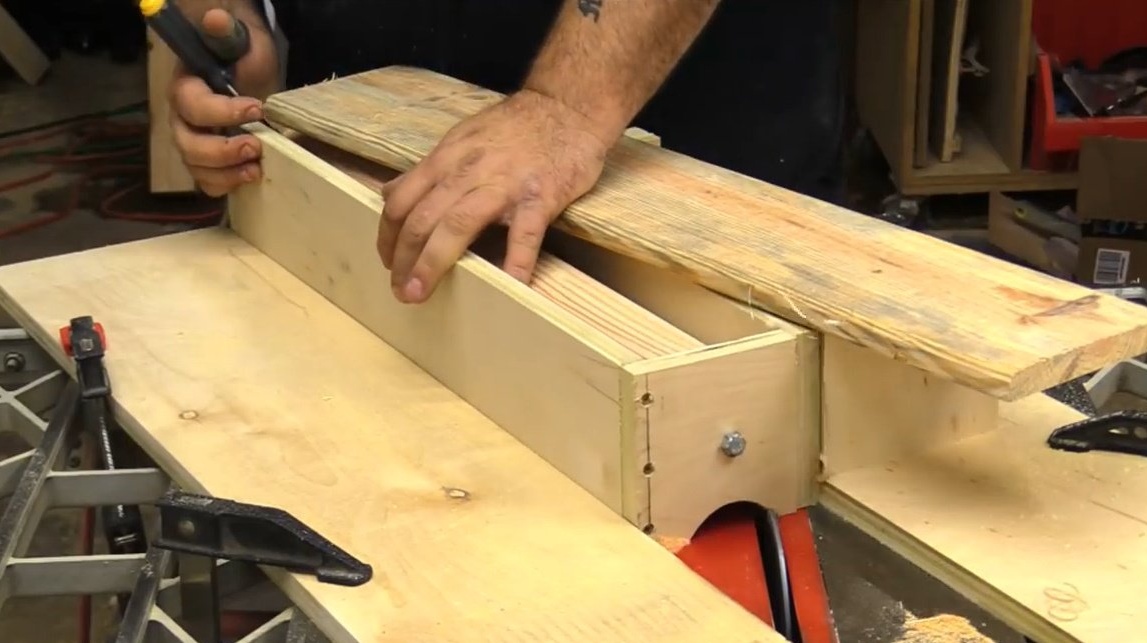
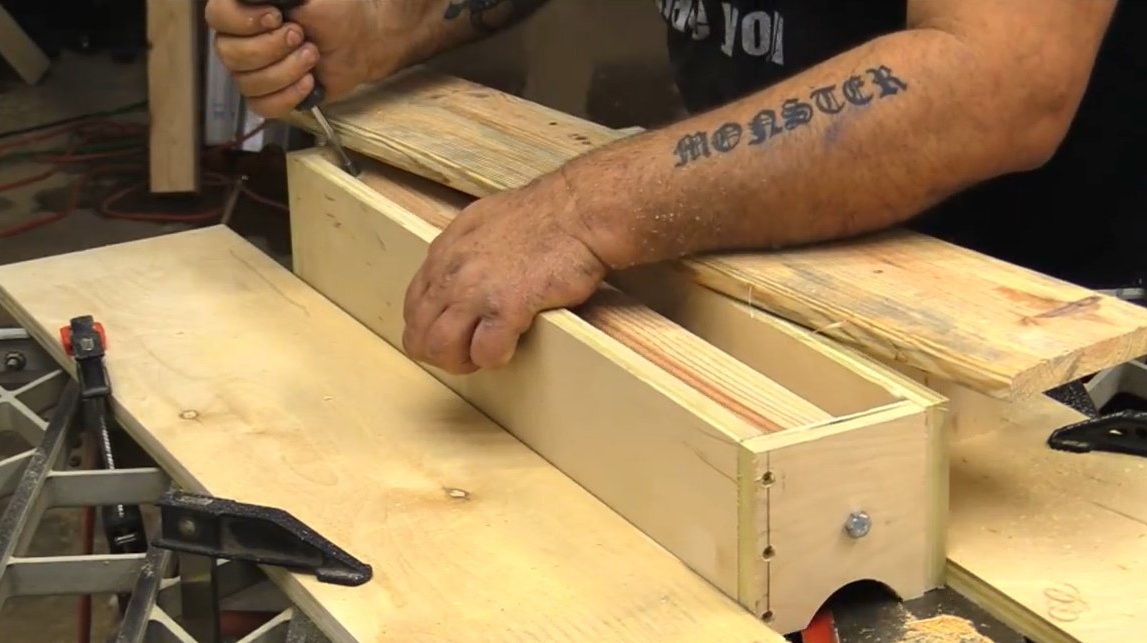
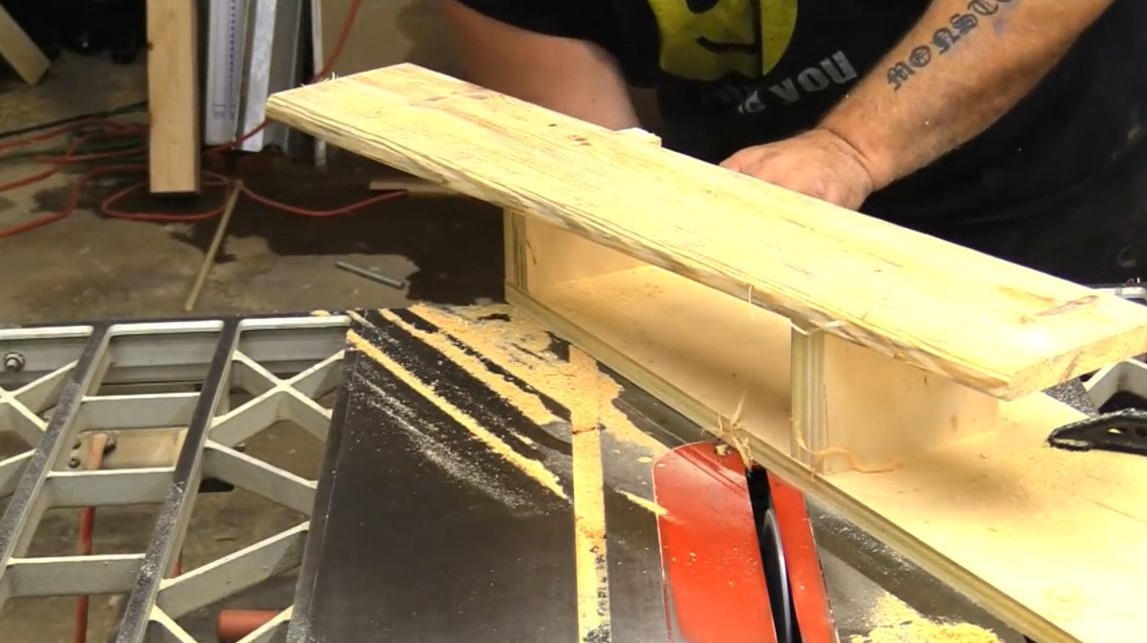
He then installs the last side upper panel, completing the construction of the drawer.
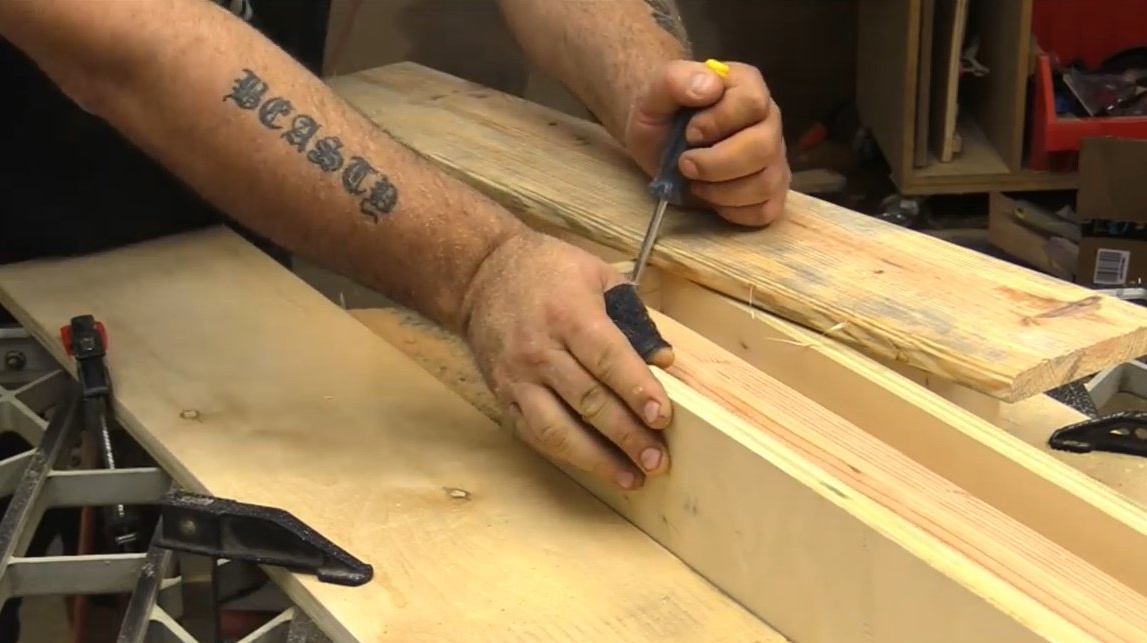
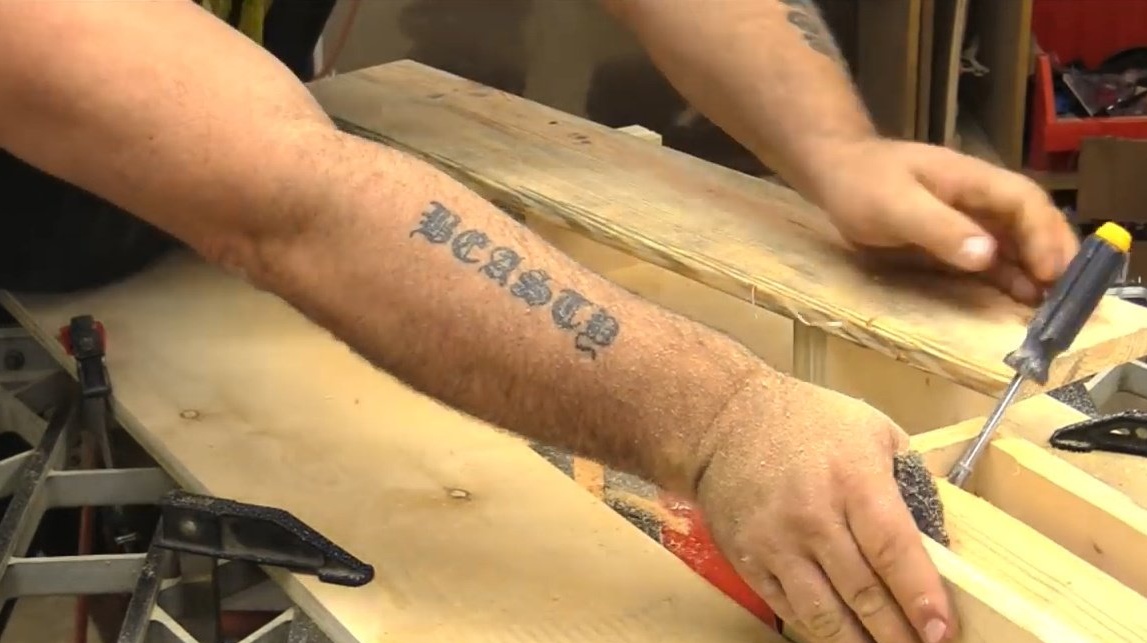
Several angles had to be cleaned - they prevented the shaft from turning. The master strives to ensure that the shaft inside the housing "sits" as tight as possible, so that the clearance is minimal.
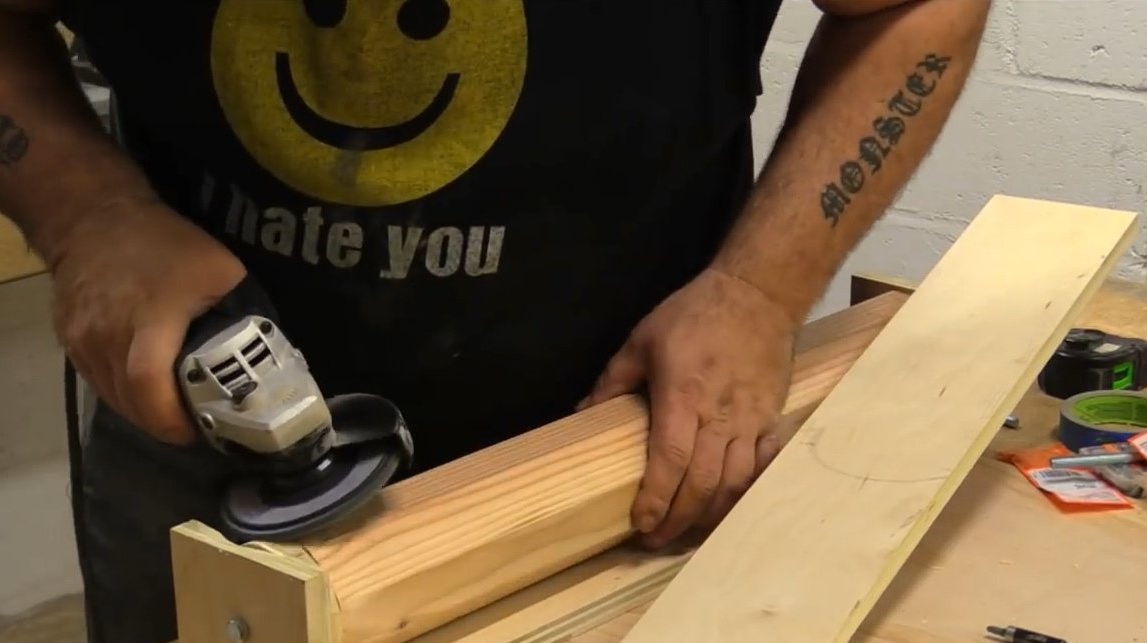
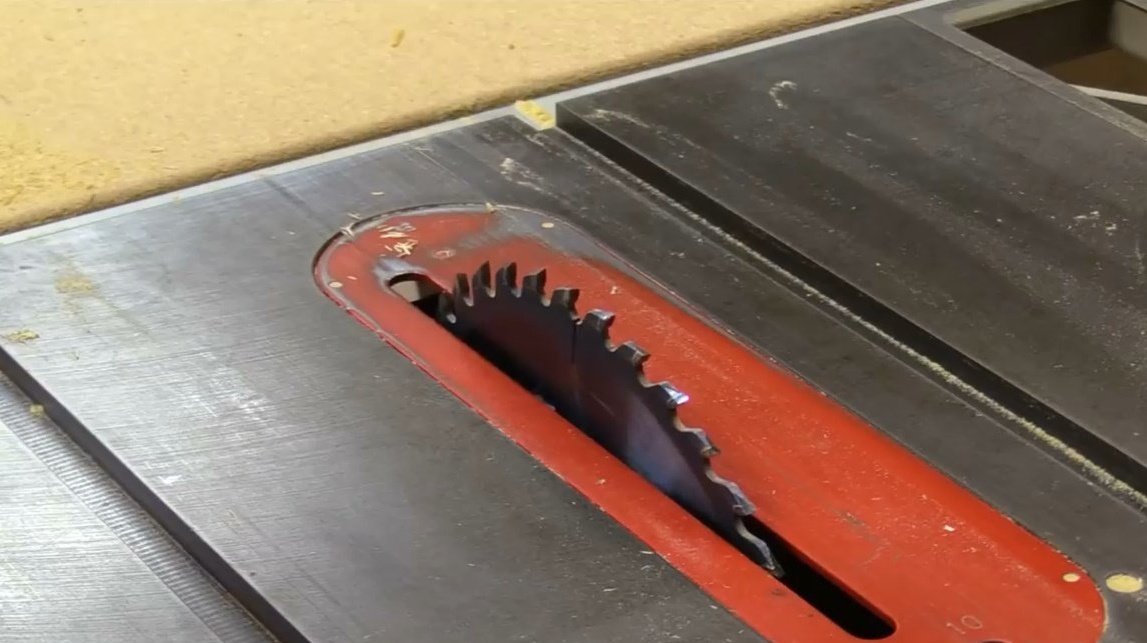
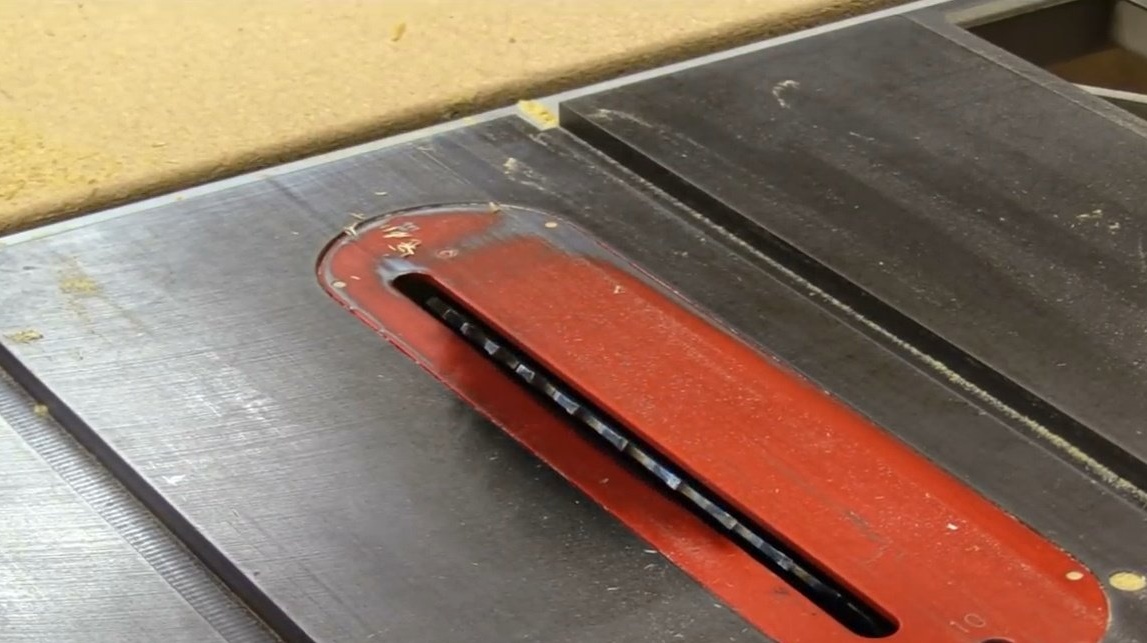
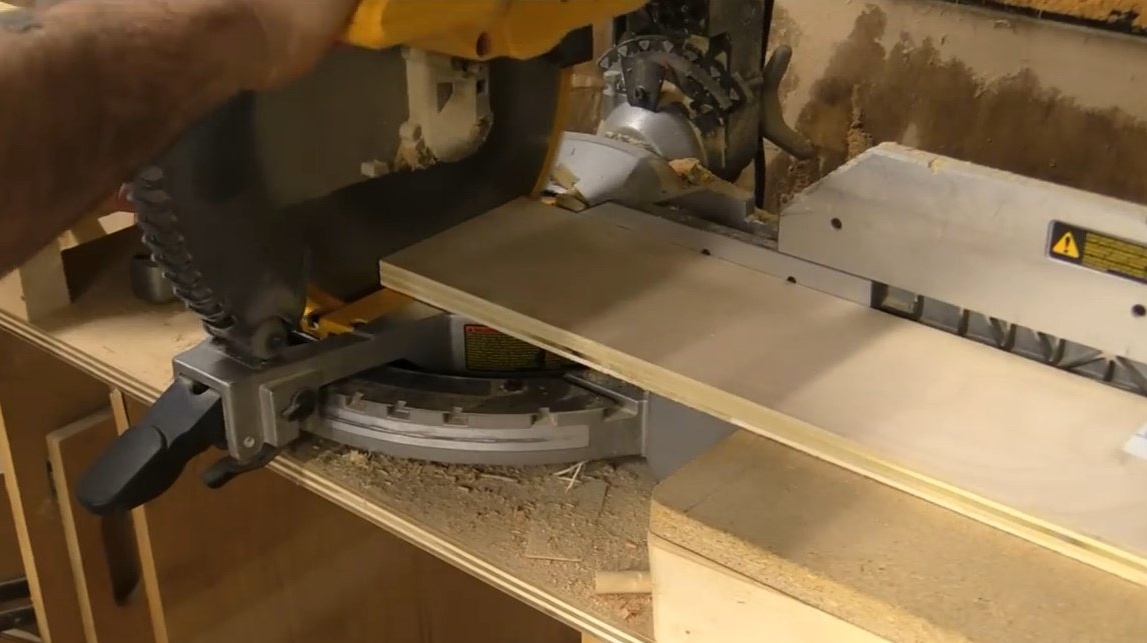
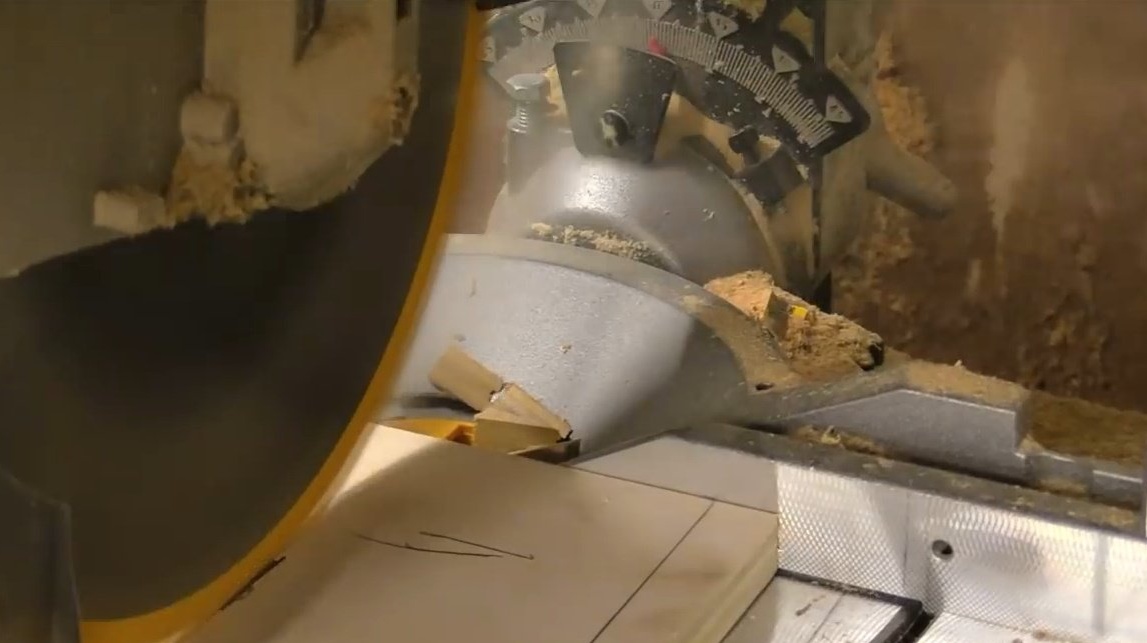
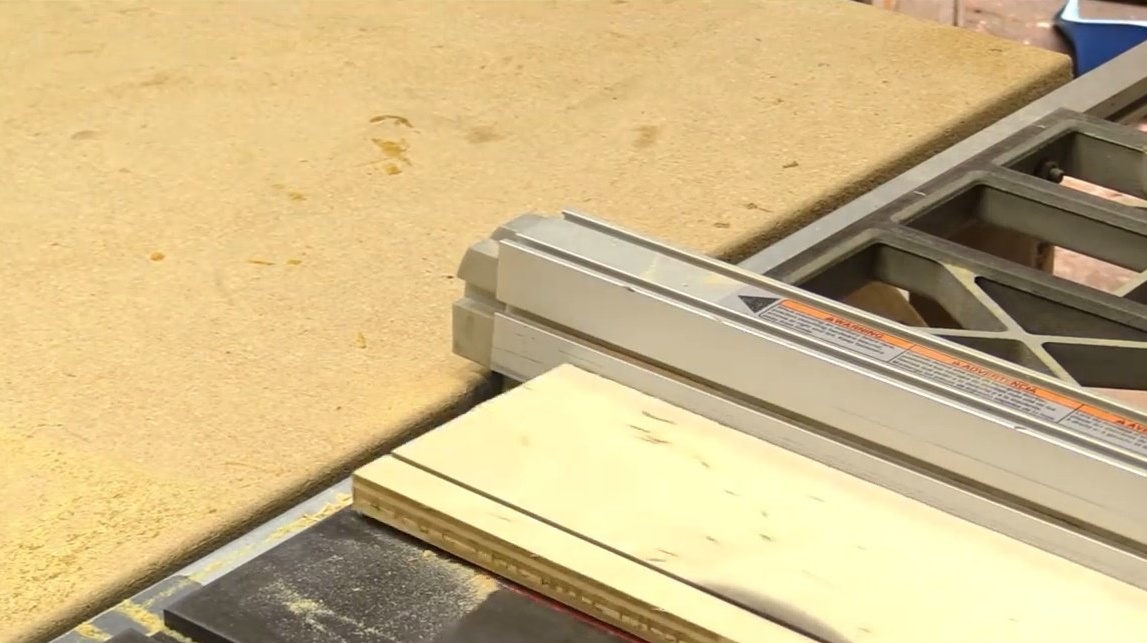
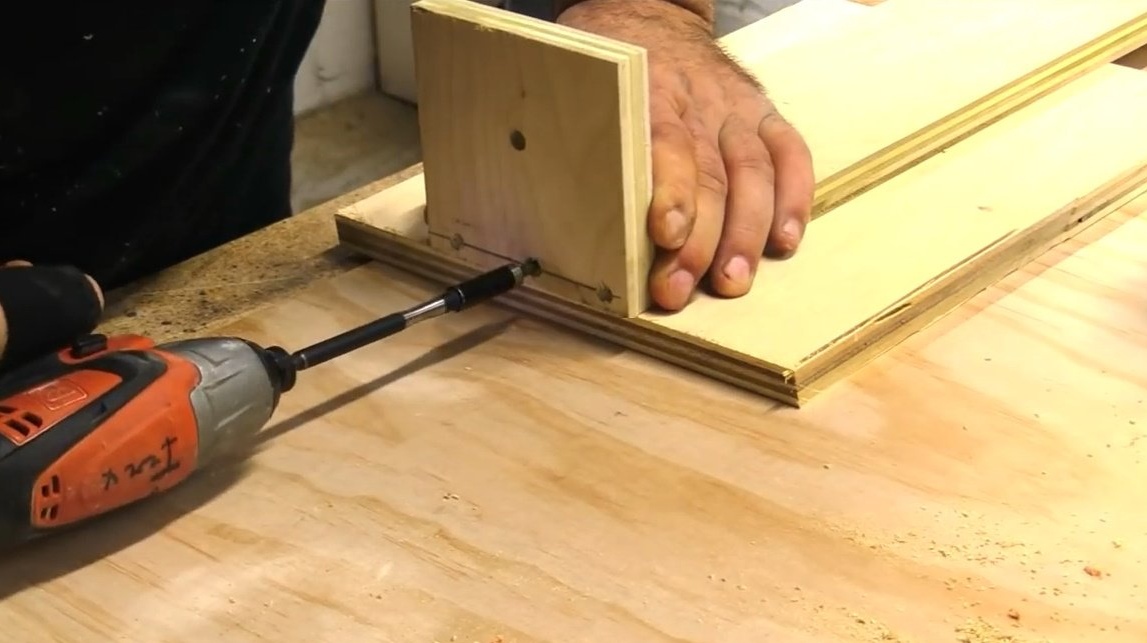
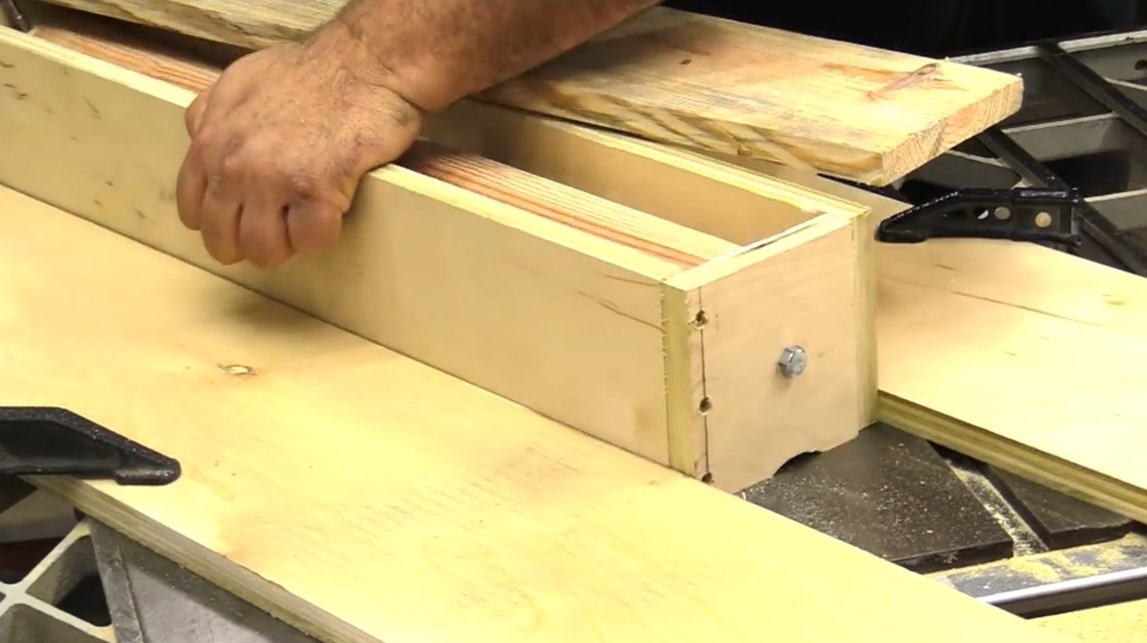
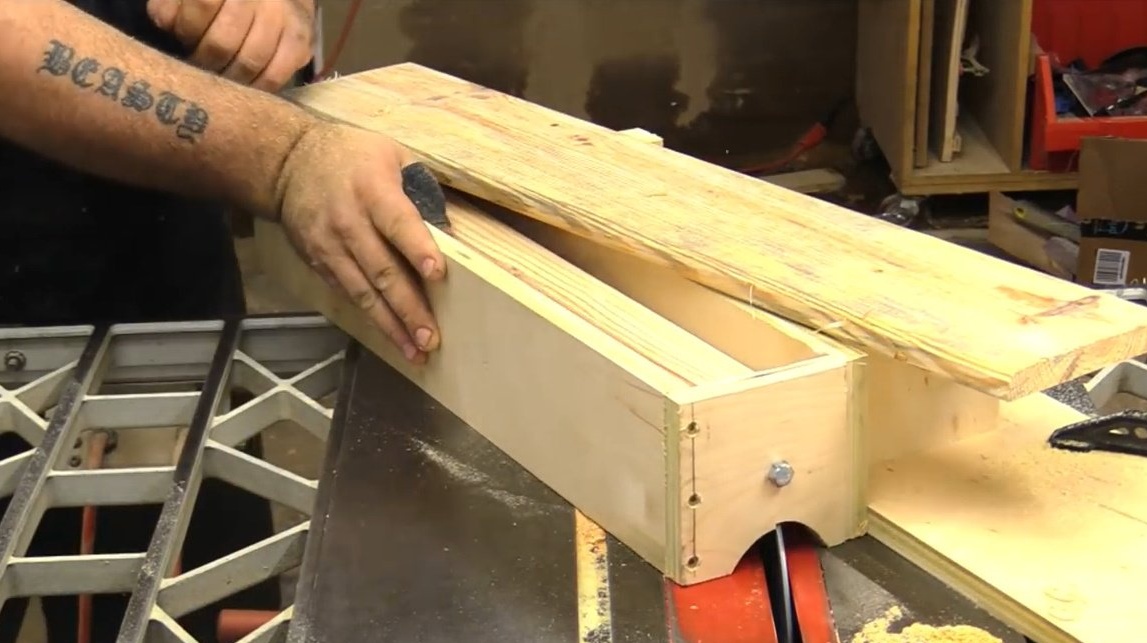
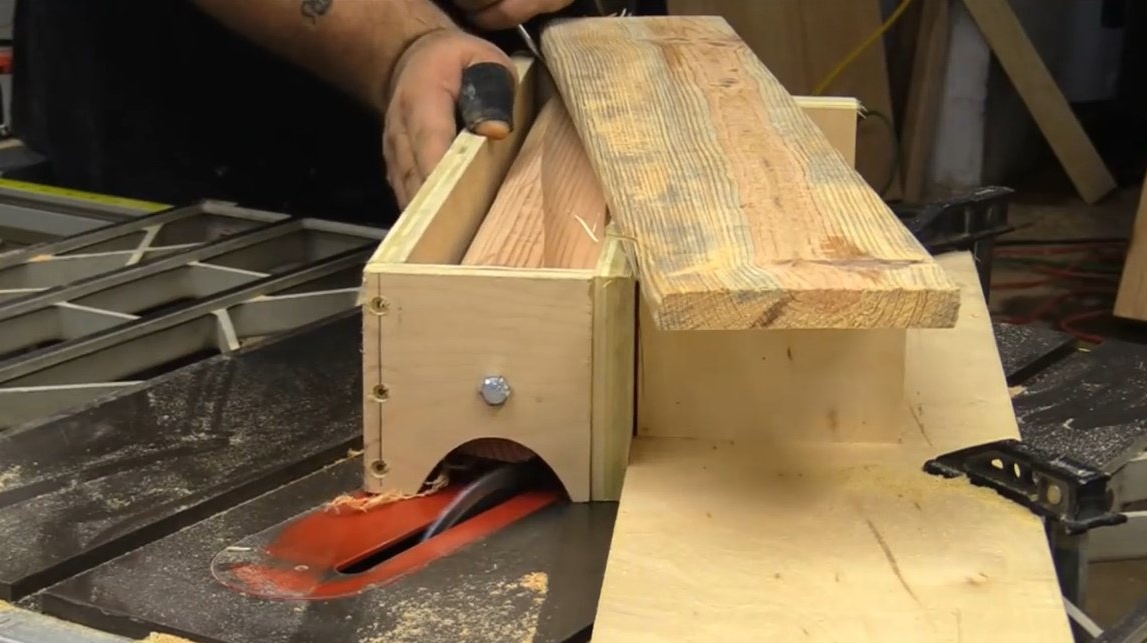
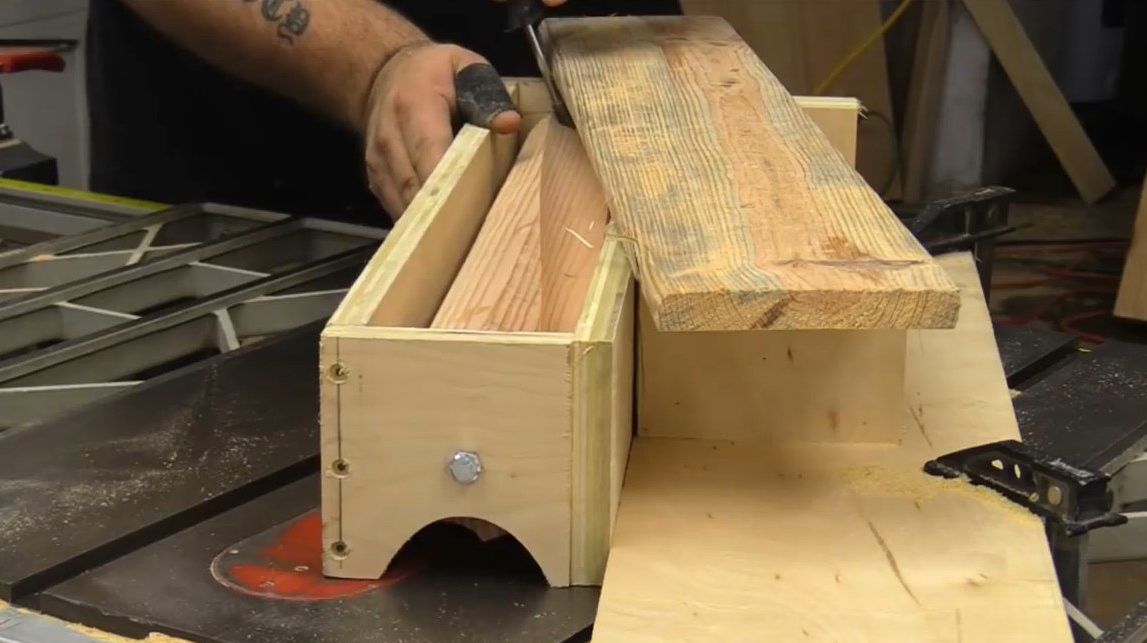
Now the most interesting thing: the craftsman will have to make a kind of grooves on the round timber using only a circular saw. To do this, you need to build guides on the table of the circular saw, and fix them with clamps.

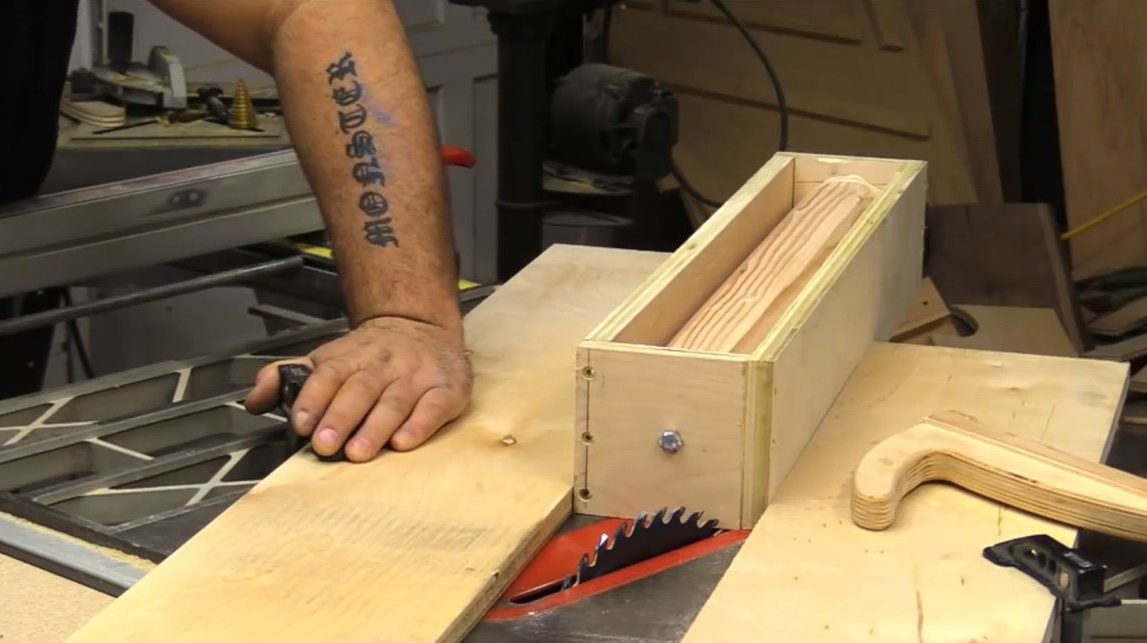
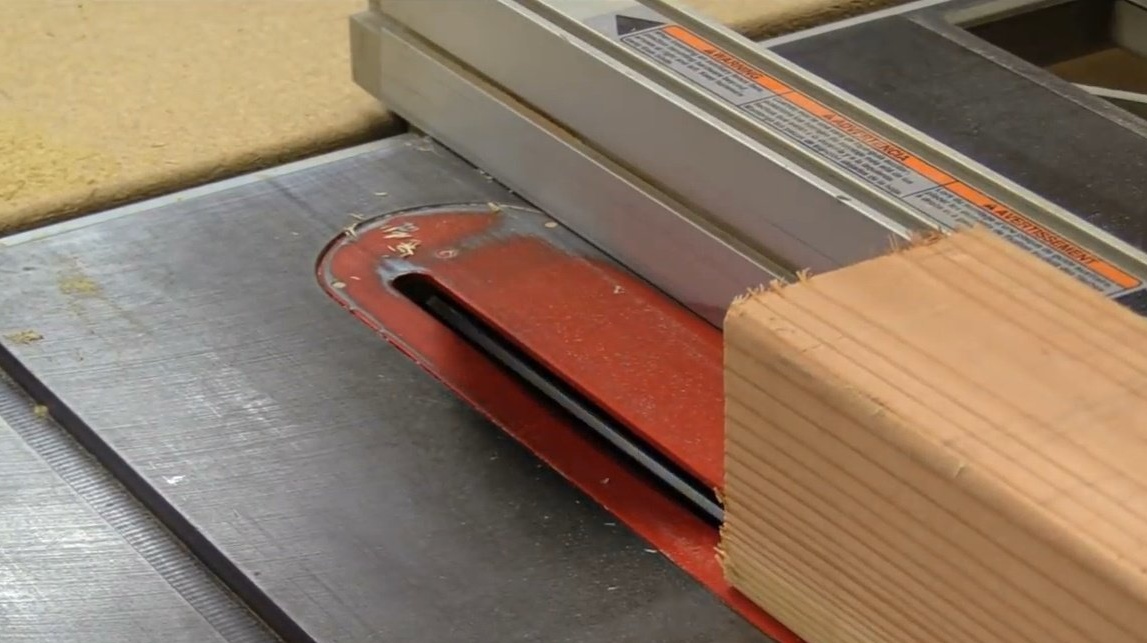
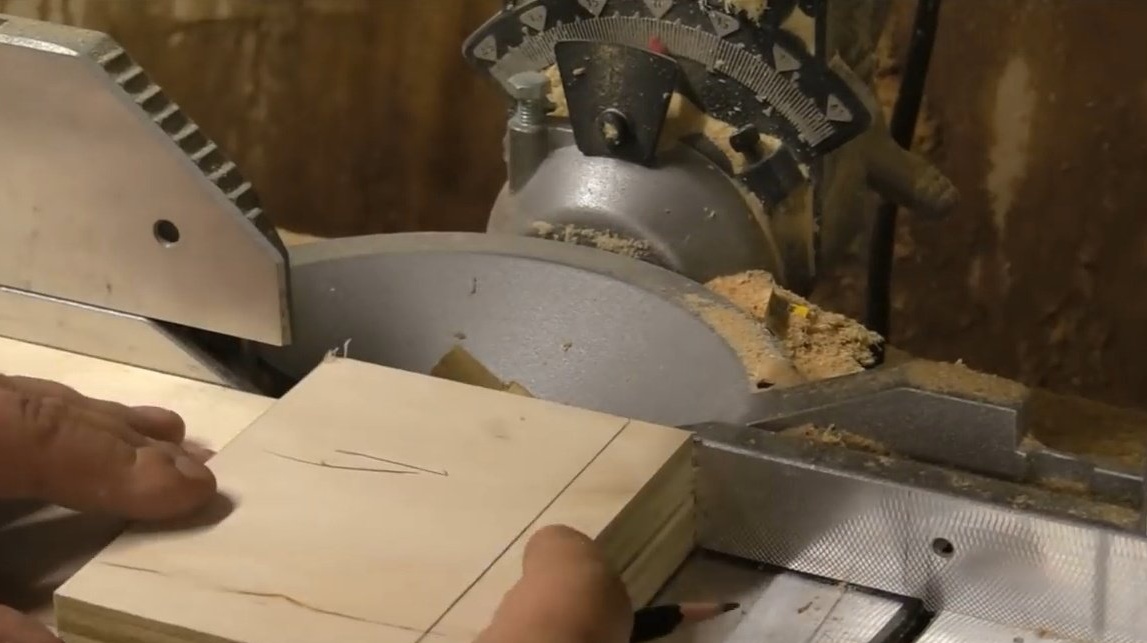
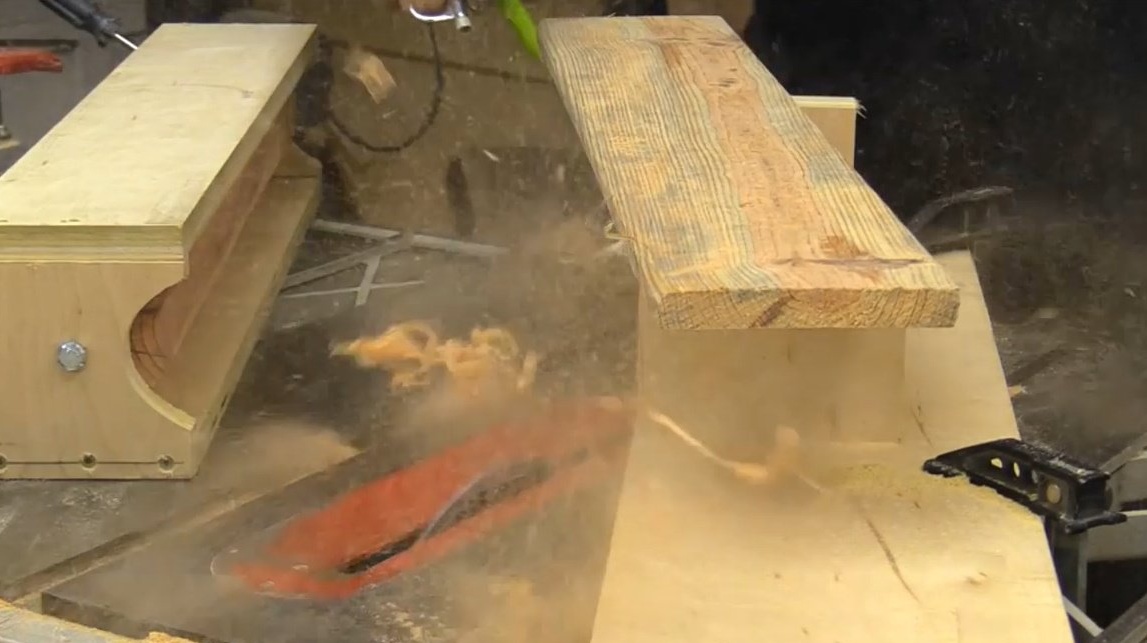
The master puts the emphasis at an angle to the disk, and when the part passes above it, then a recess is obtained instead of the cut.
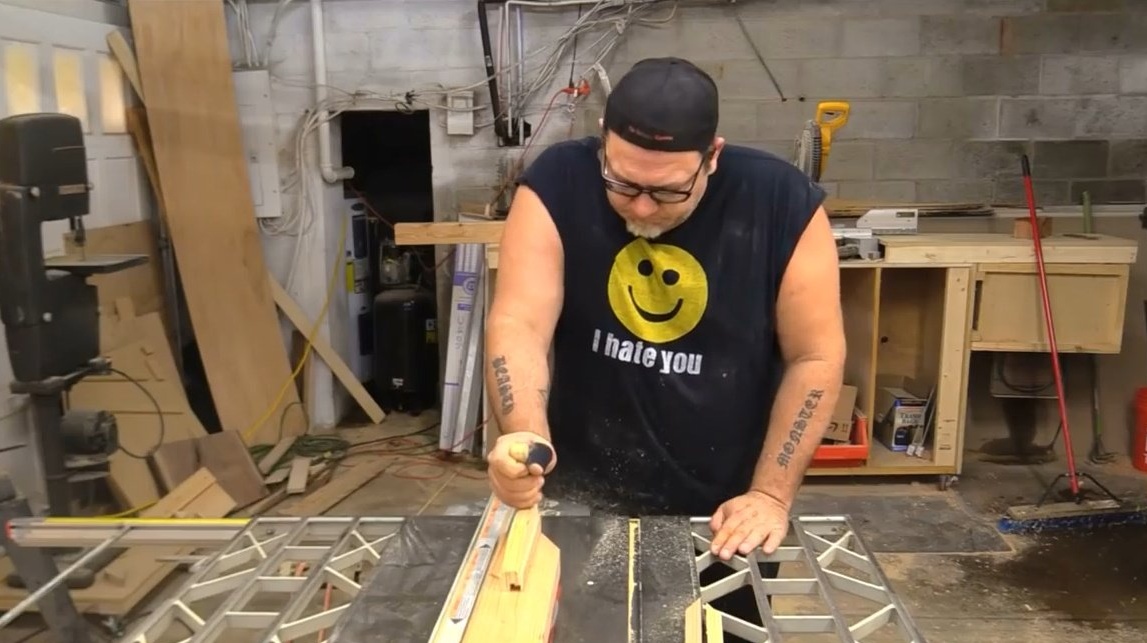
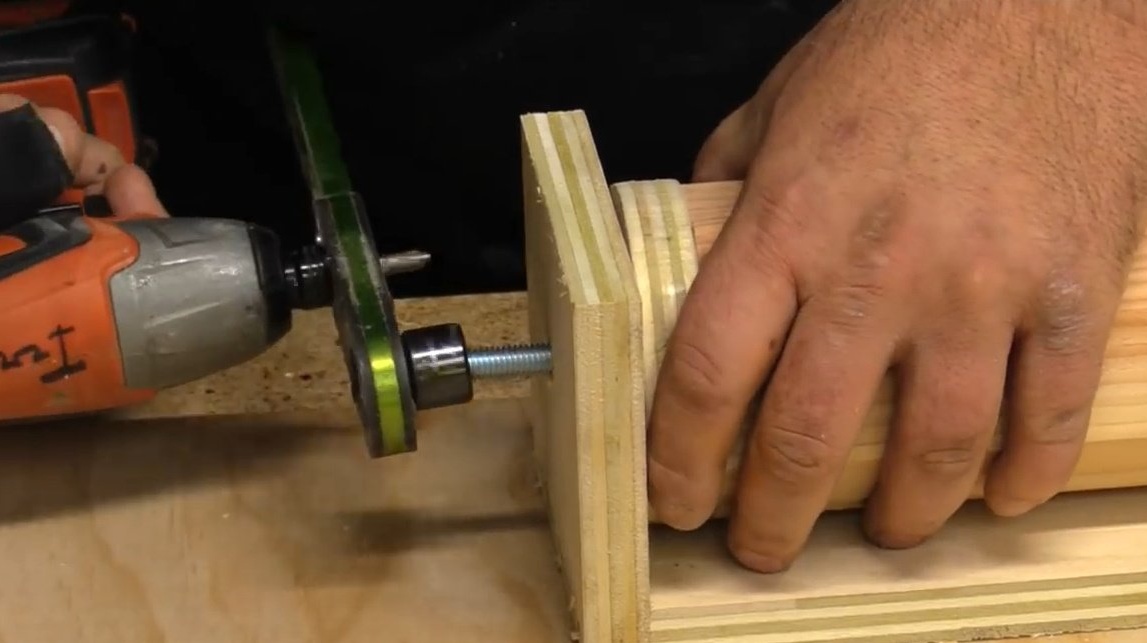
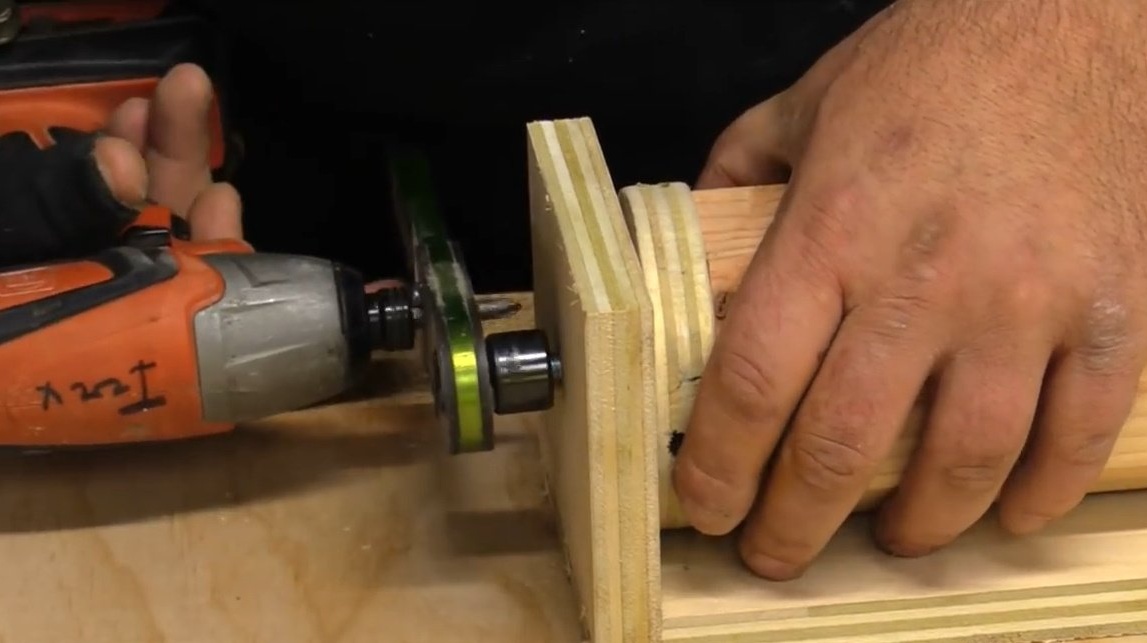
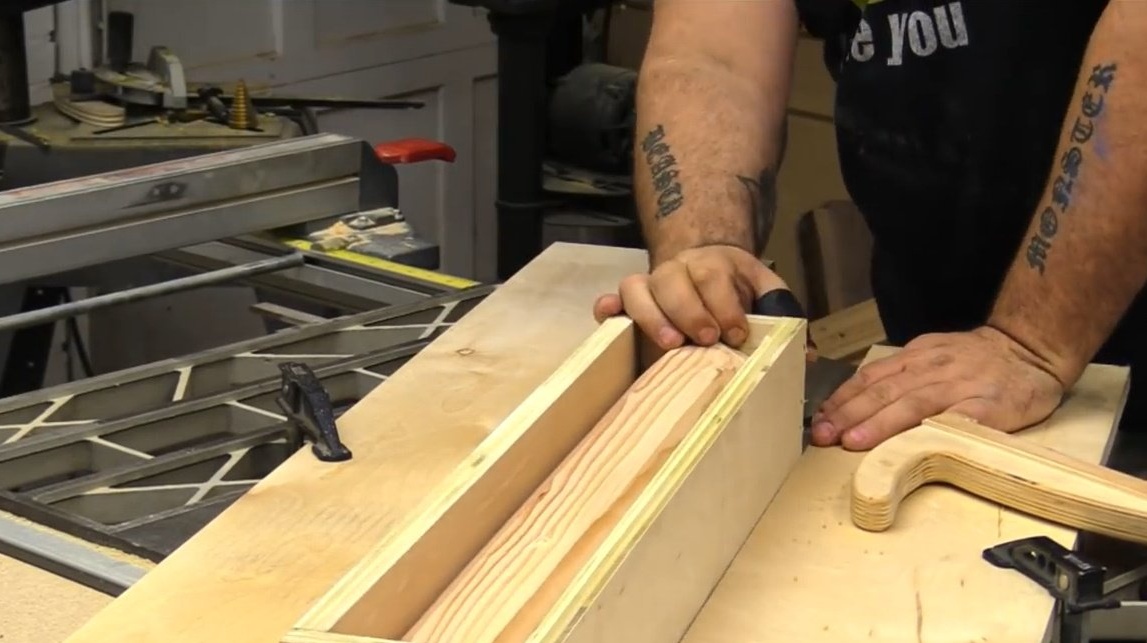
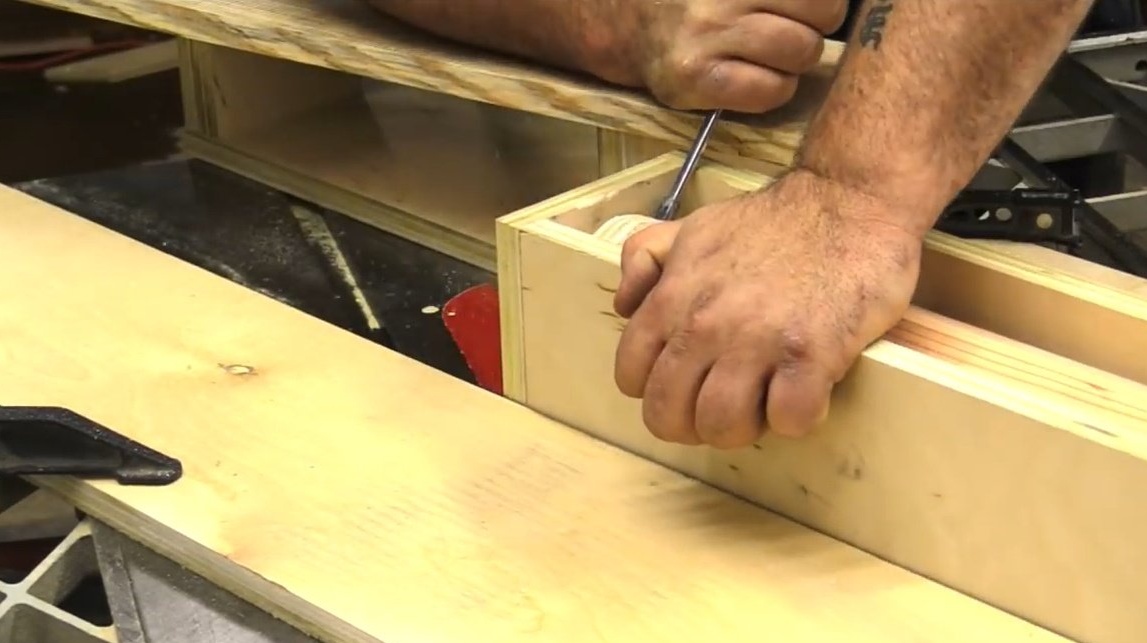
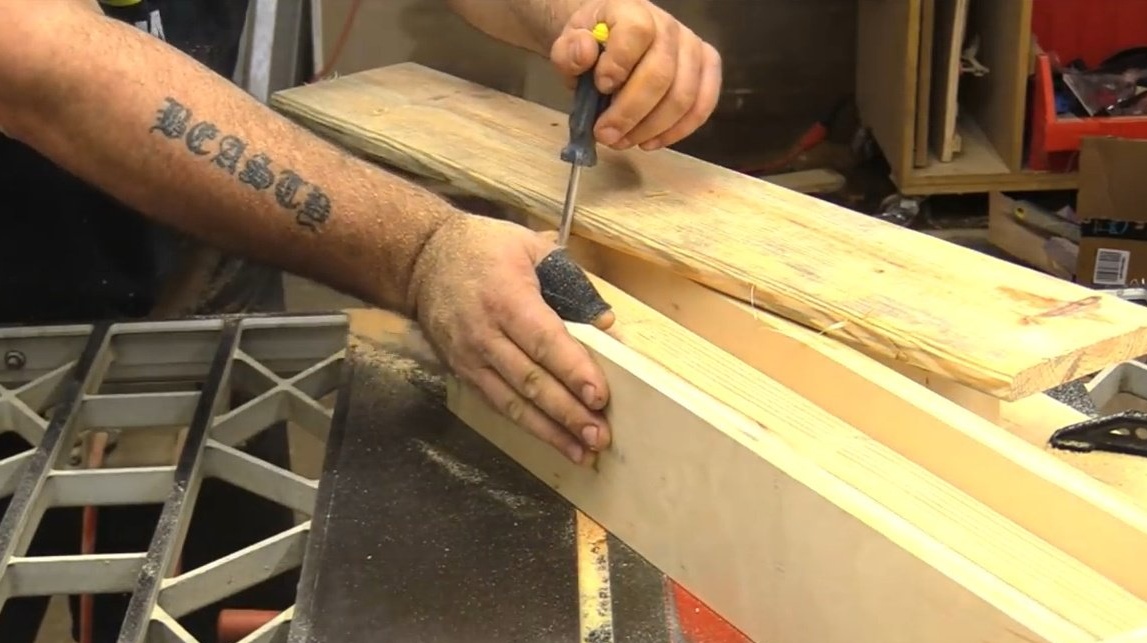
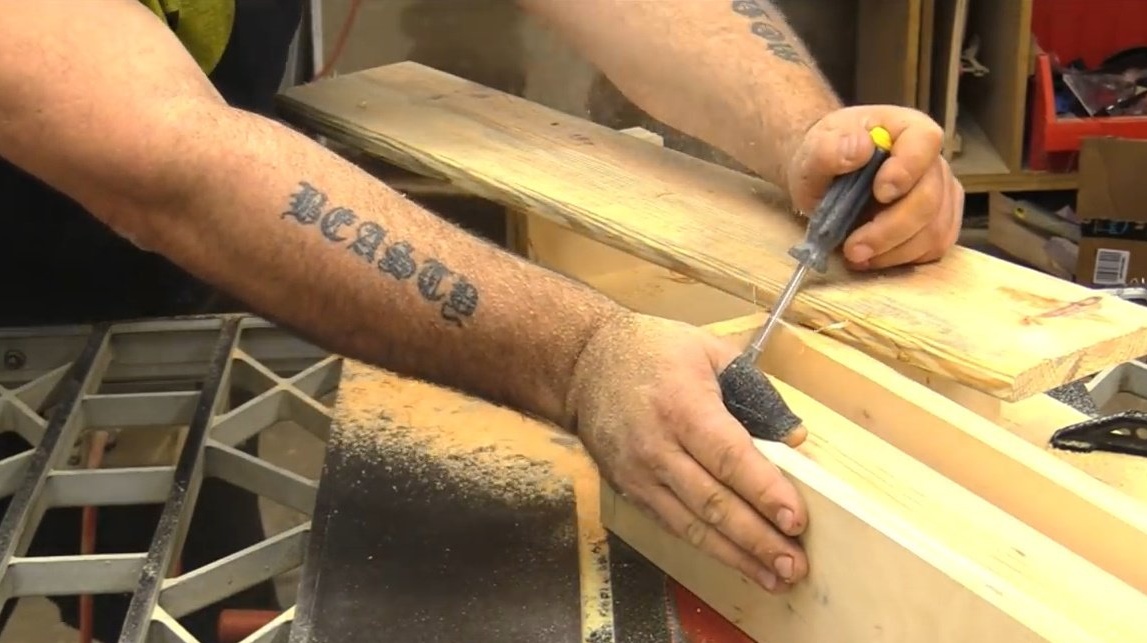
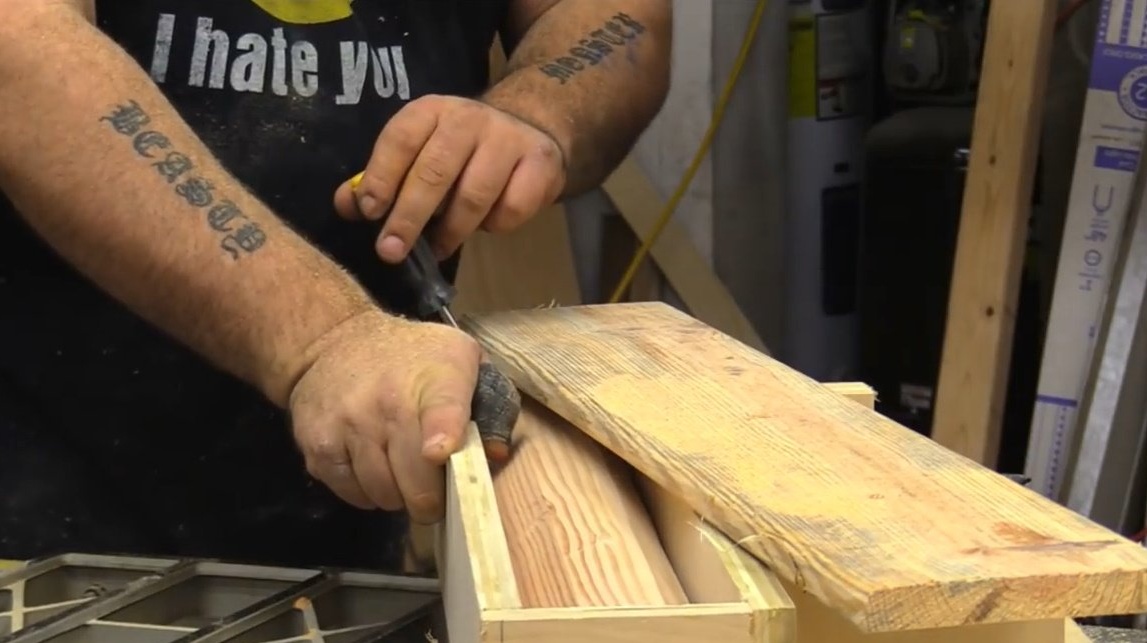
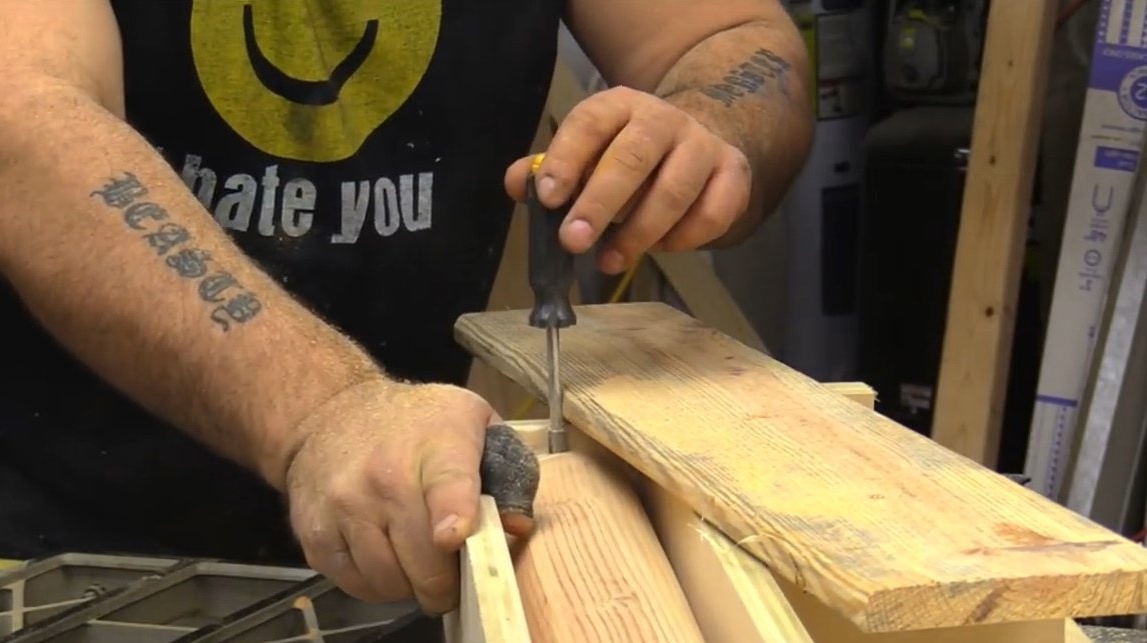
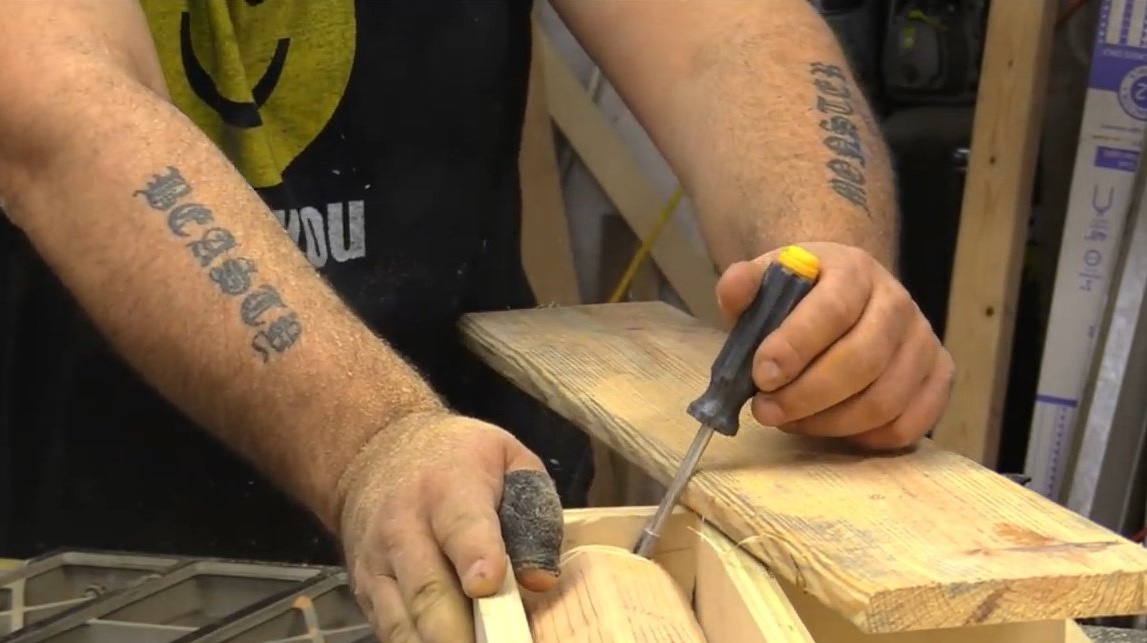
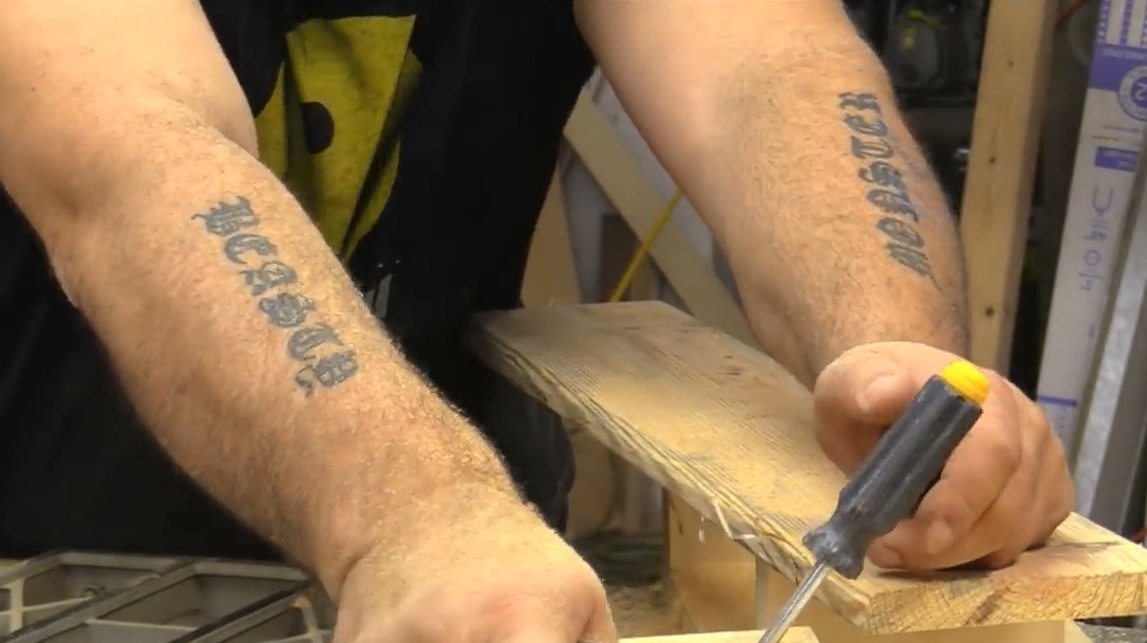
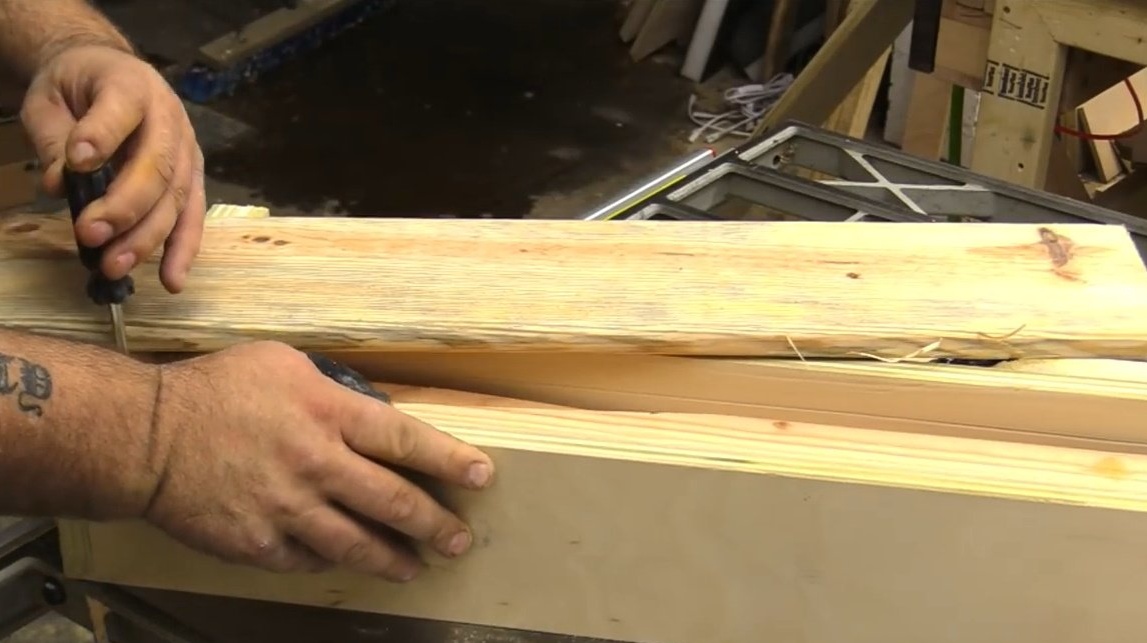
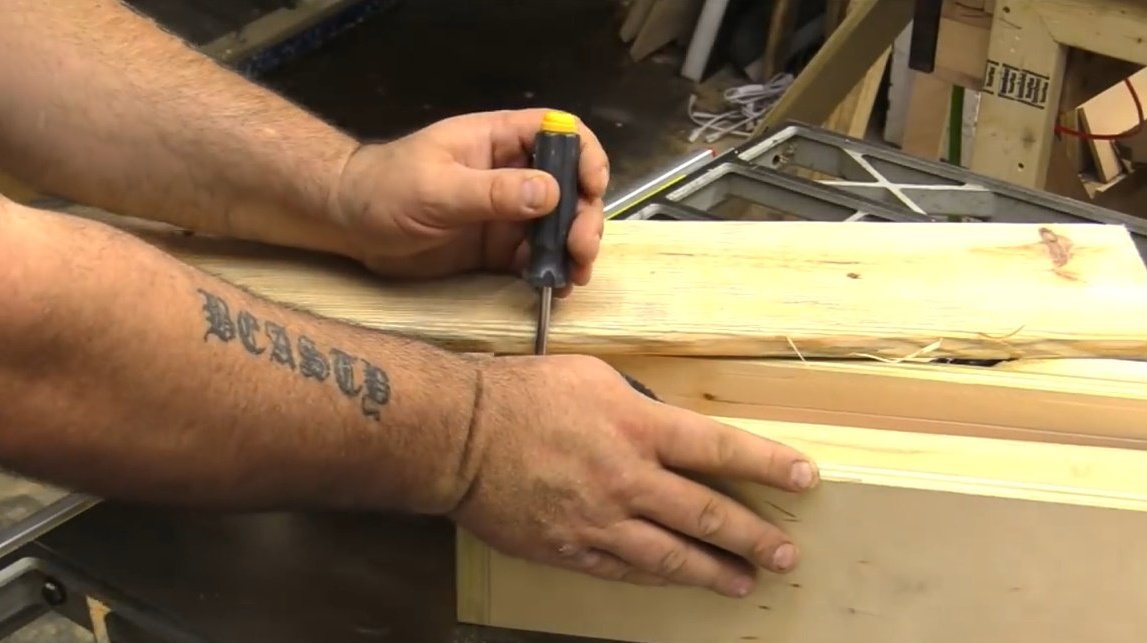
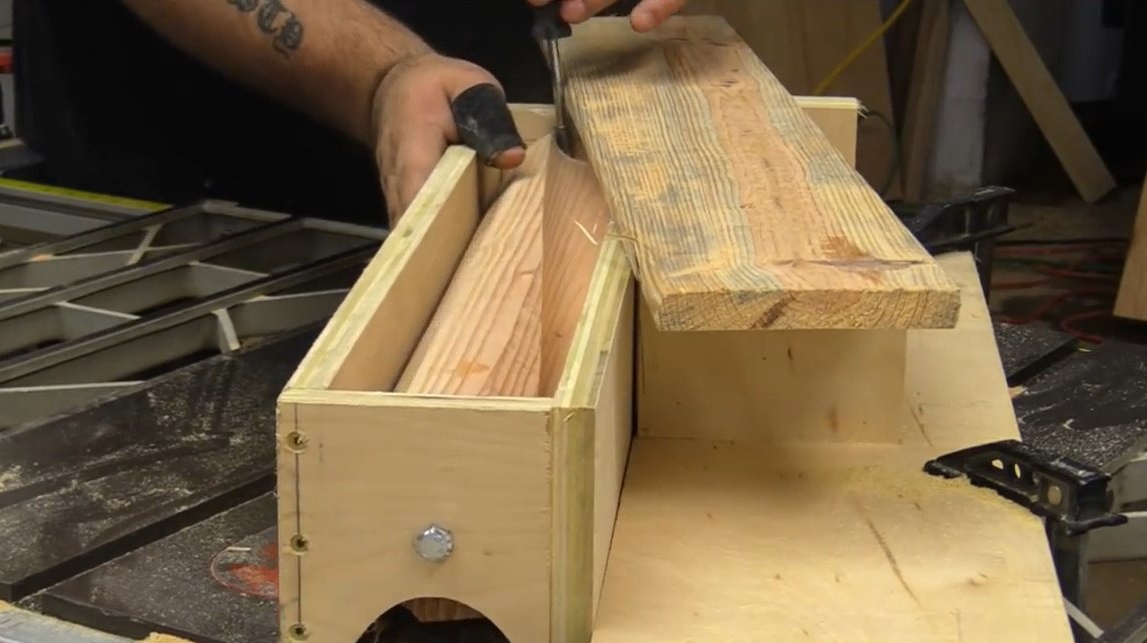
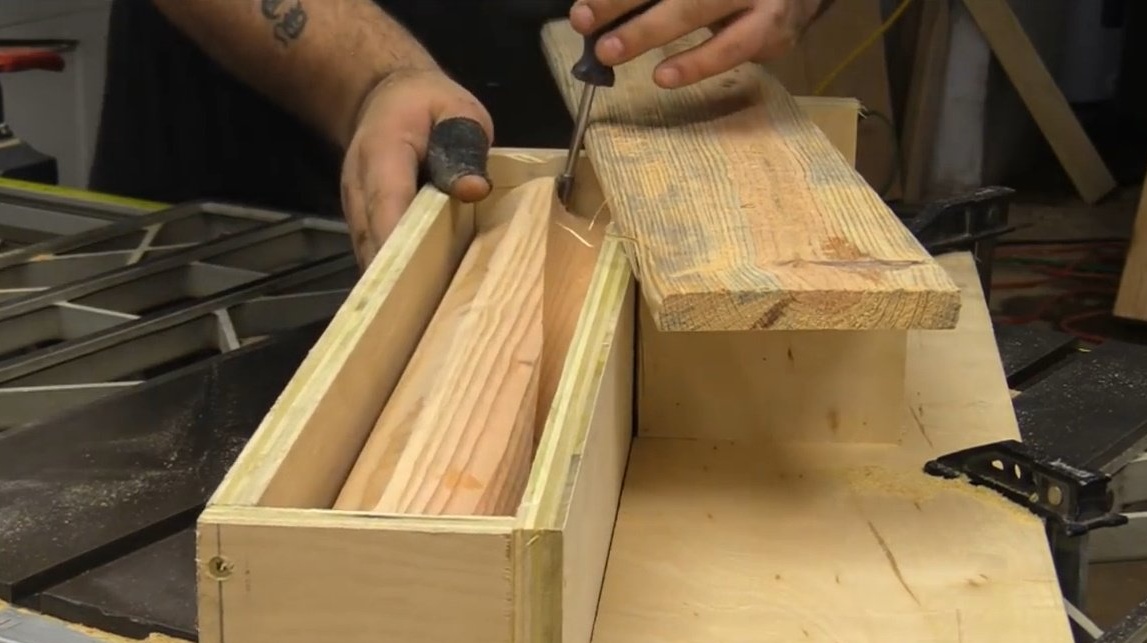
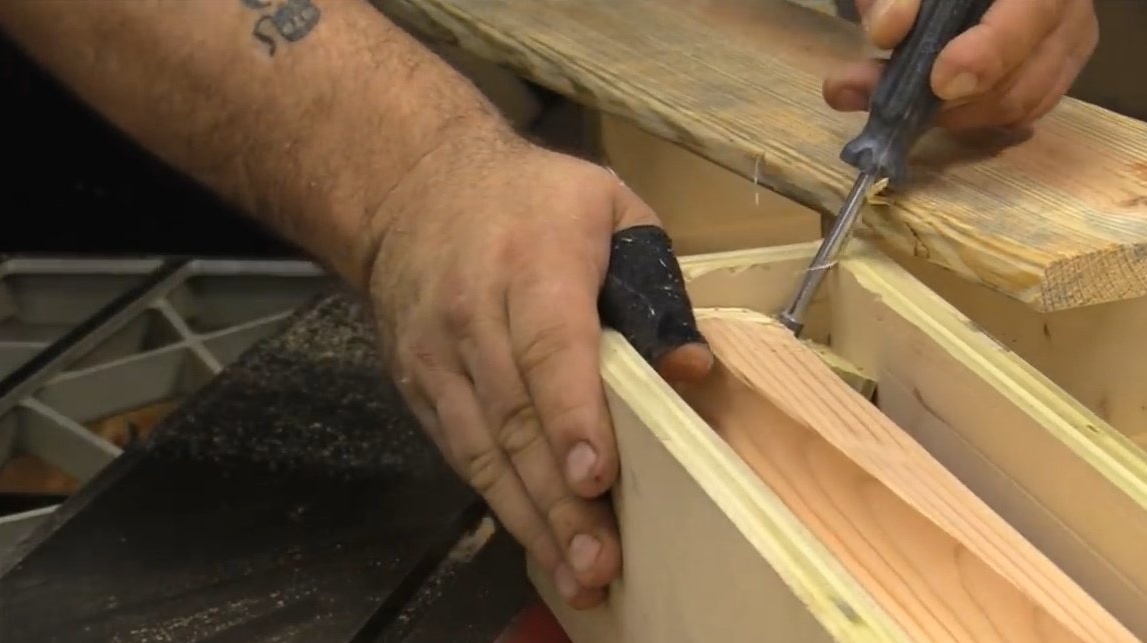
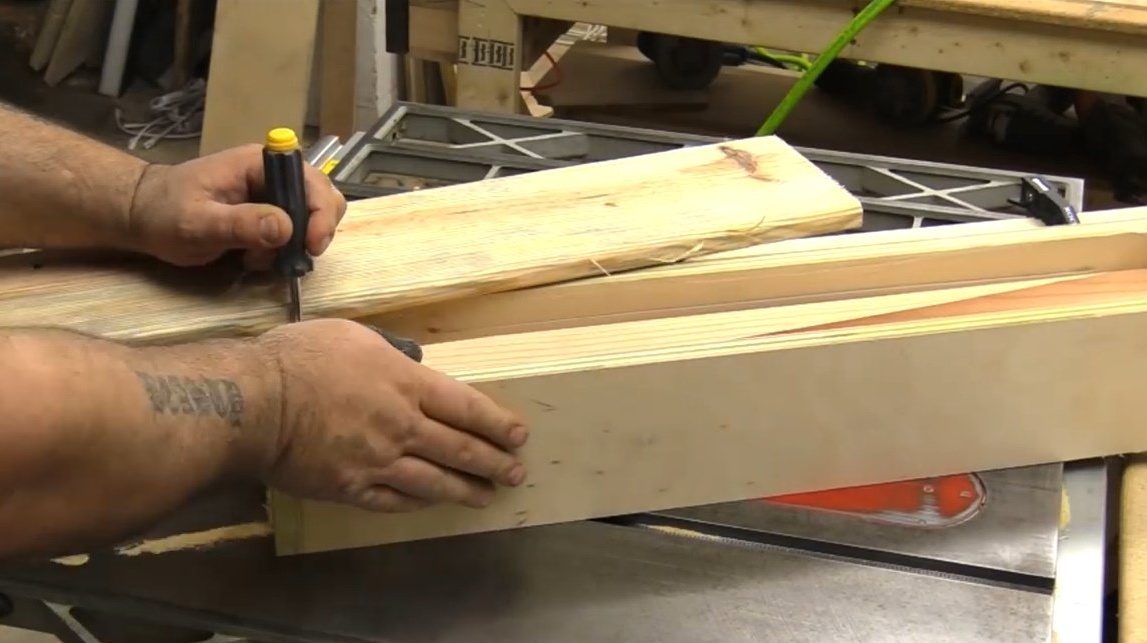
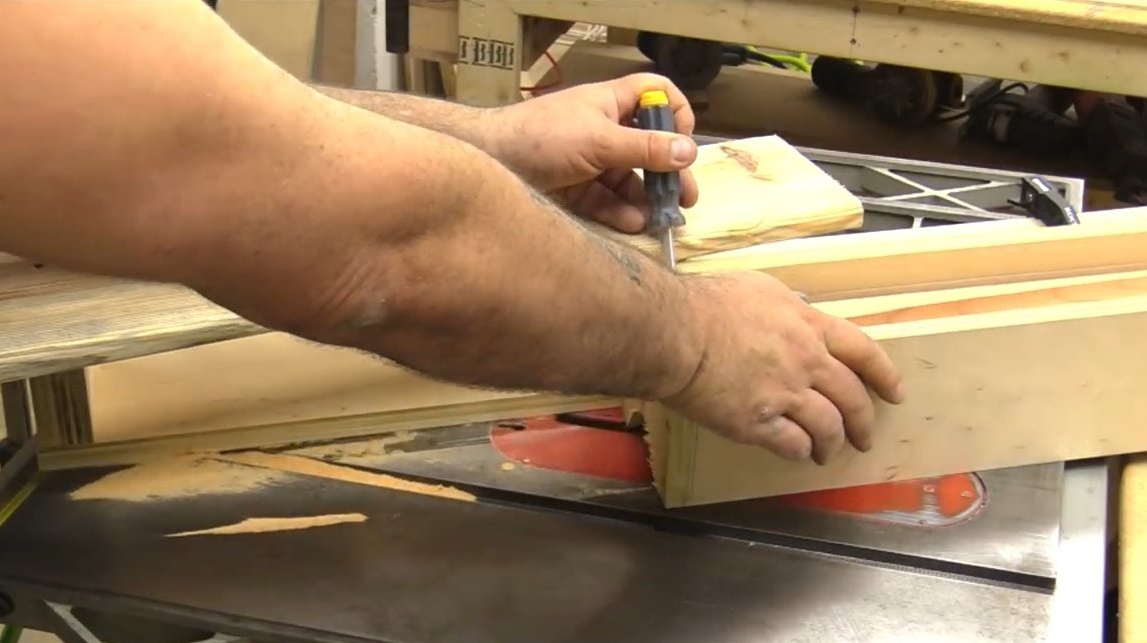
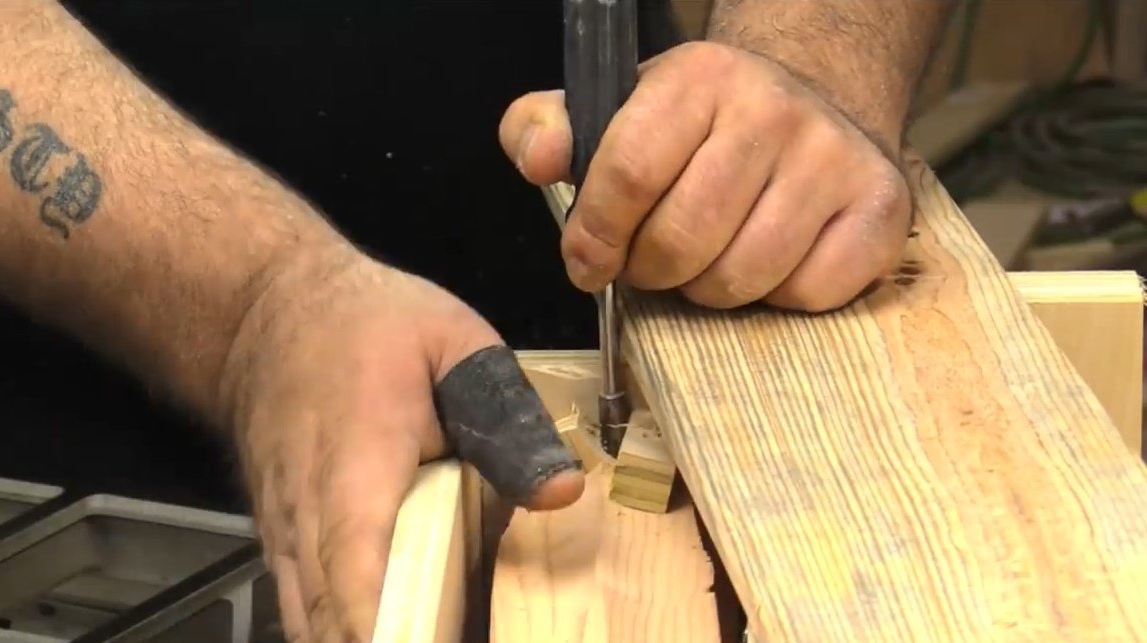
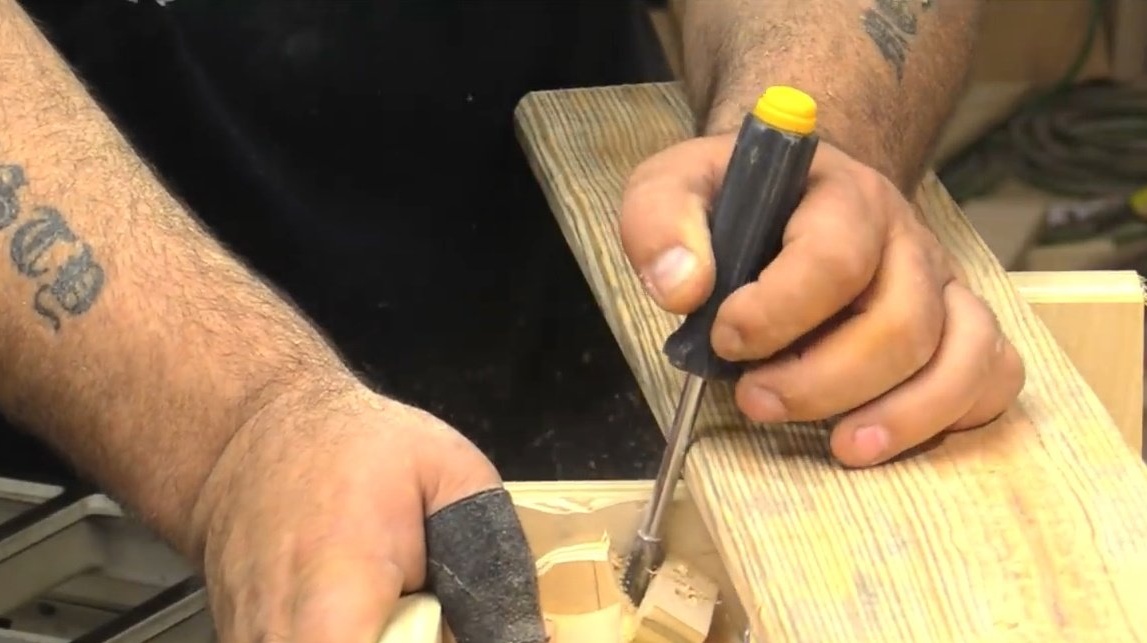
To give the effect of a spiral, the craftsman enhances the torque due to the fact that he inserts a screwdriver into the previously made holes on one of the extreme round logs. And then, during the process, it rotates the shaft.
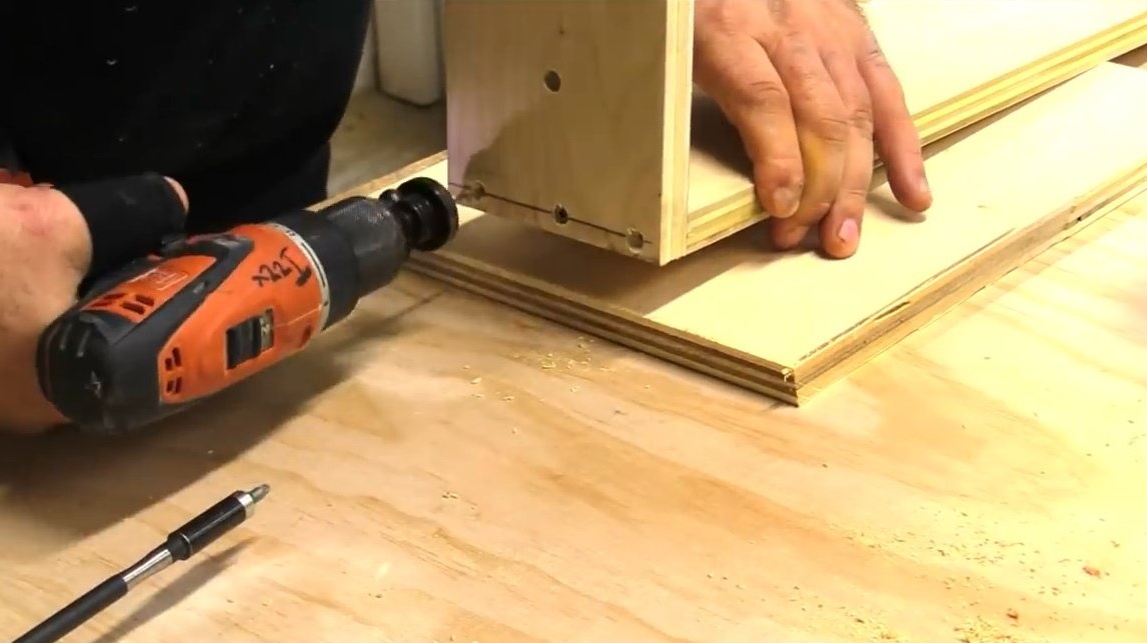
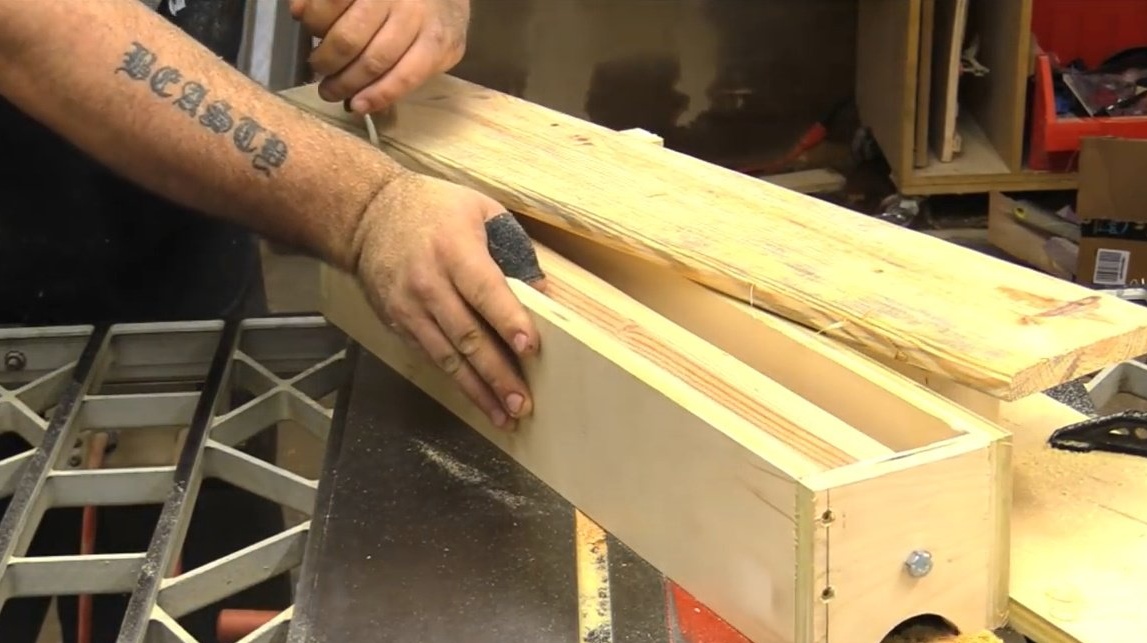
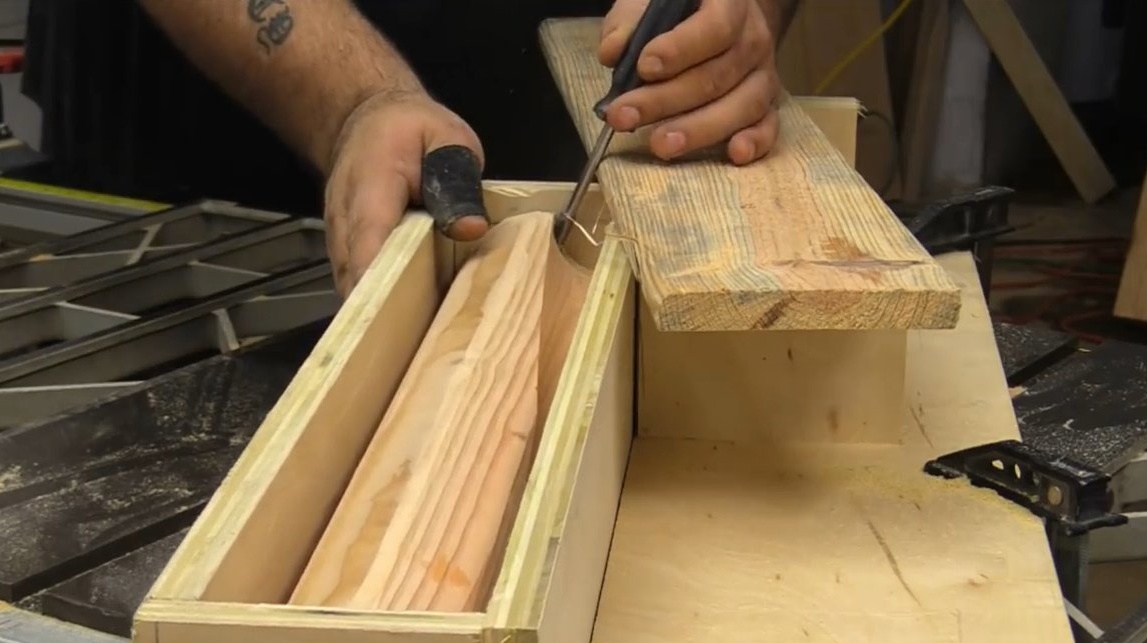
At the same time, a lot of things - the force of pressure, the speed of dragging through the disk, etc. - are given rather intuitively. After a few minutes, confidence comes and you easily manage the process. There comes an understanding of how to guide the box relative to the stop. If you look closely, you can see that the emphasis is located at a certain angle to the guide.
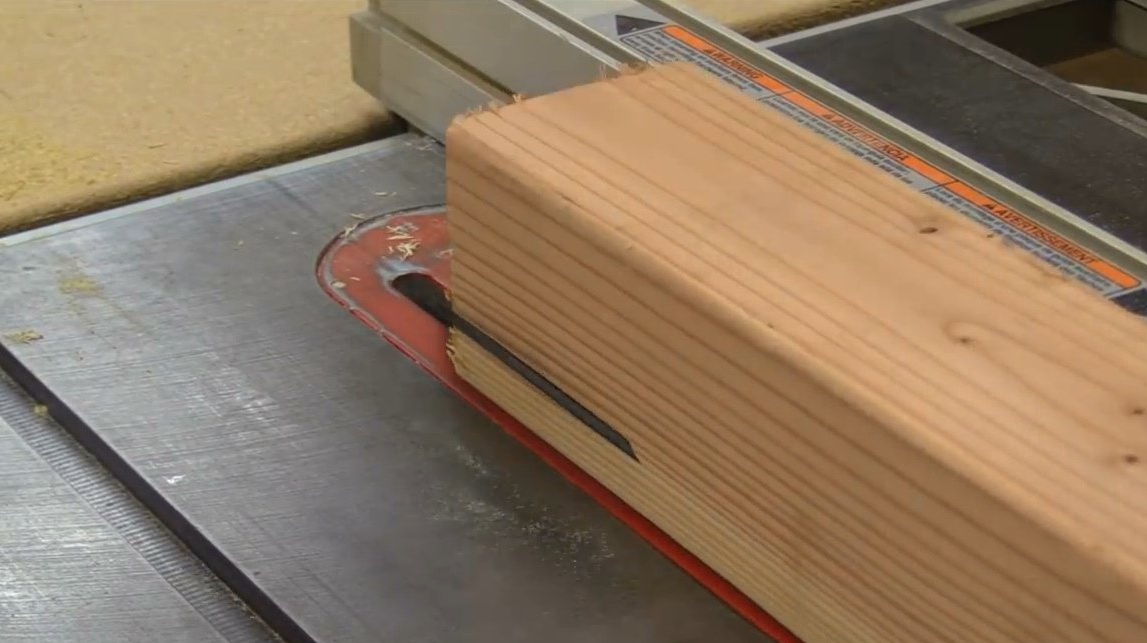
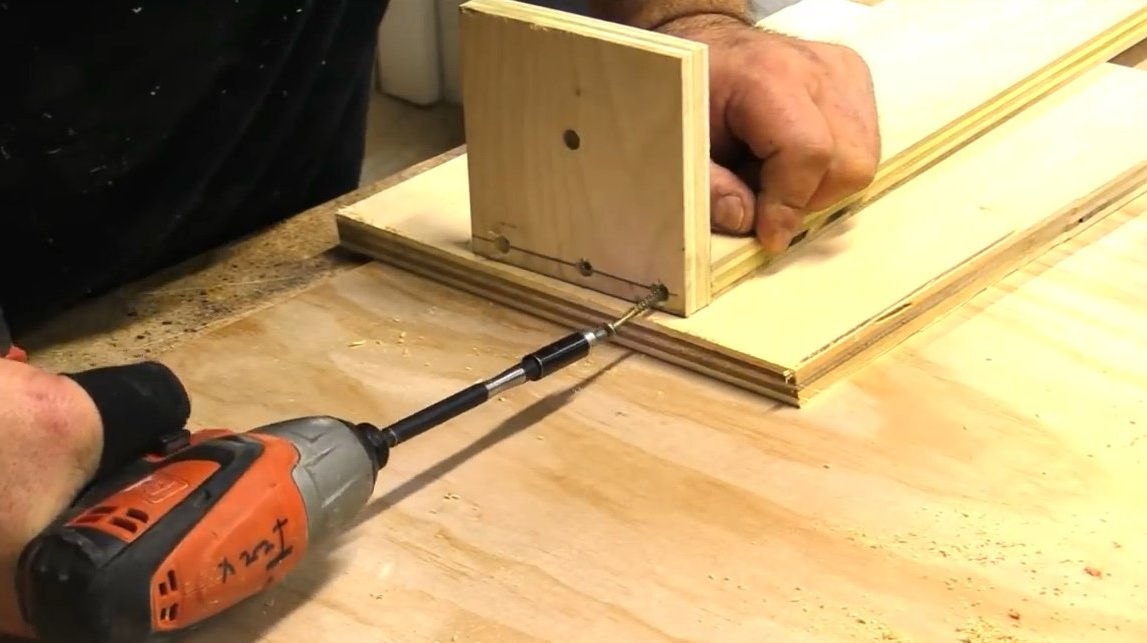
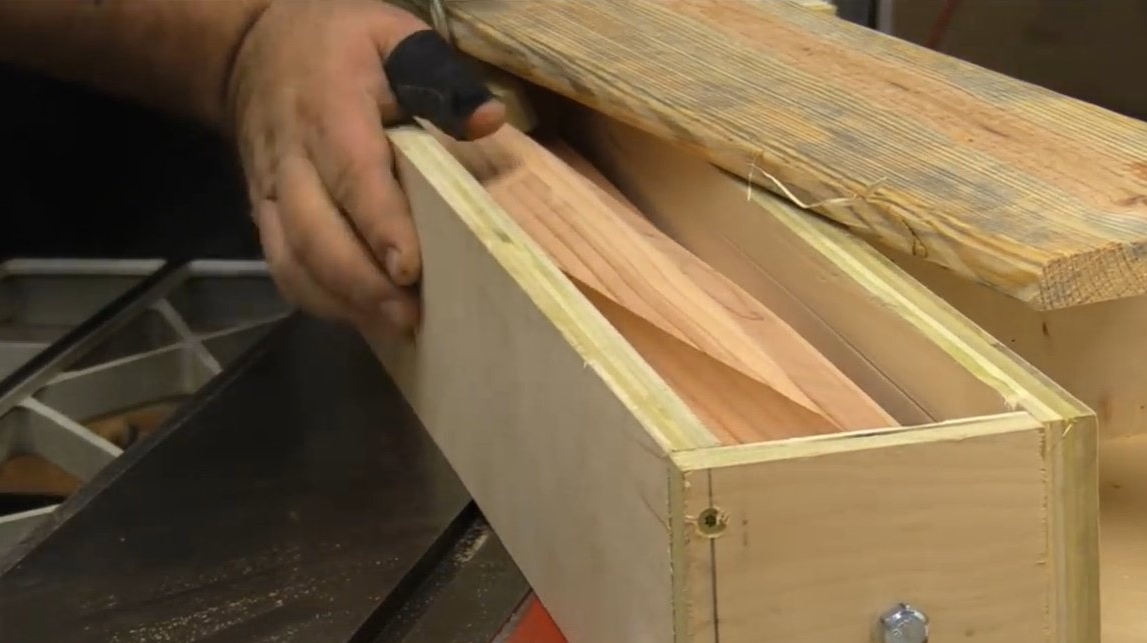
With such scraping of material (and this process is quite lengthy and requires patience), the author recommends starting with a depth of 2 mm, and gradually bringing it to 6 mm, with each pass slightly raising the saw blade. Approximately 6-8 such passes will be required.
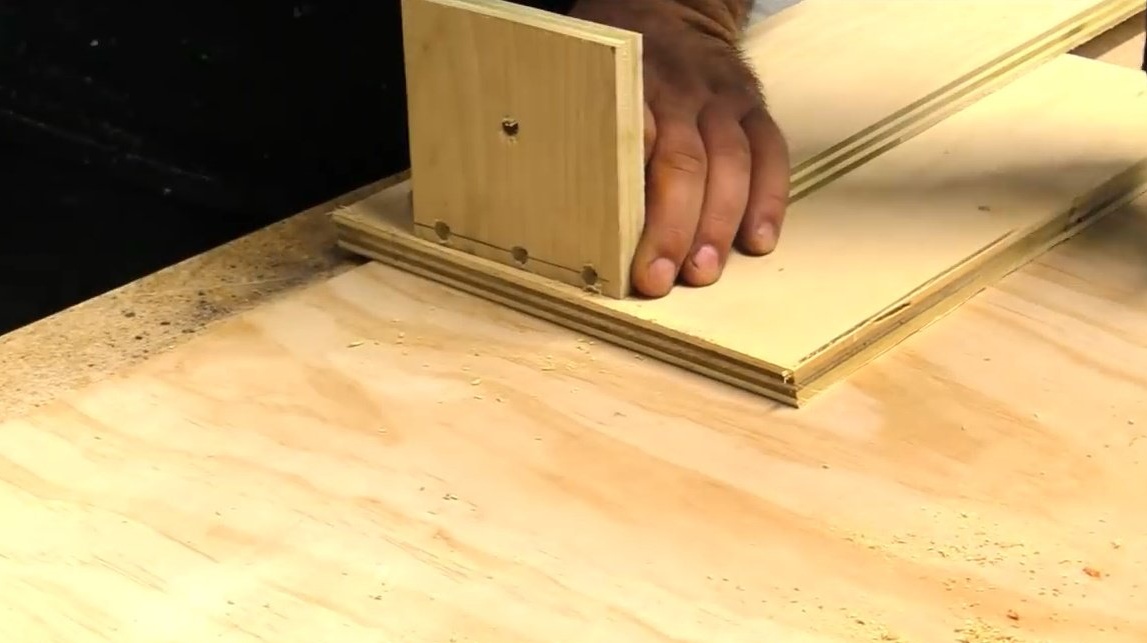
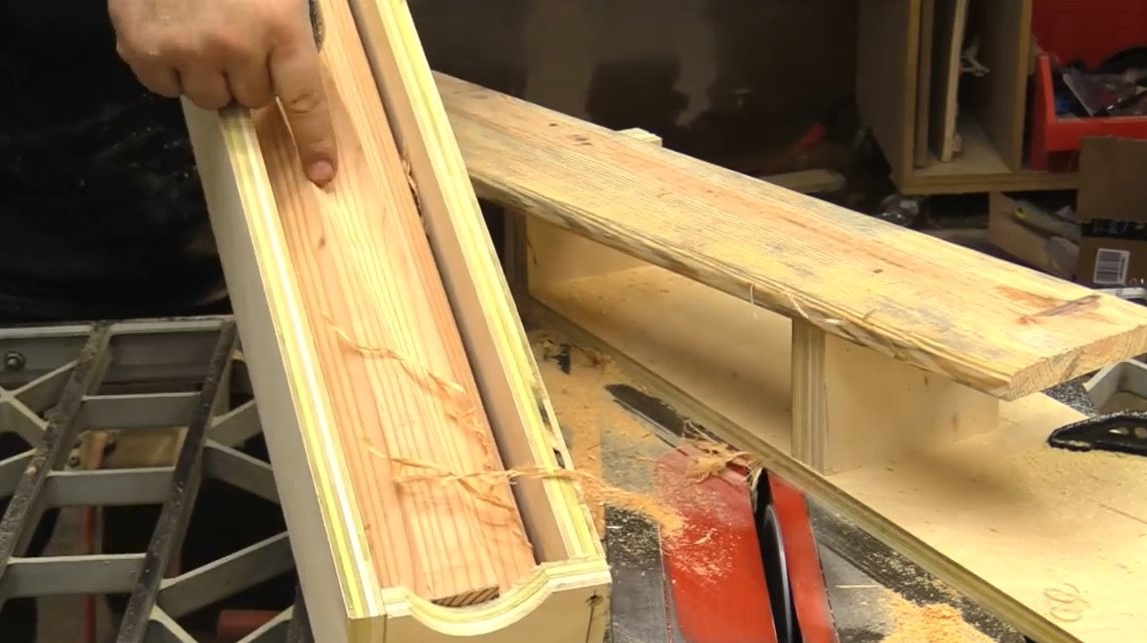
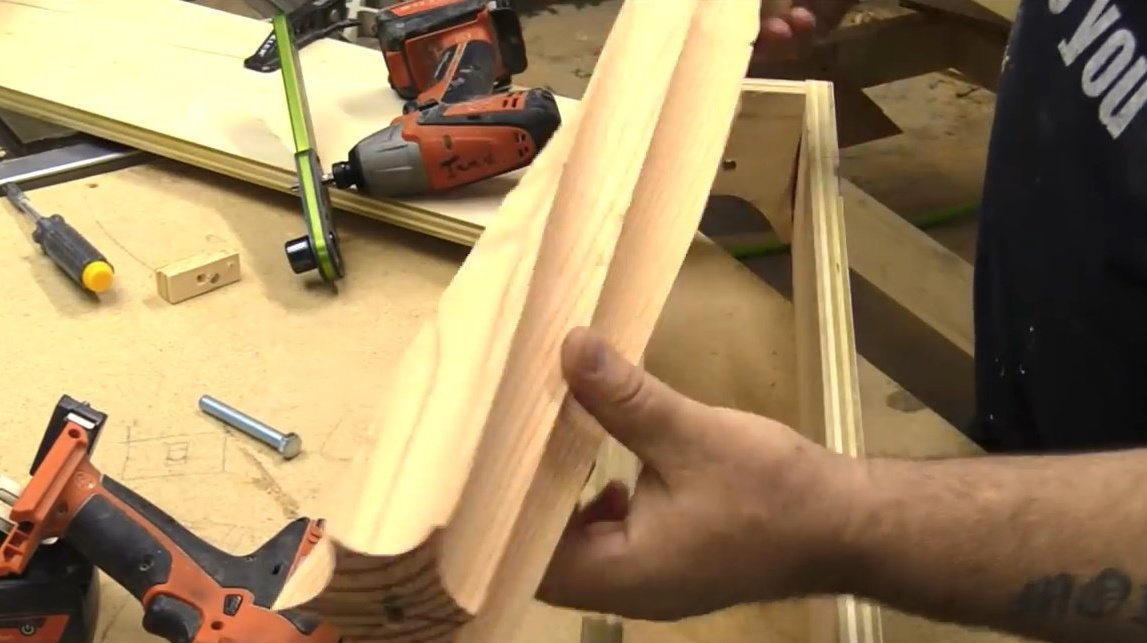
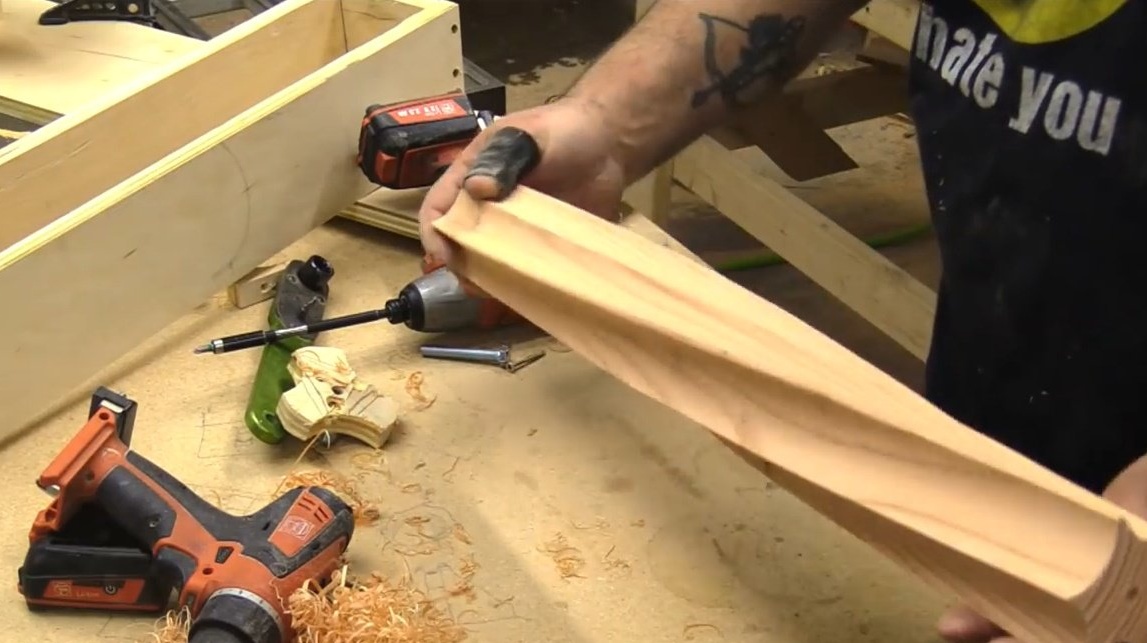
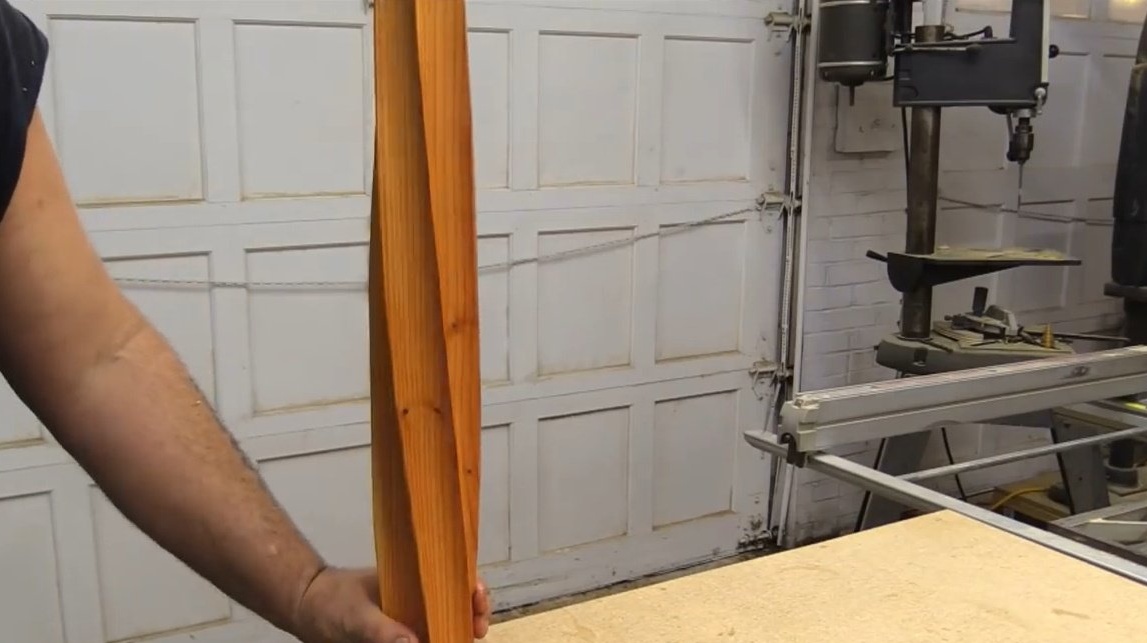
After the author has completed the first three grooves, he unscrews all the elements and rotates the guide block to the center of the other three grooves. The result is 6 rounded grooves that form a spiral together.
At the same time, the author did not need much time to put everything at the right angle and combine.

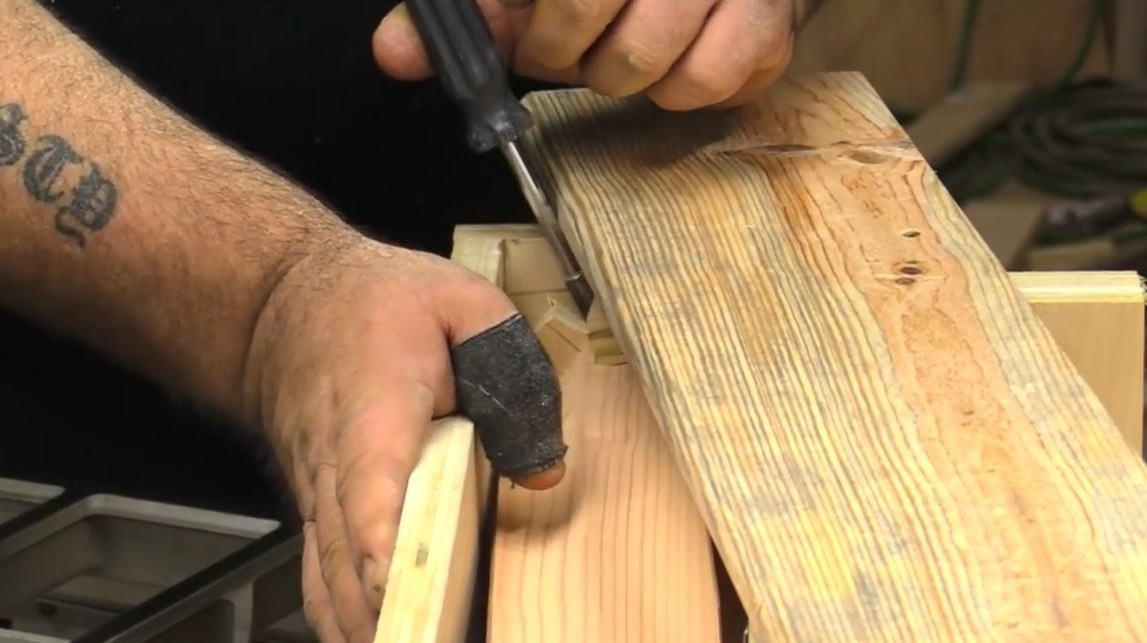
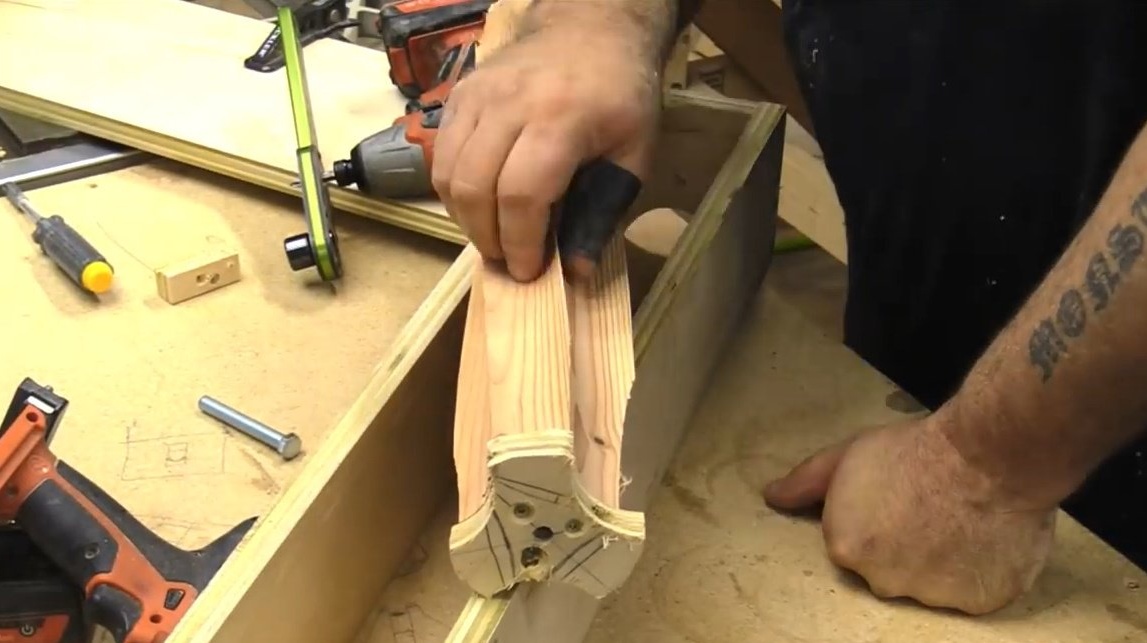
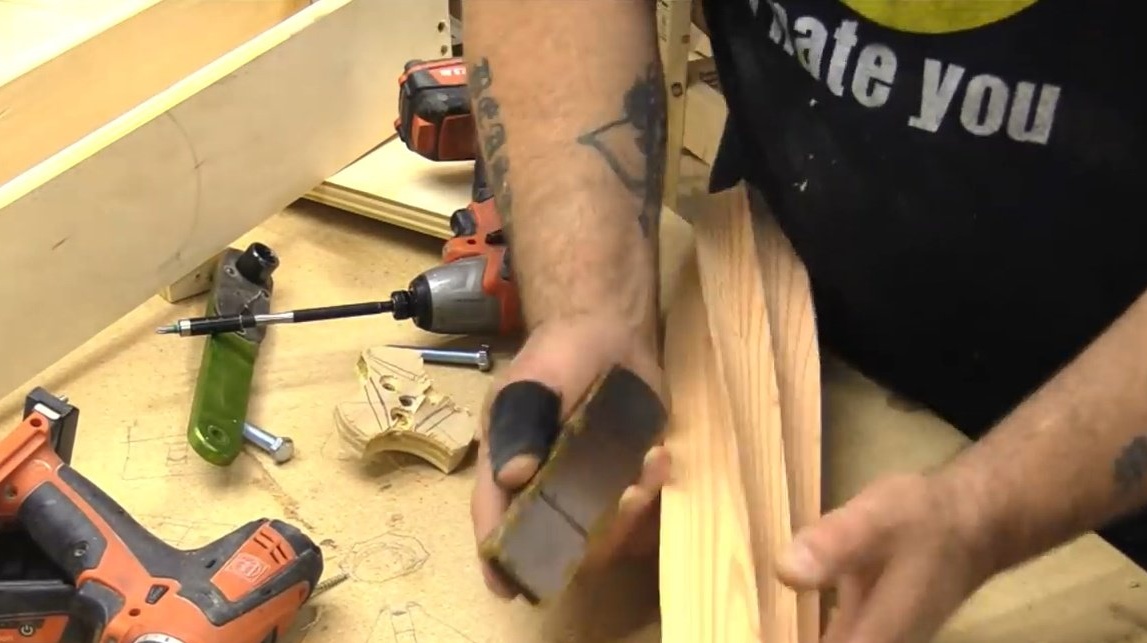
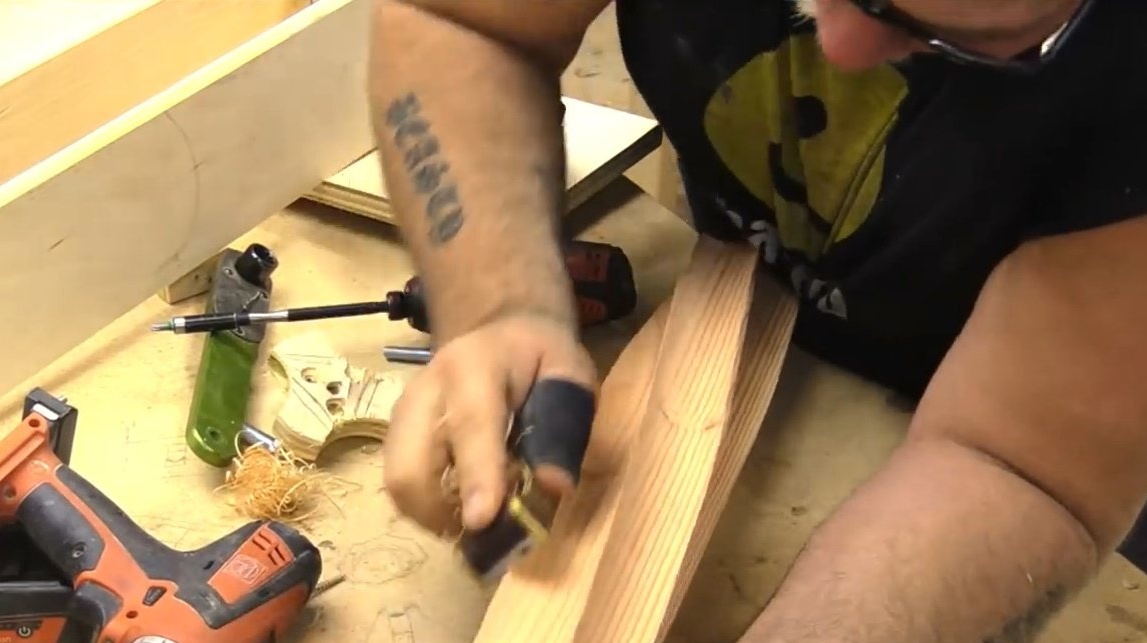
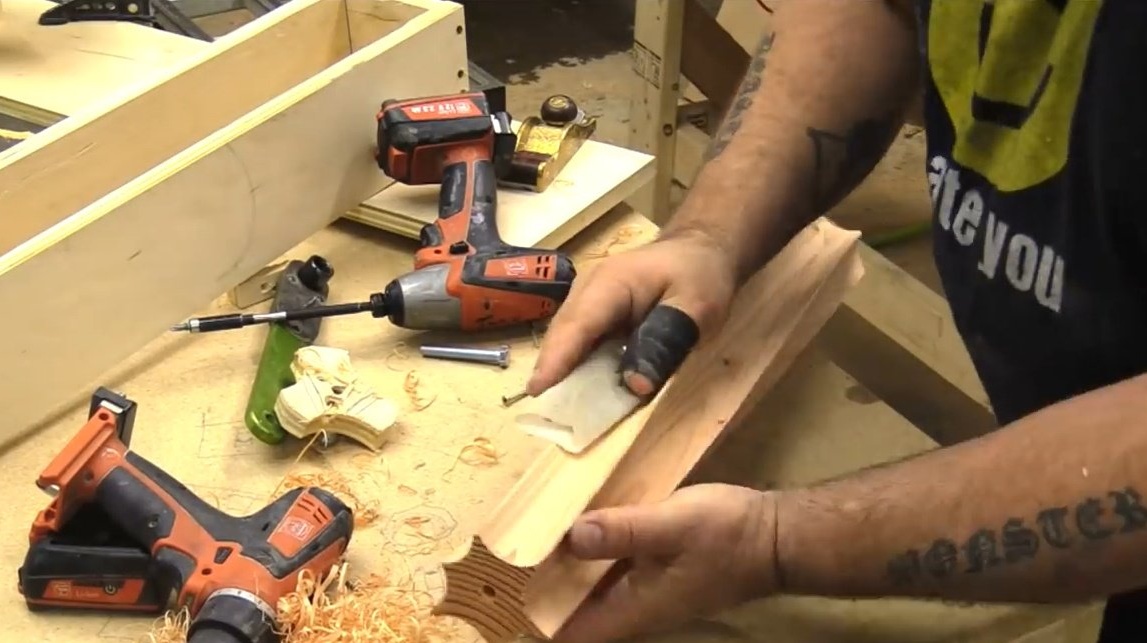
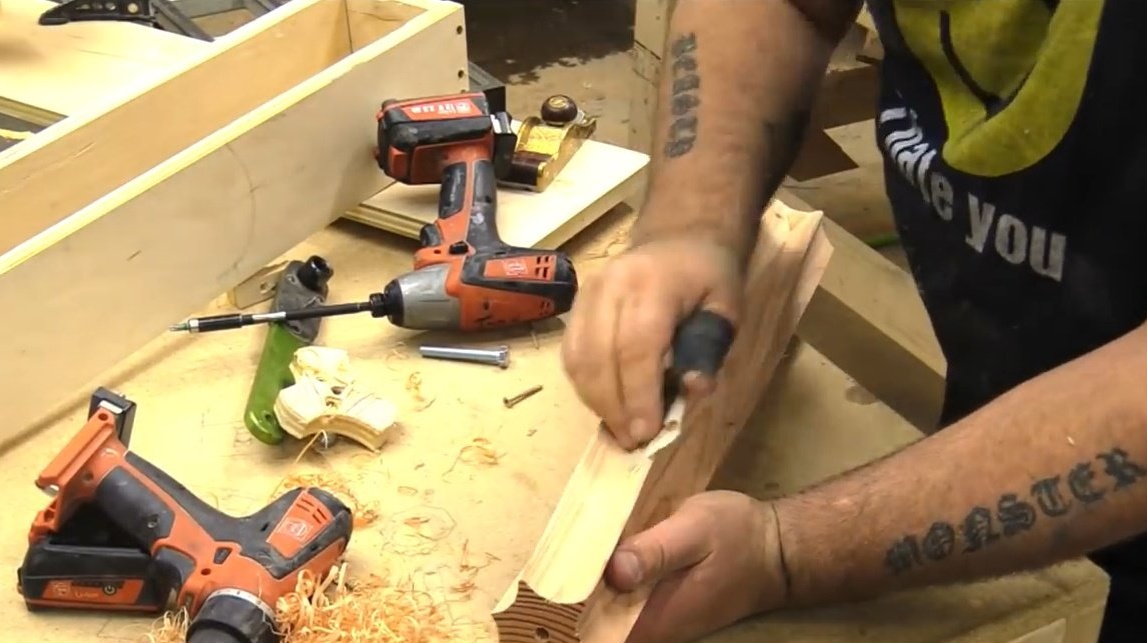
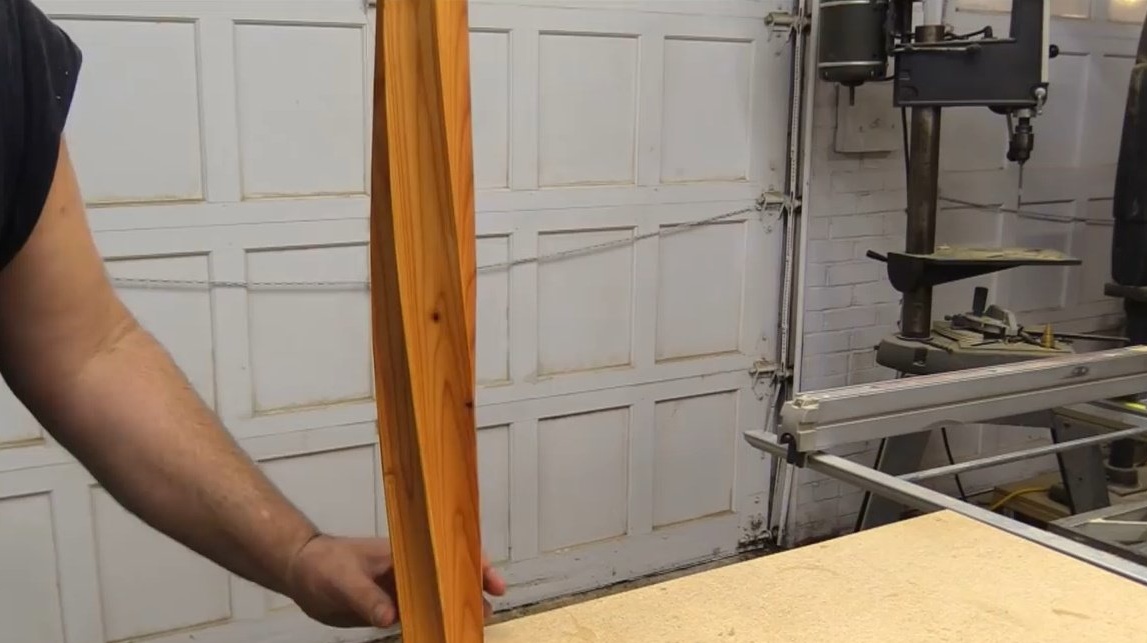
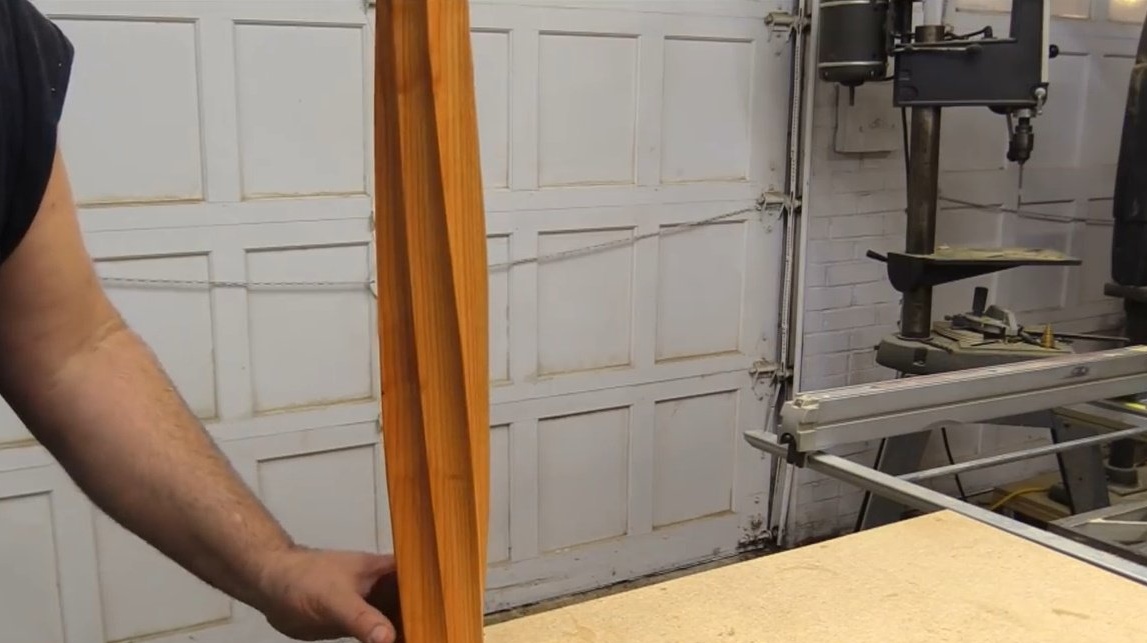
On the product there were a couple of places where the blade left sharp edges, the author removes these light flaws with a hand planer, then polishes manually with sandpaper.
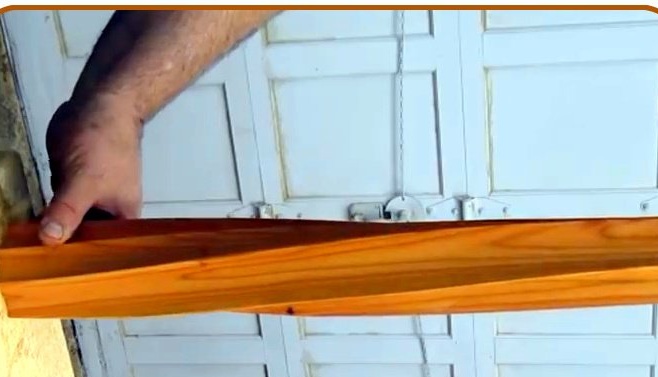
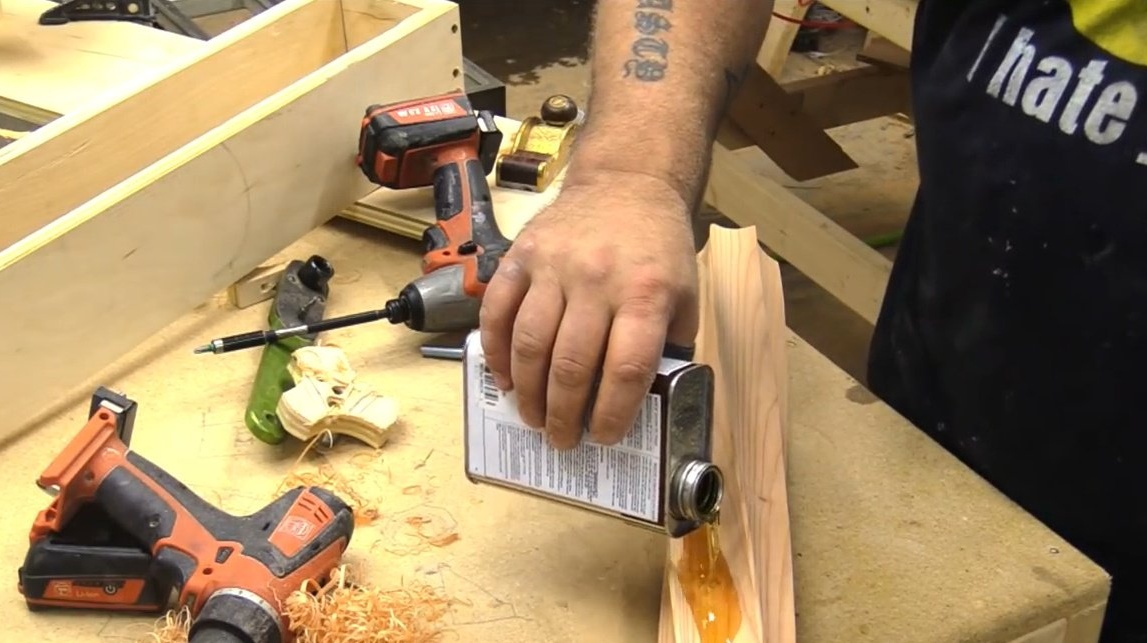
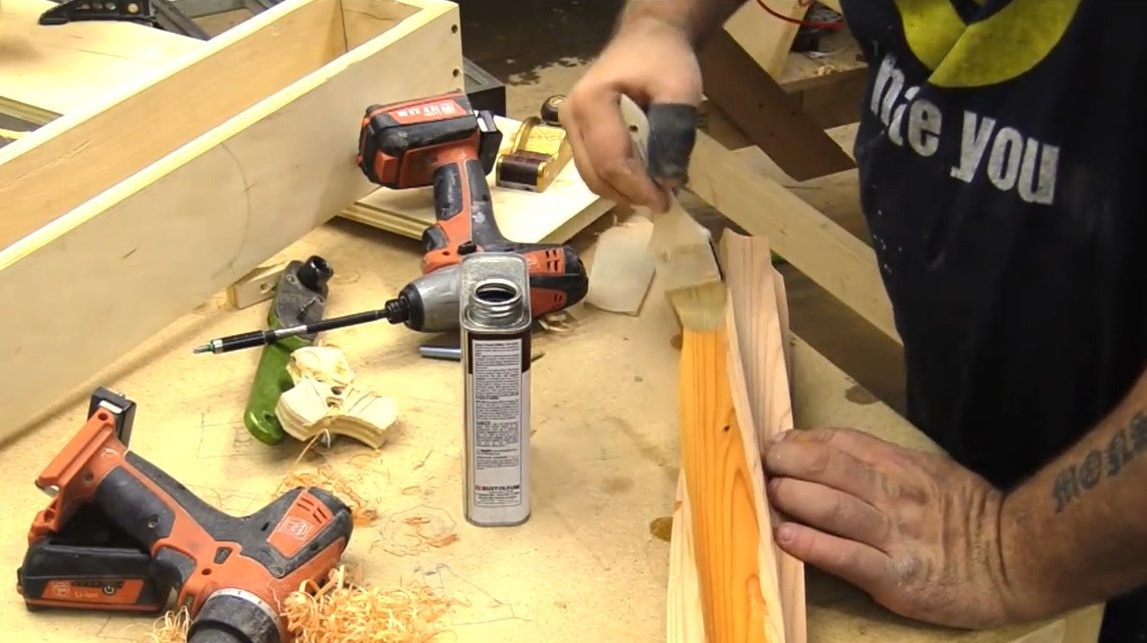
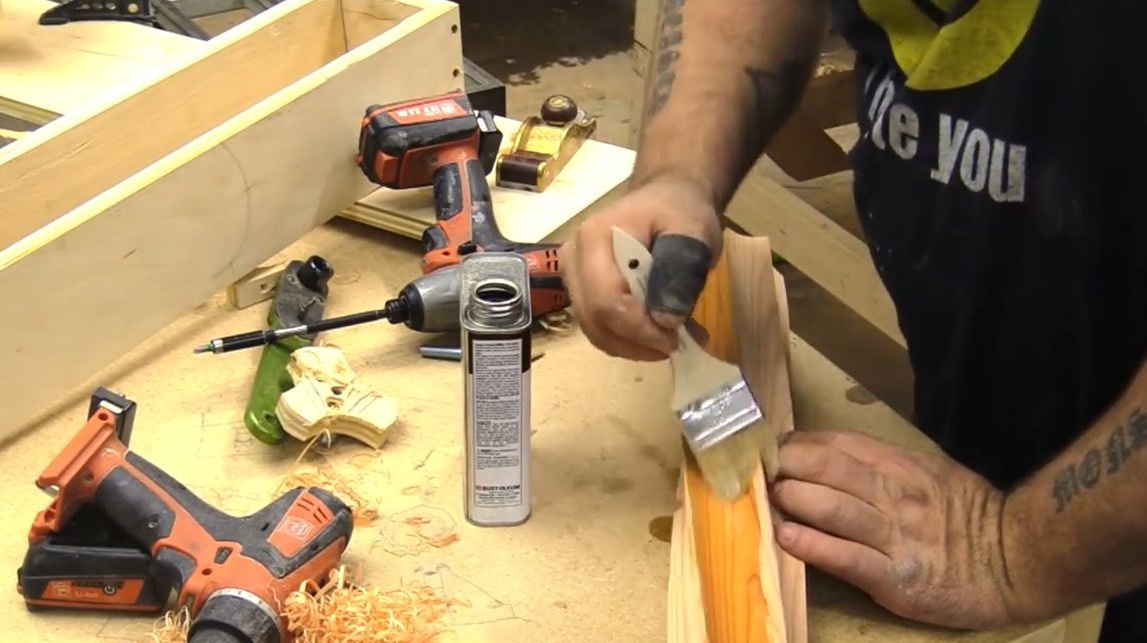
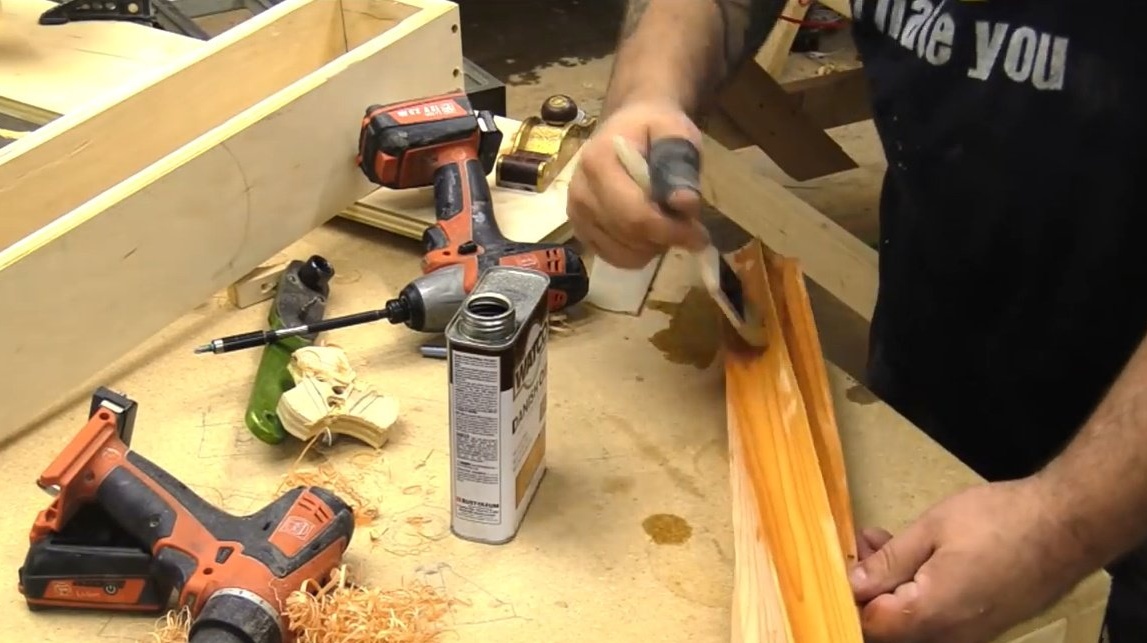
It remains only to soak all sides of the product with oil.
Such an unusual method of processing wood is possible with a conventional circular saw.
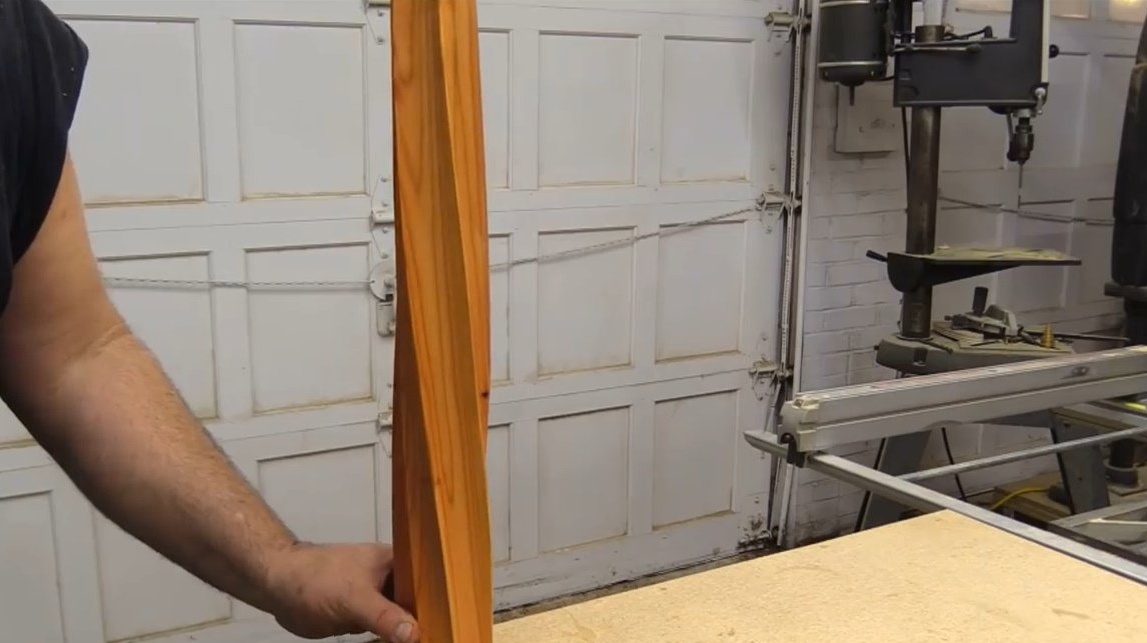
Thanks to the author for the idea of a simple but very interesting carpentry fixtures!
All good mood, good luck, and original ideas!