Author homemade which we will now examine often works in the garageHe is a workshop. Since dust is emitted during the work of the master, the author decided to make a filter for air purification in his workshop. The filter turned out to be quite budgetary, and quite simple to manufacture. You will not need anything specific from tools and materials in the manufacturing process.
Tools and materials
Manufacturing process.
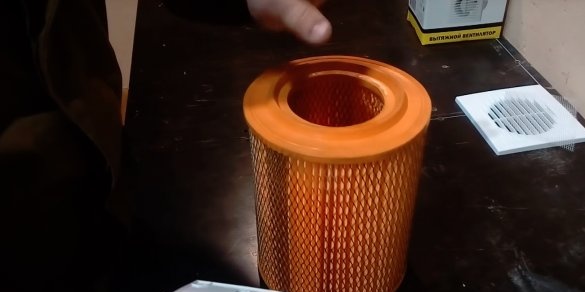
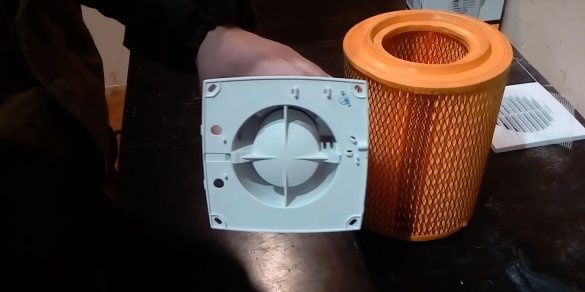
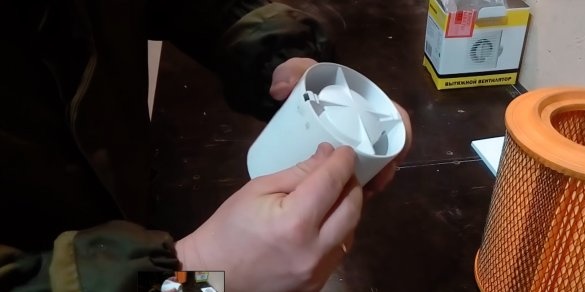
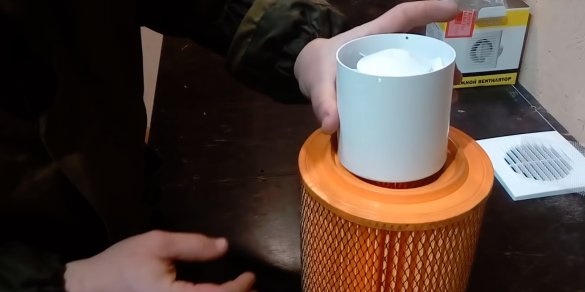
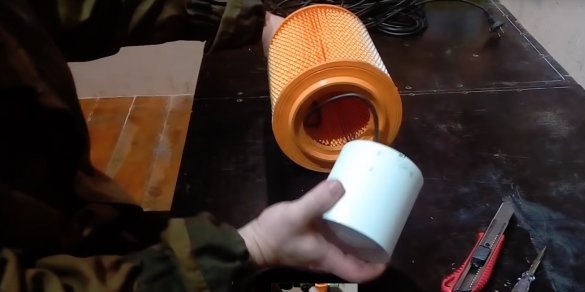
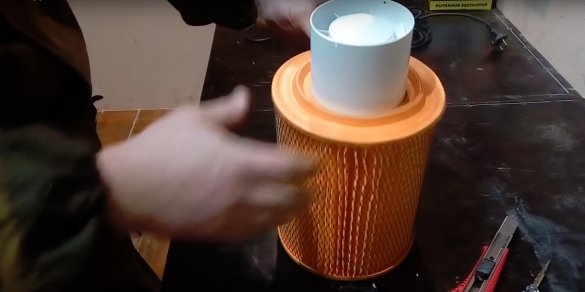
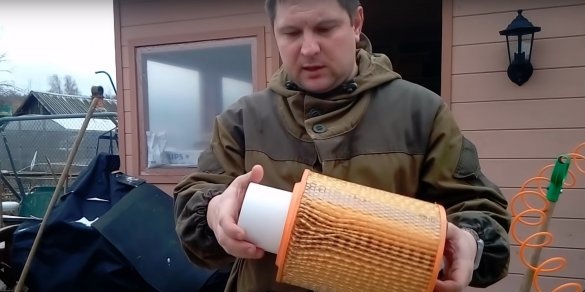
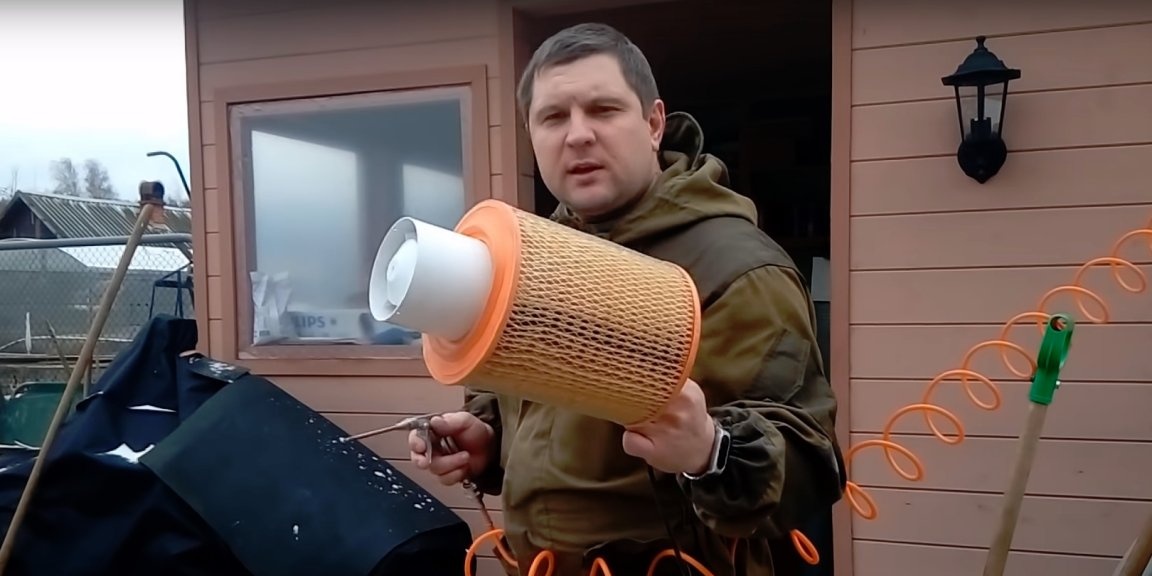
To manufacture this device, the author purchased an air filter for a GAZelle car and the most ordinary household exhaust fan, with a diameter of 125 mm.
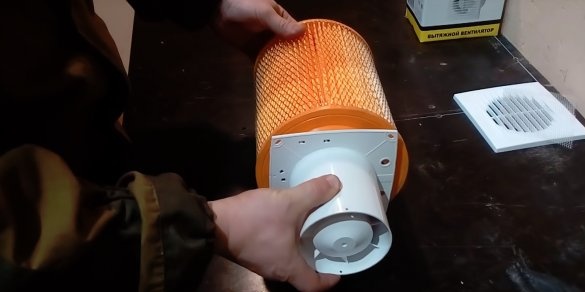
The protective grid from the fan can be safely put aside; it will not be useful to us. We need to connect the fan with the suction side to the filter so that the air when the fan is running passes through the filter and then through the fan.
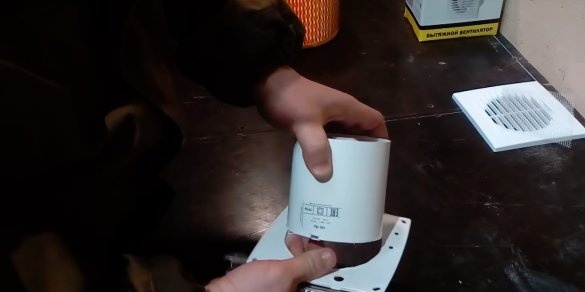
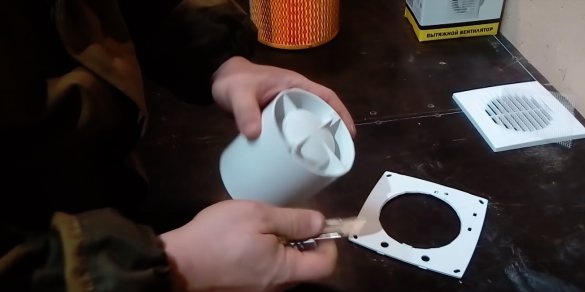
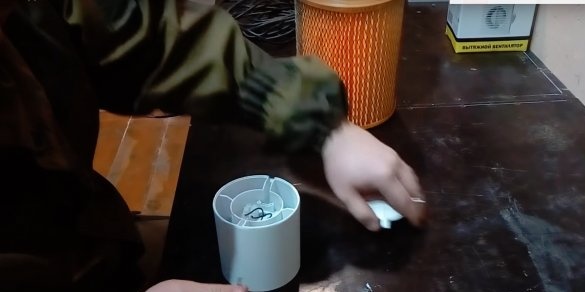
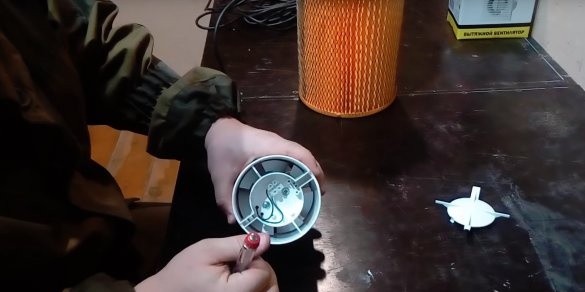
In this model, the fan has a front panel that needs to be removed. The author cuts it off with the help of a clerical knife, although with the help of angle grinders, things would go faster. Better yet, immediately buy a fan without such a panel (duct fan)
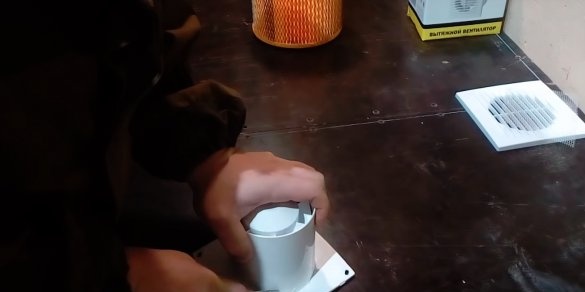
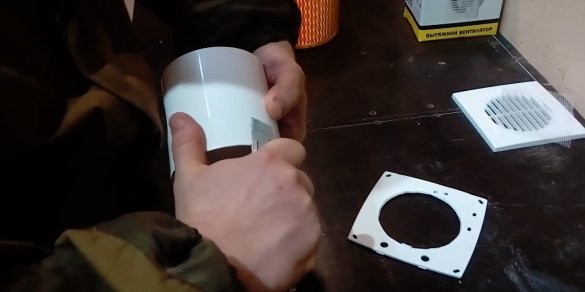
In order to make it easier to insert the fan into the filter, the author chamfers the cut-off part, the author uses the same clerical knife, but it is easier to use a file.
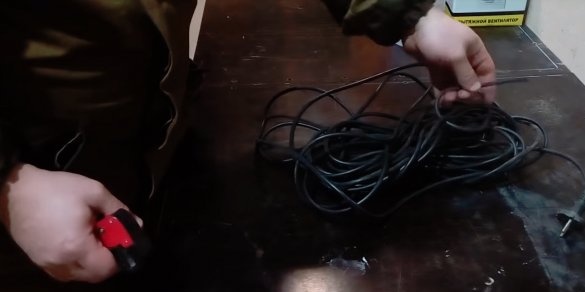
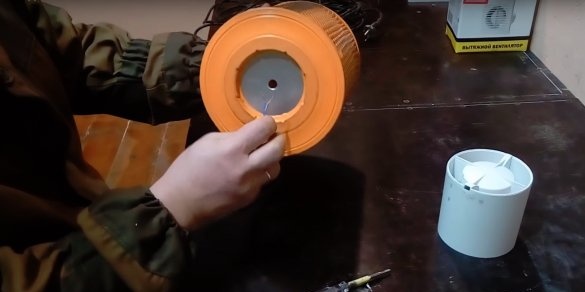
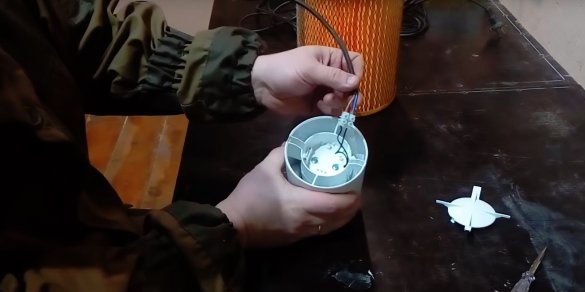
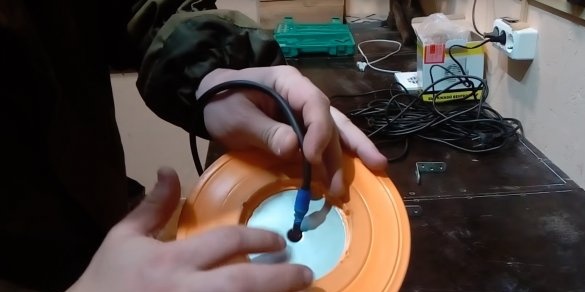
Now you need to think about the electrical connection, because the terminals at the fan are located on the side that later disappears in the filter. Therefore, the author finds in his stocks a fairly decent remainder of the wire already with the plug and throws its free edge through the filter. Some models of filters already have a hole, some do not, then we drill it ourselves.
Connects the wire to the fan. The fan terminals are hidden under the protective cover, you need to open it just by prying it with a screwdriver. On some models, this cover is screwed.
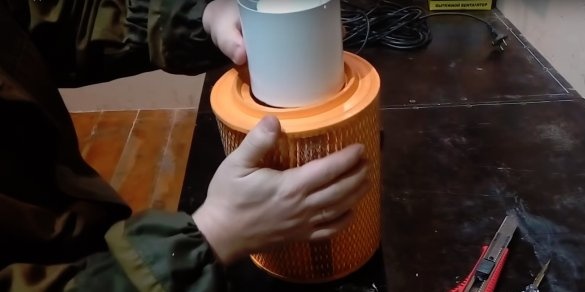
Then everything is simple, you need to insert the fan into the filter. Well, just like that, you will need to strain a little))
There is no need to fasten the fan to the filter, it enters quite tightly and cannot fall out of the filter.
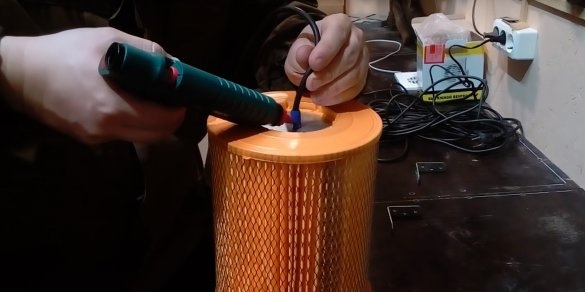
The author seals the hole with the wire using a thermo-glue gun.
That's all, the device is almost ready, it remains to fix it.
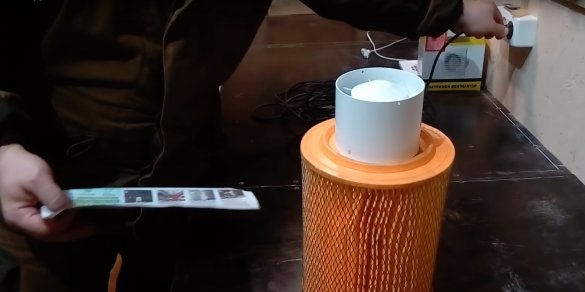
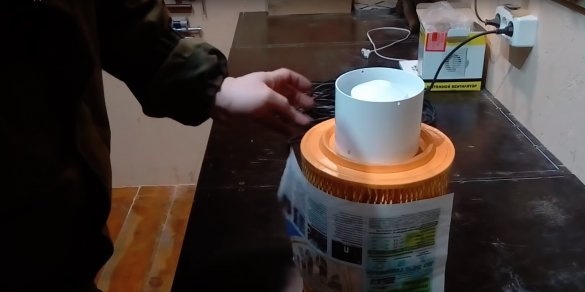
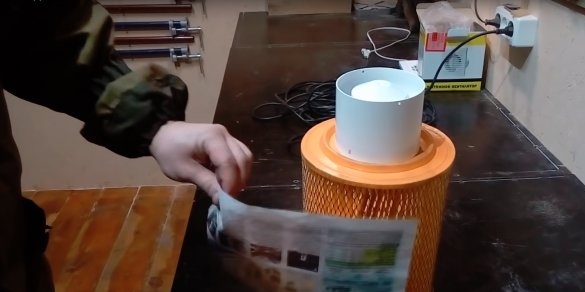
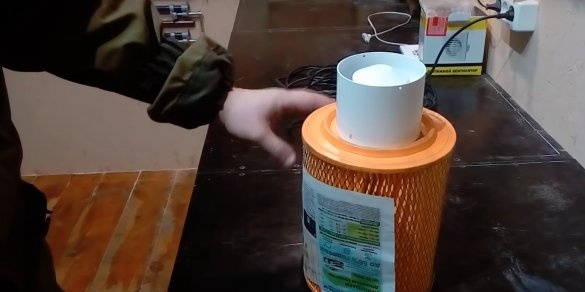
But before attaching it, it is worth checking for operability. The author turned on the fan in the network, as you can see the device is functioning as required. The air flow passes through the filter while cleaning, then clean air passes through the fan.Thus, the fan blades will also always be clean and will not have to be removed for cleaning. The flow is enough to hold a sheet of newspaper.
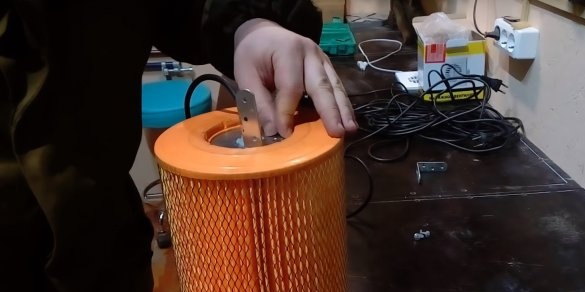
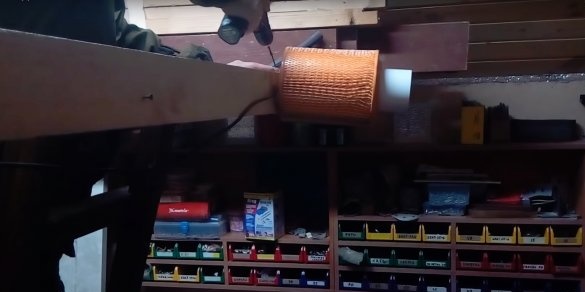
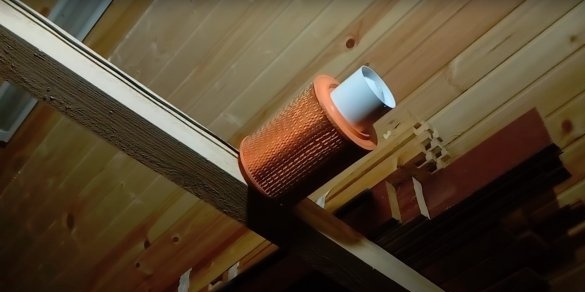
The author decides to fix his device higher to the ceiling on a wooden beam. Since the dust in his workshop is located in the upper part of the room. As fasteners, the author uses a furniture metal corner which screws in the back metal cover of the filter onto self-tapping screws.
The filter is mounted in its rightful place and is ready to go.
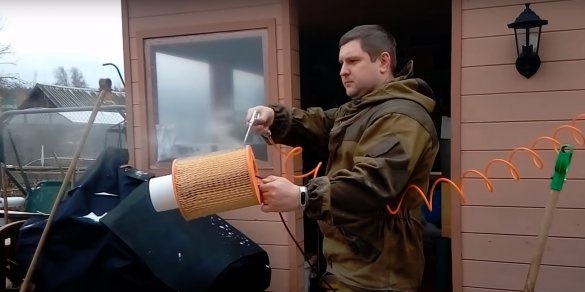
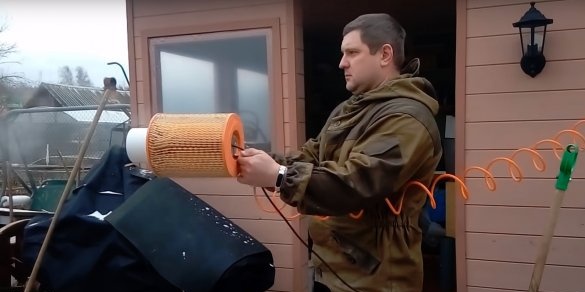
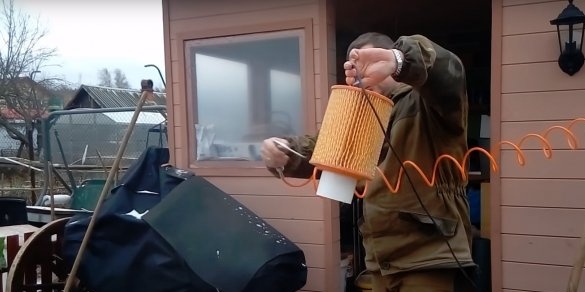
After operating the air filter for four days, the author removes it in order to evaluate the effectiveness of this homemade product. For clarity, the author blows dust from the filter cells with a compressed air stream of the compressor. As you can see, a lot of dust flies out, which means the device copes with its task and cleans the air quite efficiently.
This article is over, thanks to everyone who read to the end. I wish you successful projects and an inexhaustible amount of ideas.

