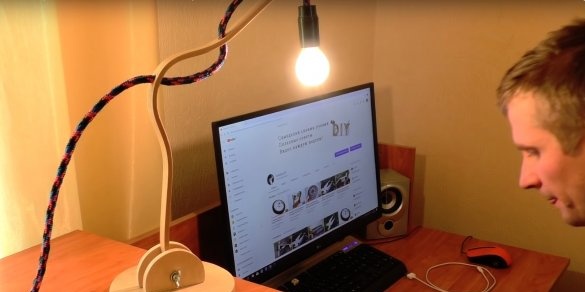
Necessary tools and materials.
Manufacturing Process.
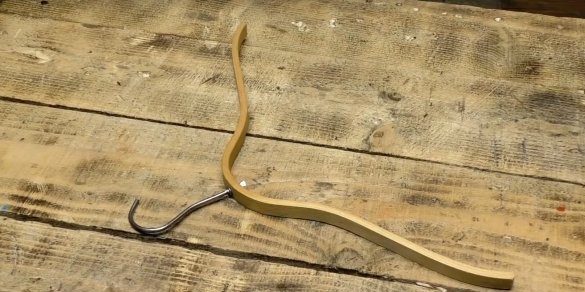
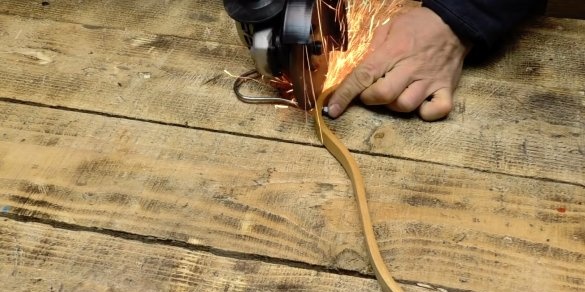
From the beginning, the author breaks already and so many things that have seen and survived, old shoulders, cutting off their hook.
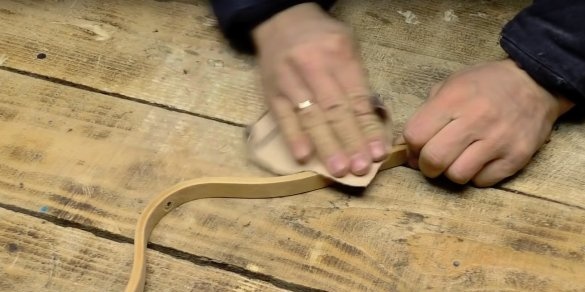
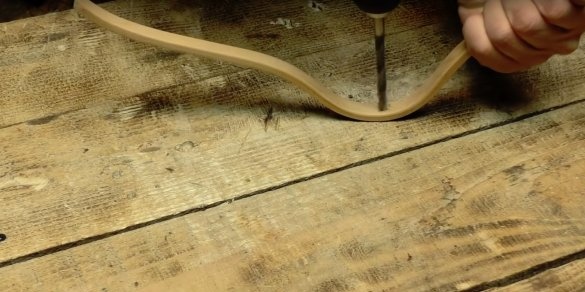
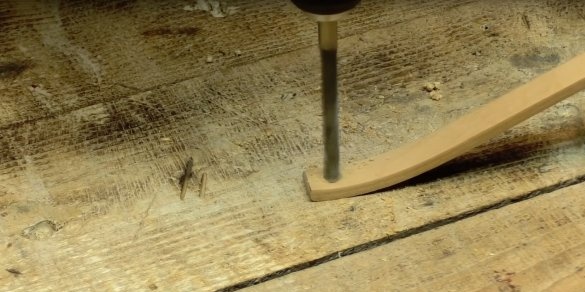
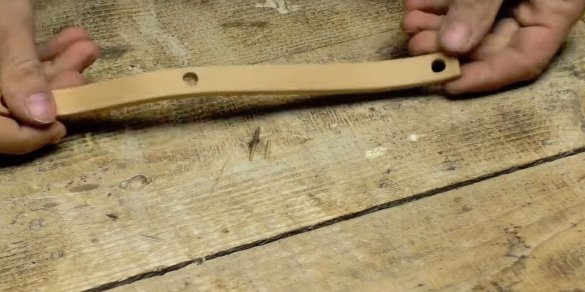
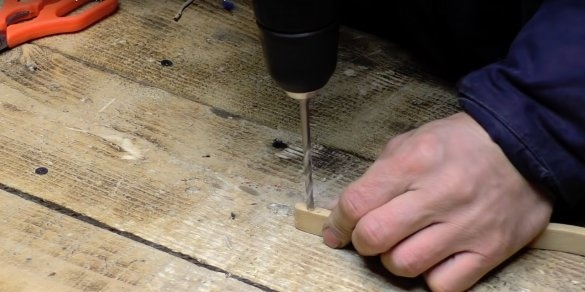
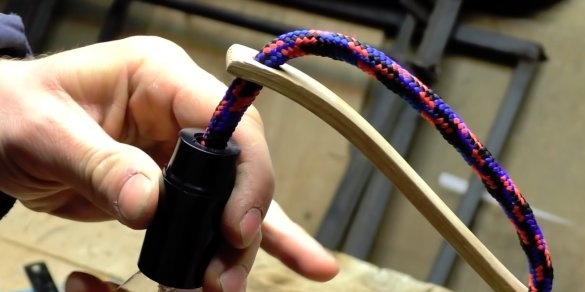
Skins and drills the hole in which the hook used to be. Makes another hole on the edge of the hanger and another, on a bend, between the two previous holes.
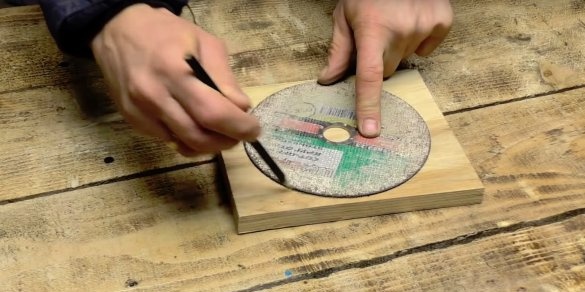
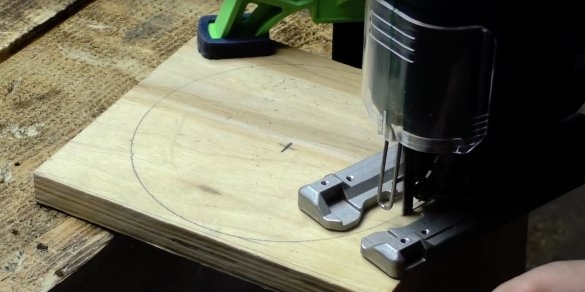
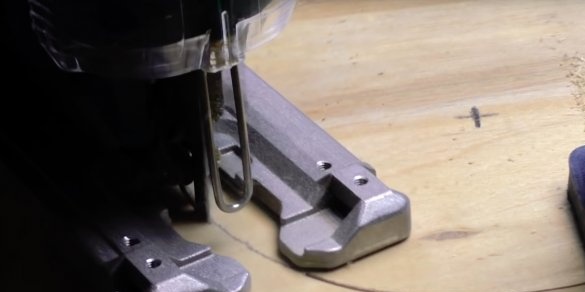
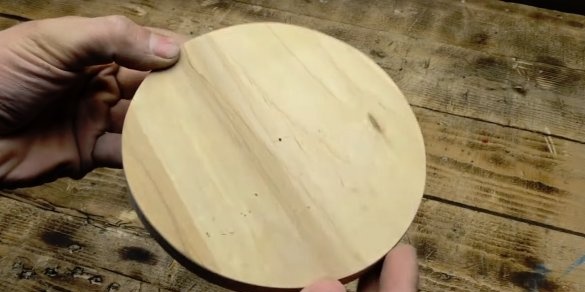
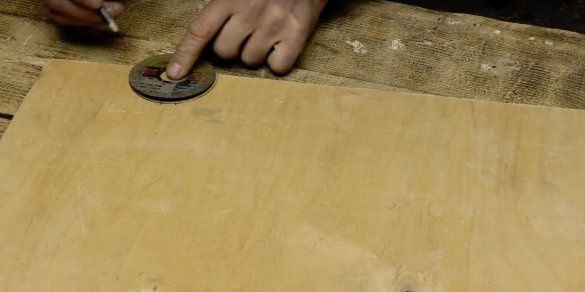
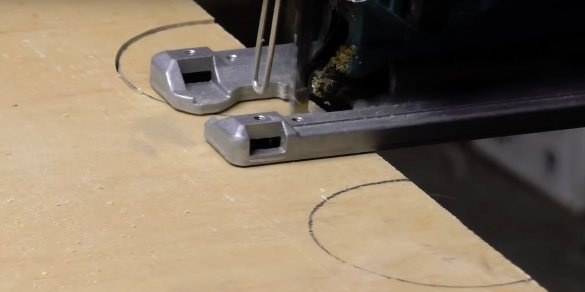
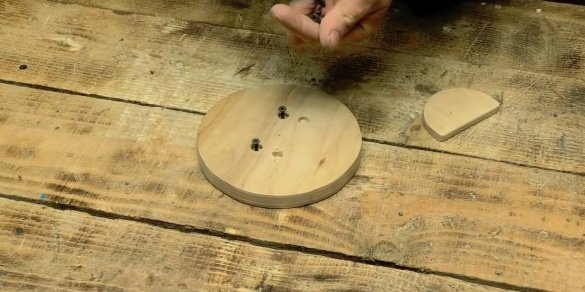
In the next step, the author makes the basis for the future lamp. For this, he uses plywood. Using such a wonderful measuring tool as an old metal disc, the author draws a circle on plywood and then cuts it using an electric jigsaw.
This circle will serve as the base of the lamp, so if you want to make the same lamp, you should consider that the base must be thick and heavy.
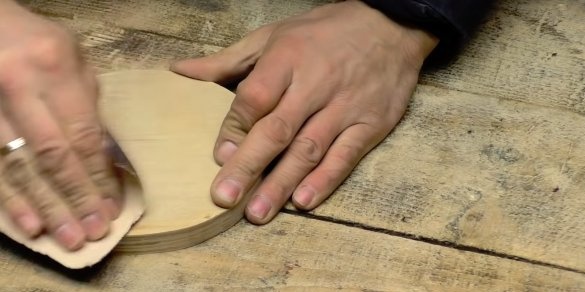
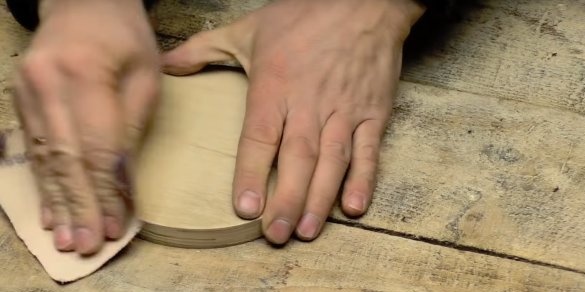
The author carefully sanders the surface and ends of the base.
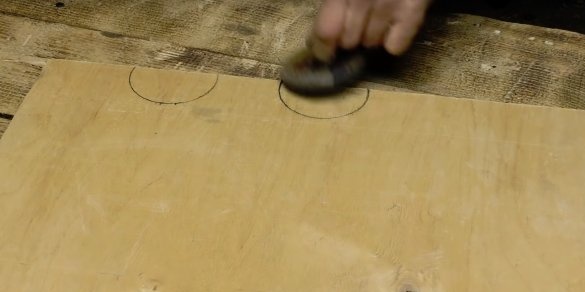
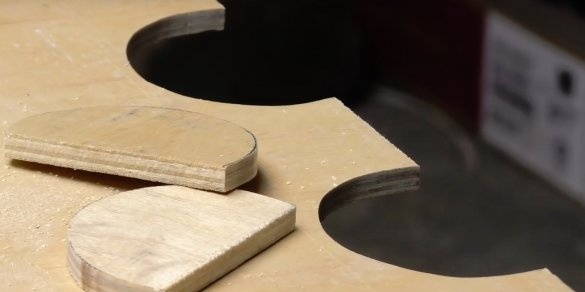
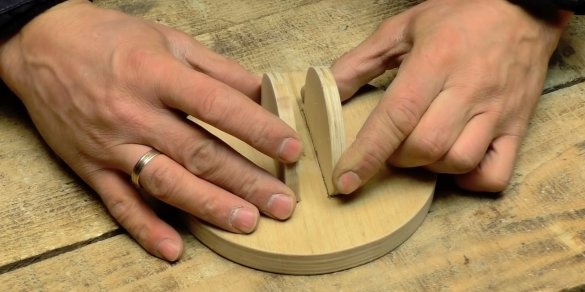
Next, the master will make the mount for the hanger. To do this, he takes the next measuring tool, a disc for metal of a smaller diameter than the previous one, in how. And marks on the plywood in the form of a semicircle.
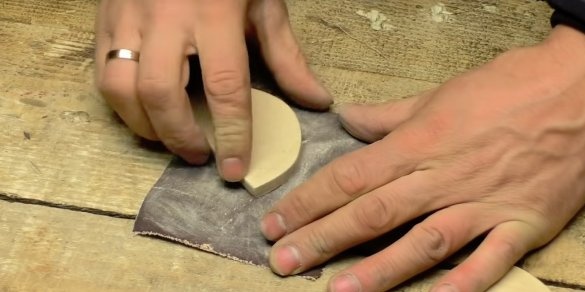
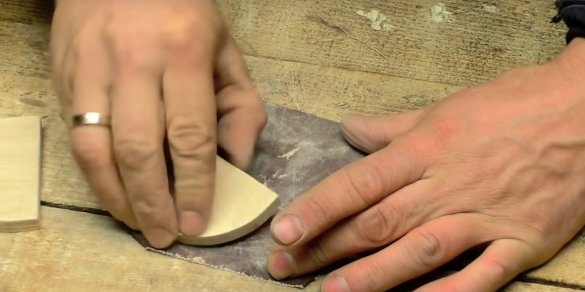
There are two such details. In fact, the dimensions of these parts are not so important, so you can do them at your discretion. The author polishes two cut out semicircles.
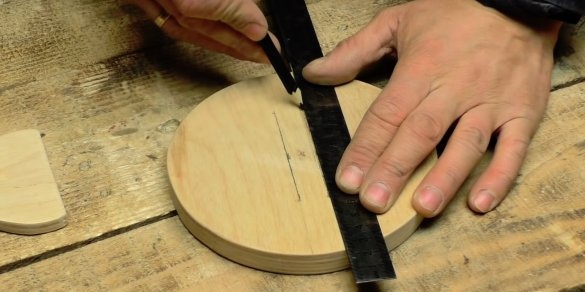
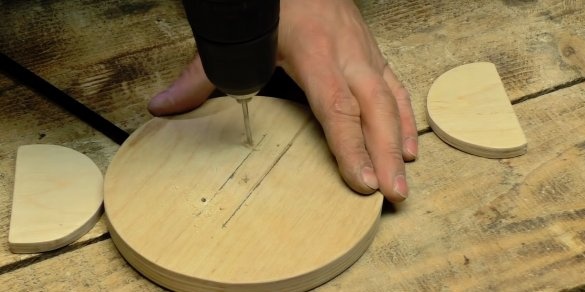
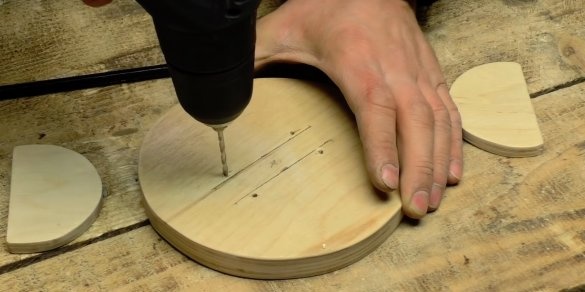
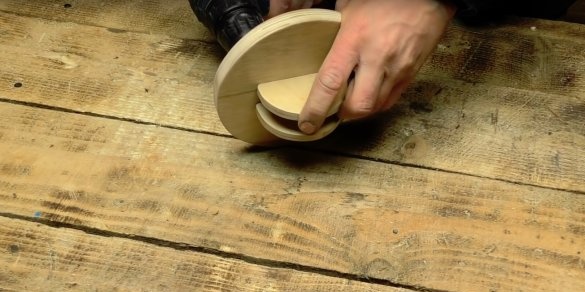
On the basis of the author draws two lines, the width between them is equal to the width of the hanger.
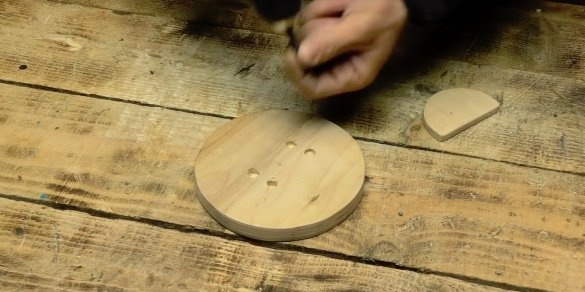
The author drills four holes for self-tapping screws, on the reverse side makes patay under the caps of self-tapping screws.
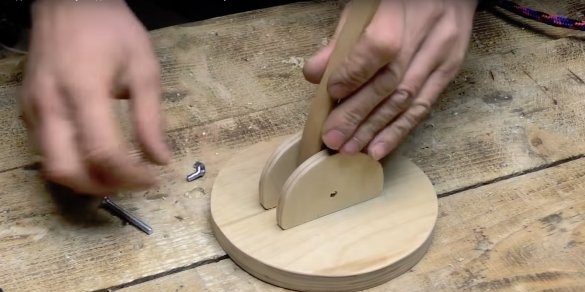
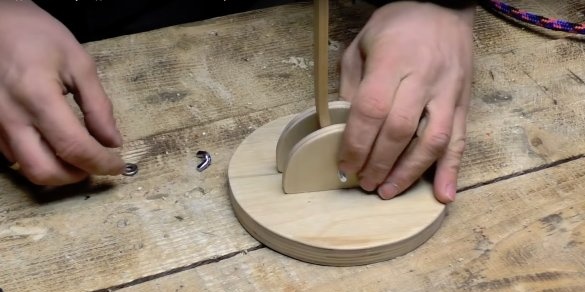
It makes screws and fastens both half circles.
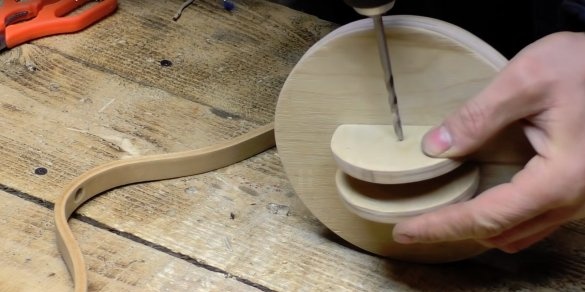
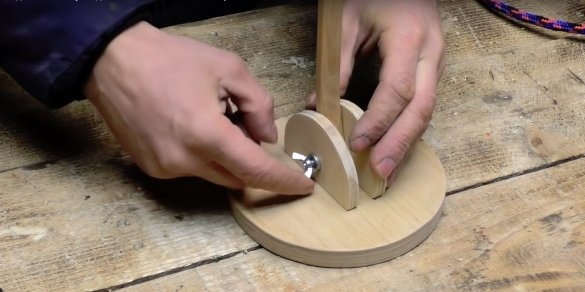
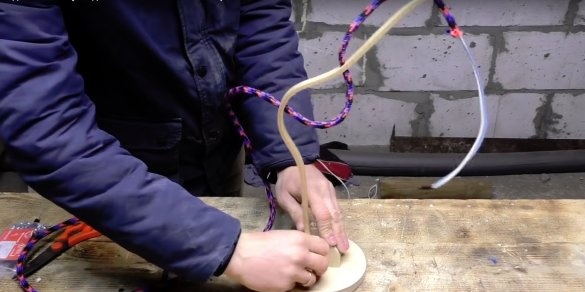
To fix the shoulders, the author drills holes in the base of the lamp and in the lower part of the shoulders.Assembles the structure with a long screw, several washers and a lamb.
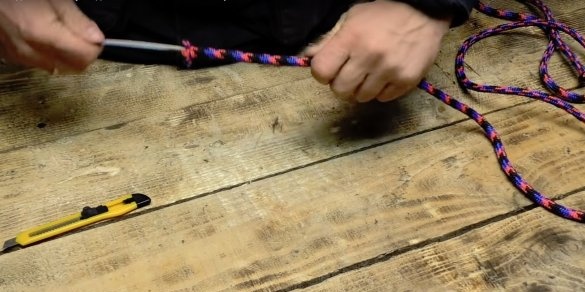
Now it's time to connect the electrical part. Here, to be honest, the author surprised me a little, quite originally ennobled the electric wire.
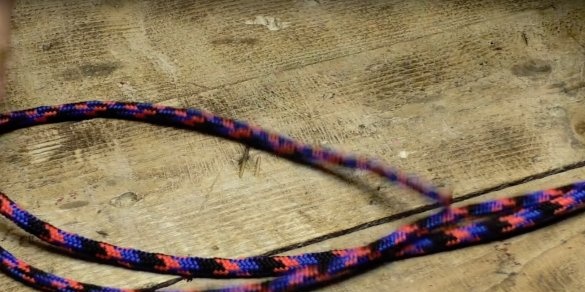
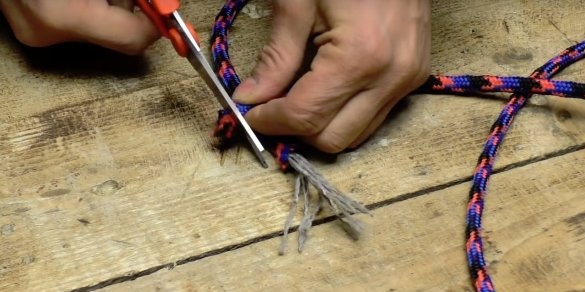
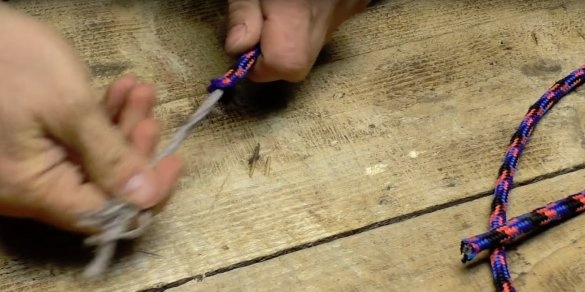
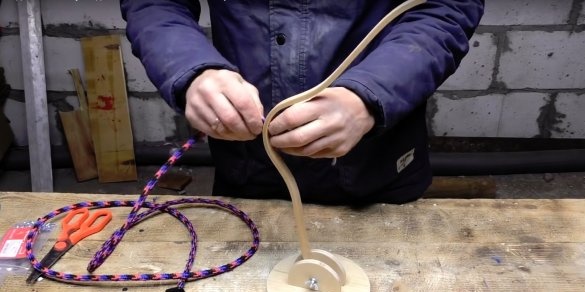
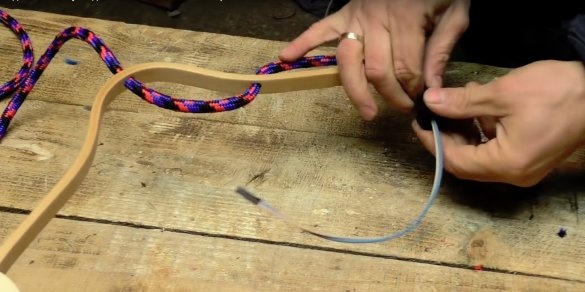
For this, he used a rope, the core of which he pulled.
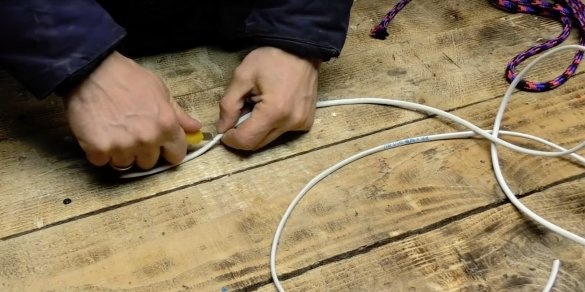
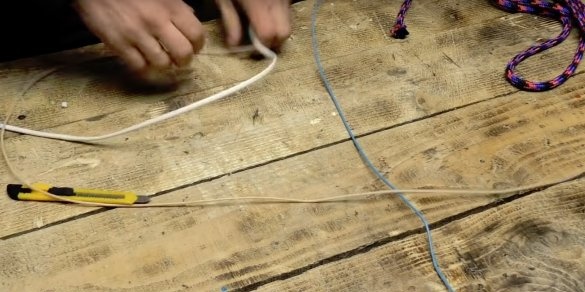
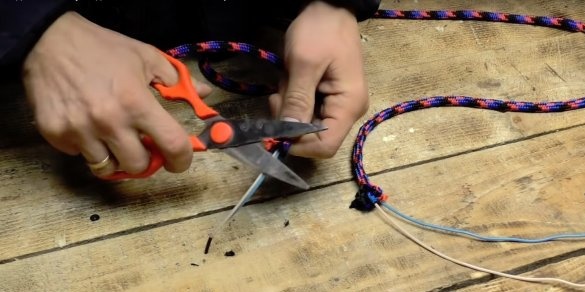
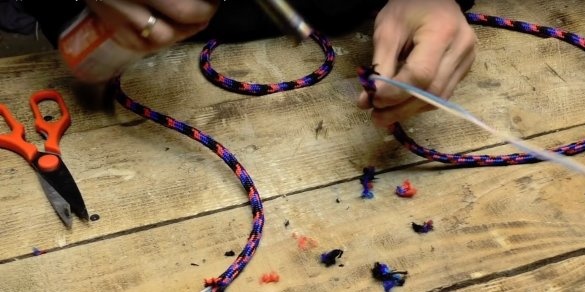
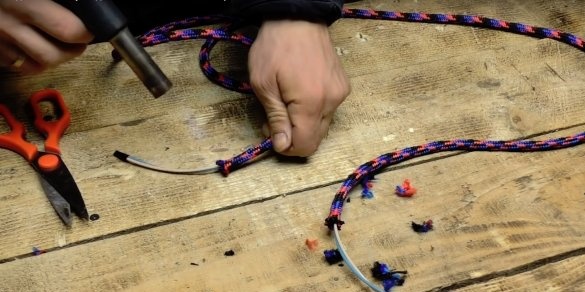
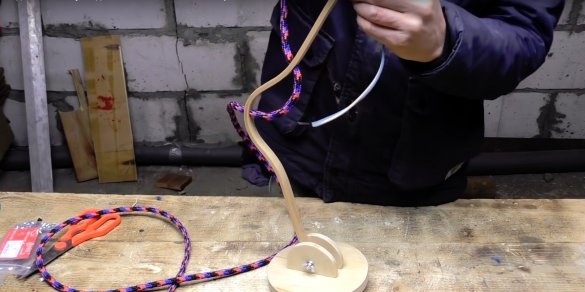
The cable was cleaned from the braid and inserted into the rope in the place of the core. Although it seems to me that the braid could not be removed.
The ends of the rope were cut with scissors and processed under the flame of a burner. It turned out a very interesting cable, they are used in irons.
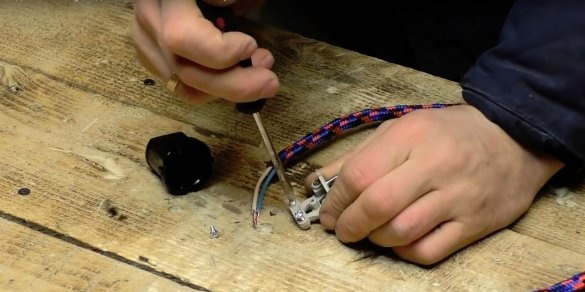
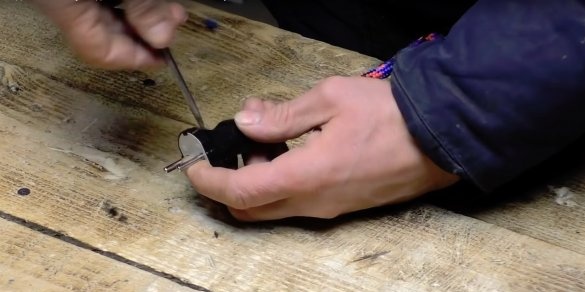
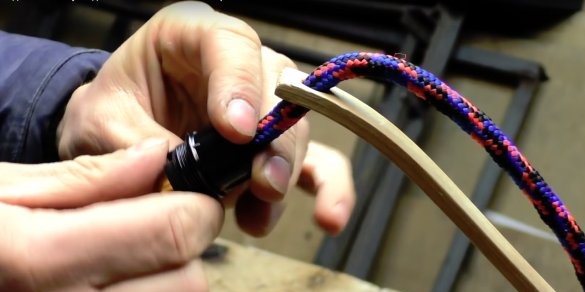
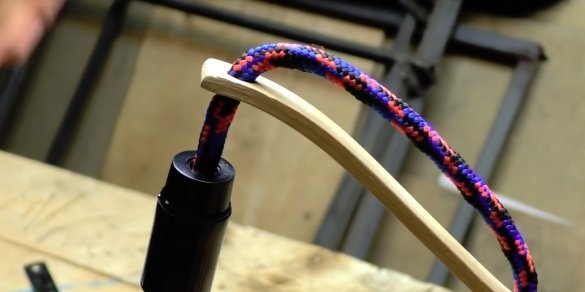
We continue. The author connects the plug to one edge of the cable; the second free end passes through the holes in the former hanger.
It connects the cartridge and of course screws in the bulb. Although it would be possible to hang some kind of a ceiling on the cartridge so that the light of the lamp would not hit the eyes. Given that the author uses a not very warming LED lamp, a small food bowl can easily be used as a lampshade. And by the way, there is a stainless steel bowl, so it will look like that kind of fire. Well this is so, my opinion is no more.
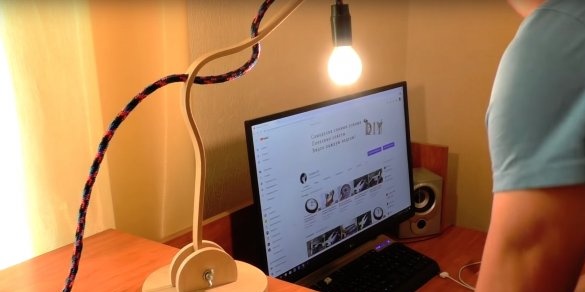
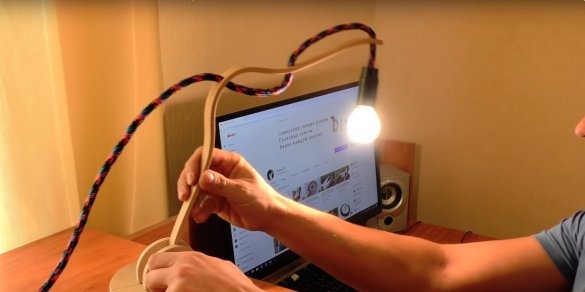
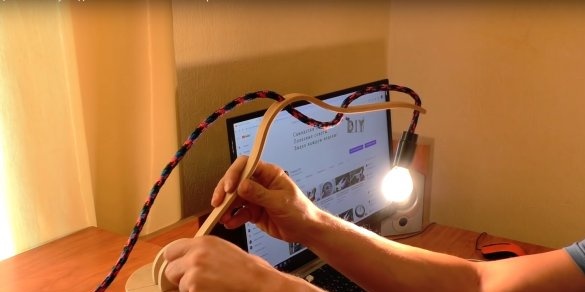
So, everything seems to be ready. You can check. The lamp works, lights up, the tilt angle is even adjustable. It looks unusual, interesting, sympathetic, but with a bowl it would be better
I’ll insert my 5 kopecks. On the power wire, the switch would not hurt to throw, for convenience.
That's all, thanks to those who read to the end. I wish you good luck and positive !!!

