
In this article, the author of the izzy swan YouTube channel describes the process of creating a pneumatic cylinder from a plumbing PVC pipe.
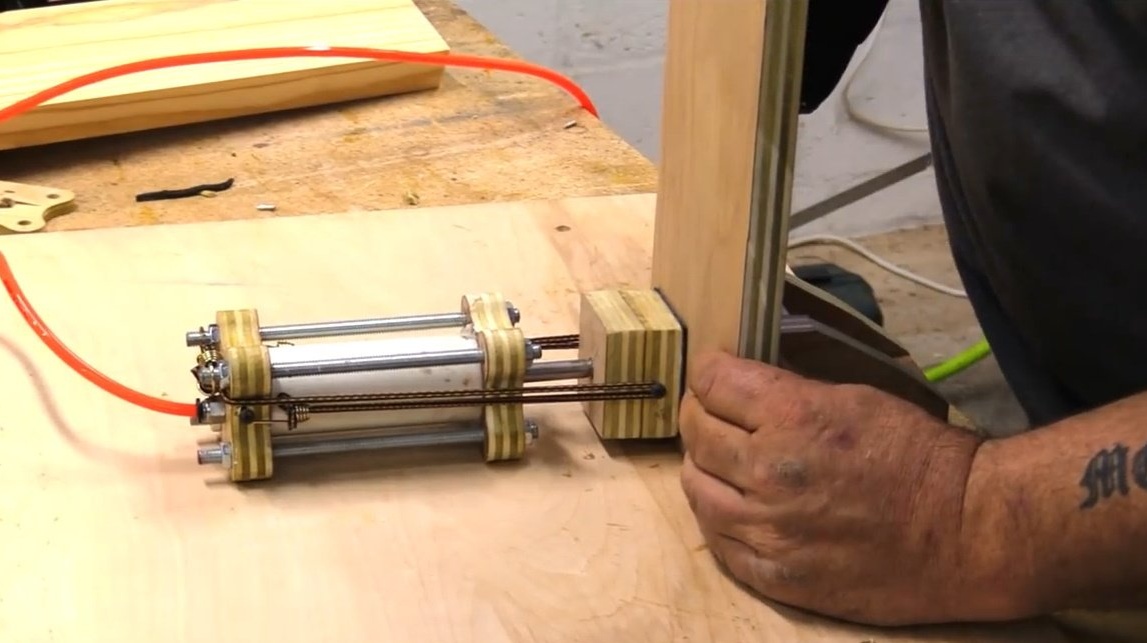
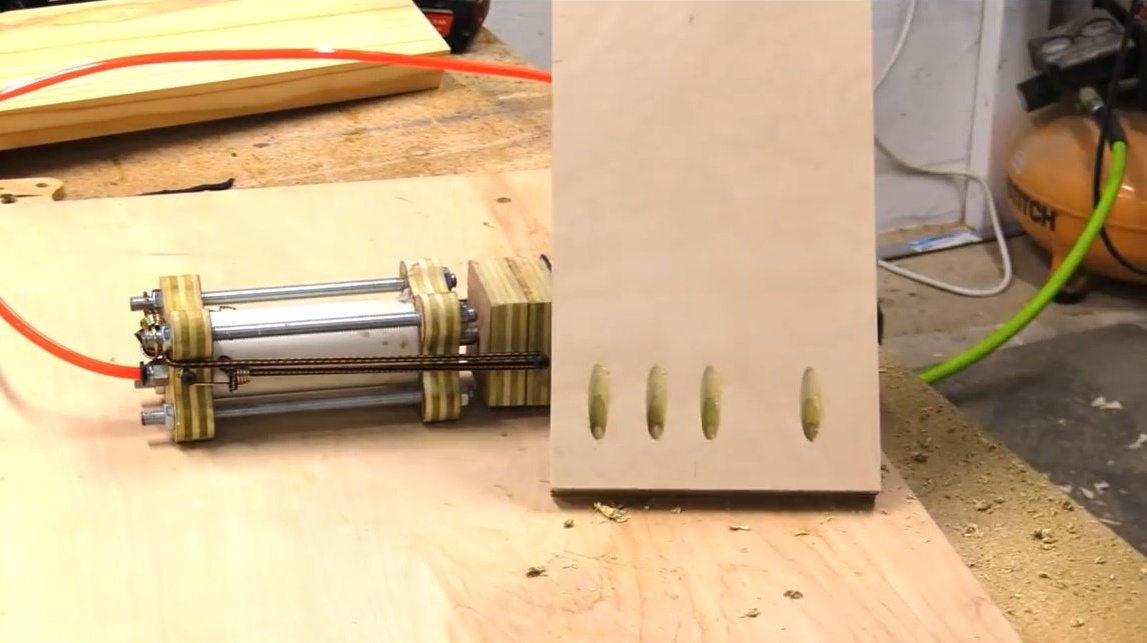
This pneumatic cylinder will be the main part for the pocket hole drilling machine. It is with his help that the workpiece will be clamped when you press the pedal.
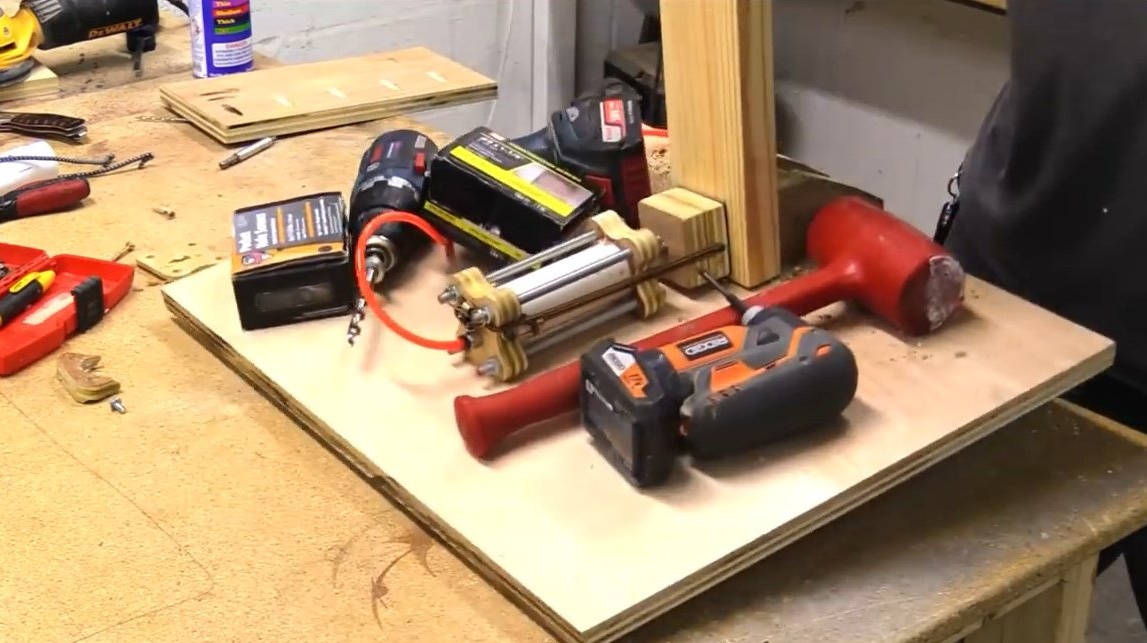
Materials
- sheet plywood
- Plumbing PVC pipe
- Sealing rubber rings
- Foot pneumatic pedal.
- The tube is polyurethane.
- Connectors.
- Steel pin M8
- Nuts, washers M8
- Impregnation for wood
- PVA glue
- Sheet rubber
- Solidol.
Instruments, used by the author.
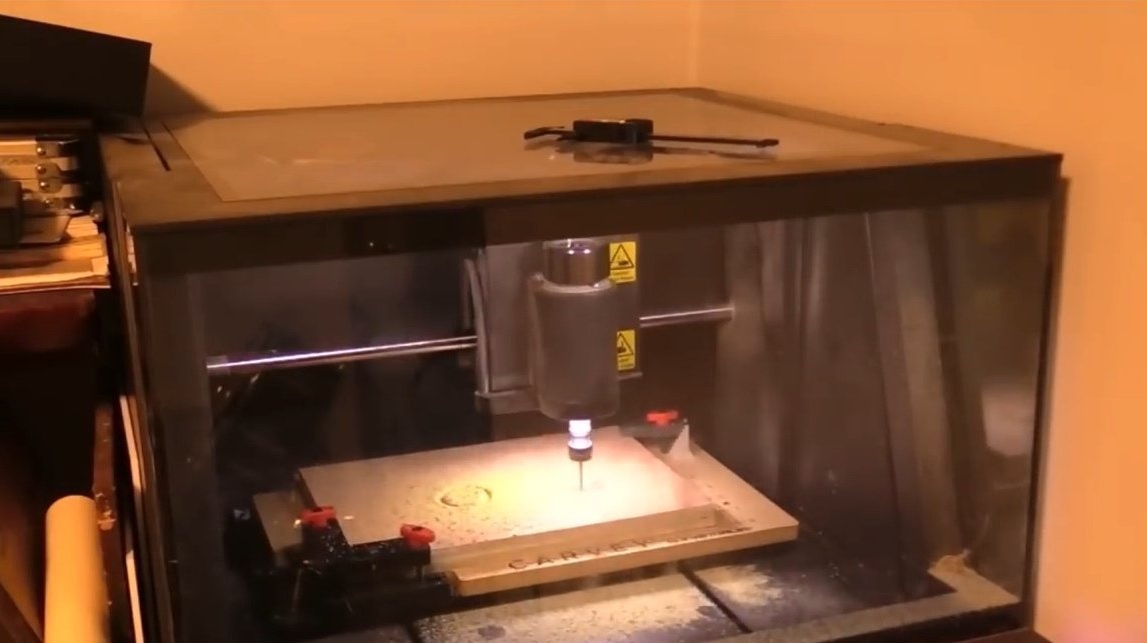
- Air compressor
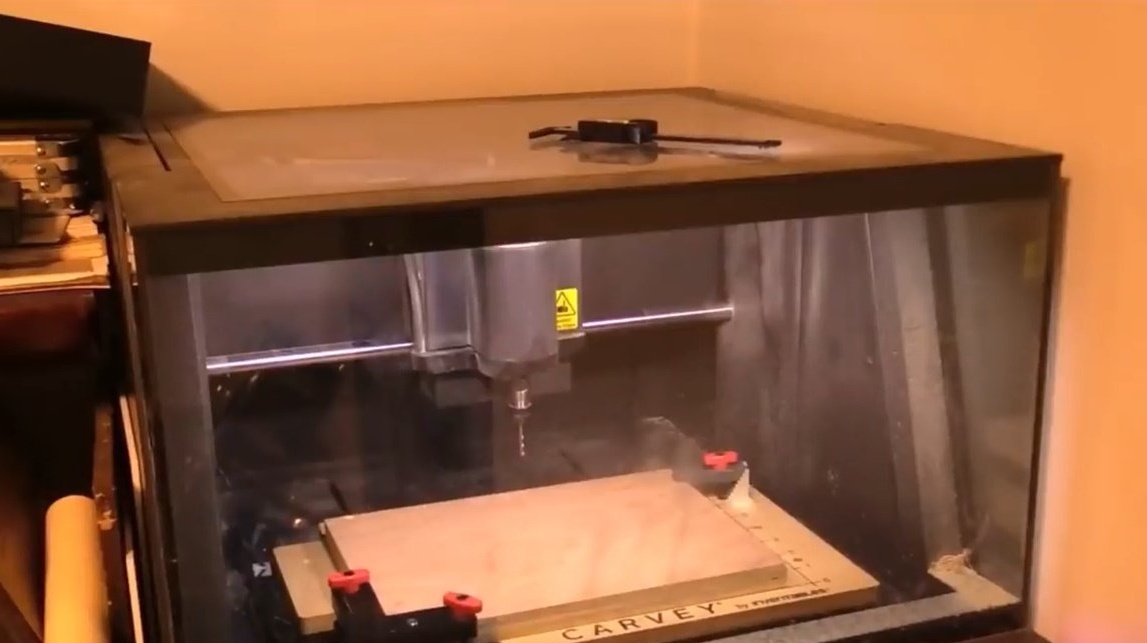
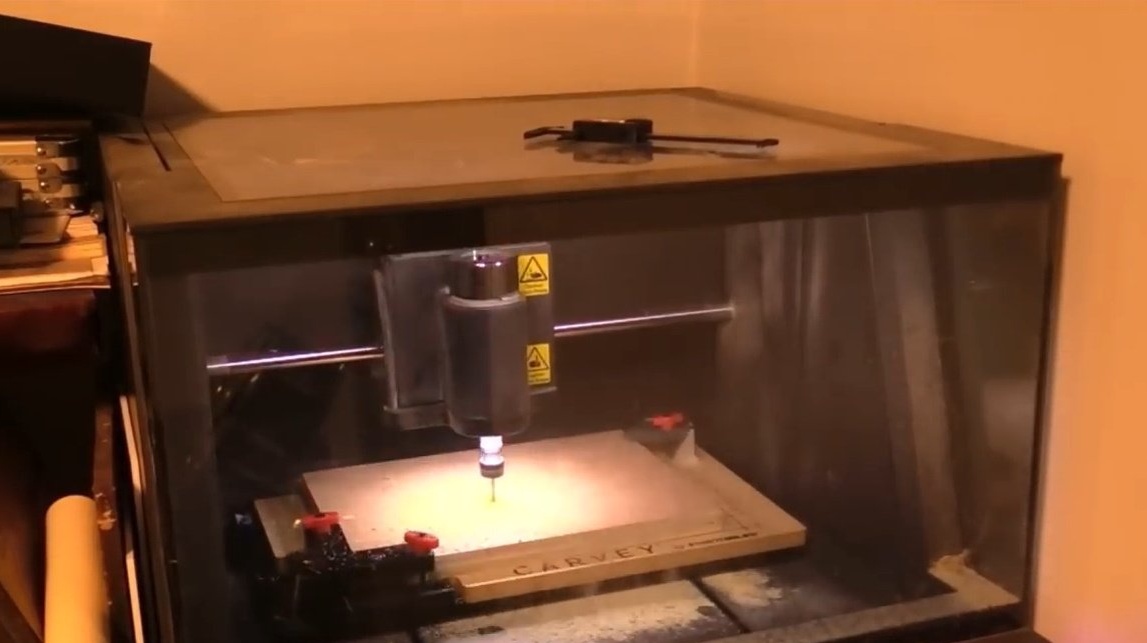
- CNC milling machine
- Orbital sander
- Joiner's knife, brush
- Chisel
- Grinder, cutting disc
- Spanners.
Manufacturing process.
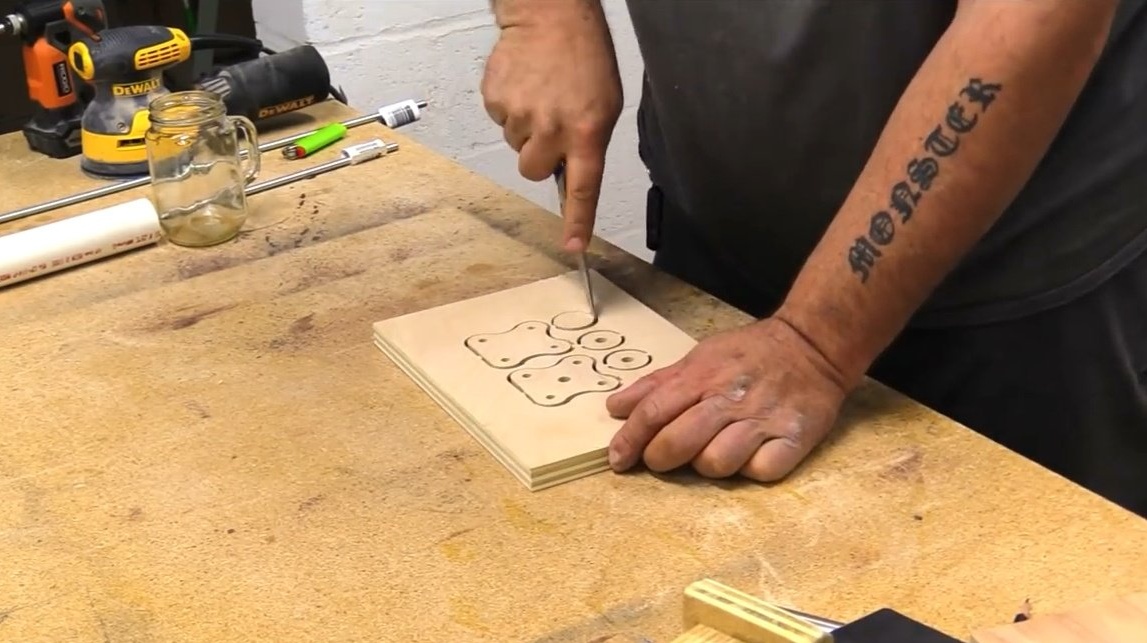
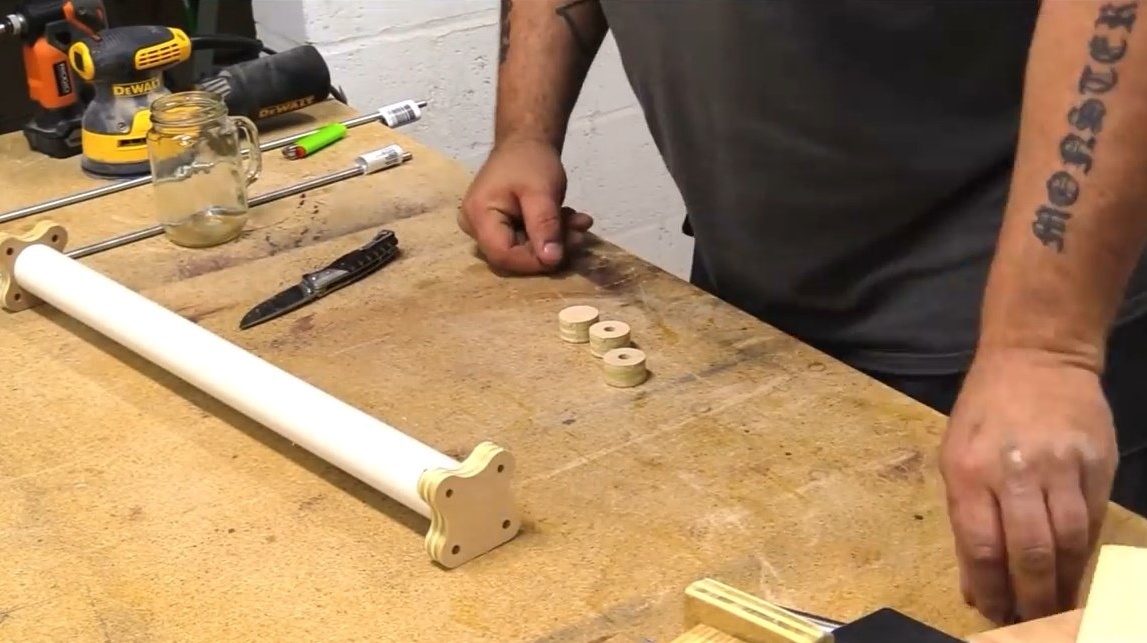
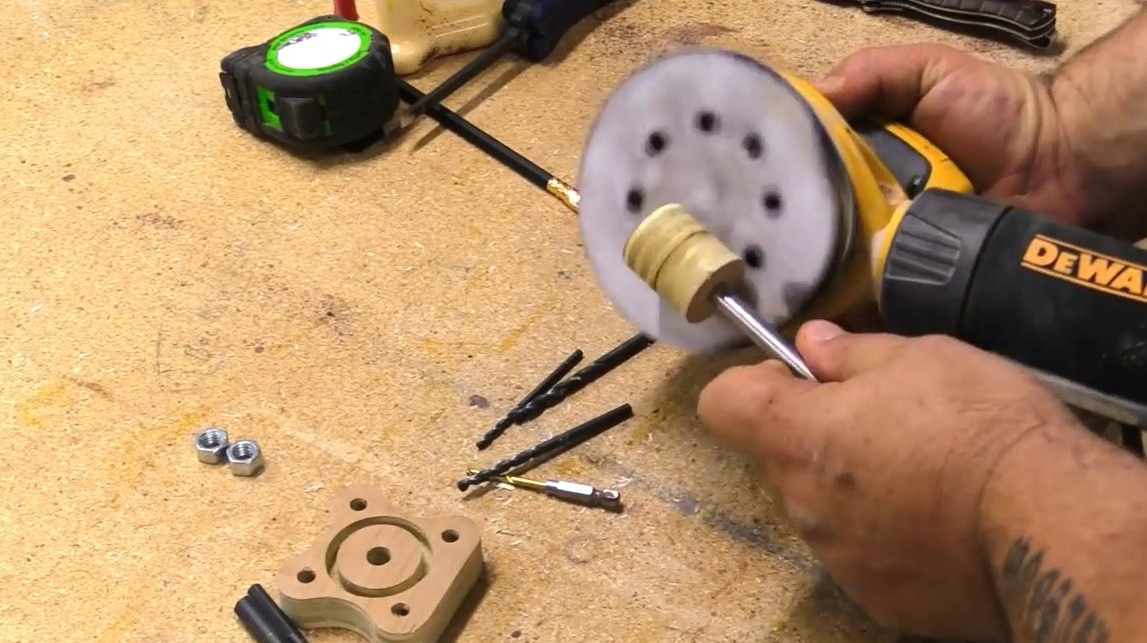
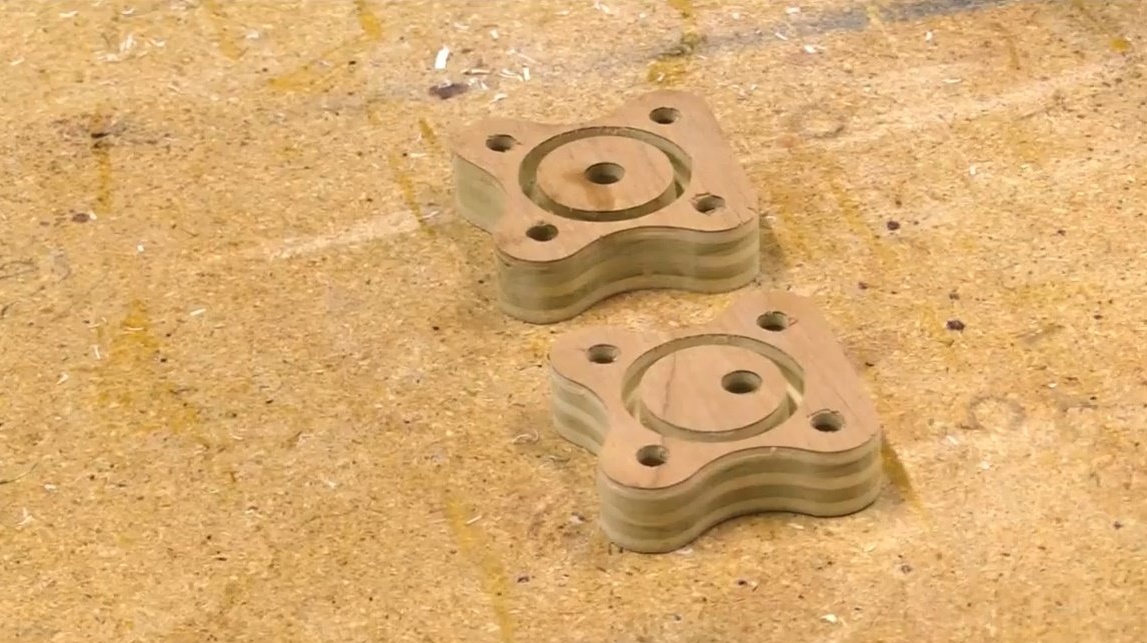
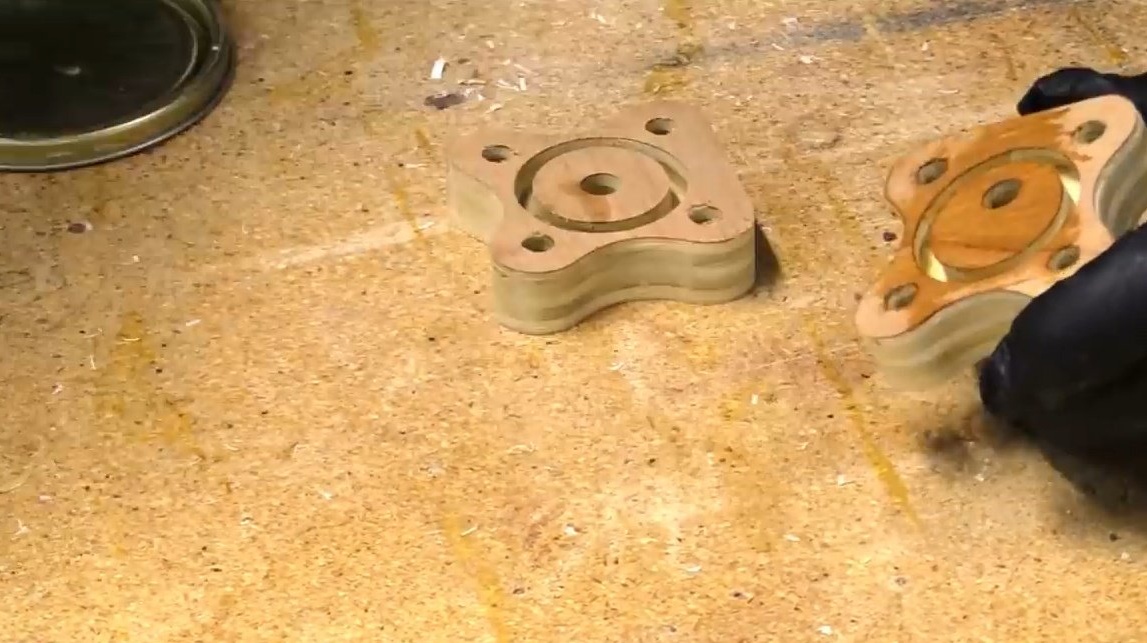
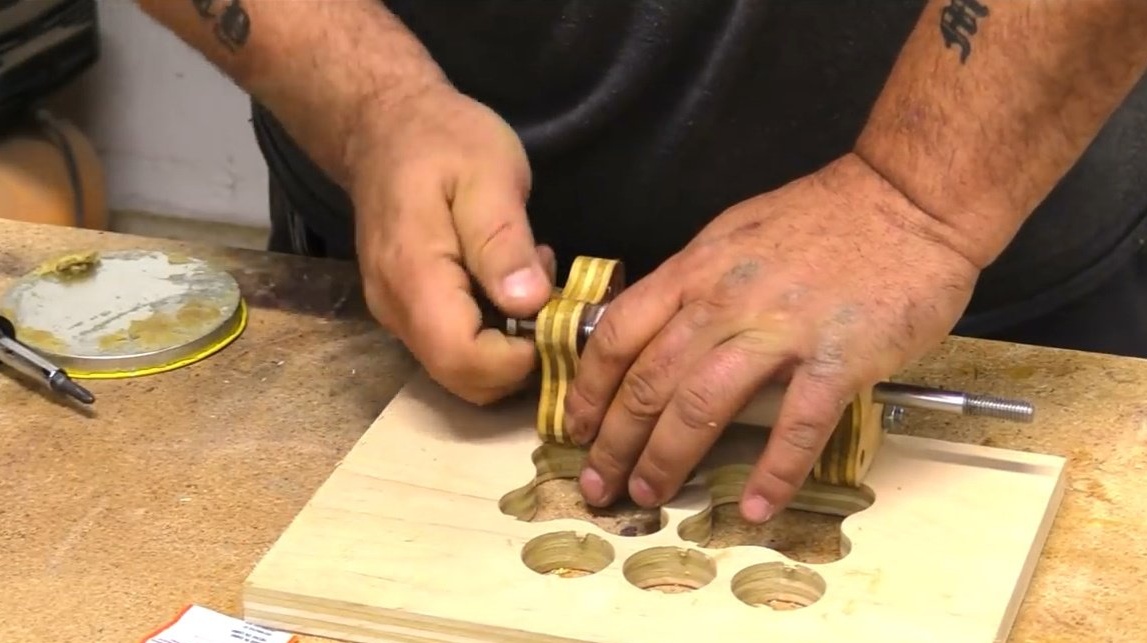
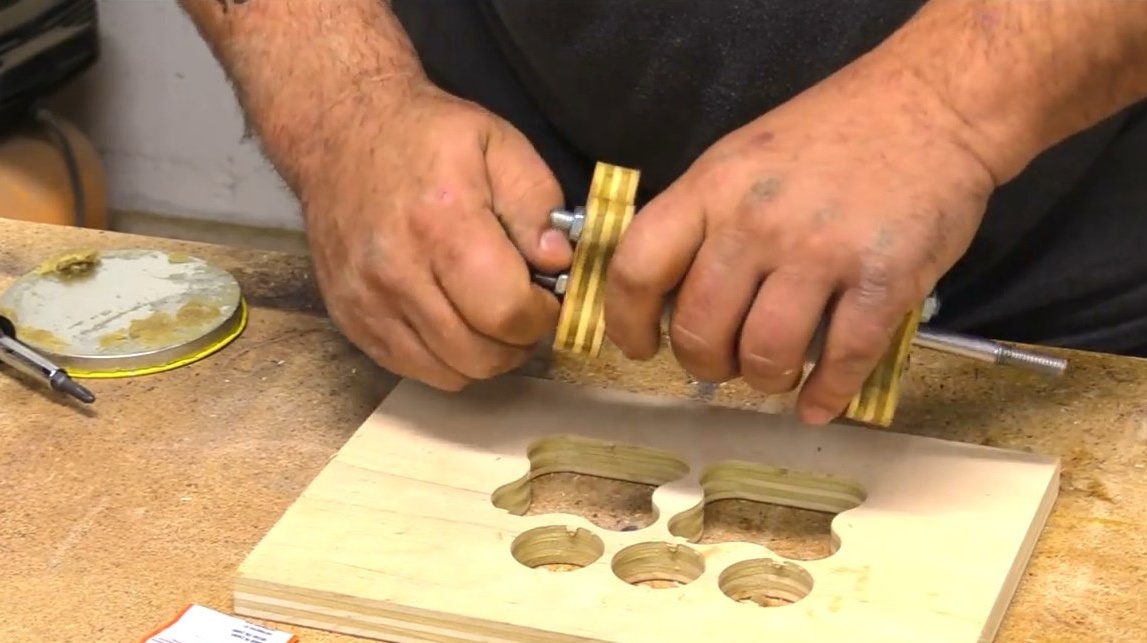
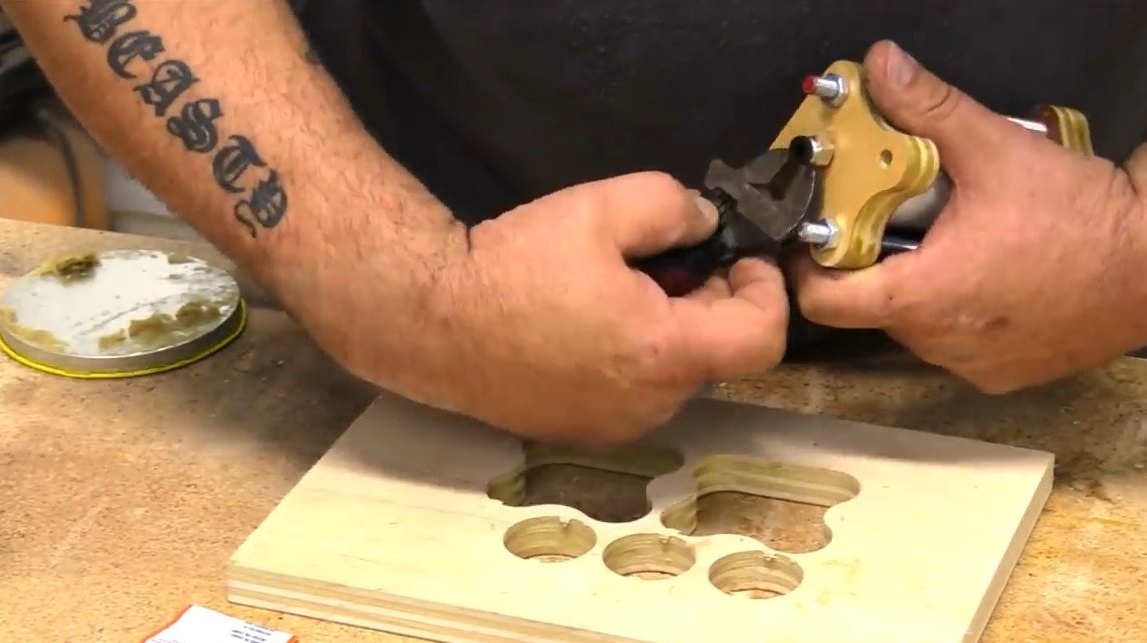
The author cuts some details for this device on a desktop CNC milling machine. The device has a platform of 200x300 mm, and this is what you need for small projects. It would be possible to cut out these elements manually, but time is expensive, and if there is a technique, why not make your life easier! There are not many elements: the front part, the rear part and 3 small round logs that will be needed for the piston.
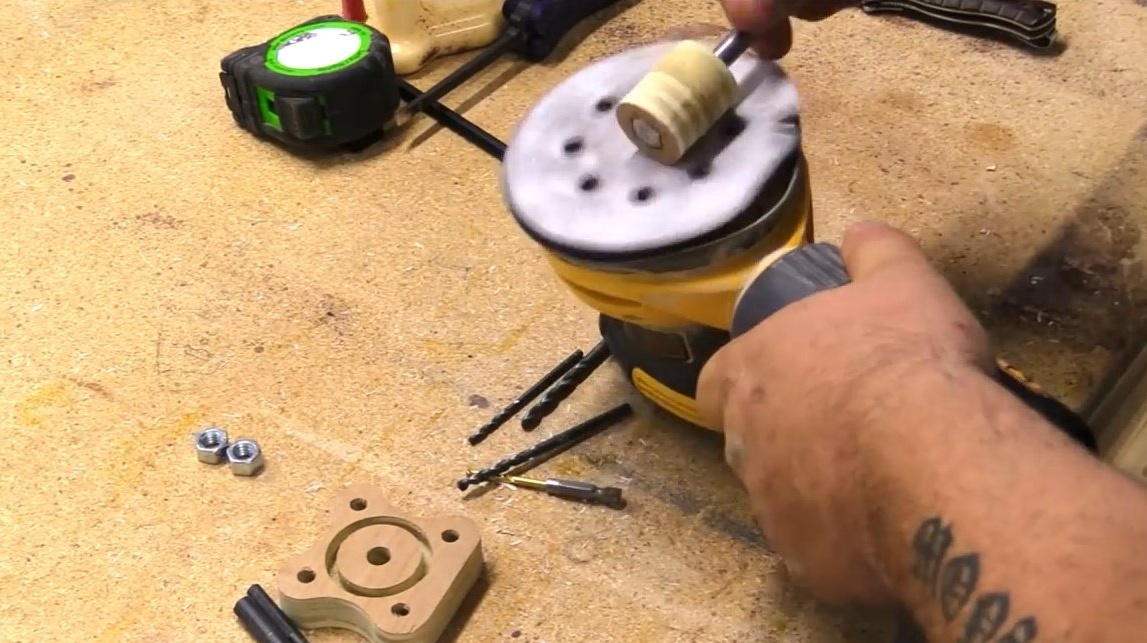
After cutting parts, polishes the surface, and cuts the workpiece with a knife.
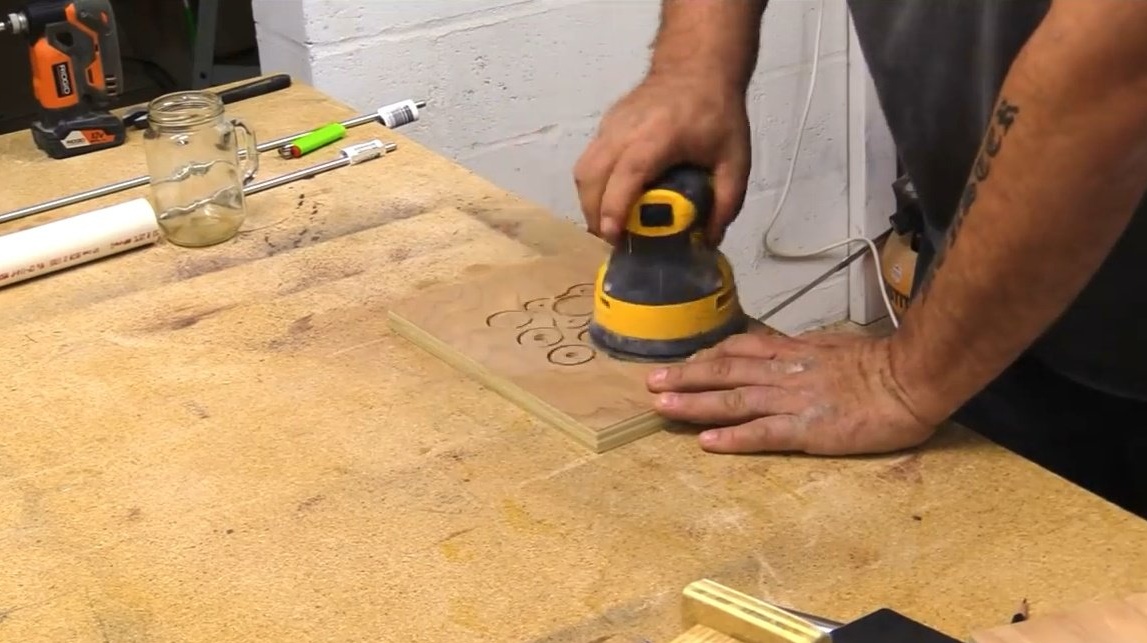
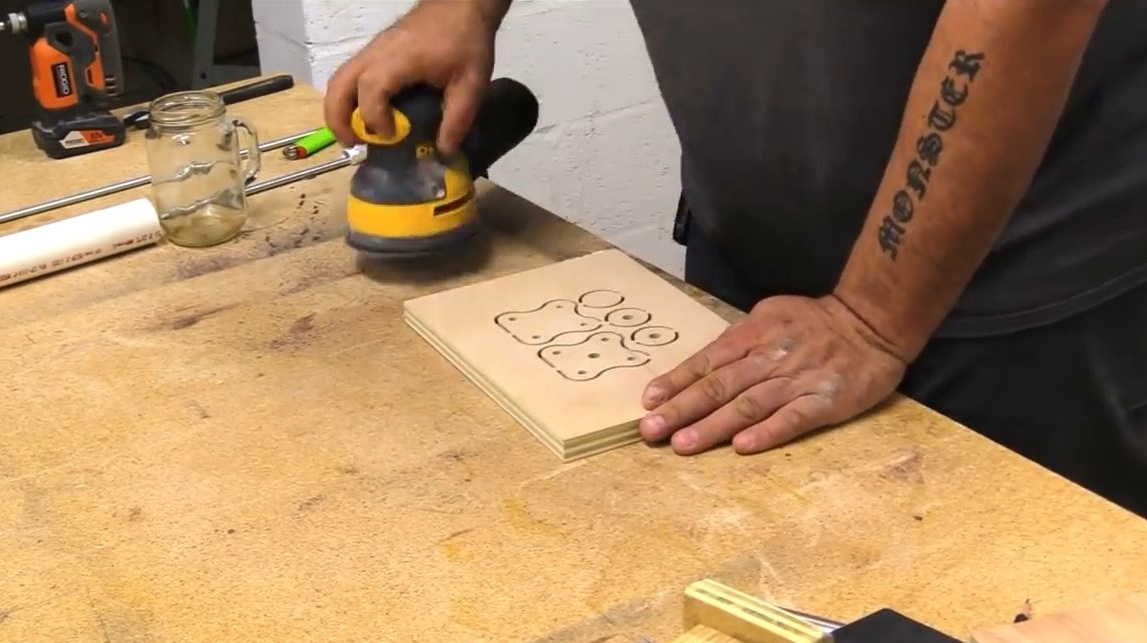
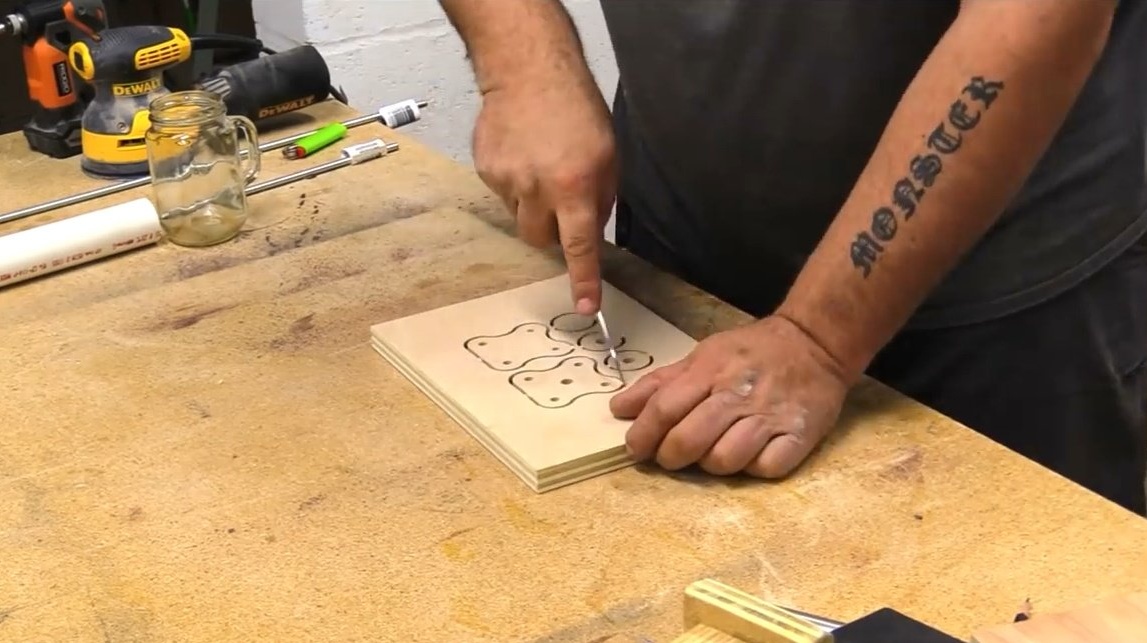
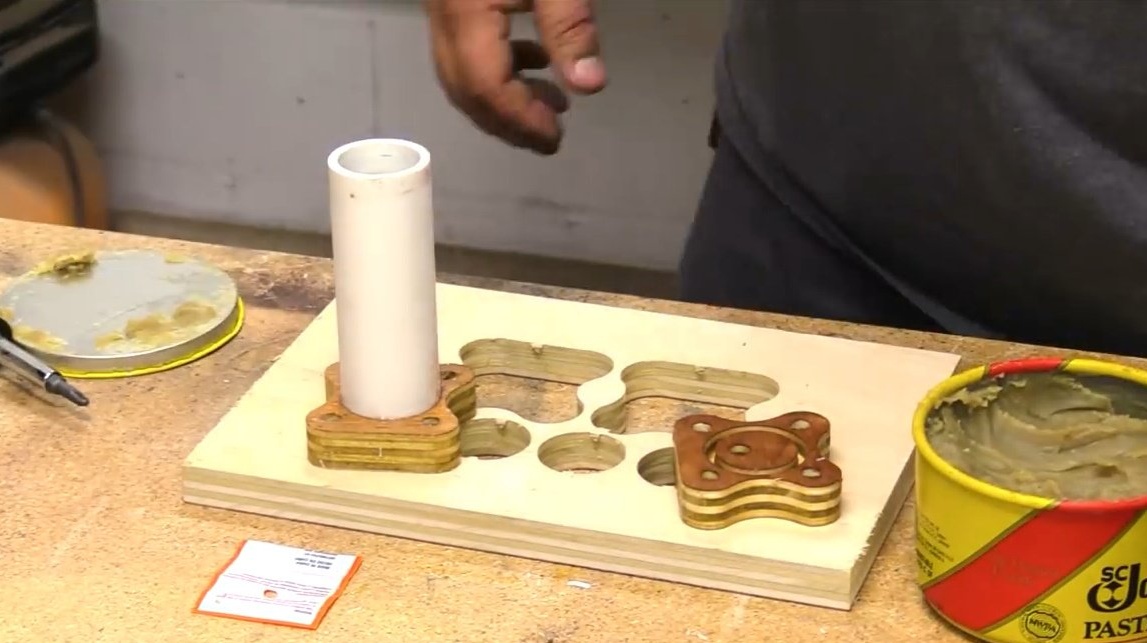
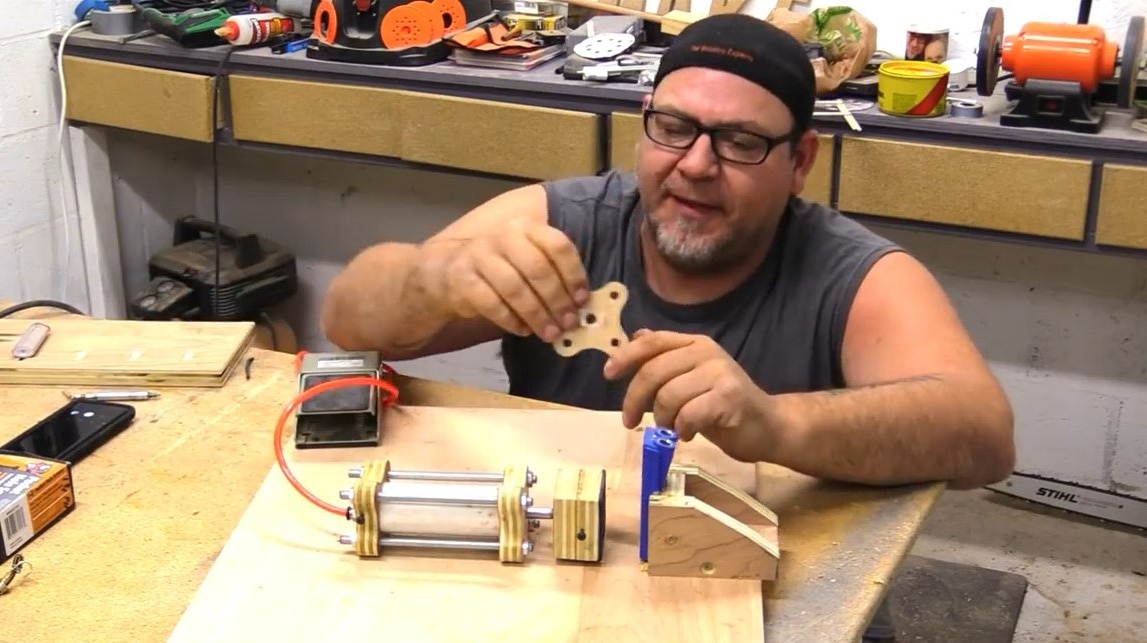
This is how the design is pre-assembled.
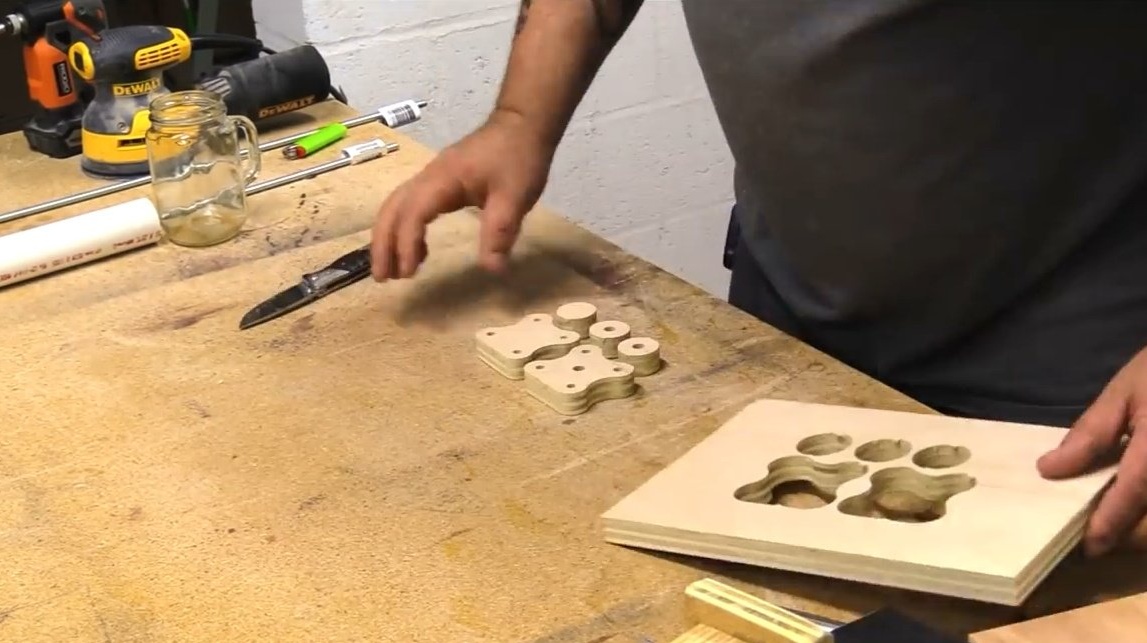
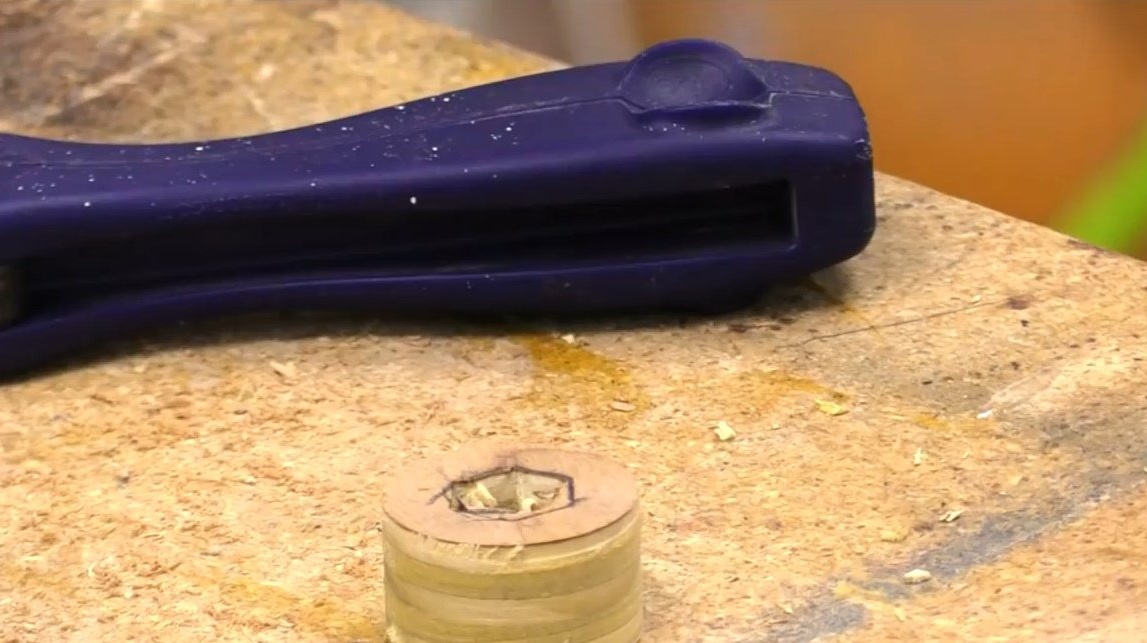
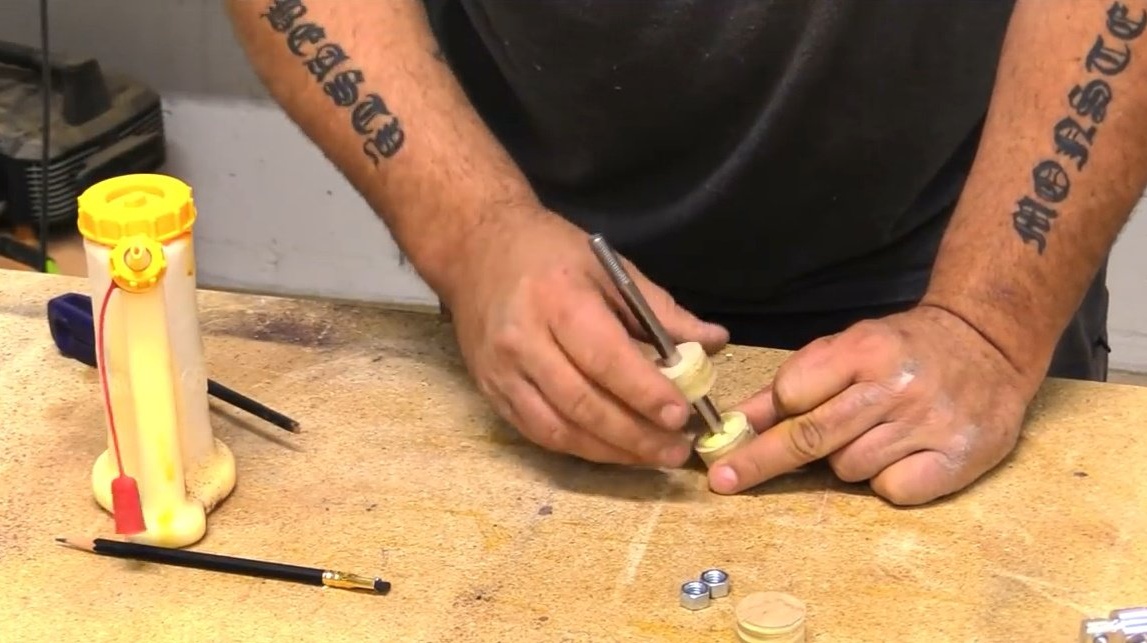
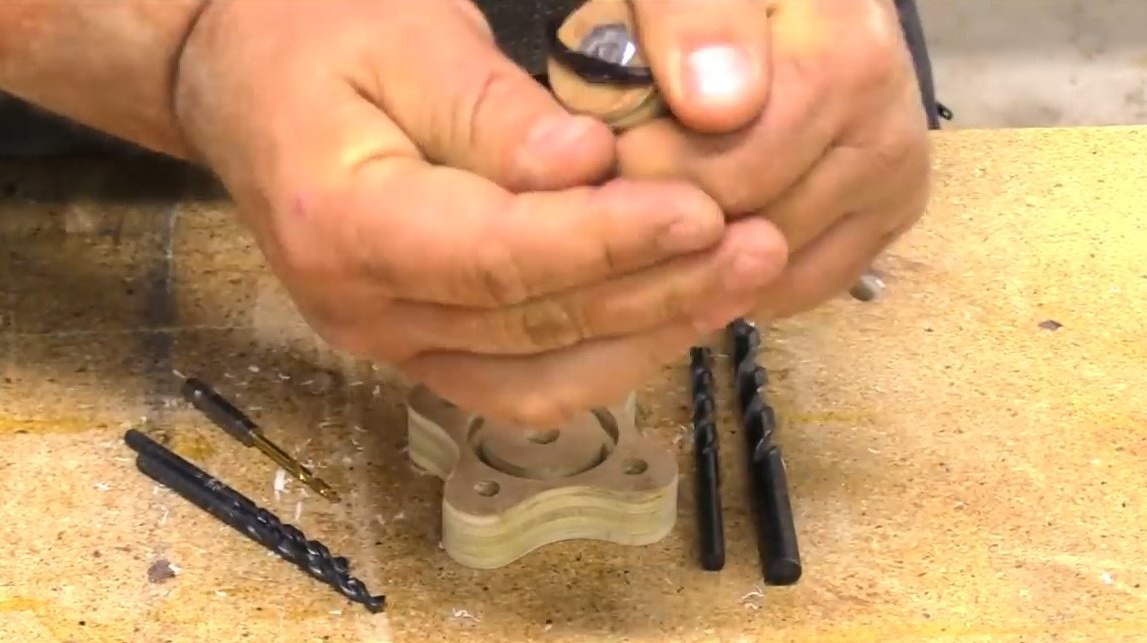
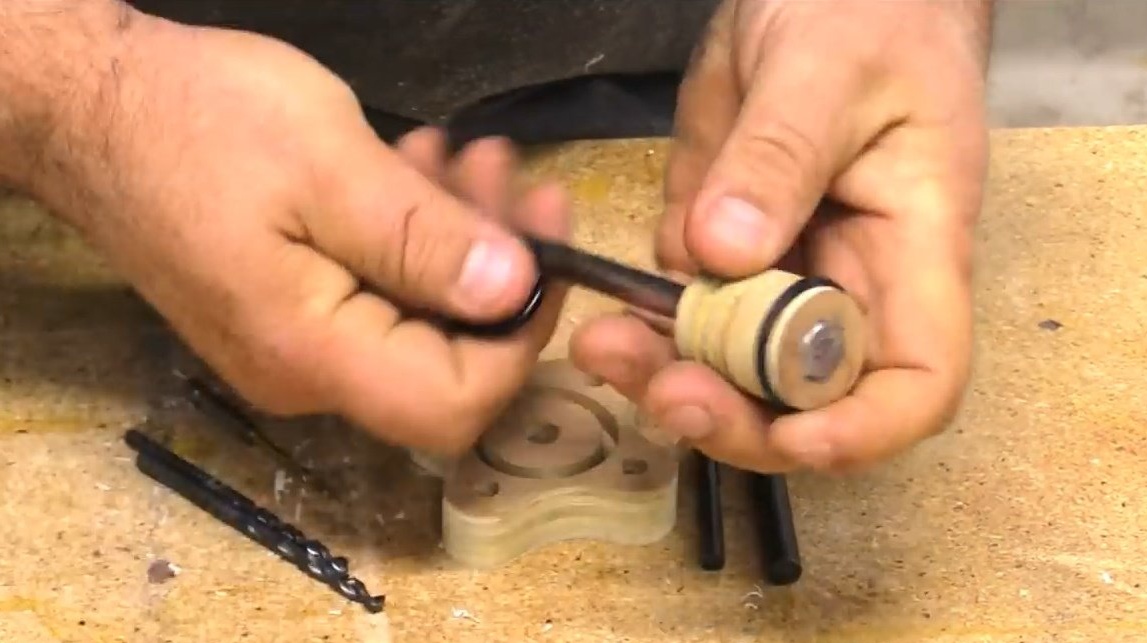
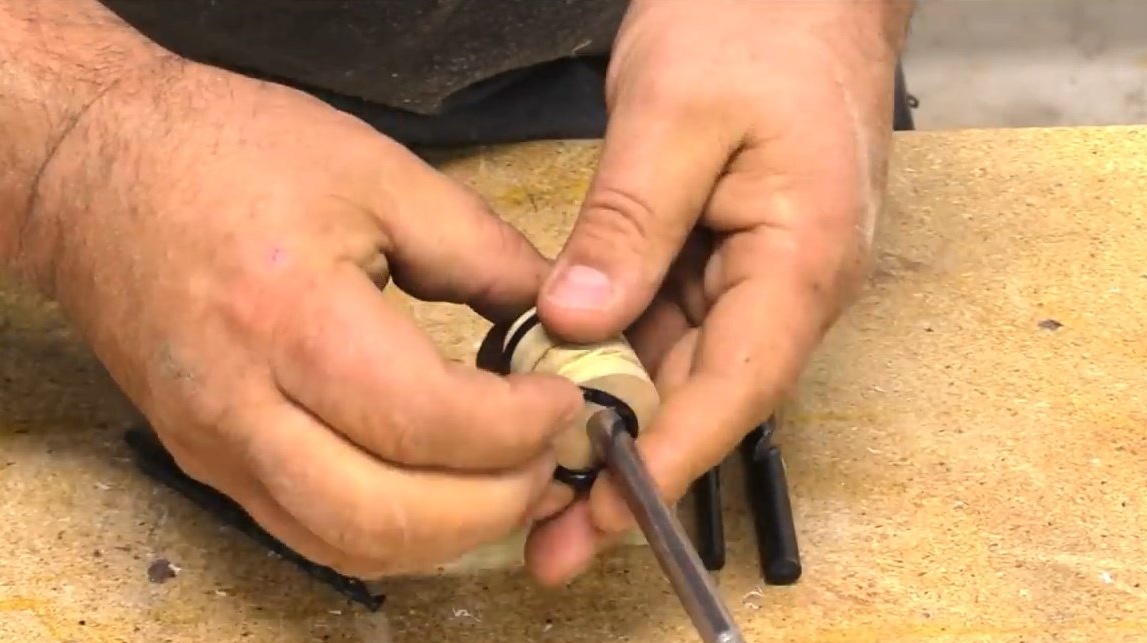
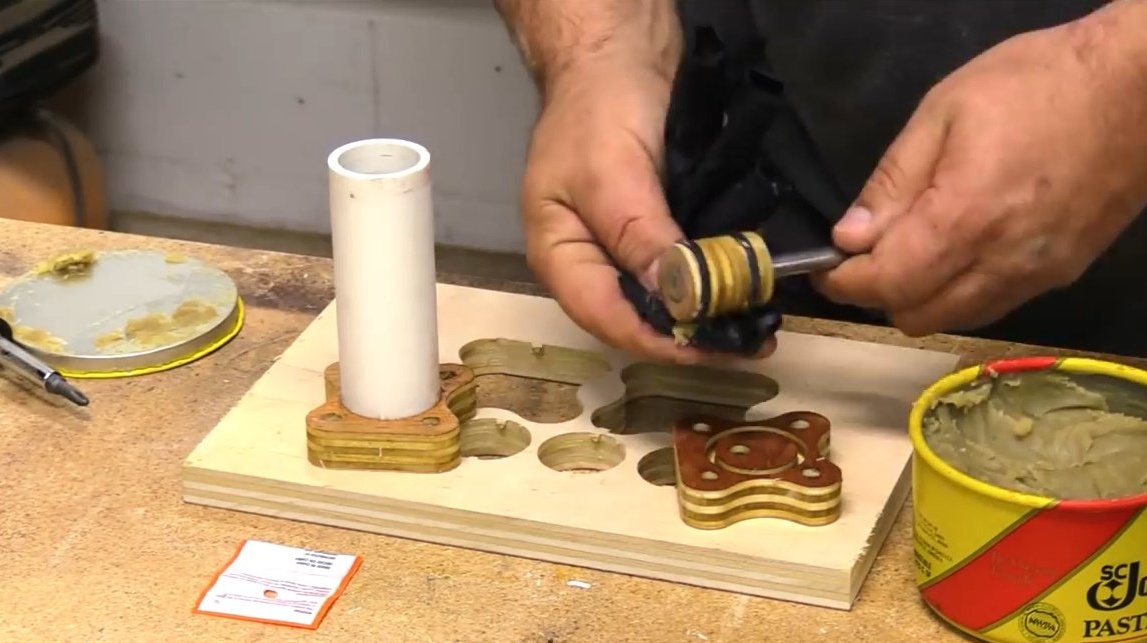
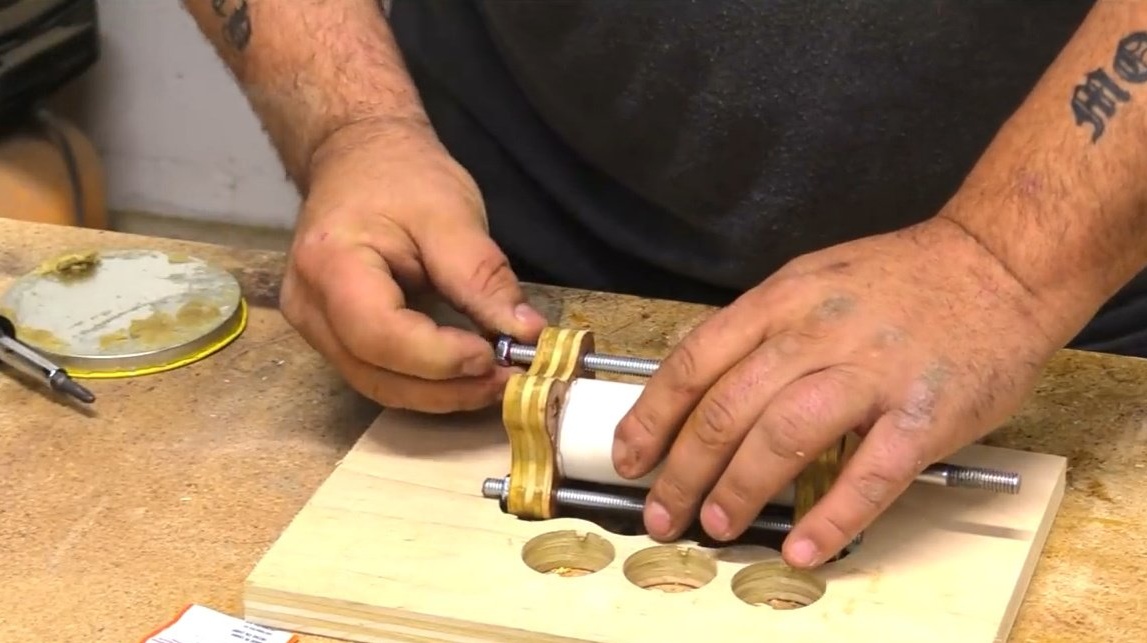
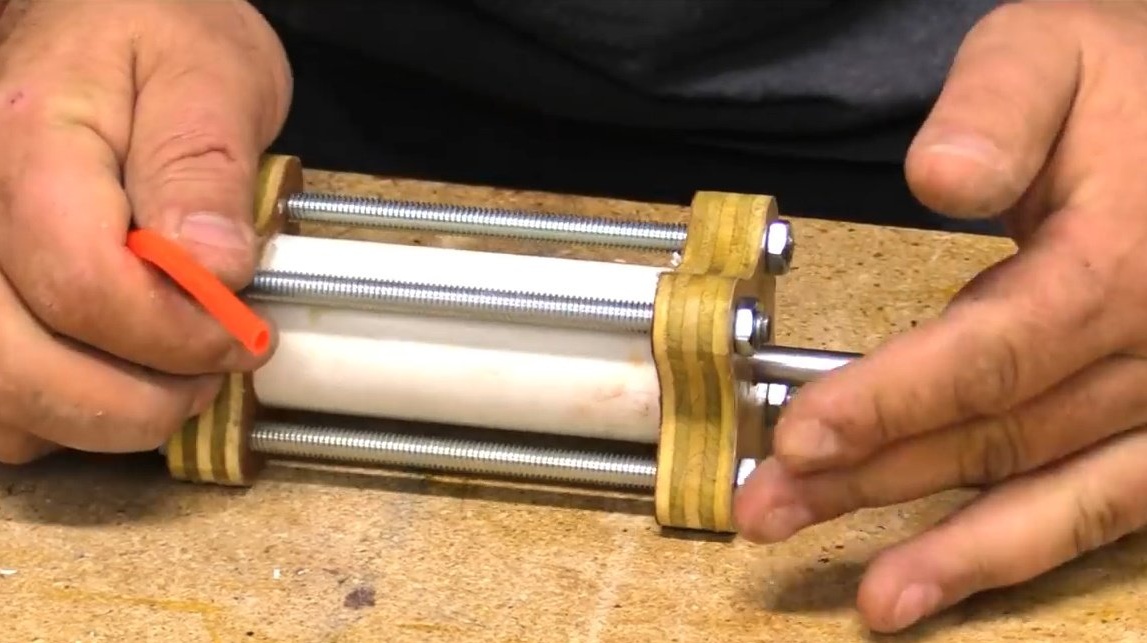
In a small round part, the author makes a hole, leaving room for the bolt head. This will be the piston of a pneumatic vice.
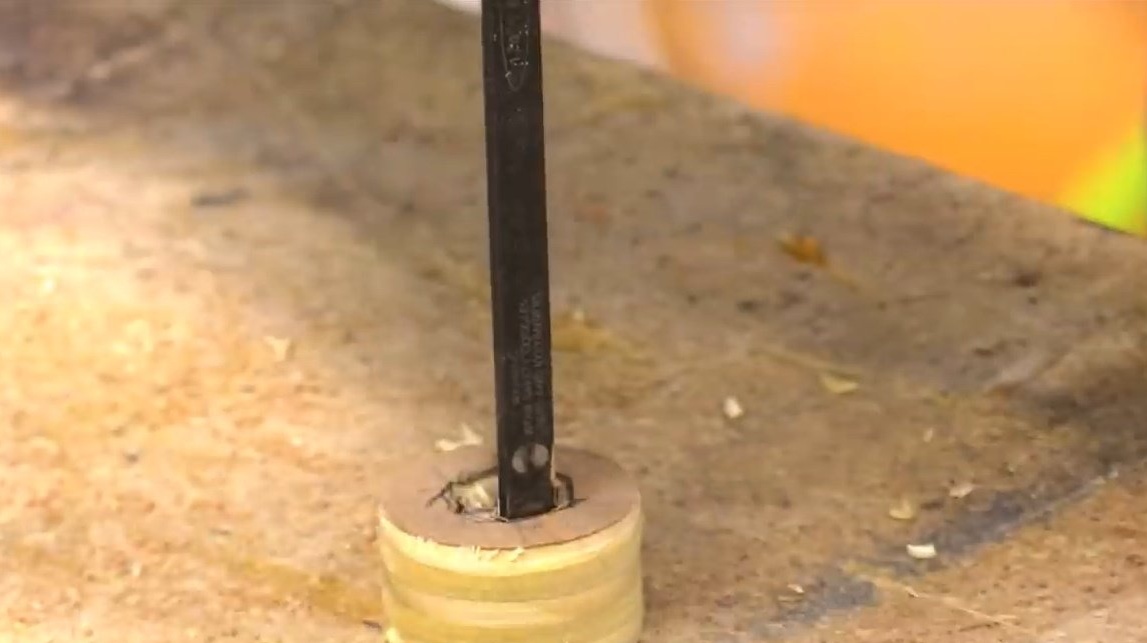
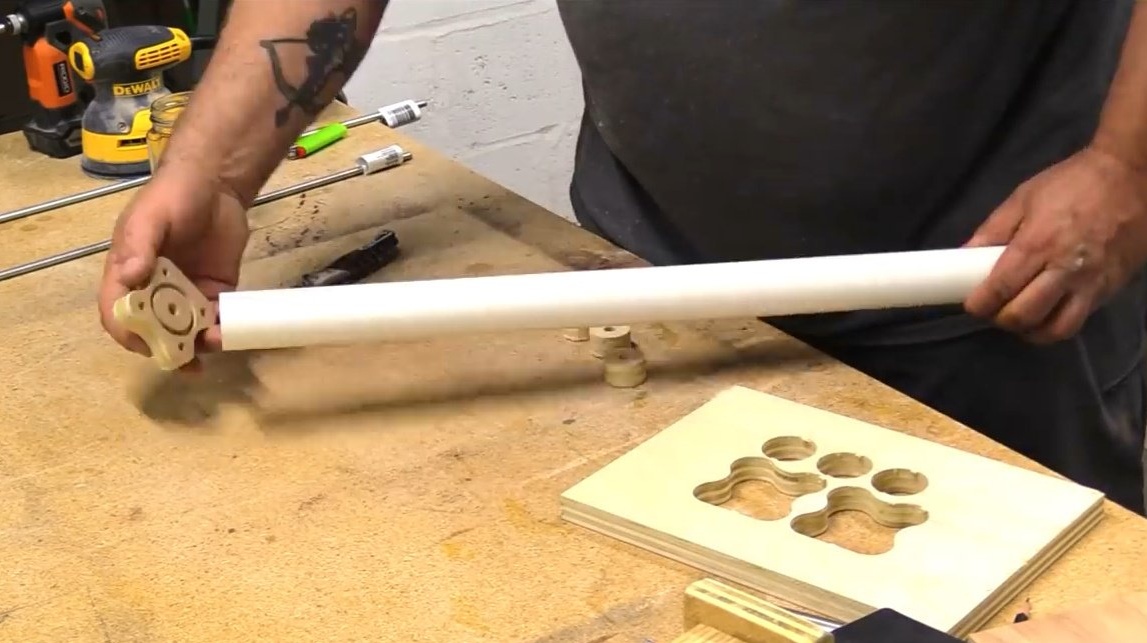
Then glues the piston elements together.
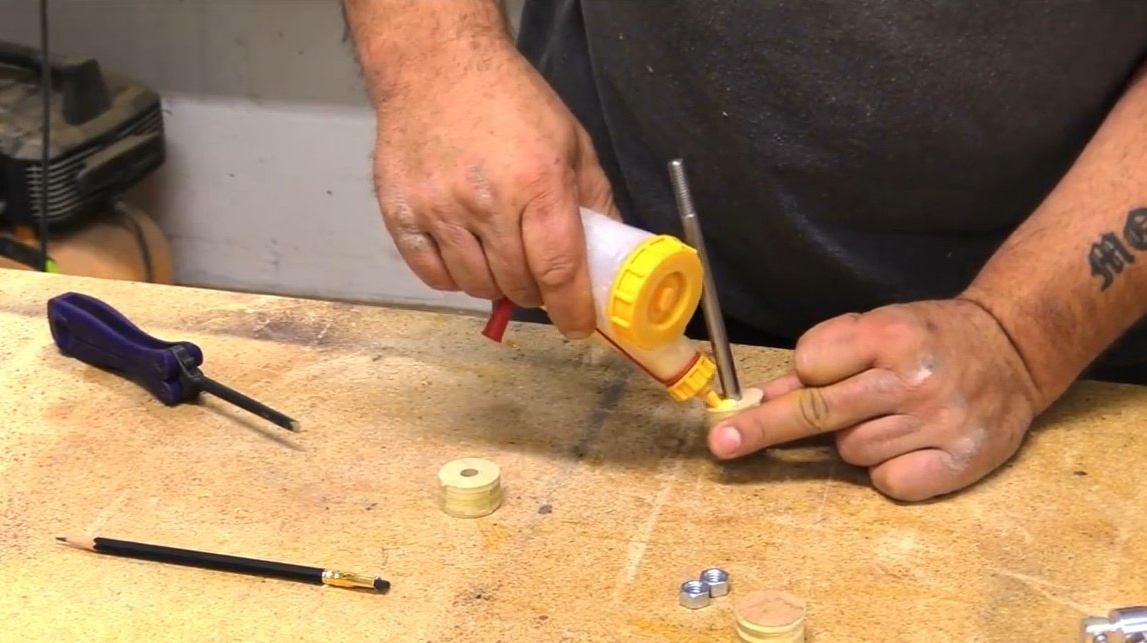

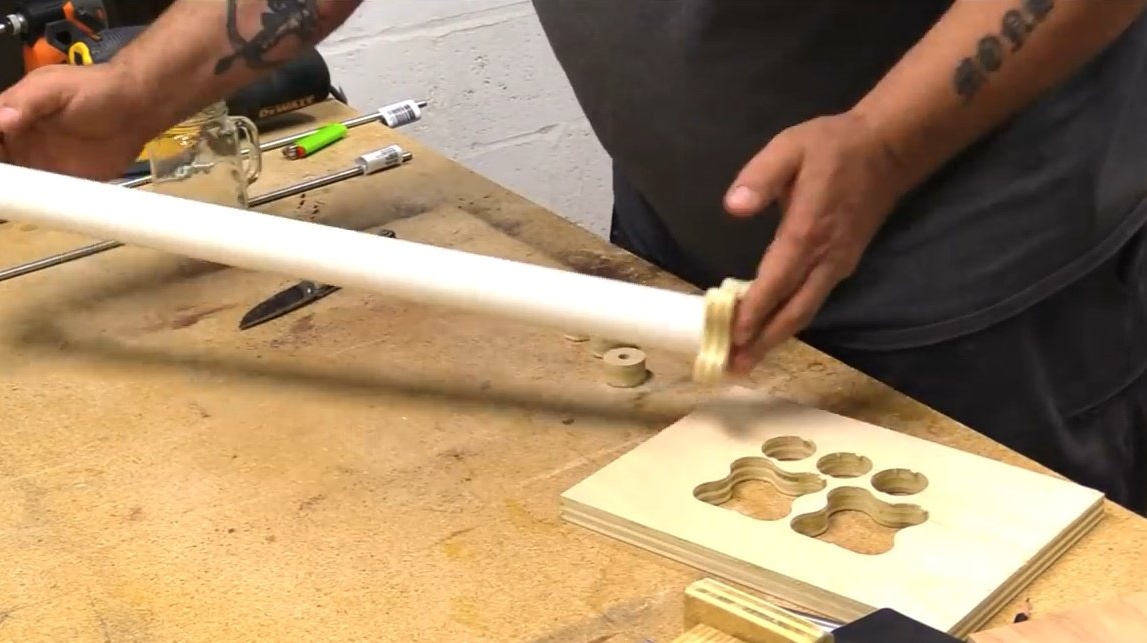
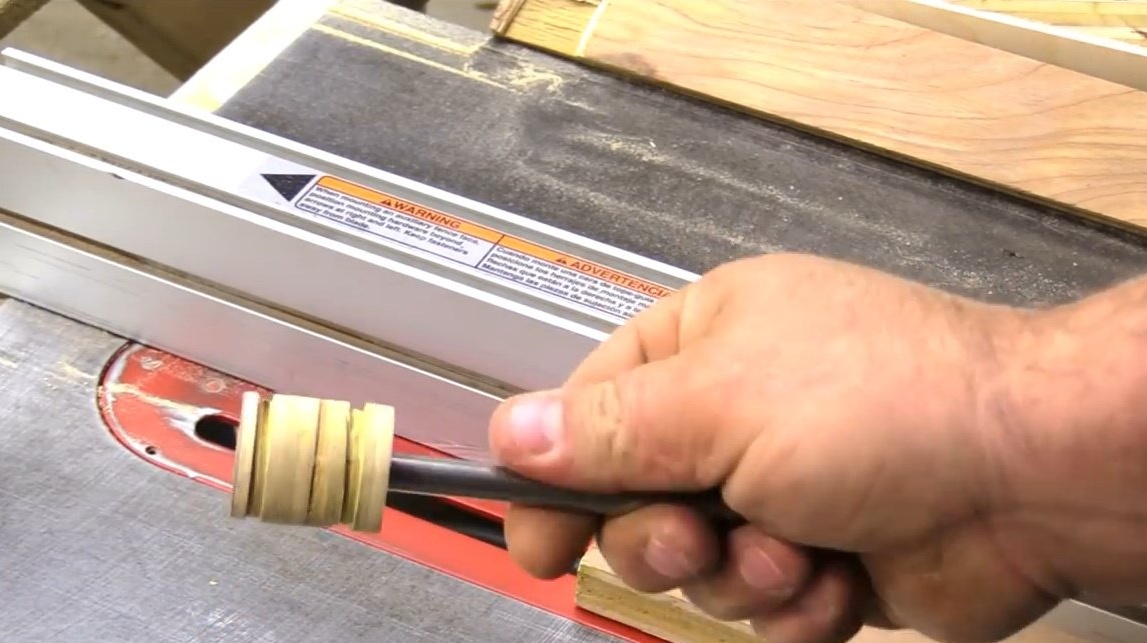
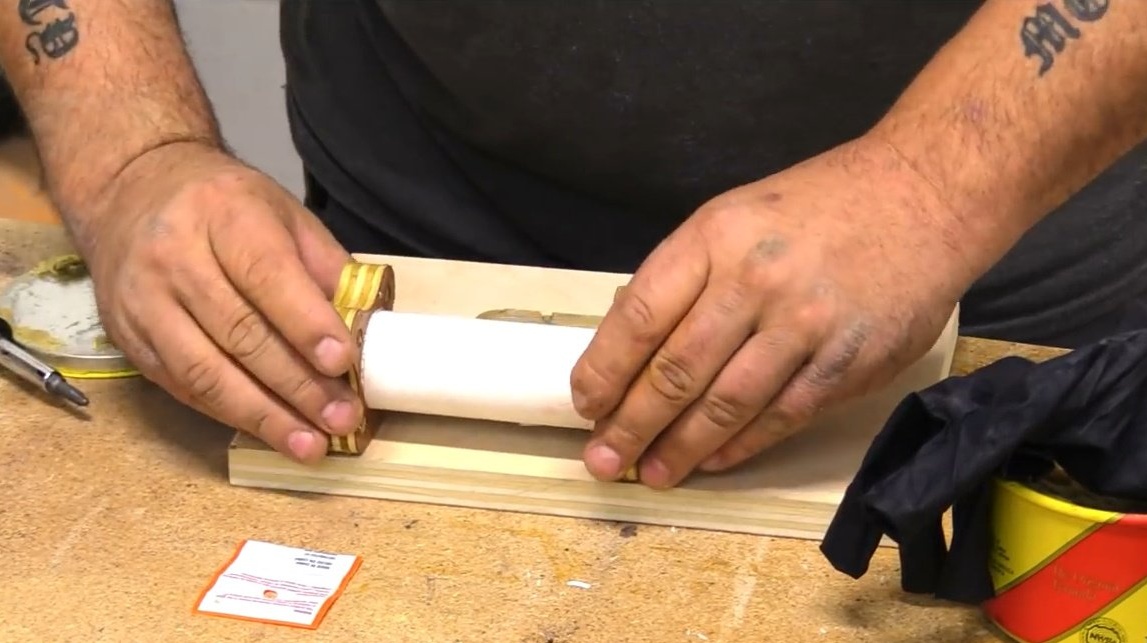
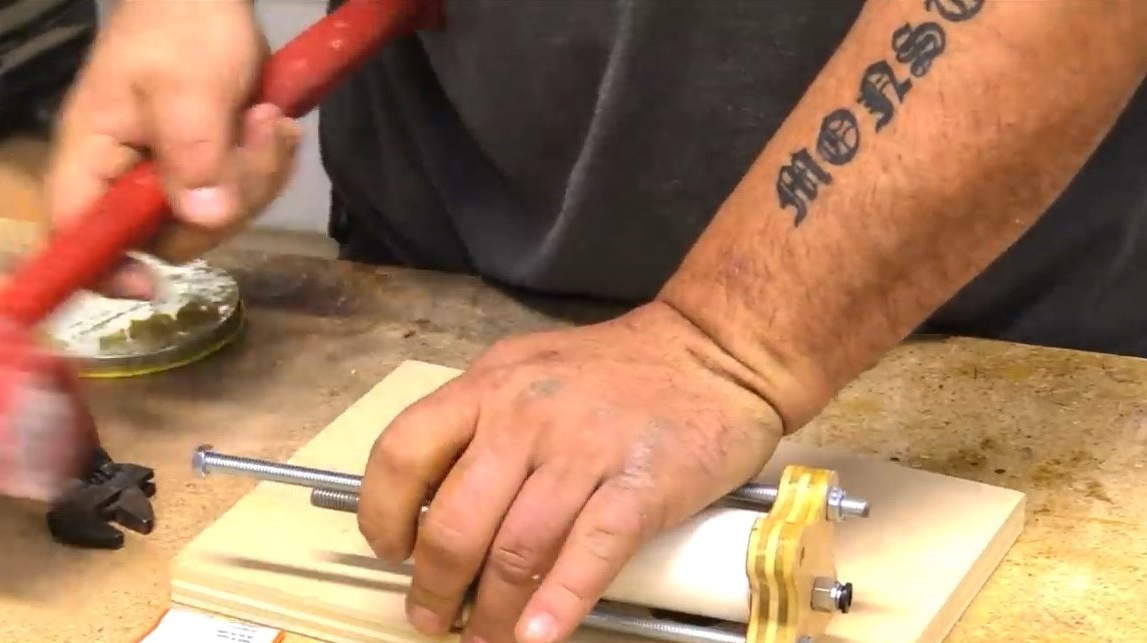
After the cylinders are strung on a bolt and glued together, they should be smoothly sanded. In addition, rubber rings will be worn on the piston. They will improve the sliding inside the PVC pipe and at the same time provide a tight fit.
Grooves for rings the author grinds on a circular saw. This is not the safest way, so be careful! For safety reasons, to ensure emphasis, the master used the board. Then he simply rotates the cylinder on the disc evenly. The depth of the groove is no more than 2 mm.
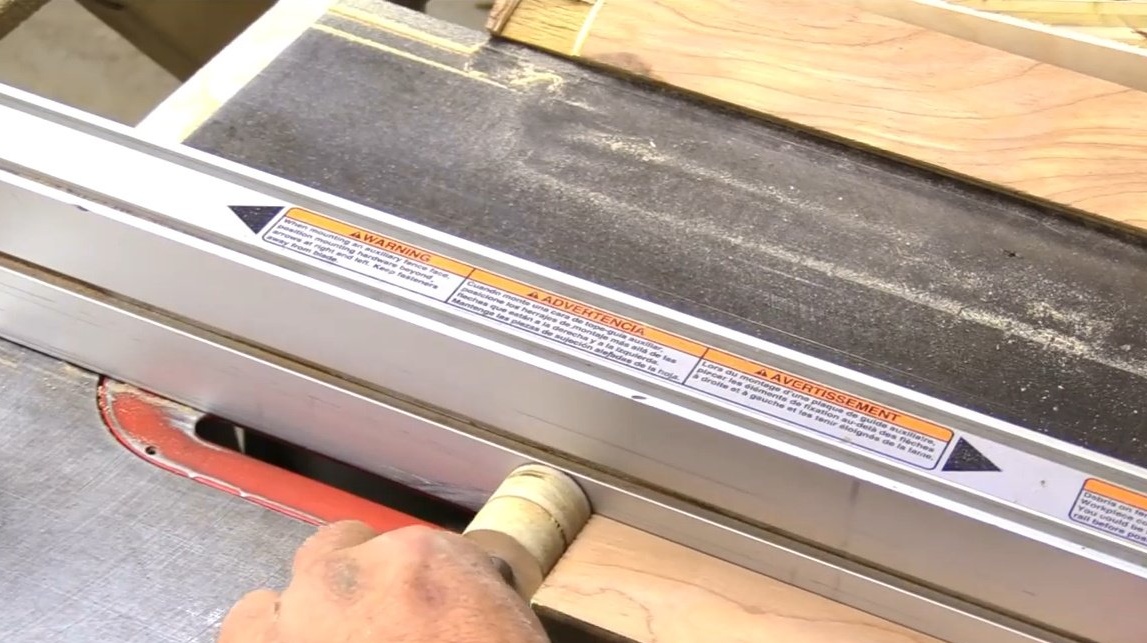

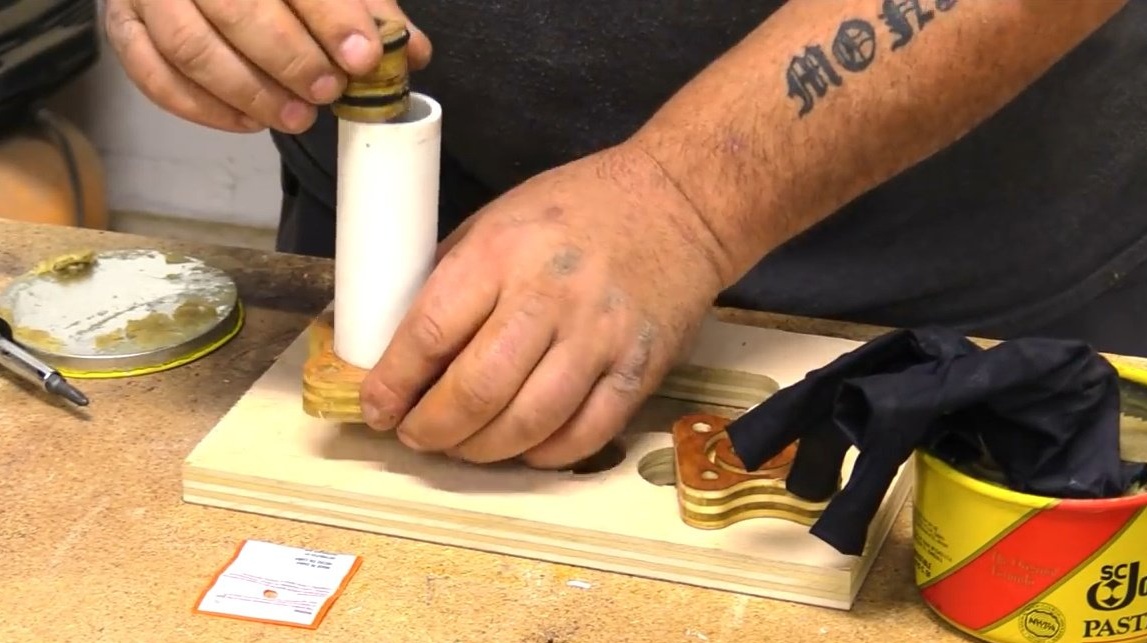
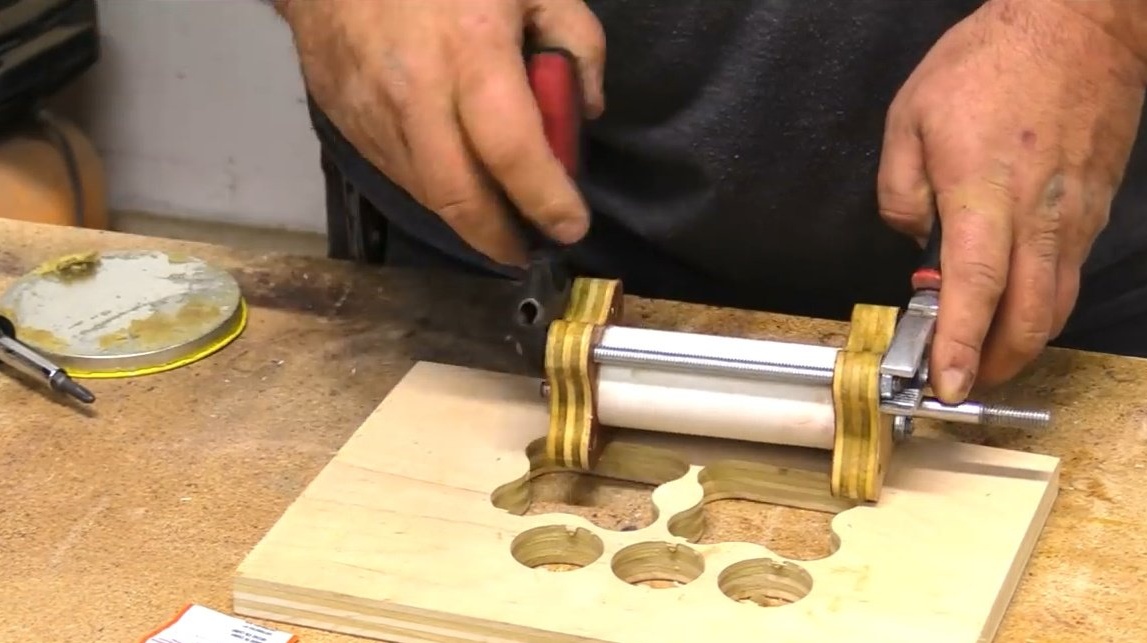
When the rubber rings are already dressed on the cylinder, it can be placed in a small PVC pipe, the length of which is slightly less than 25 cm.

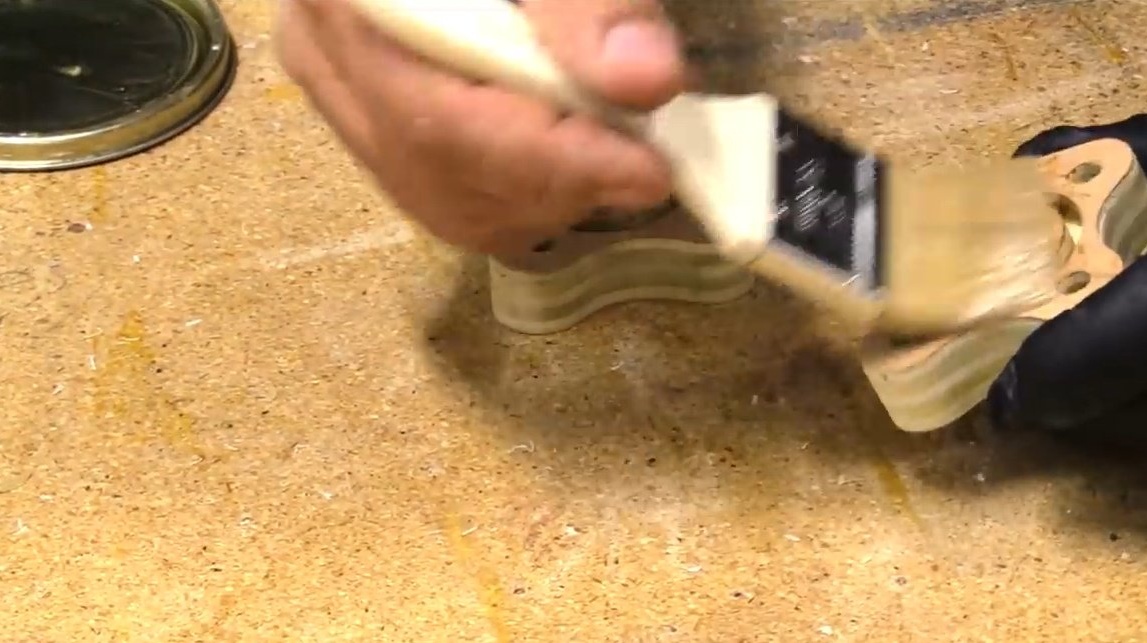
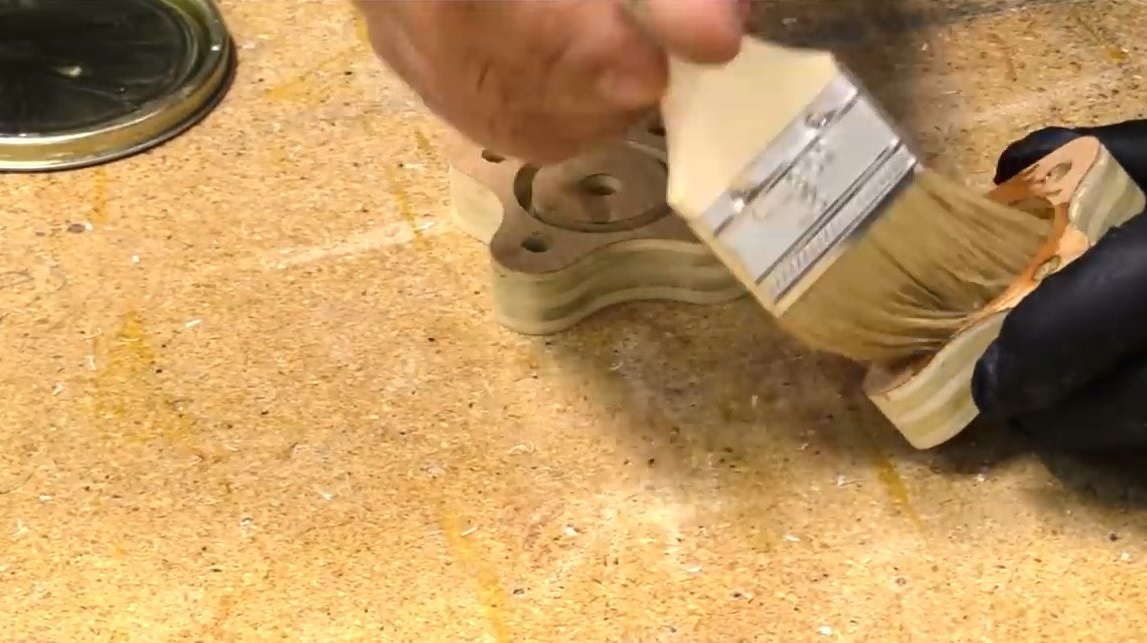
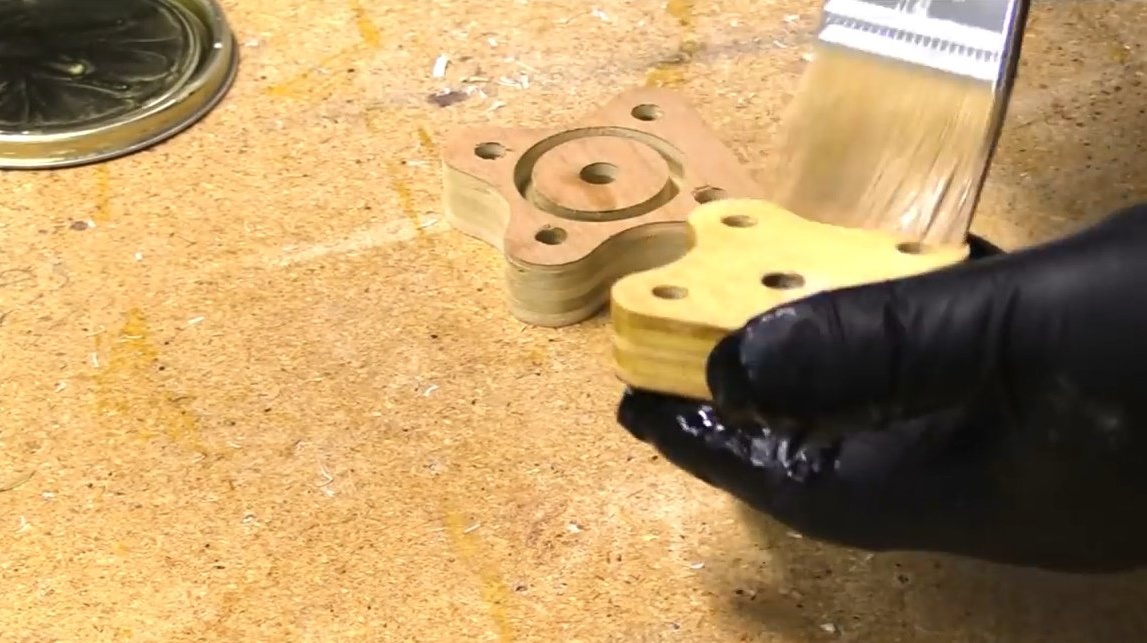
Further, the author covers these small wooden details, carved for clamping, with a layer of impregnation. True, he notes, this is not particularly necessary.
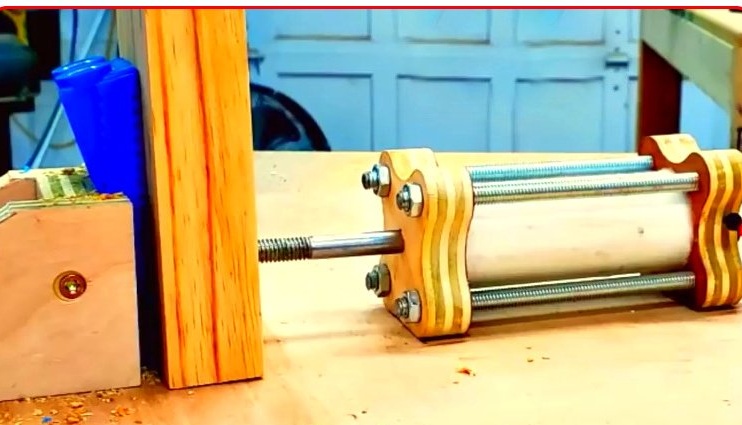
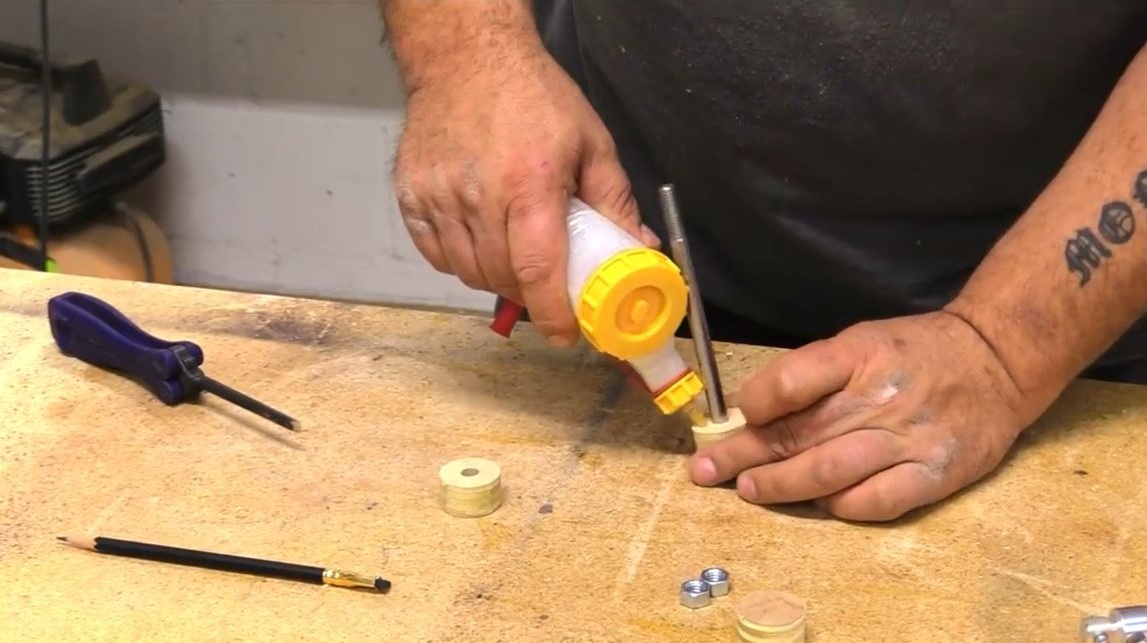
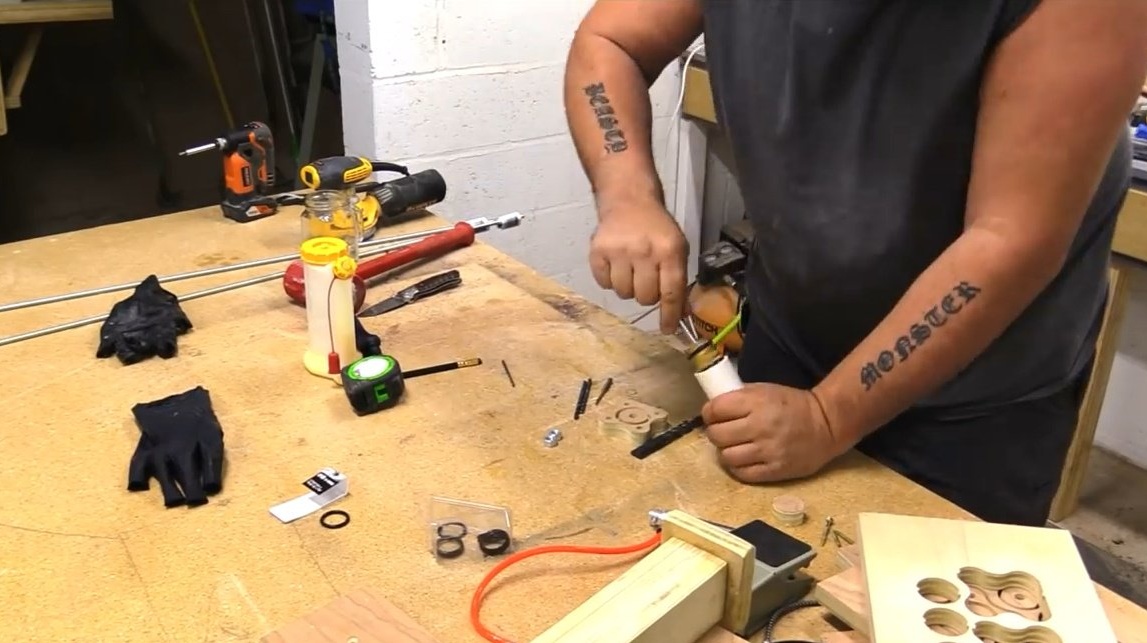
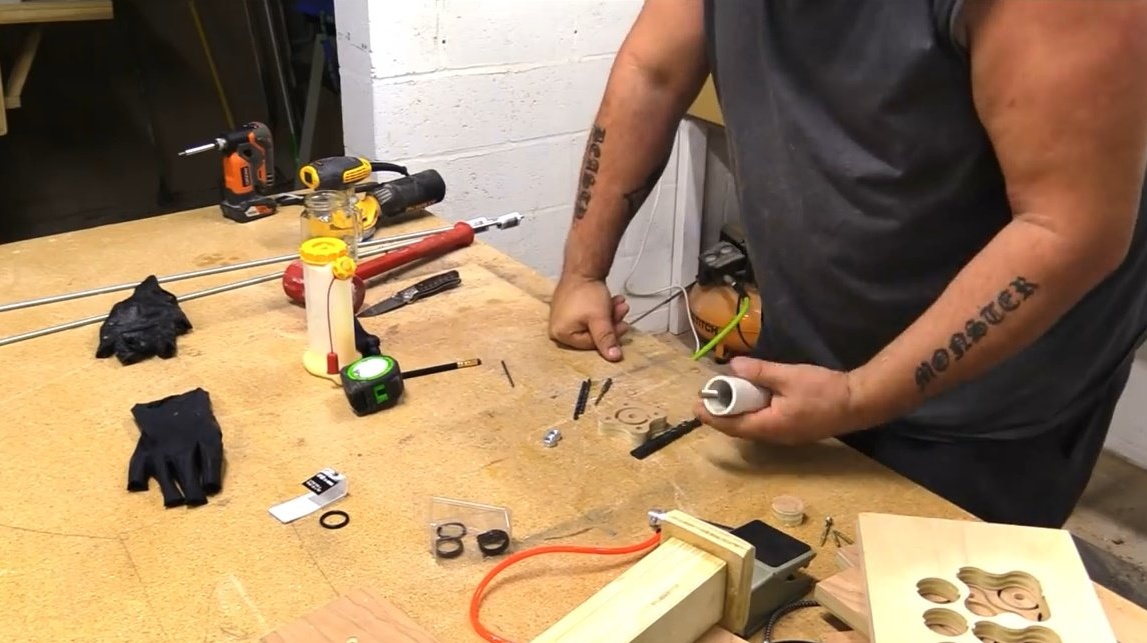
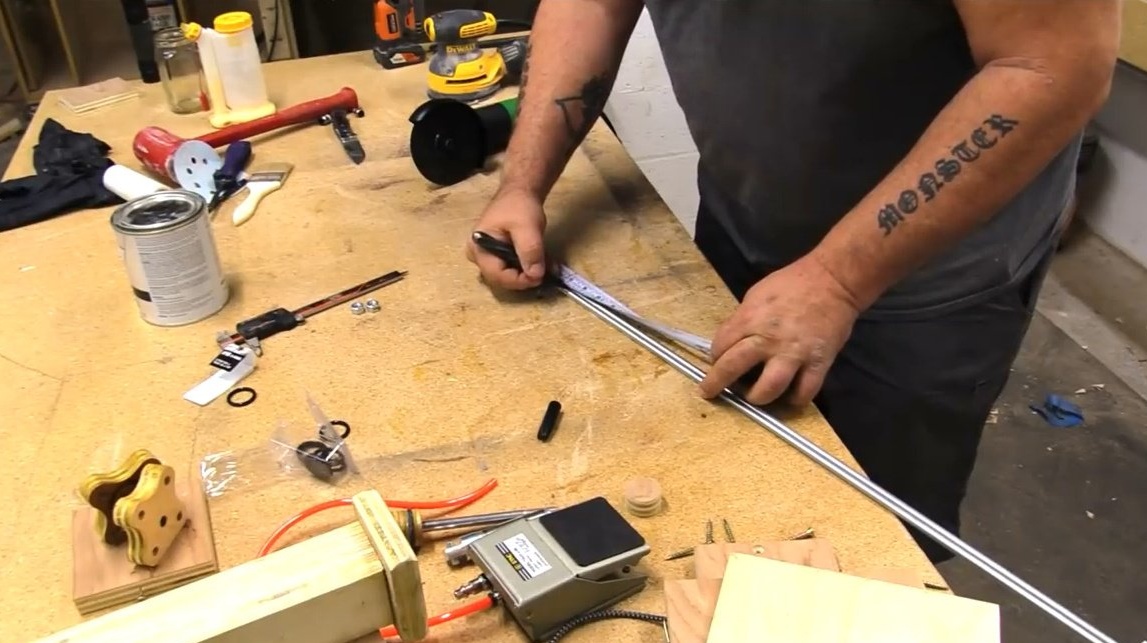
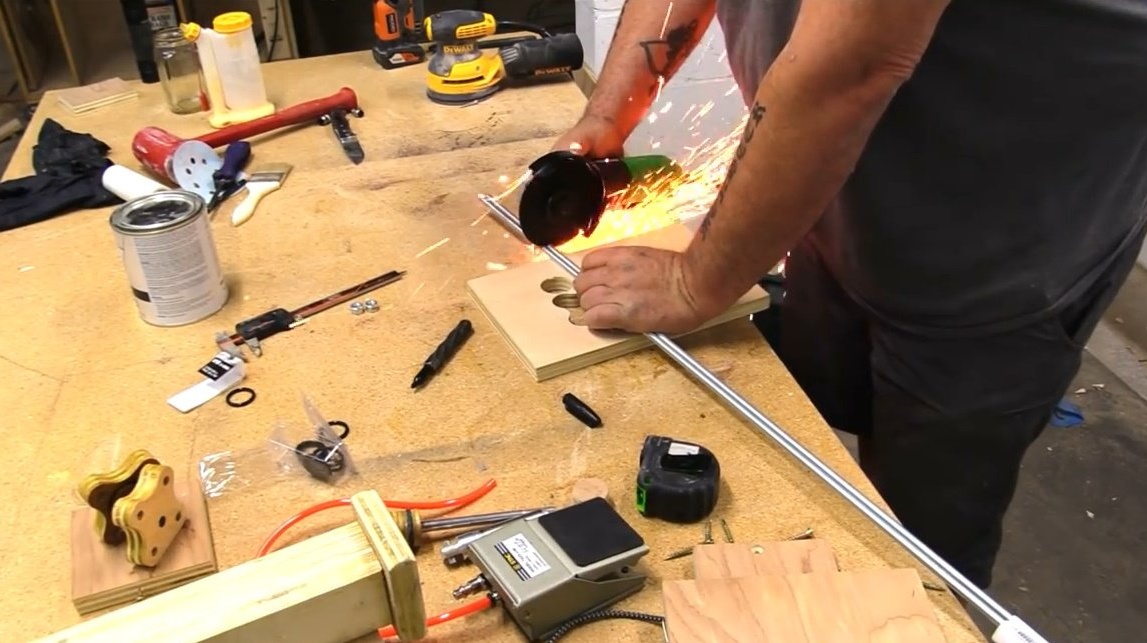
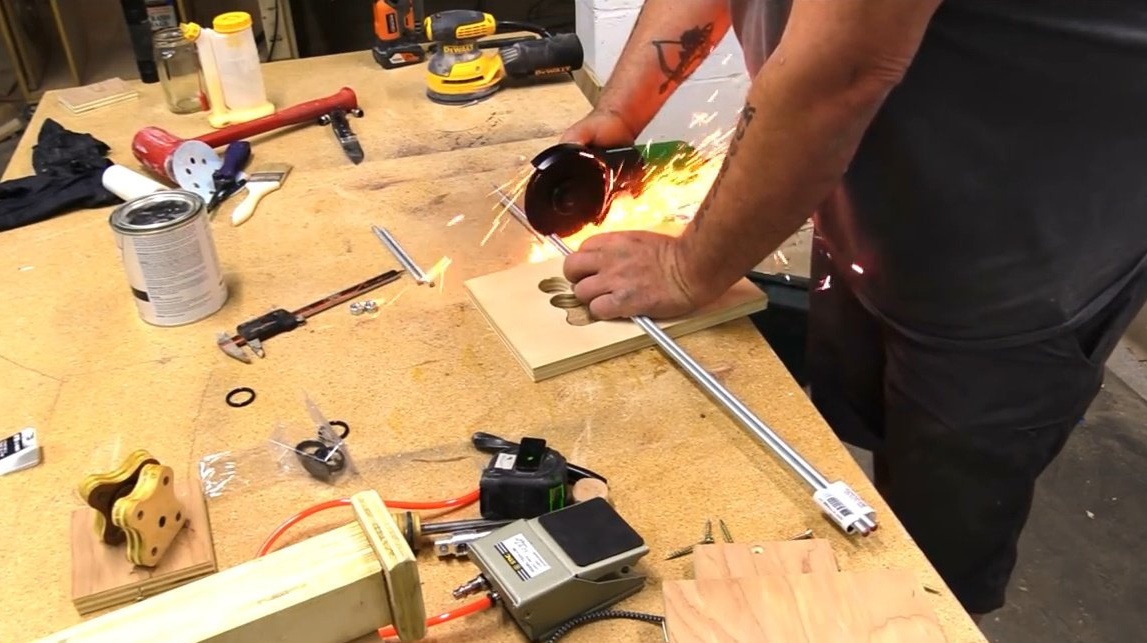
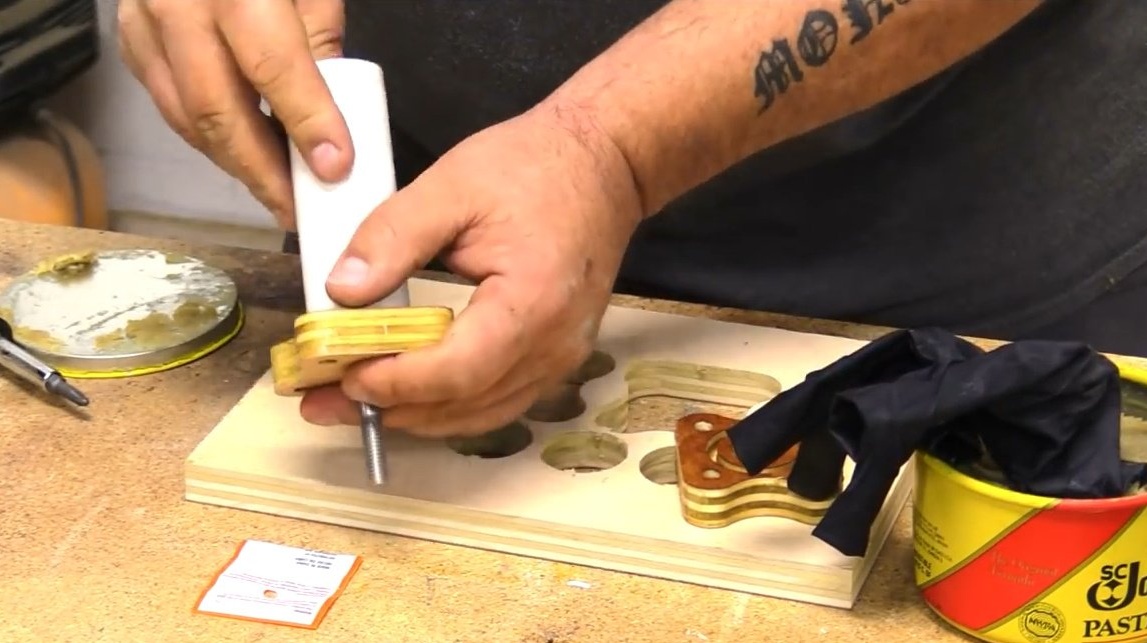
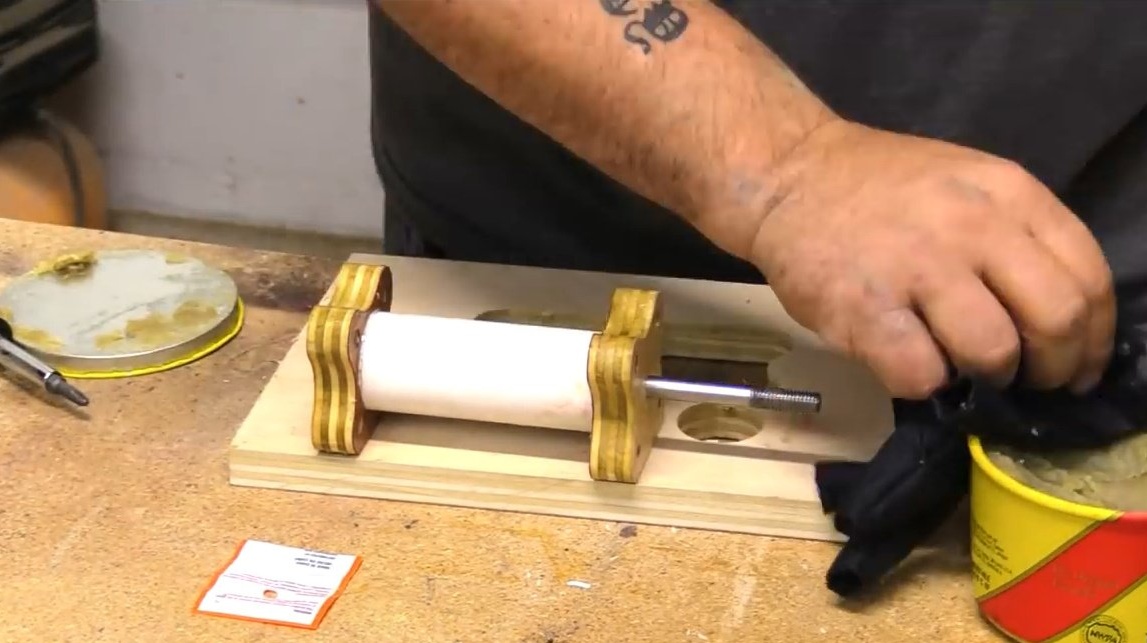
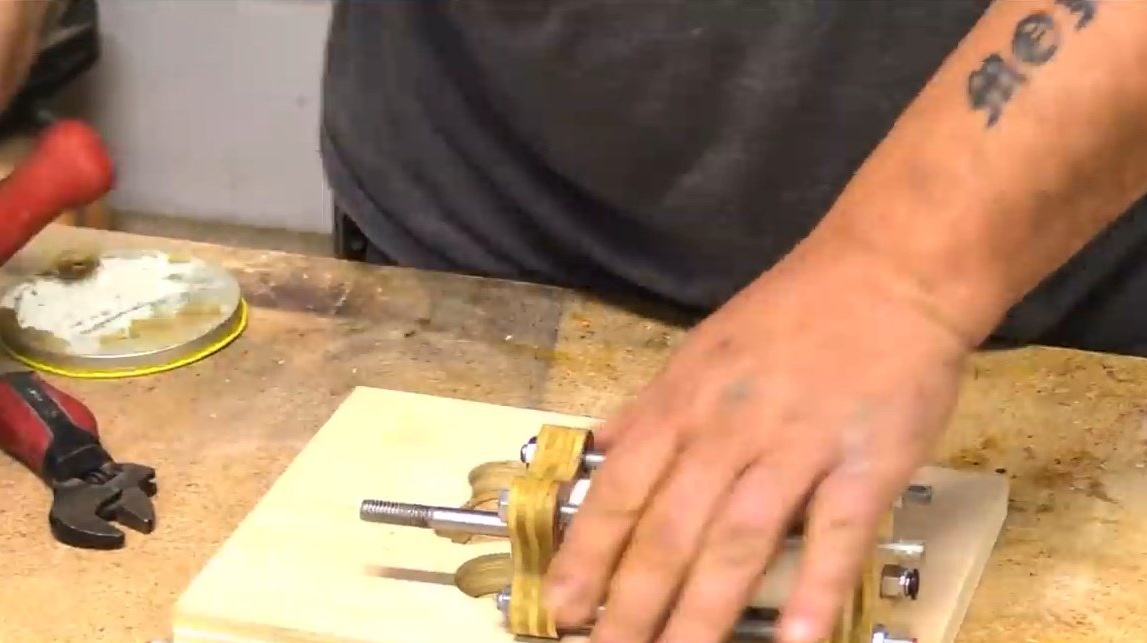
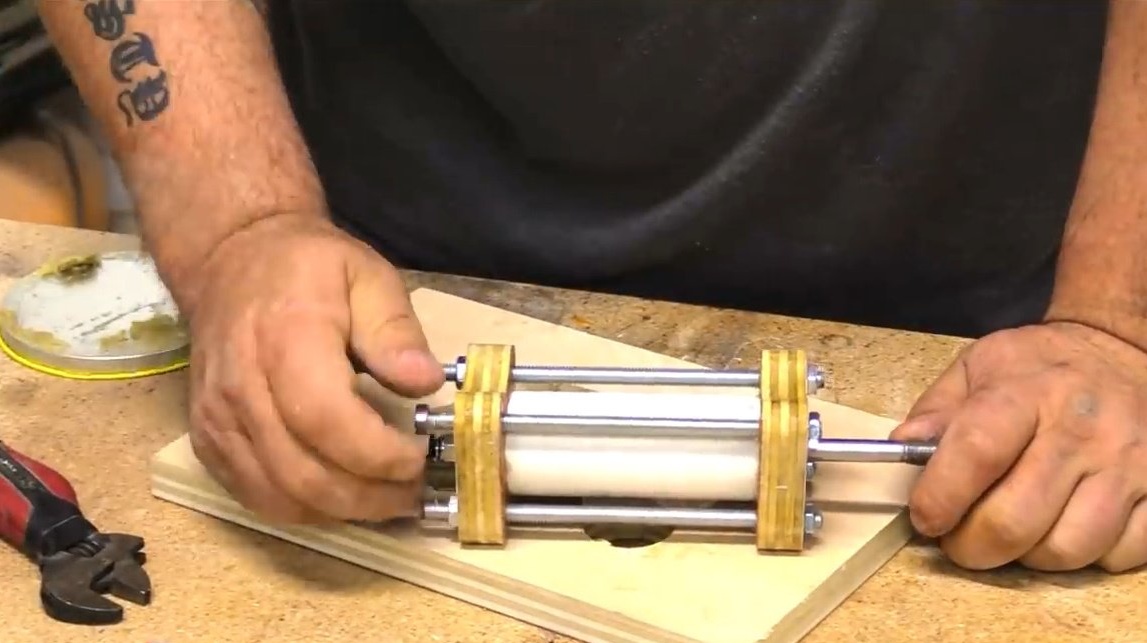
He then cuts off several M8 threaded rods.They will need to provide support and pull the entire structure together. Although this can be achieved in other ways, for example, simply by gluing all the elements or by placing the cylinder in the end caps. The author chose this option rather for aesthetic reasons - so the pneumatic piston looks cool!
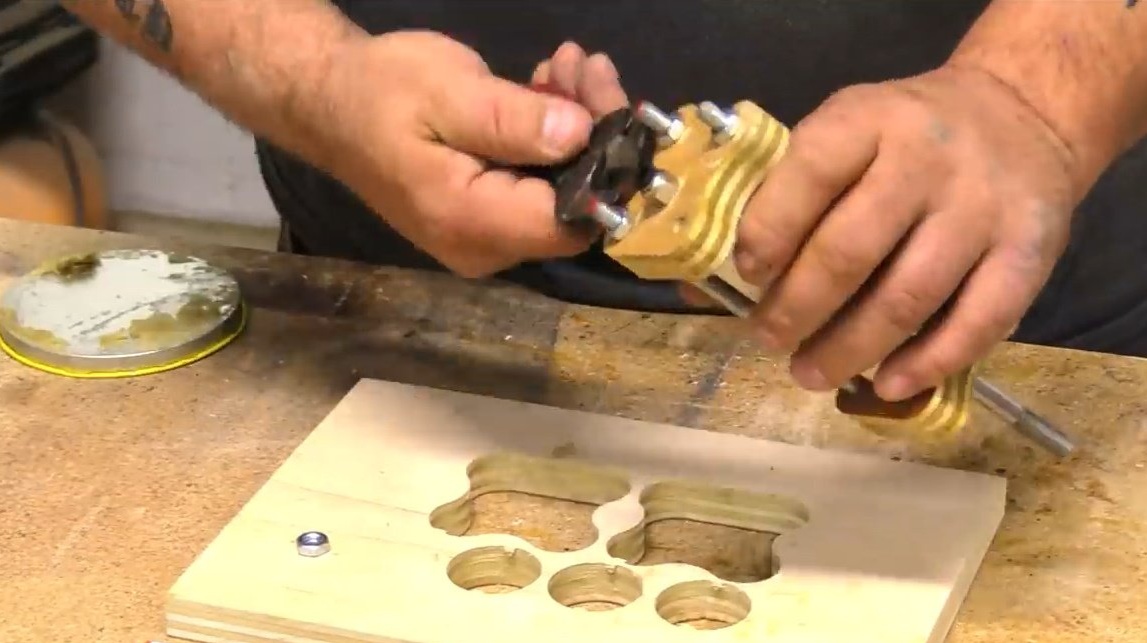
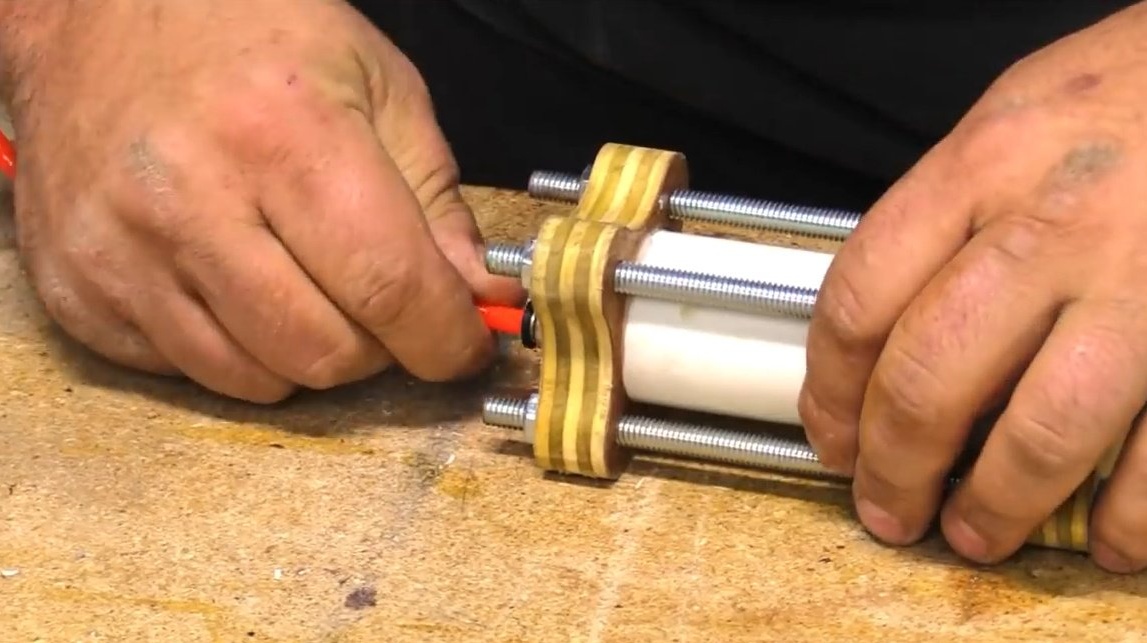
Before inserting the piston into a vertically standing tube, the master will check that the piston head, the axis of the rod or bolt are properly saturated with wax or solid oil. Ring grooves, where the tube is inserted, spills with PVA glue.
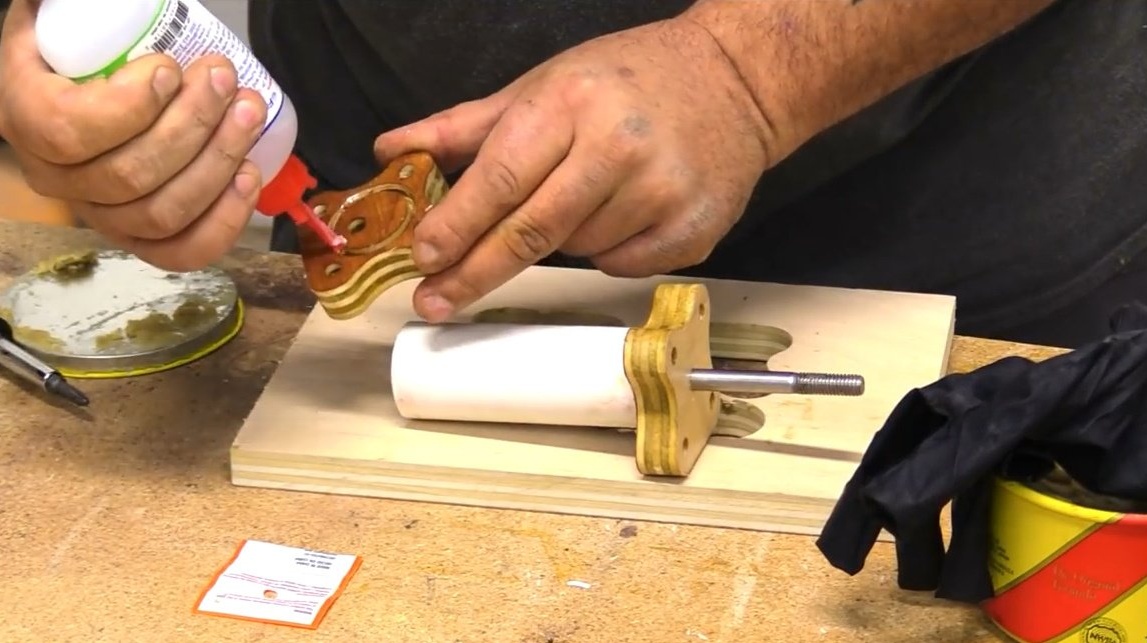
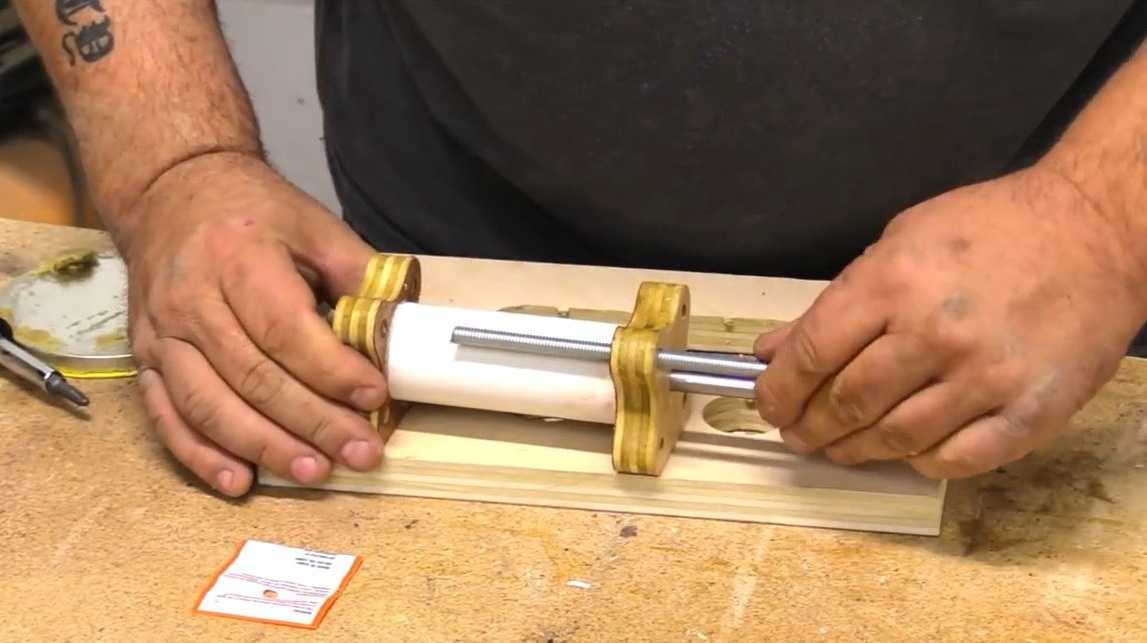
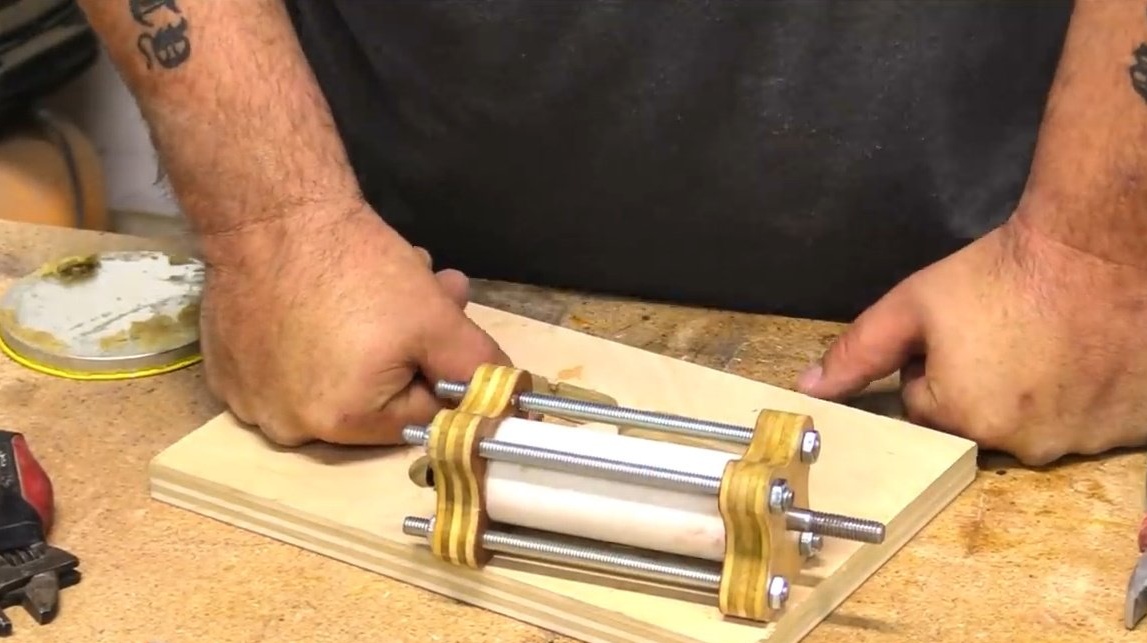
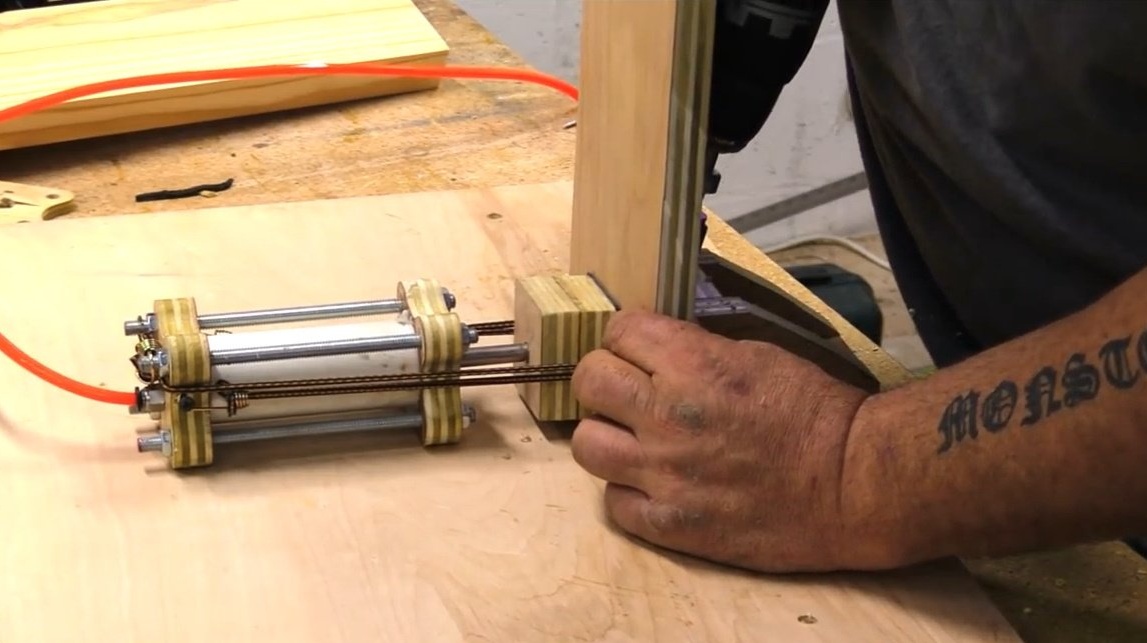
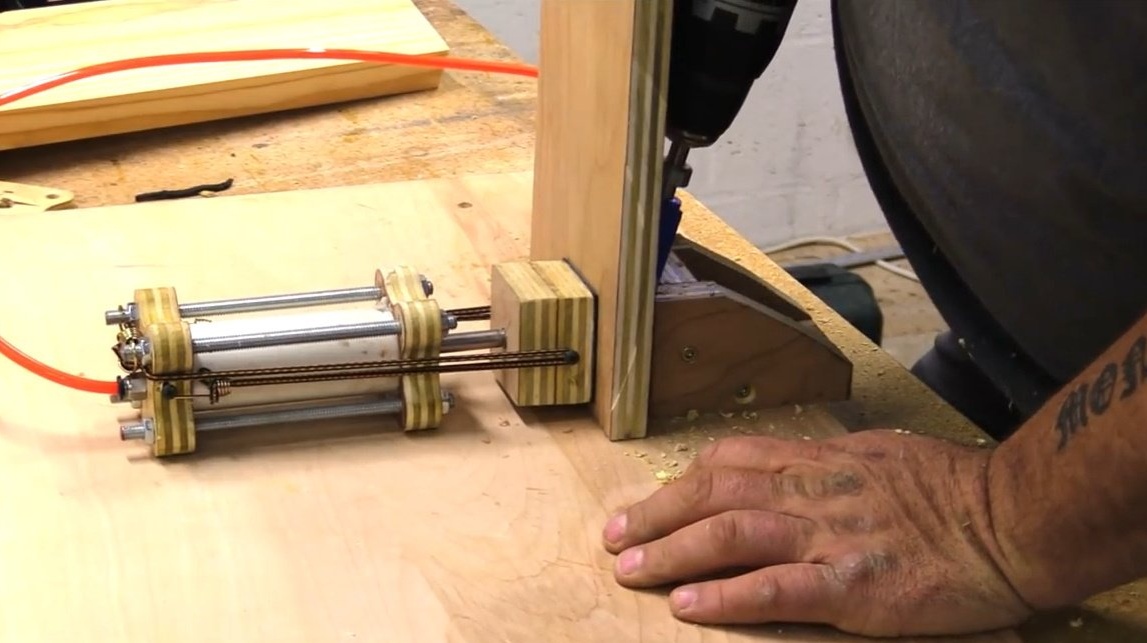
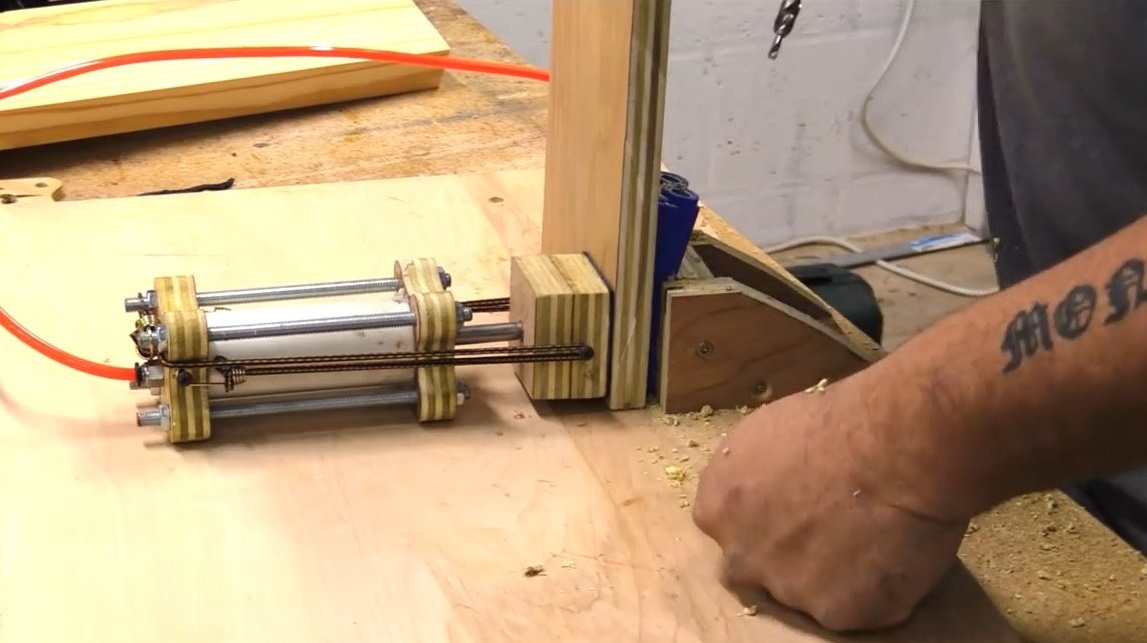
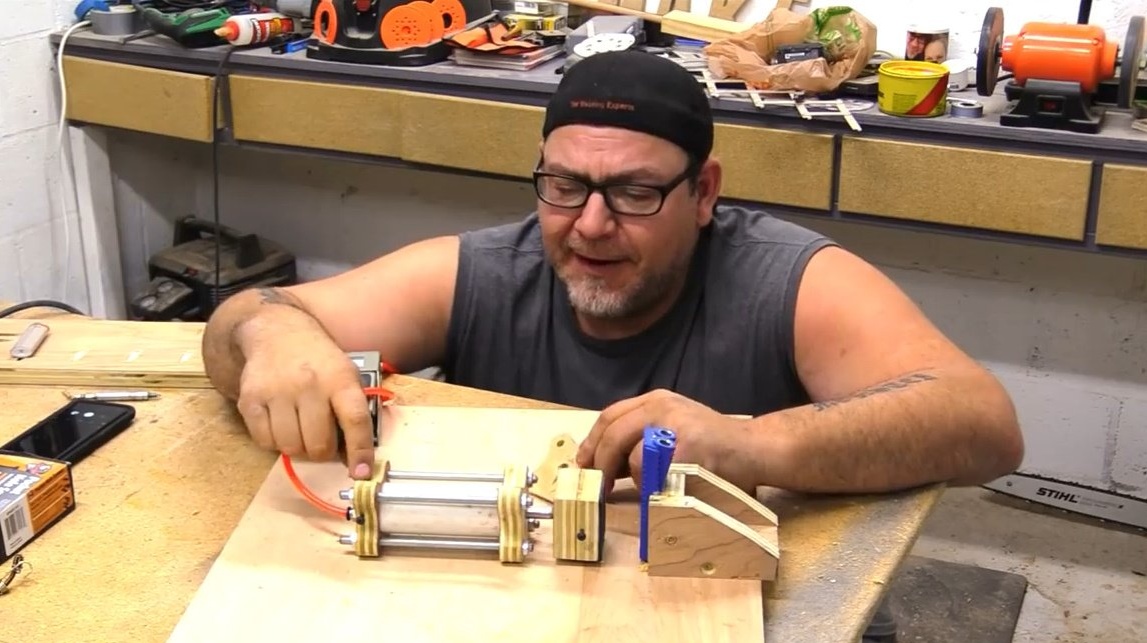
Then he inserts the rods, tightens the nuts, and the appliance is almost ready!
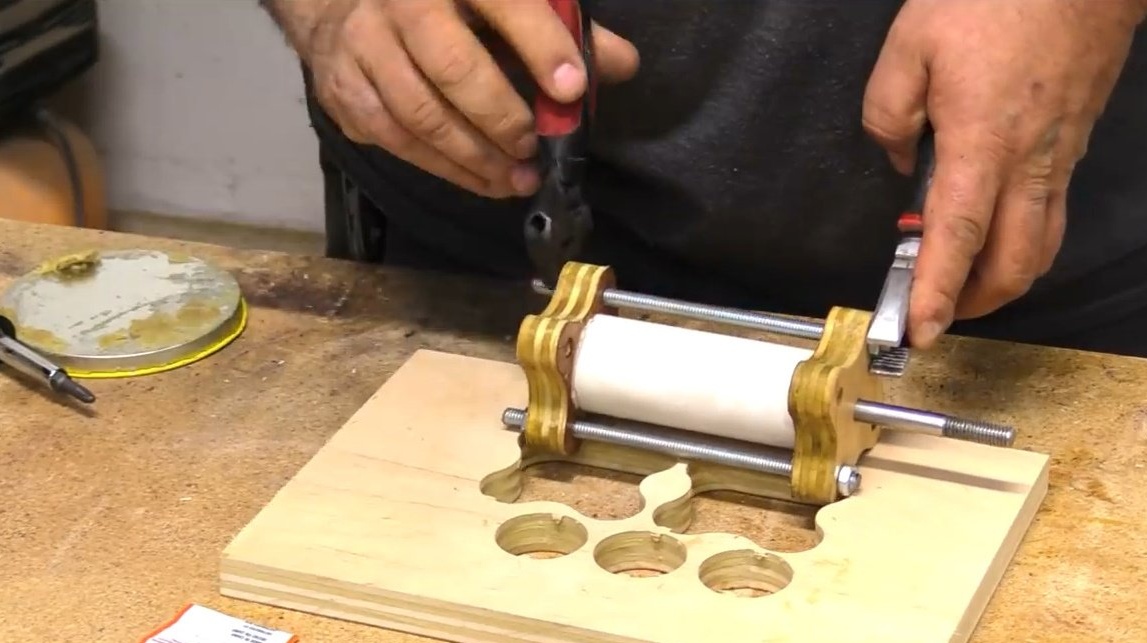
The author notes the simplicity and relative cheapness in creating this design. The few parts that Amazon had to order were a quarter-inch hose connector and foot switch. All details about the materials are indicated in the list of materials, and under the author’s video there are links to tools.


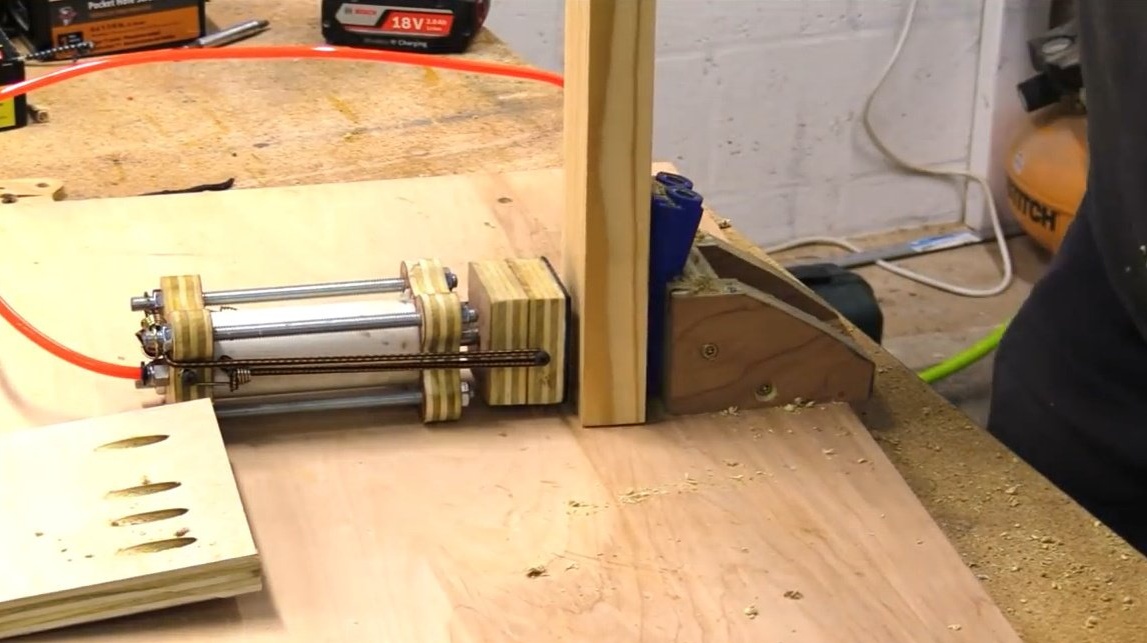
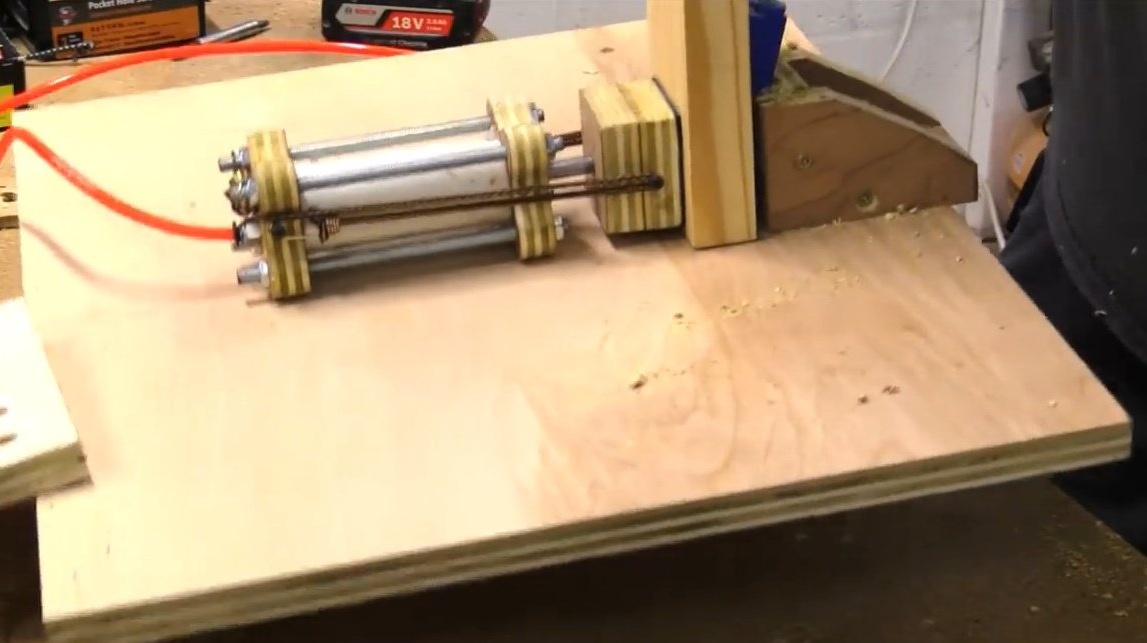
Before you is a one-way clamp, in other words, it is enough to simply pump up pressure from the back side, and the piston will move forward.
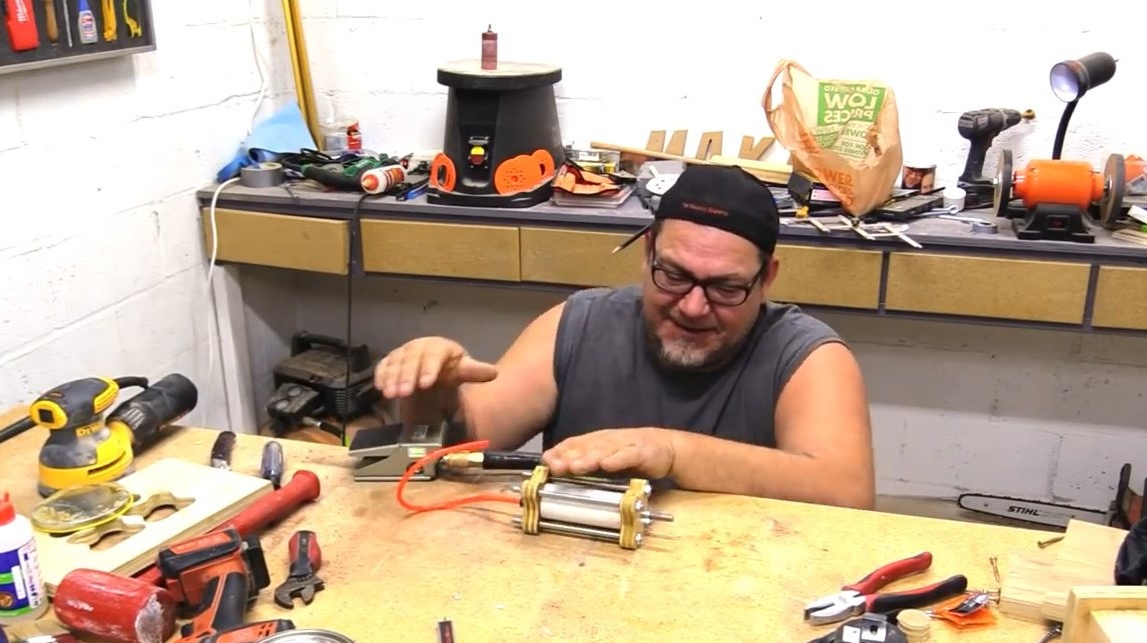
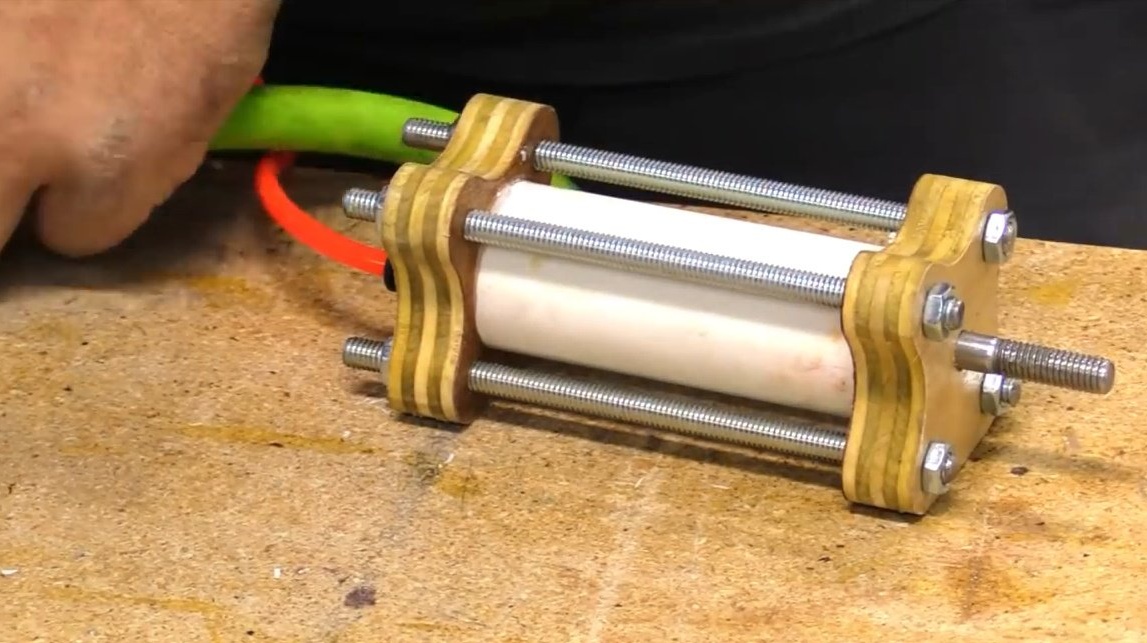
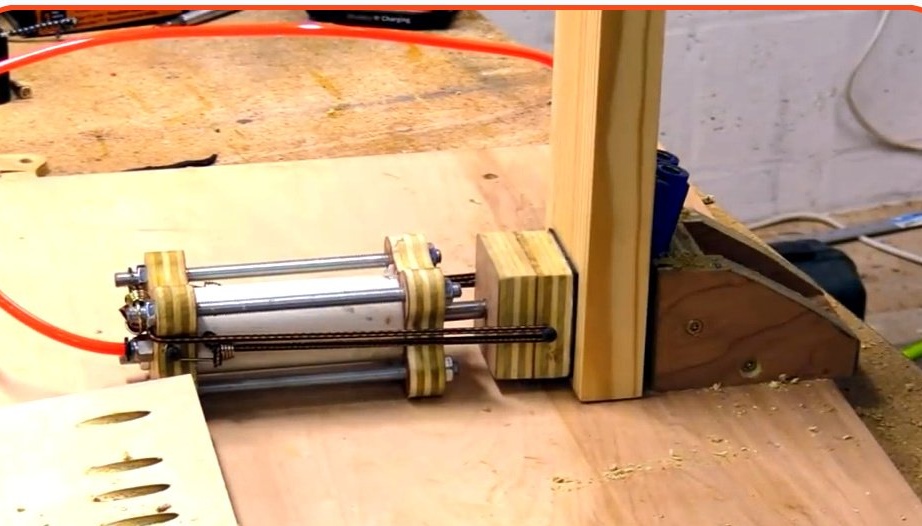
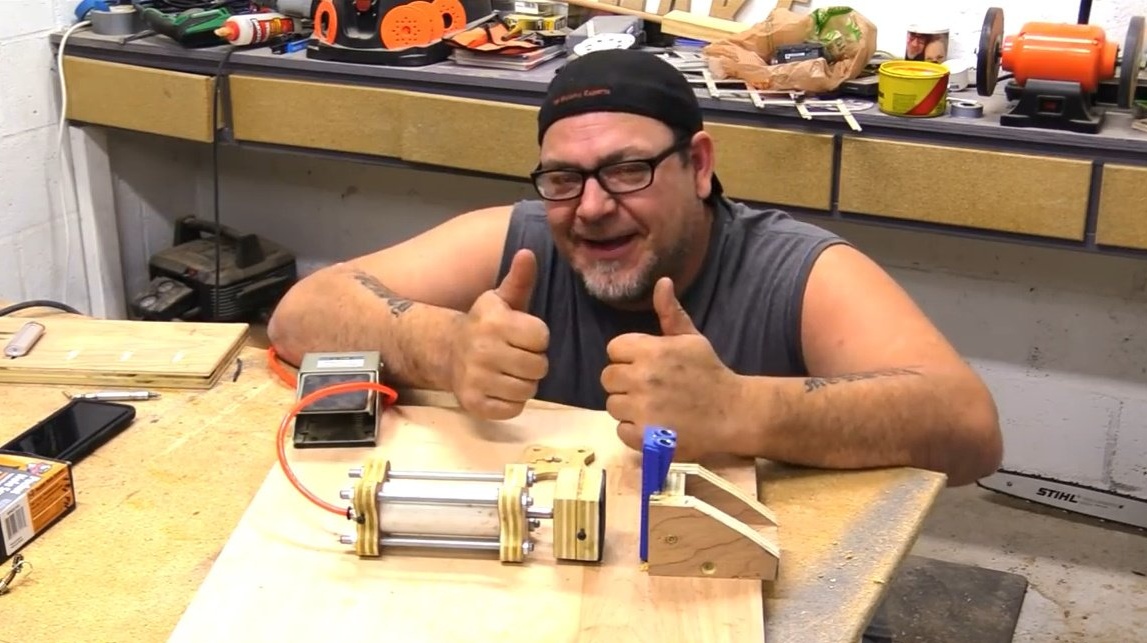
Now, to make the piston return to its original position, the craftsman intends to use an elastic band, or a compression spring of corresponding length. When the vise was ready, the author used it as an element of the conductor for connection to a slanting screw. It turned out to be a good clamp with a pressure of 60 psi at the inlet.
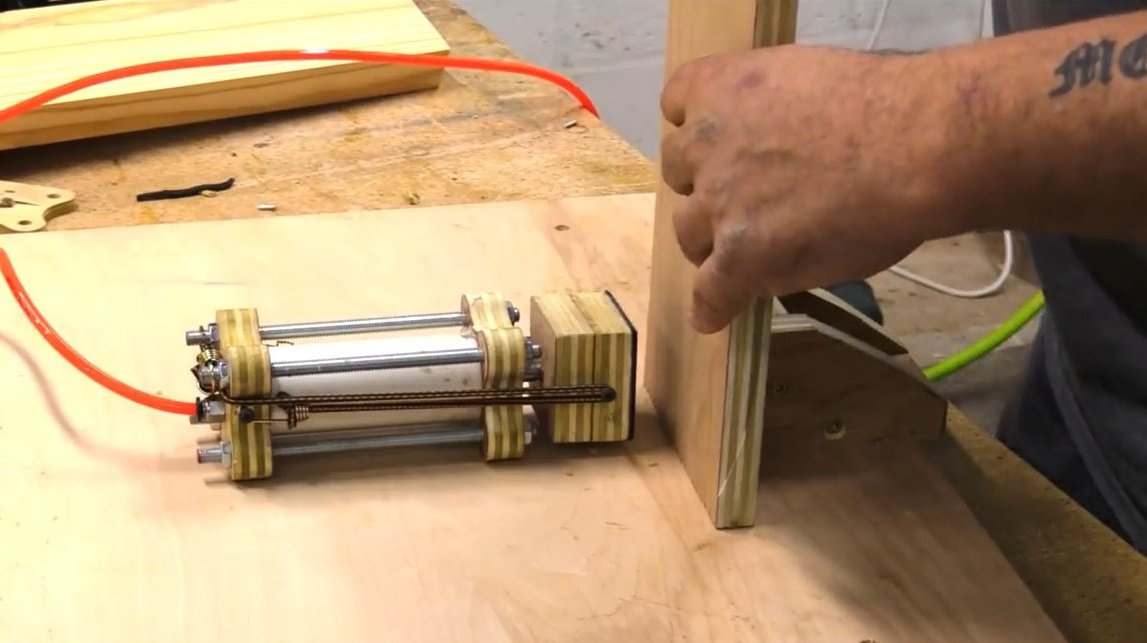
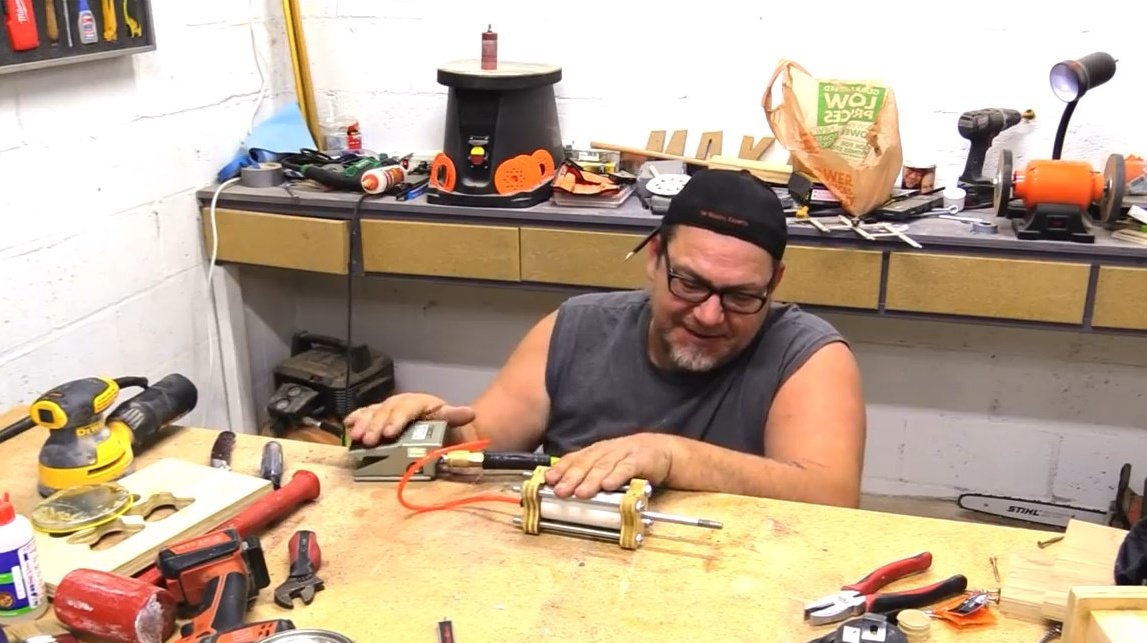
In this article, the author wanted to show how simple it is in reality to create such a pneumatic cylinder by itself, and how cheap it is. He tested its functionality, and is now ready to implement it as an element of more complex structures.
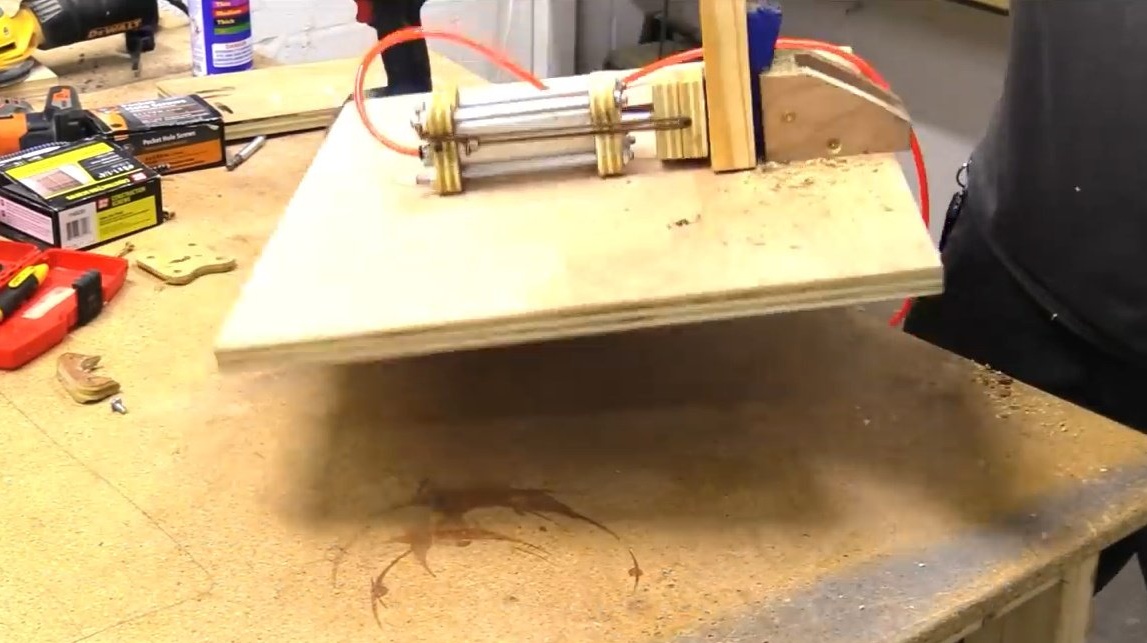
The clip turned out to be pretty tight, as seen in the photo. Even such a weight did not tear the workpiece out of the clamp!
Thanks to the author for a simple but useful carpentry device!
All good mood, good luck, and interesting ideas!