
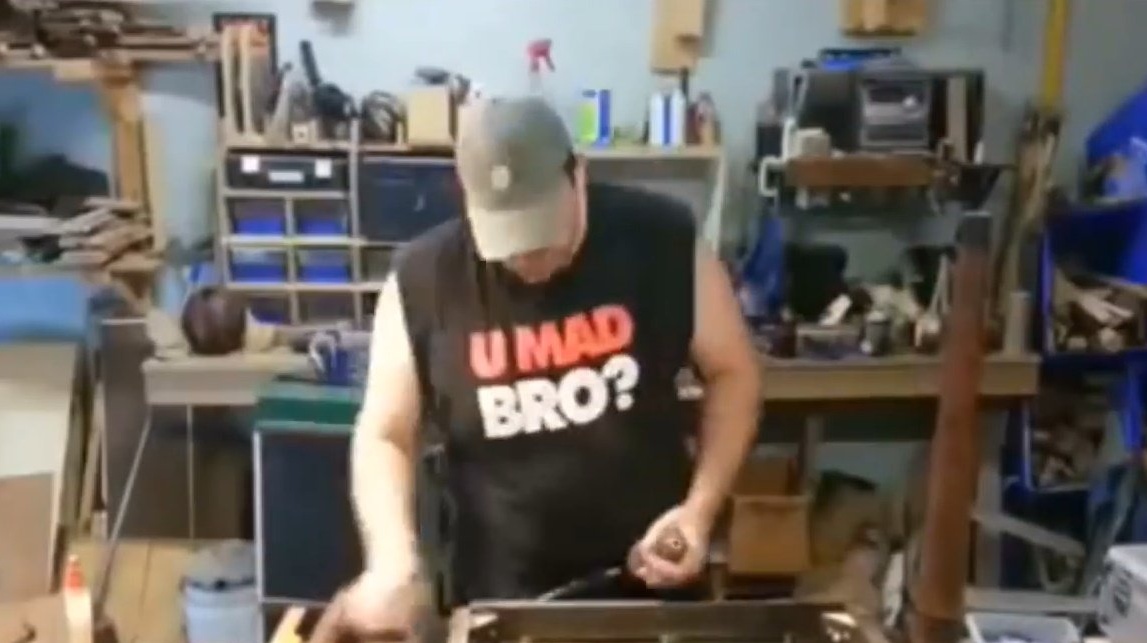
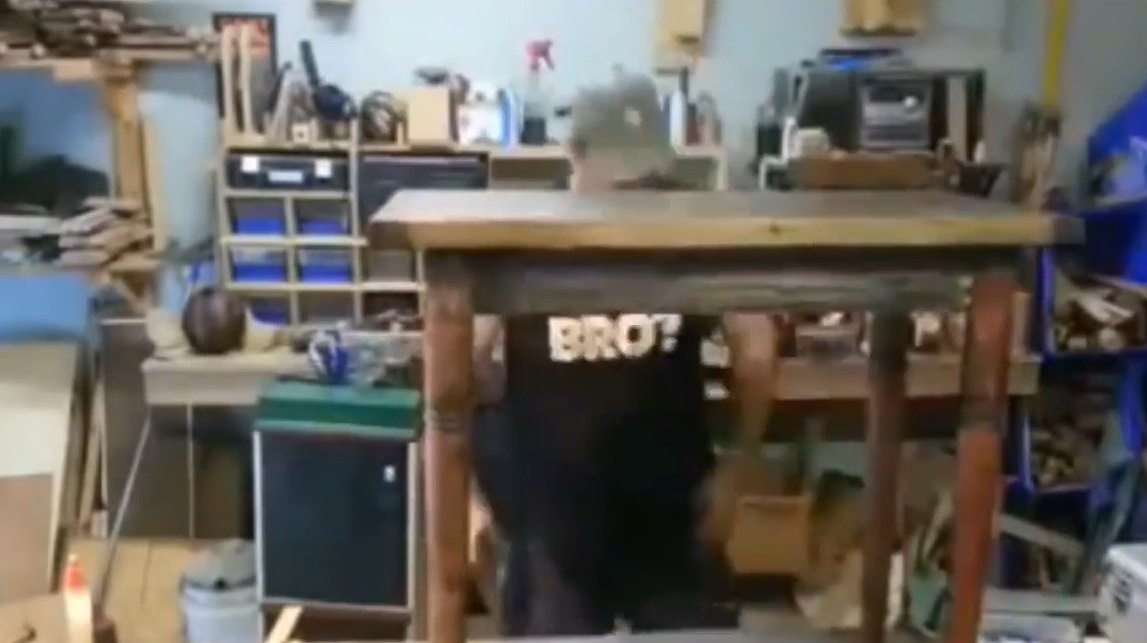
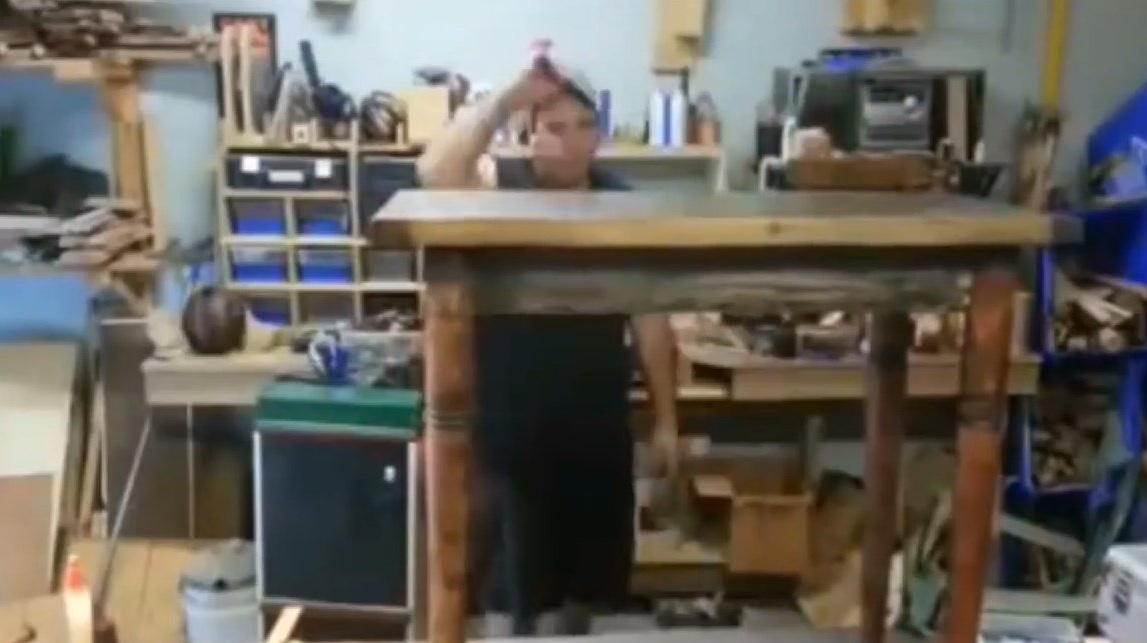
In this article, the author of the izzy swan YouTube channel will tell you how to make very beautiful out of junk furniture.
The article is devoted to a stylish alteration of a simple peasant table, whose rude features were replaced by a graceful vintage design. In addition, all work is done using a minimum number of tools - a circular saw and a drill. This, perhaps, is all the electrical appliances from his arsenal.
Materials
- Boards from used pallets
- Birch bark
- sheet plywood
- Wood screws
- Wooden beam
- Stain light and dark
- Vinegar
- Wooden bar for dowels
- PVA glue.
Instruments, used by the author.
- Jigsaw, chisels
- A circular saw
- Hammer
- Screwdriver or drill
- Saw.
Manufacturing process.
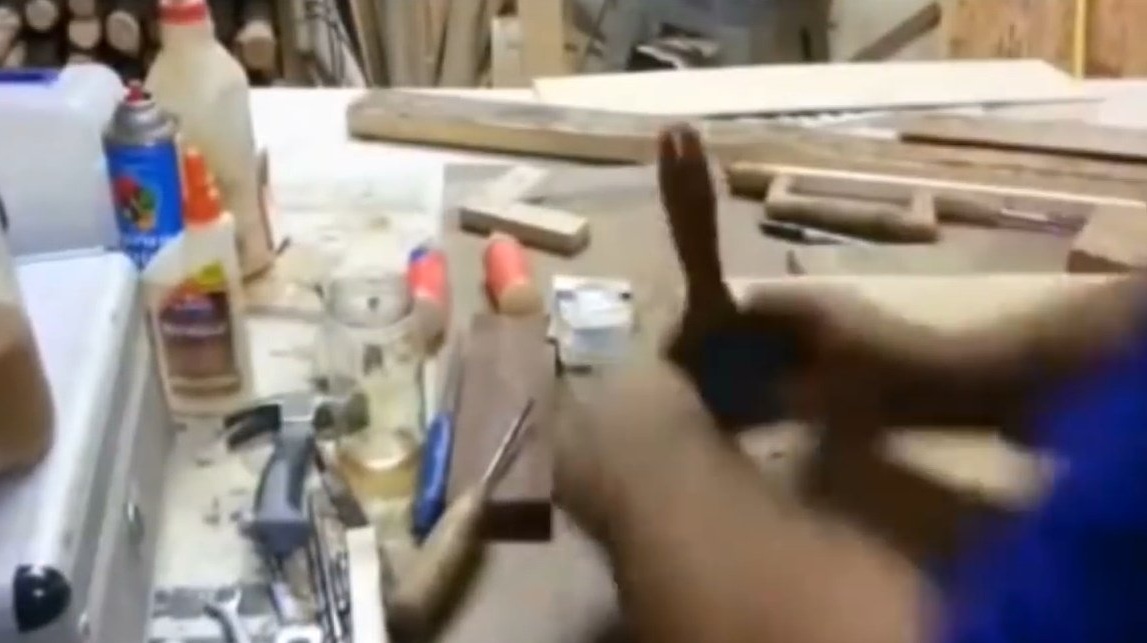
With all this, the master got a saw with a flaw, perforation, and he rented a drill. He found some plywood in his garbage container. Such an ascetic preparation for the creative process, the craftsman is trying to prove that tons of tools and materials are not needed to create a cute, stylish little thing.
Scrap boards from pallets from home bins also found their application in this project.

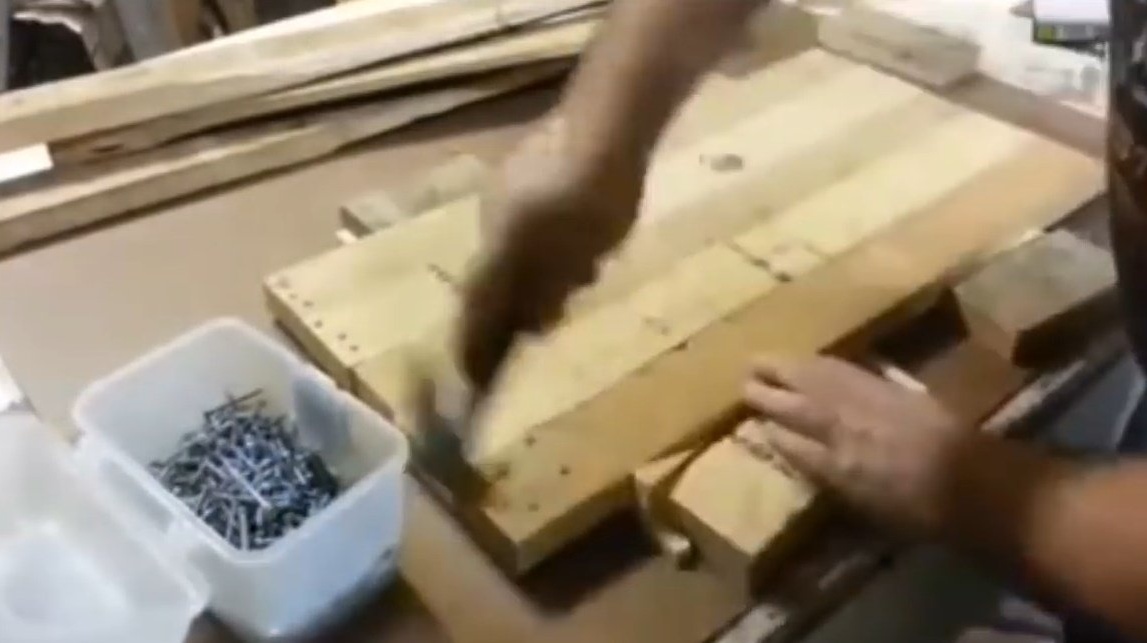
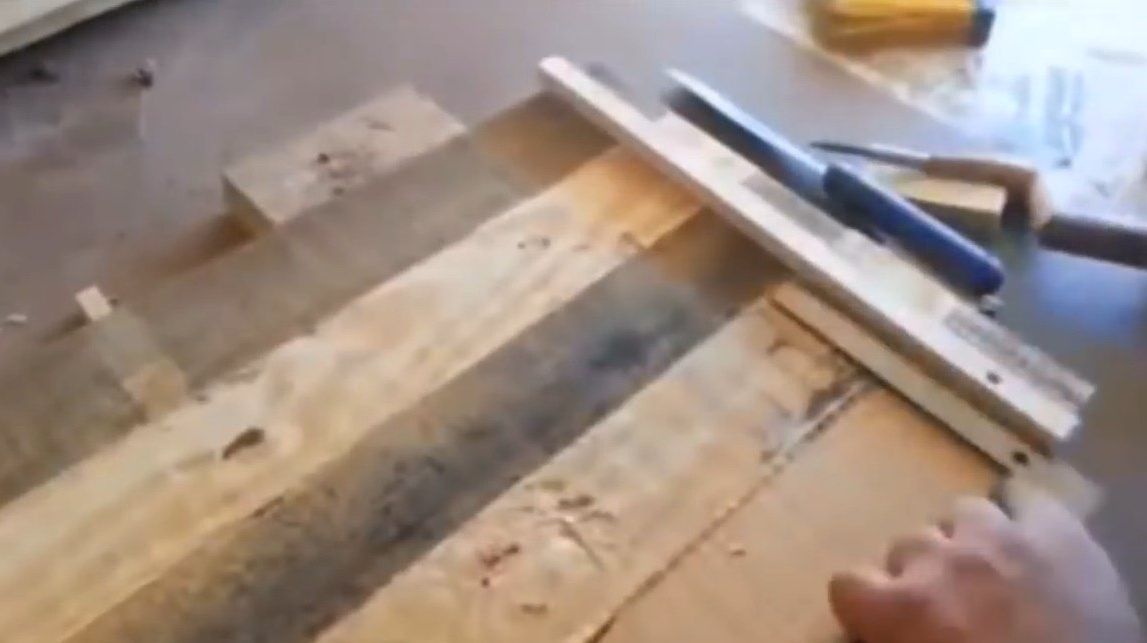
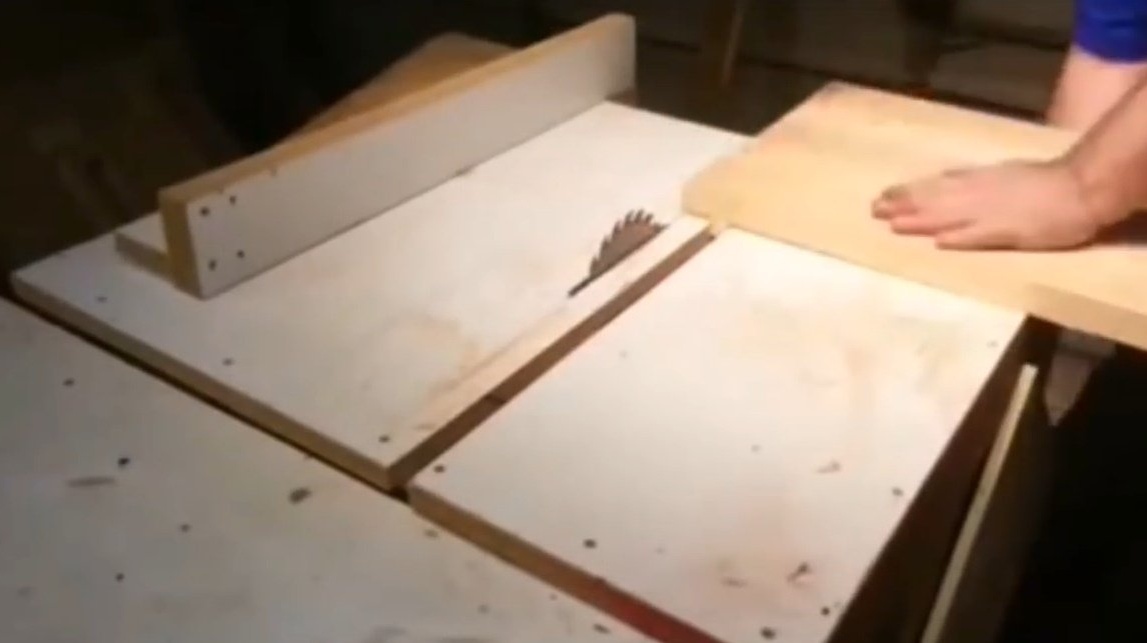
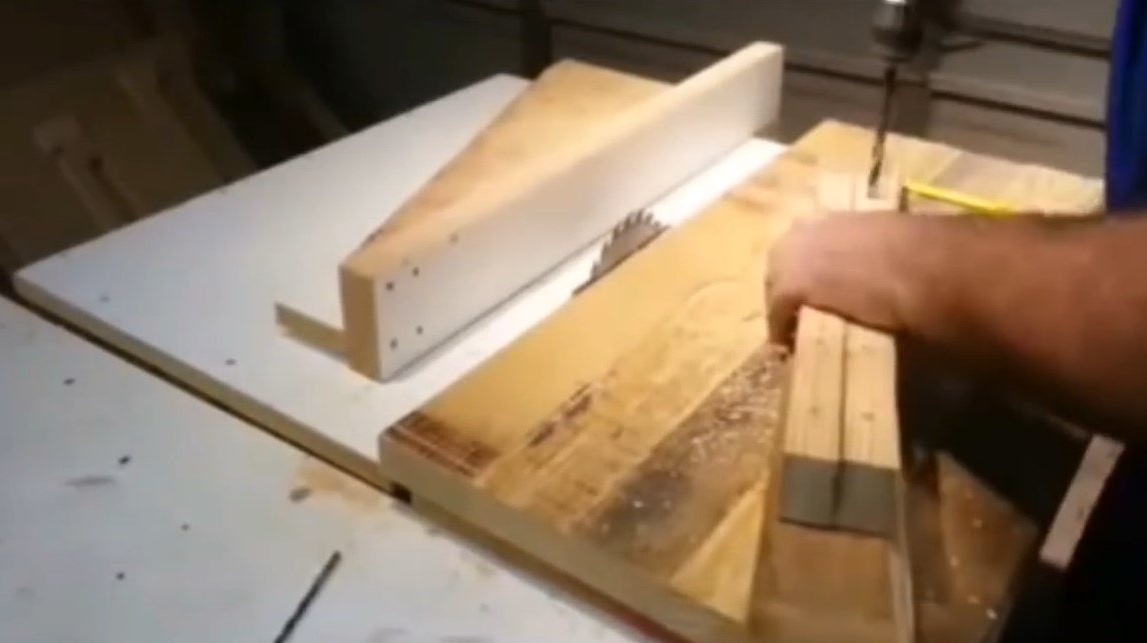
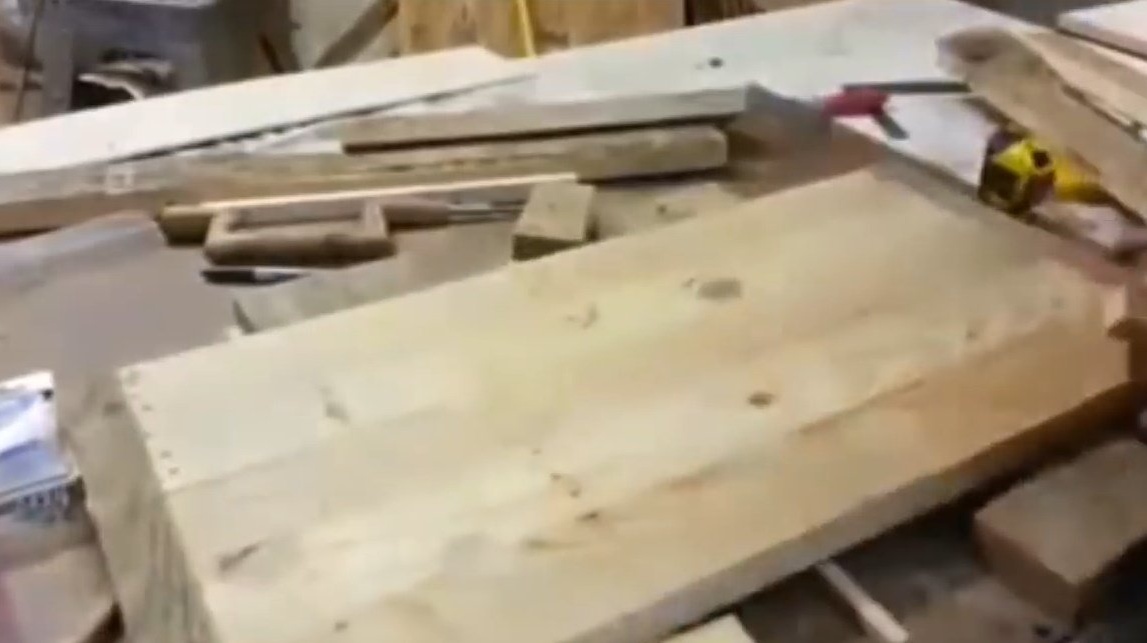
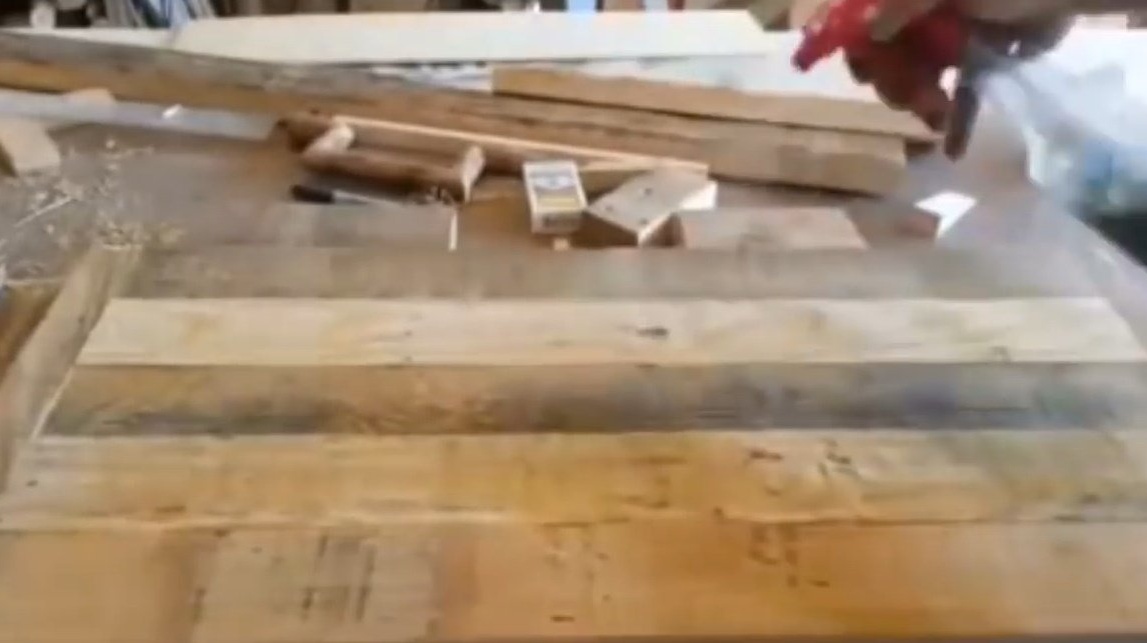
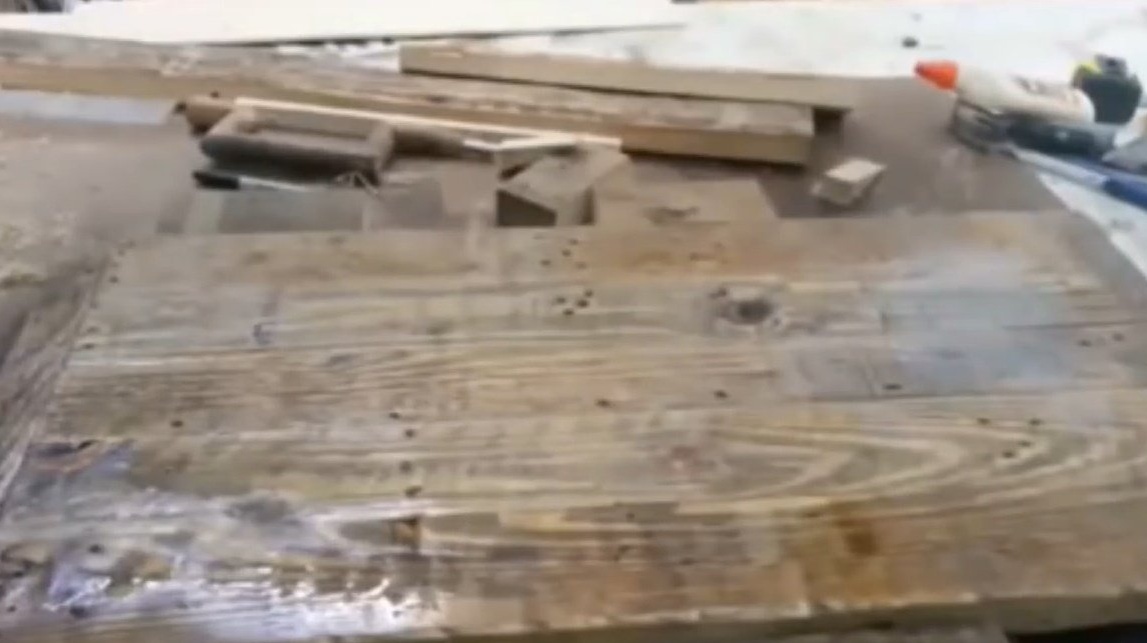
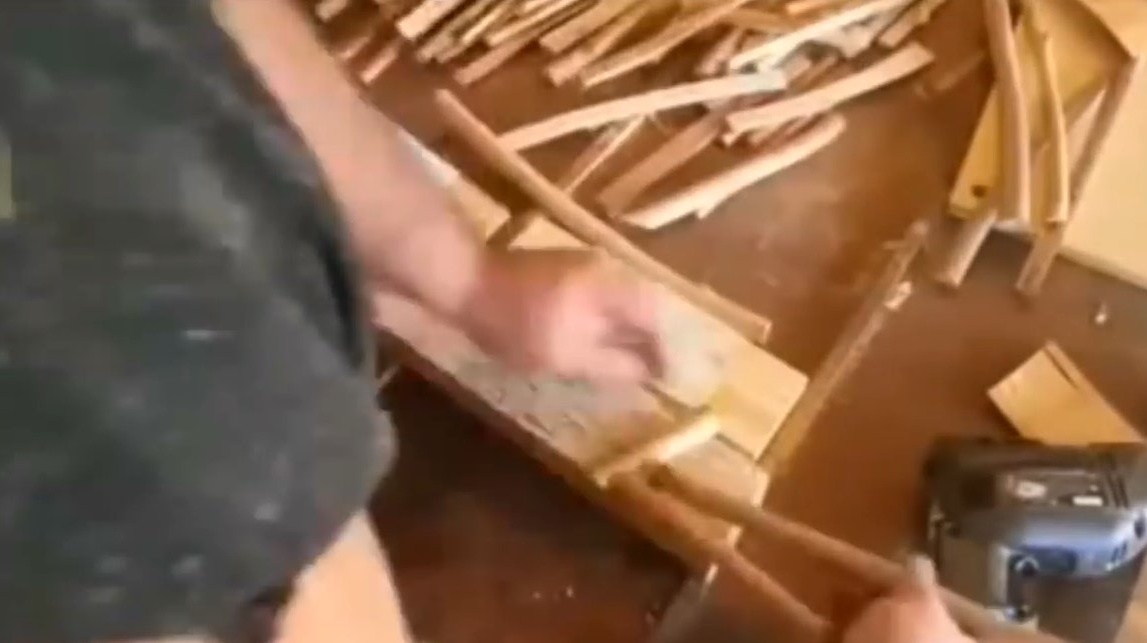
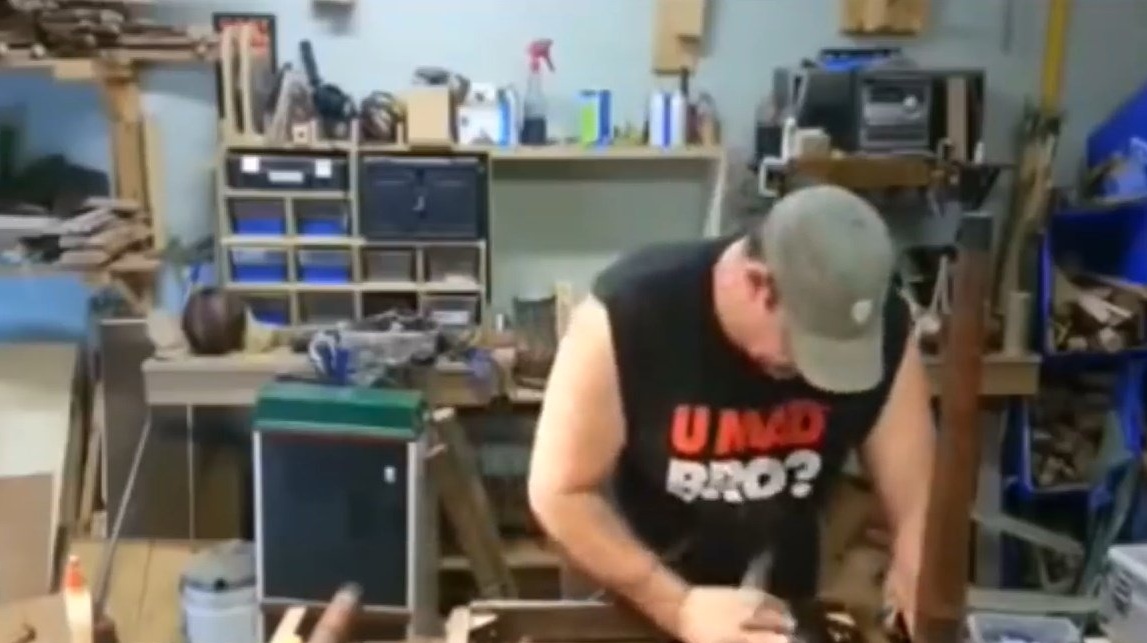
The first thing the author begins with is the worktop. He pre-selects the best material, puts it on the desktop and screws on a 7 mm plywood sheet to the board, in fact to the base of what will then become the top of the countertop.
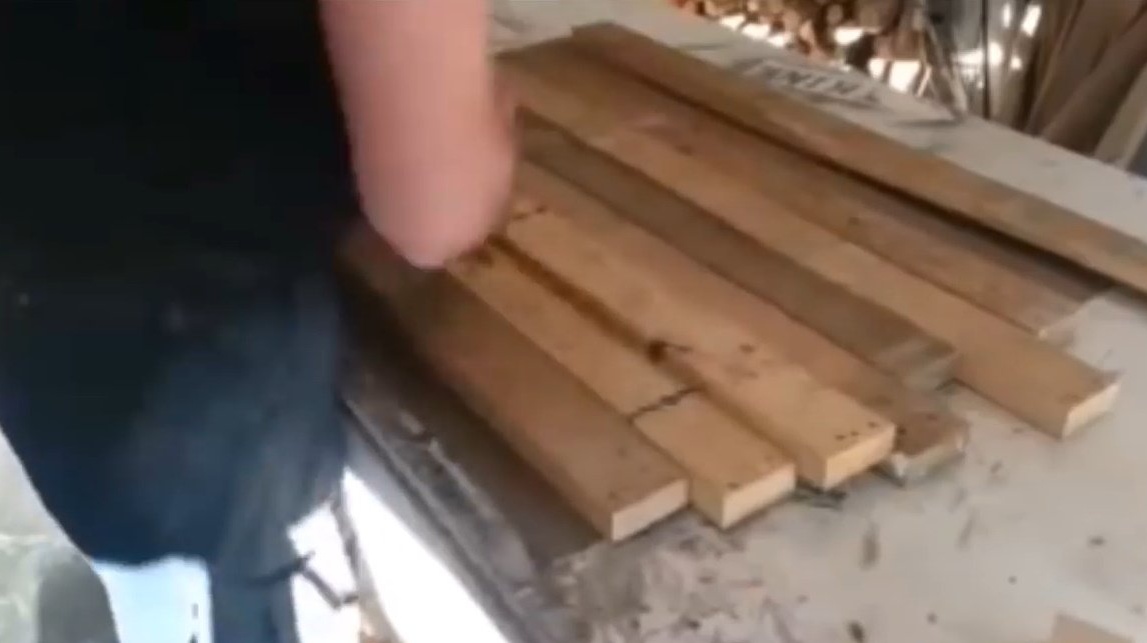
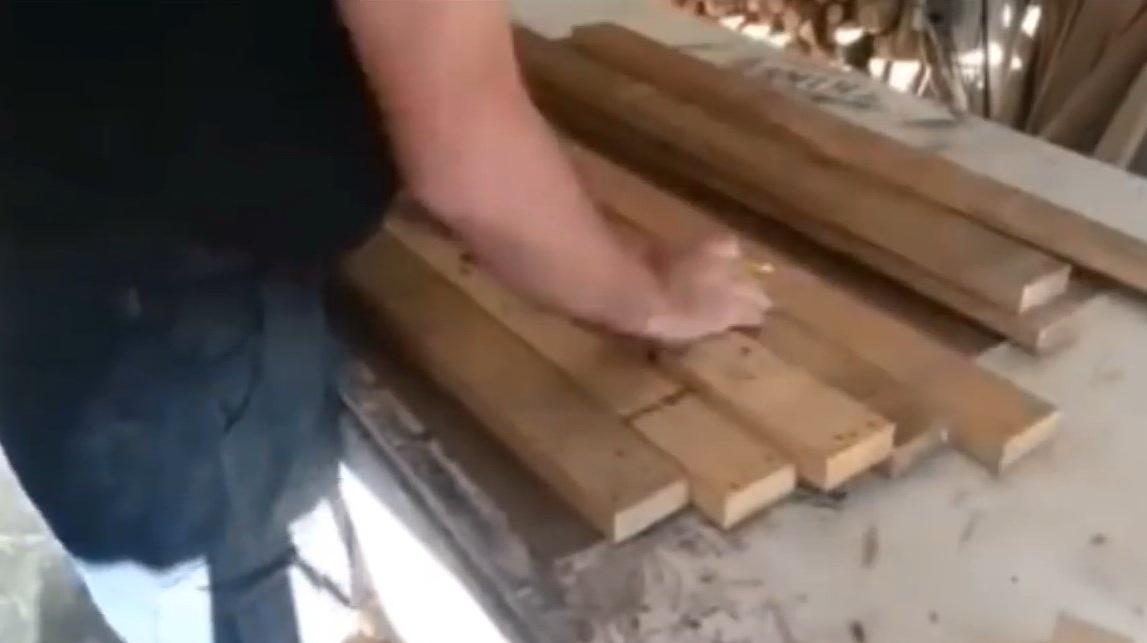
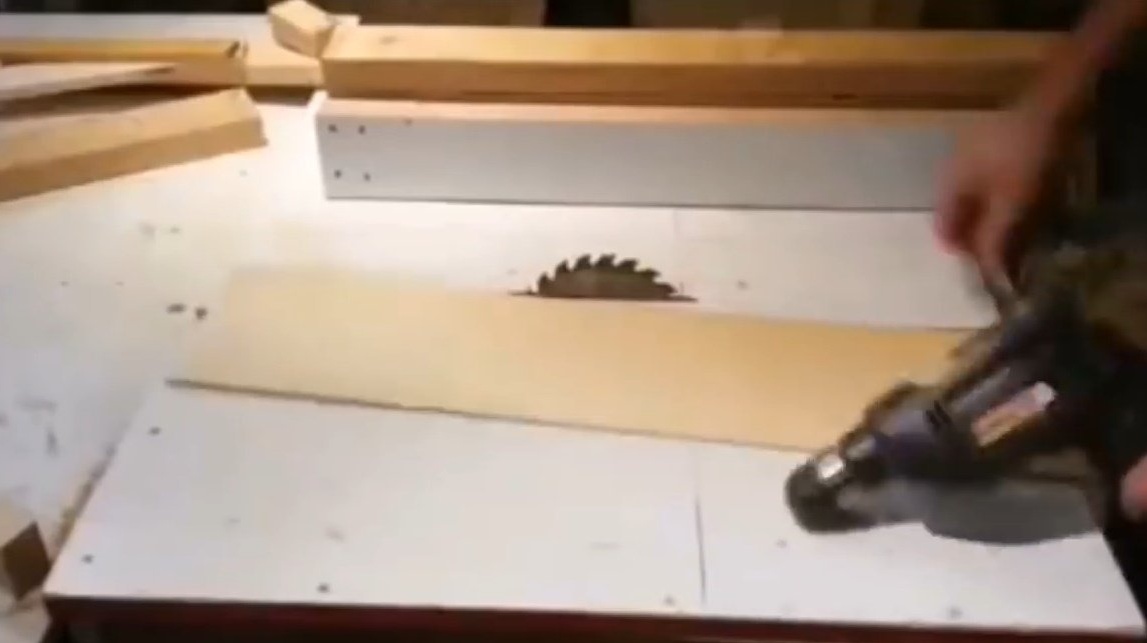
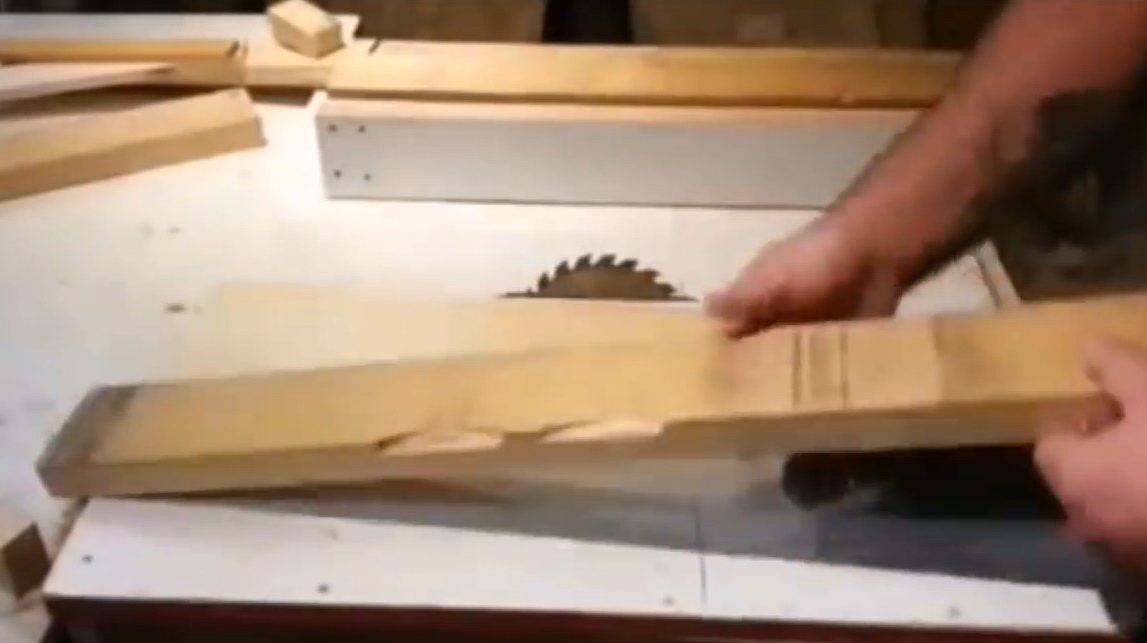
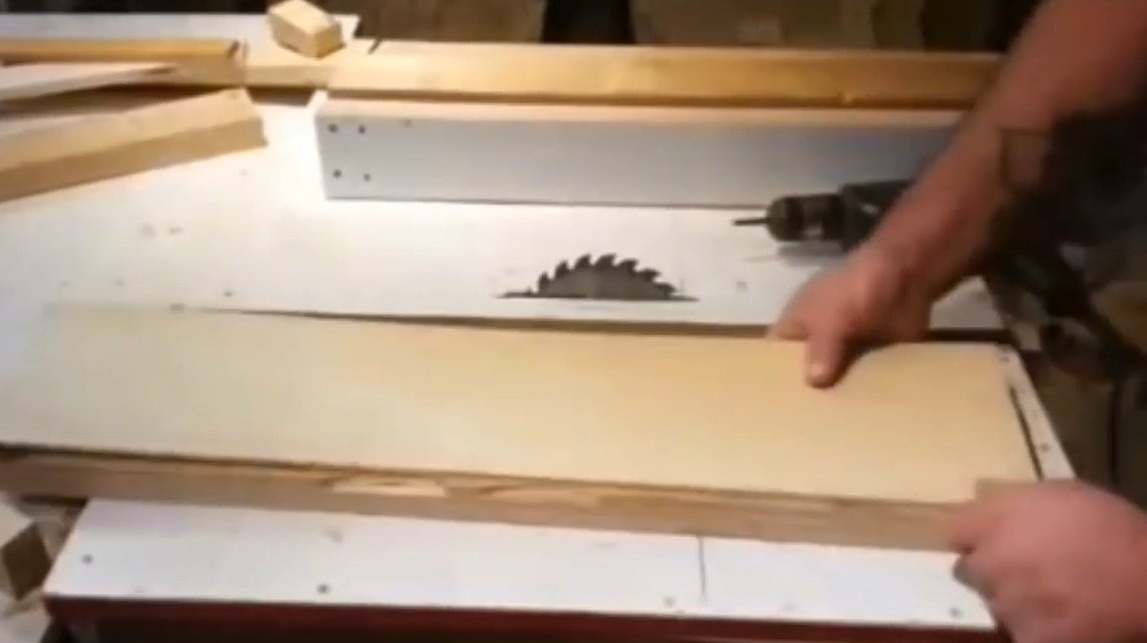
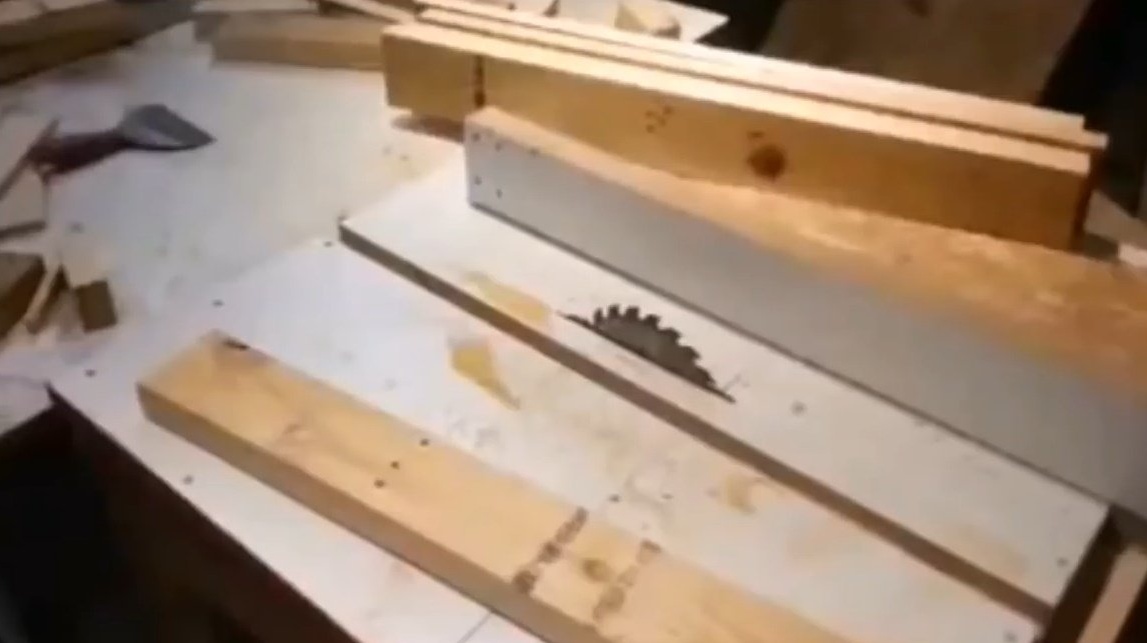
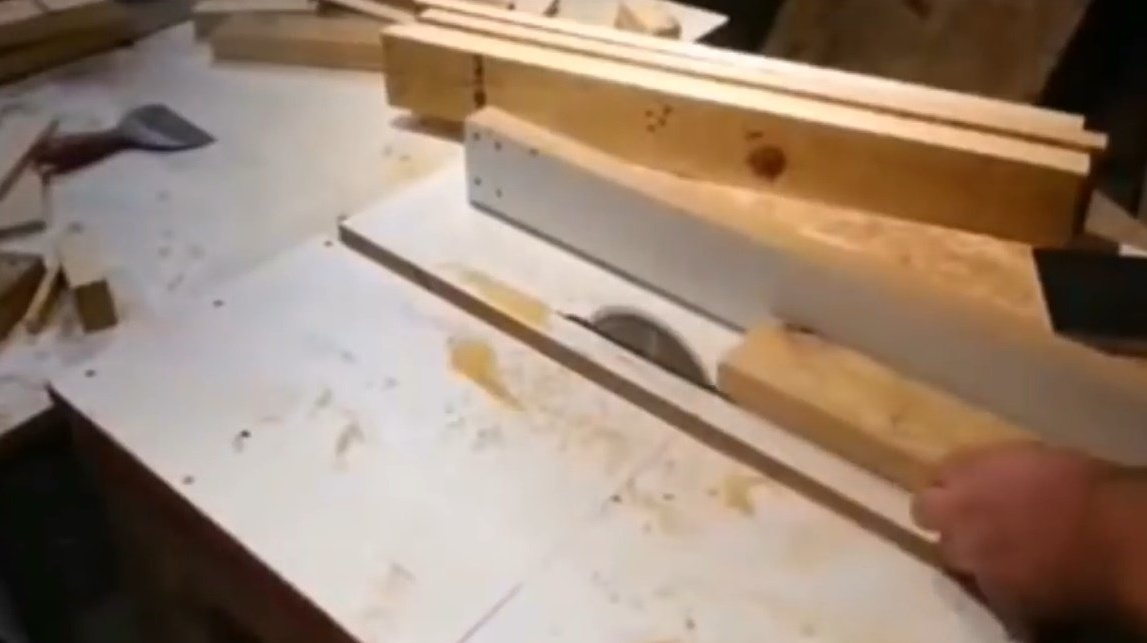
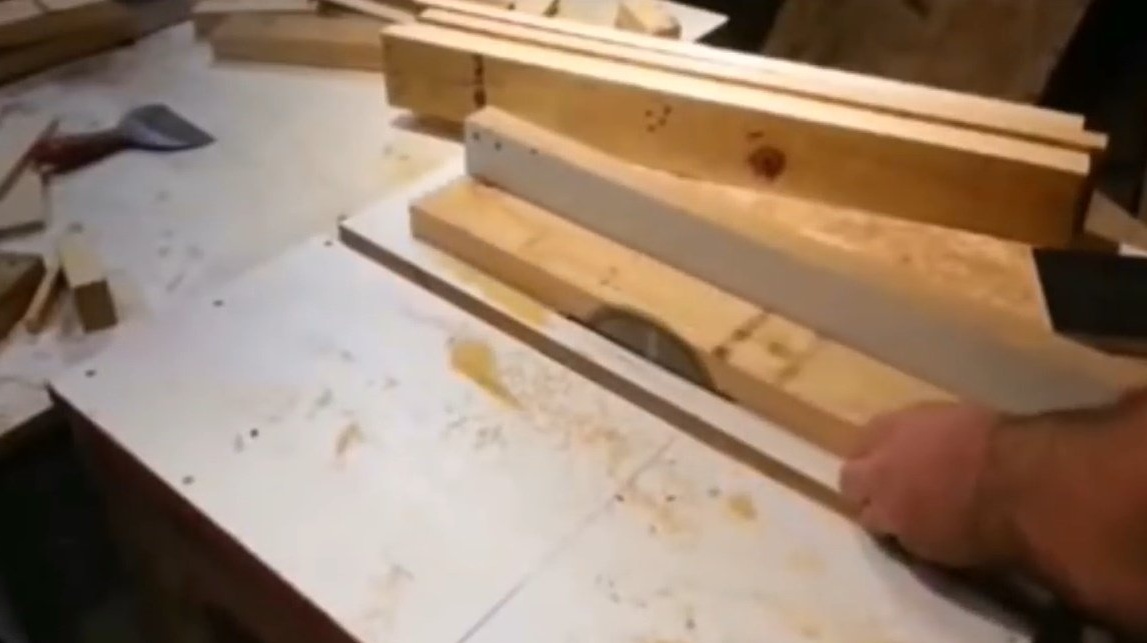
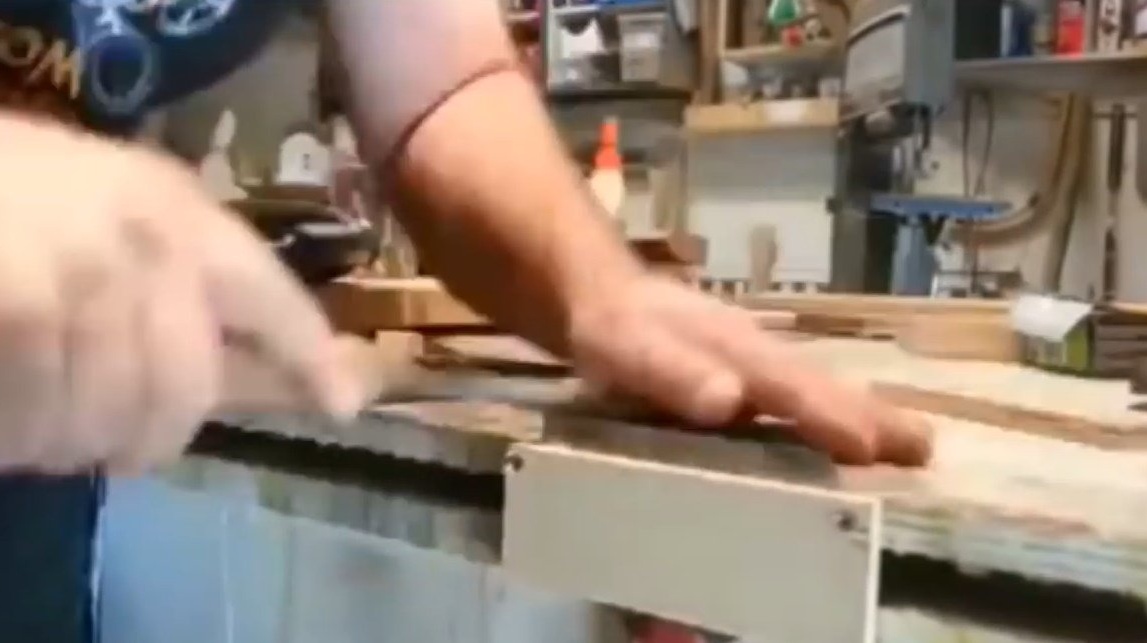
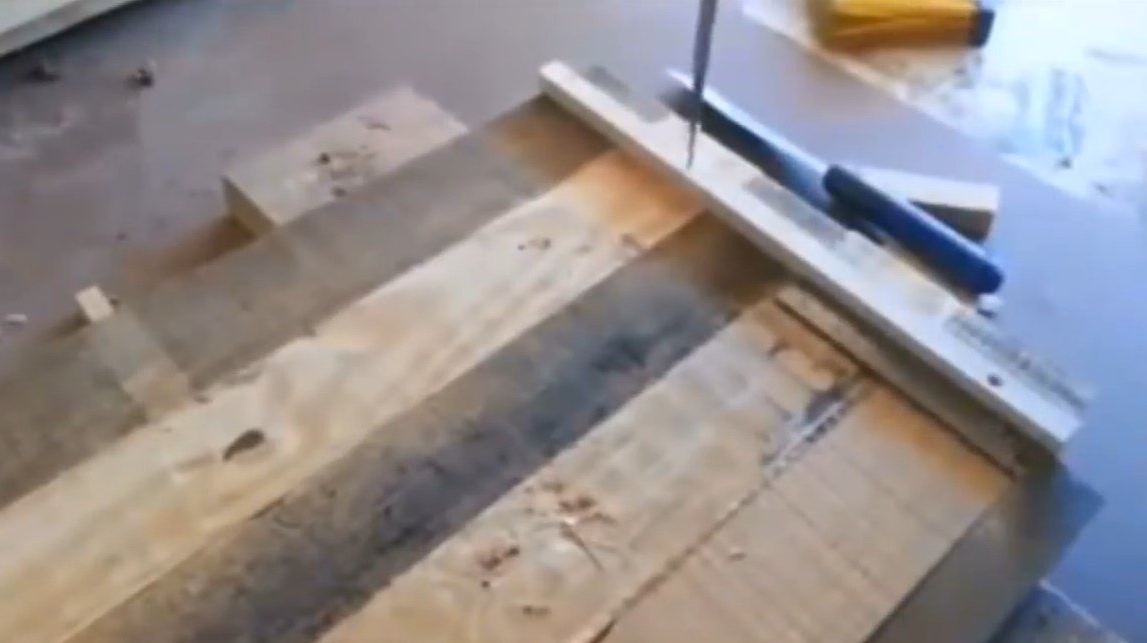
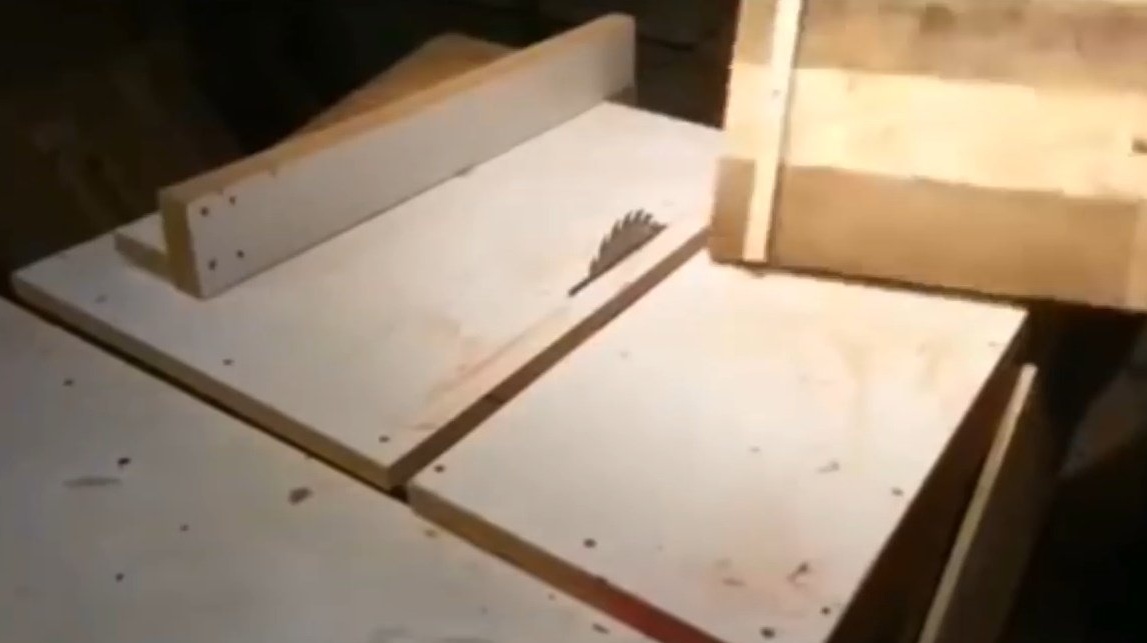
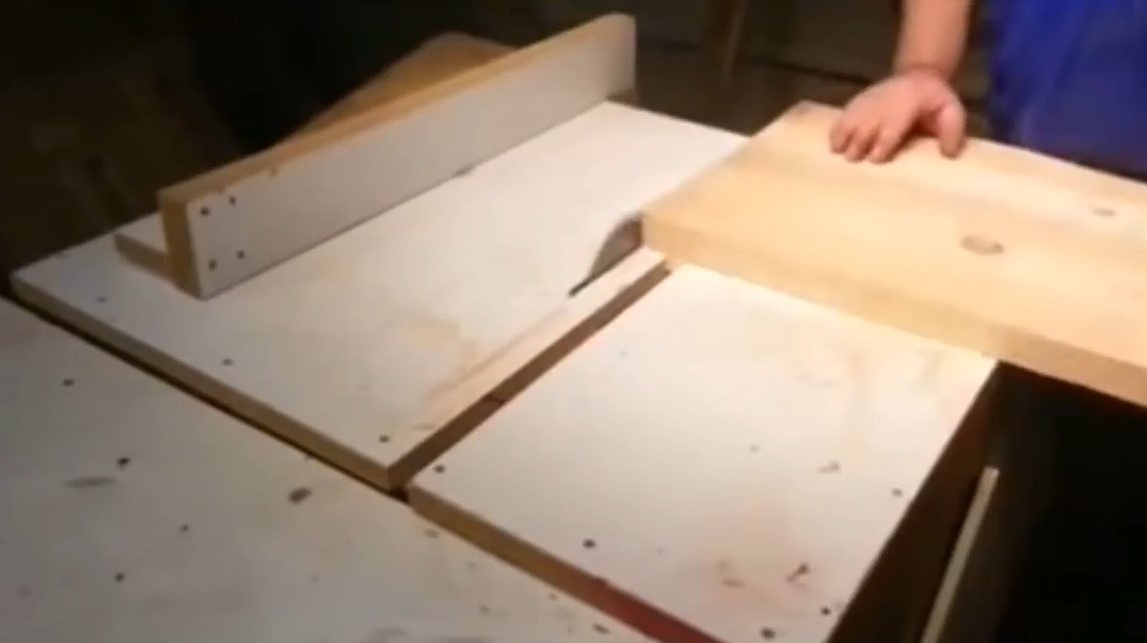
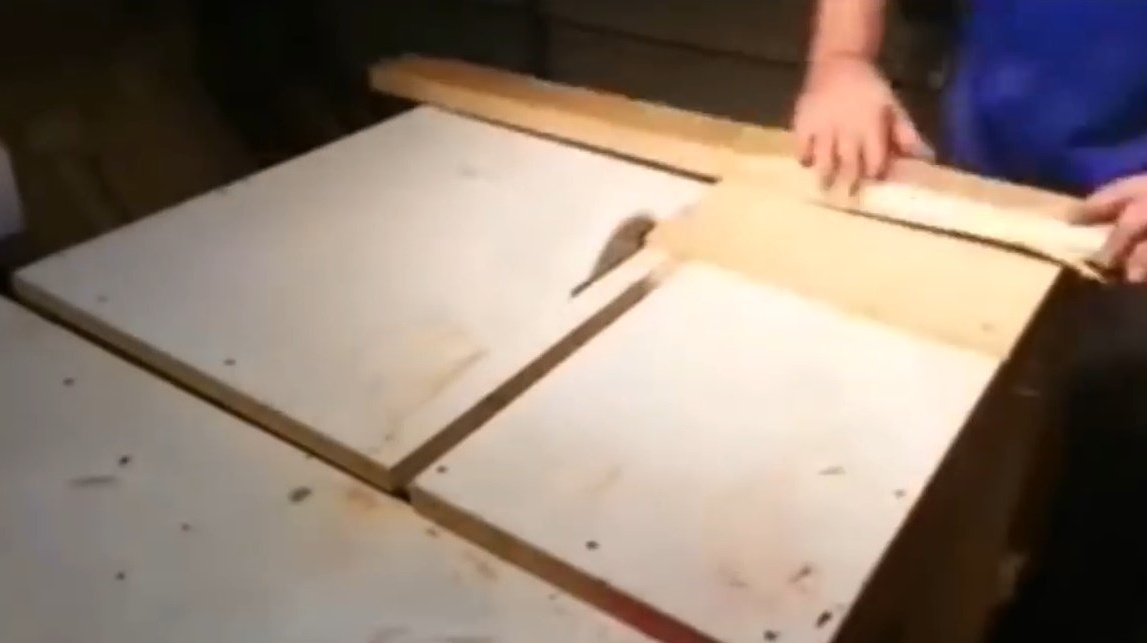
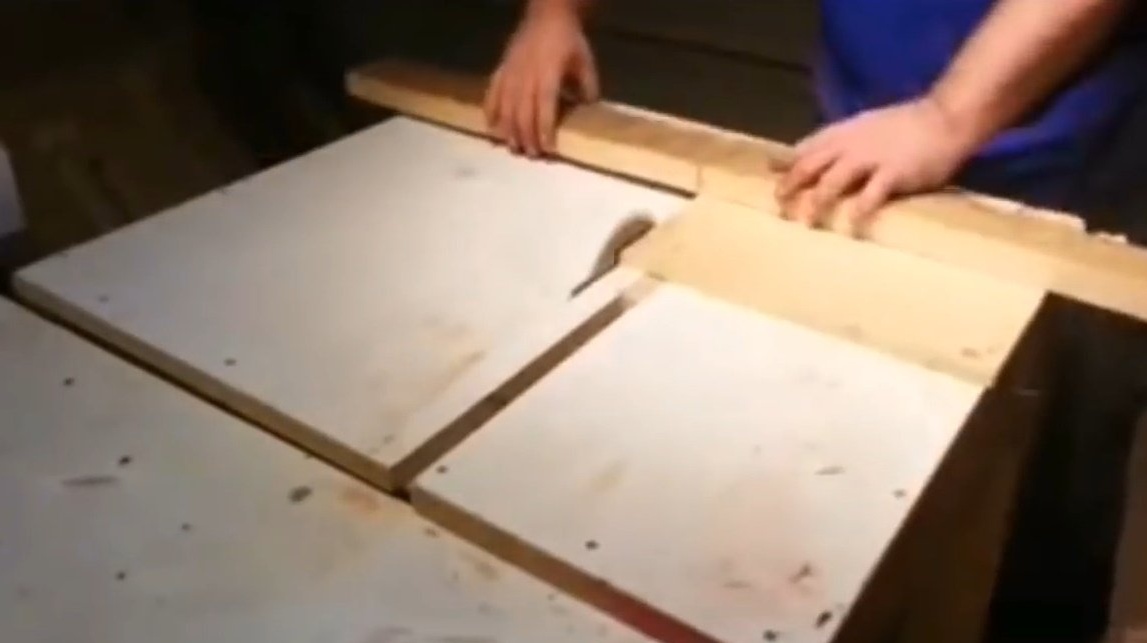
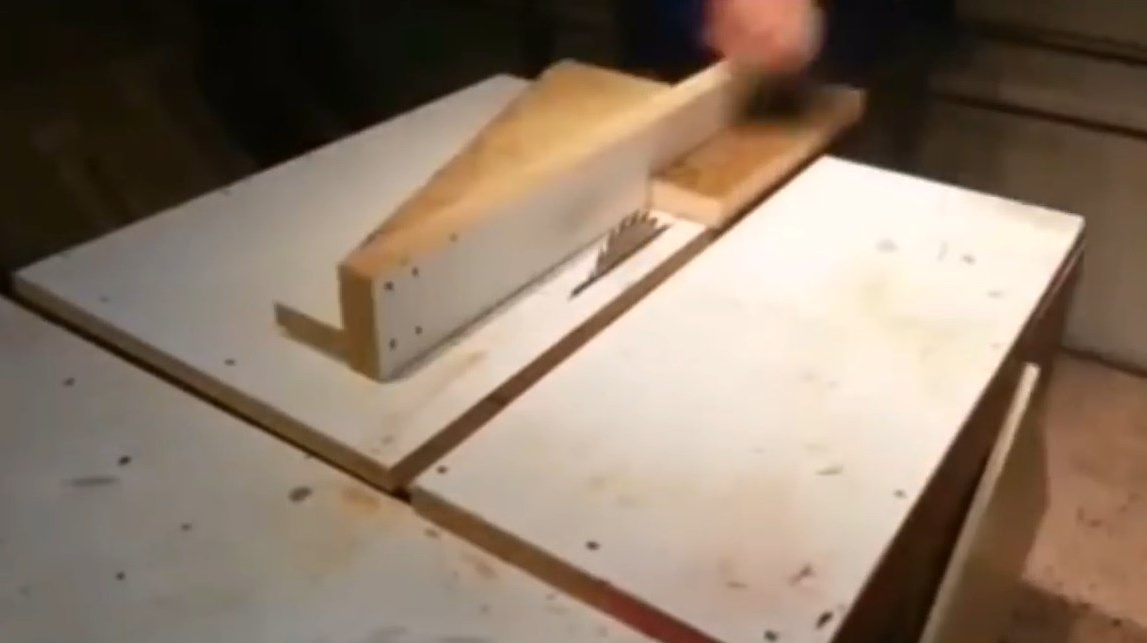
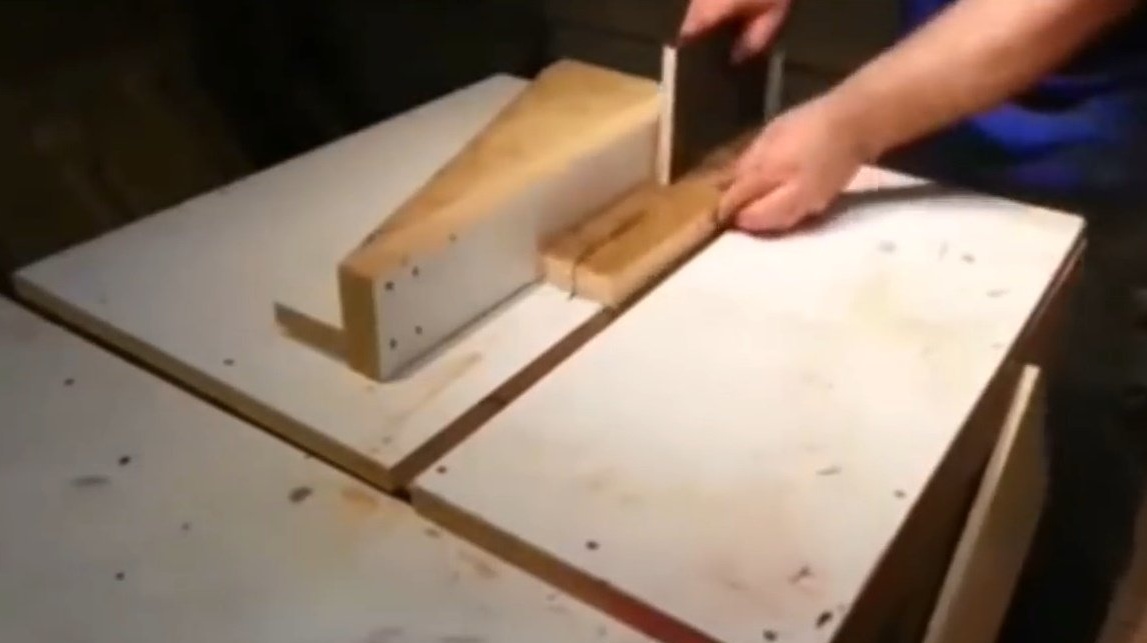
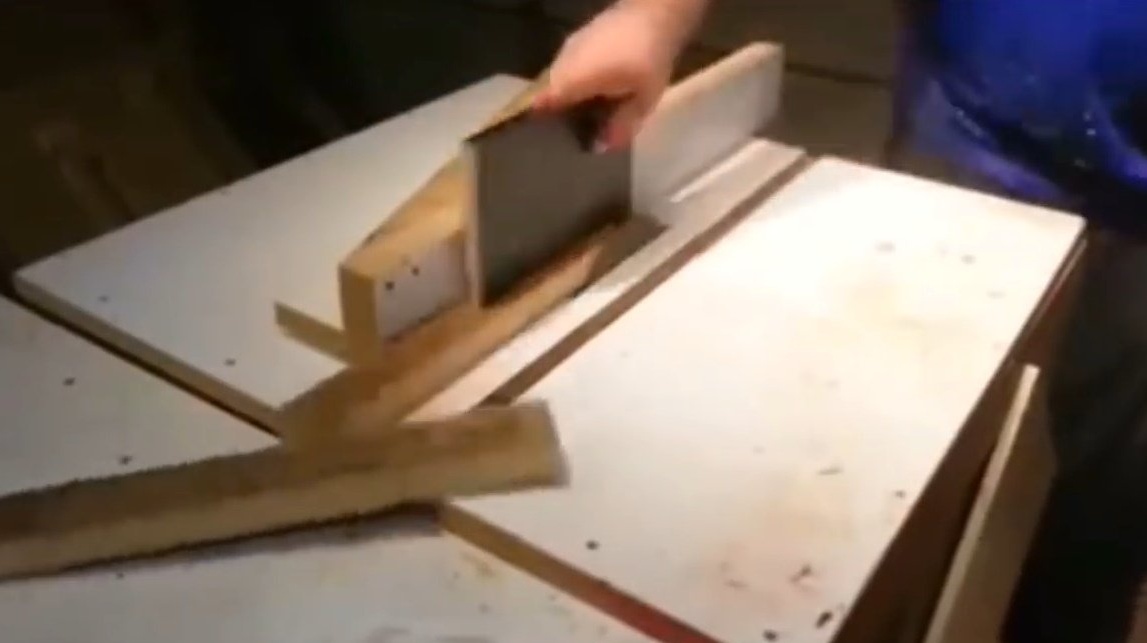
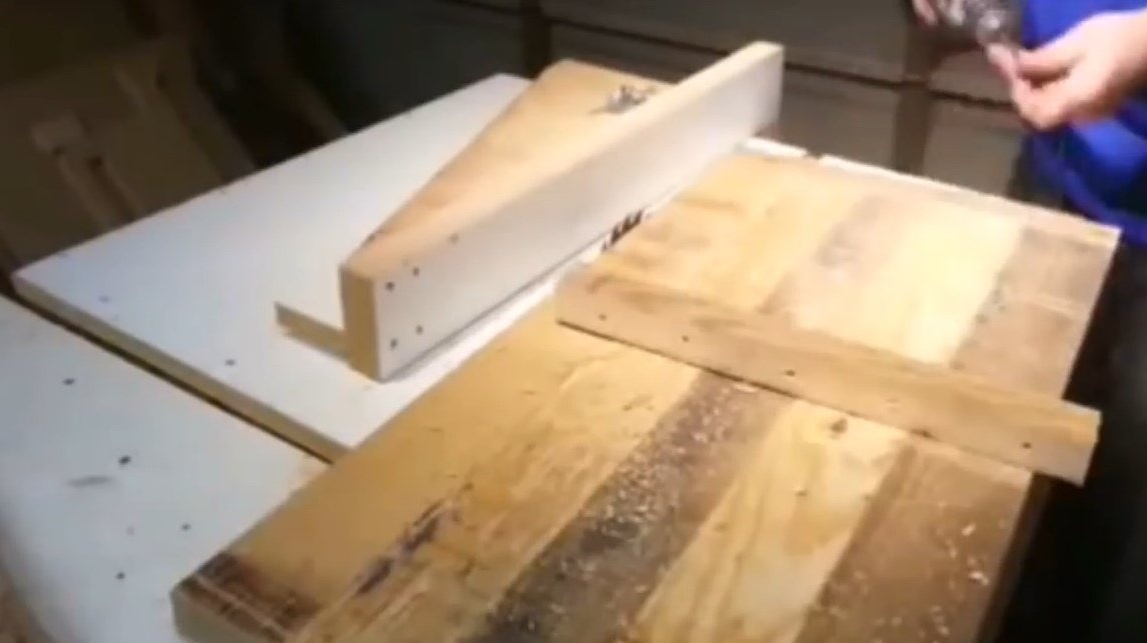
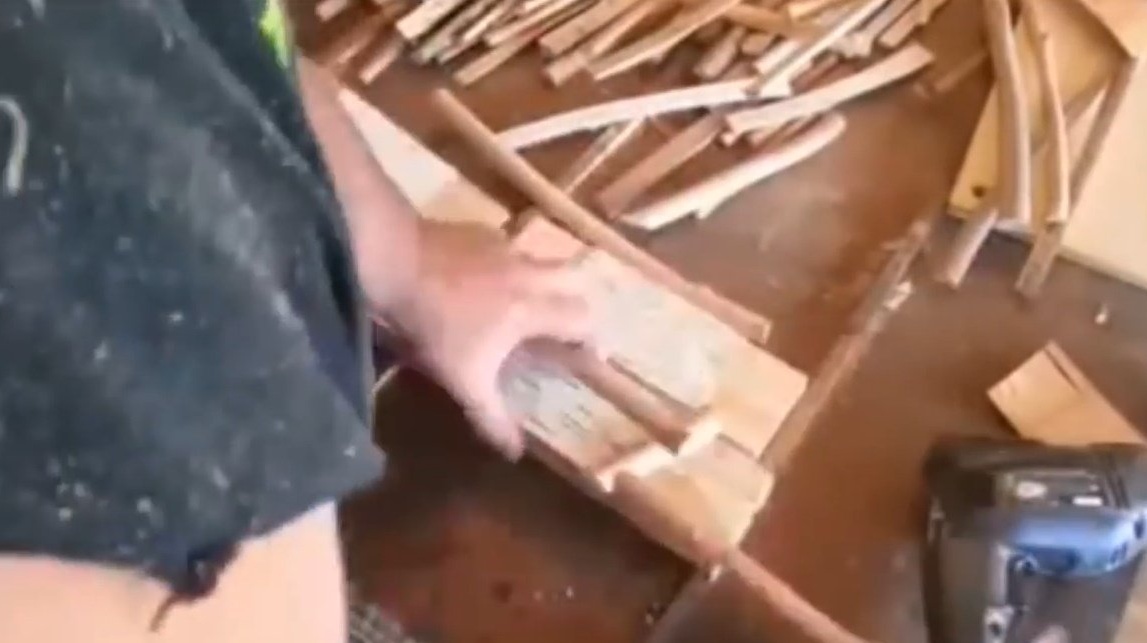
It passes everything through a circular saw, holding the plywood close to the stop, so that at least one edge of the board becomes absolutely even.
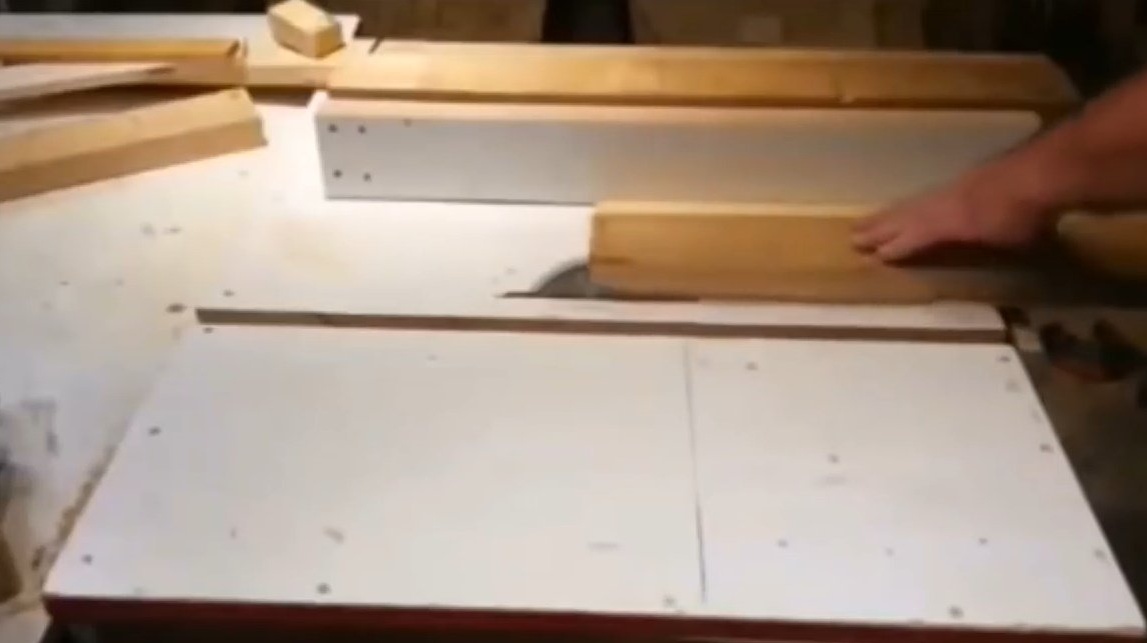
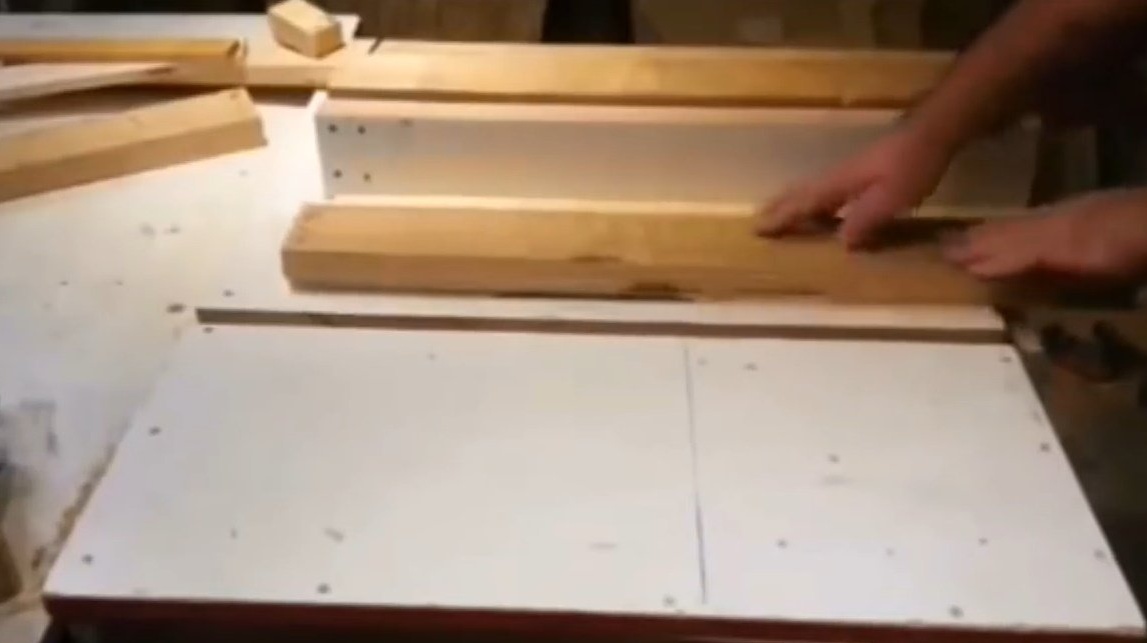
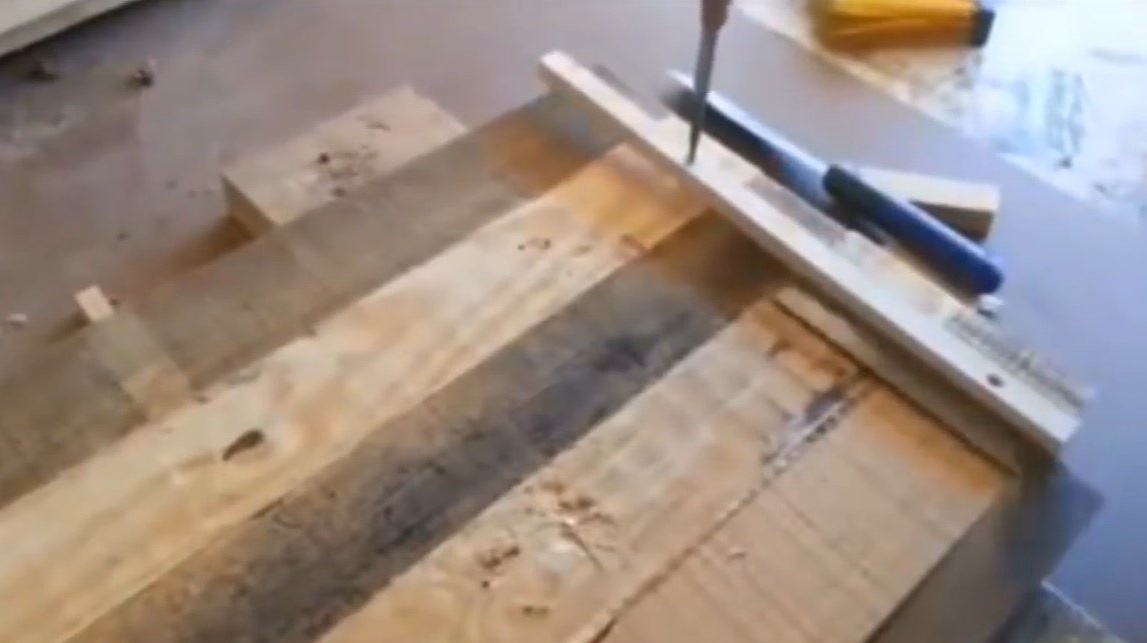
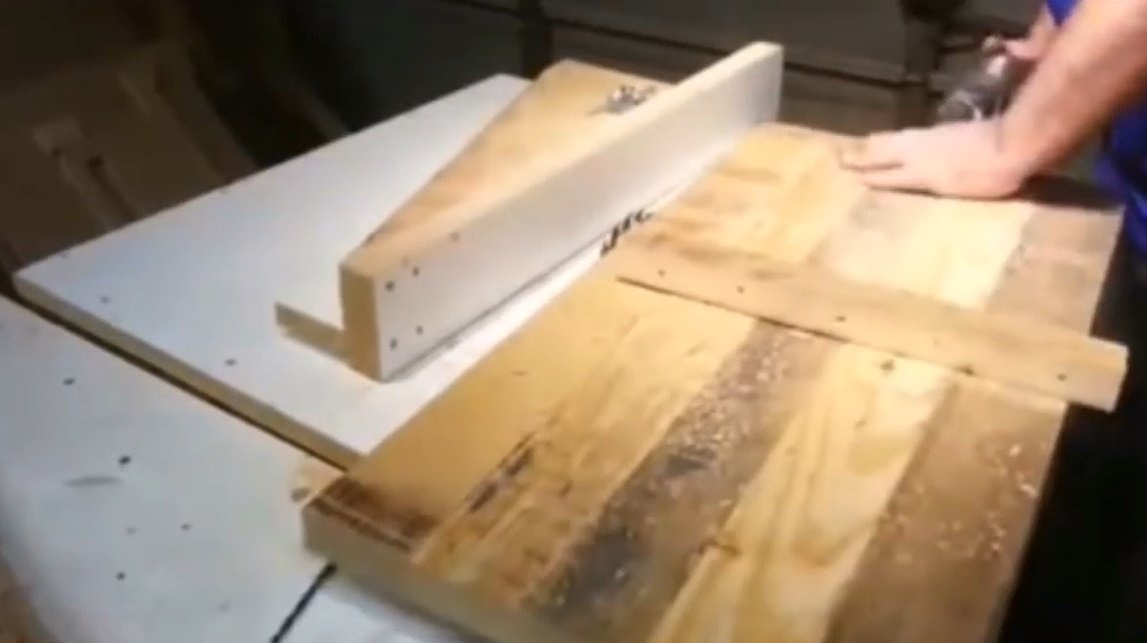
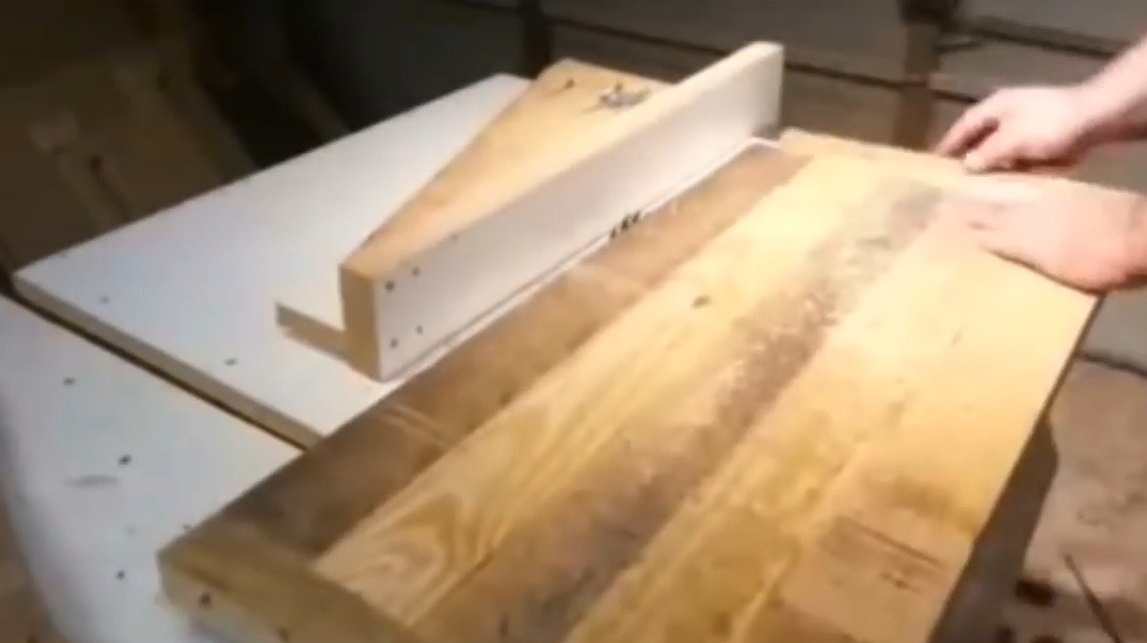
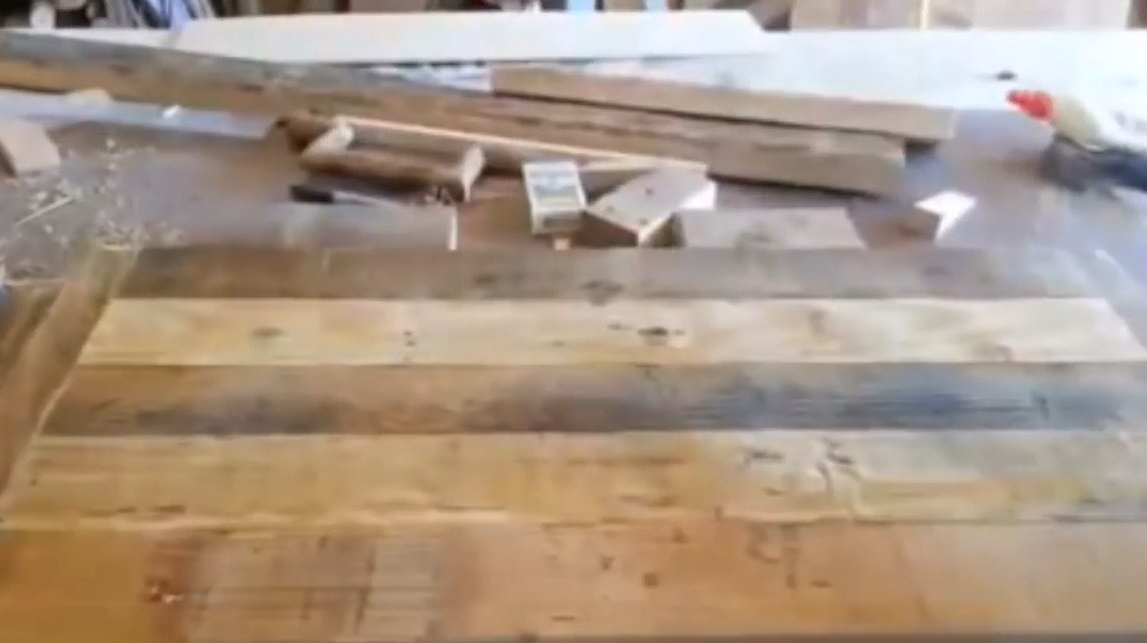
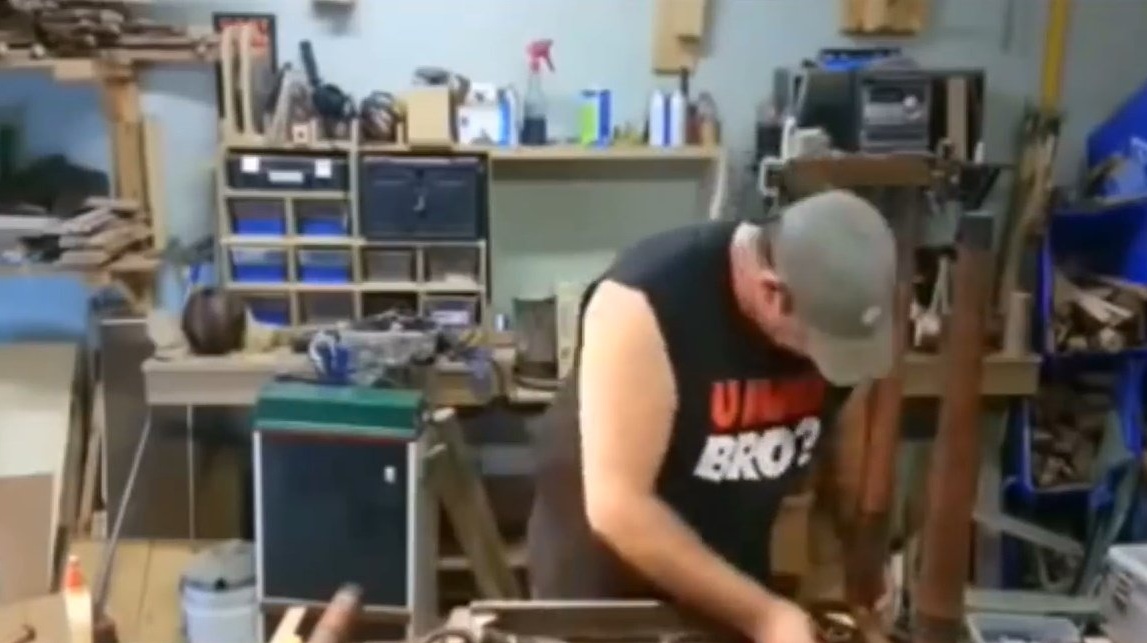
Then the master does the same operation with the second side of the board. And these are the two edges that also processes on all boards.
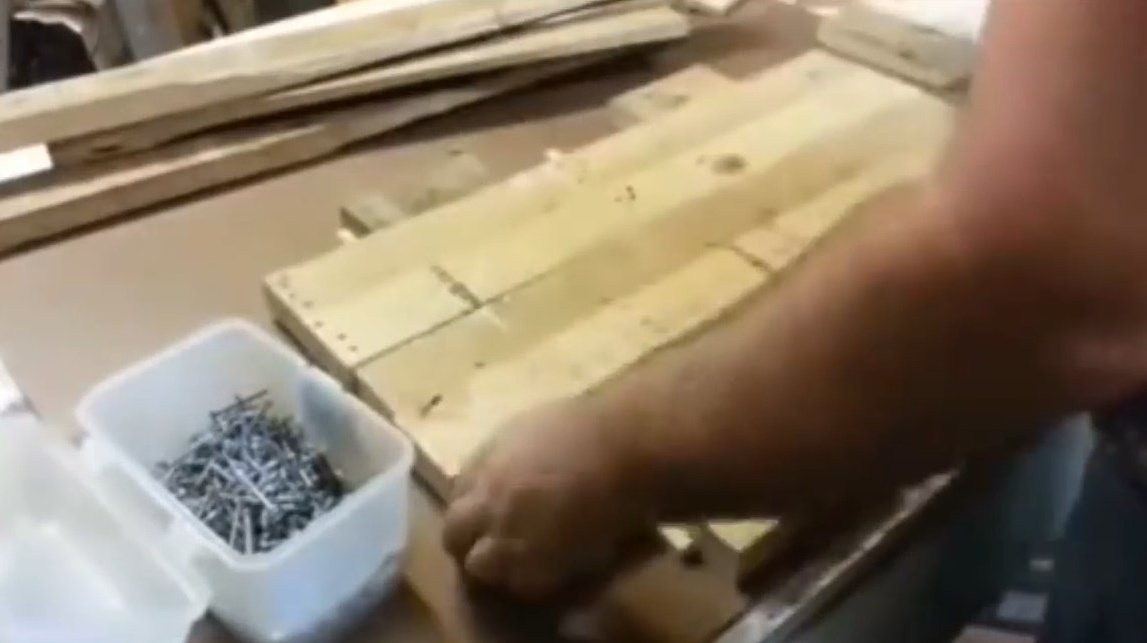
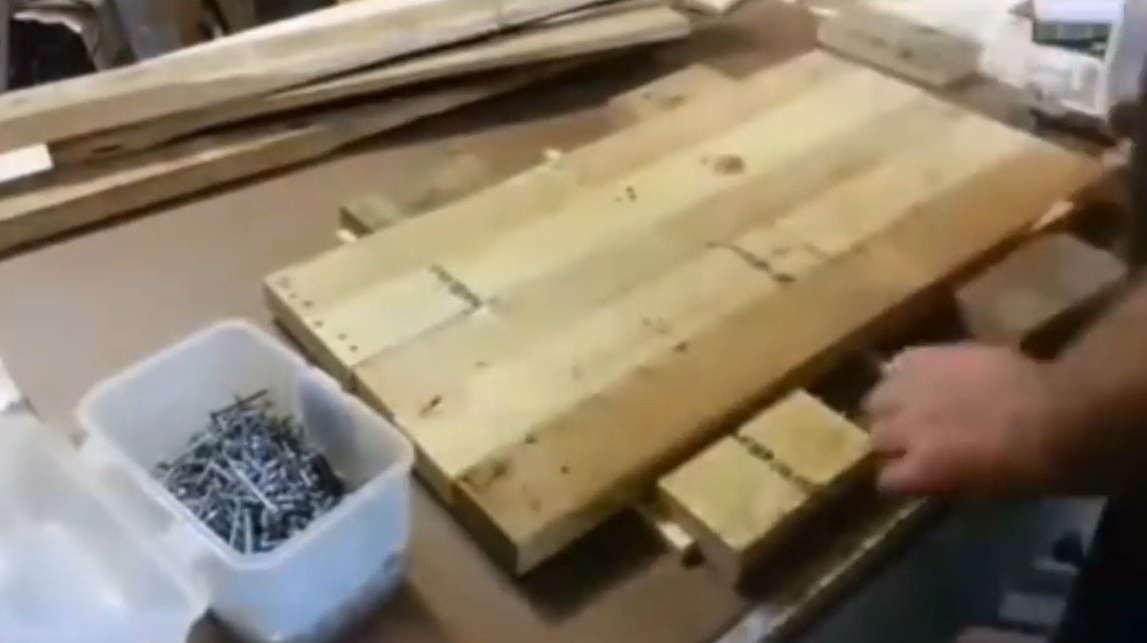
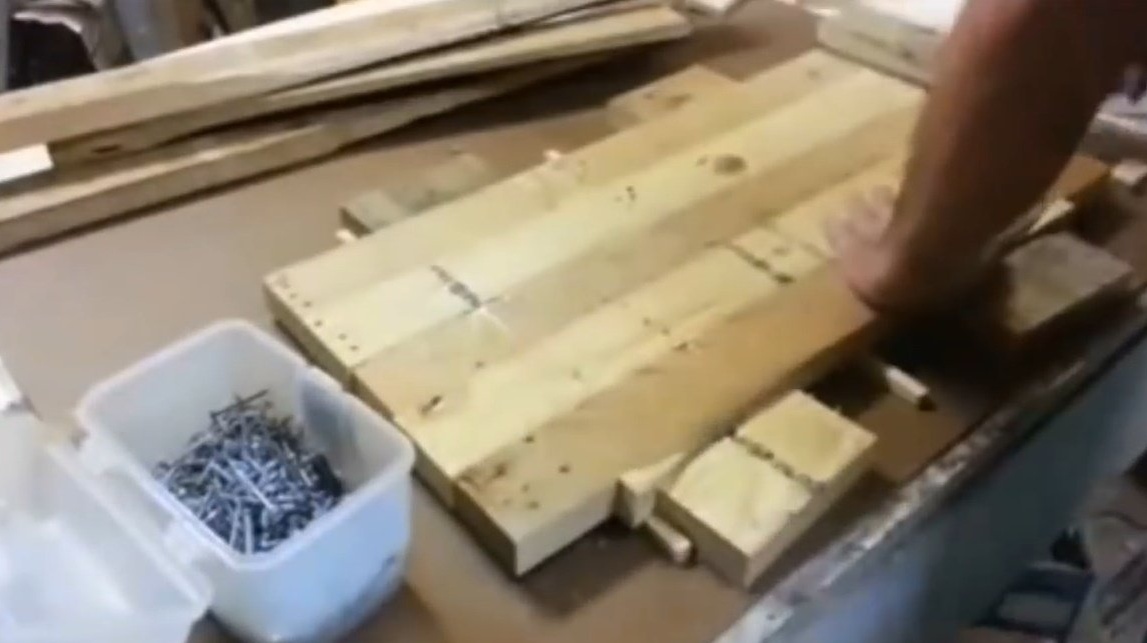
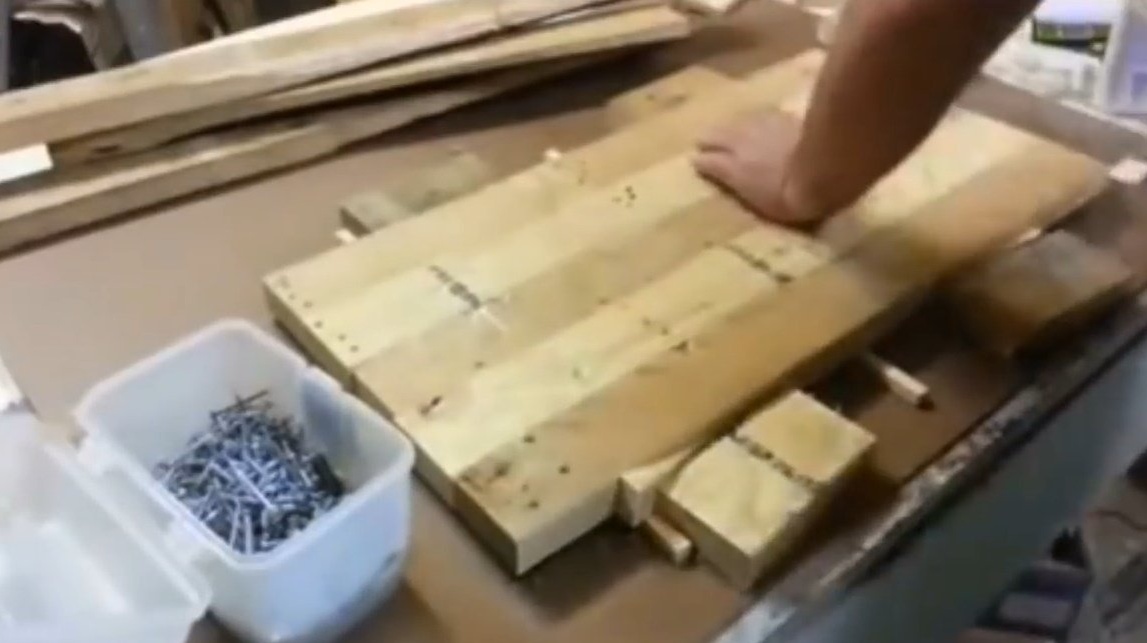
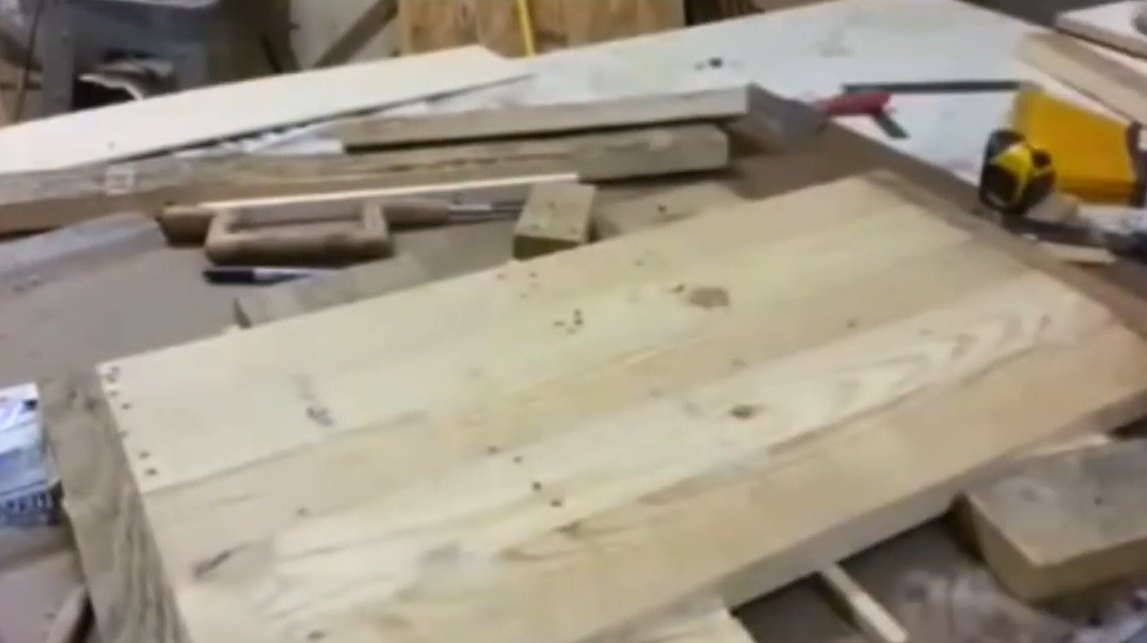
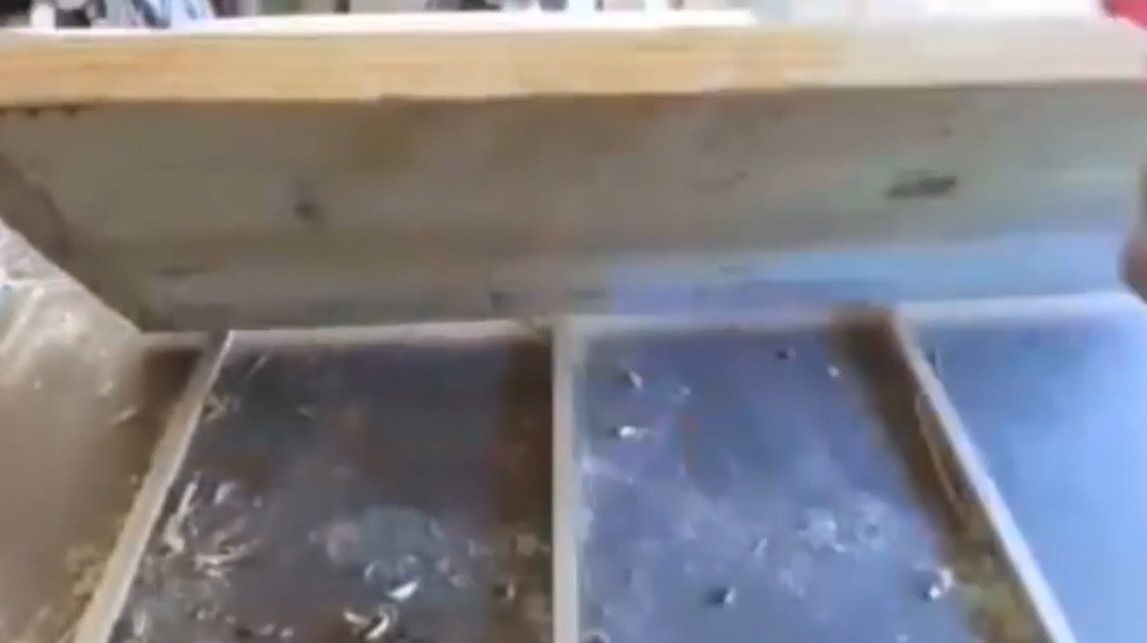
The author does not have a bunch of clamps, he is going to use a workbench as a clamp. The craftsman stuffs several thin wooden bars on the top plate of the workbench, and puts boards on top, previously coating the ends with glue.
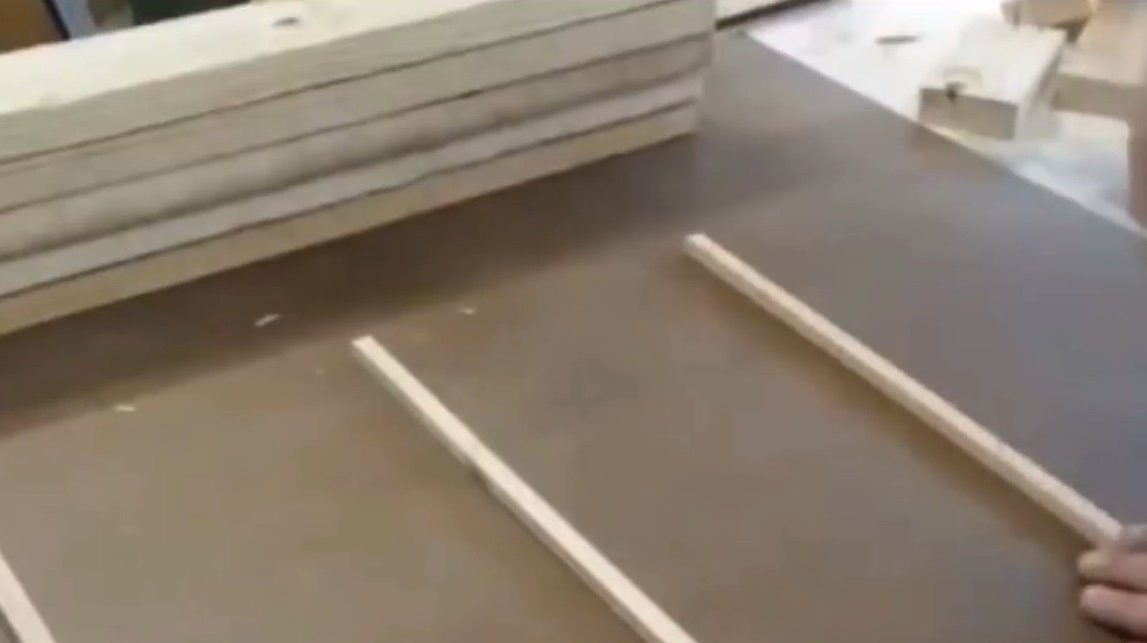
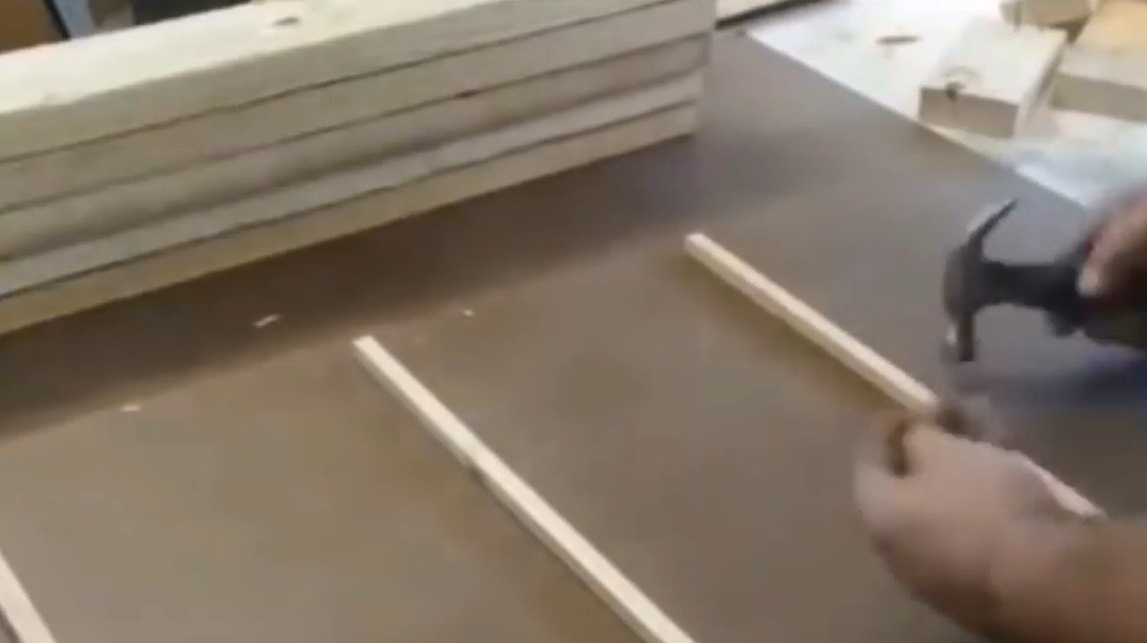
Between the ends of the boards of the future countertop and the bars, he drives several wedges. Thus, he glues a shield from several boards.
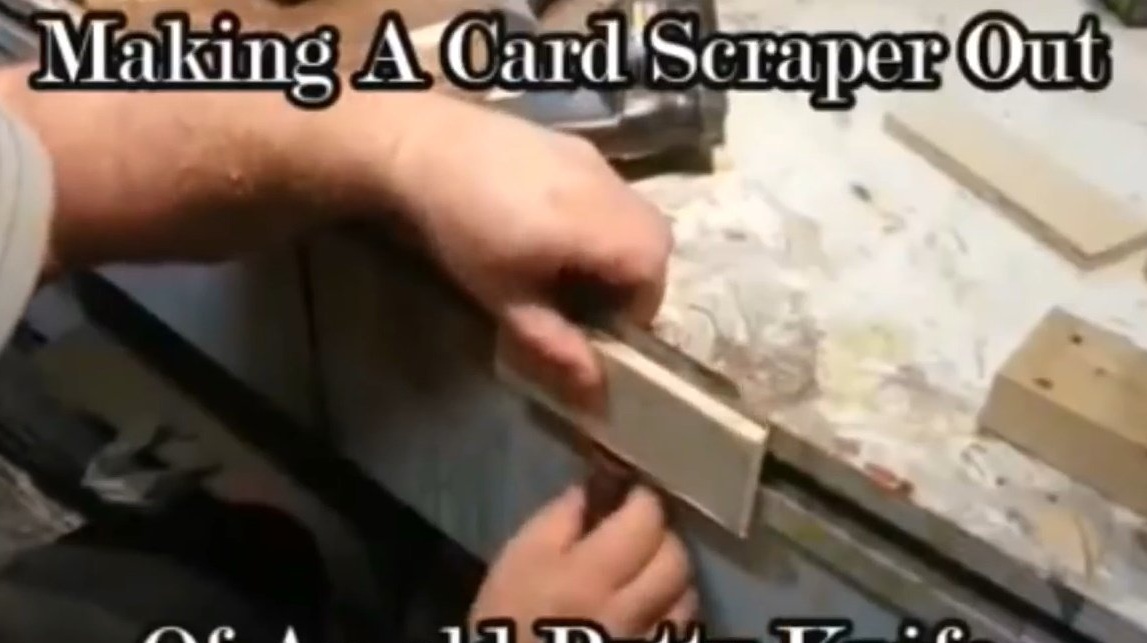
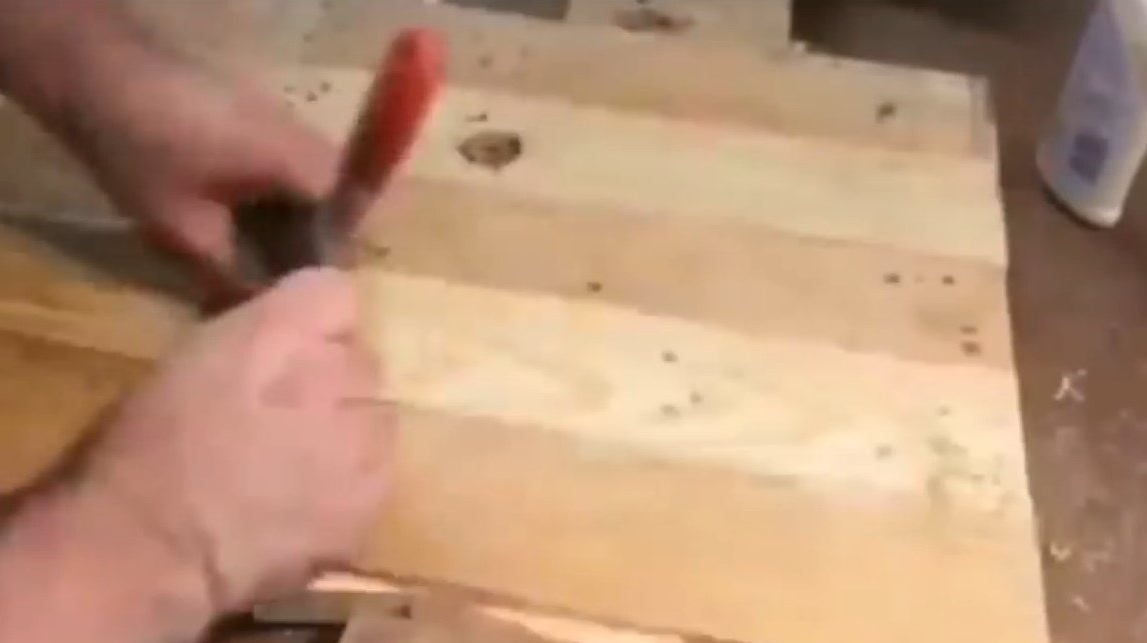
True to his idea of using a minimum number of tools, the author will use an ordinary old spatula instead of a grinding machine. Screws it to the end of the workbench using a pair of self-tapping screws and trimming plywood. Then grind the edge of the spatula at a right angle using a file.
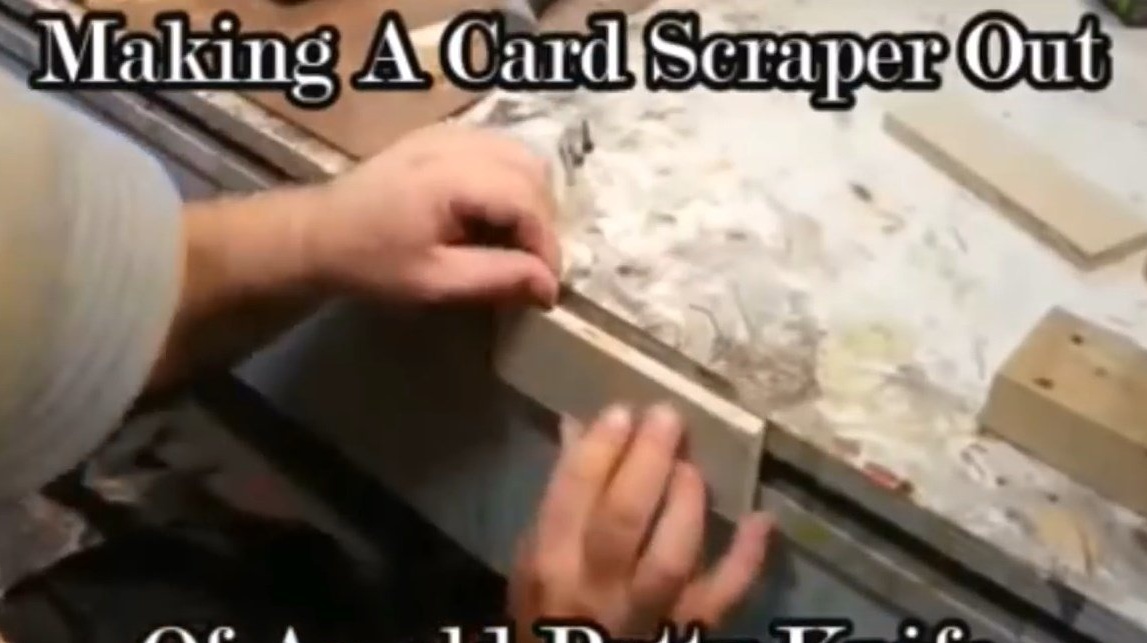
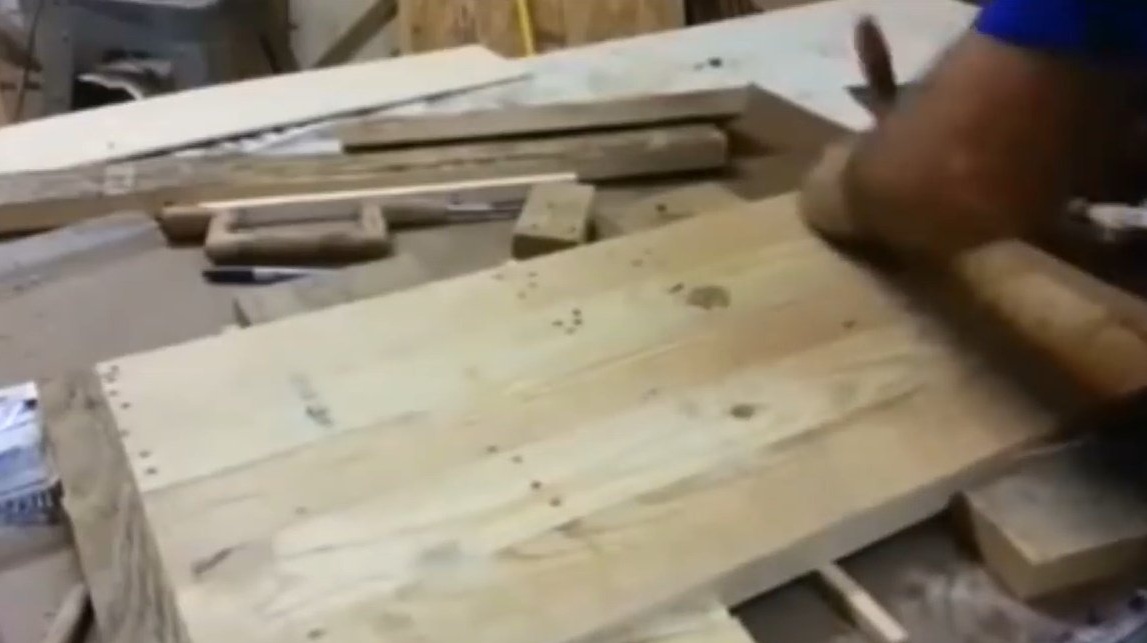
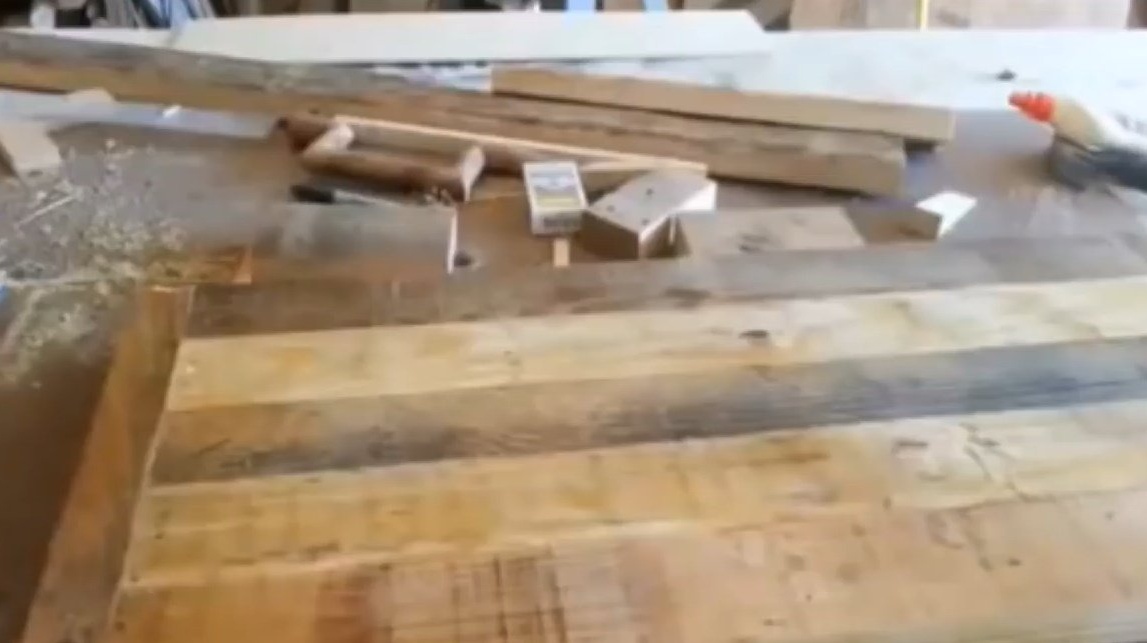
An improvised brace removes burrs and bumps from the surface of the shield.
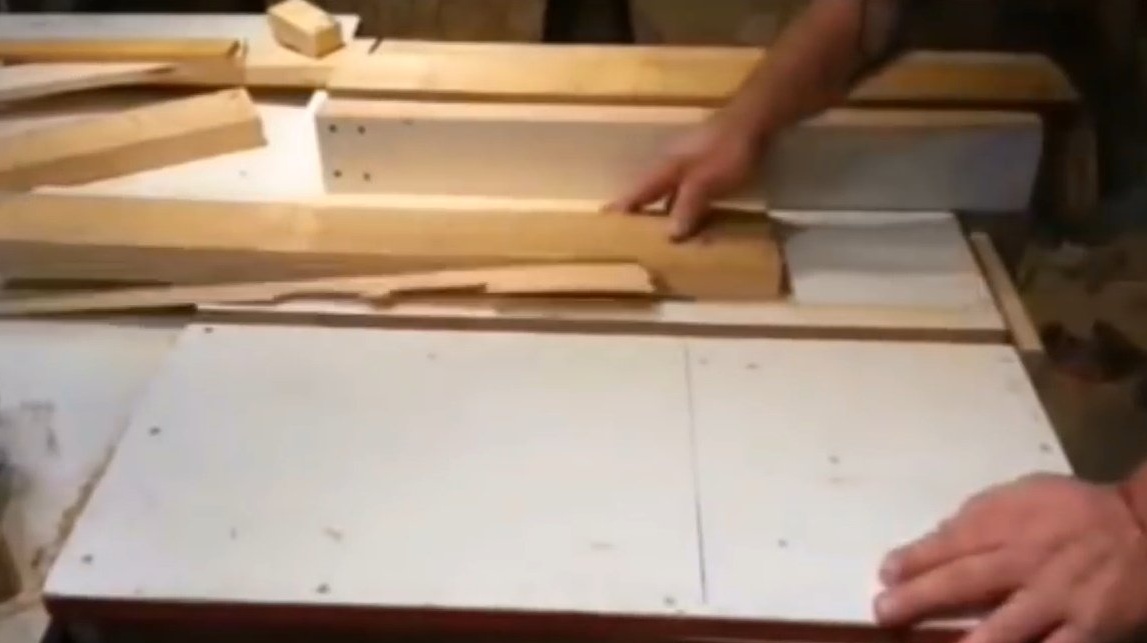
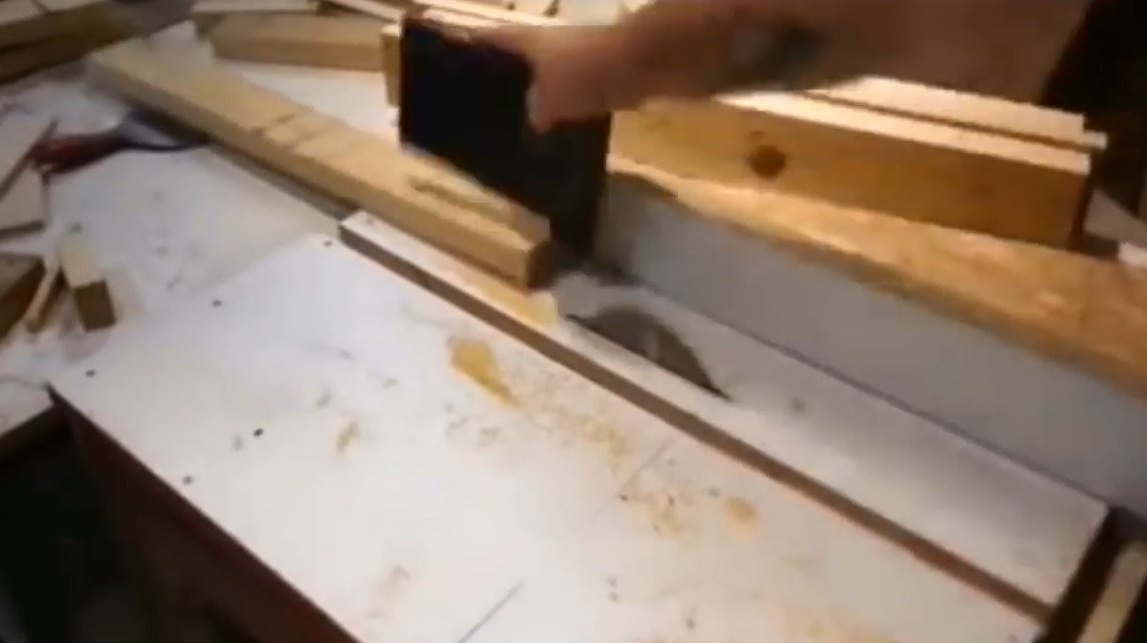
After stripping the upper part of the countertop, the craftsman is going to add several guides to the structure. To do this, he screws two planks to the bottom of the countertop and runs edge-on through the circular disk, cutting off the irregularities of the ends of the boards.
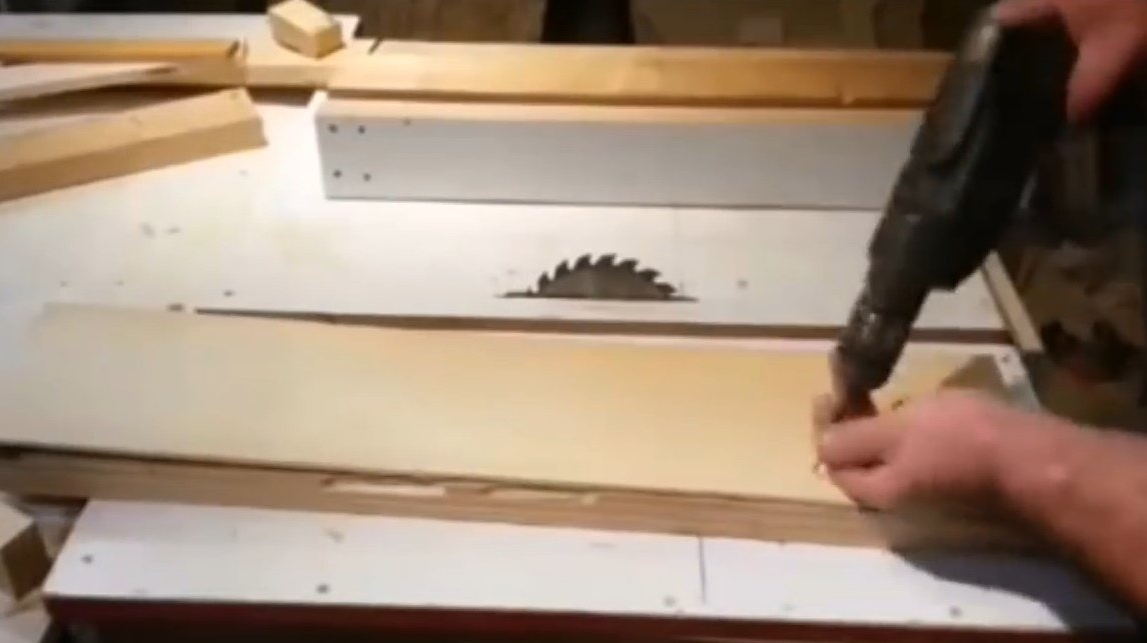
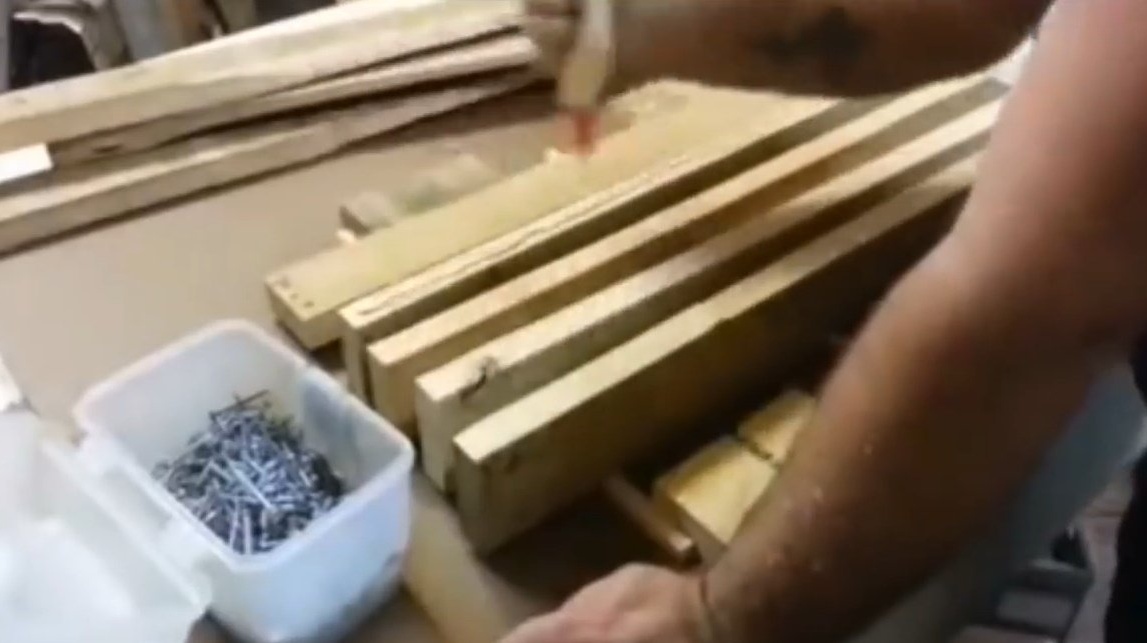
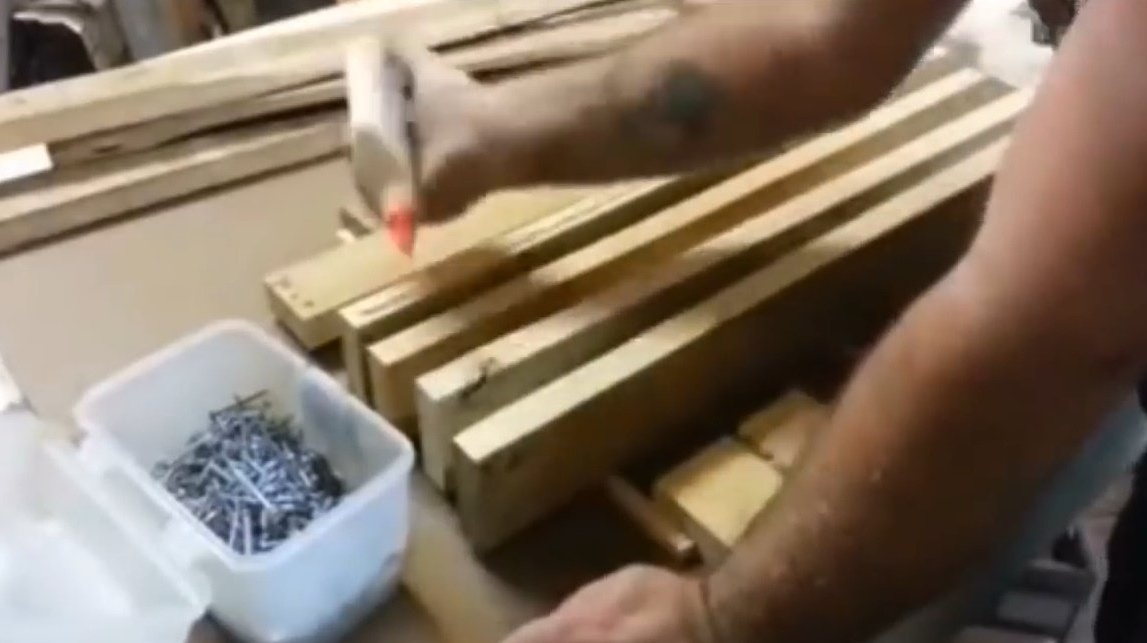
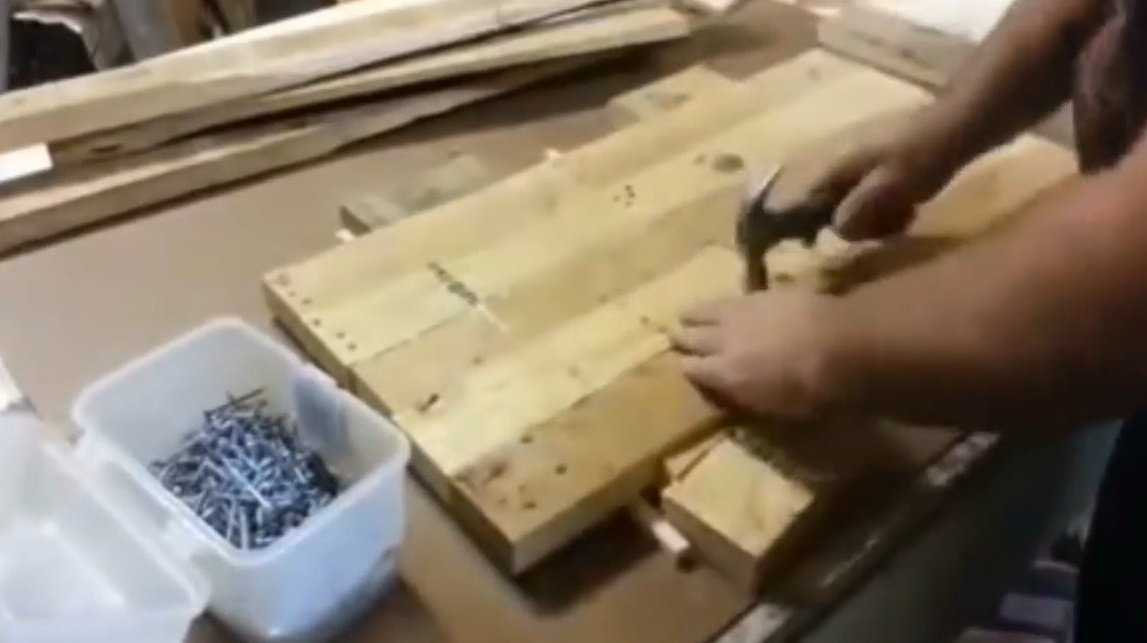
Now you can make stiffeners. After they have been cut from another piece of the pallet board, the master outlines the location of the screws on the parts and screws the boards to the countertop.
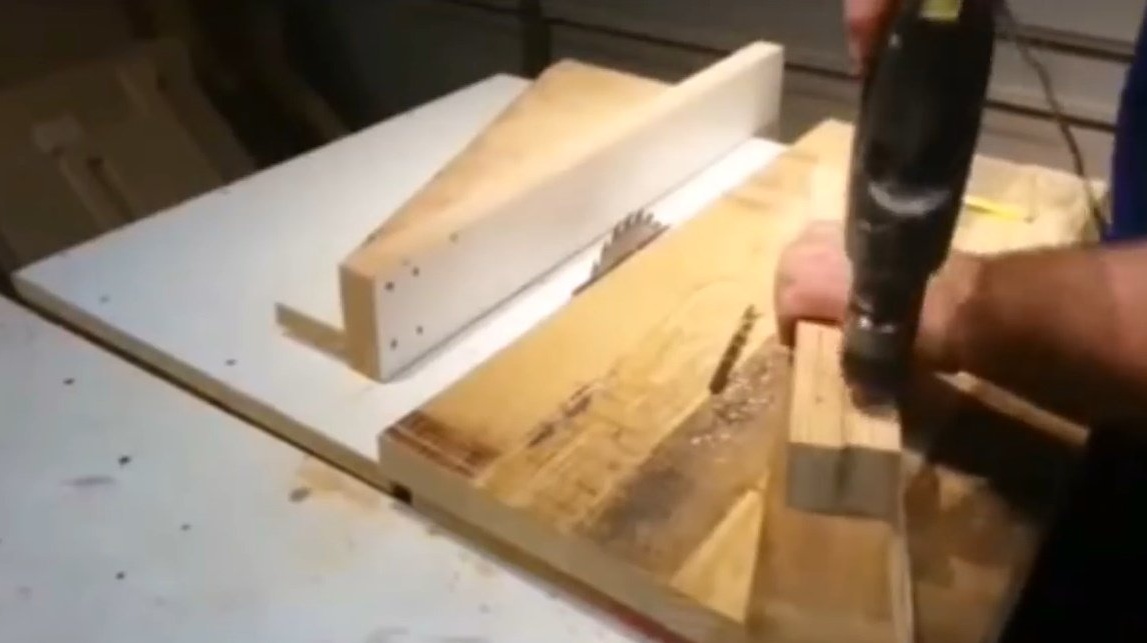
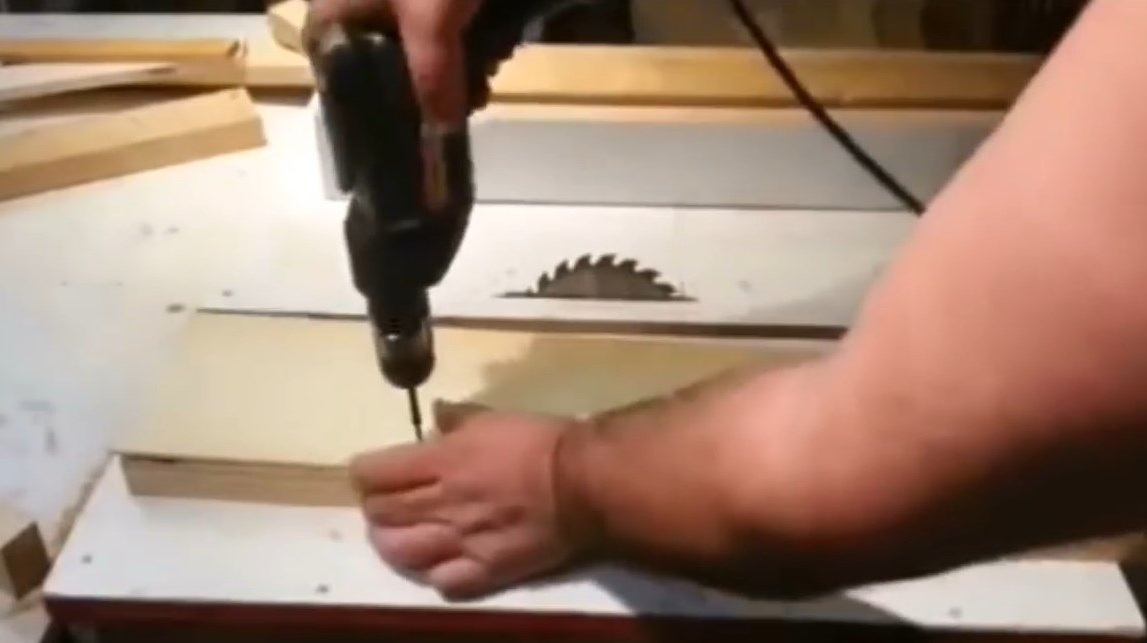
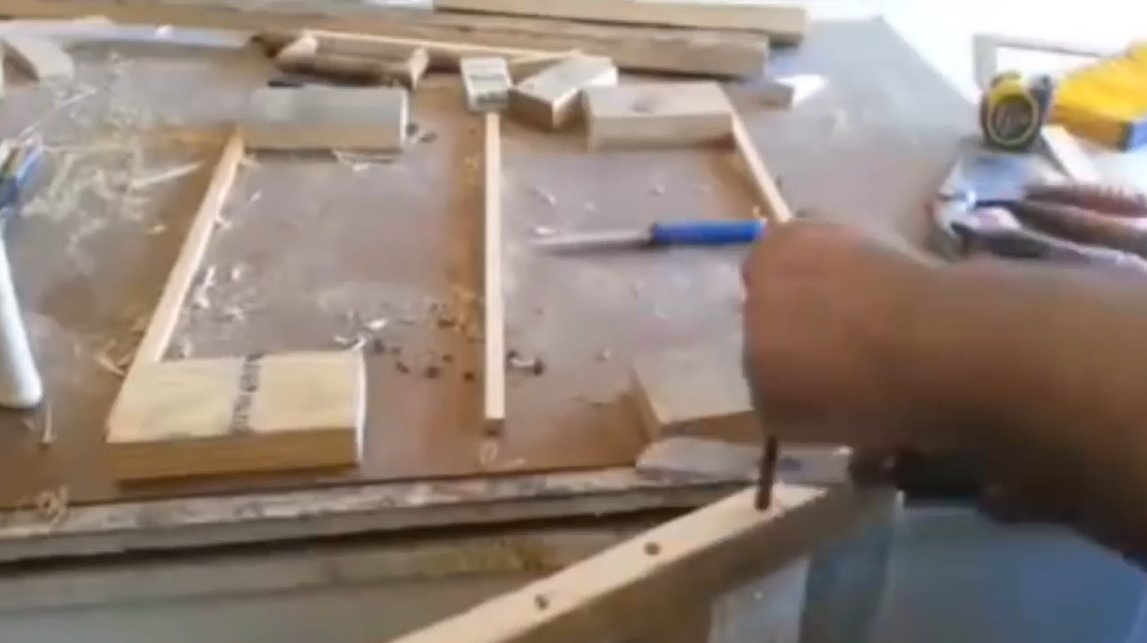
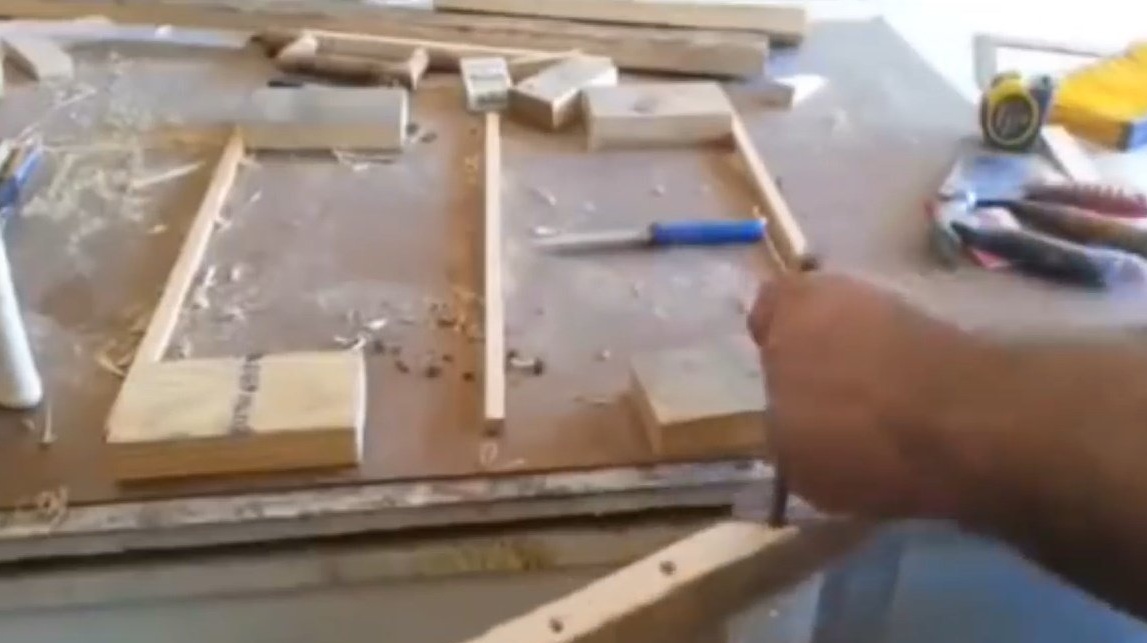
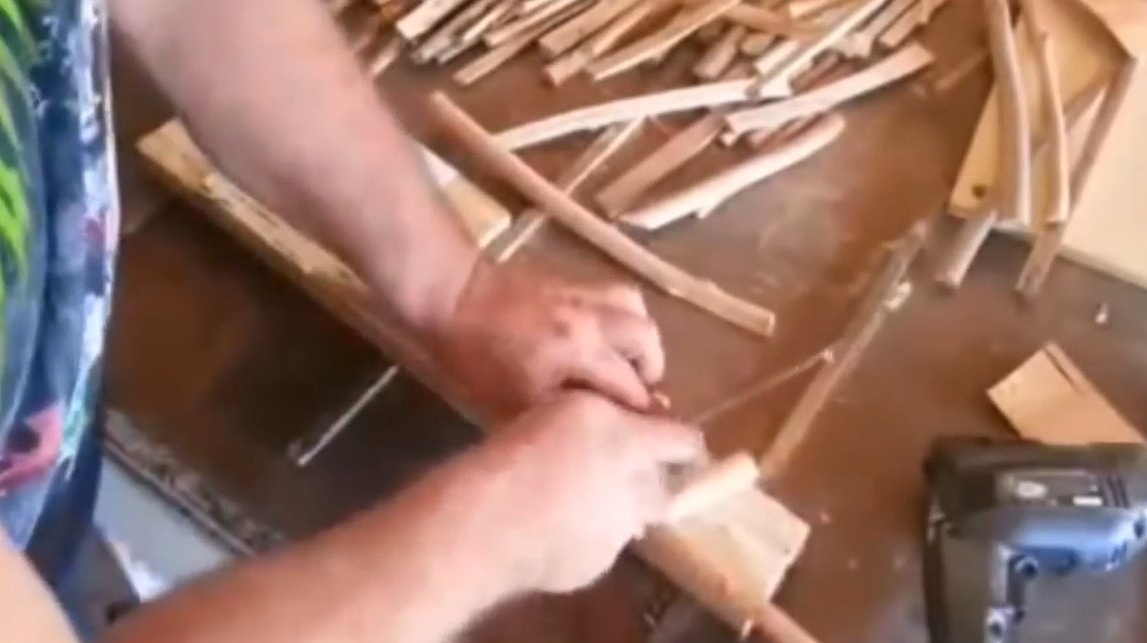
For reliable fixation of the end boards, the master drilled holes for dowels.
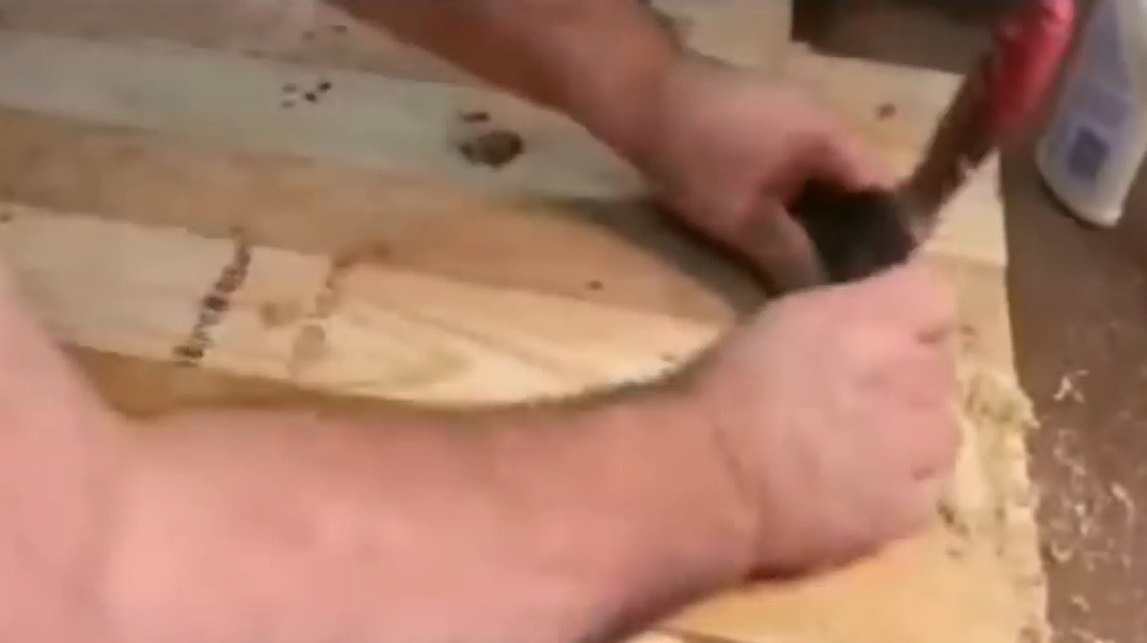
The author releases the countertop from simulated clamps and proceeds to secondary surface treatment with a newly prepared spatula.
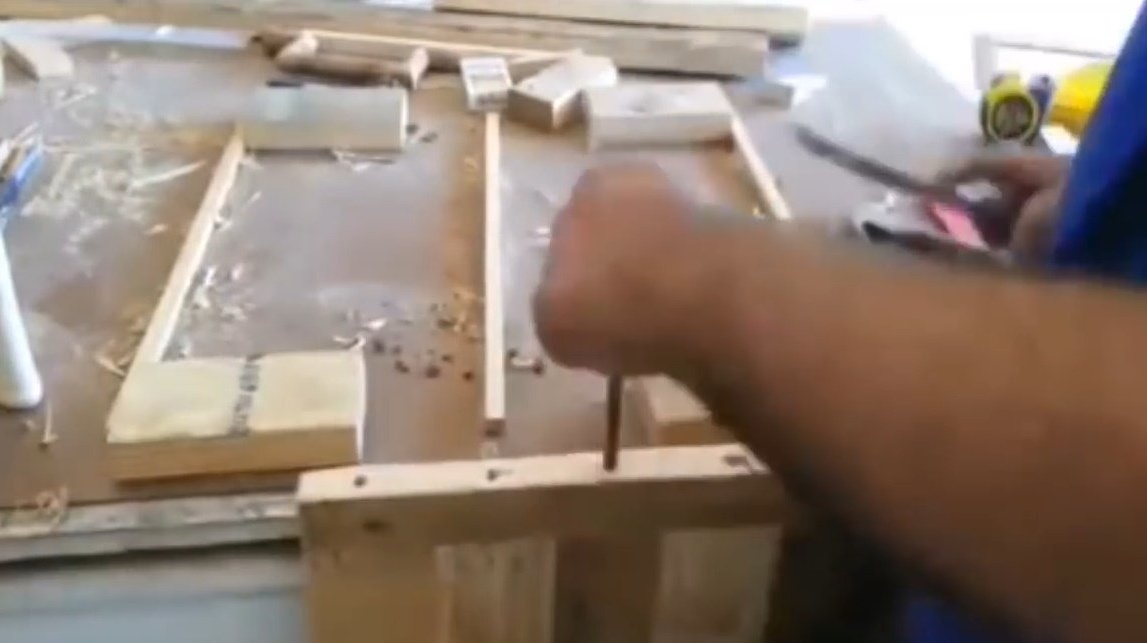
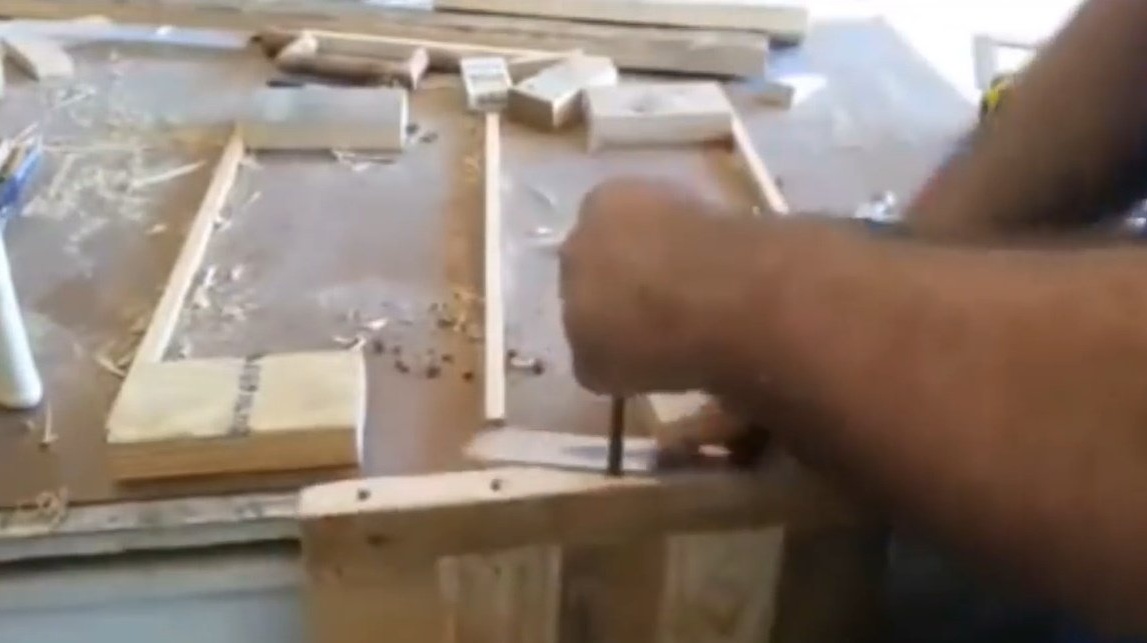
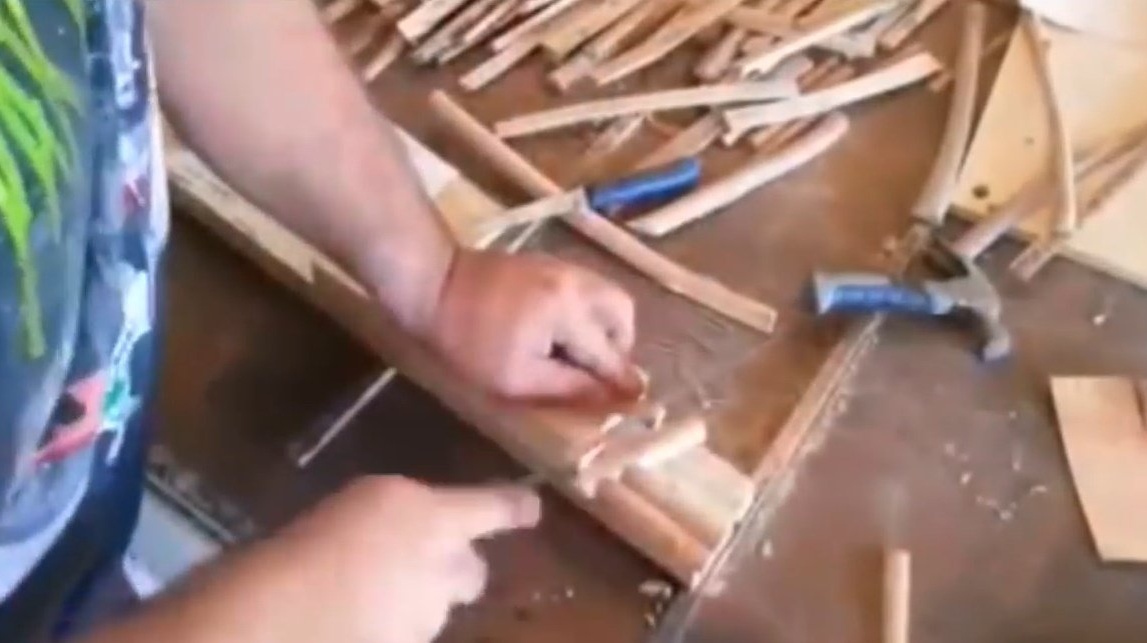
Then he hammers a wooden bar into the holes, and cuts it flush.
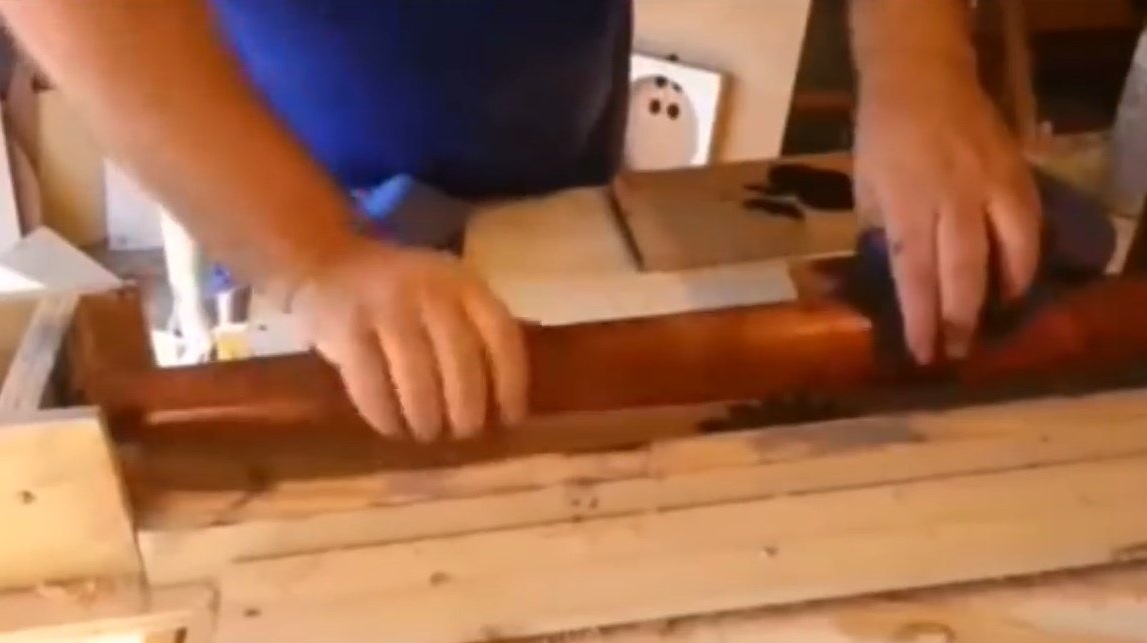
To give color to the wood of the countertop, it is impregnated with a solution of acetic acid with the addition of boiled acorn caps, which should make the color deeper and more saturated. As a result, the countertop acquired a colorful, battered, rustic look.
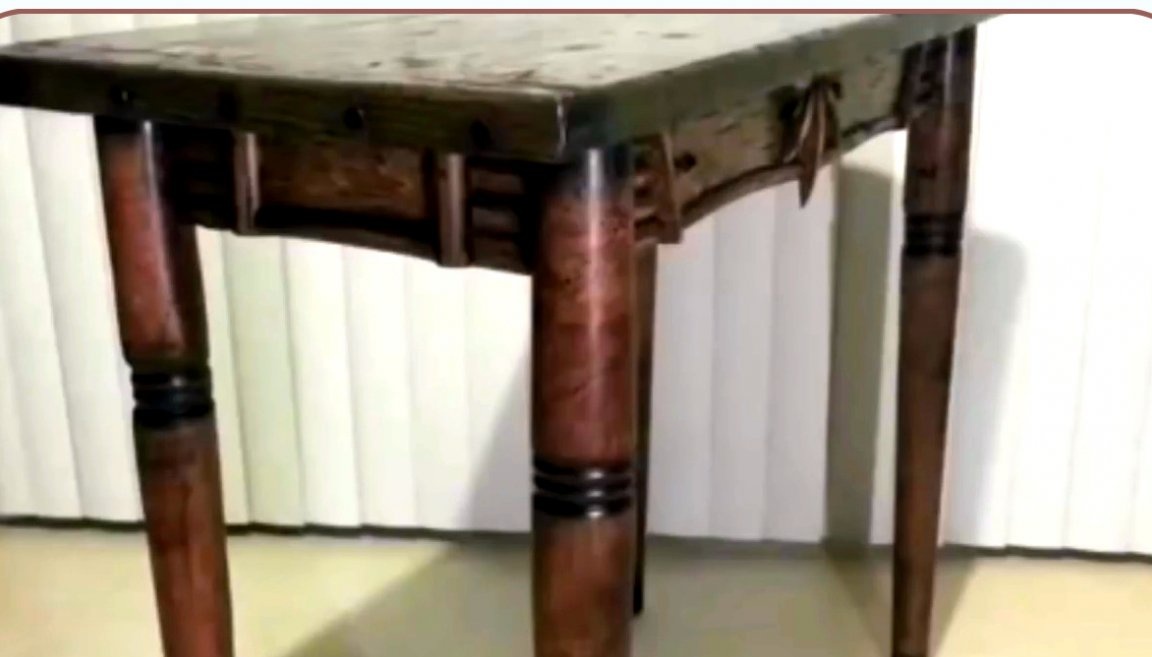
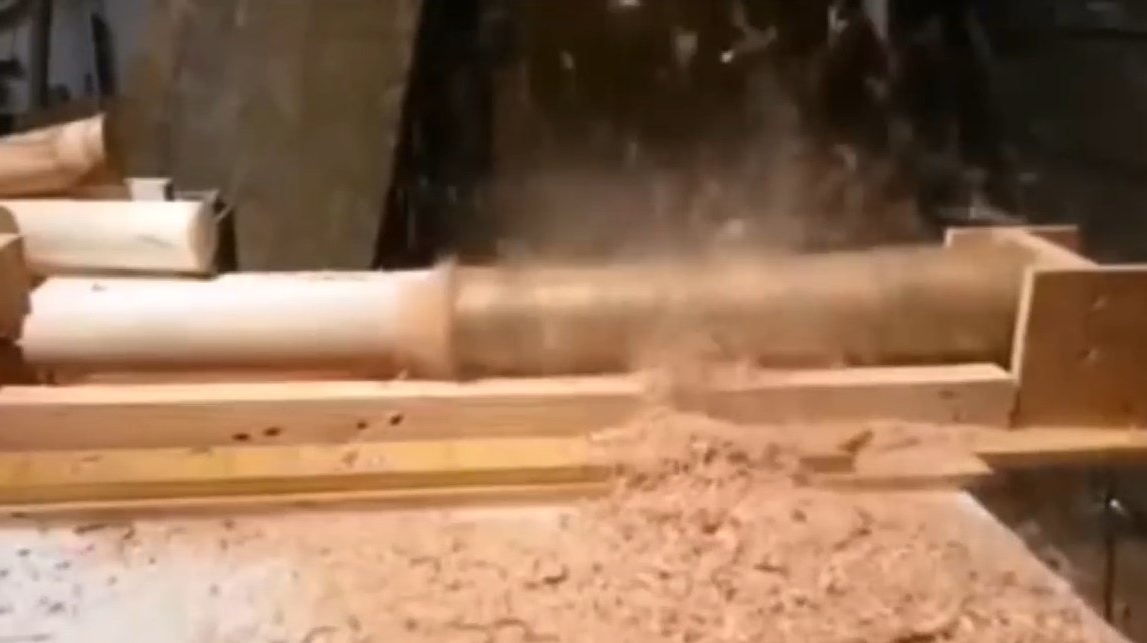
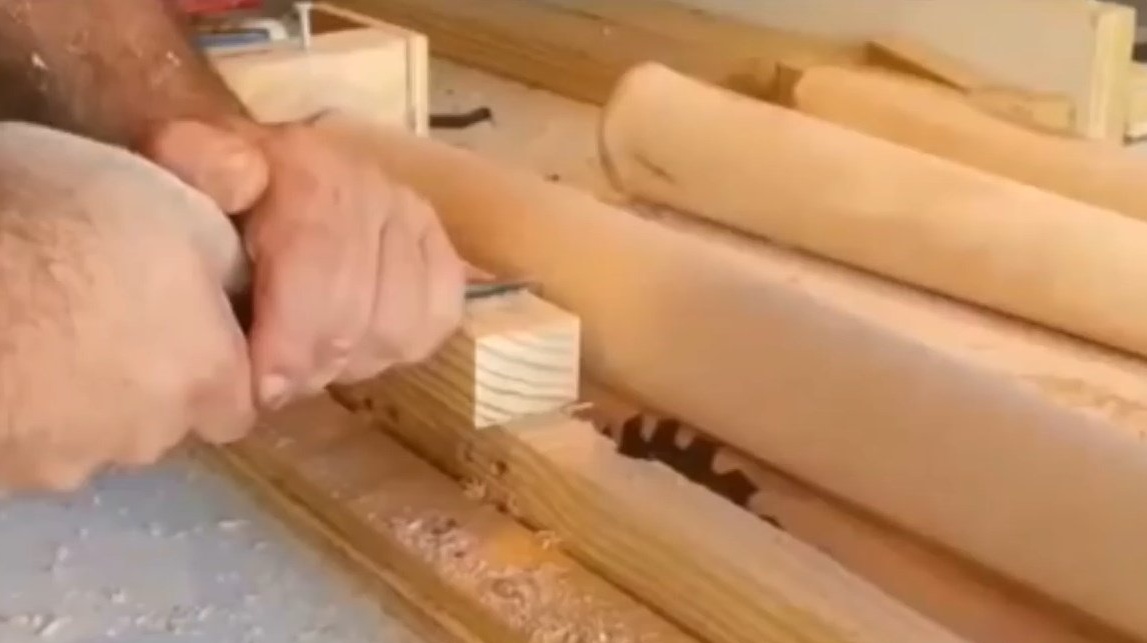
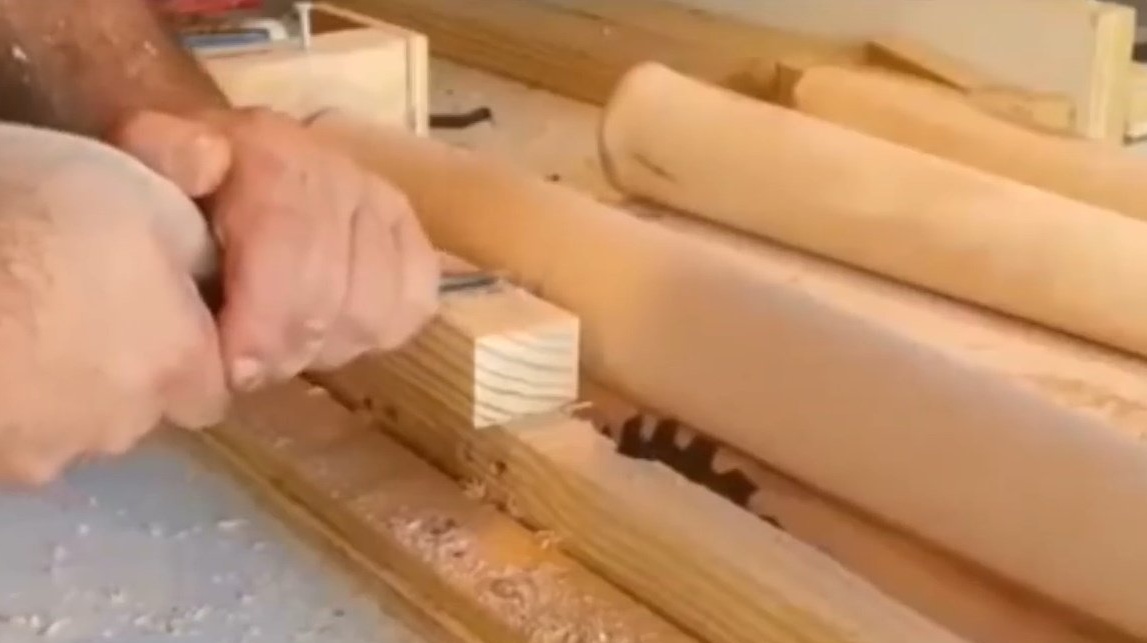
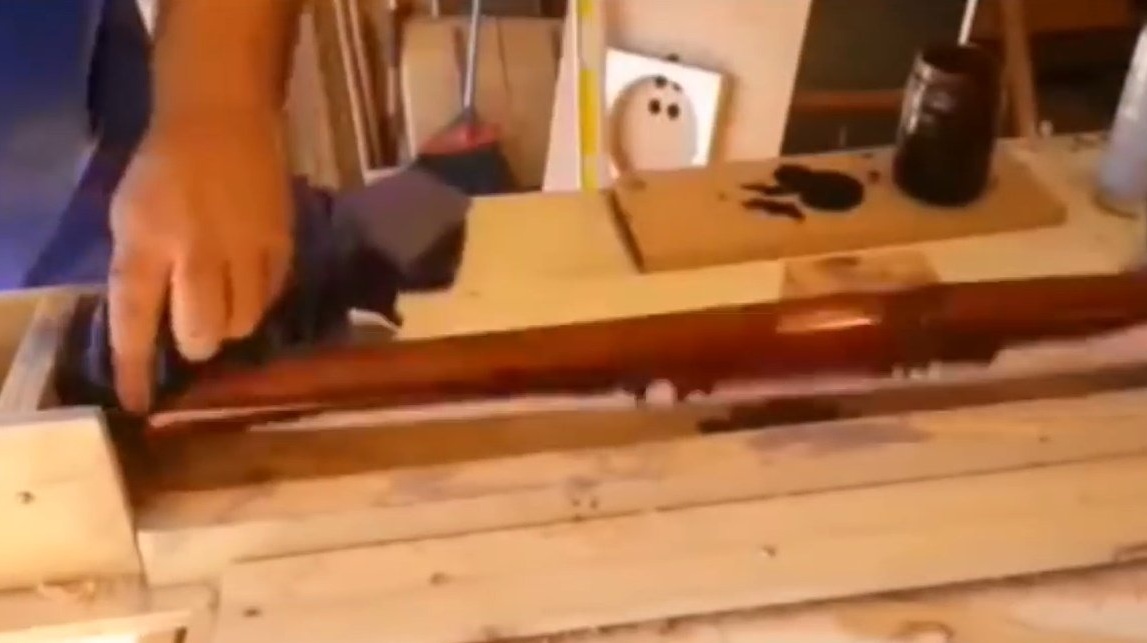
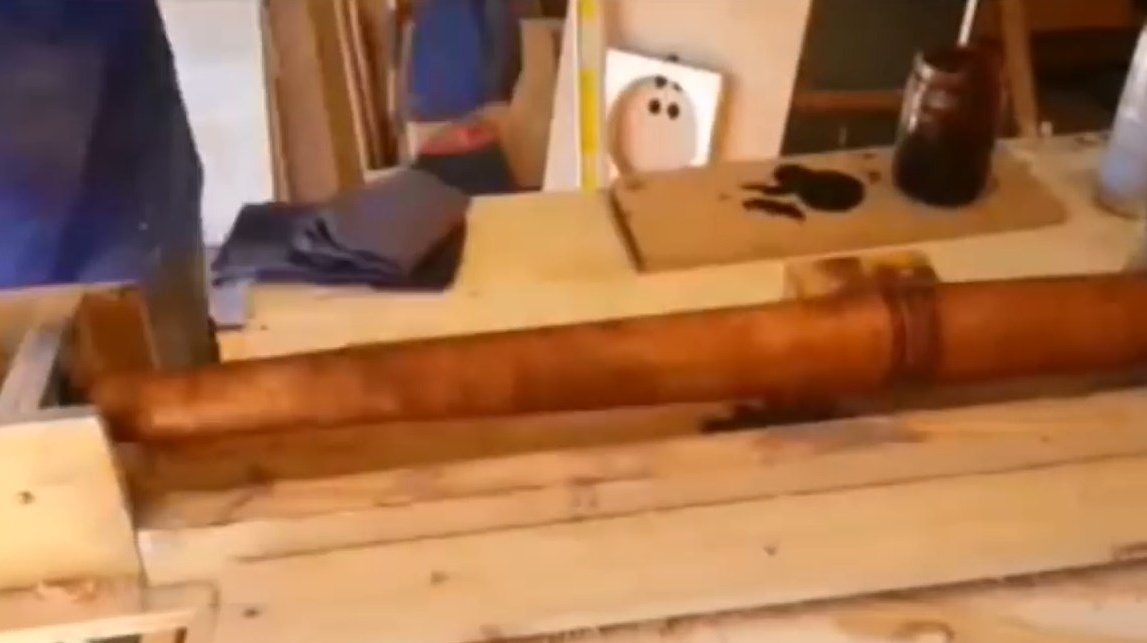
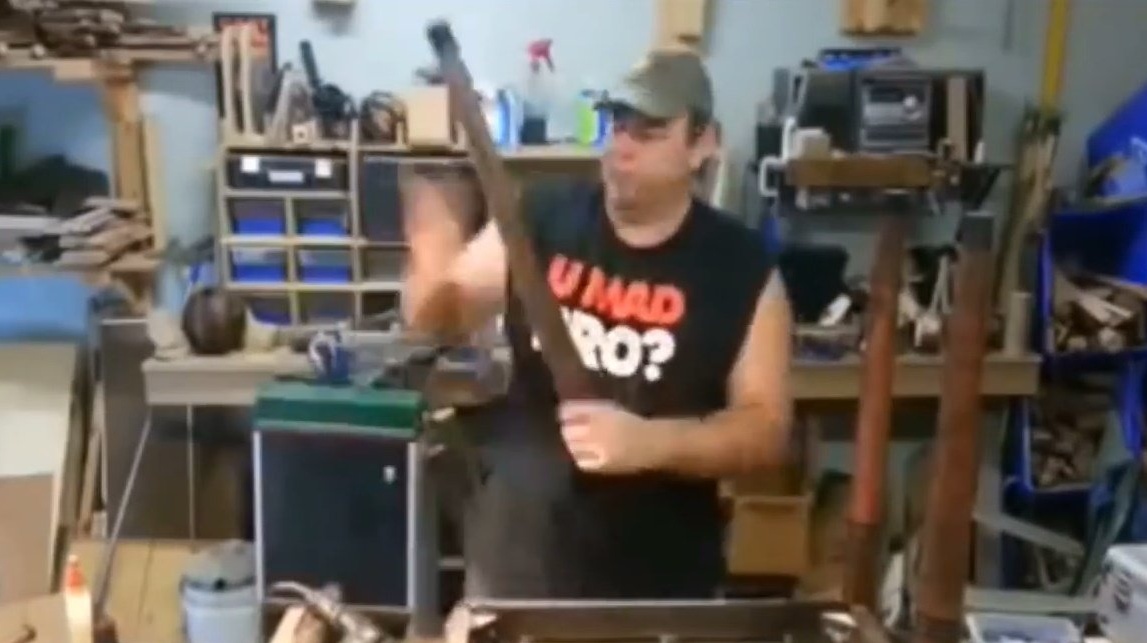
For the legs of the table, the master prepared branches of yellow birch, which he collected for a long time and carefully dried for a year so that they were perfectly dry and straight. But he would not want the legs to have an angular, primitive appearance. Therefore he did device for a circular saw, using a drill as a motor to rotate these legs in a circle.
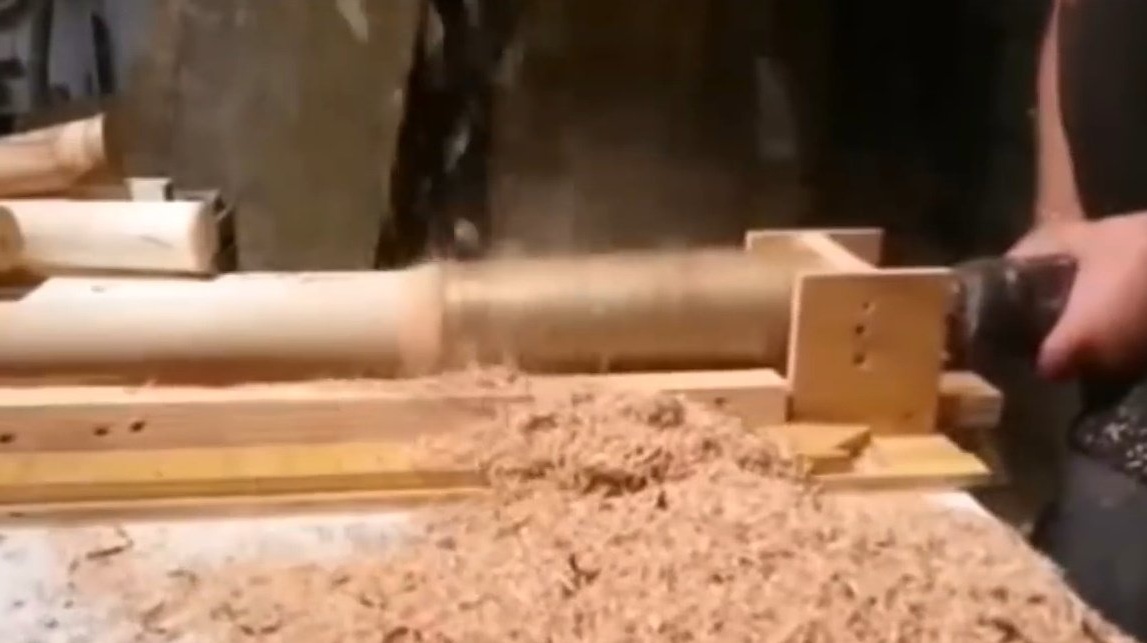
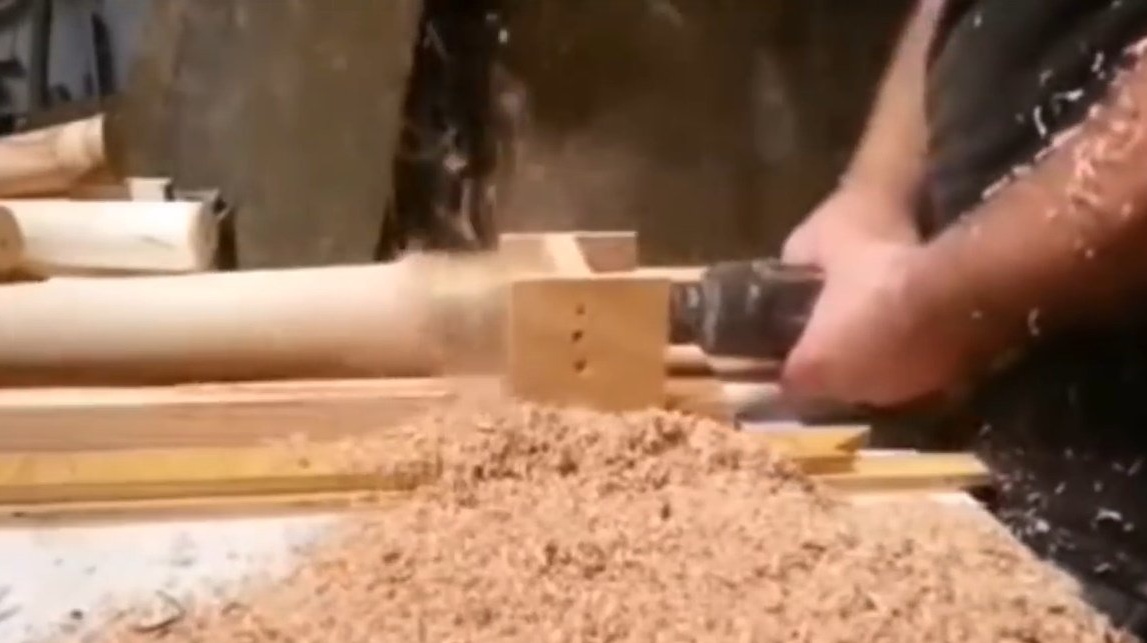
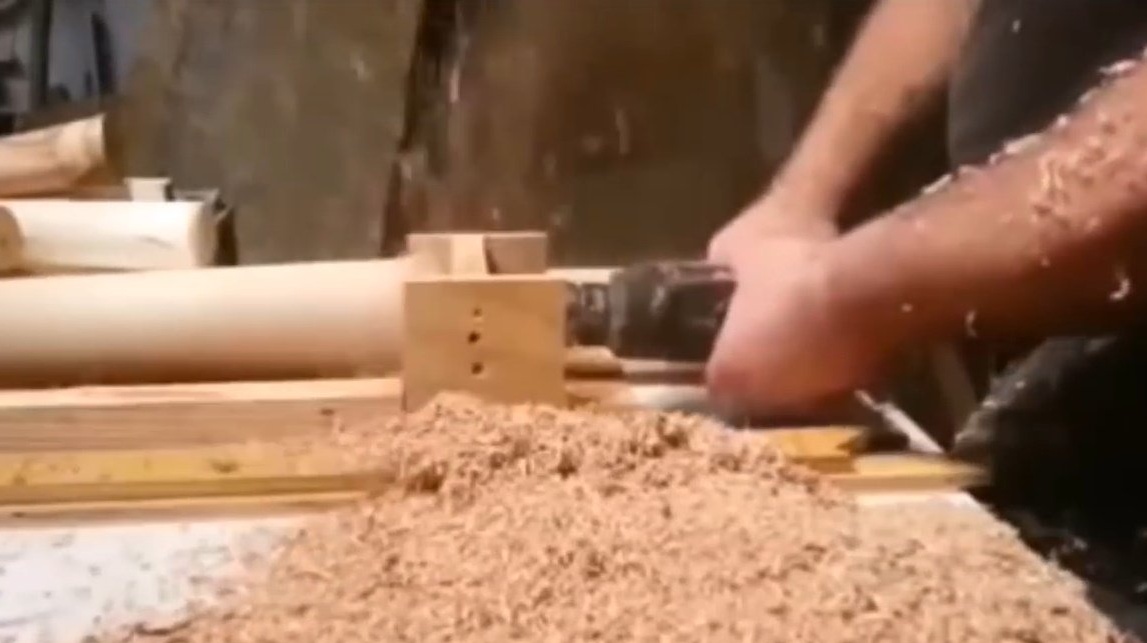
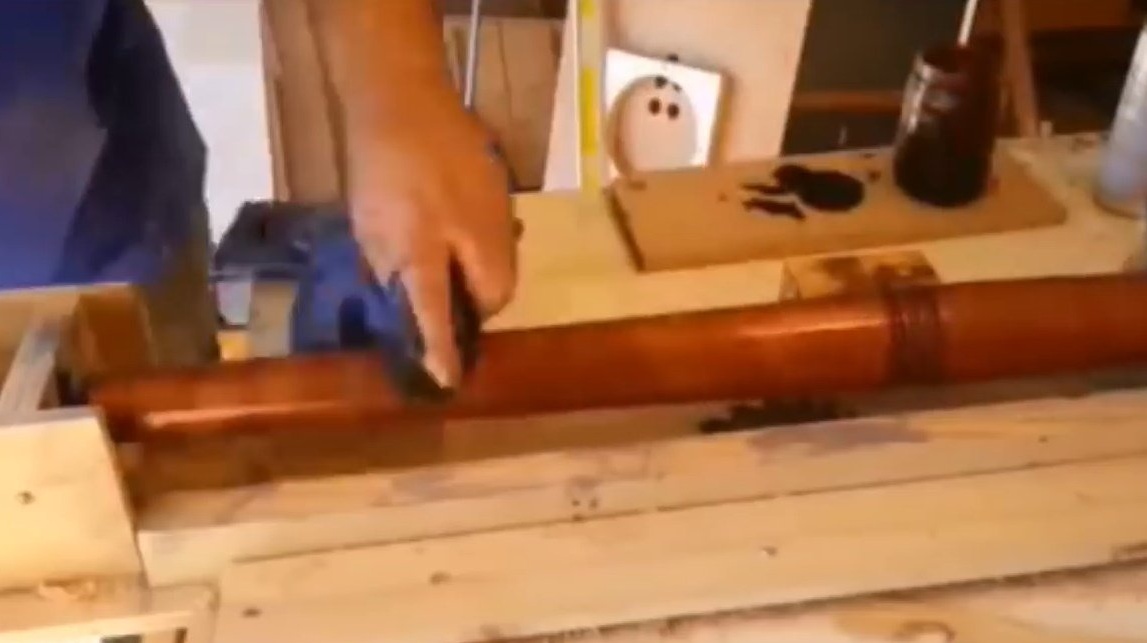
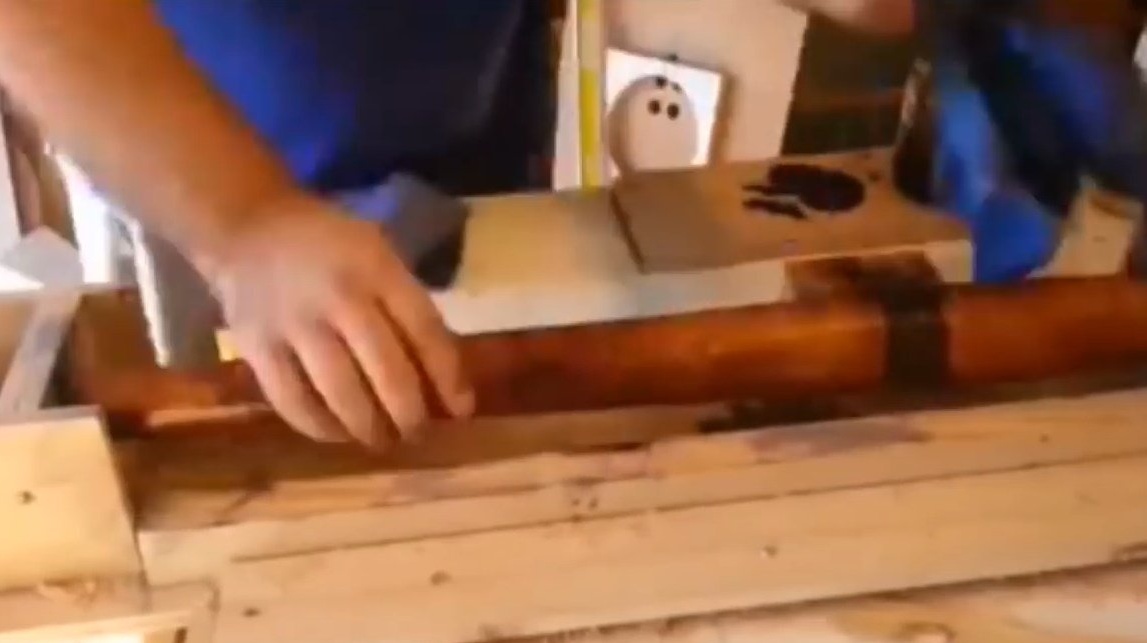
Then he took a piece of sharp metal and made them rounded grooves on the edge.
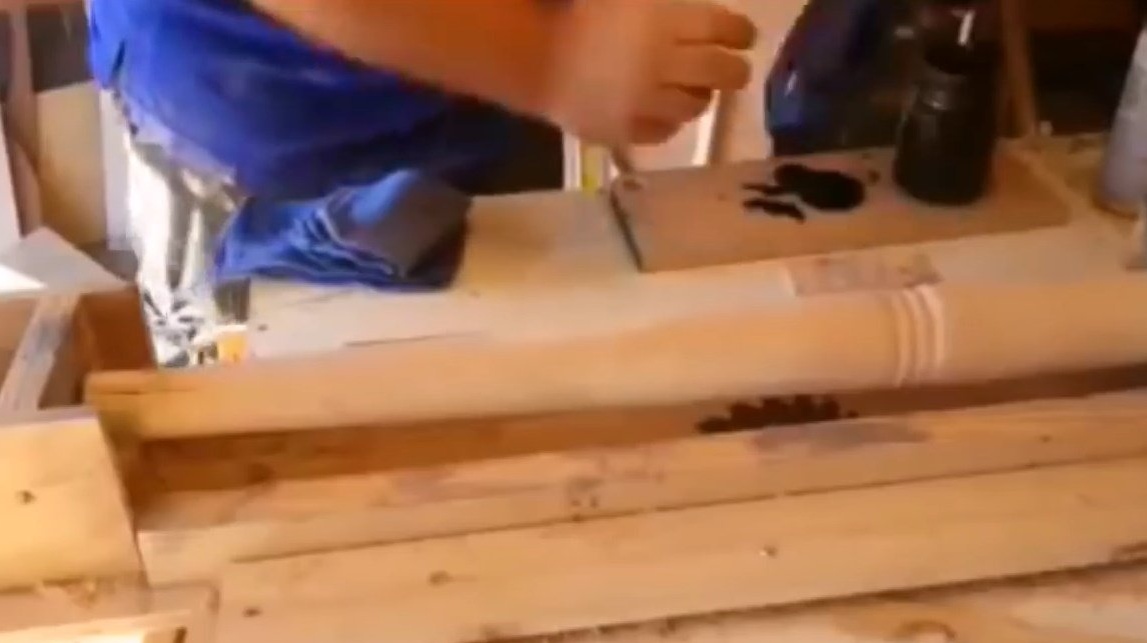
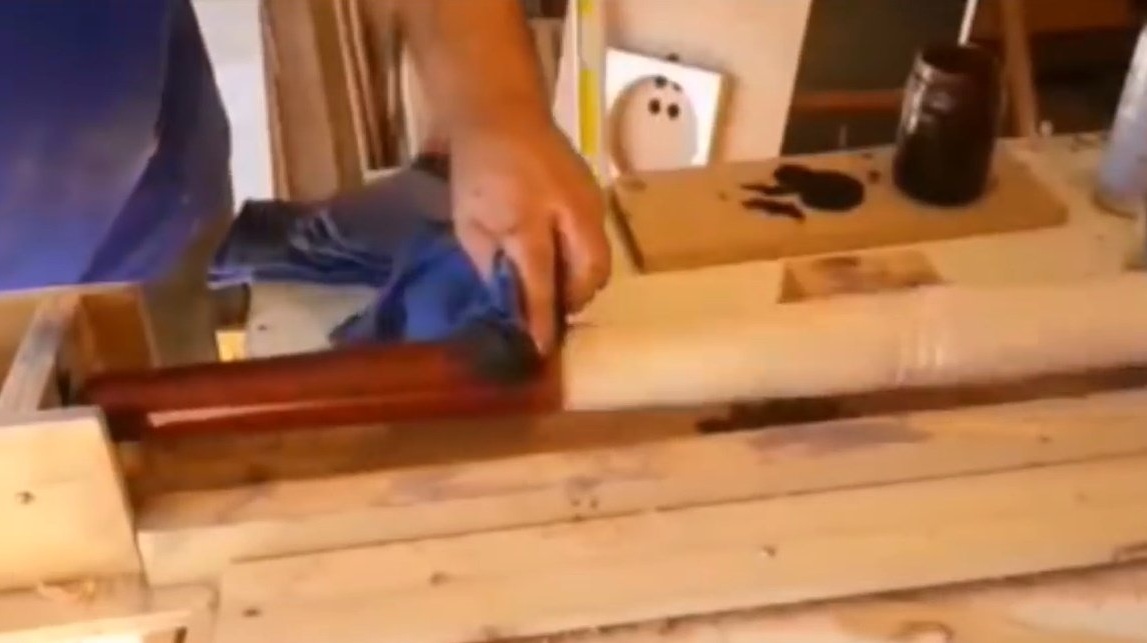
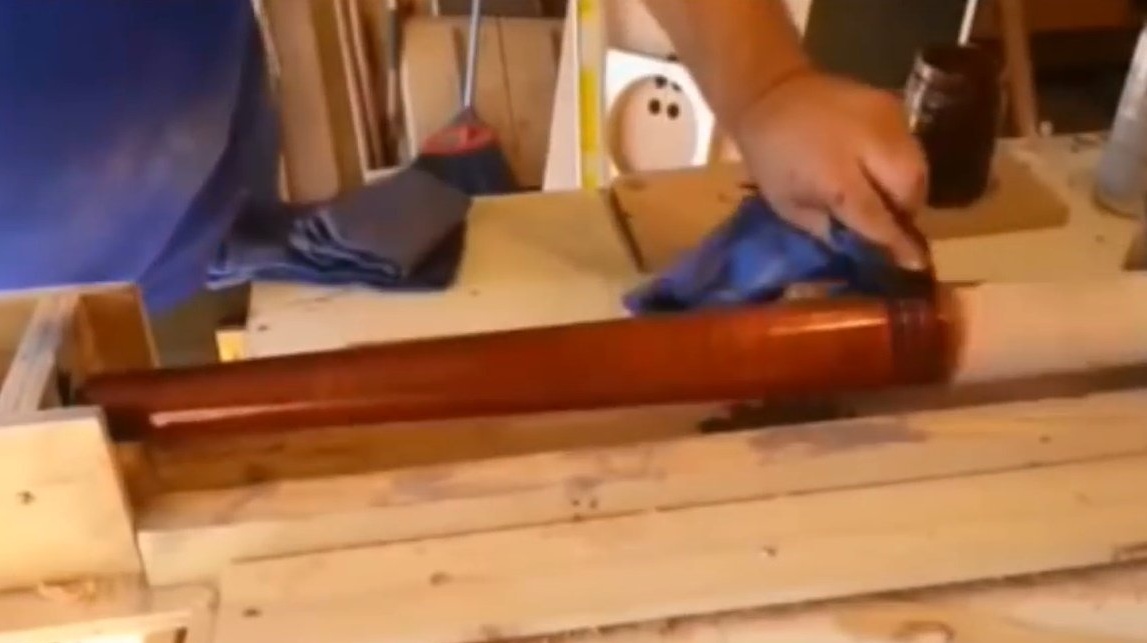
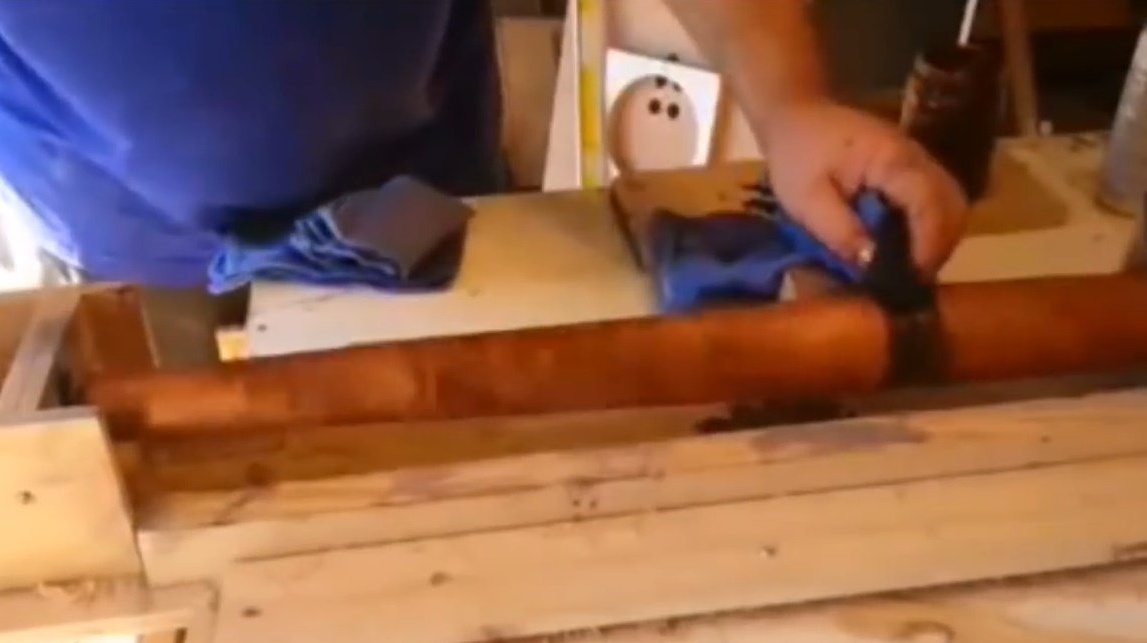
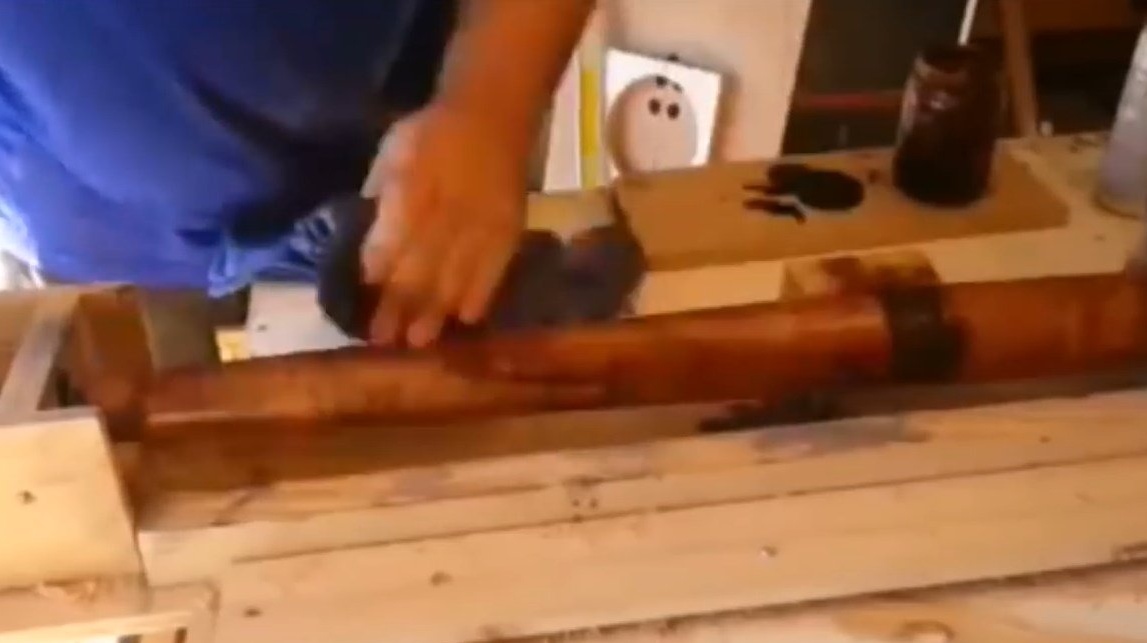
Then he applied a layer of colored, but relatively light stain, and on top, to shade a little, homemade glaze made from oil from acorn caps. Birch wood itself is somewhat neutral in color, and these colors should give it vitality.
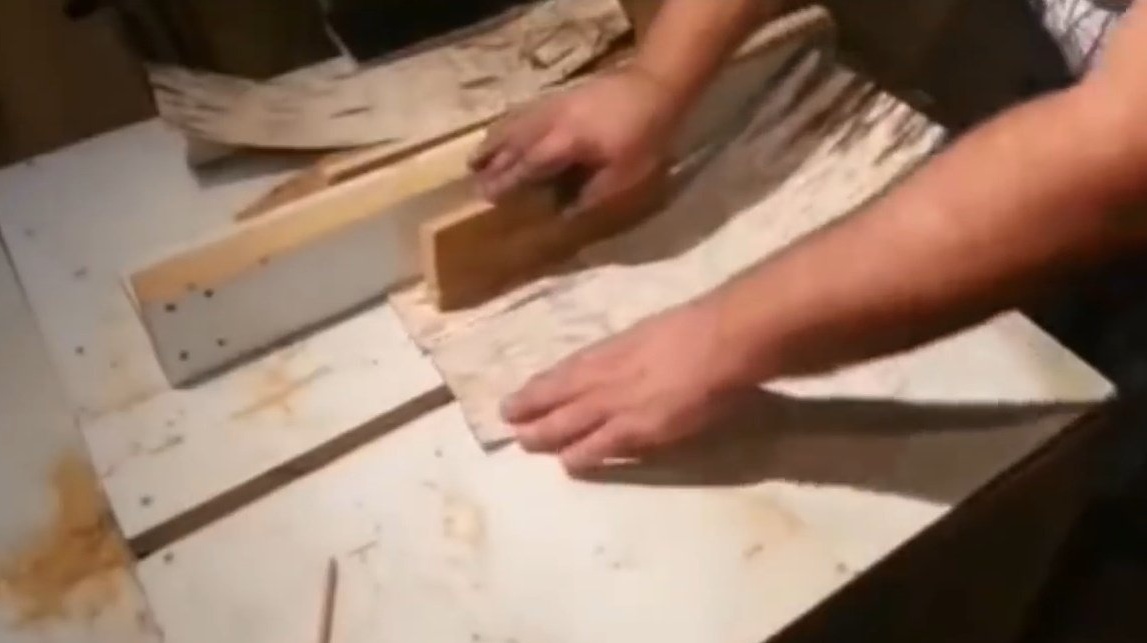
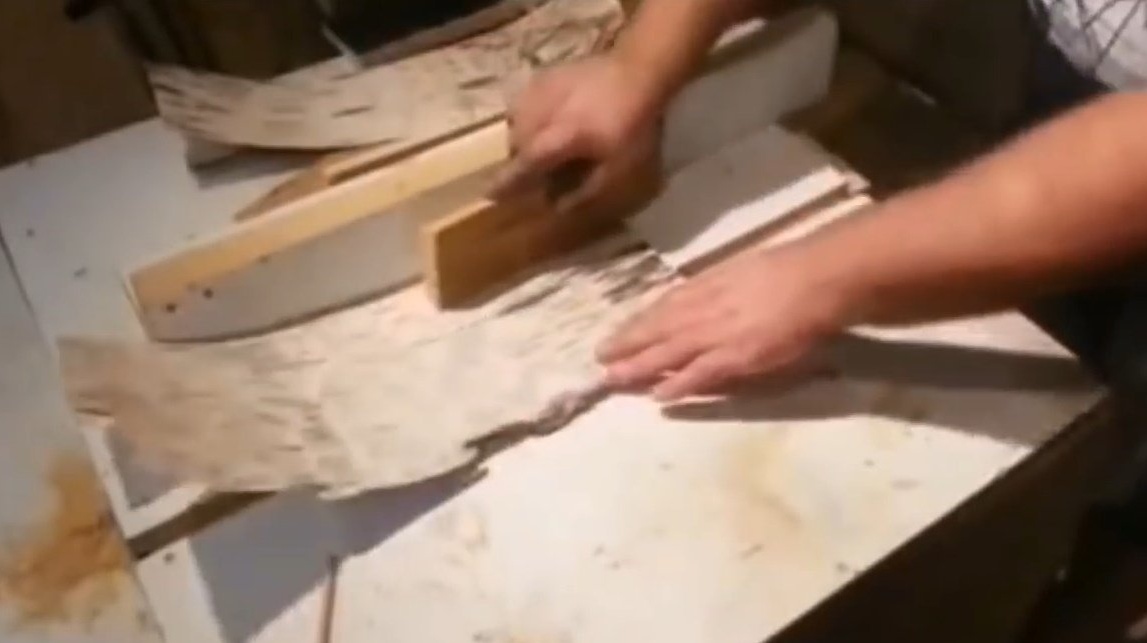
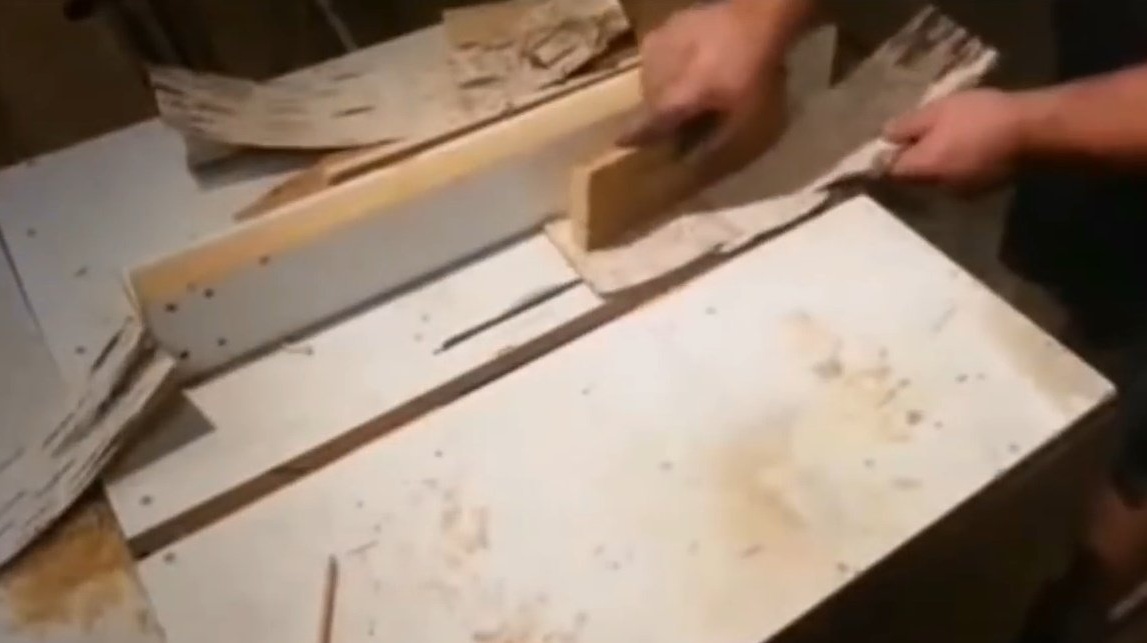
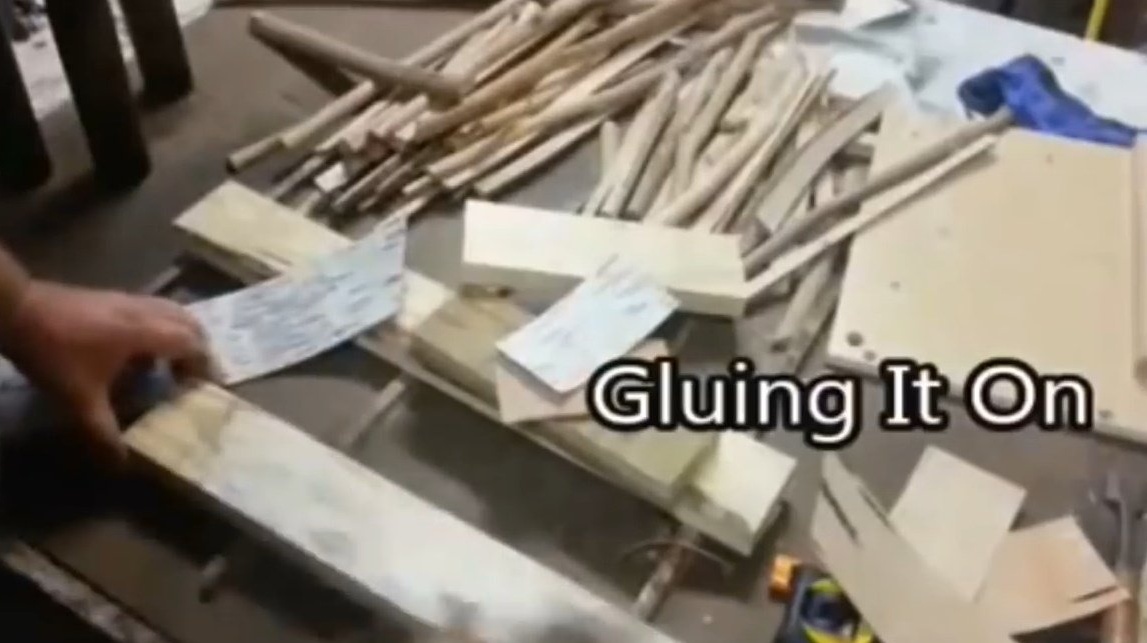
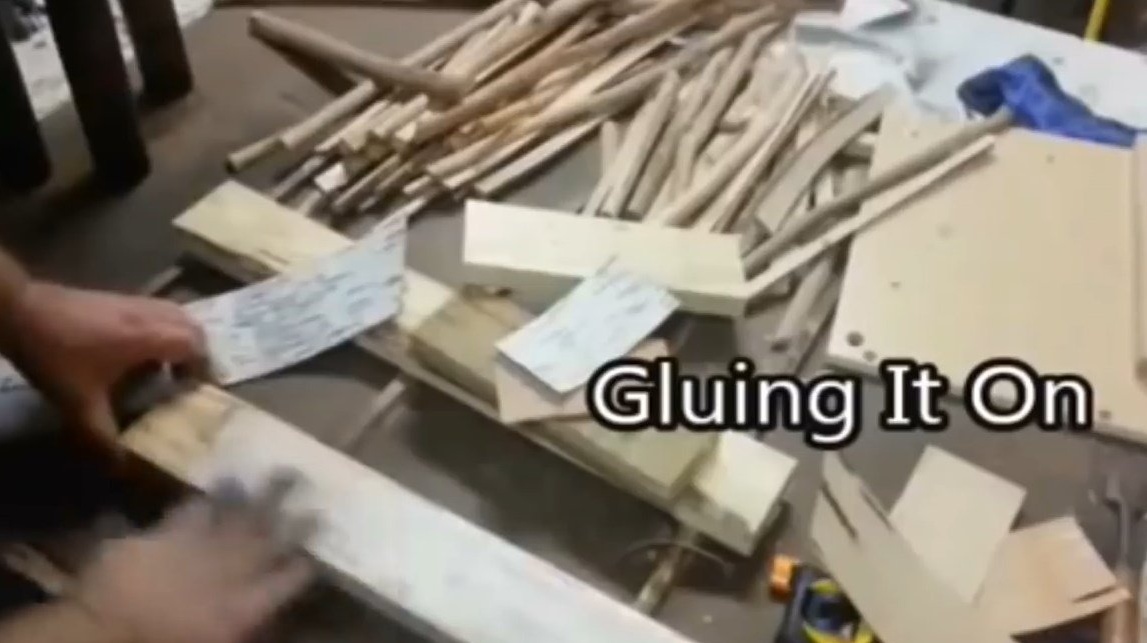
Then the craftsman uses birch bark as a veneer. He cuts it on a circular saw and glues it to the front of the table.
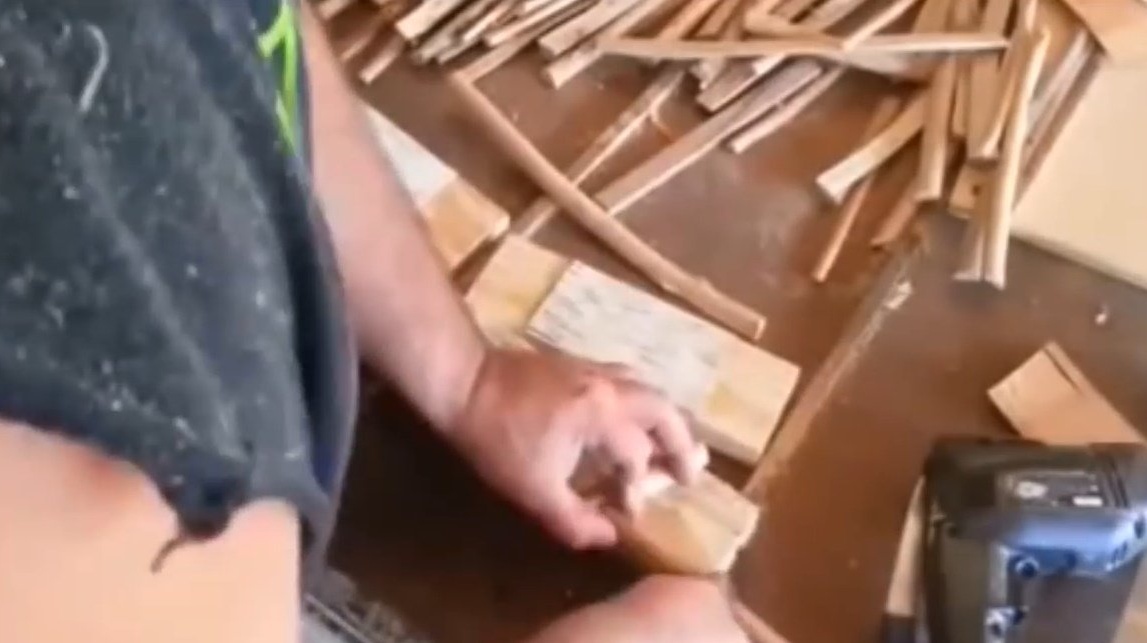
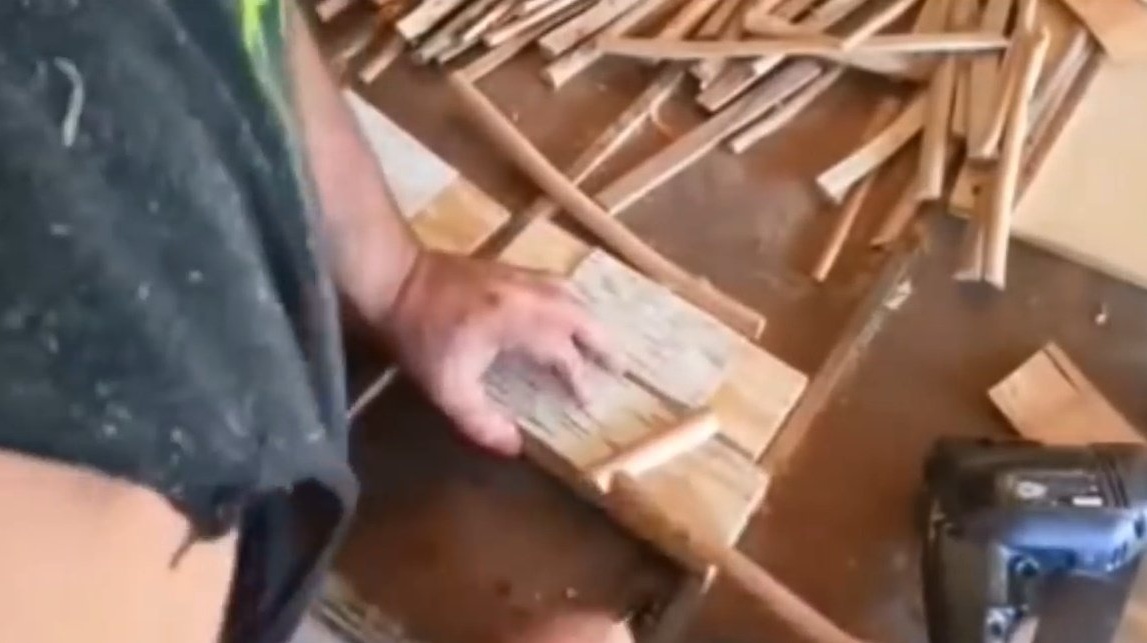
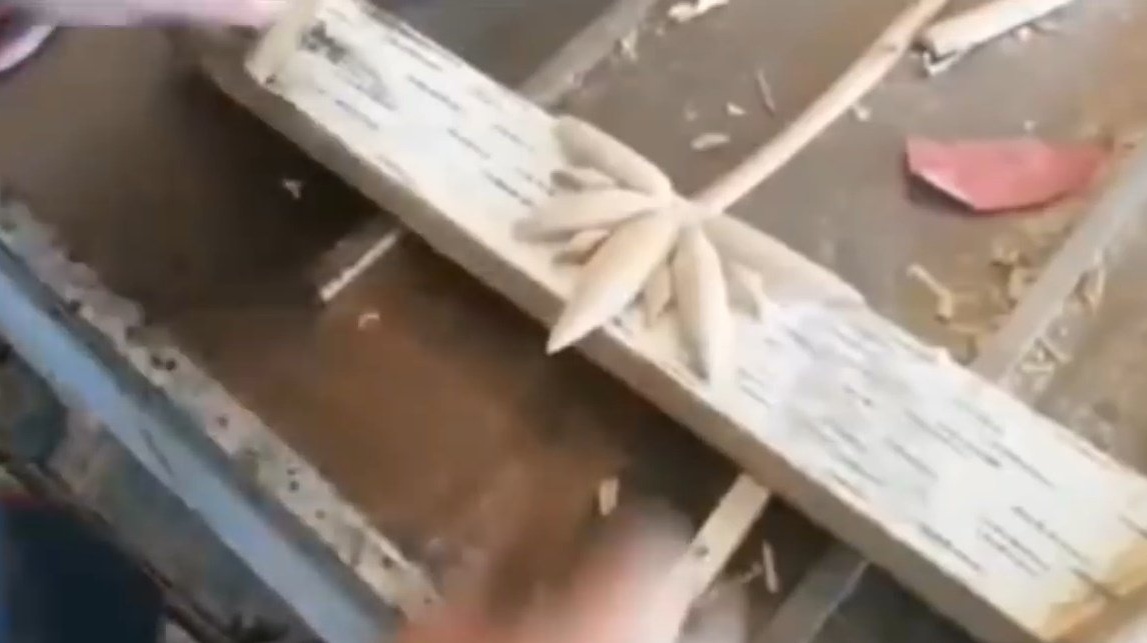
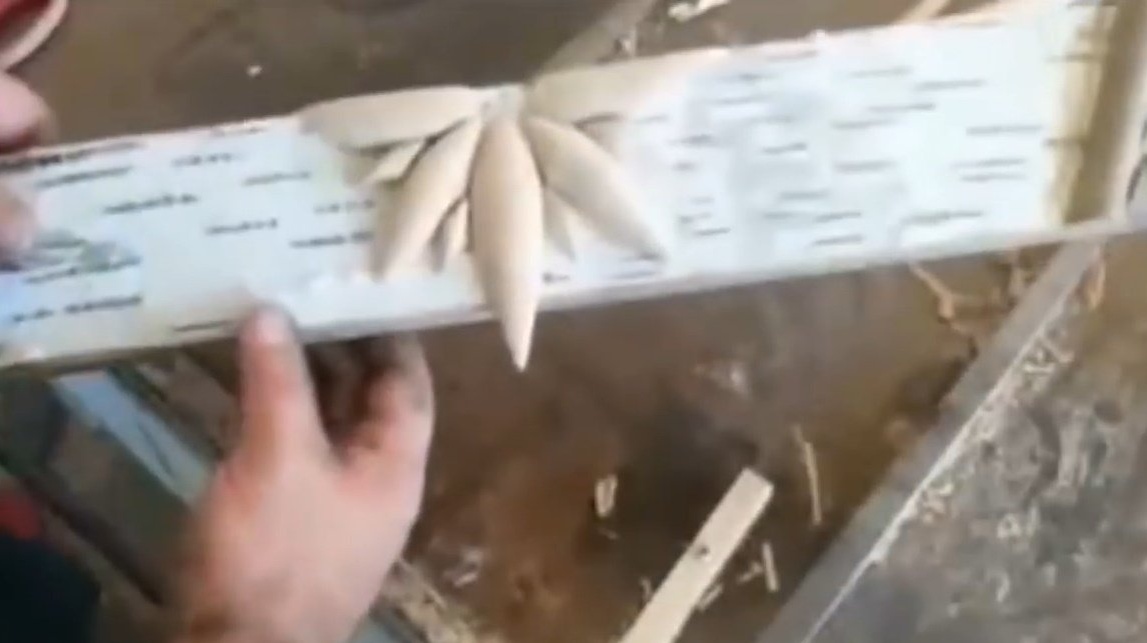
After drying the veneer, the master cuts several branches and cuts them in half along. These will be original decor elements. Then glues them to the board.

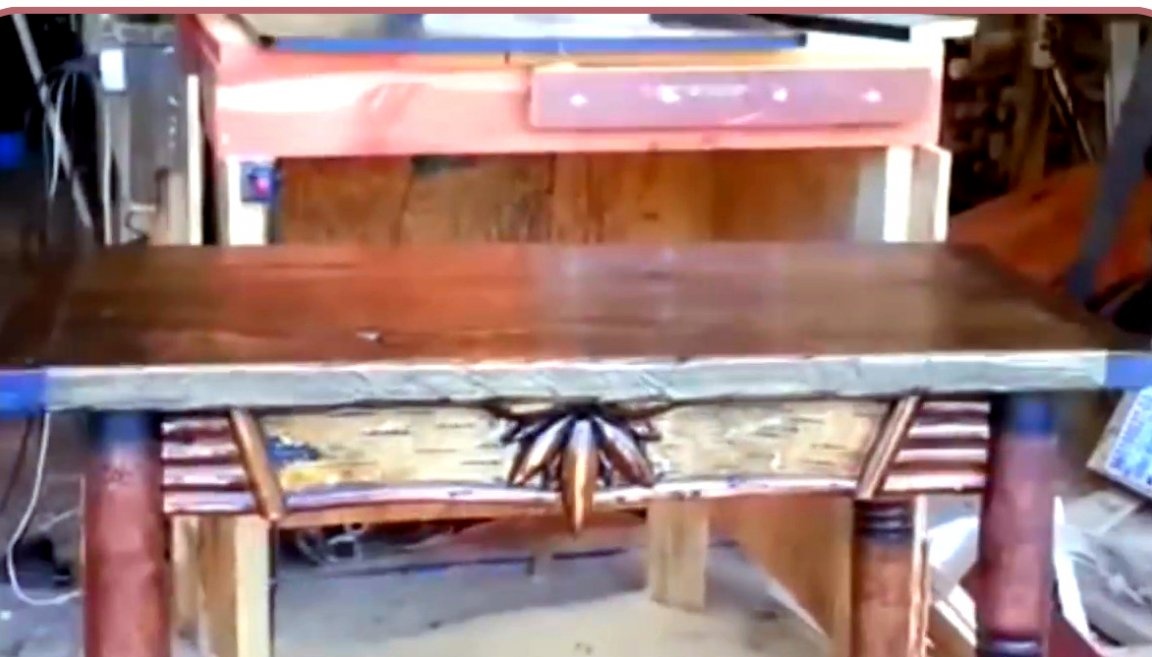
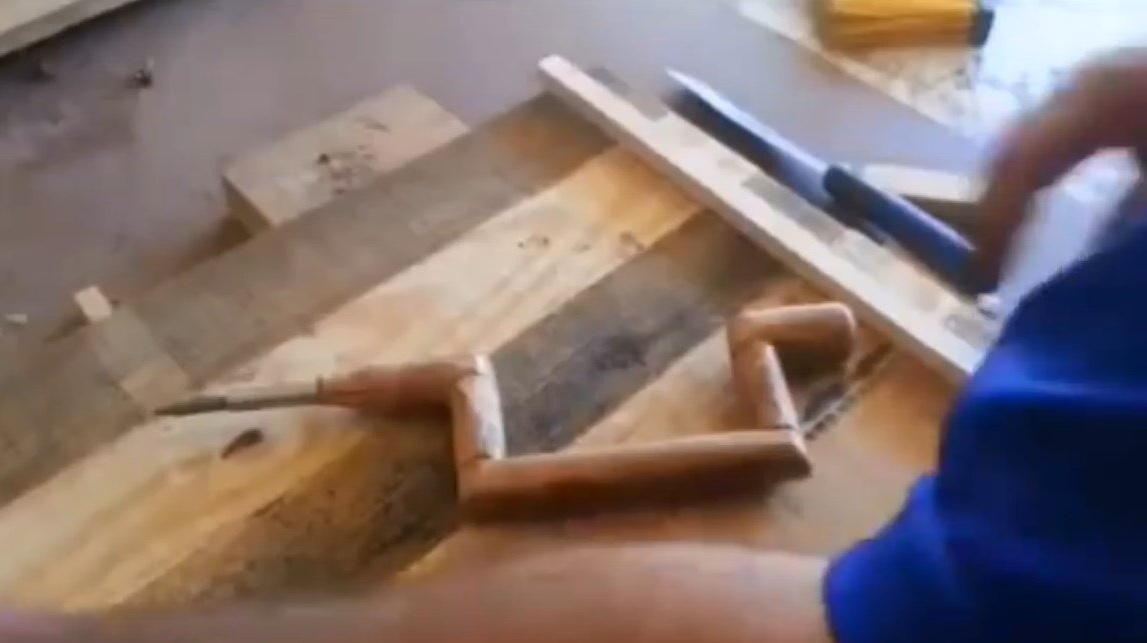
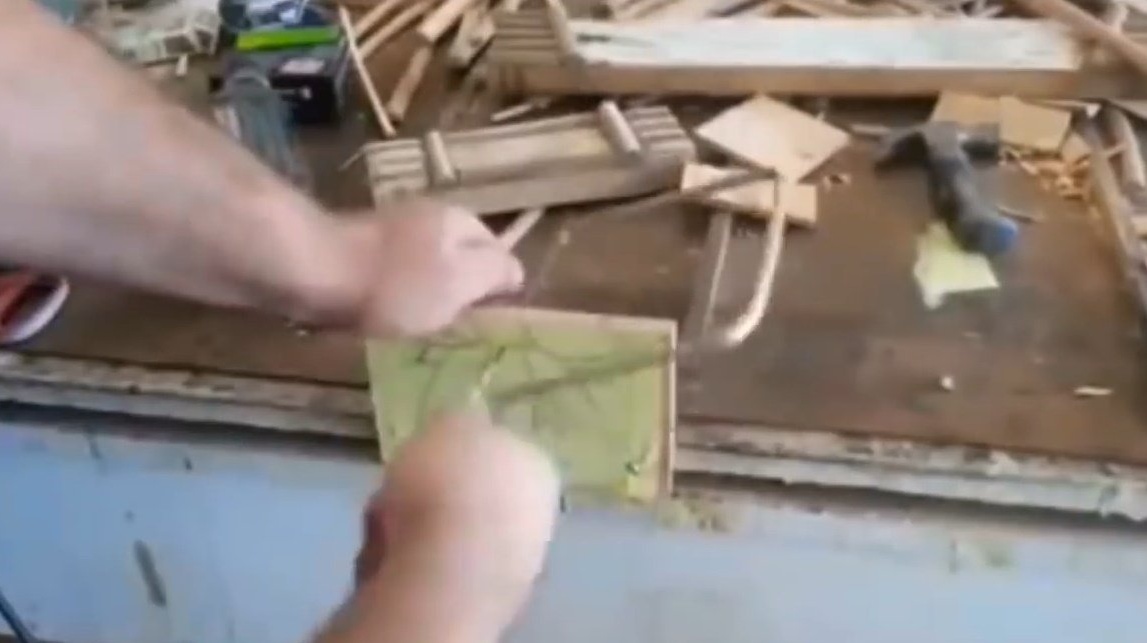
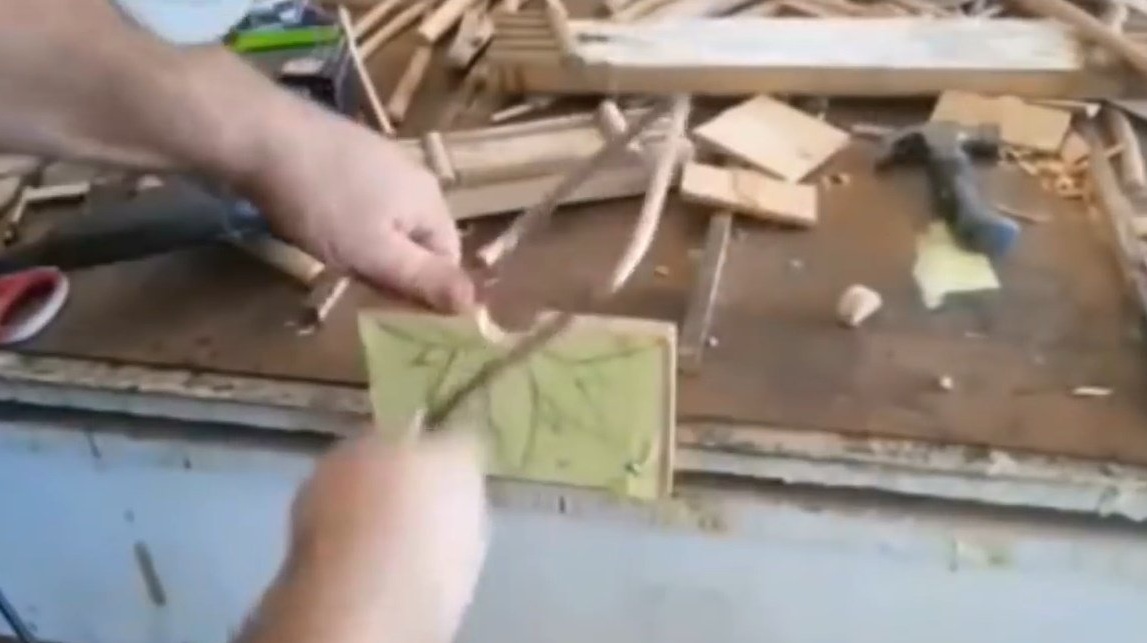
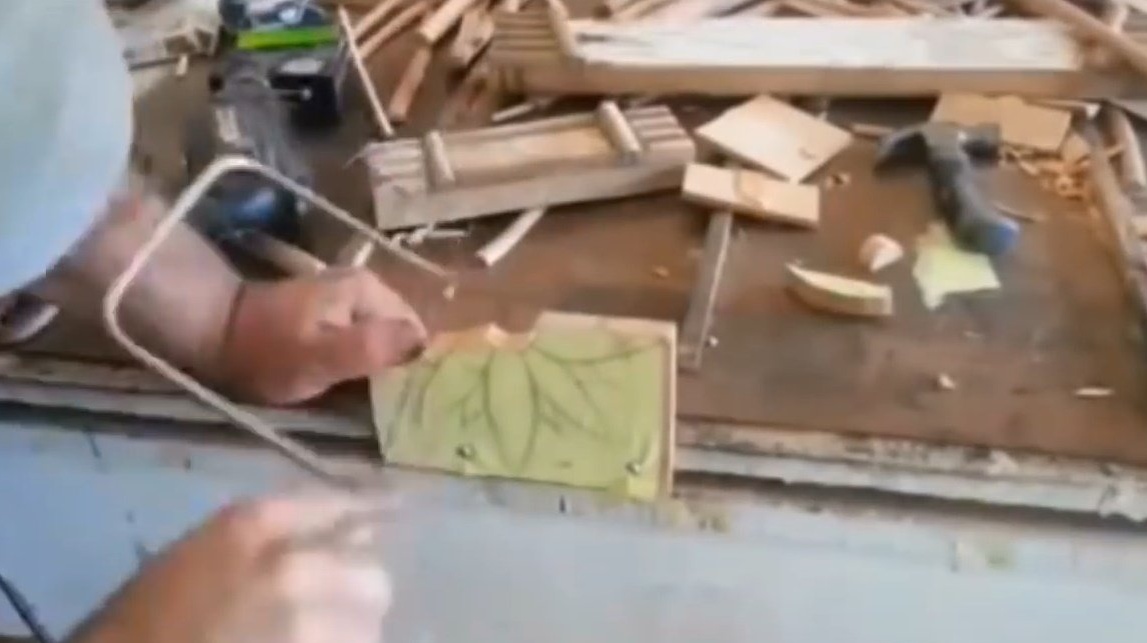
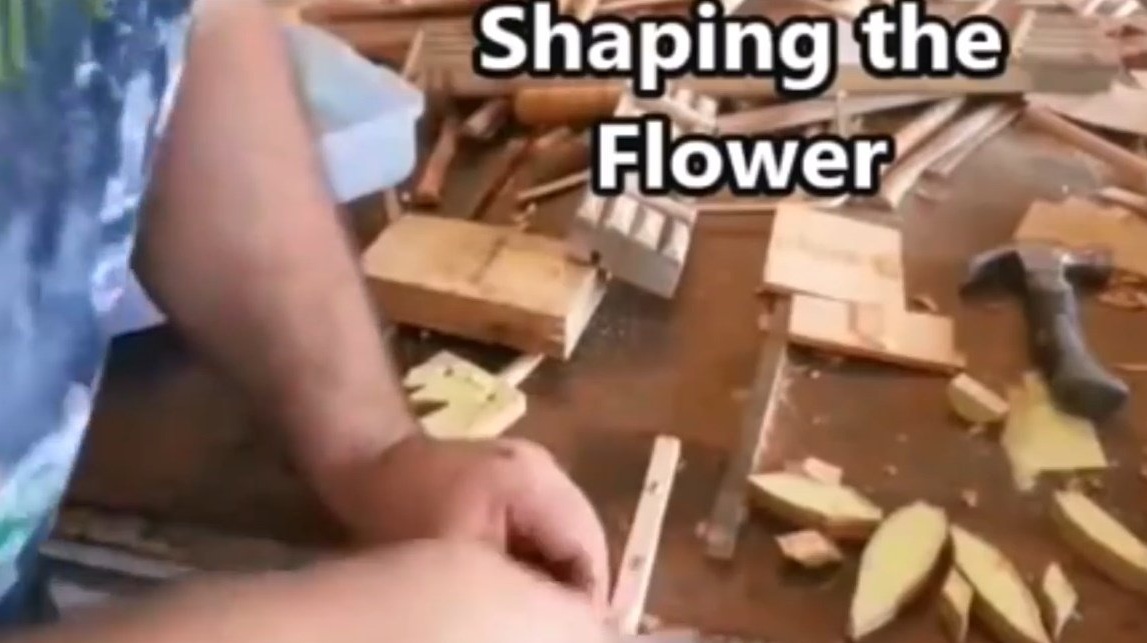
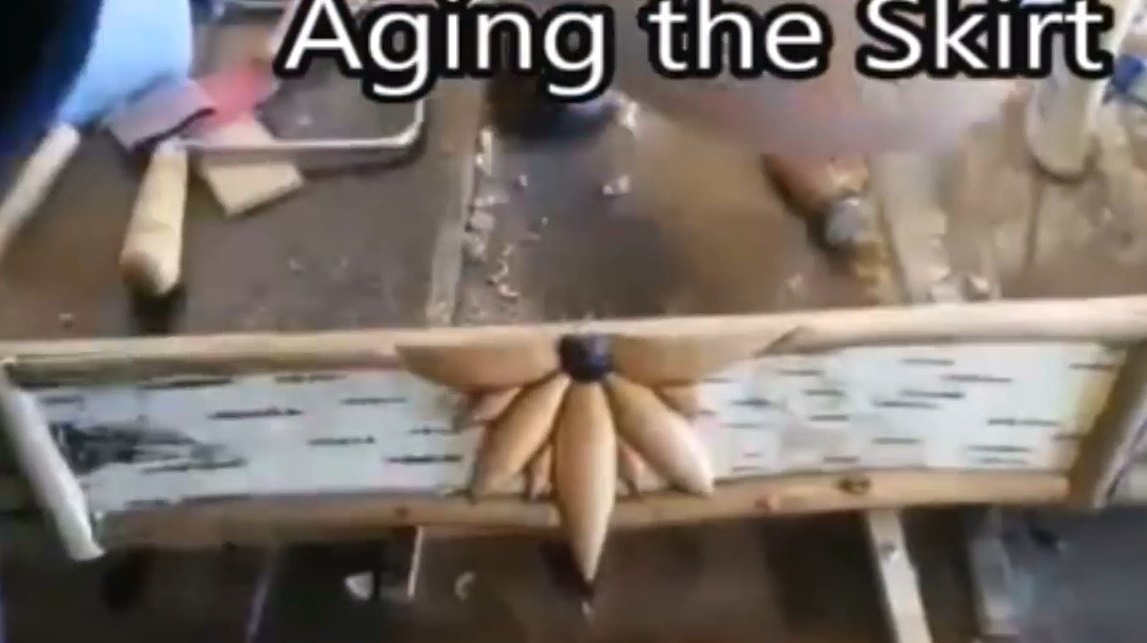
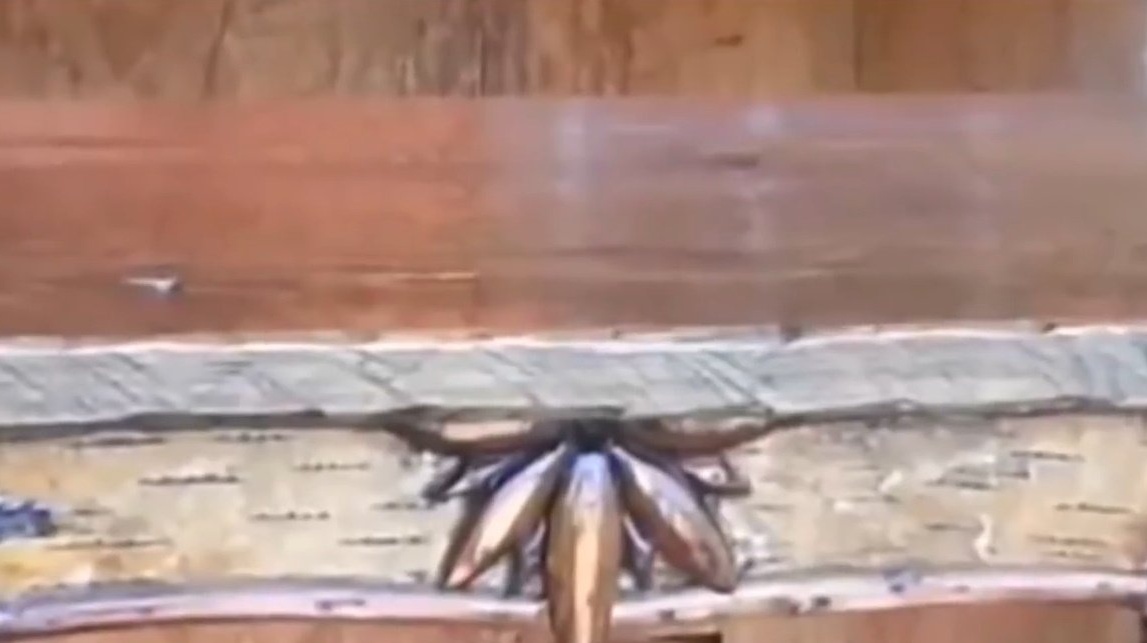
And another element of charm: the craftsman cuts an ornament from a small board of a pallet tree, and cuts it with a hand jigsaw. Each element is cut separately and processed first with a file, and then with sandpaper.
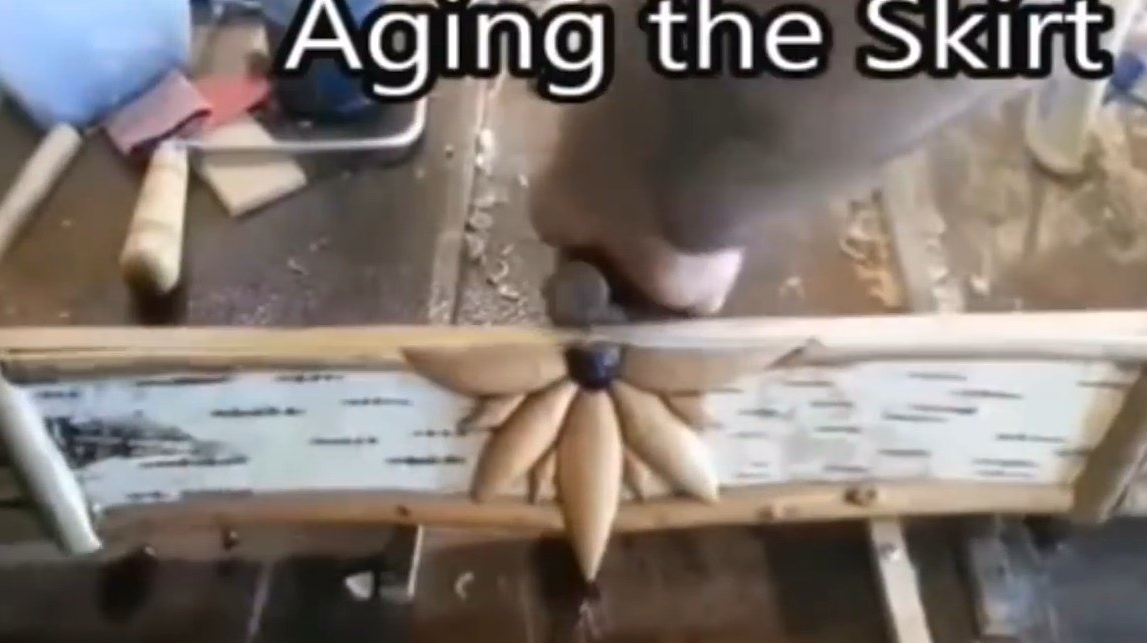
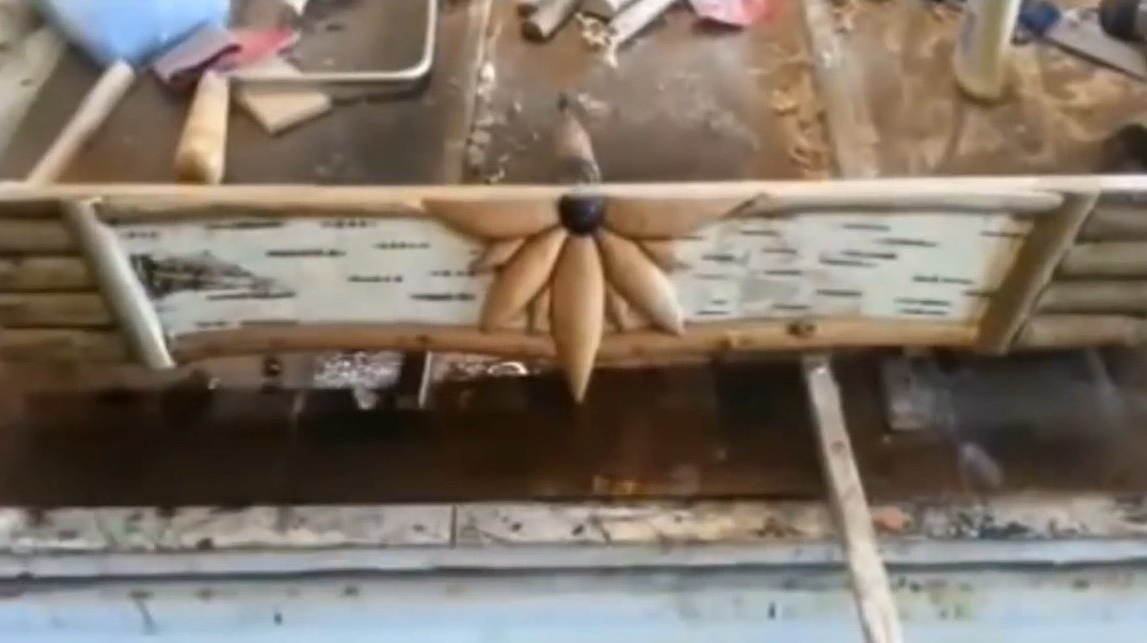
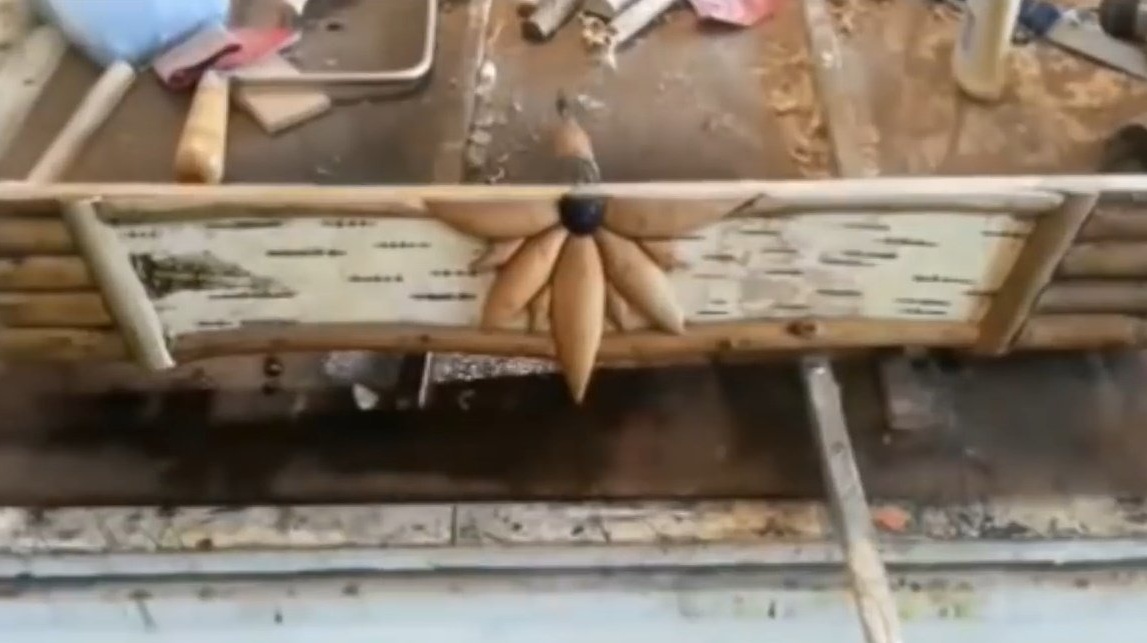
Then he places the pattern on the front panel of the table, making it under the platband and placing the acorn hat in the center of the ornament.
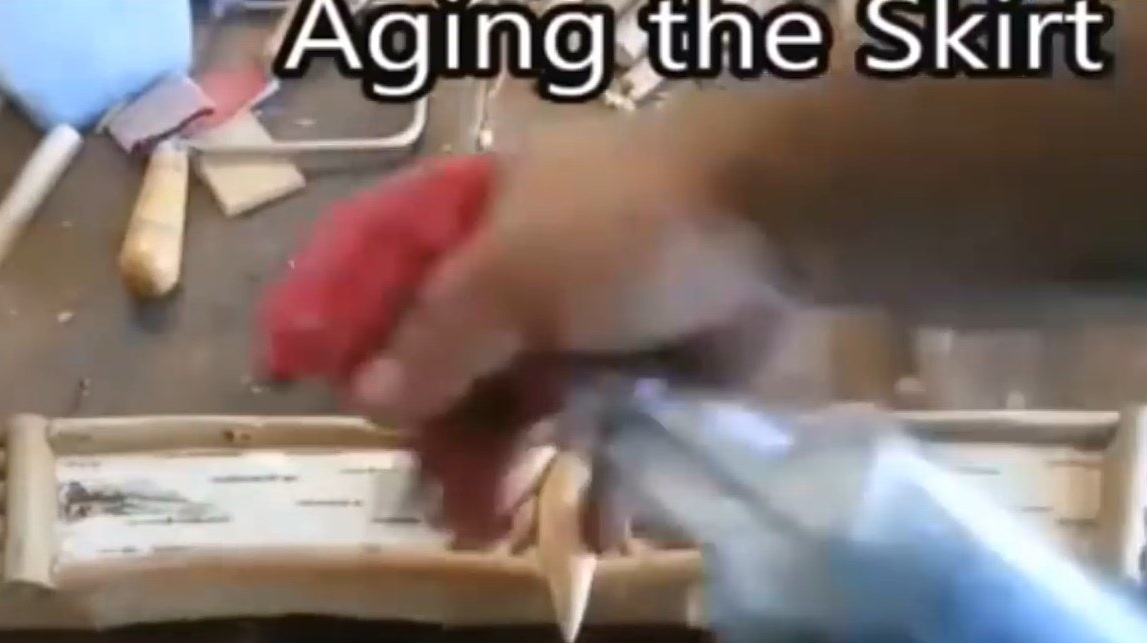
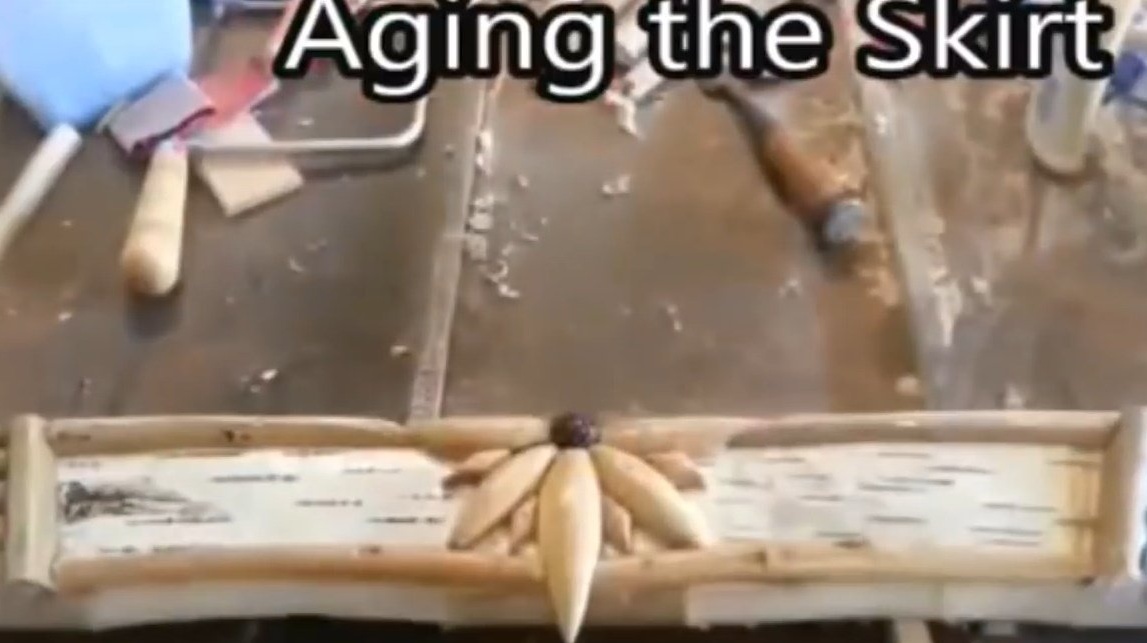
Now the whole natural medallion is covered with the same coloring matter with the addition of oil from the caps of the stomach, which creates a slight aging effect.
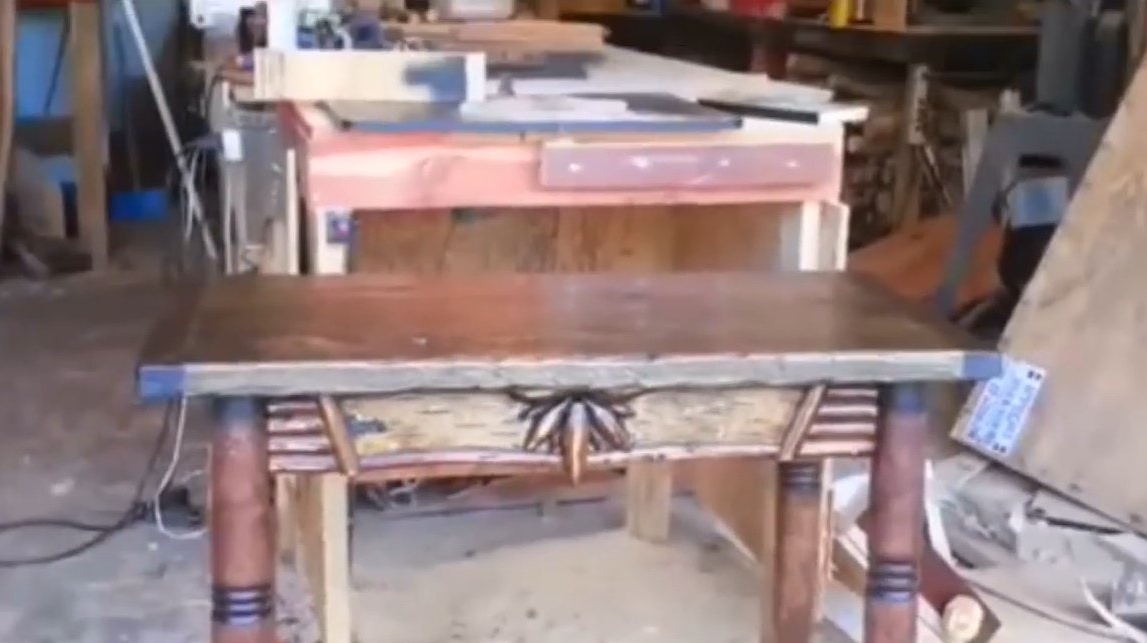
All that remains is to attach legs using corner brackets.

And now the rustic table in vintage style is ready. Uniqueness guaranteed!
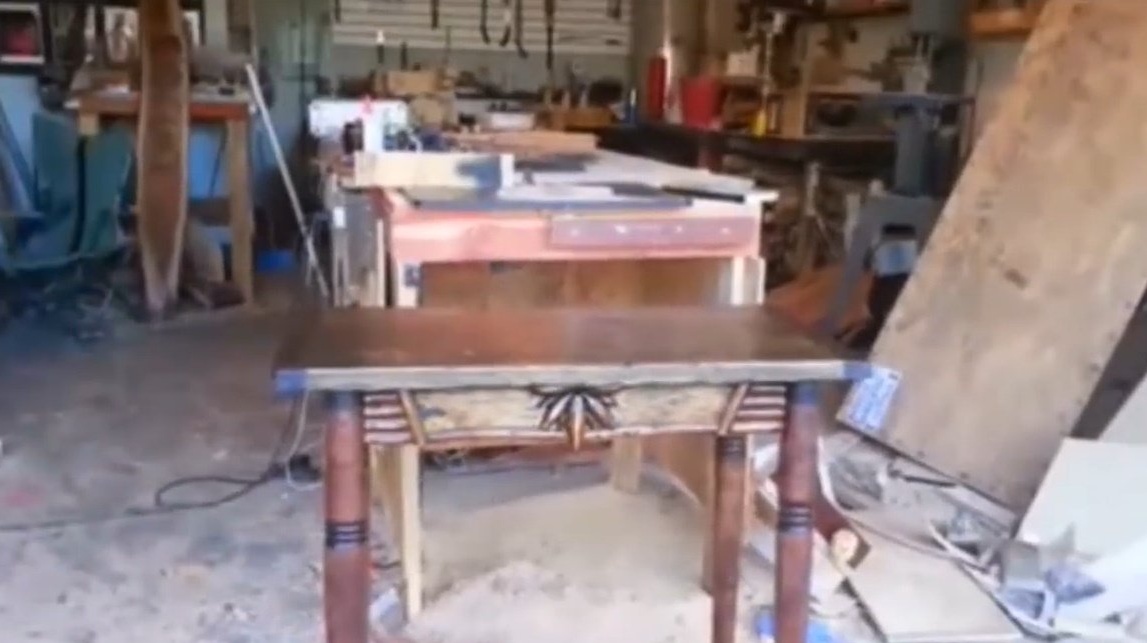
Thanks to the author for an interesting way to create a table!
Good luck to everyone, good mood, and original homemade products!