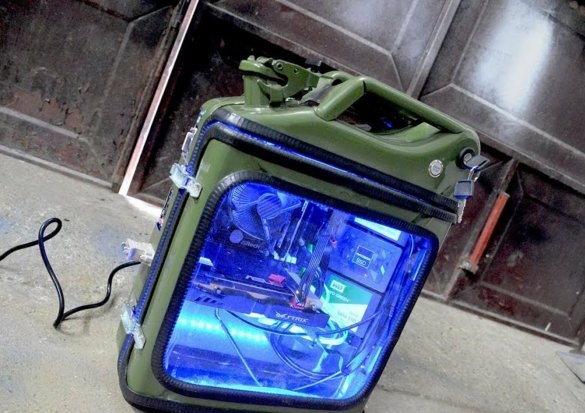
Hello, to all the inhabitants of our sites. After acquiring a new computer or new components, many of us often thought about buying a new PC case. Some buy a new case expensively or cheaply, others are content with their old case. But there are other craftsmen who make the case do it yourself. If there is even a little imagination, then in any subject you can see the case for the PC and if the hands grow from where you need and at least a little ingenuity is present, then the idea can be realized. I will show and tell you about, one such craftsman who made an unusual and interesting case from an iron canister for gasoline and it cost him almost nothing, well, almost nothing, considering that the main details were lying around at home. Main plus homemade, then the appearance and functionality of a thing is limited only by your imagination and materials of course. So you can modify this homemade product to your needs. Let's start, lay out the video below for a more detailed assimilation, the process of making homemade goods and so for the beginning, prepare the materials and tools:
1. Gas canister
2. Glass or plexiglass
3. Old building
4. Sealant for plastic windows, or something like this, a rubber strip, etc.
5. Glue and white tape
6. Rivets or metal screws
7. Riveter, drill, fool, etc.
Step 1. Door
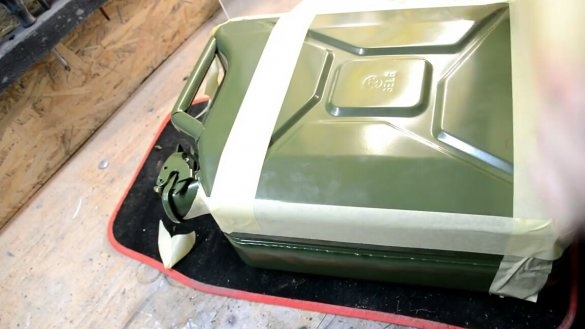
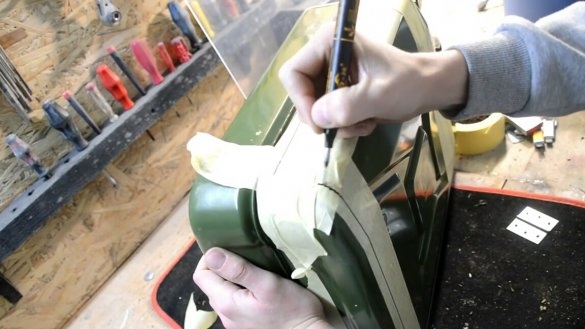
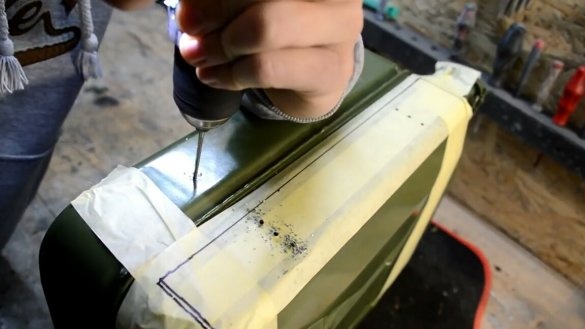
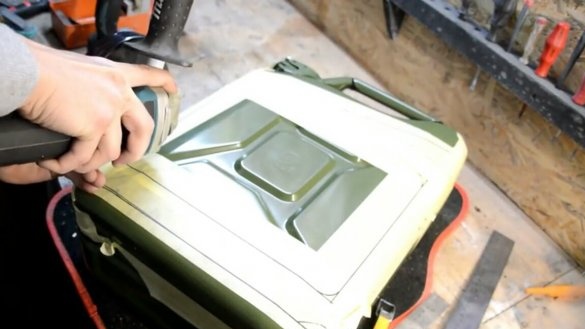
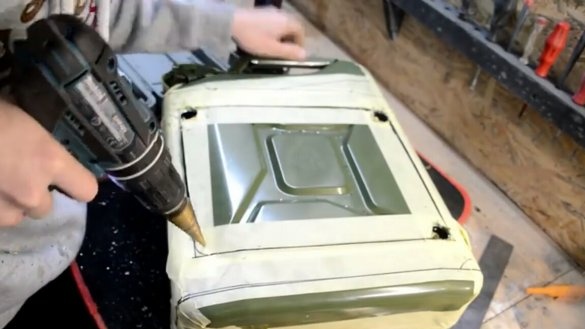
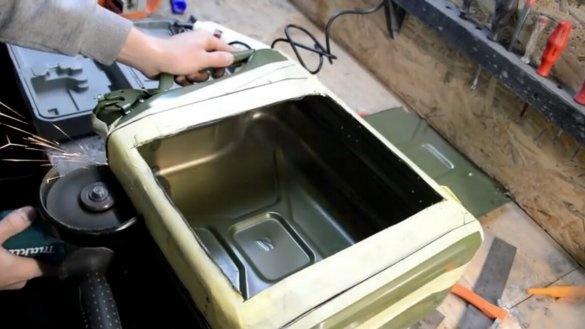
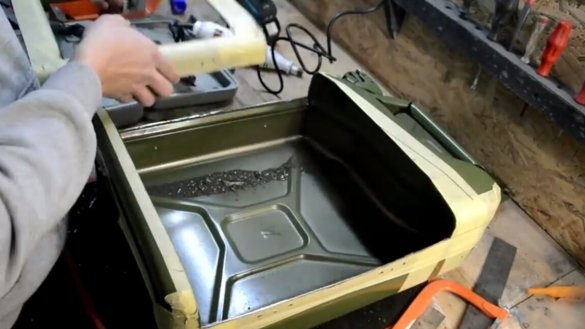
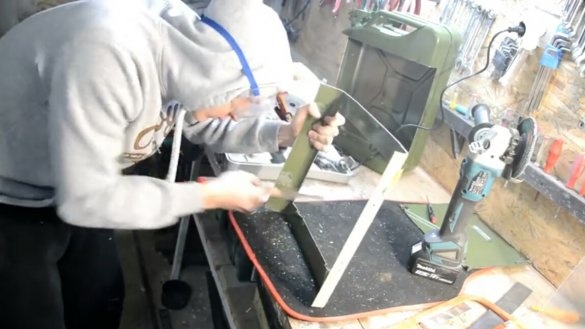
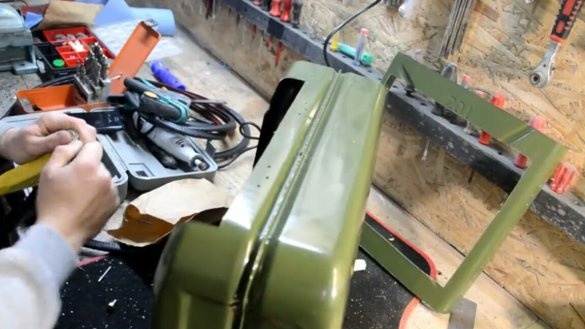
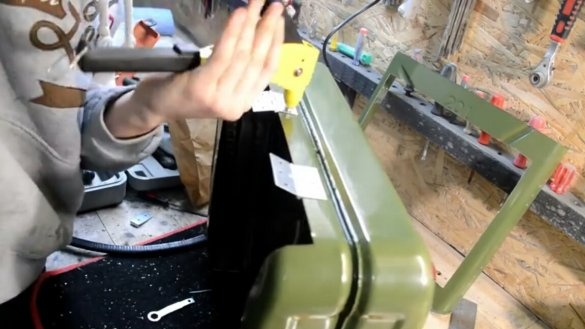
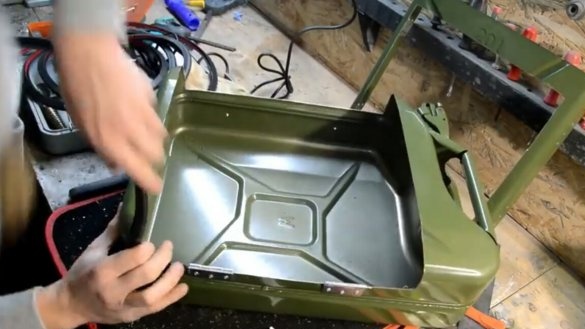
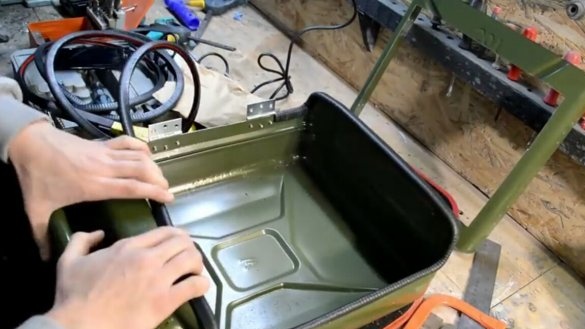
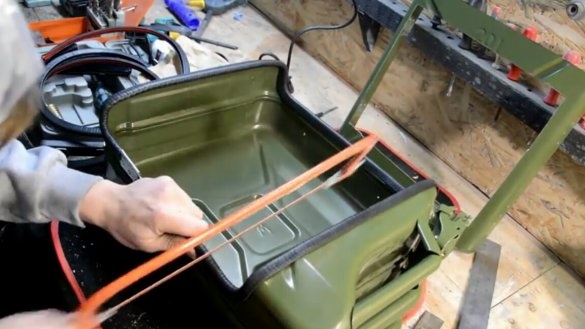
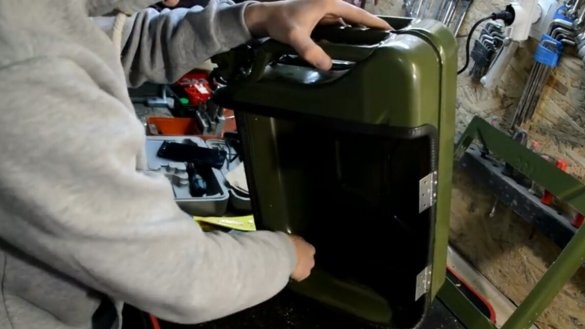
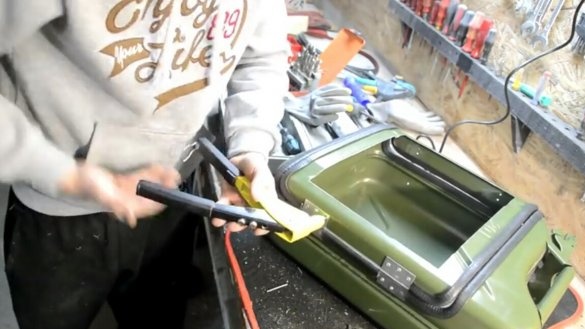
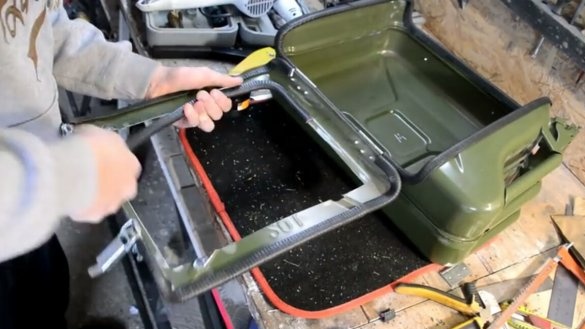
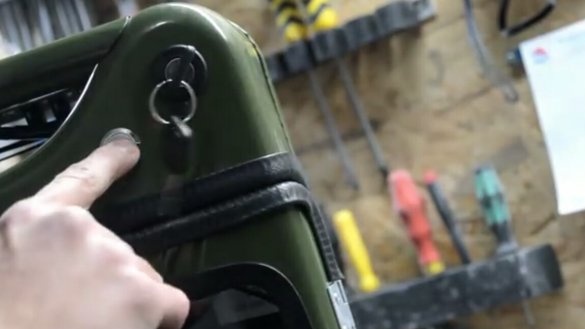
At this stage, the author pastes the canister with white tape to outline the future sketch of the case on it. According to the sketch, cut out by a fool, superfluous. The result is a body door. On the sides, as seen in the photo or video, holes are drilled, on these holes, loops are fastened with rivets or can be fixed with screws for metal. As a result, the outlines of the future corps were obtained.
Step 2. Final touches and assembly
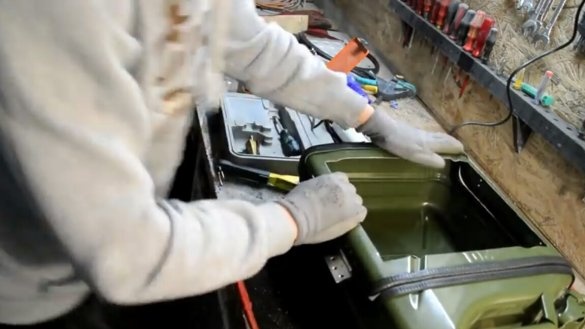
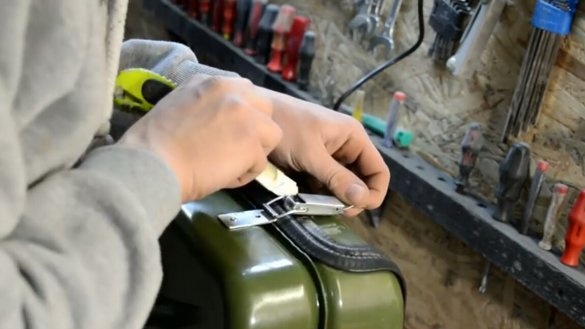
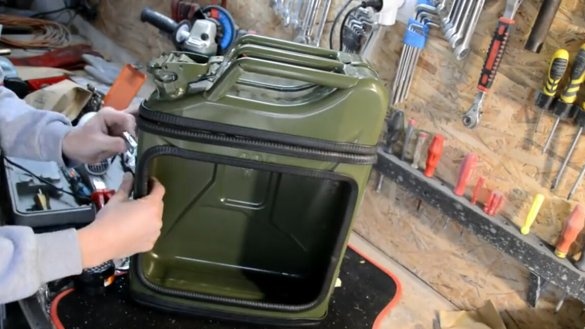
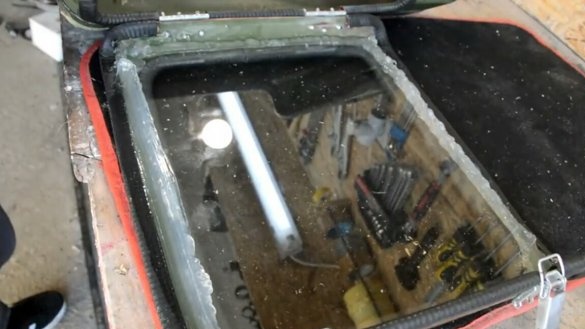
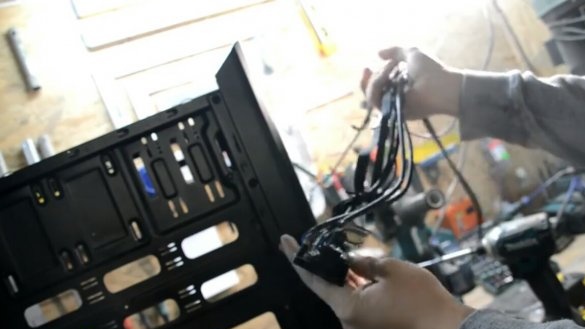
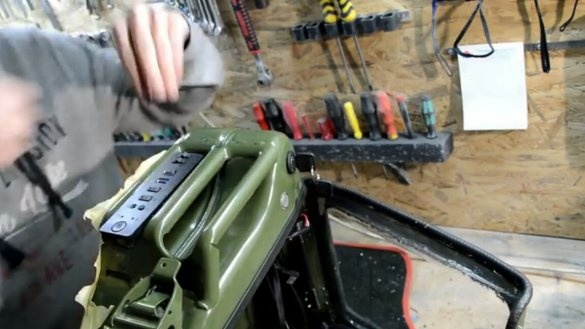
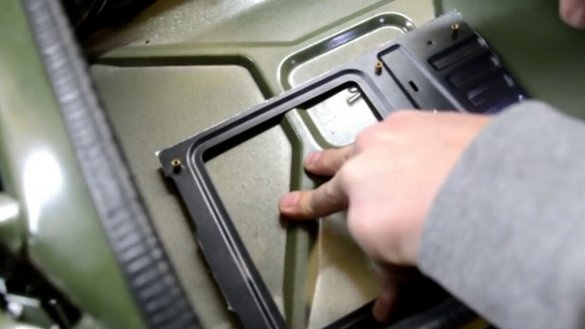
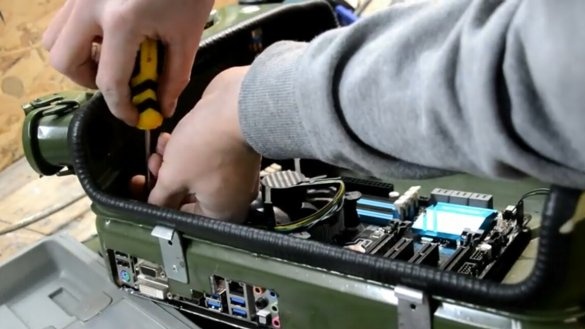
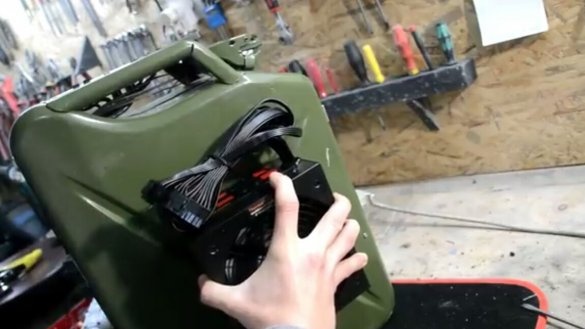
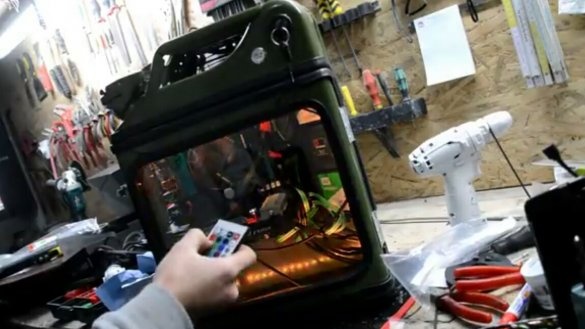
The next step is to grind all edges of the cut well. Then a sealant is put on the edges, that is, a rubber strip as seen in the photo or video. After the glass or plexiglass is fixed to the door, well, that is up to you. The glass is fragile if it breaks, that is, there is a risk of damage to the components of the PC or the risk that you will be injured.Plexiglass, on the contrary, does not break, but its minus is that it is less transparent than glass, because of this the appearance of the case spoils. Now all components are installed in the case. The parts of the component parts are removed from the old case. Then they are attached in a new case and then on them, the PC components are attached. Removed from the old case electronics to start the processor and is installed on a new case as seen in the photo. The power supply is attached with glue to the case and for a more aesthetic appearance, the LED strip is glued into the case.
Step 3. Test
That's all, as you can see in the video, the case looks more or less decent. But the most important thing is that he made it with his own hands, besides aesthetics, you will still feel pride in your creation. Well, the case is certainly not ideal in the first place, if there is no water cooling, then the components will be very hot. I would cut holes on the sides and put a cooler, for good cooling. In everything else, everything is more or less normal (I think so). If you still have ideas on modding, then tell her in the comments. Describe the problems that may arise. To help others, maybe someone will take on this project. ATP for watching, like, good luck to everyone.

