
Reflexometers (not to be confused with reflectometers) in the past were popularized among masters in a rather original way: claiming that such, only more complex instruments are used in training astronauts. And it really is! The reflexometer measures the speed of a person's reaction to an audio or light signal. If several types of signals are provided in it, you cannot make mistakes - you need to press the button corresponding to the signal that sounded or lights up.
To measure the reaction rate in milliseconds, a clock generator and binary decimal counters were used before, but now it has penetrated here Arduino. The author of Instructables under the nickname bertus52x11, who decided to revive and popularize this device, offers its modern reflexometer design.
Use it like that. Press the button, after which the device starts to emit various signals. The RGB LED can glow in different colors, the piezo emitter can make sounds. React by releasing the button, you need a red signal, not paying attention to the rest. Learning how to quickly cope with this task, you can come up with a new algorithm - the scope for imagination is huge!
The master draws up a diagram in Fritzing. A variable resistor to adjust the contrast in real life is replaced by a trimmer. An RGB LED with a common anode can be replaced with three separate ones, connecting them accordingly. All fixed resistors - at 220 Ohms:
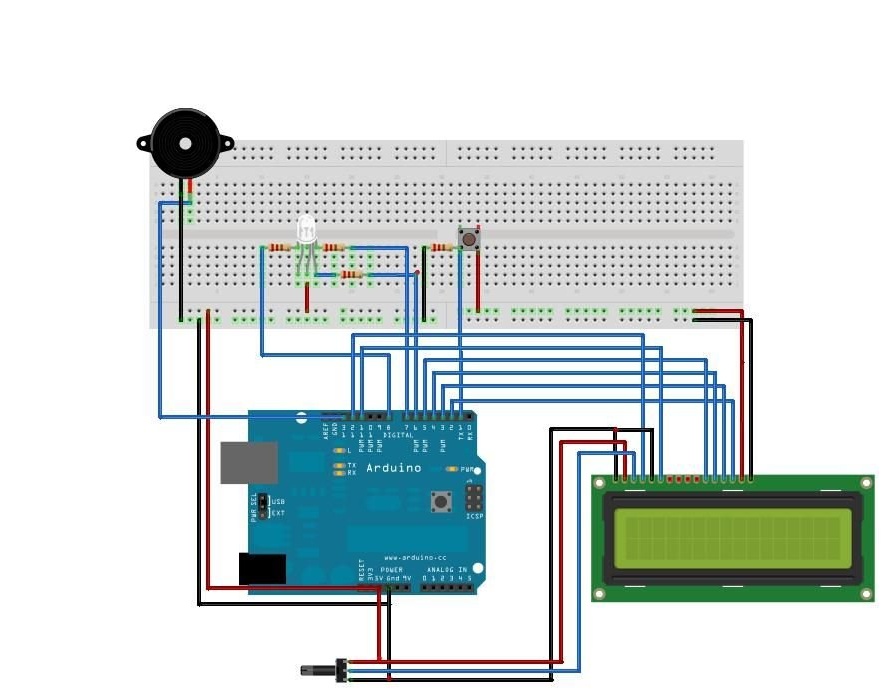
The use of such an LED makes the sketch somewhat inconvenient for reading: a logic zero corresponds to the switched-on crystal. If you use an RGB-LED with a common cathode or connect regular LEDs as well, the sketch will become more readable after appropriate alteration.
The prototype turned out to be very similar to its own scheme:
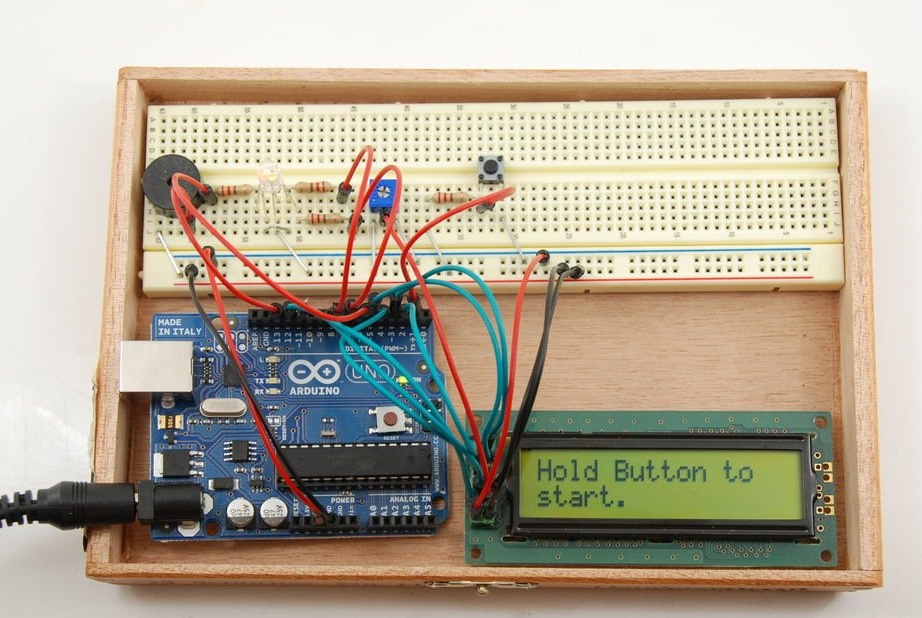
To make it come to life, you need to fill it with sketchby first renaming from TXT to INO.
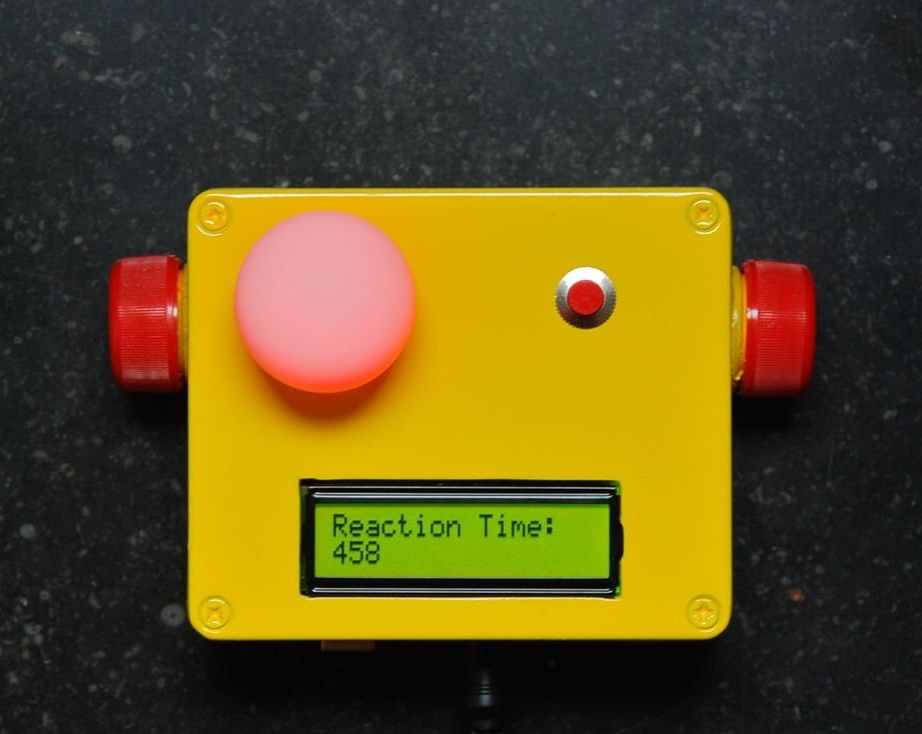
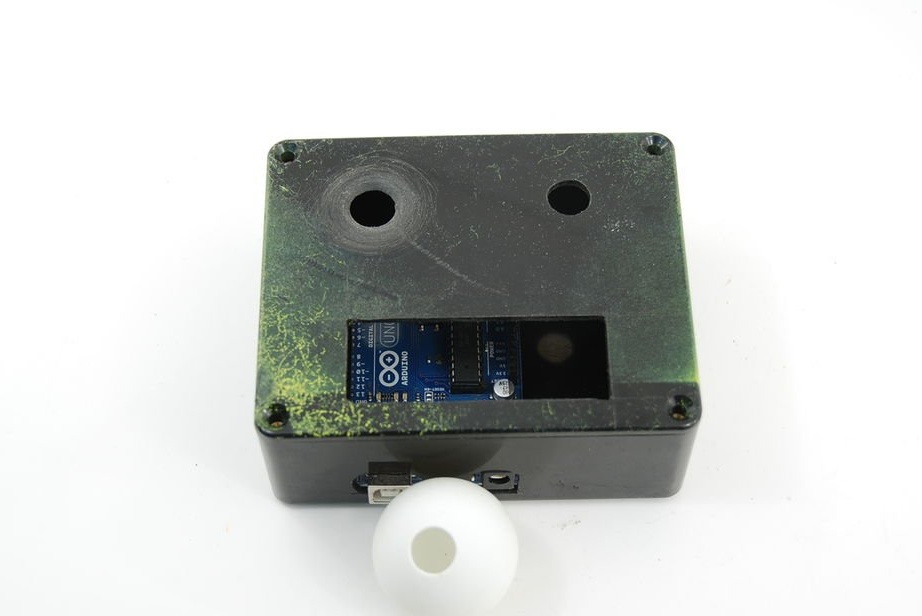
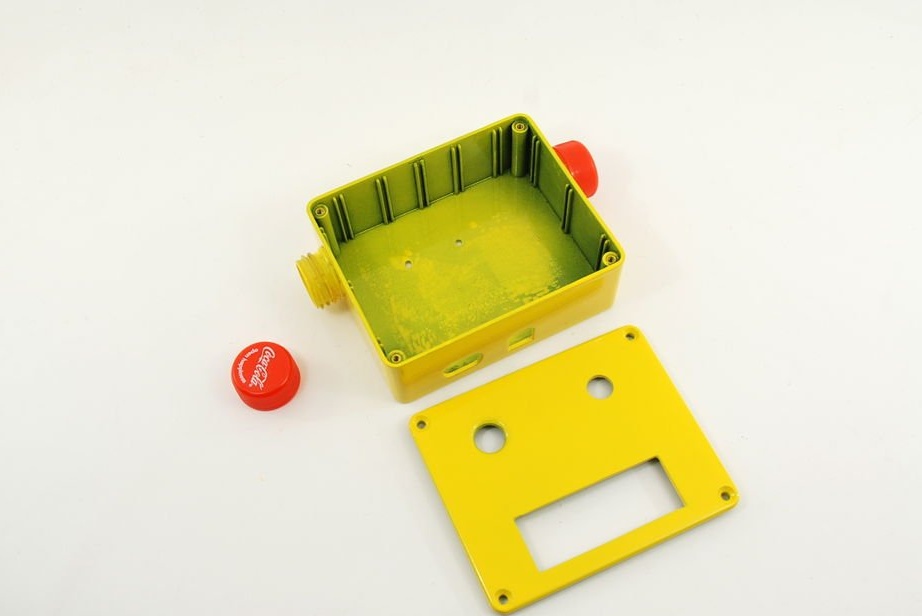
You can already use it, but remembering the rule about “not in principle, but in the case”, bertus52x11 takes such a box and drills holes in its cover:
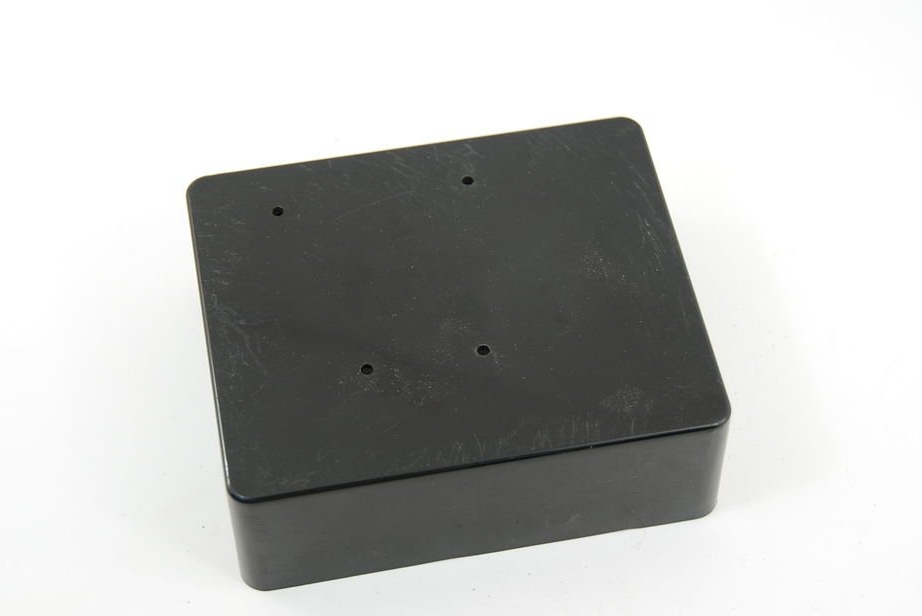
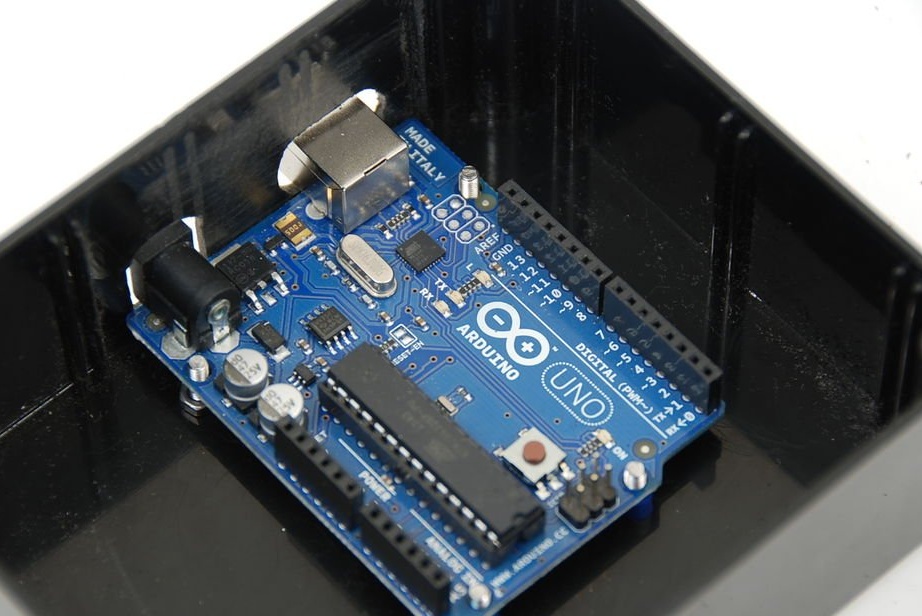
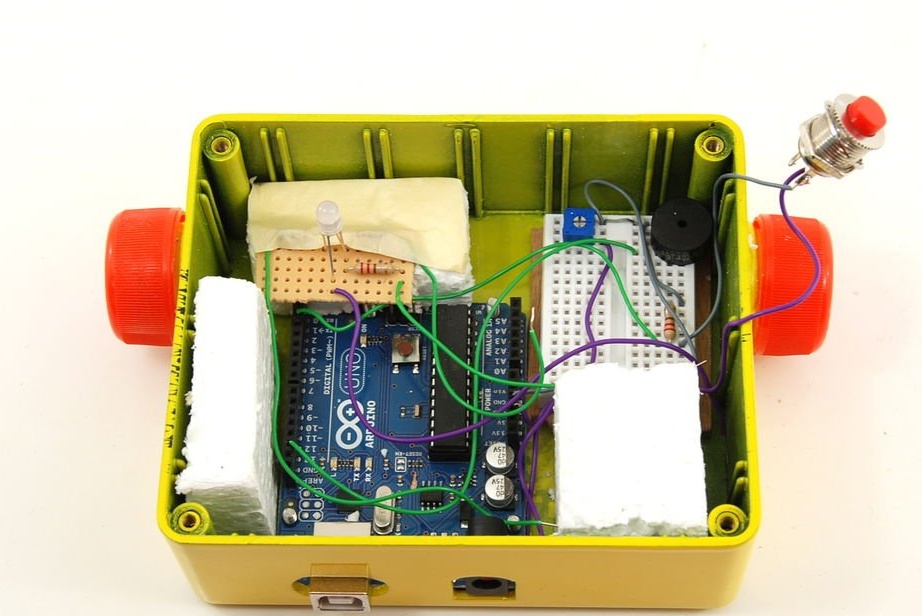
In the box itself, it makes holes for the Arduino connectors, it fastens the board at four points, lifting it above the bottom:
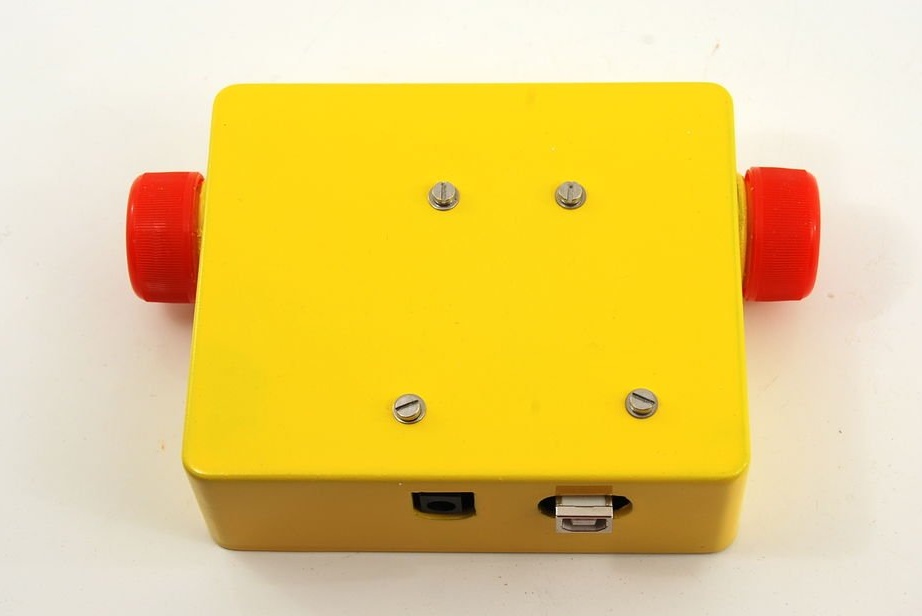
So it looks on the reverse side:
The hole in the lid expands, slightly modifies the ping-pong ball:
From bottle caps along with threaded parts sawn from bottles ...

... makes "robot ears" that sticks to the box on the sides:
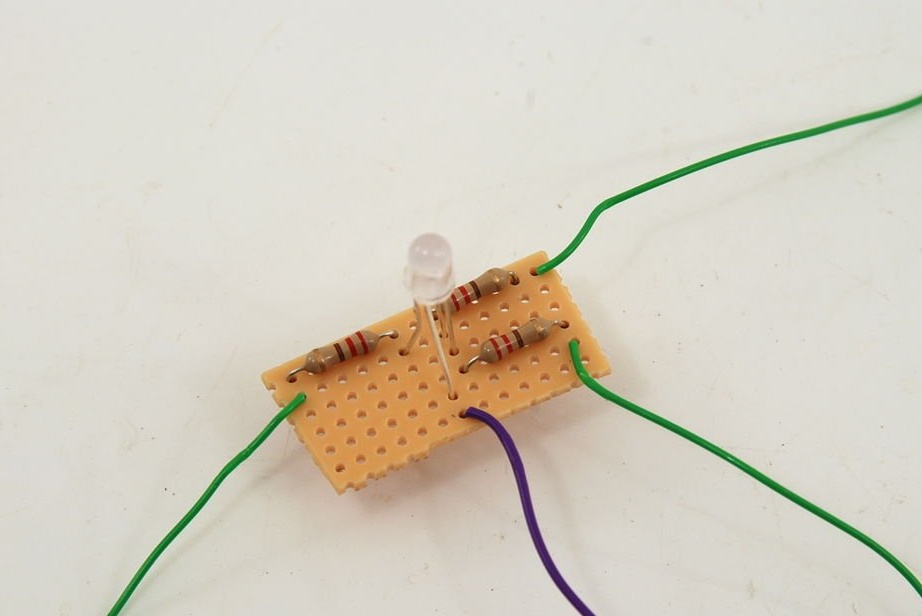
Makes a separate small board for RGB LEDs and resistors:
Gradually, all the components appear in the case, in some places pressed with polystyrene foam, and it turns out that breadboards can be cut:
The ping-pong ball, of course, becomes the pusher for the button:
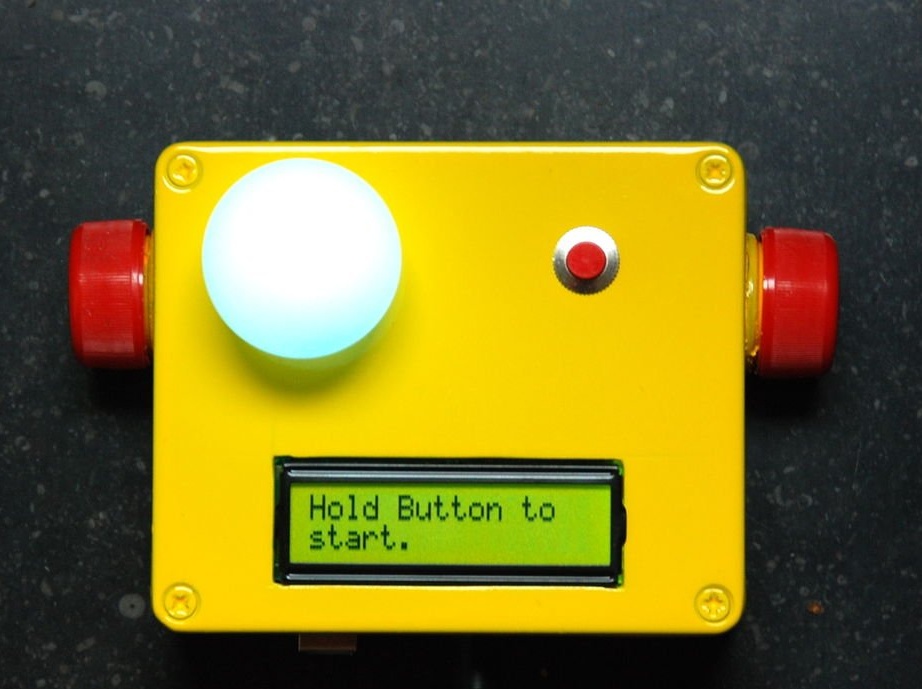
So the device for measuring and training the reaction is ready. Of course, using it does not guarantee that you will become an astronaut, but it will increase the chances of passing the selection quite a bit.