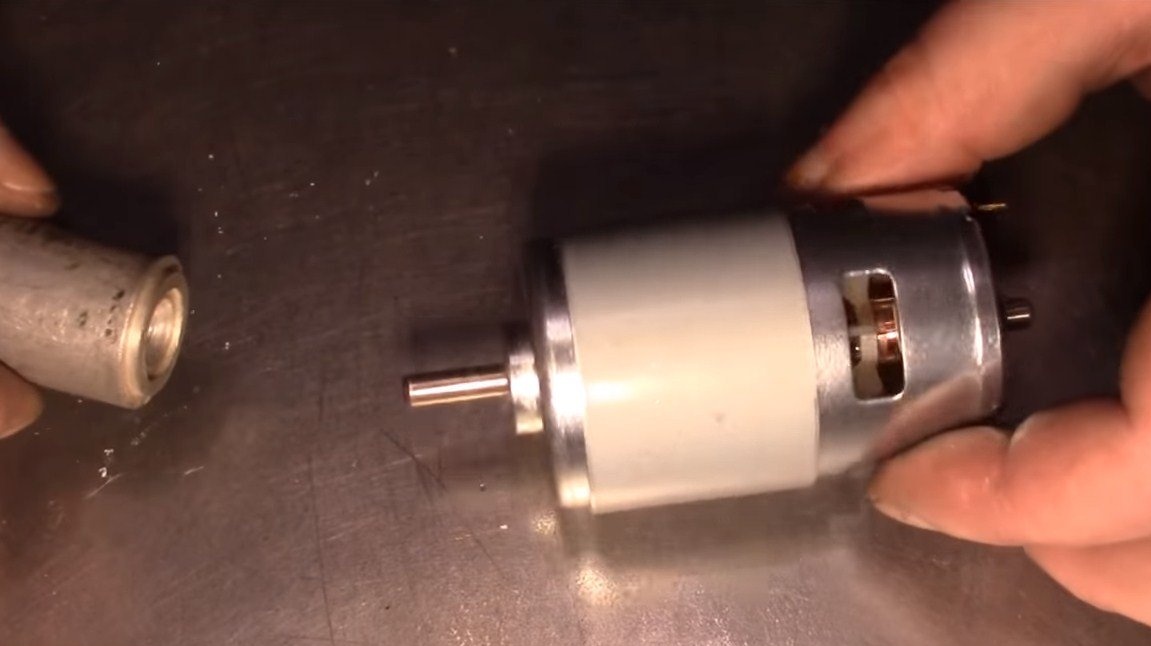
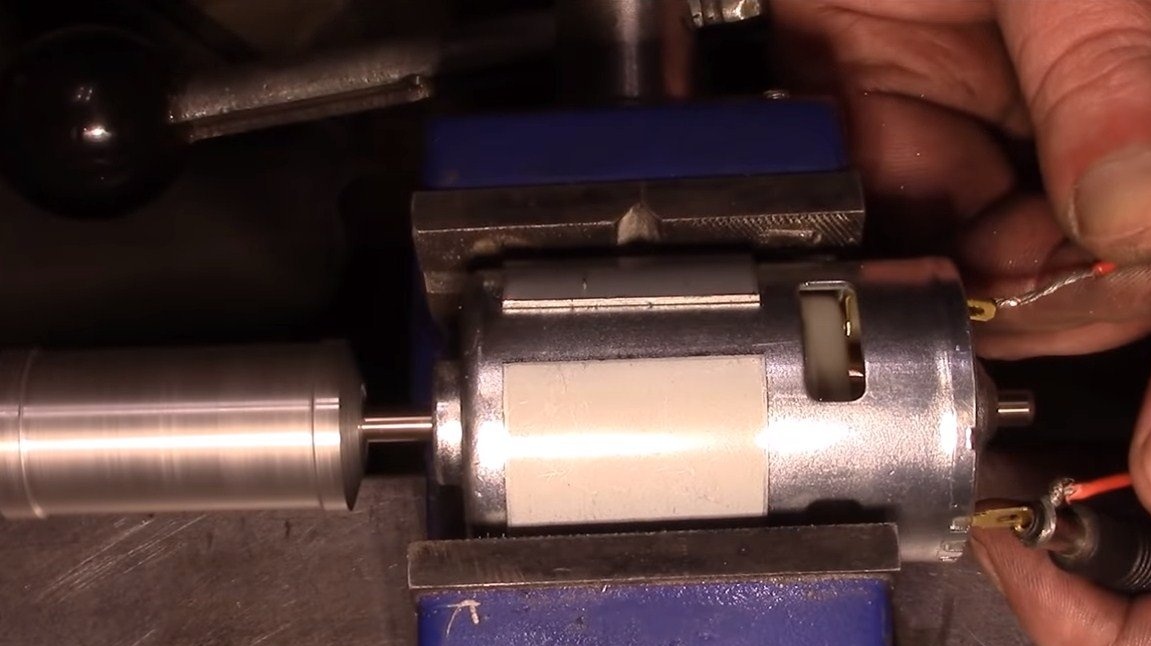
Hello to all lovers of craftsmen, in this instruction we will look at how to make a convenient miniature belt sander do it yourself. Its convenience lies in the fact that it works quietly, and it can even be powered by a battery. Such a machine can be easily operated in home setting. It is used as the main power unit, which has long gained confidence in the manufacture of various home machines. These engines are quite powerful for their size, they are powered by a voltage of 12-24V, and thanks to the built-in propeller, such a motor is quite difficult to overheat. Especially hardy models those in which ball bearings are installed are considered.
Fabricated homemade can be installed in two positions - vertically and horizontally. Here is a very convenient handyman that can be installed at a clearly defined angle. Of course, all this engineering miracle is made thanks to the presence of a lathe, and the milling machine also helps a lot in the work. But homemade work is worth the effort, everything is done soundly, reliably, the motor can be easily replaced if it suddenly wears out, and there’s nothing more to break here. If the project interests you, I propose to familiarize yourself with it in more detail.
Materials and tools used by the author:
Material List:
- profile aluminum pipe;
- aluminum corner;
- a piece of tube made of aluminum or steel (for driven roller);
- A round from aluminum (the leading roller is turned);
- ;
- two bearings for the driven roller;
- bolts, screws and nuts;
- ;
- school protractor;
-aluminum beam;
- textolite (for the manufacture of anthers);
- sheet steel (for the sole);
- sandpaper;
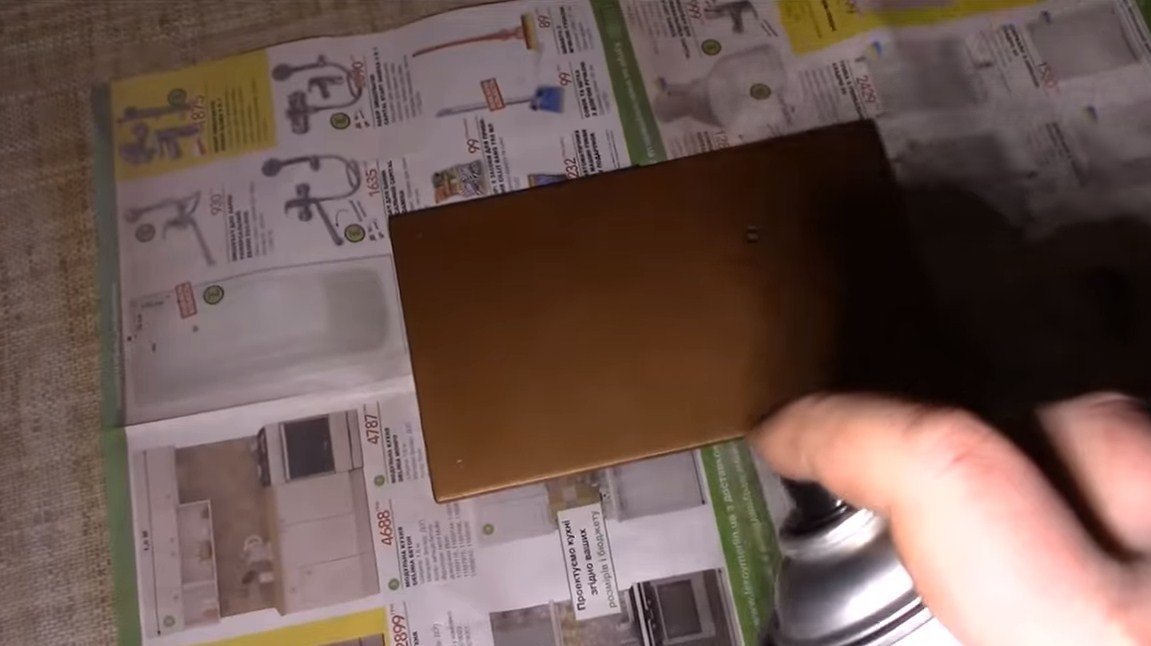
-paint;
- switch from a screwdriver;
- sandpaper;
- wires.
Tool List:
- lathe;
- milling machine;
- files;
- drill;
- soldering iron;
- flux for brazing aluminum;
- a hacksaw for metal;
- vise;
- drill;
- belt sander;
- wrenches, screwdrivers, pliers, etc.
Machine manufacturing process:
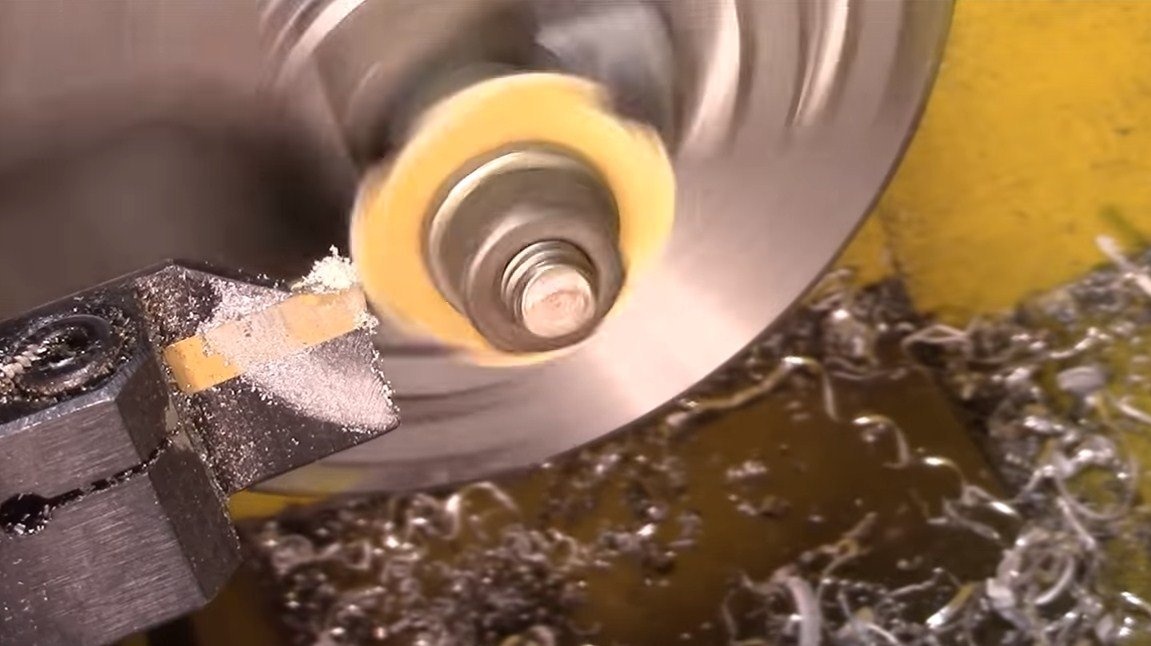
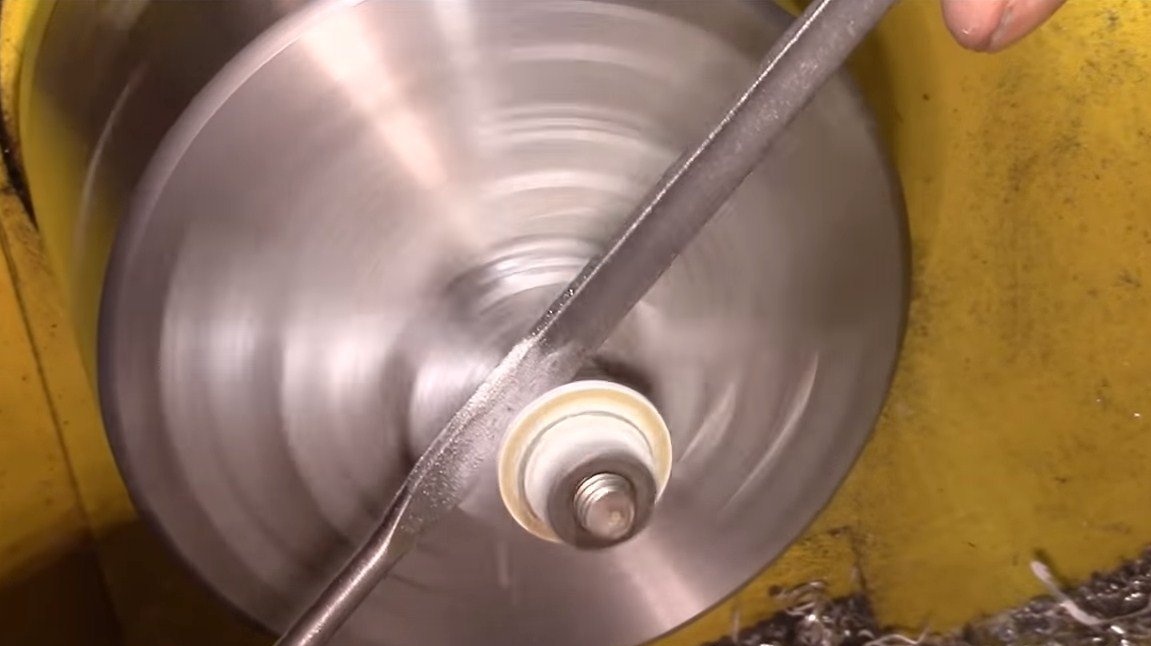
Step one. Driven roller
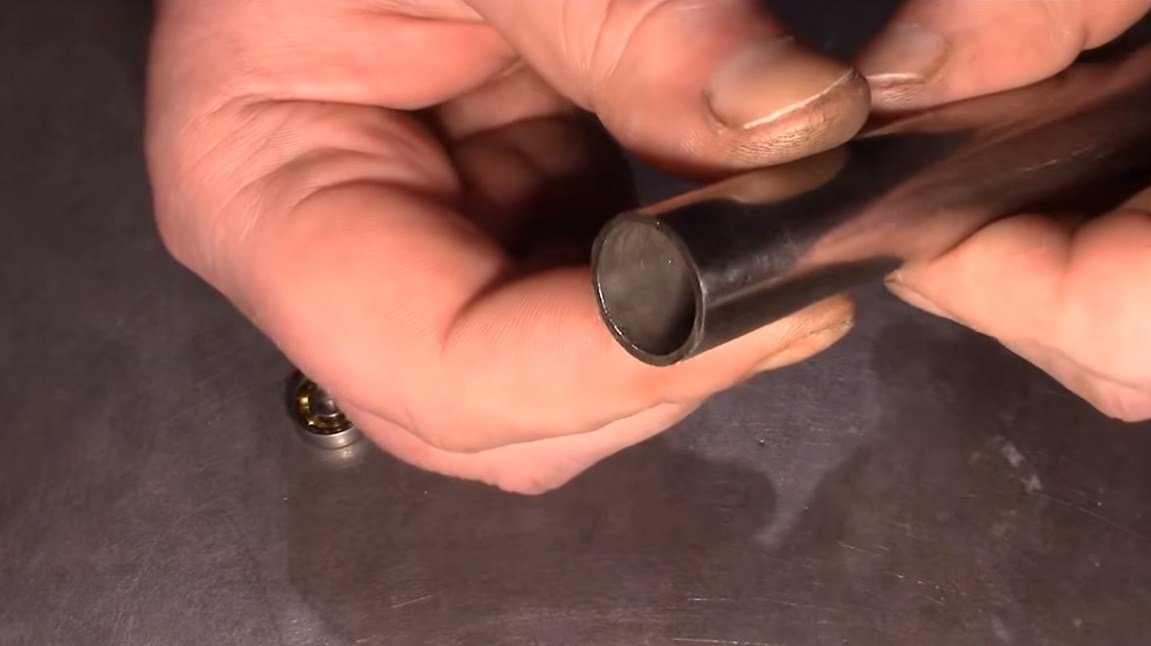
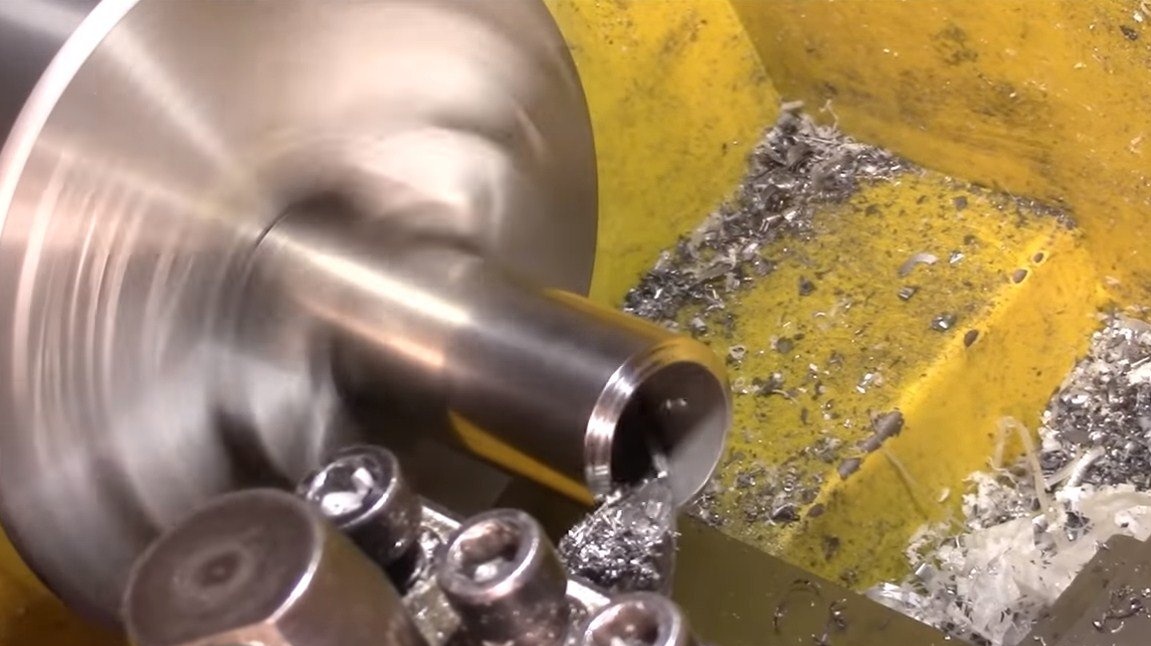
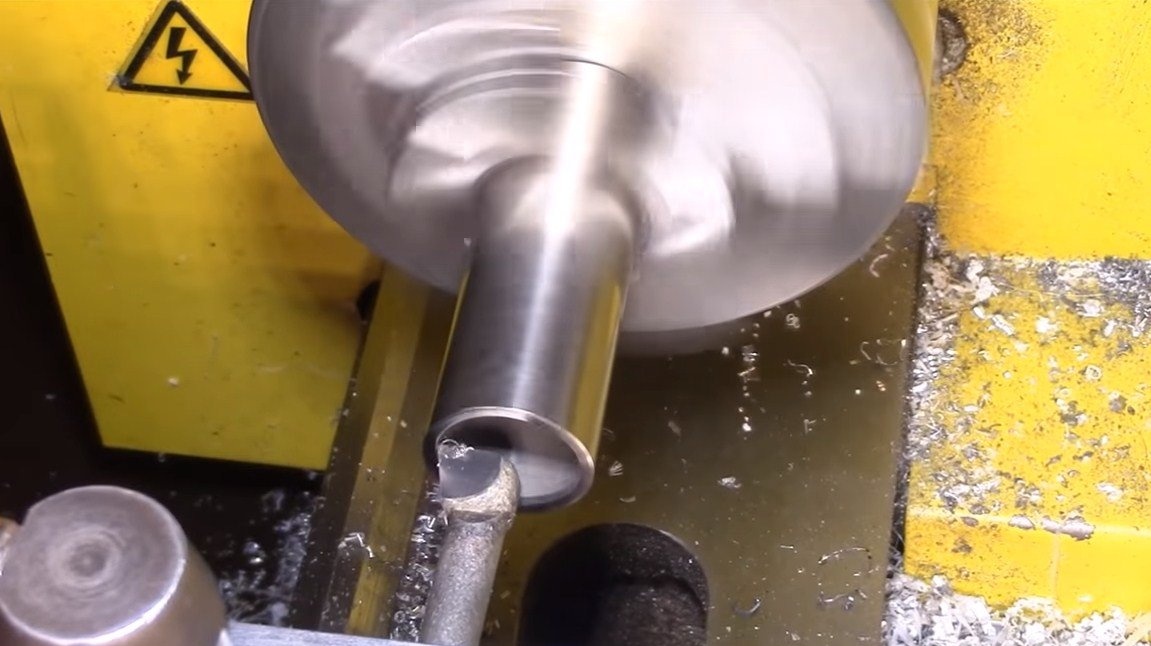
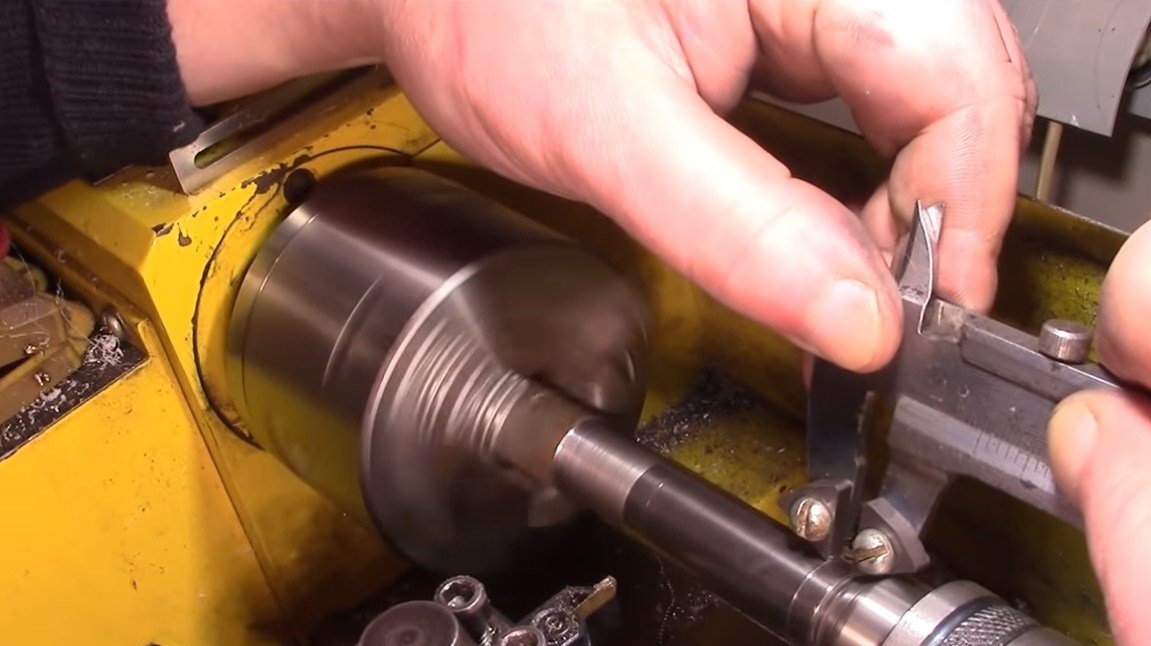
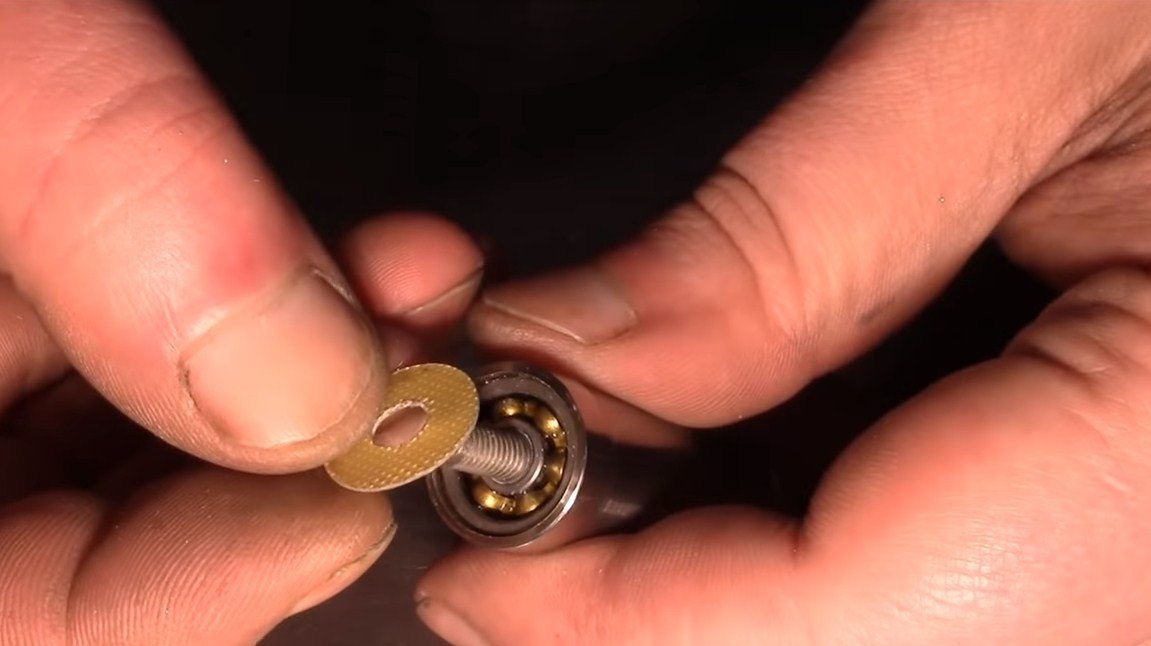
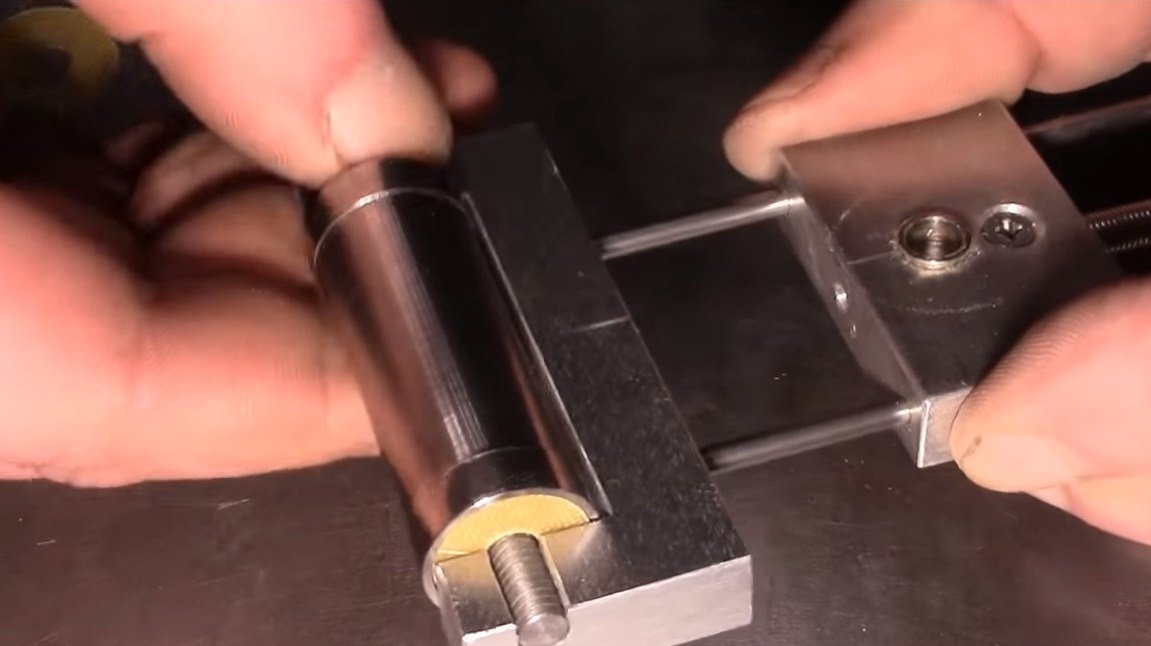
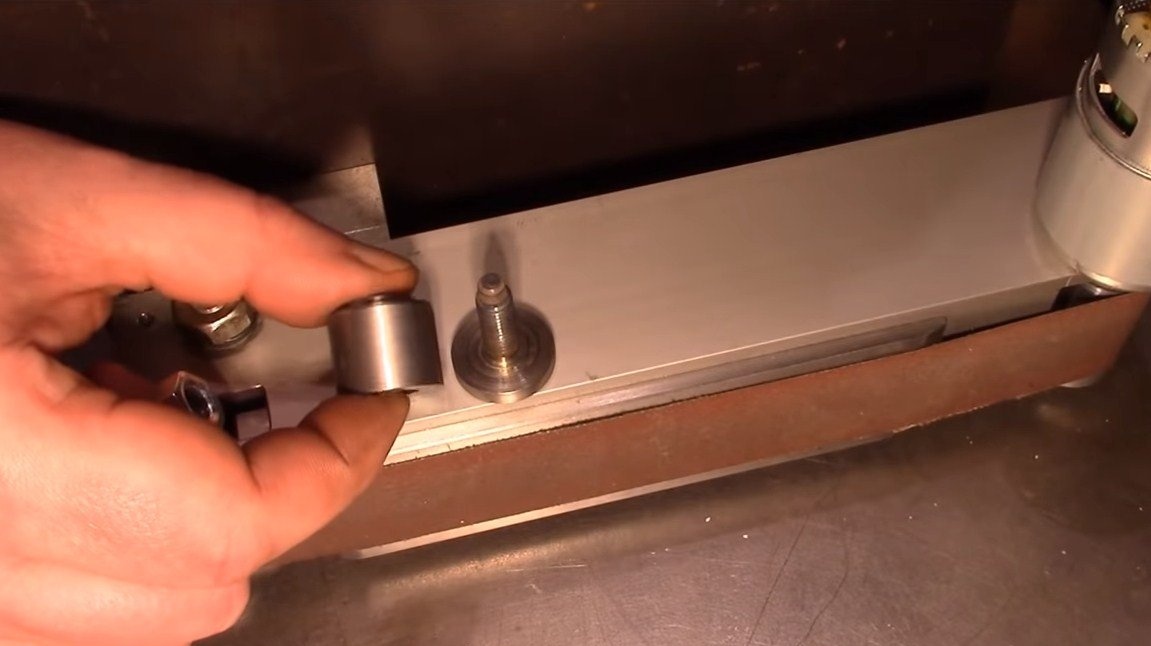
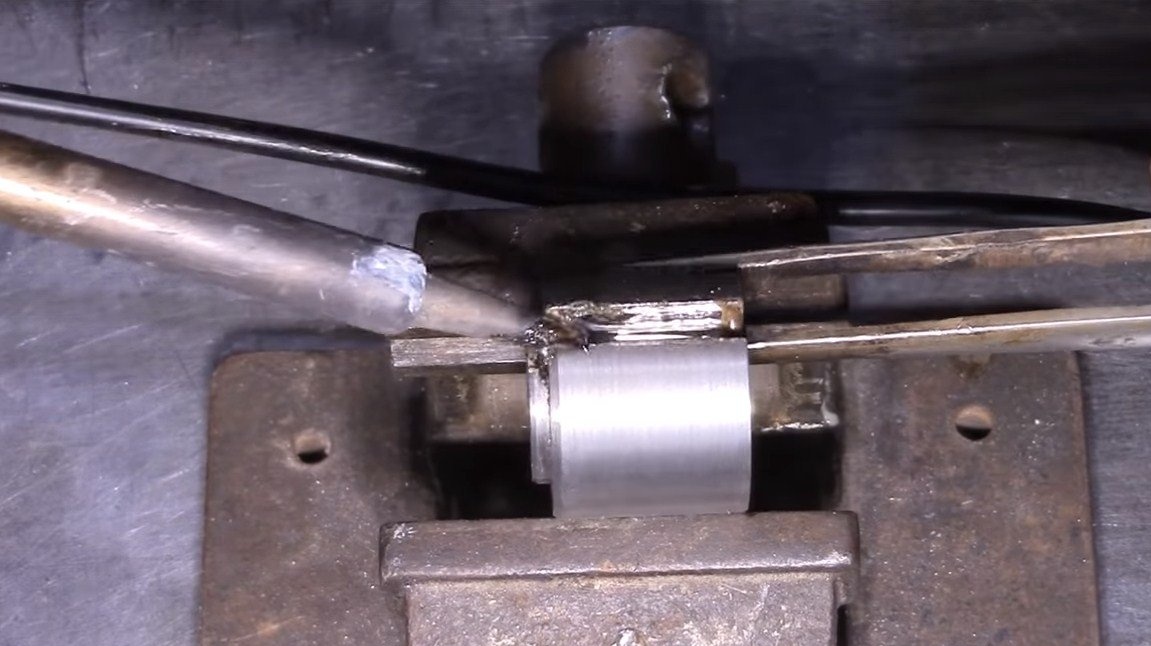
Let's start with the driven roller, it is made quite simply. Here we need a piece of steel pipe, from its ends the author makes seats for bearings using a lathe. Well, then we press the bearings into the tube and the roller is ready.For the driven roller, do not forget to make anthers so that dust does not get into the bearings, the author made them from PCB.

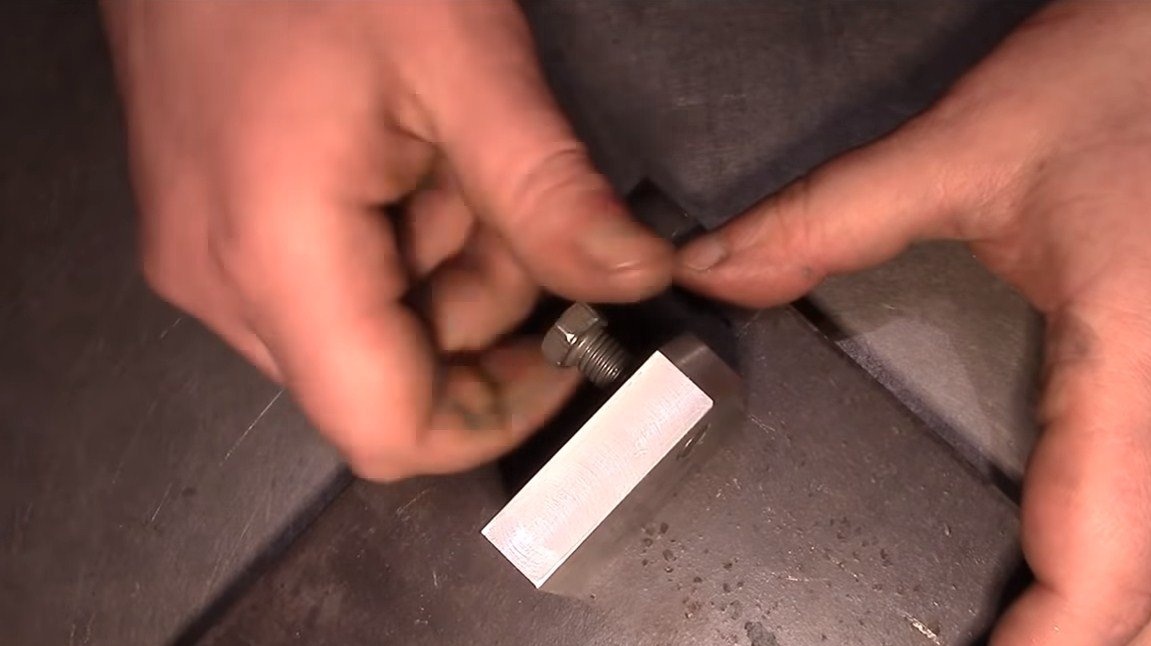
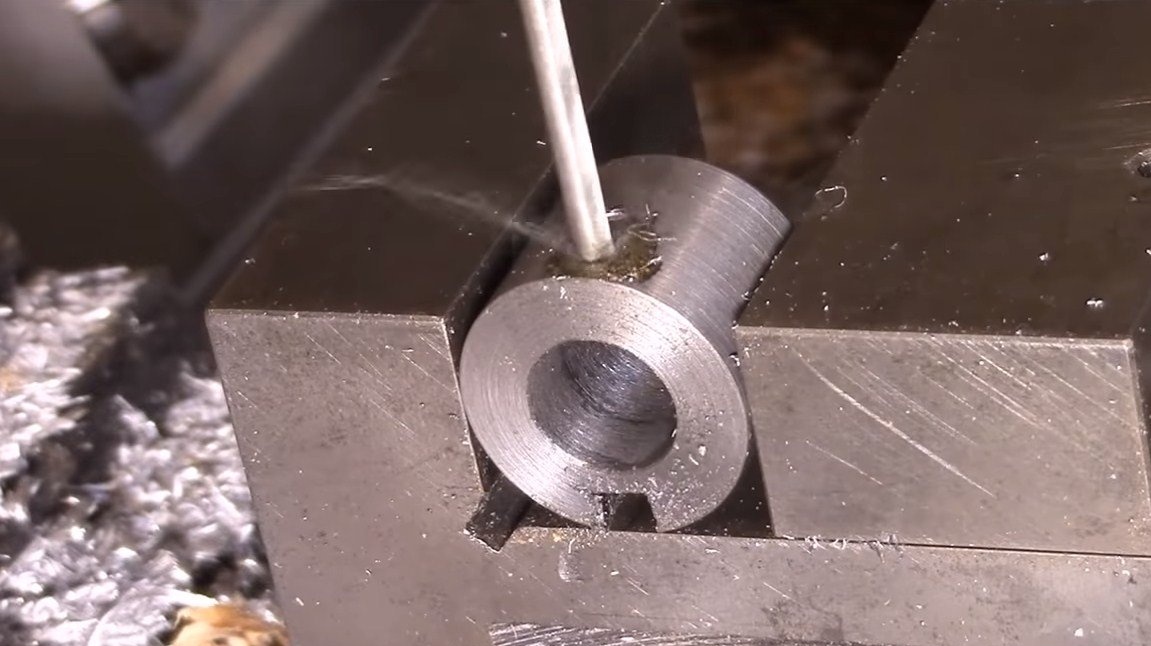
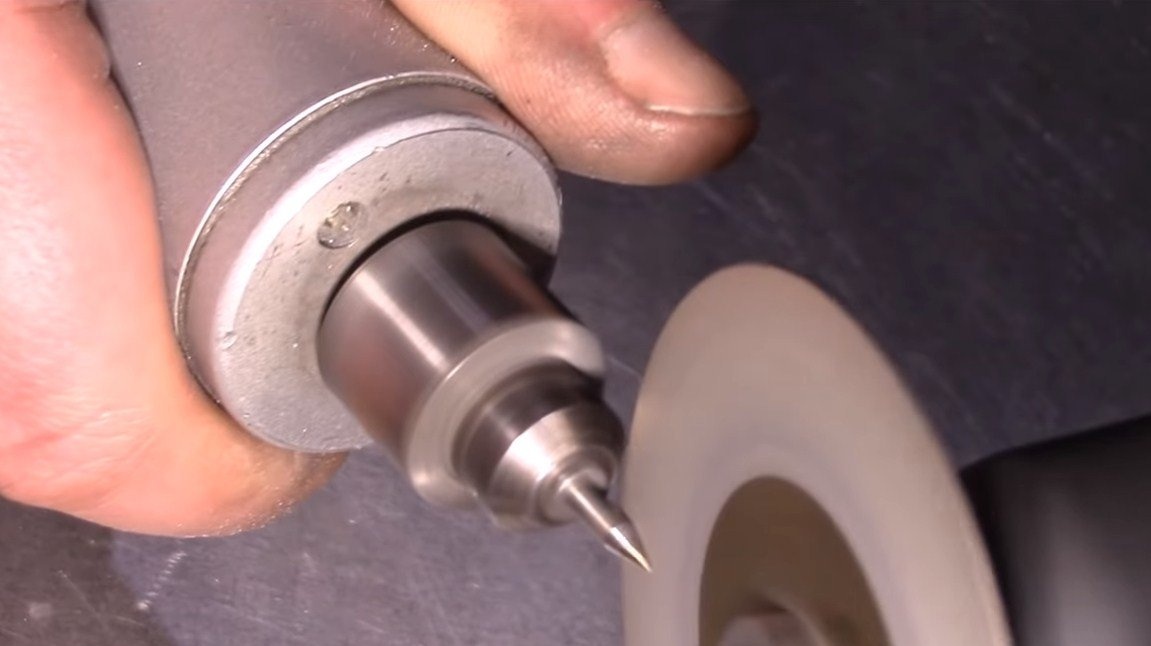
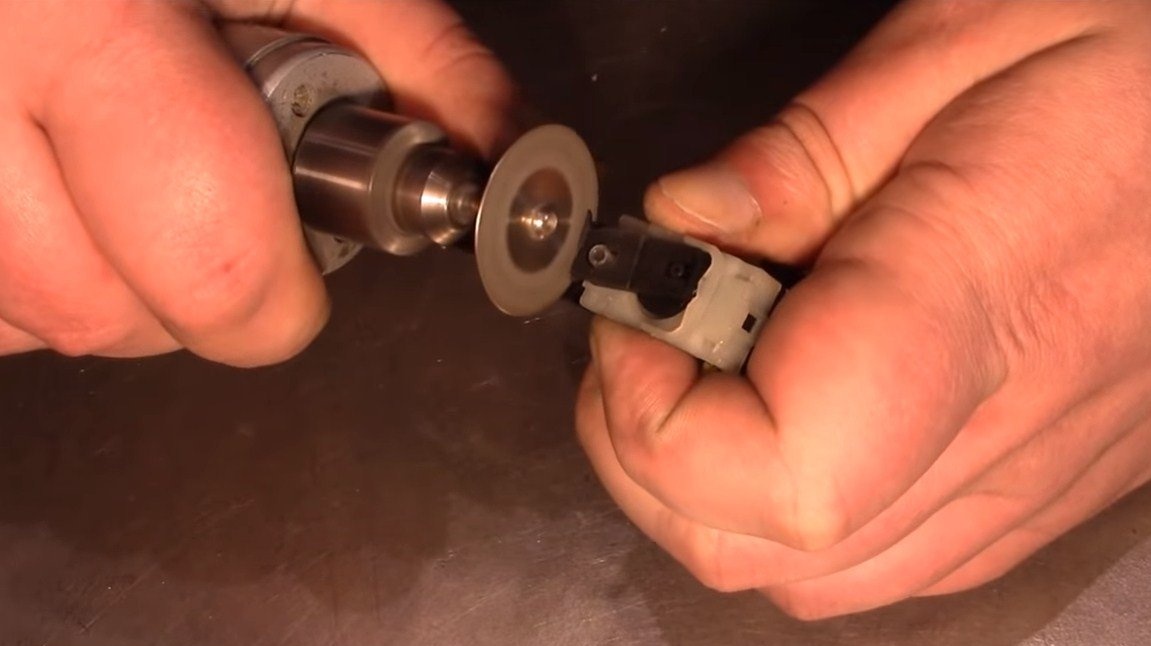
Step Two Lead roller
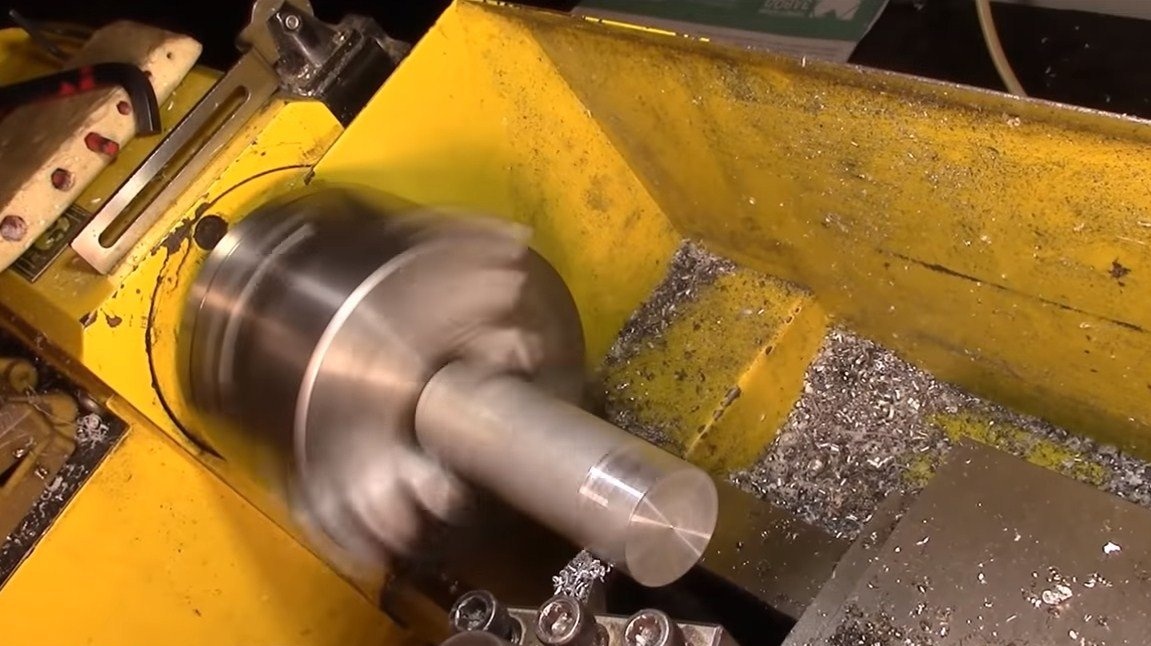
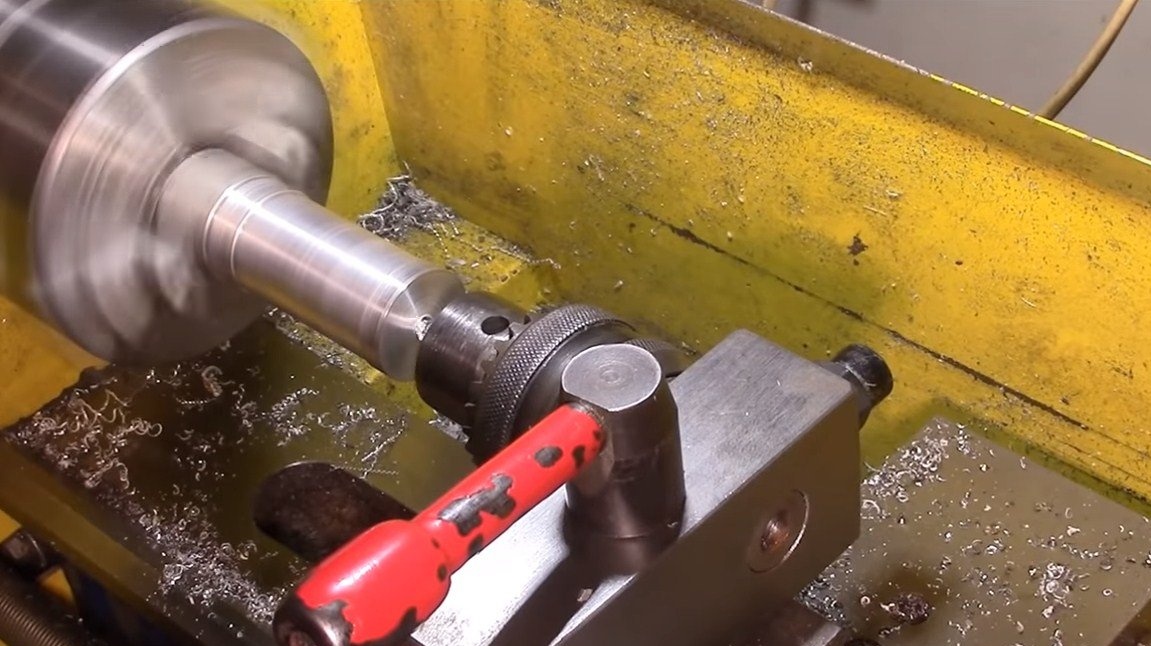
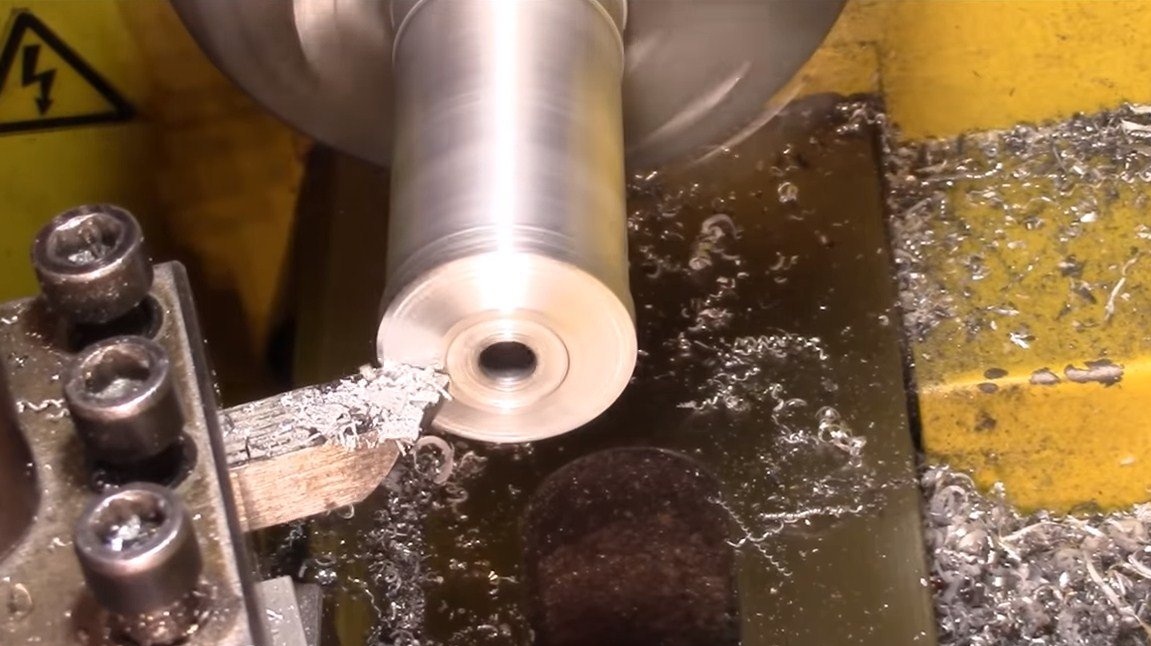
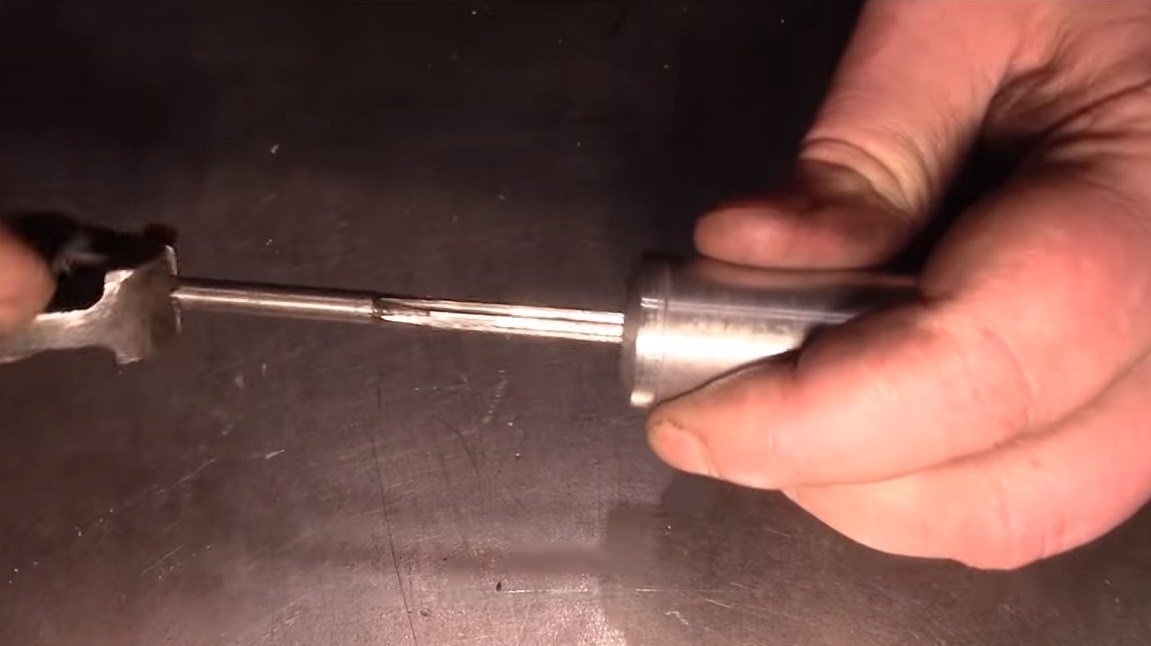
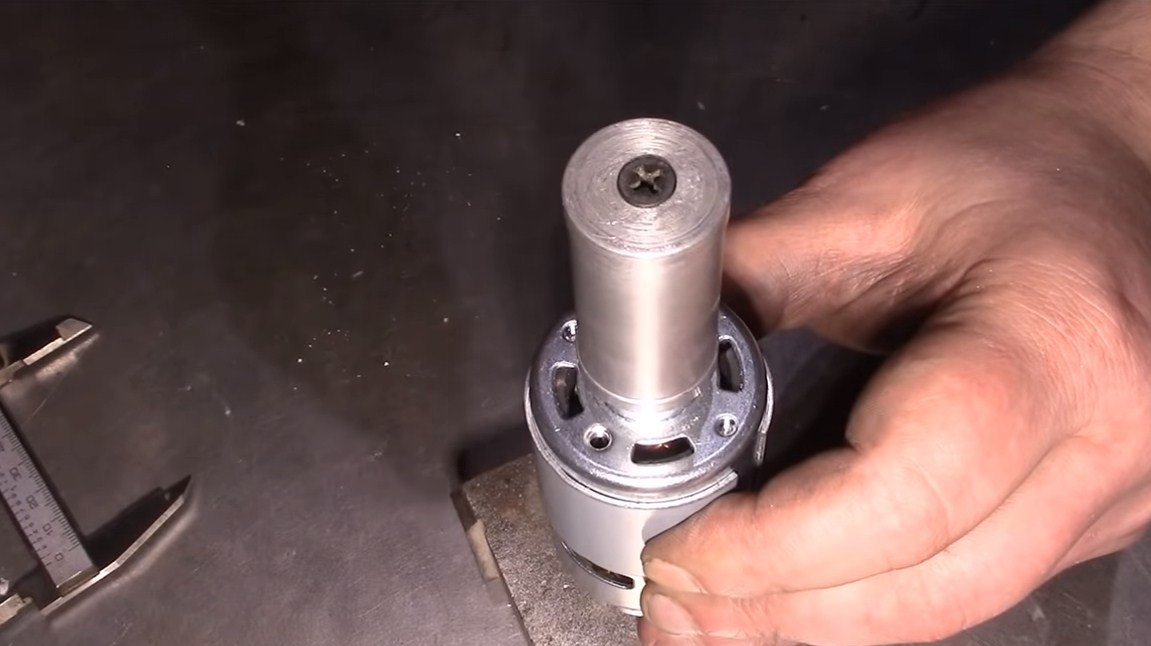
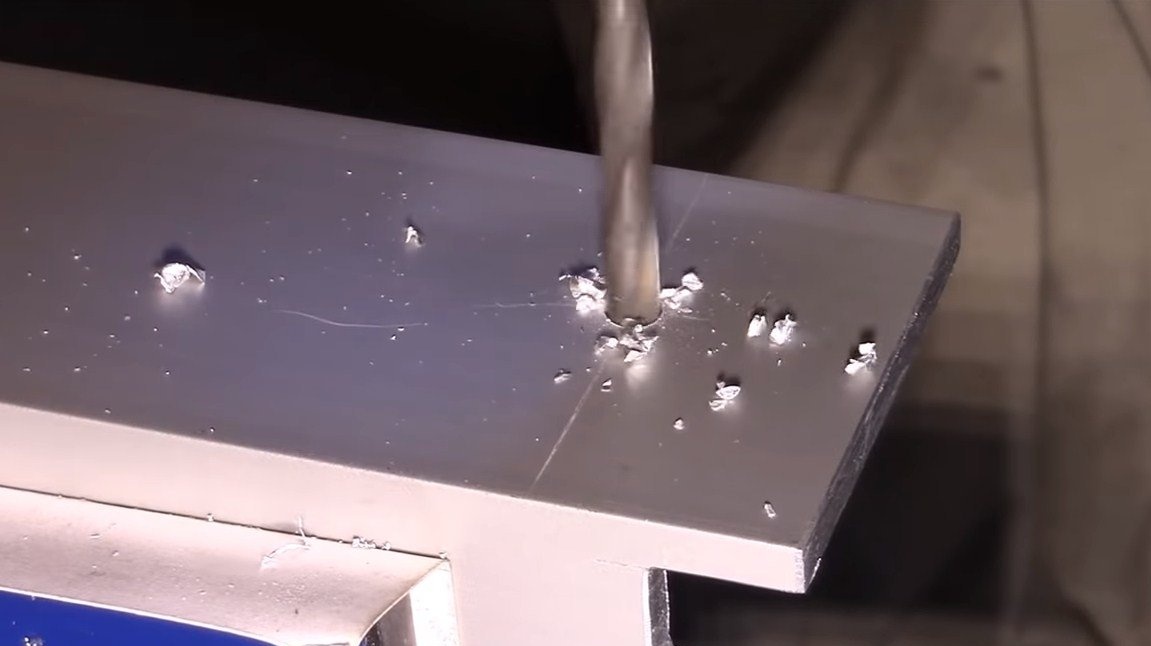
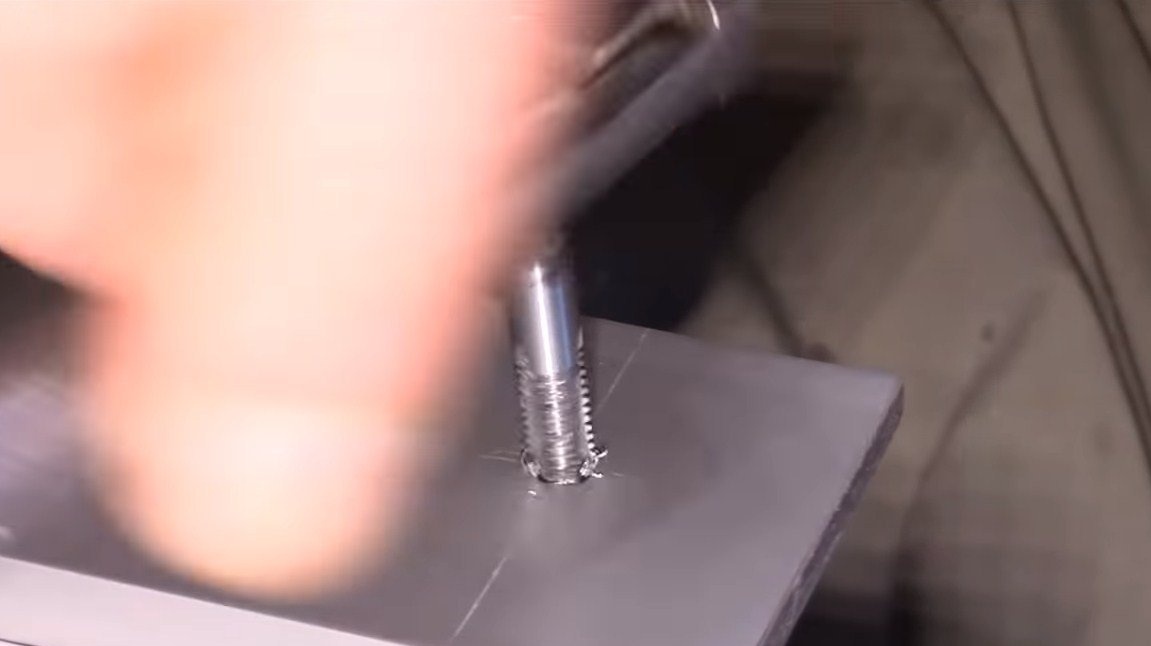
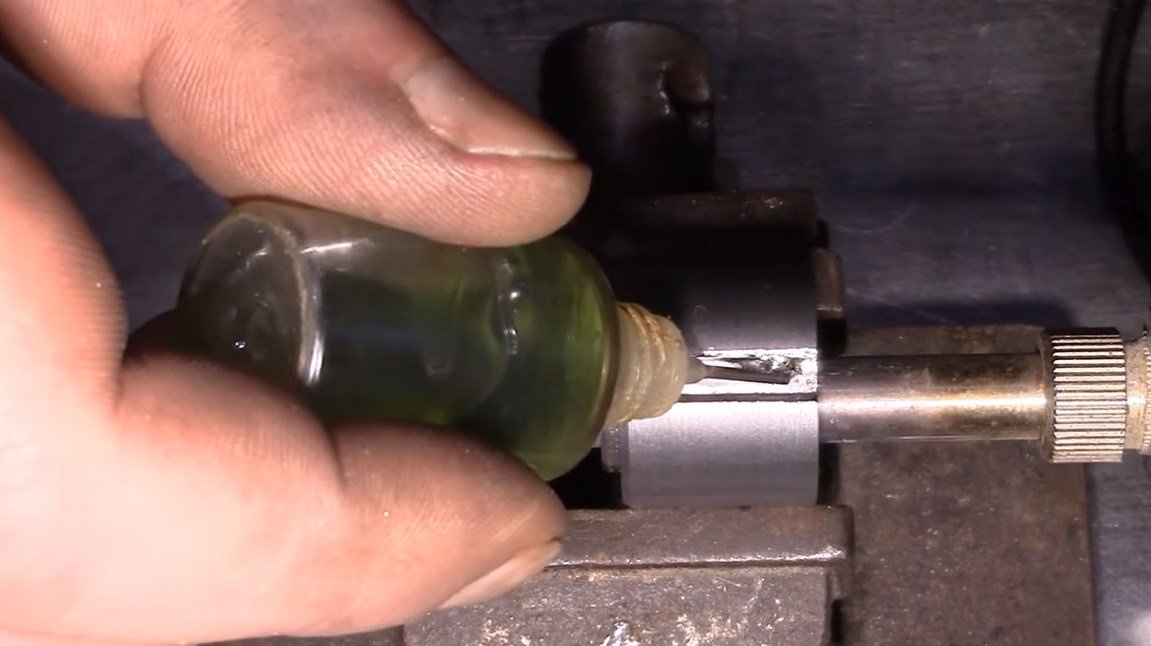
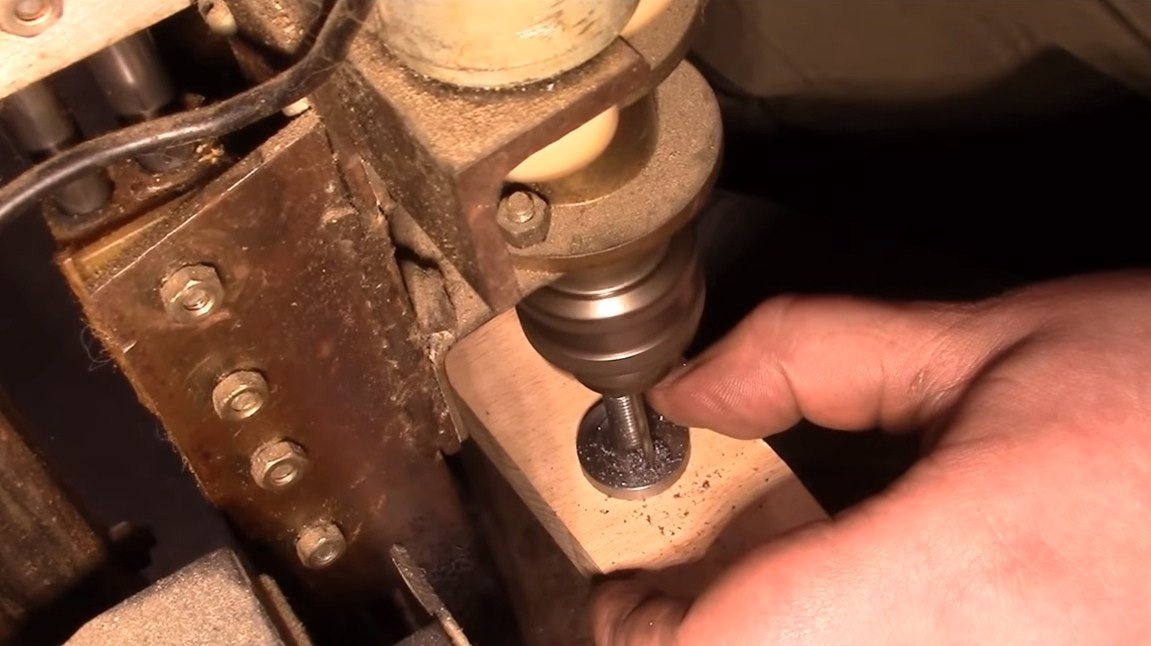
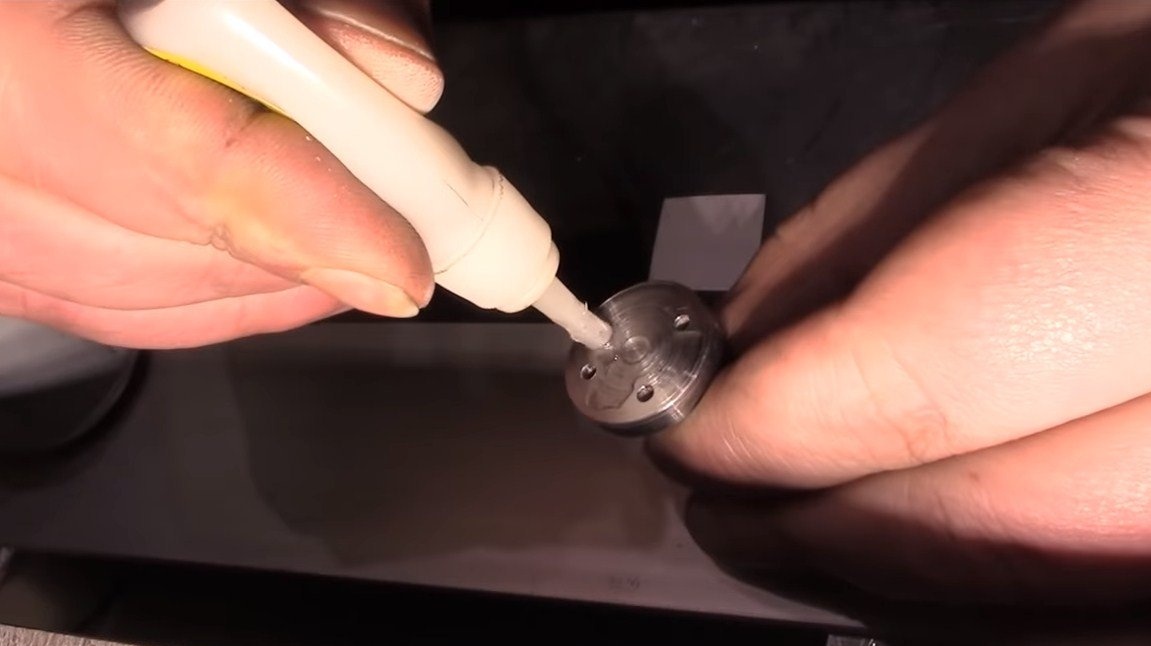
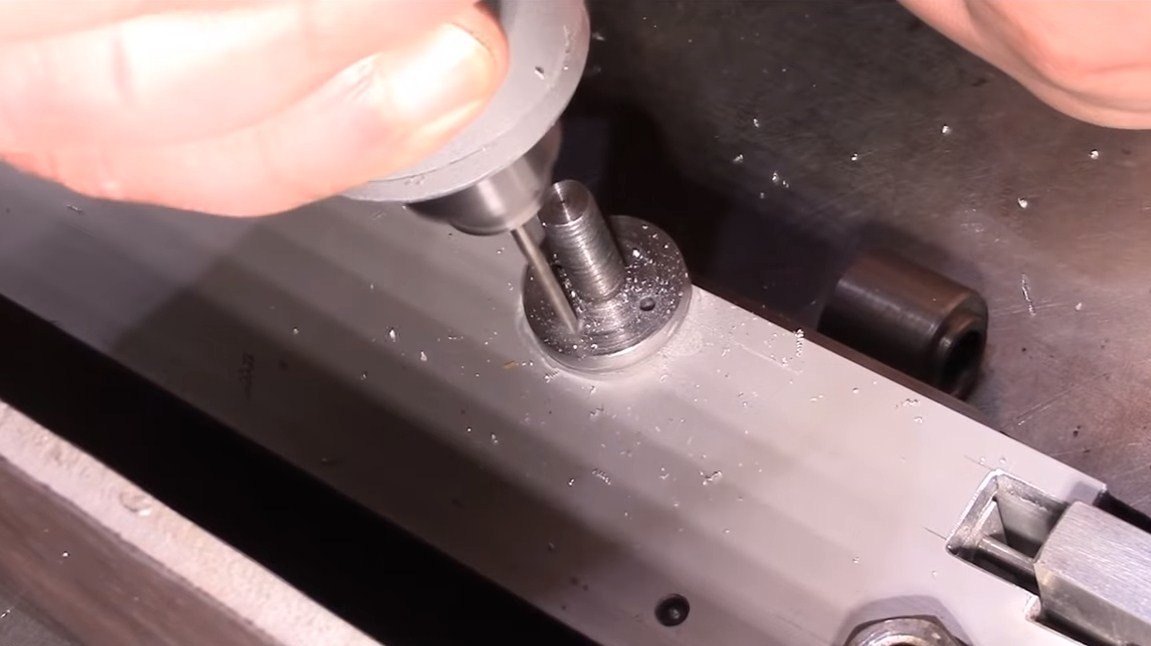
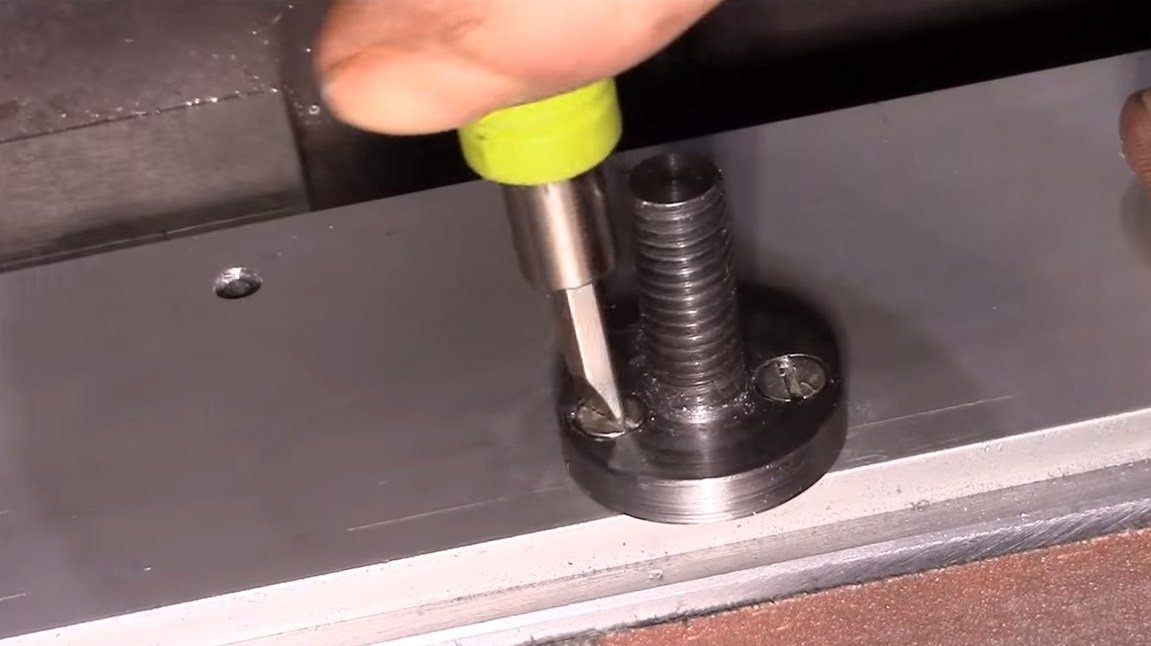
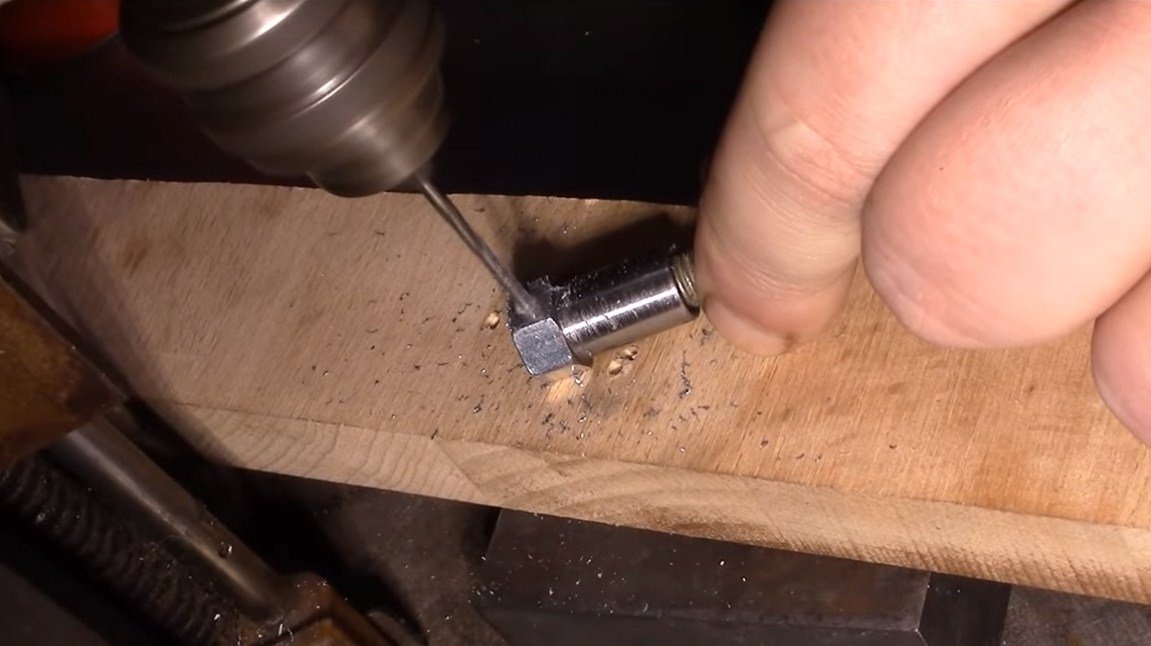
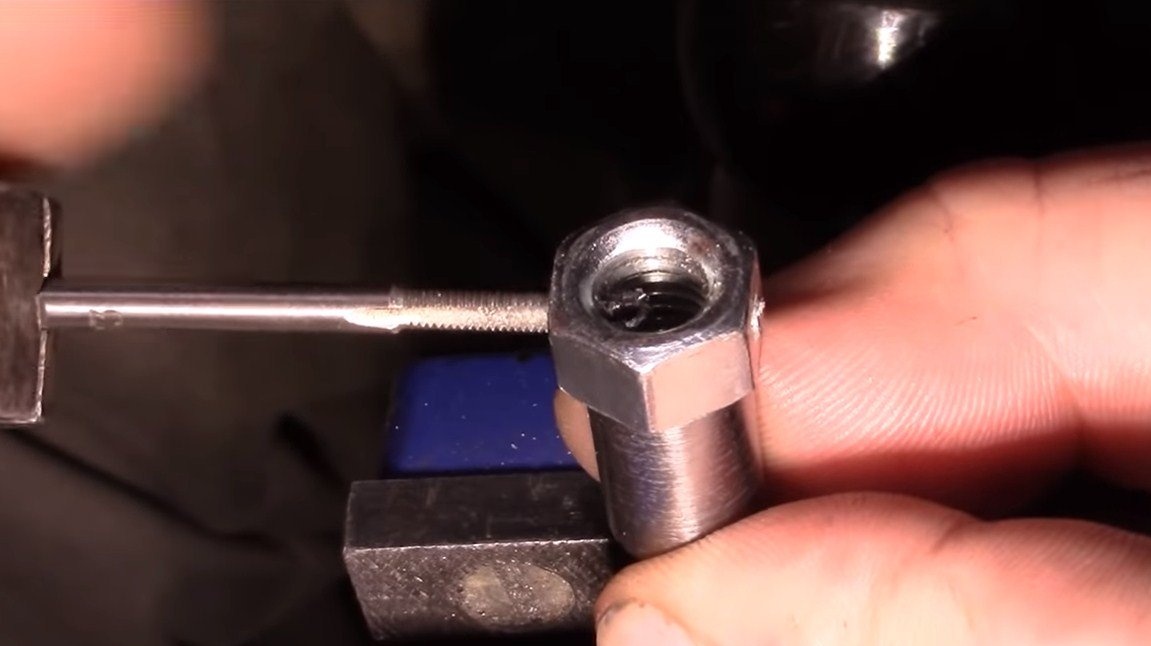
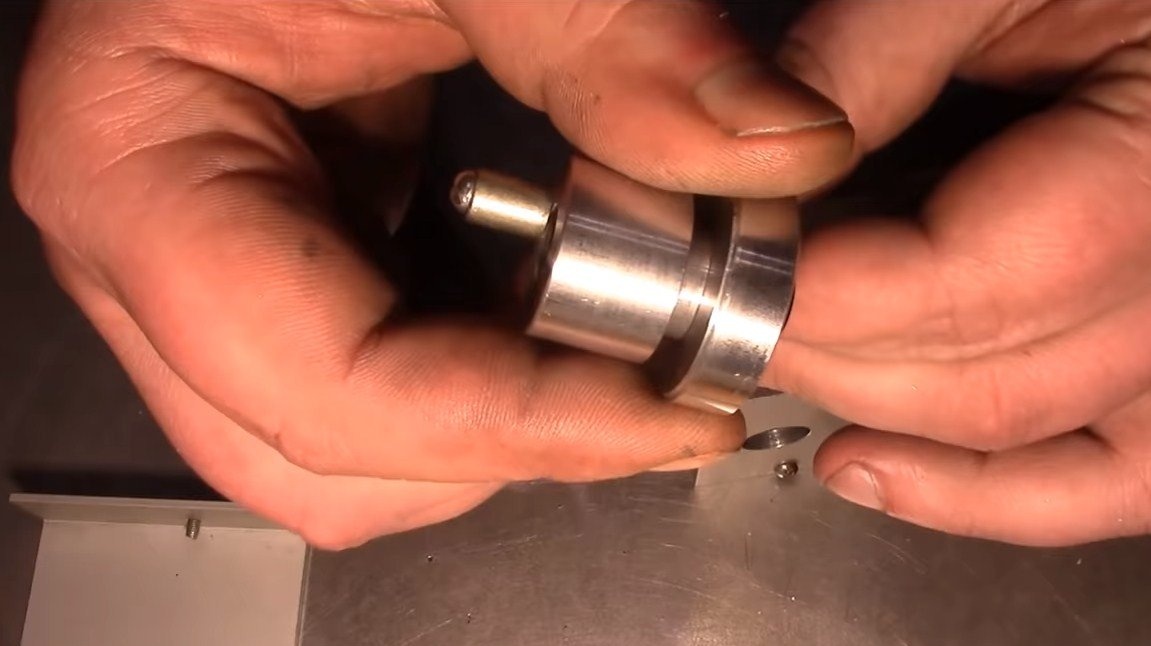
Let's make a driving roller; it was machined from aluminum on a lathe. We drill a hole of such a diameter so that the roller can be reliably pressed onto the motor shaft. We make collars along the edges of the roller so that the grinding belt runs clearly in the center.
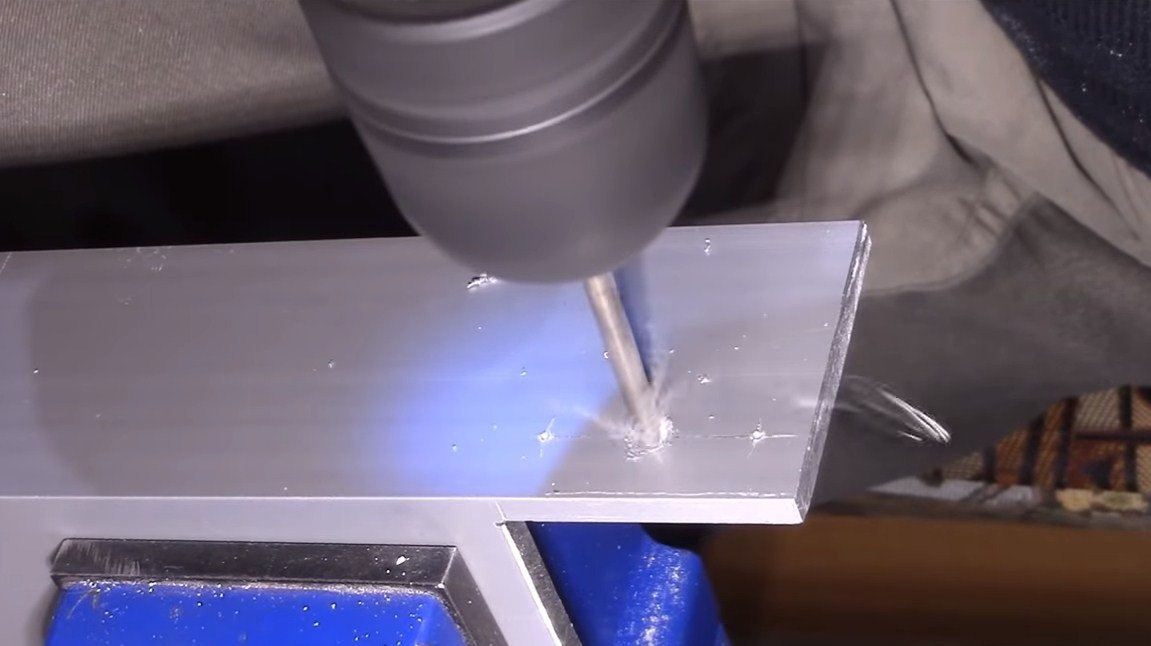
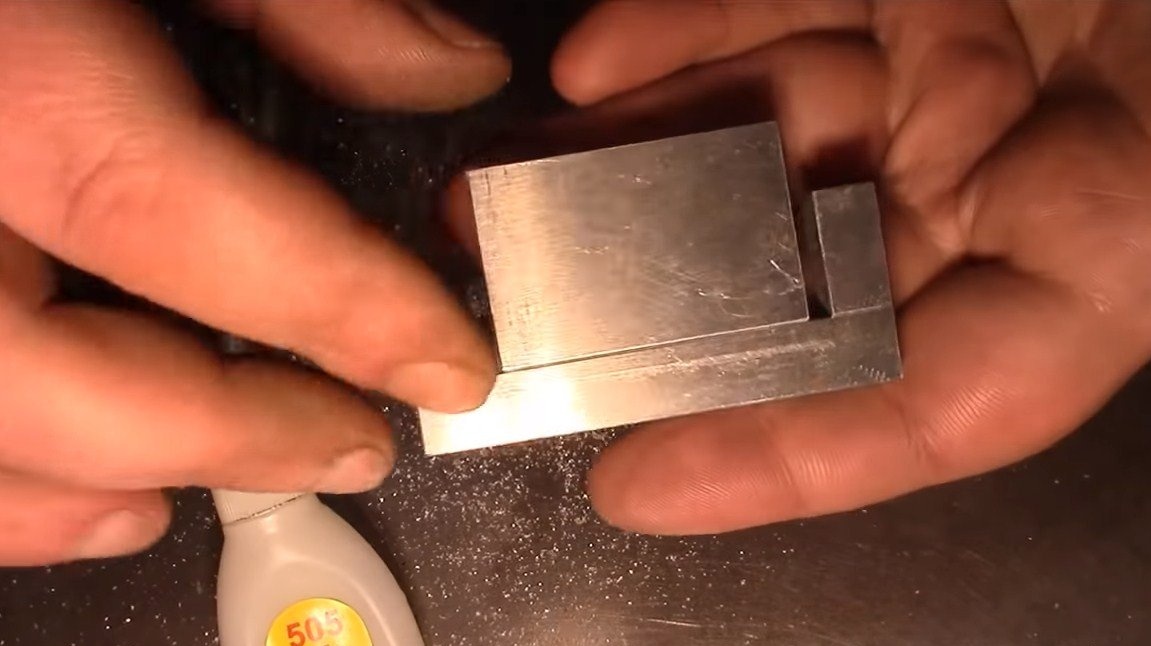
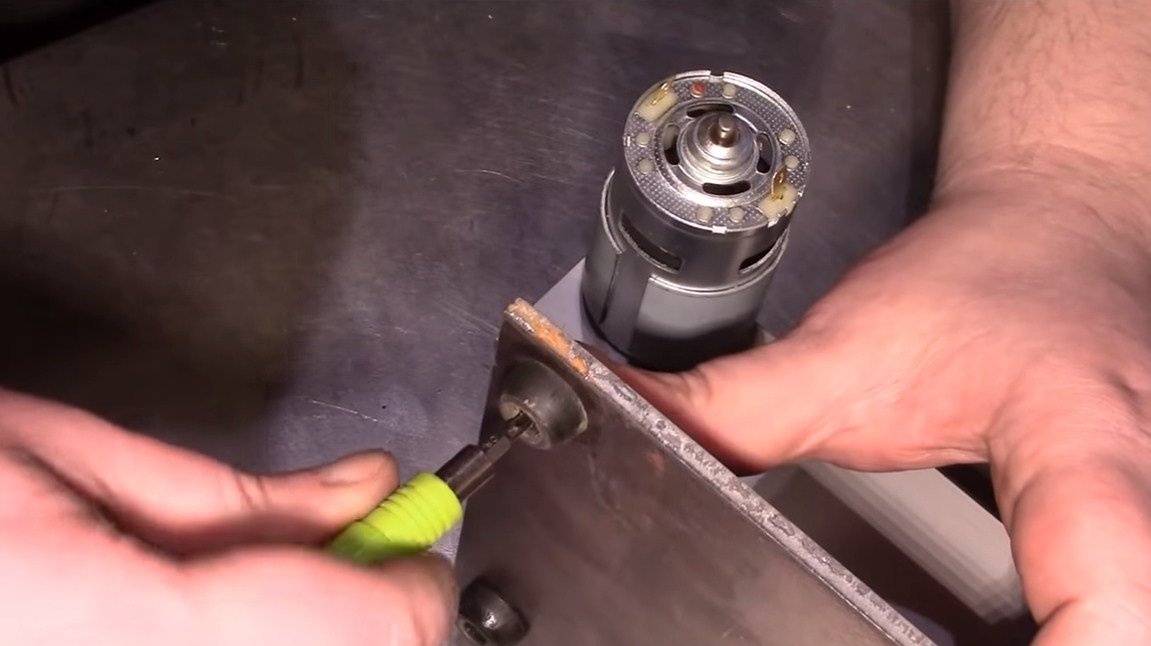
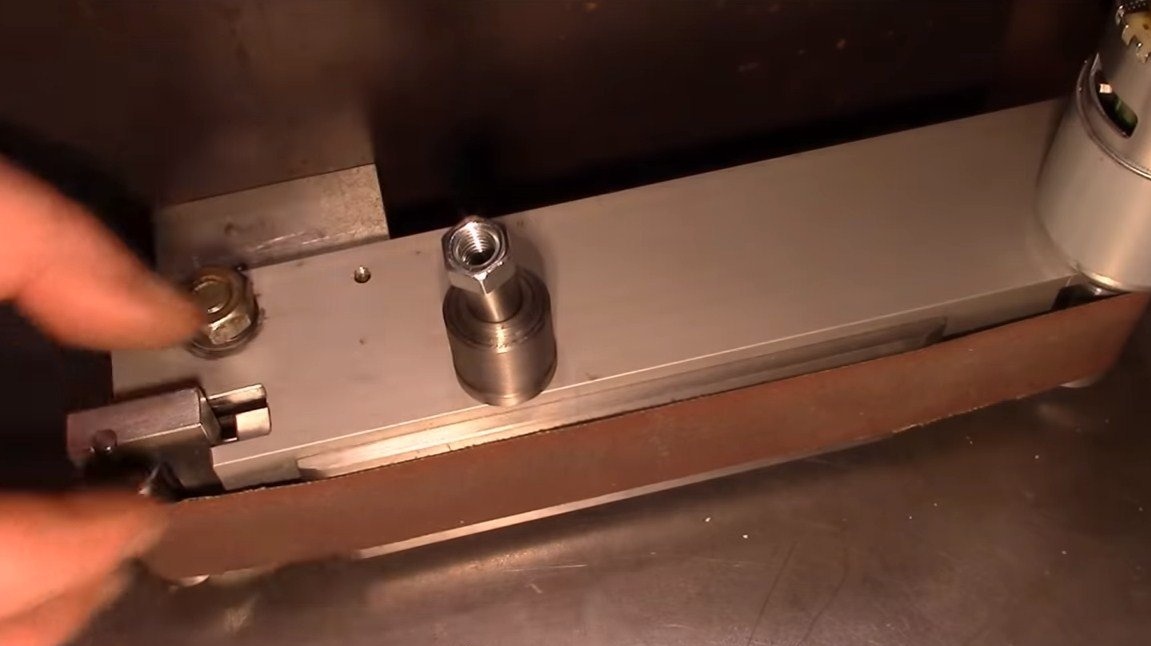
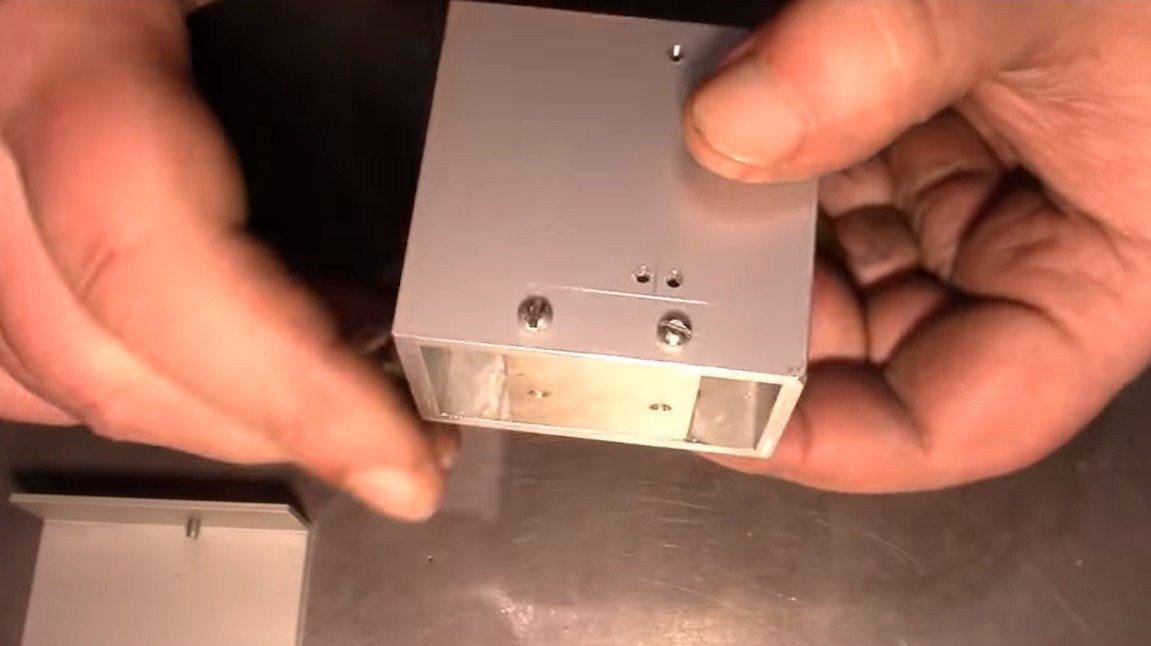
Step Three Machine frame
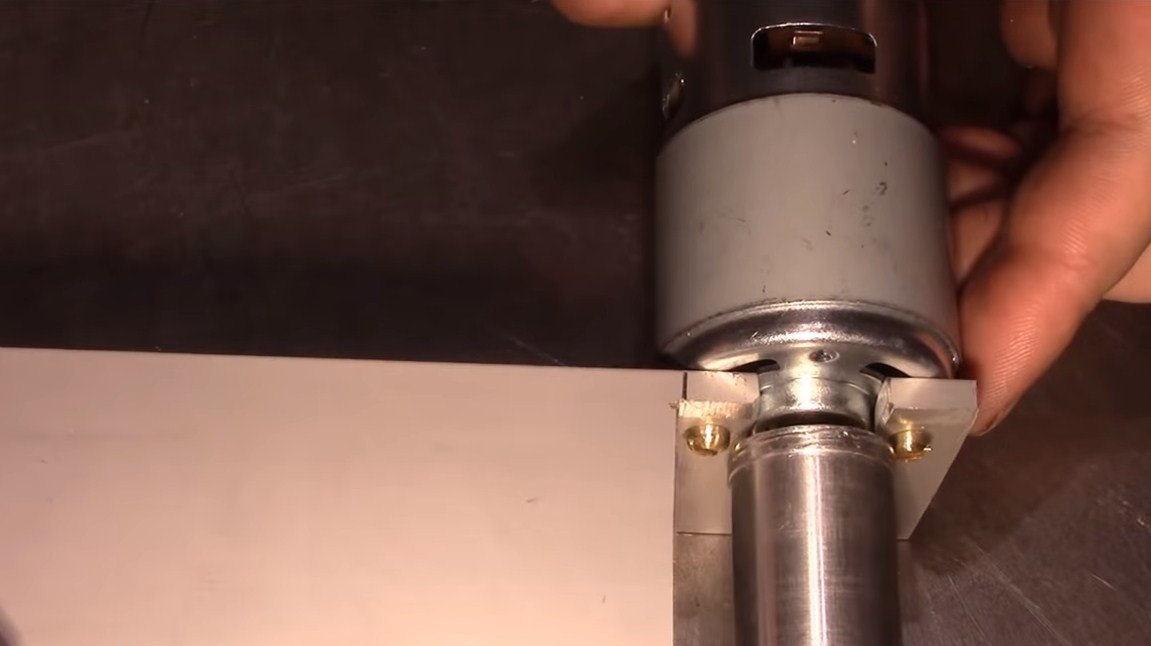
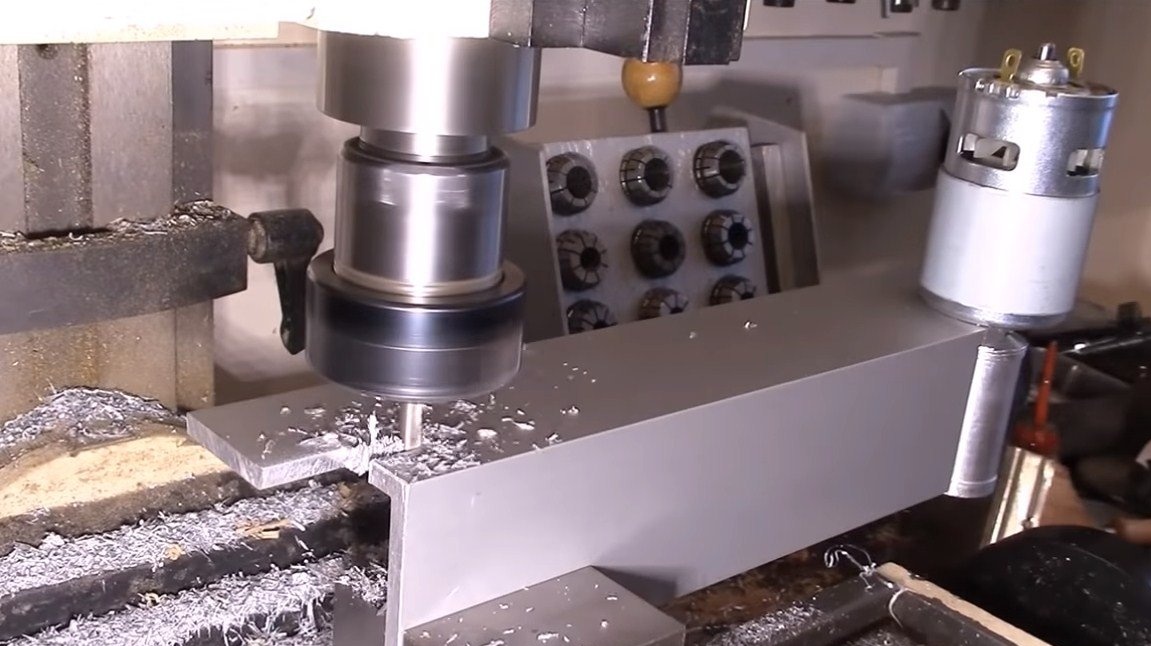
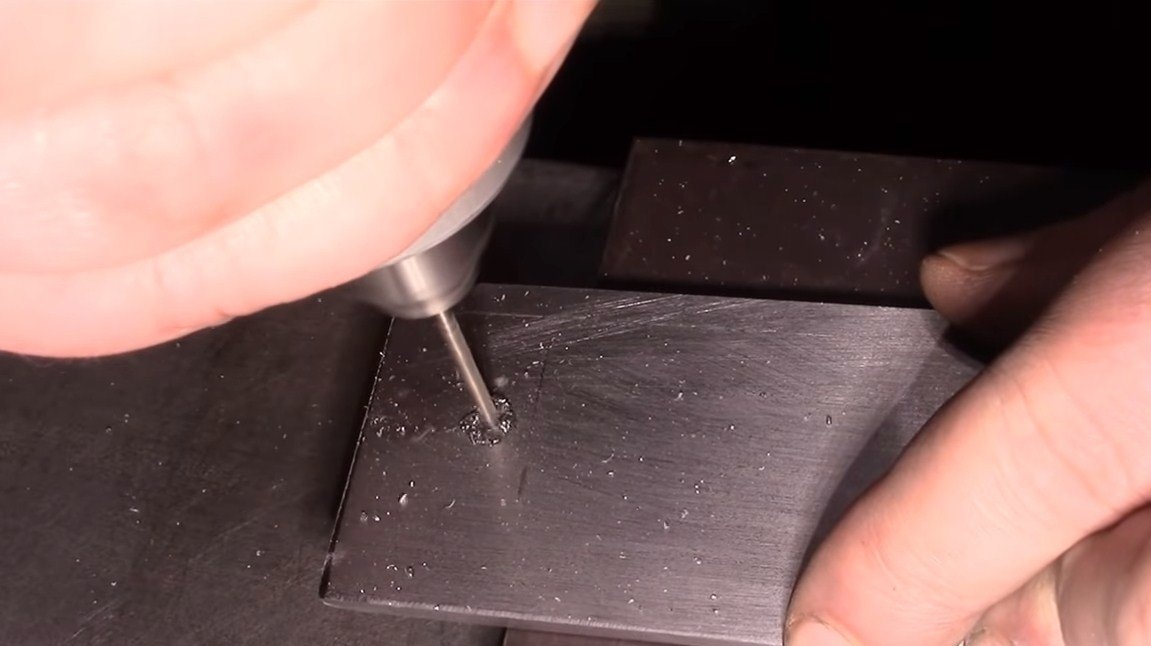
We make the machine frame from an aluminum corner. On the one hand, we cut off the excess and drill holes for mounting the engine. We fasten the motor with two screws.
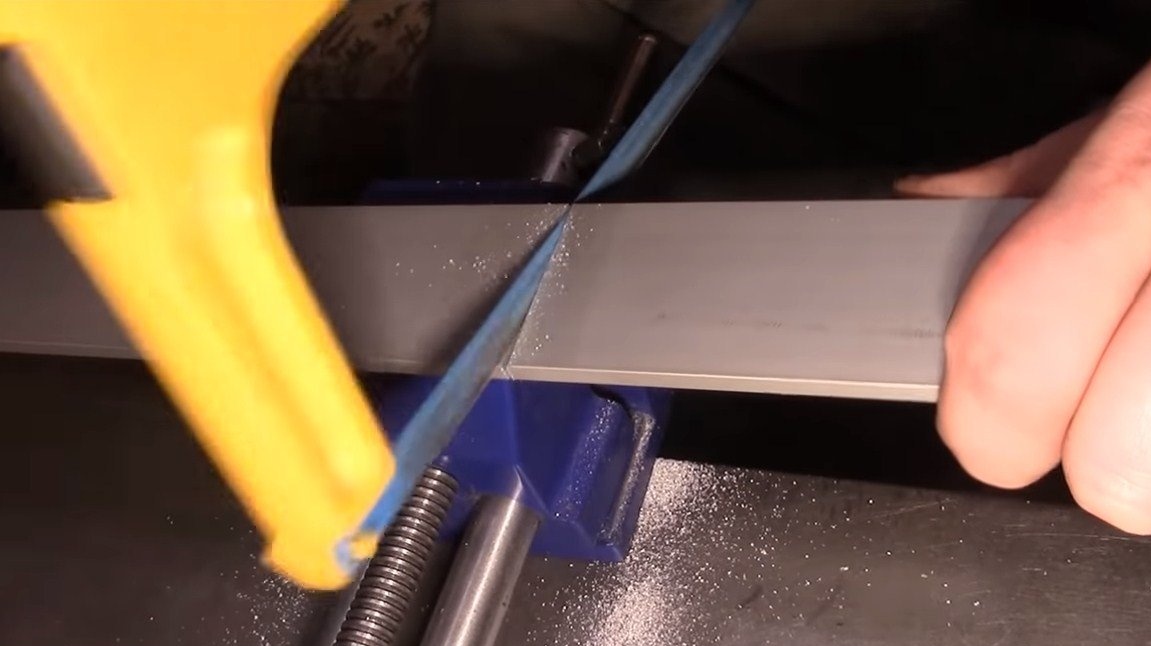
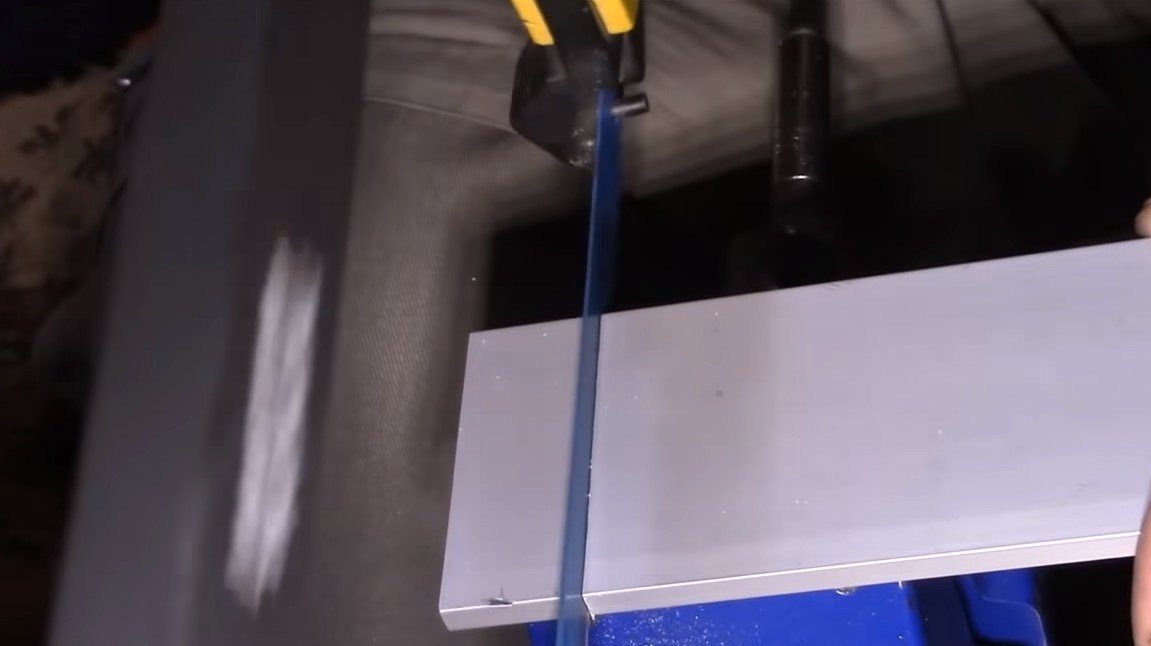
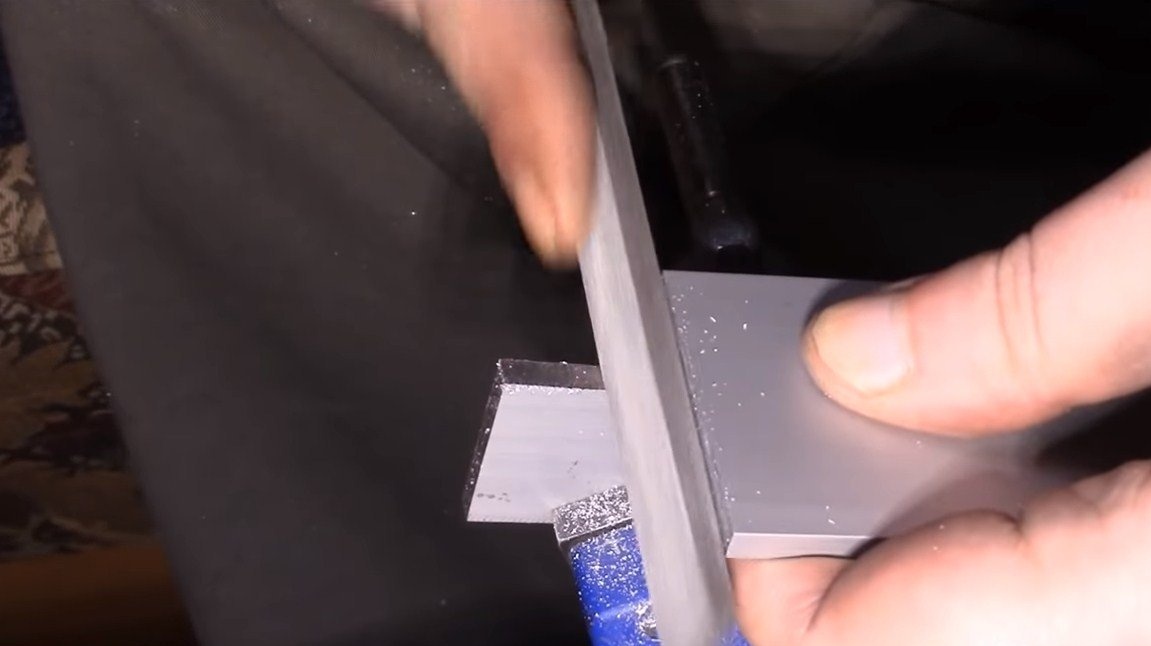
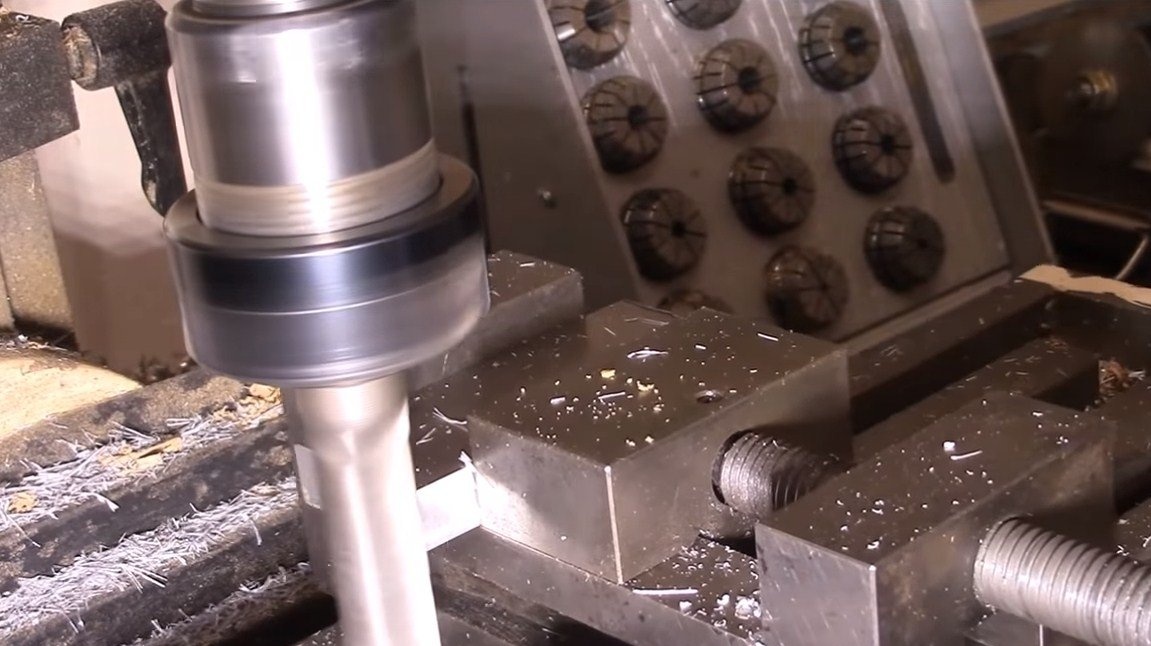
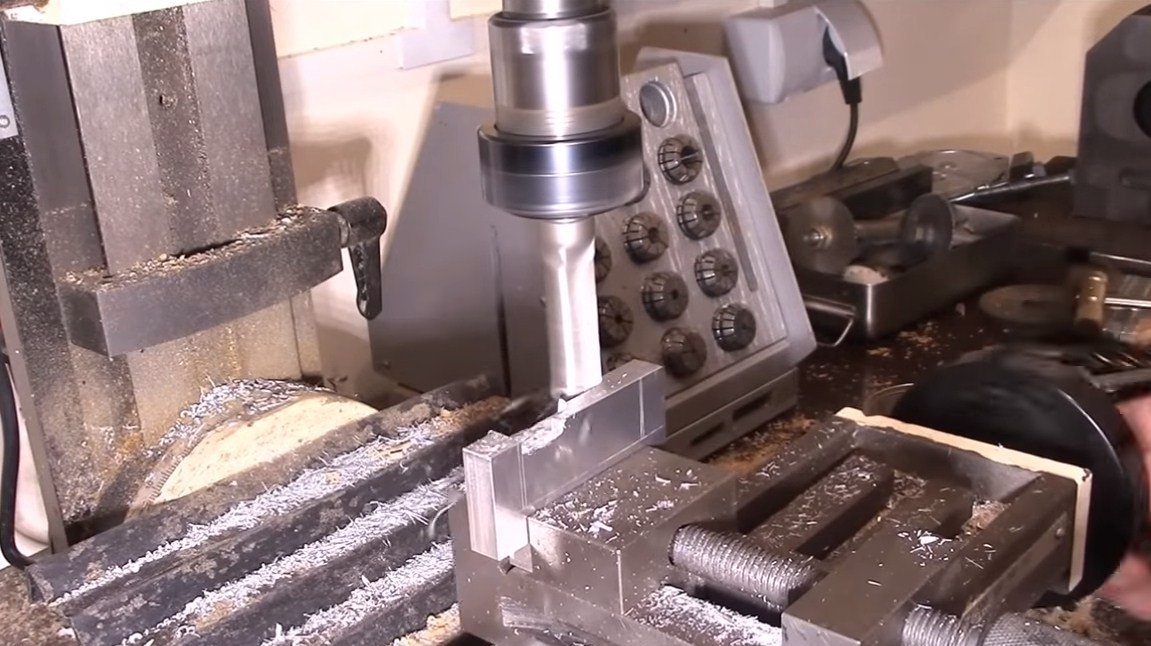
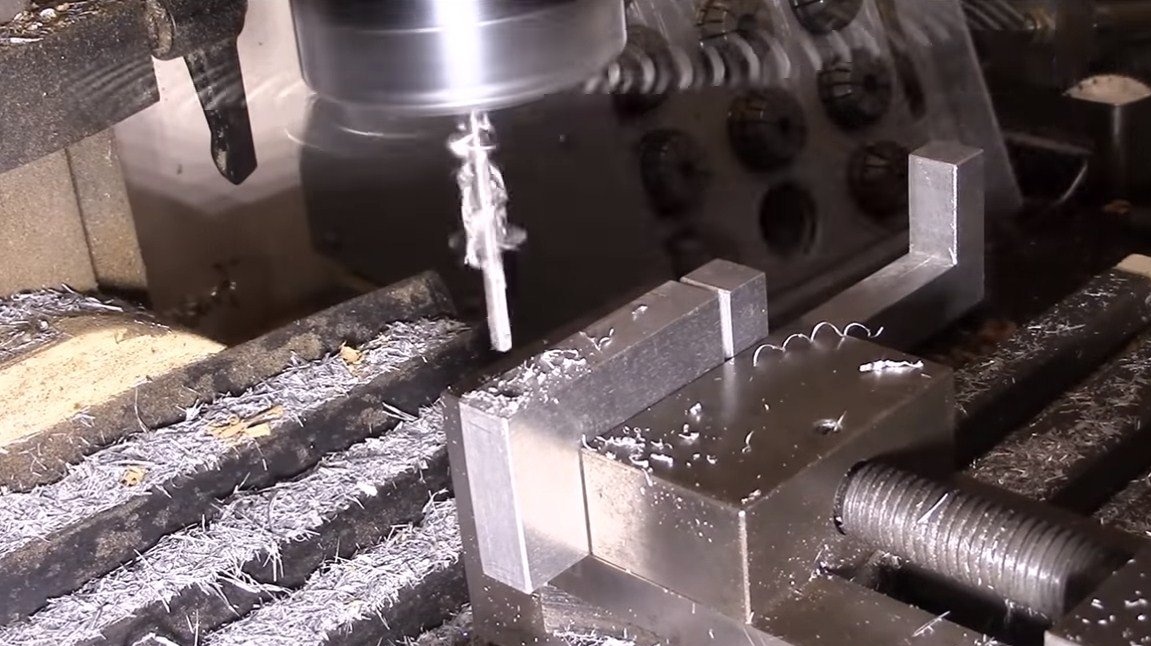
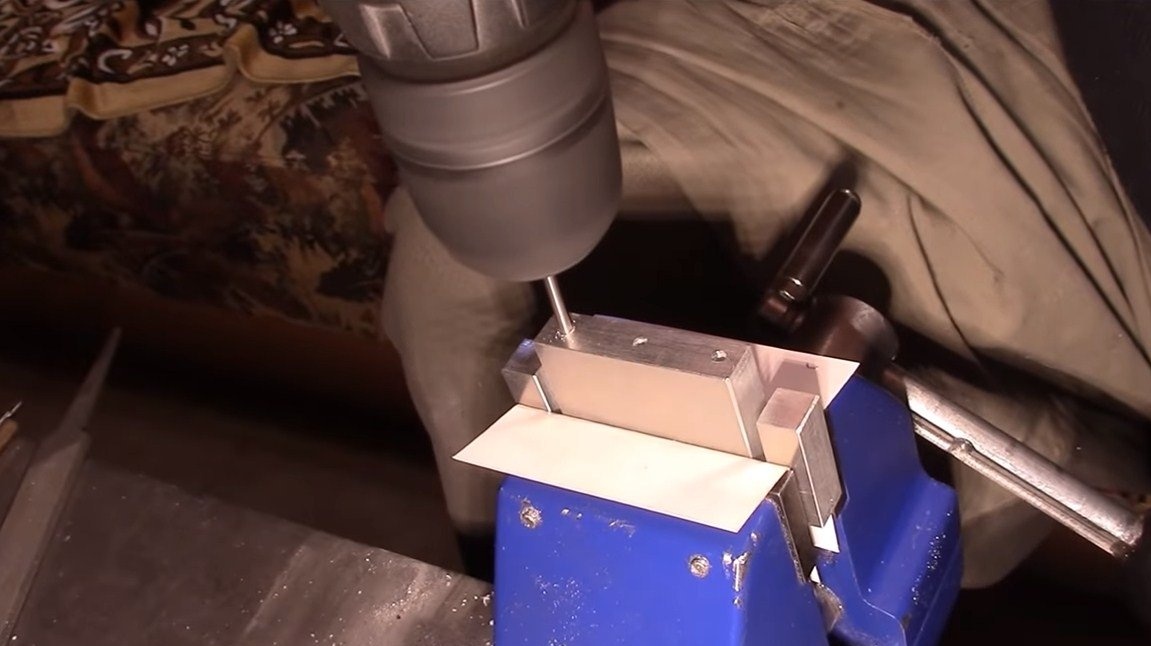
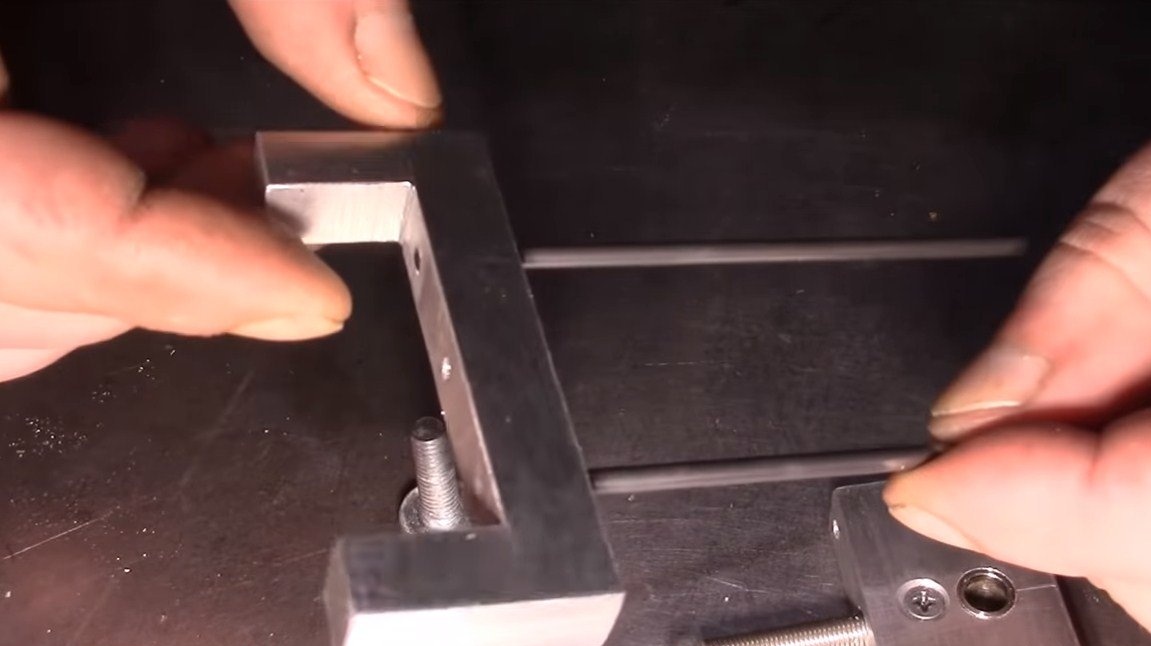
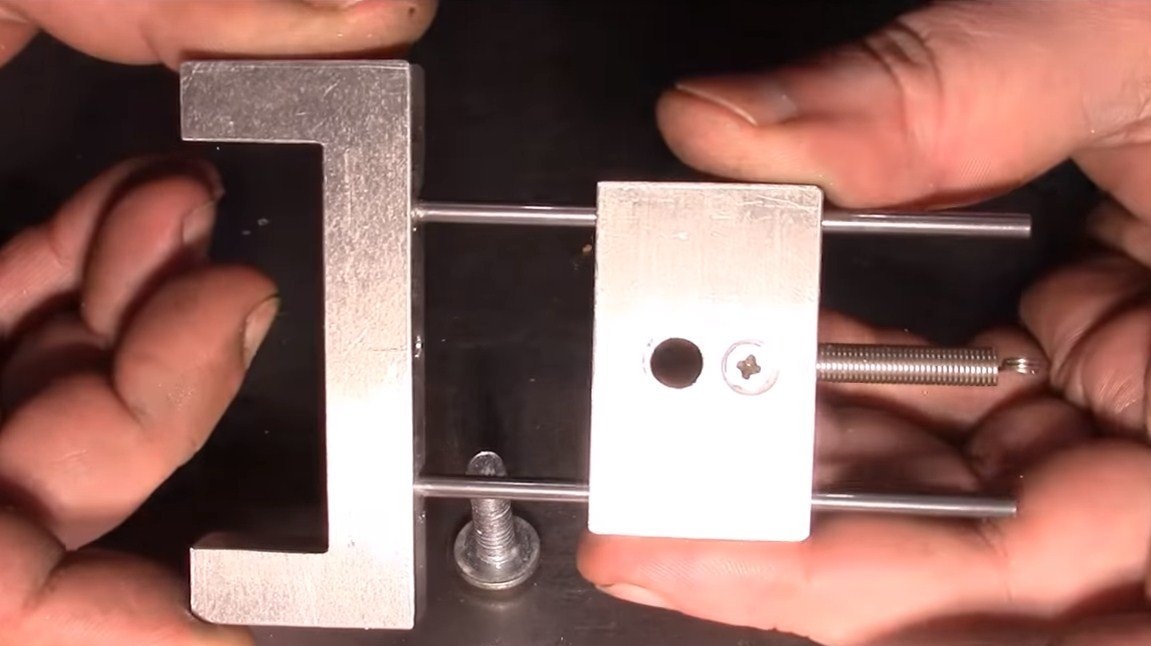
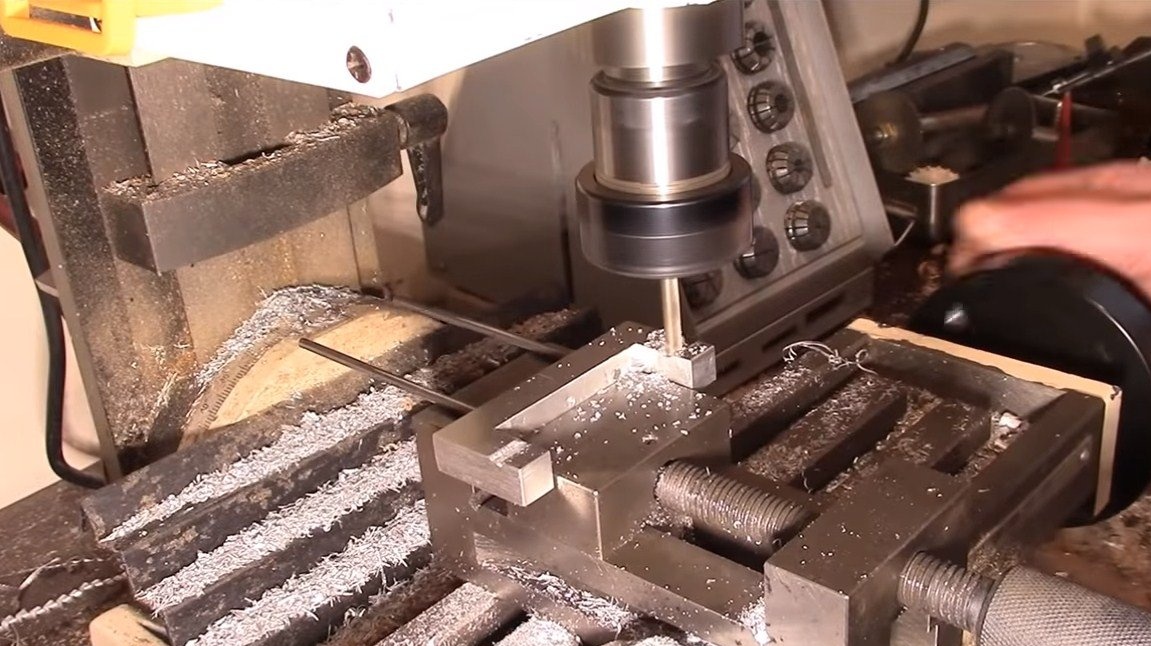
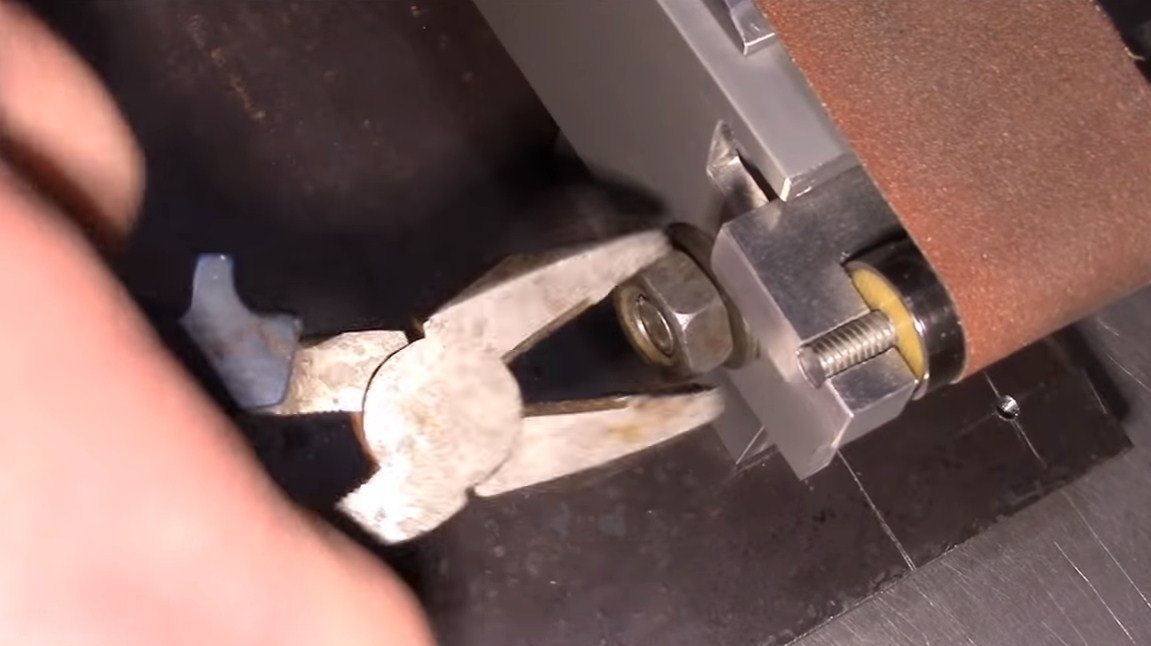
On the other hand, we need to make a fork for installing the driven roller. The necessary parts are also cut out of aluminum, we work with a hacksaw, a milling machine and files. As an axis for the driven roller, we use a threaded rod. For the tensioner, you will need two guides, the author used the rods from the drive, you will also need to pick up the spring with the desired tension.
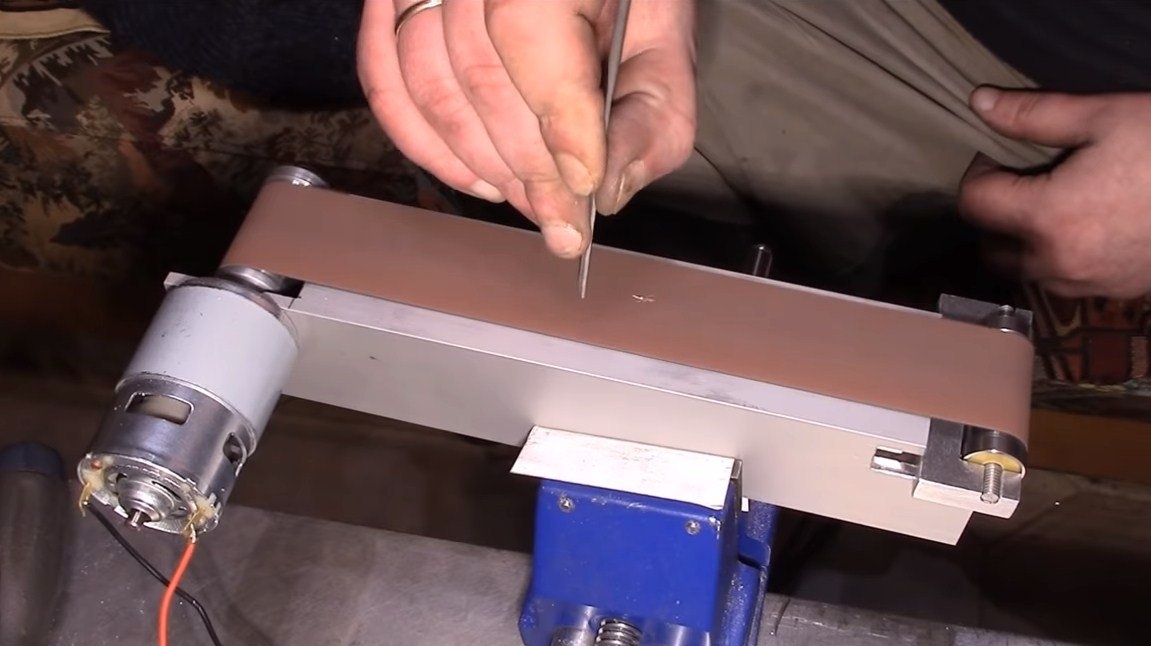
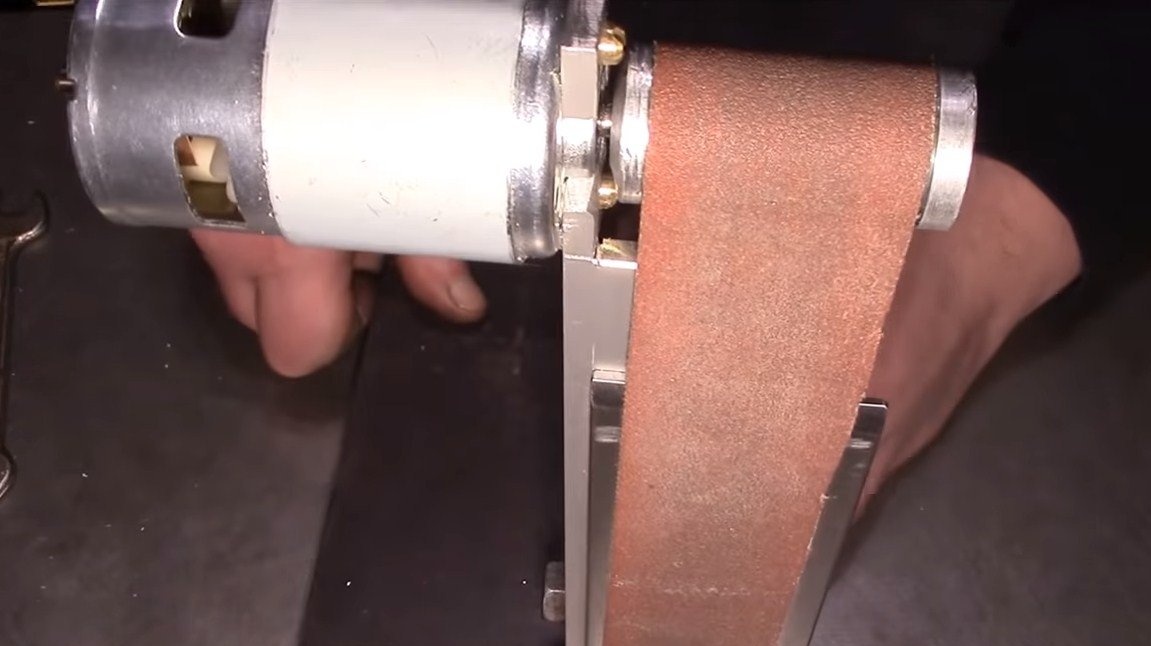
After that, the main part of the machine is assembled, install the sanding belt and try to start the engine. The device works quite quickly.
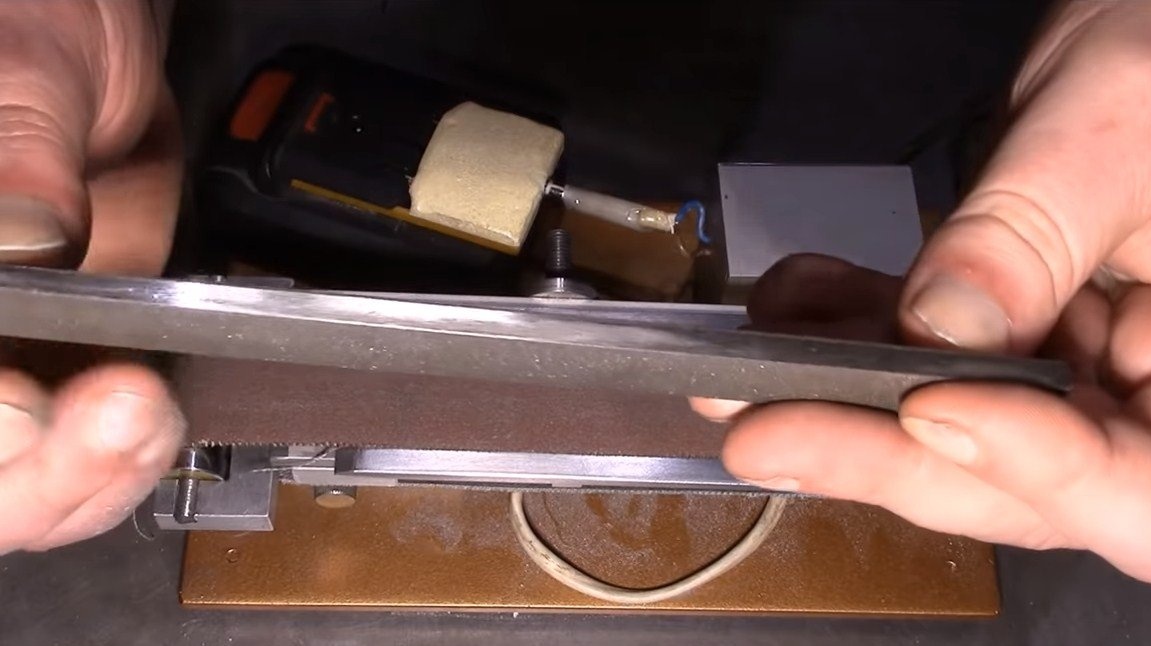
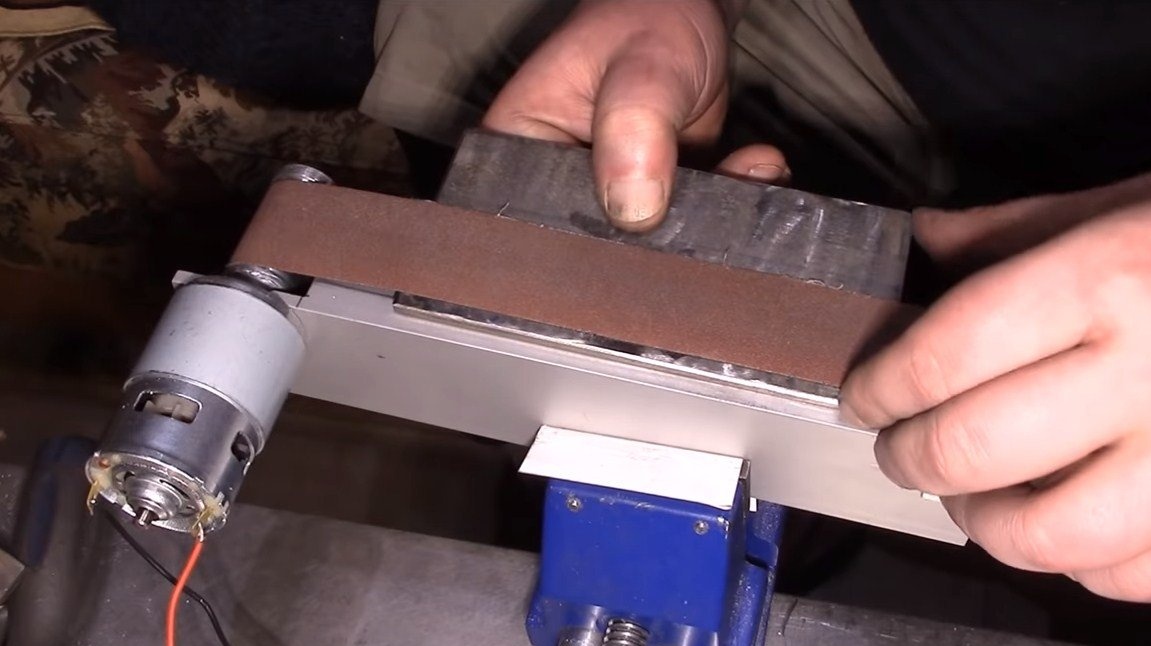
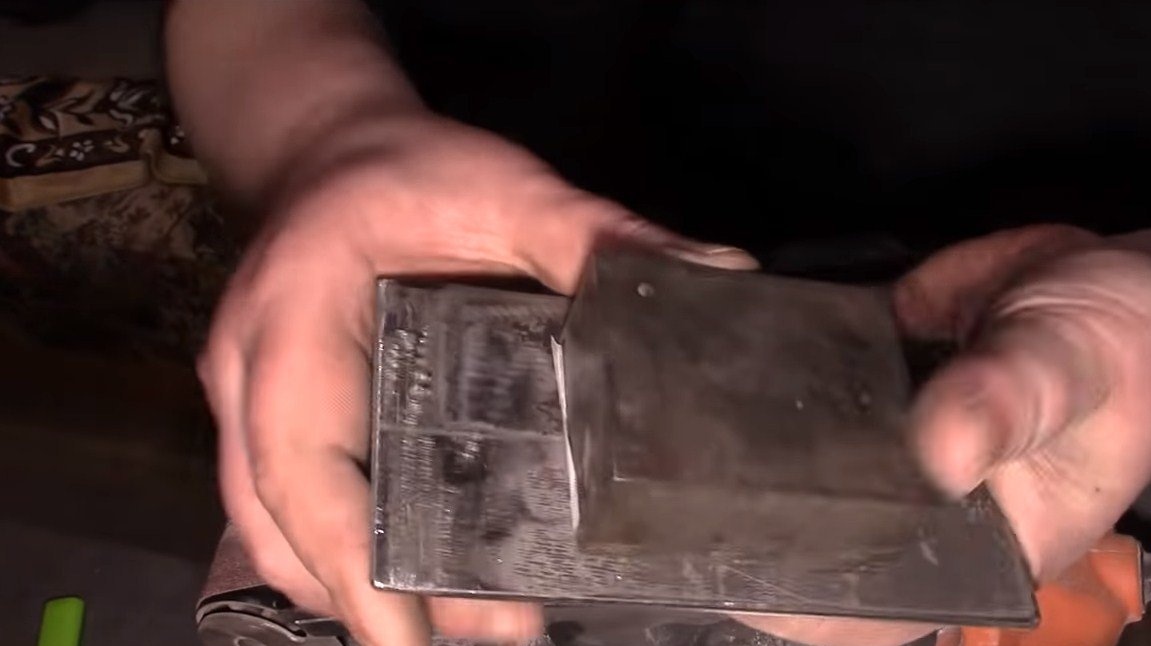
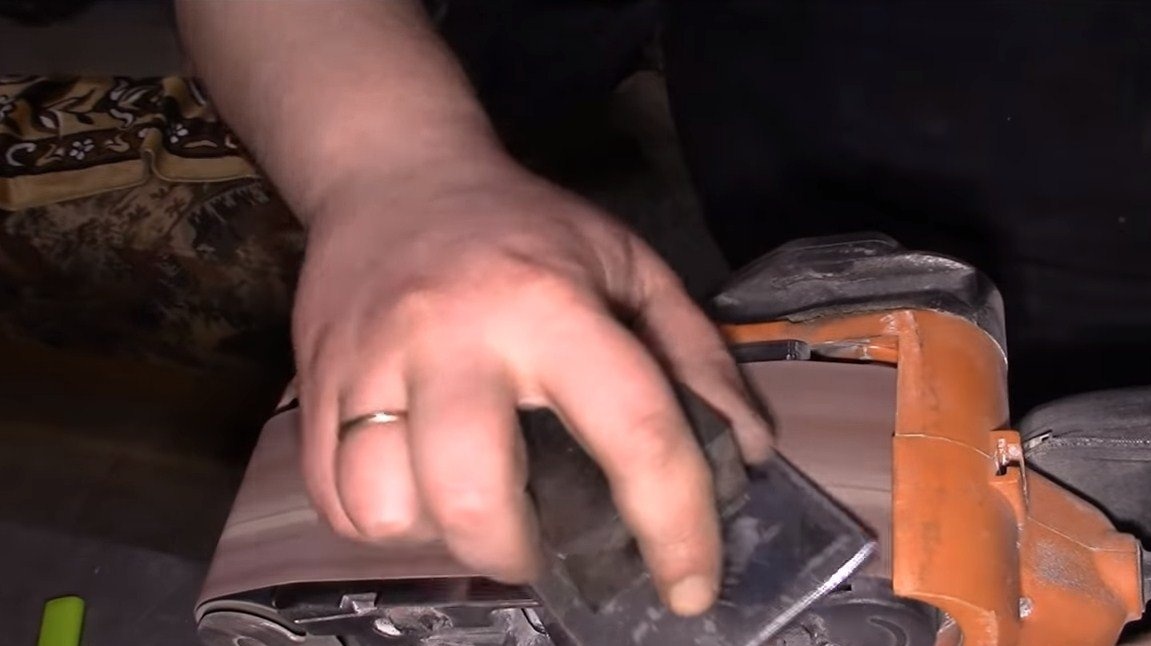
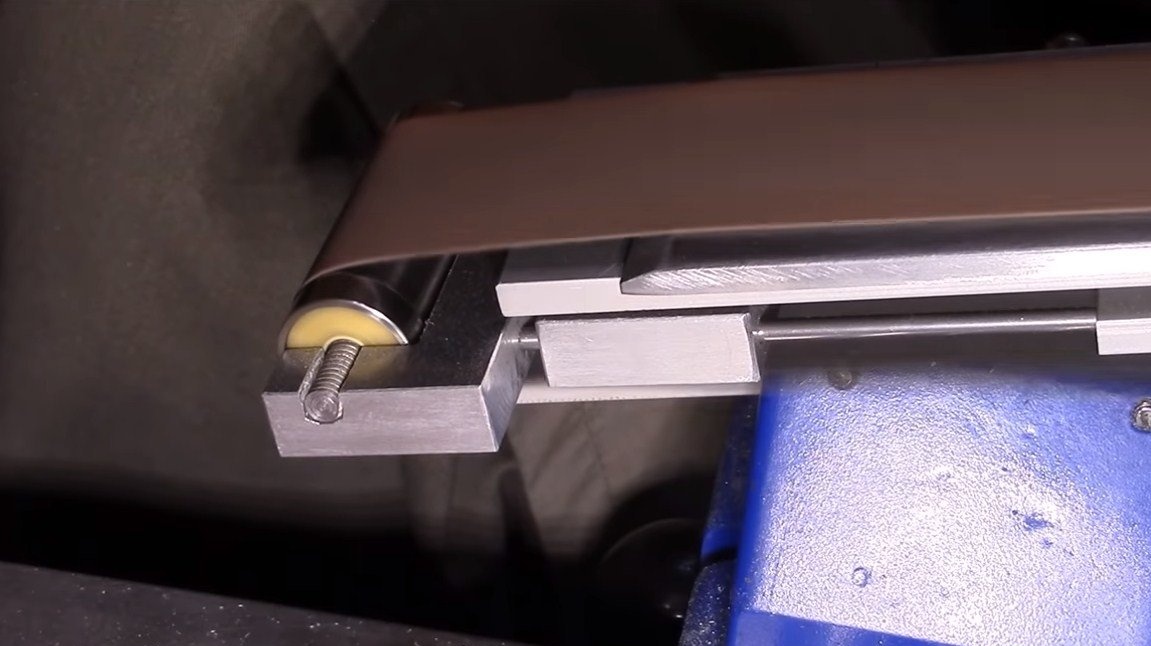
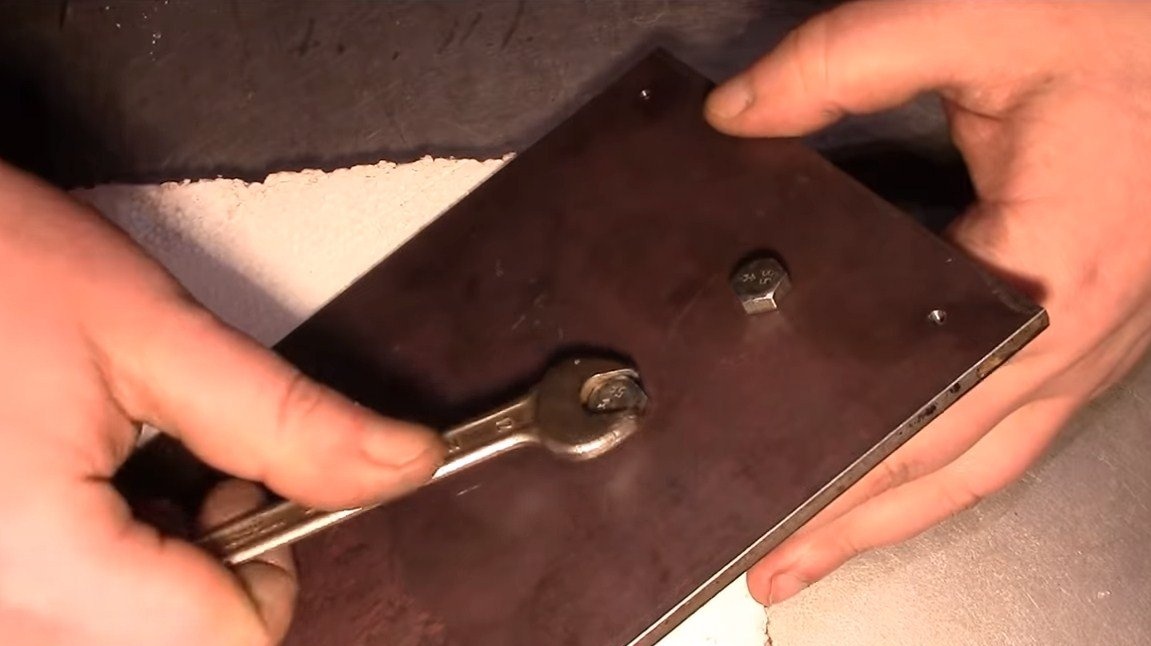
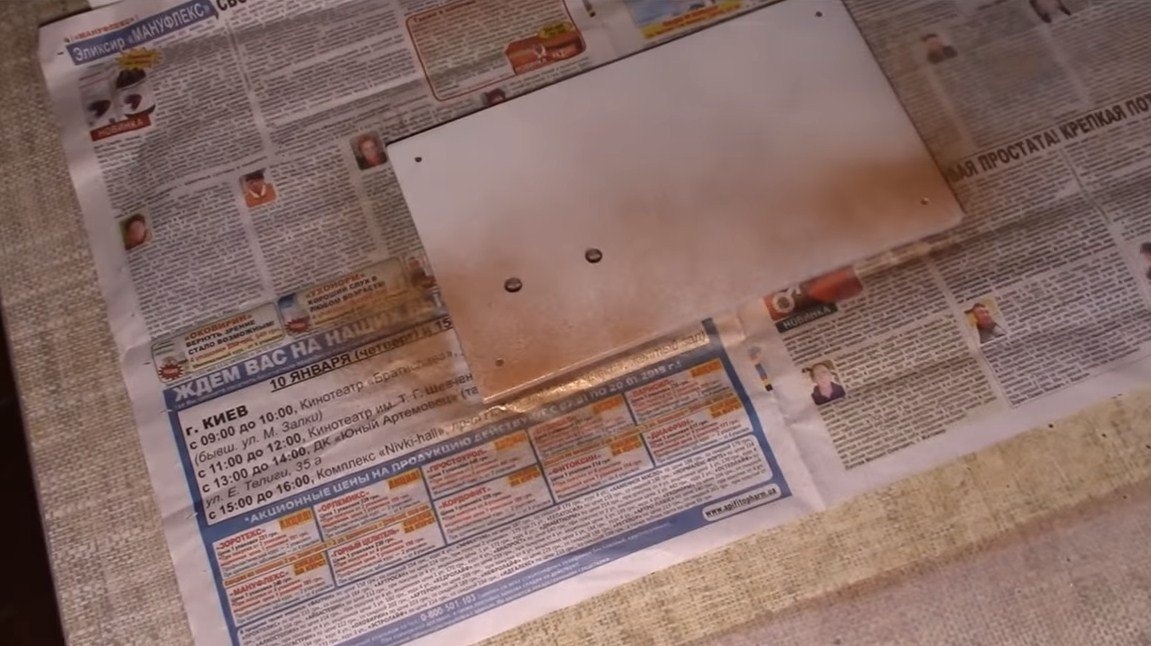
Step Four Sole
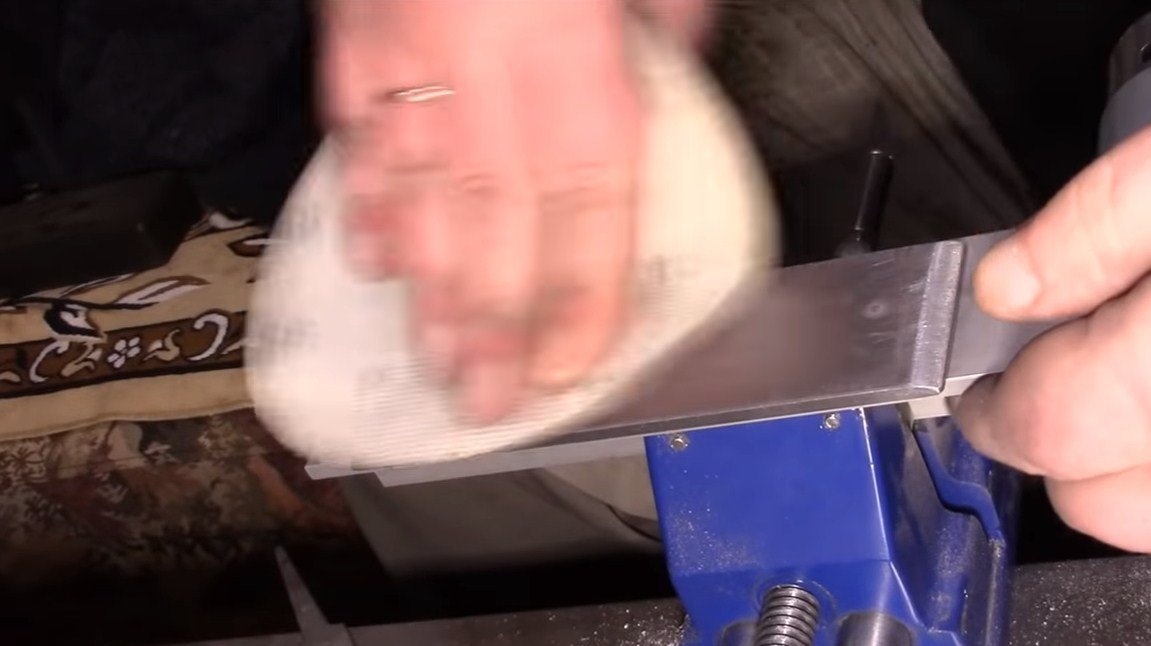
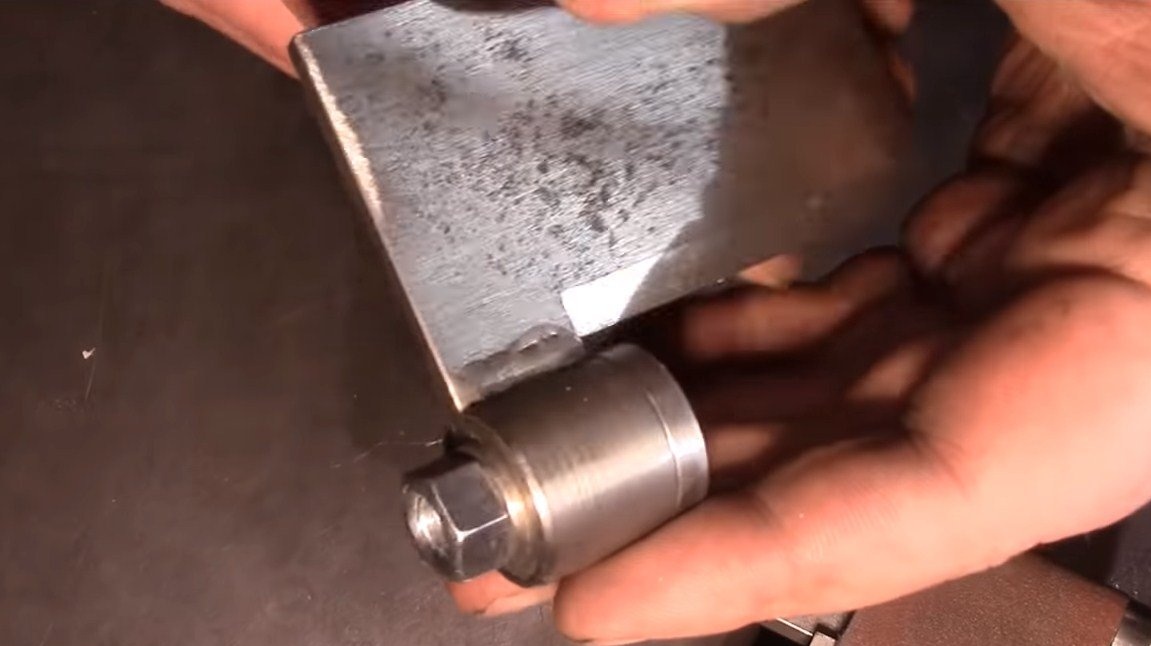
We’ll make a sole, that is, a platform, which we will abut against the detail at work. Its author made of thick sheet steel, it is attached to the frame of the machine with two screws. The sole should be well sanded, otherwise it will spoil the sanding belt.
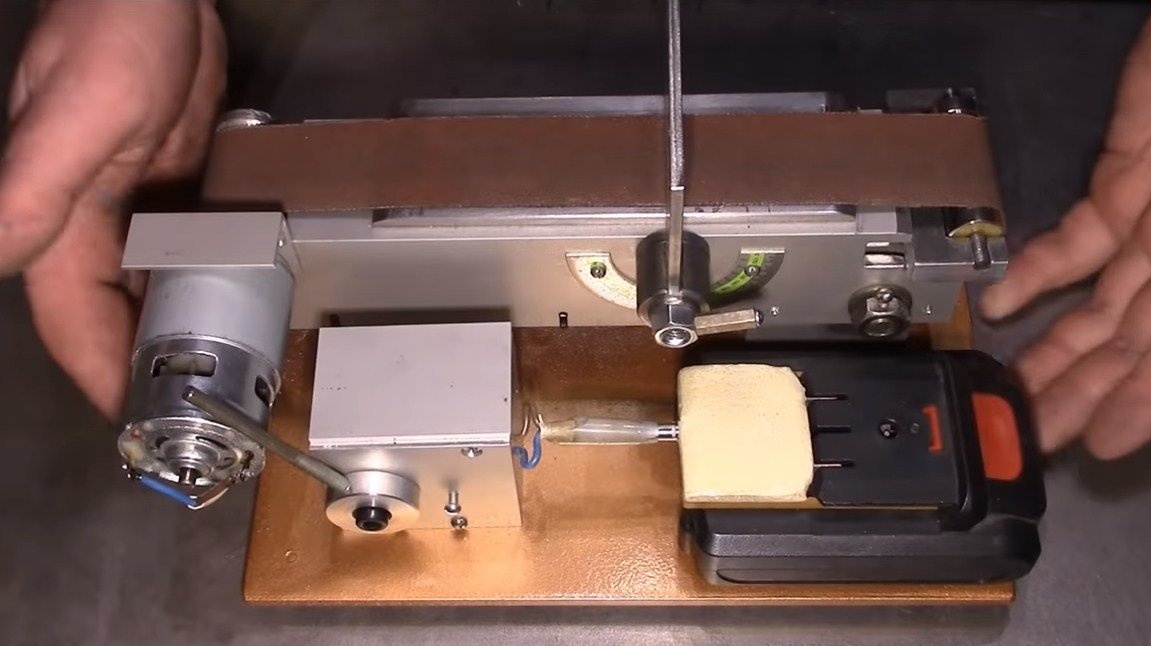
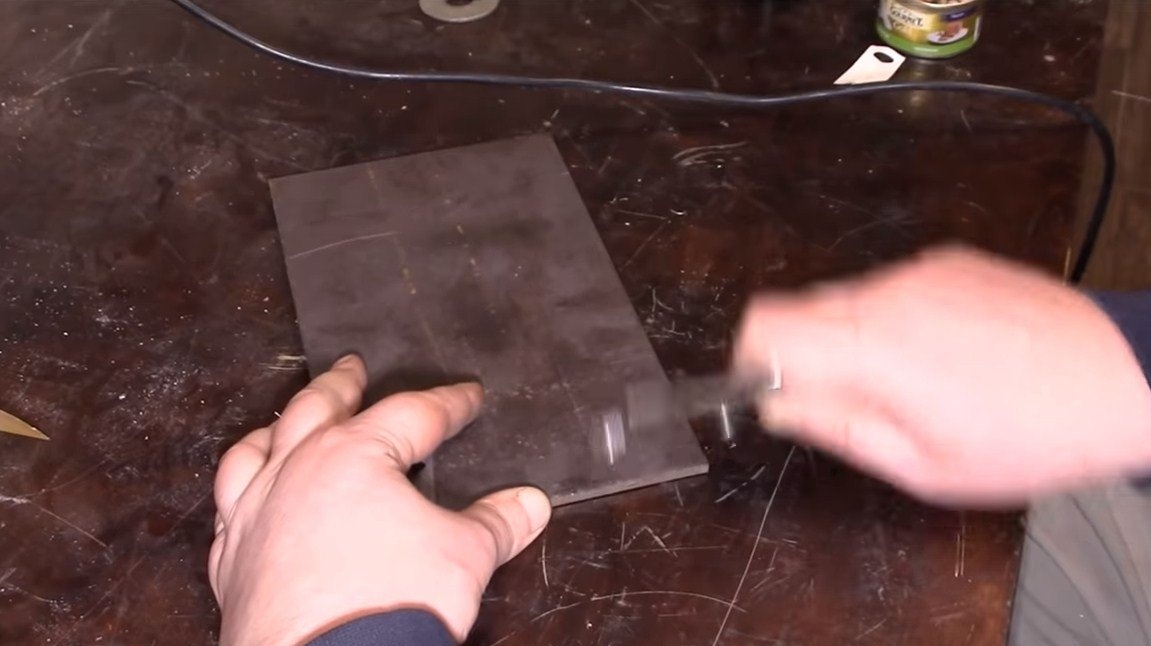
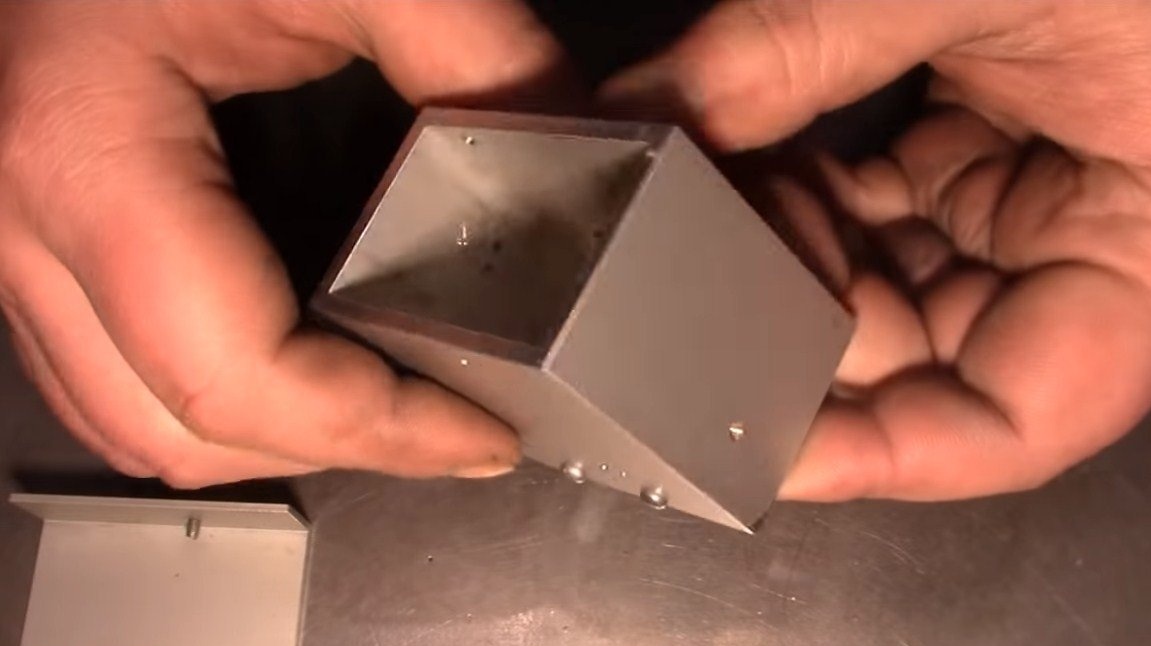
Step Five The foundation
The frame of the machine is hinged to the base, which allows you to install the machine vertically or horizontally. The base is a piece of thick sheet steel. Do not forget to make rubber feet for the base. These can be taken from old equipment, bought in China, or they can be made from rubber pistons of syringes.
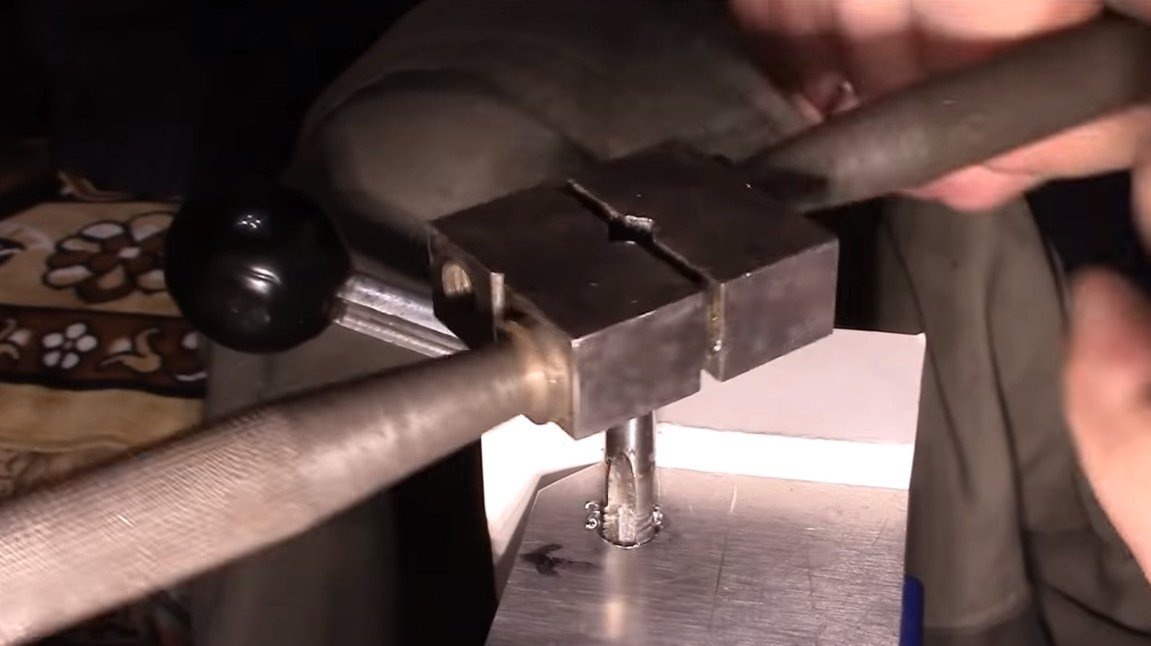

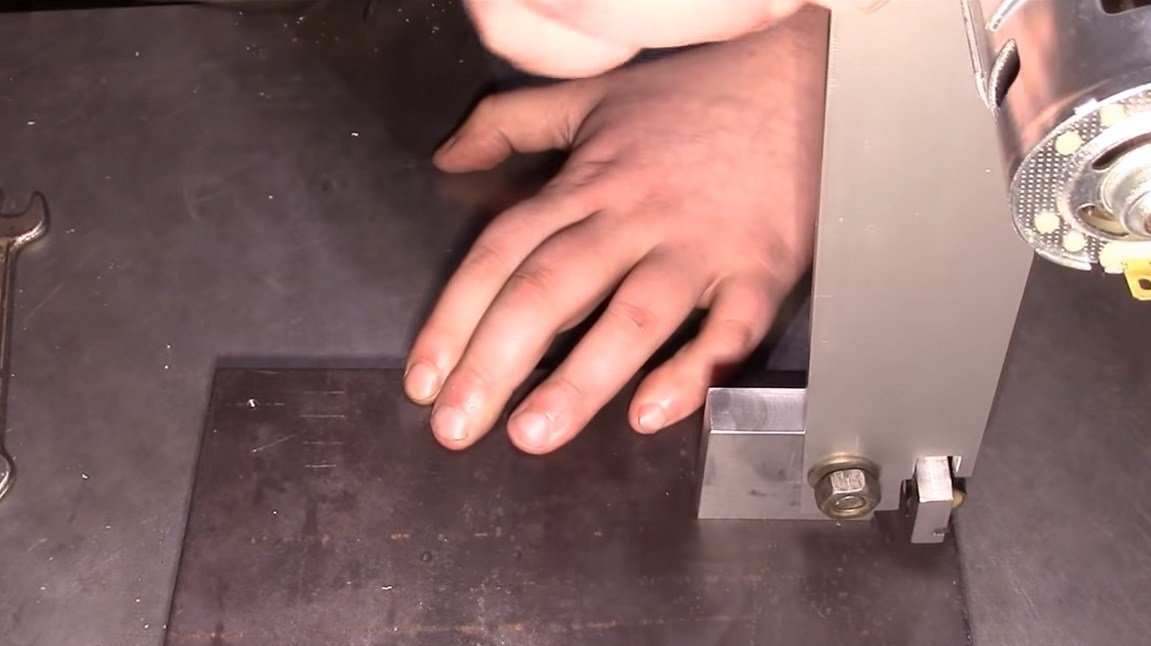
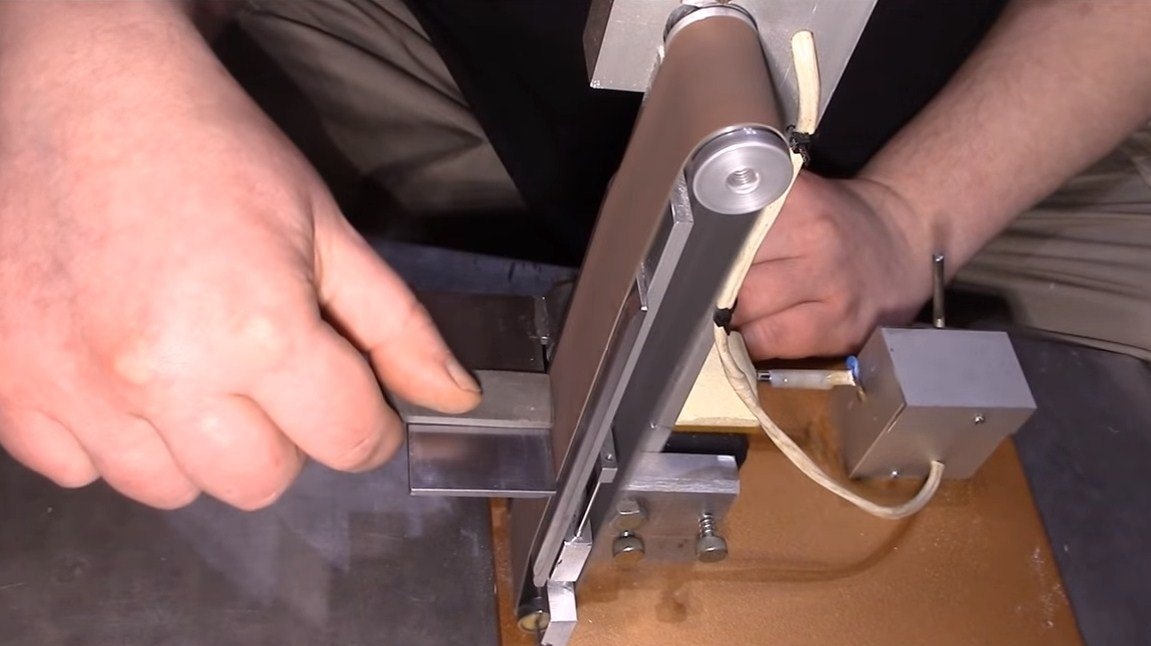
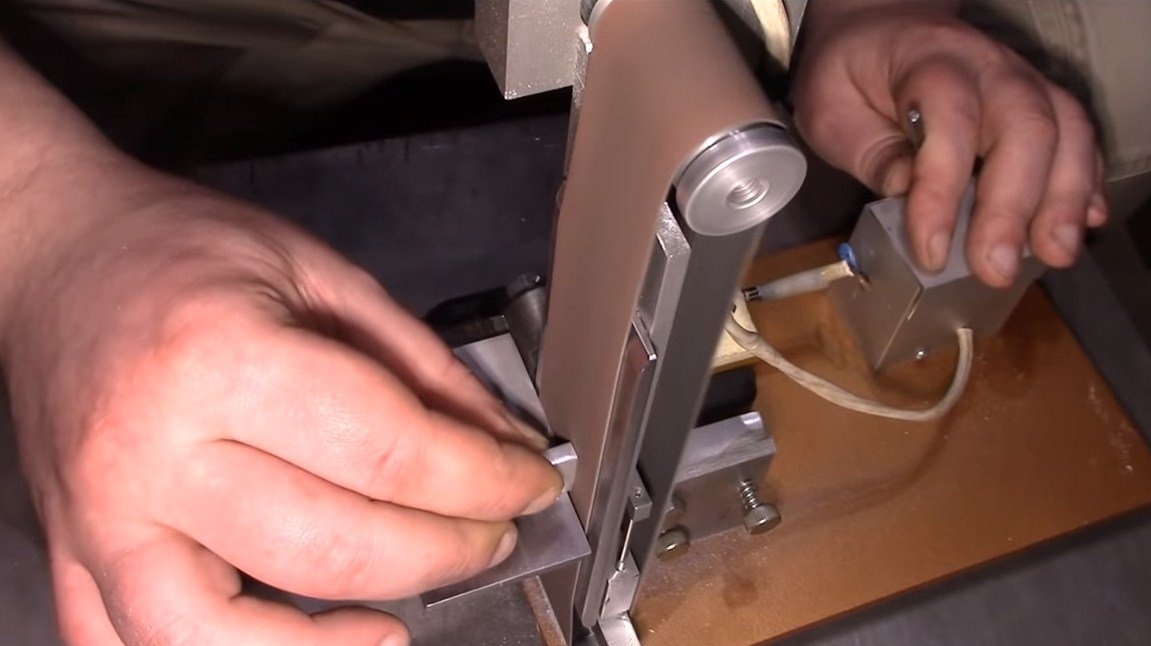
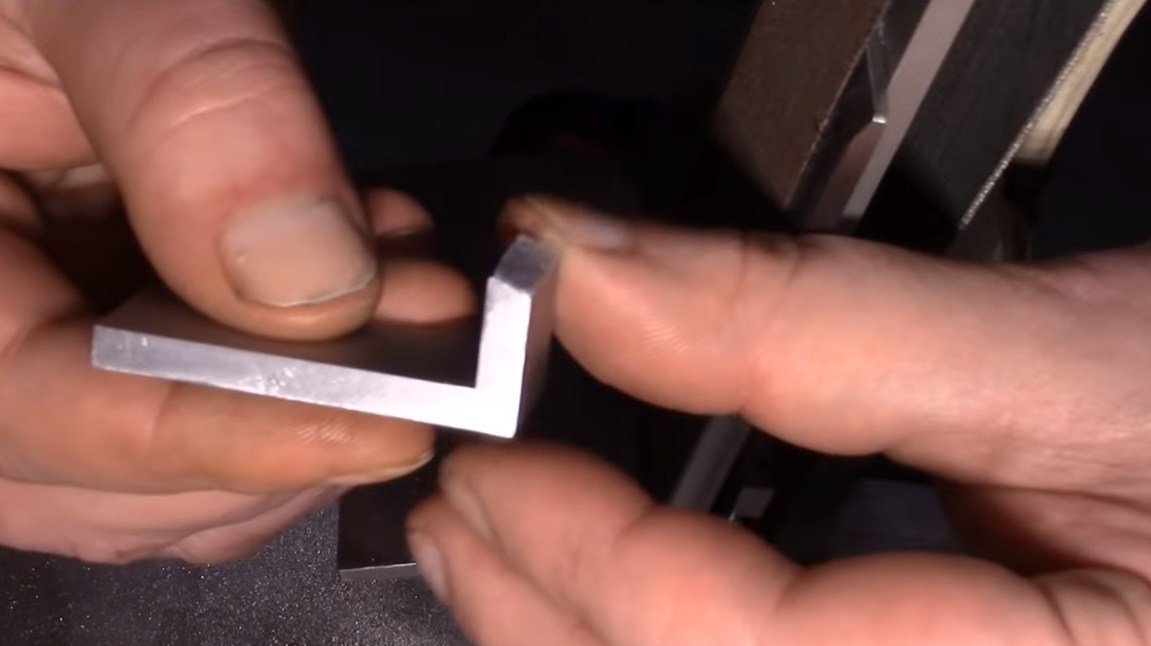
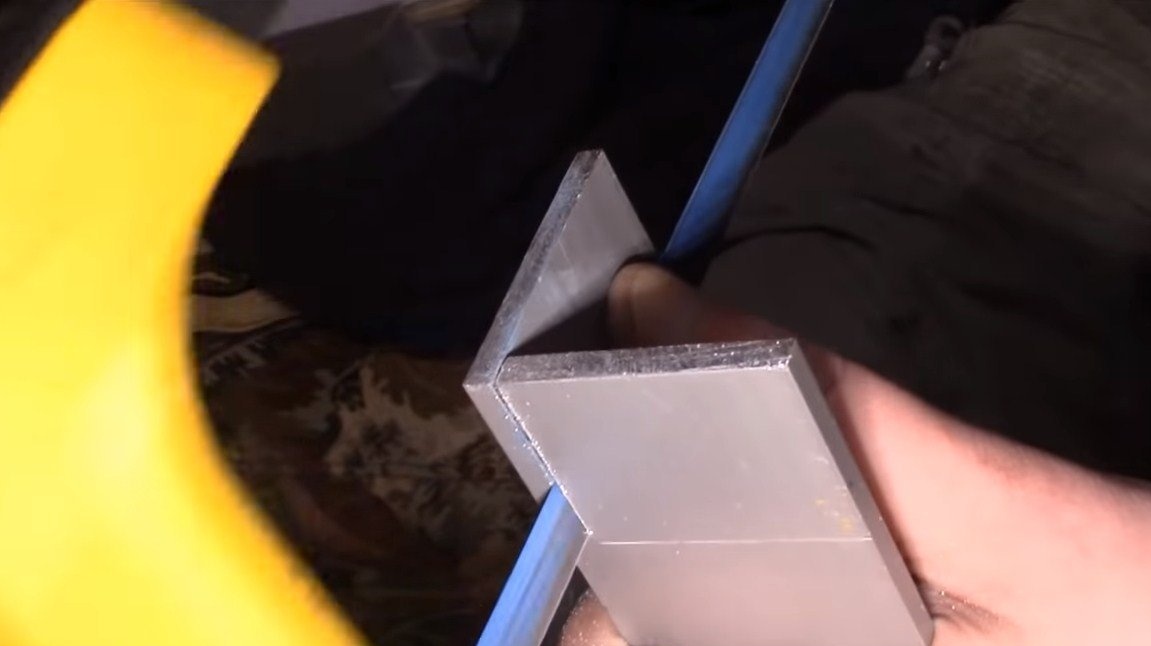
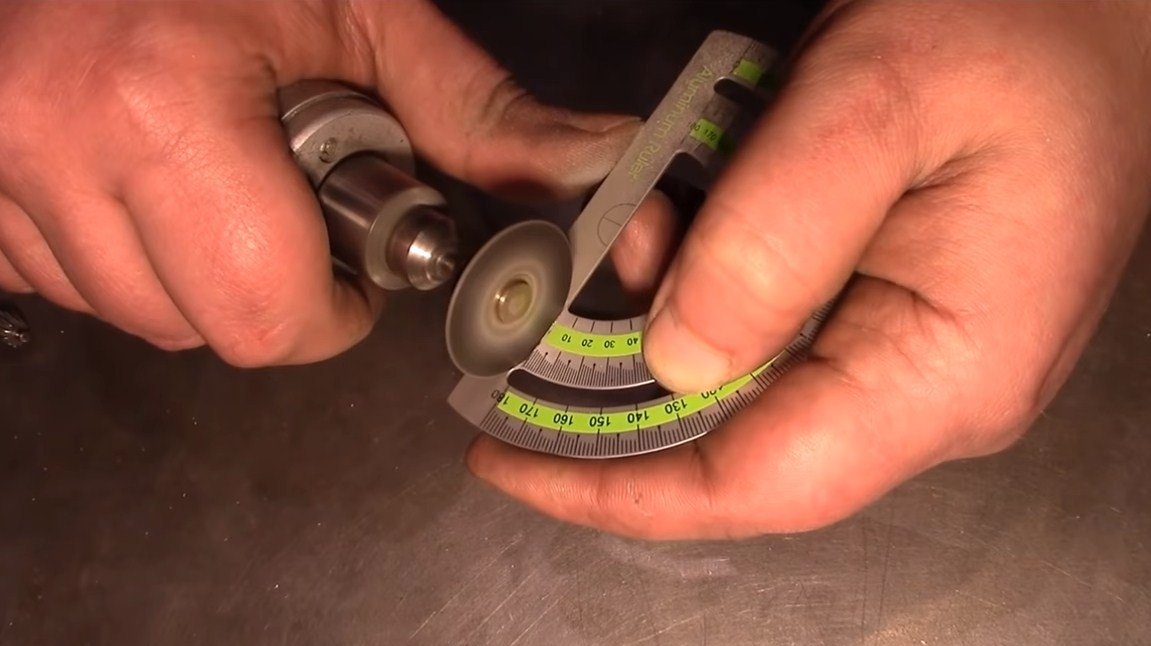
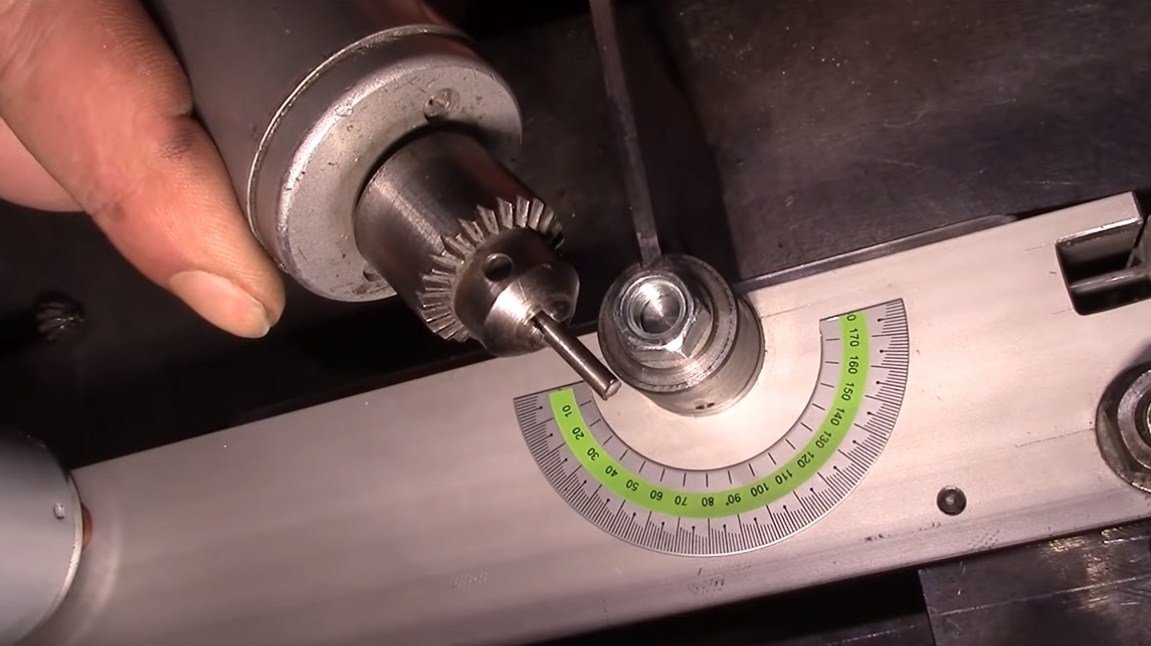
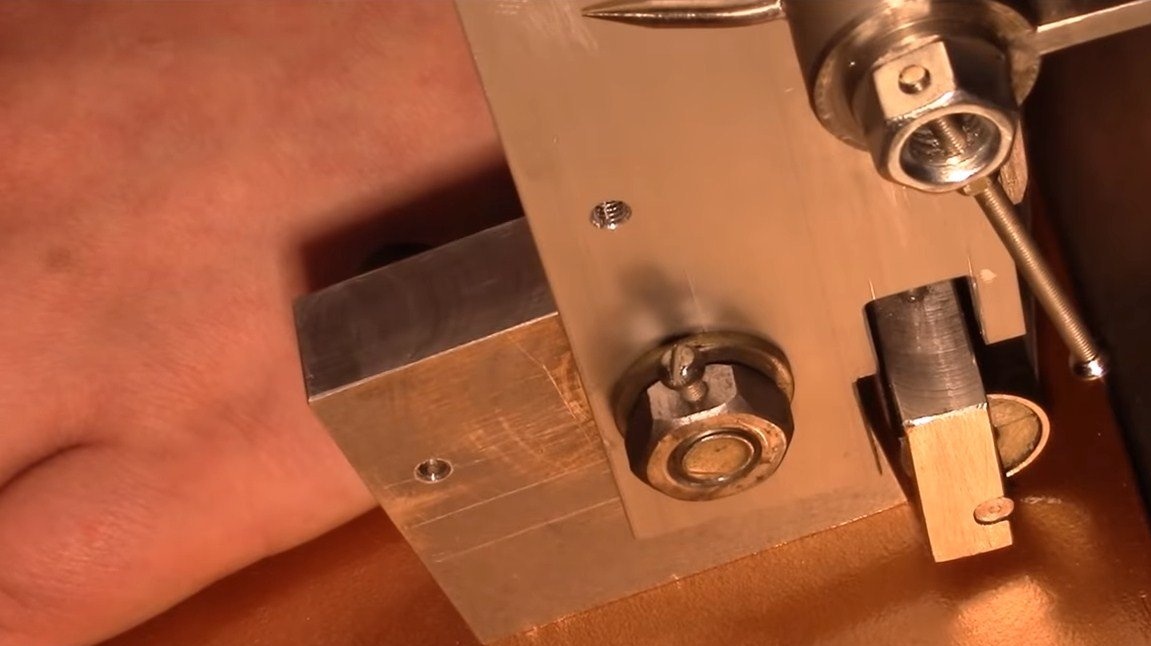
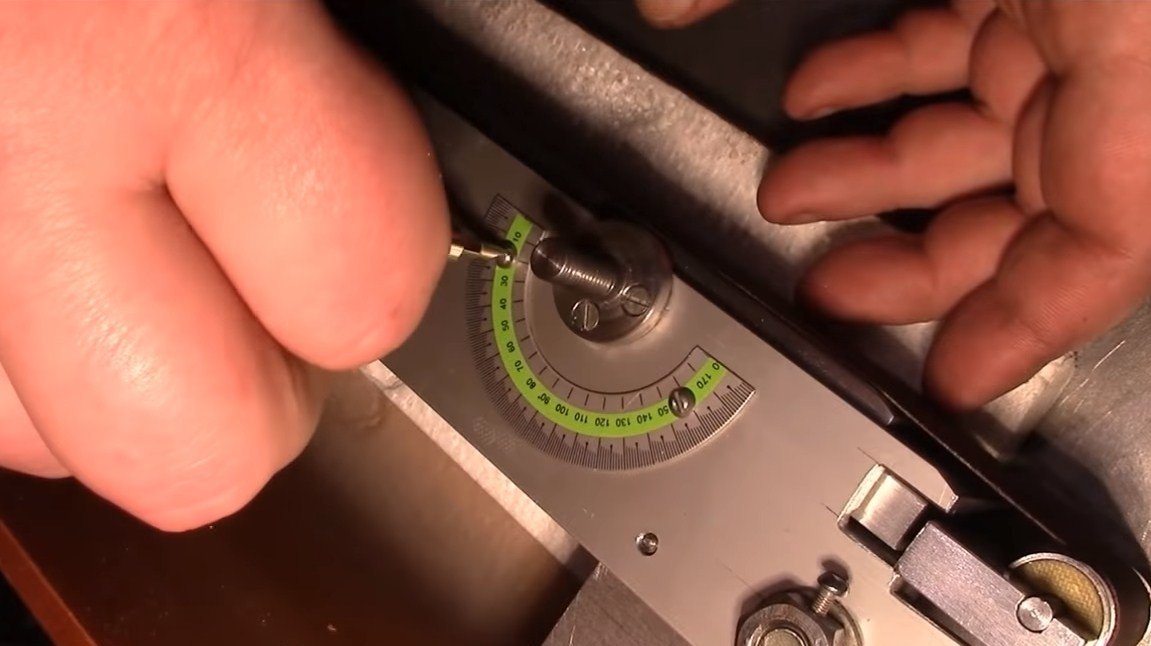
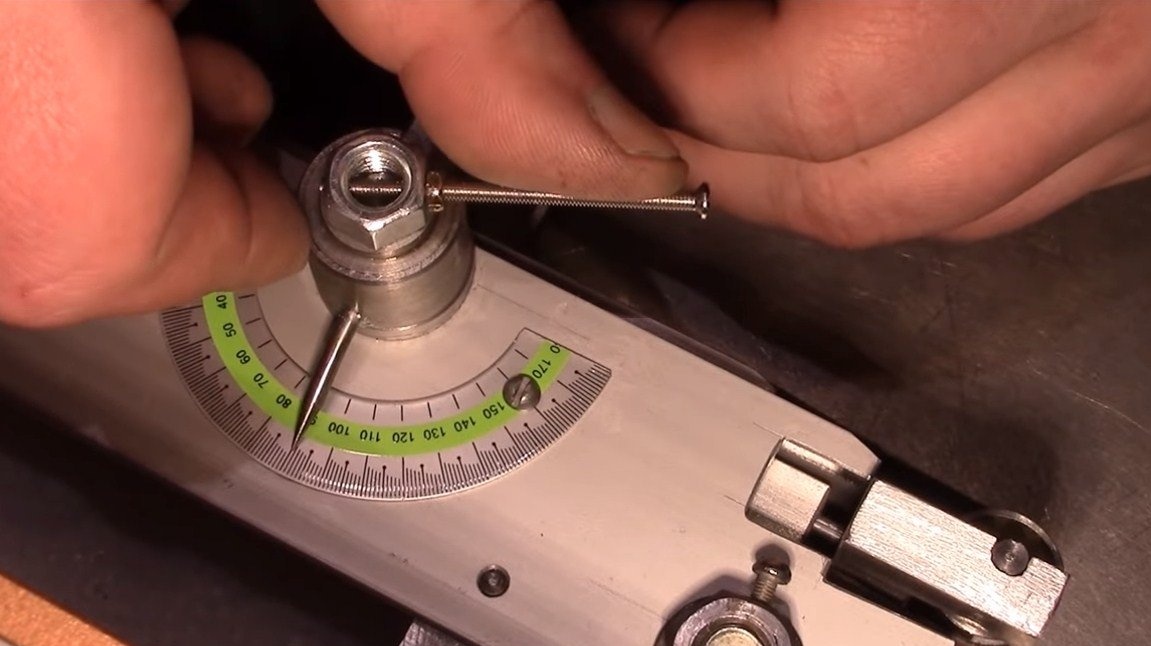
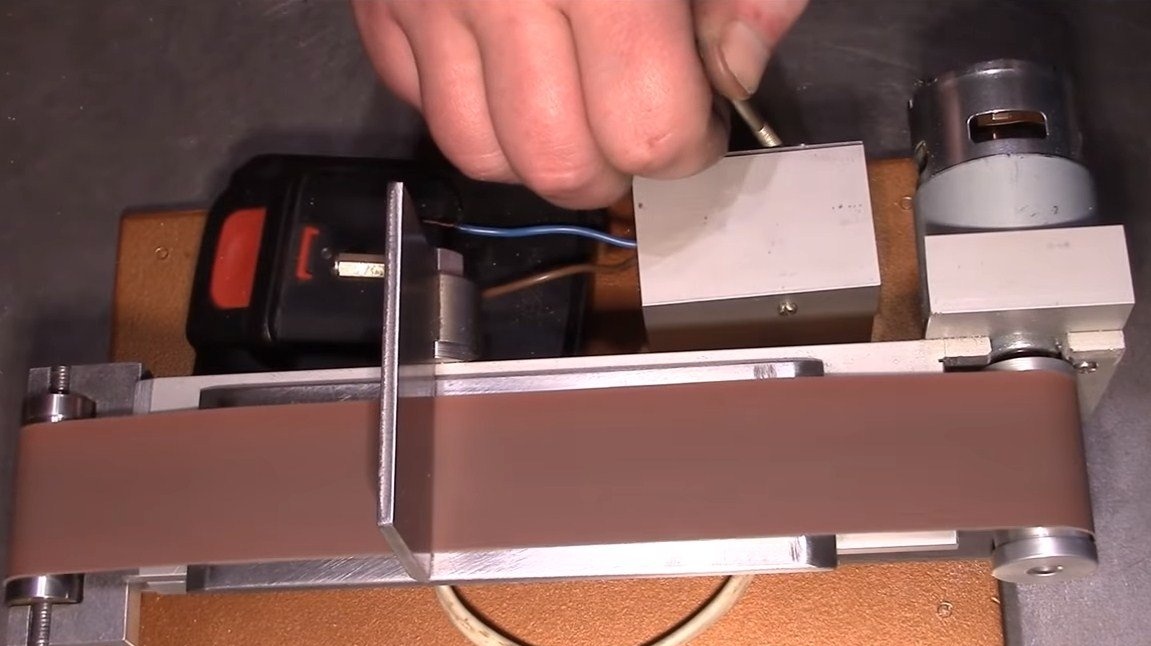
Step Six Handyman and final improvements
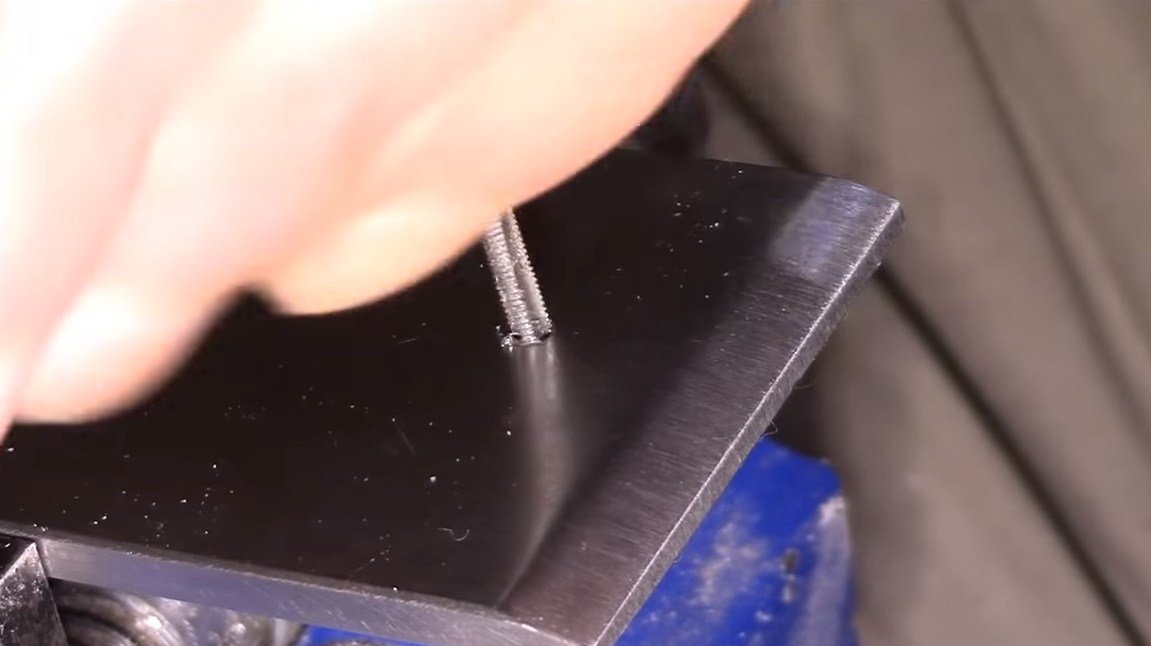
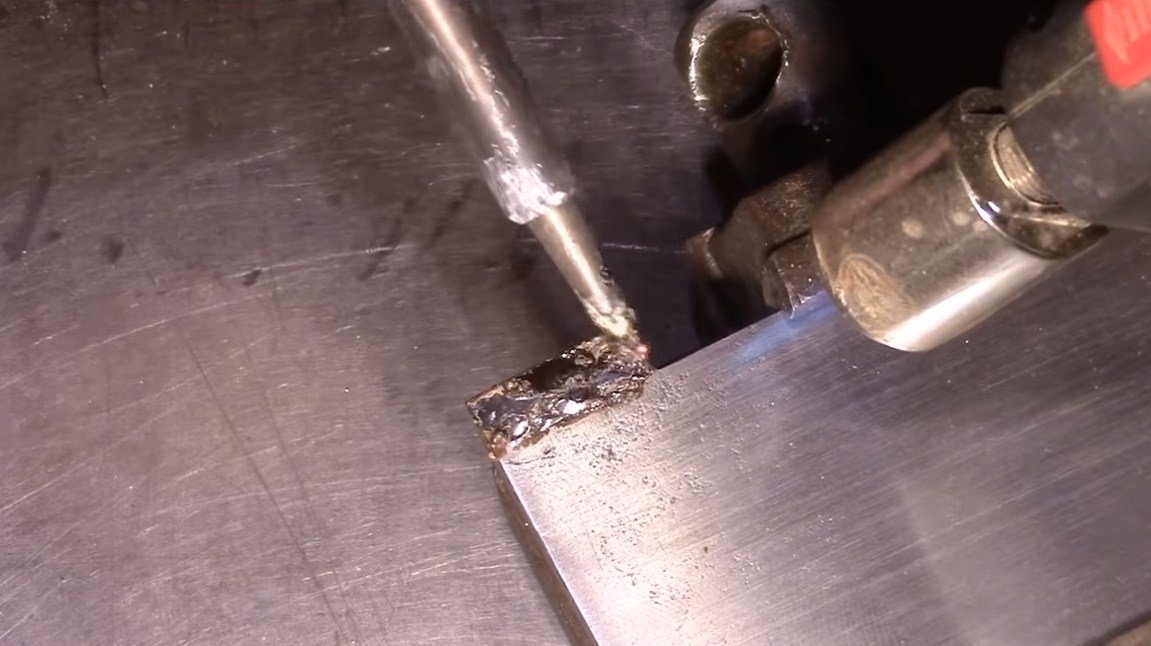
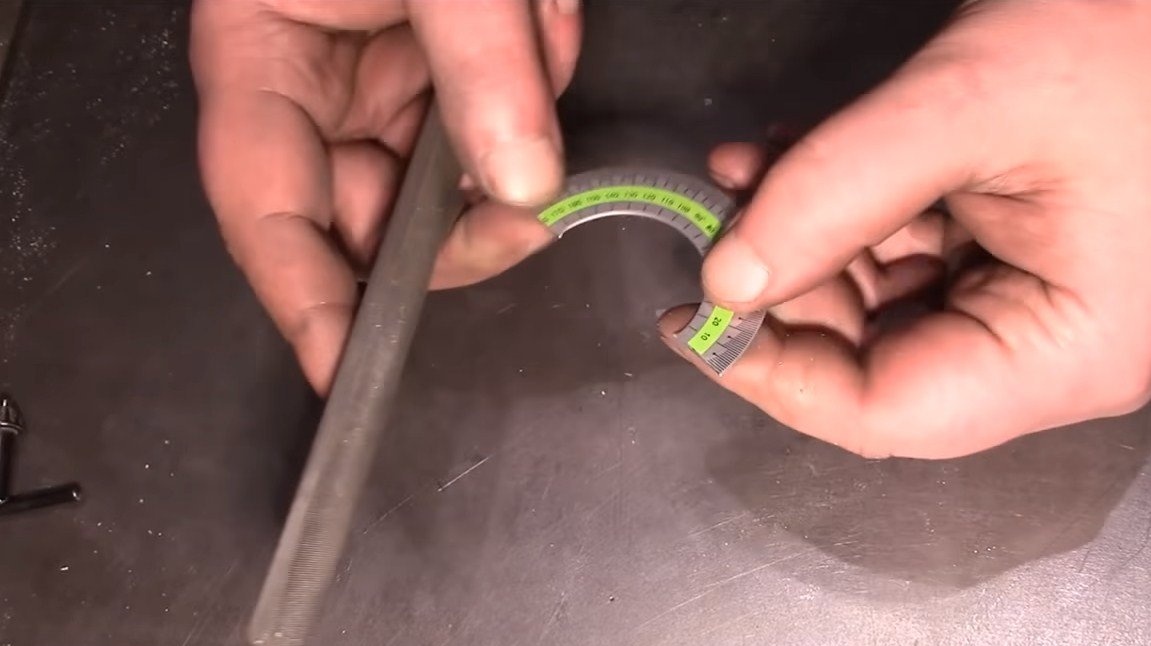
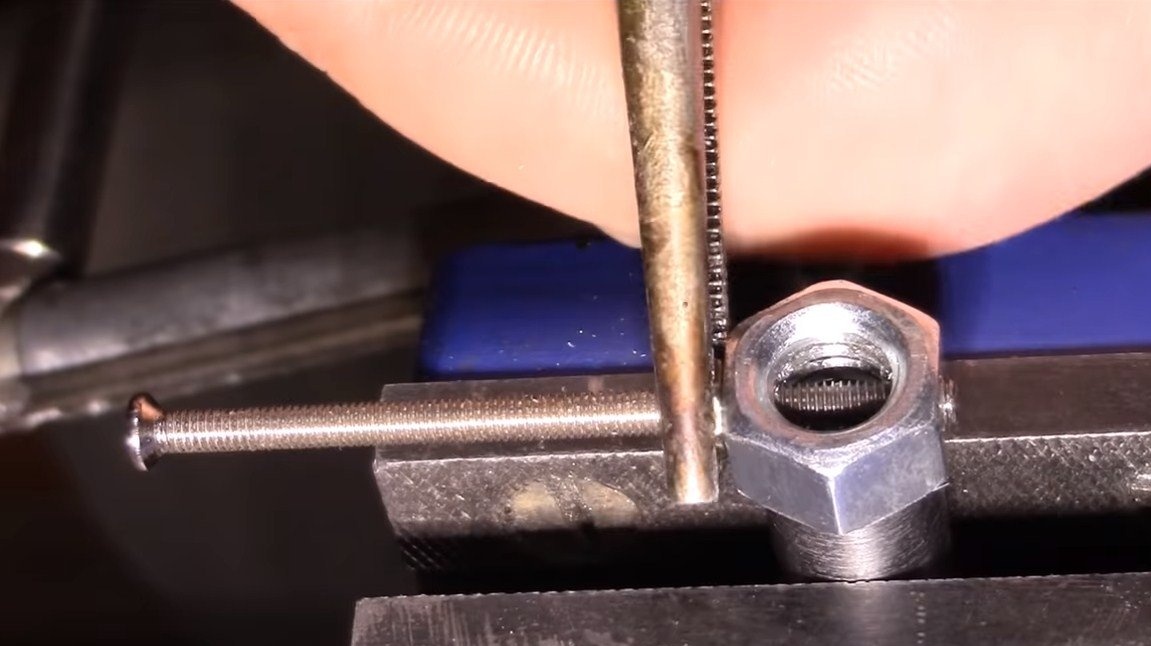
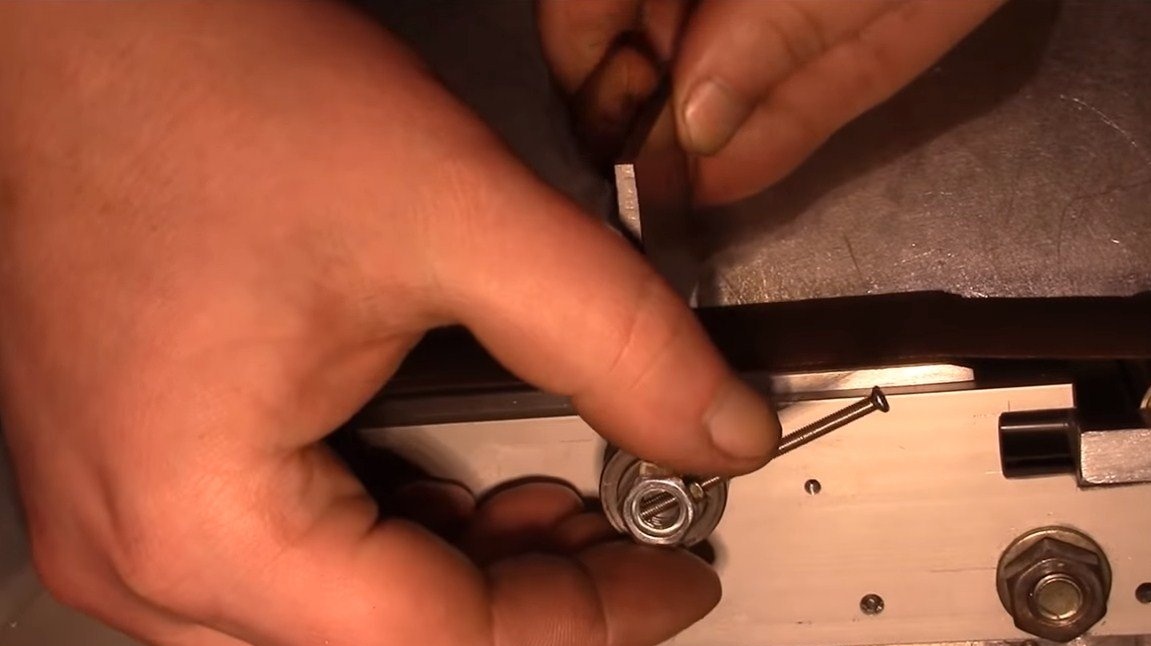
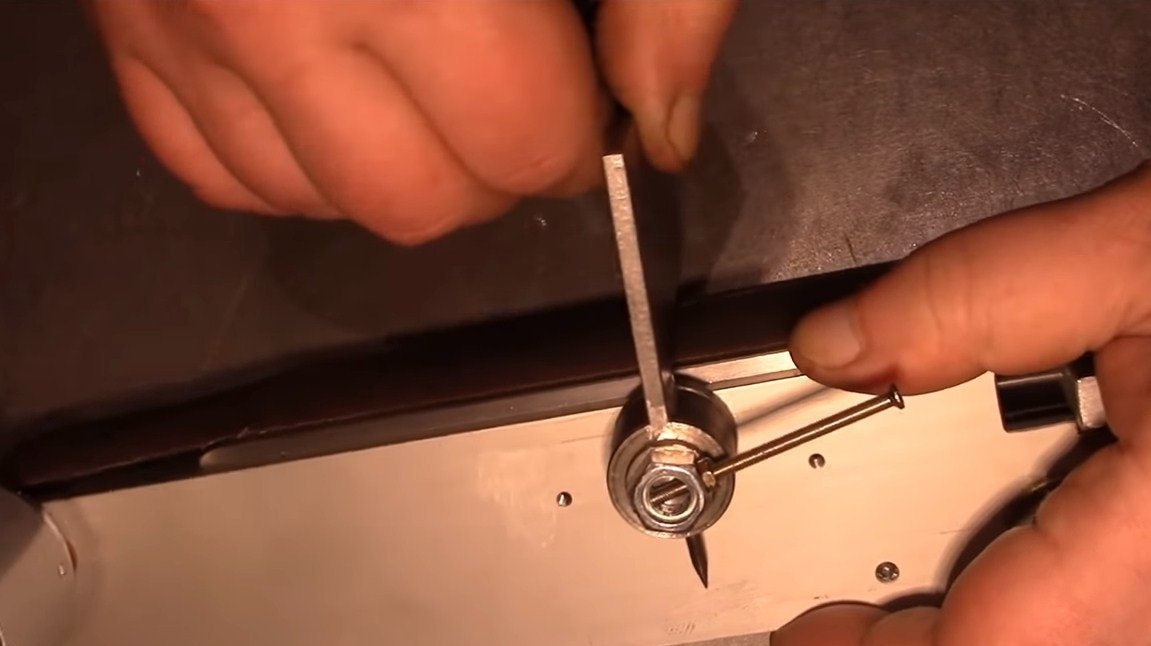
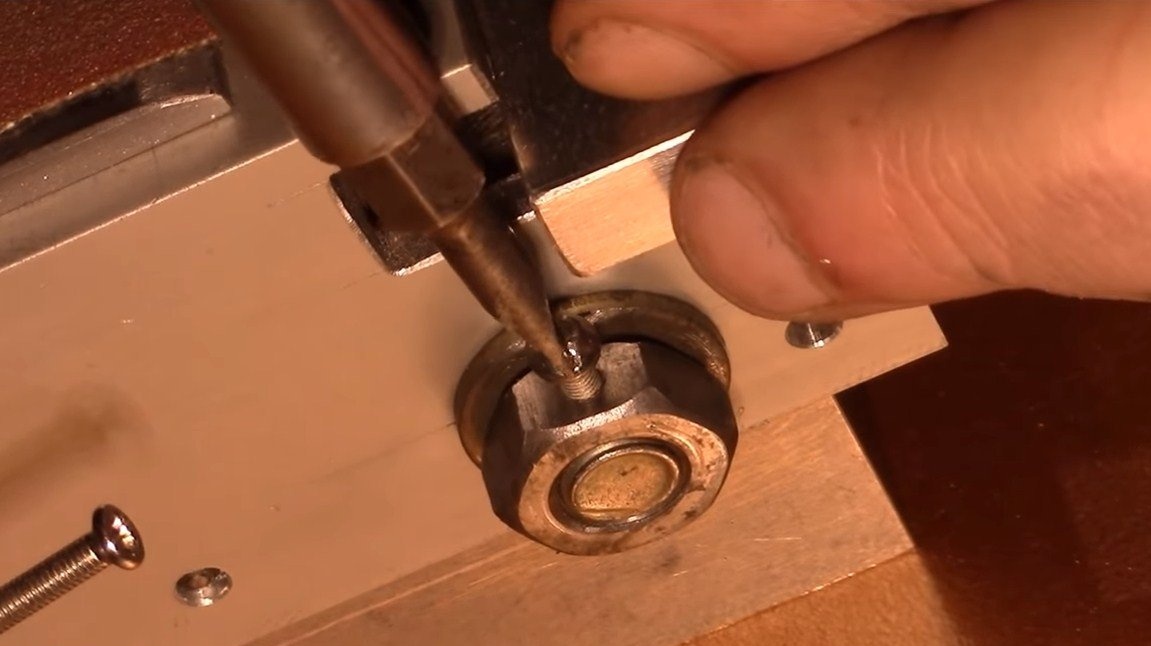
We’ll make a handy; the author sets it at the right angle, and the angle is visible on the scale from the school protractor. The author solders the handyman to the aluminum part, and also uses screws and nuts to assemble the entire structure. We cut off the excess from the protractor and fasten it to the machine, we make an arrow from a sharpened bolt or nail.
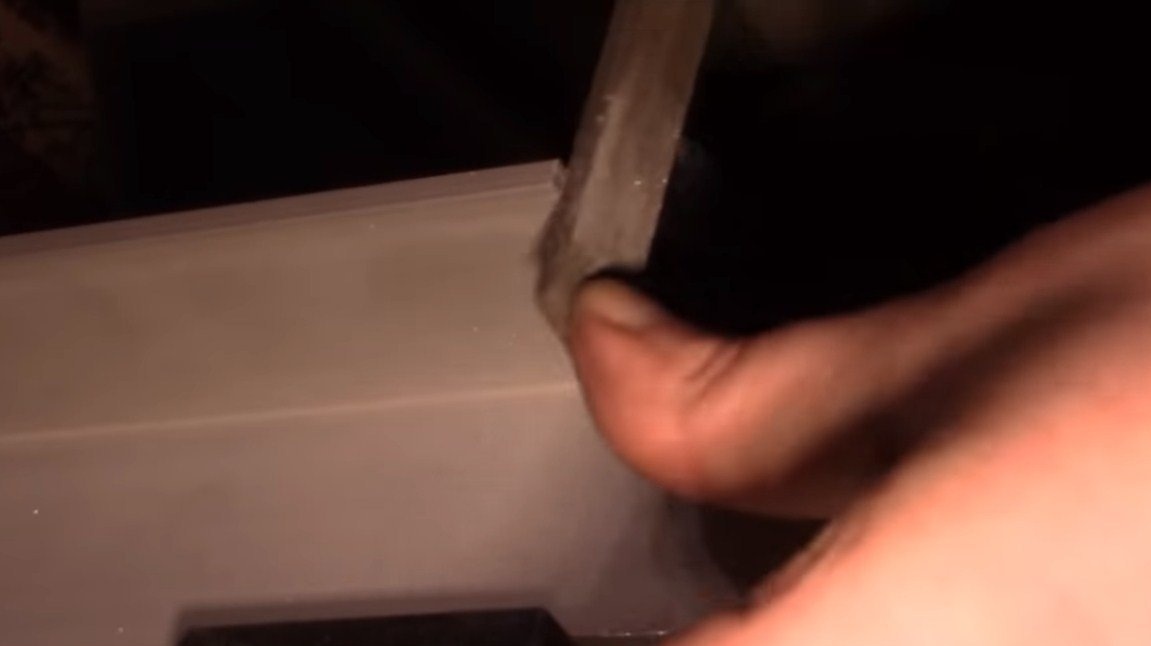
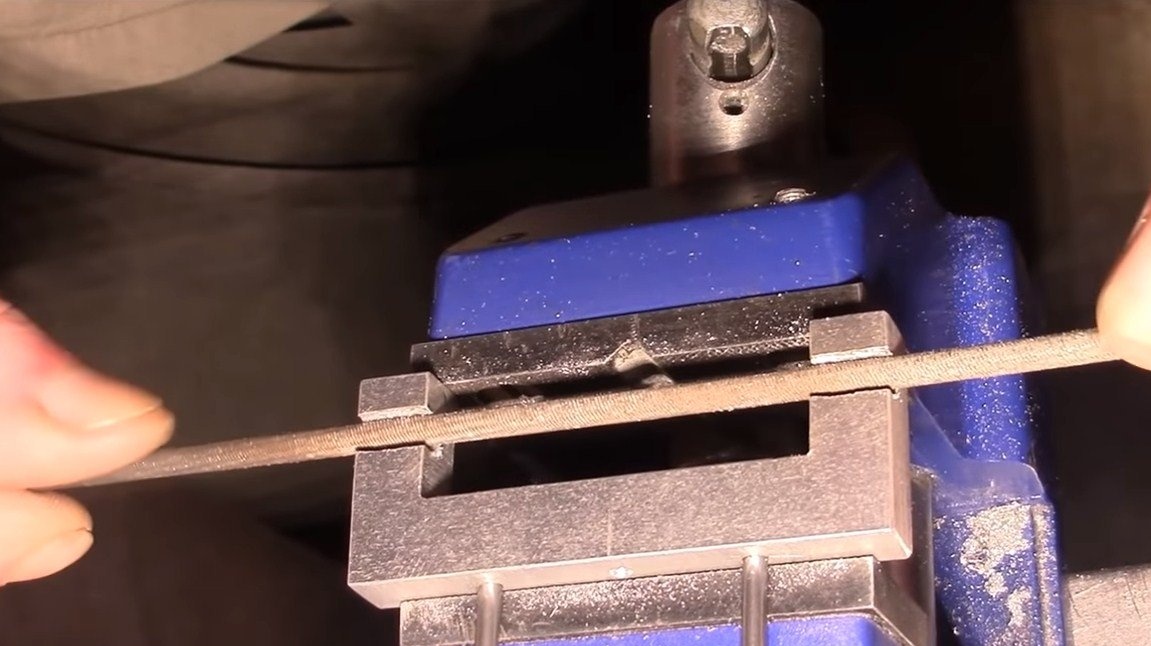
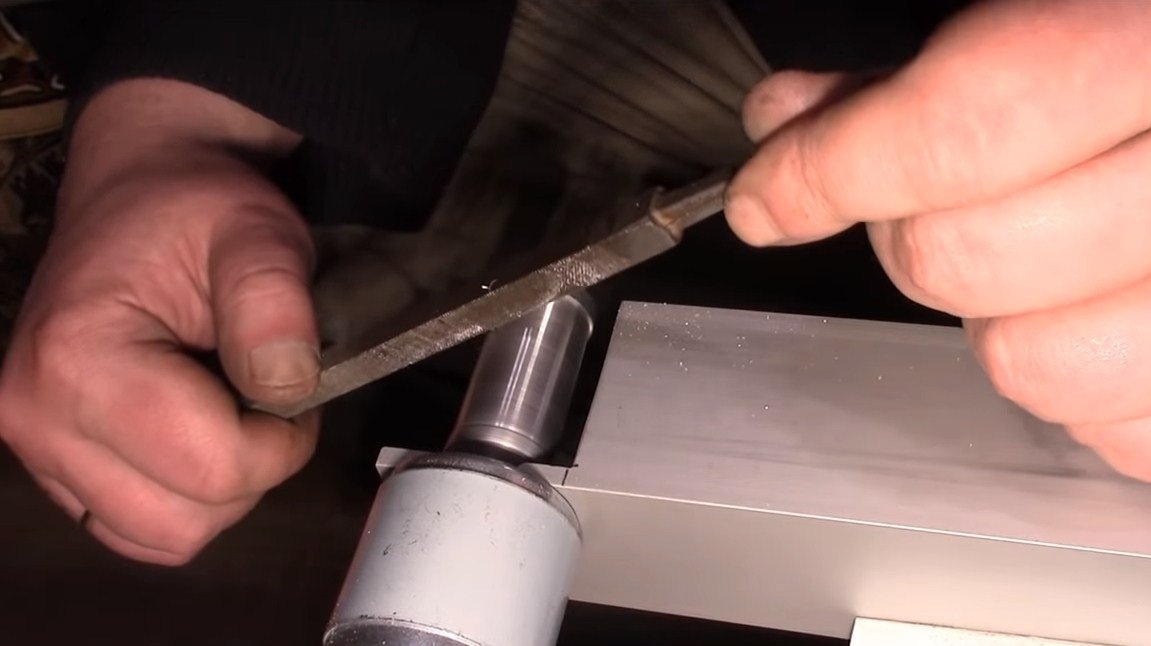
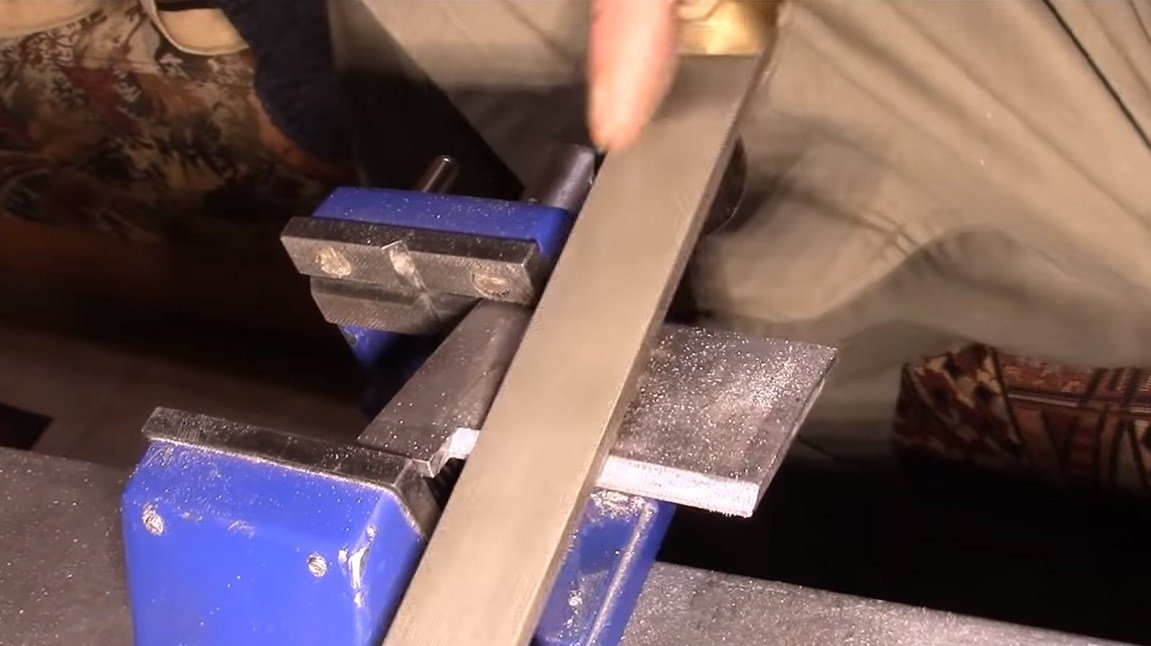
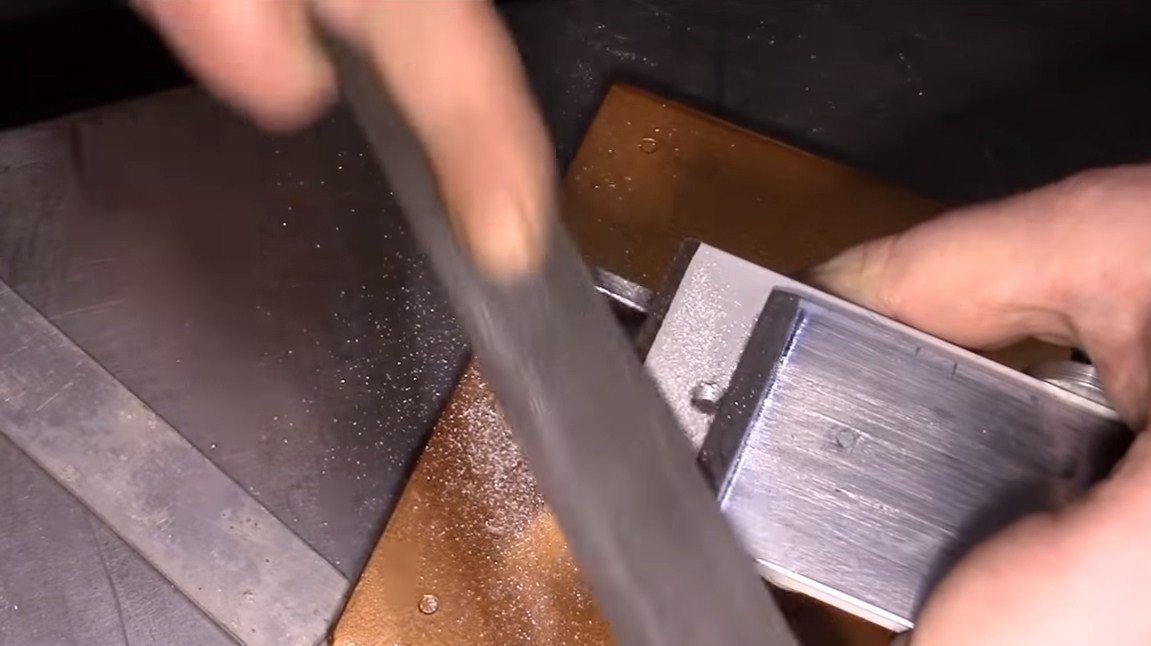
To prevent the tape from rubbing against sharp edges, the author stoch them as a result with a file.


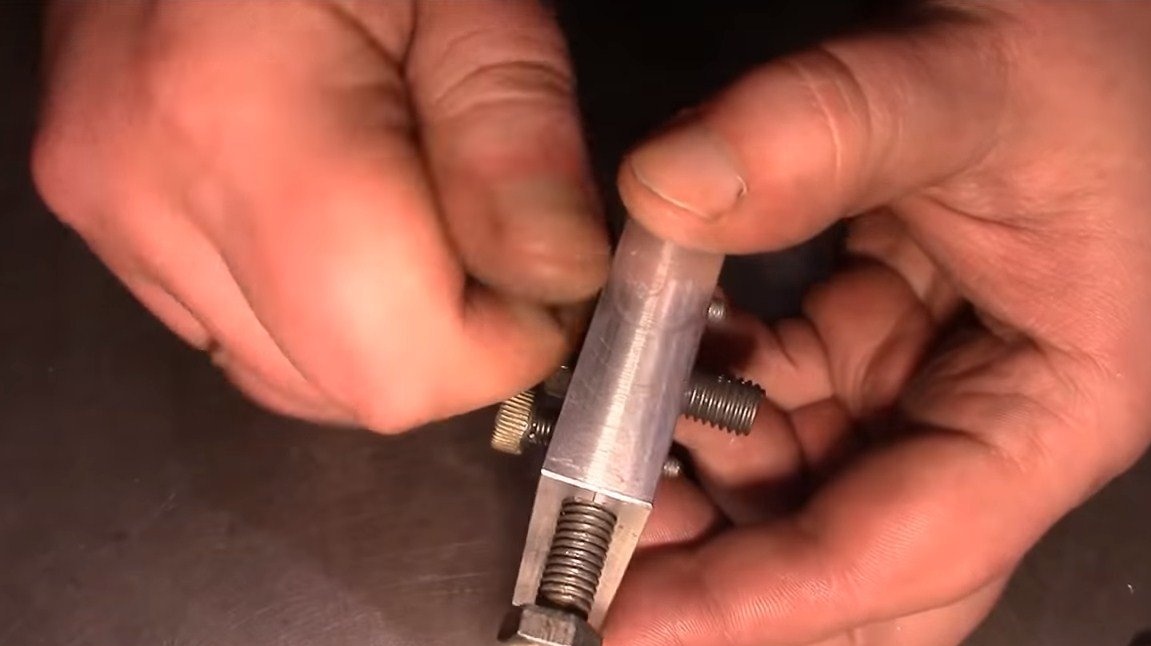
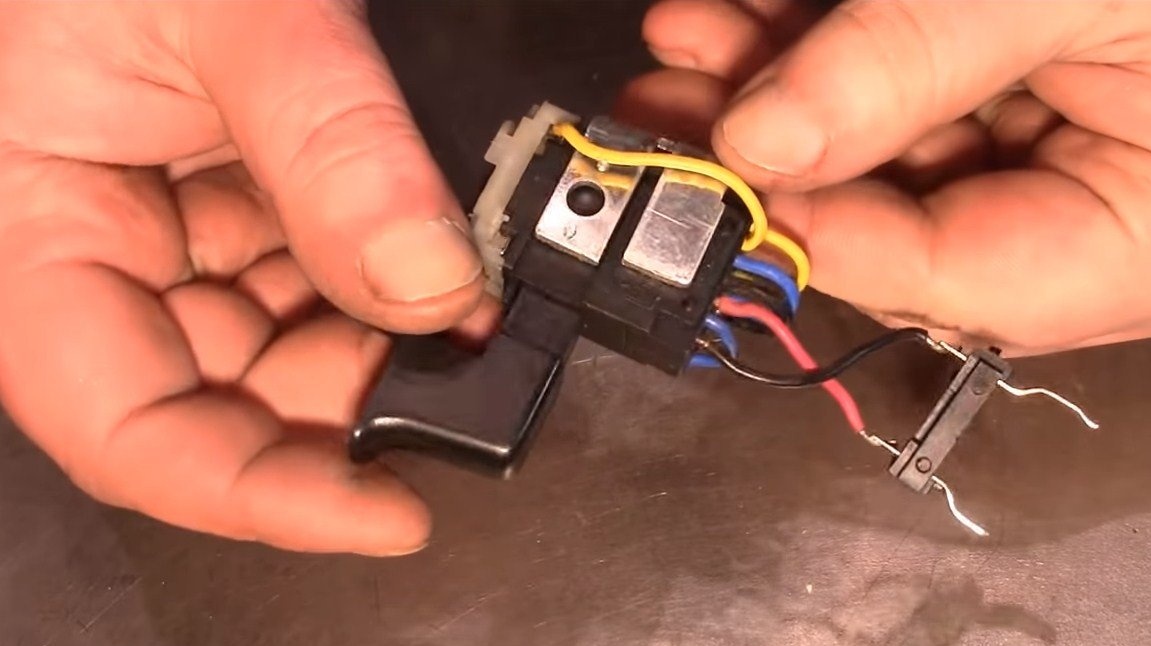
Seventh step. Switch
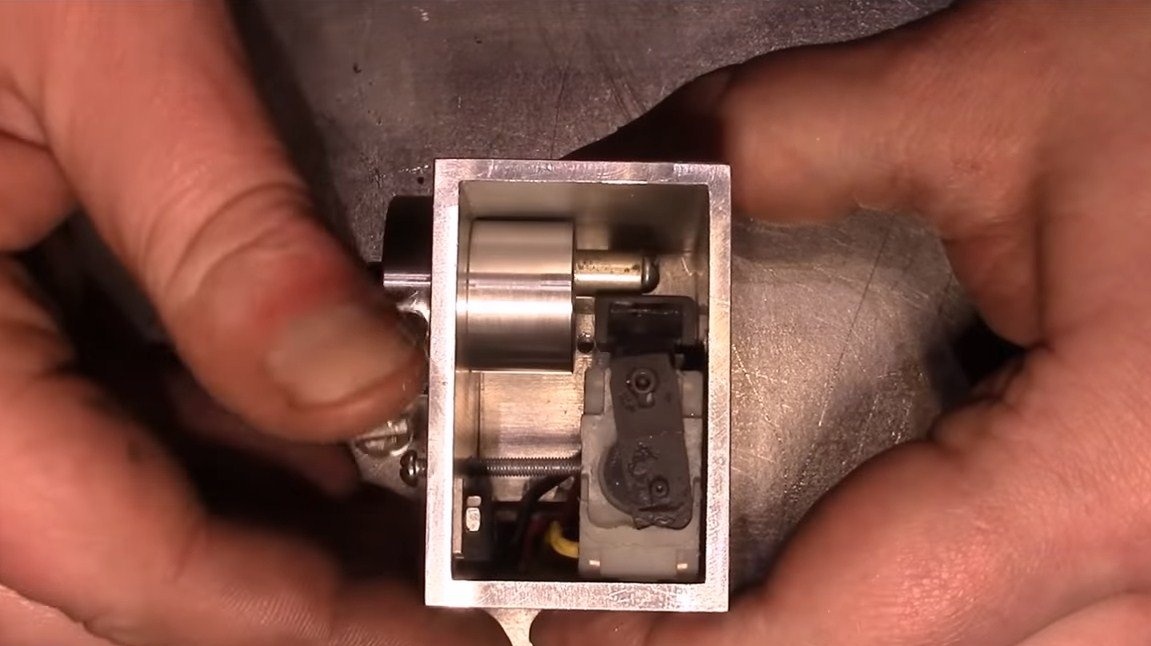
To control the speed of the machine and turn it on smoothly, the author adapted the switch from the screwdriver. The switch was installed in the housing from a profile pipe, the handle was machined on a lathe. At first, everything worked, but in the end, the switch broke down as a result of high currents. So it’s better to buy or make a special speed control for such a machine.
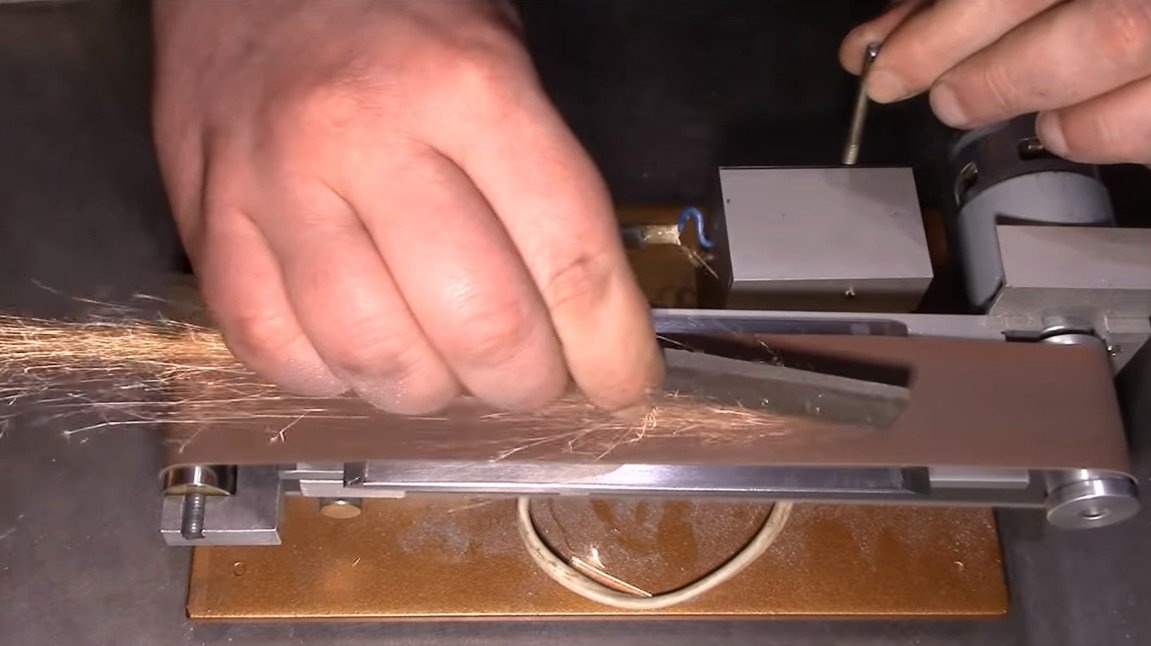
Step Eight. Testing
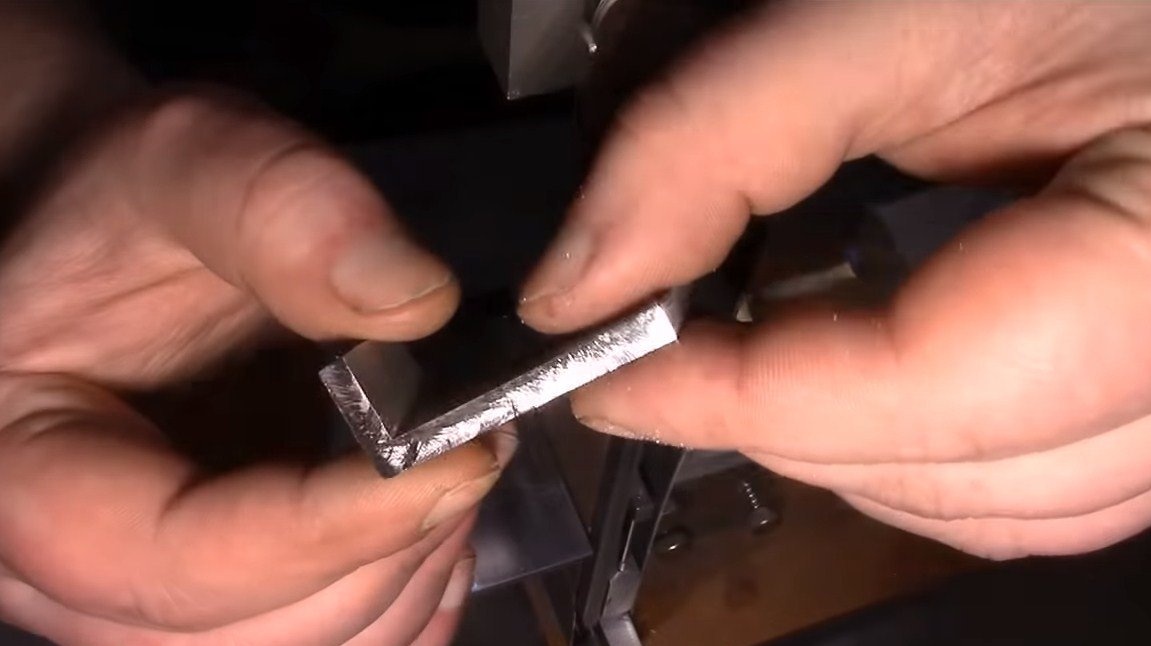
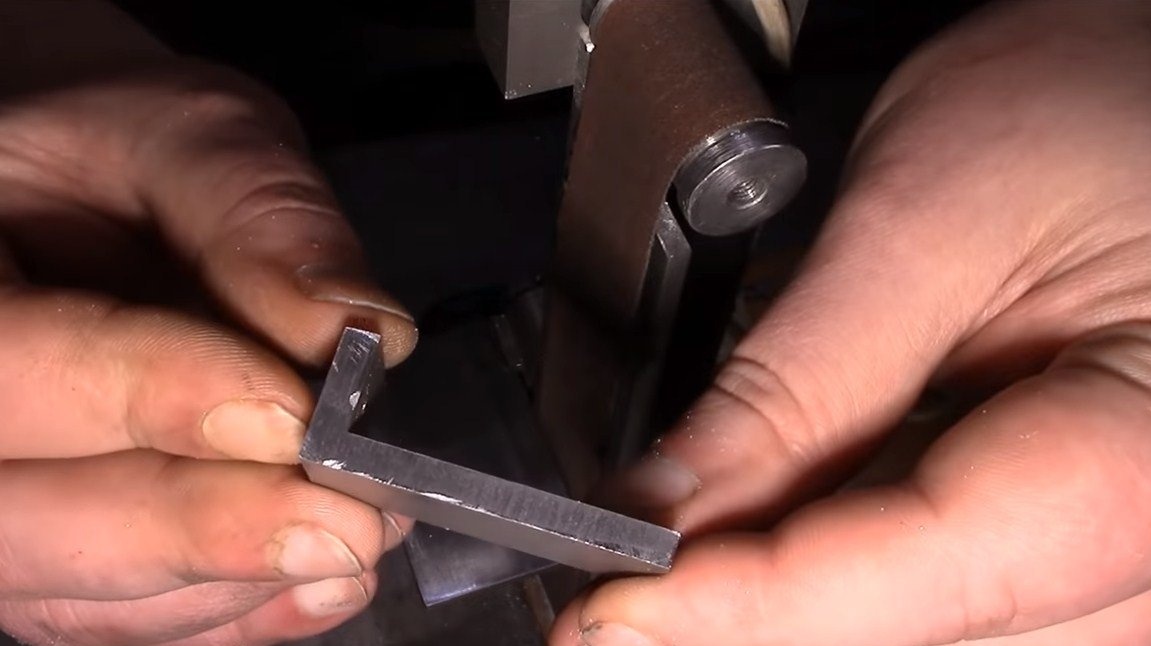
The homemade product is ready, turn on the car and try it in work. It grinds the machine perfectly, when grinding steel, very thick sparks fly, which indicates high speeds of the machine. The machine also copes with all other expected tasks perfectly, the project was completed successfully.
I hope you enjoyed your homework, good luck and creative inspiration, if you decide to repeat this!