

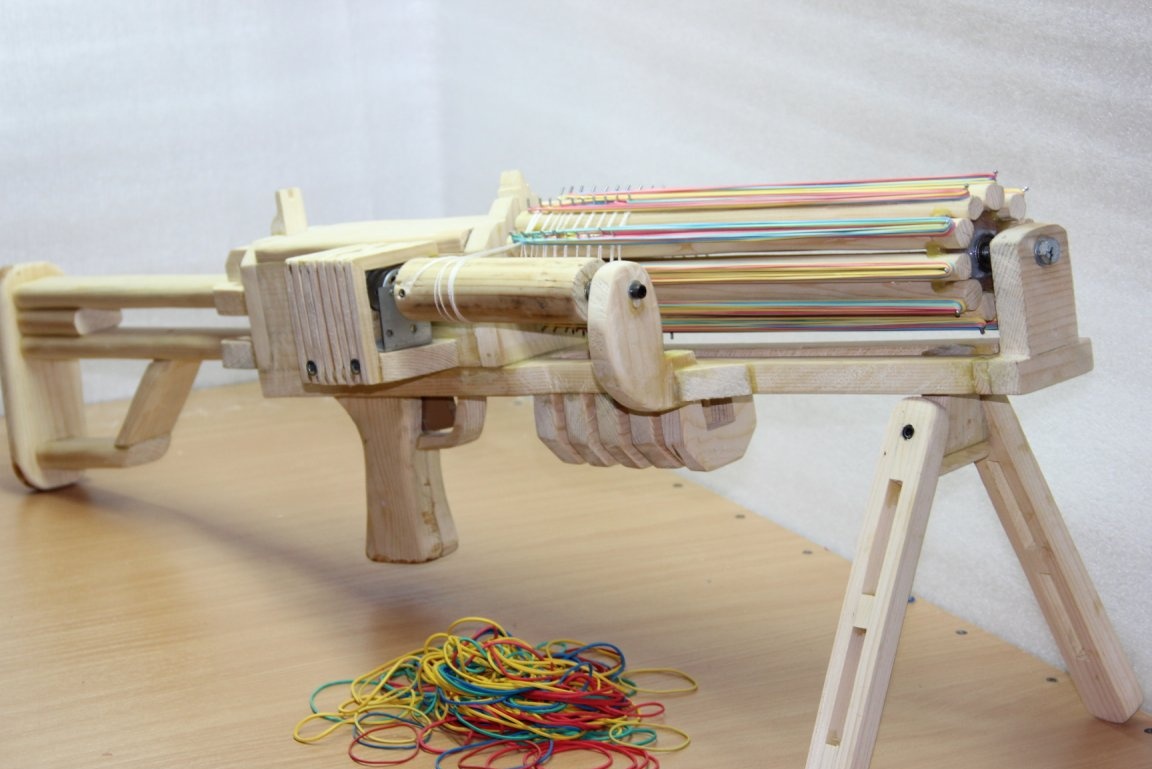
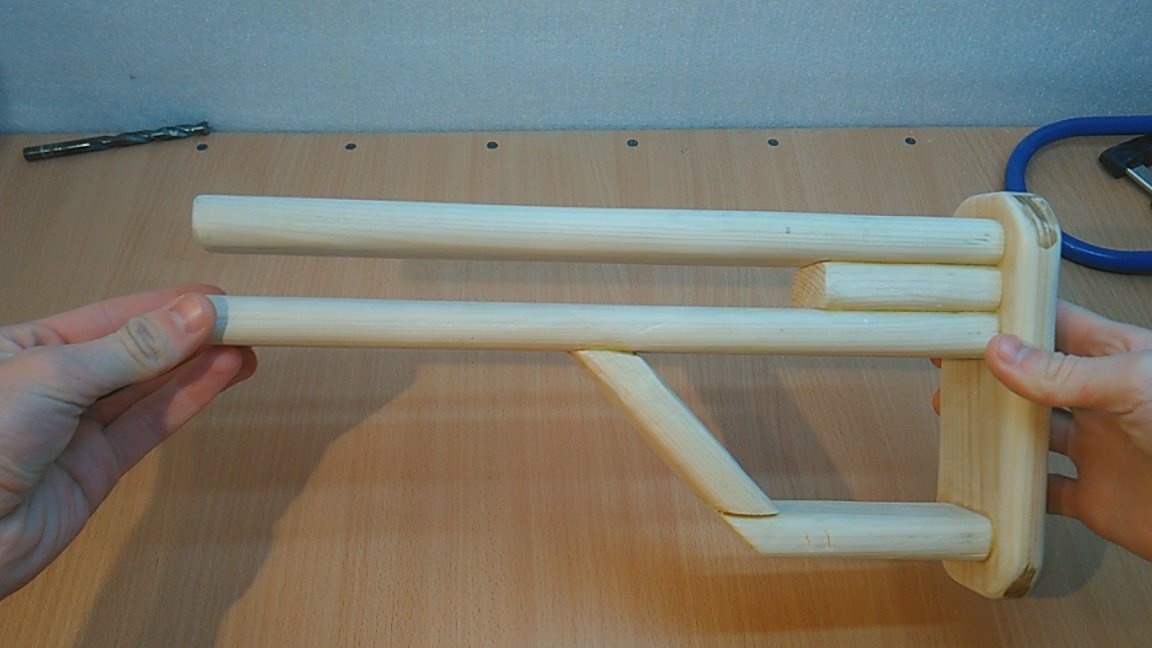
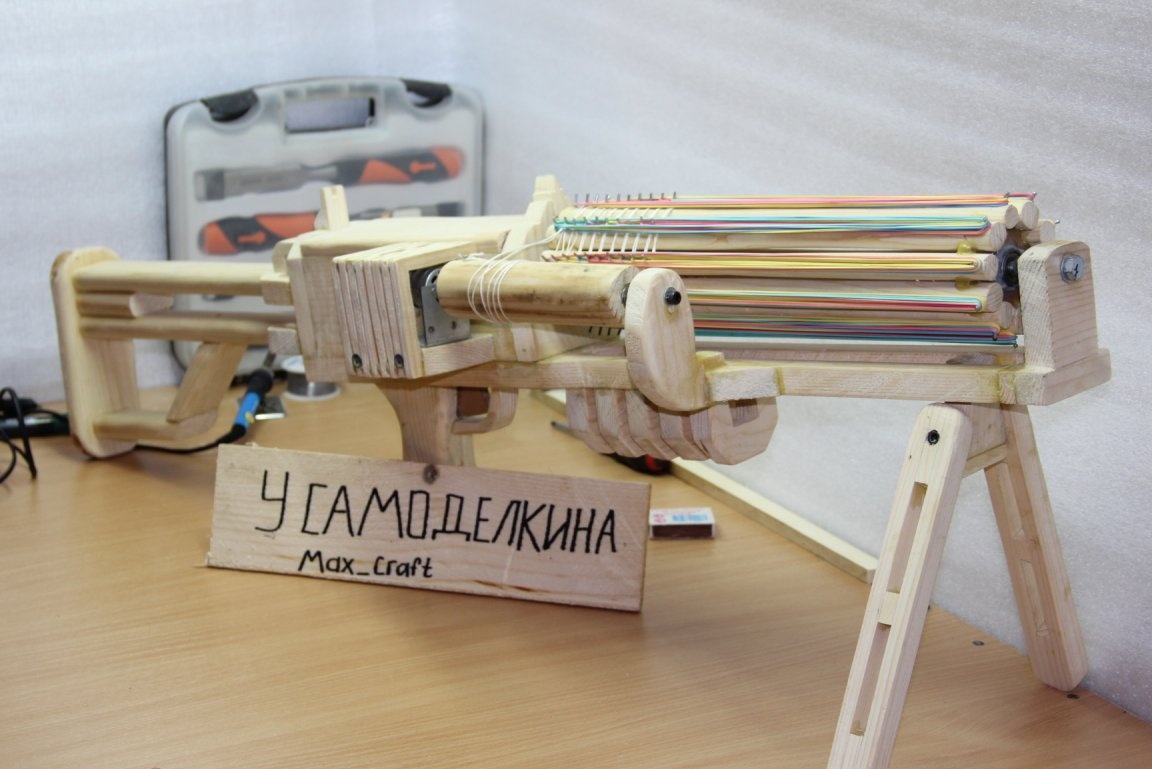
Have a nice time, Lord! In this article I will tell you and show you how I did such a miracle-weapons from wood. I still couldn’t decide on the name, whether it was a machine gun or a minigue, but that’s not the point. His main task is to shoot with rubber bands, which he copes with a bang. Given homemade It does not pose any danger to people and animals, because it is a rubber arrow. I spent almost a month on its creation, sawing, assembling, and gluing this unit in the evenings. I practically did not make any drawings; there were only small pencil sketches on sheet A4. Everything was in my head and was done "by eye" (engineers forgive me). For this machine gun, I loaded 130 gum, but you can charge 3 times more if you charge not in one row, but in 3. Well, okay, it's time to start the show and the story, because the article will not be small.
I will tell you the necessary materials and tools along the way.
Testing and manufacturing of the rubber arrow, you can see in my video:
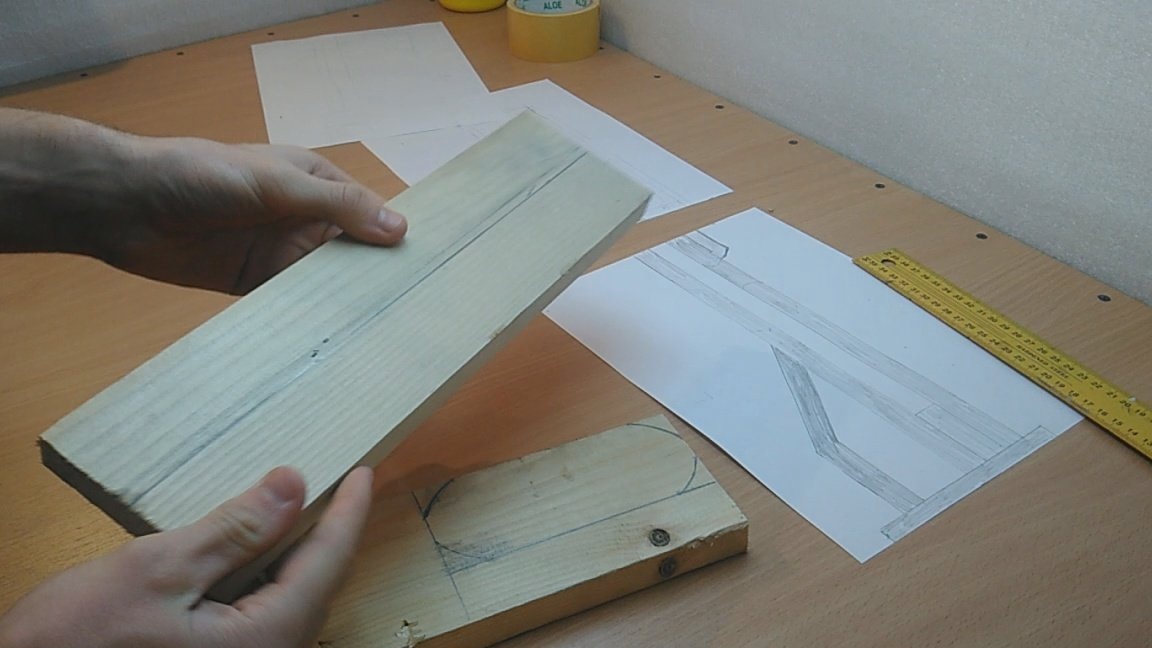
Step 1: I decided to make a rubber arrow from the stock. All parts will be made of 20 mm thick boards. I repeat, there are no drawings, everything is "by eye". After we cut out all the necessary details, we proceed to the assembly. I connected the details with wood glue and screws.

This is what I got, it looks pretty pretty :)
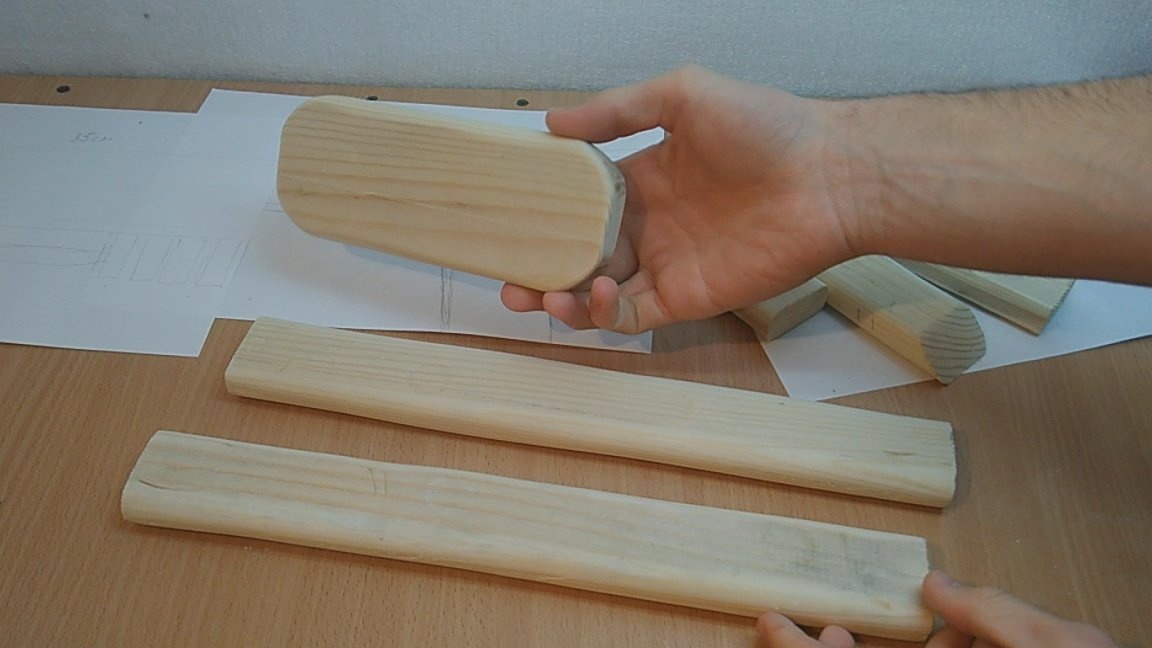
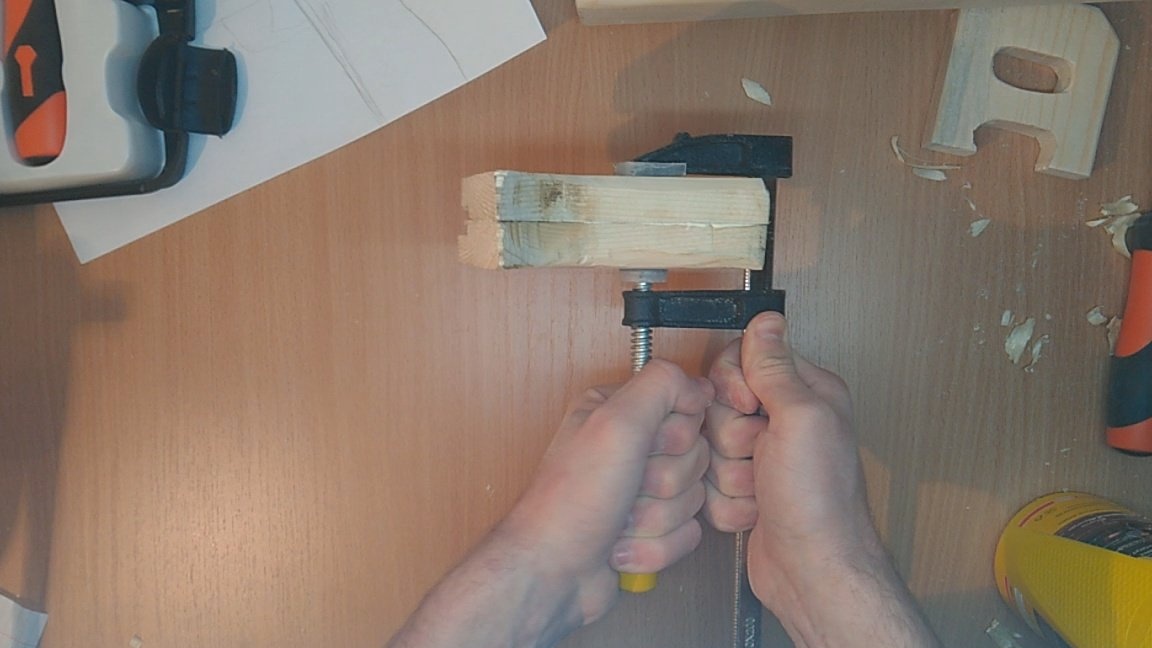
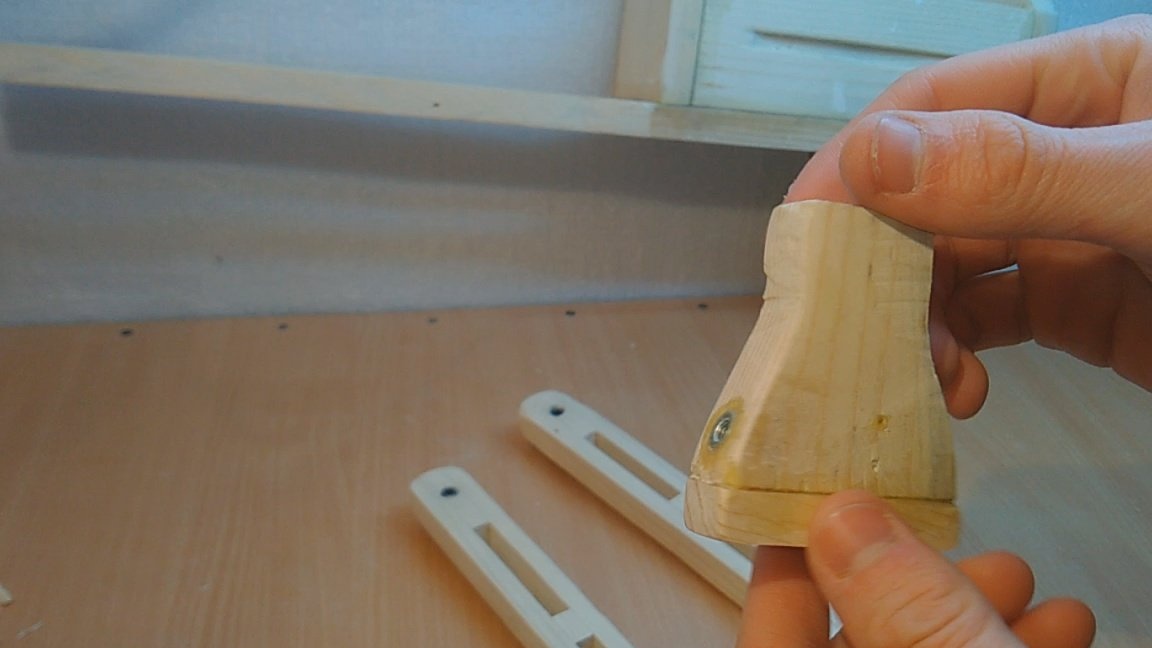
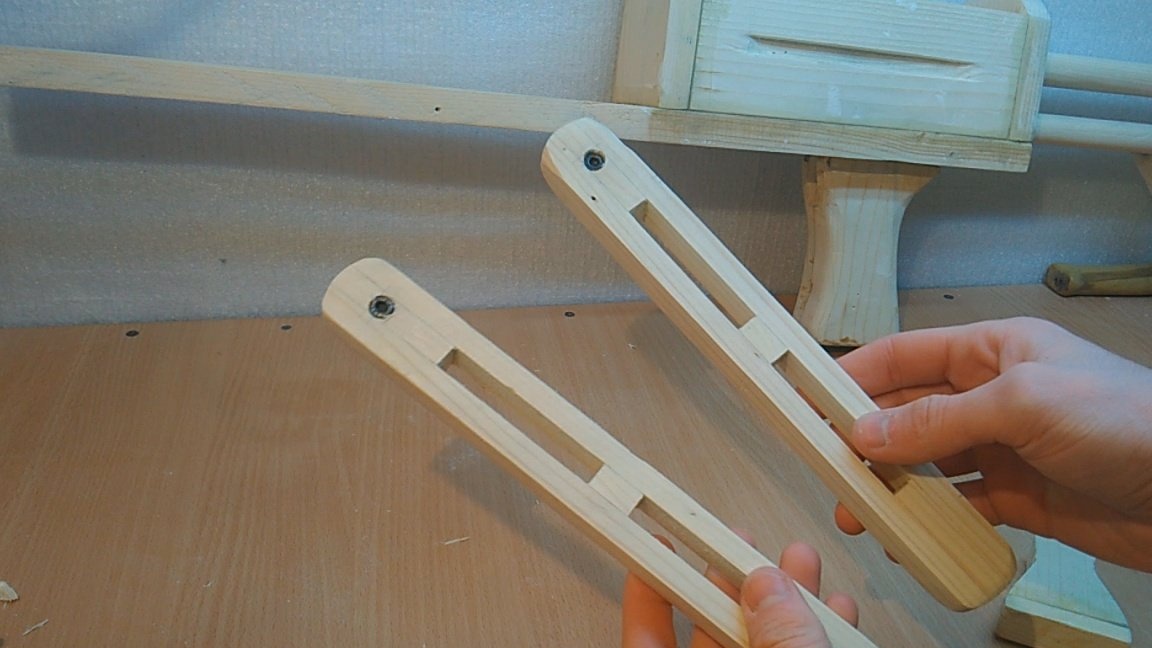
Step 2: Next, cut out 2 of these overlays from the board. It will be a hilt. We make grooves with a chisel, as in the photo, they are needed so that the trigger is pulled and has a "stroke". We glue them together with wood glue, and tighten with a clamp.
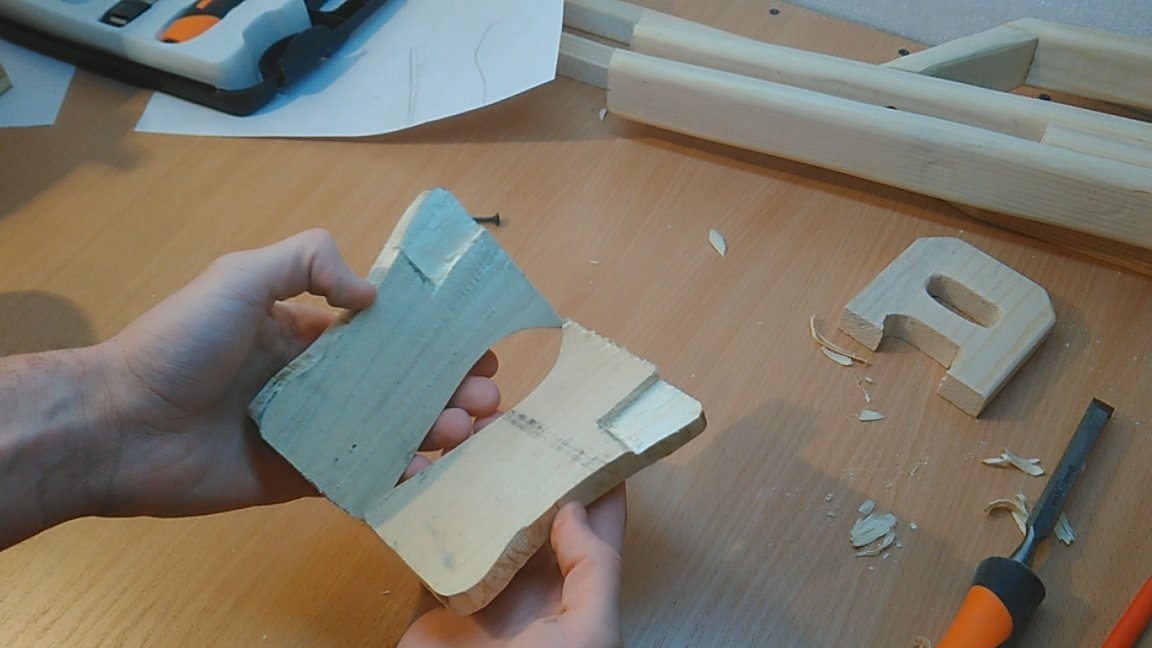
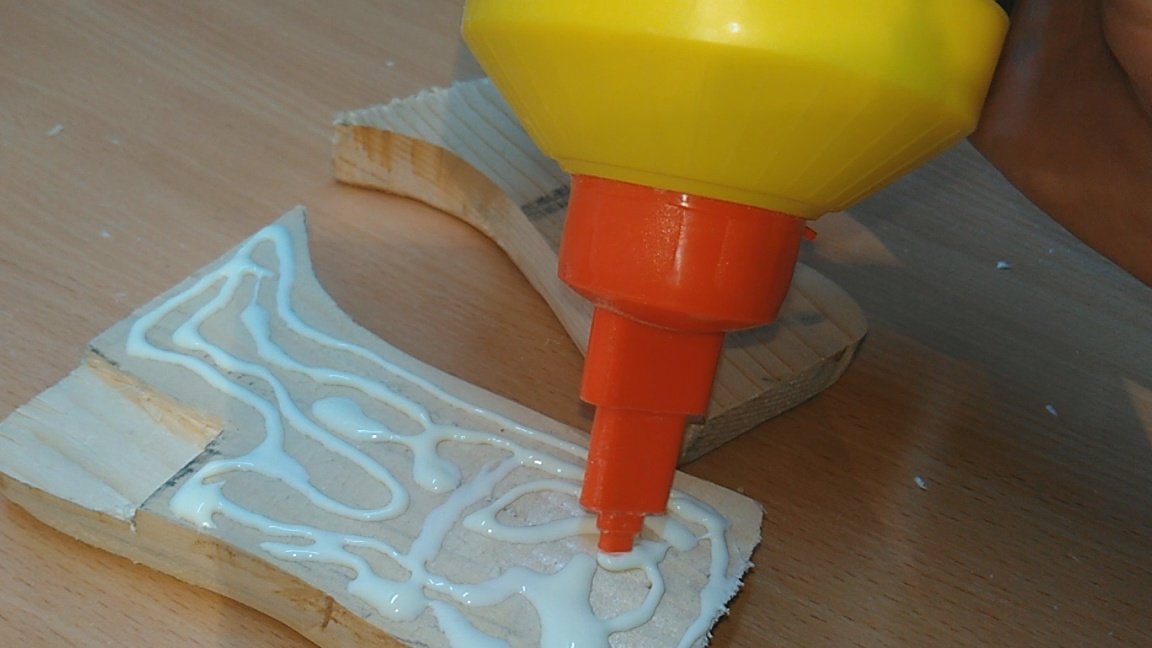
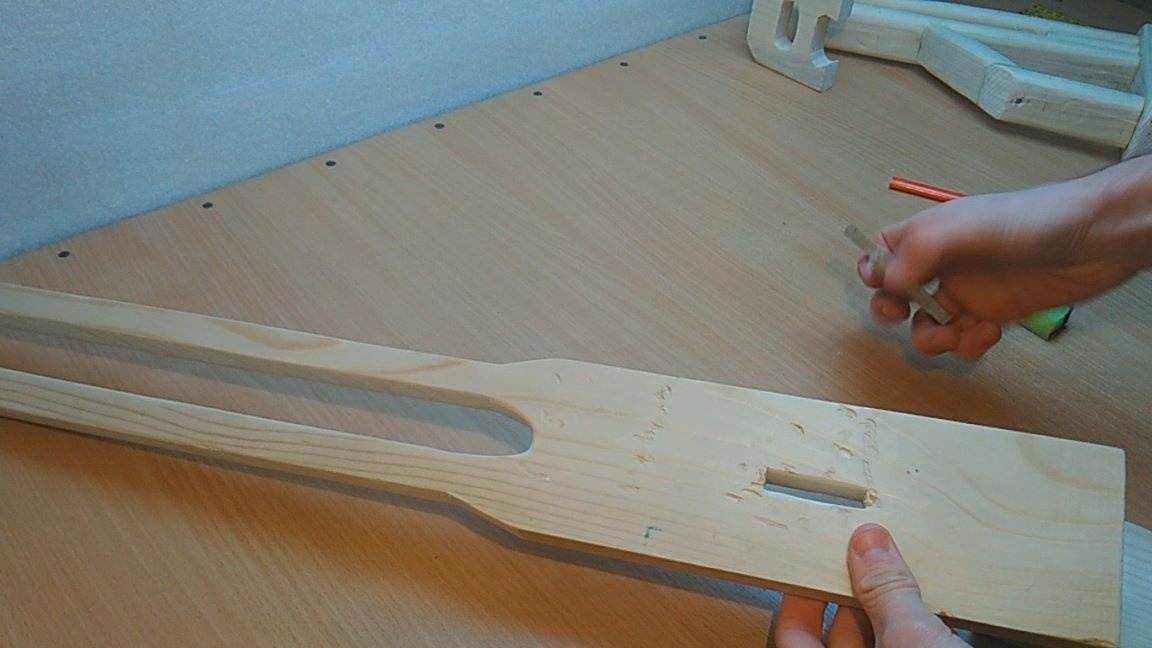
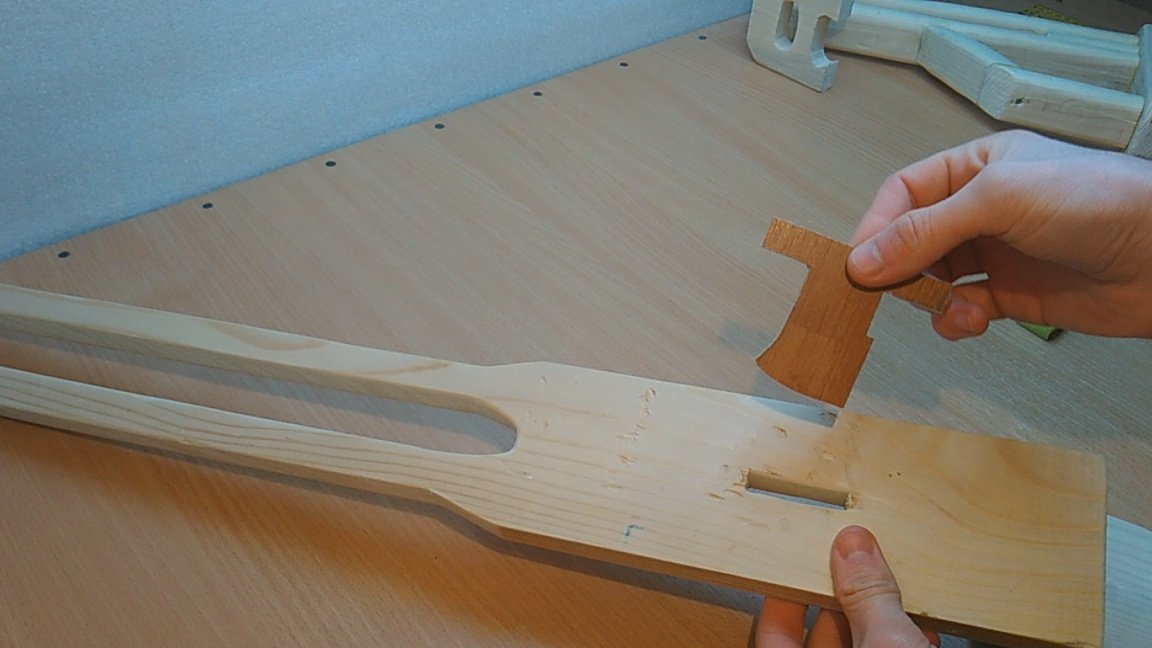
Step 3: From the same board we cut out such a detail as in the photo. It will be the "base", since all the details will be attached to it. Next, we make a small groove for the trigger. I cut the trigger from a piece of laminate. And then we glue the previously made handle and, for reliability, we screw 4 self-tapping screws.


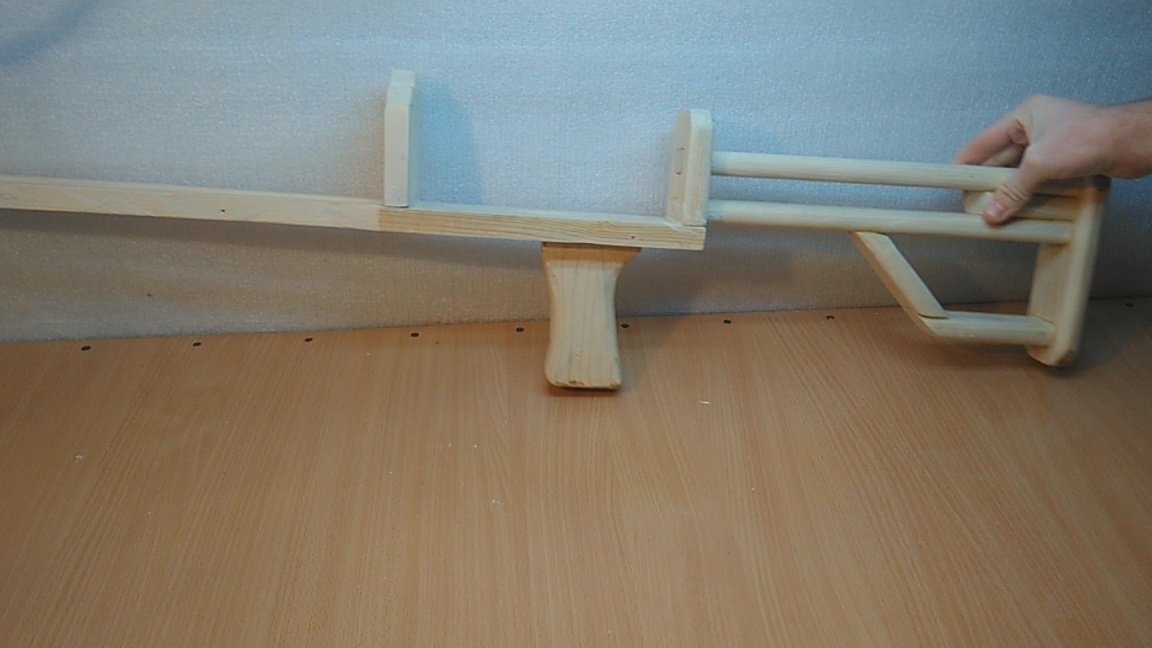
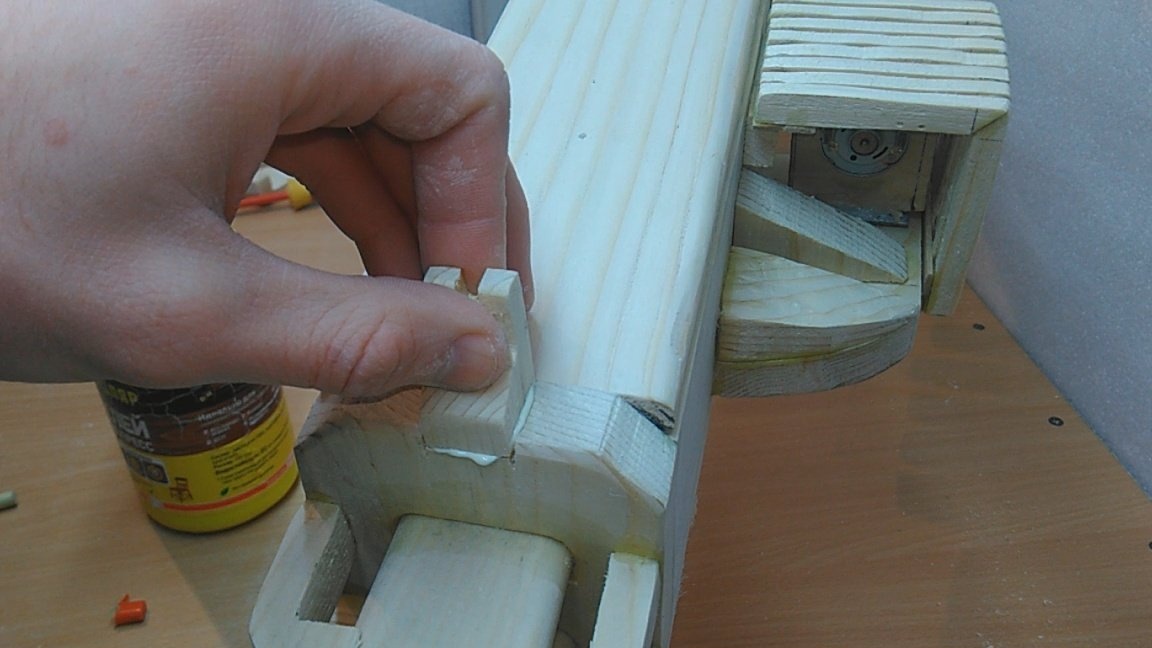
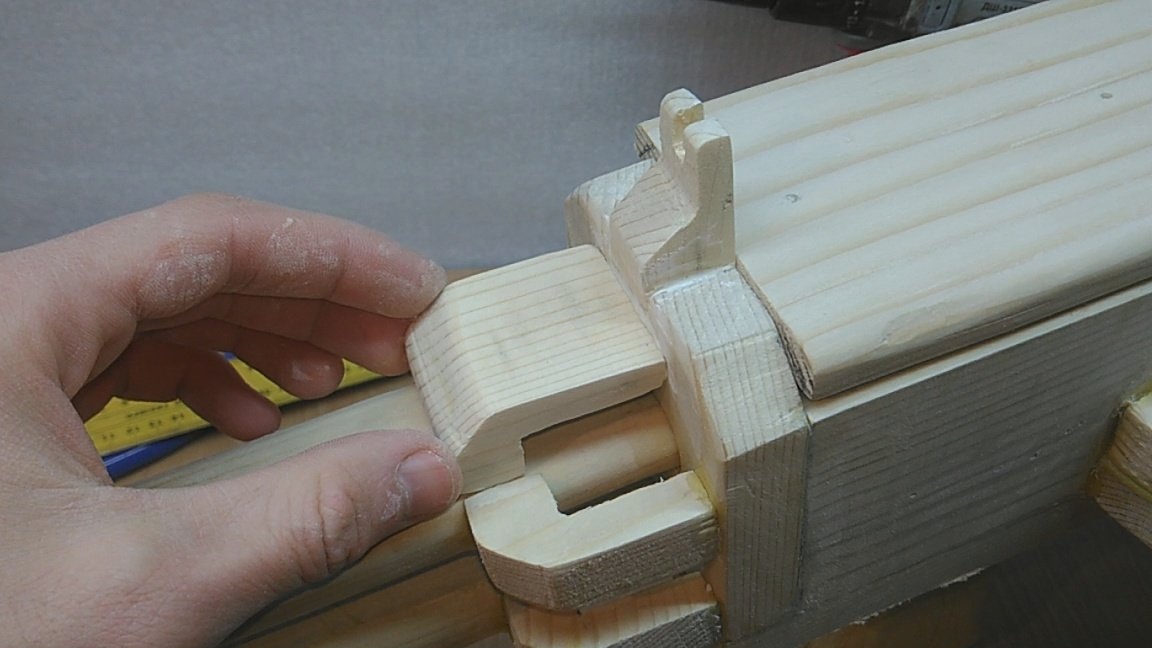
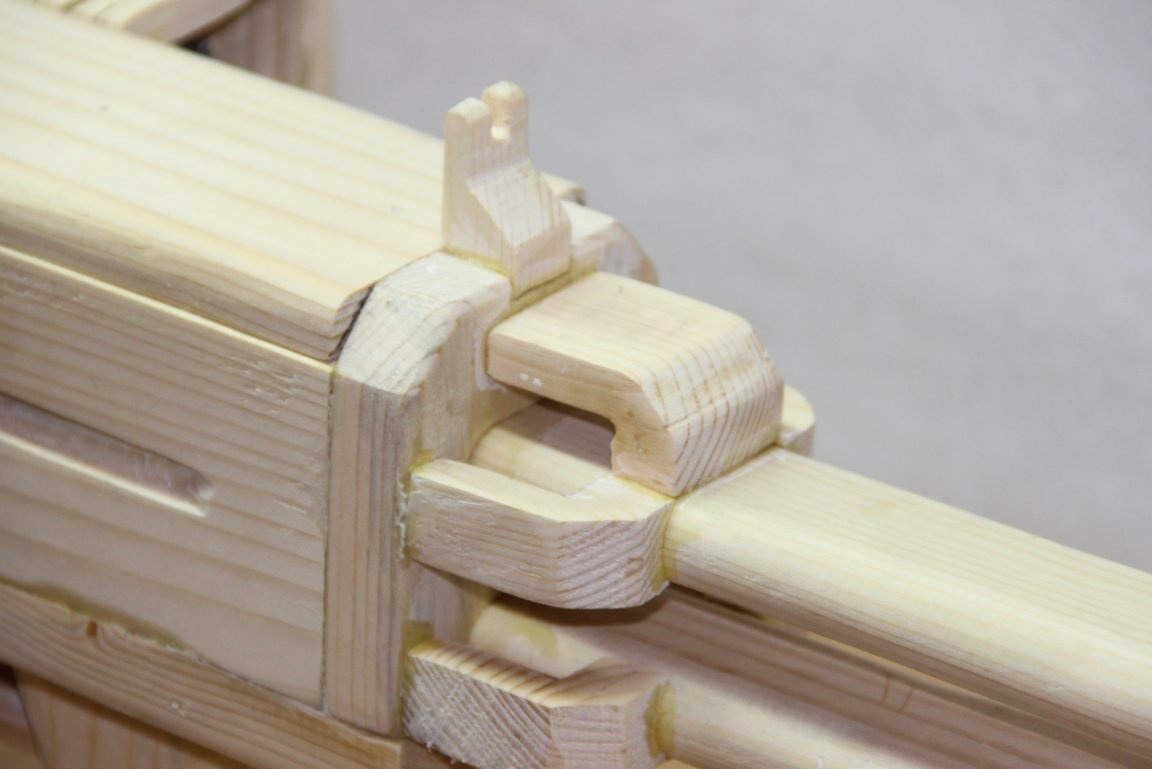
Step 4: Then we cut out two such details. And glue them to the base, and also glue the butt.
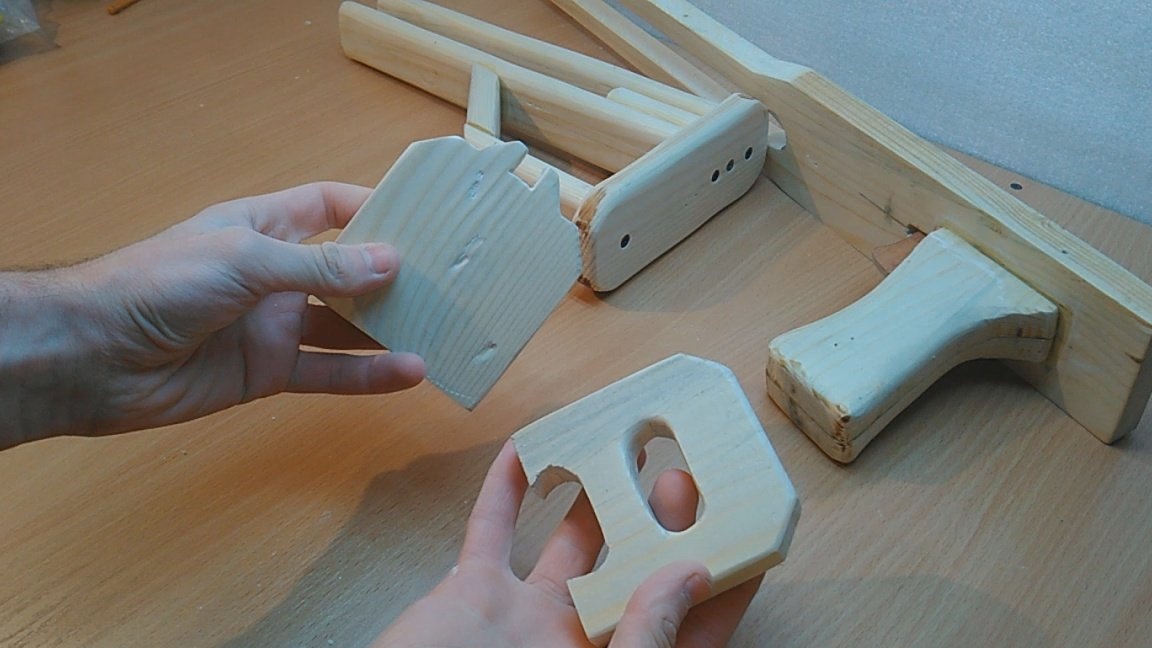
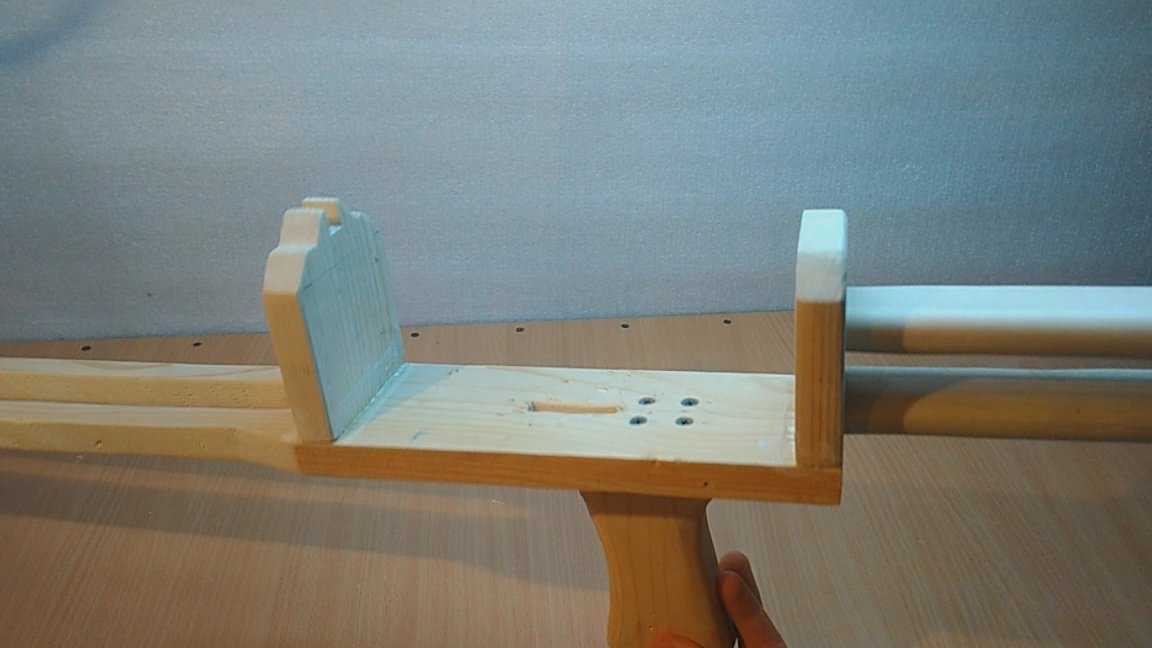
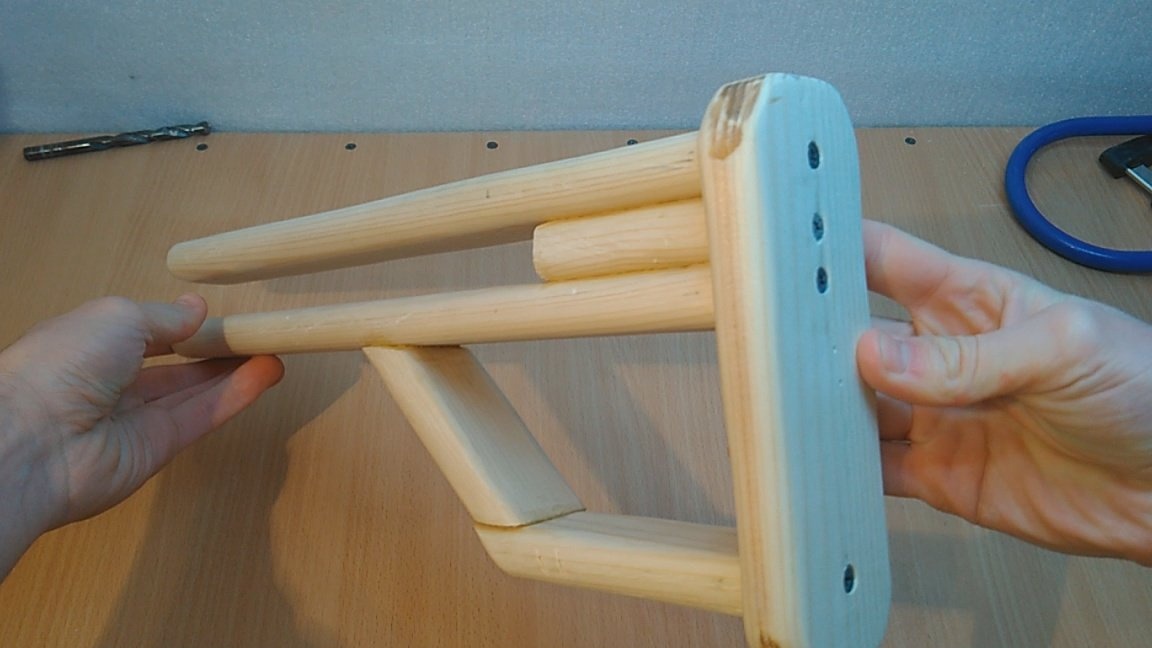
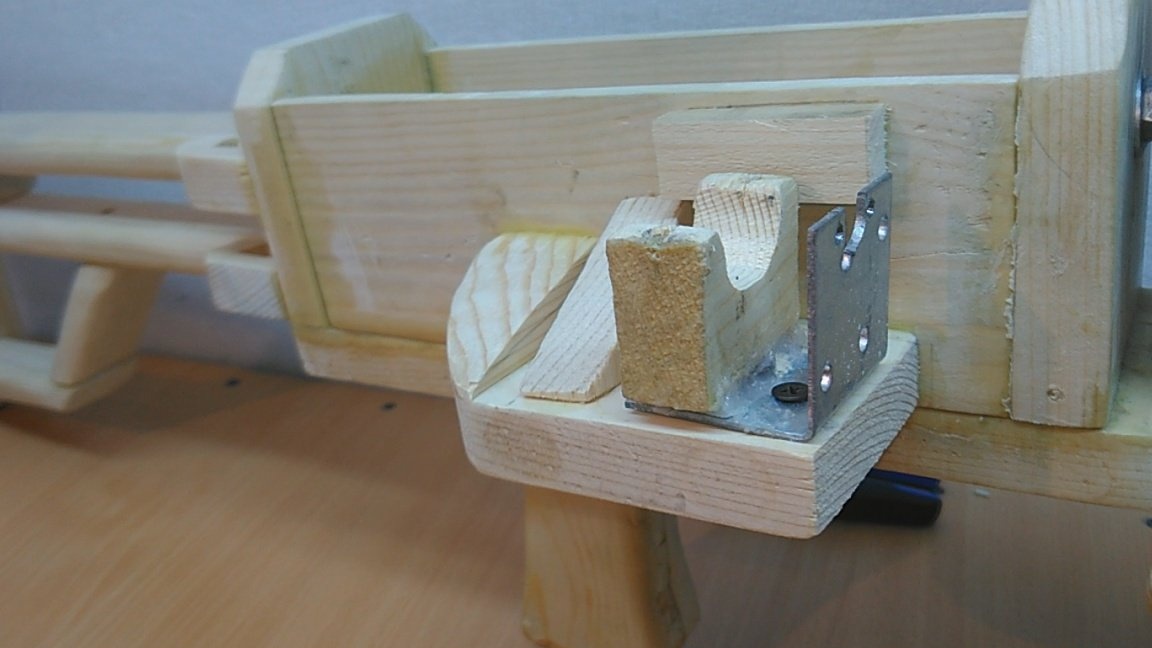
Step 5: We make such a holder for a gun bipod. Nuts are glued inside, and the bipods themselves will be bolted together.
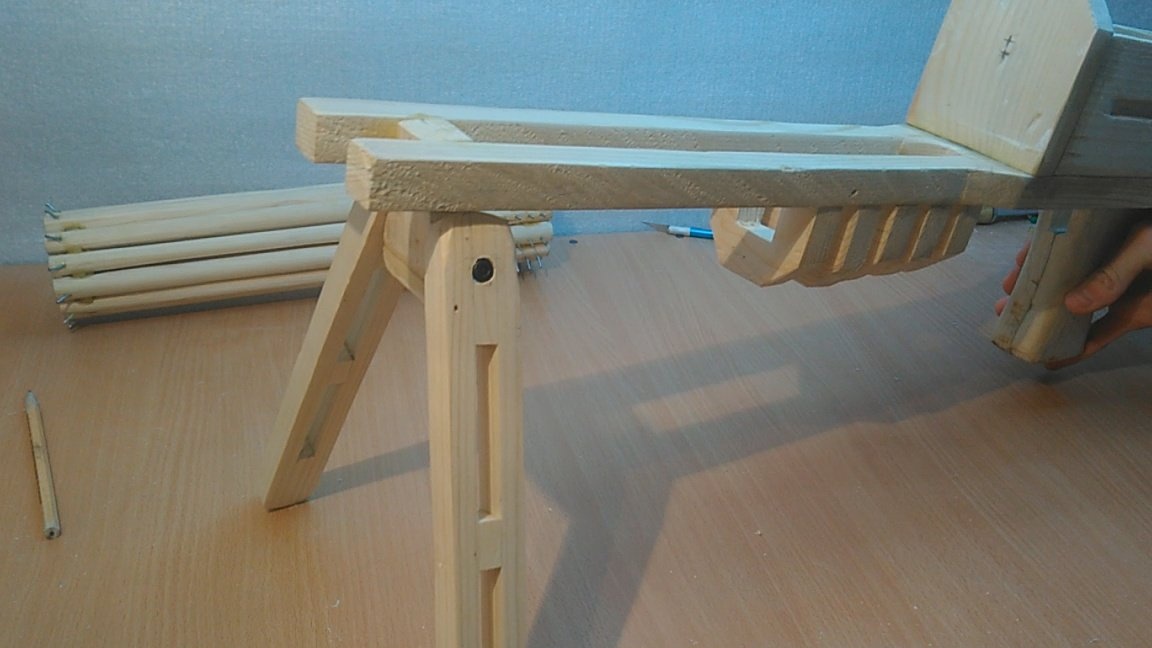
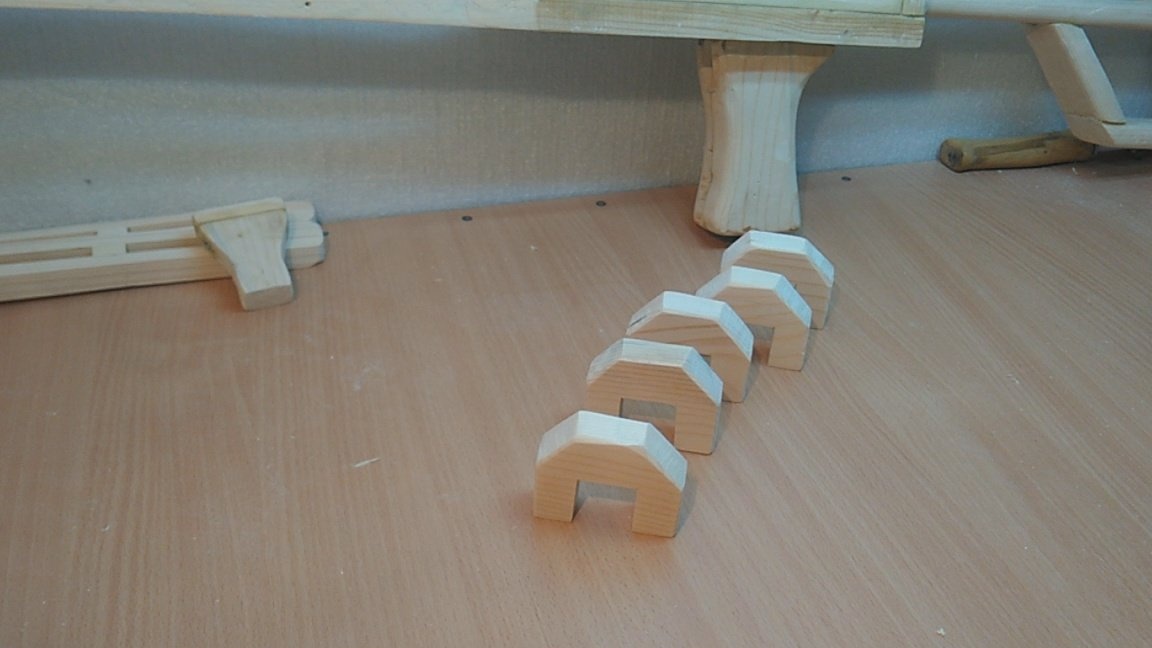
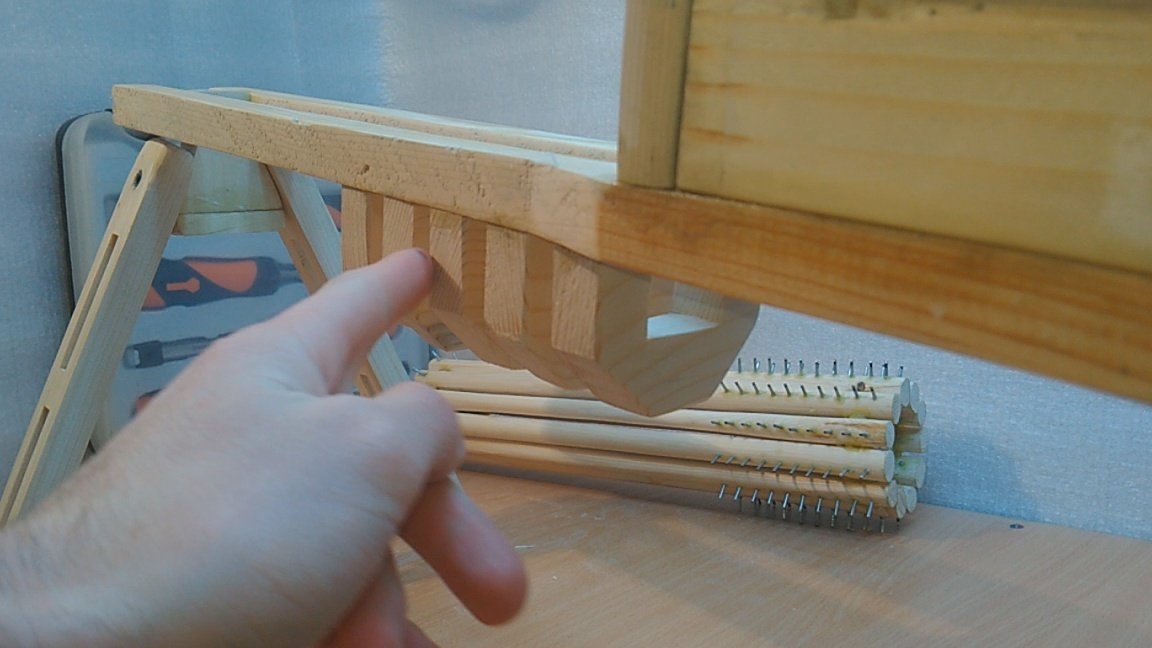
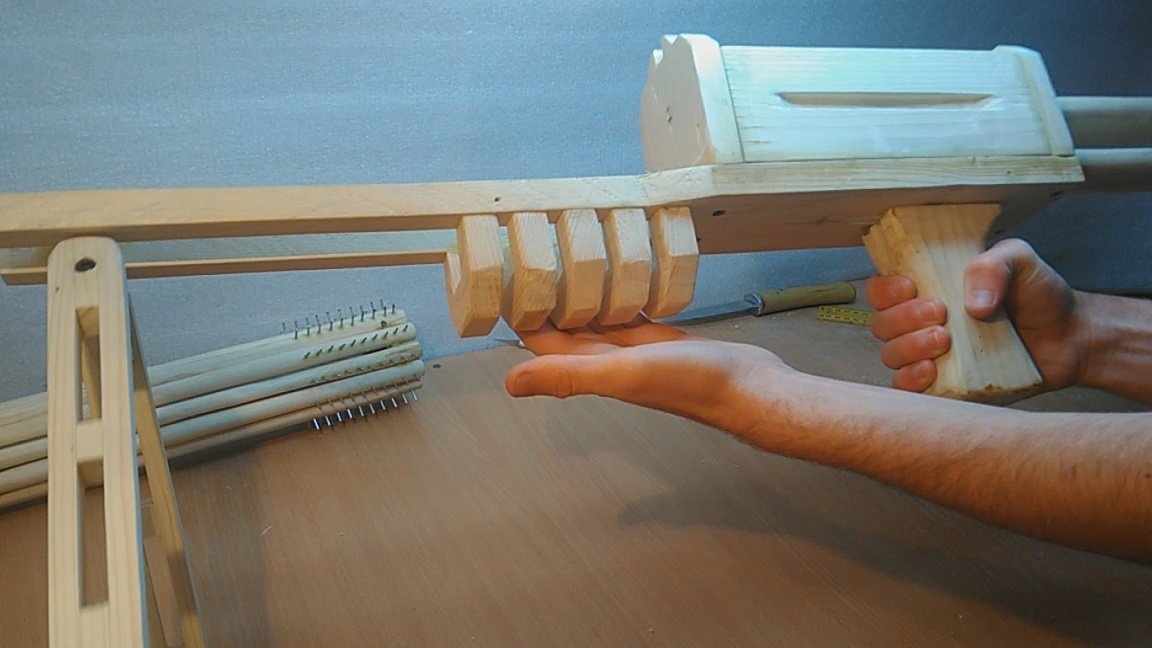
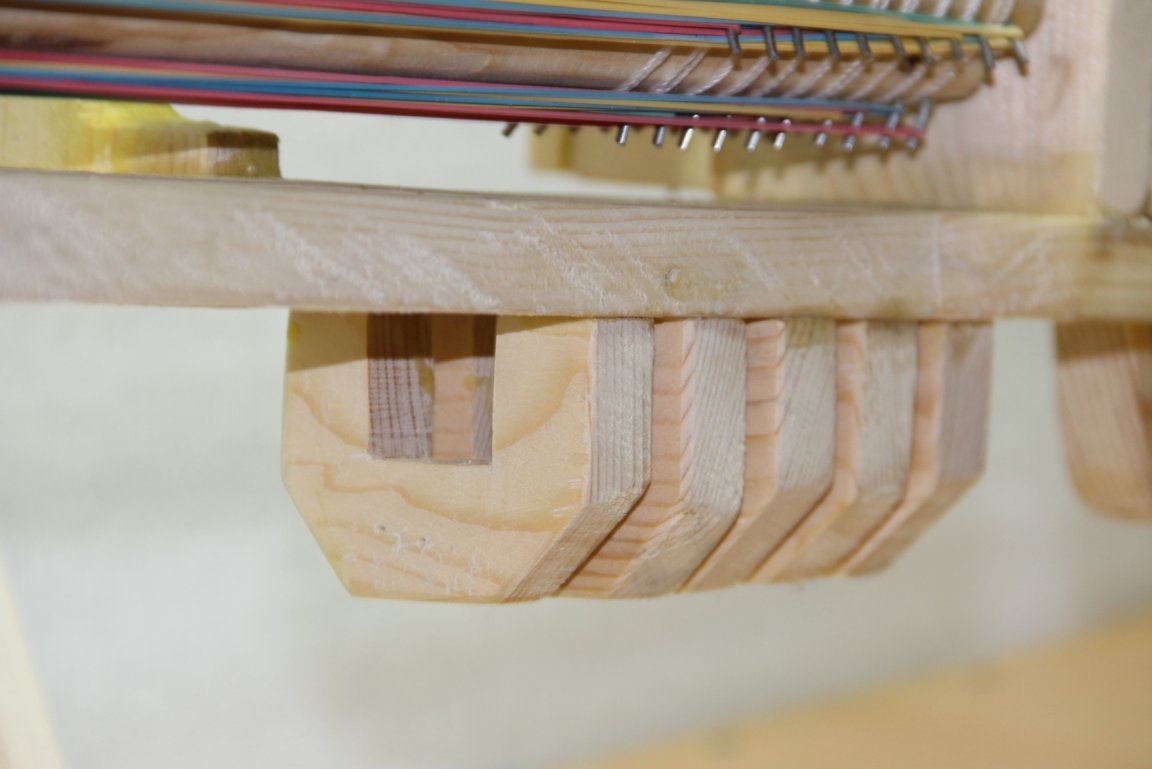
Step 6: To make it convenient to hold our machine gun, cut out 5 of these p-shaped parts, and glue them in their place.
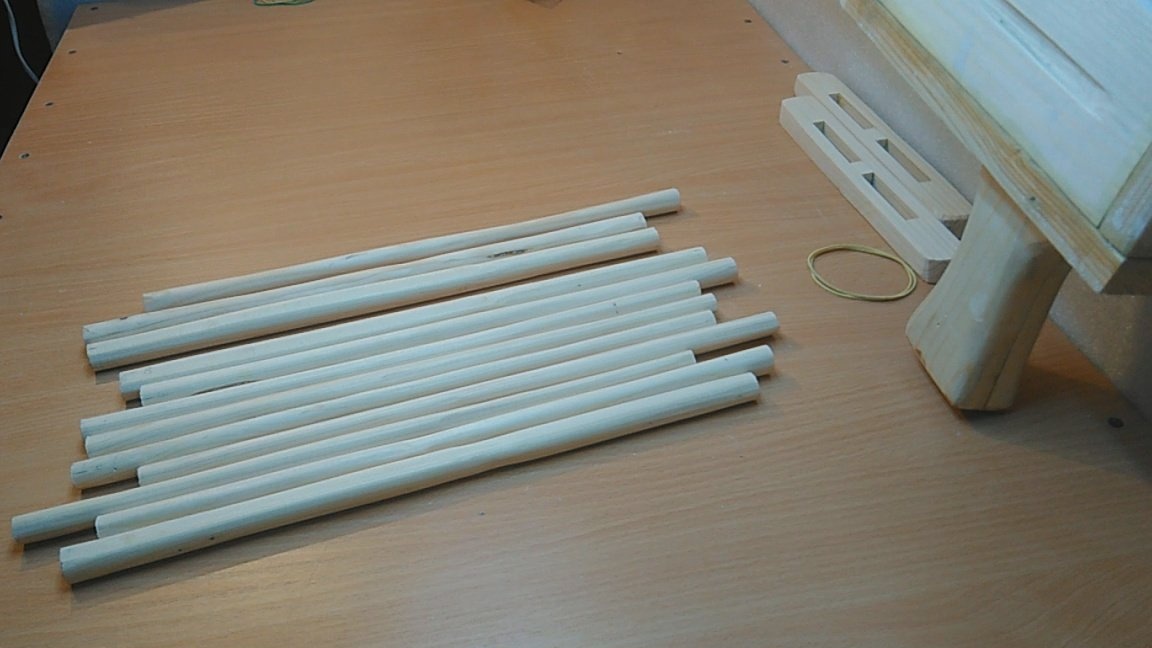
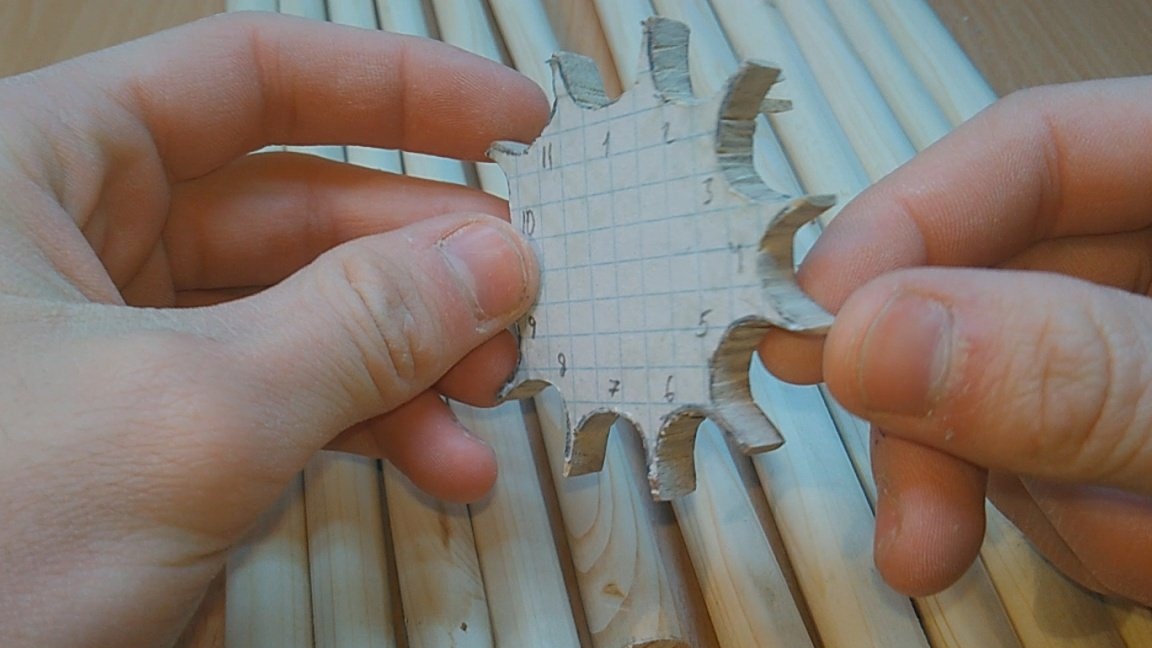
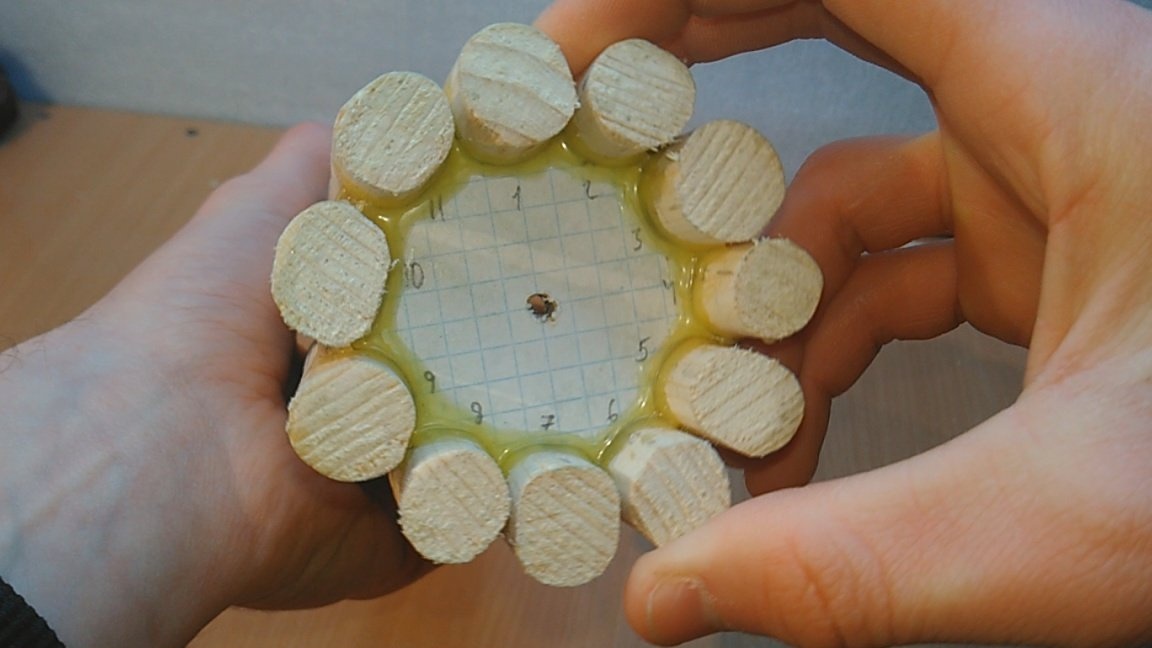
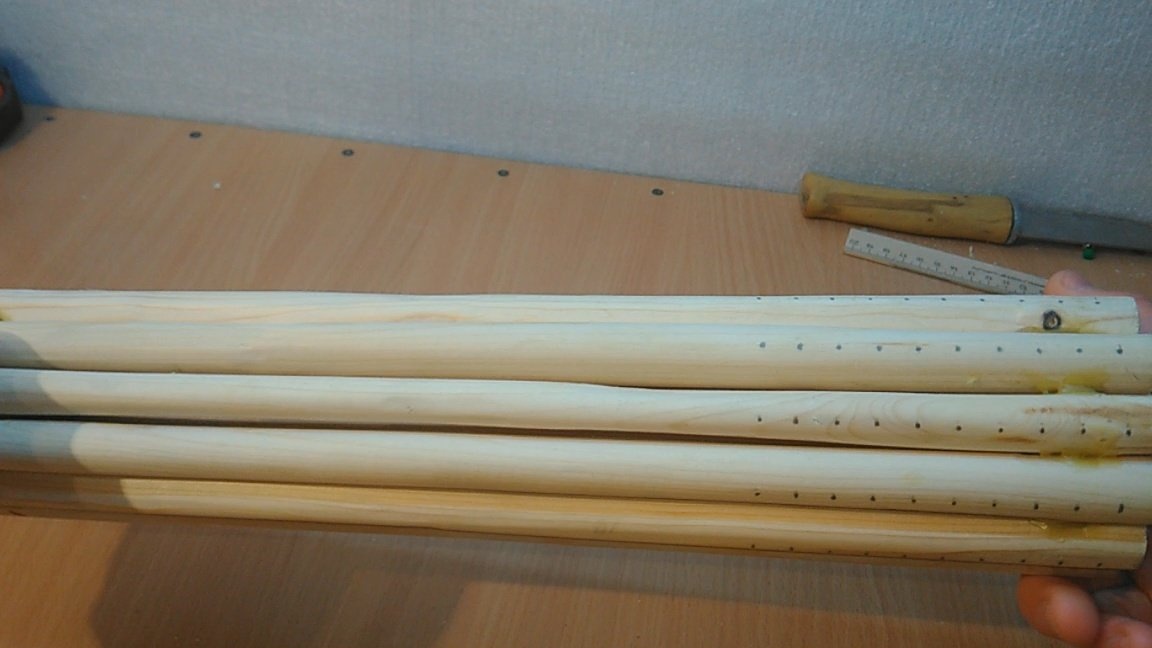
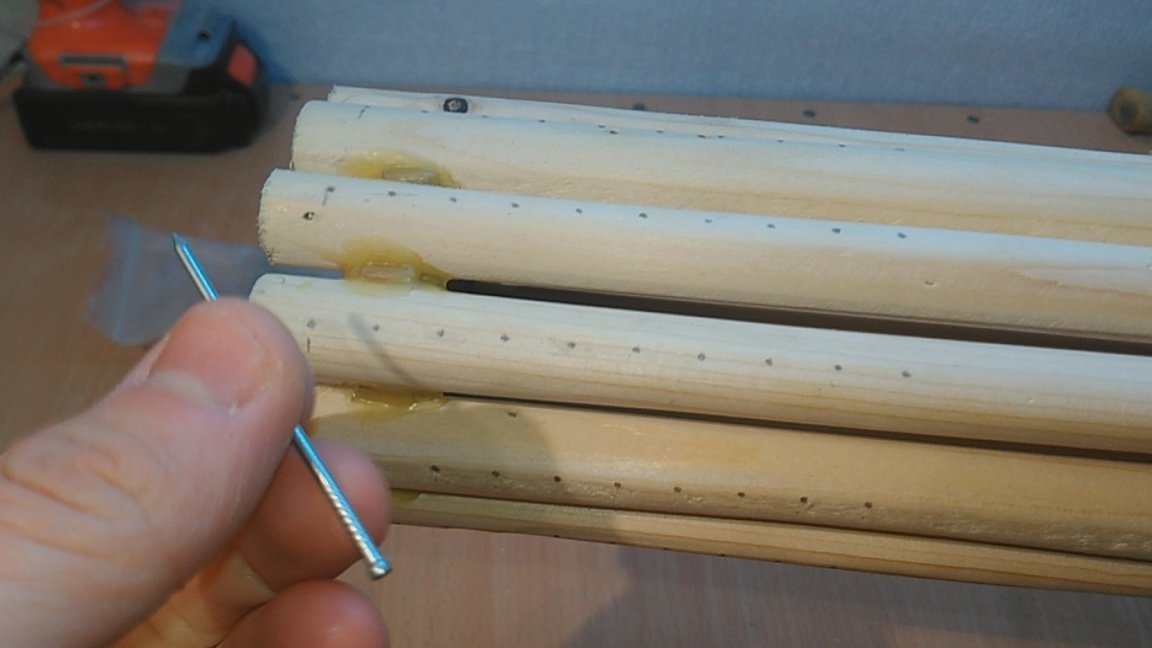
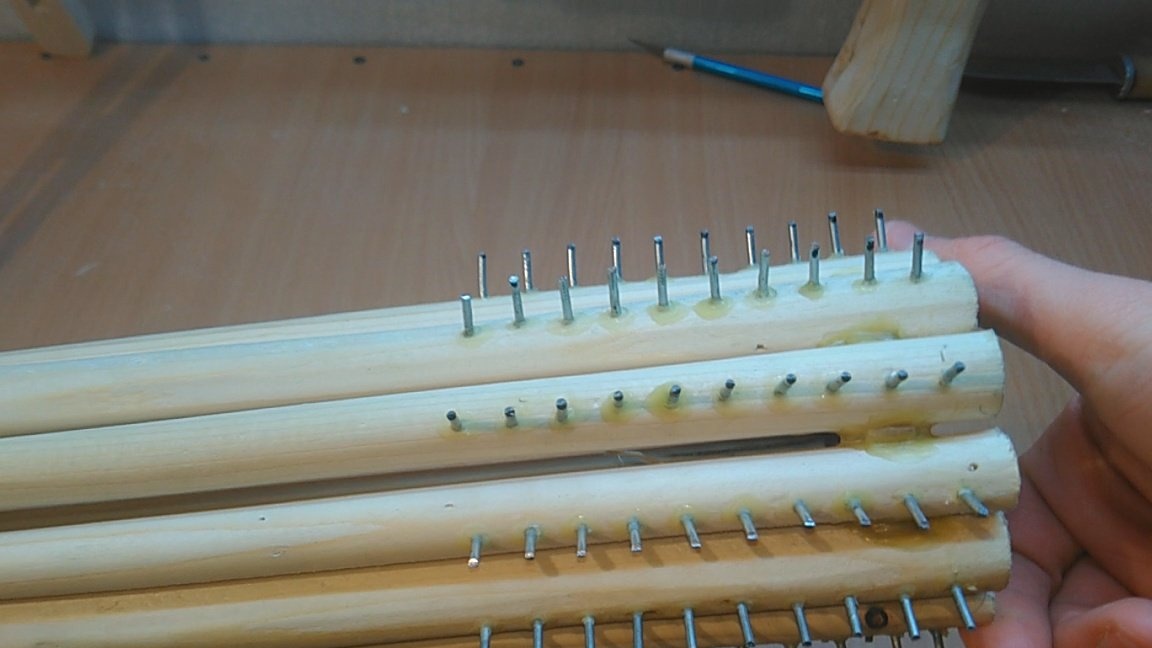
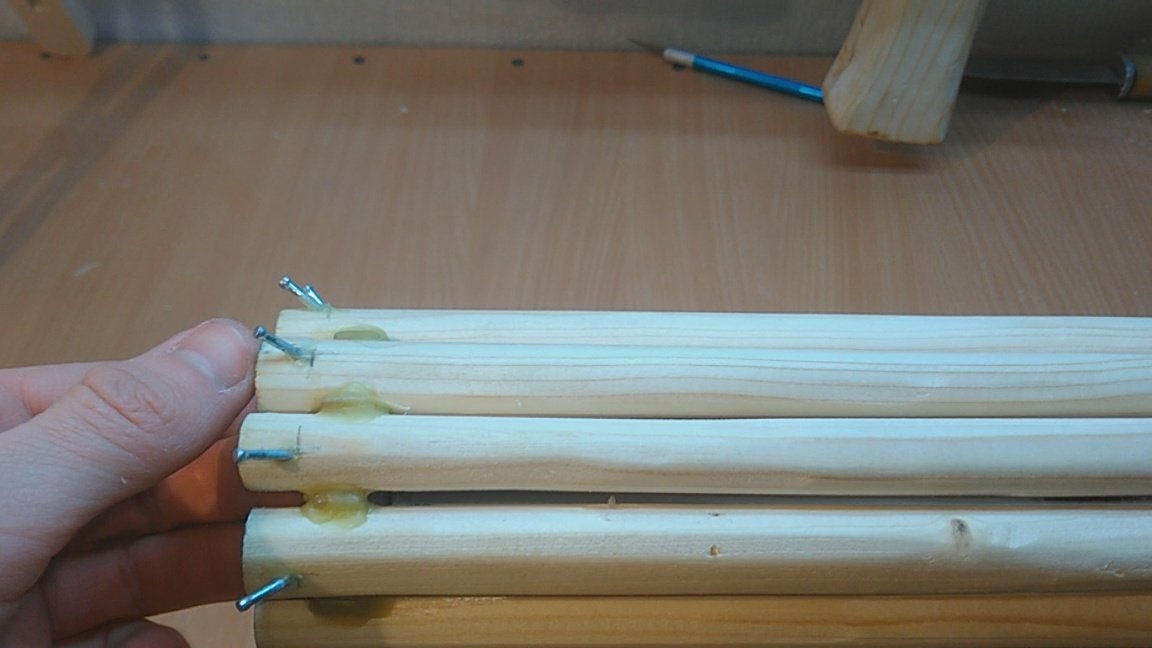
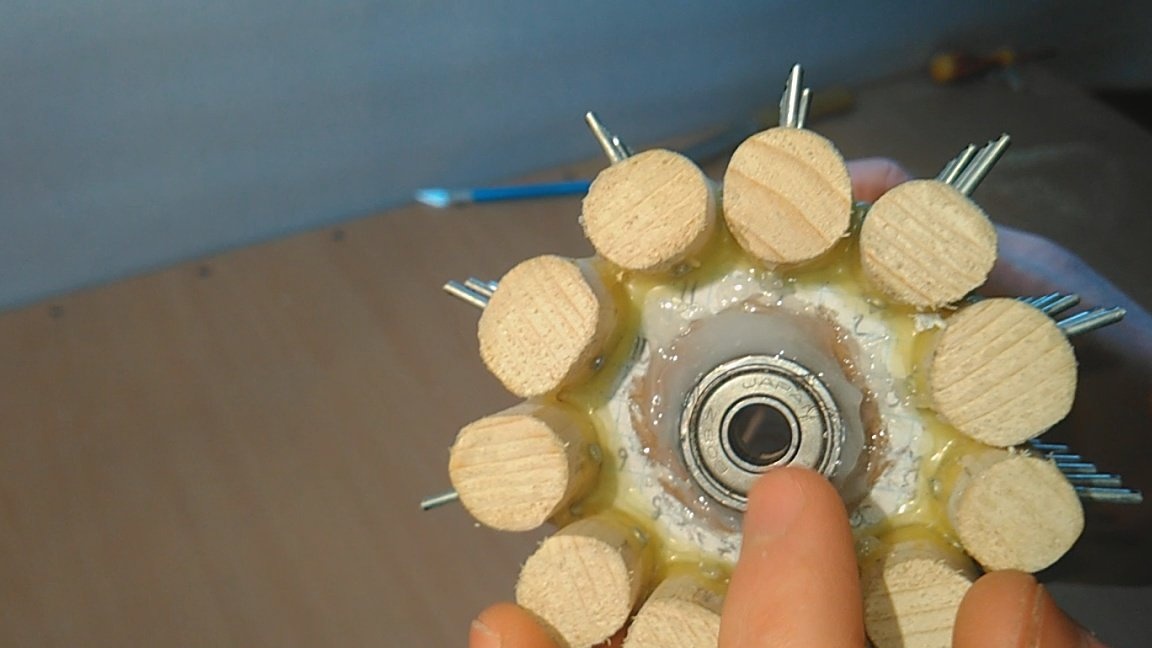
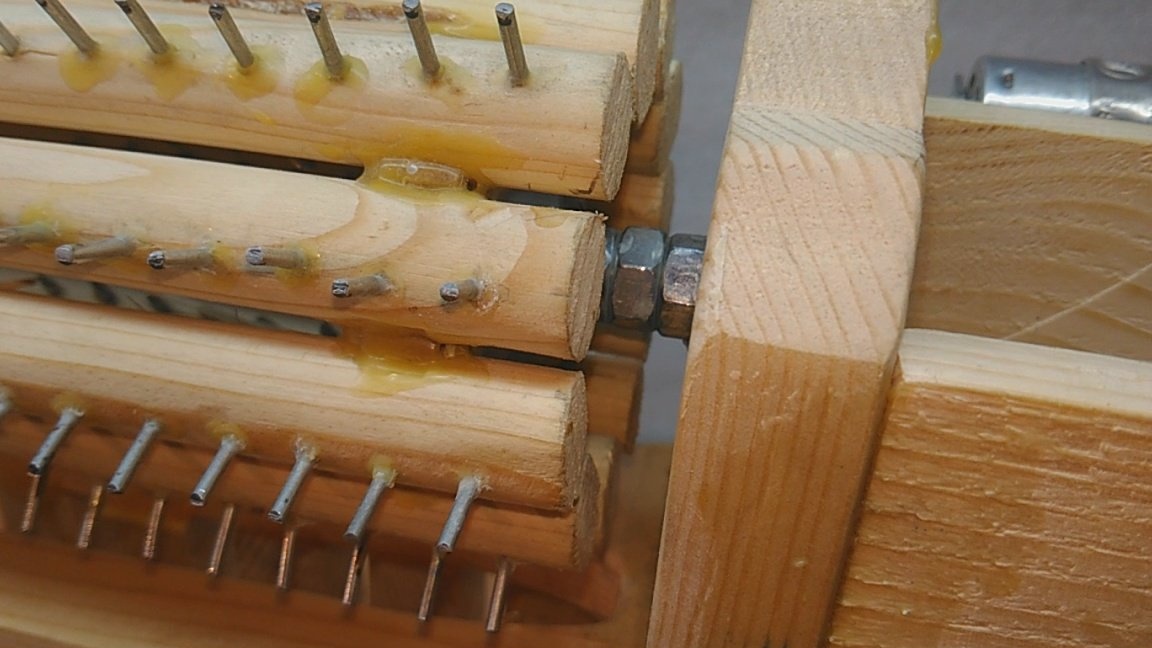
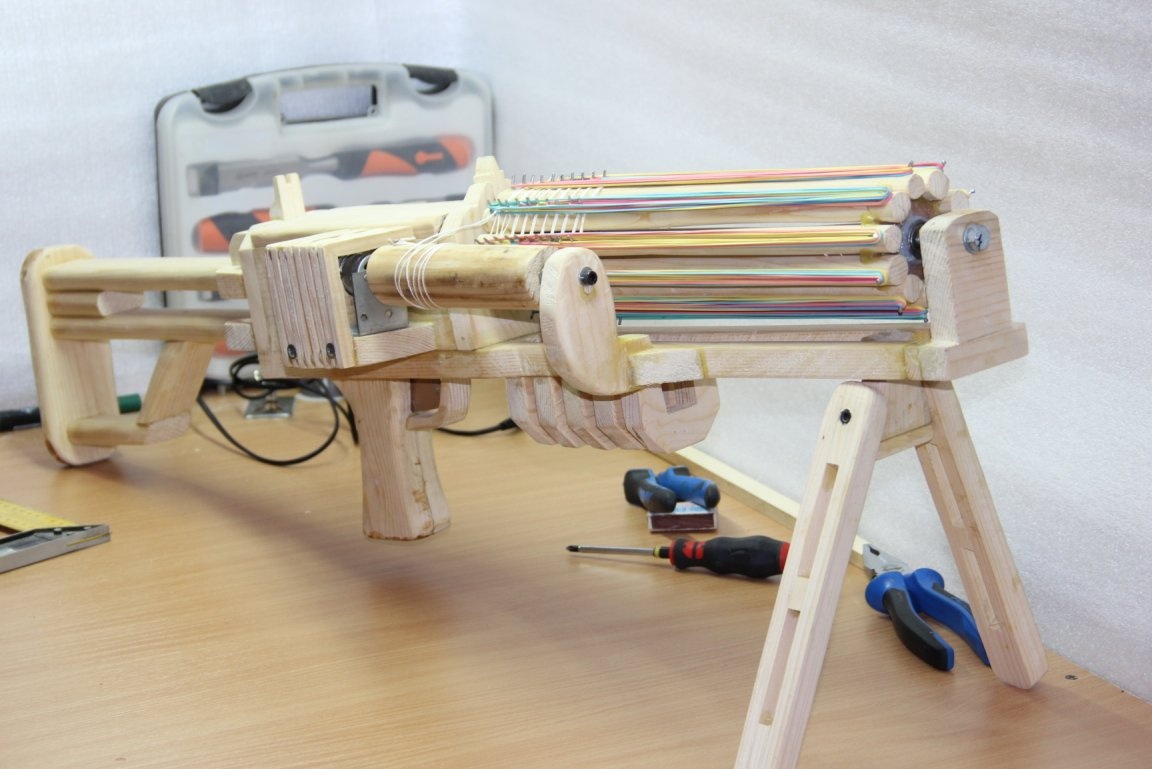
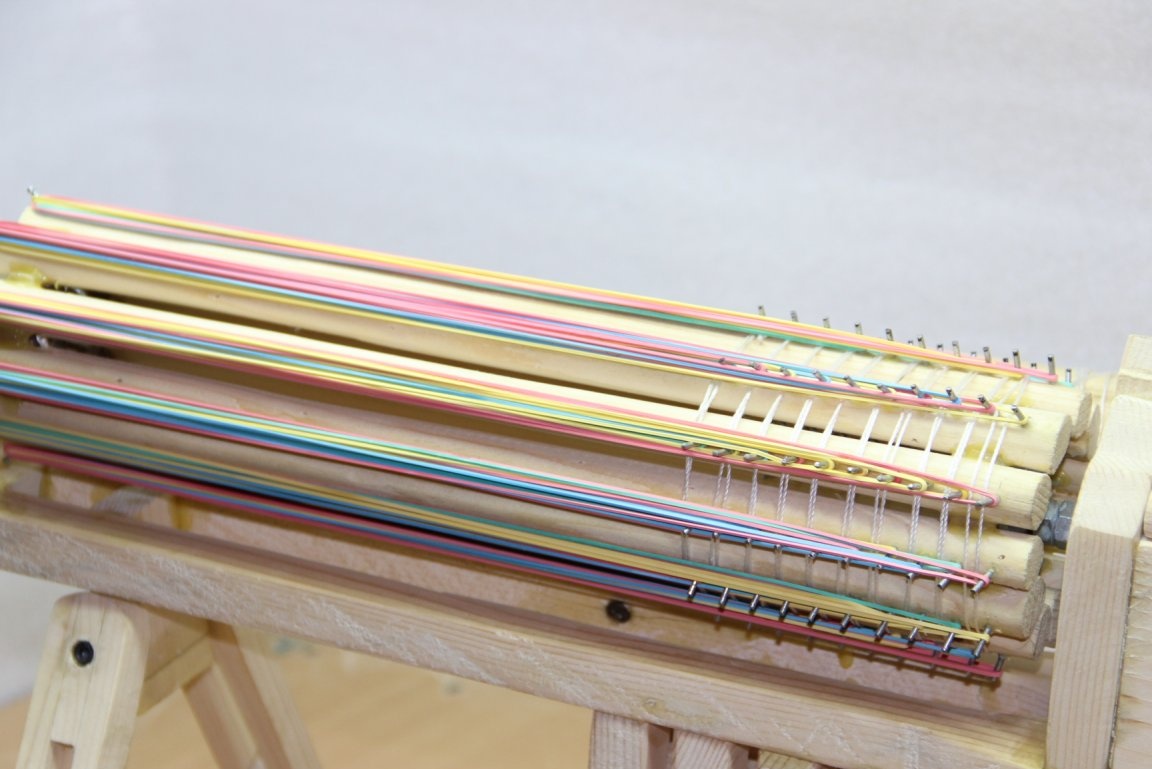
Step 7: Next, I made 11 of these sticks. Their length is slightly larger than the length of the elastic stretch. Then from the laminate I cut out two such stars here. I glued all the sticks to the star with wood glue, and we got such a drum here. Sticks need to be made as even and rounded as possible so that they stick snugly to the star.Then, having made the marking, I drilled holes for the carnations, then glued them and shortened them for the desired length - 8-10 mm.
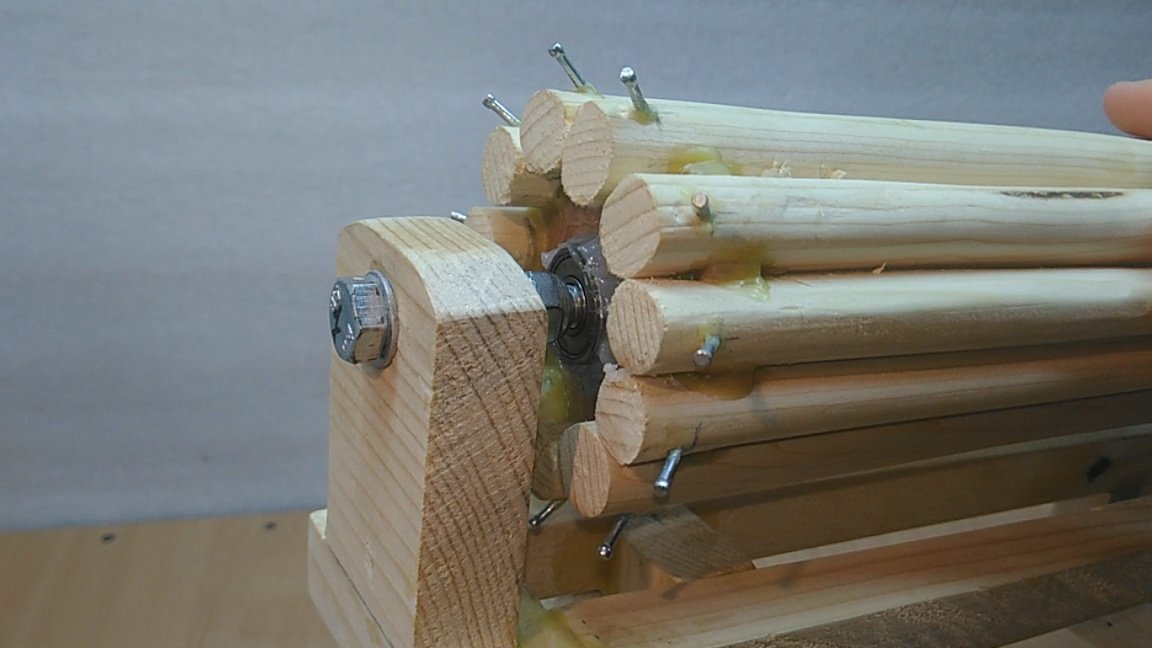
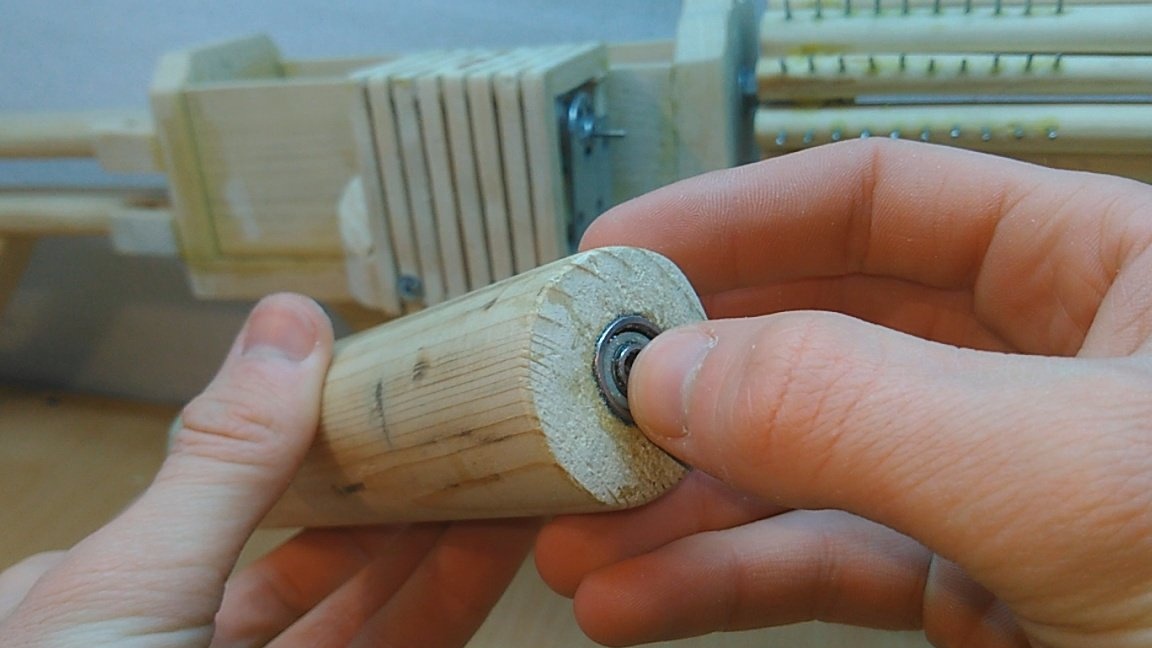
Step 8: Cold welding glued one bearing on each side. Then he set the drum in its place. The drum is mounted on two axles, the axles are two bolts that are tightly inserted into the bearings.

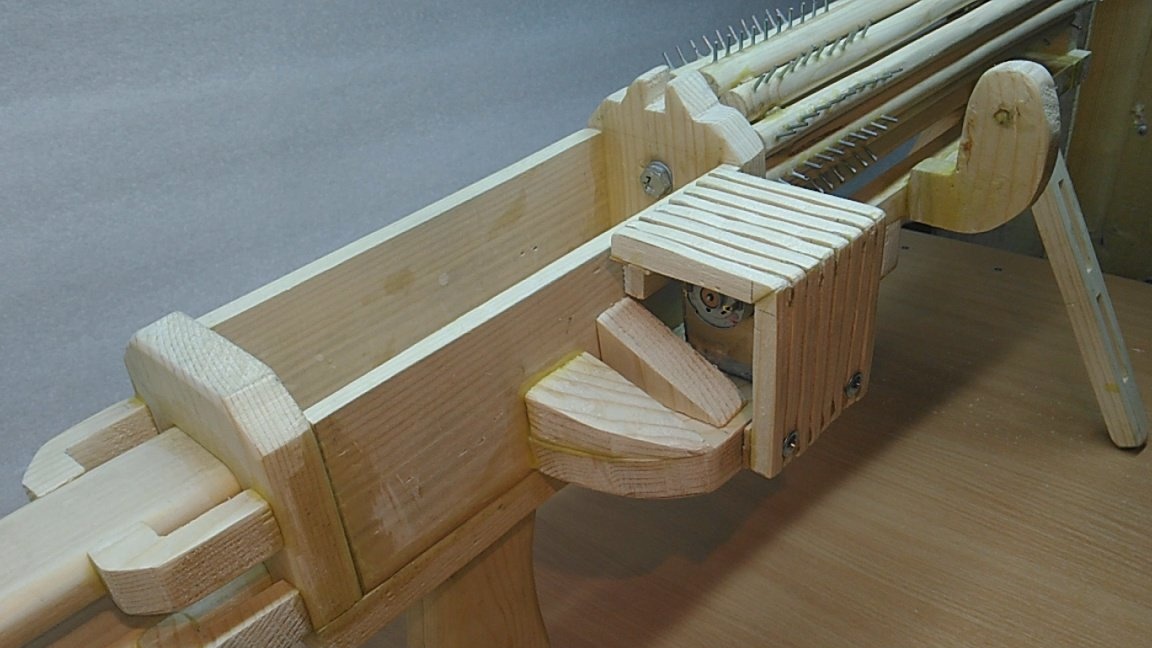
Step 9: Then we make such a stand for the motor. I took a 12 V motor and set it in its place. To hide the motor, I made just such a decorative protection.

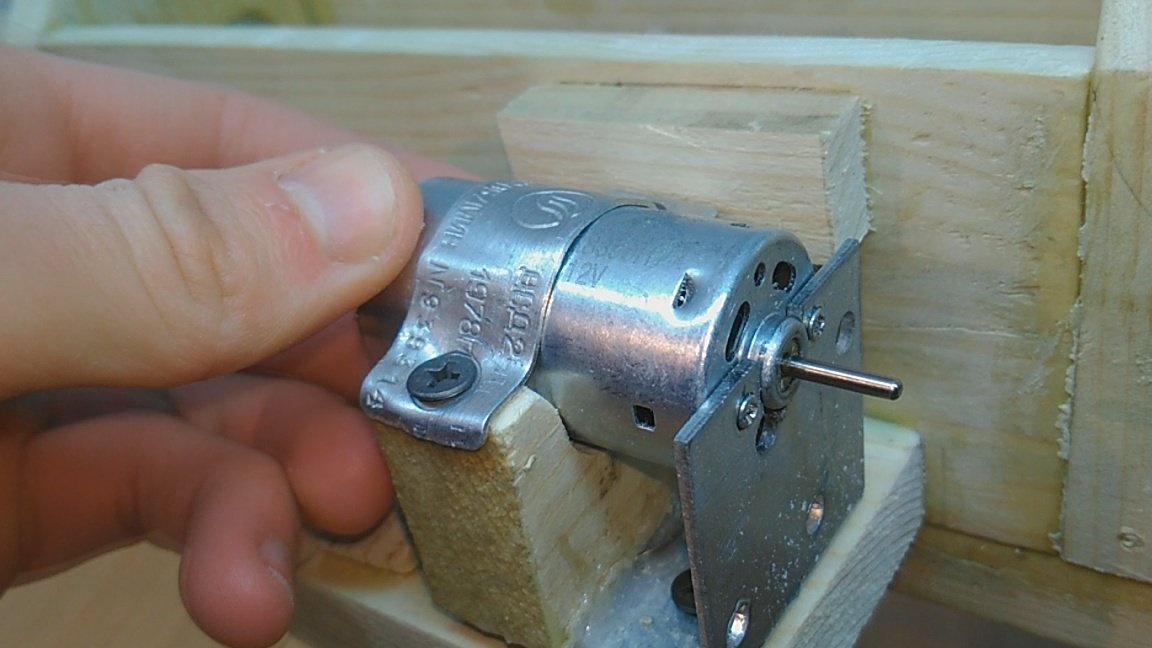
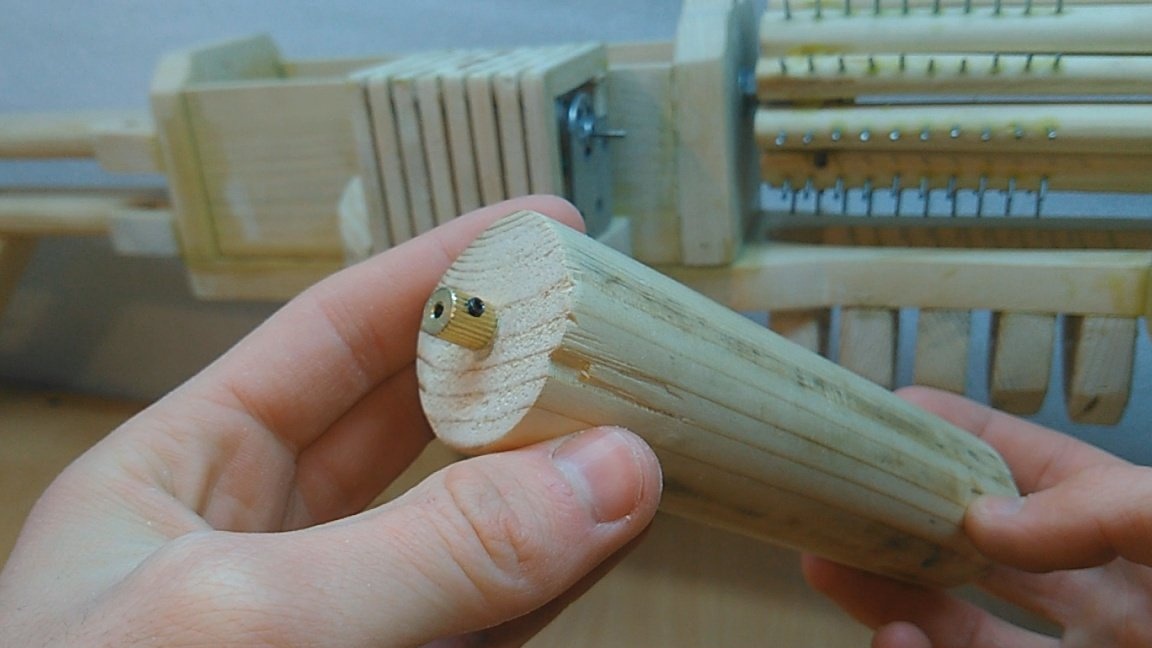
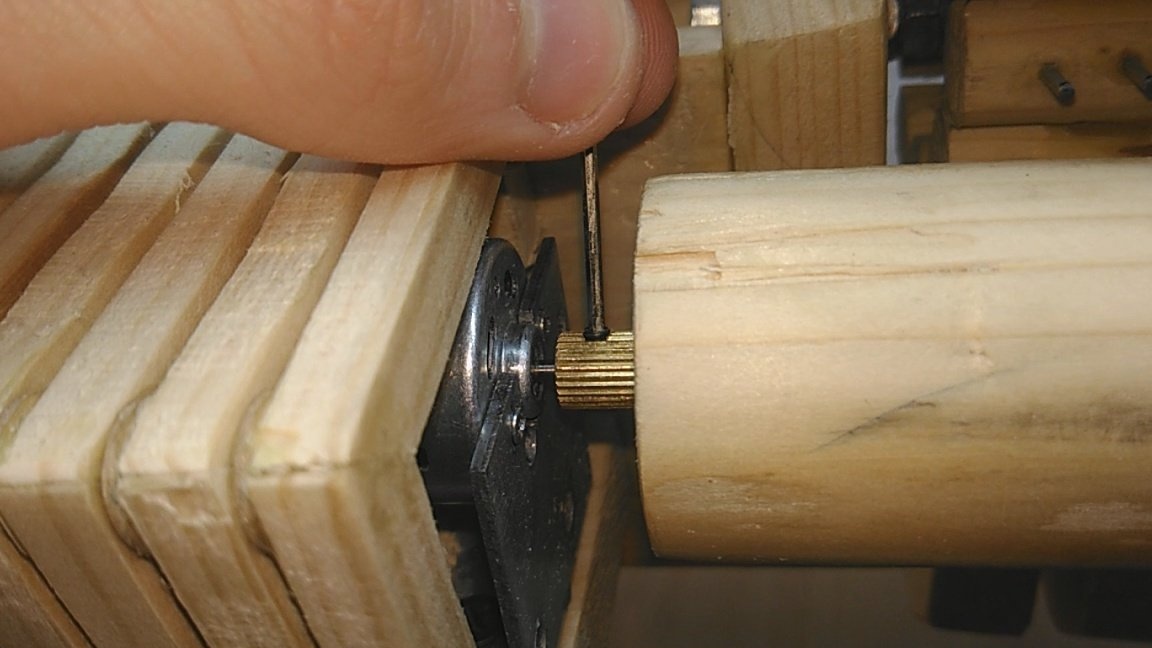
Step 10: We glue a small bearing into the cylindrical block at one end, and on the other hand we glue the cartridge that came with the motor. Then install the cartridge on the motor shaft, and a bolt is inserted into the bearing.
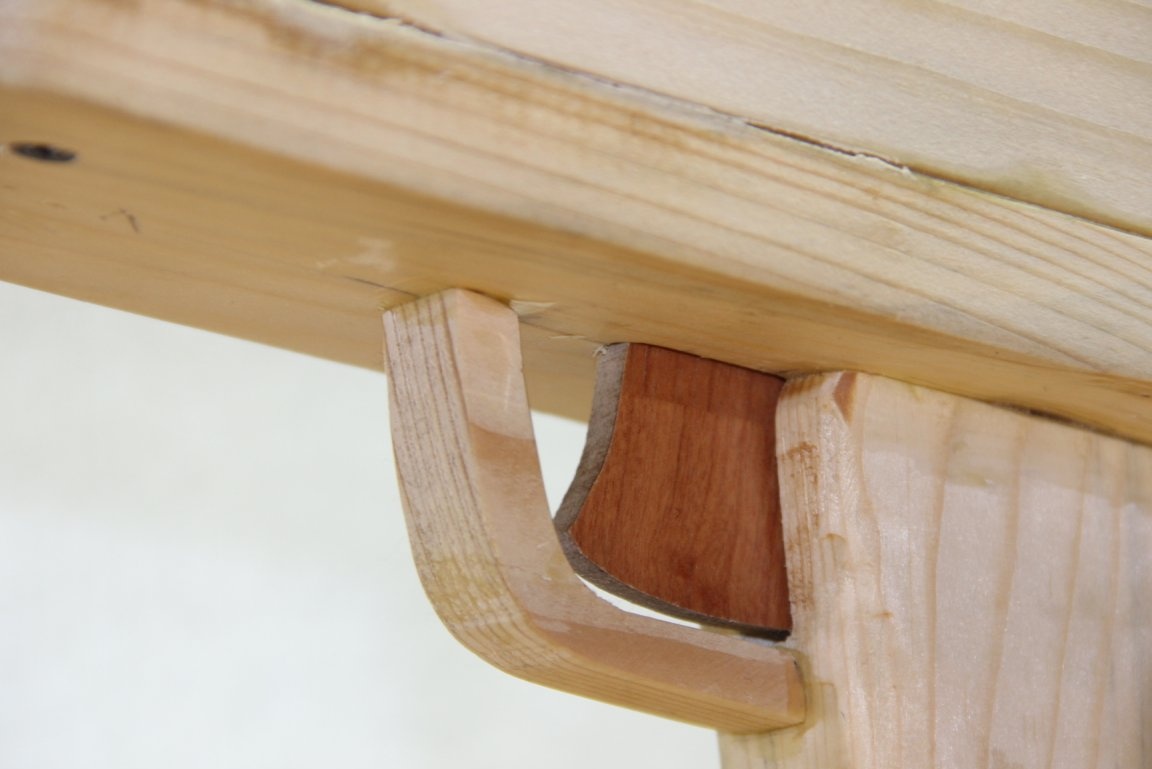
Step 11: Glue the decorative little things: sight, various small parts, trigger protection, etc.
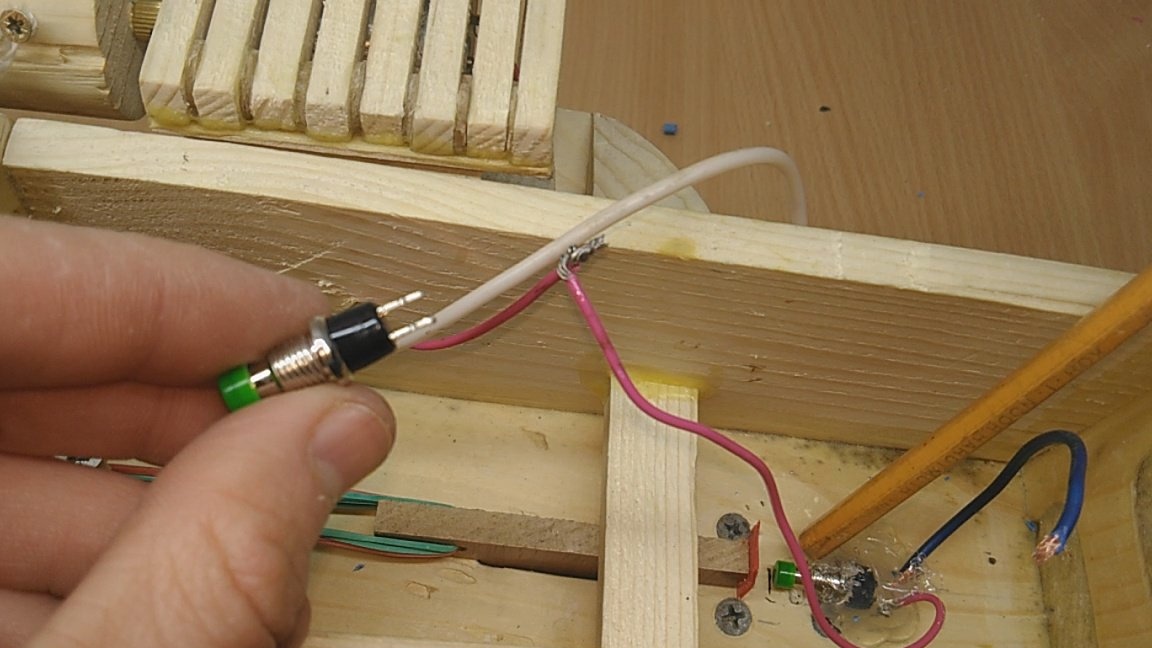
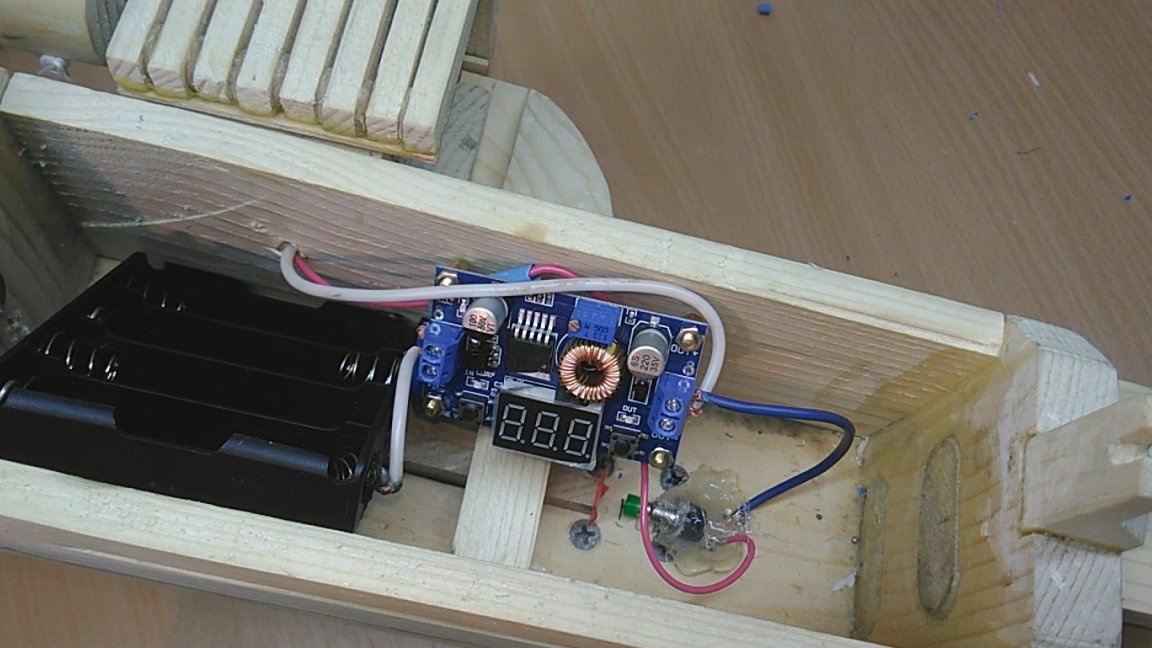
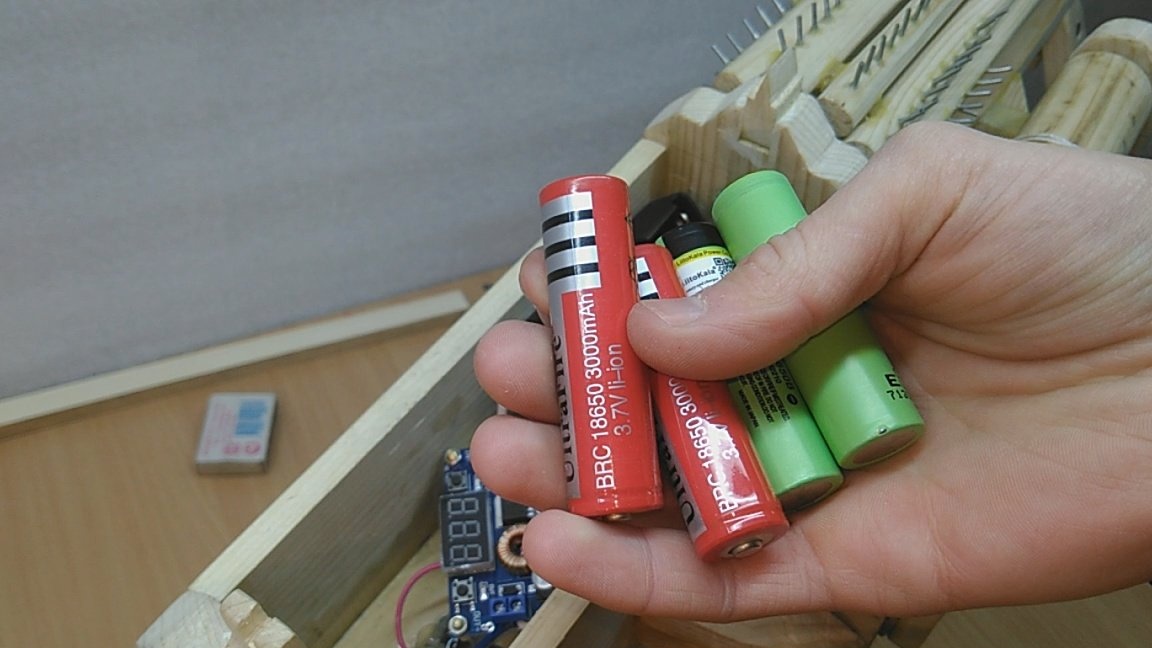
Step 12: We begin to assemble electricians. I took just such a button, and glued thermo glue to its place, so that the trigger, when pressed with a finger, pressed this button. Return the trigger to its original position with several rubber bands. Glued on top of the bars does not allow the trigger to rise up. Then we assemble a simple circuit, which includes a motor, a button, a box for 18650 batteries and a step-down module. I ordered all components at the well-known Chinese store. Since the motor is 12v, and four batteries is almost 15V, a step-down module is definitely needed, the more they can adjust the speed of the motor, and therefore the speed of the rubber bands.

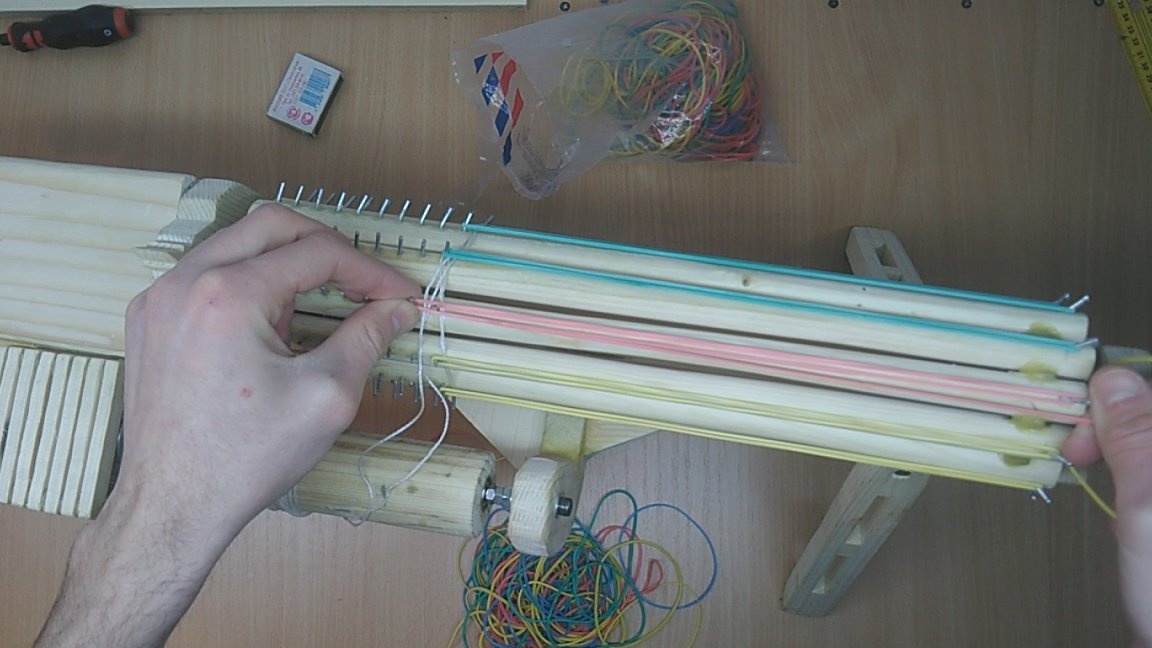
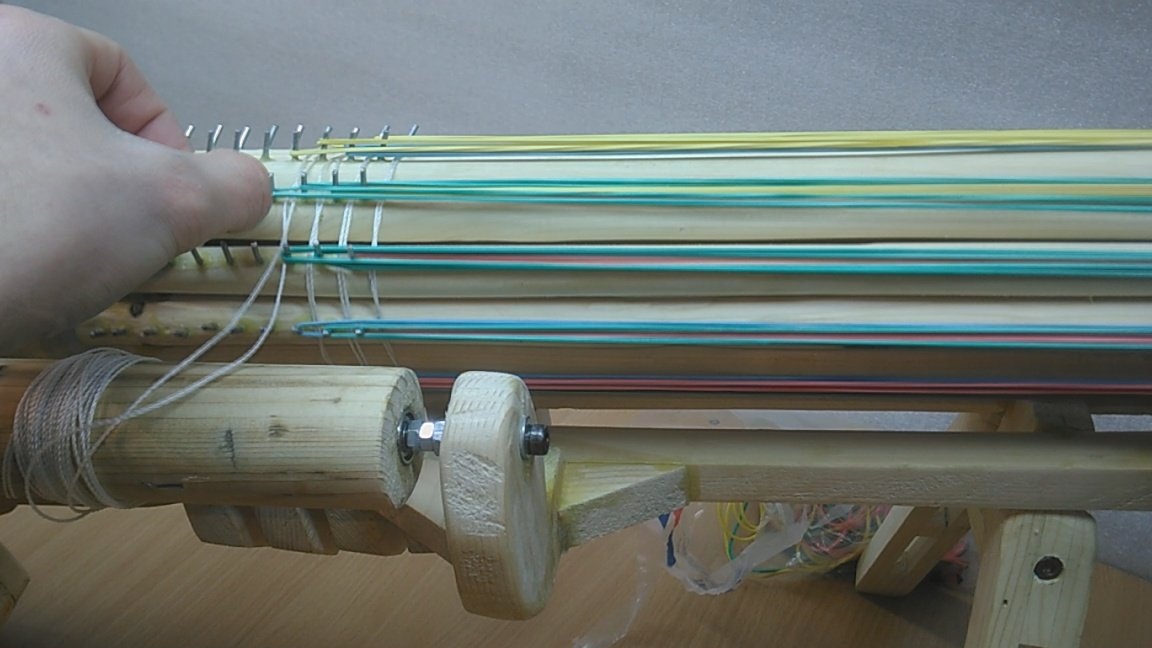
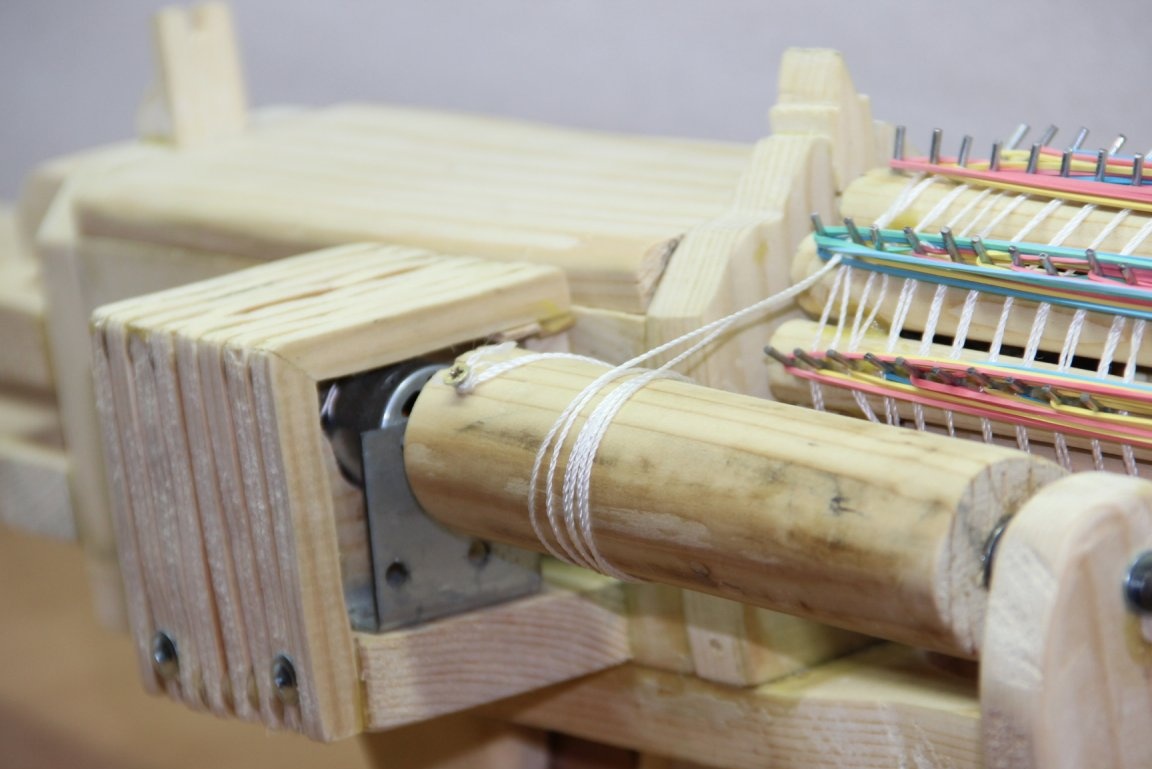
Step 13: We fix the kapron thread to the twisting roller and you can begin to charge the gum. Everything is quite simple and easy, but a little long. How to charge properly can be seen in my video. Also, the speed of the rubber bands can be increased or decreased by twisting the bolt on the lowering module. Simply put, increase or increase the speed of the motor.
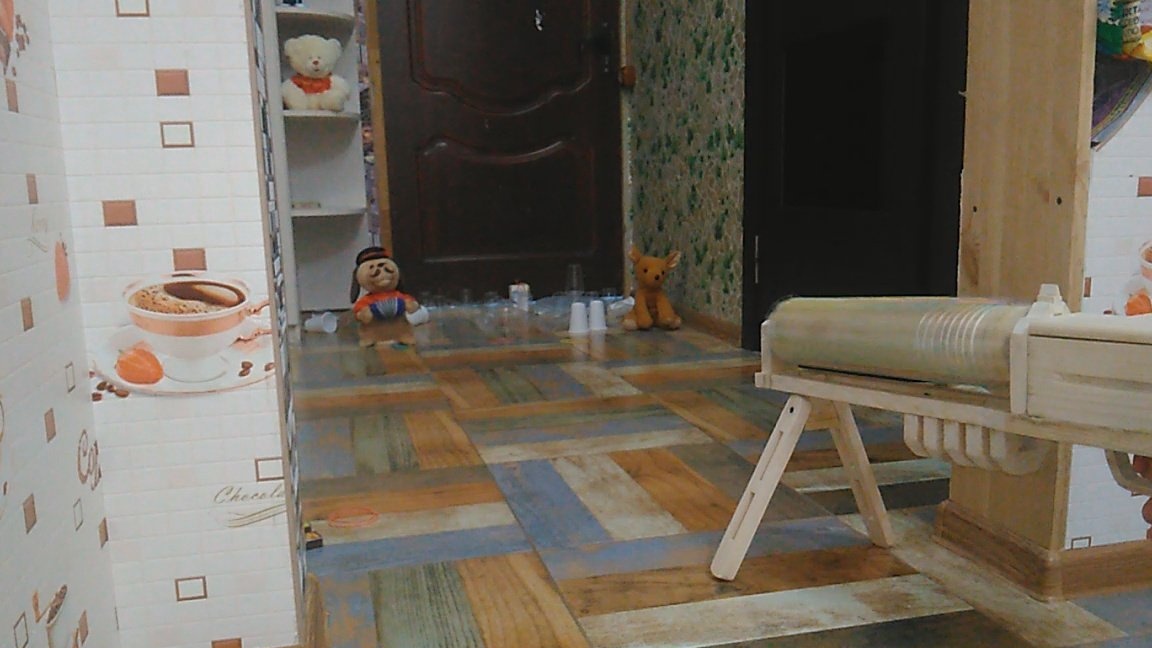
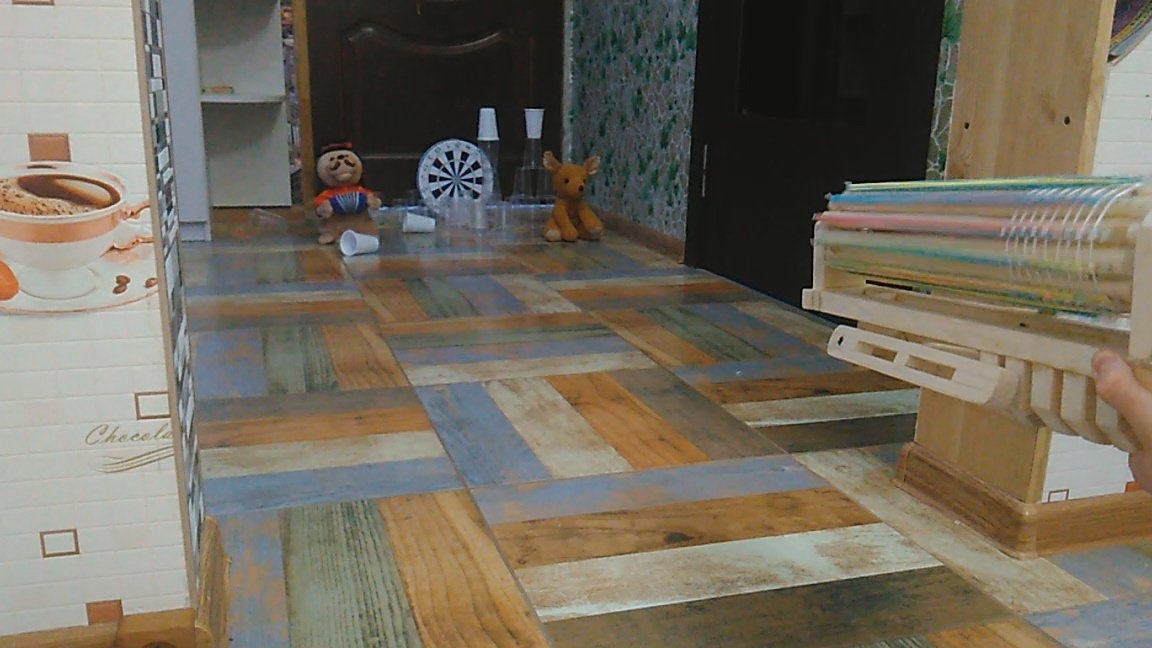
Something like that. For the first such serious project, it turned out, I think, not bad. You can watch the test in my video.
Well, a couple of photos with the best quality :)
Thank you all for your attention!