
Good day. I think everyone had such a situation when it is very necessary to unscrew a rusty or non-rusty bolt or nut, well, he does not unscrew the bastard. You can spend all day and nerves that unscrew the nut for example from the wheel. I know these torments when you need to remove the wheel, and the bolts do not loosen. What I just didn’t take, so as not to go to the workshop (far, no brakes), made some ten-meter levers, spent the whole bottle of wd-40. Then I started surfing the Internet in the hope of finding a working way, I found an article about a screwdriver, but I threw this venture and I don’t want to break the nuts (and I won’t be able to). Then I found a video about an induction heater, but I'm not an electronics engineer and I don’t have the necessary materials. In search of simple solutions, I came across a video of one master who made an impact wrench and at the same time from simple materials that everyone can find. Having done almost the same device, more simplified without welding, etc. (in the plan it will do once). I thought he wouldn’t unscrew it, but after five blows with a sledgehammer everything was unscrewed, True, the thread was slightly damaged. I made this homemade not like this author, but from a large drill to which there was a tube in size. In short, the fixture is really useful and today I will show and tell you how to make it. There will be a video at the bottom of the article if you haven’t understood something or nothing.
Let's start, for the manufacture of this homemade product you will need:
1. Drill and suitable diameter tube
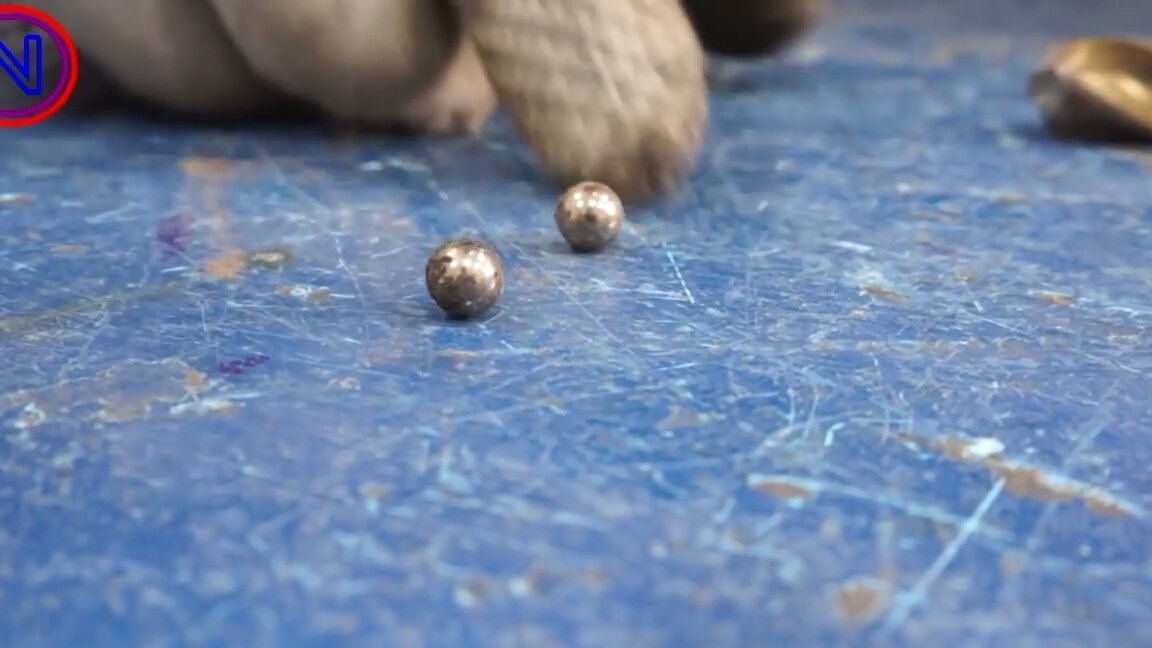
2. Bearing balls that fit the drill grooves
3. Another tube, which is slightly larger in diameter than the first
4. Bolt
5. Welding, Durka, Drill and n tools
Step 1: making
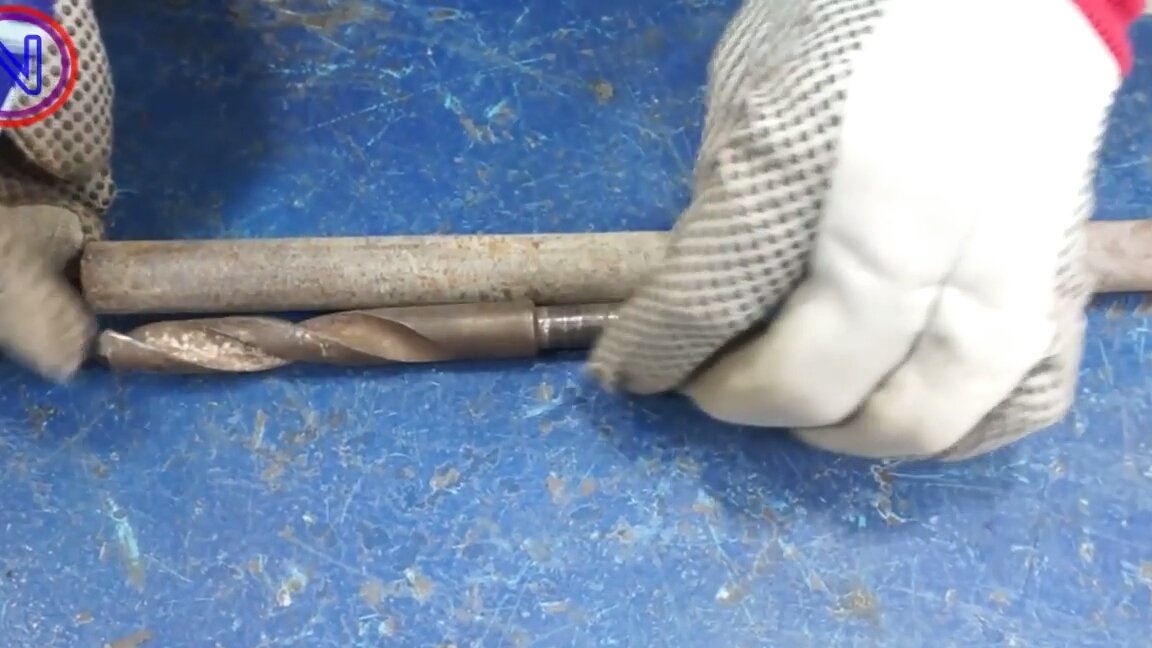
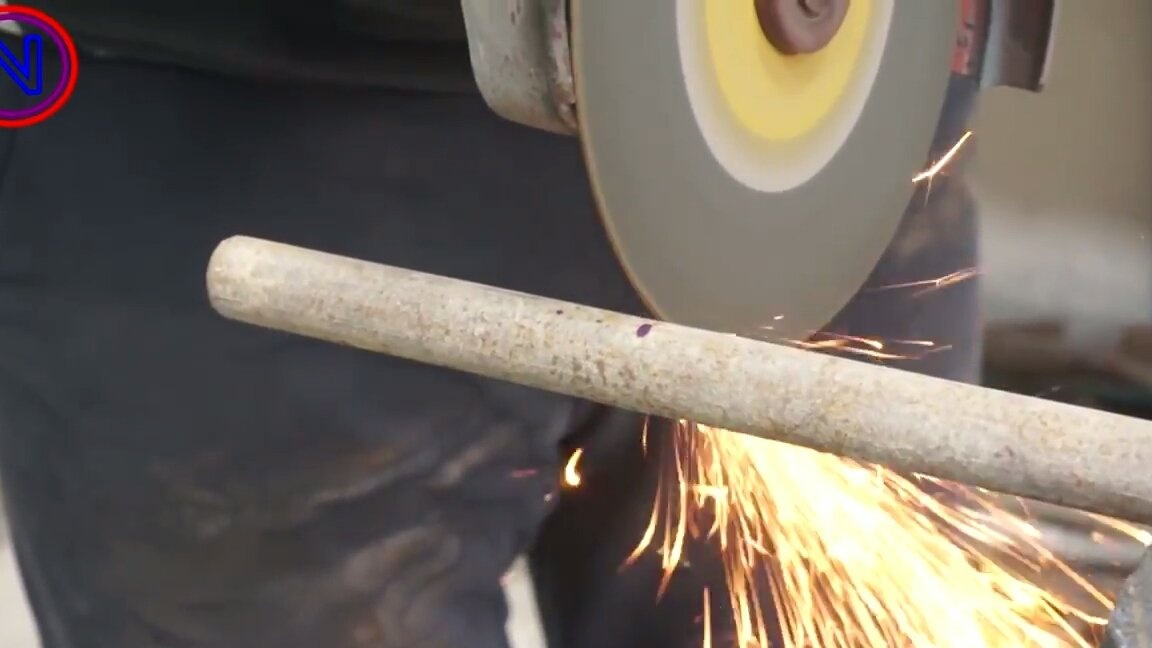
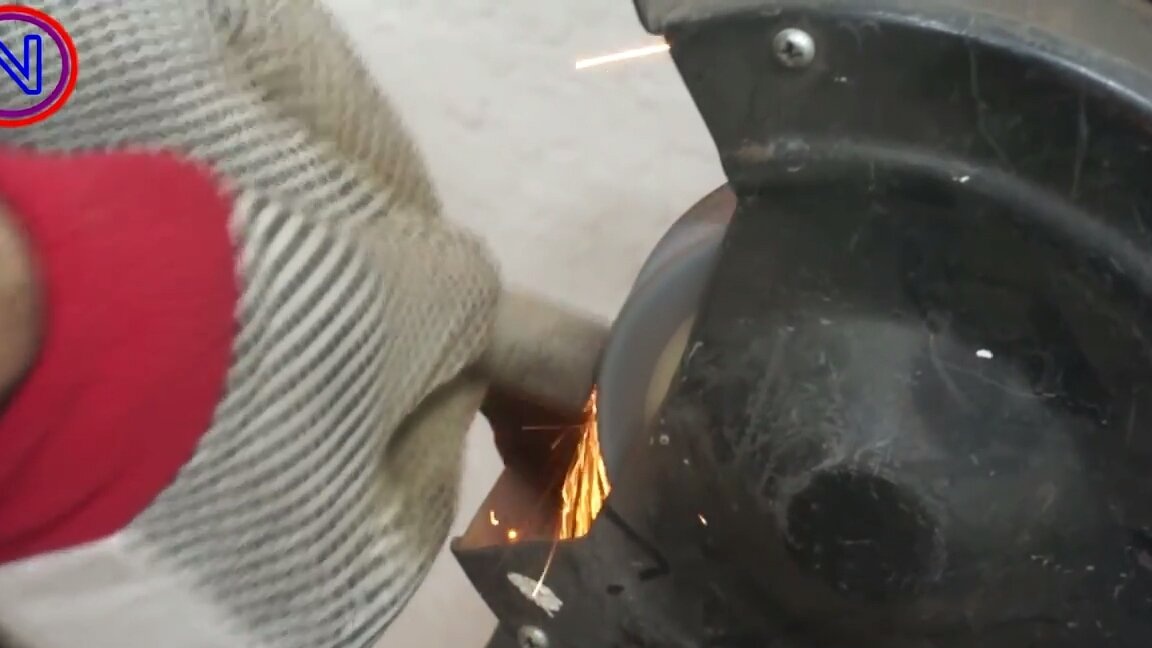
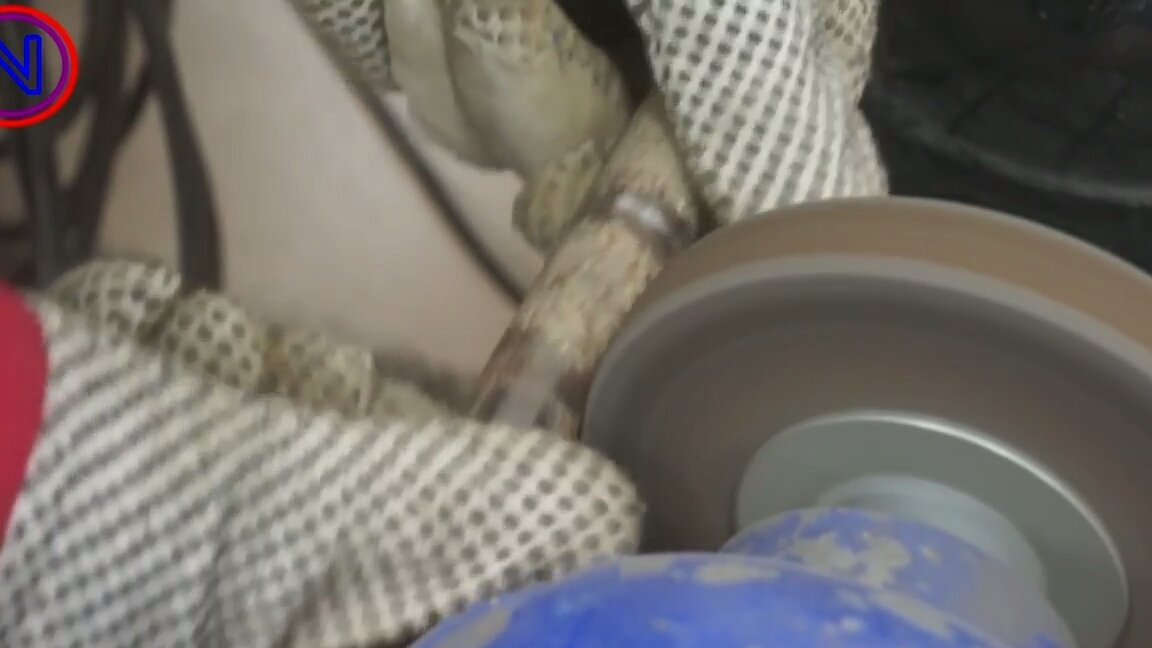
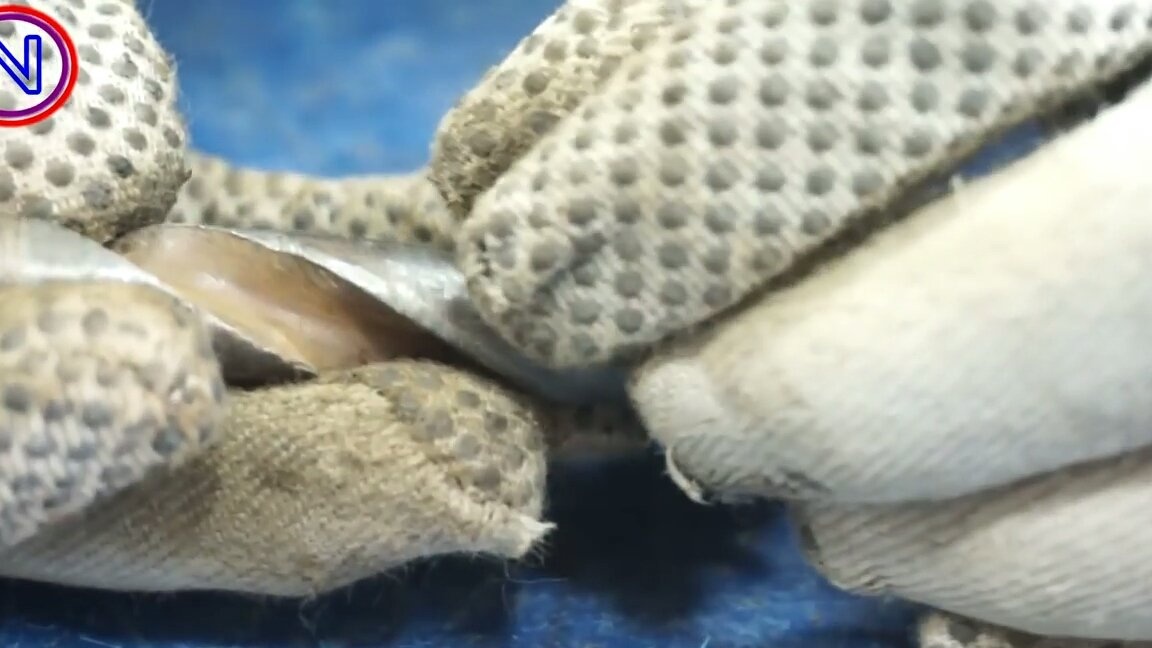
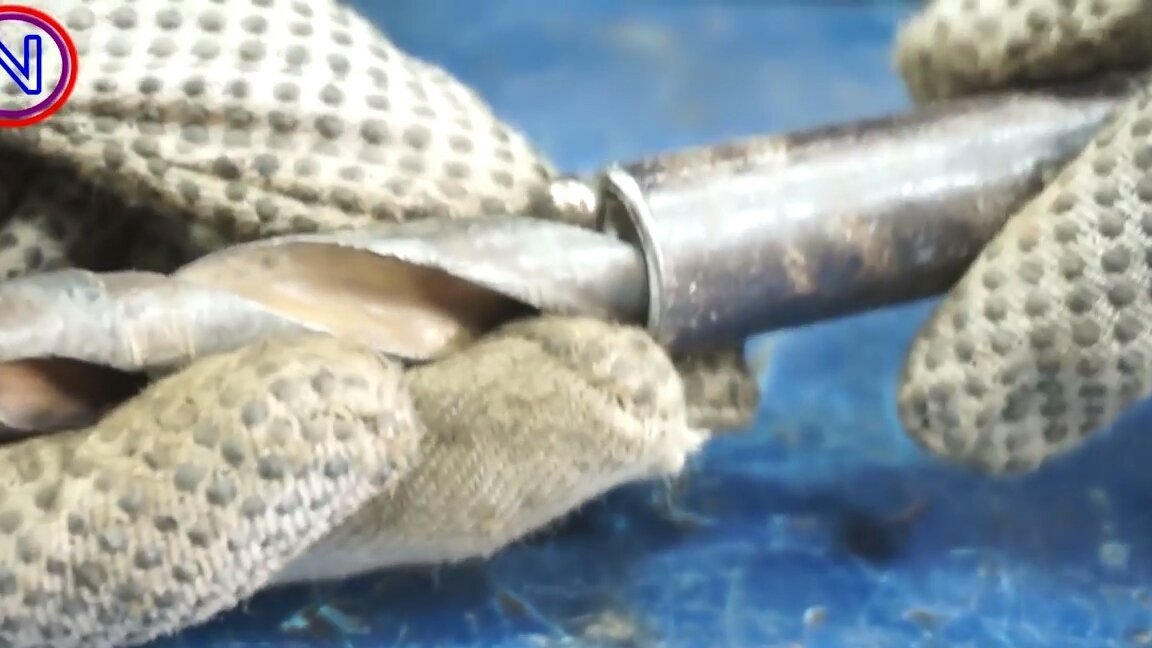
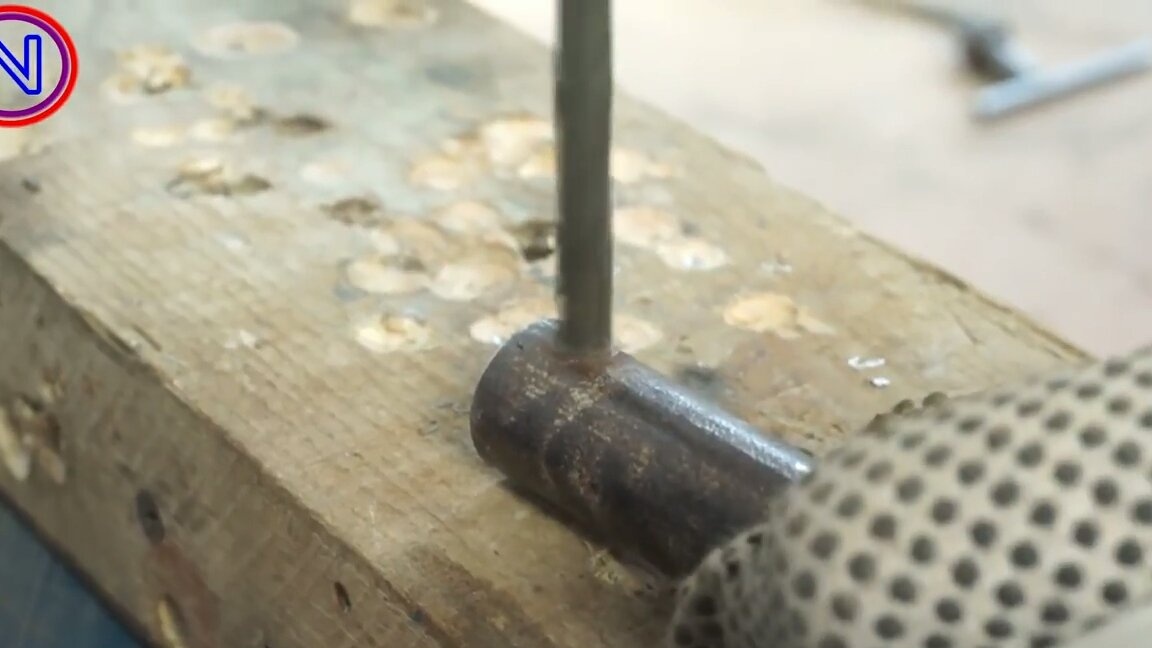
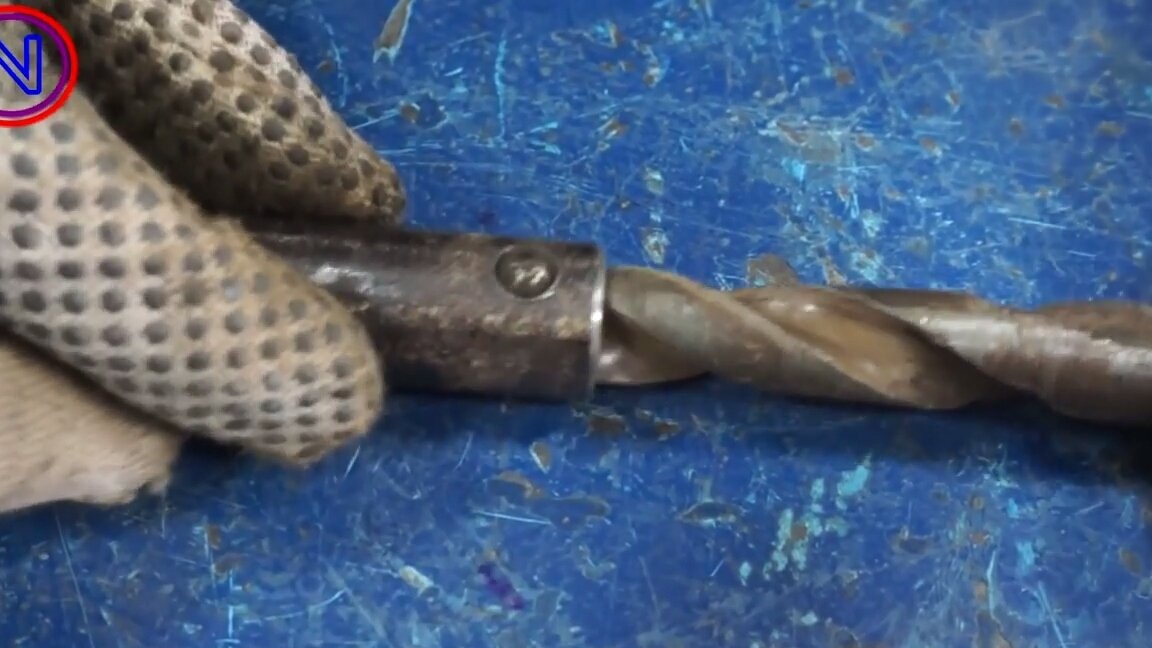
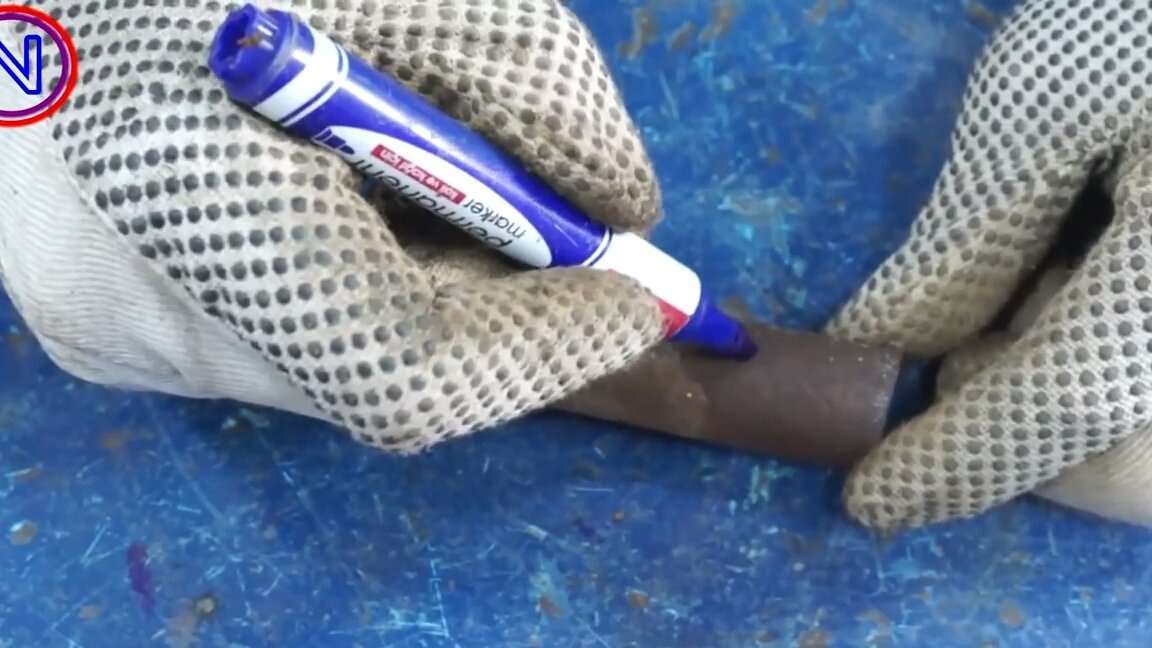
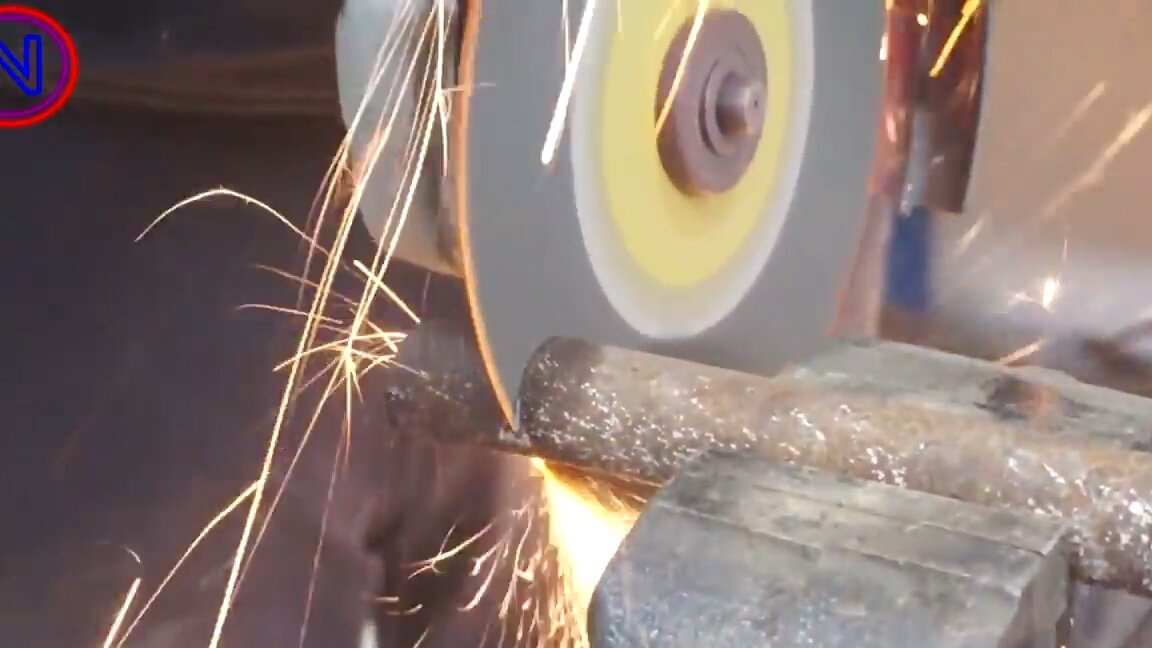
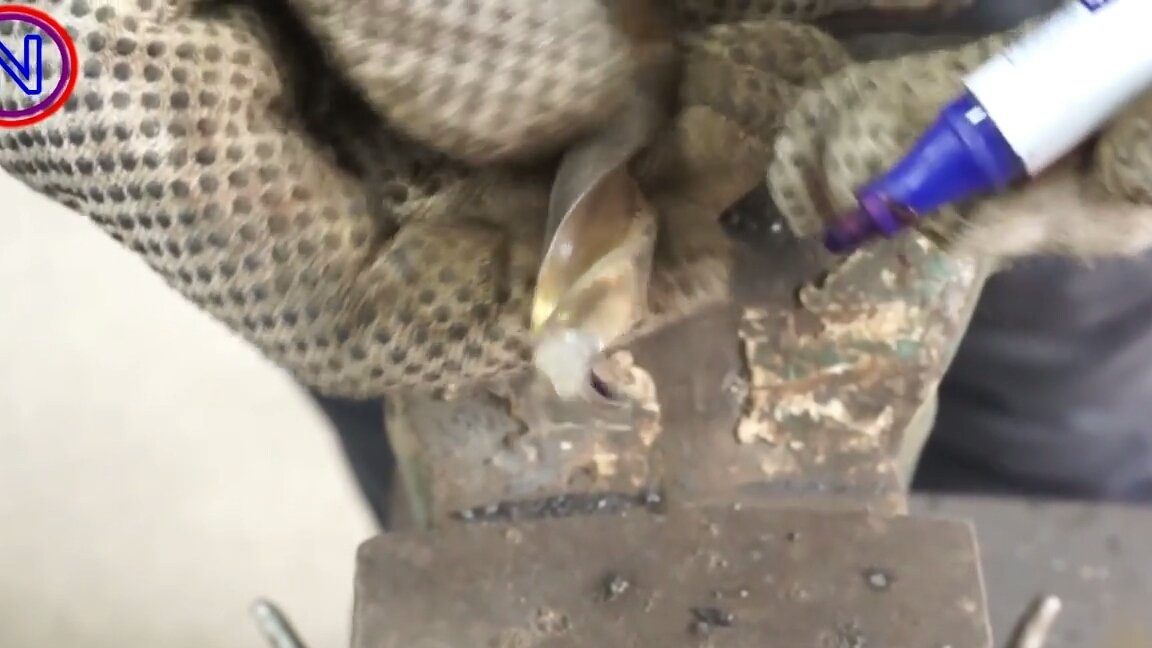

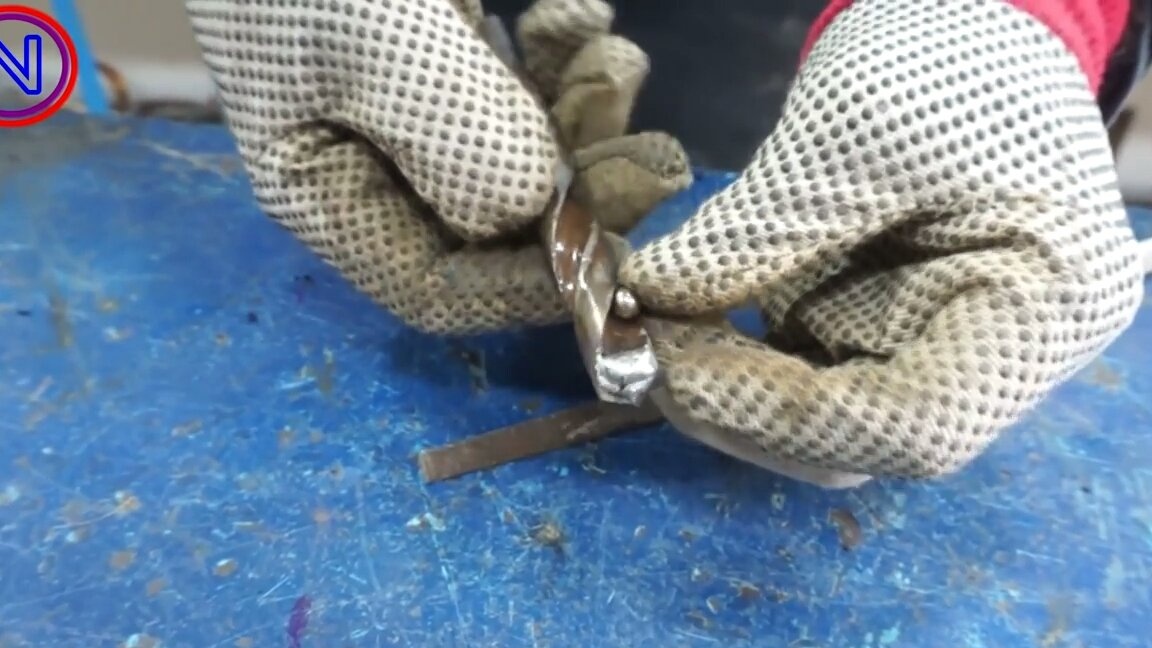
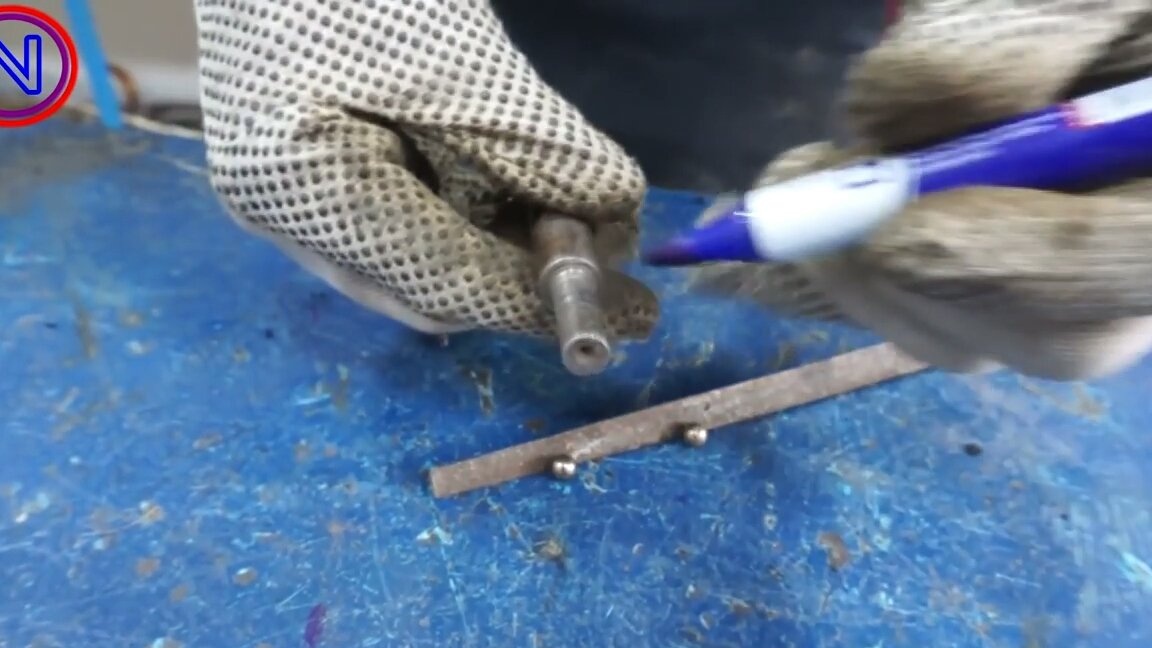
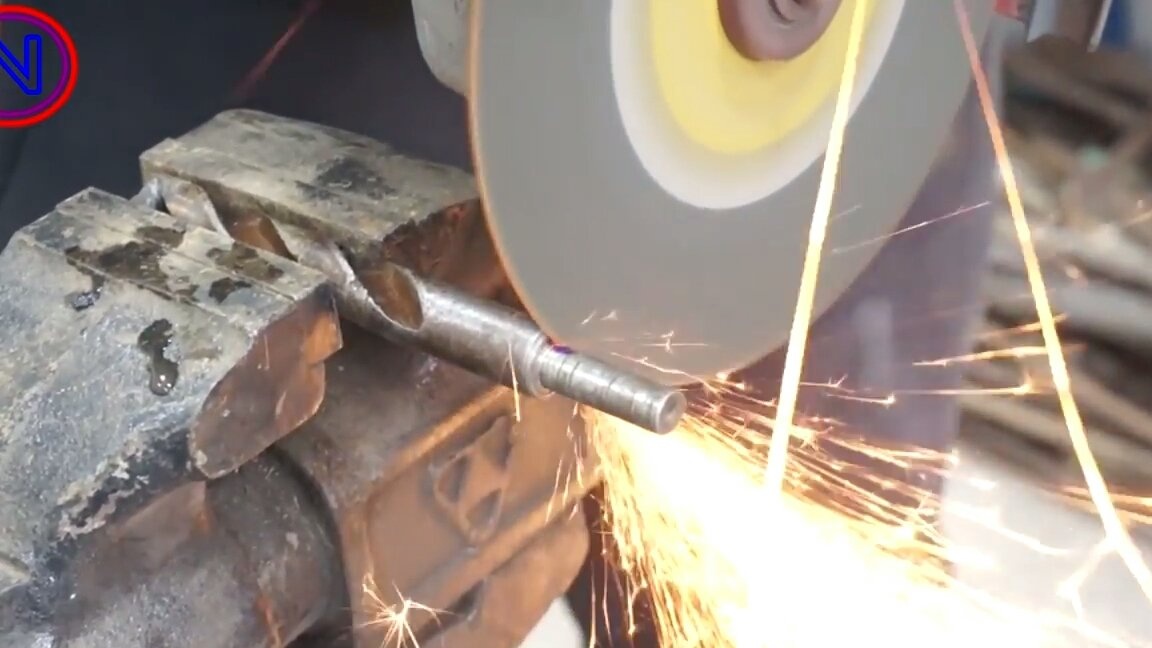
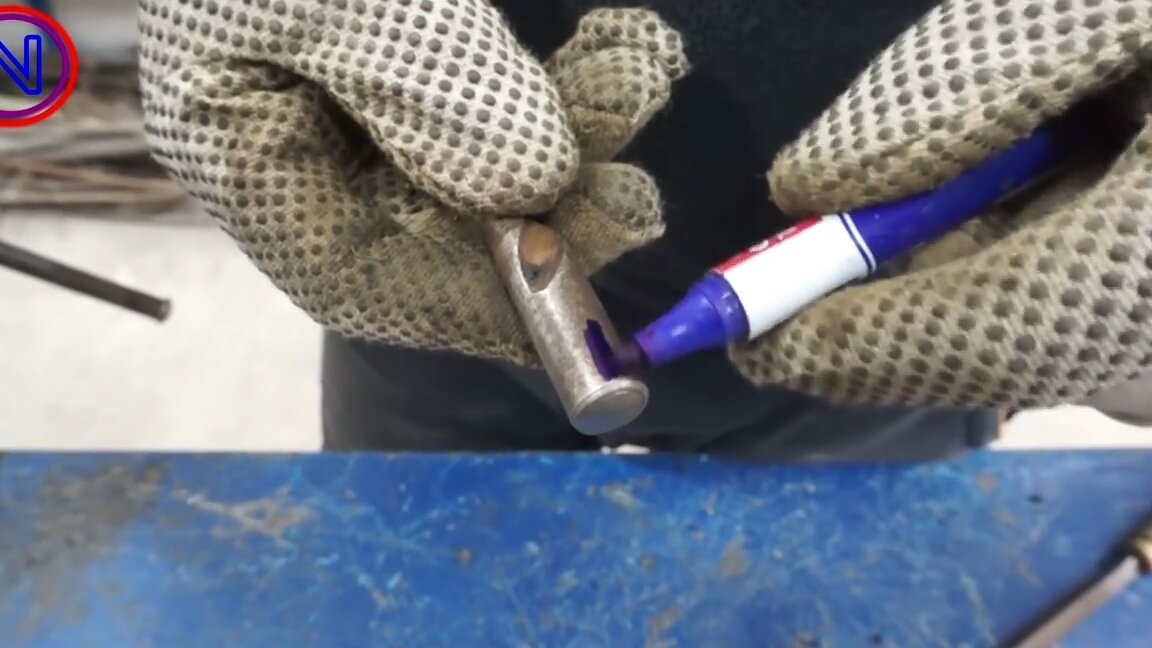
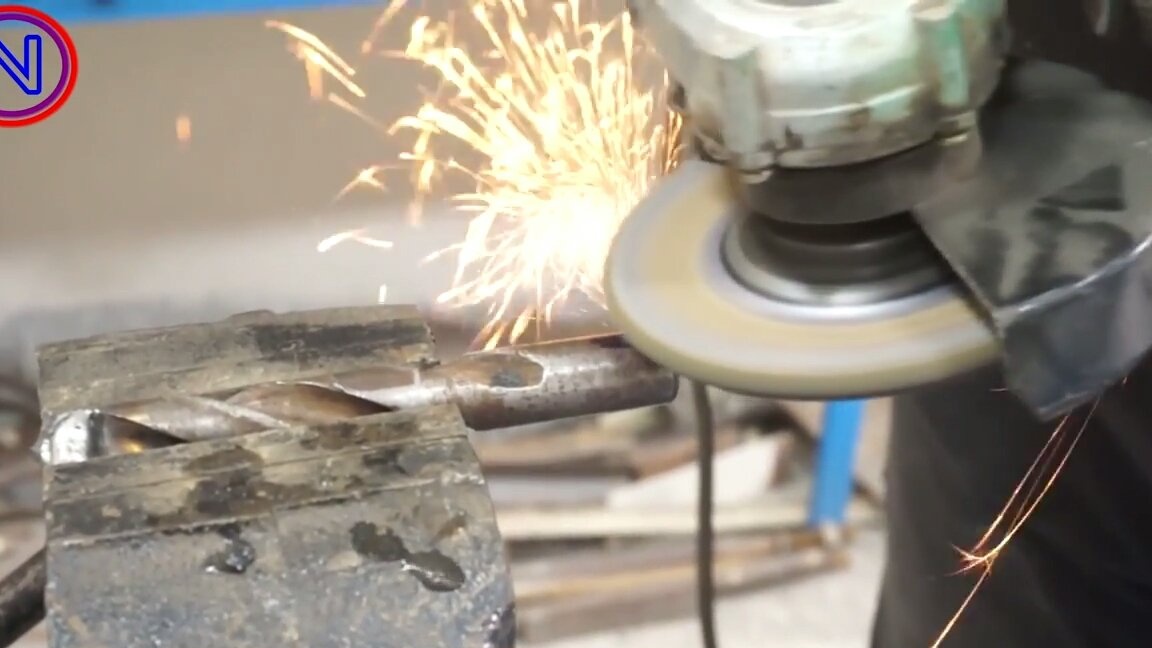
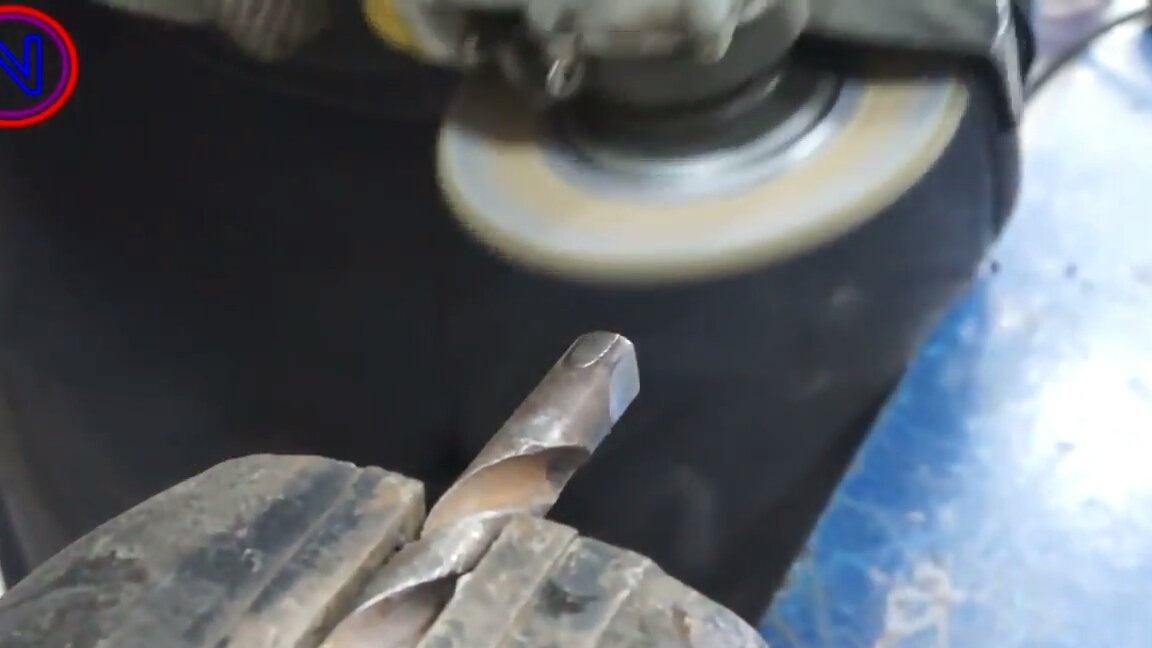
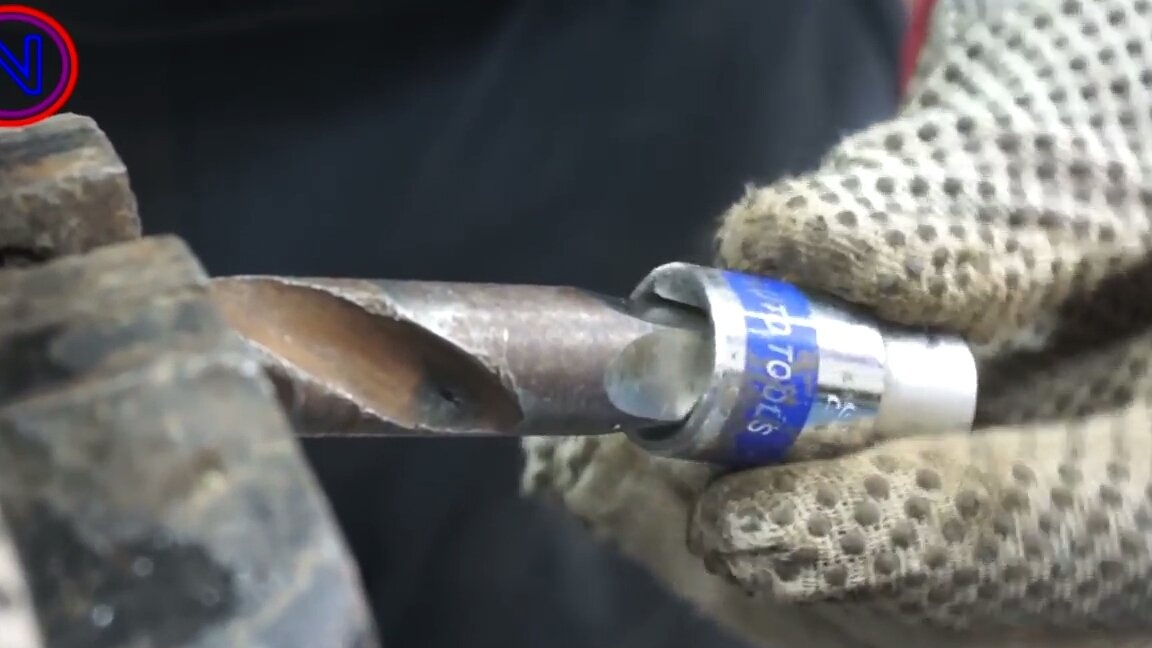
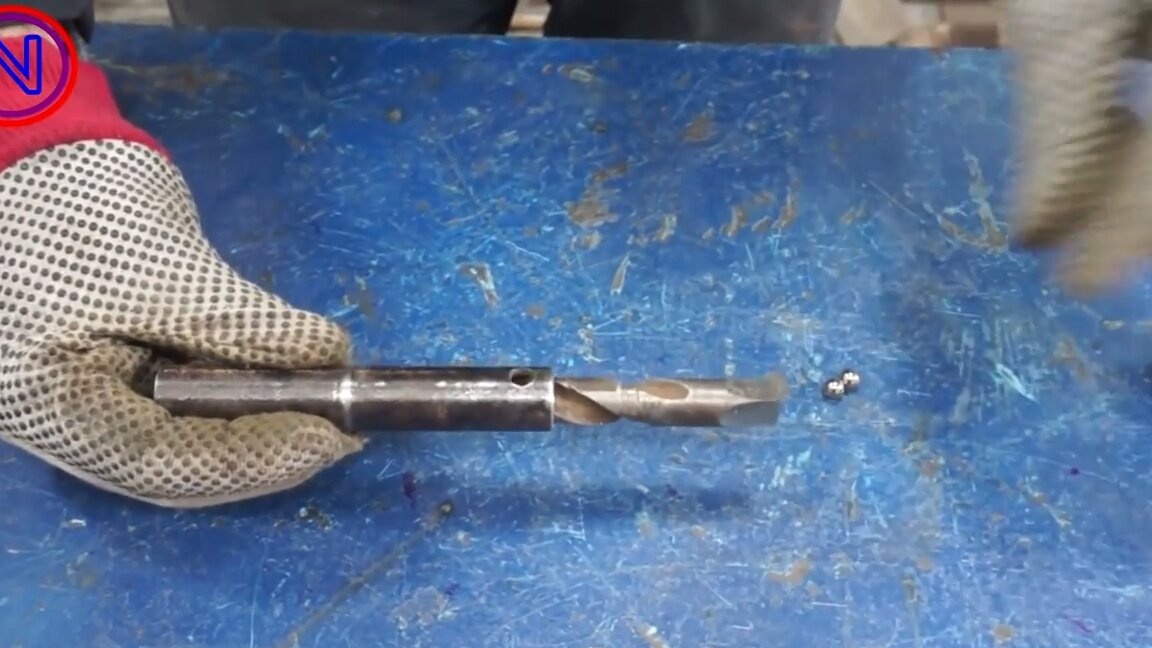
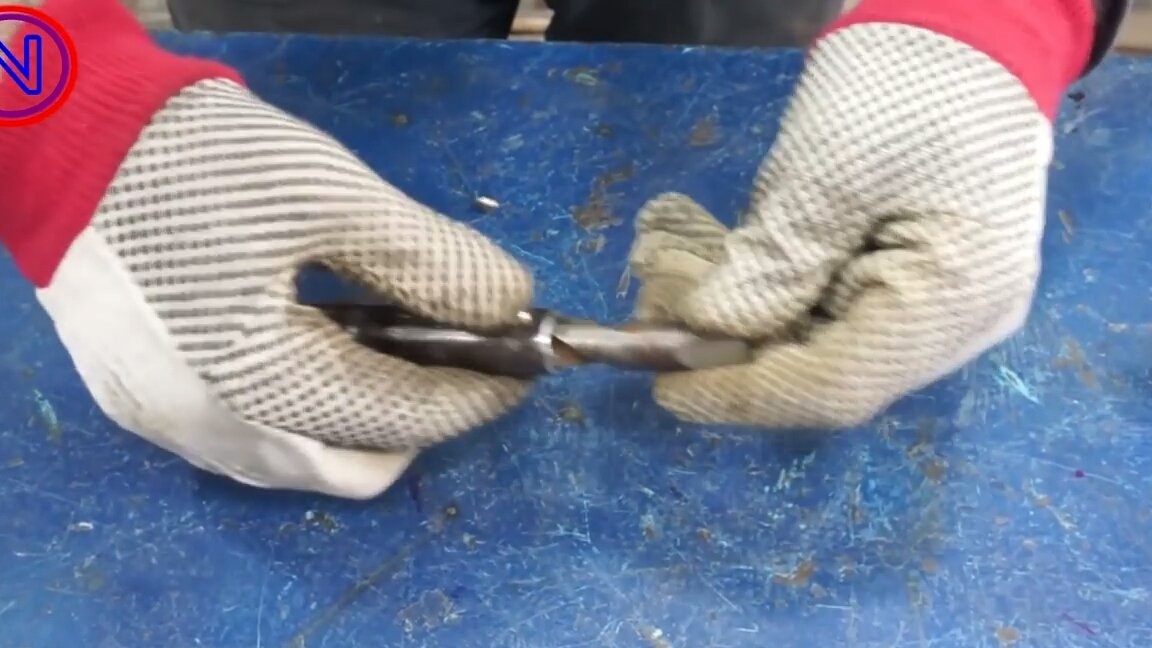
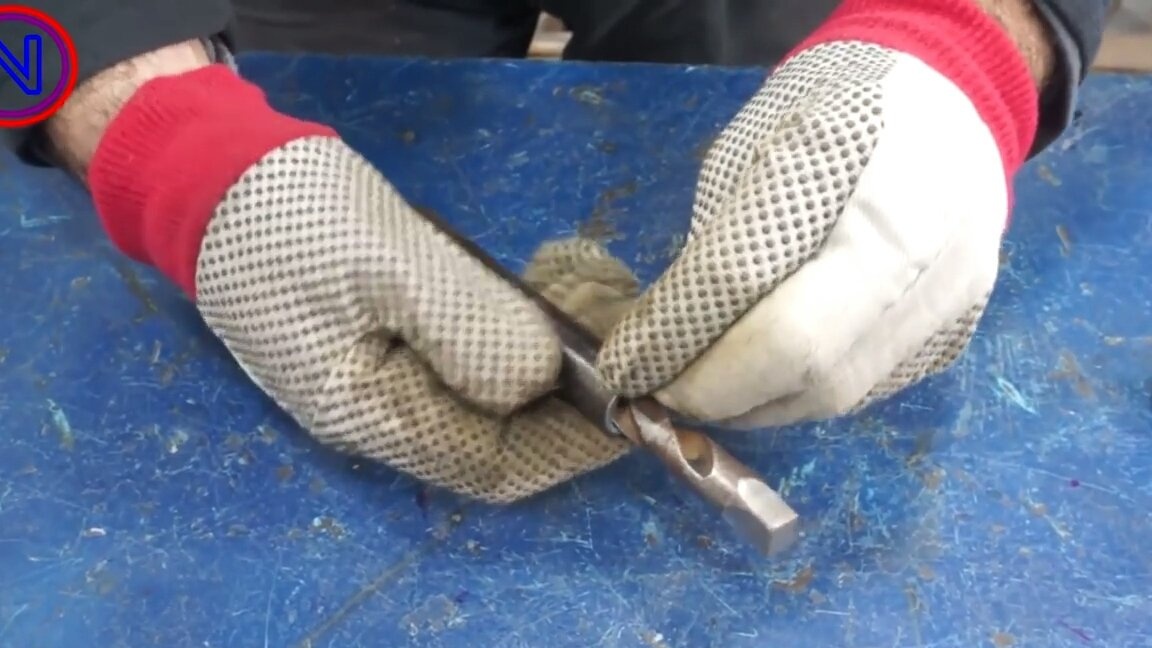
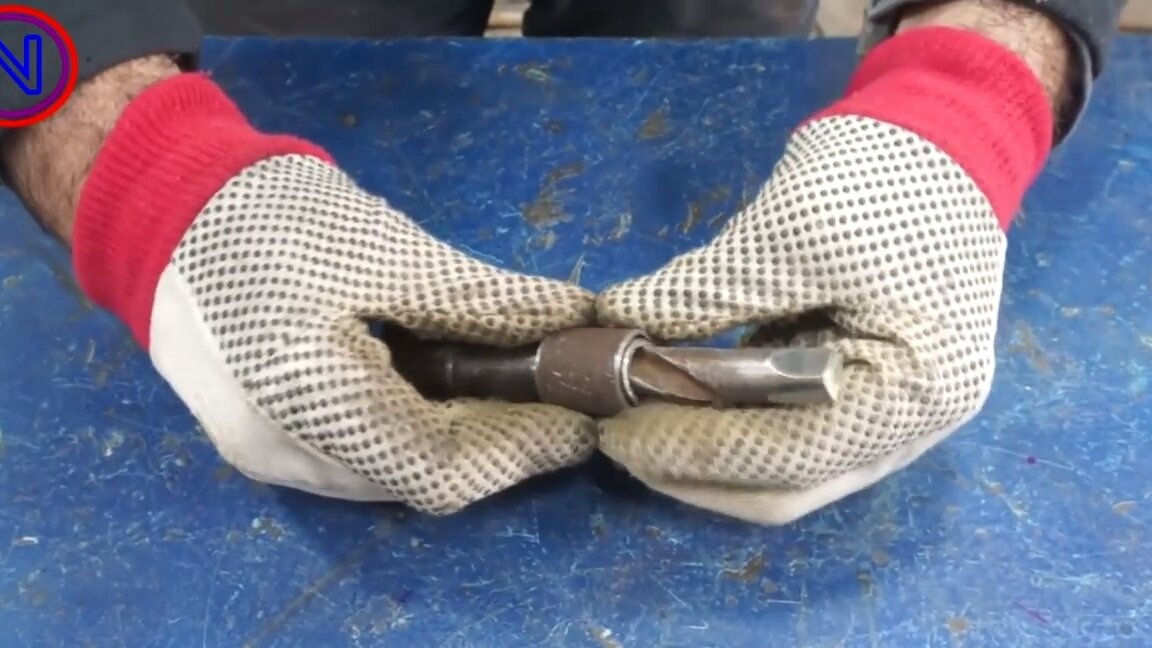
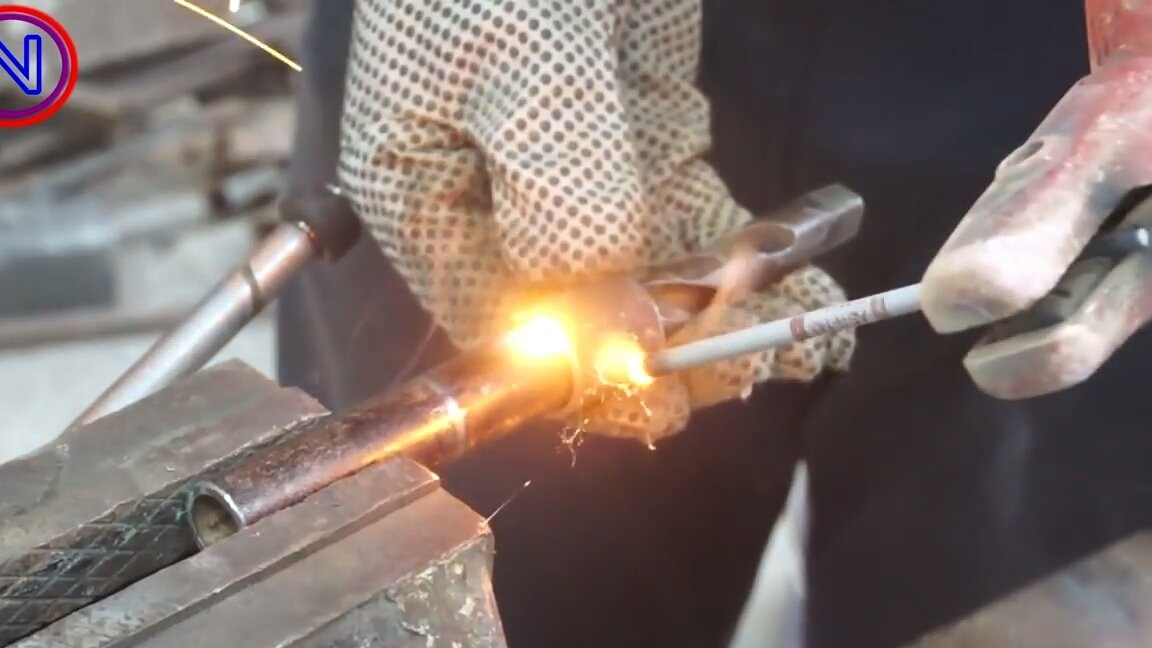
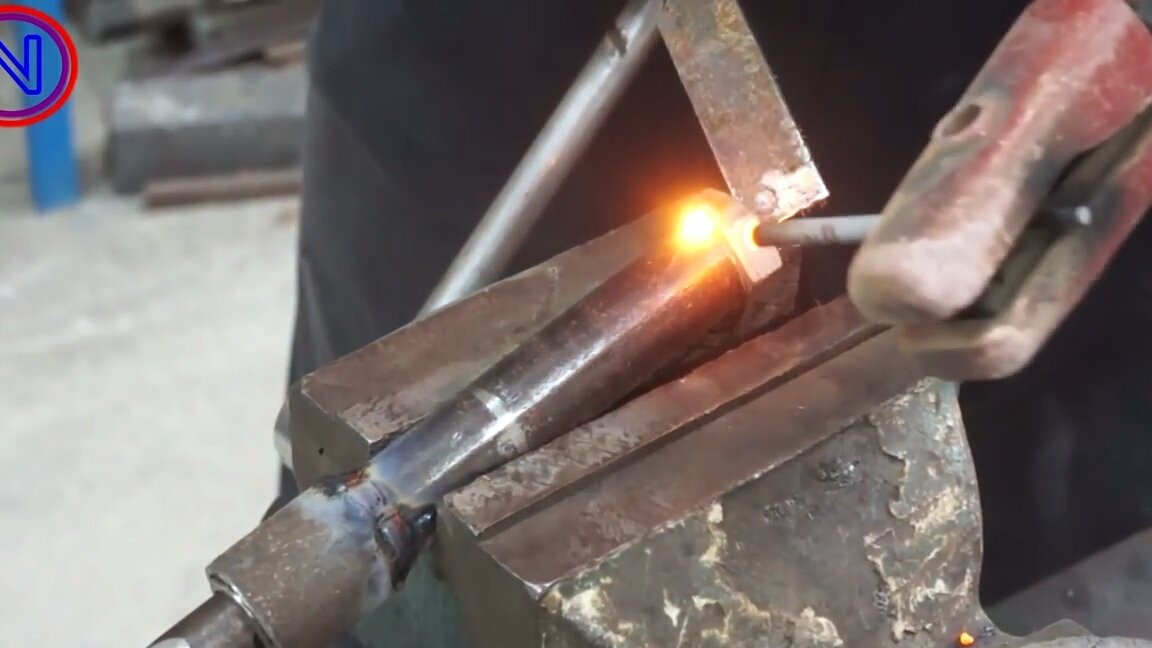
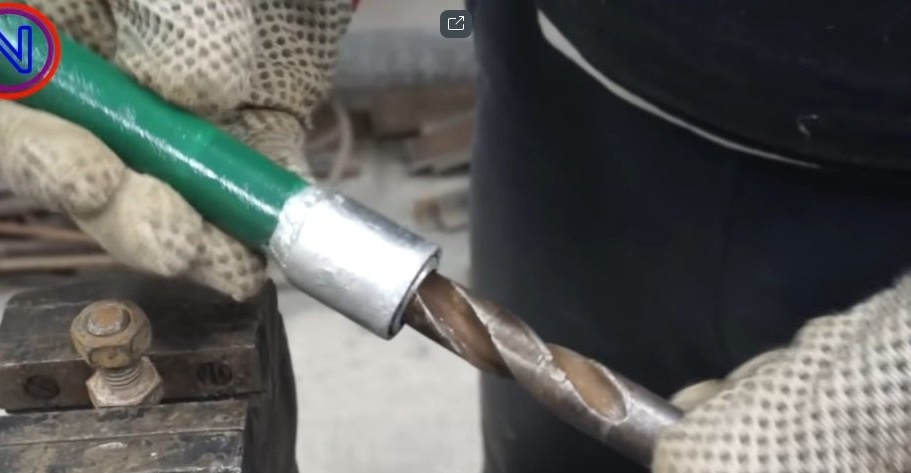
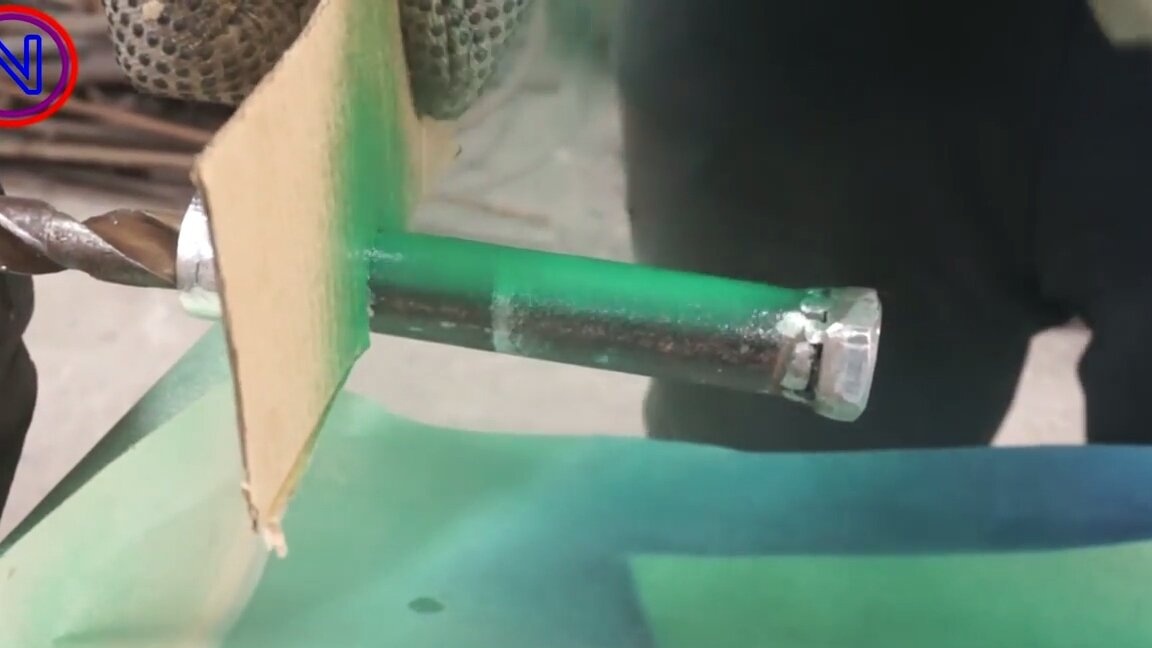
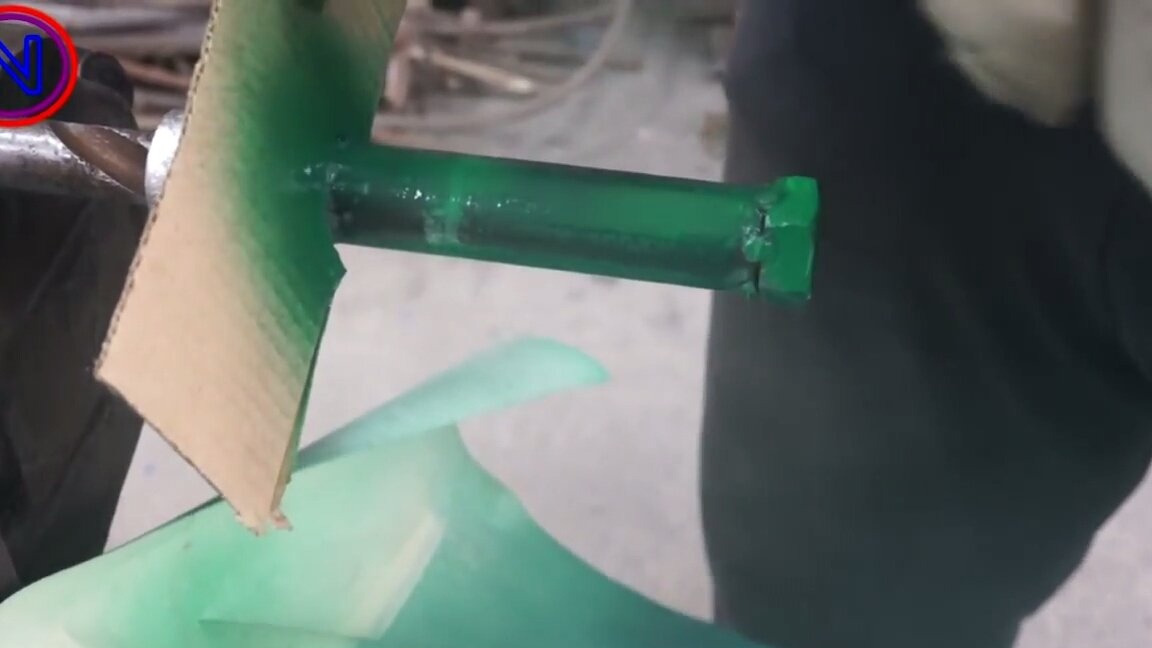
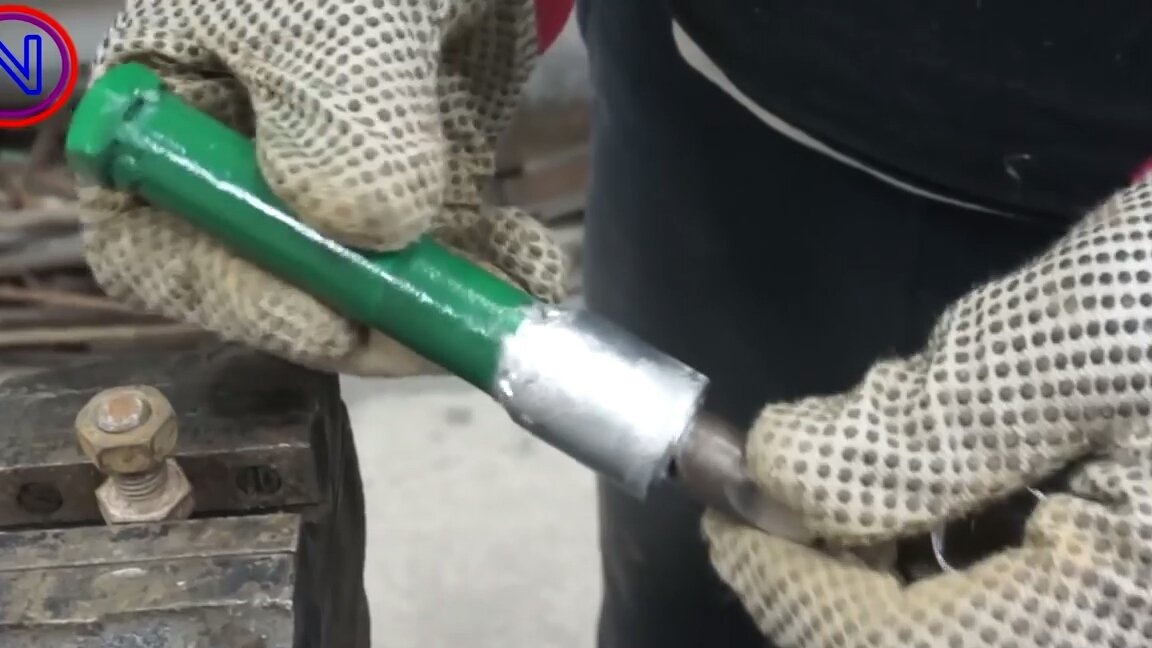
A part is cut off from the tube, which is slightly smaller in size than the drill (well, you need to select it, taking into account the fact that the shank is cut from the drill. Also, the progress of the twist depends on the size, the longer the drill, the longer the twist of the twist). Then, a hole is drilled on the edge of the tube to insert the bearing balls. The balls should only go into the holes in half or a little more.The tail part (the part that is attached to the chuck) is cut off from the drill and a square is formed from the cut point for installing the socket heads. The end of the drill is welded so that the drill does not pop out of the tube. A larger piece is cut off from the tube, holes are covered with a piece of the tube so that the balls do not fall off and are welded for fixation. A bolt is welded to the end of the tube in the photo, it serves as a plug so that the drill does not pop out.
Step 2. Final touches and testing
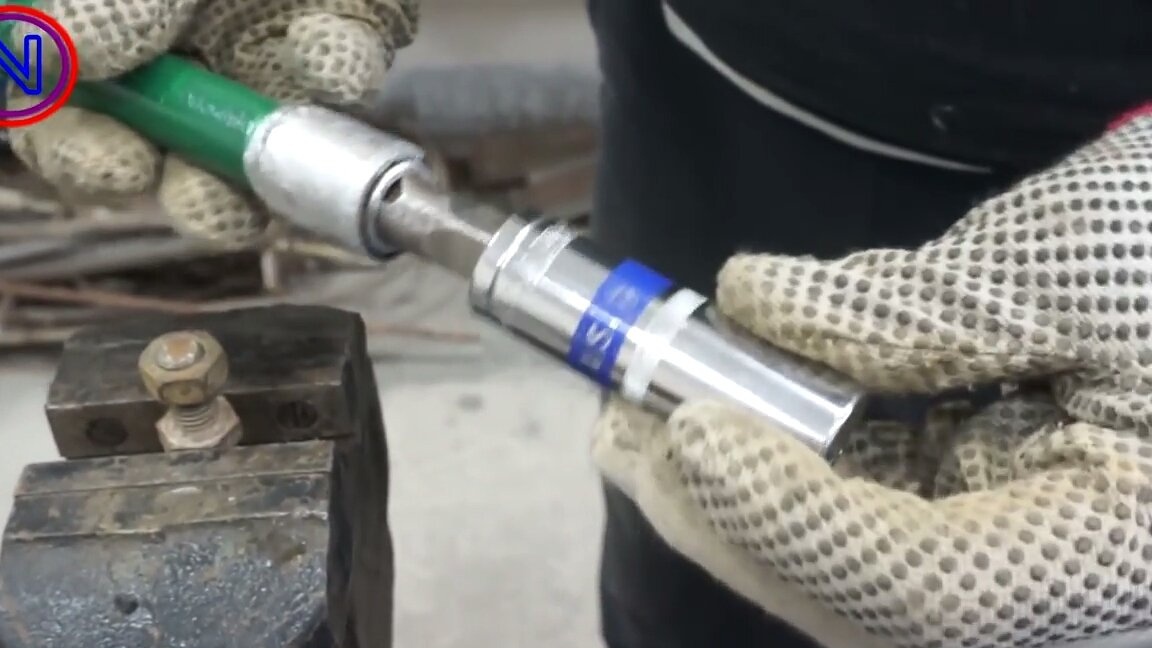
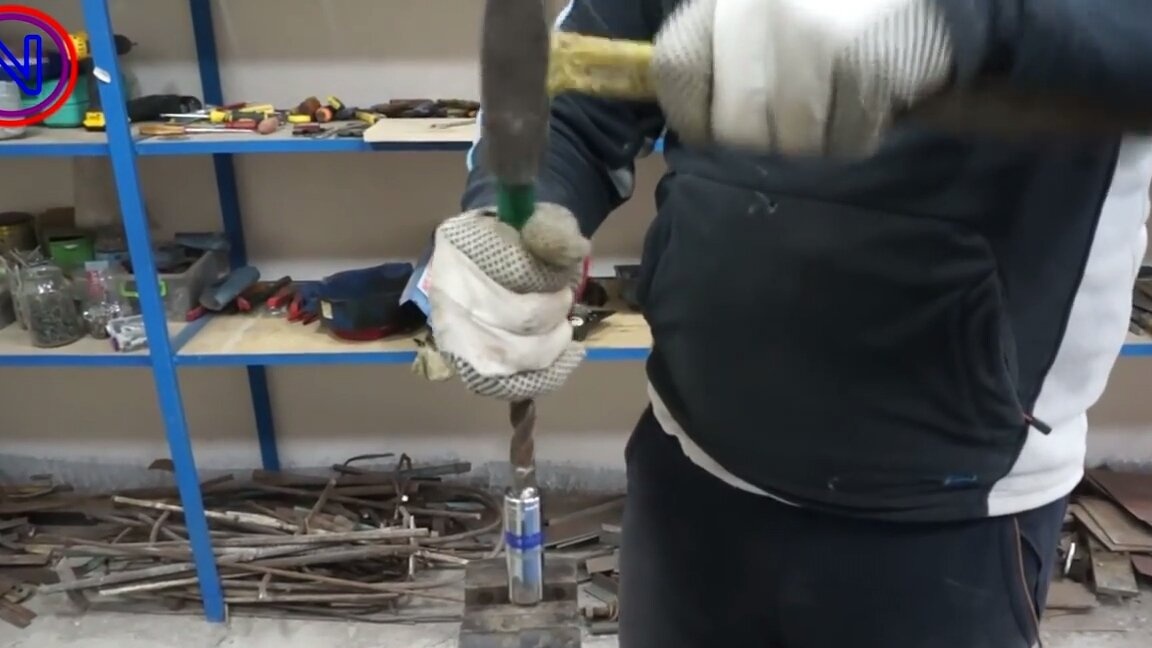
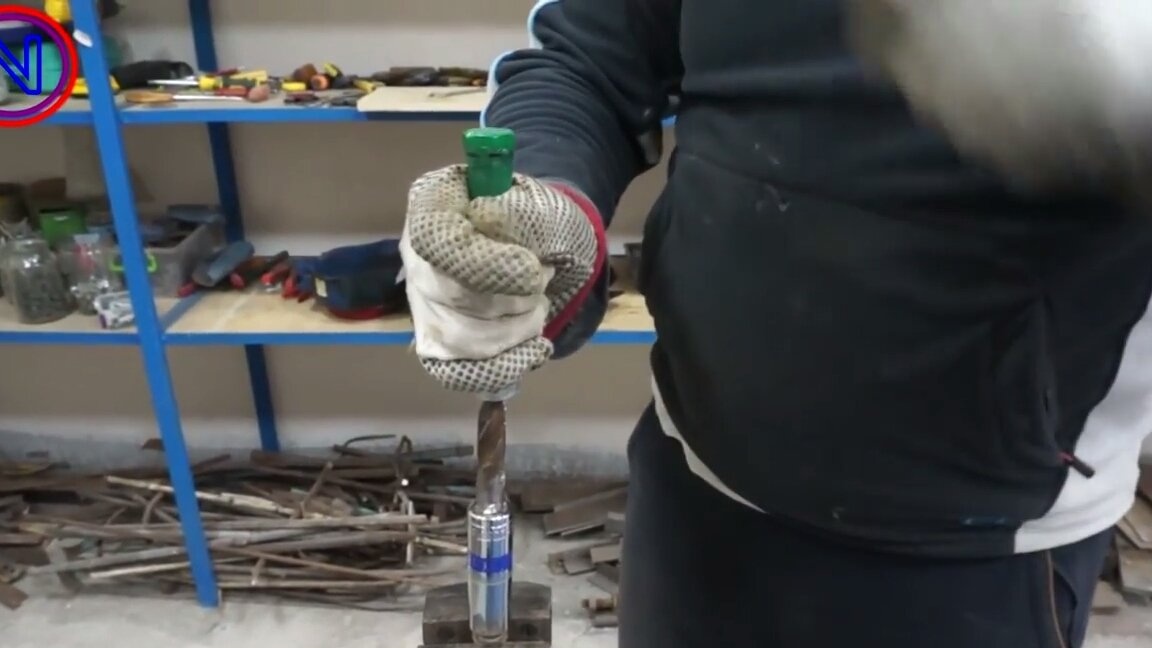
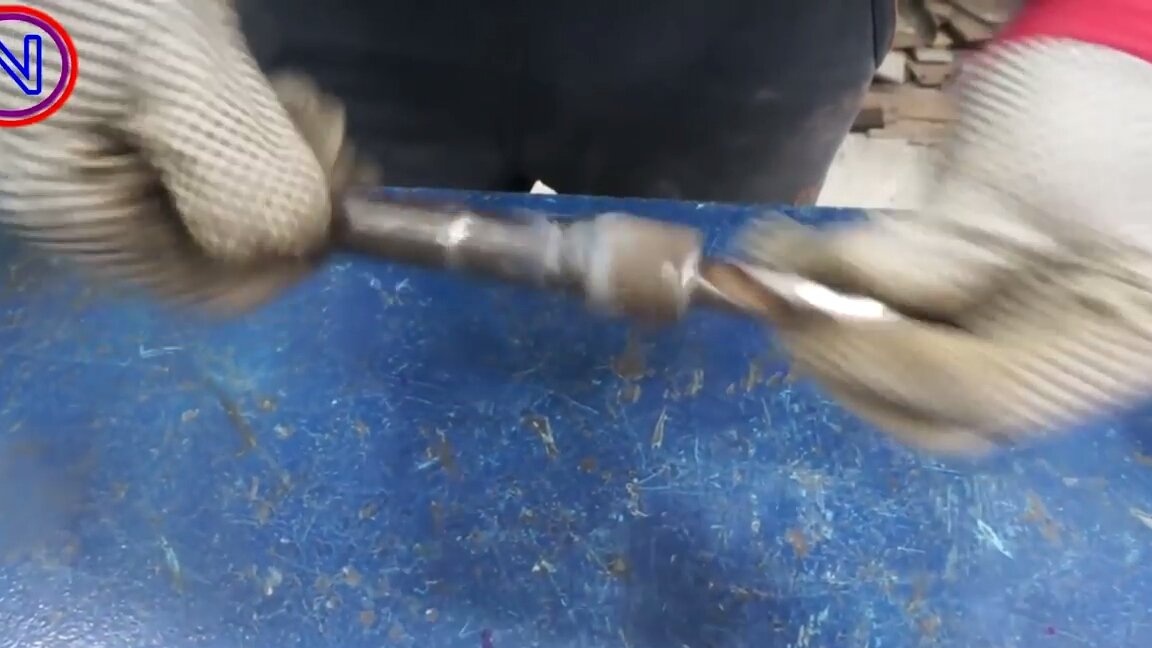
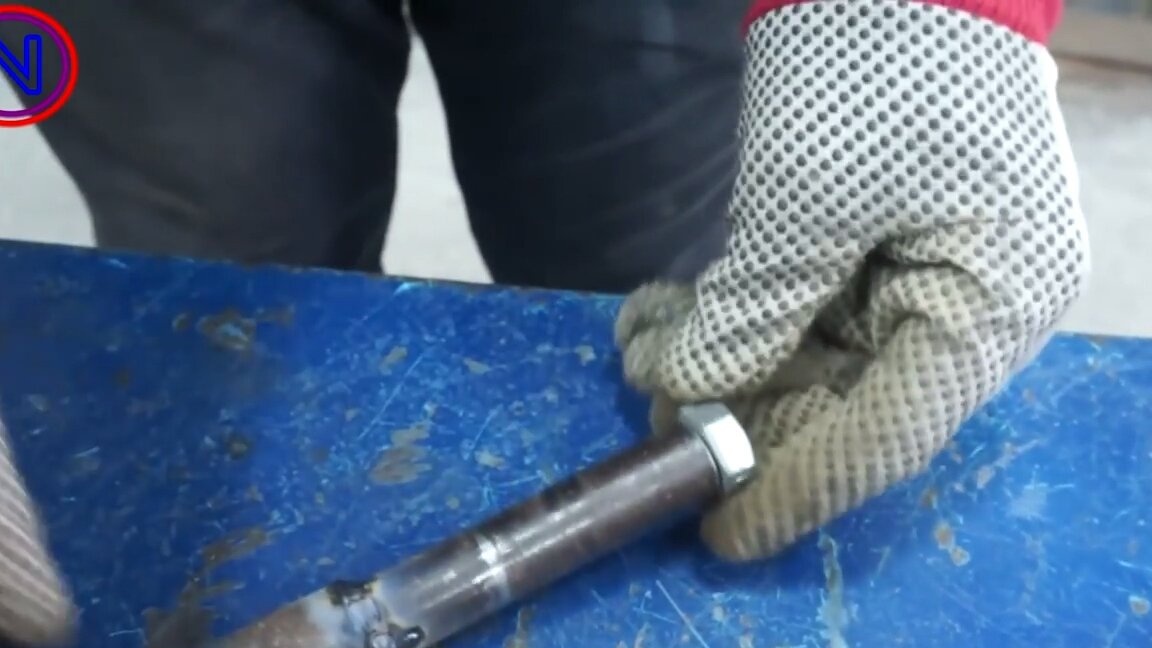
That's all, from simple and affordable materials such a useful home-made was obtained. Now it remains only to test it. Testing this homemade work, you can watch on video or on photos. There are still many similar homemade products on the Internet, but this one, in my opinion, is the easiest to manufacture and the most effective in operation. That's all, thanks for watching and if the article is suitable then we like it.