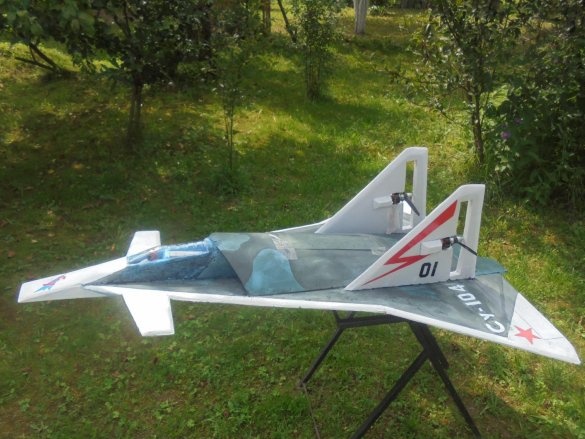
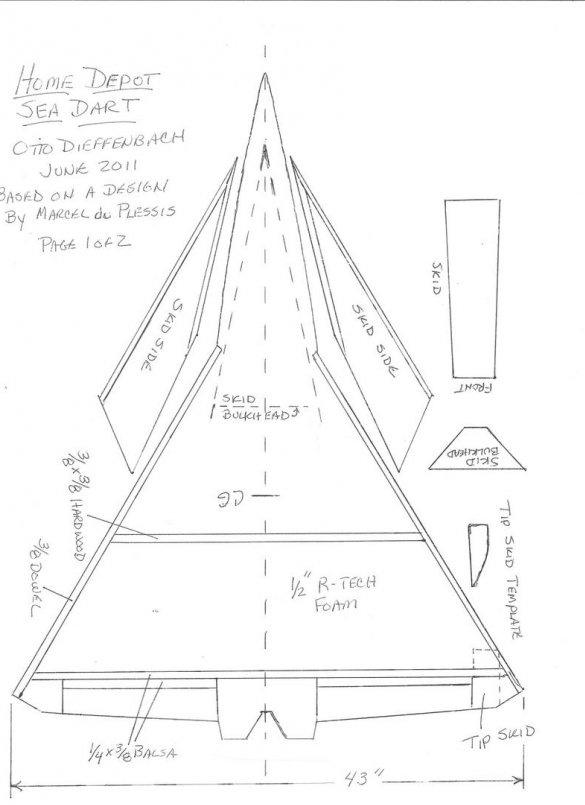
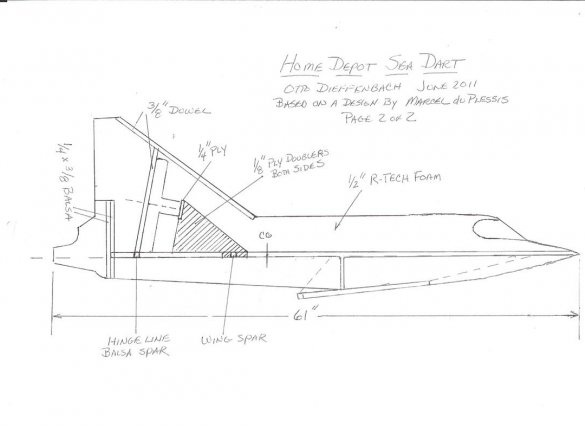
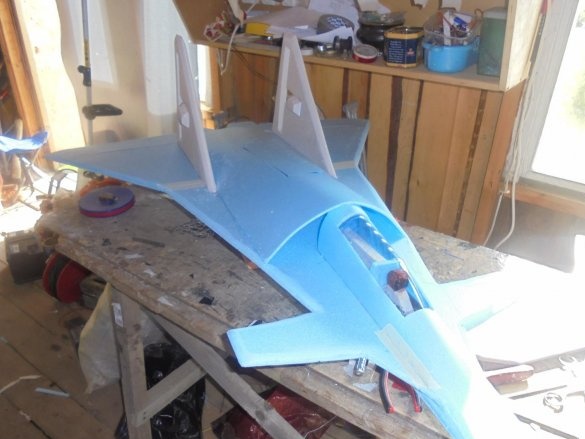
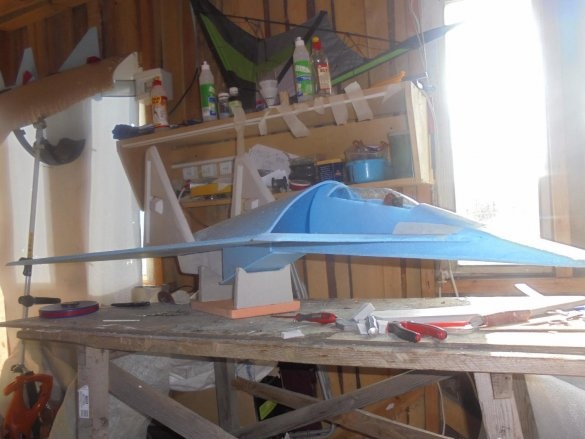
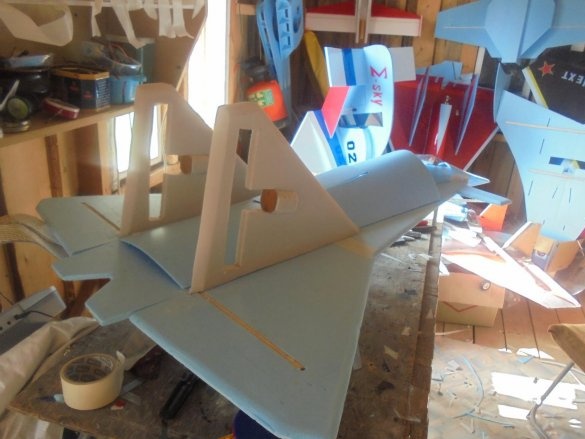
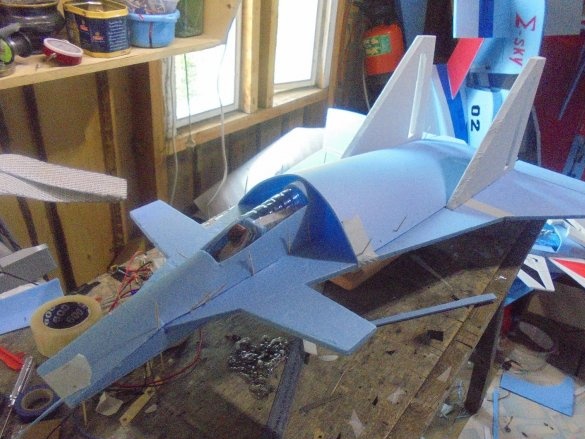
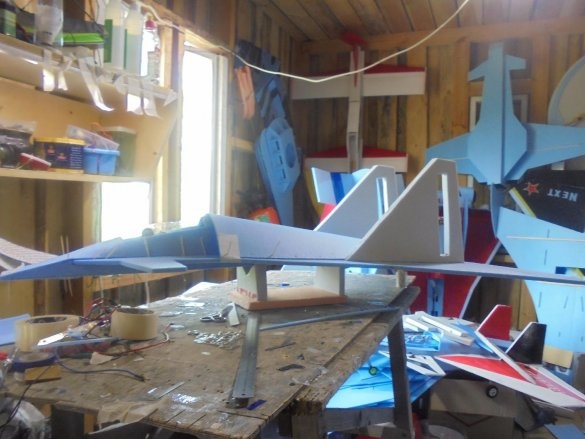
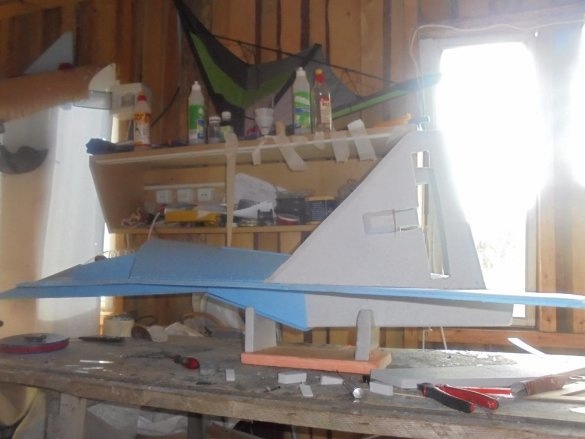
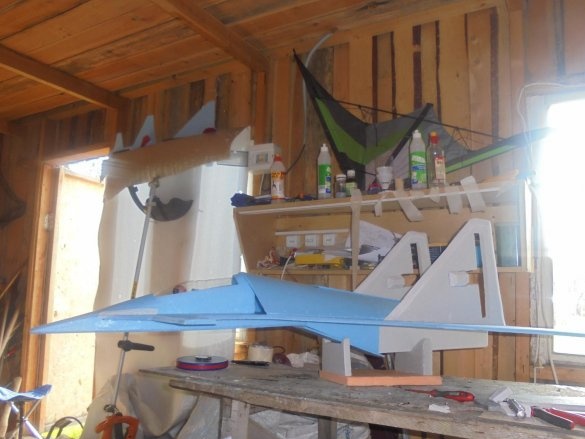
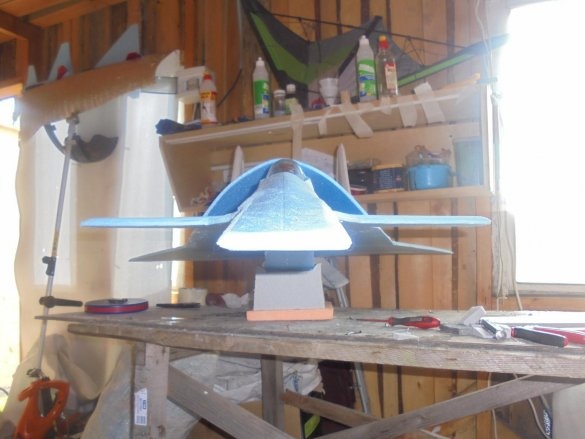
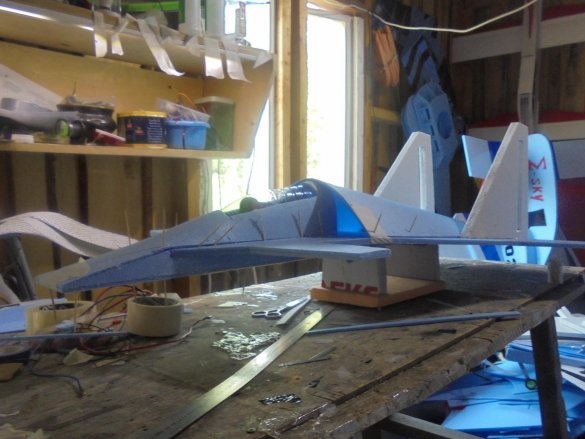
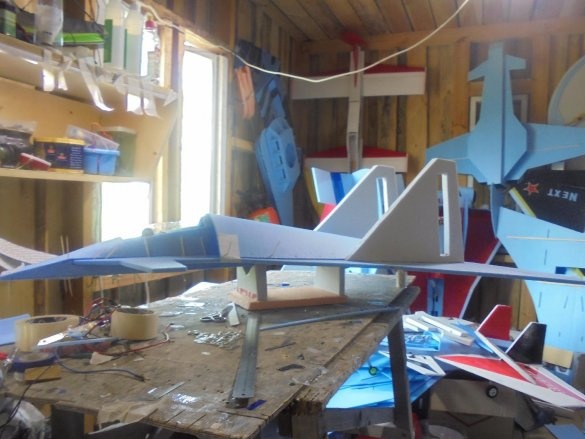
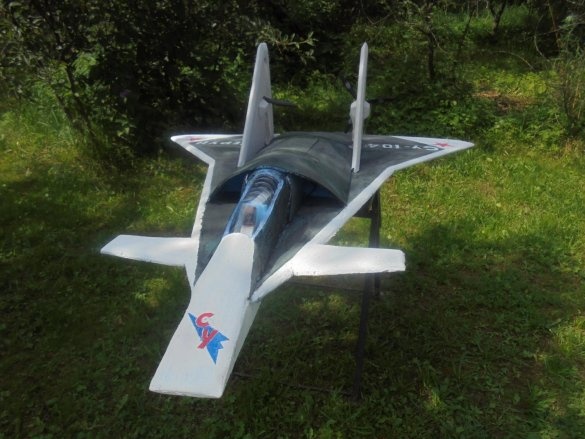
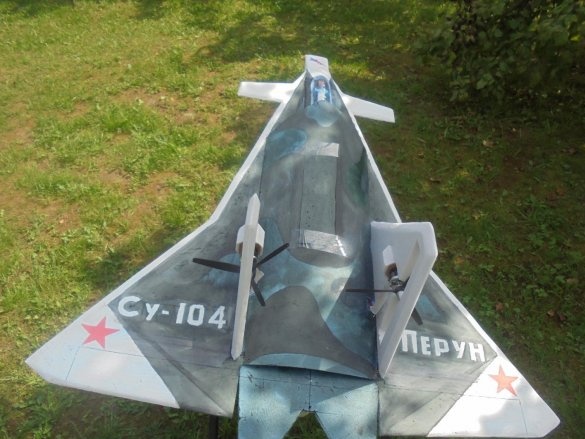
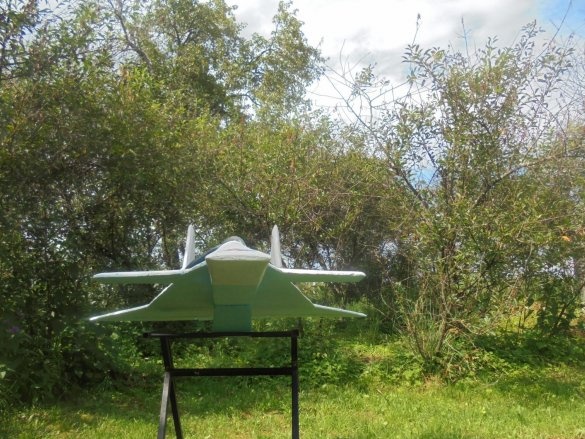
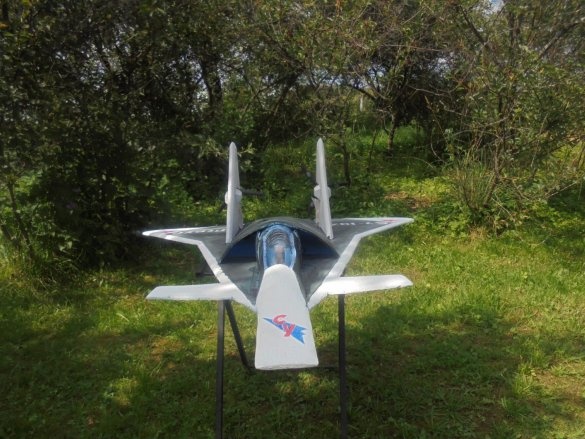
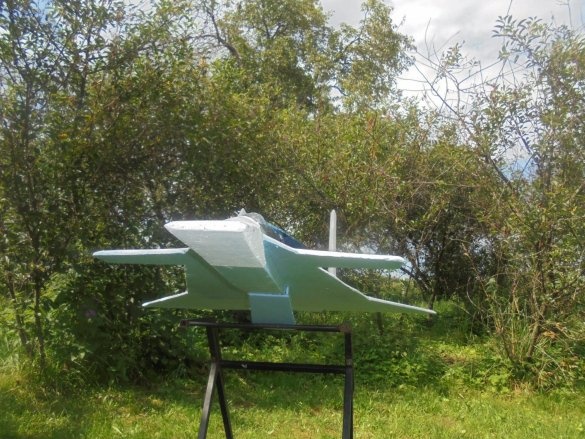
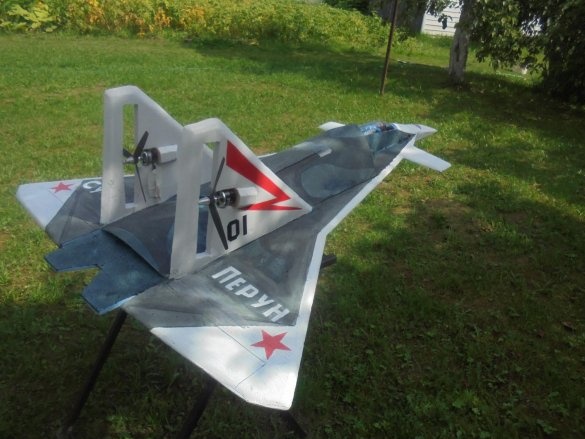
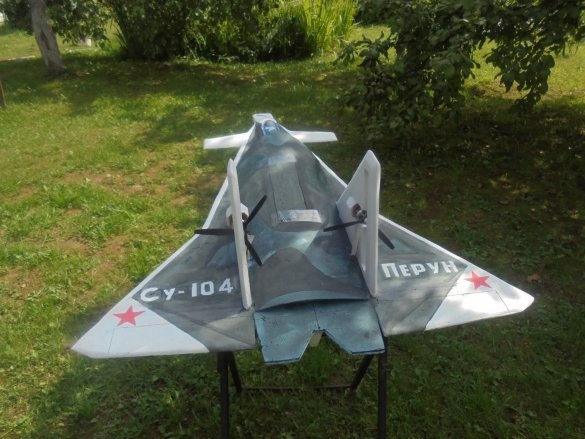
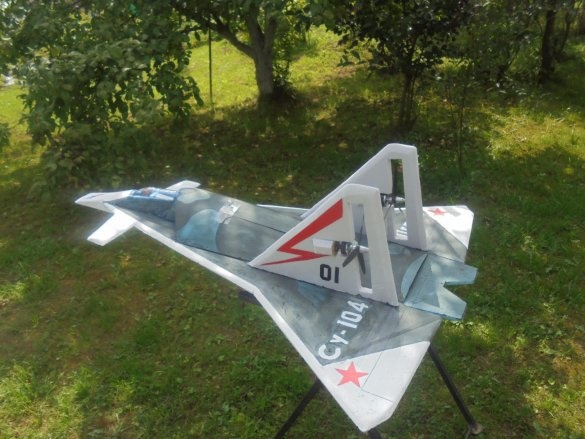
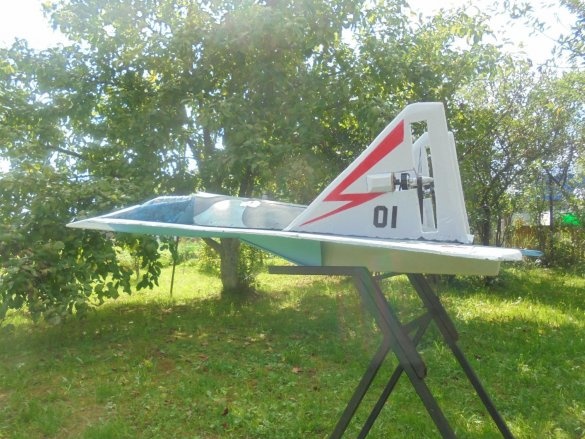
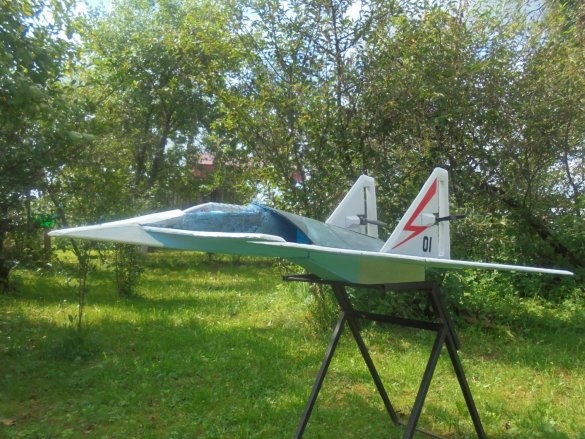
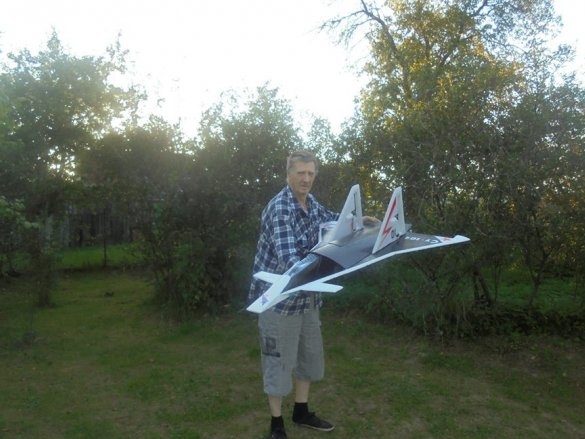
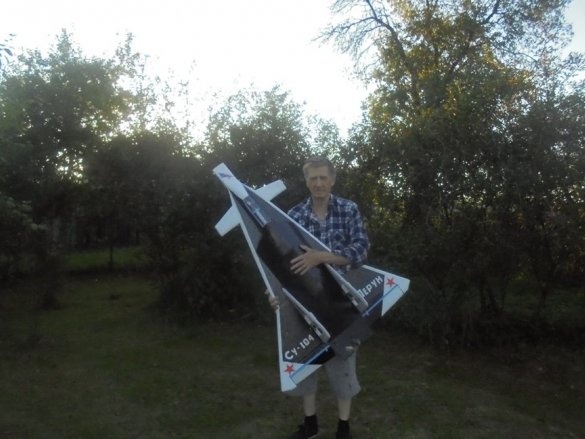
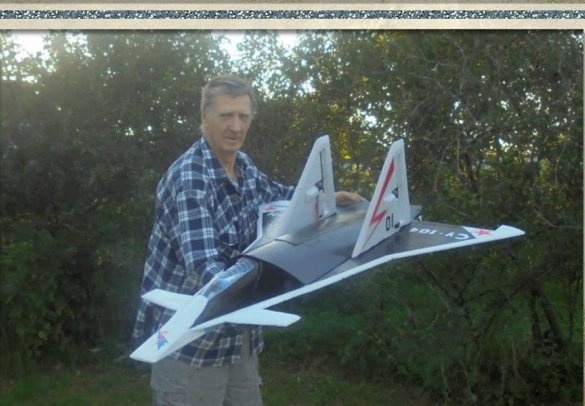
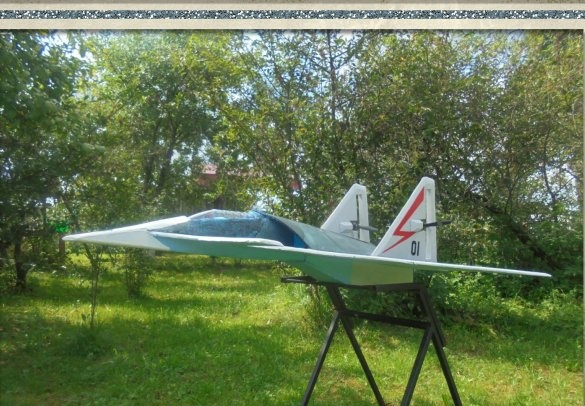
Continuing the theme of models built according to the drawings of the Convair XF2Y Seadart aircraft model, I want to show my other model, called Perun.

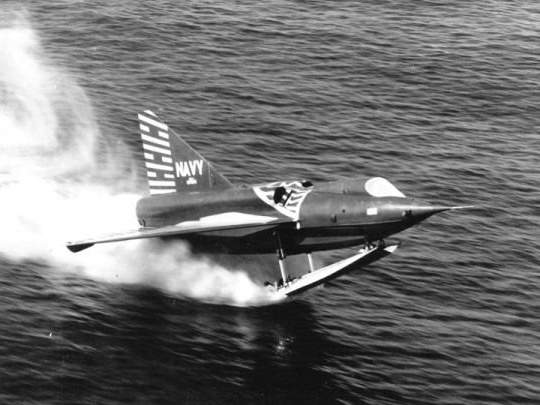
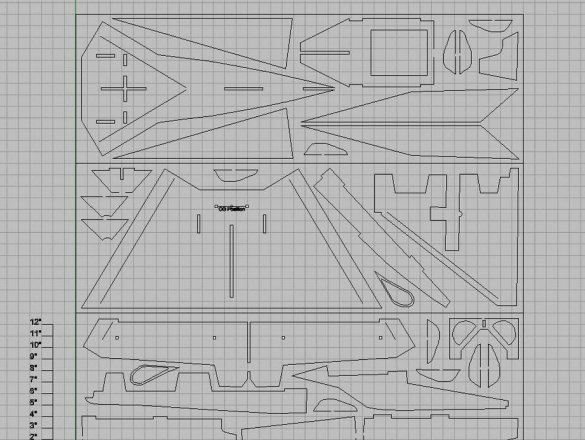
Using these drawings, you can build many aircraft models, one way or another modifying their design within certain limits
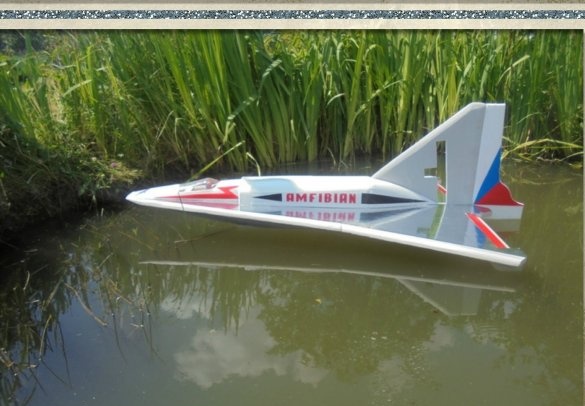
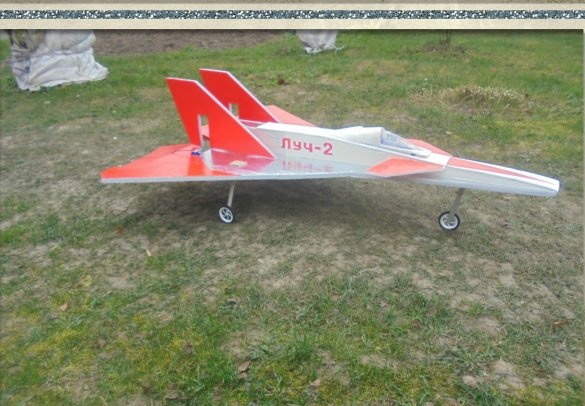
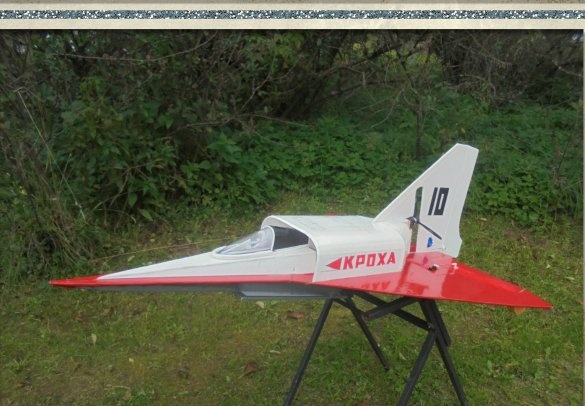
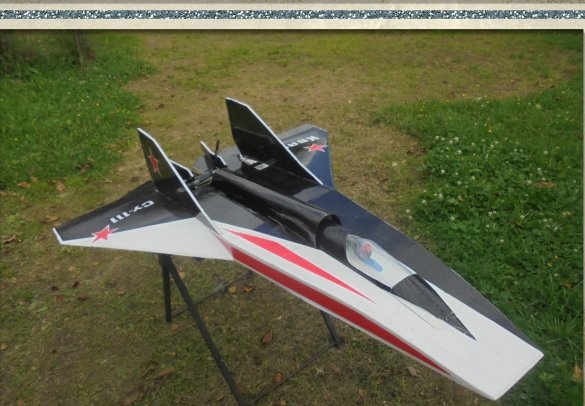
Before that, I built several similar models, among which I can distinguish such as Amfibian, Luch-2, Kroha, and Quark.
This time there were thoughts to create an aircraft model, using these drawings, but with only two keels, on which two engines will be installed.
When building any model, I never use the provided drawings, but take them as a basis and make model in my own way.
The main material for building the model took a simple substrate under the blue laminate.
Universal adhesive, moisture resistant "CIN".
Heater "Penopleks".
Color and double-sided tape.
Wooden lath with a section of 10 x 5 mm.
Electronics.
Motors - 3010С 1300Kv 420 Ts. - 2 pcs.
Screws - 8 x 6 -2 pcs.
Regulators - 60A. - 2 pcs.
The battery is 2200 3S.
Servos - MG90s
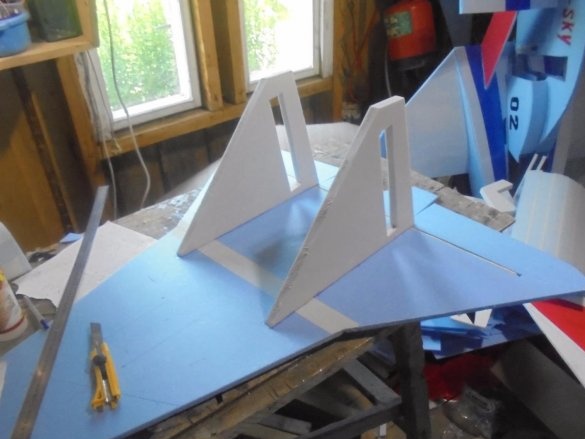
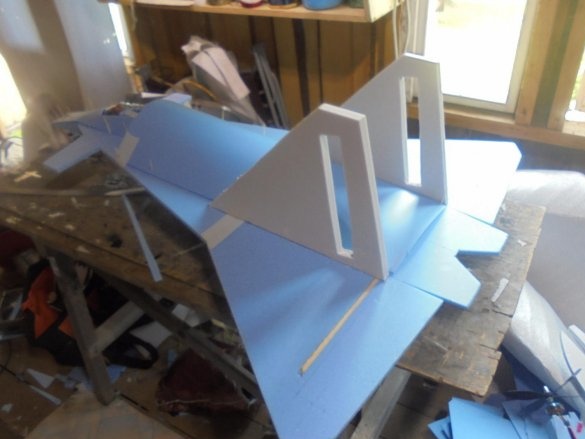
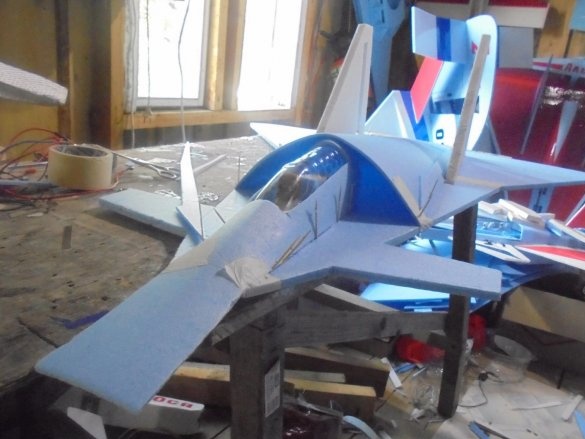
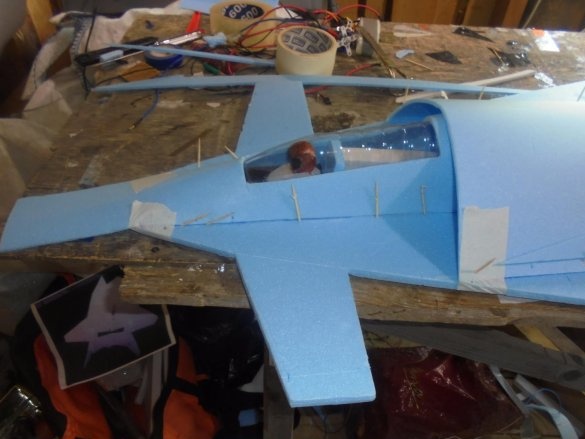
As usual, I start with the bearing surface, with the wing. It is made in two layers of the ceiling.
In the tail of the workpiece, across the entire width, a wooden lath with a cross section of 10 x 5 mm is glued.
The keels are cut out of the Penoplex insulation 20 mm thick.
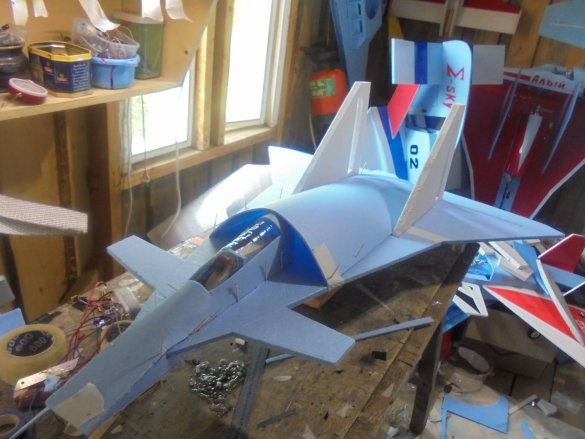
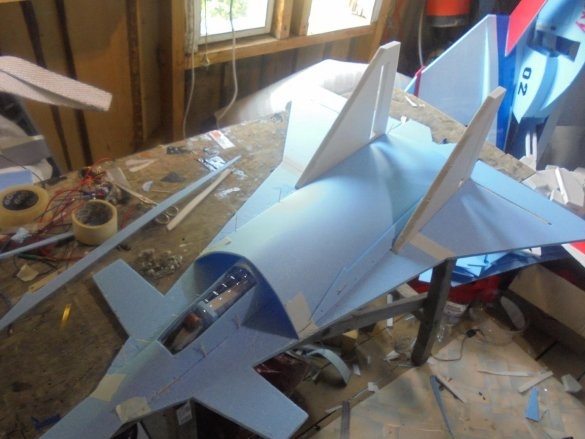
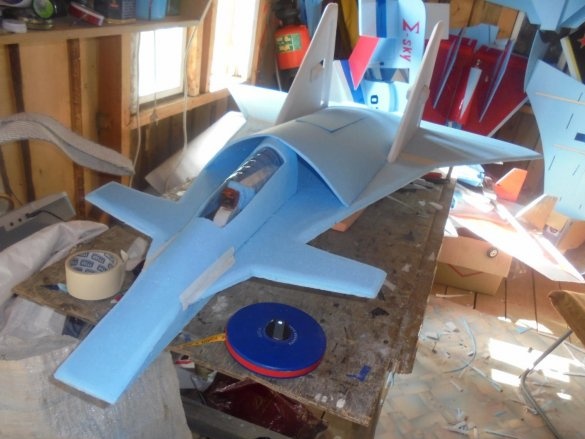
Then begins the improvisation with the fuselage. The upper part is bent from the ceiling, it makes a cutout for the cabin, which is cut out of a plastic bottle.
When gluing various elements of the model, I use wooden toothpicks and pieces of paper masking tape for fixing. After polymerization of the adhesive, the technological stickers are removed. It is very important to remove the toothpicks until the glue is completely polymerized, one hour after gluing, in order to avoid damage to the substrate when pulling out the toothpick, they can stick and tear off with pieces of the substrate.
A cab lantern is inserted into this cutout and glued. Before mounting the lantern, I paste the pilot’s figure, which I cut from a piece of insulation and painted with gouache paints.
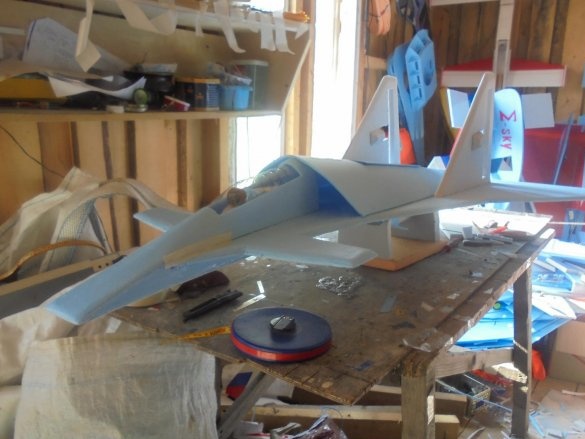
The place where all the electronics is located is closed from above by a common lid - a hood arched from the ceiling. To access the electronics and to replace the battery in the hood, a cover is made that is fixed before the flight with transparent tape.
On the keels, in the places where the motors were installed, I glued pieces of insulation, to which I had previously glued pieces of hardboard (fiberboard) of 40 x 40 mm in size, I could have veneer, but it was not at hand.
Bottom mounted sidewalls for the fuselage, glued the bottom and the redana design.
It turned out pretty well. I moved away from the drawings, but retained the main dimensions. Redan is 1.5 cm in front of the center of gravity (center of gravity) model. Redan height 120 mm from the lower plane of the wing.
Hanged elevons on makeshift loops. Loops did so. I took a plastic folder for documents - a file, cut strips from it across the width of a double-sided tape and without removing the paper base from a double-sided tape, pasted them with strips on both sides, we got a double-sided tape with a layer of "file". I cut it into separate pieces, with which I fastened the elevons with the case of the model above and below. The front edge of the elevons from the bottom was previously cut at an angle of 45 degrees. The loop places were glued with transparent tape so that it would not stick together.
he pulled the model with colored tape, made inscriptions.
He installed the boars, which he cut out of the packaging from the video discs, mounted the servos, connected the rods. Installed motors.
This is how the model looks before the first lap.
Selfie for memory.
Photo to album, for the story.


