
Why "rechargeable"? In general, the author of the device who posted this material calls it “inertial”, but, in my opinion, “rechargeable” is more suitable. The fuel in this furnace burns for 1-3 hours, the heat is accumulated in the skin of the furnace, and then over the next 24 hours the furnace continues to give off heat. We will discuss her work in more detail below in step one.
Tools and materials:
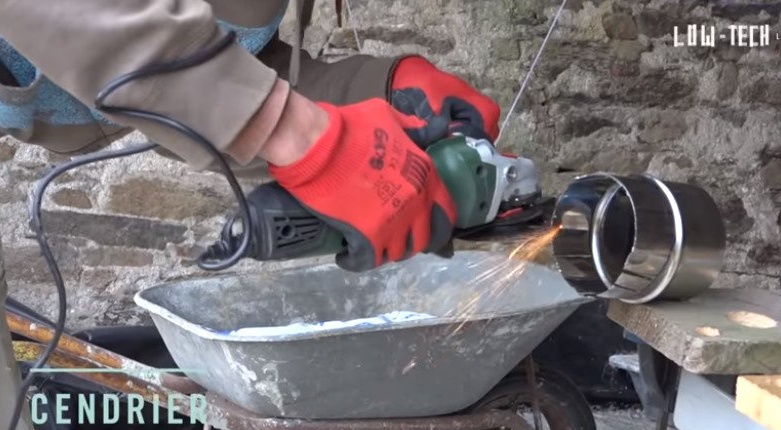
-Ushm;
-Scissors for metal;
-Hammer;
-Master OK;
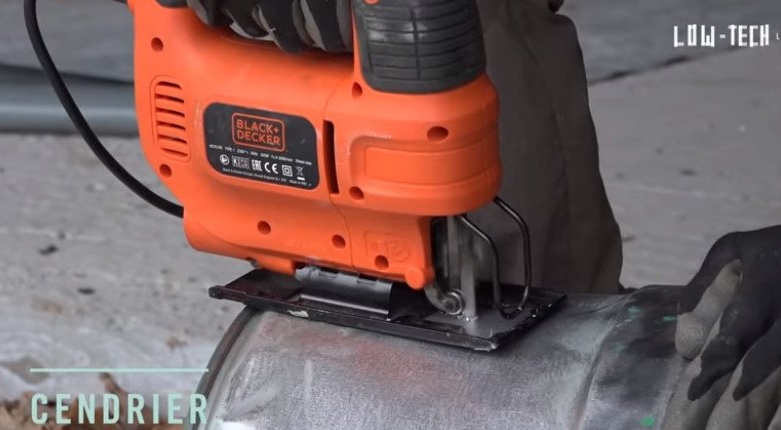
- Electric jigsaw;
Metal barrel;
-Heat pipes;
-Cement;
-Chamotte crumb;
-Vermiculitis;
- Refractory glass;
-Clay;
Step One: Theory
As you already know, the stove accumulates and then gives off heat. This is due to the fact that refractory concrete is poured inside the furnace. For a short time, all fuel is burned and warms up the concrete walls of the furnace. The heat accumulated in this way is transferred to the surrounding area for a long time. This type of furnace allows you to evenly maintain the temperature in the room. Installs such an oven best in the center of the room. According to the author, this type of wood-burning stove is the most economical.
Now consider its device.
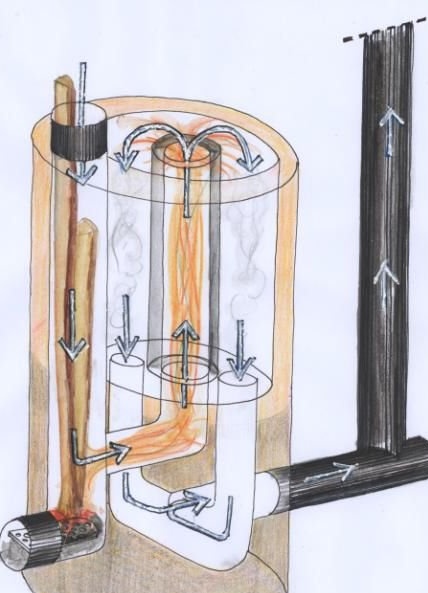
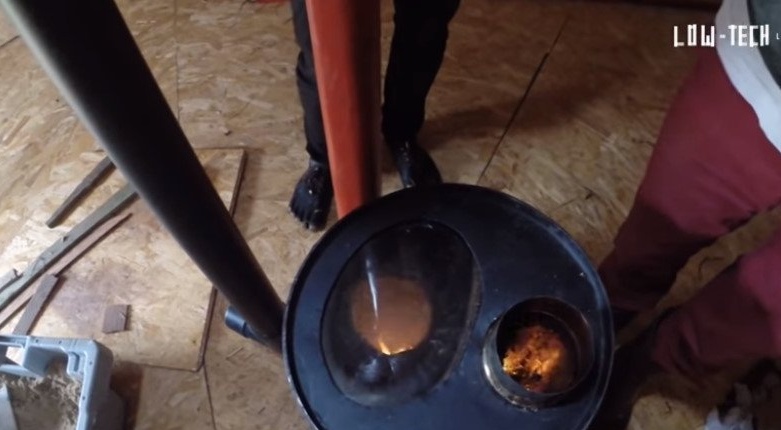
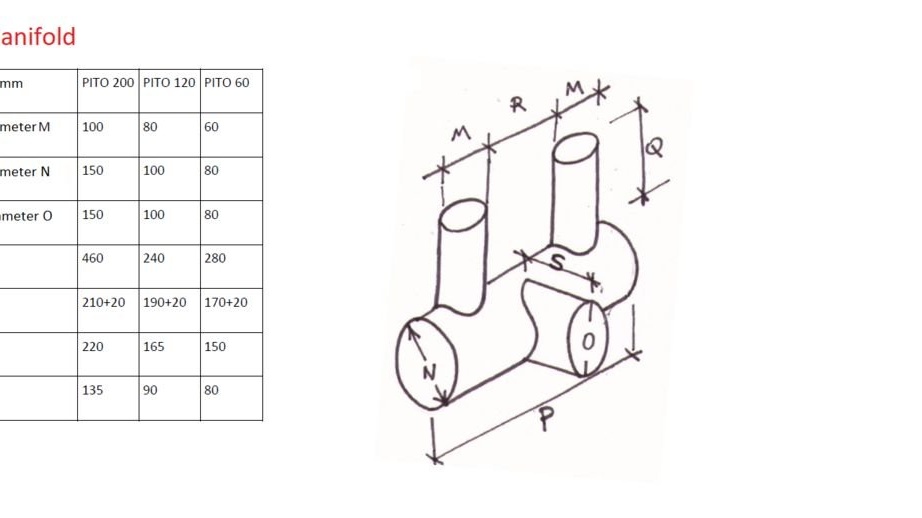
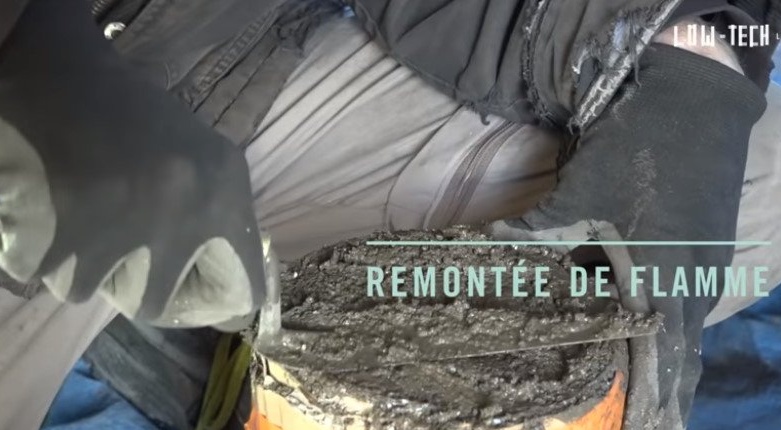
The furnace consists of a barrel filled with concrete. Several channels are made in concrete into which metal pipes are inserted. Through a vertical channel, fuel is supplied to the furnace, where it burns. The side of the furnace is closed with a plug for kindling the furnace and cleaning the chamber. Smoke through the side channels enters the chimney. The lower part of the furnace is also filled with concrete.
For comparison, the master gives three different in volume furnace.
A 60 liter barrel oven is suitable for small rooms with good thermal insulation. The weight of such an oven is about 80 kg.
The 120-liter barrel kiln has an excellent weight to performance ratio. Its weight is 160 kg.
The 200-liter oven is suitable for stationary installation in rooms up to 35 m². The weight of such a furnace is about 200 kg.
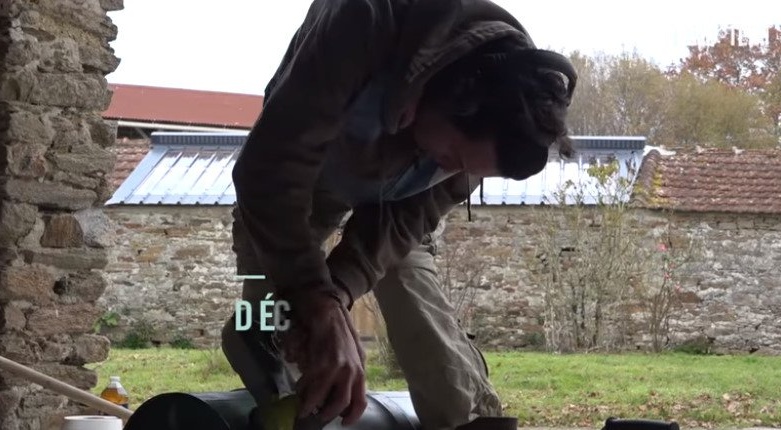
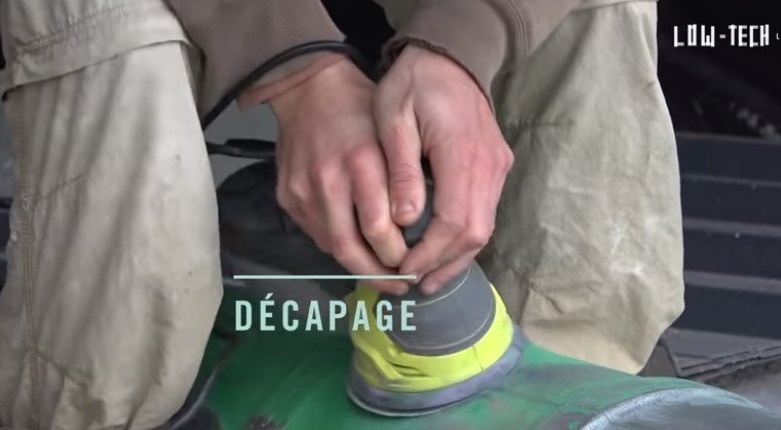
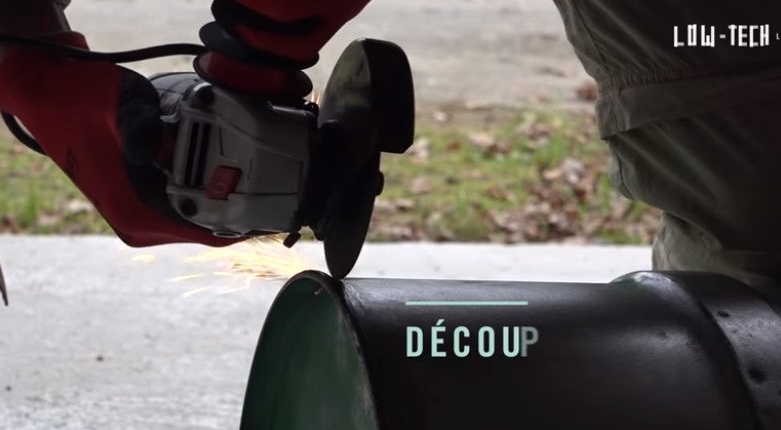
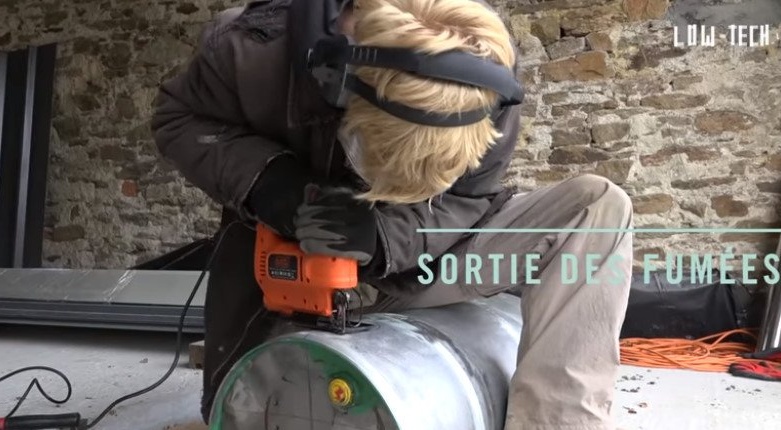
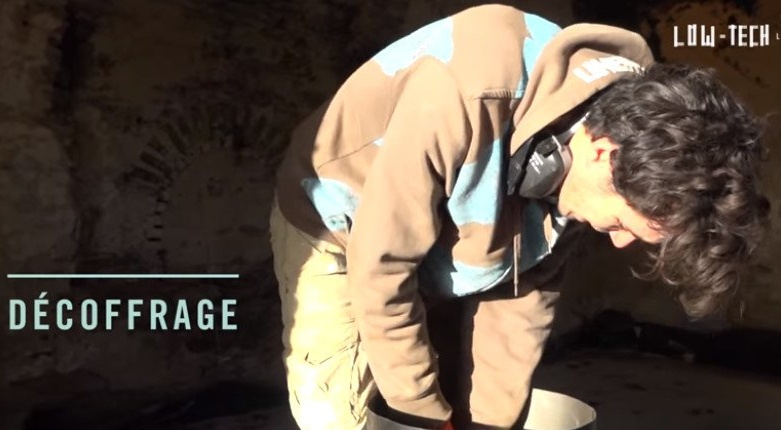
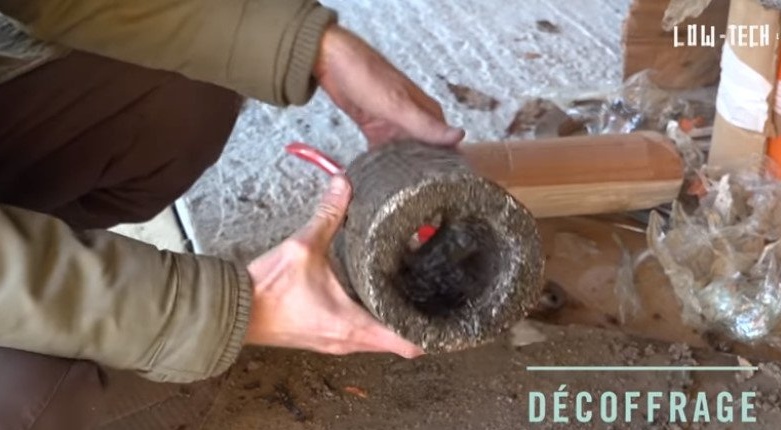
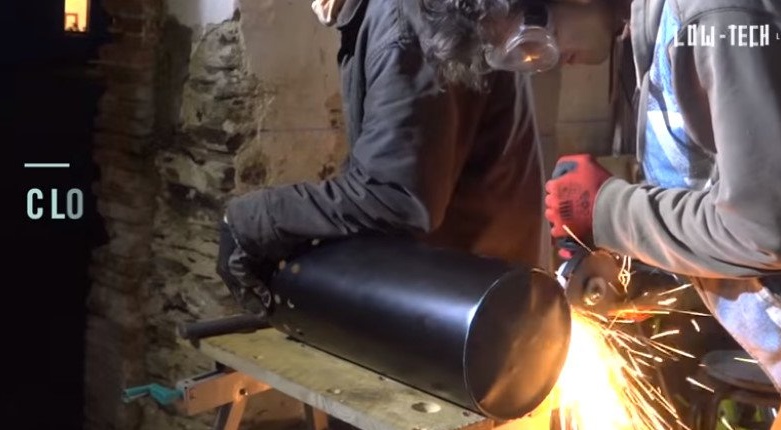
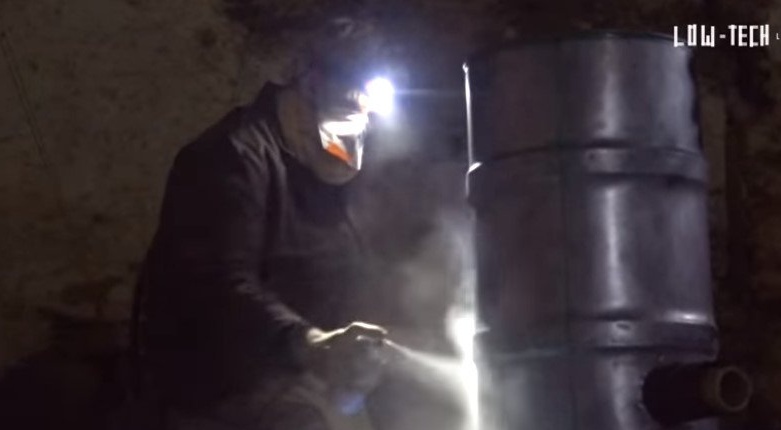
Step Two: Barrel Preparation
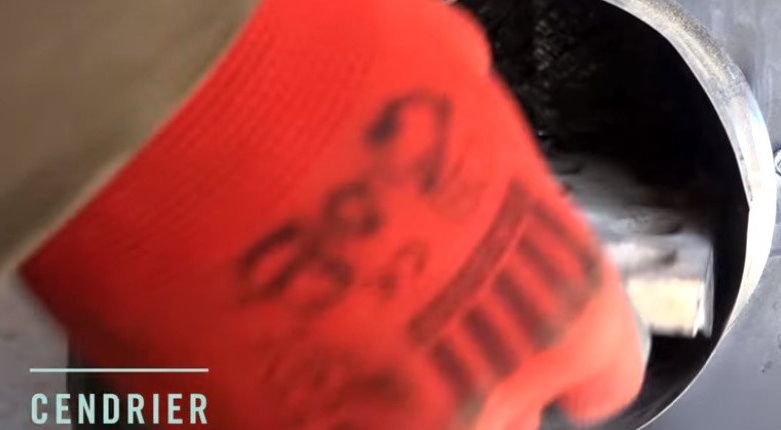
Cleans the barrel from old paint and cuts off the upper part.
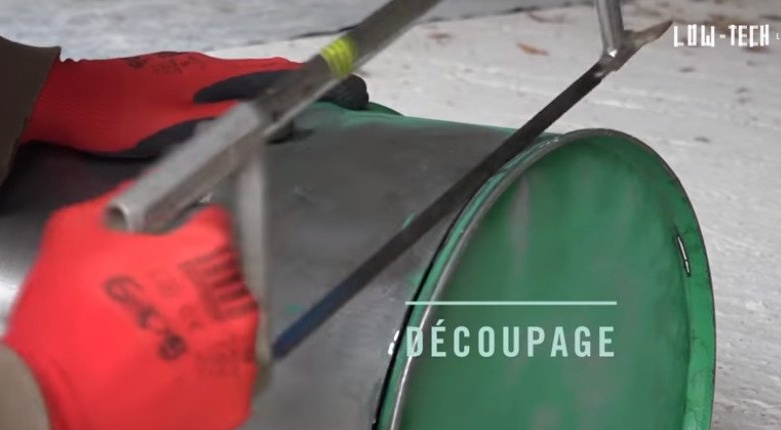
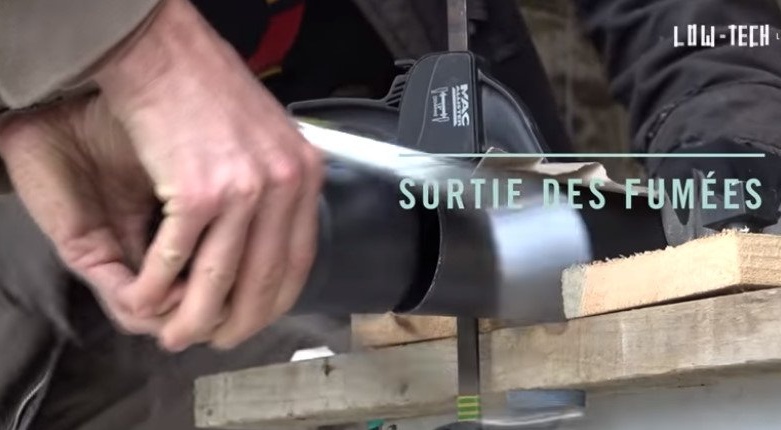
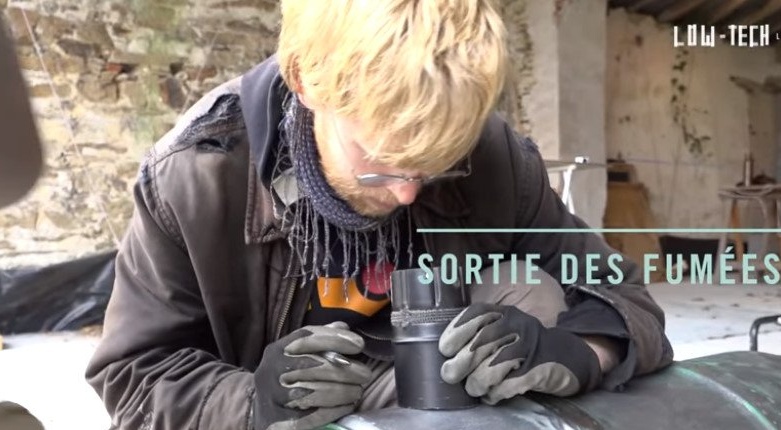
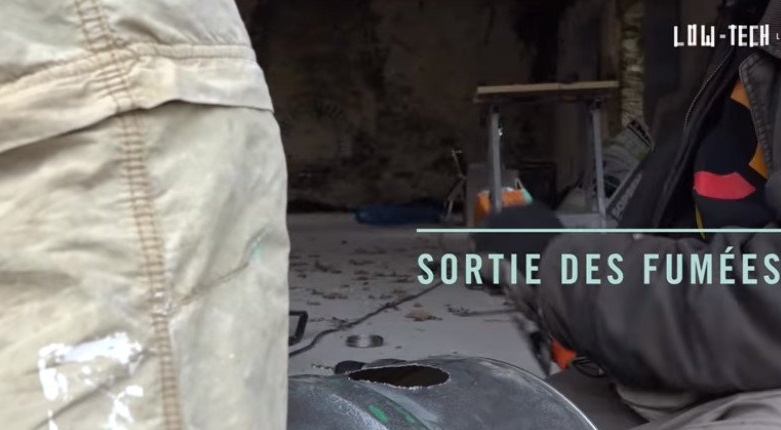
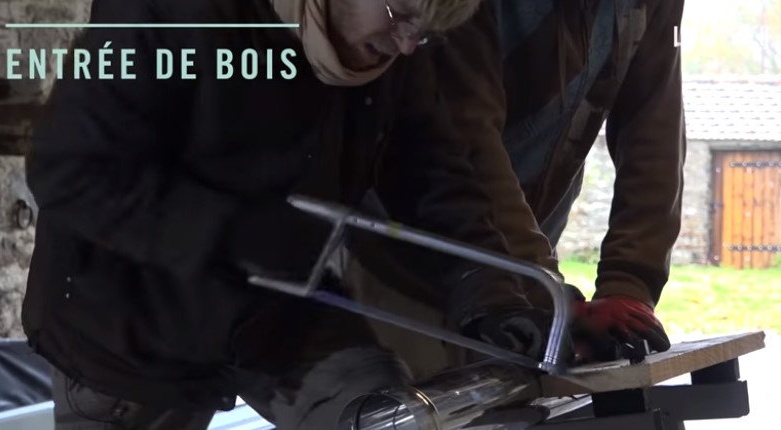
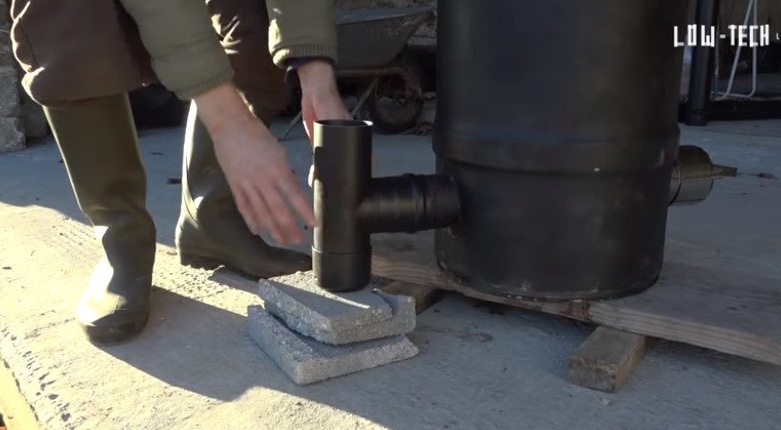
Step Three: Pipes
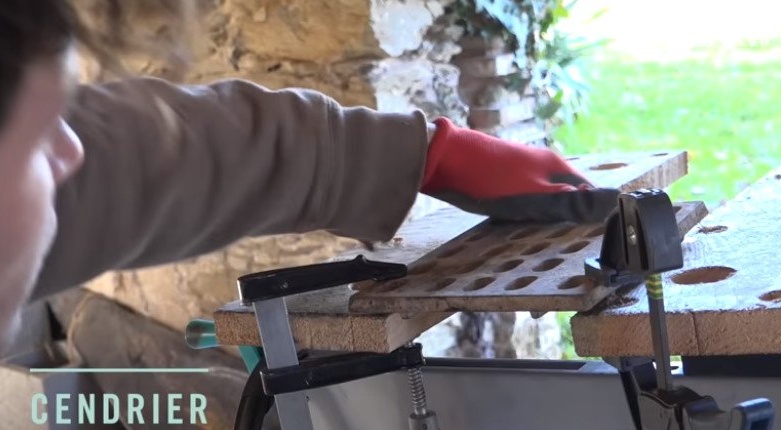
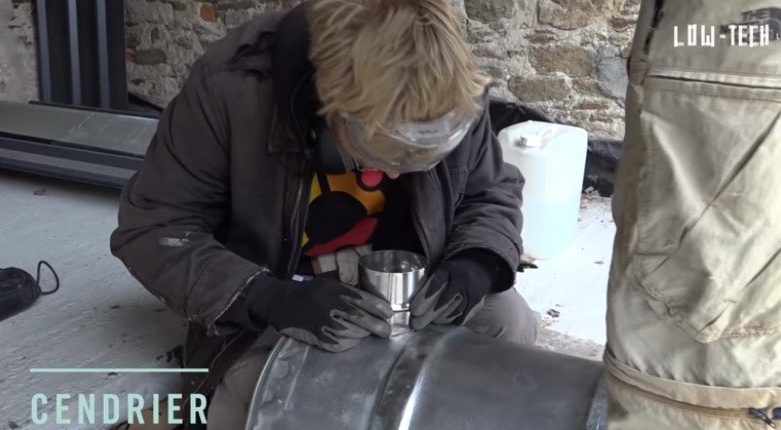
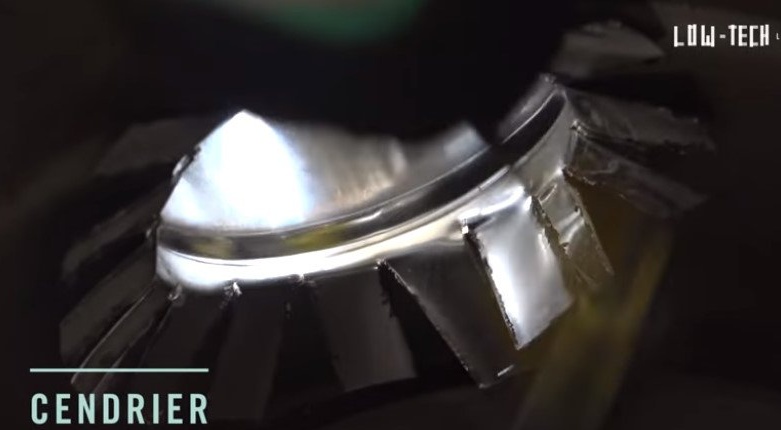
Now you need to prepare and fix the pipe barrels in the body. The master begins with an ash pan.Cut the pipe to size. In the lower side of the barrel, at a height of 6 cm from the bottom, cuts a hole along the diameter of the pipe. Cut the edge of the pipe into petals. Inserts a pipe into the hole, bends the petals, taps the bending point with a hammer.
Carves a grate for a firebox.
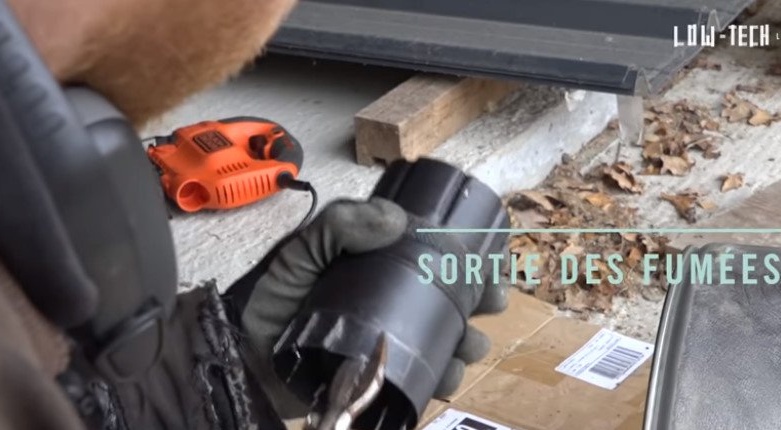
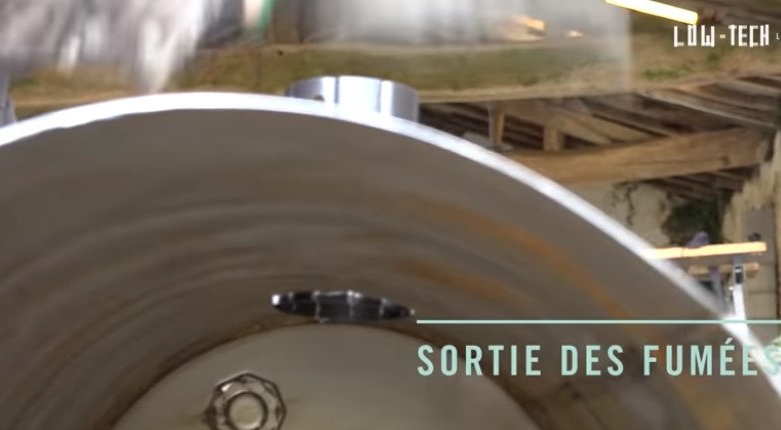
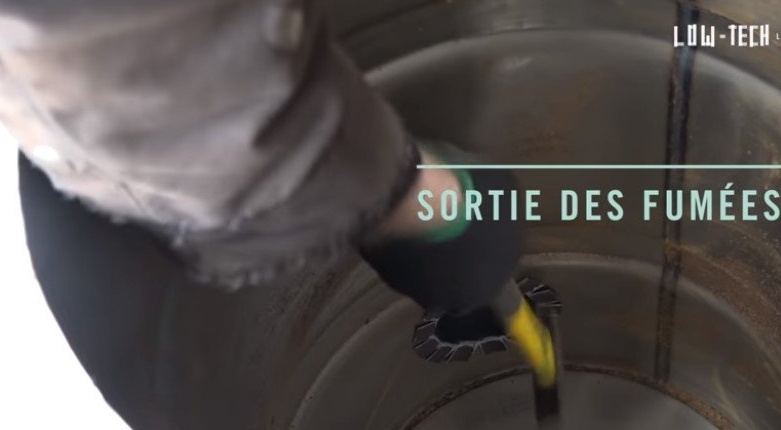
The same operation, with the exception of the grill, the master does with the chimney pipe on the opposite side of the barrel.
The size of the pipe for barrels 60/120/200: ash pan 100/130/150, chimney 80/100 / 130.
Step Four: Bottom Fill
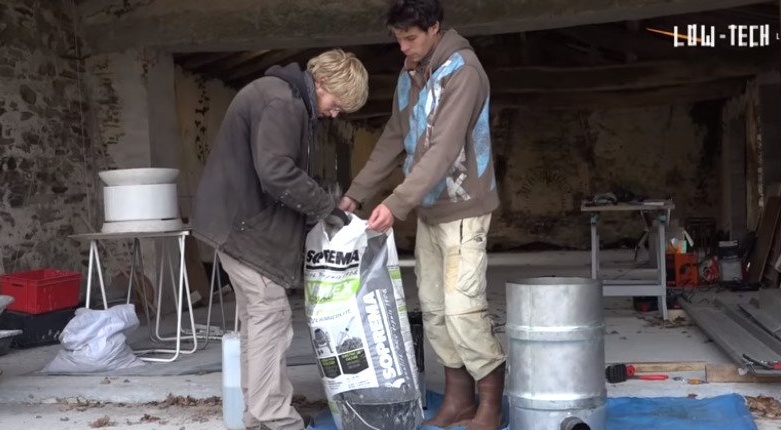
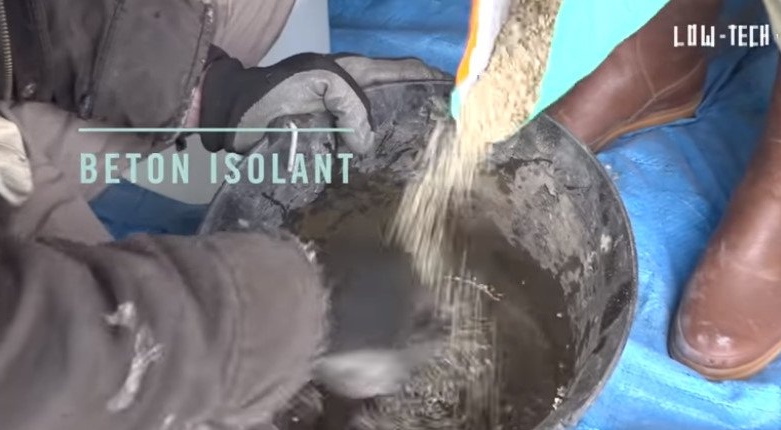
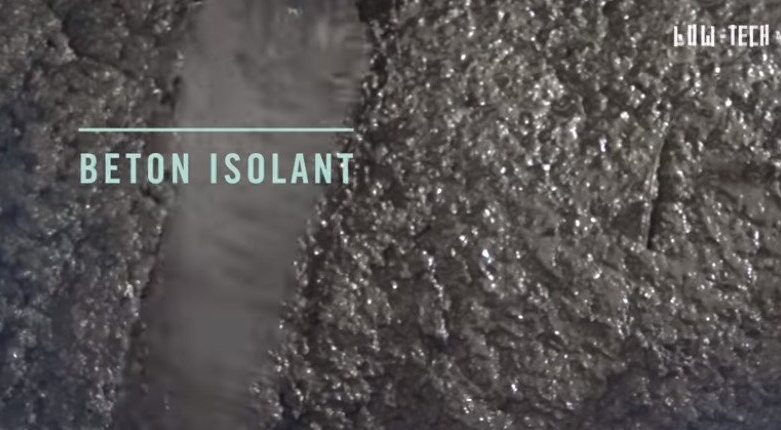
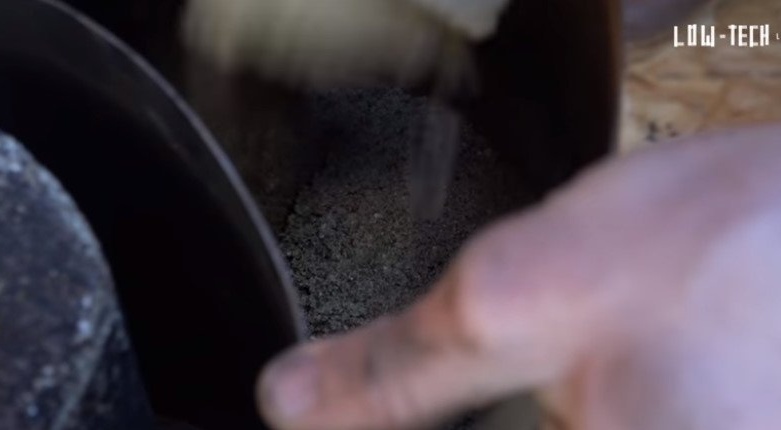
The master uses two types of concrete, with chamotte and with vermiculite. The bottom of the barrel is poured 3 cm without fireclay and 3 with chamotte additive. Chamotte additive should consist of crushed chamotte brick with 25-40% alumina.
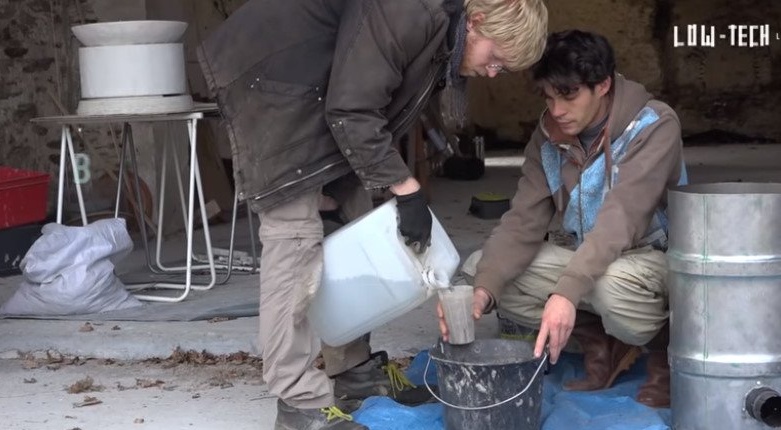
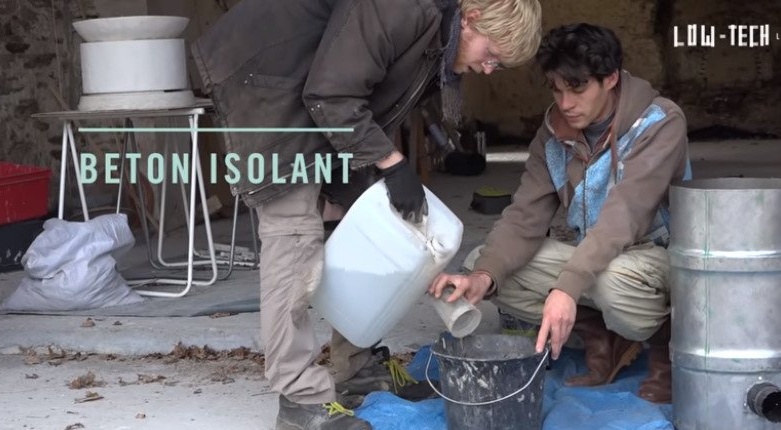
The following proportions are needed for the preparation of cement with vermiculite: 1 part water, 1 part cement, 1.3 parts vermiculite. Stir the desired volume and lay on the bottom of the barrel in a 3 cm layer. Such a layer will be heat insulating, protecting the bottom of the furnace from high temperature.
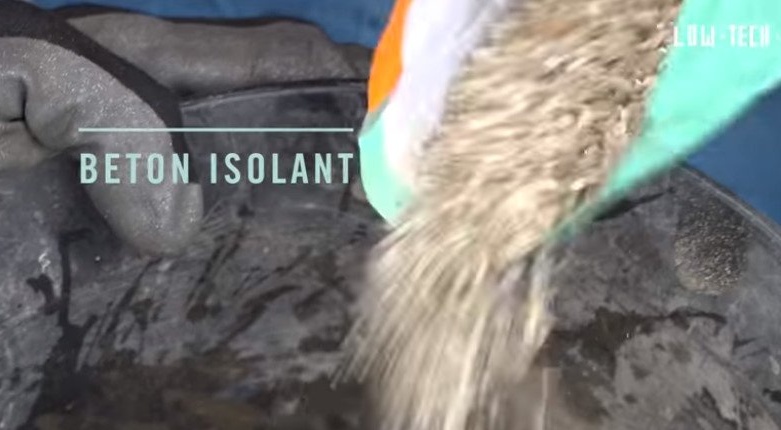
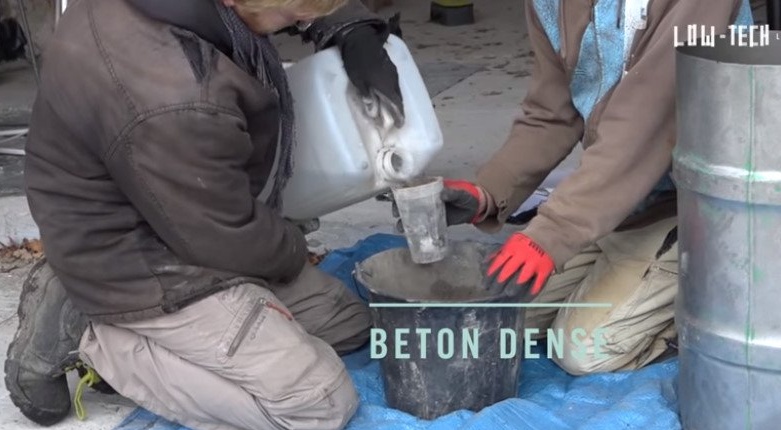
Fill the next layer no earlier than two hours from the previous one. The next 3 cm layer consists of: 1 part water, 1.3 parts cement, 3.3 parts fireclay chips.

Step Five: Channels
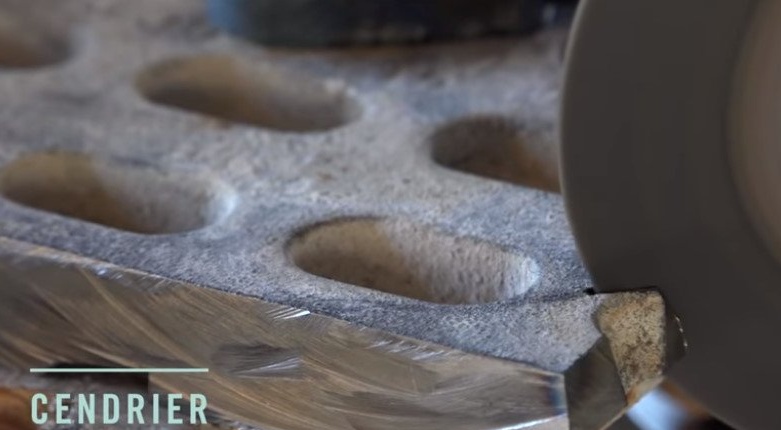
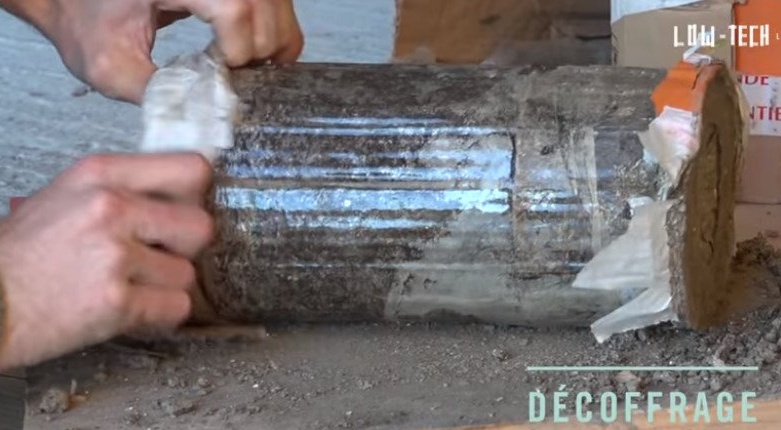
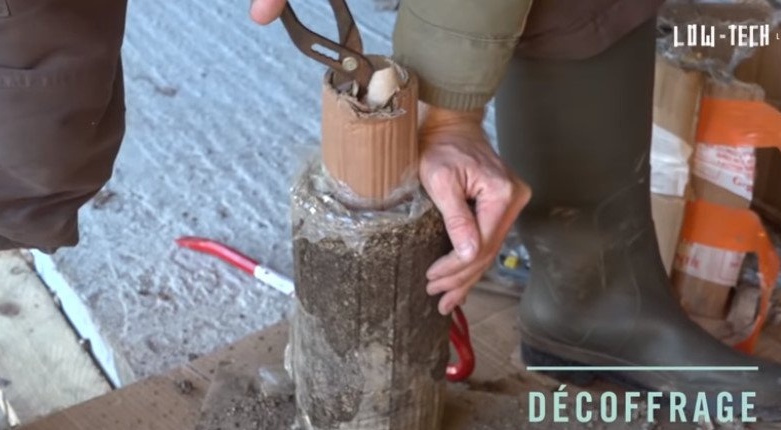
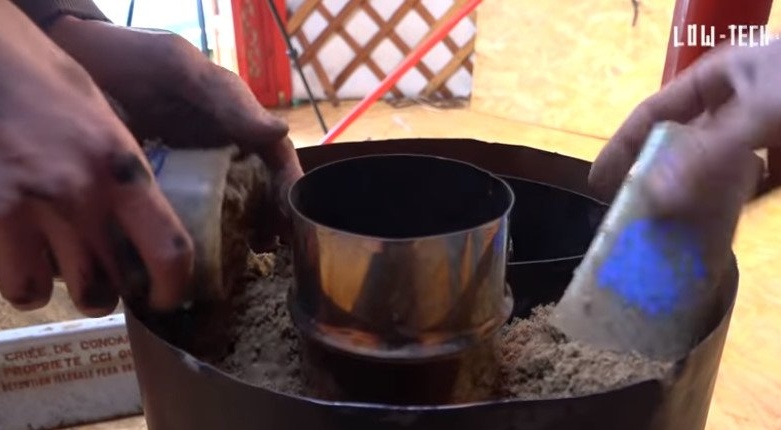
The walls of the channels should not be less than 3 cm. For the manufacture of channels it is necessary to make molds. The master makes molds from cardboard pipes according to the drawings.
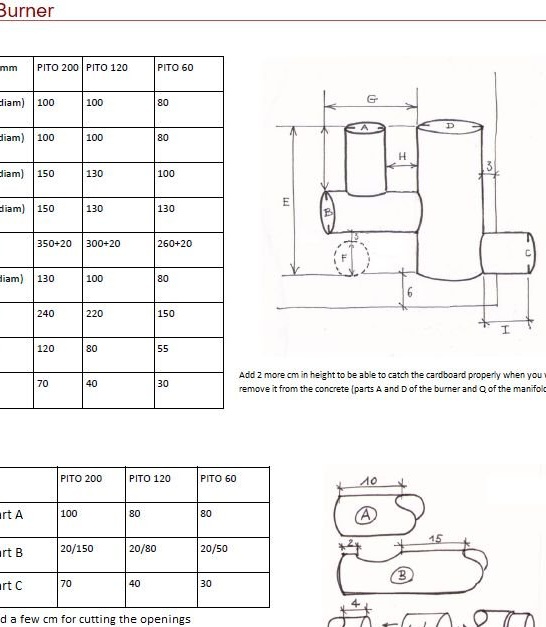


Then you need to mix the concrete mixture with chamotte and layers of 5 cm, followed by solidification. Concrete does not fit to the top of the kiln; there must be space between the lid and concrete. The pouring height from the lower concrete layer is 350/300/260 for barrels with a volume of 200/120/60 liters, respectively.
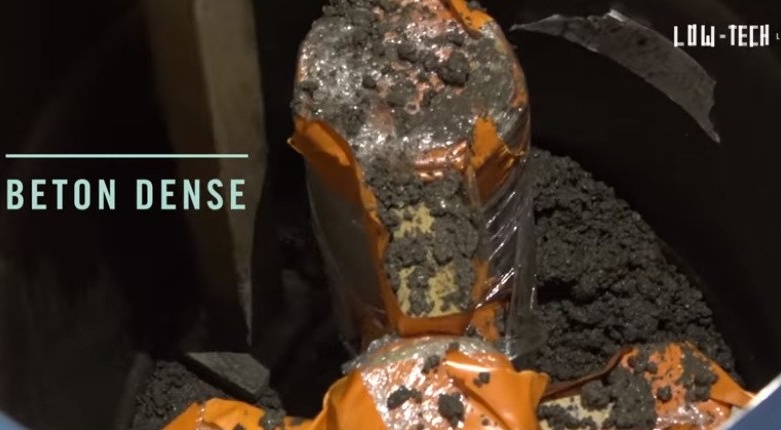
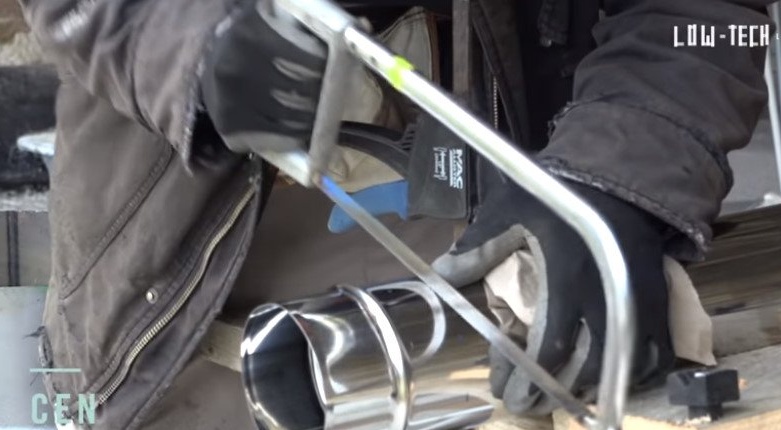
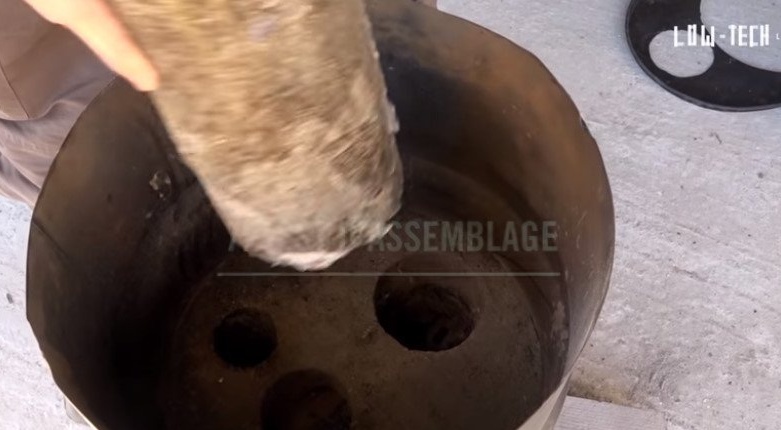
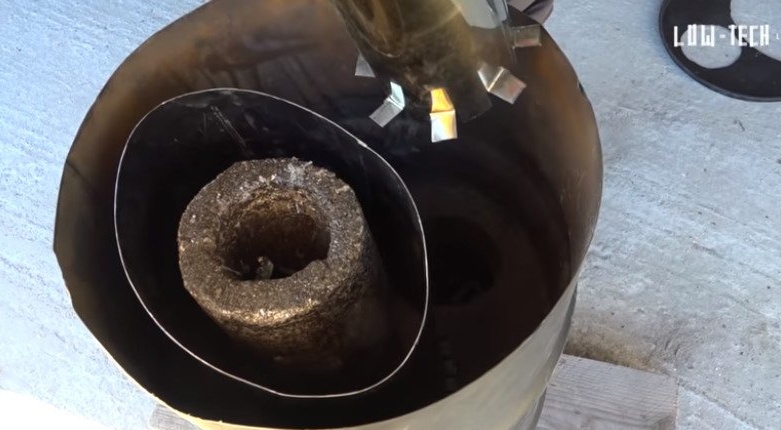
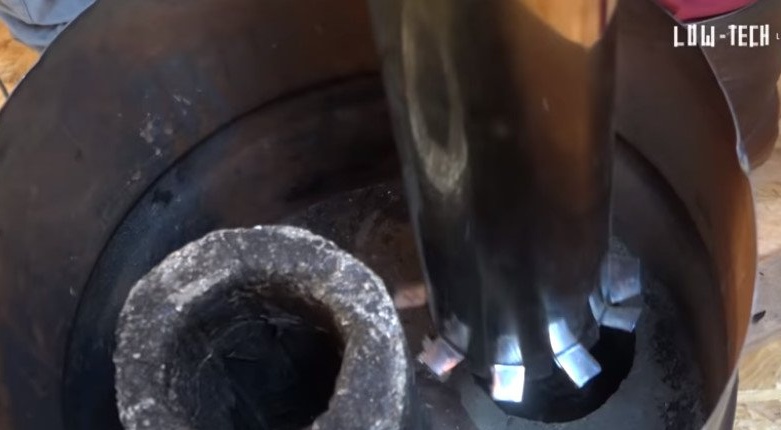
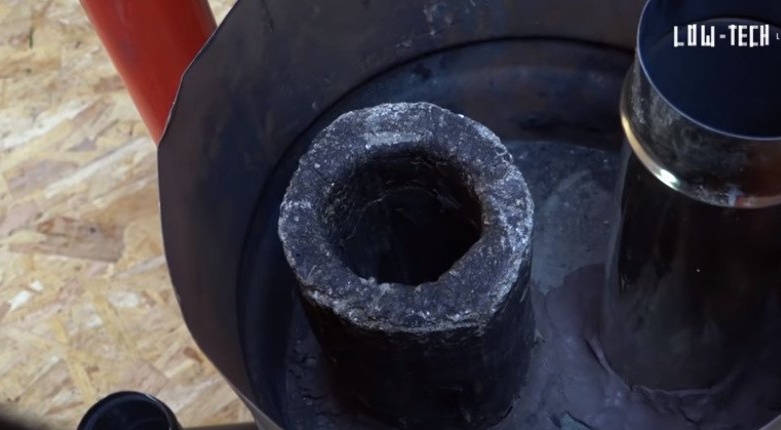
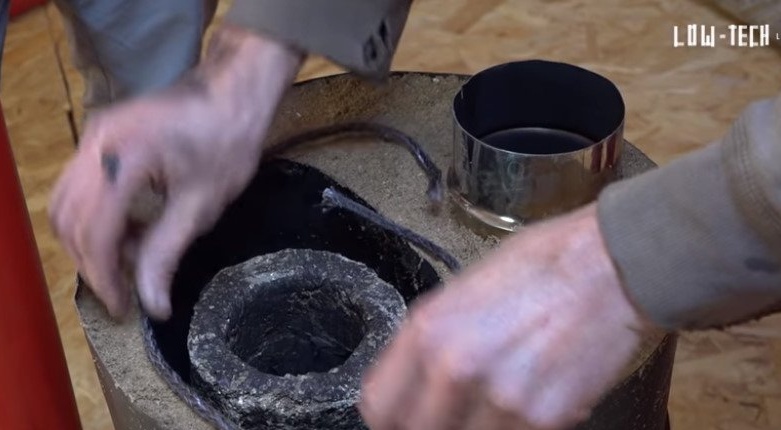
Step Six: Concrete Pipes
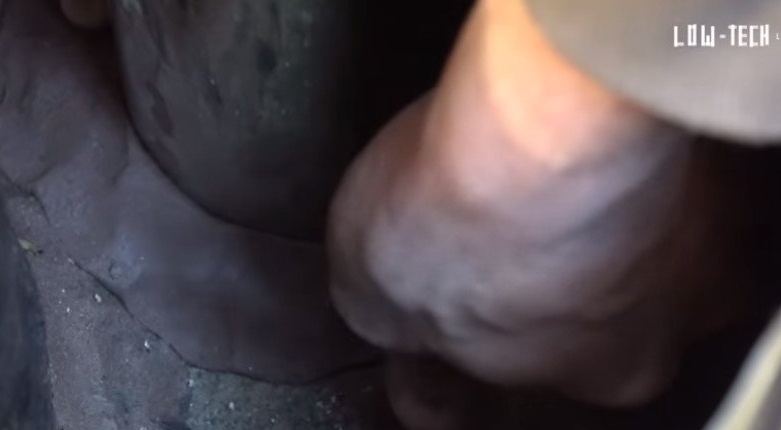
Now you need to make concrete pipes for the channels. The master makes molds of various diameters and fills with concrete.

Seventh step: small details
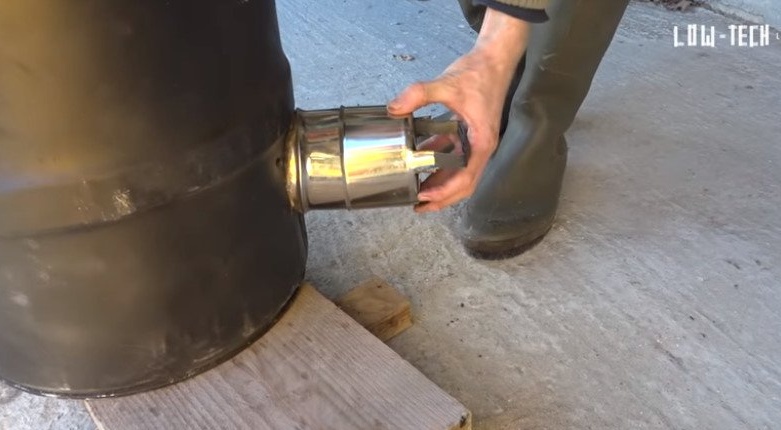
Makes a casing on a concrete pipe.
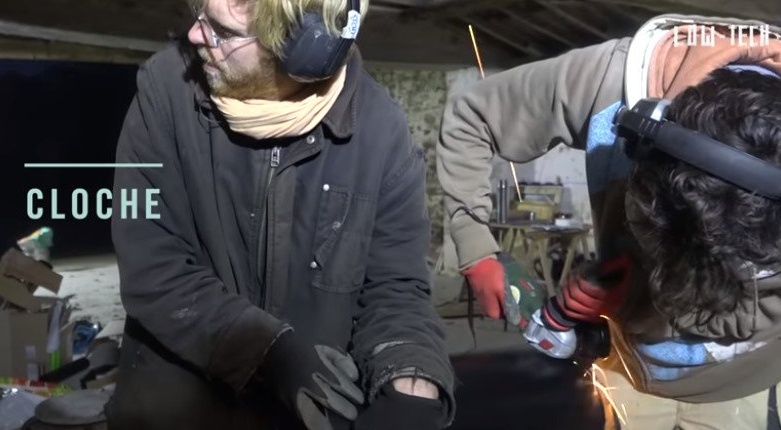
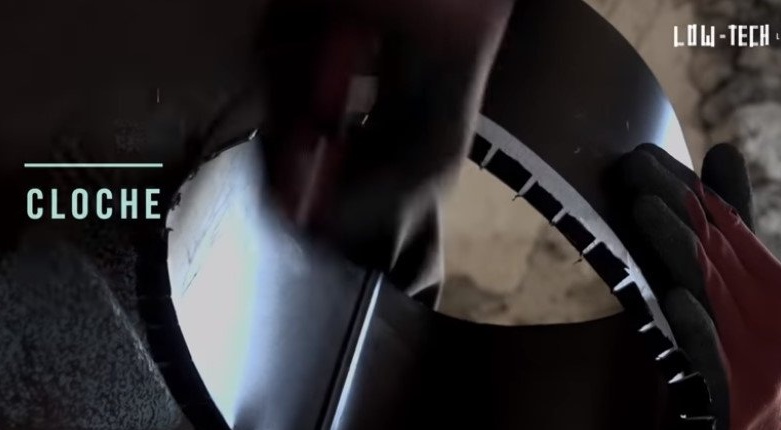
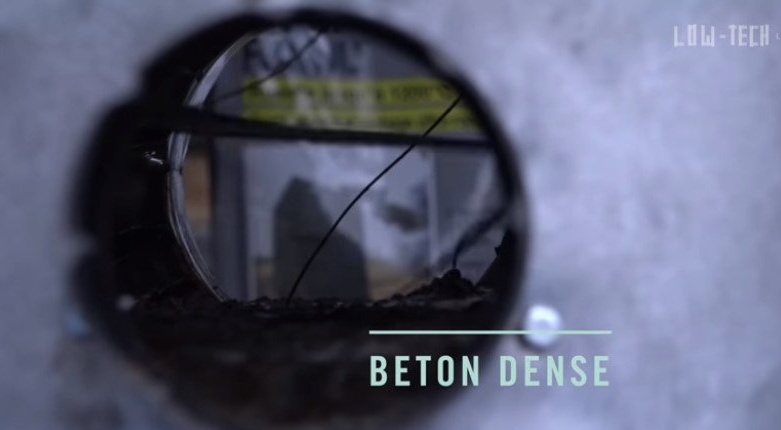
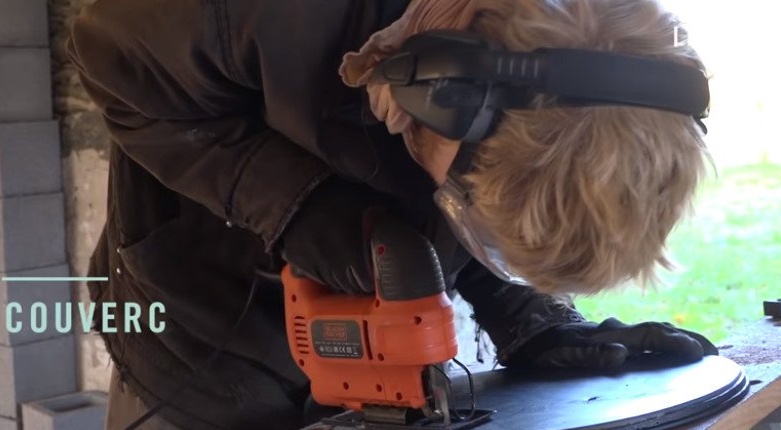
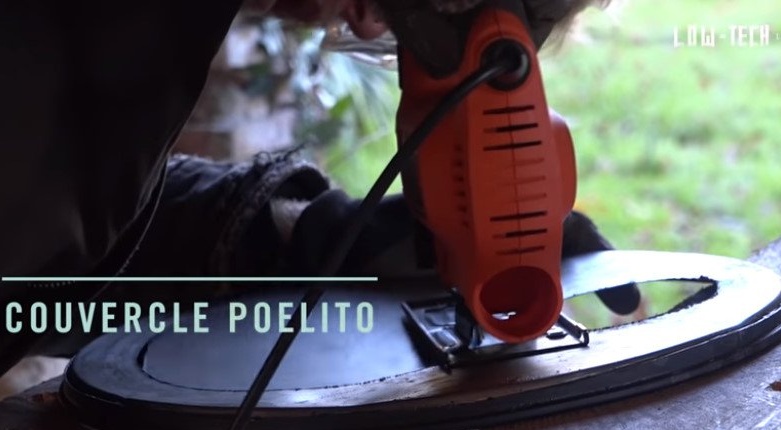
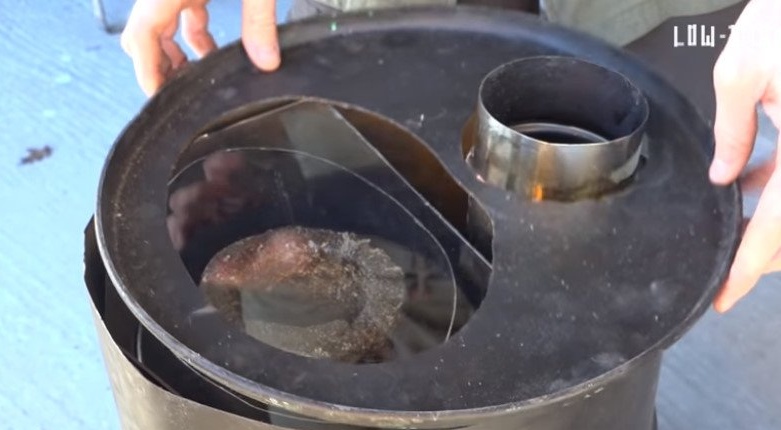
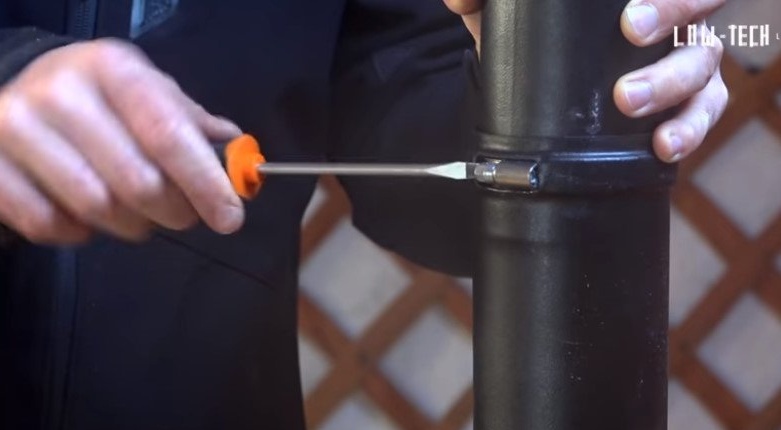
The lid cuts a hole for glass.
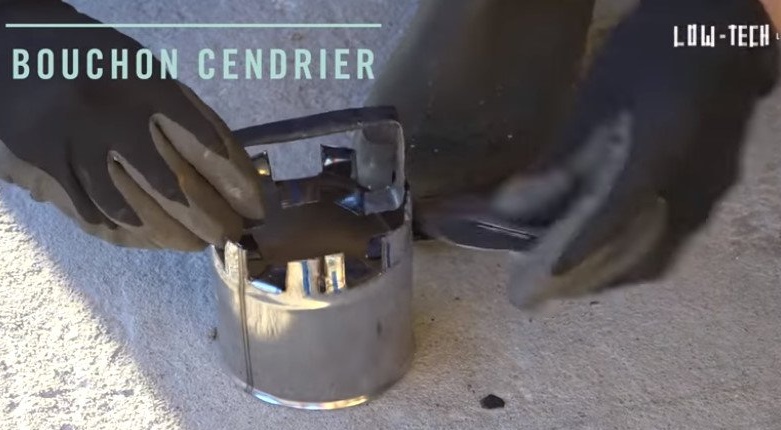
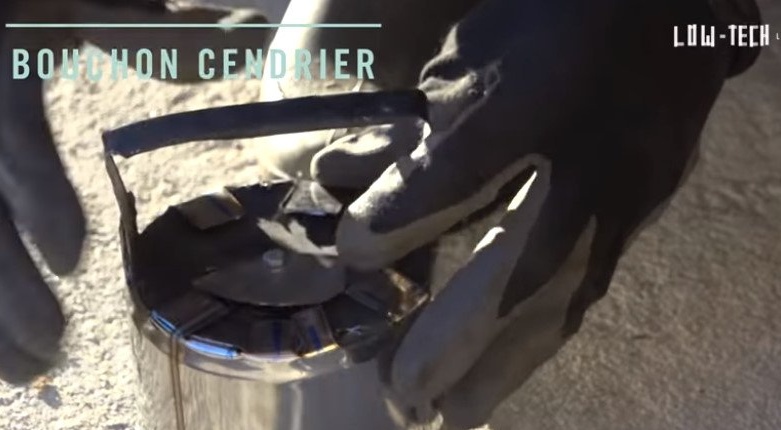
Makes caps for the ash pan and the loading chamber. The plugs are equipped with shutters to adjust the air flow.
It colors the stove with heat-resistant paint.
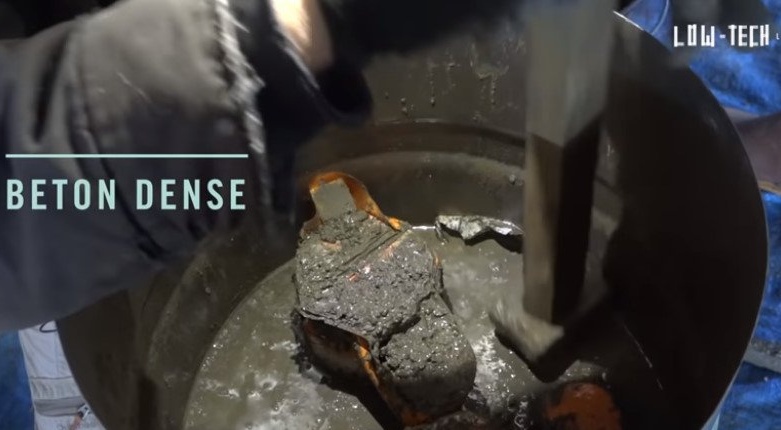
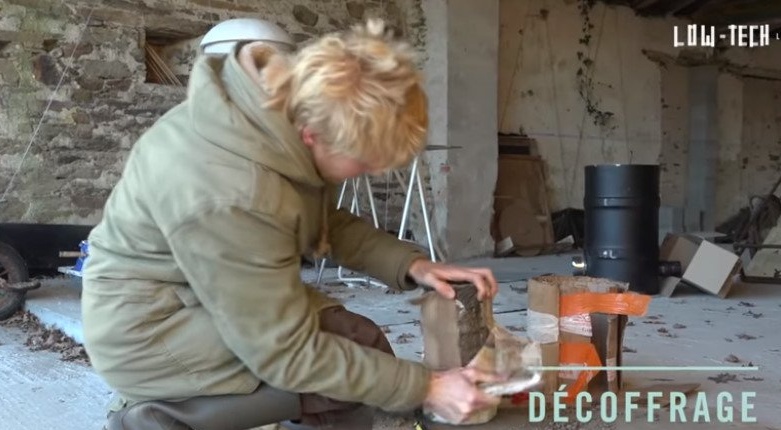
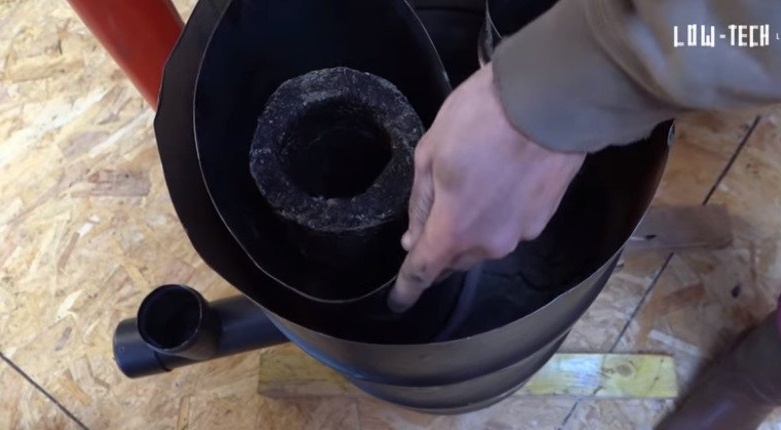
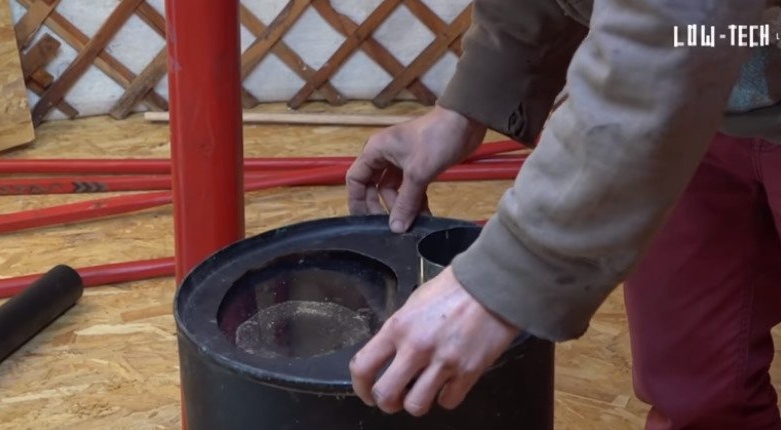
Step Eight: Build
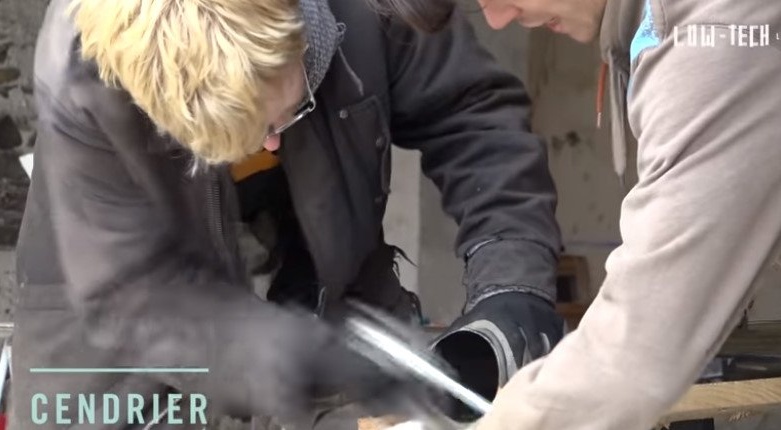
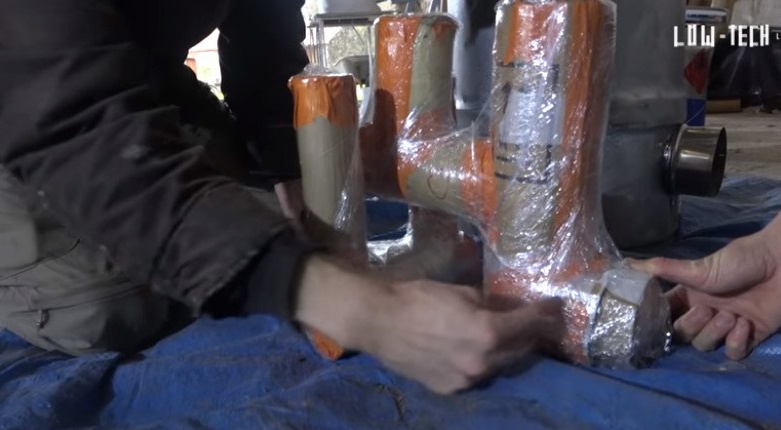
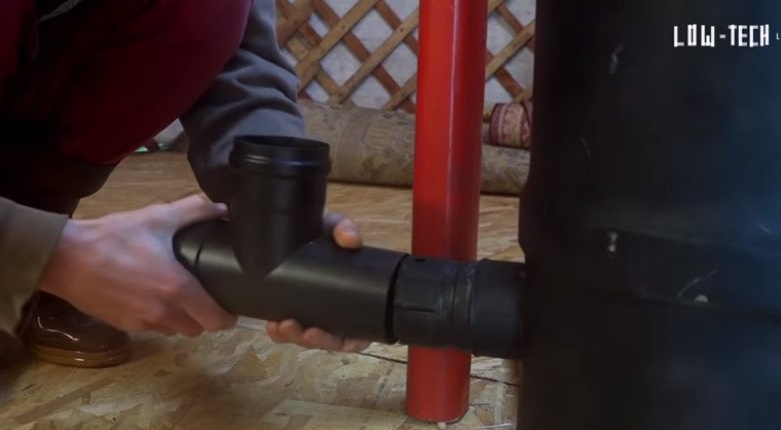
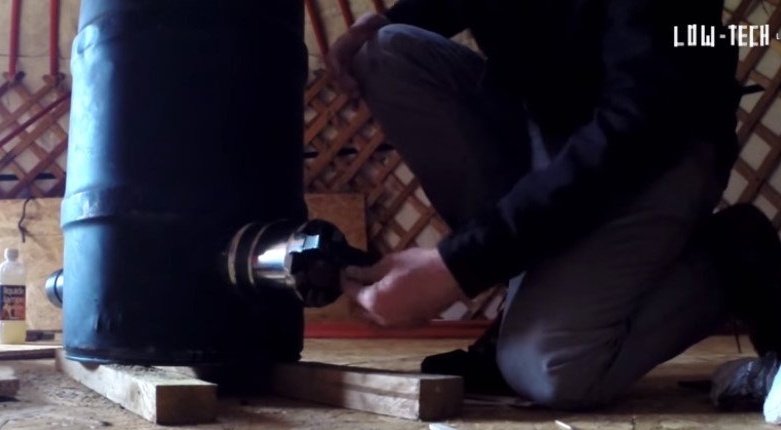
Before final assembly, the master checks the fit of the parts. Installs pipes, casing, glass, plugs.
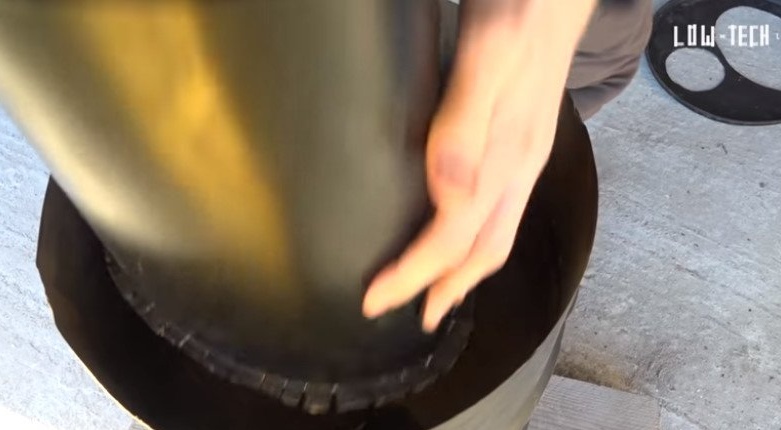
Everything fits together and now you can move the stove to the place of its permanent installation.

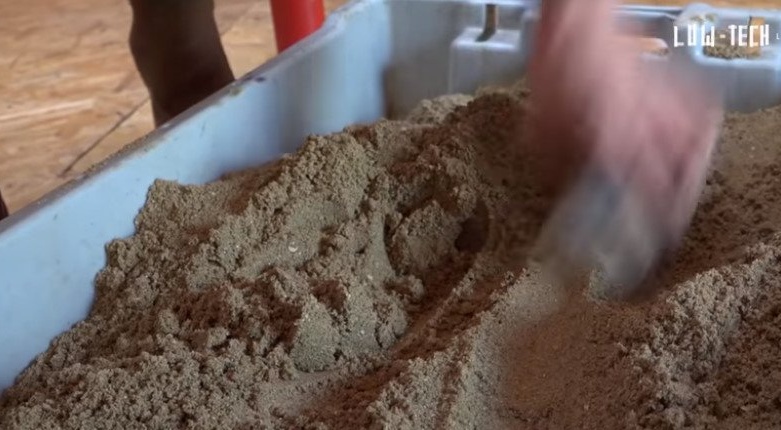
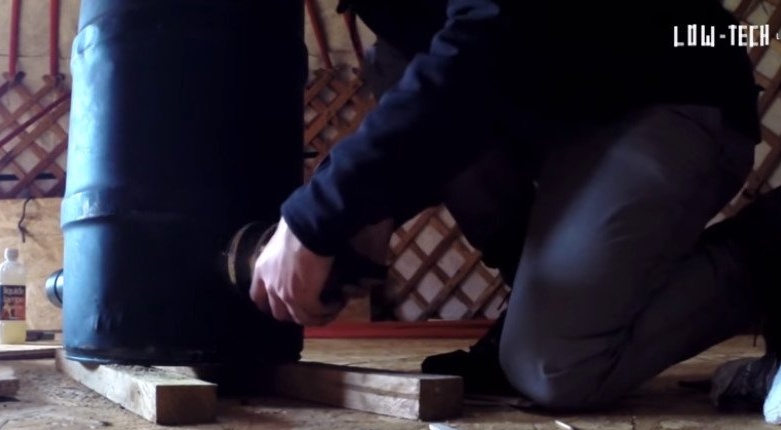
Assembles the oven again. The master isolates the joints of the casings with concrete with a mixture: 1 hour of sand, 3-5 hours of clay + water. Then it fills the space with dry sand.
Installs refractory glass (glass can be taken from an old gas stove). Installs a cover on top.
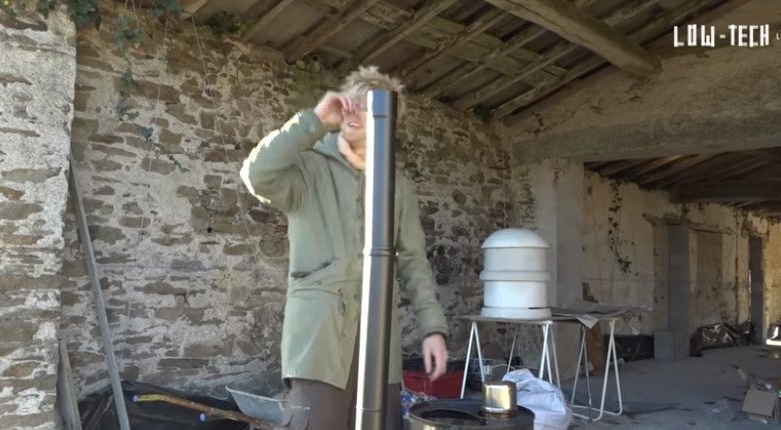
Connects the chimney.
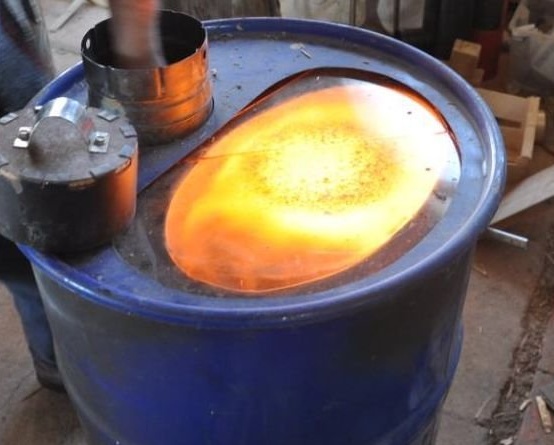
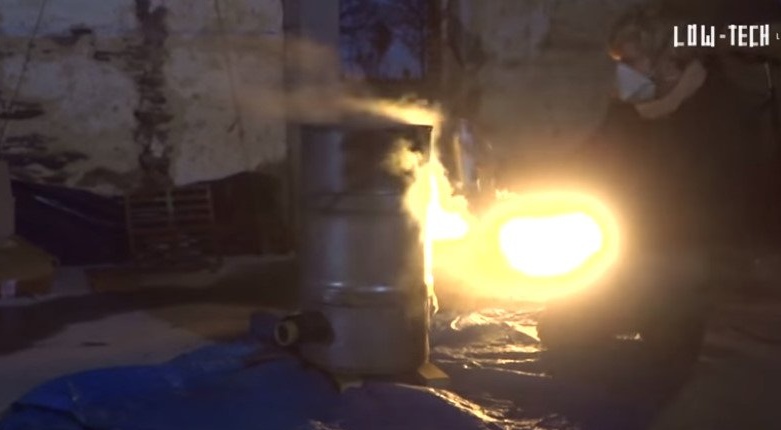
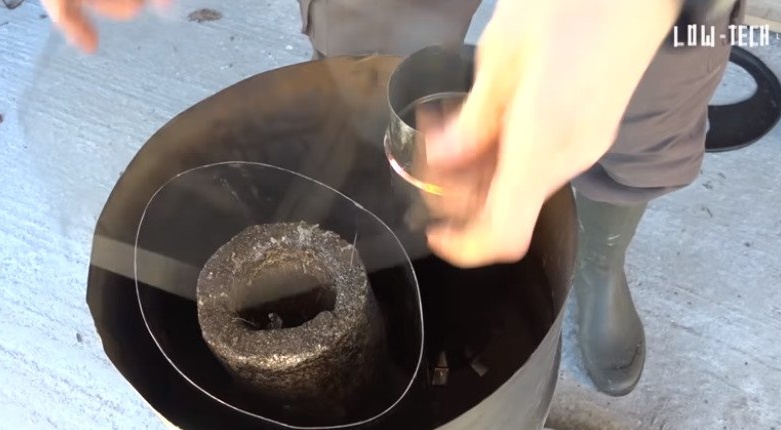
Now you can light the stove.

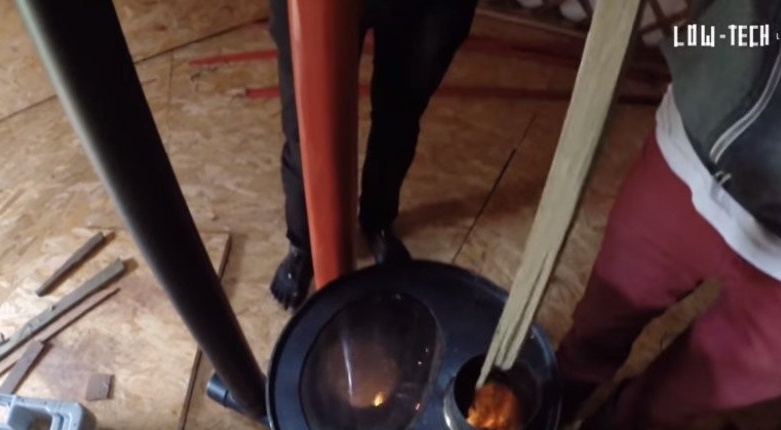
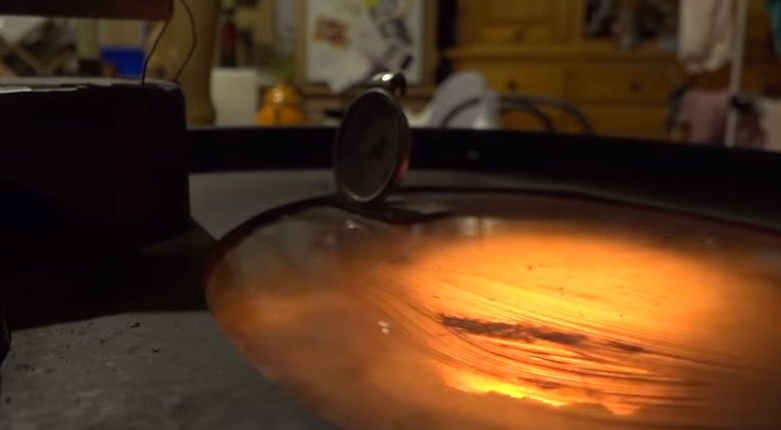
All is ready. According to the master, the stove met his expectations and now he is always warm in the workshop.
In addition to the video, material c was used in the preparation of the article.