The site already presents the work of the wizard "Solar thermal panel from old refrigerators". There, the principle of operation of the panel was based on heating water. Now we will consider air as a heat carrier. The master made such a panel as an auxiliary for the premises of 10-15 m². According to him, the use of such a heater significantly saves the cost of heating the room. True, we are talking about France and an outside temperature of 5-7 ° C, but in our southern regions it is quite possible to use such a panel.
The principle of operation of the panel is simple. In winter, the sun's rays warm the air in the chamber. When the temperature reaches 25 ° C, the thermal valve starts and the upper channel opens. Air enters the room while flowing from the room through the lower channel. In summer, the air from the chamber is closed, and the ventilation window opens outward.
Tools and materials:
-Boards;
-Plywood;
-Thermal insulation;
-Silicone;
-Glass;
-Glue;
-Fasteners;
-Varnish;
-Linseed oil;
-Shale;
- Aluminum tape;
-Metal grid;
- PVC pipe 100 mm;
-Angle pad;
- Thermal valve;
-Tube brass;
-Spring;
-Copper wire;
- Sealant;
-Hacksaw;
-Screwdriver;
-Drill;
-Hammer;
- brush;
-A circular saw;
- Planing machine;
Step One: Frame
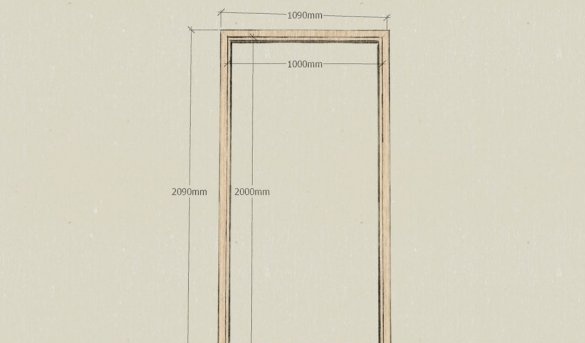
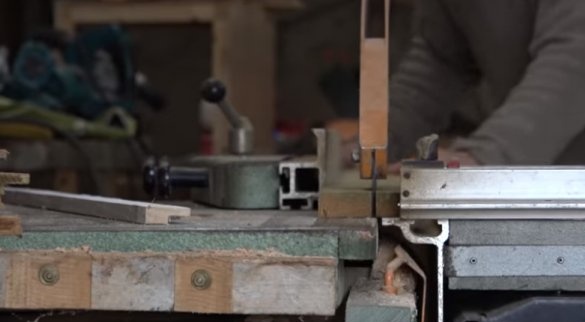
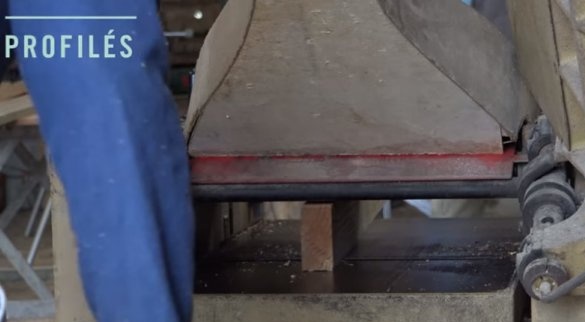
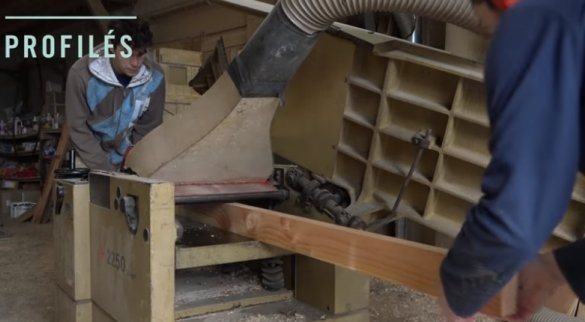
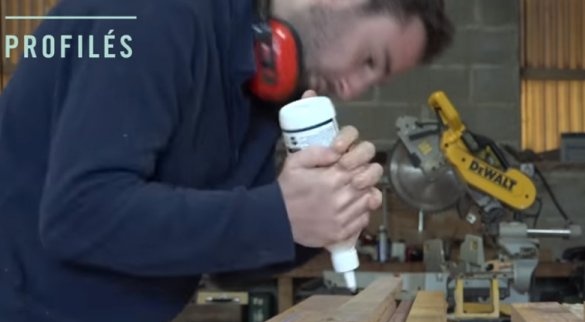
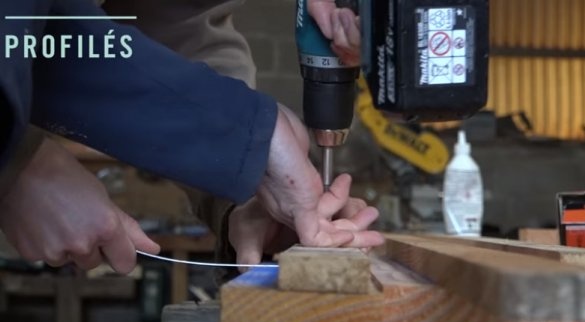
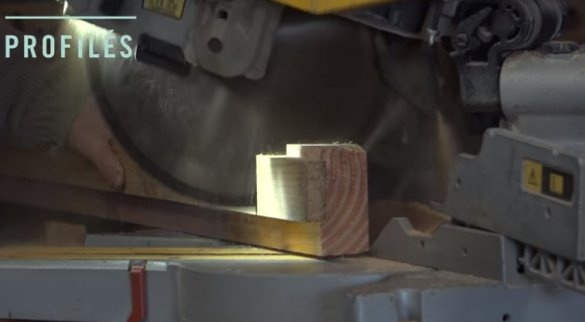
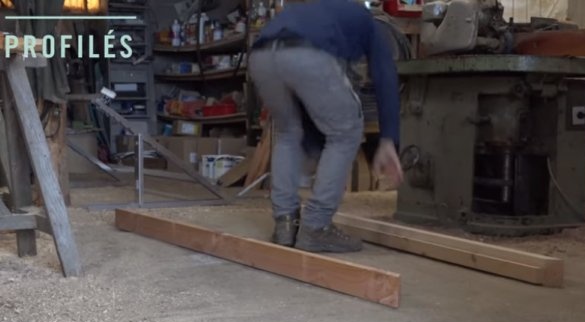
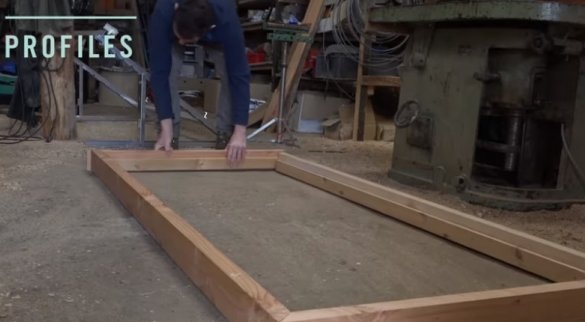
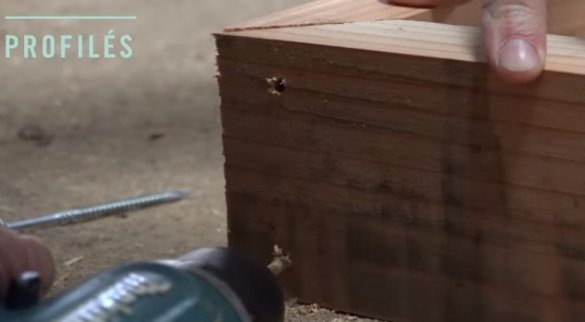
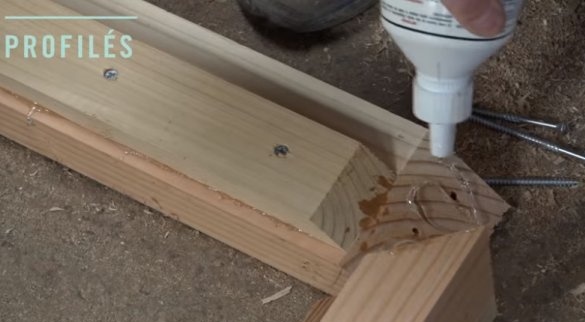
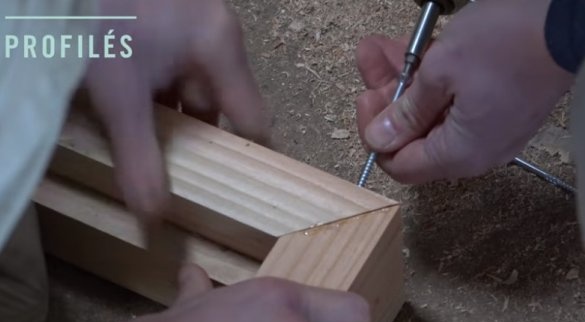
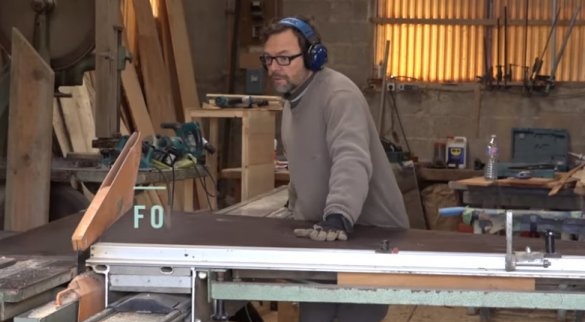
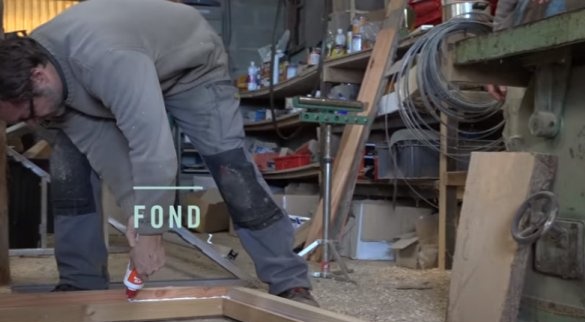
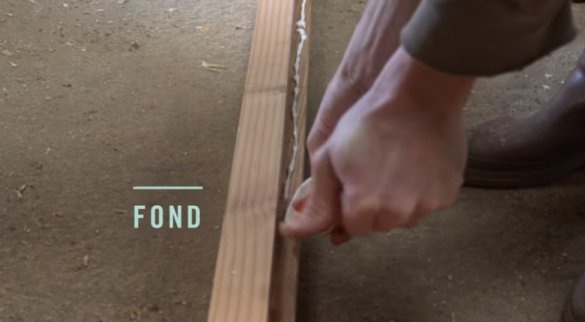
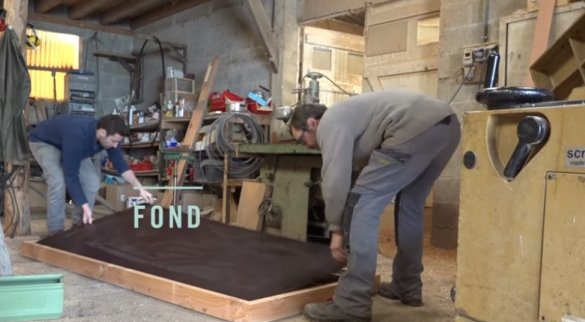
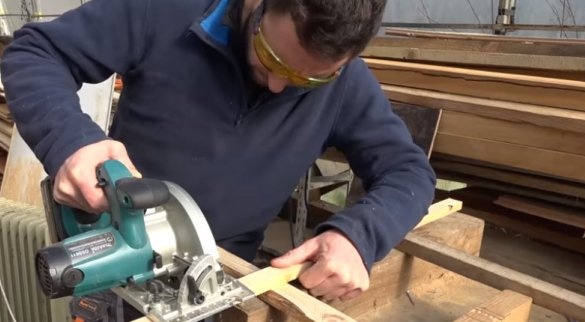
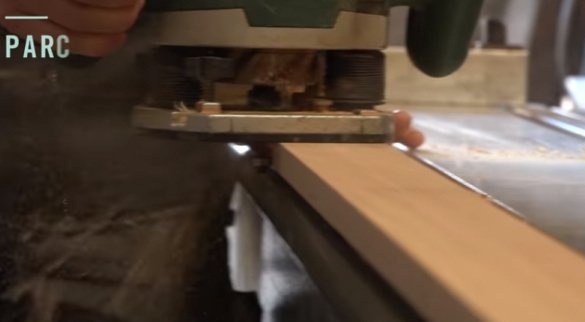
The master makes a frame of wood. Sawing boards in size. On both sides makes samples of 8 mm for glass and 32 mm for plywood and thermal insulation. Assembles the frame by fixing it to glue and tightening with screws.
Step Two: Thermal Insulation
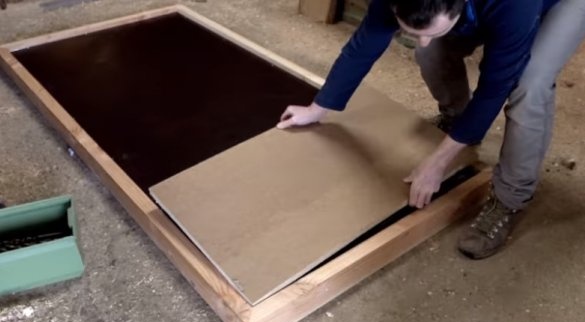
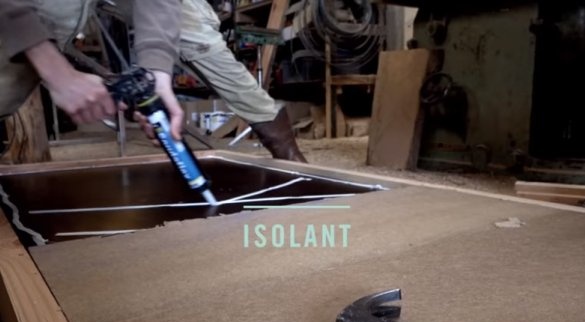
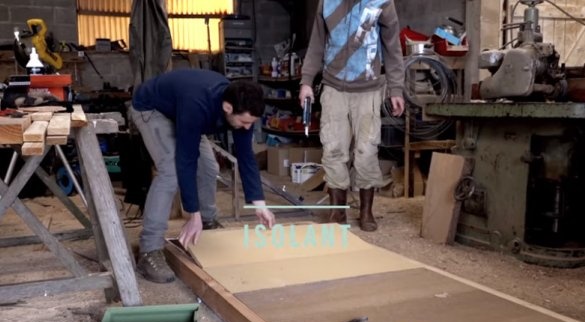
Cuts and glues plywood to fit the frame. Installs thermal insulation material.
Step Three: Channels
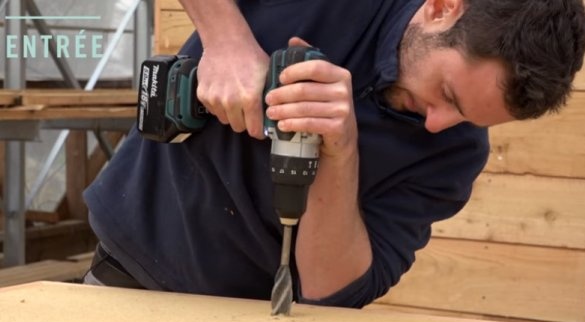
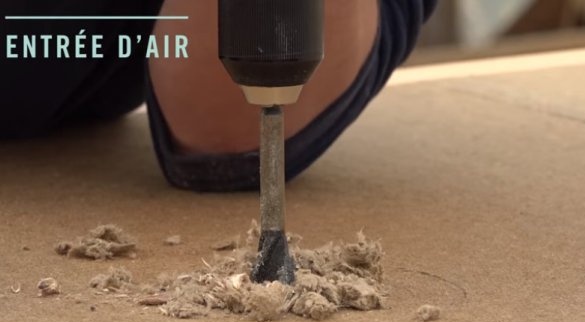
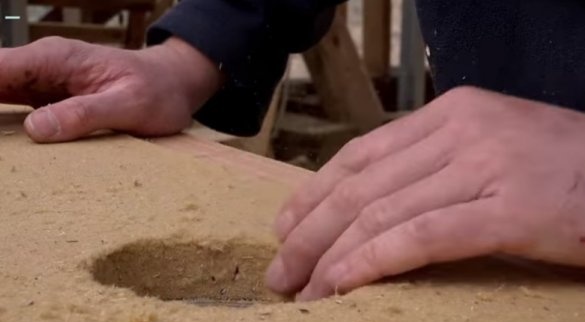
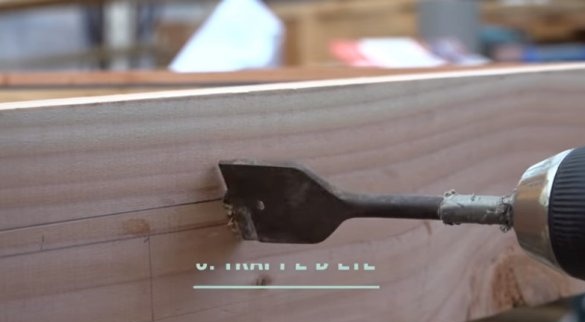
Bottom and top of the panel cuts a hole with a diameter of 100 mm.
Step Four: Waterproofing
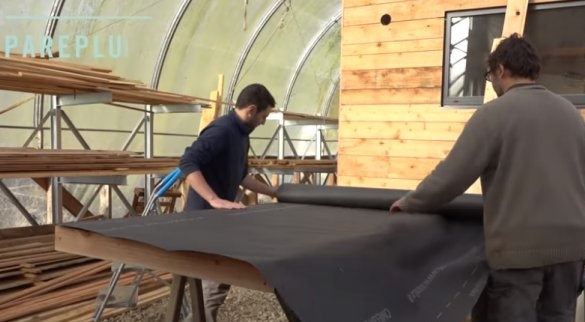
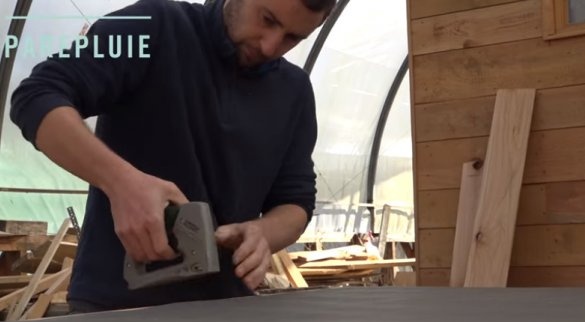
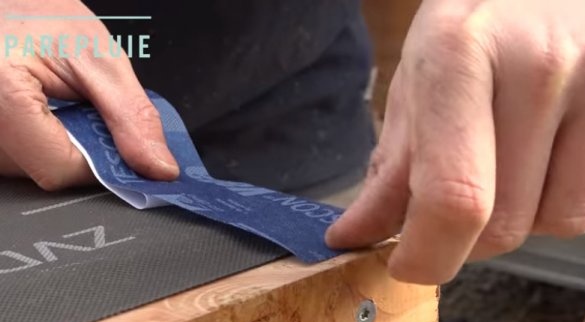
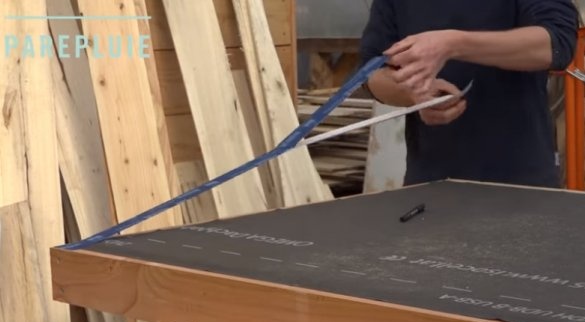
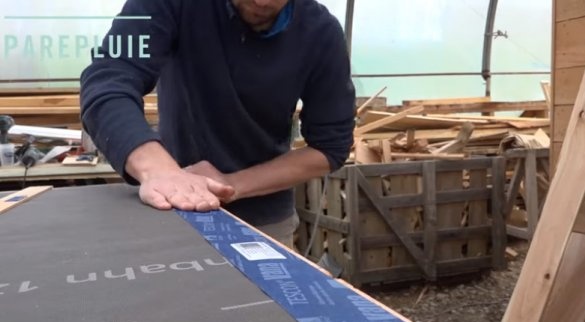
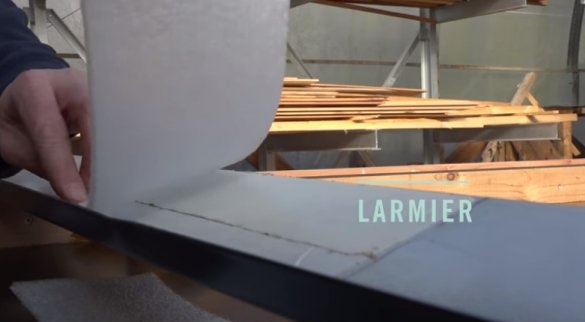
Sheathes the rear of the panel with waterproof material.
Step Five: Air Vent
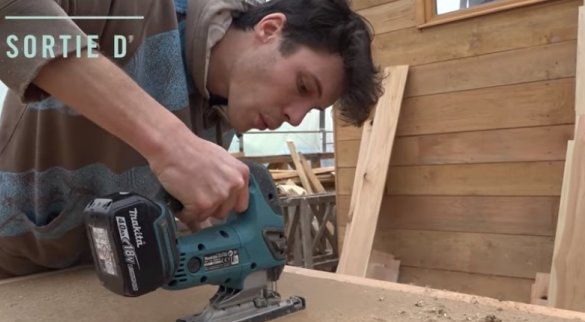
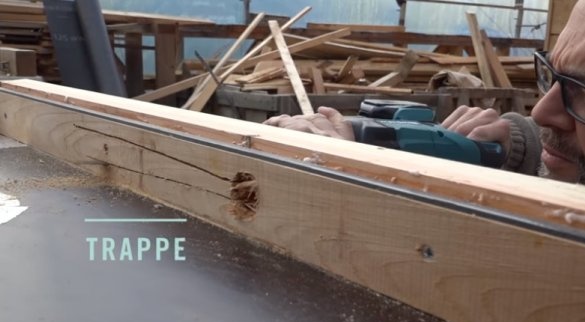
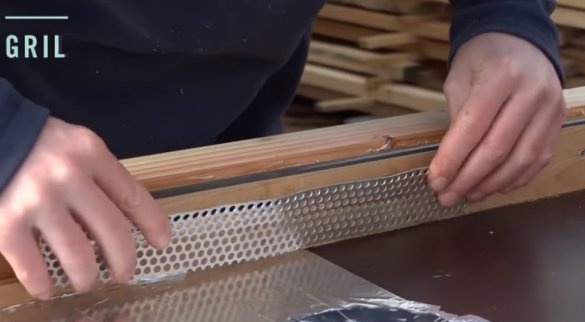
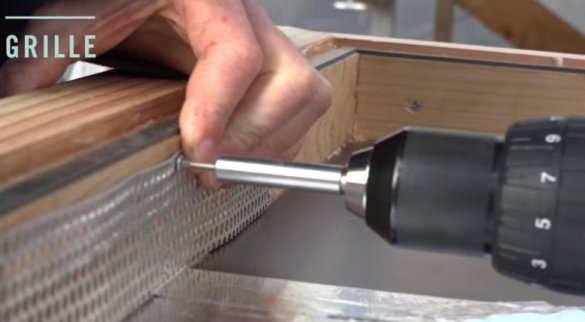
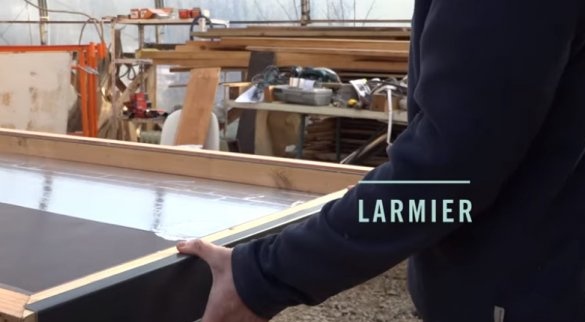
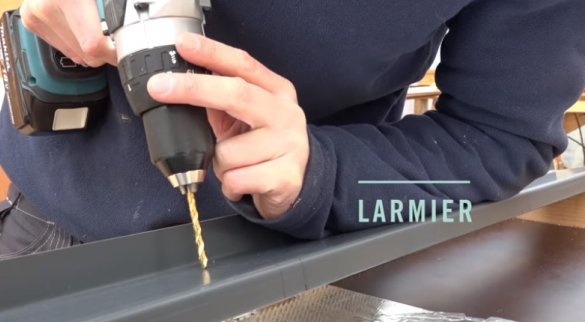
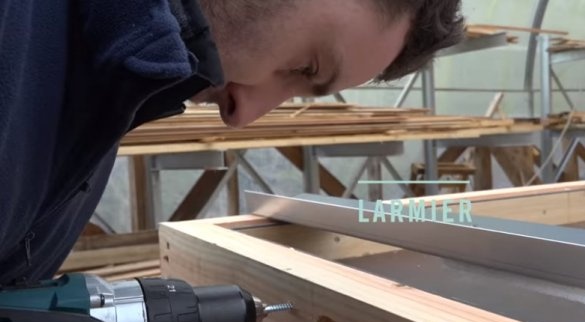
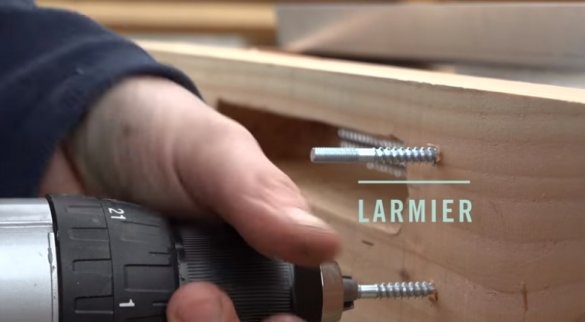
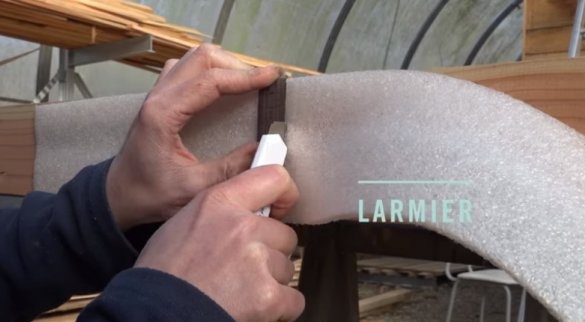
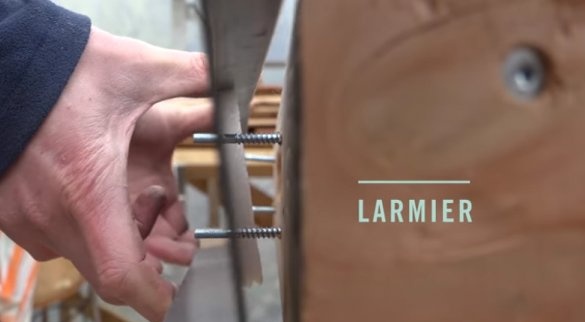
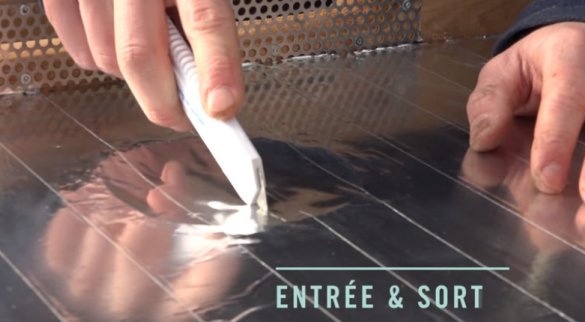
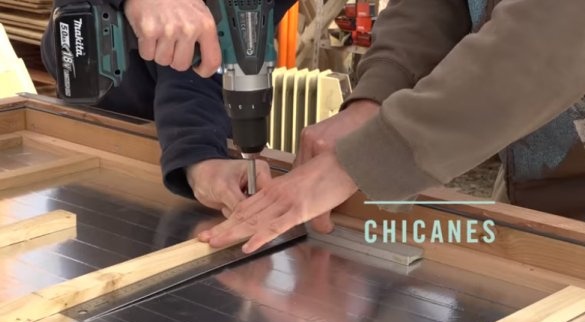
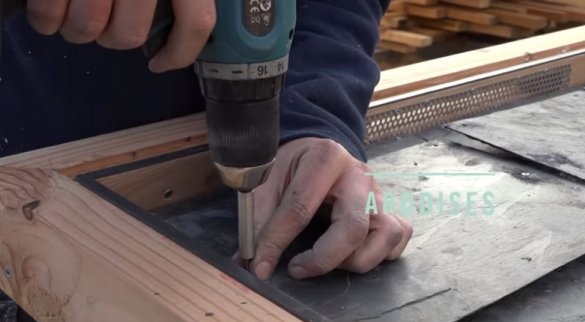
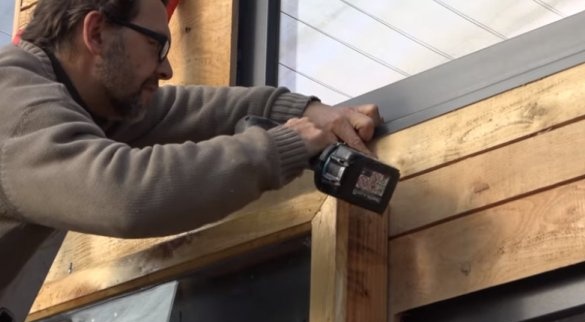
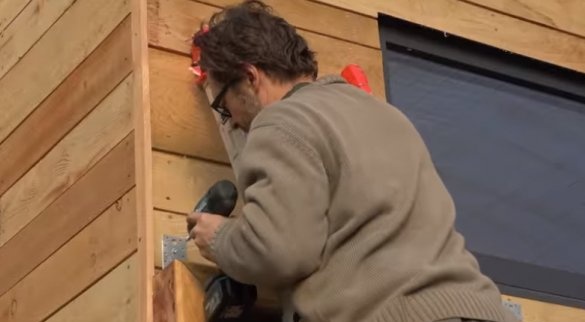
A hole 30 x 300 mm is cut out at the top of the frame. Screws the net inside. Four screws are installed outside. In the metal corner drills holes for screws.Porous material is glued from inside the corner. Everything is marked and the corner will be installed later.
Step Six: Aluminum Coating
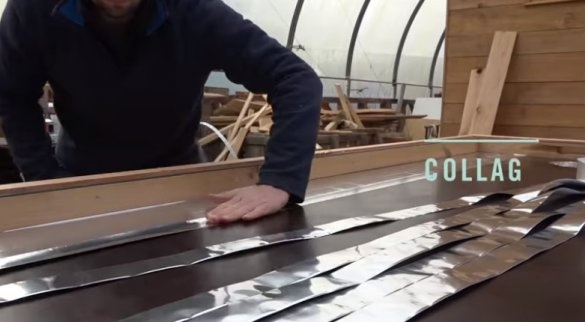
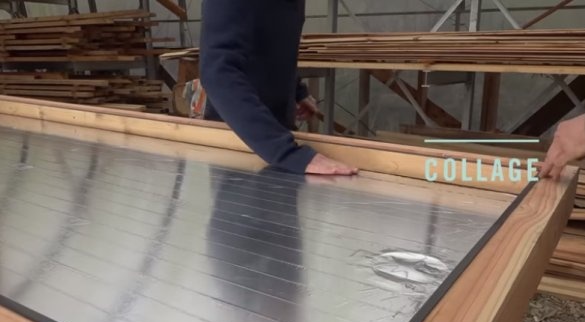
To reduce the heating of the back wall of the panel, the master glues plywood from the inside with aluminum tape.
Seventh step: slate
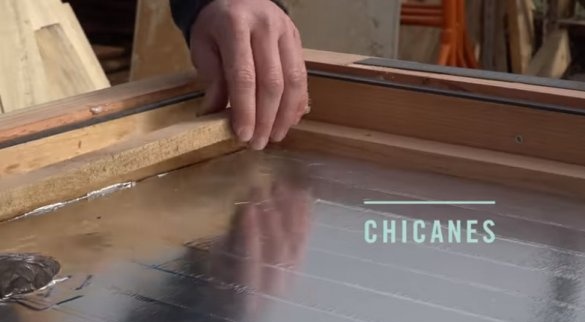
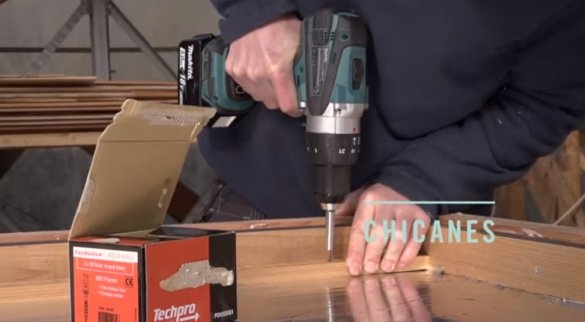
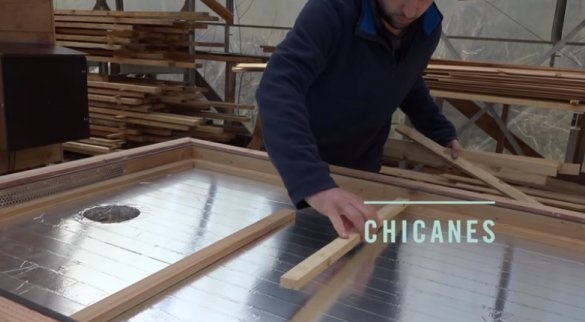
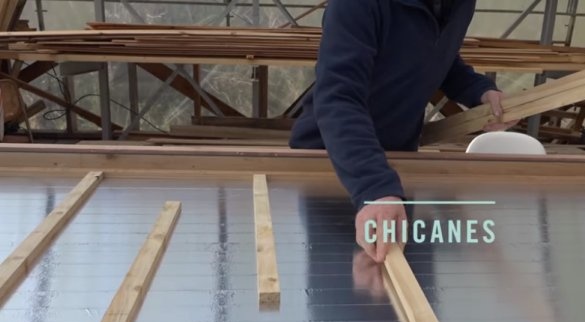
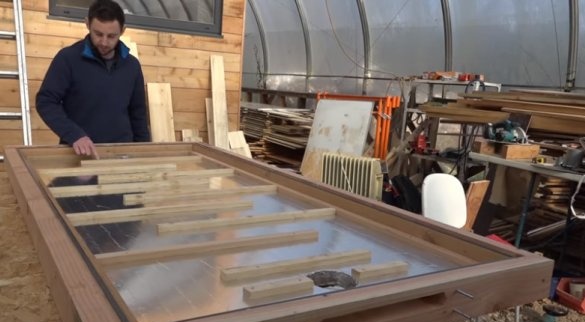
Screws the plywood to the plywood. The distance between the rails is 220 mm.
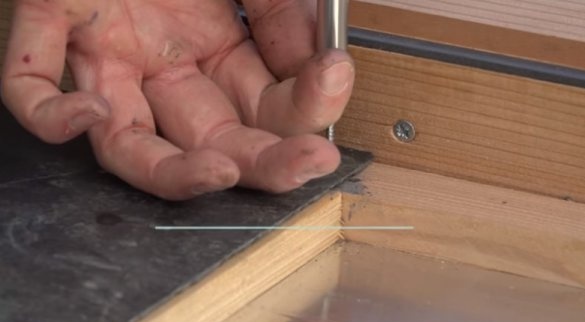
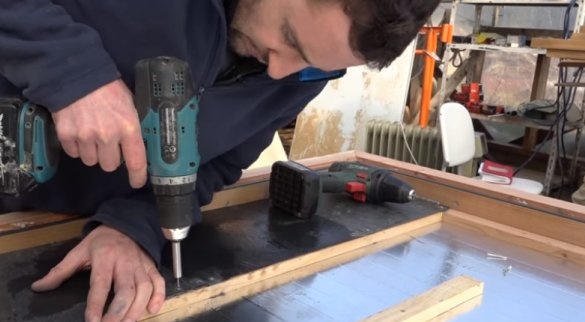
Screws the slate to the slats.
Step Eight: Glass
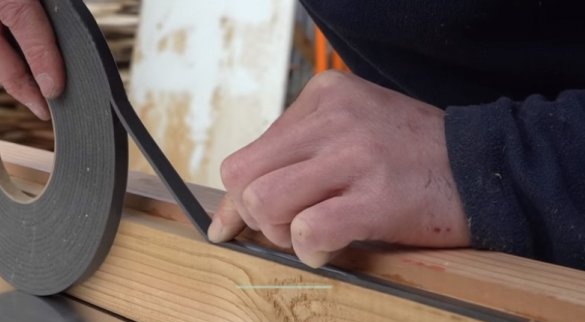
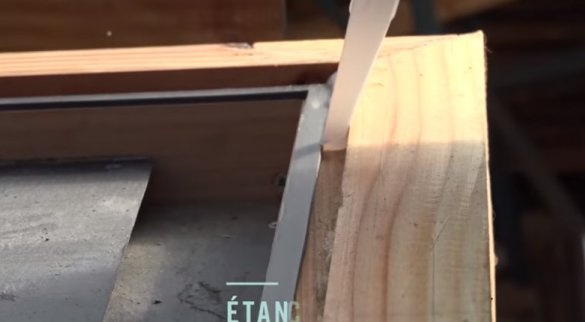
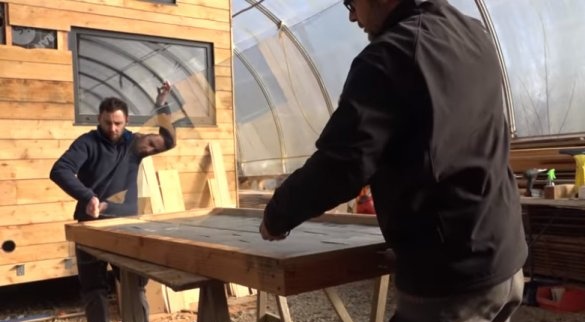
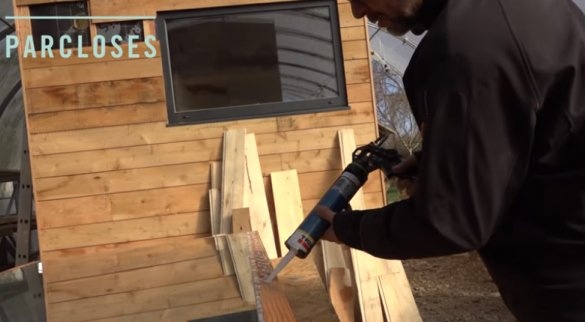
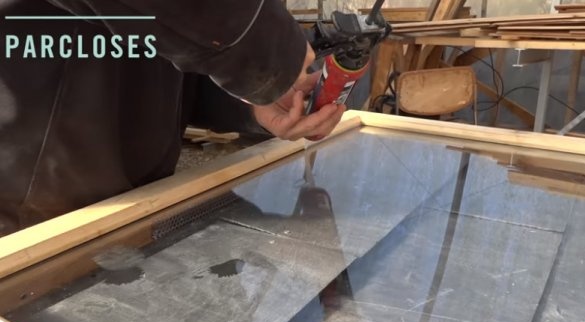
Glues the seal around the perimeter of the frame. Apply silicone. Sets the glass.
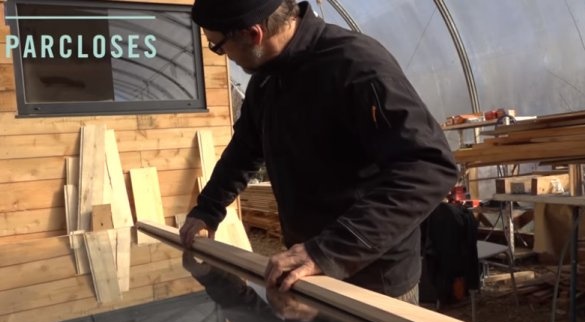
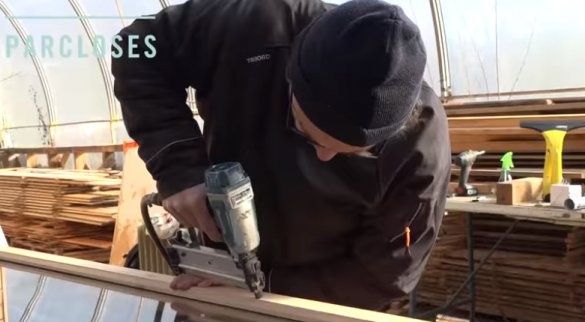
Makes pressure strips. Installs them on the frame. The trims will fix the glass. Seams are oiled with sealant.
Step Nine: Panel Testing
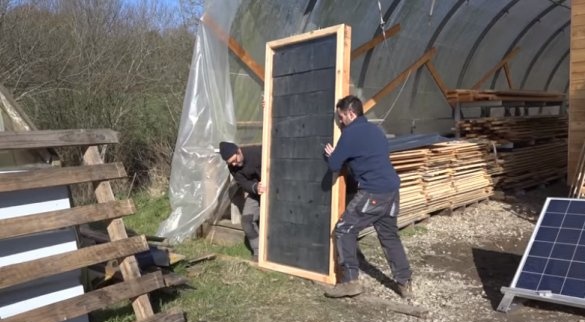
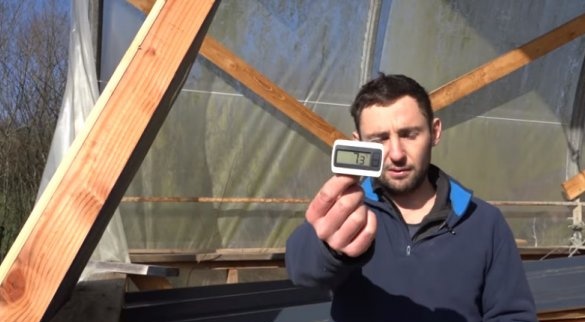
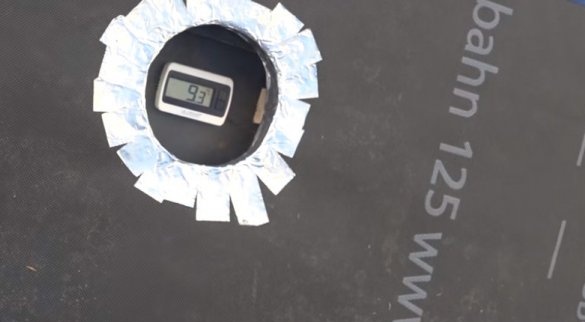
Then the master decided to test the panel. Installs the panel in a sunny place. The air temperature is 7 ° C. The temperature at the exit of the panel at the start of testing is 9 ° C.
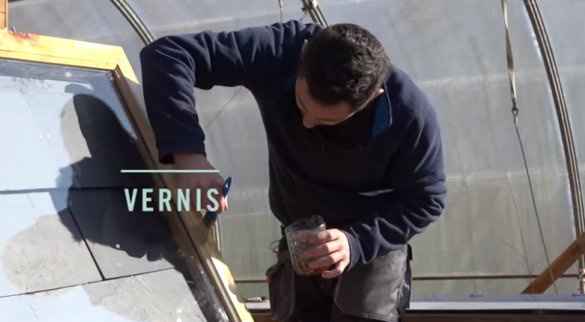
While the panel warms up, the master covers the frame with linseed oil and then varnish.
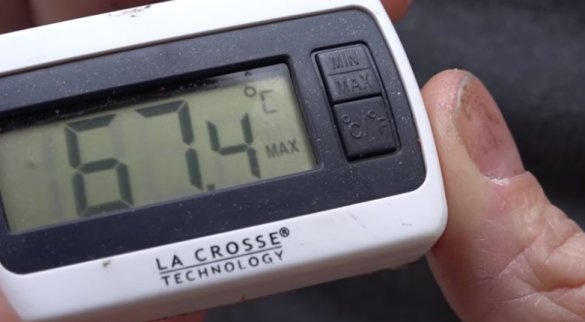
While the master was engaged in painting work, the air at the outlet of the panel warmed up to 67 ° C.
Step Ten: Thermal Valve
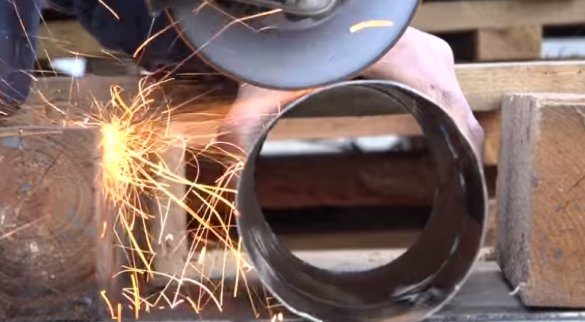
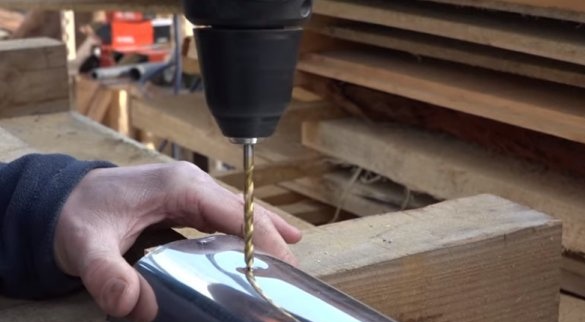
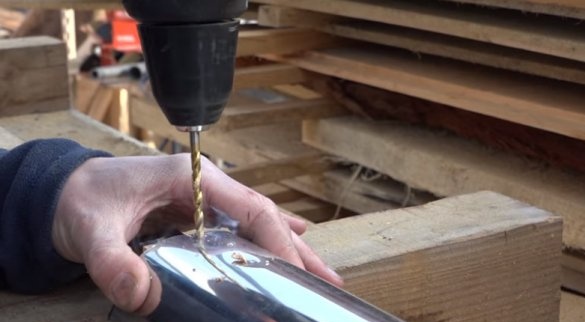
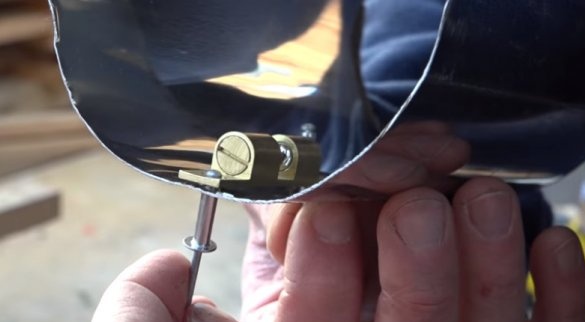
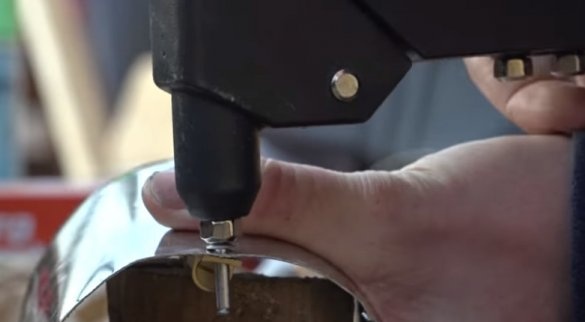
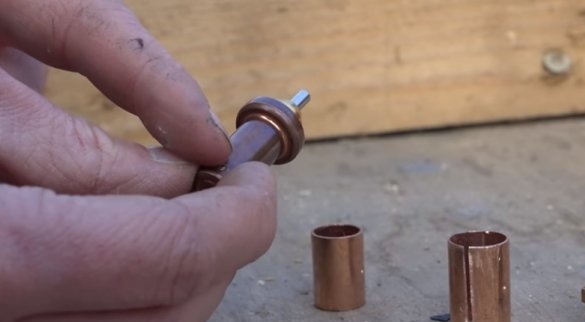
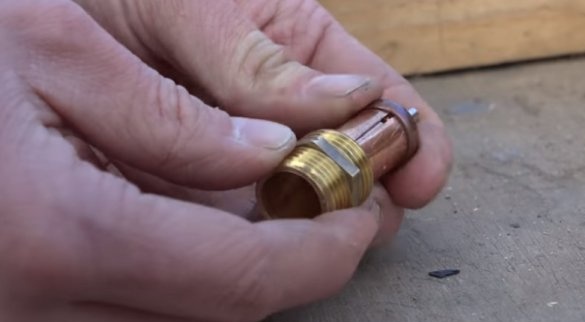
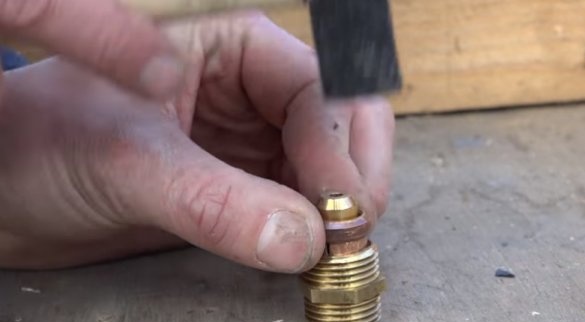
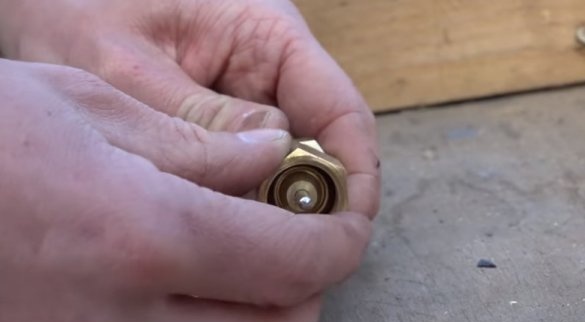
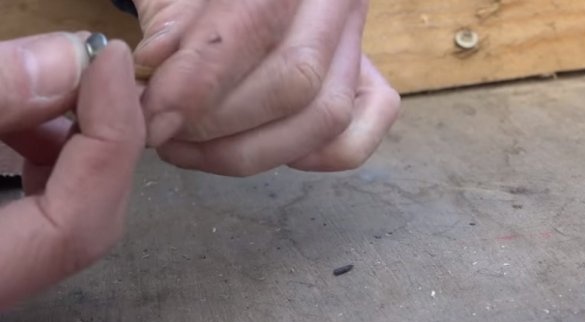
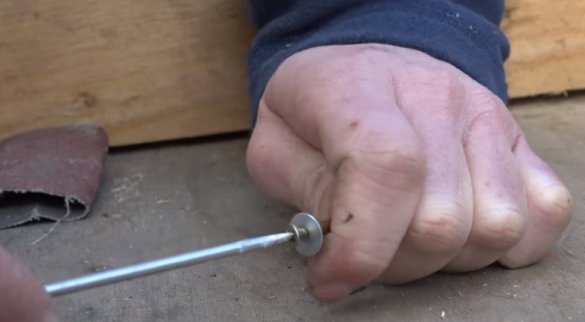
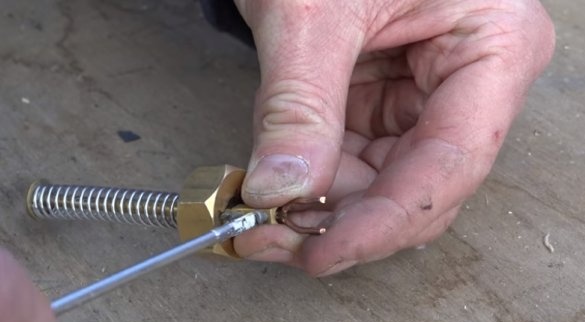
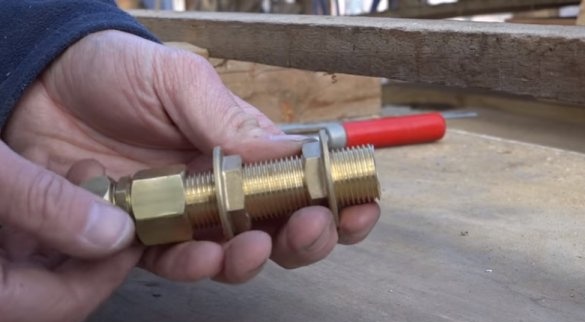
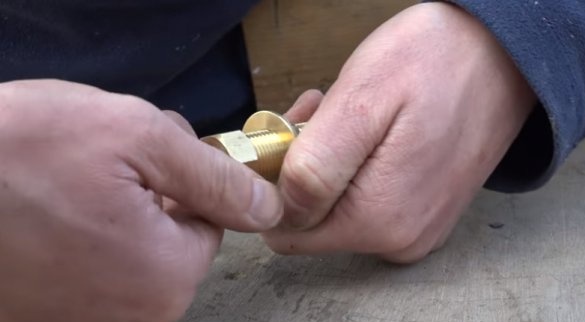
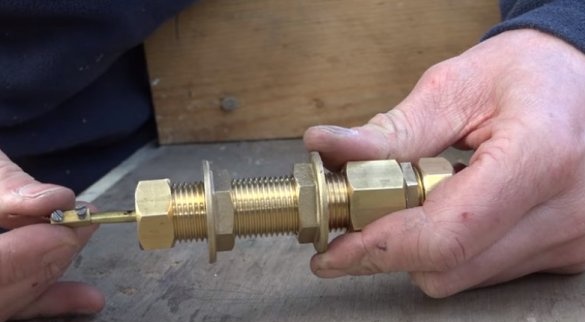
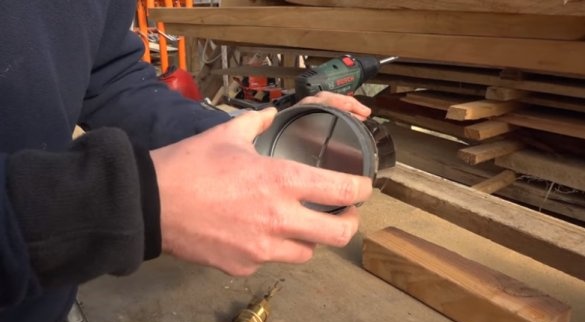
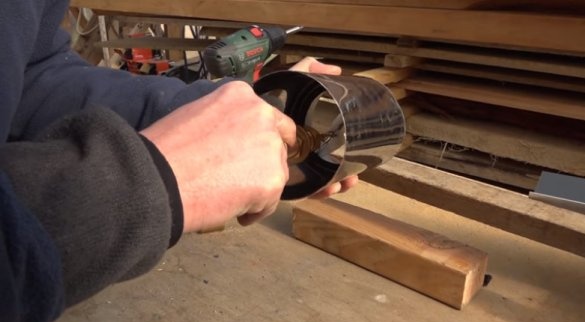
As already mentioned, the thermal valve should operate when the air is heated to 25 ° C. The master cuts off a piece of pipe and fixes the fastener on rivets.
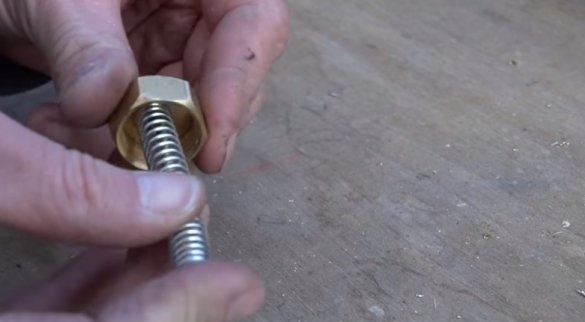
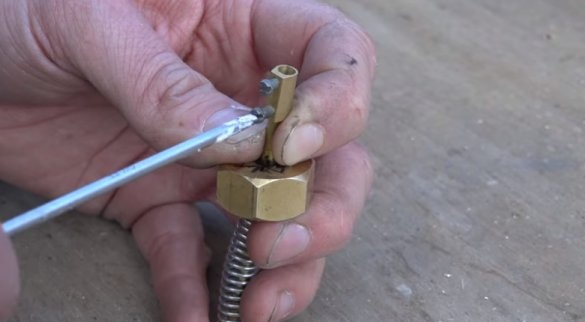
Collects the valve as in the photo.
Makes and installs inside the curtain air duct.
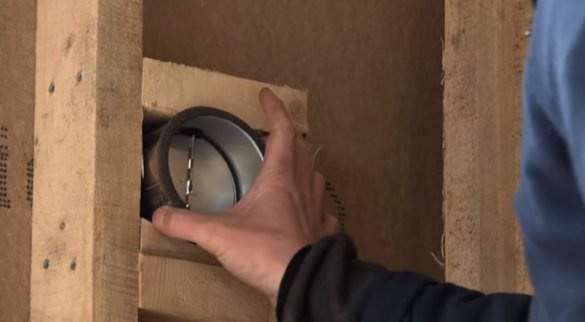
Installs a thermal valve. The thermal valve lever abuts the curtains. Installs an air duct in a hole in the wall.
Step Eleven: Panel Installation
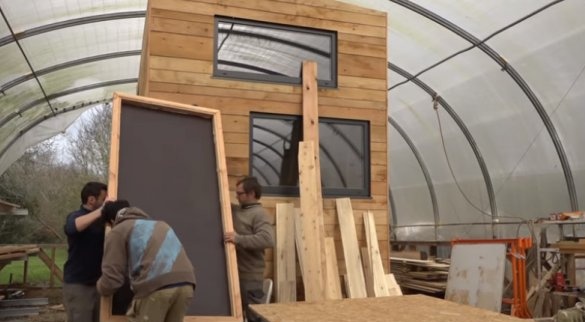
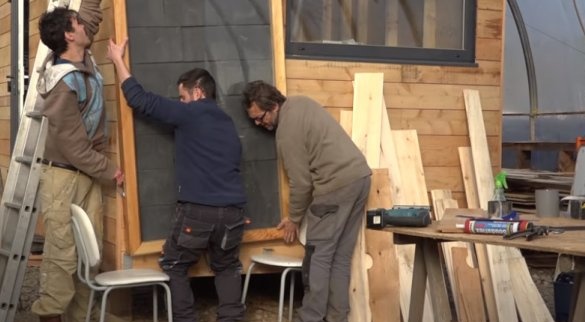
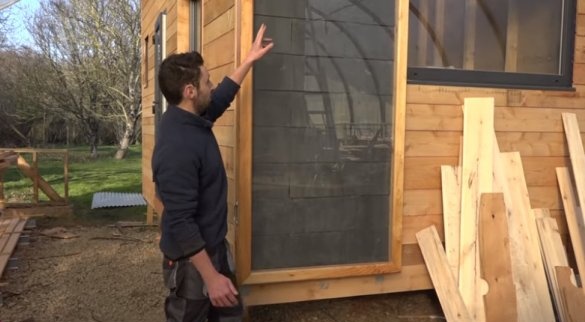
Screws the panel to the wall, orienting along the inlet and outlet ducts.
All is ready.
The entire process of manufacturing the panel can be seen in the video.


