
The Arduboy game console is one of the most famous examples of open hardware. Do you want - buy ready, you want - collect do it yourself. If they grow from the shoulders, the second is more profitable. An interesting version of the Arduboy clone was made by Instructables under the nickname indoorgeek.
First of all, he tried out a console diagram on a breadboard type breadboard:
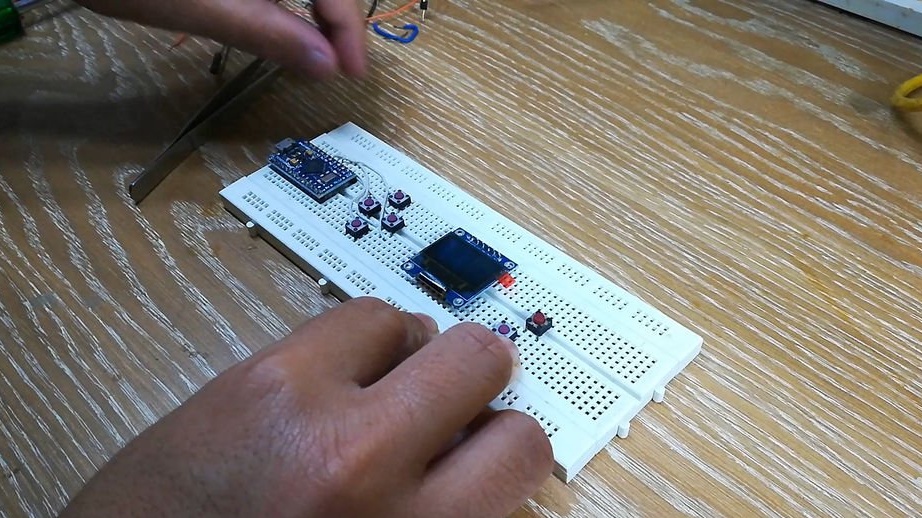
I / O devices he connected to the legs Arduino Pro Micro like this:
Buttons:
Up - A0
Down - A3
Right - A1
Left - A2
A - D7
B - D8
OLED display:
SCL - D15
SDA - D16
DC - D4
RES - D2
Piezo emitter:
One conclusion - D5
The other is D6
RGB LED:
Red - D10
Green - D3
Blue - D9
Buttons with opposite conclusions on a common wire (it is better to add a pull-up by resistors to plus), a common anode of the RGB LED on plus, cathodes on Arduino not directly, but through resistors, display power leads to the corresponding buses of the breadboard.
The wizard prepares the Arduino IDE for filling the sketch. Selects the menu item File - Preferences. In the Additional Boards Manager field, the URL copies the following address:
https://raw.githubusercontent.com/MrBlinky/Arduboy/master/board-support/package_arduboy_variants_index.jsonClick OK. Then he selects the menu item Tools - Boards - Boards Manager and in the text field enters homemade or Arduboy homemade. Selects this package and starts its installation with the Install button.
In the Tools menu, sets the following parameter values:
Board: Homemade Arduboy

Bootloader: Cathy3K

Based on: SparkFun Pro Micro 5V - Alternate Wiring

Core: Arduboy optimized core

Display: SSD1306
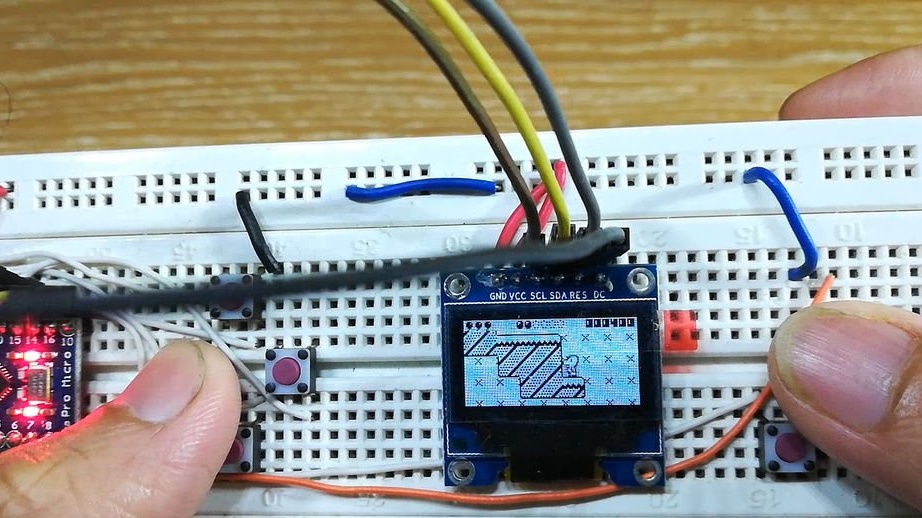
He selects the game he likes, downloads her sketch and uploads it to Arduino. Starts up - works:
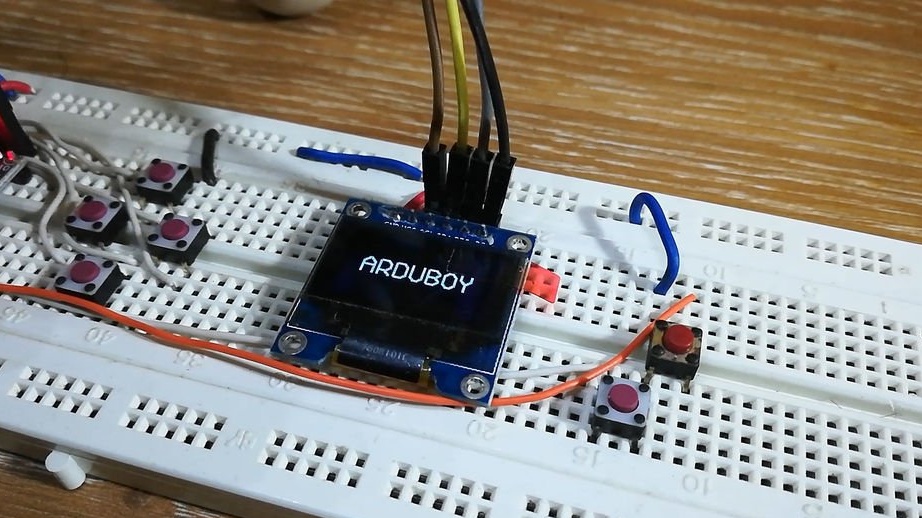
It also responds well to button presses:
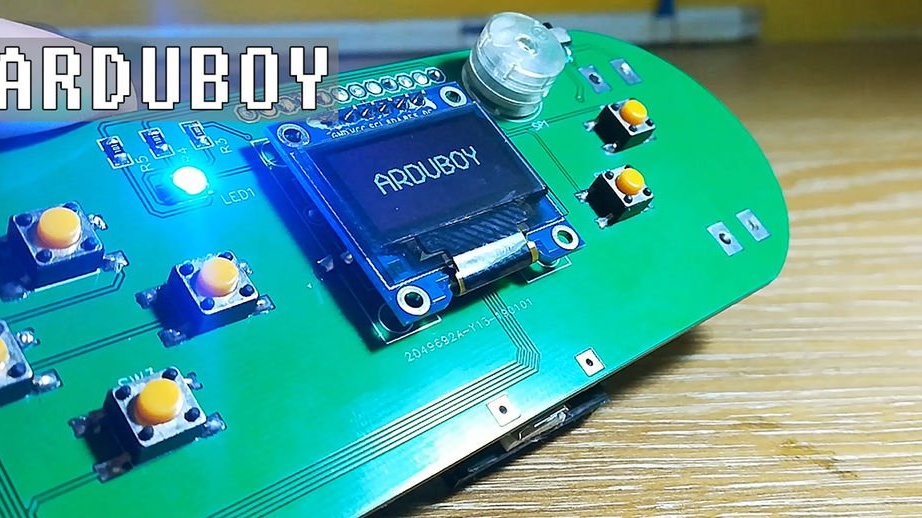
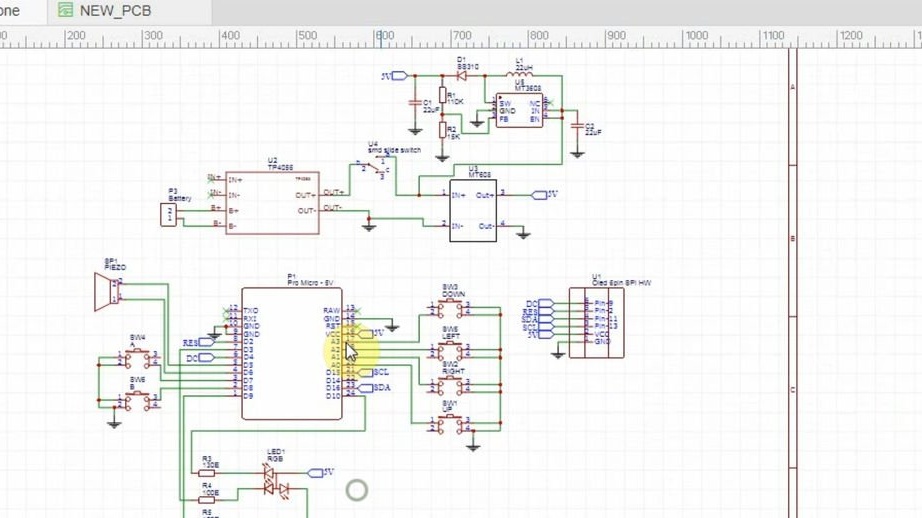
Now indoorgeek is designing a complete clone circuit (with additional components necessary for battery operation), which will be assembled on a circuit board:
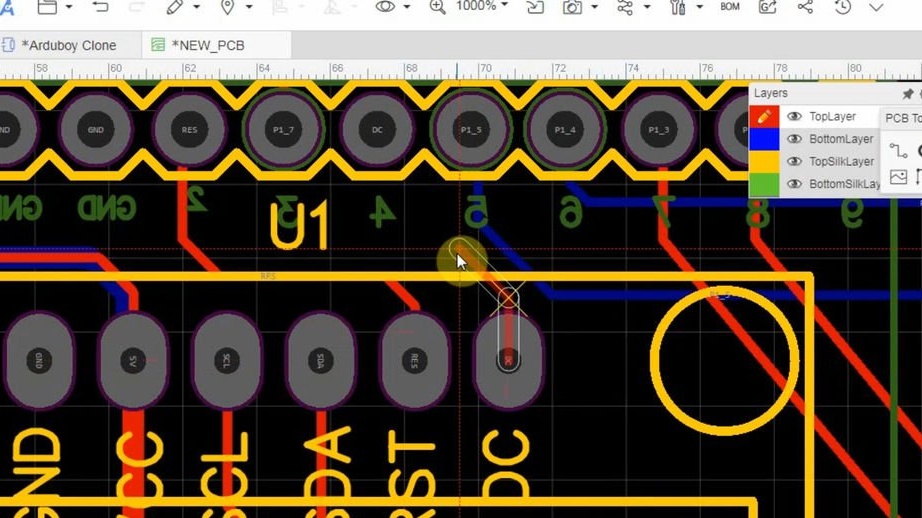
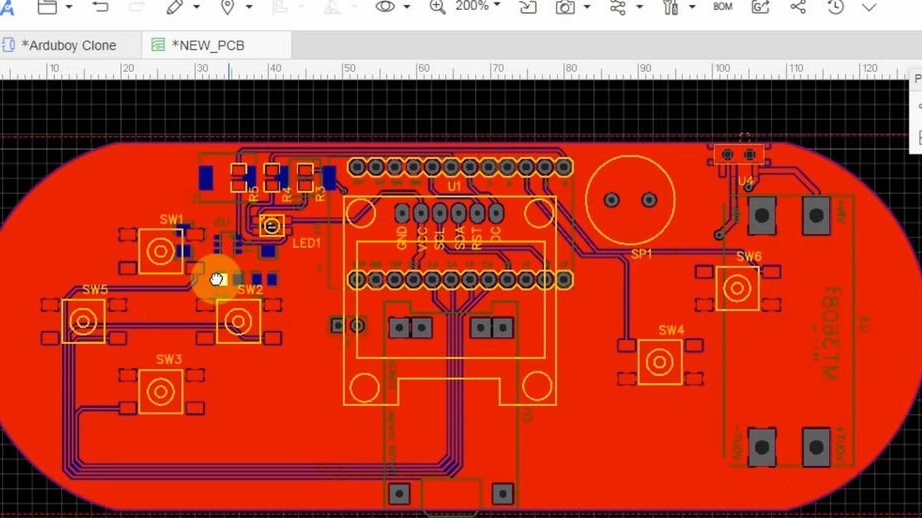
Develops the board itself:
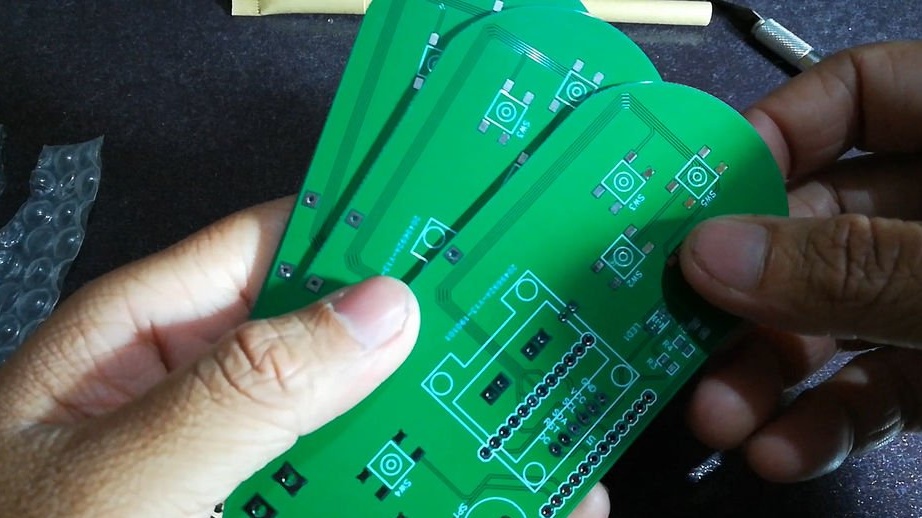
Orders, and now the boards come:
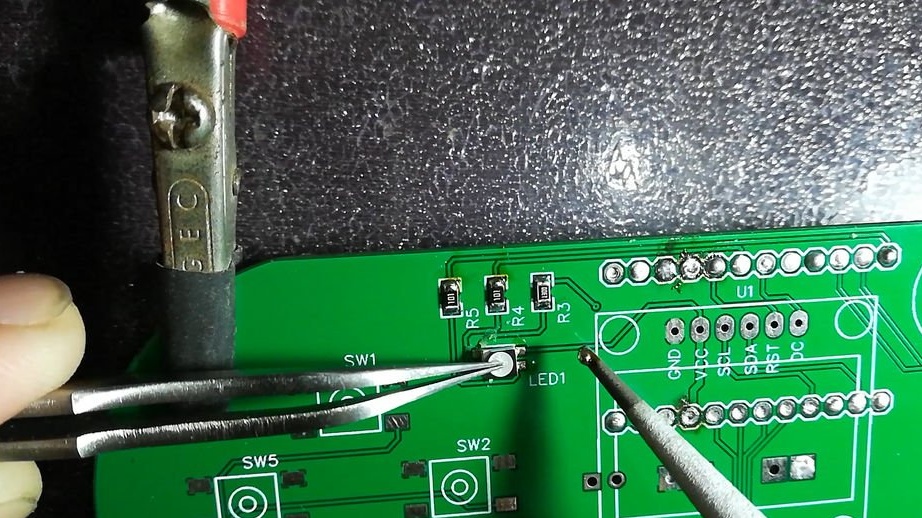
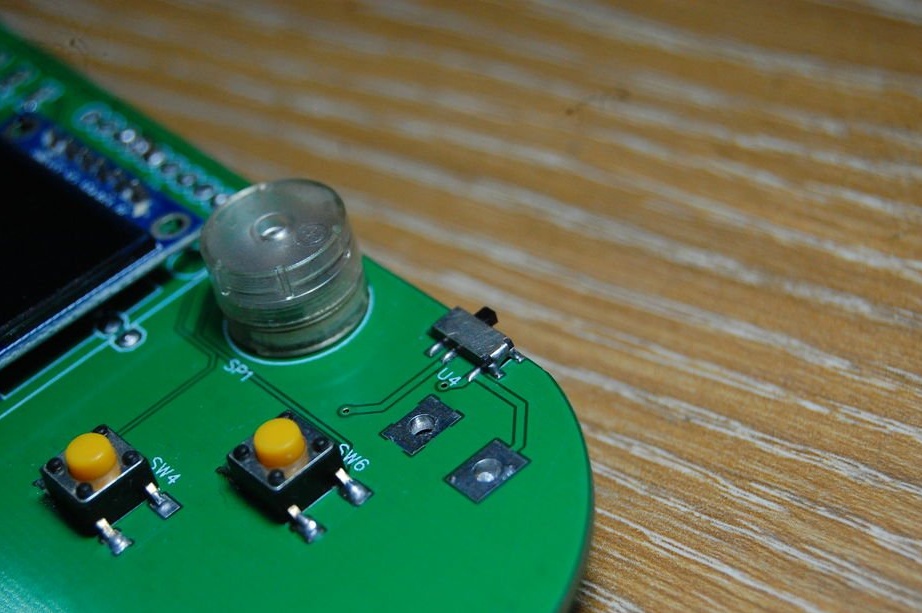
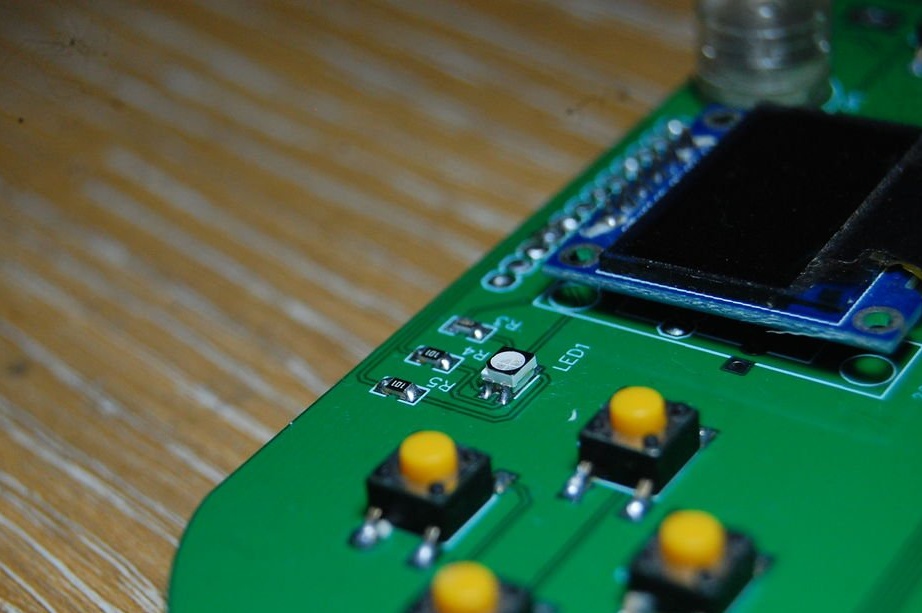
Starts to collect:

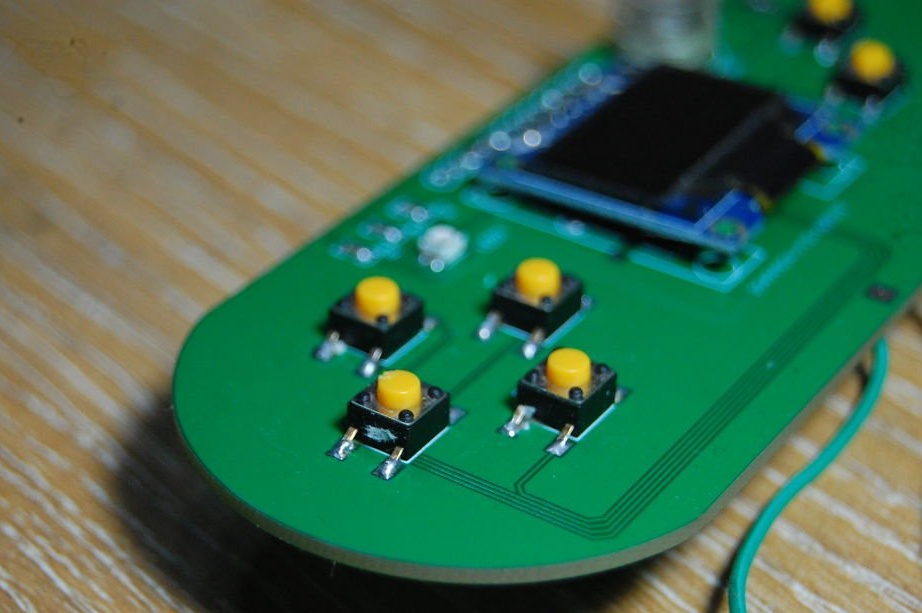
It rings the power circuit, connects the 380 mAh battery in the correct polarity, charges, and now you can play the game that was stitched in the Arduino during the test on the breadboard. Or fill in any other game for Arduboy.
The console consumes 50-100 mA, one battery charge lasts for three to four hours. To homemade lasted a long time, you need to make a durable case for it.