
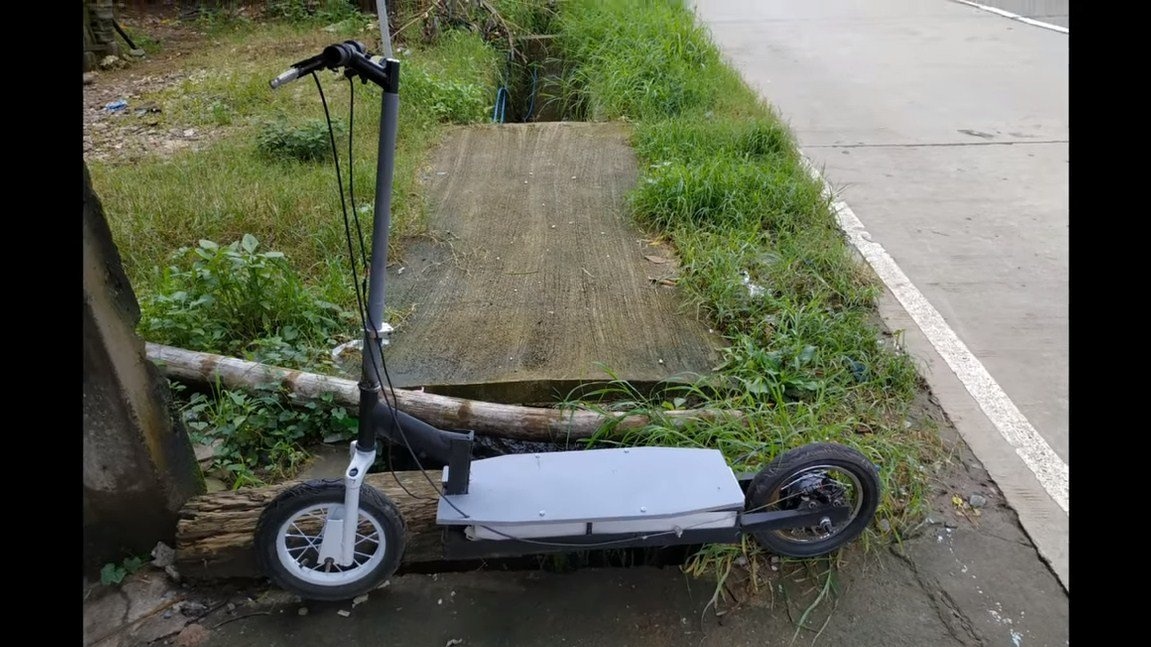
Hello everyone, spring is coming soon, which means that the time is right for two-wheeled transport. And if you pedal laziness, you can think about purchasing or making a homemade electric bike or scooter. Today we will look at how to make a simple and powerful electric scooter that can travel more than 120 km on a single battery charge. A scooter based on a motor wheel was built, the frame is made of any scrap metal, so it is quite heavy. If the frame is lightened, the scooter can ride faster, more economically and further. The design is quite simple, the most expensive component is the motor wheel. If the project interests you, I propose to familiarize yourself with it in more detail.
Materials and tools used by the author:
Material List:
- ;
- parts from an old bike;
- fittings;
- Sheet steel;
- 18650 batteries (from old laptops and so on) 4;
- steel corner;
- plywood, OSB or the like;
- ;
- electronic control knob;
- paint and primer.
Tool List:
- grinder;
- drill;
- welding machine;
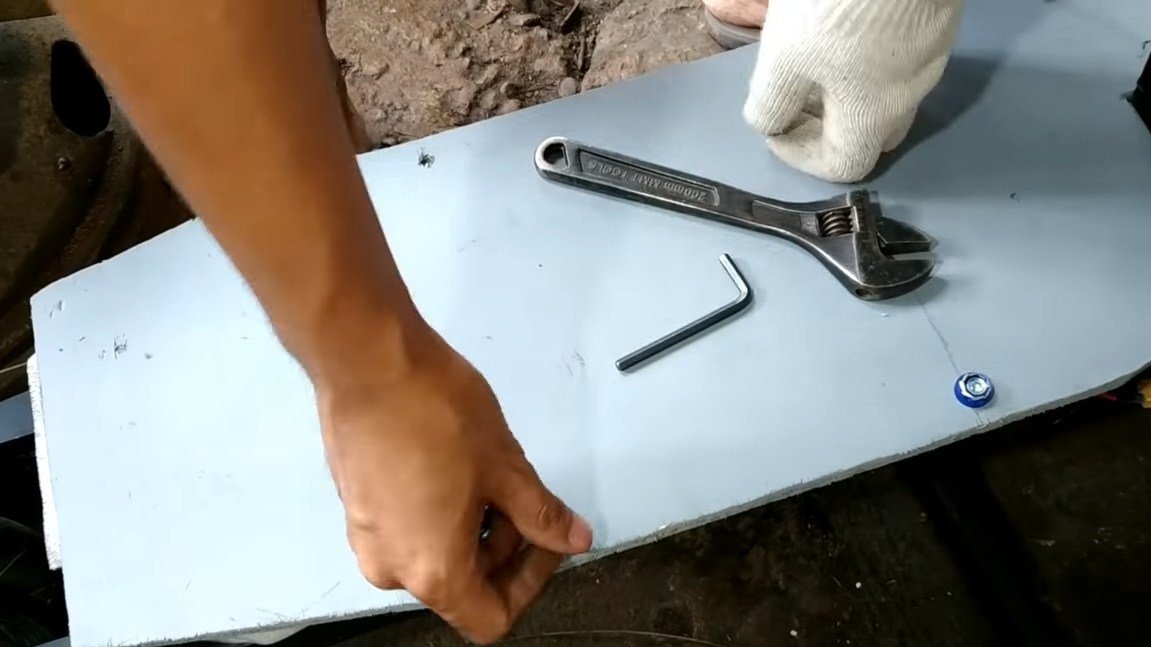
- wrenches and screwdrivers;
- jigsaw.
Scooter manufacturing process:
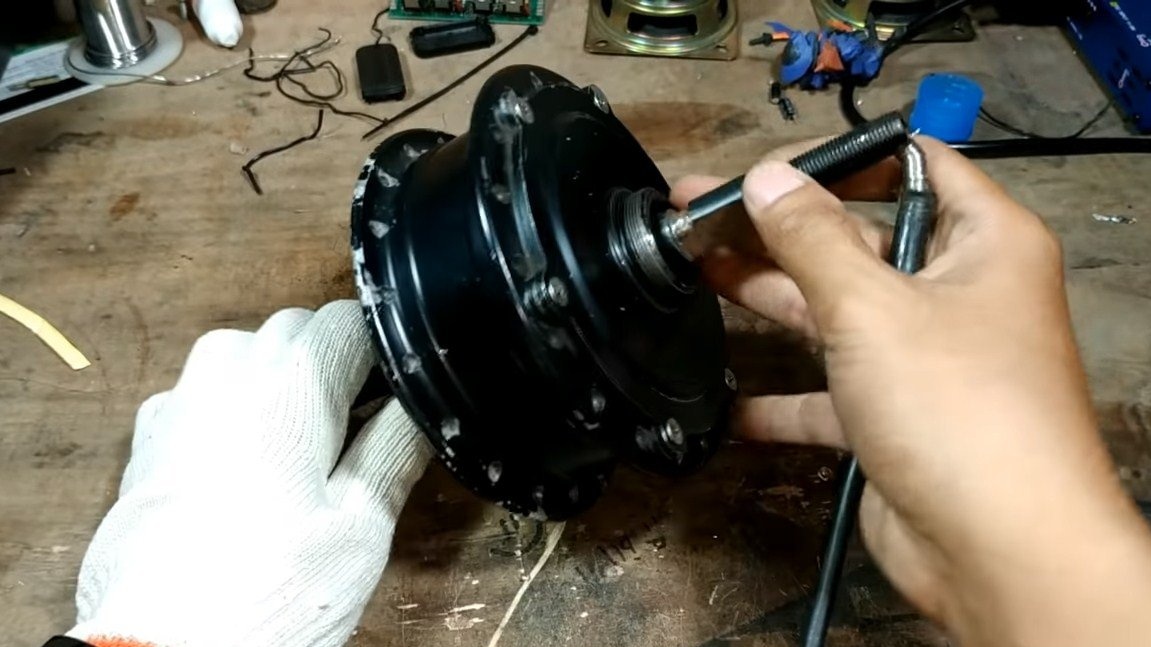
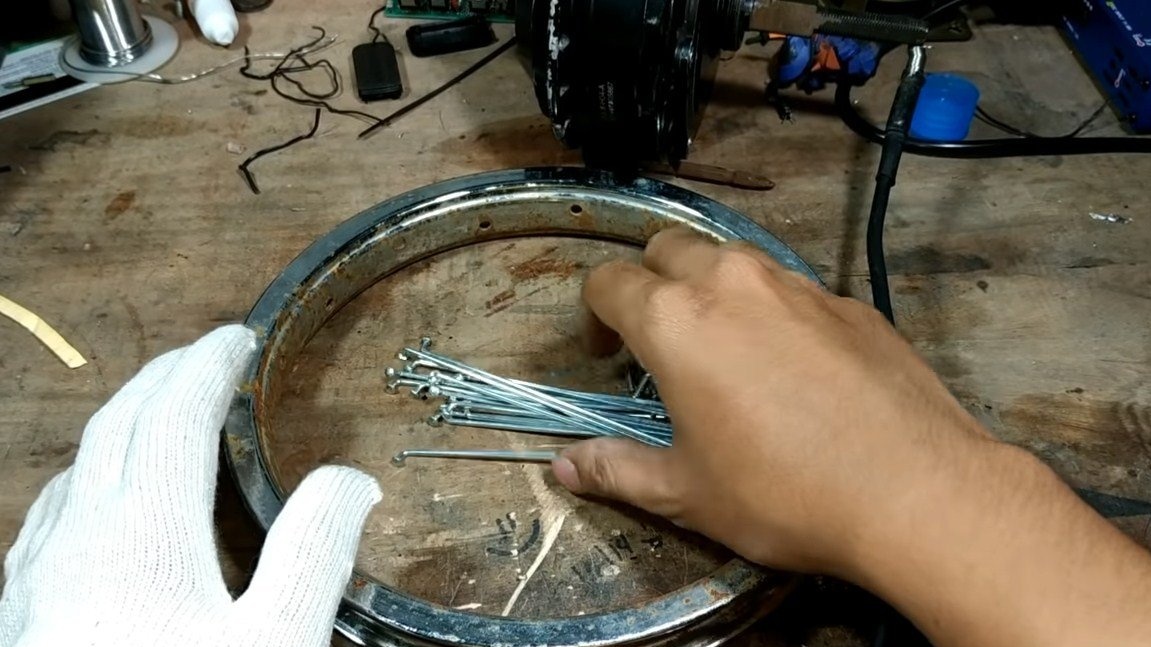
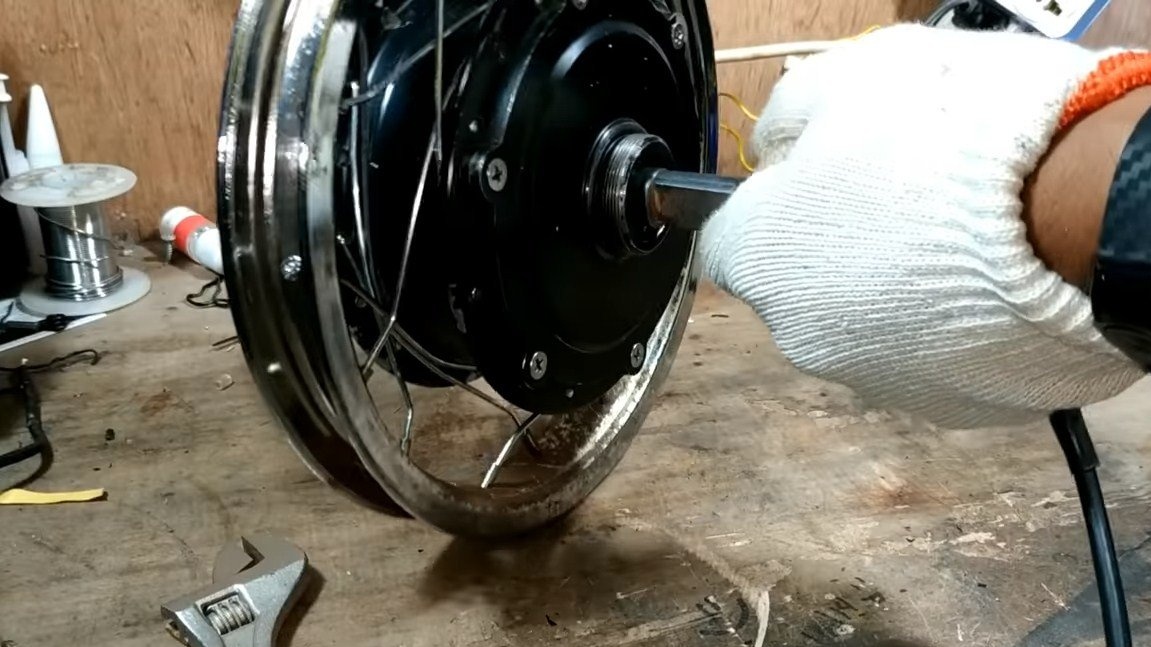
Step one. Assemble the wheel
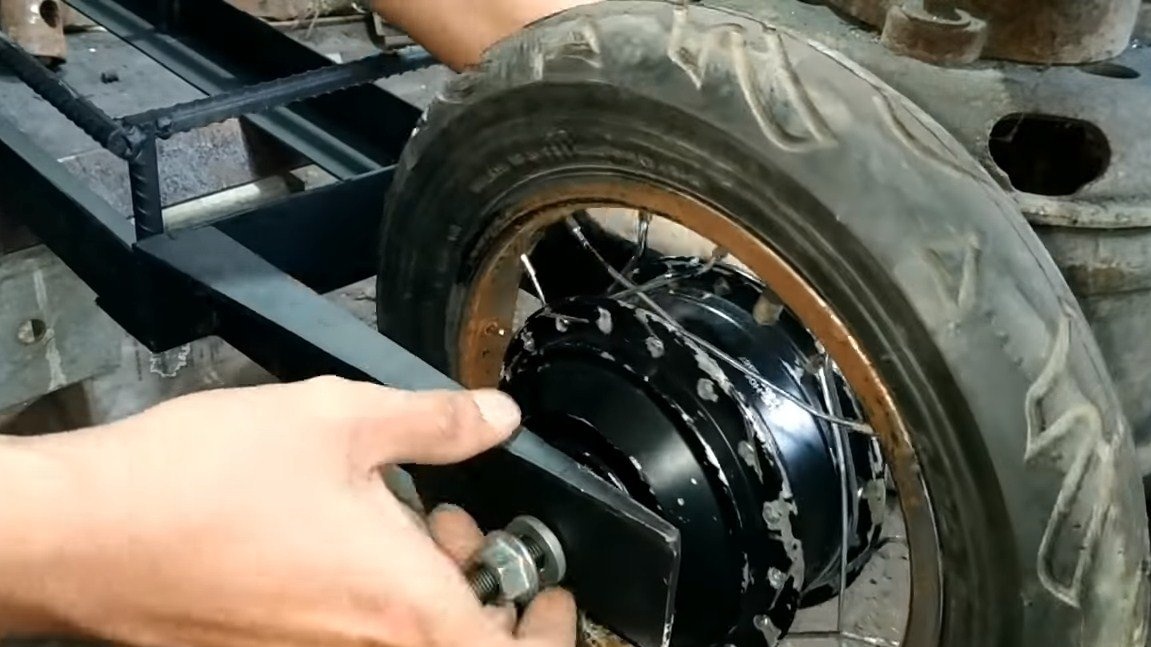
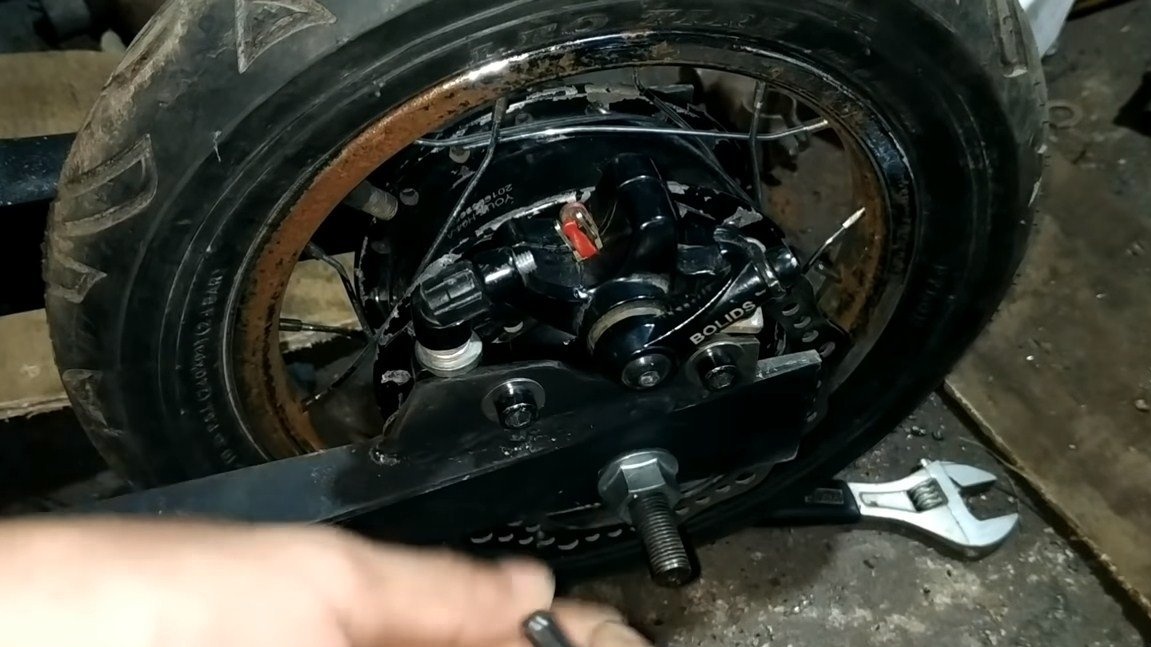
First we assemble the rear wheel, we need a wheel from an old scooter or bicycle, we will install a motor wheel on it. The author had to bend the spokes a bit to successfully install the motor wheel. Well, then it remains to install the tire with the camera and the wheel is ready.

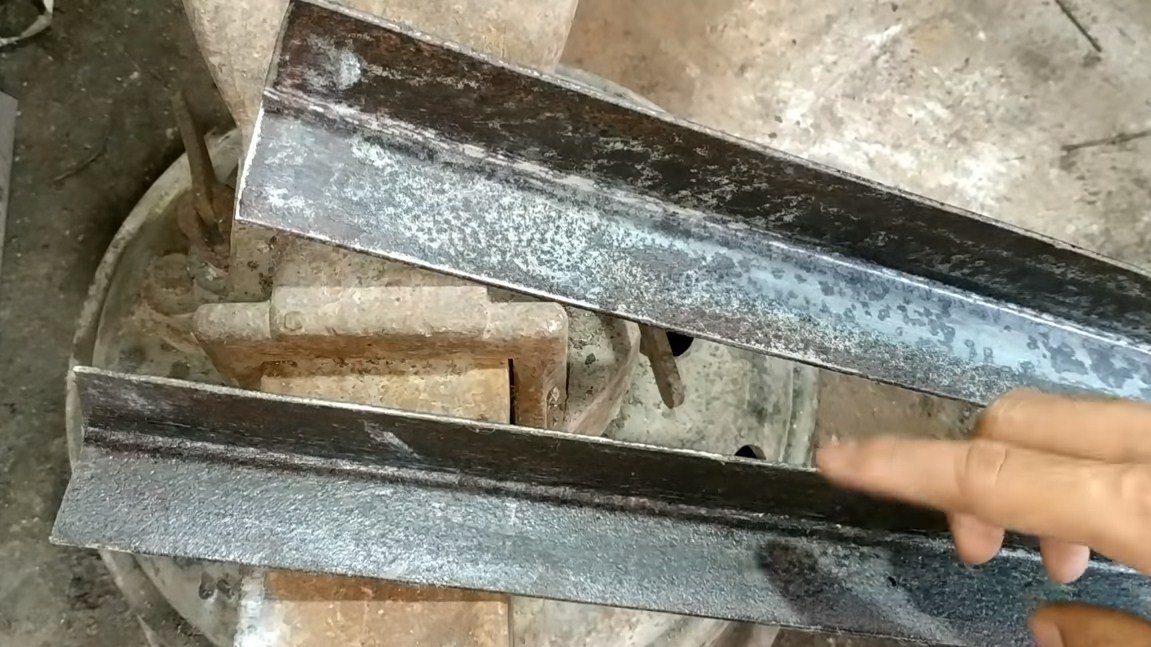
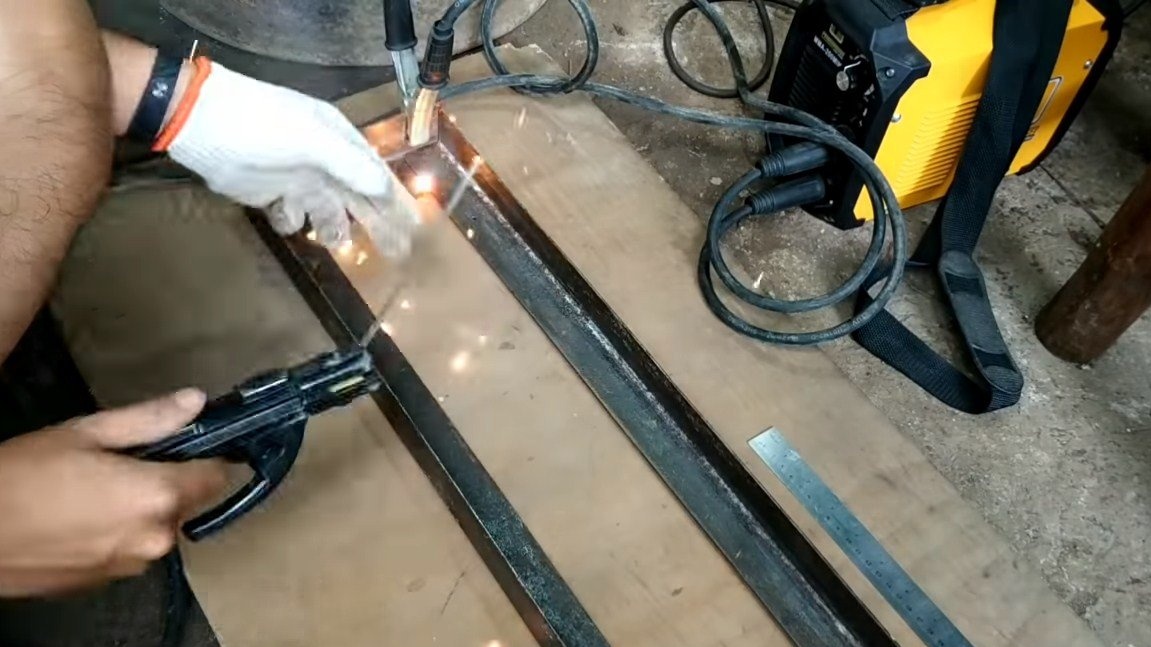
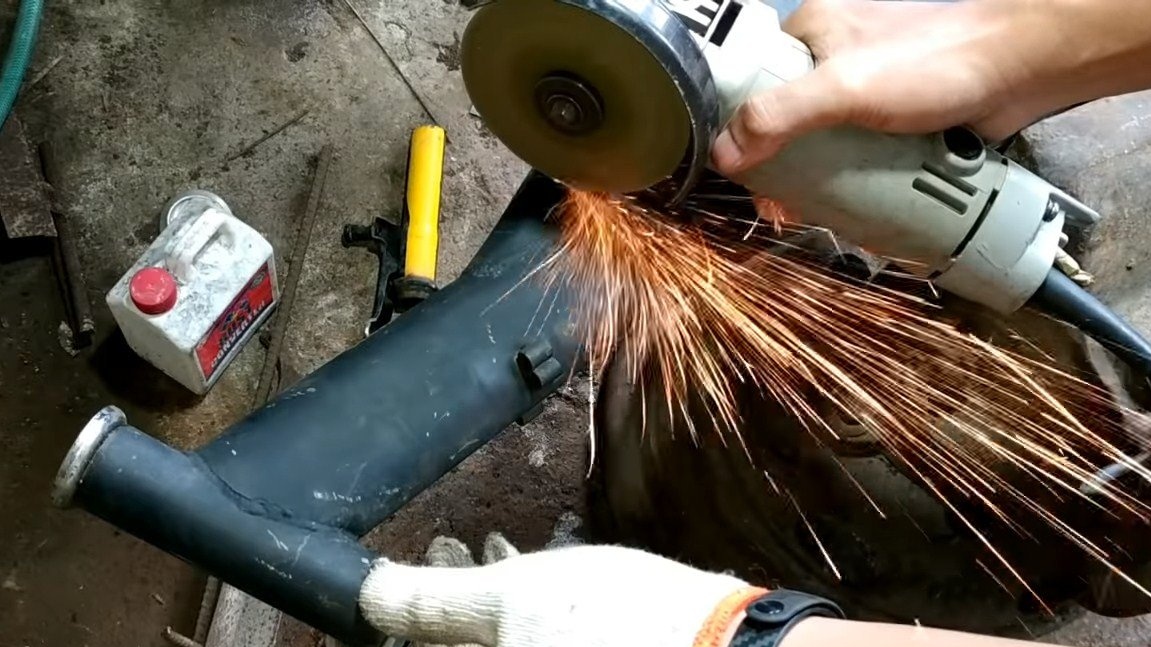
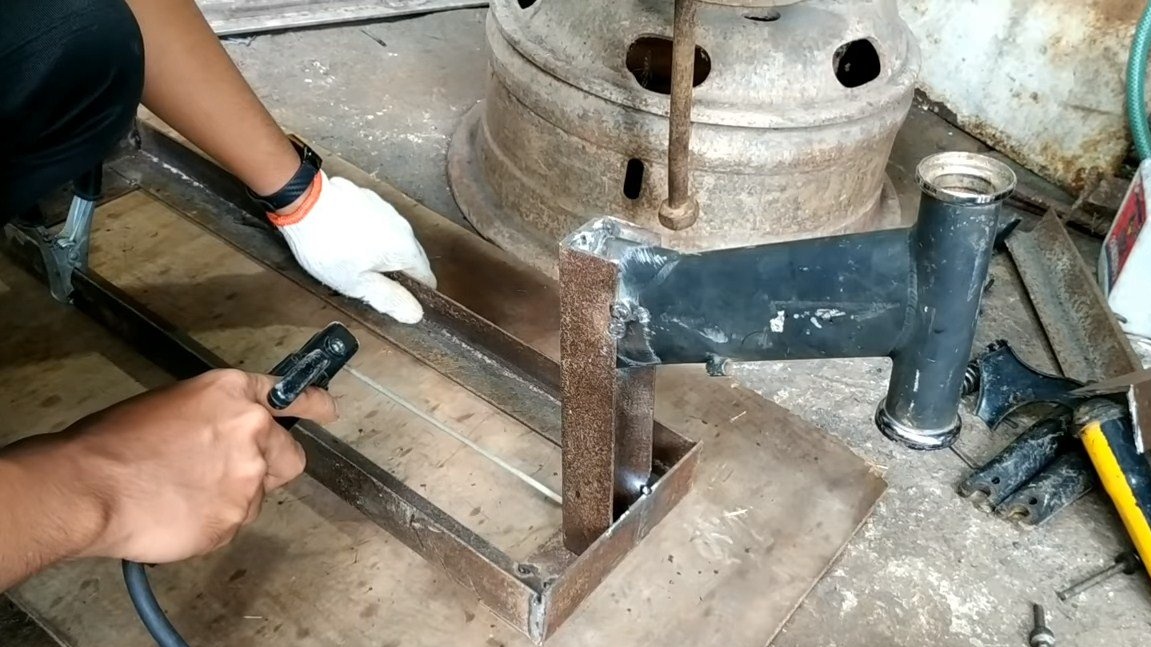
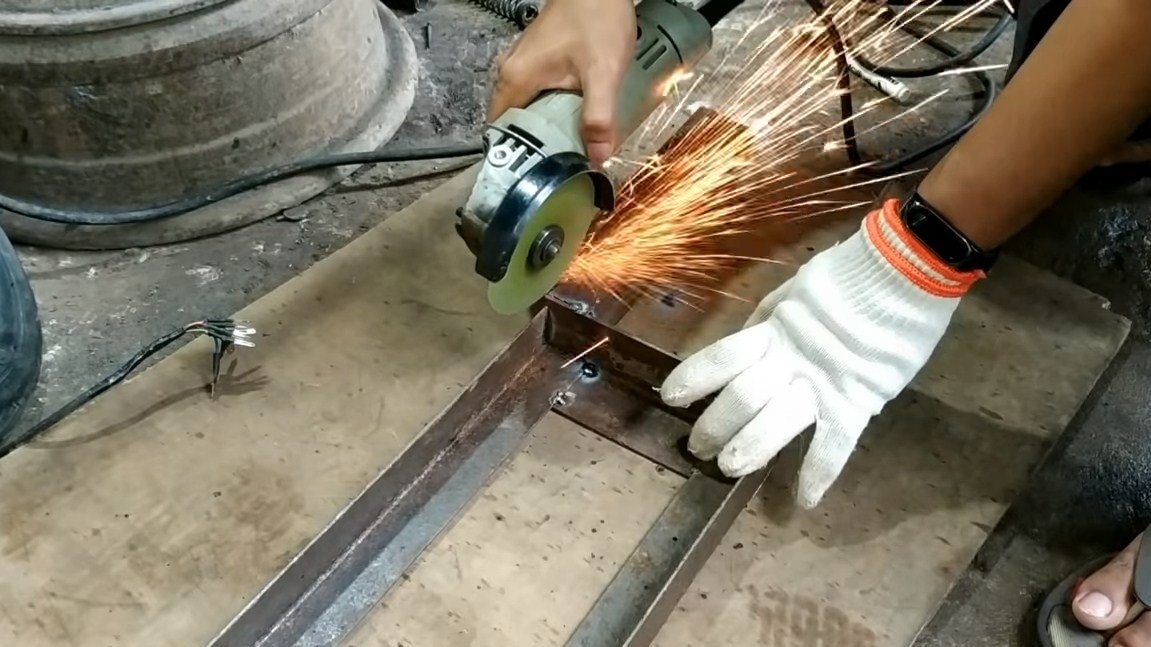
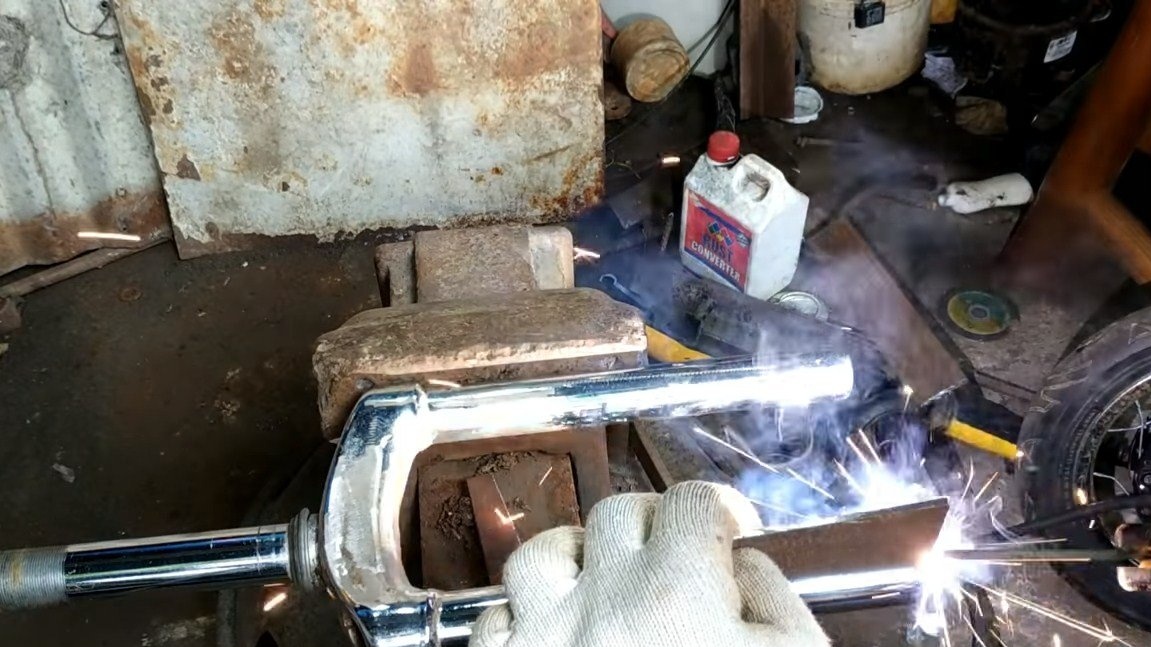
Step Two Weld the frame
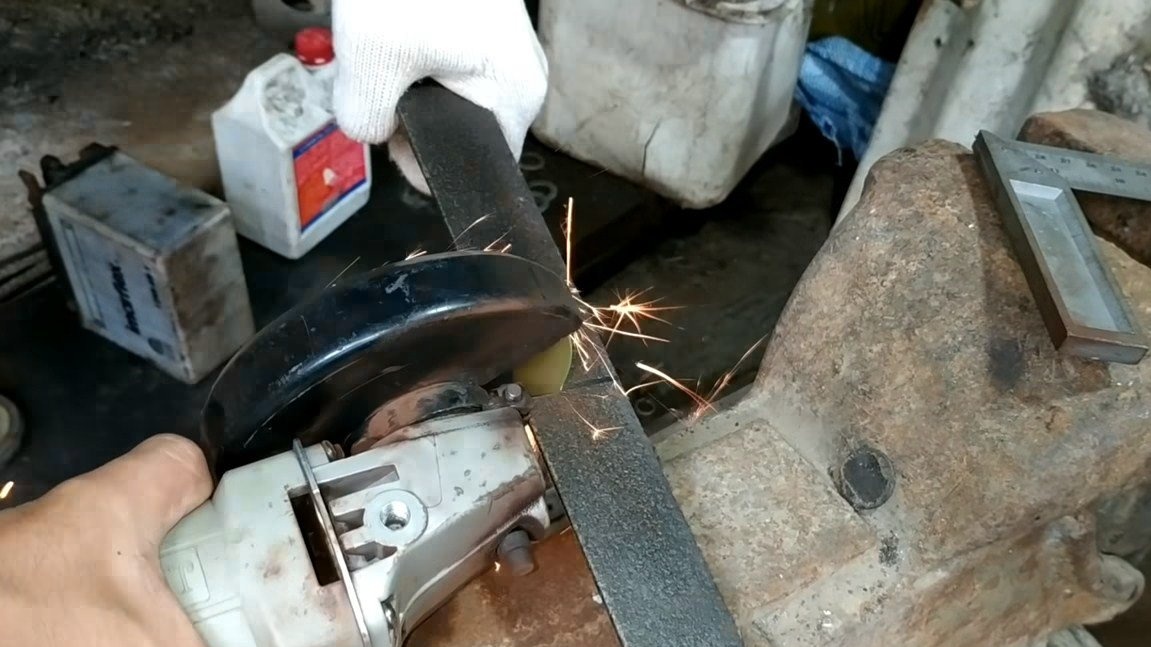
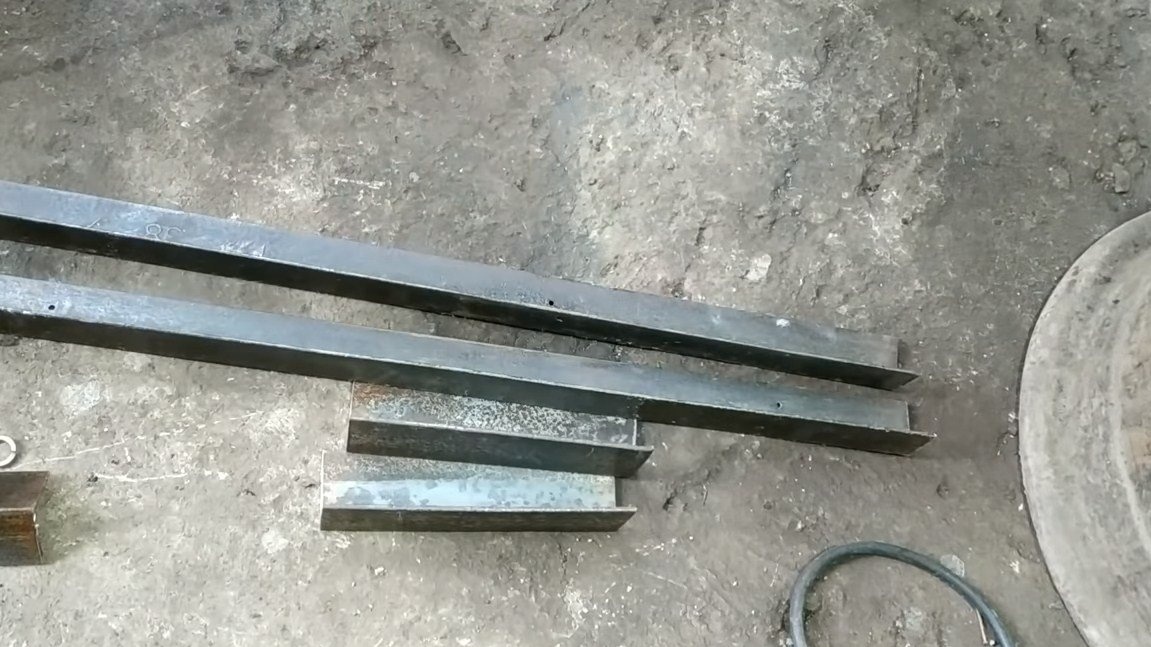
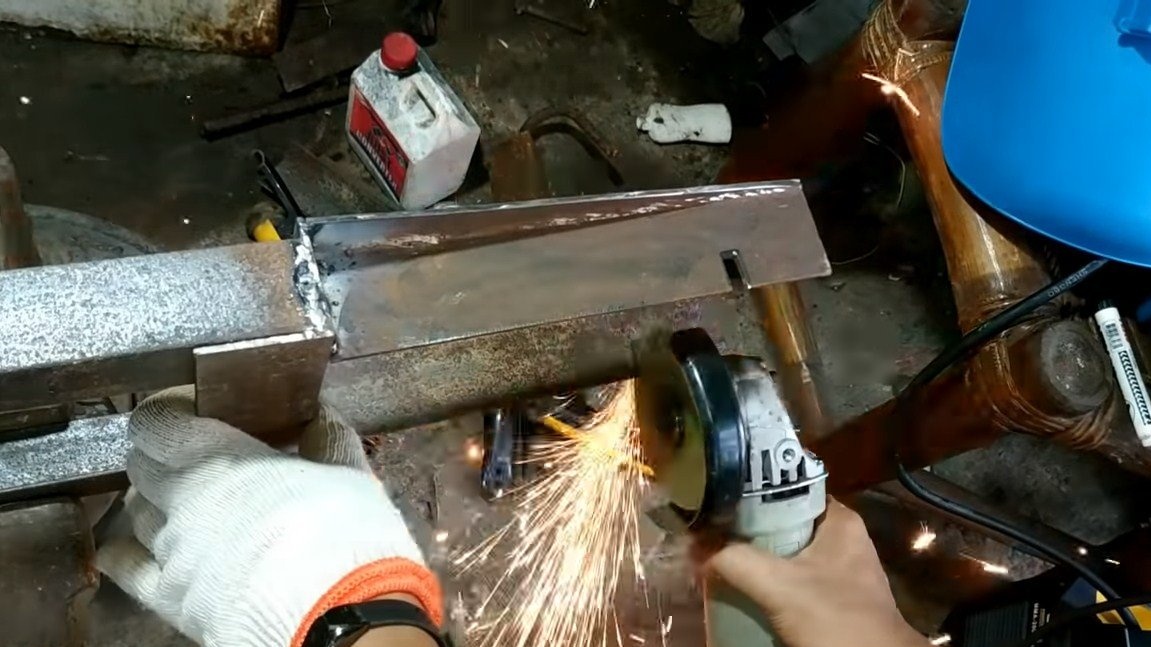
To make the frame, the author used a steel corner, but a profile pipe or other similar material is also suitable. We cut the material into pieces of a frame in the form of a rectangle of the desired length.
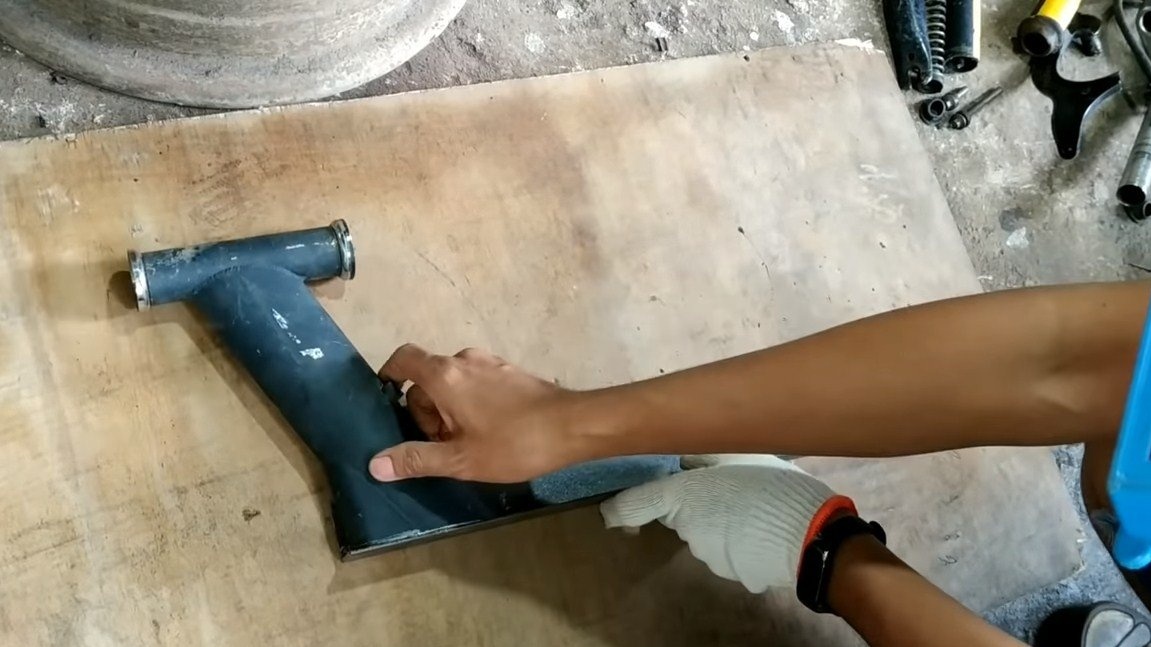
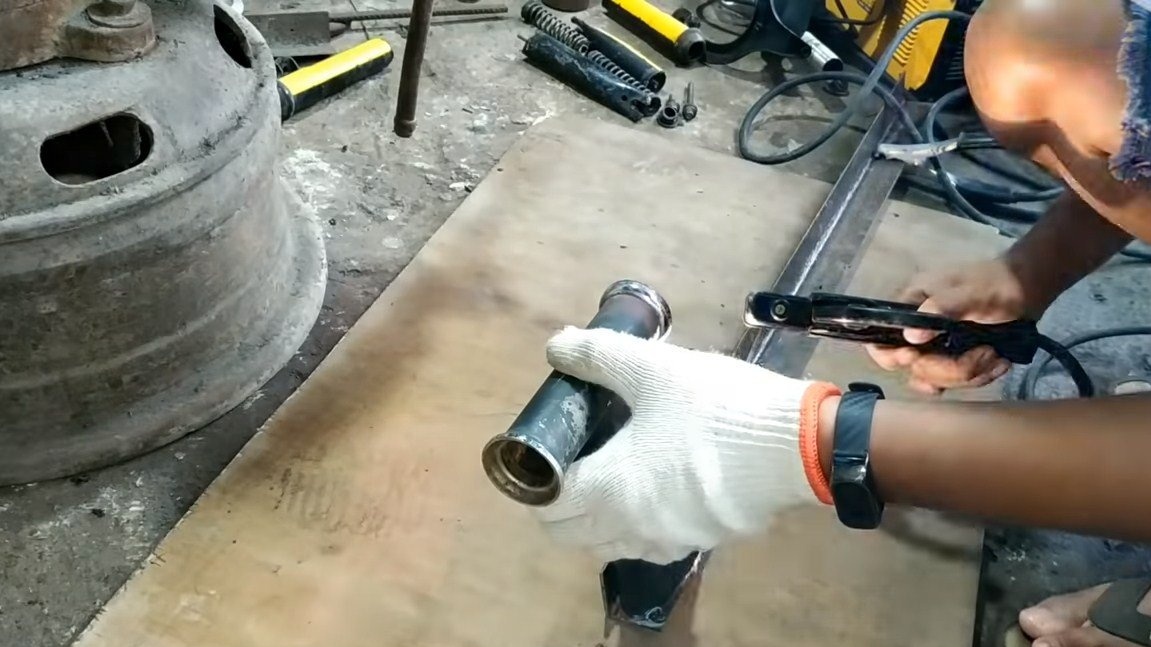
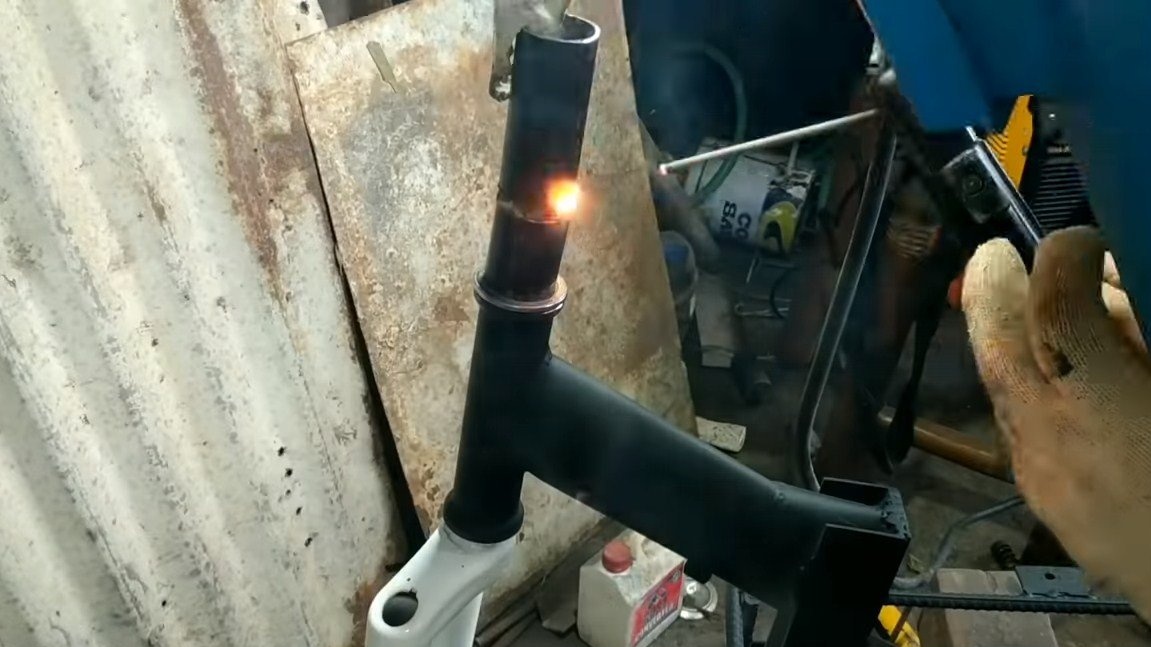
In the front part you need to mount the steering unit. Its author cut off from the old bicycle, and welded it with the help of steel corners, it turned out a kind of channel. Visually, everything is done quite reliably.
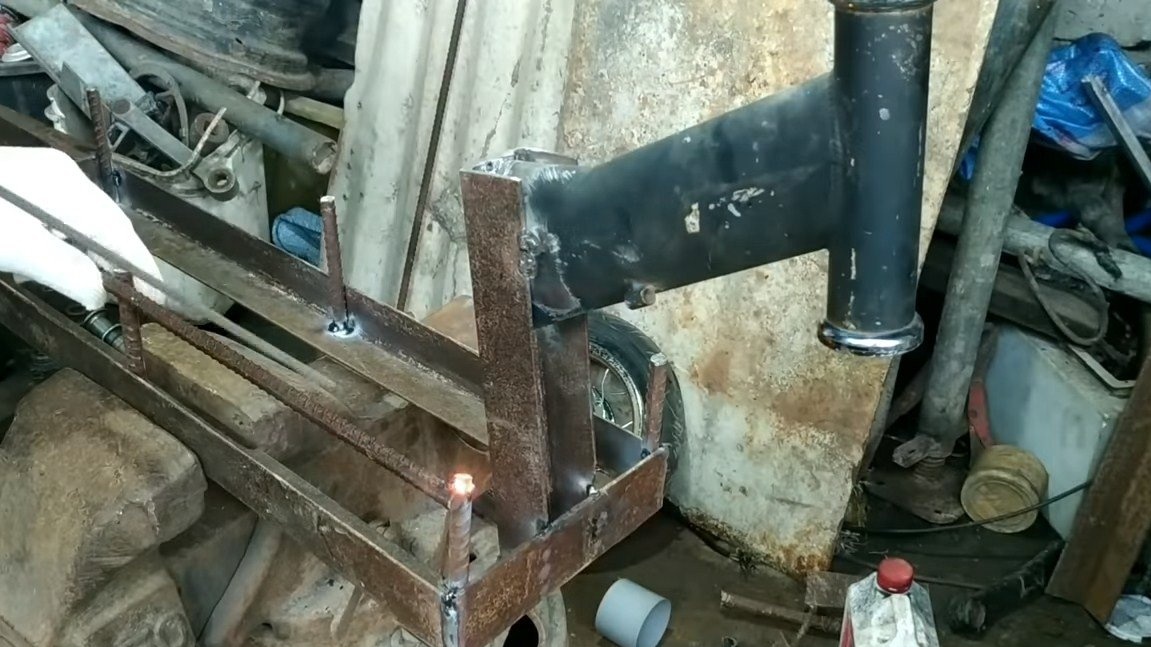
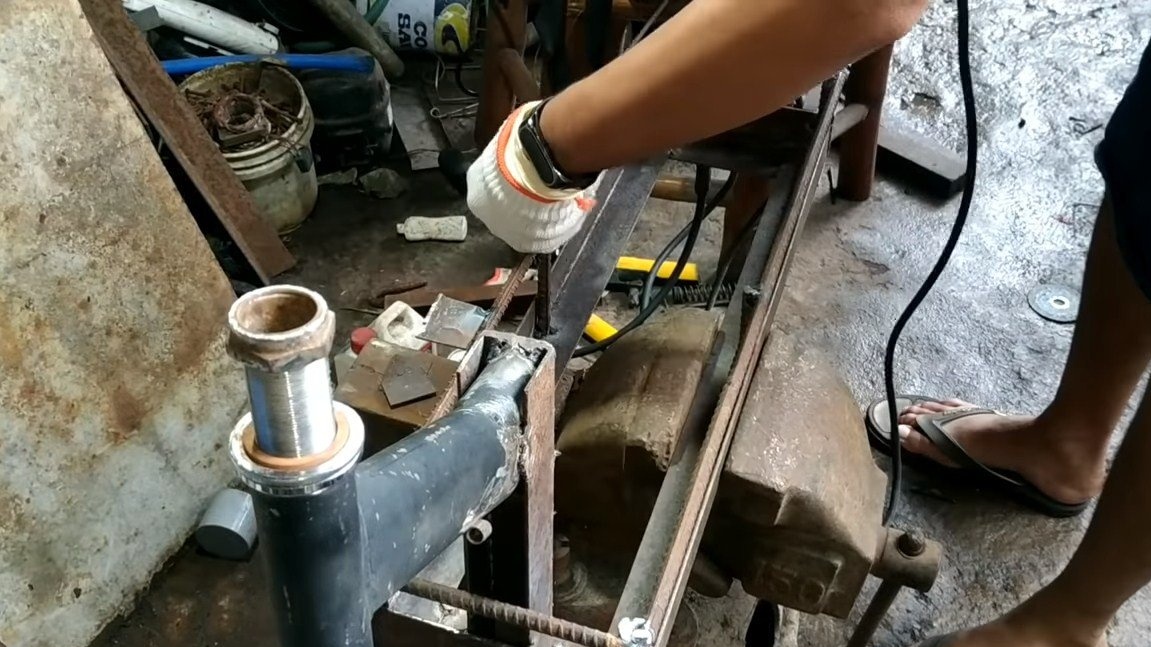
Step Three Rear and front fork
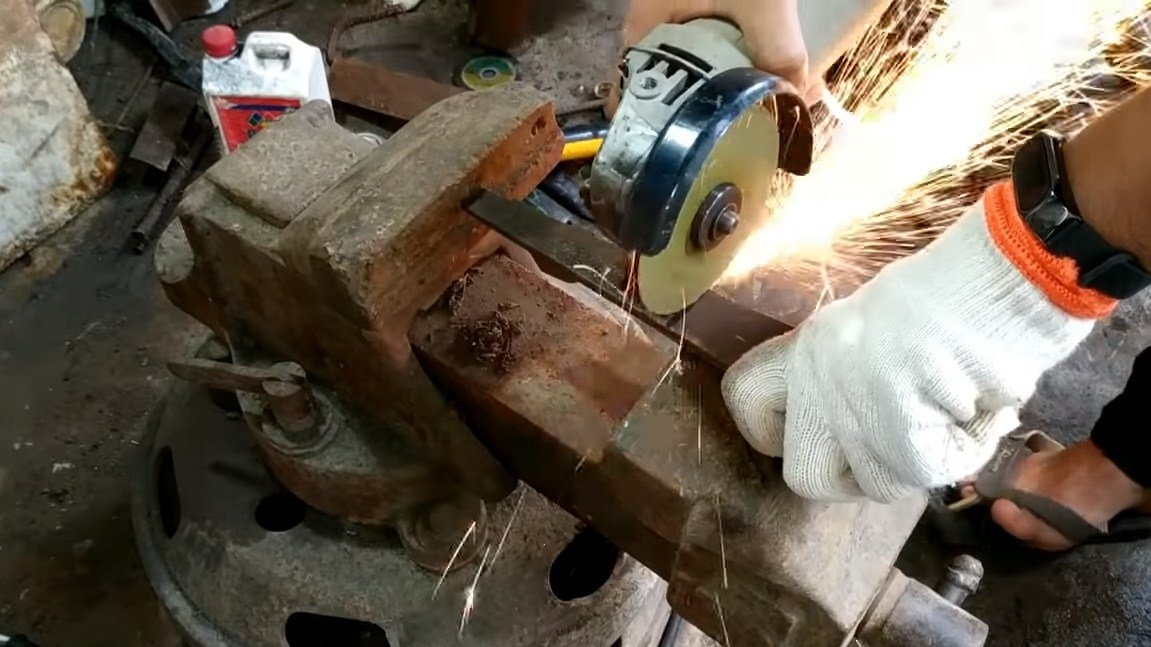
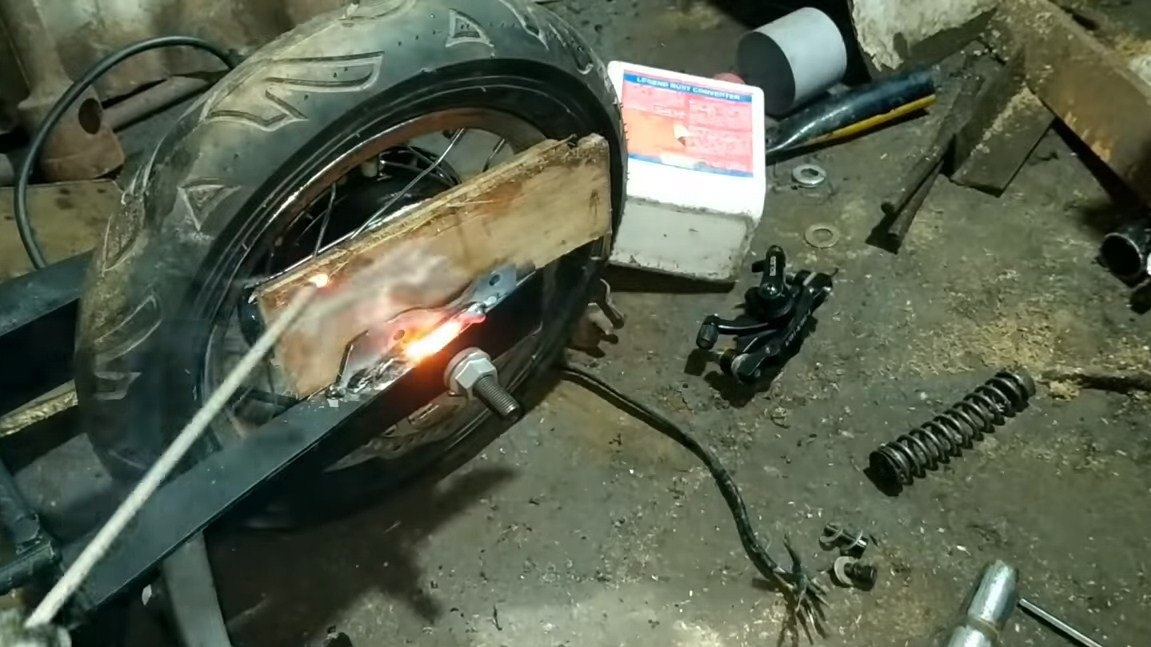
Let's make the rear fork, its author makes of a steel corner. Just weld the corners to the frame, and then make cuts in them to install the rear wheel axle.
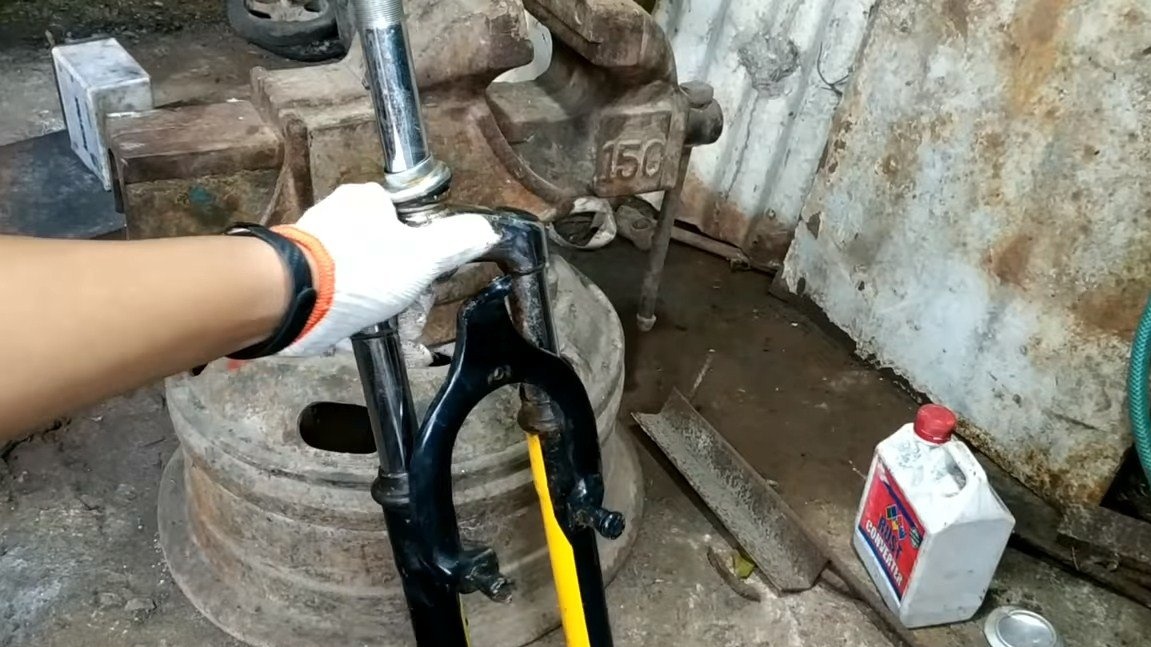
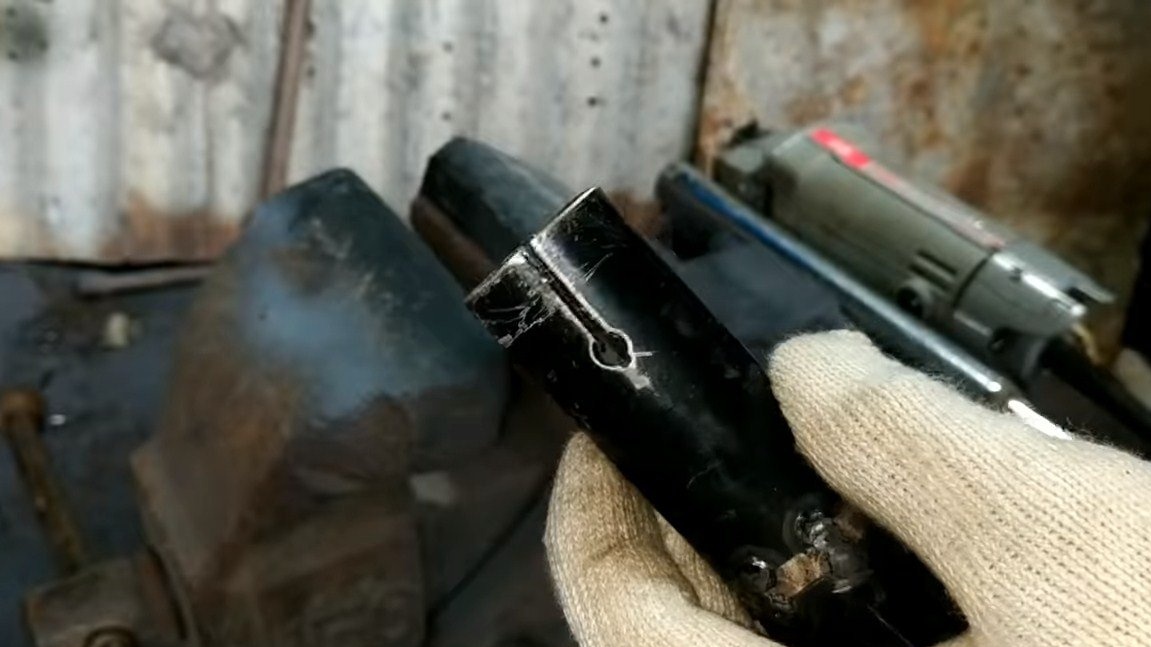
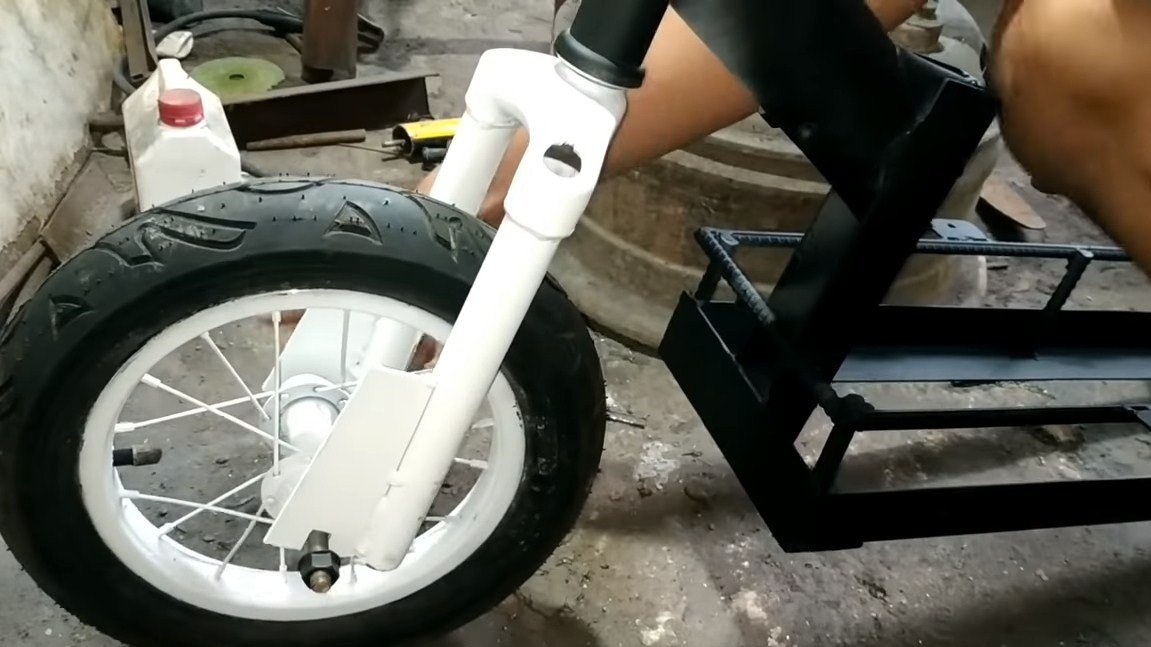
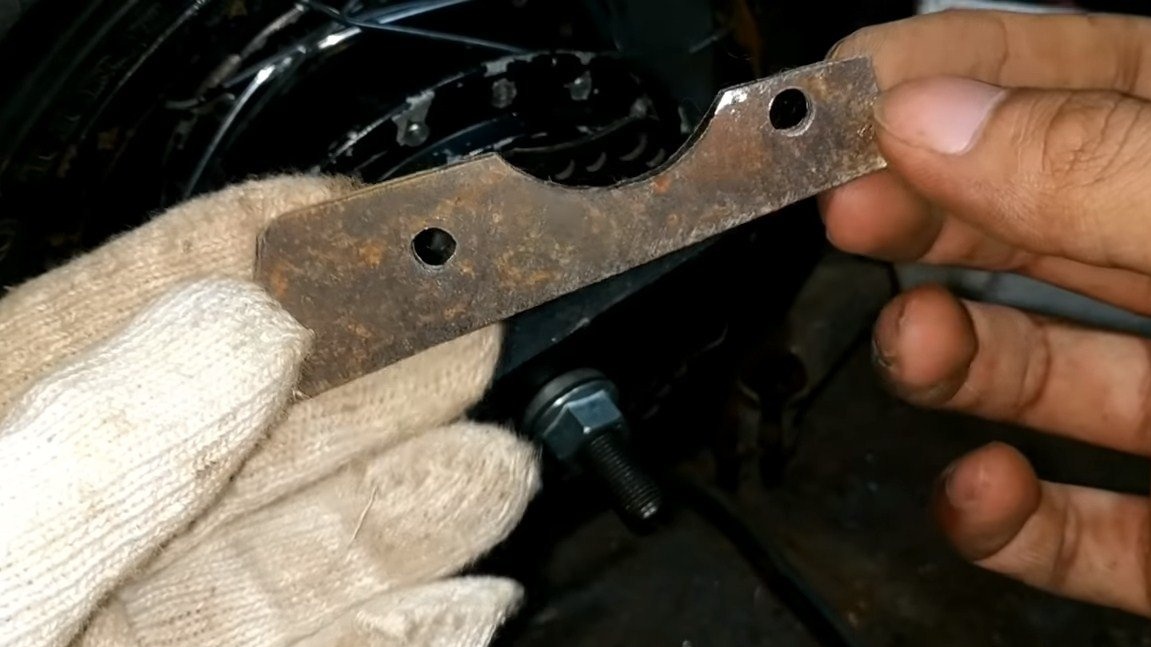
As for the front fork, the author has it from the bicycle. We cut off everything superfluous from it and cut it to the desired length. “Ears” must be welded to the fork for fastening the front wheel. For these purposes, the author welds steel plates and makes cuts in them under the axle.


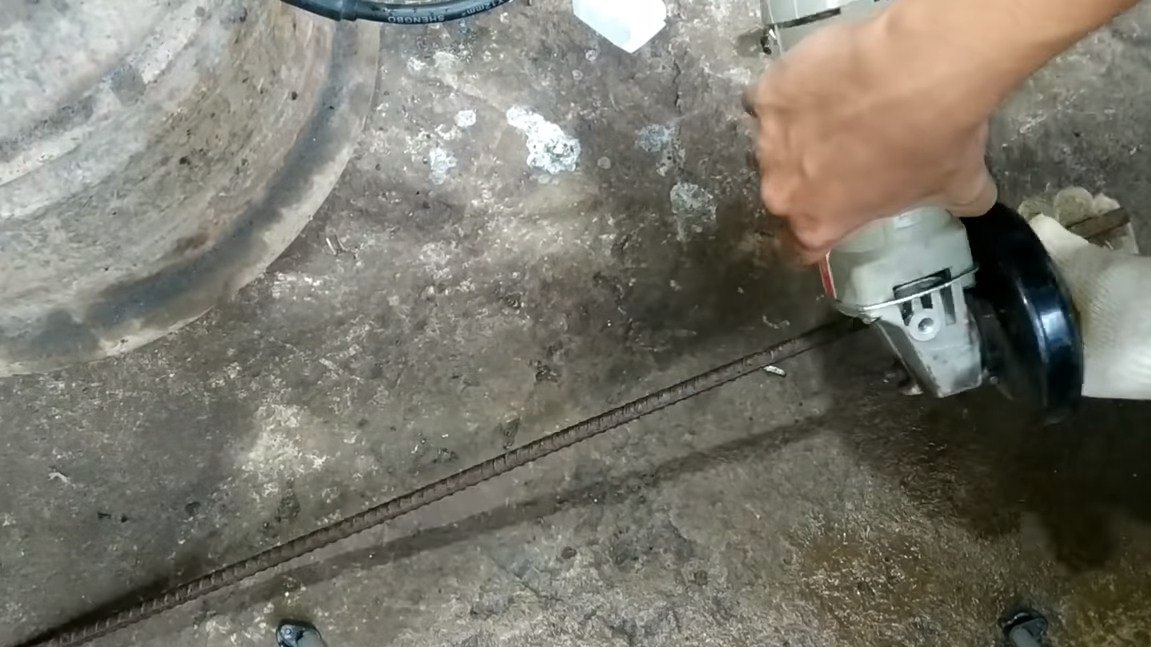
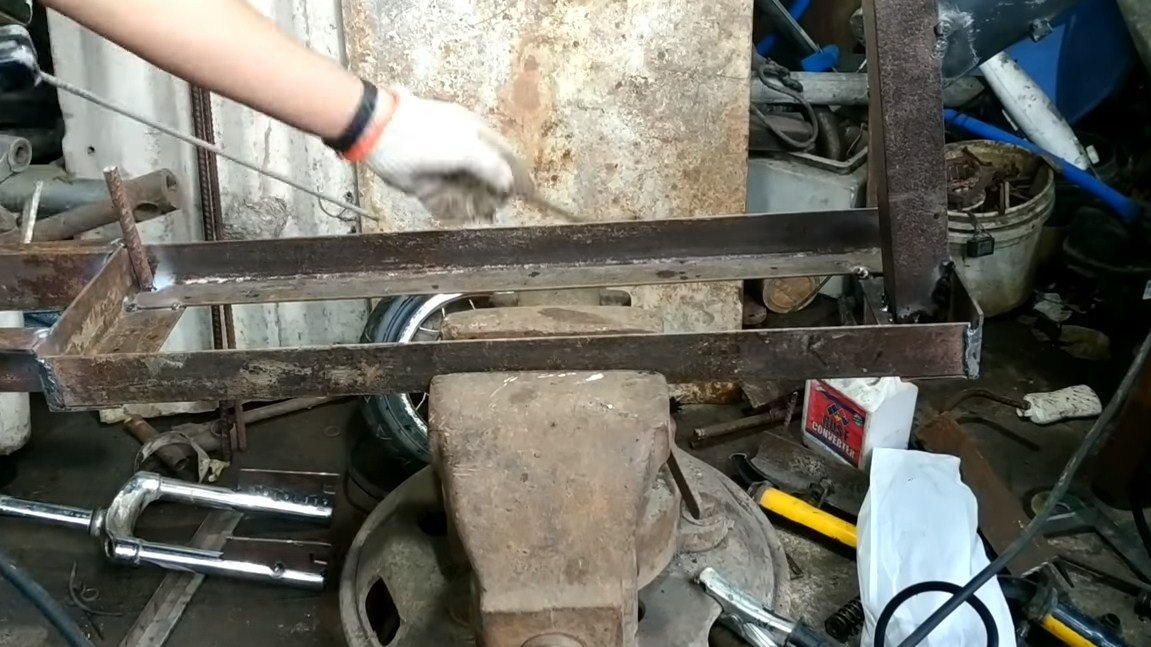
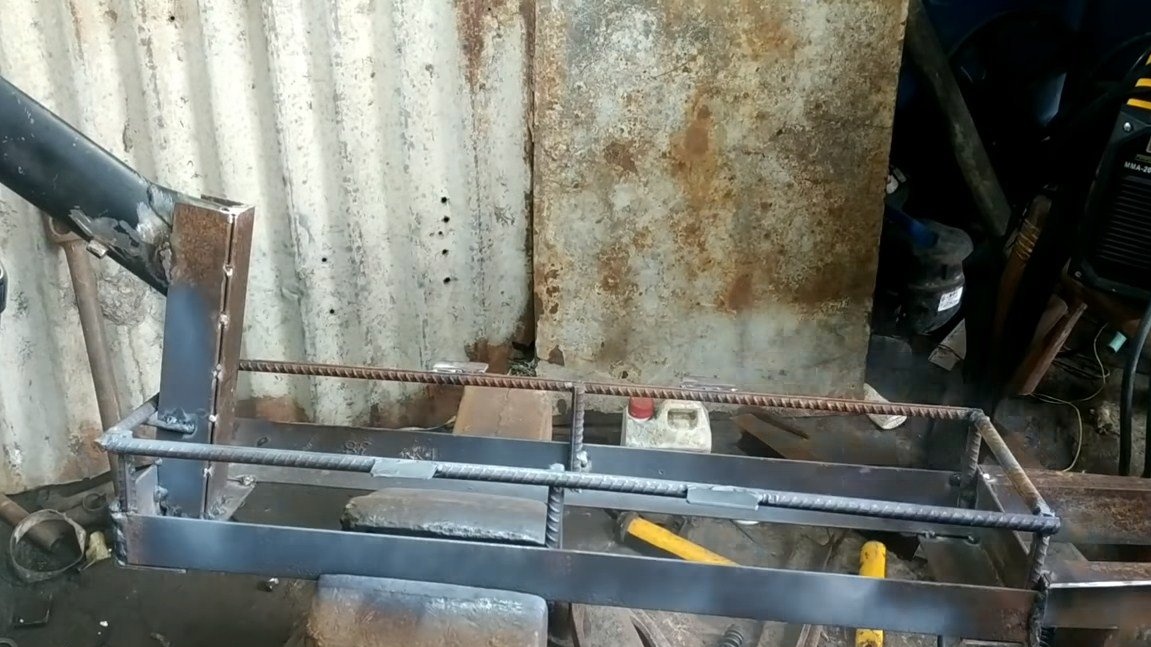
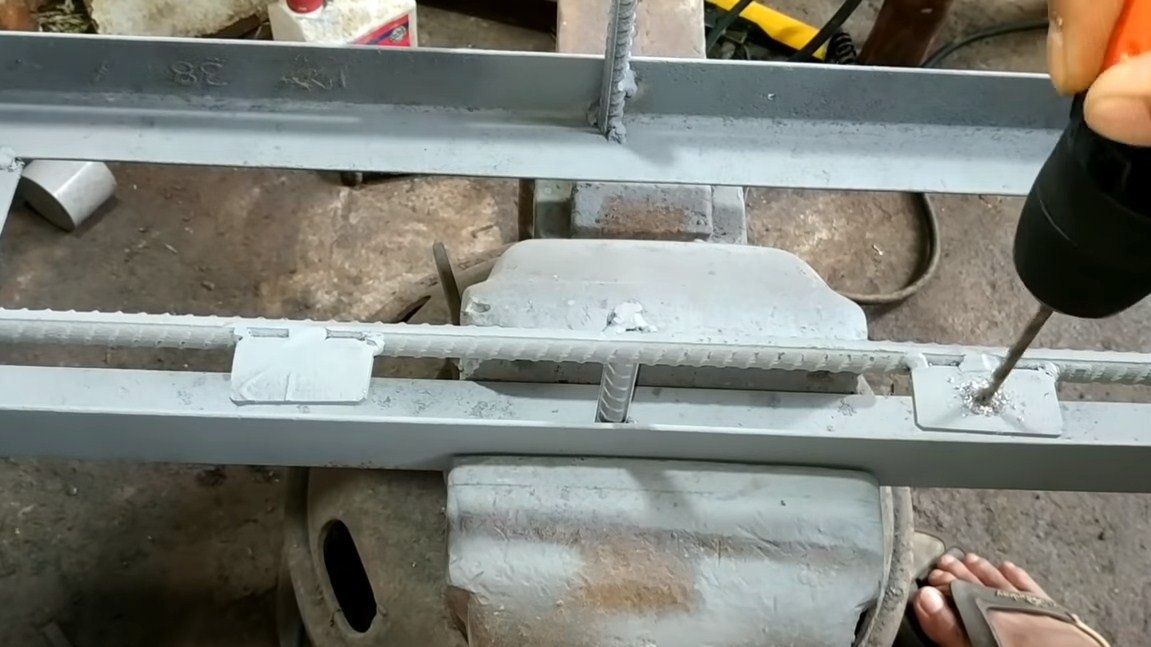
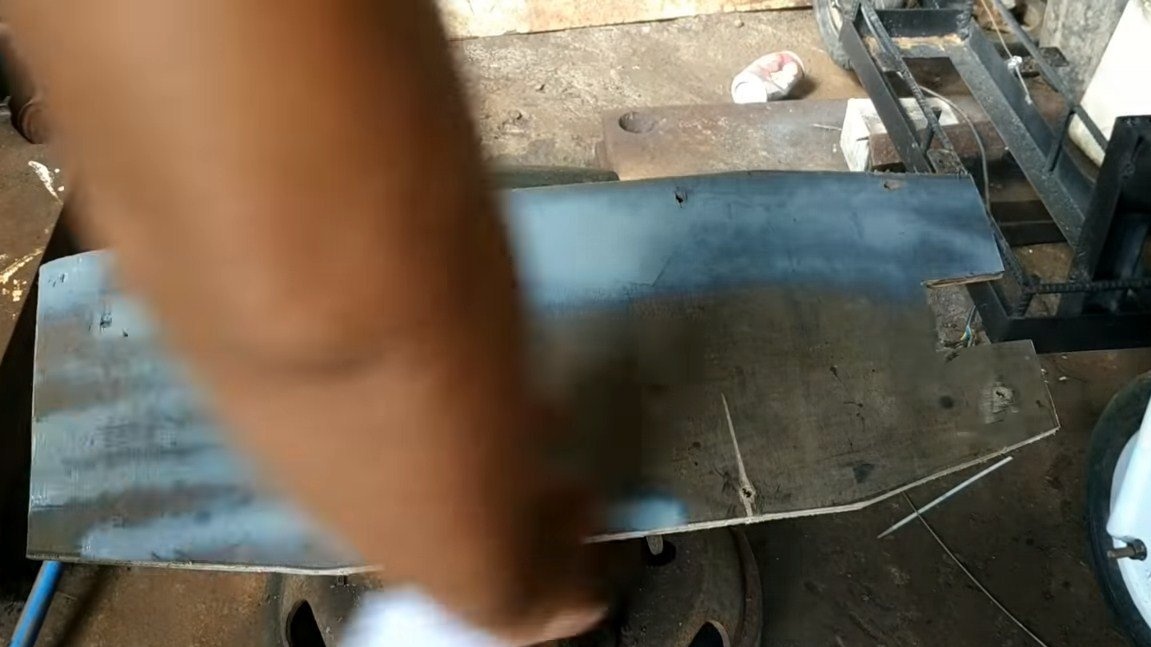
Step Four Deck
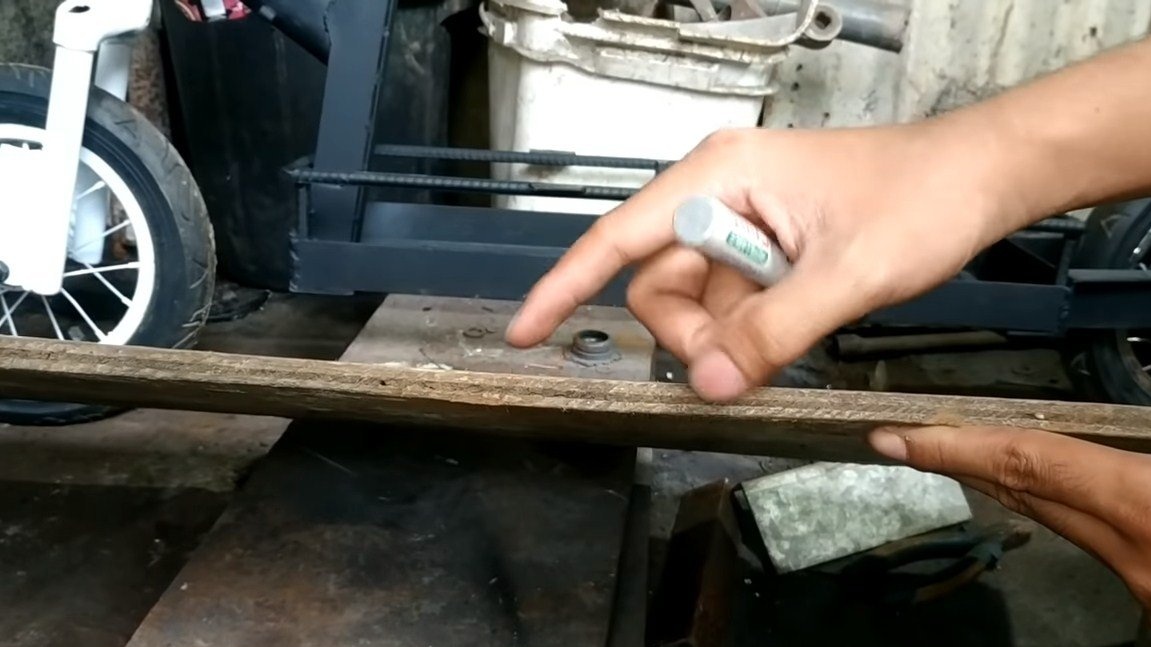
We make a “deck” for a scooter, or rather a frame under it. For these purposes, the author cuts the fittings and scalds the frame to it, then we will screw plywood or other similar material to it. We also weld the plates and drill holes, we will fix the sheet material with these bolts to these ears.
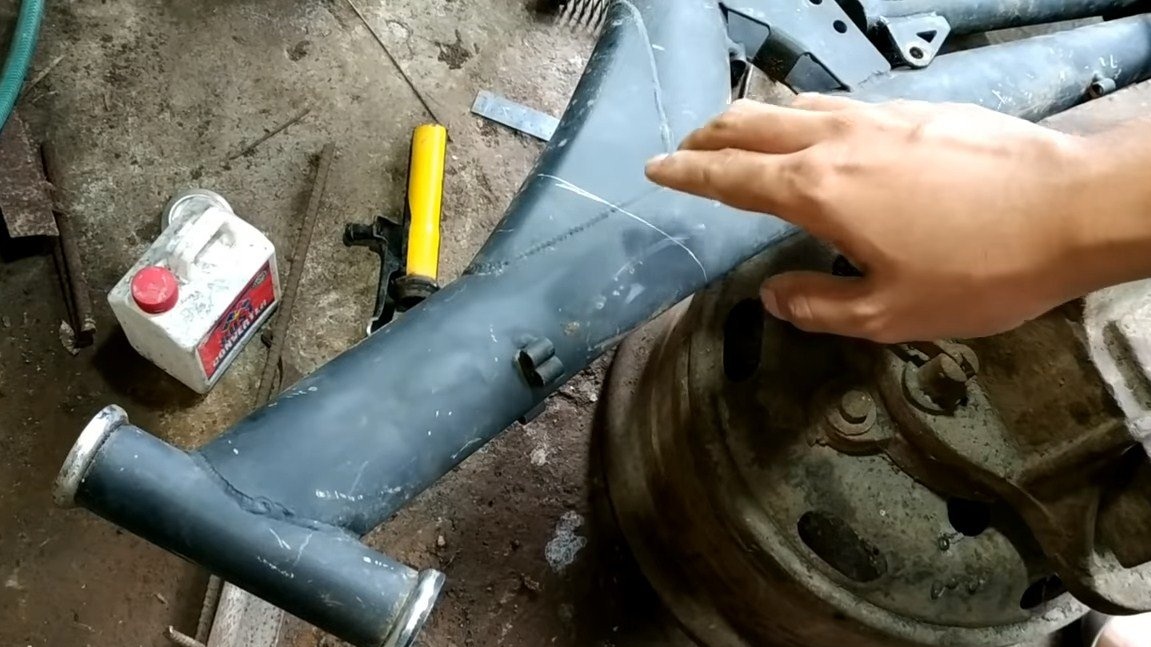
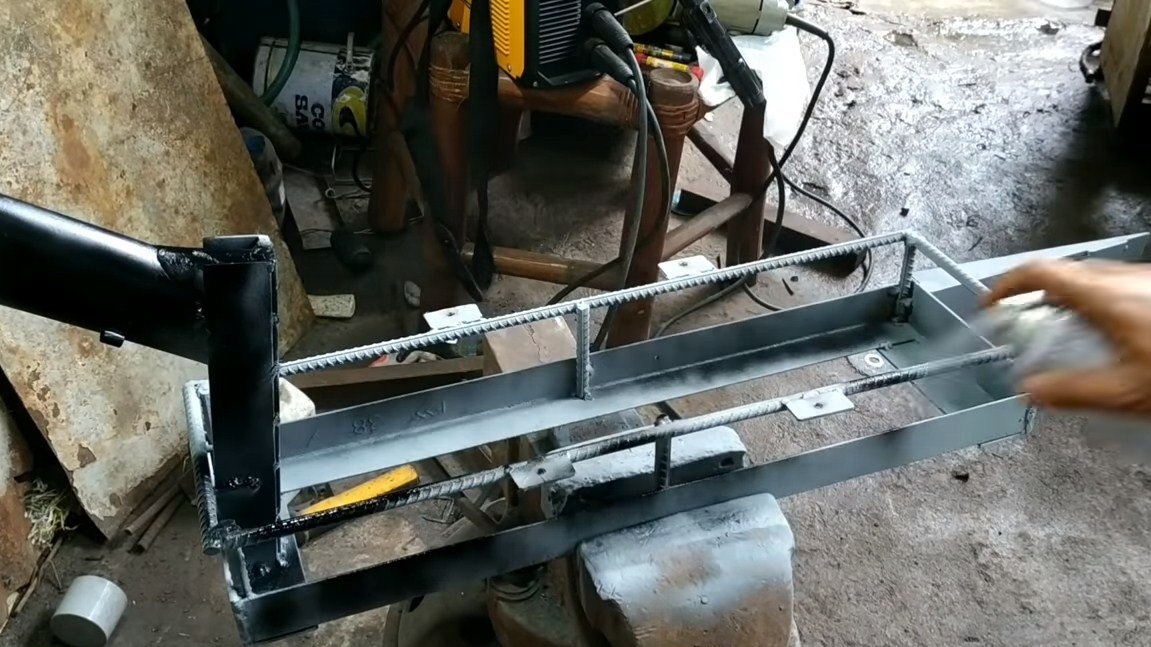
When everything is ready, the frame is primed and painted, now it looks great and will not rust.

Step Five Steering assembly
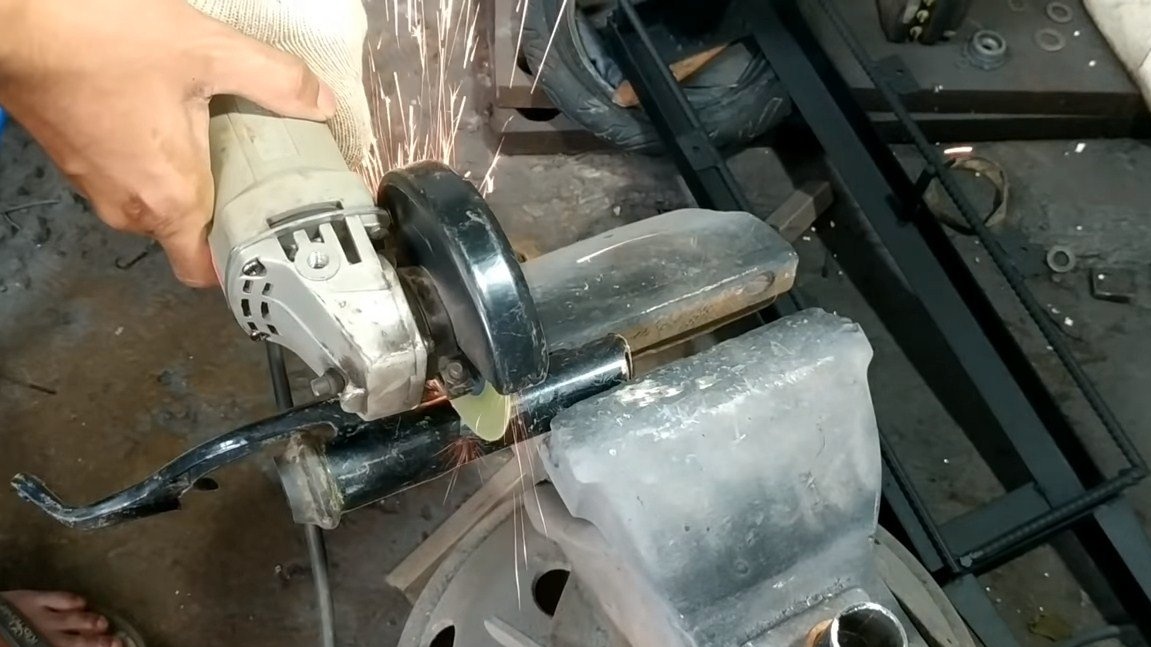
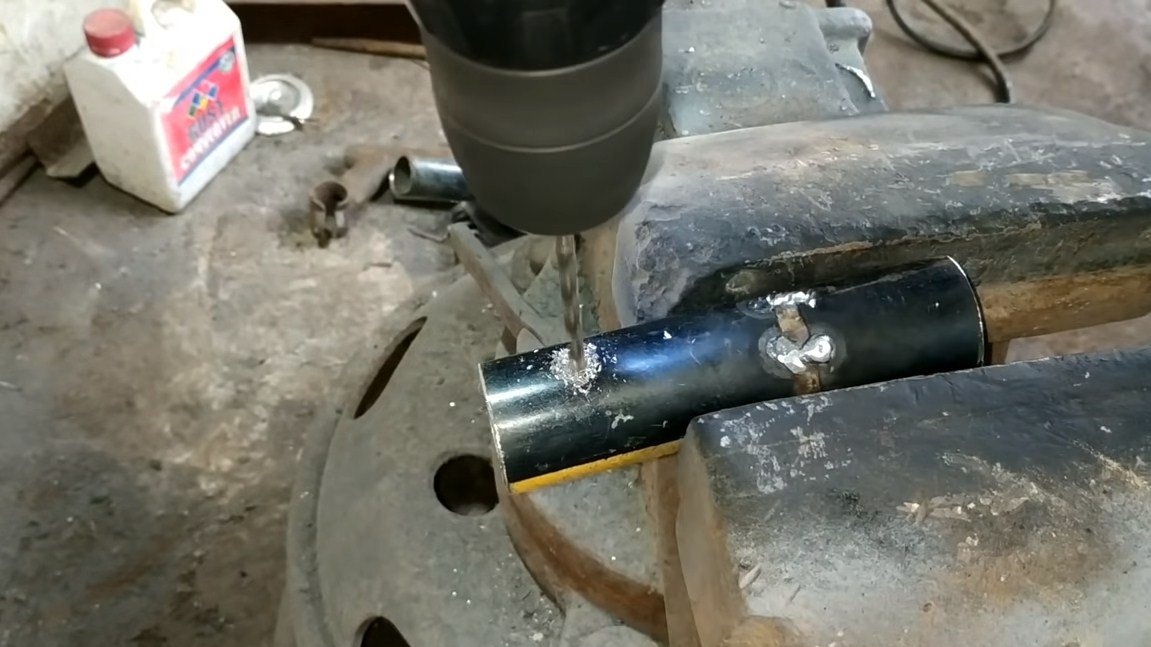
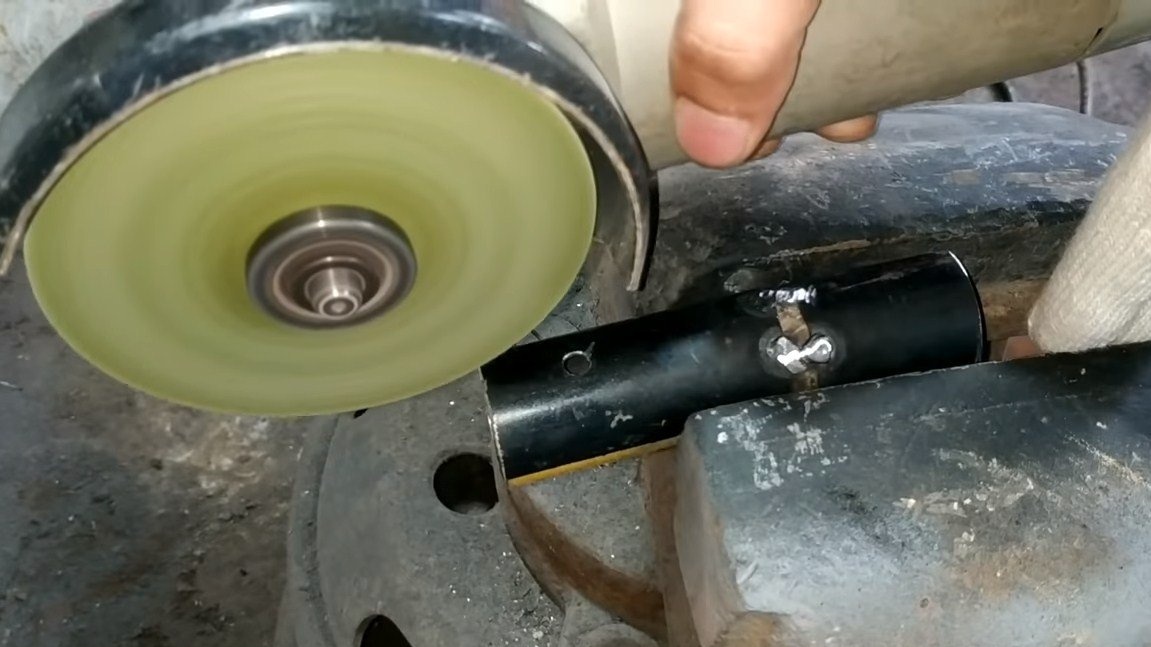
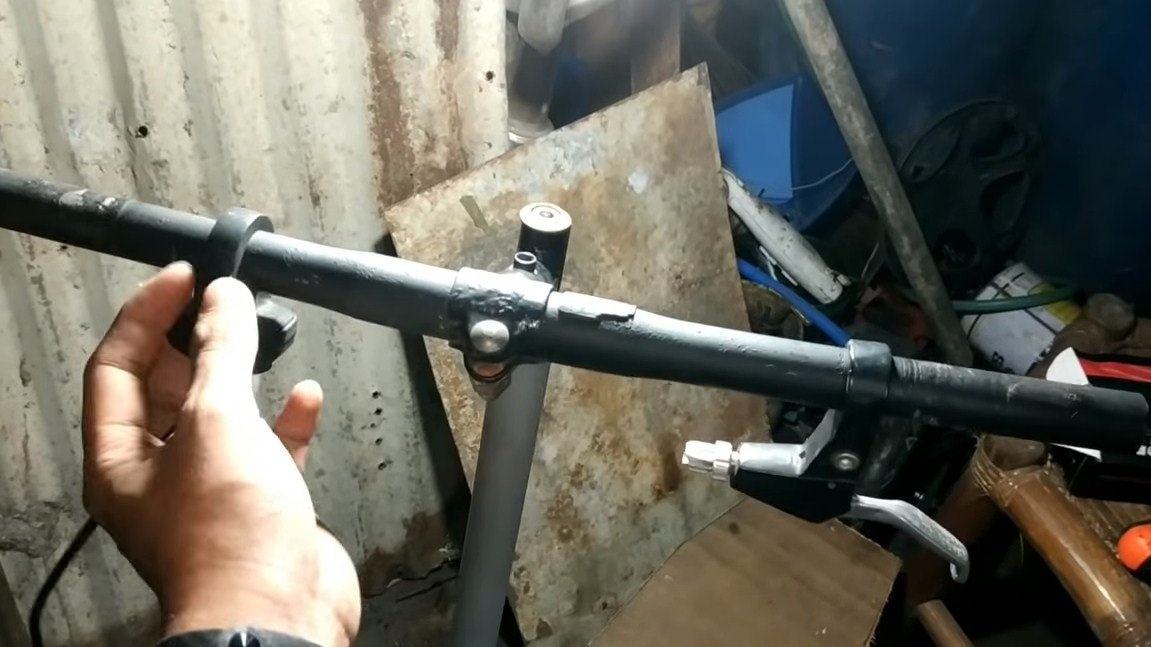
The author painted the front fork white; it looks great against a black frame. As for the steering wheel, we extend it to the desired length using a piece of pipe. We install a handbrake handle on the steering wheel, as well as a handle for controlling the engine.
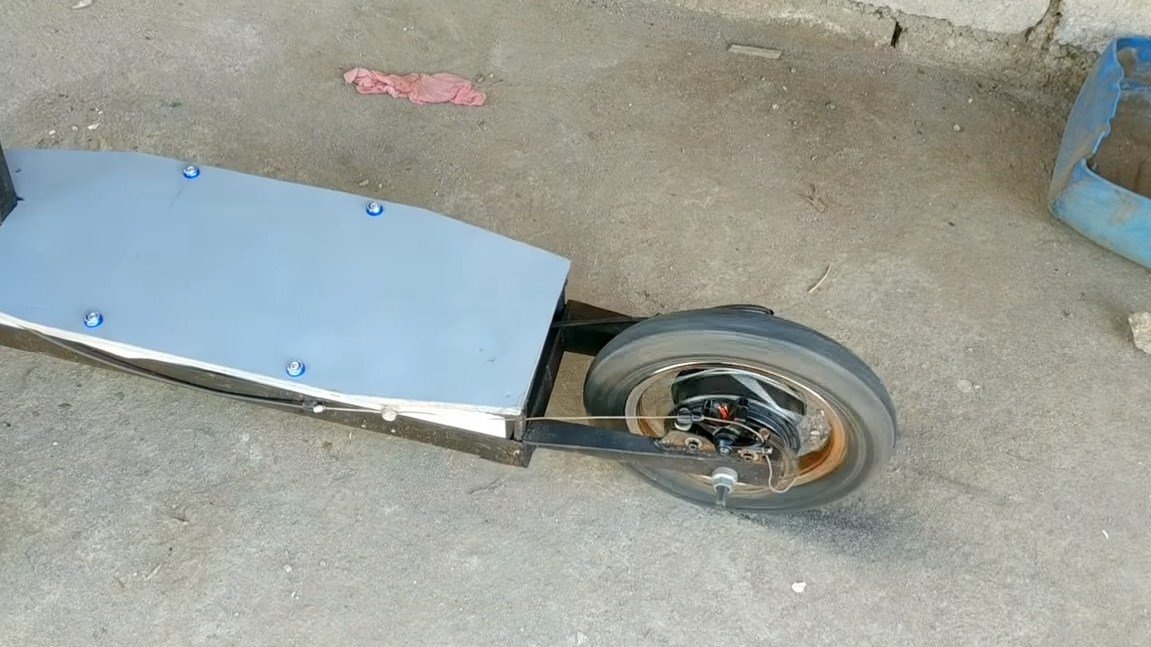
Step Six Brake system
The brake system of the scooter is disc. The brake is mounted on the rear wheel only. We need to fix the caliper to the fork, for this we weld the mounting bracket for it and then fasten it. It remains only to connect the cable from the brake handle.
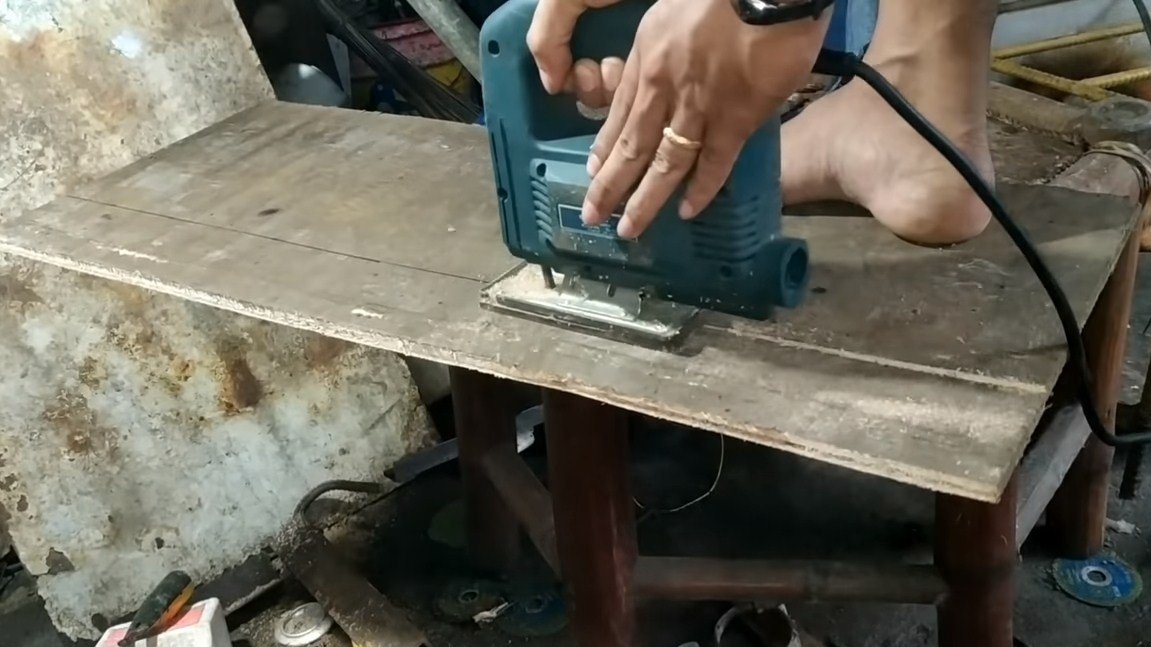
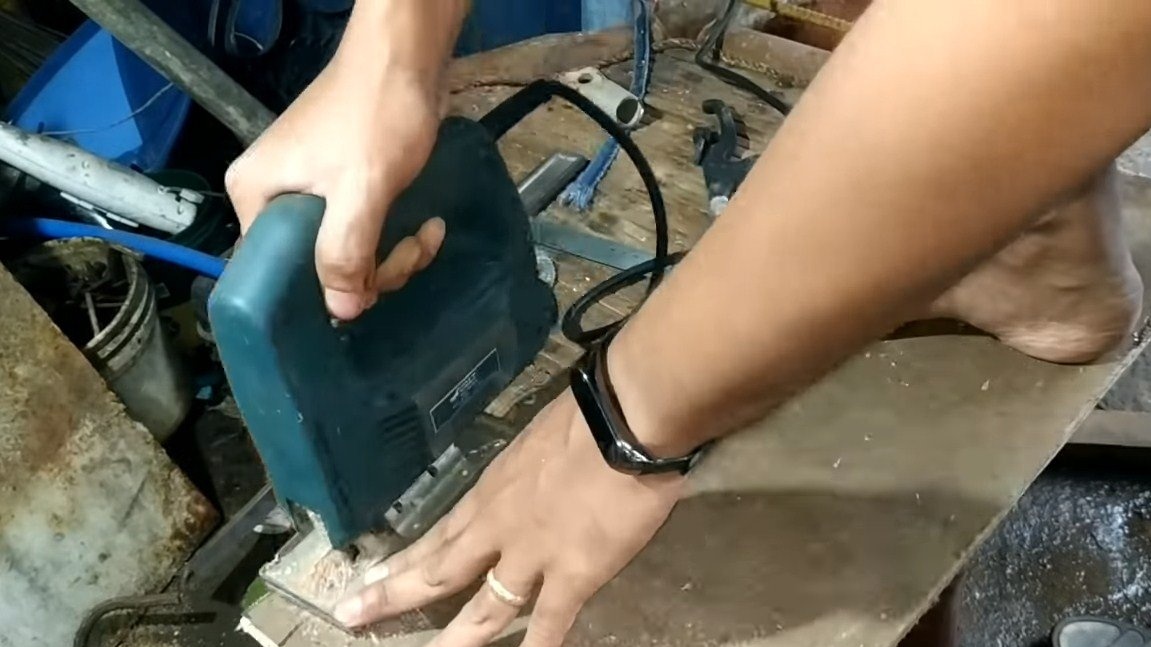
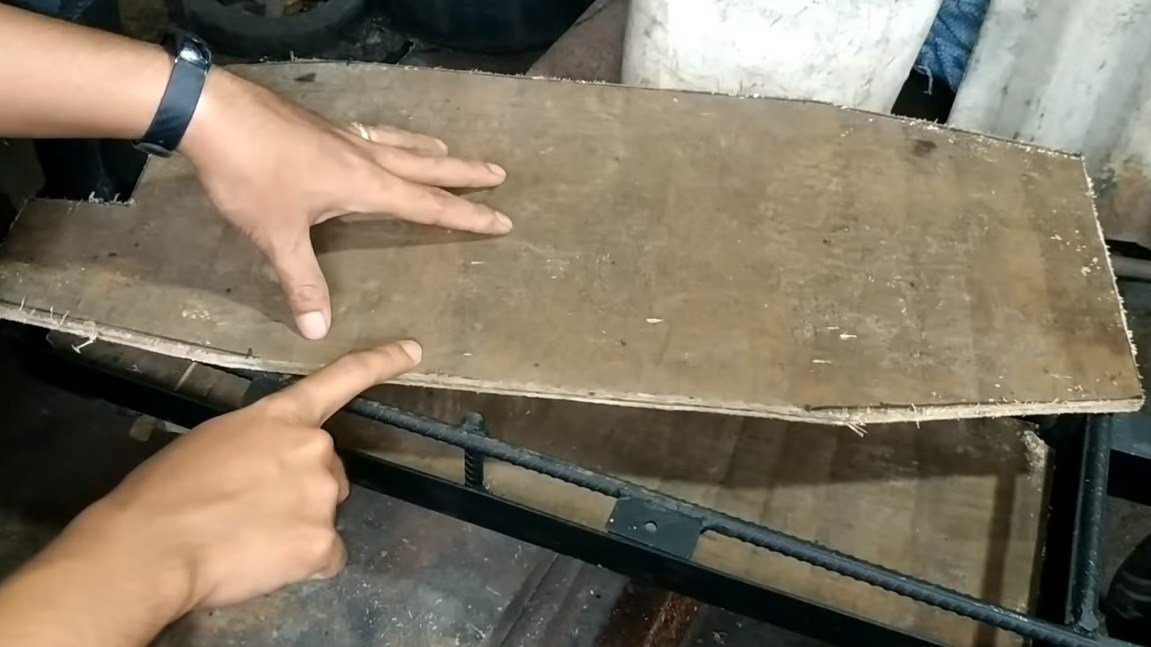
Seventh step. Sheathing and filling
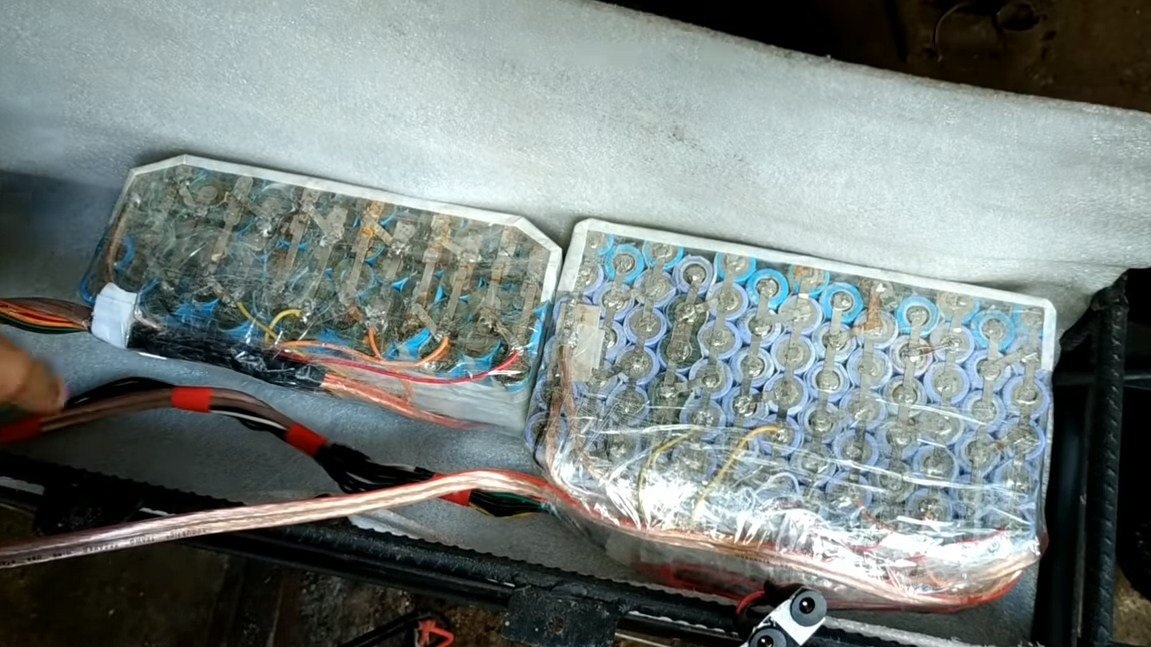
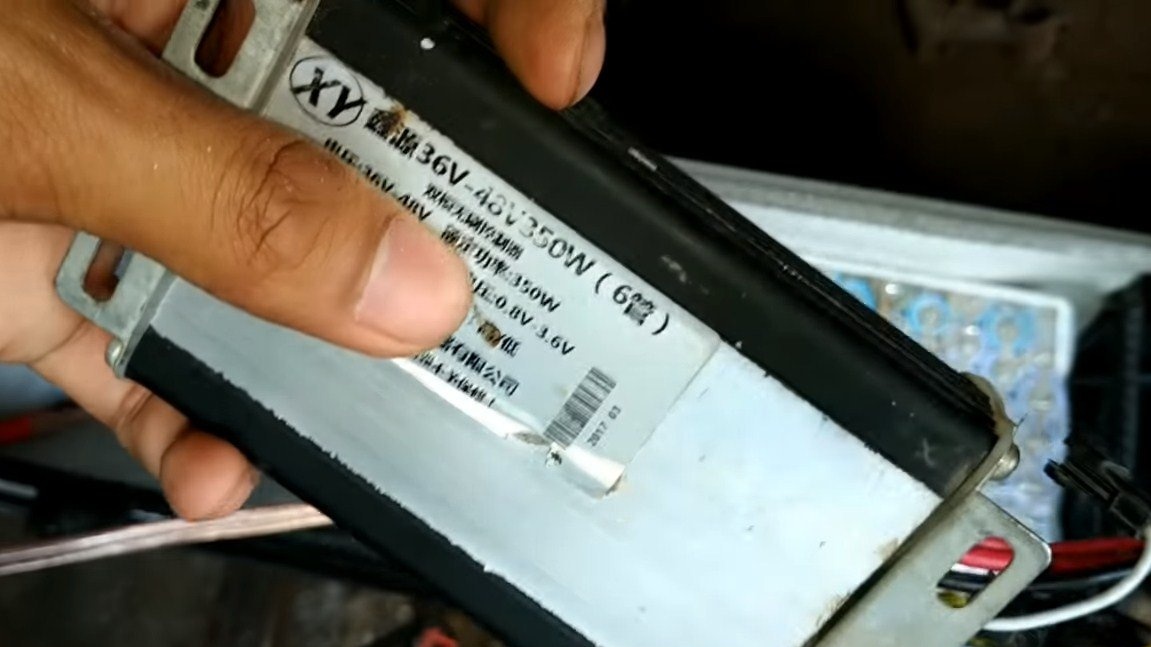
As a covering, the so-called "deck", we need a sheet of OSB, plywood or other similar material. Just cut out the desired piece and drill holes for the bolts. Inside the frame, we need to install batteries, they are assembled from the author in 18650 cells. One battery has an operating voltage of 48V and a capacity of 25Ah, and the second 36V and 10Ah. We also install a controller for the motor wheel inside. We fasten the deck and the scooter will be ready for testing after the final painting work.

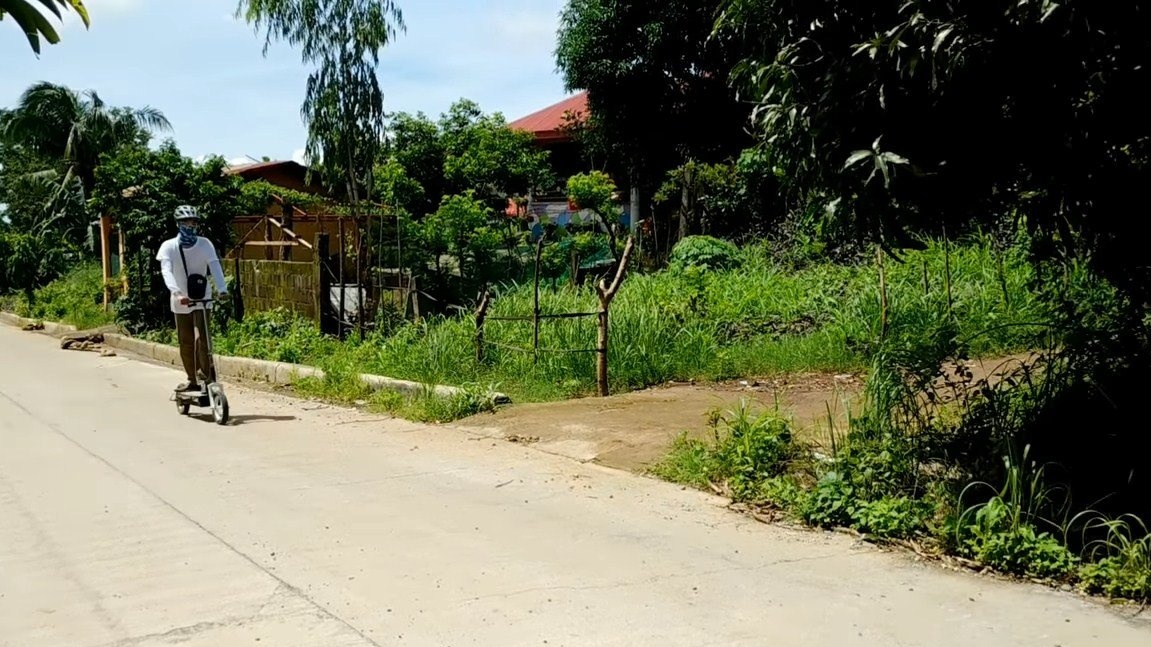
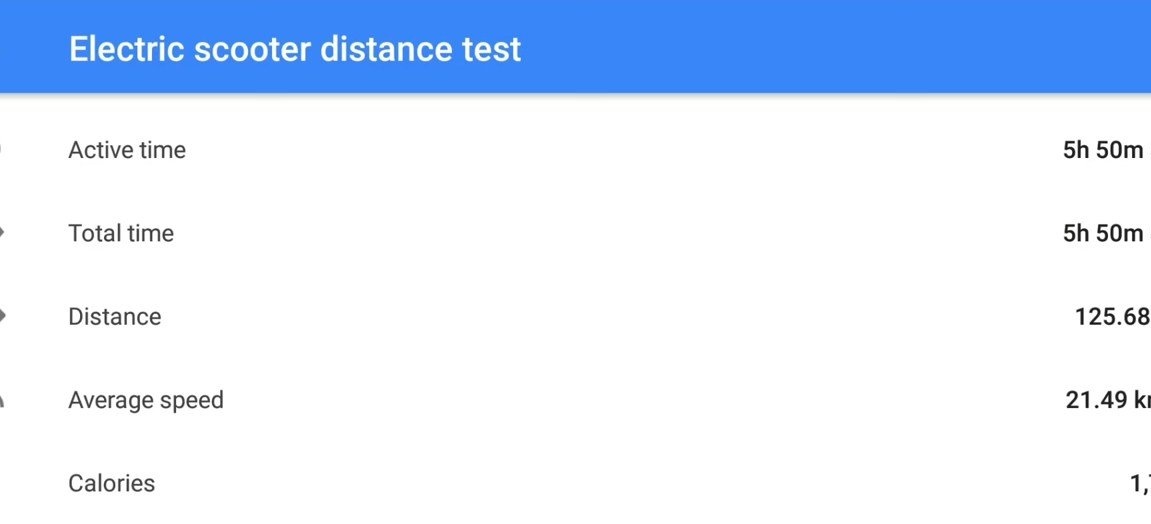
Trying to ride! Top speed homemade makes 31 km / h, and so the scooter easily accelerates to 20-25 km / h. On one battery charge, the author managed to travel a distance of 125.68 km, which is pretty good, the path was covered in 5 hours 50 minutes. That's all, the project is over, I hope you liked the home-made. Good luck and creative inspiration, if you decide to repeat this. Do not forget to share your ideas and homemade things with us!