

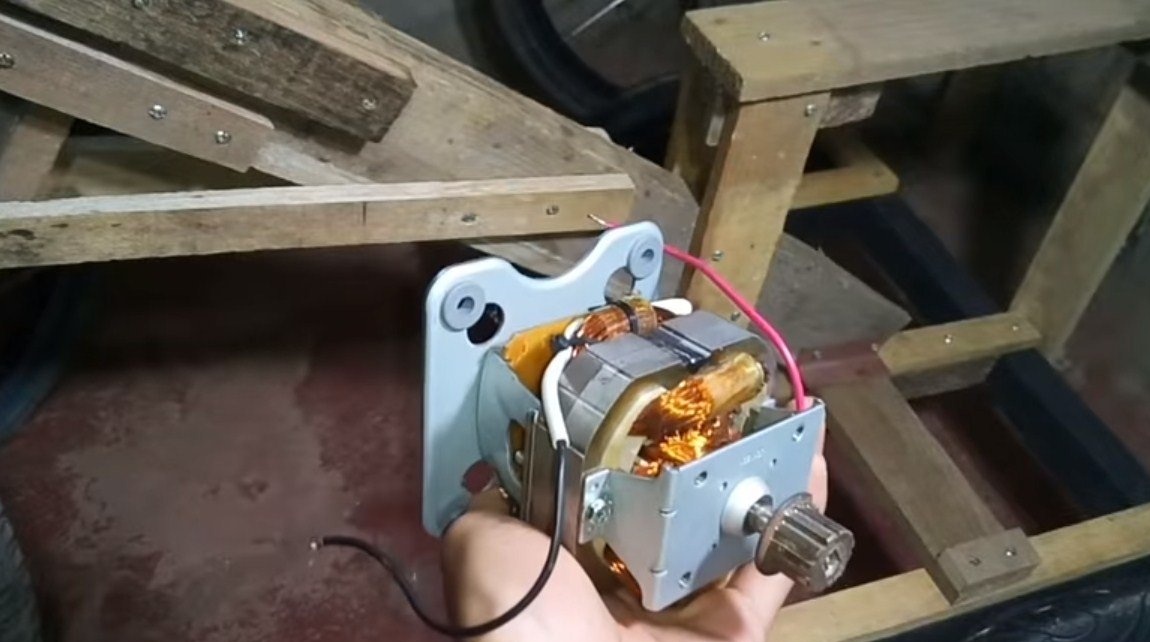
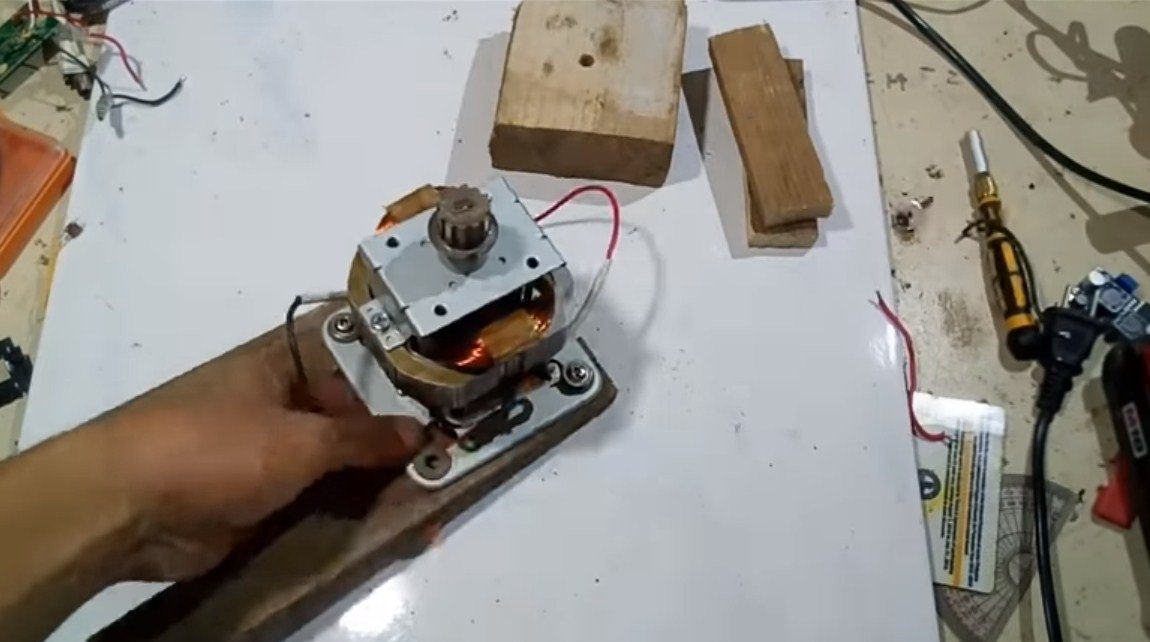
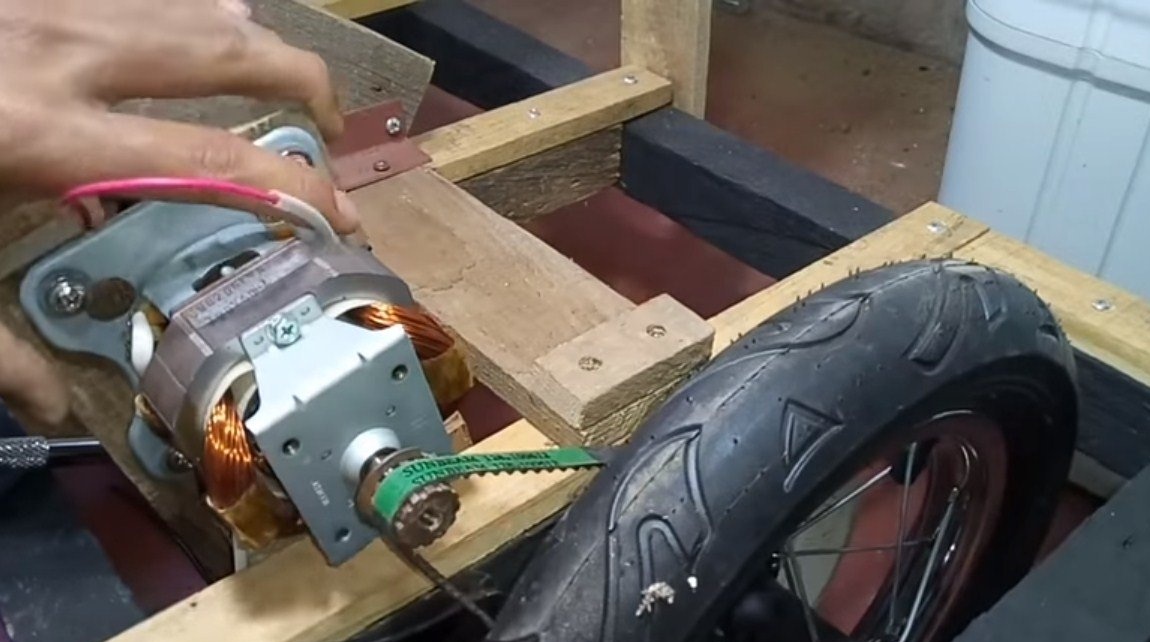
As they say, it is impossible to stop the present inventor, a clear example of this statement is this homemade. Here, such concepts as “electro”, “110V”, as well as “trike made of wood” are easily combined. One author, as an experiment, decided to assemble such a trike, the engine visually resembles a motor from a food processor or the like. Its working voltage is 110V, and the power is 500 watts, which is quite a lot.
According to the author, the homemade product was made as an experiment. The engine is controlled through a controller made by the author, it allows you to control the speed. As for the voltage of 110V, it remains unclear how the author gets it, most likely by connecting the 18650 batteries in series. In extreme cases, you can use a boost inverter. For fun, interest or inspiration, I suggest you study this project!
Materials and tools used by the author:
Material List:
- AC engine at 110V / 500 watts;
-;
- electronic components for the assembly of the controller;
- three wheels from a bicycle;
- rear wheel from a bicycle or hub;
- boards and bars;
- steel corner;
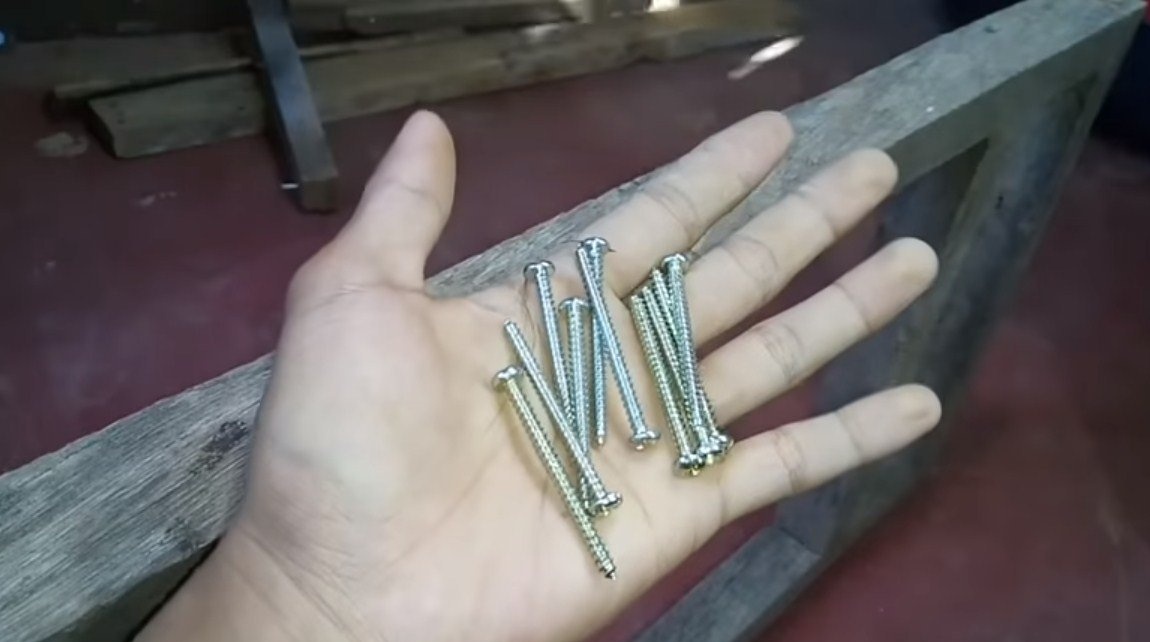
- screws;
- door hinges;
- wires;
- paint.
Tool List:
- grinder;
- drill;
- glue gun;
- file;
- jigsaw;
- hand circular saw;
- soldering iron.
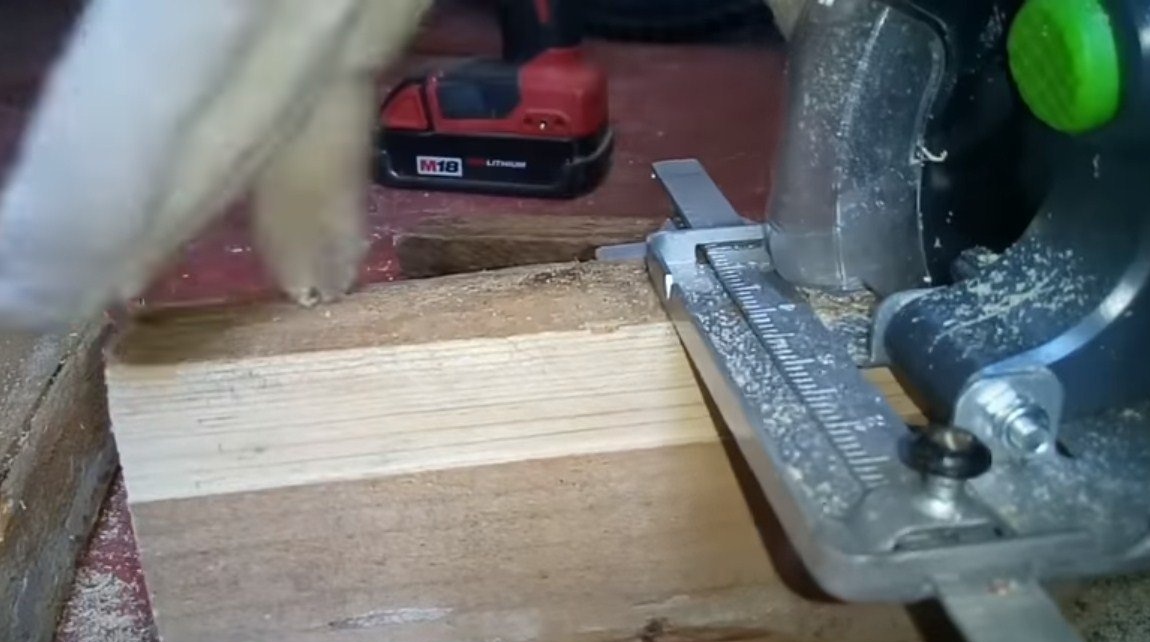
The process of making trike:
Step one. Production of a driving wheel
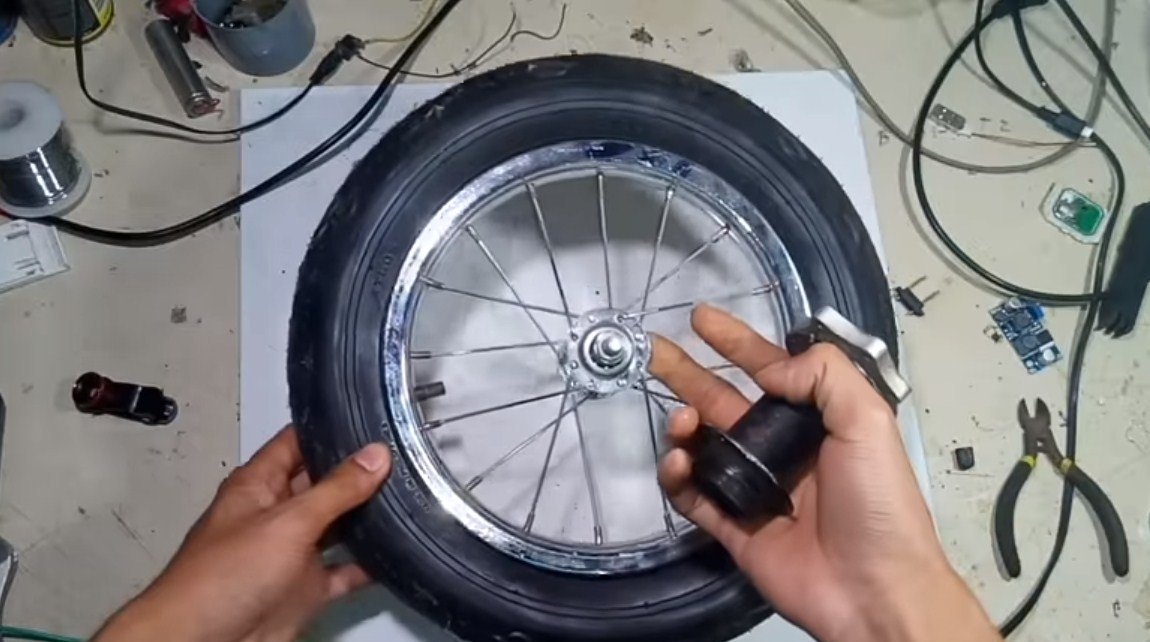
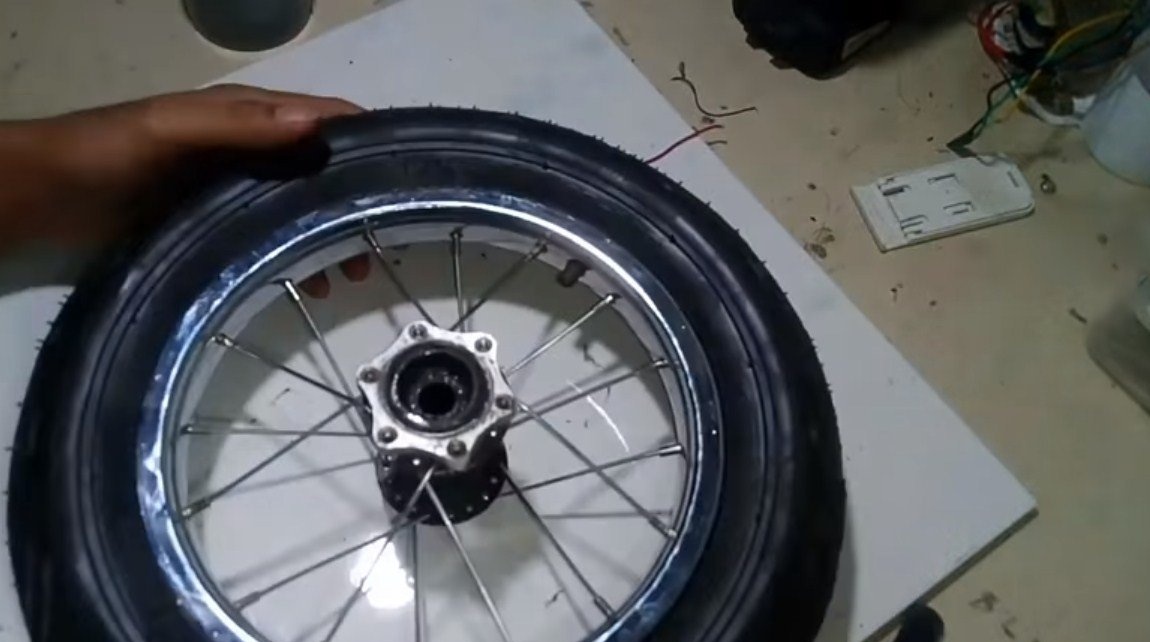
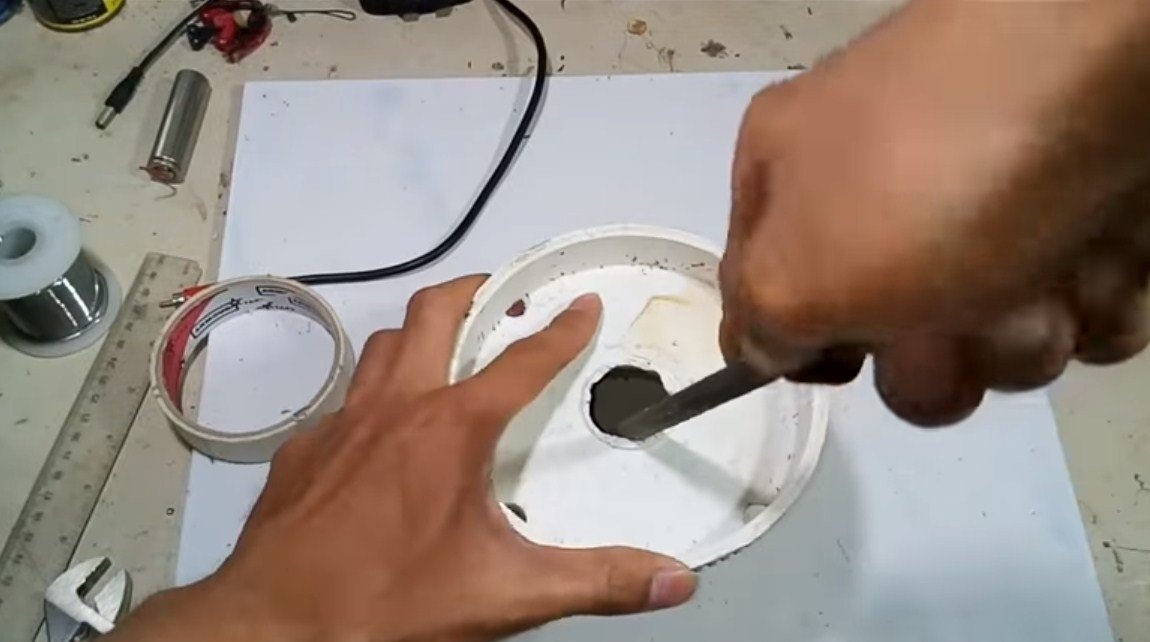
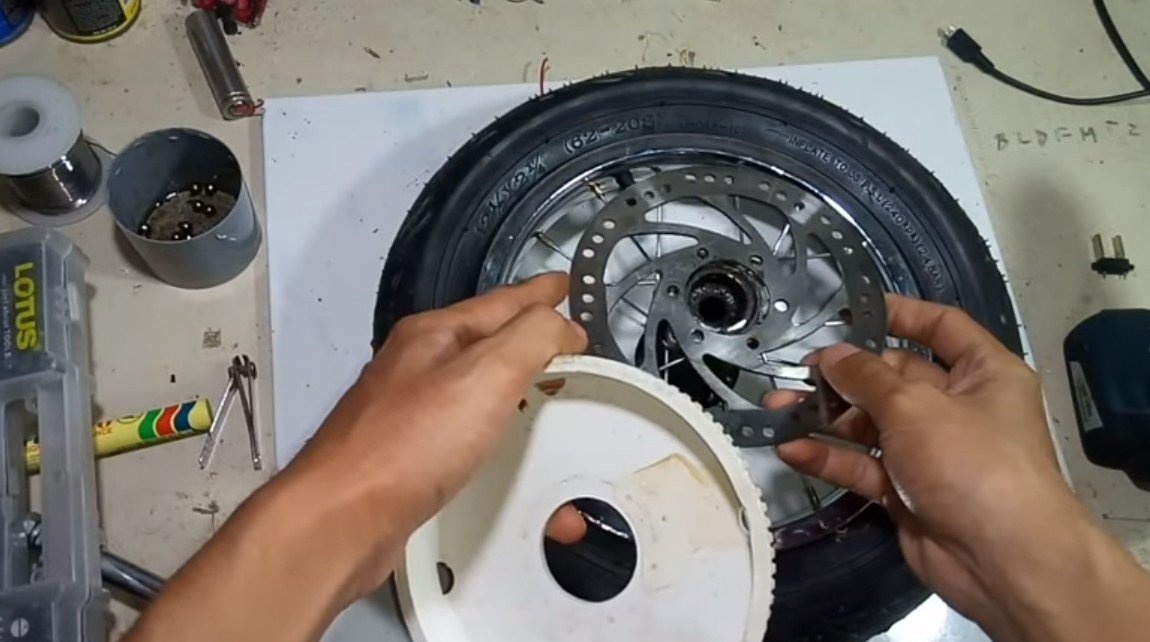
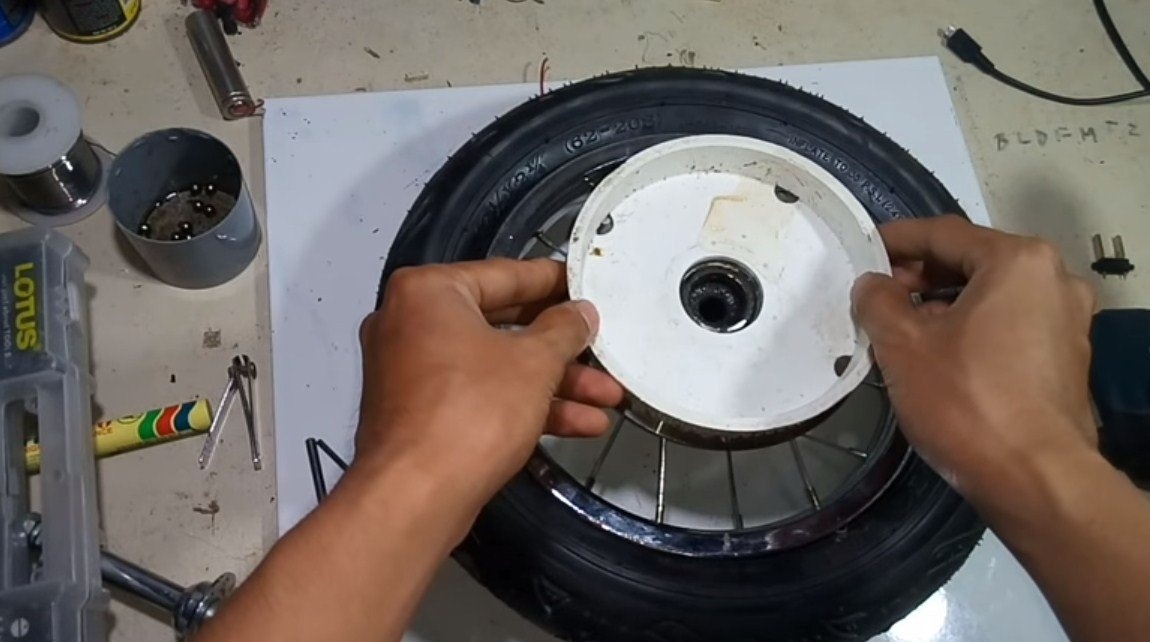
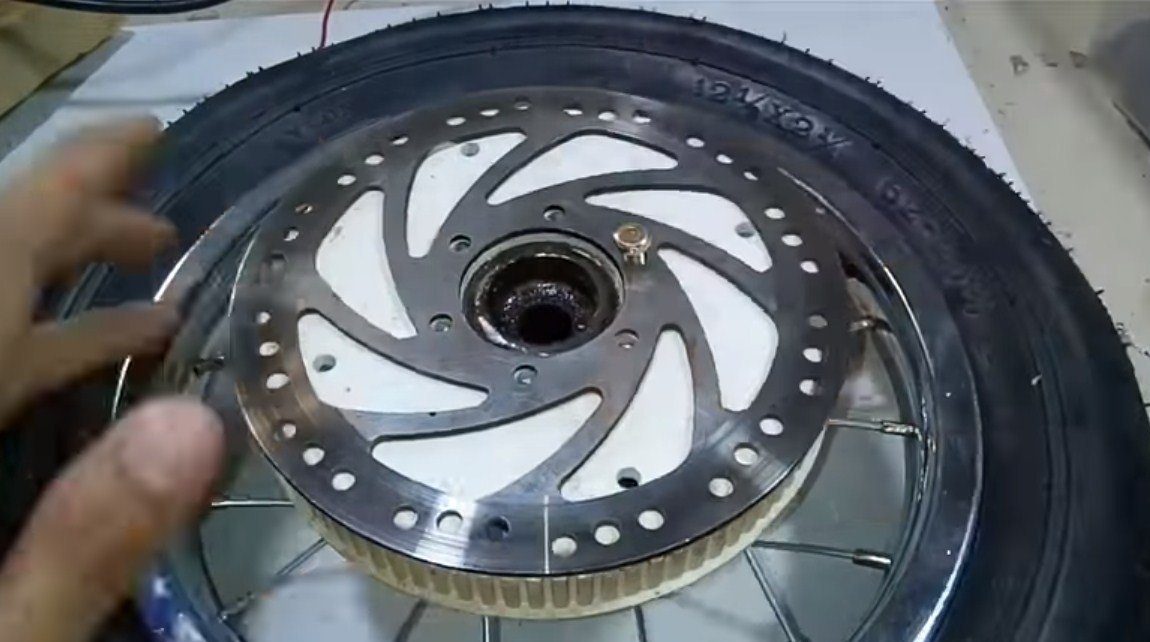
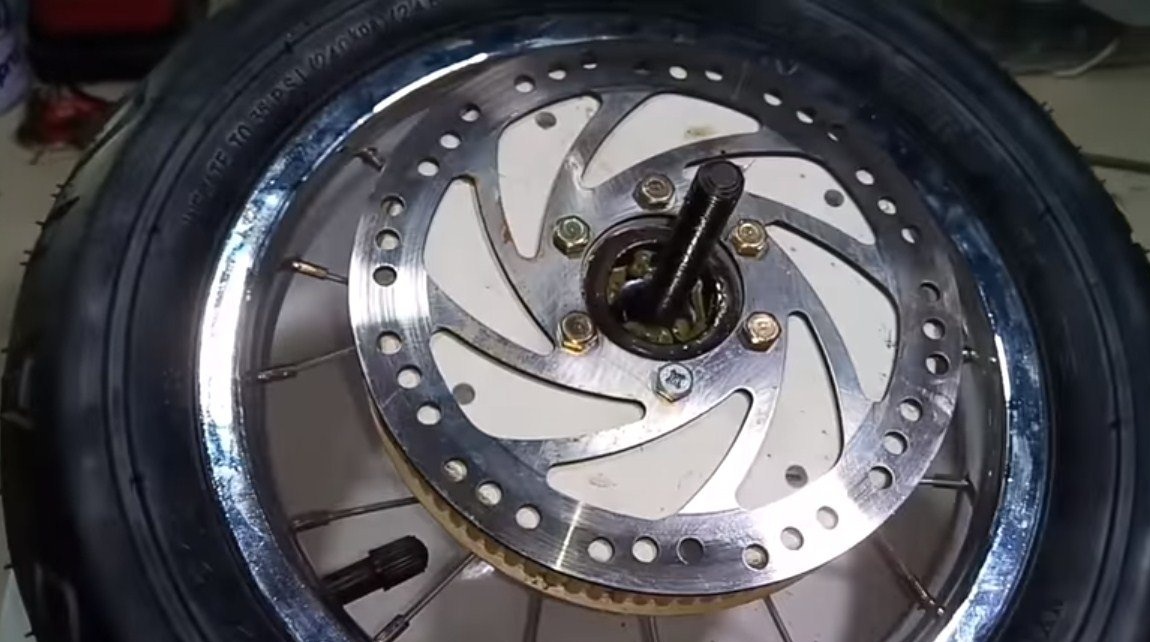
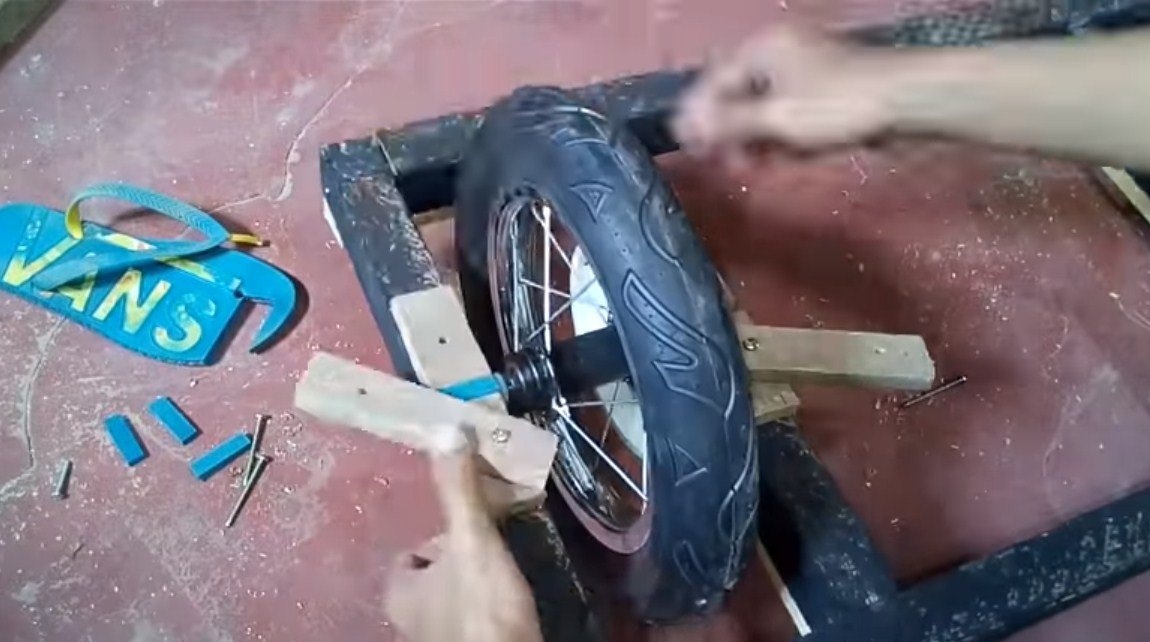
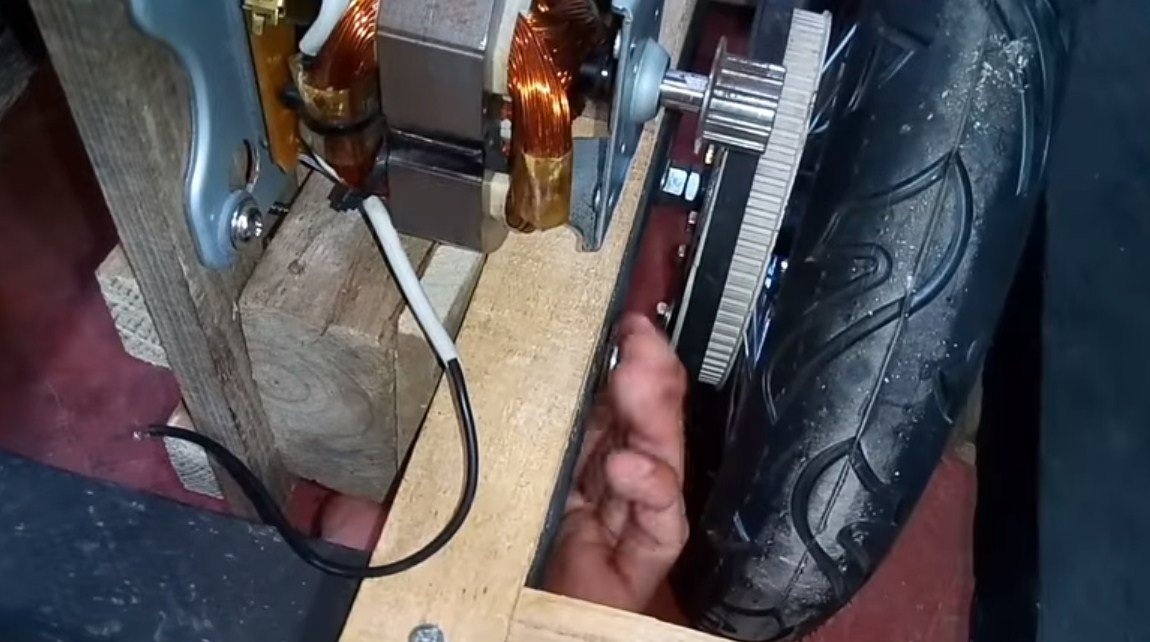
The drive wheel of the trike is one and it is located at the rear. The rear wheel from the bicycle will be needed, the author did not find one, so he redid the front one by installing a hub from the rear wheel in it.
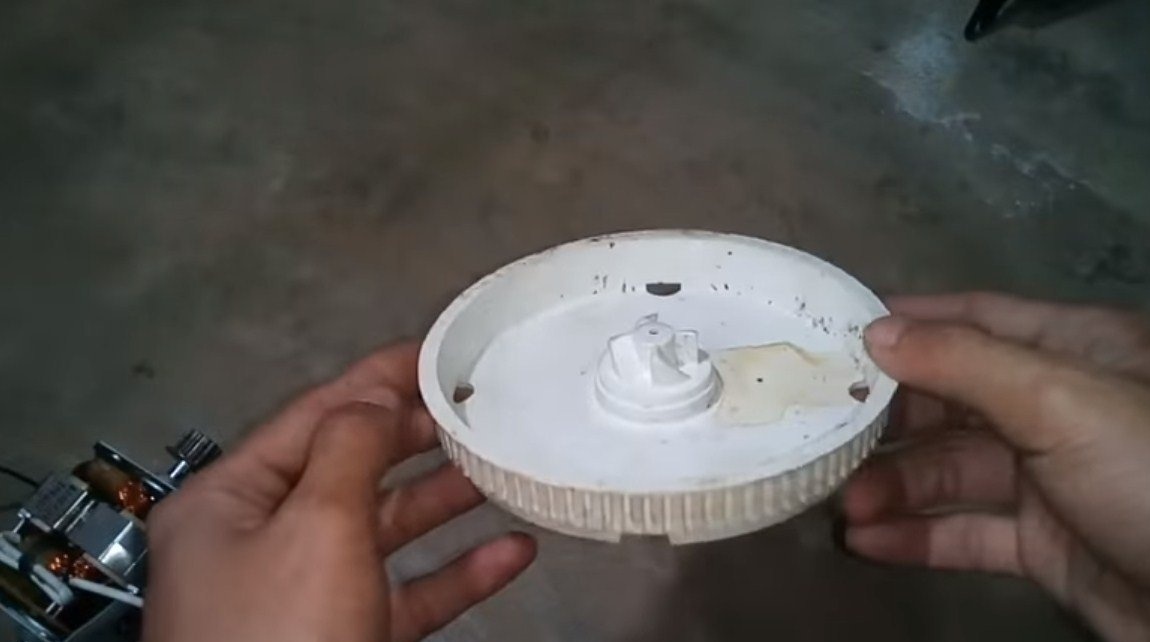
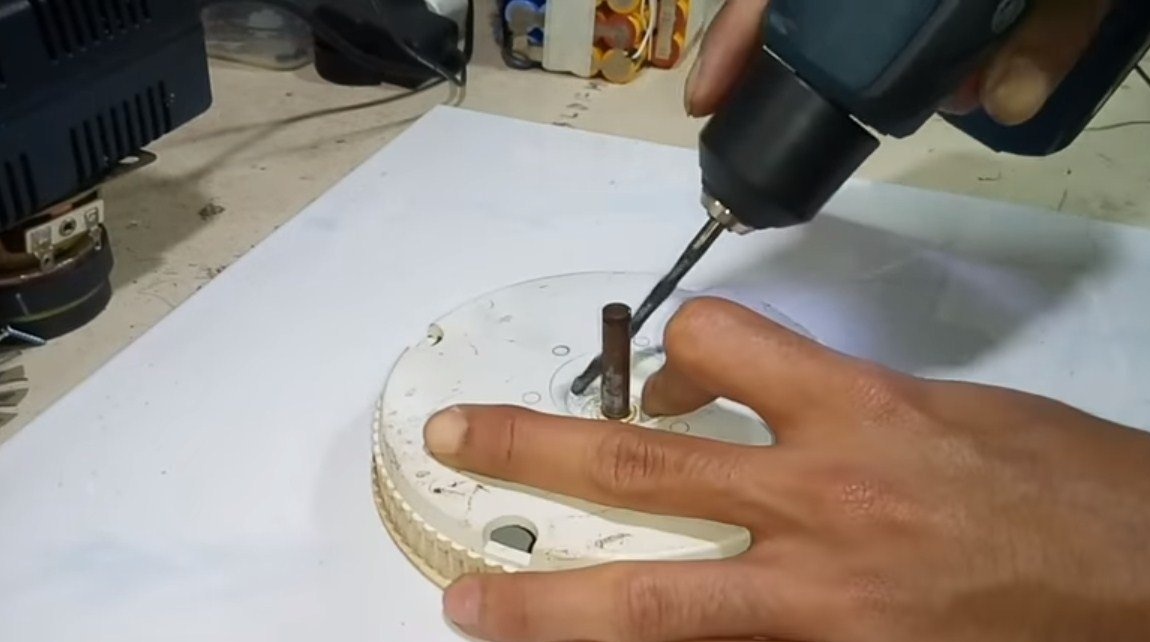
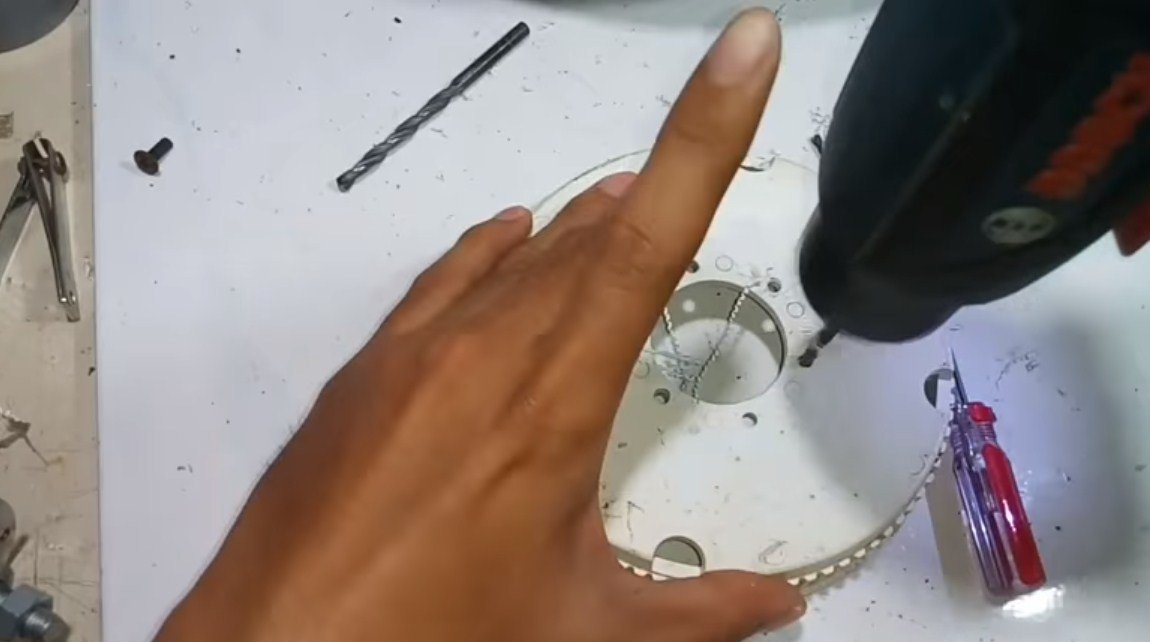
Here we need to install a driven plastic pulley from a food processor. Cut off the excess, modify the hole with files and fasten the pulley to the wheel. It will be fastened with the help of those bolts that secure the disk from the disk brake.

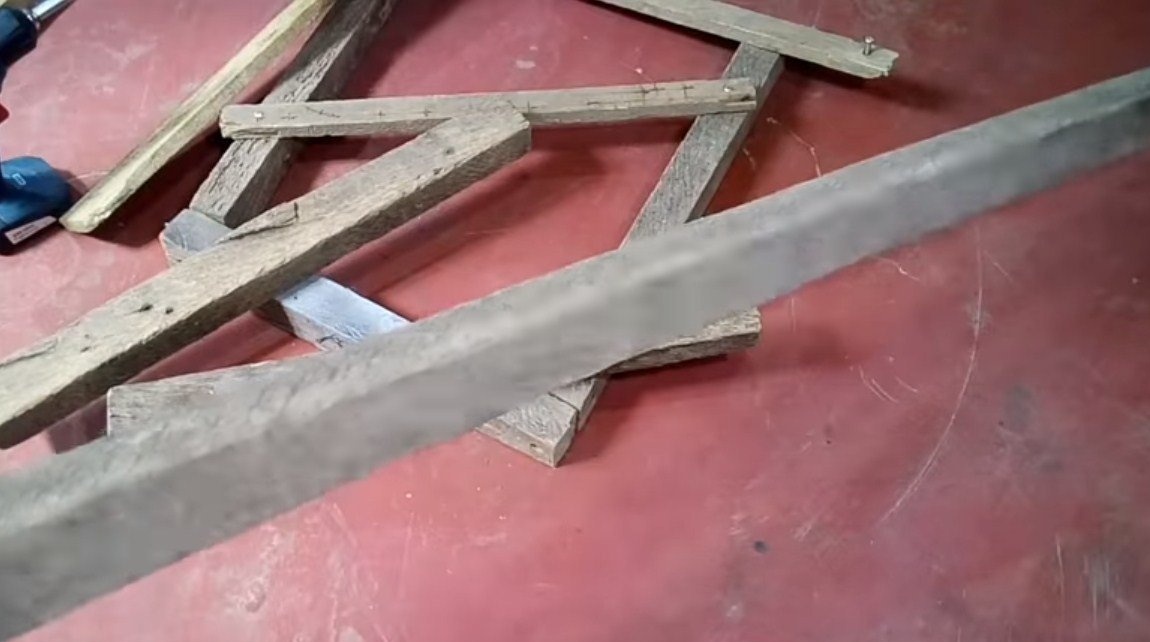
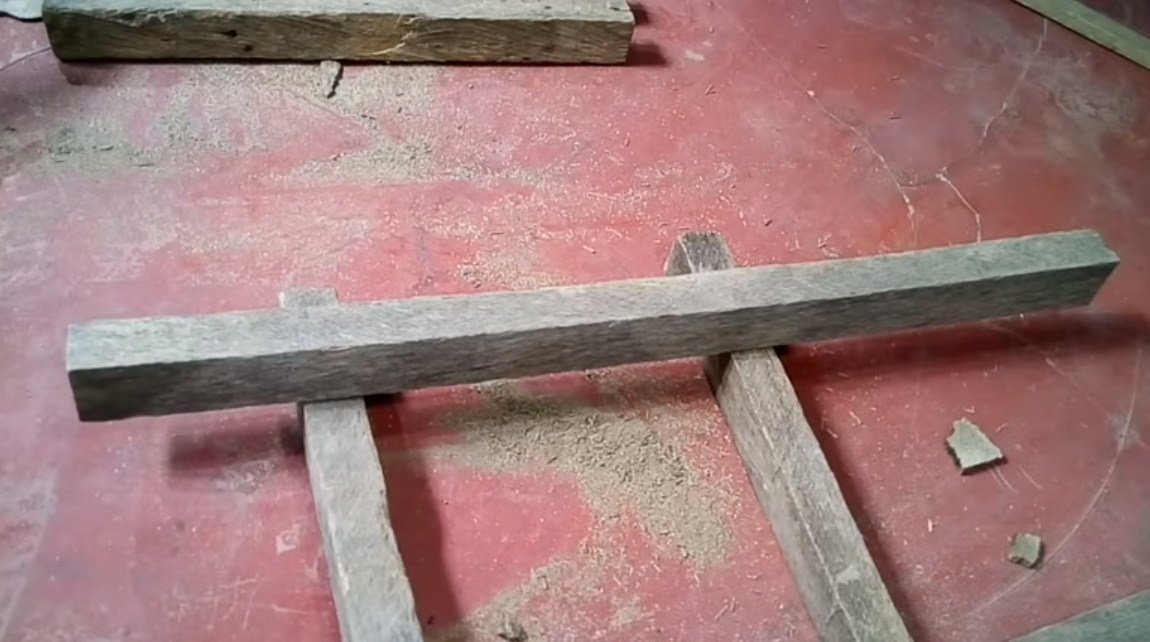
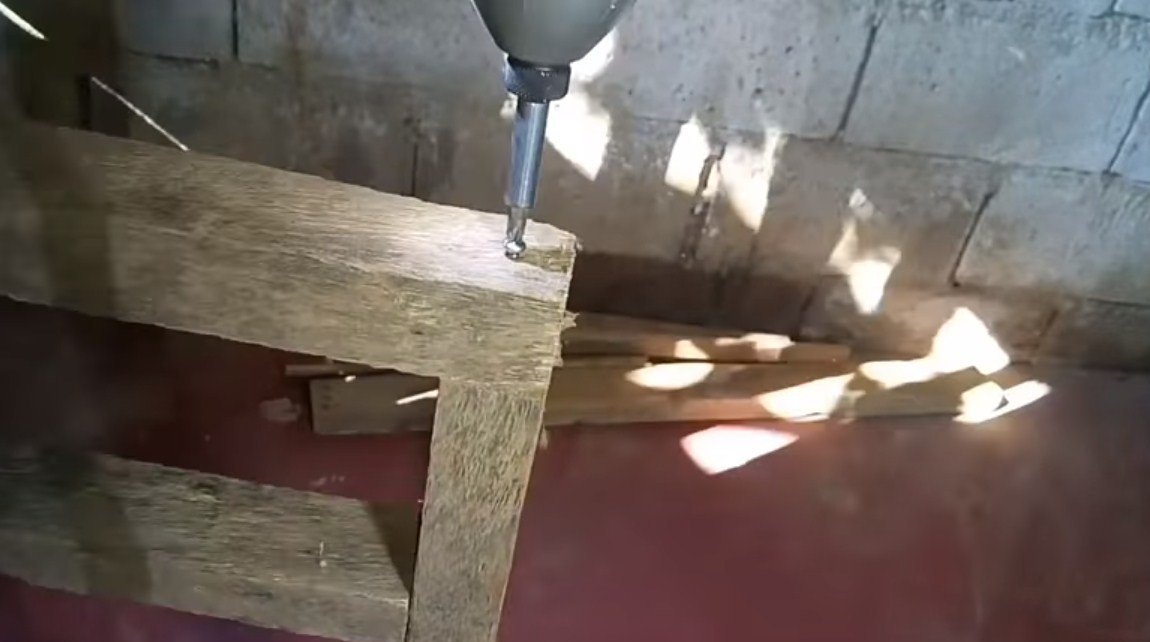
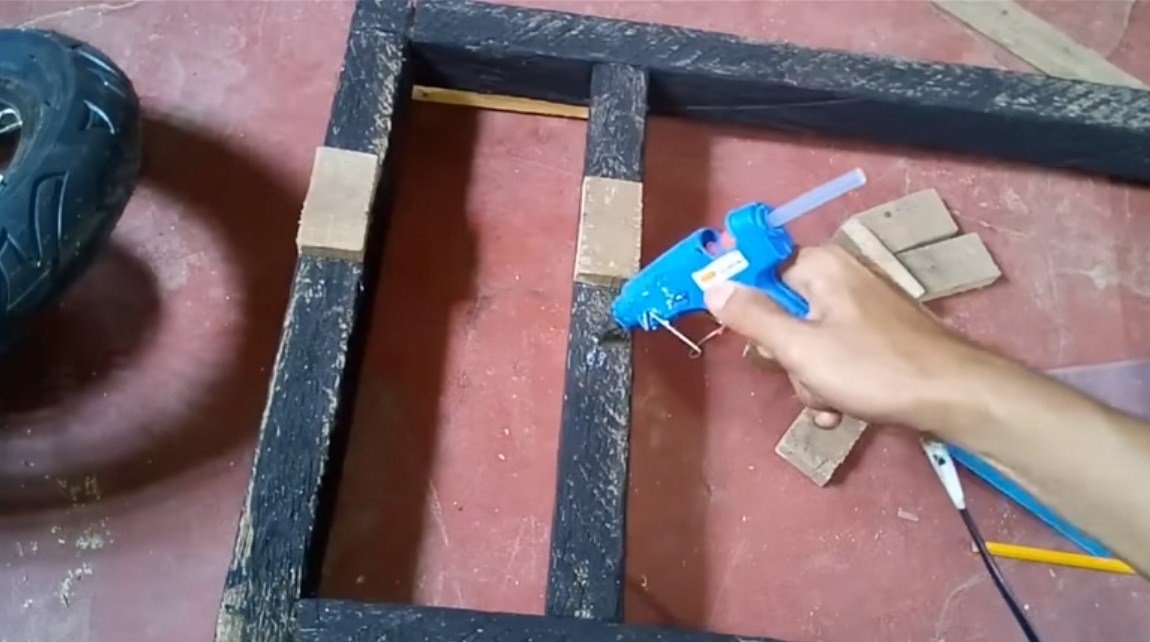
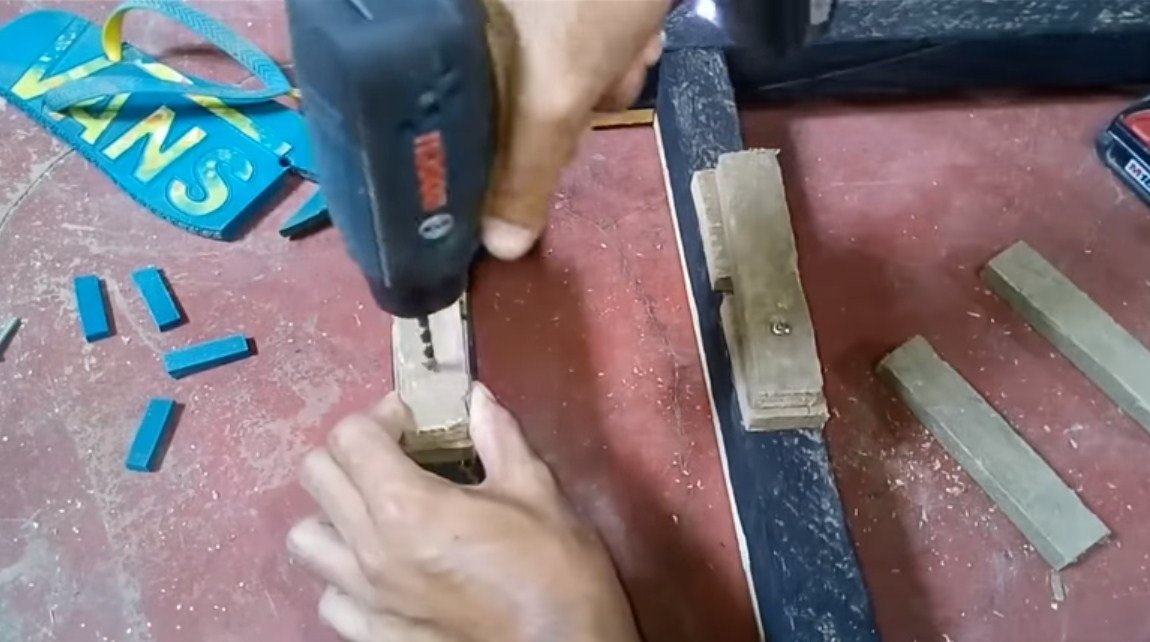
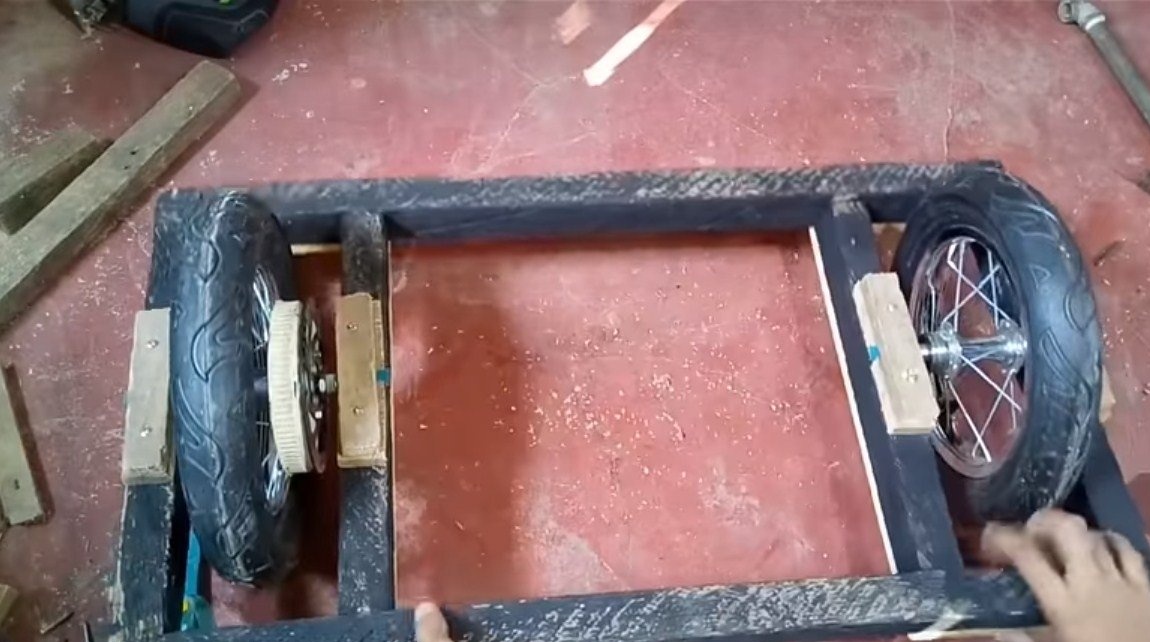
Step Two Making the back of the frame
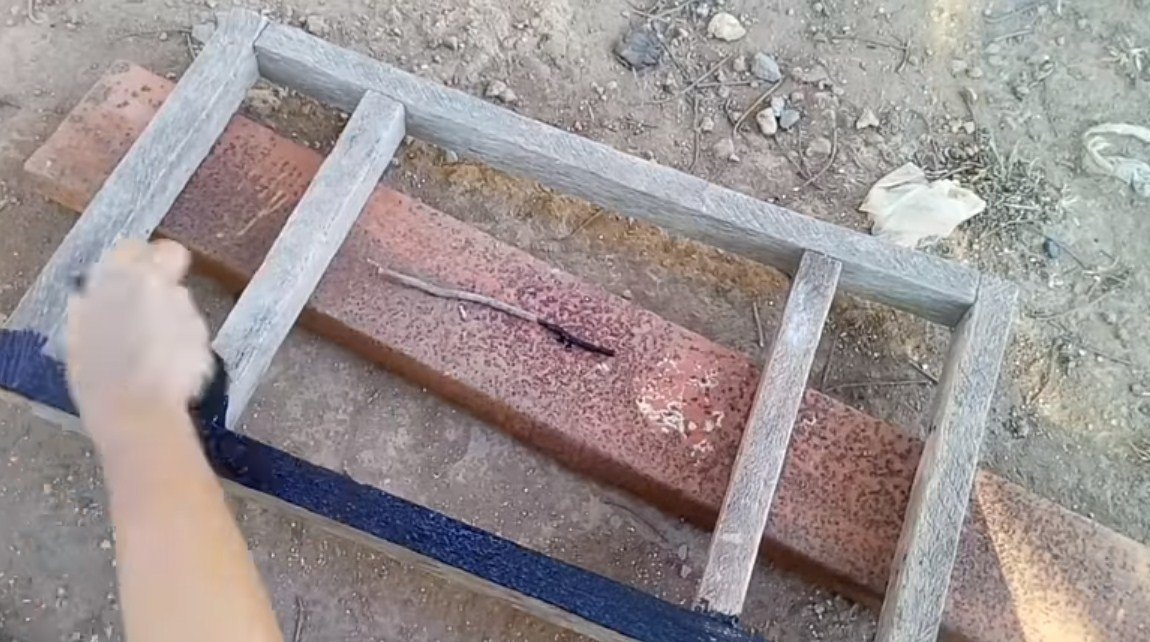
We assemble the back of the frame, it is made of beams, oak or other strong wood is well suited.To begin with, the author collects everything on hot glue, and then tightens everything well with screws. To make the frame last longer, immediately paint it.
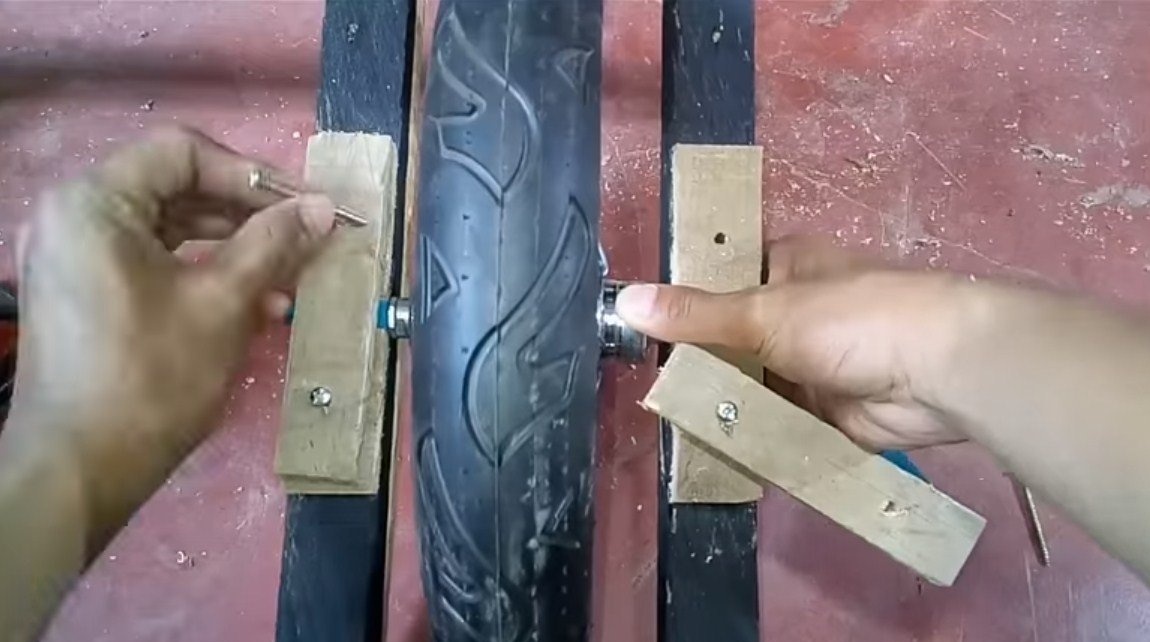
As a result, it remains to install the rear wheels, fasten the boards to form cracks under the axles, install the wheels, and then fasten more boards from above the axles. That's all, the back is ready.
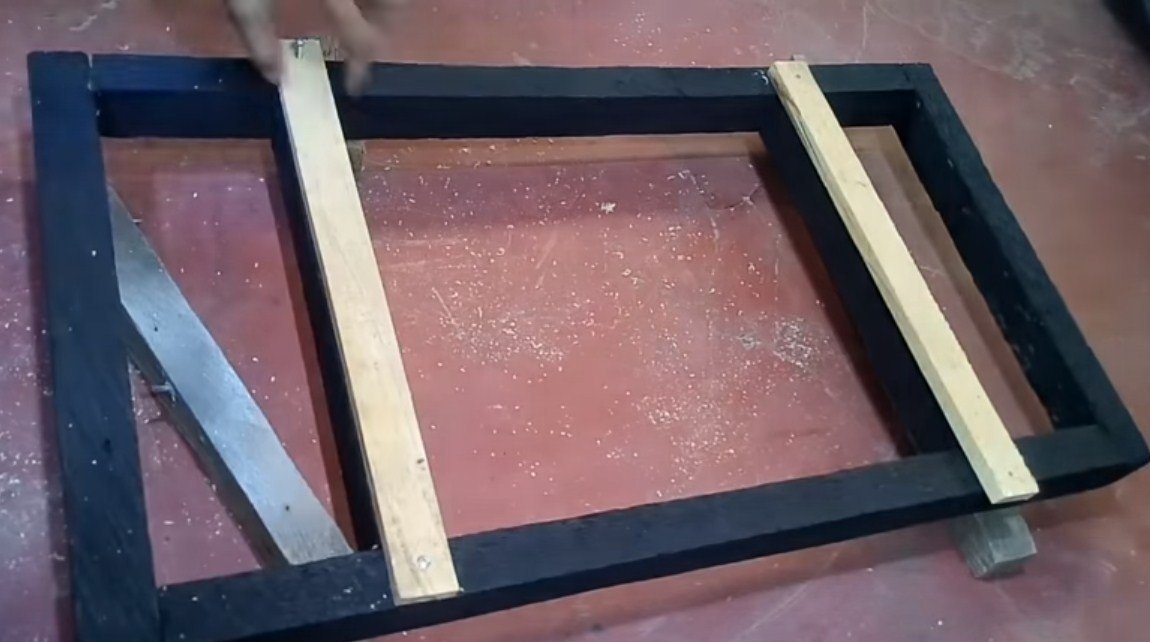
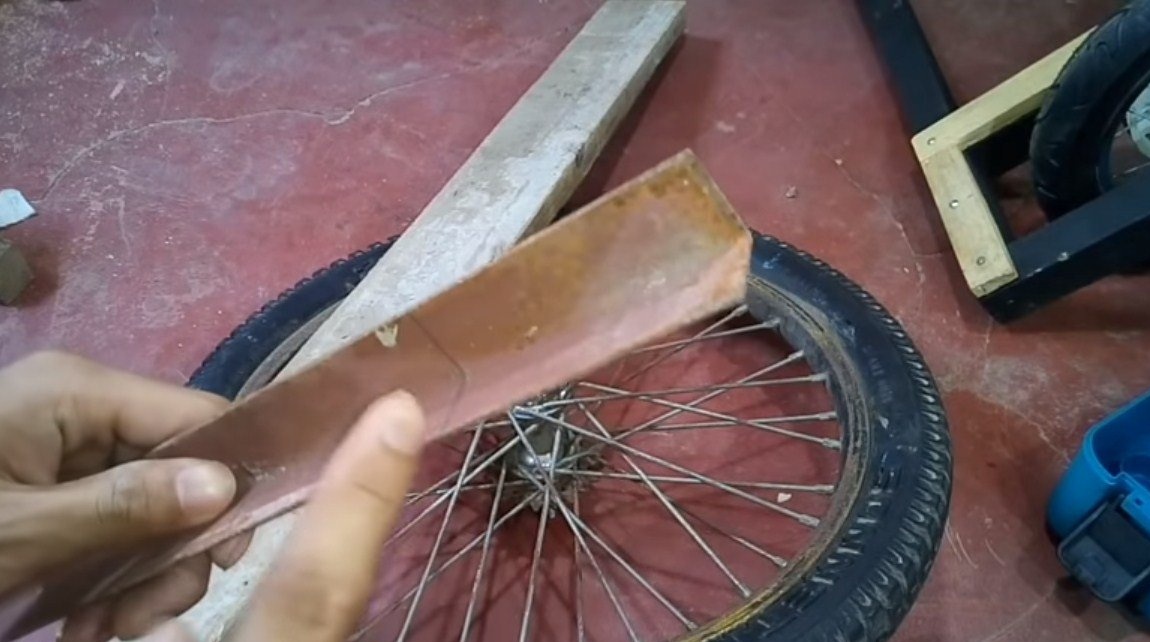
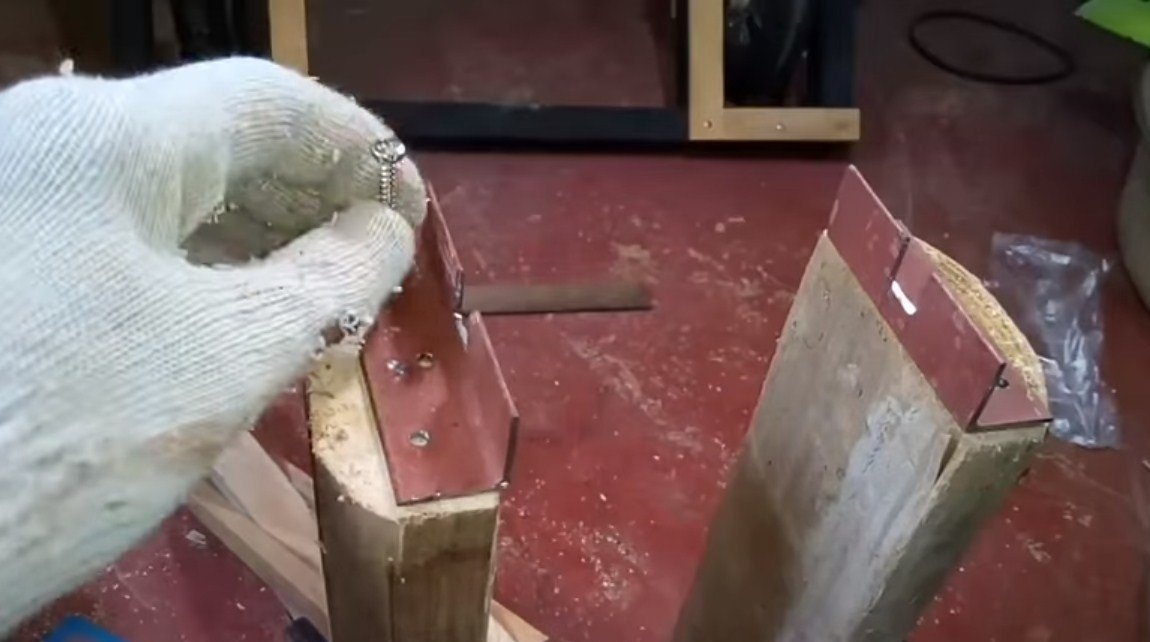
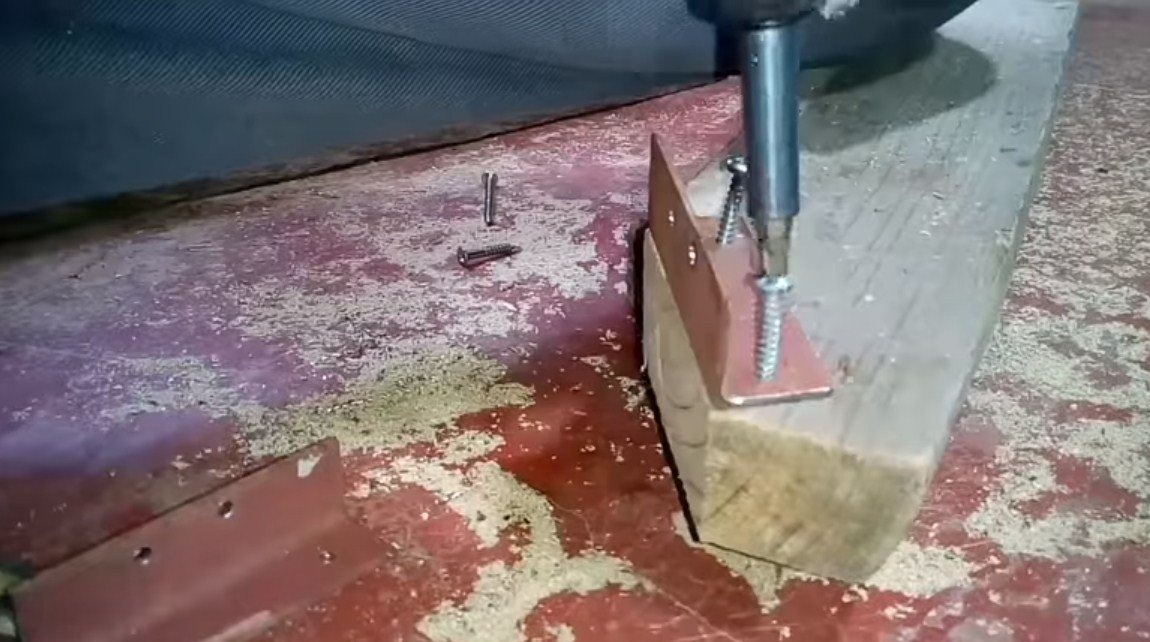
Step Three Steering and front fork
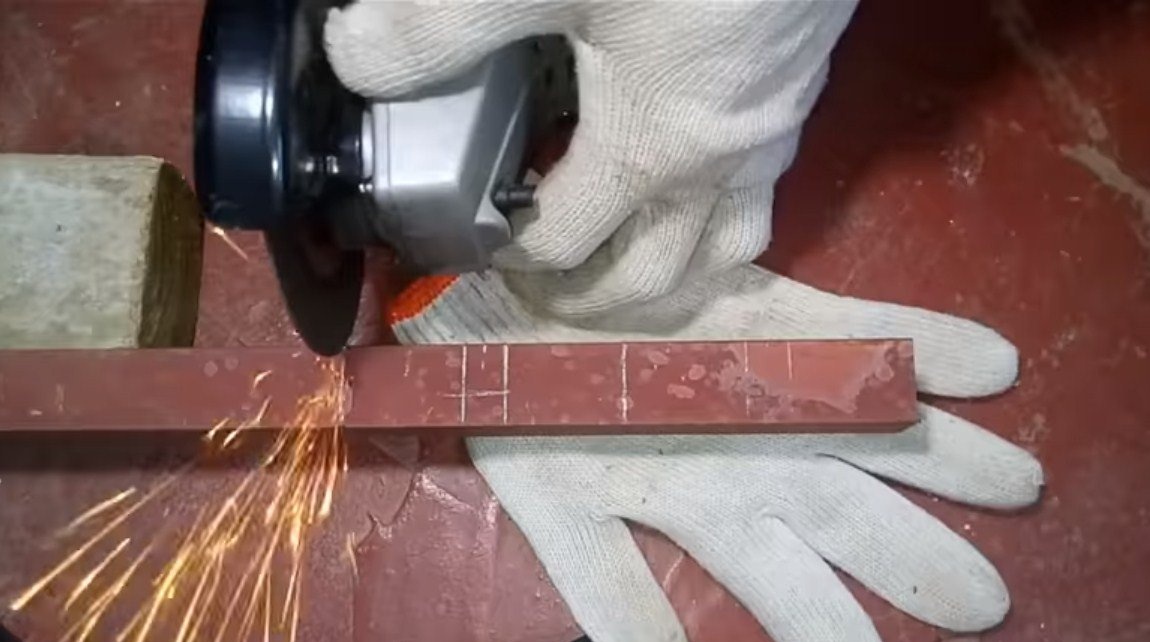
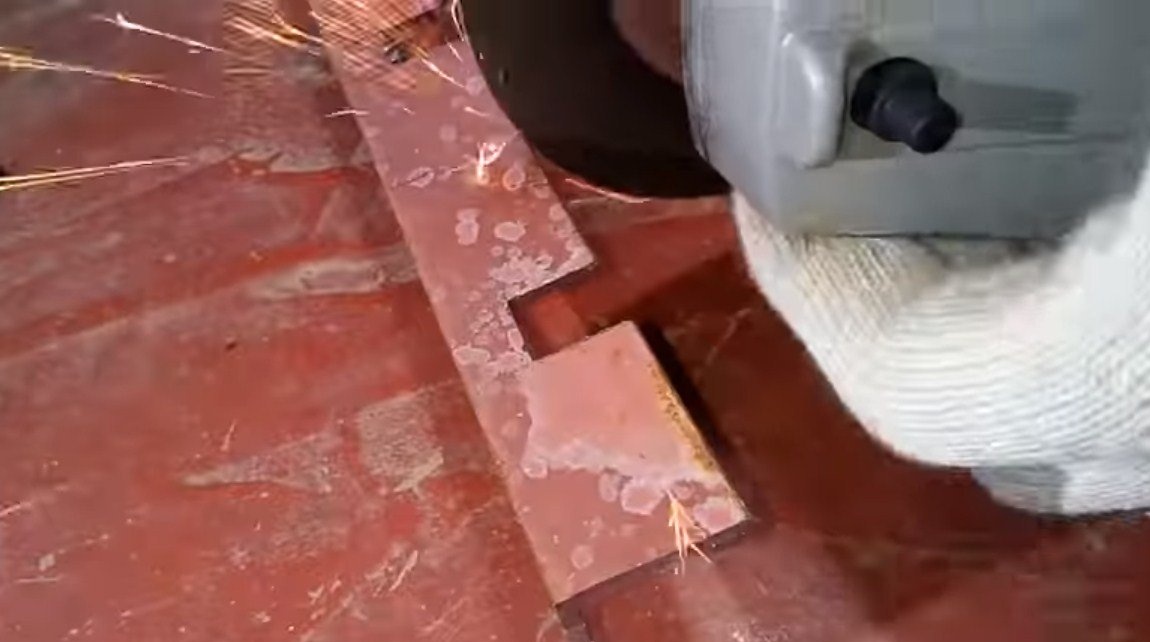
Putting the front fork, here we need thick boards. As brackets for a wheel, the author adapted two pieces of a steel corner onto a fork, cutting out grooves in it under the axle of the bicycle wheel.

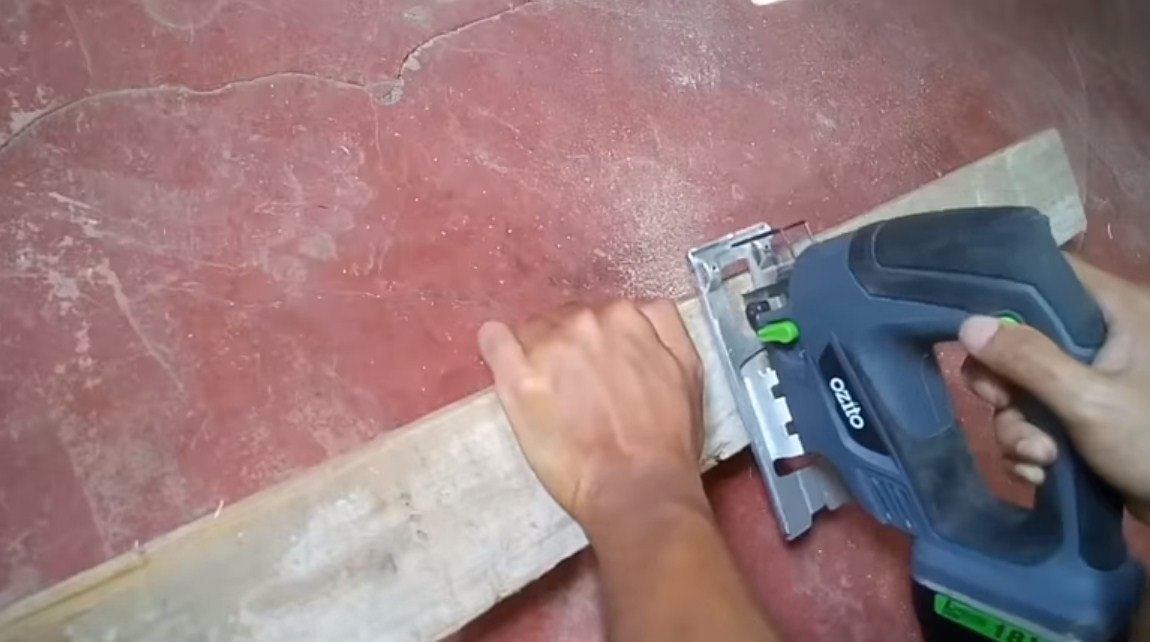
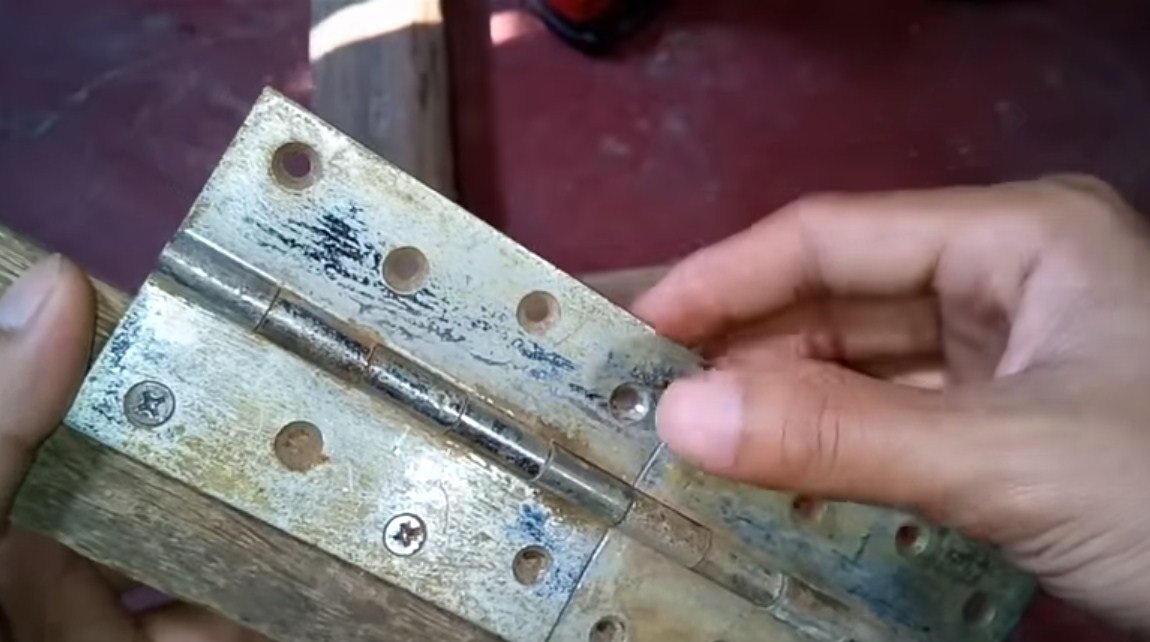
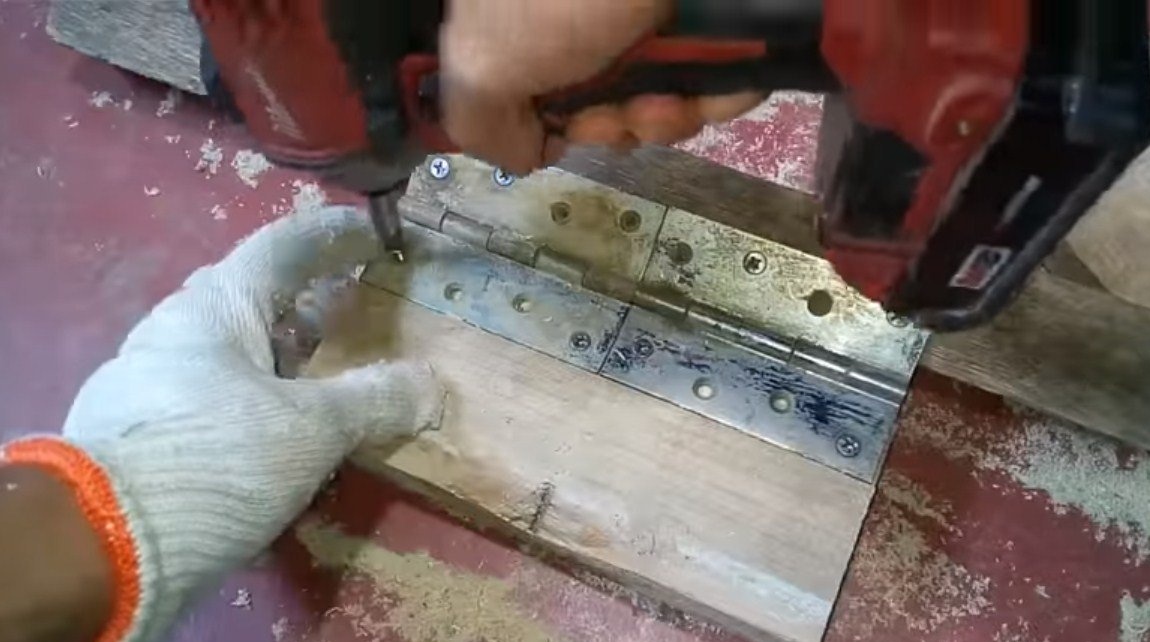
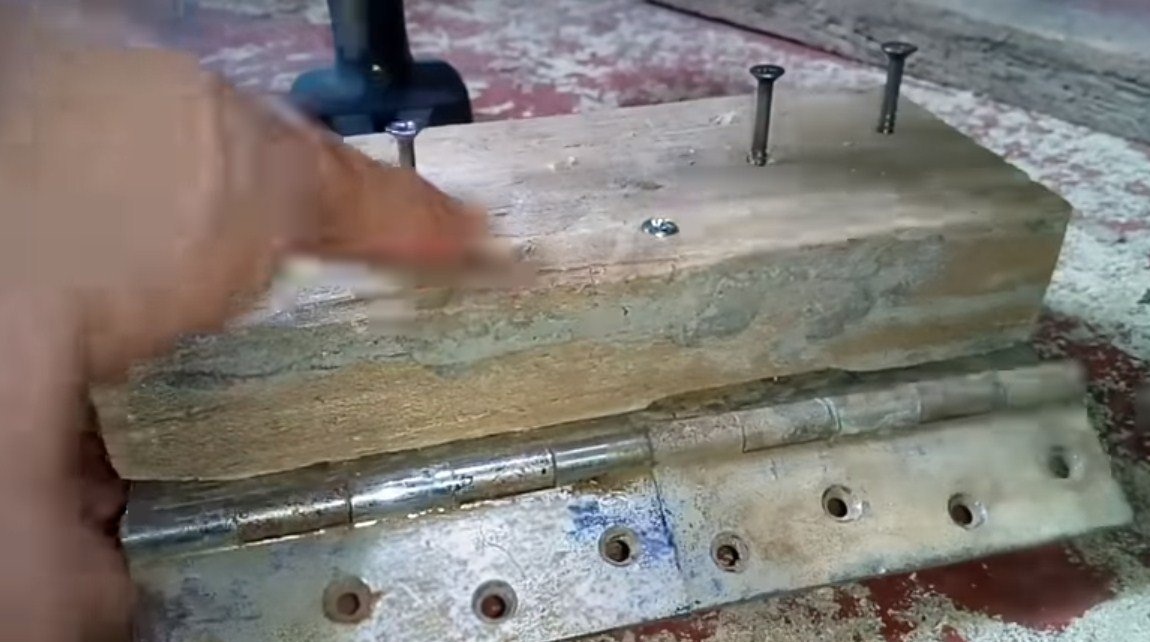
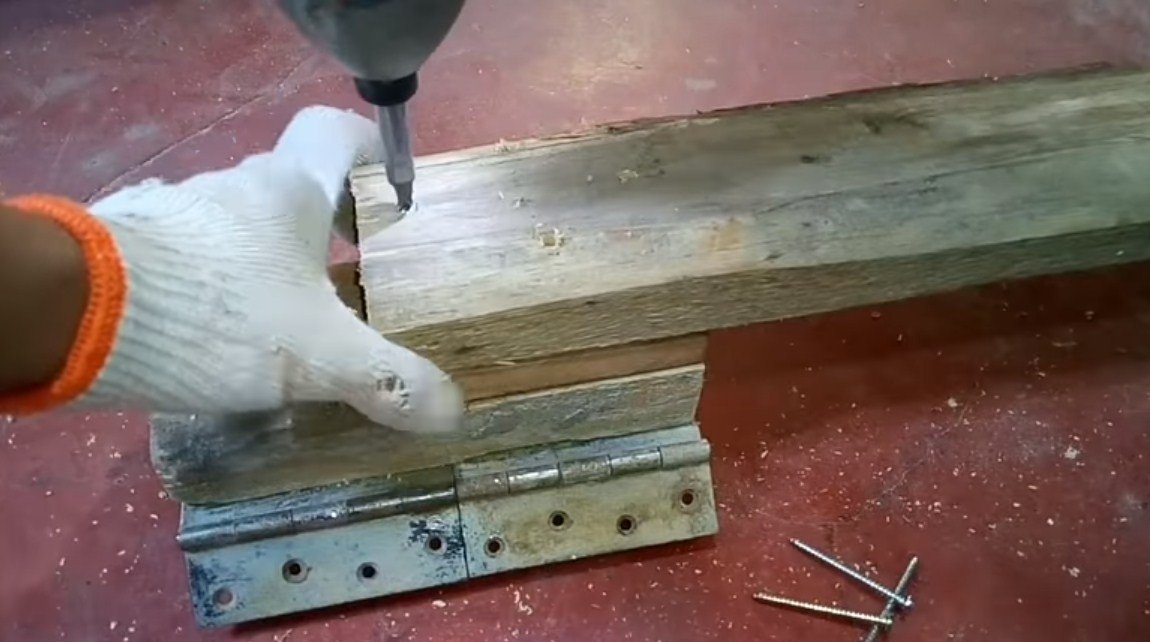
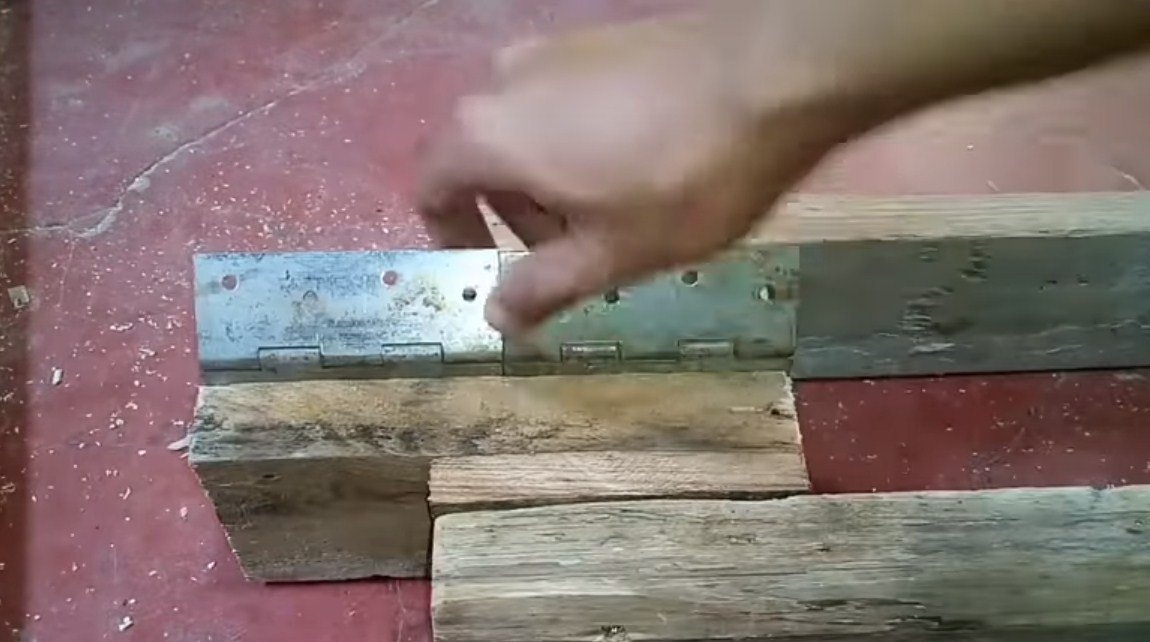
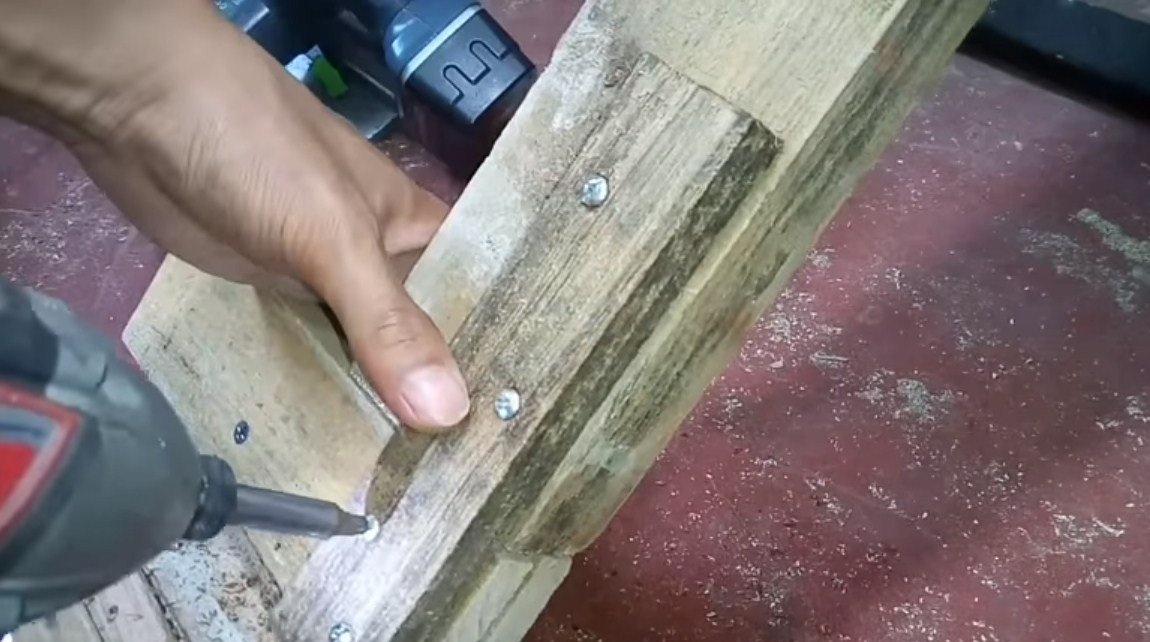
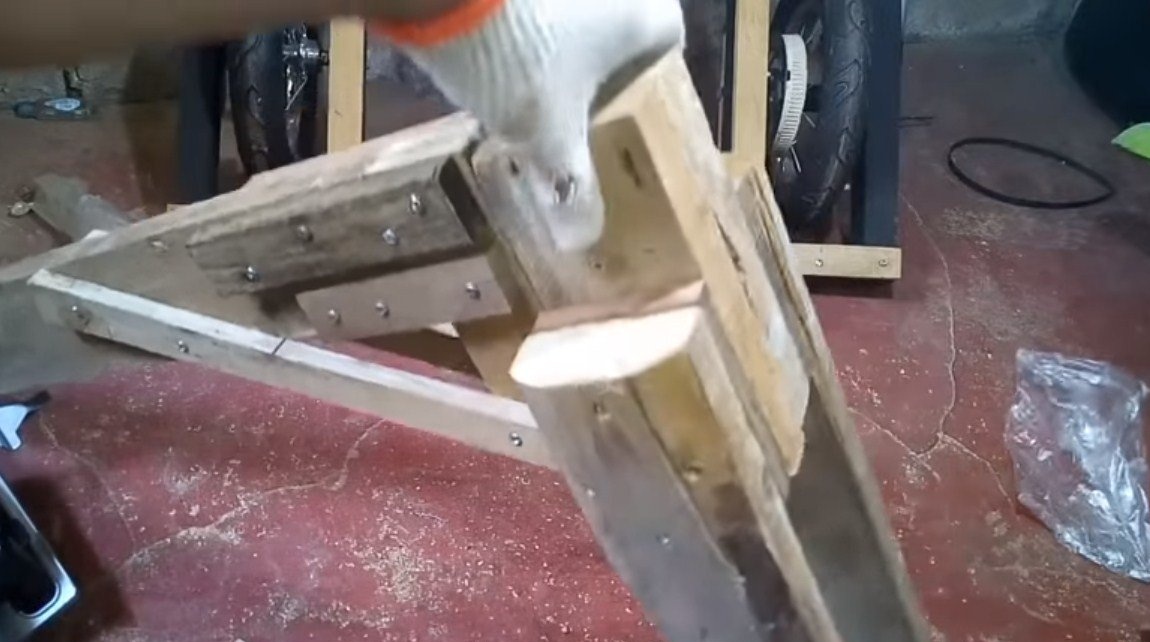
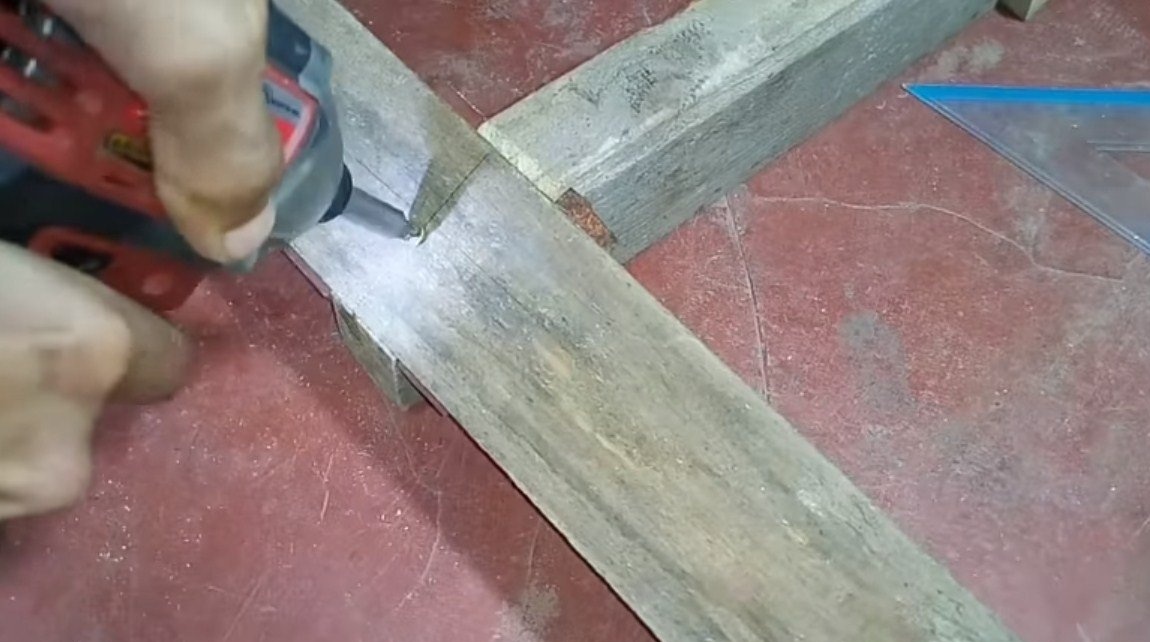
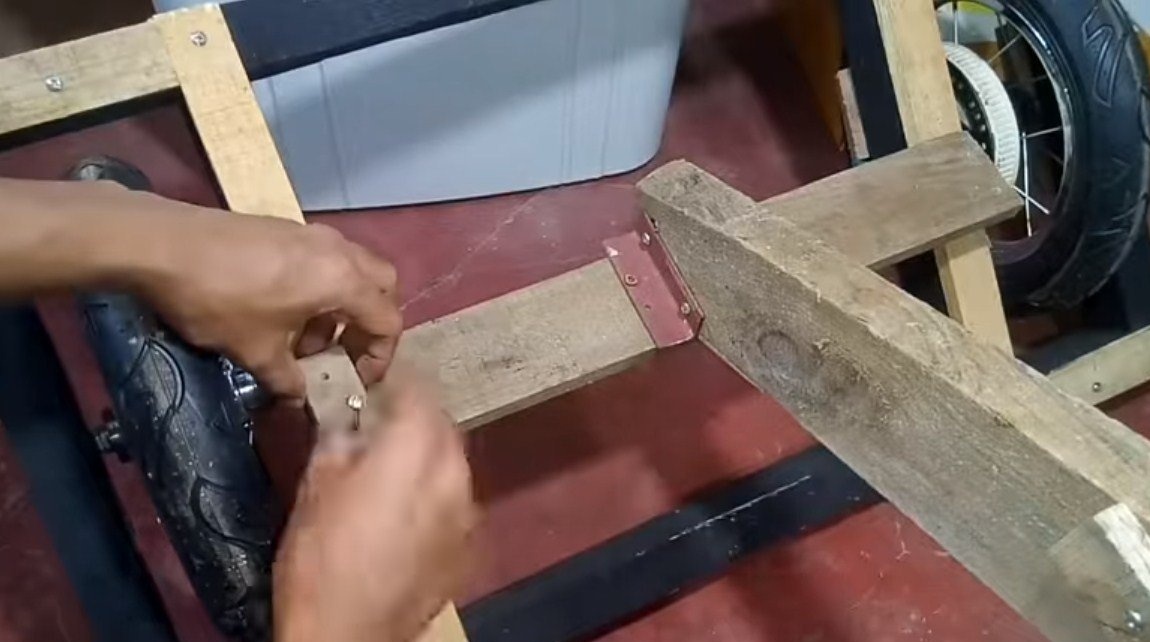

As for the rotary assembly, its author decided to assemble from door hinges. However, the option is quite interesting and workable, but the loops need to be chosen stronger. That's all, using boards, boards and everything that is at hand, we connect the back and front, we tighten everything well with screws. At the end of the frame elements you only need to assemble the seat.
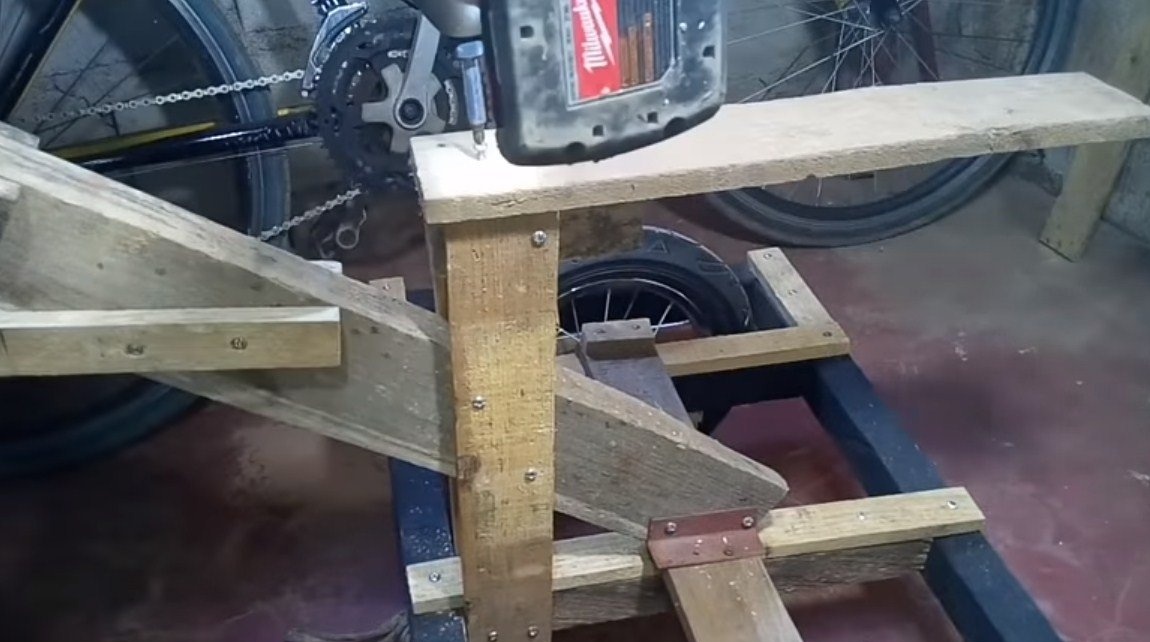
Step Four Install the engine
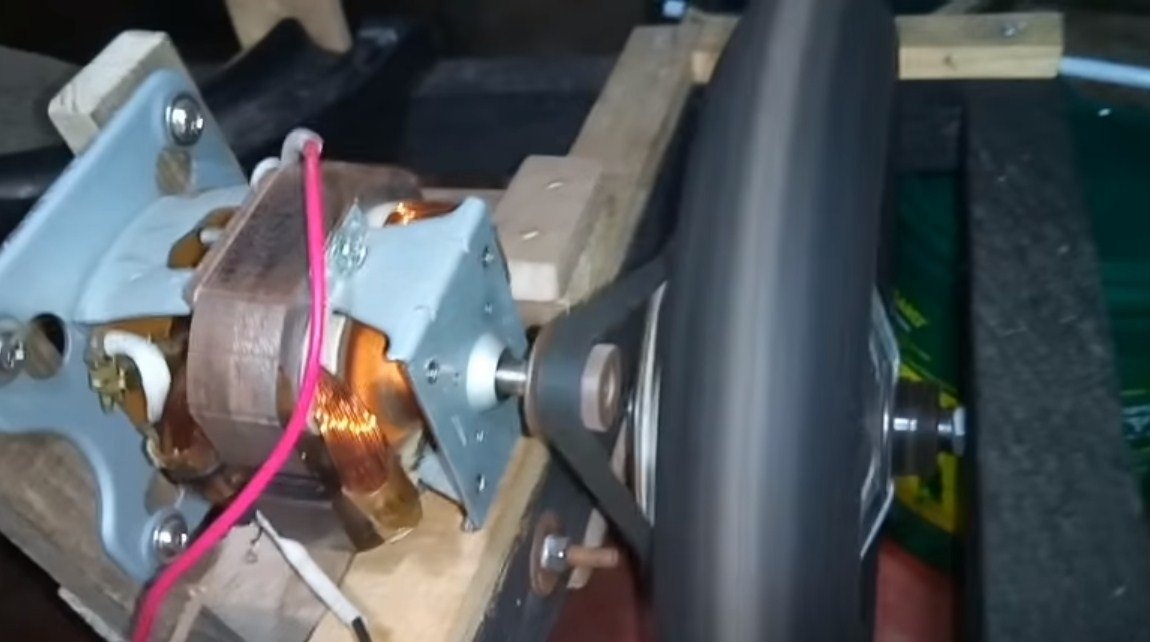
We install the engine in the rear of the trike, the drive will be on one of the wheels. The transmission will be belt-driven, a rather high torque should be obtained on the wheel. For the engine, we make an engine mount from the boards and securely fasten the trike to the frame with self-tapping screws, we tighten the belt. We try to spin the wheel, if the belt does not fall, then everything is fine.
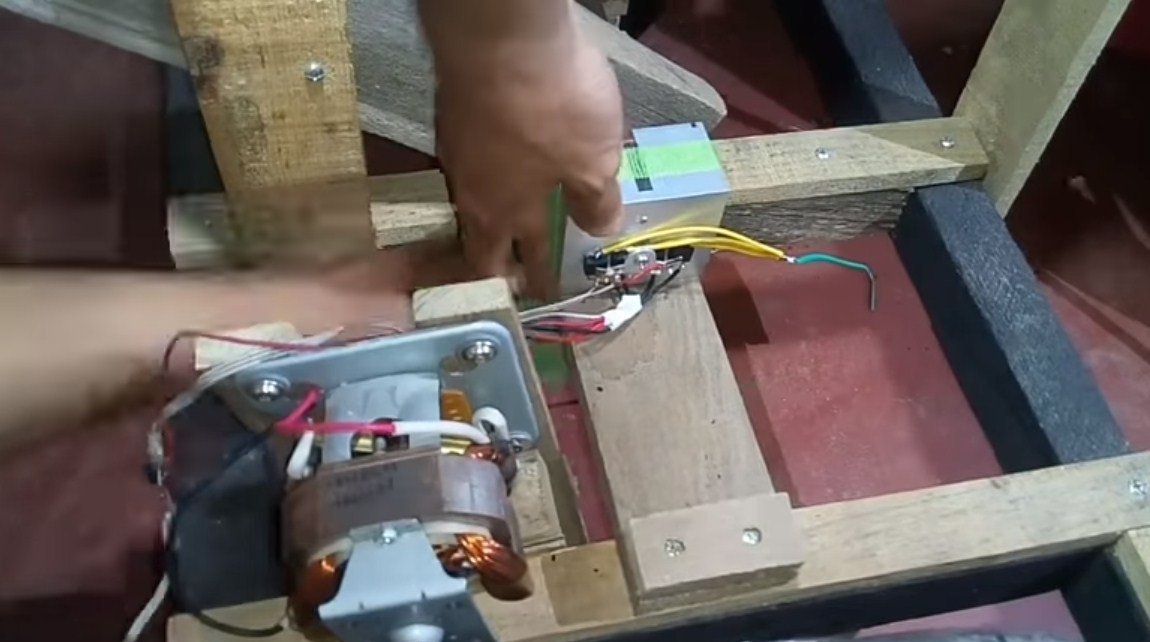
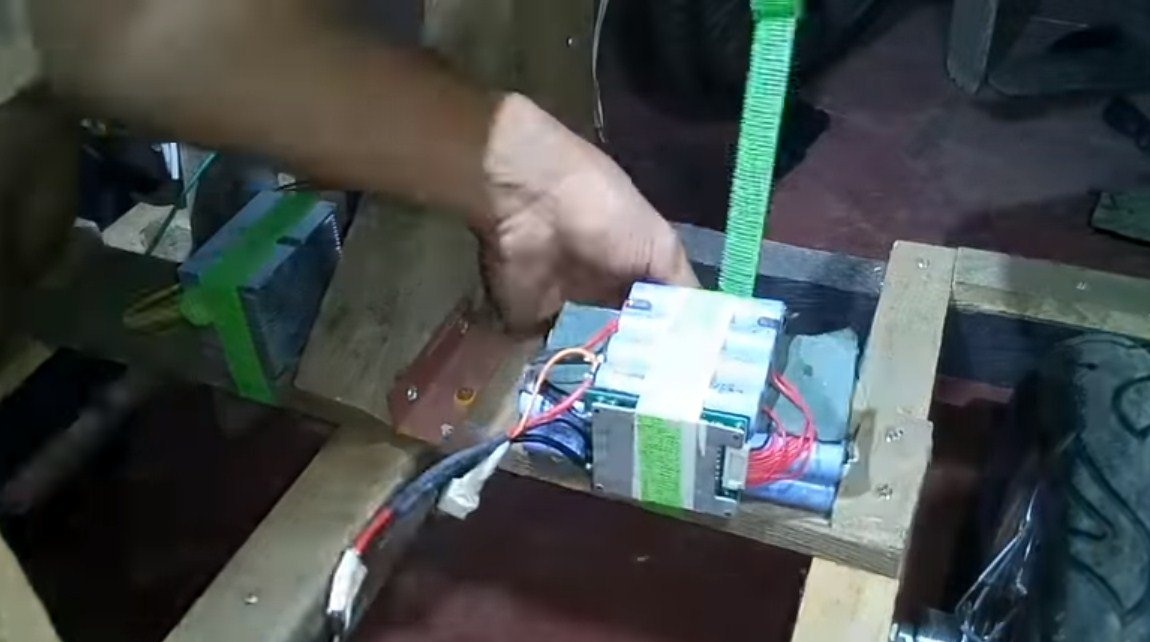
Step Five Installing electronics and battery
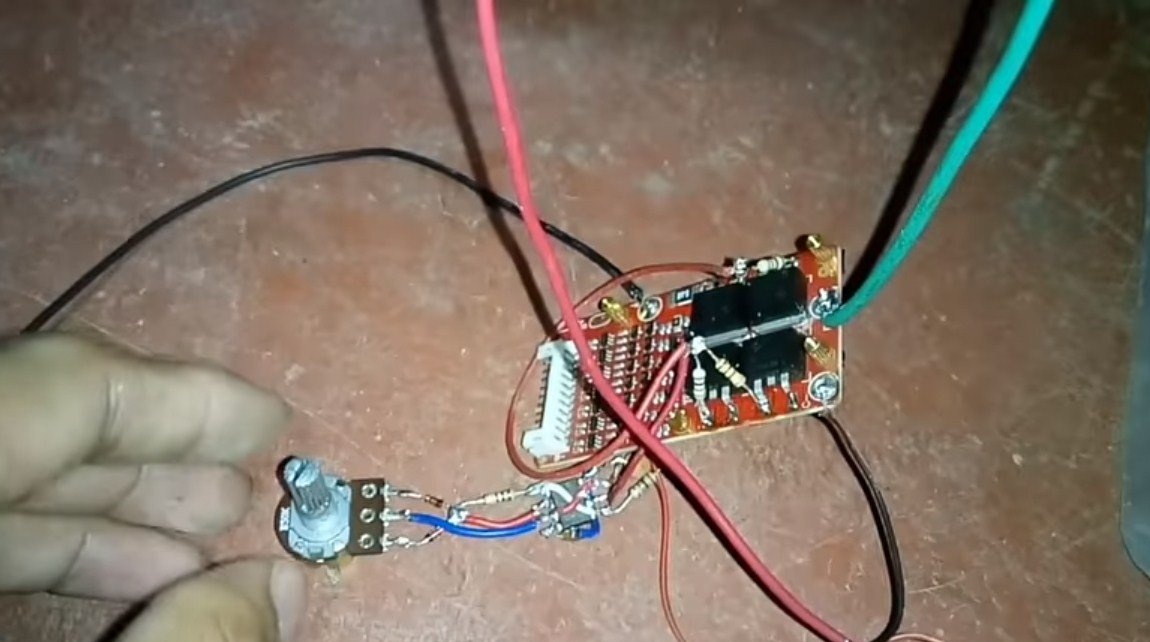
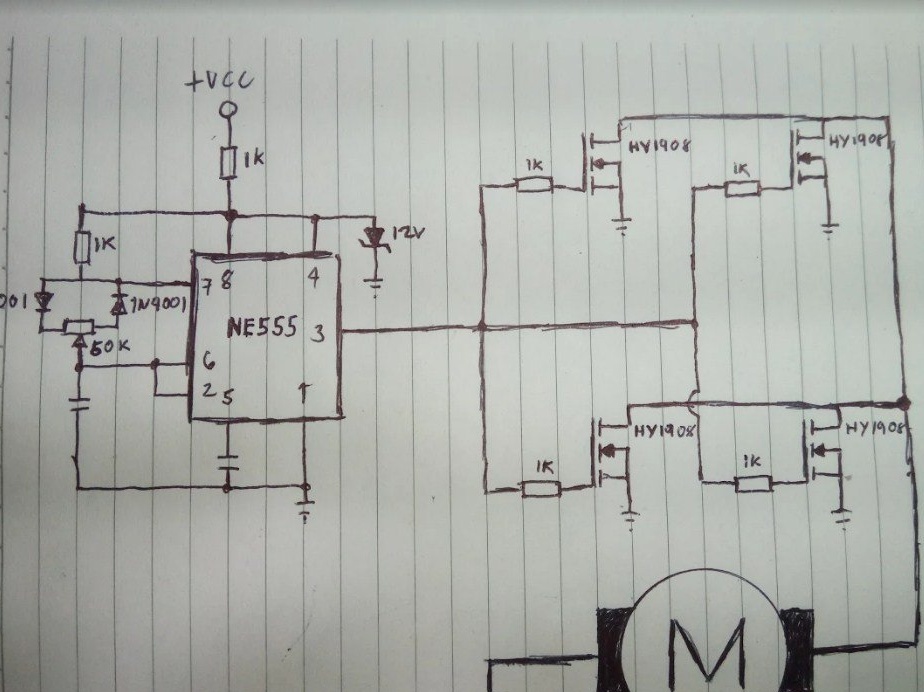
The author made a special controller for controlling the engine, we have a brush motor. The author provided the controller circuit.
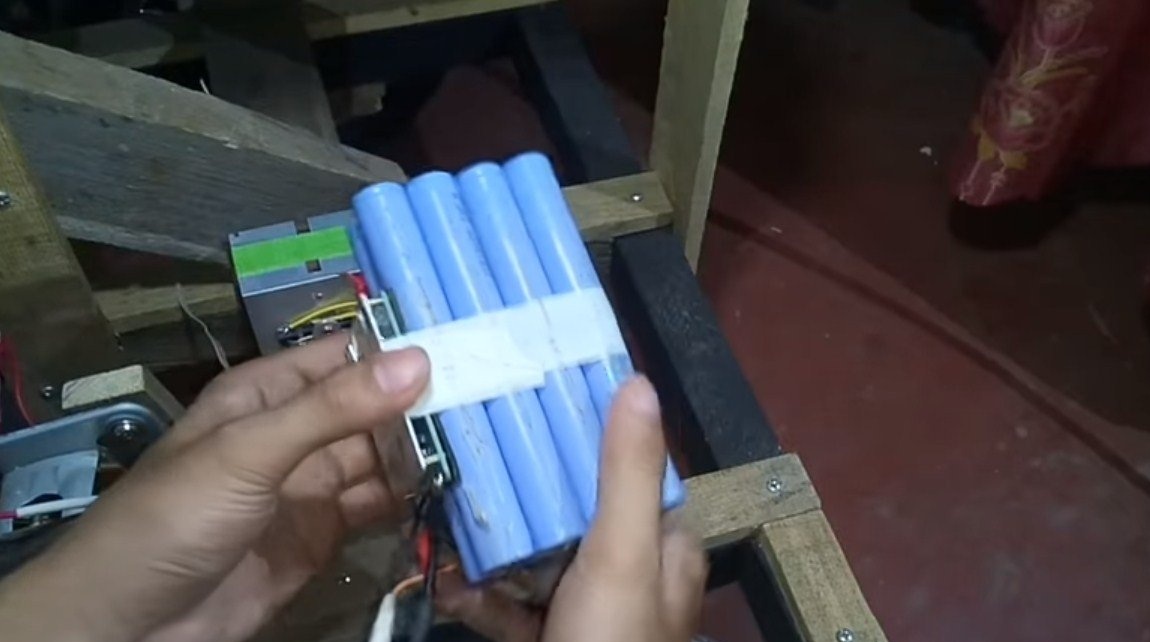
As for the power source, we need 18650 batteries, they need to be connected in series to obtain the desired voltage, if you do not use a boost inverter. So, for example, you need about 20-25 18650 batteries for the engine to work, they all need to be connected in series. Of course, the capacity of such a battery will be small.

That's all, the trike is ready, it remains to make a pedal or button to start the engine. The author easily starts off and rides on his brainchild. Do not forget that the car is powered by considerable voltage, from which it is possible to get an electric shock! I hope this homemade product has lifted your spirits or you even found something useful for yourself. Good luck and creative inspiration if you decide to repeat something like that. Do not forget to share your ideas and homemade things with us!
