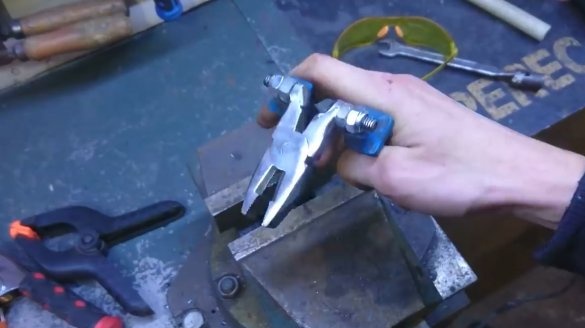
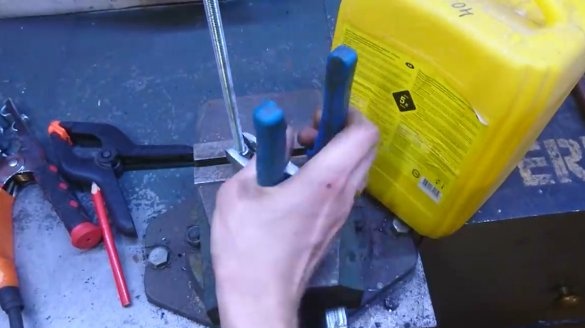
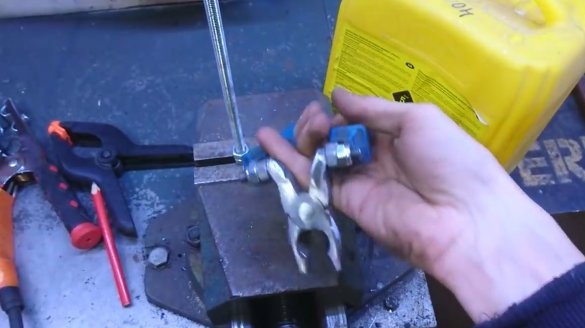
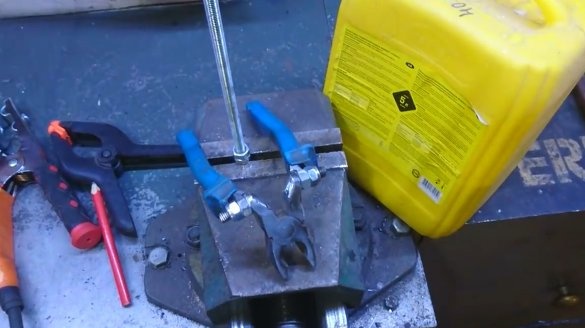
In this article, the author of the YouTube channel "PEREC DIY" will tell you how he developed such an instrument familiar to all masters as pliers.
This revision will expand the capabilities of the tool, allowing you to use it in hard to reach places.
Materials
- Old pliers
- M10 bolts with nuts
- M10 self-locking nut
Instruments, used by the author.
- Grinder, cutting disc
- Vise, hammer
- Welding machine
- Petal stripping disc.
Manufacturing process.
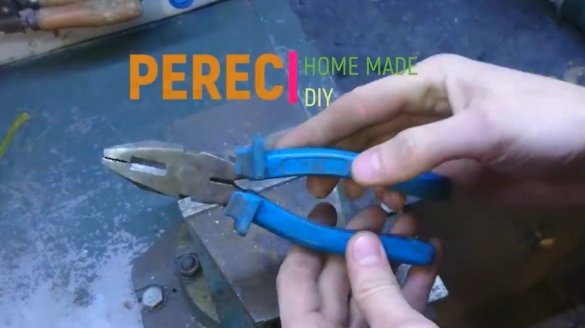
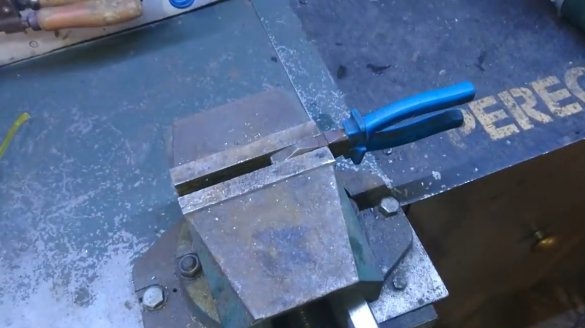
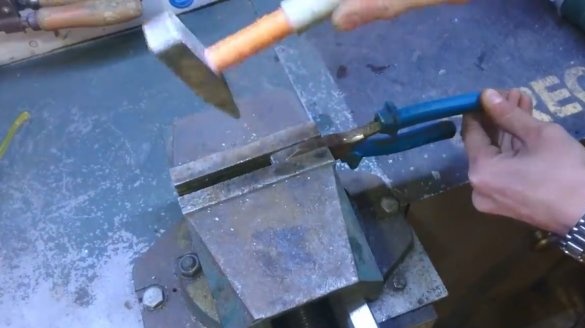
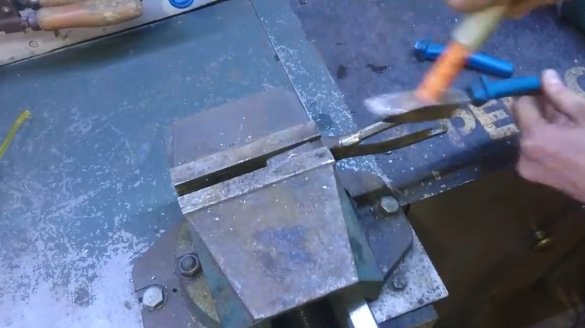
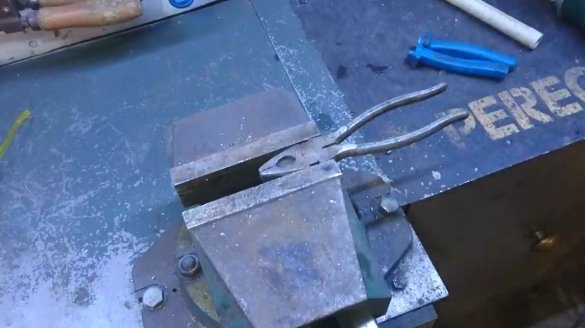
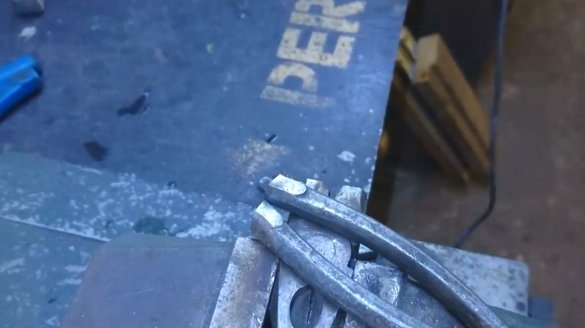
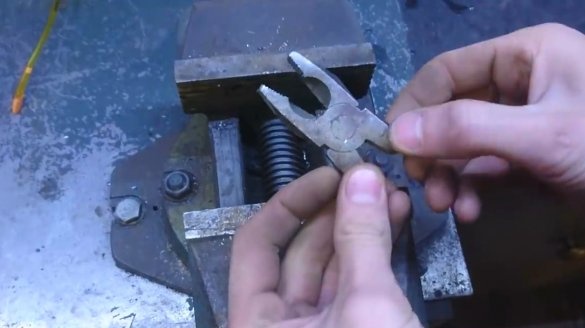
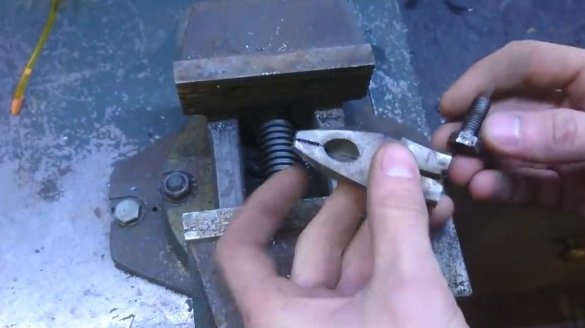
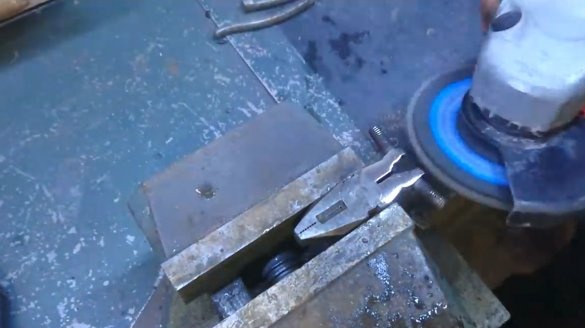
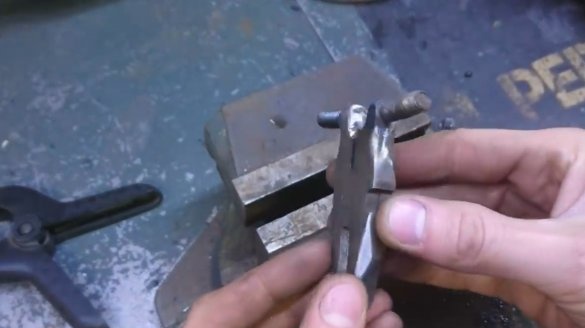
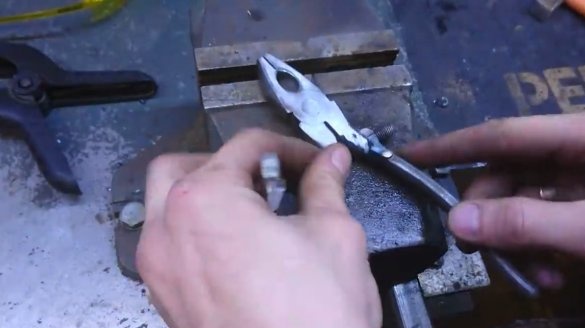
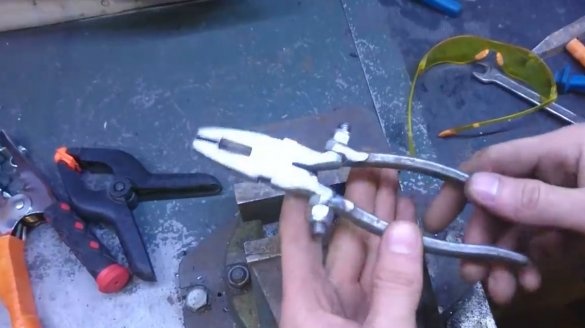
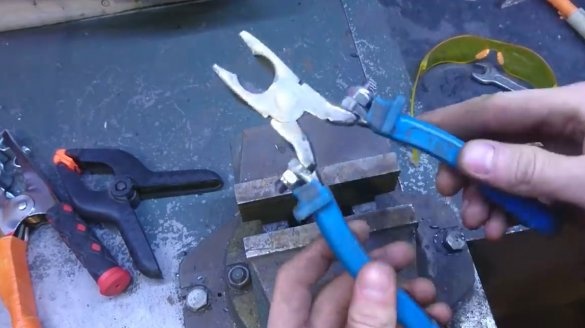
So, the author was laden with old pliers, and he decided to upgrade them. To begin with, he clamped them in a vice, and knocked down the rubber pads on the handles.
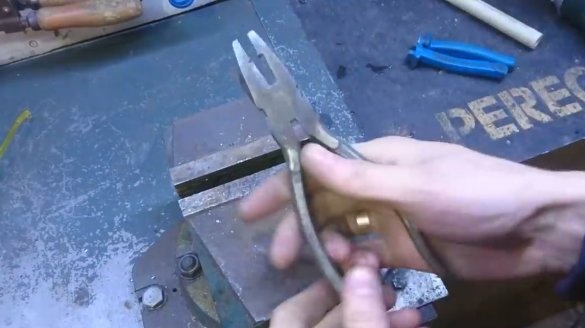
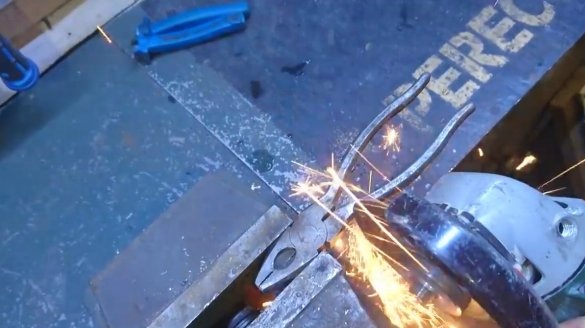
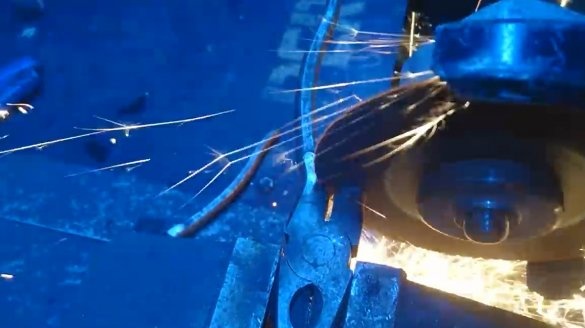
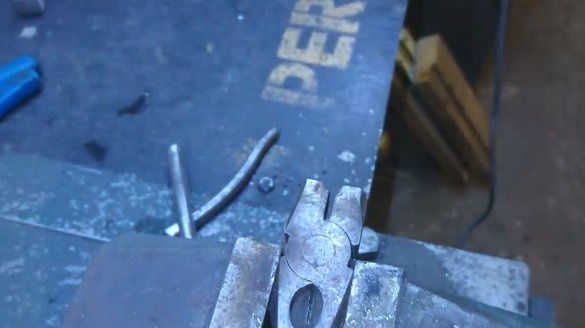
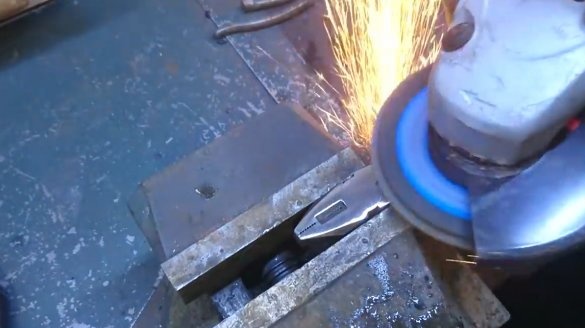
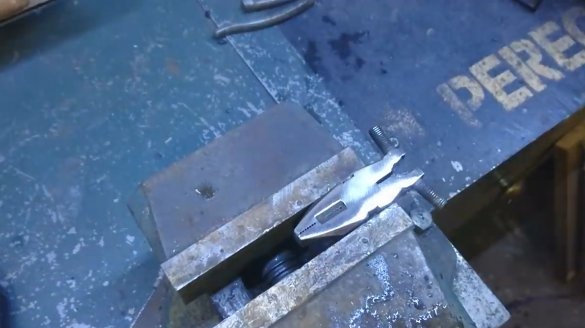
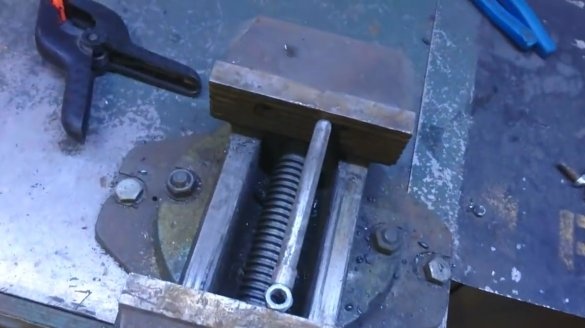
Then, using a grinder with a cutting disc - cut off the handle.
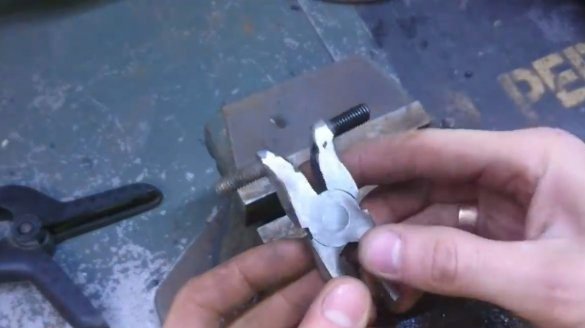
These are the details that turned out, do not throw them away - all come in handy.
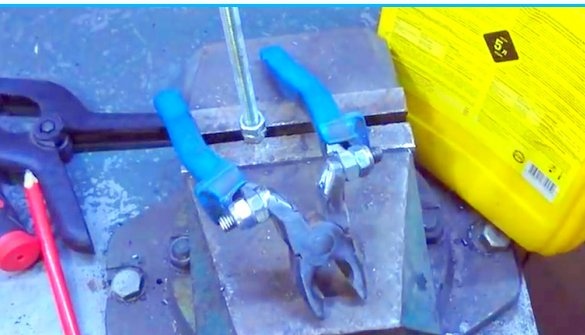
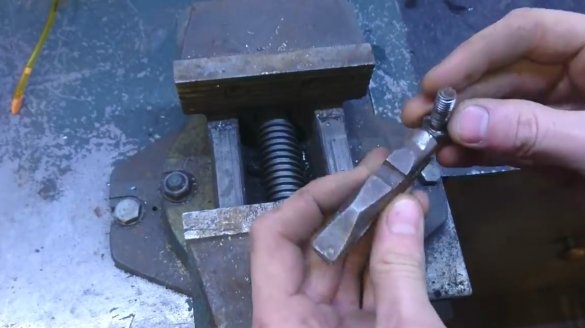
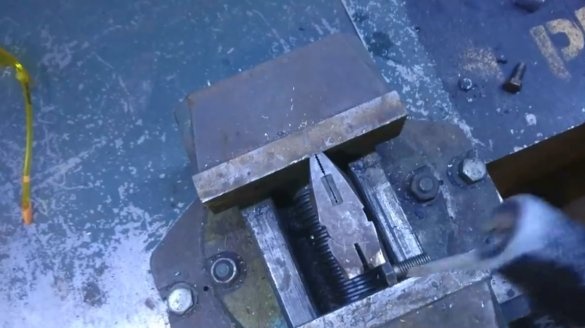
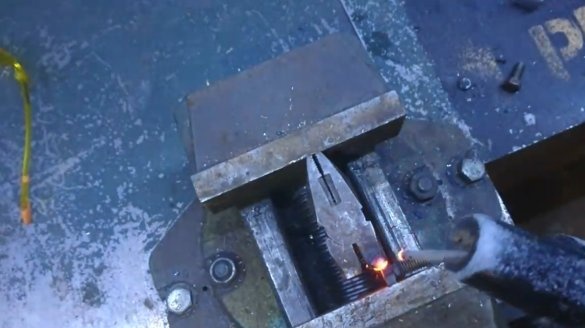
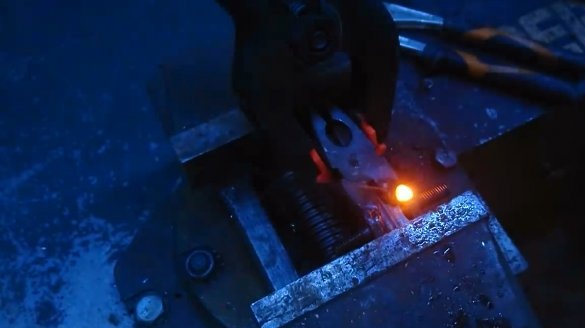
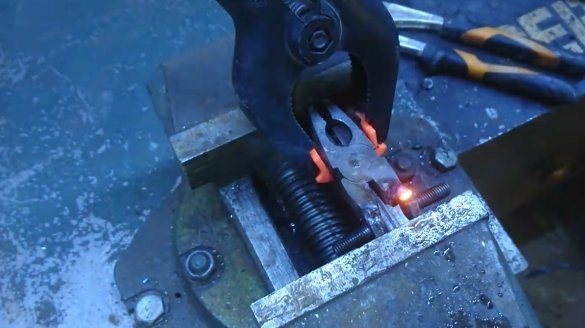
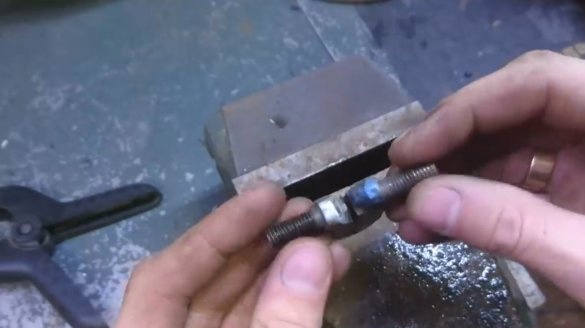
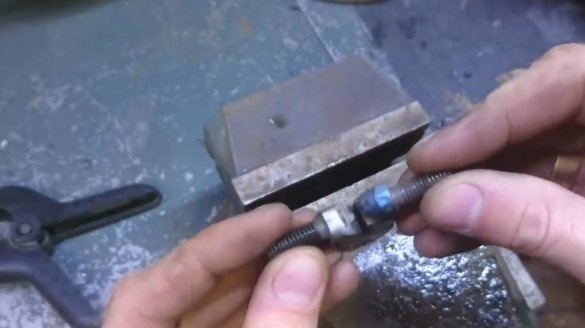
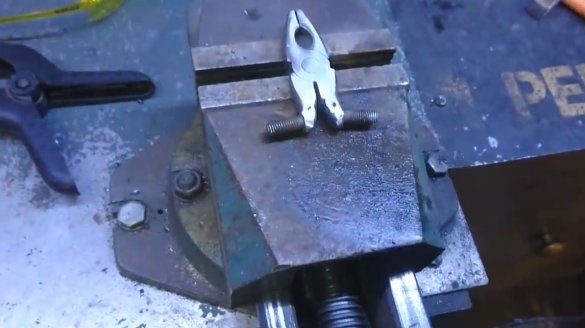
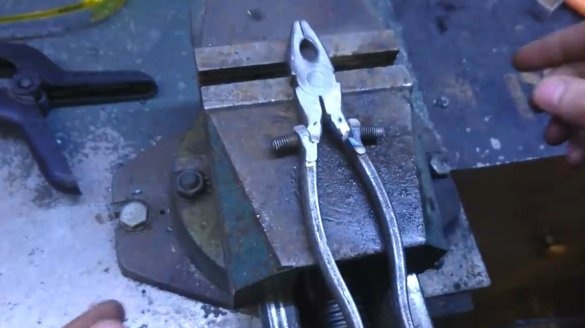
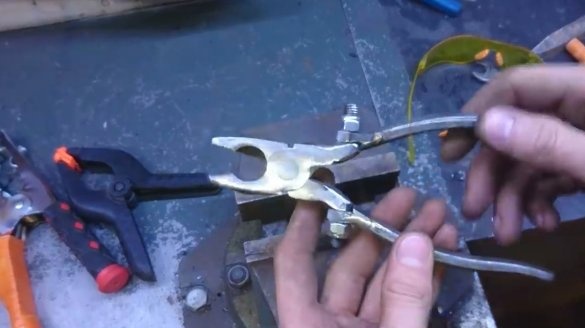
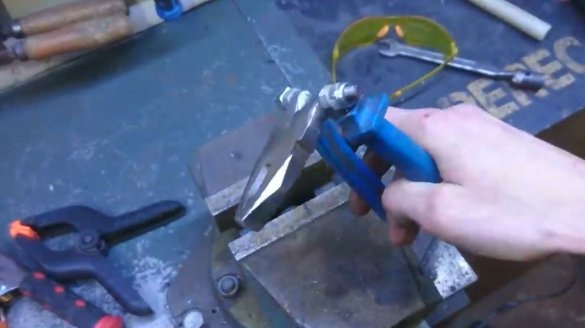
Now, in this way, you need to weld two M10 bolts to the head. Fixes in a vice.
Then welds the bolts.
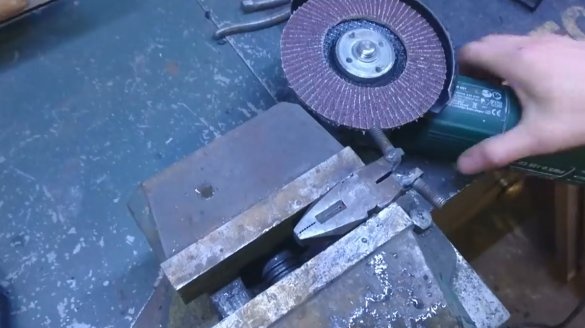
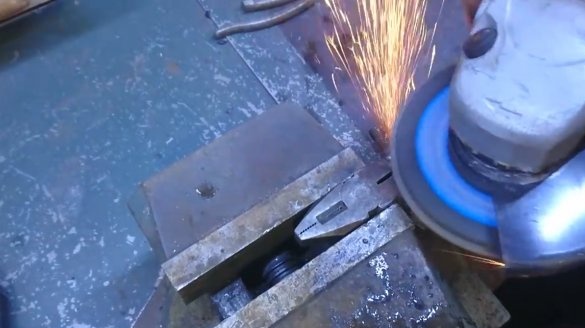
Changes the cutting disc to a flap scraping, cleans welds and surfaces.
This is the first part of the tool that the master got.
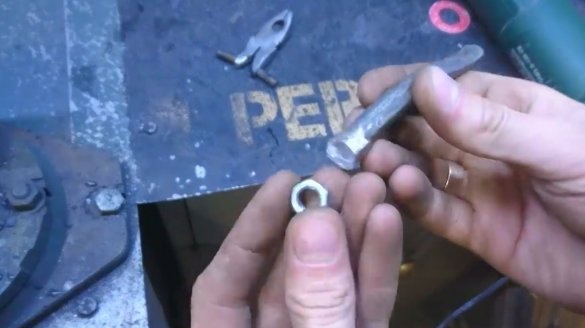
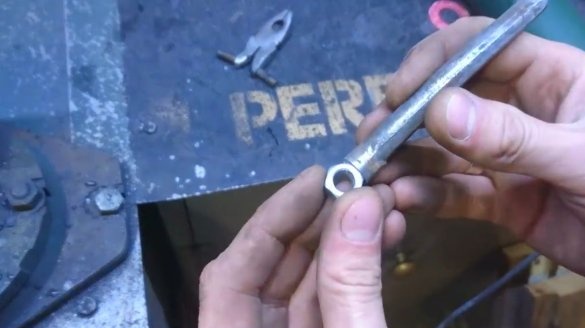
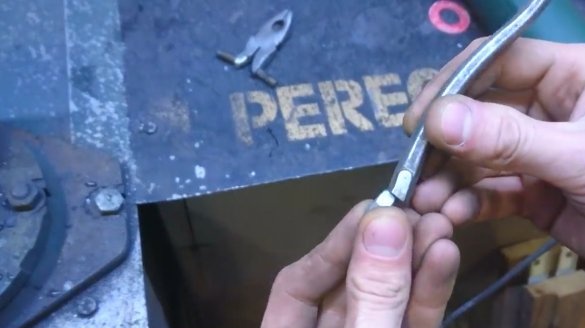
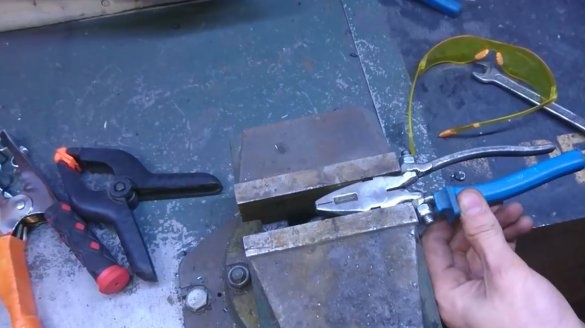
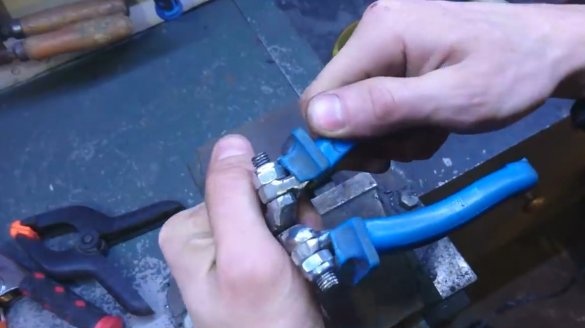
Now you need to weld two M10 nuts to the handles in this way. The nuts are pre-drilled thread.
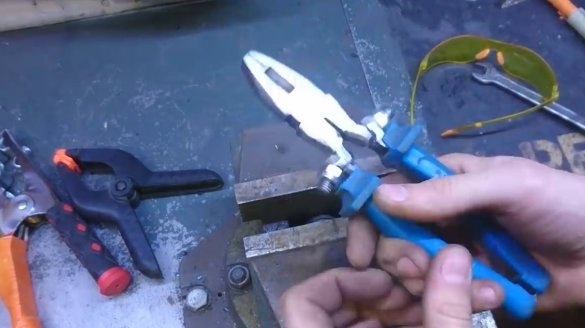
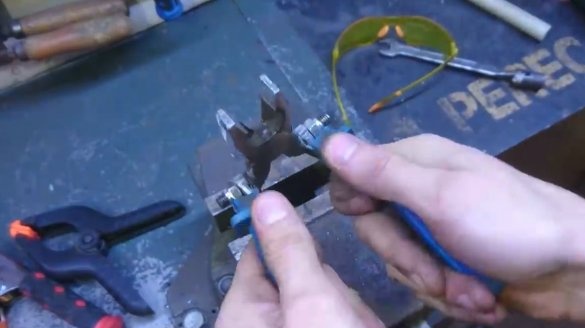
It cleans the handles after welding, they should have a small ledge. Now connects the parts together, putting the nuts on the bolts.
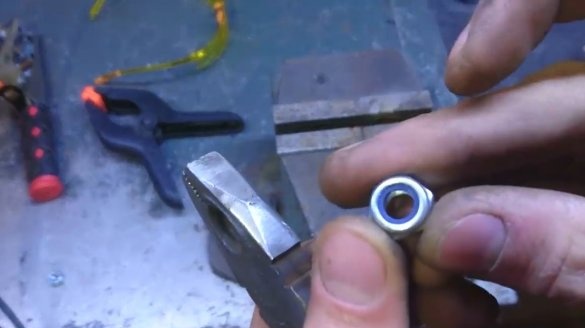
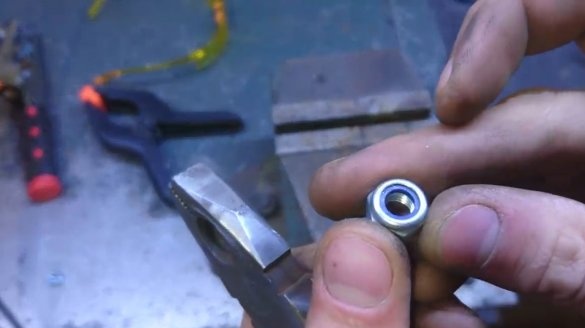
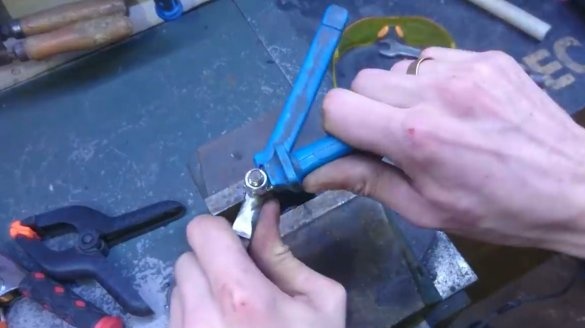
Fastens handles to the head with self-locking nuts with a plastic insert. This will allow you to fix the handles quite rigidly, but they will be able to rotate.
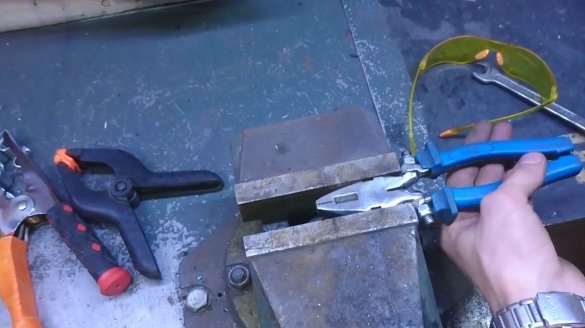
Puts rubber pads in place.
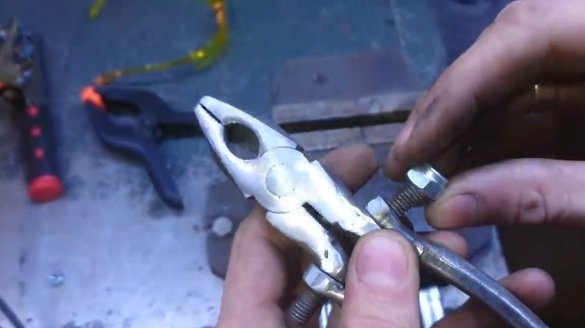
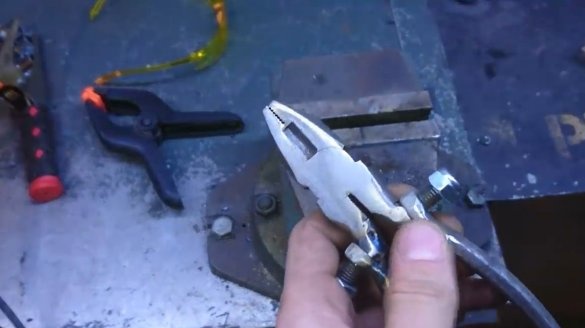
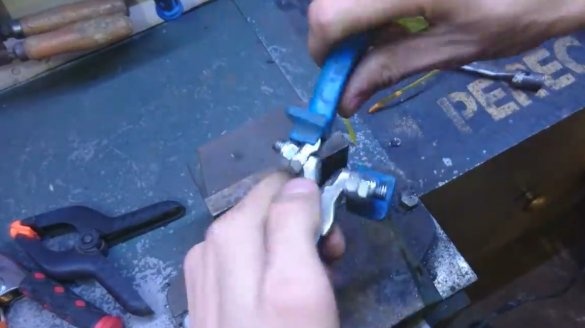
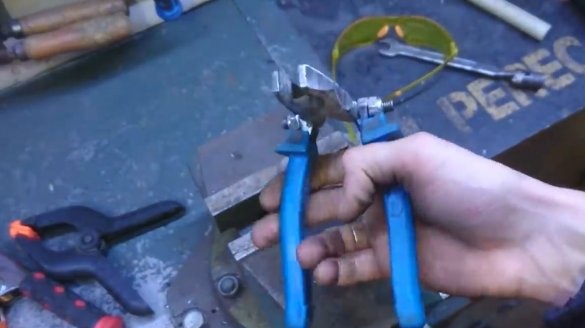
Here is the tool and ready. Handles can be moved to various angles, and in any direction.
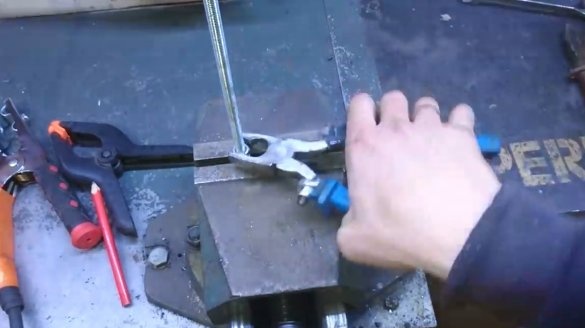
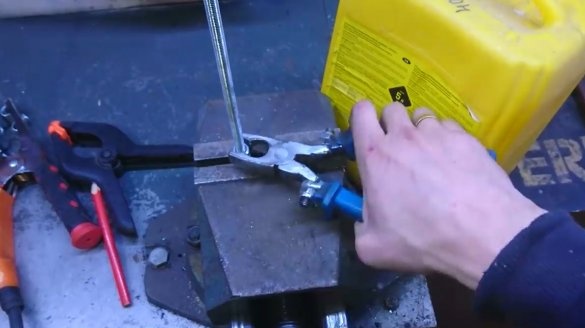
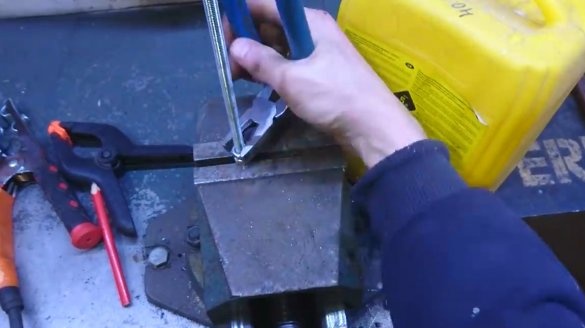
Suppose you need to unscrew the nut. And if there is not enough space - just turn the knobs at an angle of 90 degrees.
Here's a custom solution to help you get where you need it. Of course, the downforce will be less, but that's another question.
Thanks to the author for a simple but interesting idea for finalizing such a familiar tool!
All good mood, good luck, and interesting ideas!

