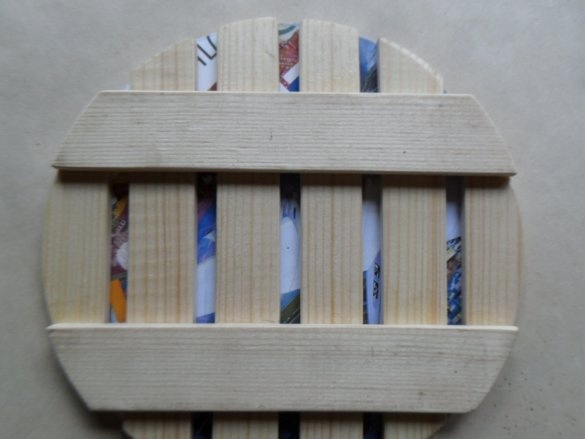
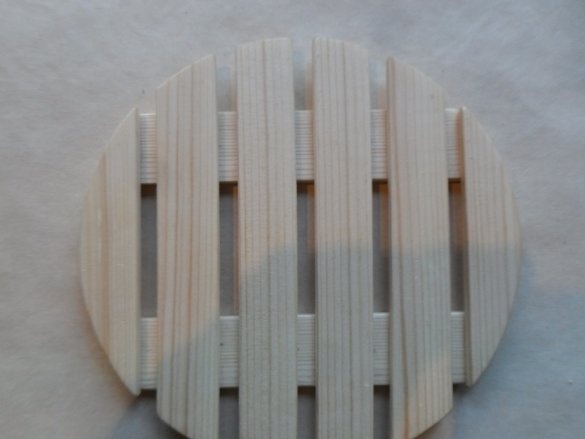
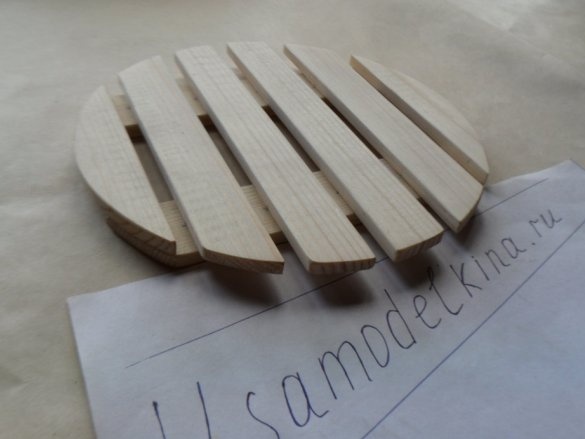
Any freshly heated kitchen container can pretty much spoil the surface on which it is placed. And let a wooden stand be better than such a surface than a tablecloth or table top.
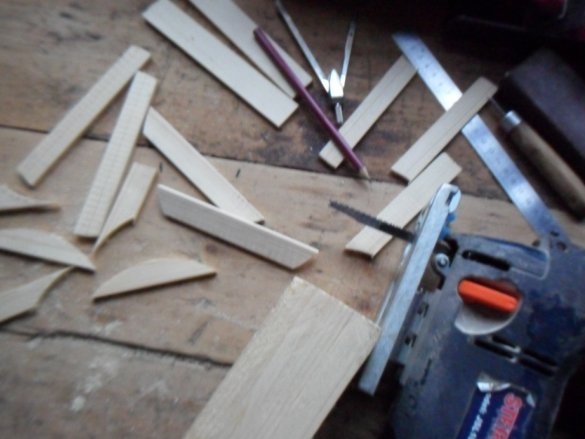
In the work I needed the following tools and materials:
Instruments:
1) a pencil;
2) a ruler;
3) a hacksaw for wood;
4) ordinary compass;
5) sandpaper;
6) planer-planer;
7) electric jigsaw;
8) heavy iron cylinder (as a press).
Materials:
1) a wooden board;
2) wood glue.
Manufacturing process:
Step 1. Sawing the board on the machine.
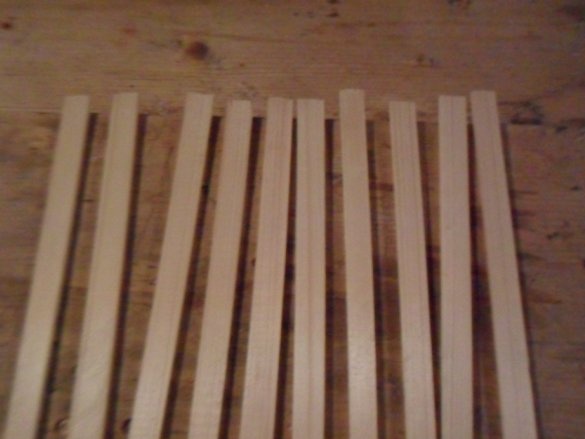
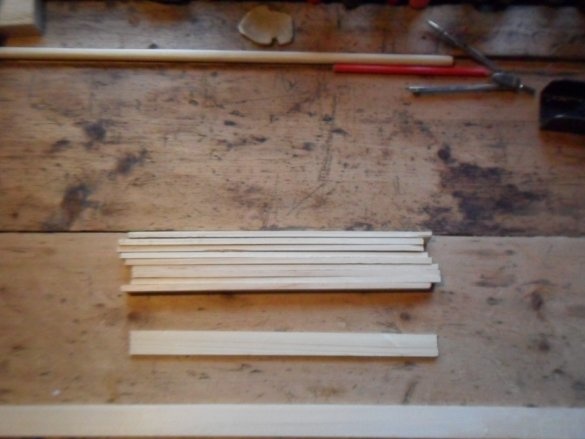
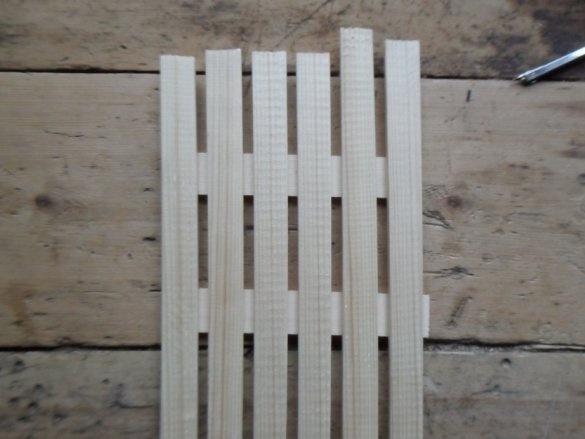
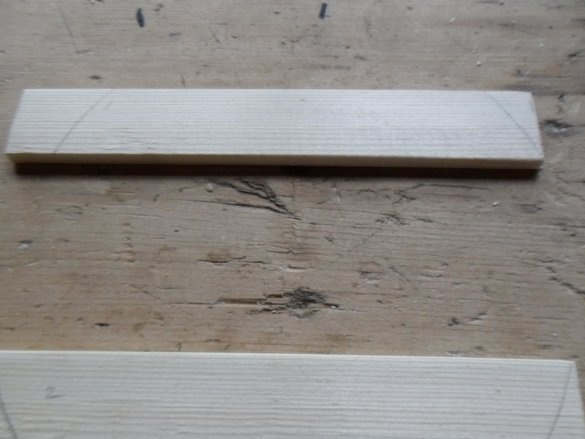
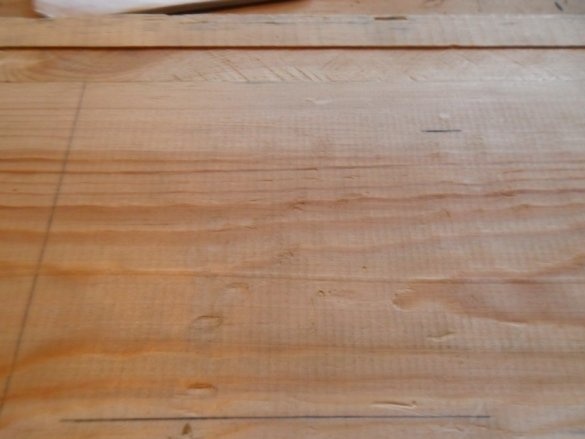
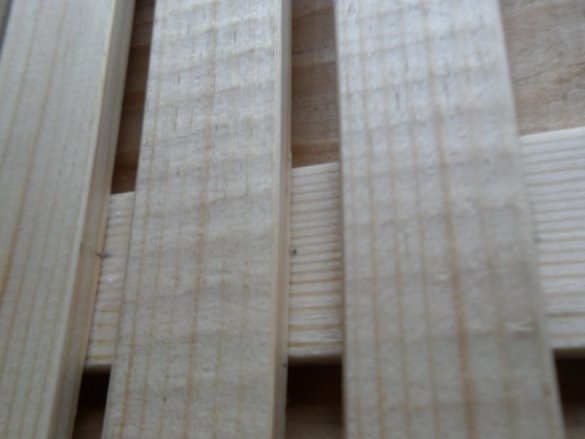
We saw the board across the entire width into 6 mm thick slats (one of them will be longer and wider than the others) and we will grind their rough sides. The result was 5 mm thick slats.
Step 2. Sawing a wide rail.
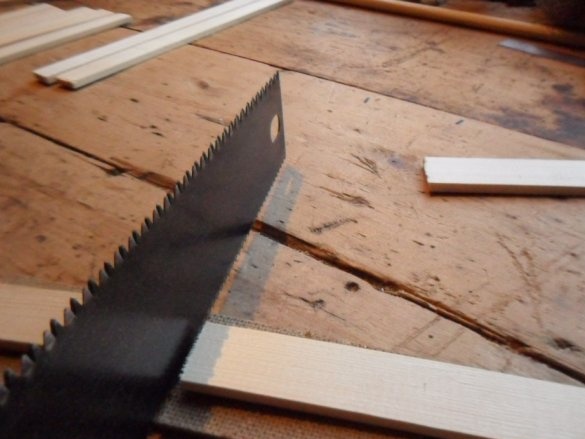
Saw a wide rail with a hacksaw into two parts: the rest (narrow) rails will be located on them in the future.
Step 3. Work with compasses.
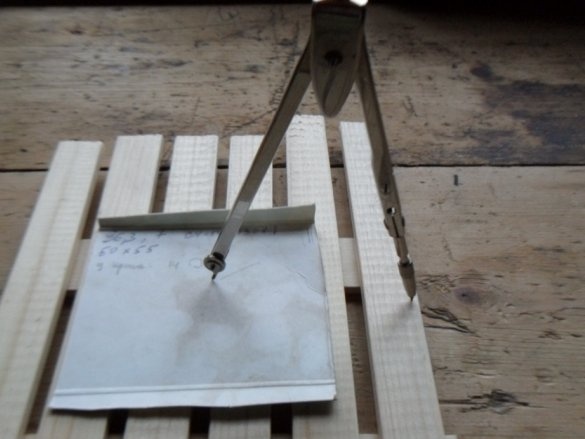
The support will be round in shape, therefore, before sawing the ends, draw a circle with a radius of 7 cm on the slats set to the desired location. To prevent the needle from leaving a dent in the tree, and also to prevent the workpieces from moving, we put a piece of cardboard under it (you can also use a plywood sheet , Fiberboard or other dense material). Draw a circle.
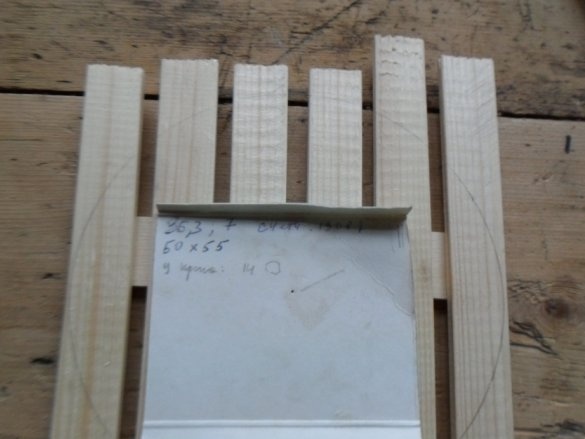
Now you need to outline the borders on two wide rails. To do this, first cut out a circle from cardboard with a radius equal to the radius of the stand. On the circle we draw two parallel chords symmetrically with respect to its center at a certain distance of 10 cm from each other. We put this circle on two slats and set them in such a way that the lines are strictly above the outer sides of the parts. After that, round the round cardboard on the supports with a pencil. All wooden components of the stand are ready for sawing.
Step 4. The movement of the jigsaw blade along an arc of a circle.
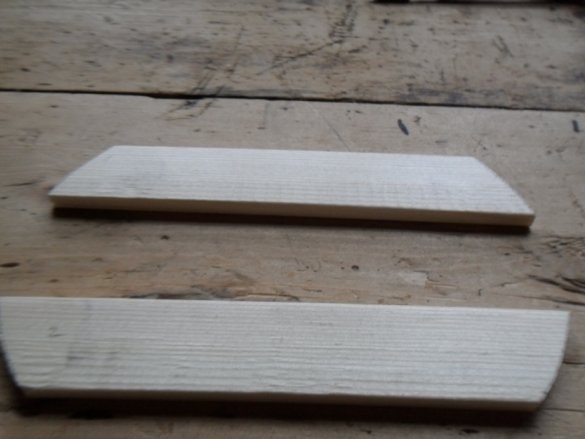
Using an electric jigsaw, carefully (to avoid getting chips), we cut off the excess end parts of the rails.
Step 5. Sanding the parts.
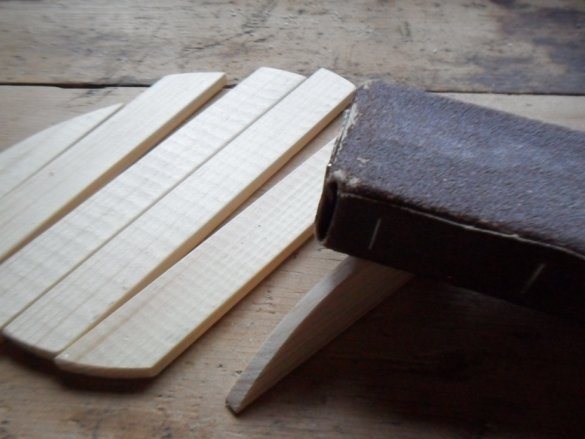
Before gluing, wooden workpieces are treated with sandpaper.
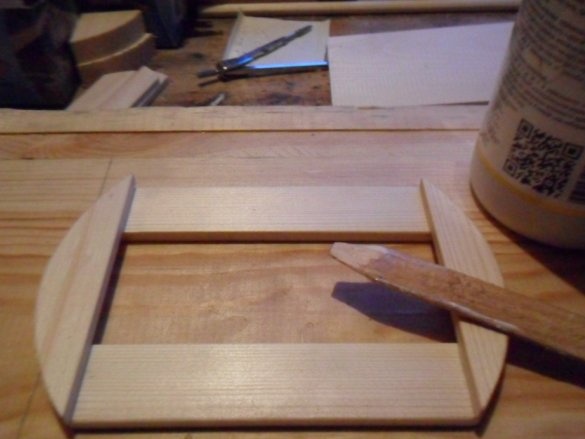
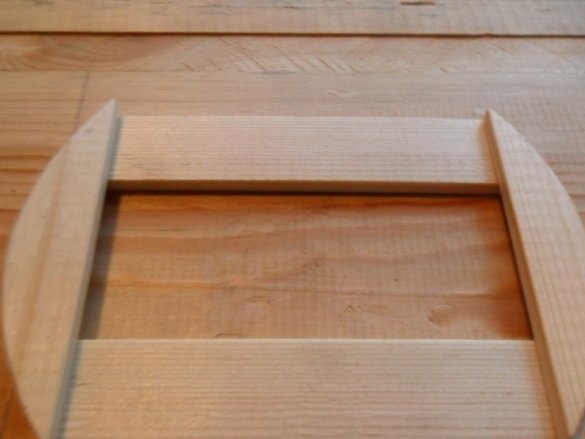
Step 6Bonding of edge bars with two supports.
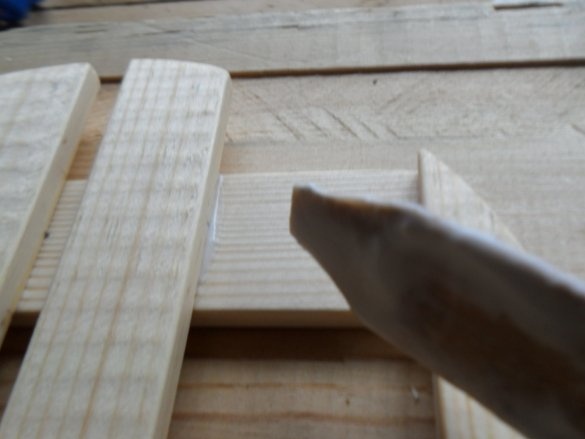
On a randomly taken but suitable board, draw lines with respect to which wide slats will be located. We expose them correctly, grease with carpentry glue and apply two narrow narrow slats on top. We press the construction with something heavy.
Step 7. Bonding the remaining parts.
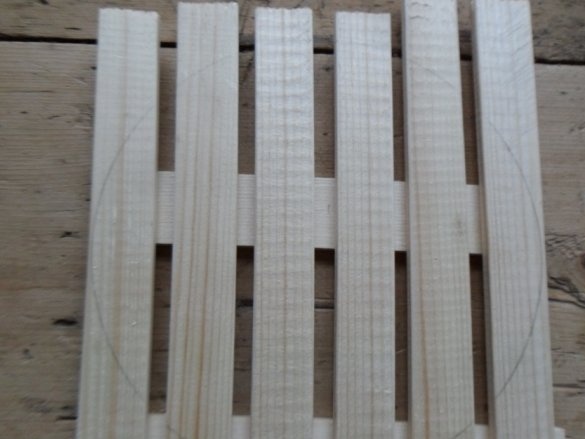
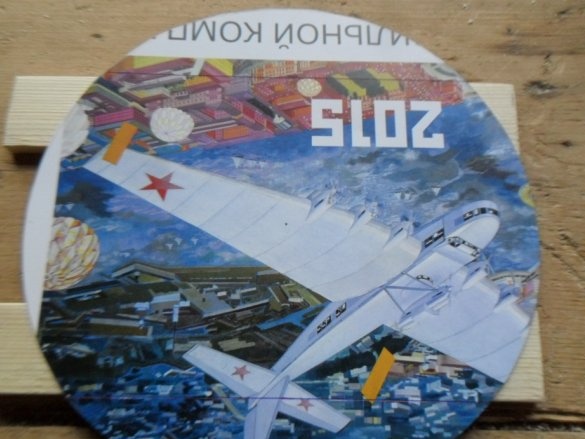
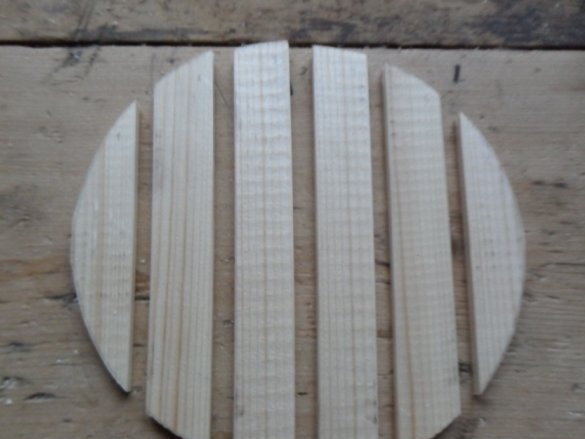
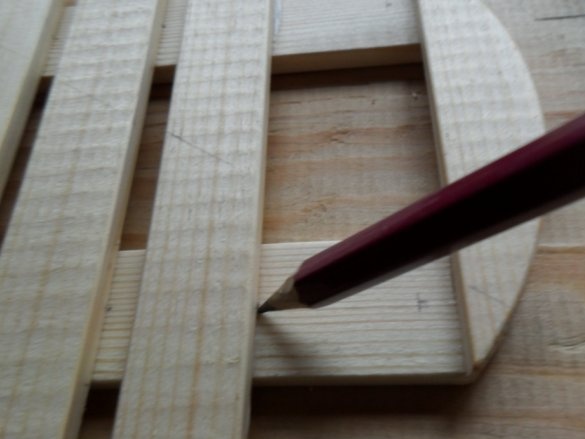
We lay out the remaining parts on a platform of four rails, and on top we apply a paper circle, which will help align the bars. As a result of this alignment, a semi-finished stand of a rather round shape is obtained. After removing the circle, mark with a pencil on the wide and narrow rails places with short lines, along which it will be possible to correctly set the narrow rails when gluing.
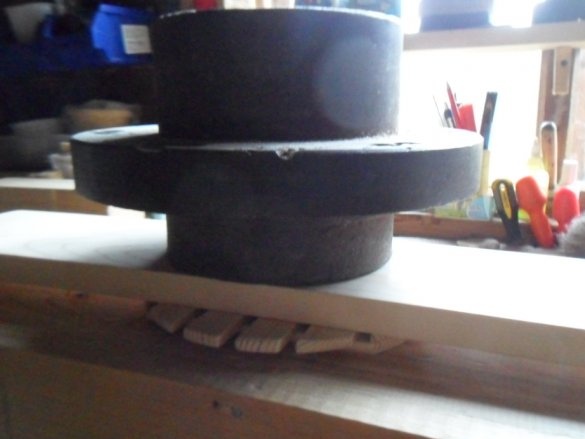
Now, taking each narrow rail in turn and lubricating with glue, we apply them to wide workpieces. We put the board on top, and on the board - a massive iron cylinder with a ring around it and leave the entire structure for a while (half an hour - an hour).
Step 8. Last grinding.
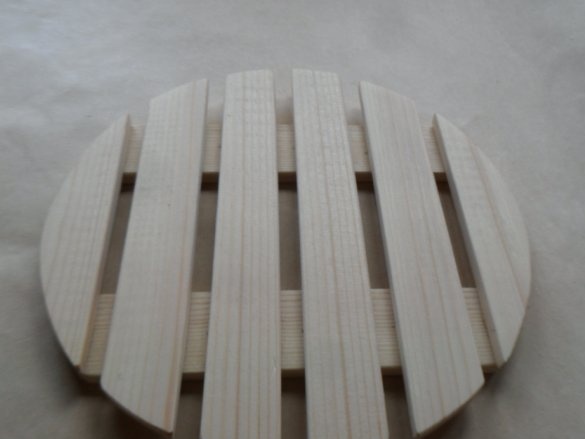
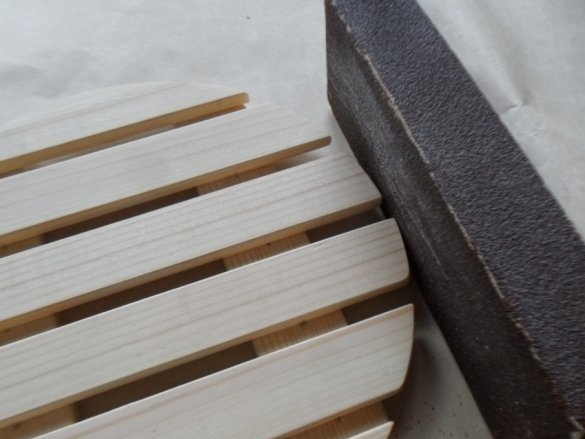
The stand with the dried glue is left to be more carefully sanded with an eccentric machine and a block of sandpaper. It turned out the finished product, which can be painted with varnish or paint.
Conclusion
What are the advantages of such a stand? At least in the following.
- Thanks to the gaps between the racks, the stand can be hung on the wall.
- It is convenient to take (grab) a stand - lying on the table.
- The pan, pan, dish, and other kitchen vessels will cool faster because air will pass through the spaces between the parts of the stand.


